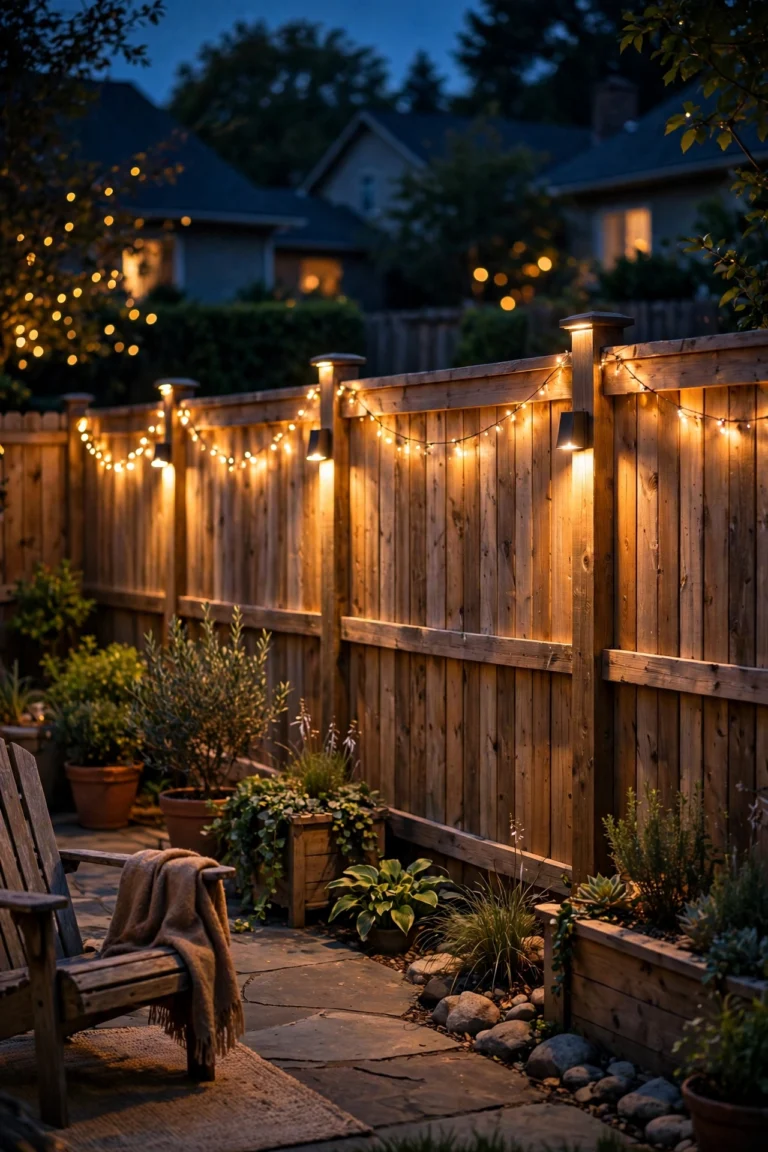
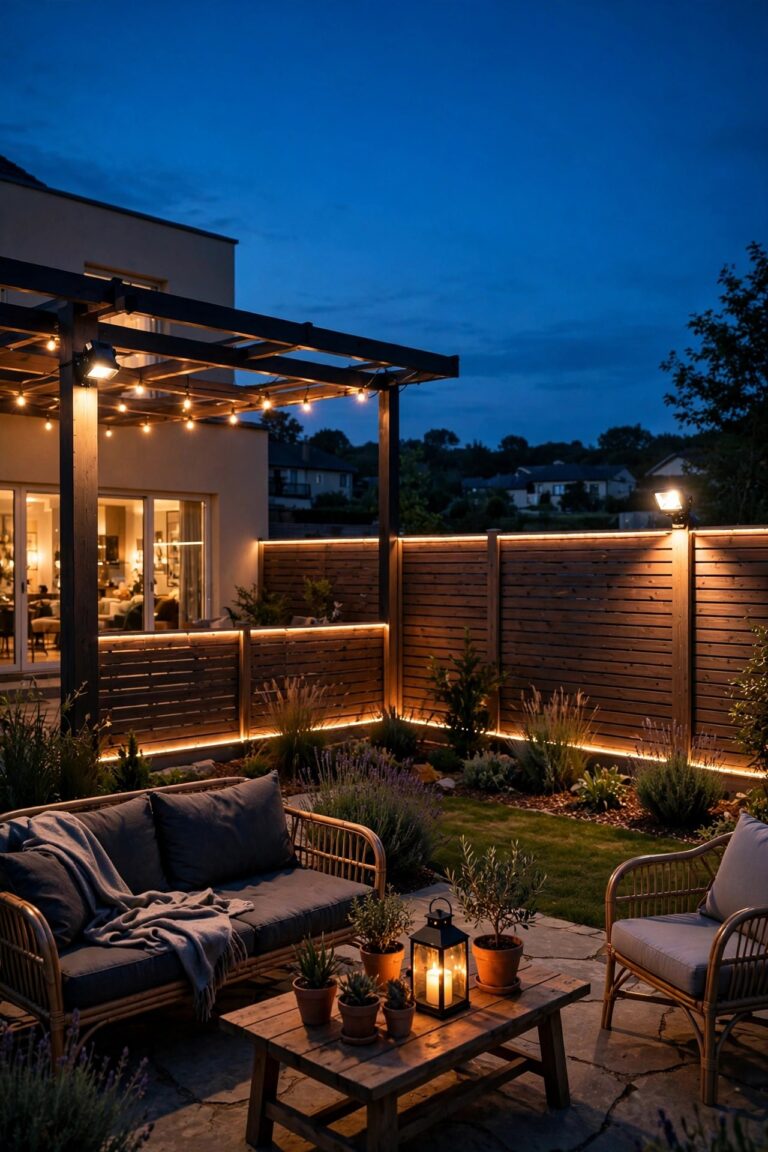
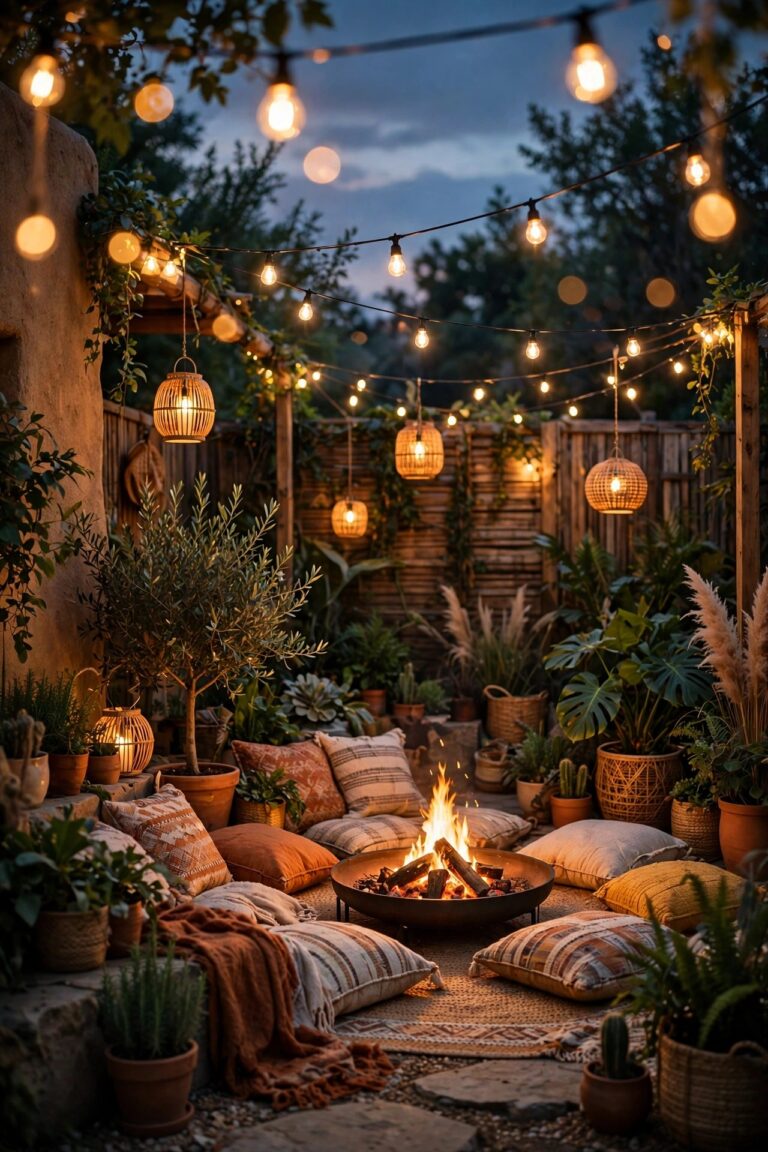
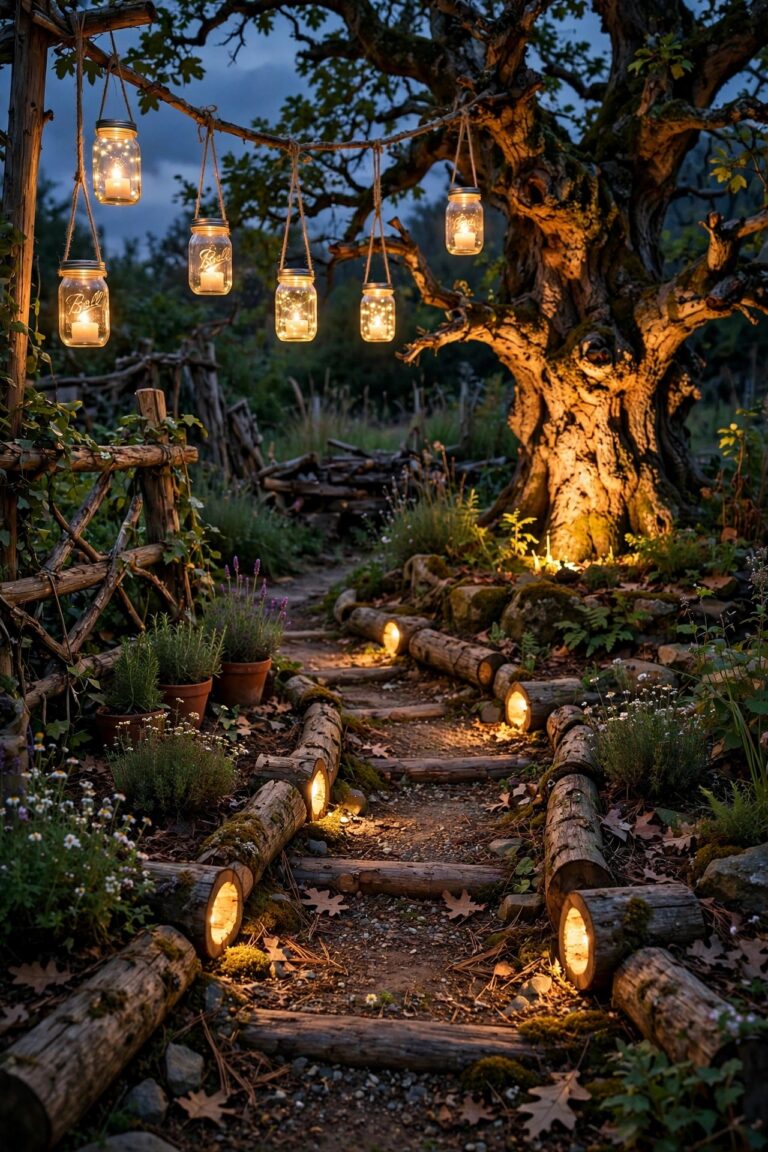
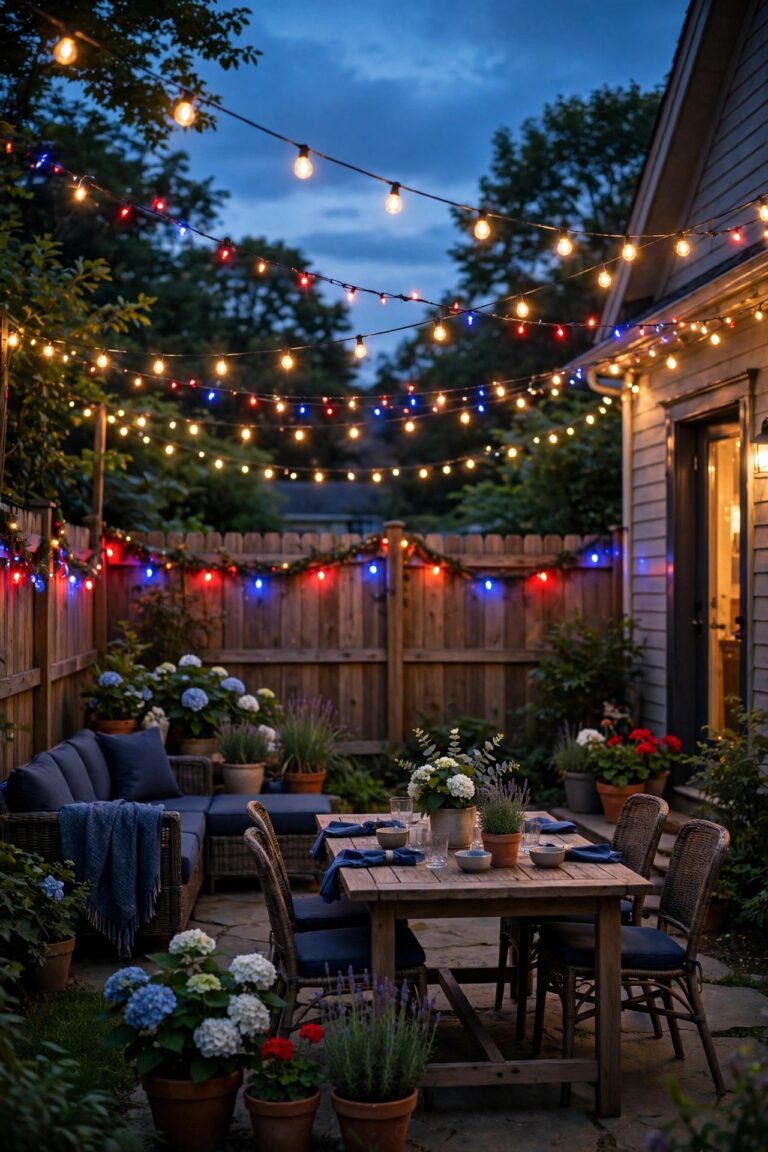
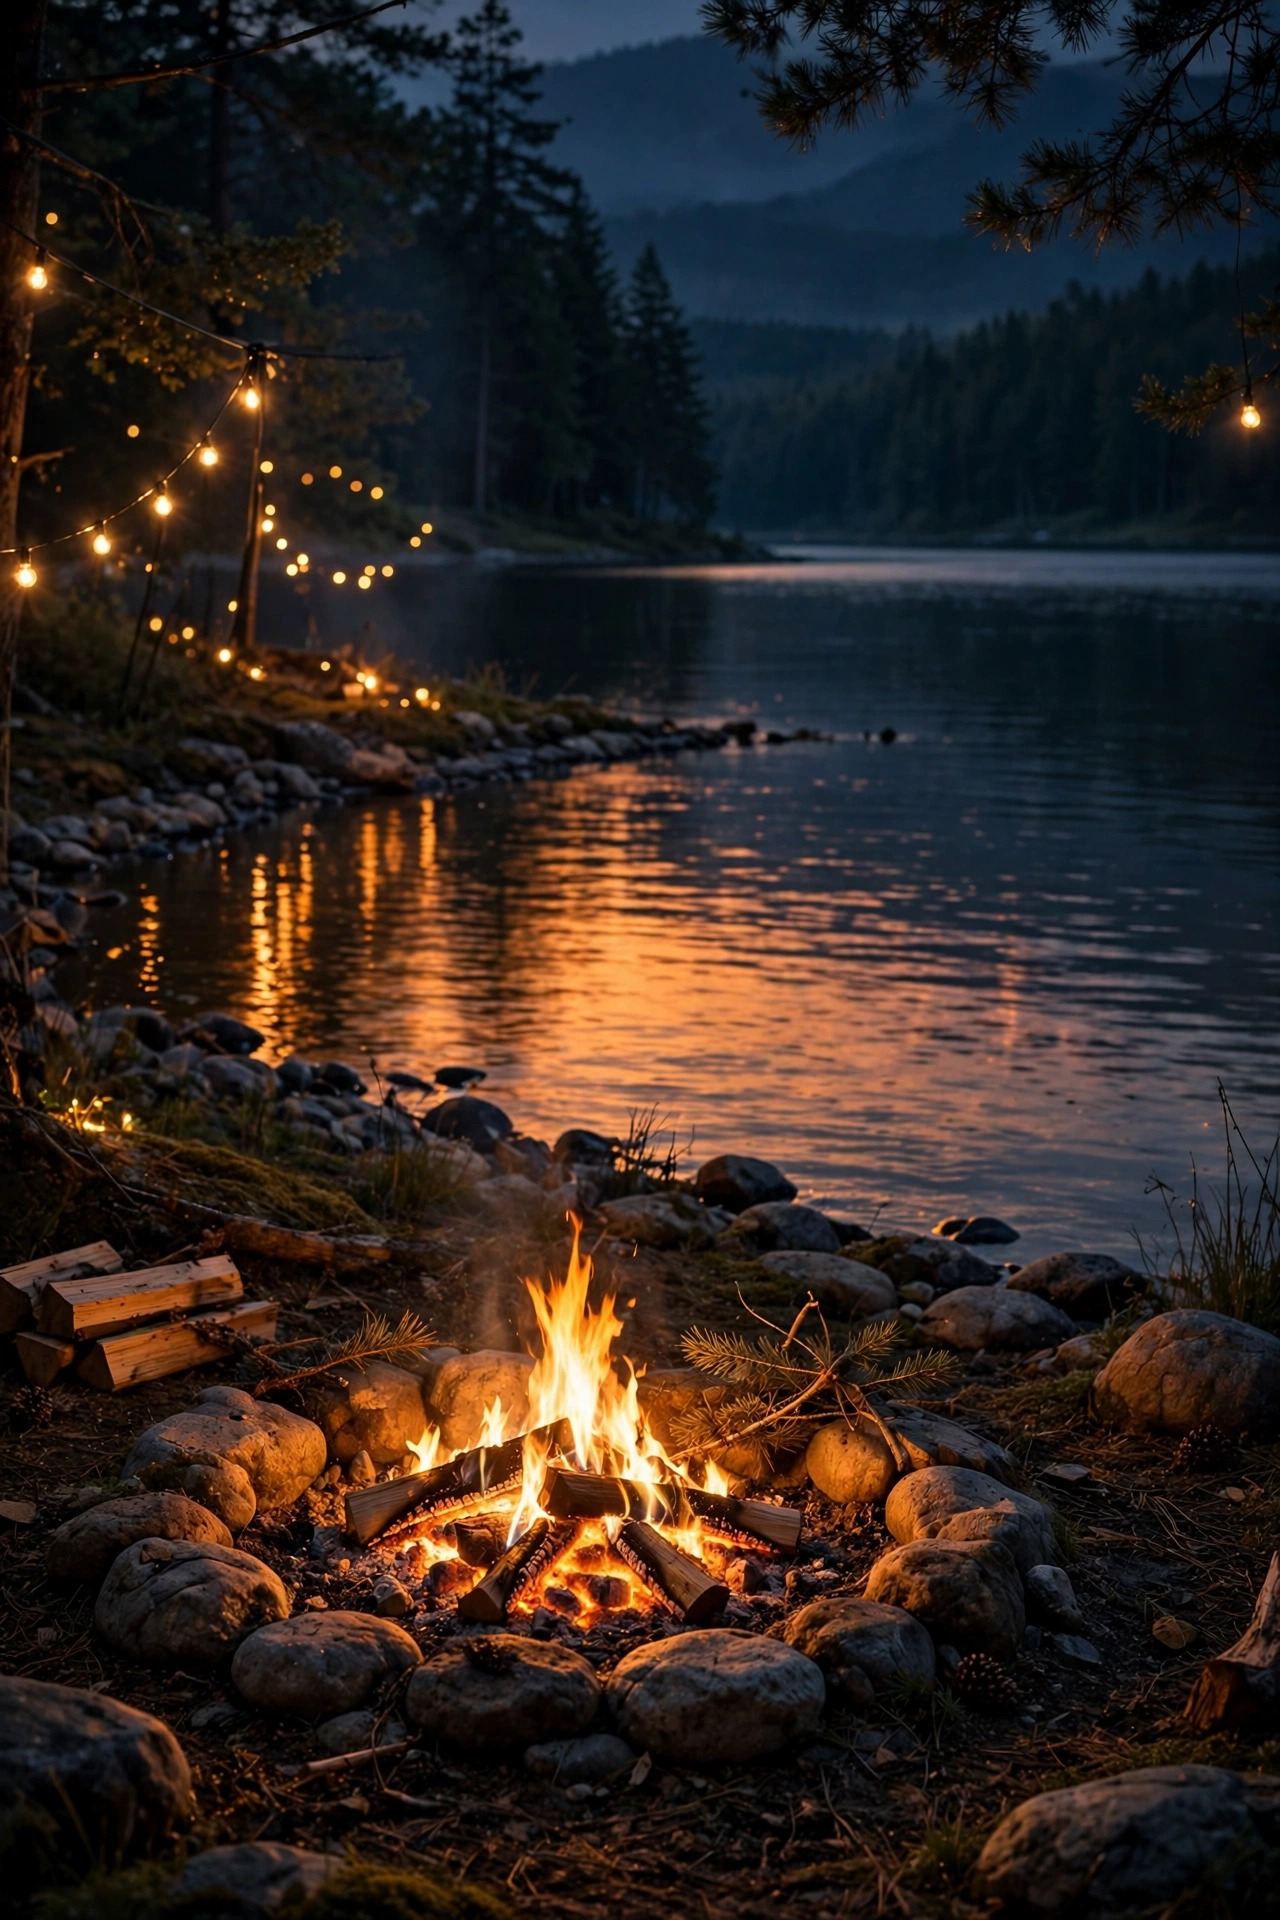
There is a particular kind of magic that happens at a lake house just after sunset, when the air turns cool, the water goes glassy, and everyone drifts toward the fire with a mug or a blanket. The fire itself does a lot of the work, but the glow around it is what makes the circle feel safe, welcoming, and easy to linger in. That is exactly why I put so much thought into lakeside fire pit lighting ideas at our place: the right layers keep guests from tripping on the slope down to the shore, keep faces softly lit instead of blasted, and let the fire stay the star of the show. My rule is the same one I use in the backyard — layer the light. A low guiding layer for paths and steps, a warm middle layer at seated eye level, and a gentle overhead layer for sparkle. Below I am sharing the 15 ideas I rely on most, with real spacing, bulb, and budget notes, so you can build a shoreline fire circle that feels just as good in October as it does in July.
1. Build Your Lakeside Fire Pit Lighting Ideas in Three Layers
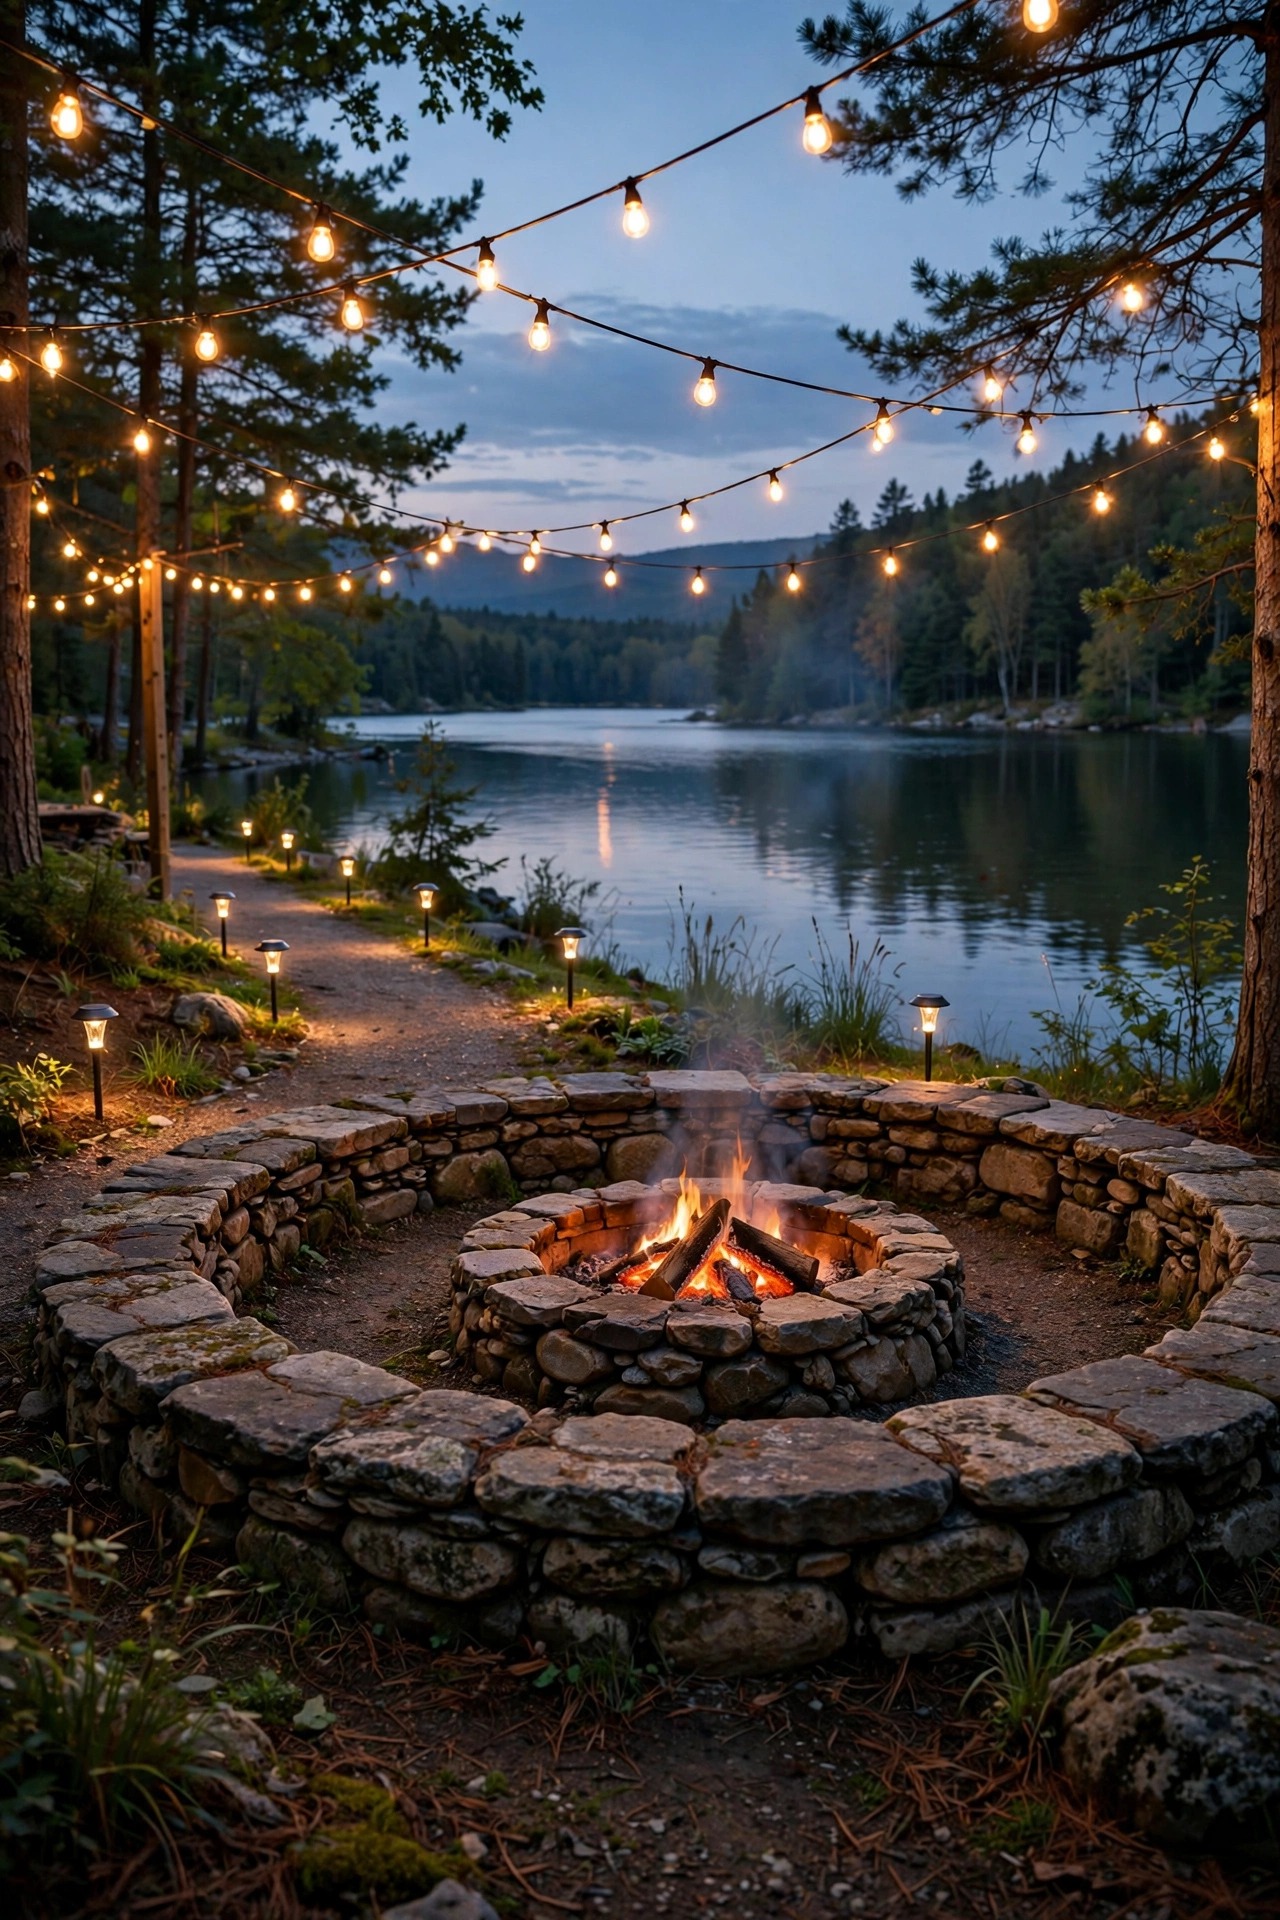
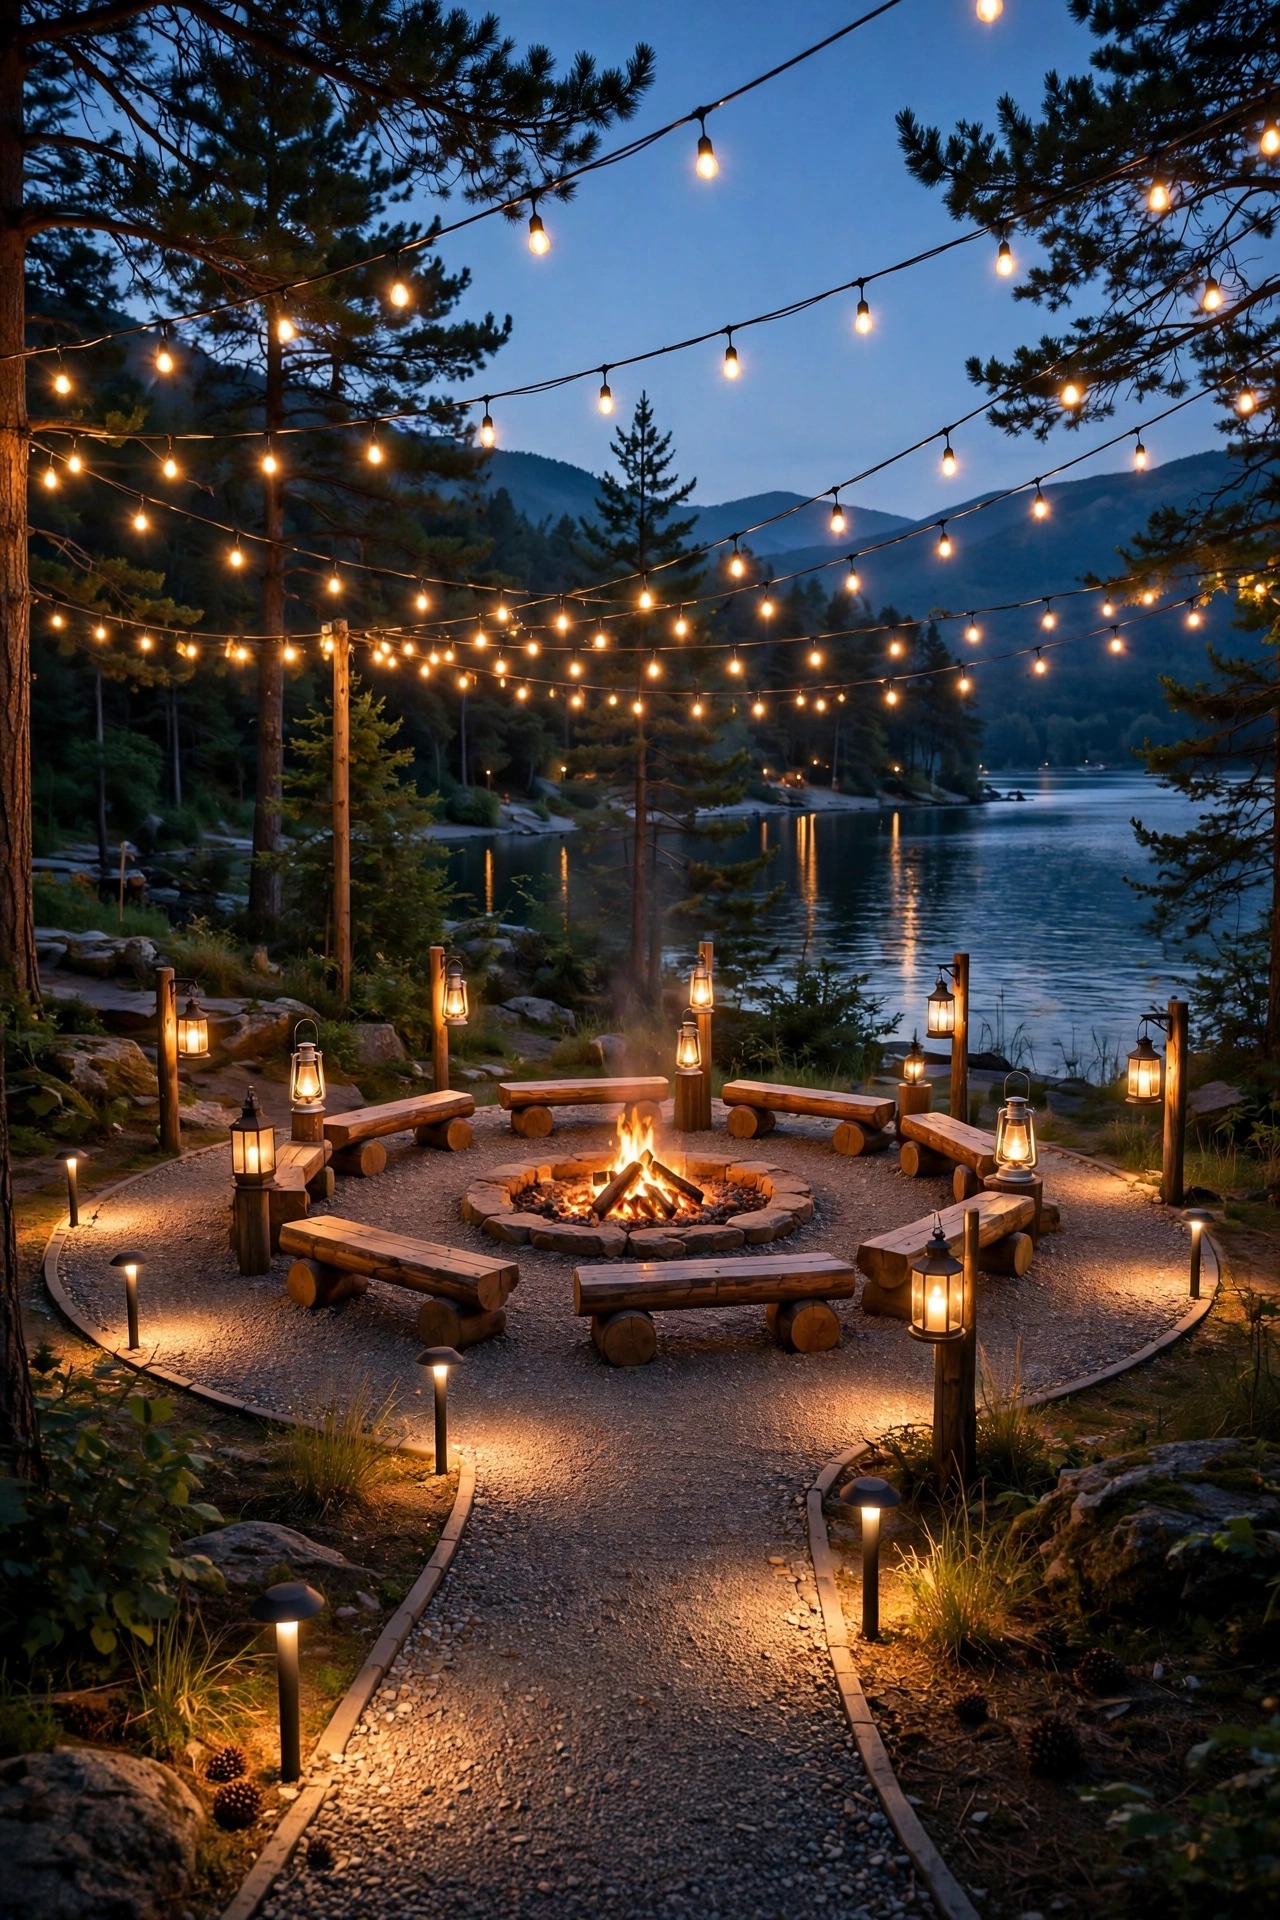
Every good fire circle I have ever sat in follows the same quiet structure, and it is the plan behind all of my favorite lakeside fire pit lighting ideas. Think of the light in three rings. The inner ring is the fire itself plus a whisper of glow at ground level, just enough to show the edge of the hearth and where feet can safely rest. The middle ring sits at seated eye level, roughly 18 to 30 inches high: lanterns on side tables, a lit seating wall, anything that puts soft light on faces without glare. The outer ring is your guidance layer — path lights, step lights, and one or two uplighted trees that tell guests where the circle ends and the dark yard begins. Keep every bulb in the warm 2700K range so nothing fights the firelight, and put the middle ring on a dimmer if you can. When the layers are balanced, the fire stays the brightest thing in the circle and everything else simply supports it. Start here, sketch your three rings on paper, and every idea that follows will slot neatly into the plan.
Suggested budget range: $150 – $400.
2. Guide the Walk With Solar Path Stakes
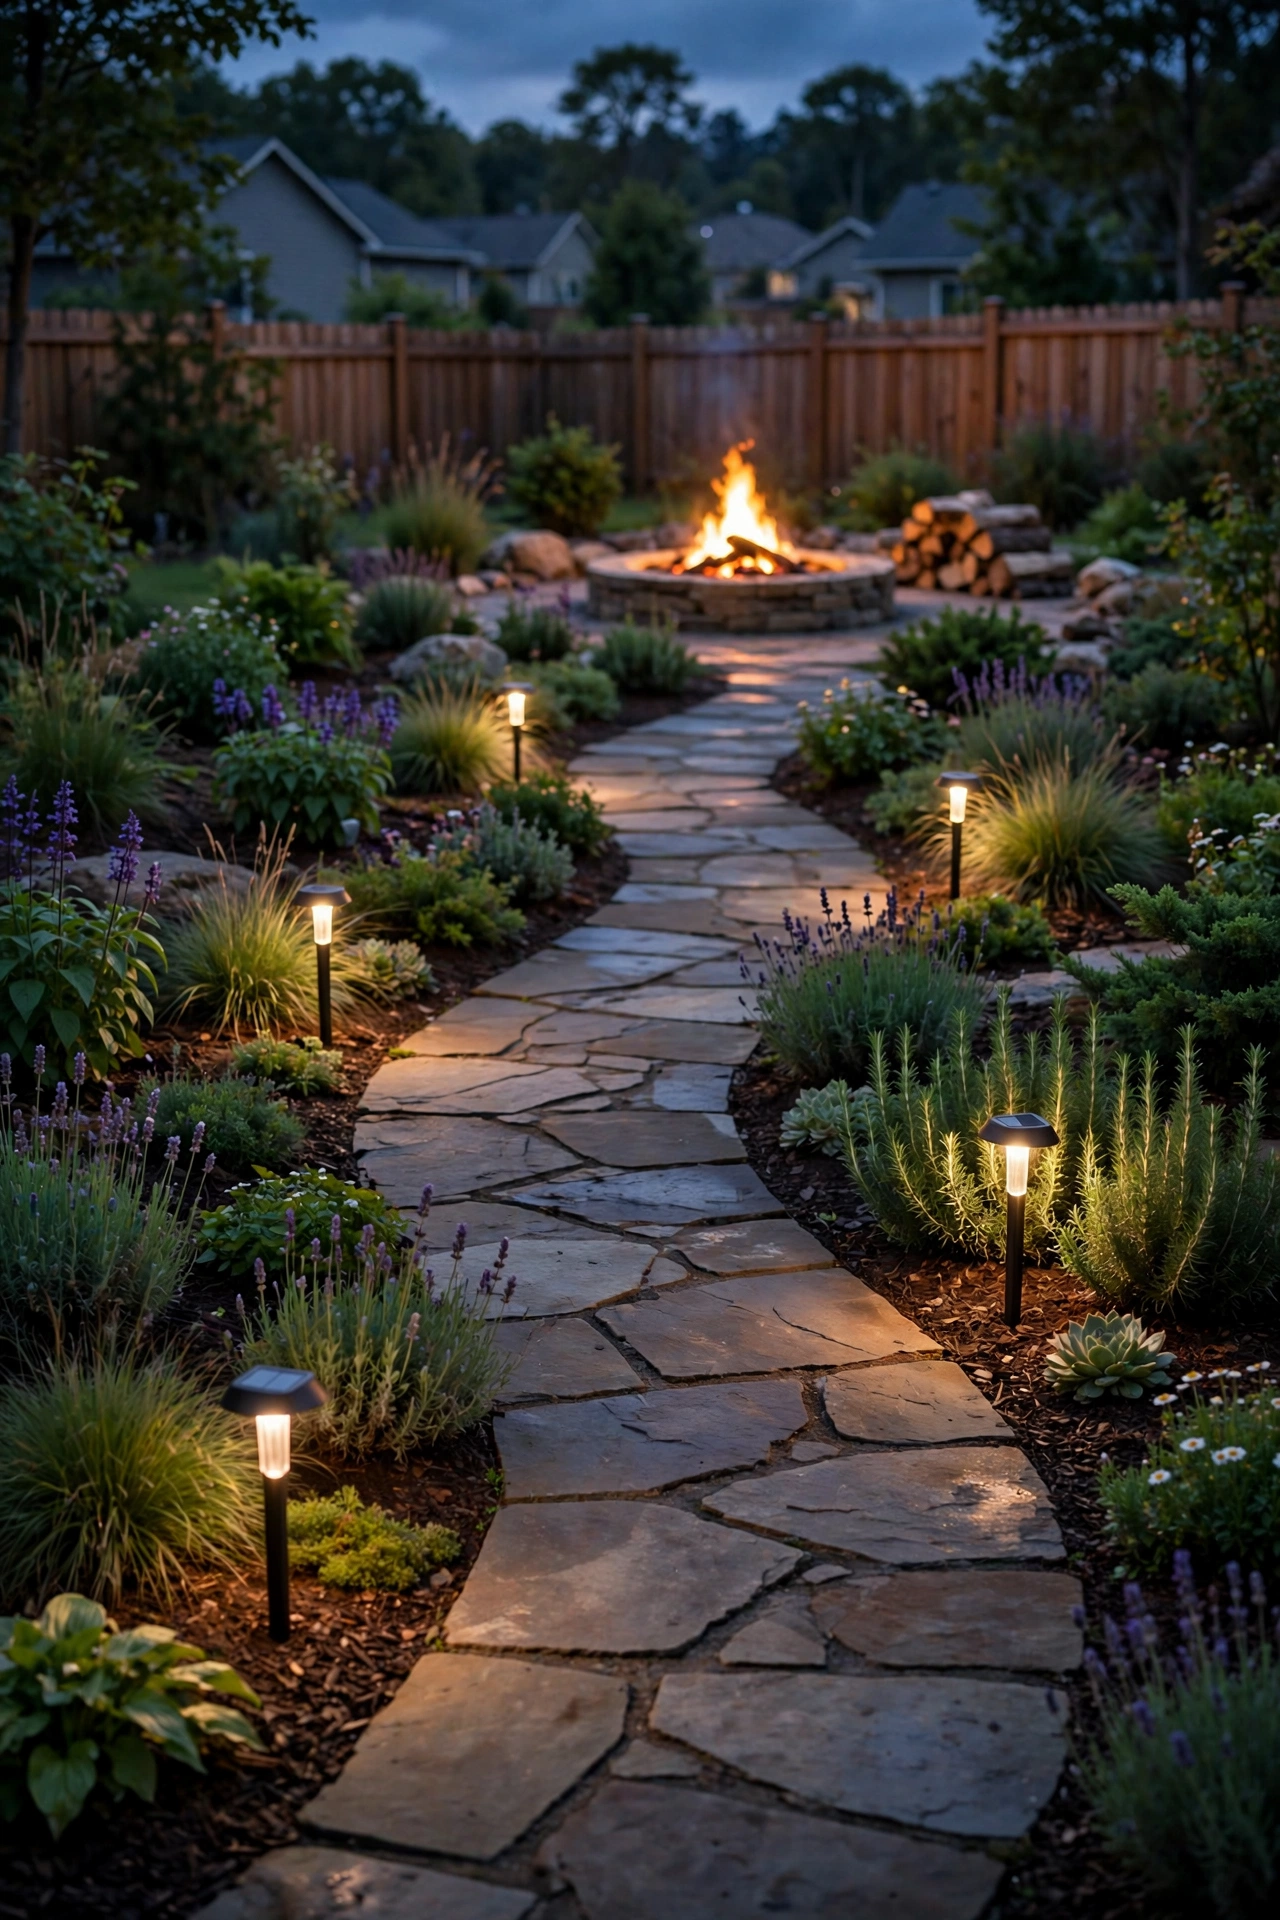
The walk from the back door down to the shore is where guests actually get hurt — a root, a hose, the one uneven stone everyone forgets. A simple run of solar path stakes fixes it for almost no money and zero wiring, which matters when the pit sits far from an outlet. I space mine 4 to 6 feet apart and stagger them on alternating sides of the path so the route reads like a gentle dotted line instead of a runway. Choose warm white stakes in the 2700K to 3000K range; the cool blue-white ones look like a parking lot and ruin the mood instantly. Push them a full 6 inches into the soil so they survive bumps and mowing, and keep them a mower's width back from the grass edge. In my experience, the mid-priced stakes with replaceable batteries outlast the bargain sets by years, and a quick wipe of the little solar panels each month keeps them charging through fall. On cloudy stretches they will dim earlier in the evening, so think of them as guidance, not security lighting.
Suggested budget range: $40 – $90.
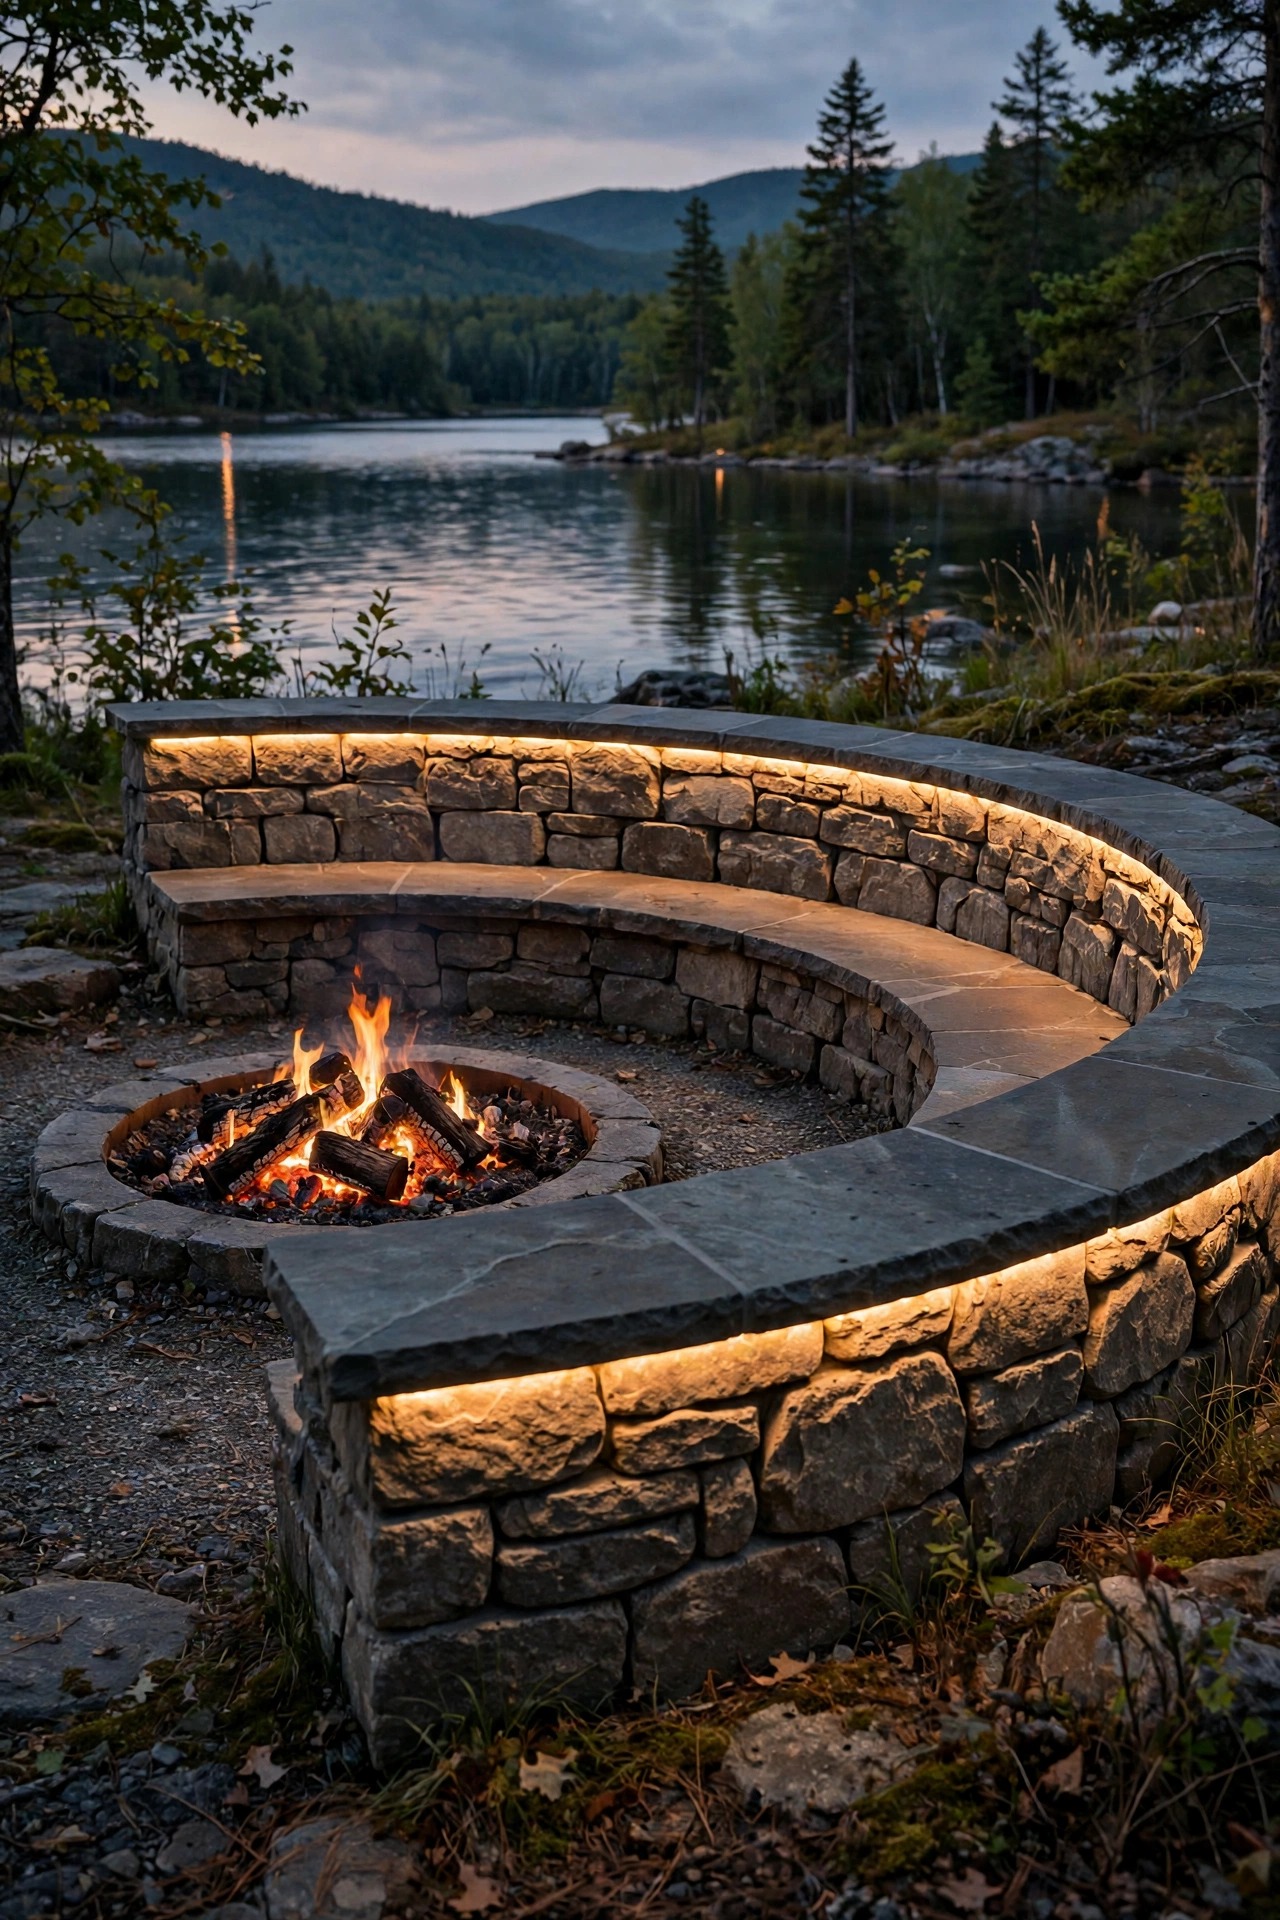
3. Tuck LED Strip Light Under the Seating Wall
If your fire pit has a curved seating wall or a wide capstone ledge, the single most polished trick I know is hiding a low-voltage LED strip underneath the cap overhang. The light washes down the face of the wall and pools softly on the ground, so guests can see their feet, their drinks, and the edge of the hearth, while the source itself stays invisible. Use an outdoor-rated strip, IP65 or better, slipped into an aluminum channel with a frosted cover — the channel protects it from kicks and weather and the cover kills the dotted-diode look. Warm 2700K again, and wire it to the same low-voltage transformer as your path lights if you have one. It is a weekend project: measure the wall, cut the channel, stick, clip, and connect. I have a whole set of notes on lighting the seating itself in my guide to fire pit seating lighting ideas, and honestly? This little hidden strip is the detail people ask about most at our place.
Suggested budget range: $60 – $140.
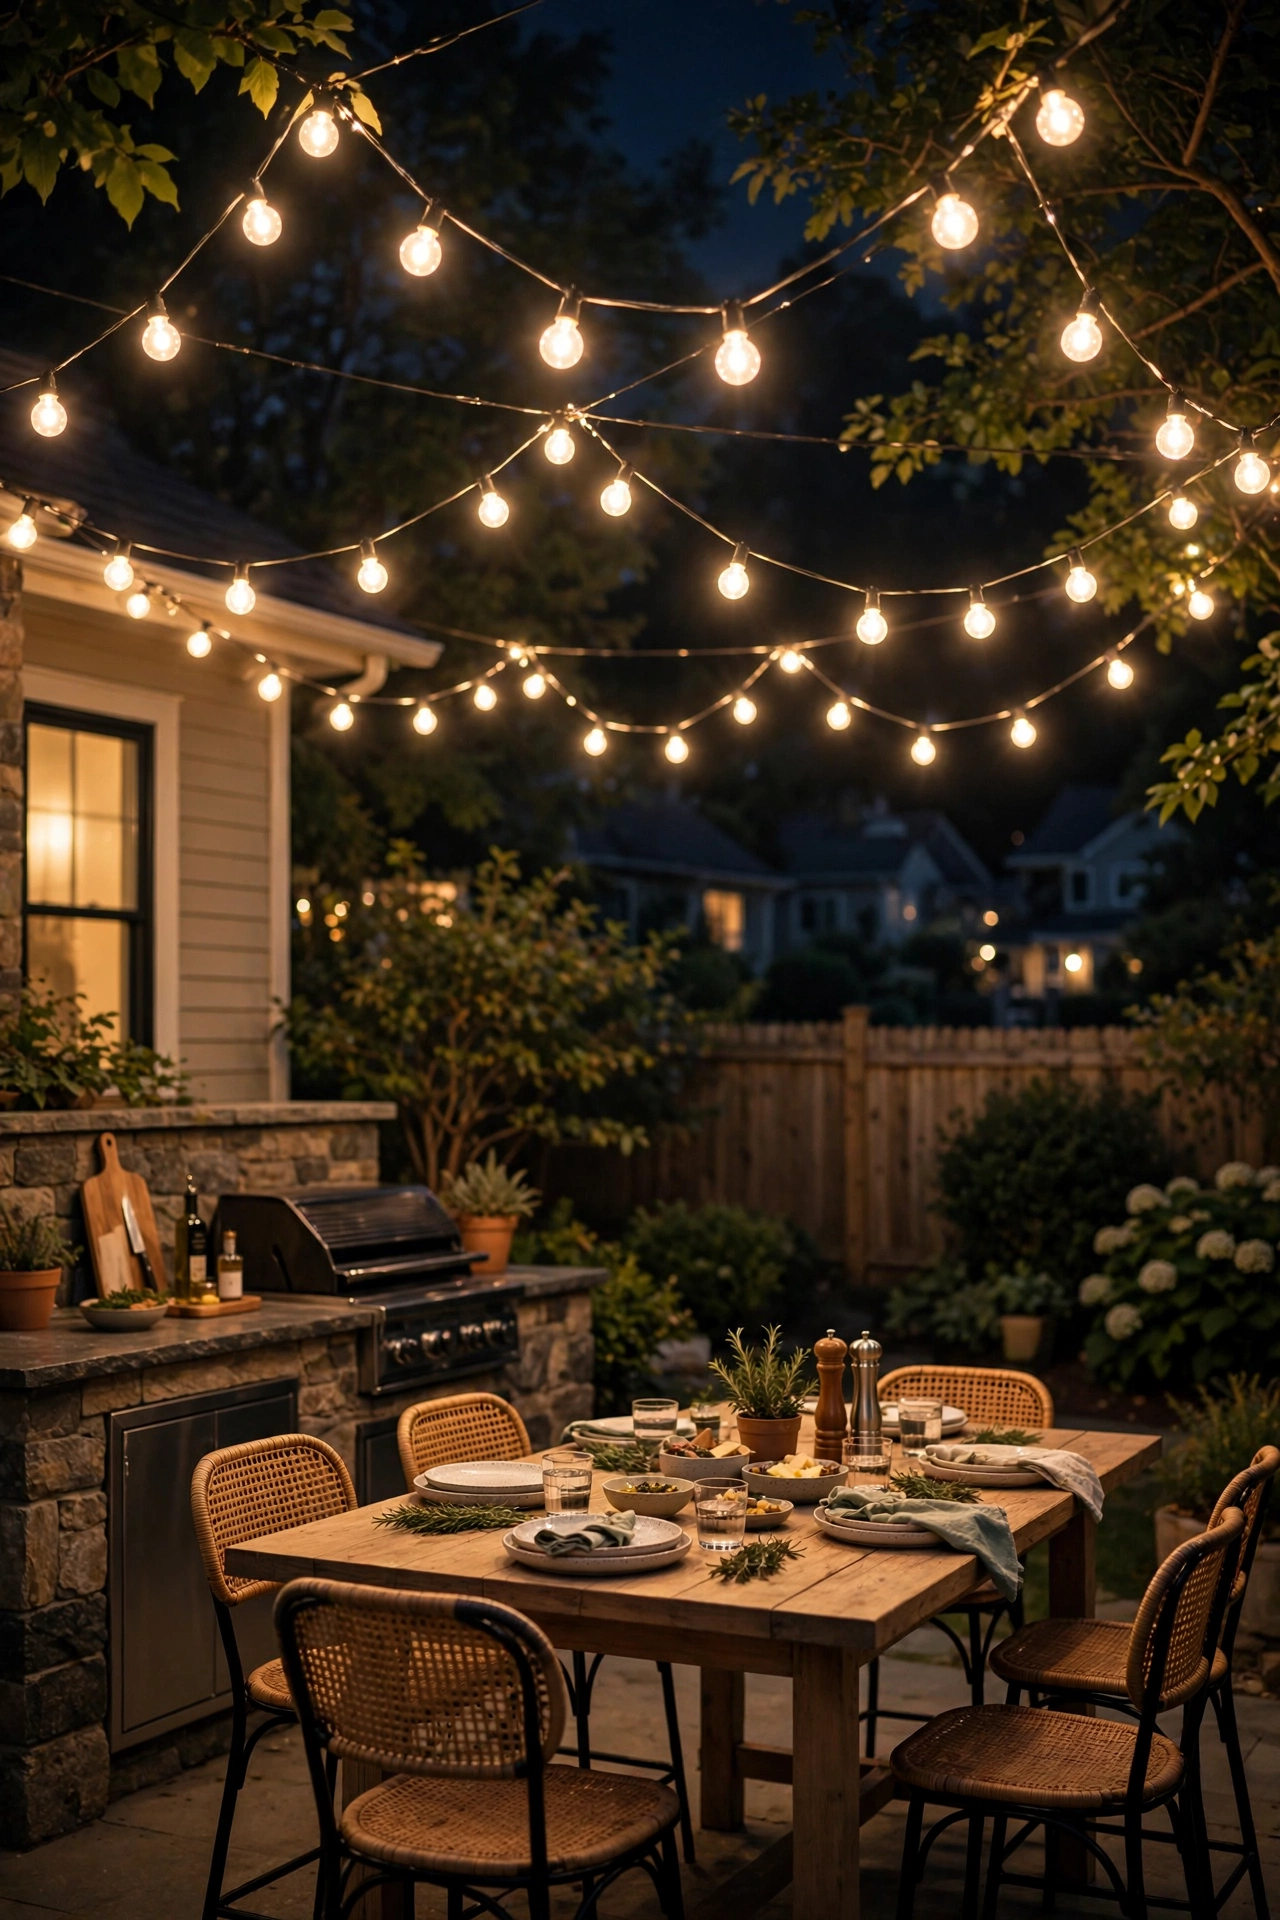
4. Hang a Soft Canopy of String Lights Overhead
Nothing says stay a little longer like a loose canopy of string lights over the seating circle. Around a fire pit, I run two or three strands from a tall center pole or nearby trees, keeping the lowest sag at least 8 feet above the ground so nobody brushes a bulb standing up. One caution I never skip: keep the strands well clear of the smoke column and spark zone. I anchor mine over the seating, offset from directly above the flame, and LED filament-style bulbs only — they stay cool to the touch and sip power. A commercial-grade strand with suspended sockets handles wind and weather far better than the thin big-box sets, and a simple guide wire takes the strain off the cord. Hang them with a gentle swag rather than pulled tight; the drape is what makes it feel like a café instead of a clothesline. On a dimmer or a smart plug, you can drop them to a bare glimmer once the fire is roaring and the stars come out over the water.
Suggested budget range: $75 – $180.
5. Add Recessed Step Lights on the Slope to the Shore
Most lake lots slope, and most fire pits sit at the bottom of that slope — which means every snack run and bathroom trip happens on dark steps. Recessed step lights are the fix that disappears by day and saves ankles by night. I light every second or third step on a typical run, mounting the fixtures in the riser or tucked into the side wall so the beam throws down and across the tread, never up into eyes. Louvered or shielded faces are worth the small premium here because they cut glare completely. Low-voltage wired fixtures are my first choice on a permanent staircase since they never need charging and laugh at cloudy weeks; solar step lights work on short runs of two or three steps if the spot gets real sun. Keep the color temperature matched to the rest of your layers, 2700K, so the whole hillside reads as one design. Wet locations demand outdoor-rated fixtures and proper sealed connections — lakeside air is damp air, and corrosion is the number one killer of cheap lights near water.
Suggested budget range: $90 – $220.

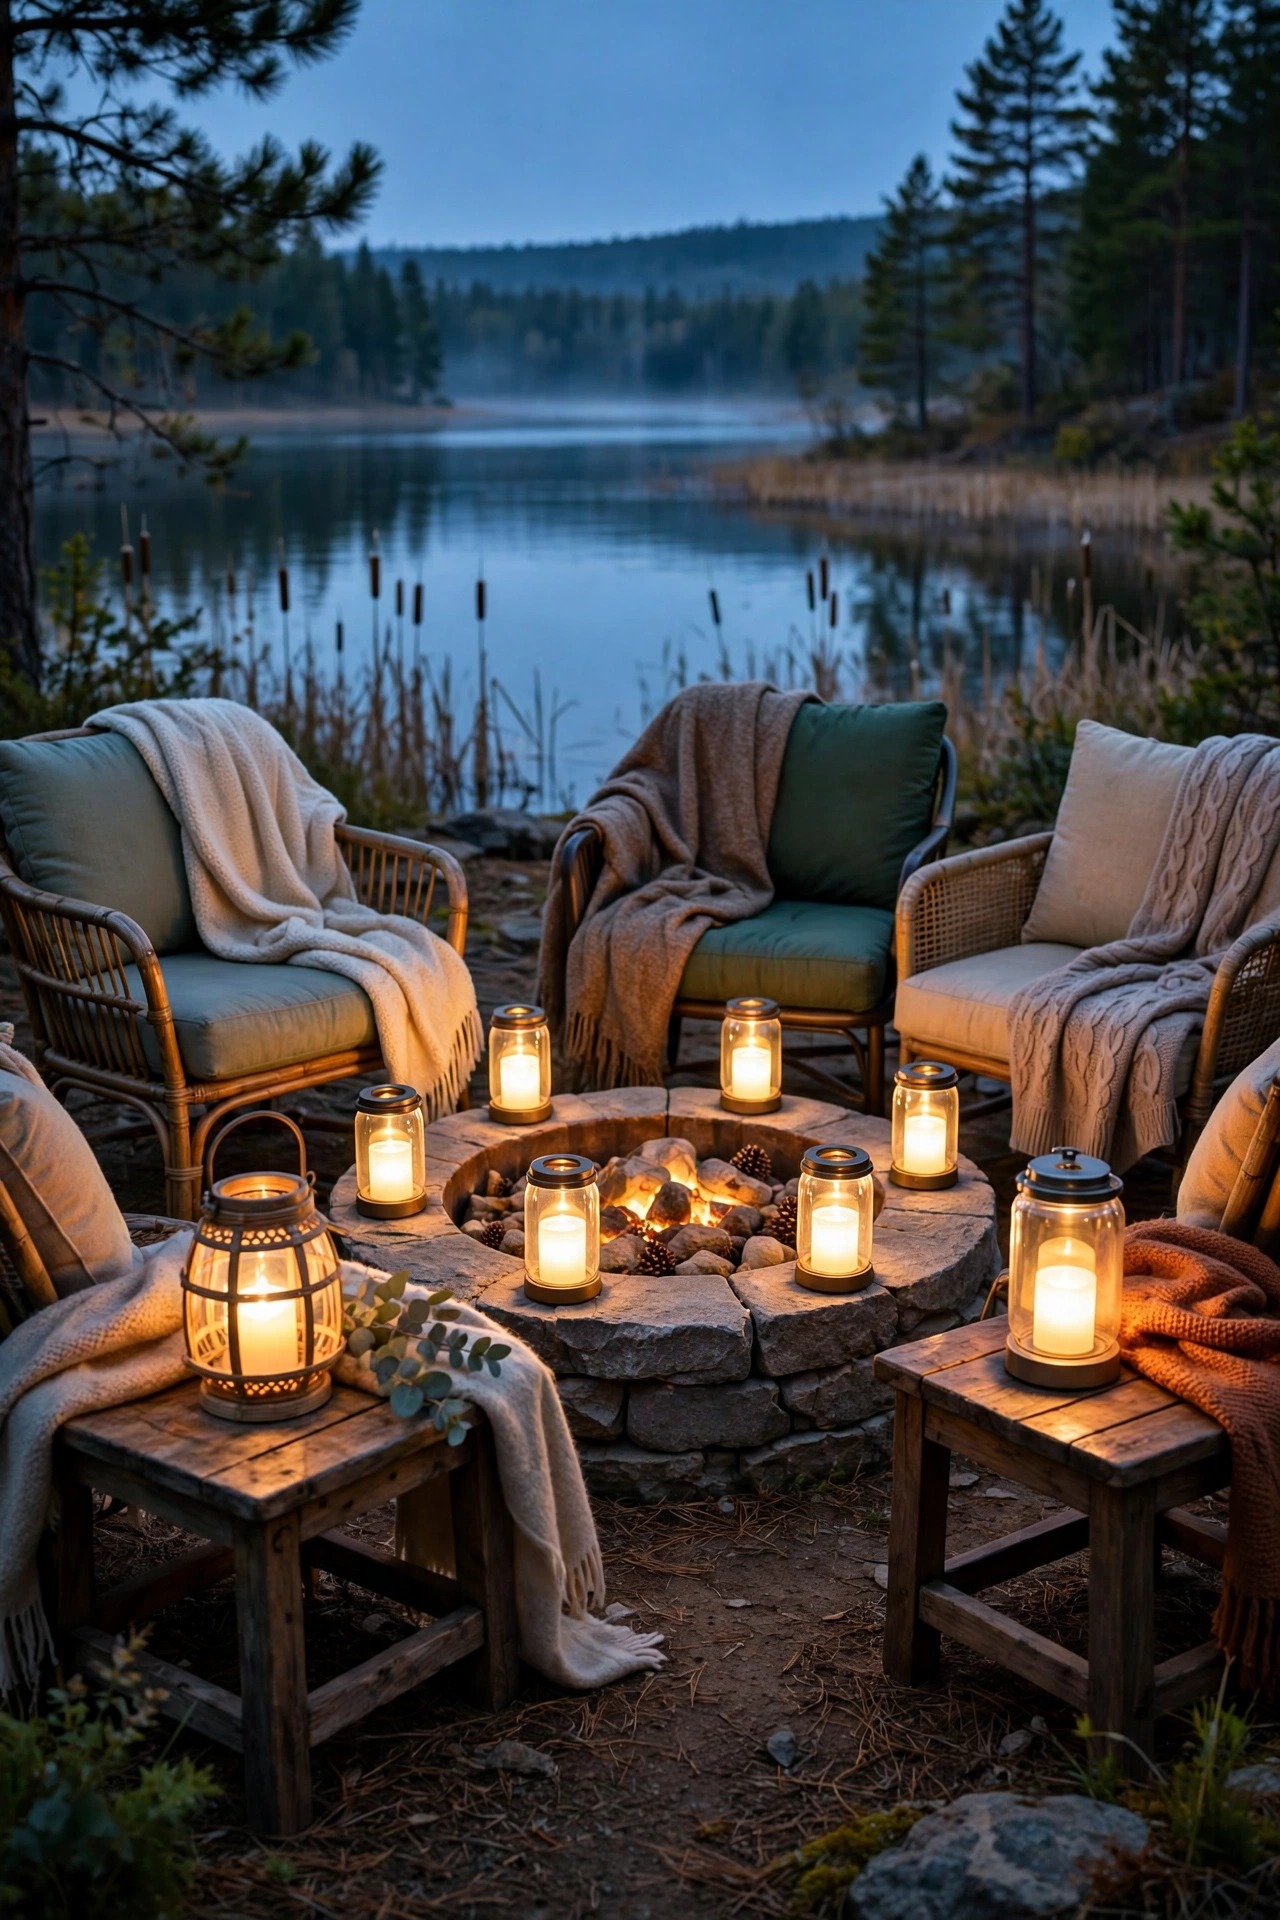
6. Set Flameless Lanterns on Every Side Table
Middle-layer light is what makes faces look warm and keeps the conversation circle feeling close, and flameless lanterns do it better than anything else around a fire. I keep a small fleet of metal-and-glass lanterns with LED pillar candles inside, one for every side table, stump, and wide armrest in the circle. Flameless is non-negotiable for me near a fire pit: blankets, cushions, paper napkins, and dry lakeside breezes are no place for a second open flame, and the LED versions flicker convincingly enough that guests regularly try to shield them from the wind. Look for lanterns with built-in timers — set them once and they click on at dusk for five hours, all season, without you thinking about it. Mix two heights for a collected look, group a taller one with a short one, and choose powder-coated or galvanized finishes that shrug off damp night air. When a storm rolls in off the water, I just carry the whole fleet to the porch in two trips. Simple, safe, and honestly the coziest layer in the whole setup.
Suggested budget range: $35 – $80.
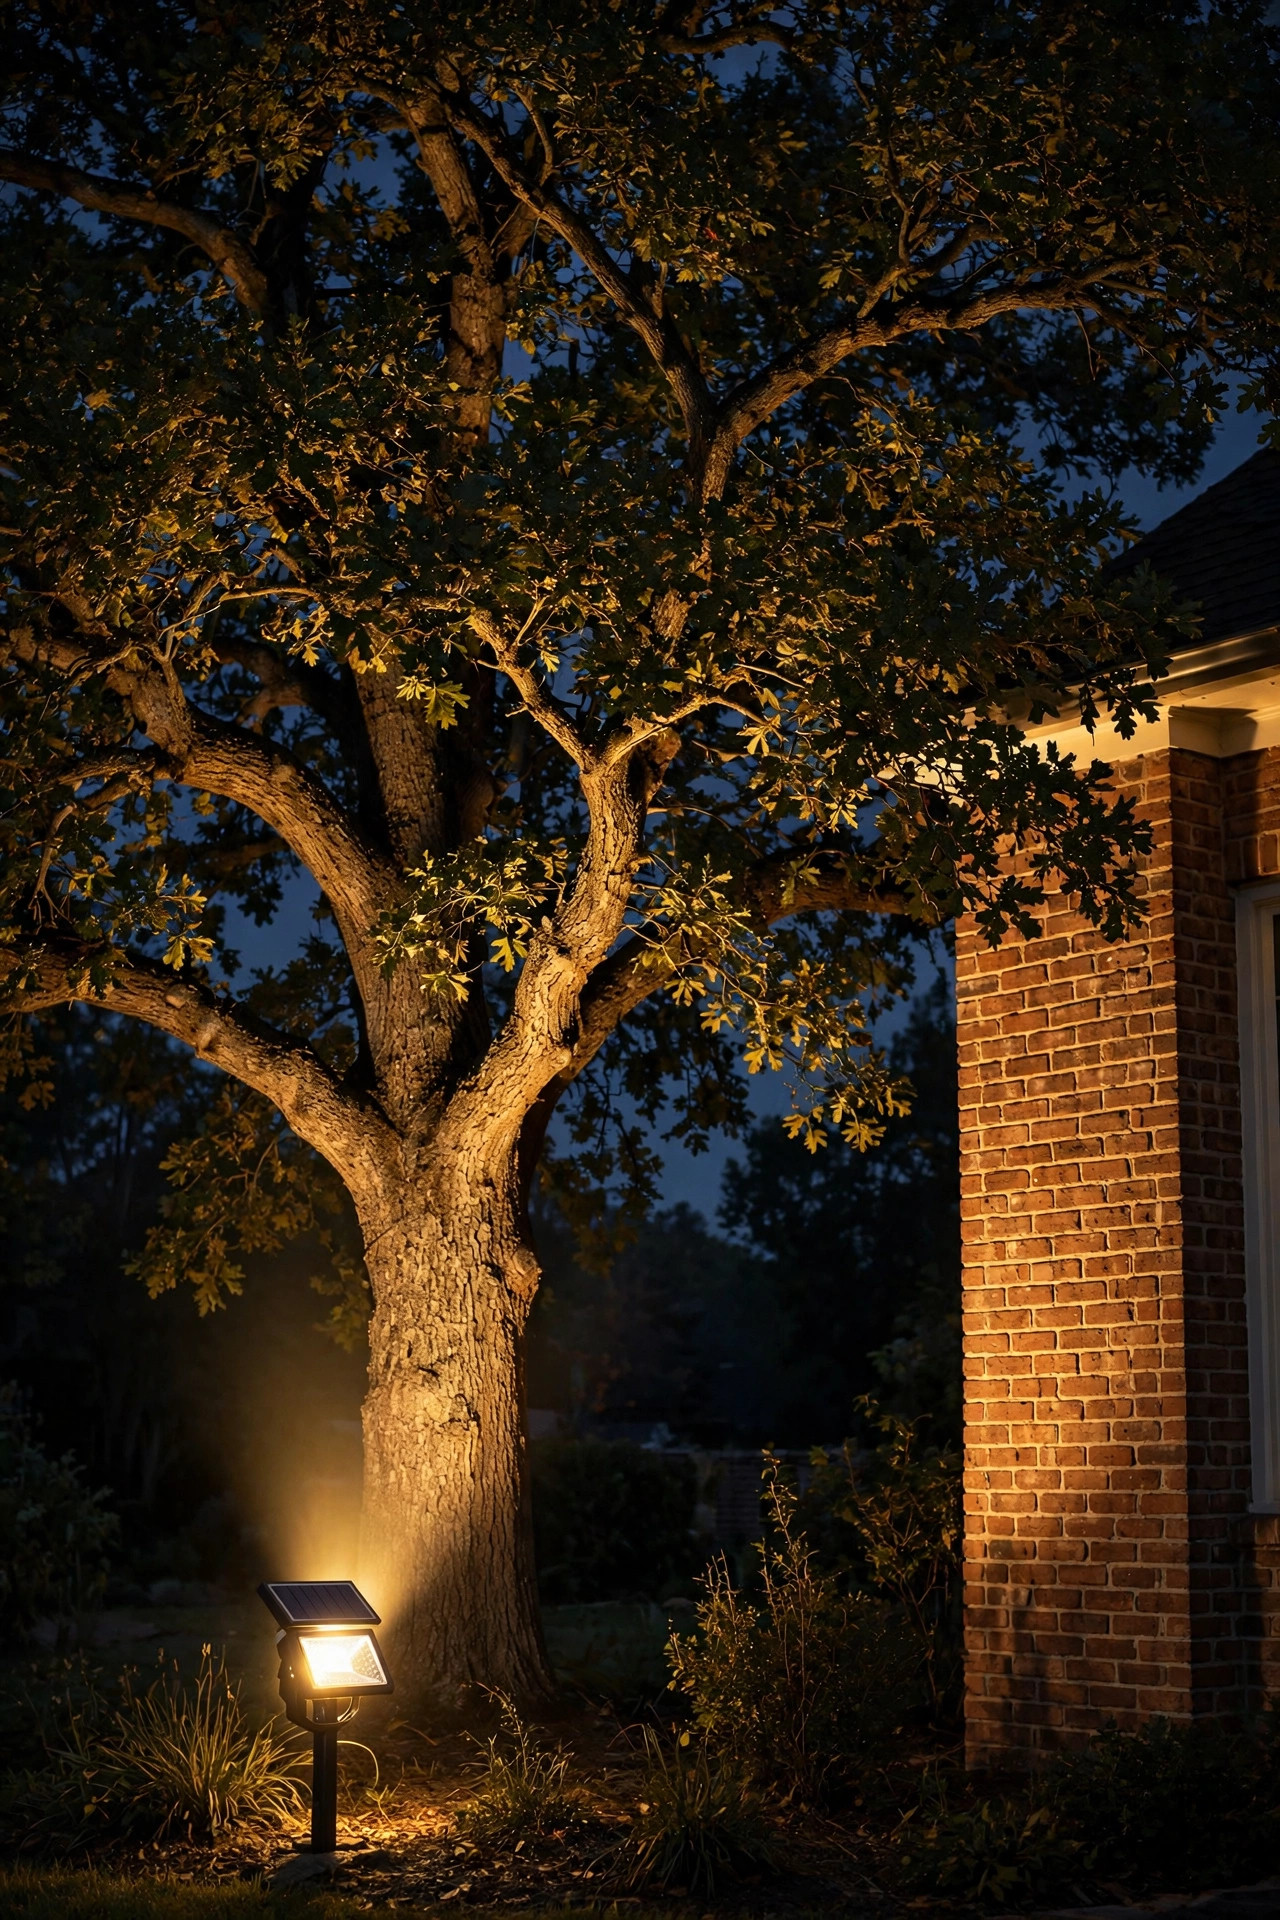
7. Uplight the Trees Behind the Seating Circle
A fire circle floating in total blackness feels exposed; give it a backdrop and it becomes a room. Uplighting two or three of the trees behind the seating — never all of them — is how I build that backdrop. A single well light or spike-mounted spot at the base of each trunk, aimed up into the canopy with a narrow 30-degree beam, turns an ordinary maple or birch into a glowing sculpture. Place the fixture 1 to 2 feet out from the trunk and keep the aim steep so the light stays in the branches instead of spilling across the yard. I keep this layer deliberately dim: you want silhouettes and texture, not a stadium. If a tall tree overhangs the circle itself, a downlight mounted high in the branches gives a moonlight effect that is genuinely beautiful, though that one is worth hiring out — ladders and limbs are a professional's game. Warm white only, and shield every fixture so the beam never crosses the water where it would bother neighbors or night wildlife.
Suggested budget range: $80 – $200.
8. Let the Water Glow With Subtle Shoreline Light
The loveliest lakeside light is the kind that doubles itself on the water. A few low fixtures along the shoreline edge or dock approach throw long reflections across the surface and make the whole circle feel like it is floating. I use two or three short bollards or mushroom-style path lights at the top of the bank, aimed at the ground rather than the lake, and let the spill do the decorating. If you have a small pond-style water feature or a dock corner to play with, submersible and floating accent lights can add a soft underwater glow — my notes on pond lighting ideas cover the fixture types in detail. Restraint is everything here. Water reflects light so efficiently that a little goes a very long way, and a dim amber tone is kinder to fish, frogs, and your own night vision than bright white. Keep fixtures out of the swim zone entirely, use only equipment rated for wet locations, and never run anything but low-voltage or solar anywhere near where people wade.
Suggested budget range: $70 – $190.
9. Mark the Perimeter With Solar Flame Torches
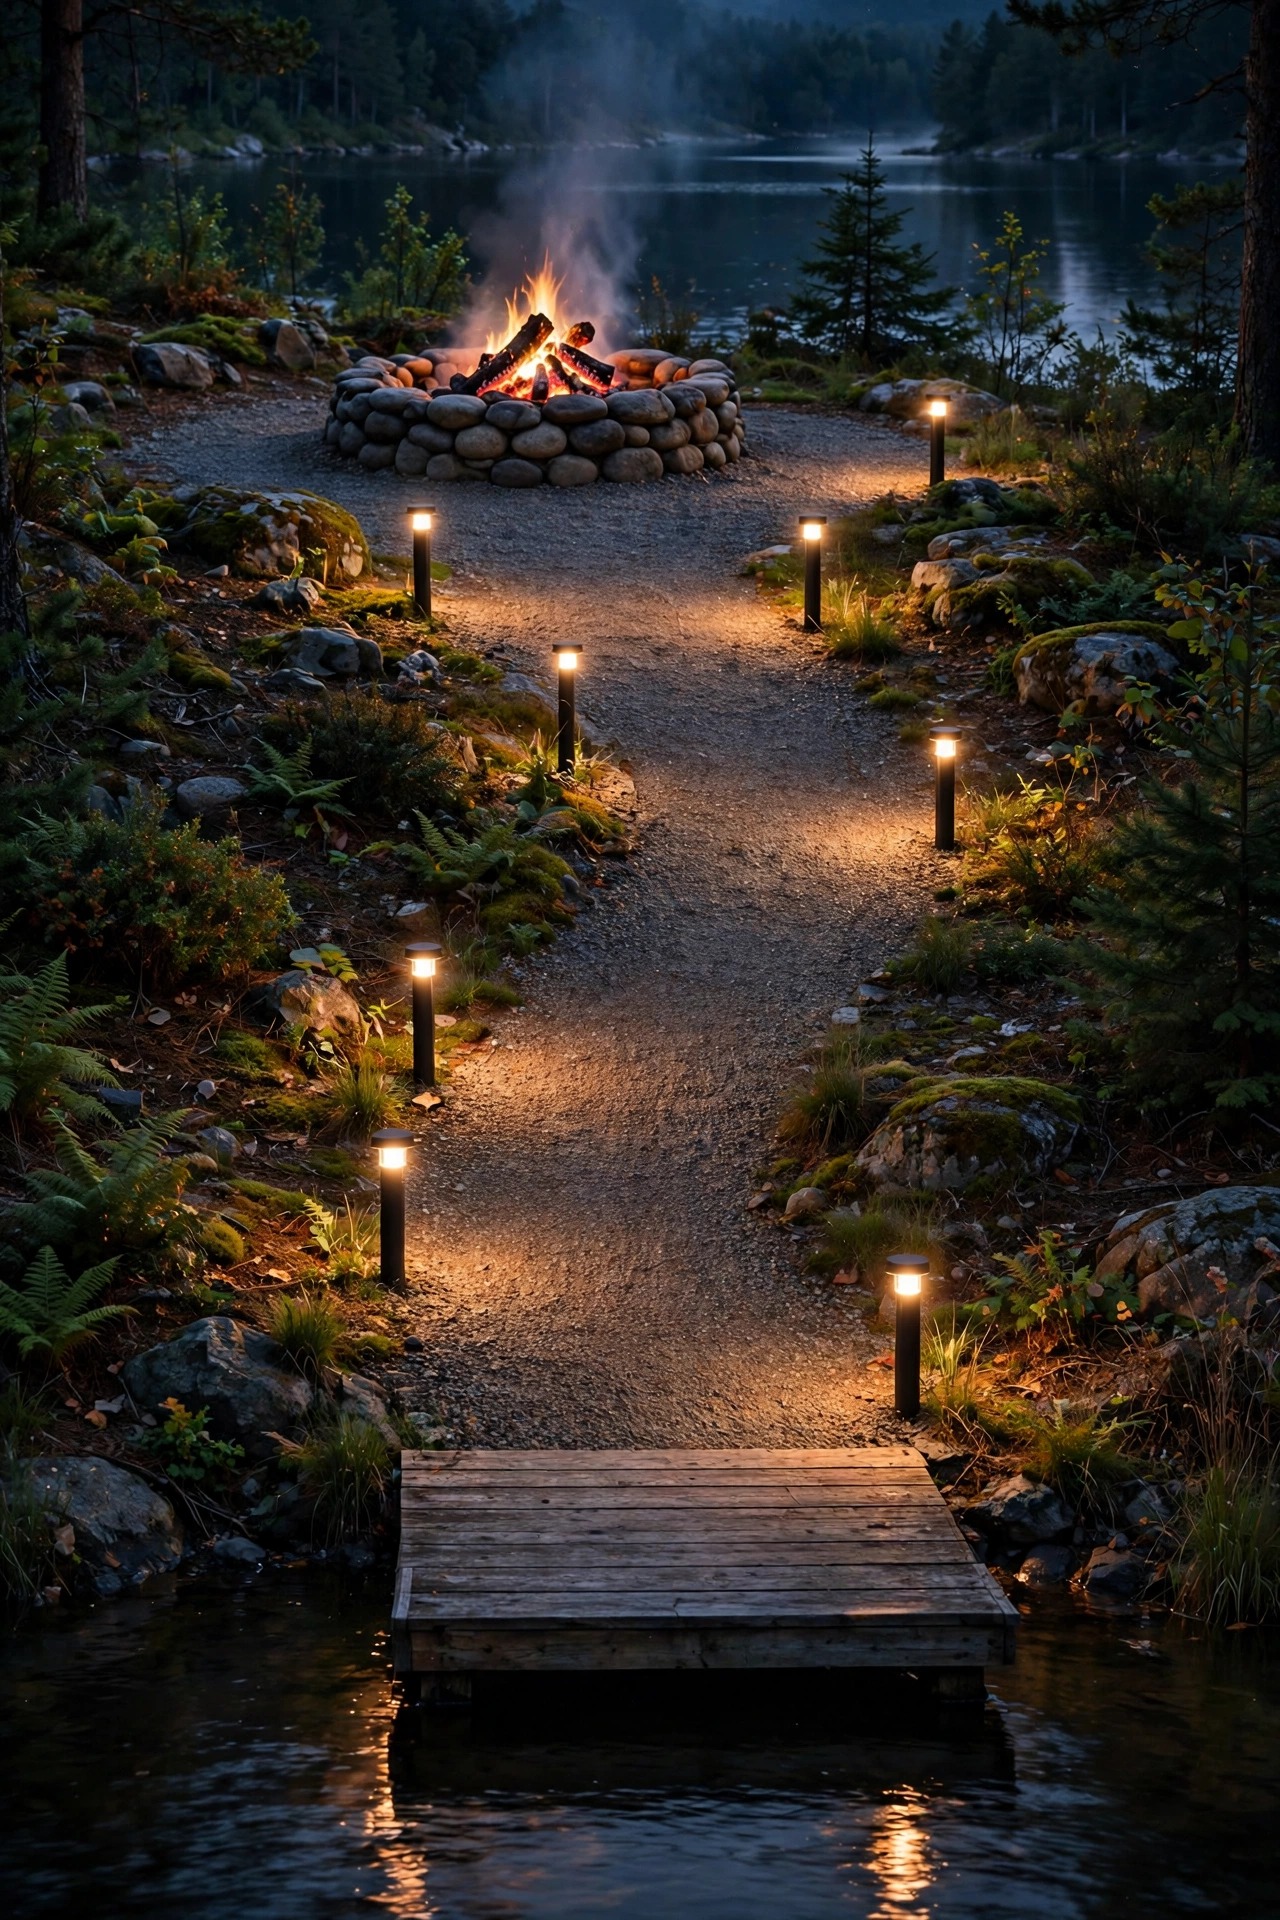
When the yard beyond the circle is big and dark, I like to sketch its edges with solar flame torches — tall stakes topped with a flickering LED that imitates a tiki flame without a drop of fuel. Ring them loosely around the outer edge of the seating area, 6 to 8 feet apart, and they tell guests exactly where the gathering space ends. Because they are flameless and solar, you can push them into the ground in ten minutes, move them for a bigger crowd, and never think about refills or burnt wicks. The flicker is the charm, so treat them as ambience rather than task lighting; they will not help you find a dropped marshmallow fork, and that is fine. Choose stakes with metal ground spikes instead of plastic if your soil is rocky, and expect the tallest models, around 3 feet, to read best from a seated eye line. Mine have survived three seasons lakeside; the trick is storing them in the garage over winter so freeze-thaw cycles do not cloud the little solar panels.
Suggested budget range: $45 – $100.

10. Line the Dock Path With Low Bollard Lights
Sooner or later every fire night ends with someone walking down to the dock to look at the stars, and that path deserves better than phone flashlights. Low bollard lights, 12 to 18 inches tall with shielded tops that throw light down and out, are the grown-up solution. I space them 6 to 8 feet apart along one side of the path — one side only, so the route feels guided rather than fenced in. Lakeside moisture is brutal, so this is the place to spend on real materials: powder-coated aluminum or composite housings, sealed optics, and finishes rated for constant damp. Plastic solar bollards look fine in May and chalky by August. Wired low-voltage bollards cost more upfront but give you even, reliable light all night, every night, and they share happily with the transformer running your step lights. Aim for a soft pool at each fixture rather than a continuous strip of brightness; pools of light with gentle dark between them feel natural by the water and keep the night sky overhead as dark as it deserves to be.
Suggested budget range: $120 – $300.
11. Rest Hurricane Lanterns Along the Hearth Edge
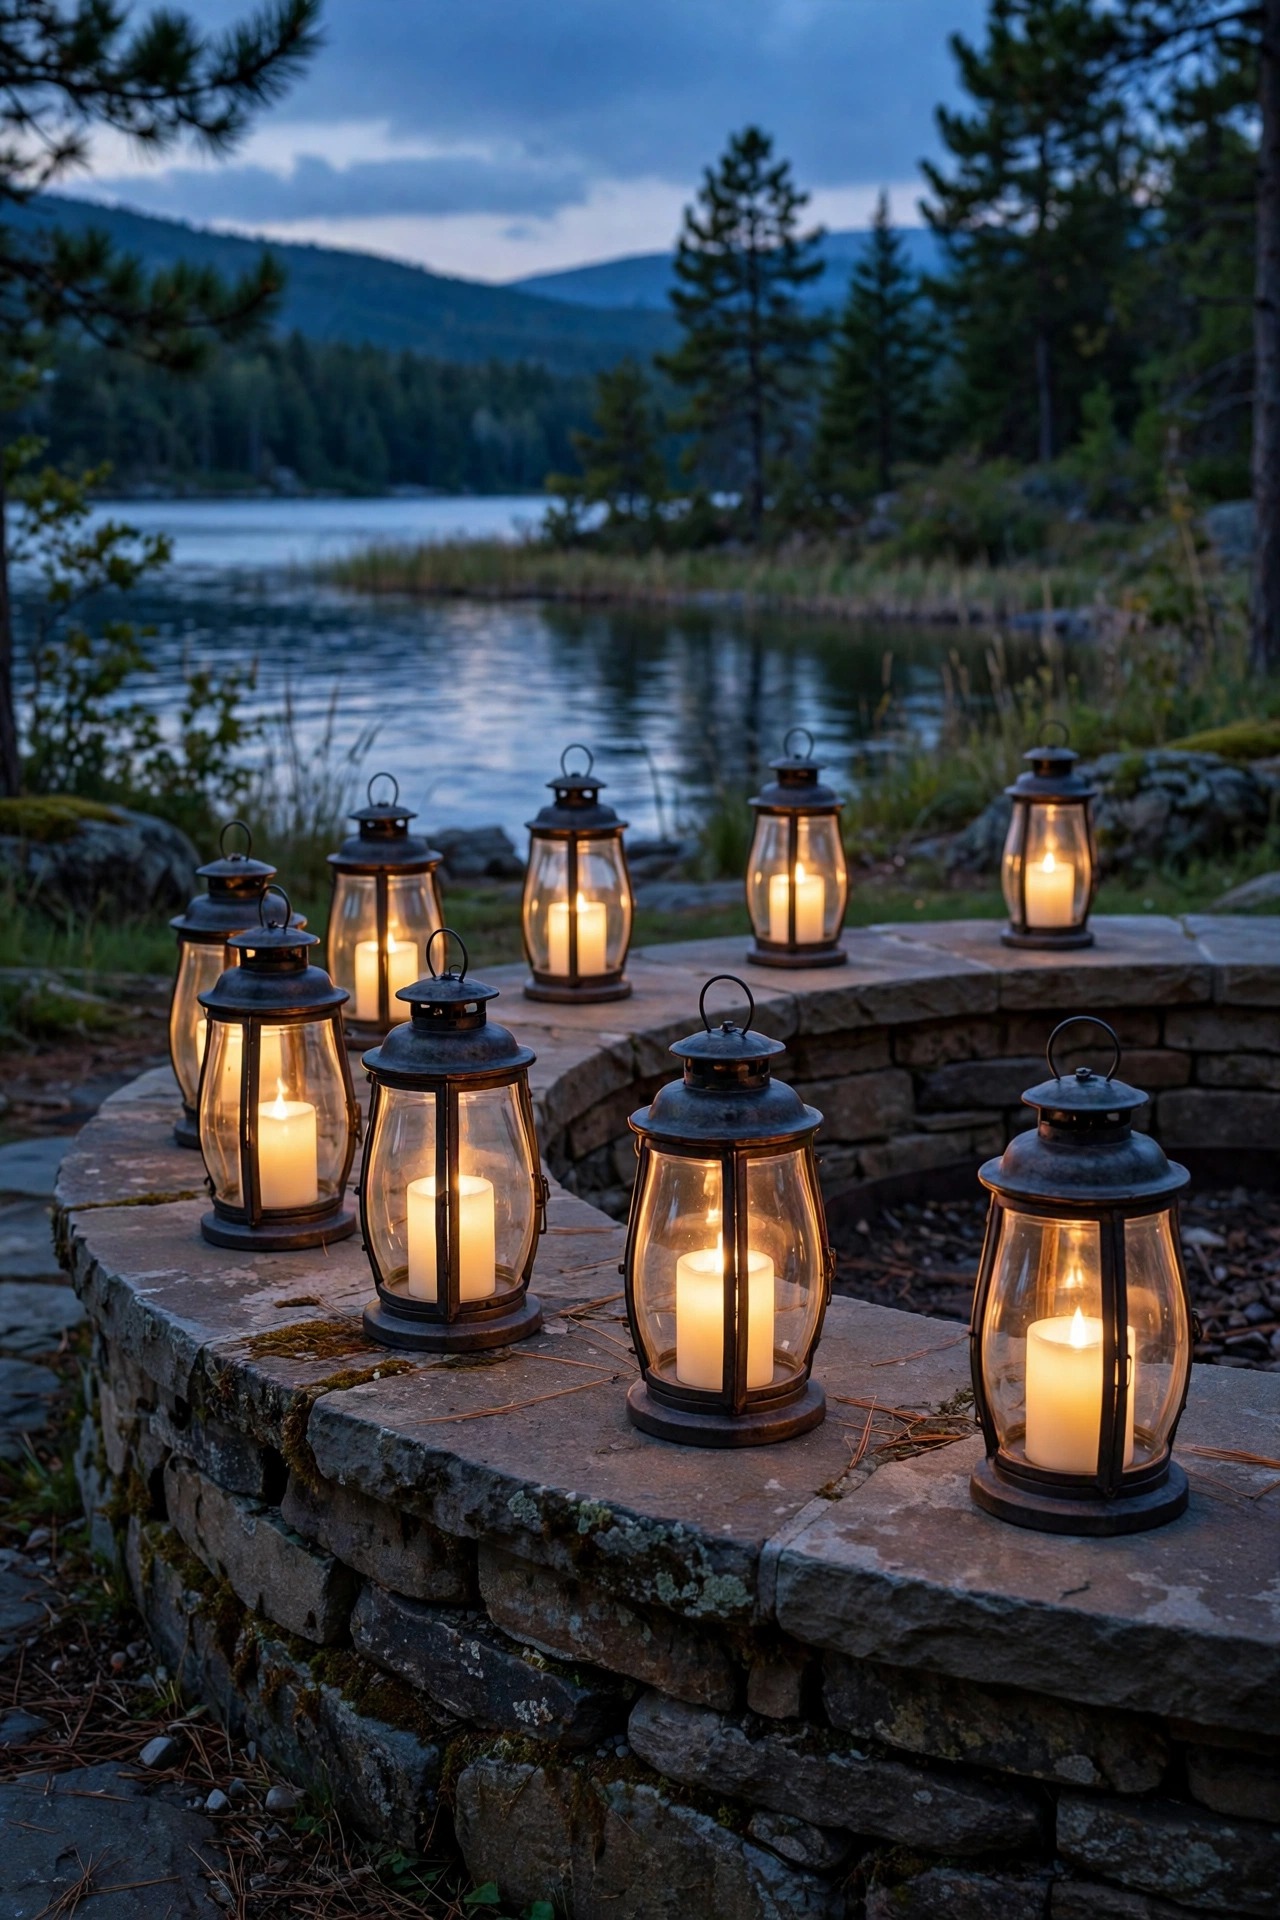
Our fire pit has a wide stone hearth, and on cool evenings I line its outer edge — the side away from the opening, where the stone stays cool — with hurricane lanterns holding LED pillar candles. The glass chimneys give the flames-within-flames look of old camp lanterns, and the row of soft points of light finishes the circle beautifully. The safety rules matter here, so let me be plain: LED candles only, never real wax near a working fire, and place lanterns on the wide outer ledge, a stump table, or the ground at the circle's edge — never anywhere a spark can land or a sleeve can brush them into the pit. Hurricane glass earns its keep at the lake, where a breeze that would gutter an open candle barely reaches a sheltered LED wick. I use the timer setting so the hearth row wakes up with the rest of the lanterns at dusk. Between gatherings, a quick rinse keeps the glass clear of lake haze and pollen. It is the cheapest idea on this list and, photo after photo, the one that makes the whole scene look intentional.
Suggested budget range: $30 – $75.
12. Put a Motion-Sensor Light at the Woodpile
Every fire night involves trips to the woodpile, usually with arms half loaded and eyes on the ground. A small solar motion-sensor light mounted on the woodpile post or the nearest tree is pure practicality, and it earns its place on this list even though it is not pretty. Mount it 7 to 8 feet up, angled down, so it floods the stacking area and the first few feet of the return path when someone approaches. Warm white if you can find it — most motion lights skew daylight-blue, and one blue blast wrecks everyone's night vision and the mood besides. Set the timer to the shortest setting, 20 to 30 seconds, so it politely switches off once you are back in your chair. Mine also quietly covers the gate where late arrivals come in, which saves the whole circle shouting directions across the yard. Choose a unit with a replaceable battery and a real IP65 rating; the woodpile is the wettest, shadiest corner of most lake yards, and cheap sensors die there first.
Suggested budget range: $25 – $60.

13. Add One Honest Task Light for the S'mores Station
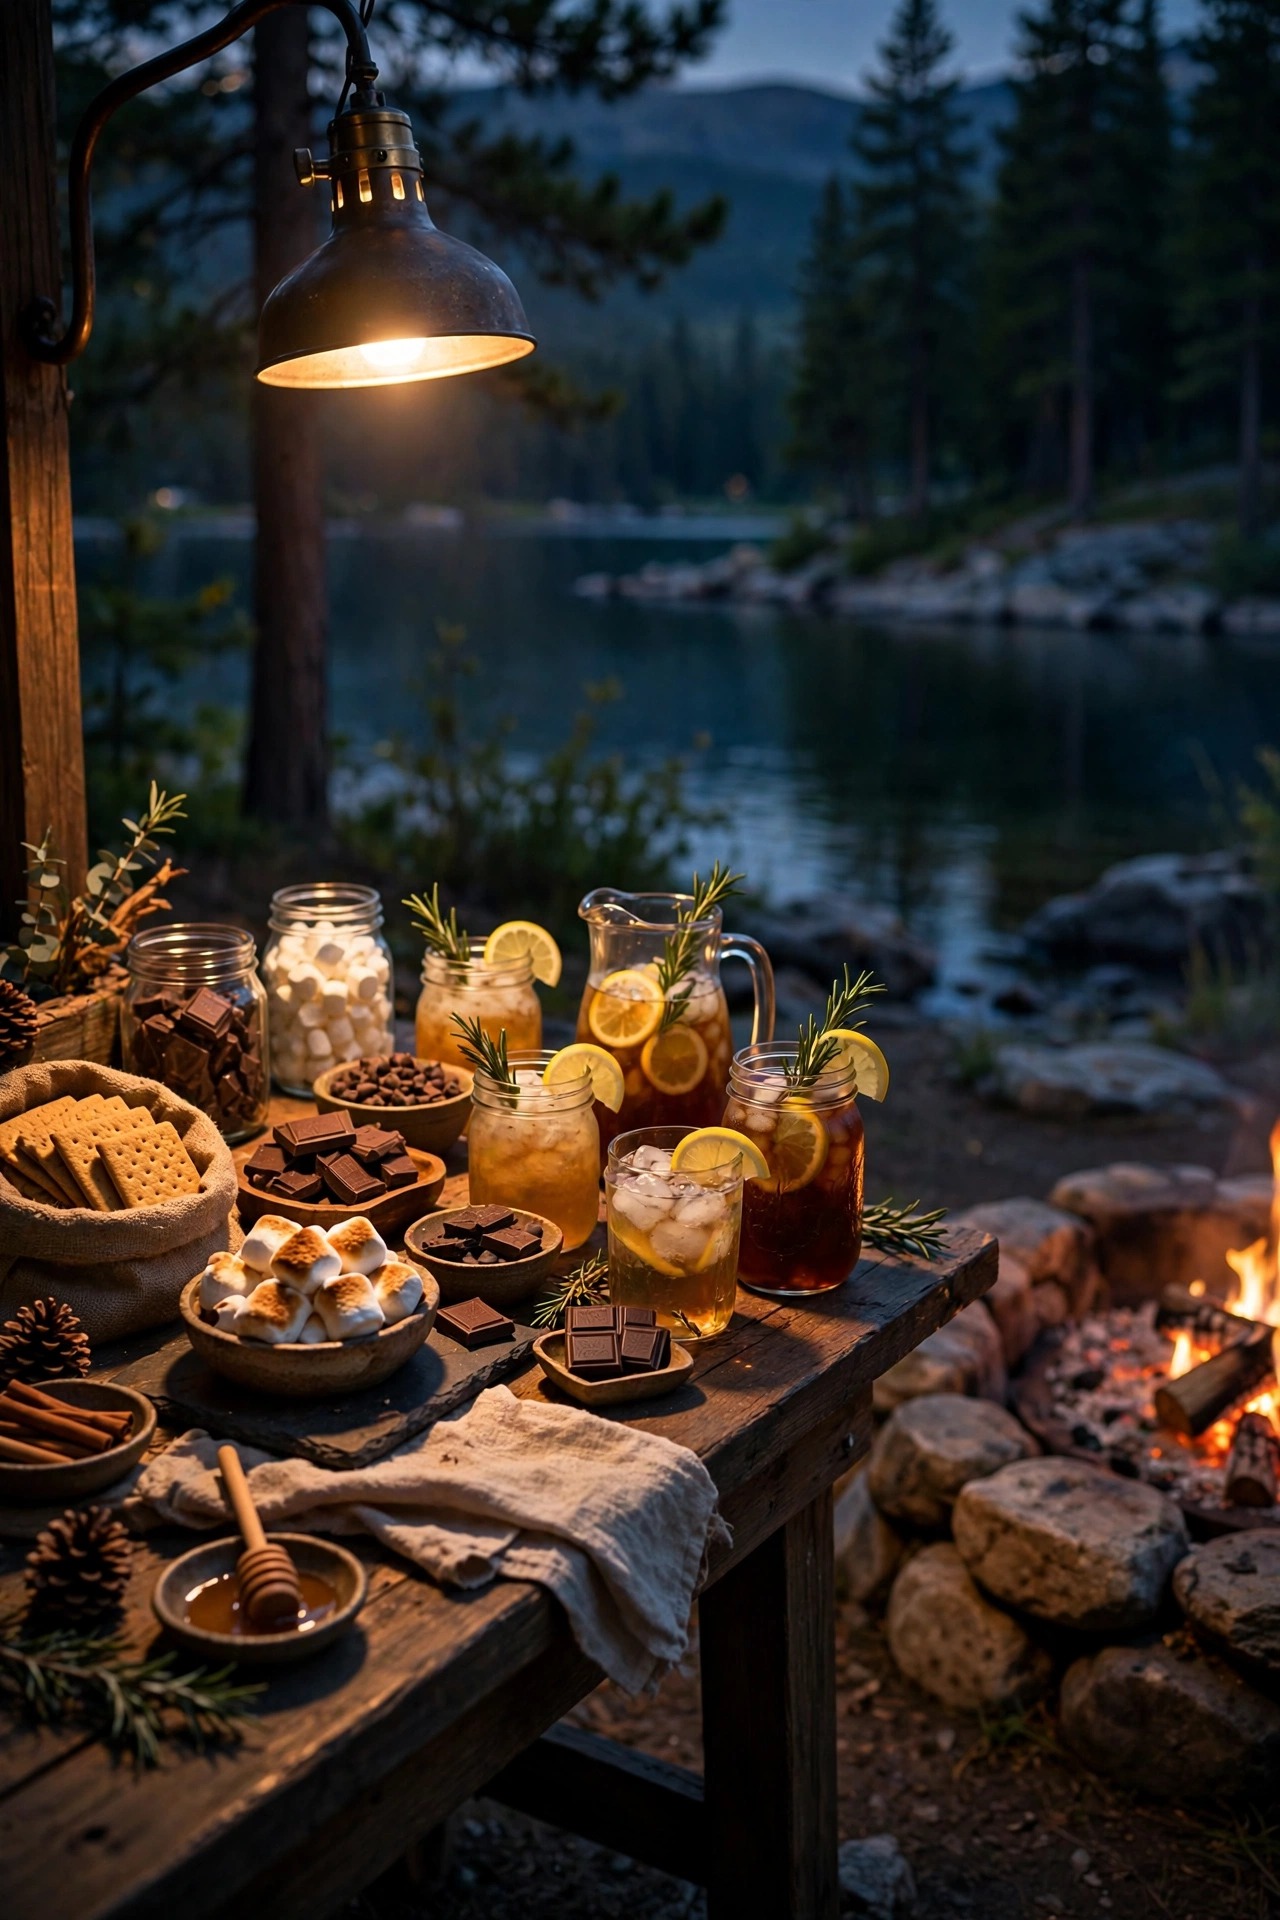
Ambient glow is wonderful until someone is trying to thread a marshmallow, read a drink label, or check whether the burgers on the grill grate are done. Every fire circle needs one honest task light, deliberately a little brighter and more focused than everything else. Mine is a dimmable downlight on an articulated arm mounted to a post at the snack table, aimed at the work surface and nothing else. A clamp-on umbrella light or a focused lantern with a directional shade does the same job without any wiring. I keep it around 3000K so it reads as clear, useful light while staying in the warm family, and it lives on its own switch so it only burns for the ten minutes anyone actually needs it. The mistake to avoid is letting this one fixture do double duty as your main light — the moment the task light stays on all night, the fire stops being the star and the circle feels like a kitchen. Bright, brief, and aimed at the food: that is the whole philosophy.
Suggested budget range: $40 – $110.
14. Set Everything on Timers So the Glow Runs Itself
The best lakeside lighting is the kind you never remember to switch on. I run our whole fire circle setup on a mix of dusk-to-dawn photocells and one astronomical timer that tracks sunset through the season, so the path stakes, string lights, and bollards are already glowing when the first person wanders down with a drink. Lanterns use their own built-in five-hour timers, which means the entire scene assembles itself around 8 p.m. in summer and closer to 5 p.m. on those cool October evenings. Program an off-time, too — midnight on weeknights, a little later on weekends. Lakes are dark-sky places, and neighbors across the water will thank you for not burning path lights until dawn. Outdoor-rated smart plugs make all of this adjustable from your phone, which is genuinely lovely when a storm rolls in and you want everything off from the porch. Total effort after setup: none. That is the point. Lighting you have to fuss with is lighting that gets skipped on the third night of a long weekend.
Suggested budget range: $20 – $70.
15. Tie Your Lakeside Fire Pit Lighting Ideas Together With One Warm Temperature
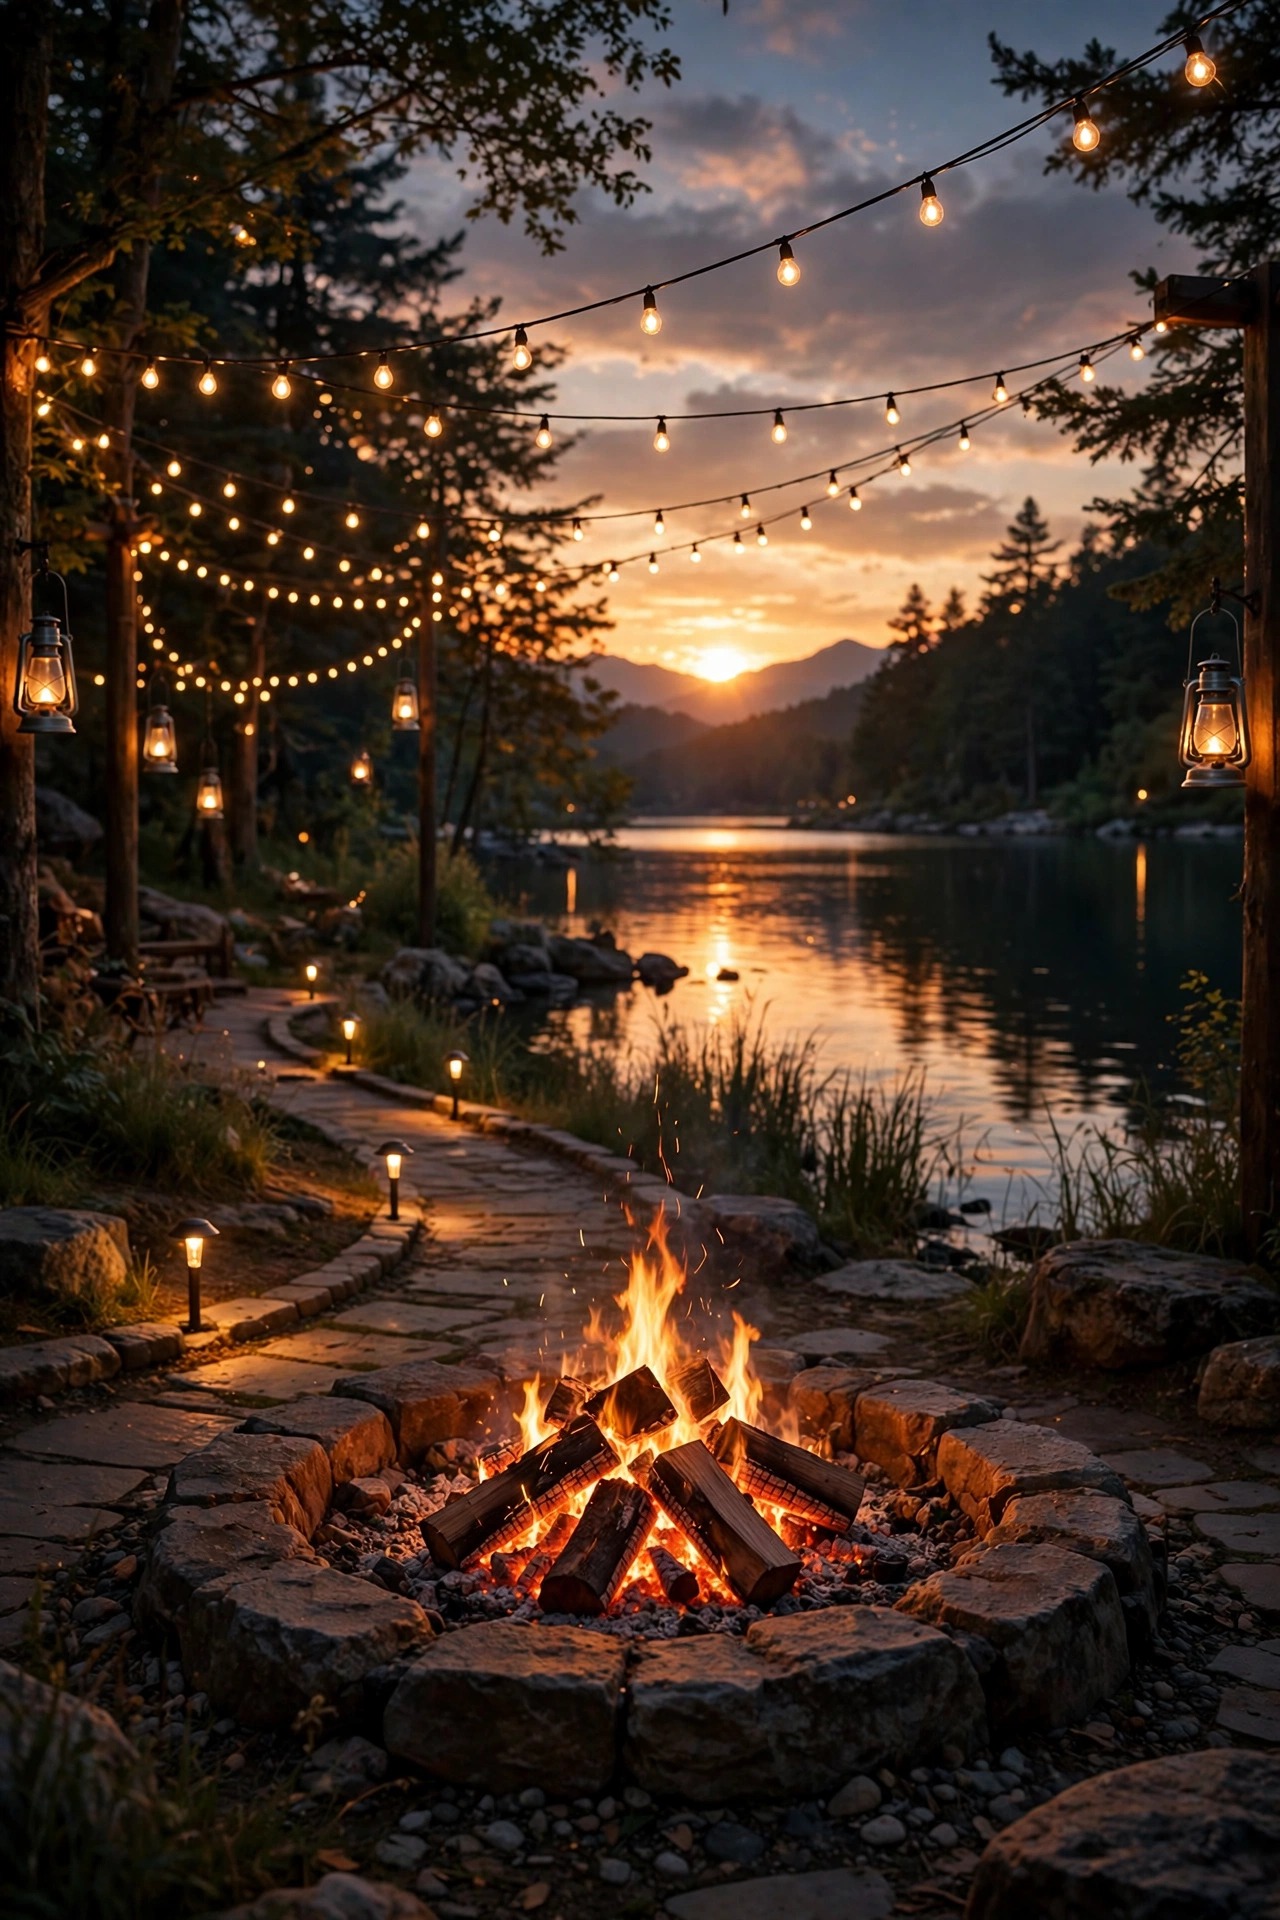
Here is the unglamorous secret that separates a layered plan from a yard sale of lights: consistency. Every bulb, stake, strip, and lantern in your circle should live in the same warm family, 2200K to 2700K, with 2700K as the anchor. One daylight-blue fixture — and there is always one, usually a bargain solar stake — will pull every eye in the circle straight to itself. Before you declare the project done, sit in every seat at dusk and look outward, then walk the path both ways; you are checking for glare in the eyes, dark gaps at the steps, and anything brighter than the fire itself. Swap rogue bulbs, dim what needs dimming, and adjust aim before you adjust brightness. The discipline applies whether your pit burns wood or gas — my notes on gas fire pit lighting ideas dig into the fixture clearances for gas setups. When all of your lakeside fire pit lighting ideas share one temperature and one plan, the circle stops looking decorated and starts feeling inevitable, like it could never have been any other way.
Suggested budget range: $0 – $50.
Frequently Asked Questions
What color temperature is best for lighting around a fire pit?
Stay warm: 2200K to 2700K is the sweet spot. Firelight itself reads around 1800K to 2000K, so bulbs in the warm range blend in instead of competing. Anything at 4000K or above will look blue-white next to a flame and flatten every face in the circle. If a fixture only lists itself as warm white, check the box for the Kelvin number before you buy.
Can I use solar lights by a lake, or do I need wired low-voltage?
Both work, and most good setups mix them. Solar is perfect for path stakes, perimeter torches, and the woodpile light because it needs no trenching near the shore. For step lights, bollards, and strips you rely on all evening, wired low-voltage is more consistent, especially under tree cover or during cloudy fall weeks. Keep all wiring and connections well above the waterline and use wet-location rated components.
How far should lights be from an open fire?
Keep fixtures, cords, and string light strands well out of the spark and smoke zone — I use at least 10 feet of horizontal clearance for overhead strands and keep anything plastic or battery-powered off the hearth itself. Use LED-only light sources near the pit since they stay cool, mount lanterns on the cool outer ledge or side tables, and always follow the fire pit manufacturer's own clearance instructions first.
How much does it cost to light a lakeside fire pit area?
A solar-heavy starter setup — path stakes, lanterns, flame torches, and a timer or two — lands between $150 and $300 and installs in an afternoon. Adding wired step lights, bollards, and a seating-wall strip brings a full layered circle to roughly $500 to $900 in DIY materials. Hiring out the low-voltage wiring typically doubles the materials cost, but the result is a system that runs itself for years.
Conclusion
Cool evenings are the whole reason a lakeside fire pit exists, and the light around it should make those evenings easier, safer, and a little more beautiful. Remember the shape of the plan: a low guiding layer for paths and steps, a warm middle layer where faces gather, one honest task light, and the fire itself as the brightest thing in the circle. Start with two or three of these lakeside fire pit lighting ideas, live with them for a weekend, and add layers as you see what your shoreline actually needs. Then browse around the site for more ways to make your outdoor spaces glow — your future self, blanket on shoulders and mug in hand, will be glad you did.