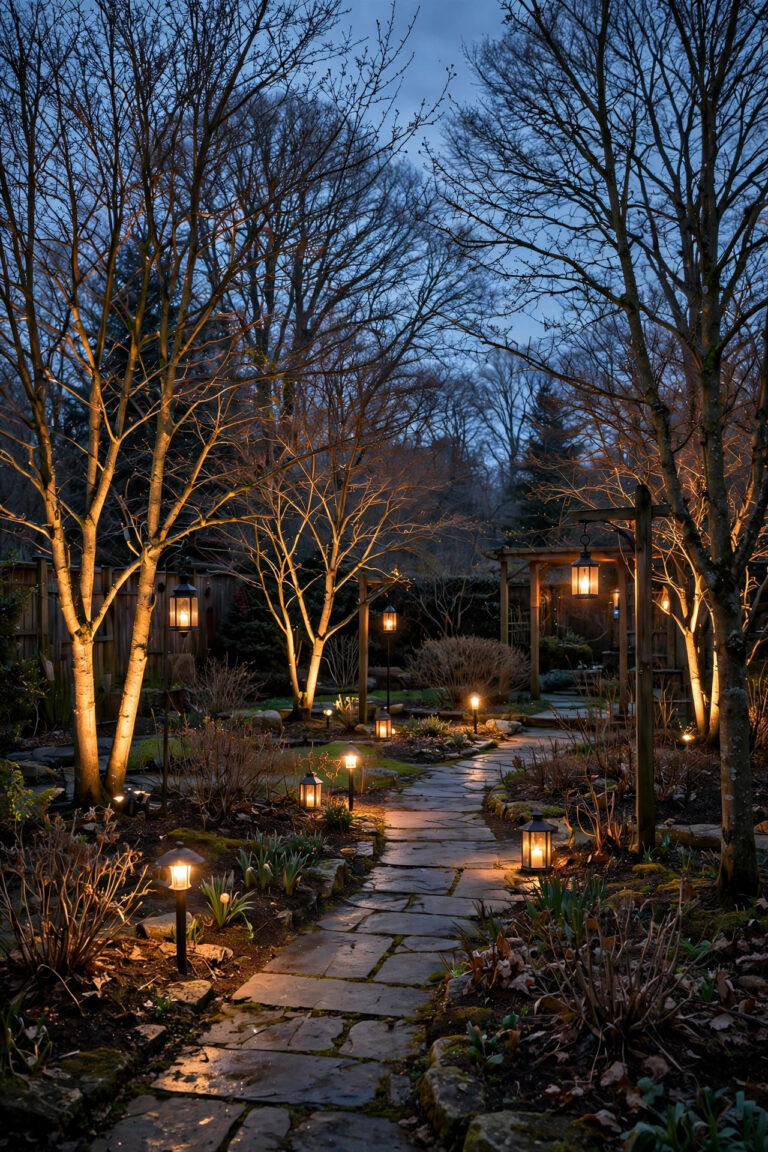
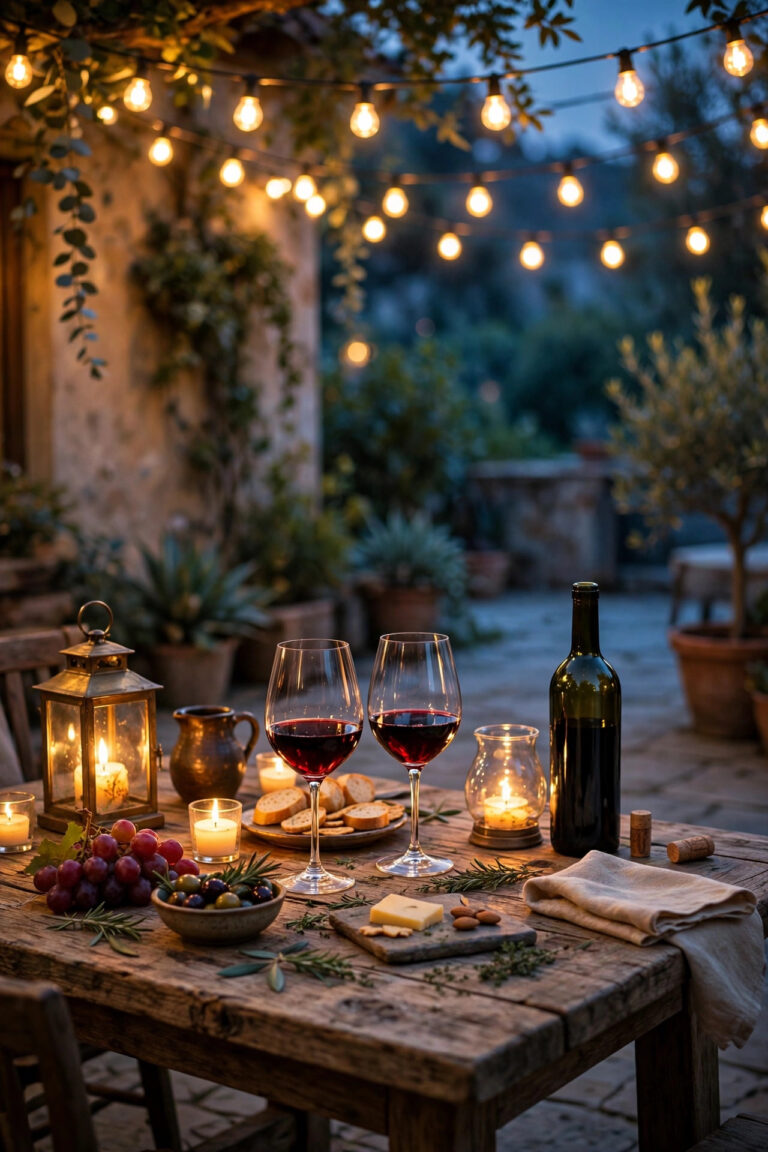
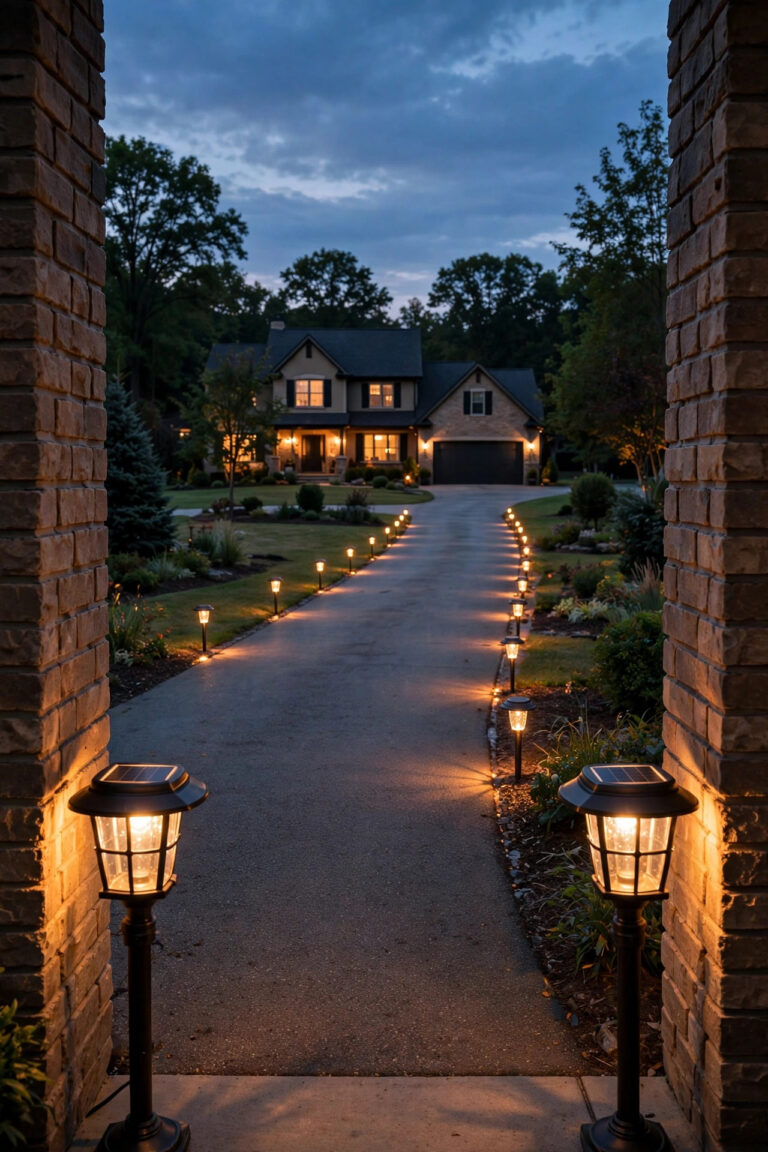
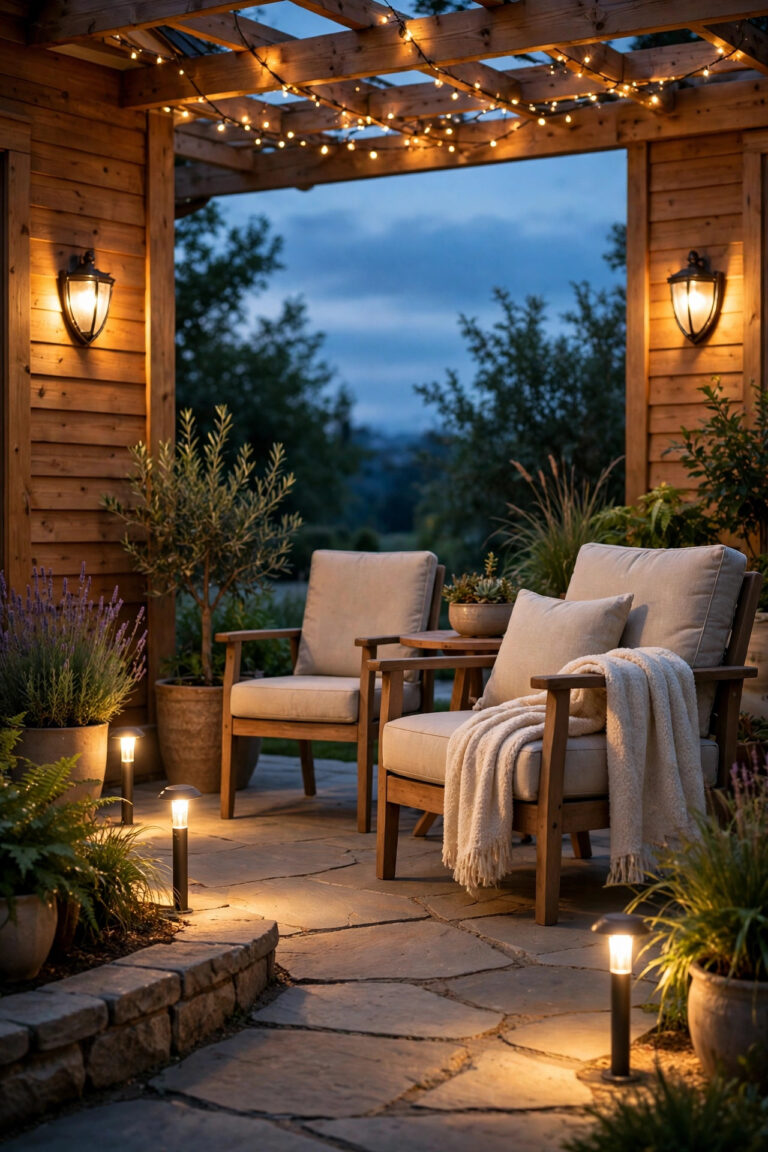
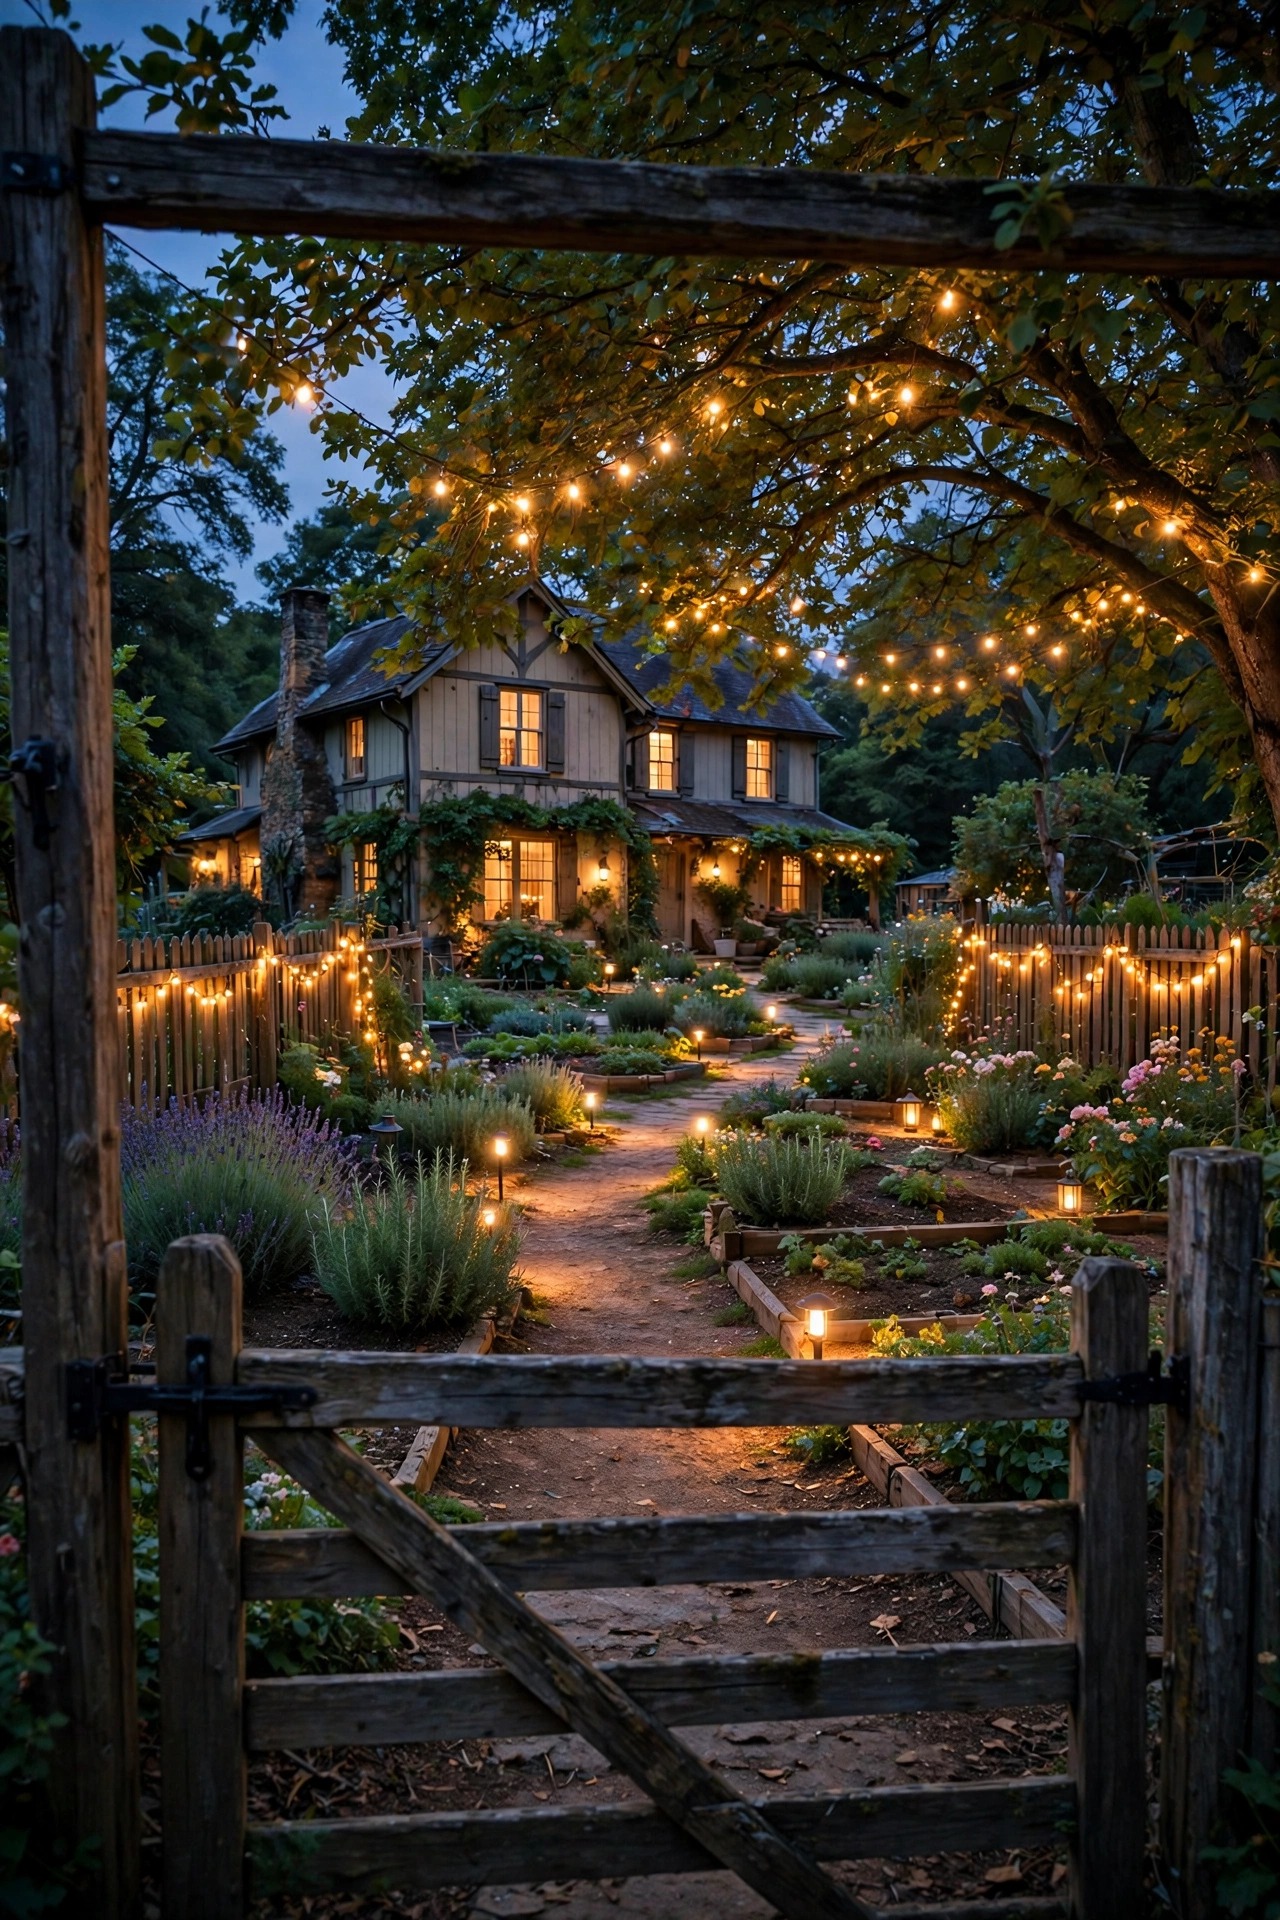
There is a moment, right after supper, when my garden stops being a chore list and turns into a place. The tomatoes become silhouettes, the stone wall holds the last of the day's heat, and the path back to the porch glows like somebody left a lantern out for me. That moment is exactly what these rustic garden lighting ideas are built for. Nothing shiny, nothing that looks like an airport runway — just warm, low, woodland light that feels like it grew there on its own. In my experience, the secret is layering: a soft guide light along the path, a welcoming pool of light where you actually sit, and one or two accents that show off a tree, a wall, or a gate. Keep everything at 2700K or warmer, pick fixtures that weather gracefully — wood, galvanized metal, copper, stone — and the garden does the rest. Below are the 19 setups I keep coming back to, from five-minute mason jar fixes to the single tree light that changed my whole yard.
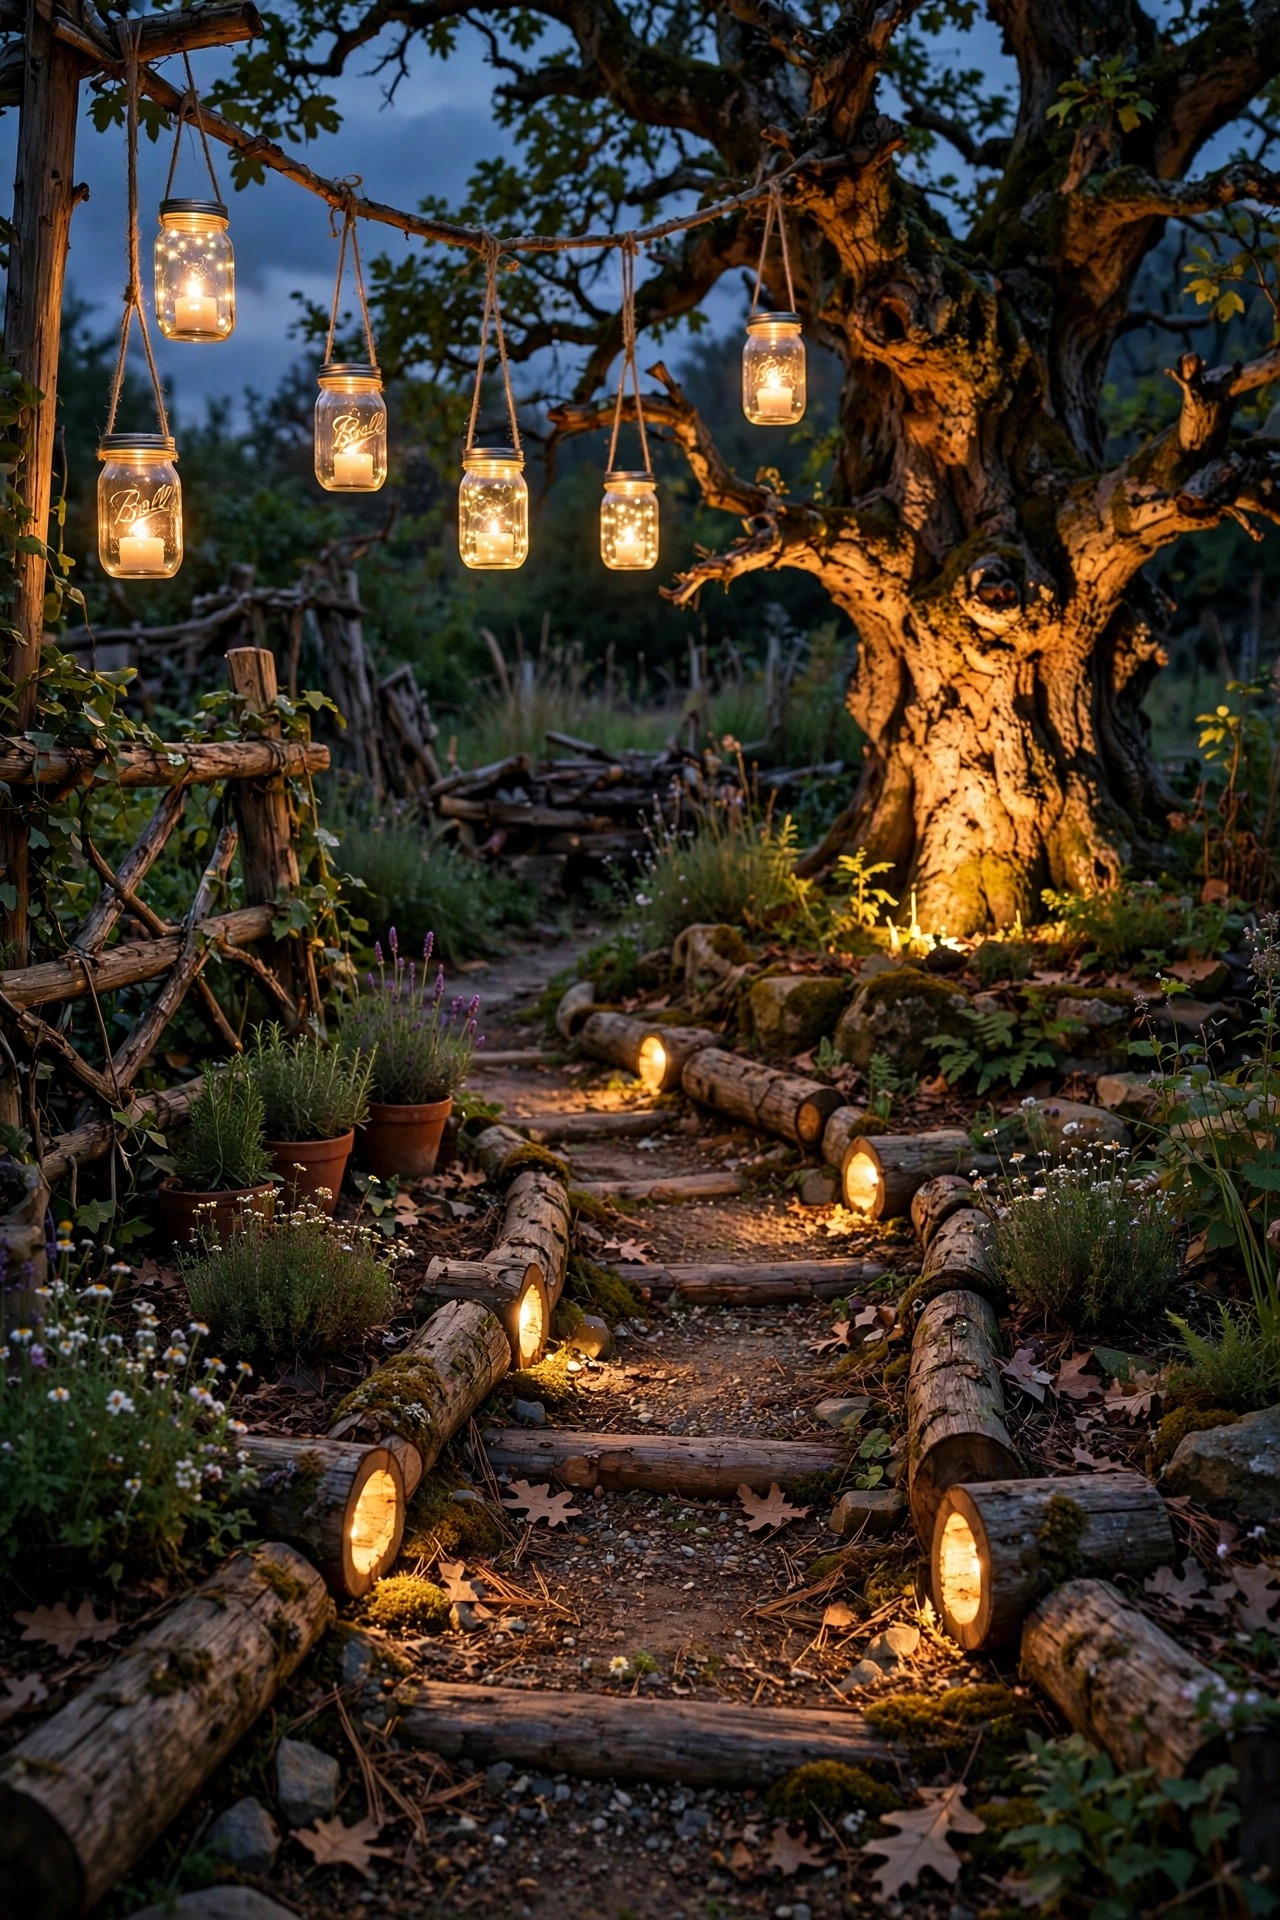
1. Start With a Layered Plan for Rustic Garden Lighting Ideas That Last
Every good rustic garden starts with three layers, and honestly, skipping this step is why most yards end up with random bright spots and dark holes. Layer one is guidance: low light along paths and steps so nobody trips on a root. Layer two is welcome: a soft pool of light where you sit, eat, or shell peas on the bench. Layer three is accent: one tree, one wall, one gate lit like it matters. Walk your garden at dusk with a flashlight and mark where each layer belongs before you buy a single fixture. I stick flags in the soil, live with them for two evenings, and move them until the route feels natural. Keep every bulb at 2700K, keep fixtures below knee height except for lanterns, and let the dark stay dark between pools of light — that contrast is the whole woodland mood. My cottage beds follow the same rules, and I wrote up those notes in my rose and cottage garden lighting ideas if your style leans softer. A layered plan also saves money, because you stop buying fixtures the garden never needed.
Suggested budget range: $150 – $450.
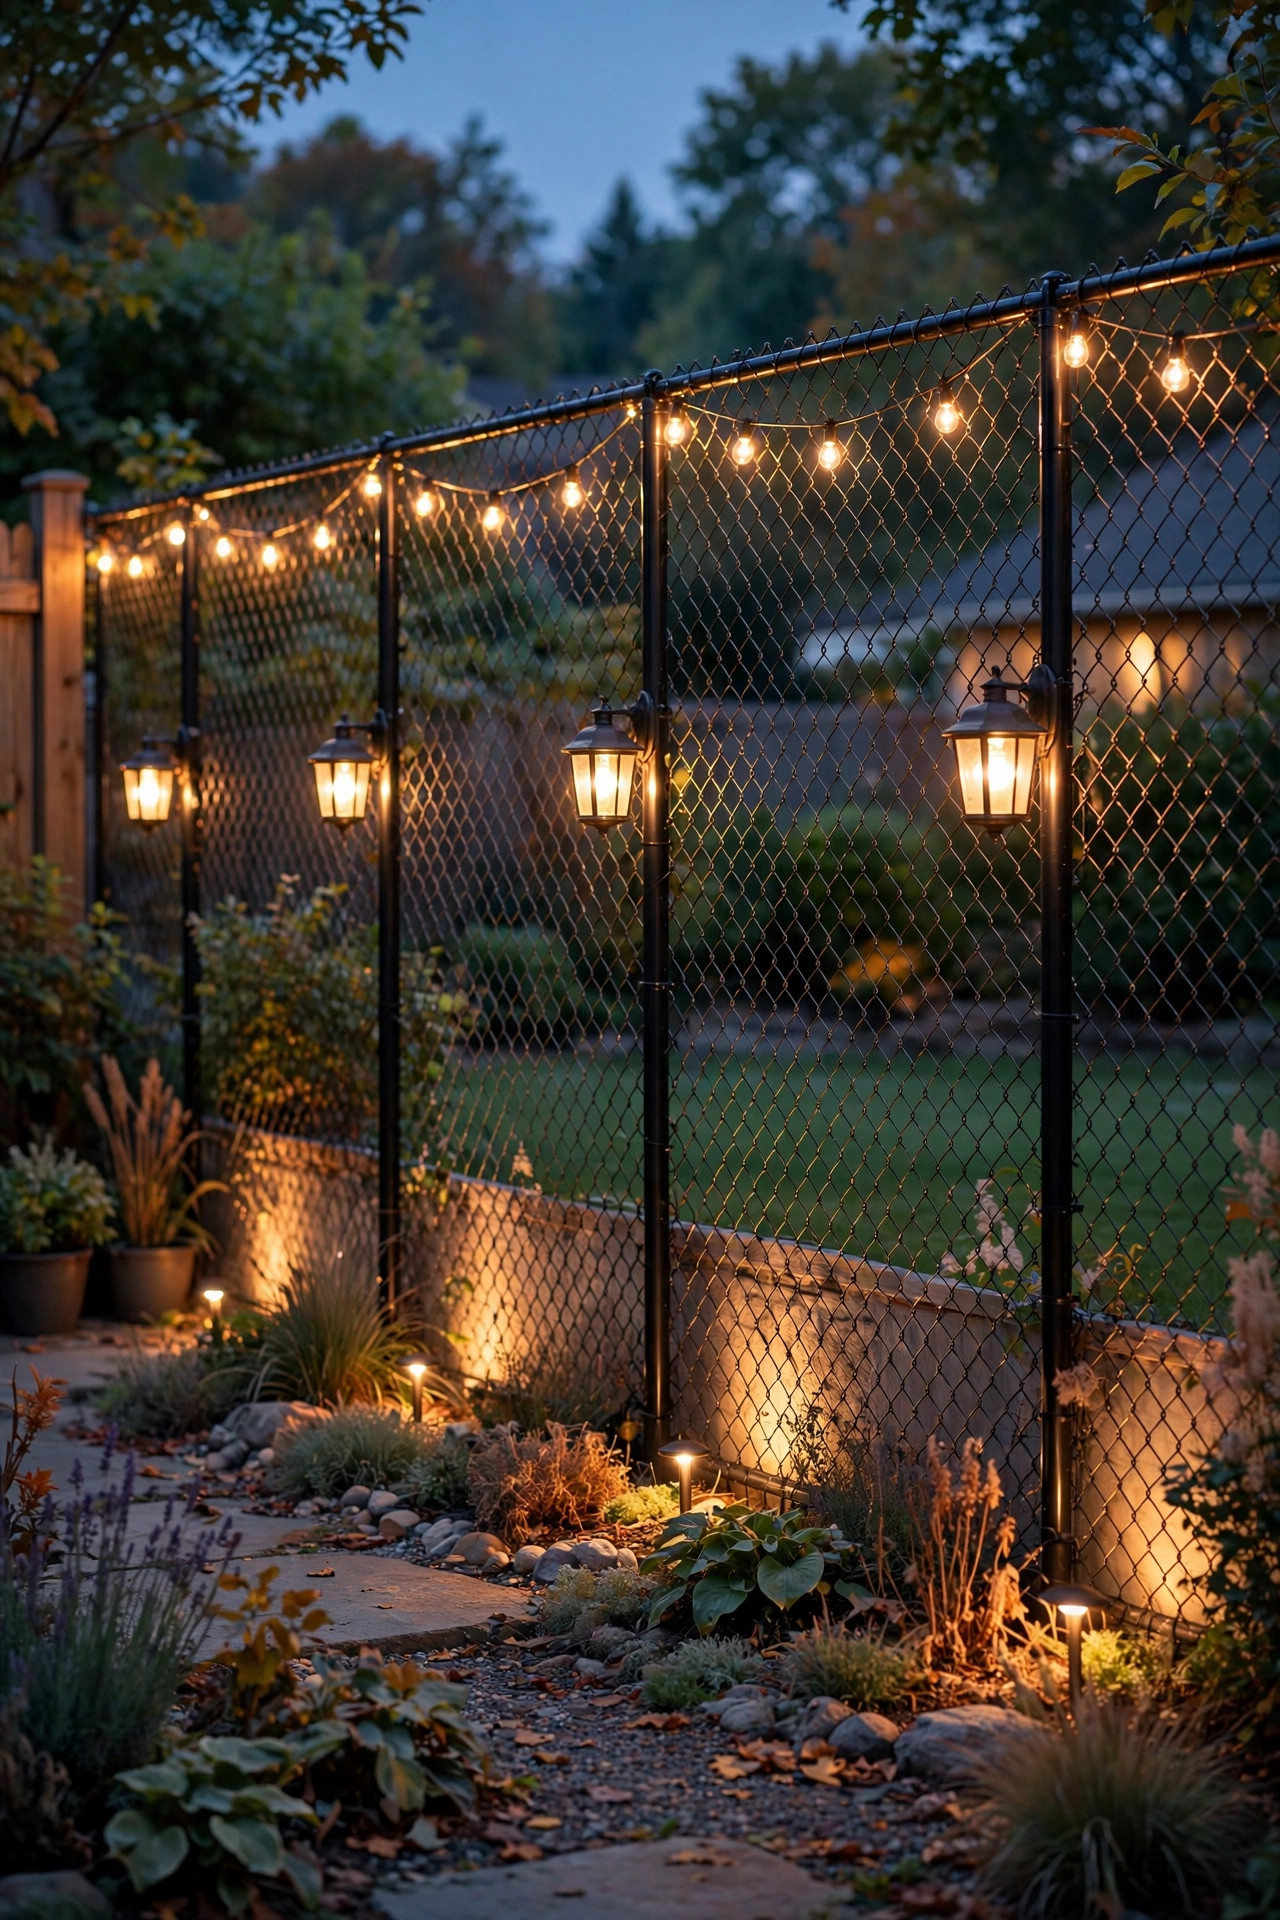
2. Hang Mason Jar Solar Lanterns From Shepherd Hooks
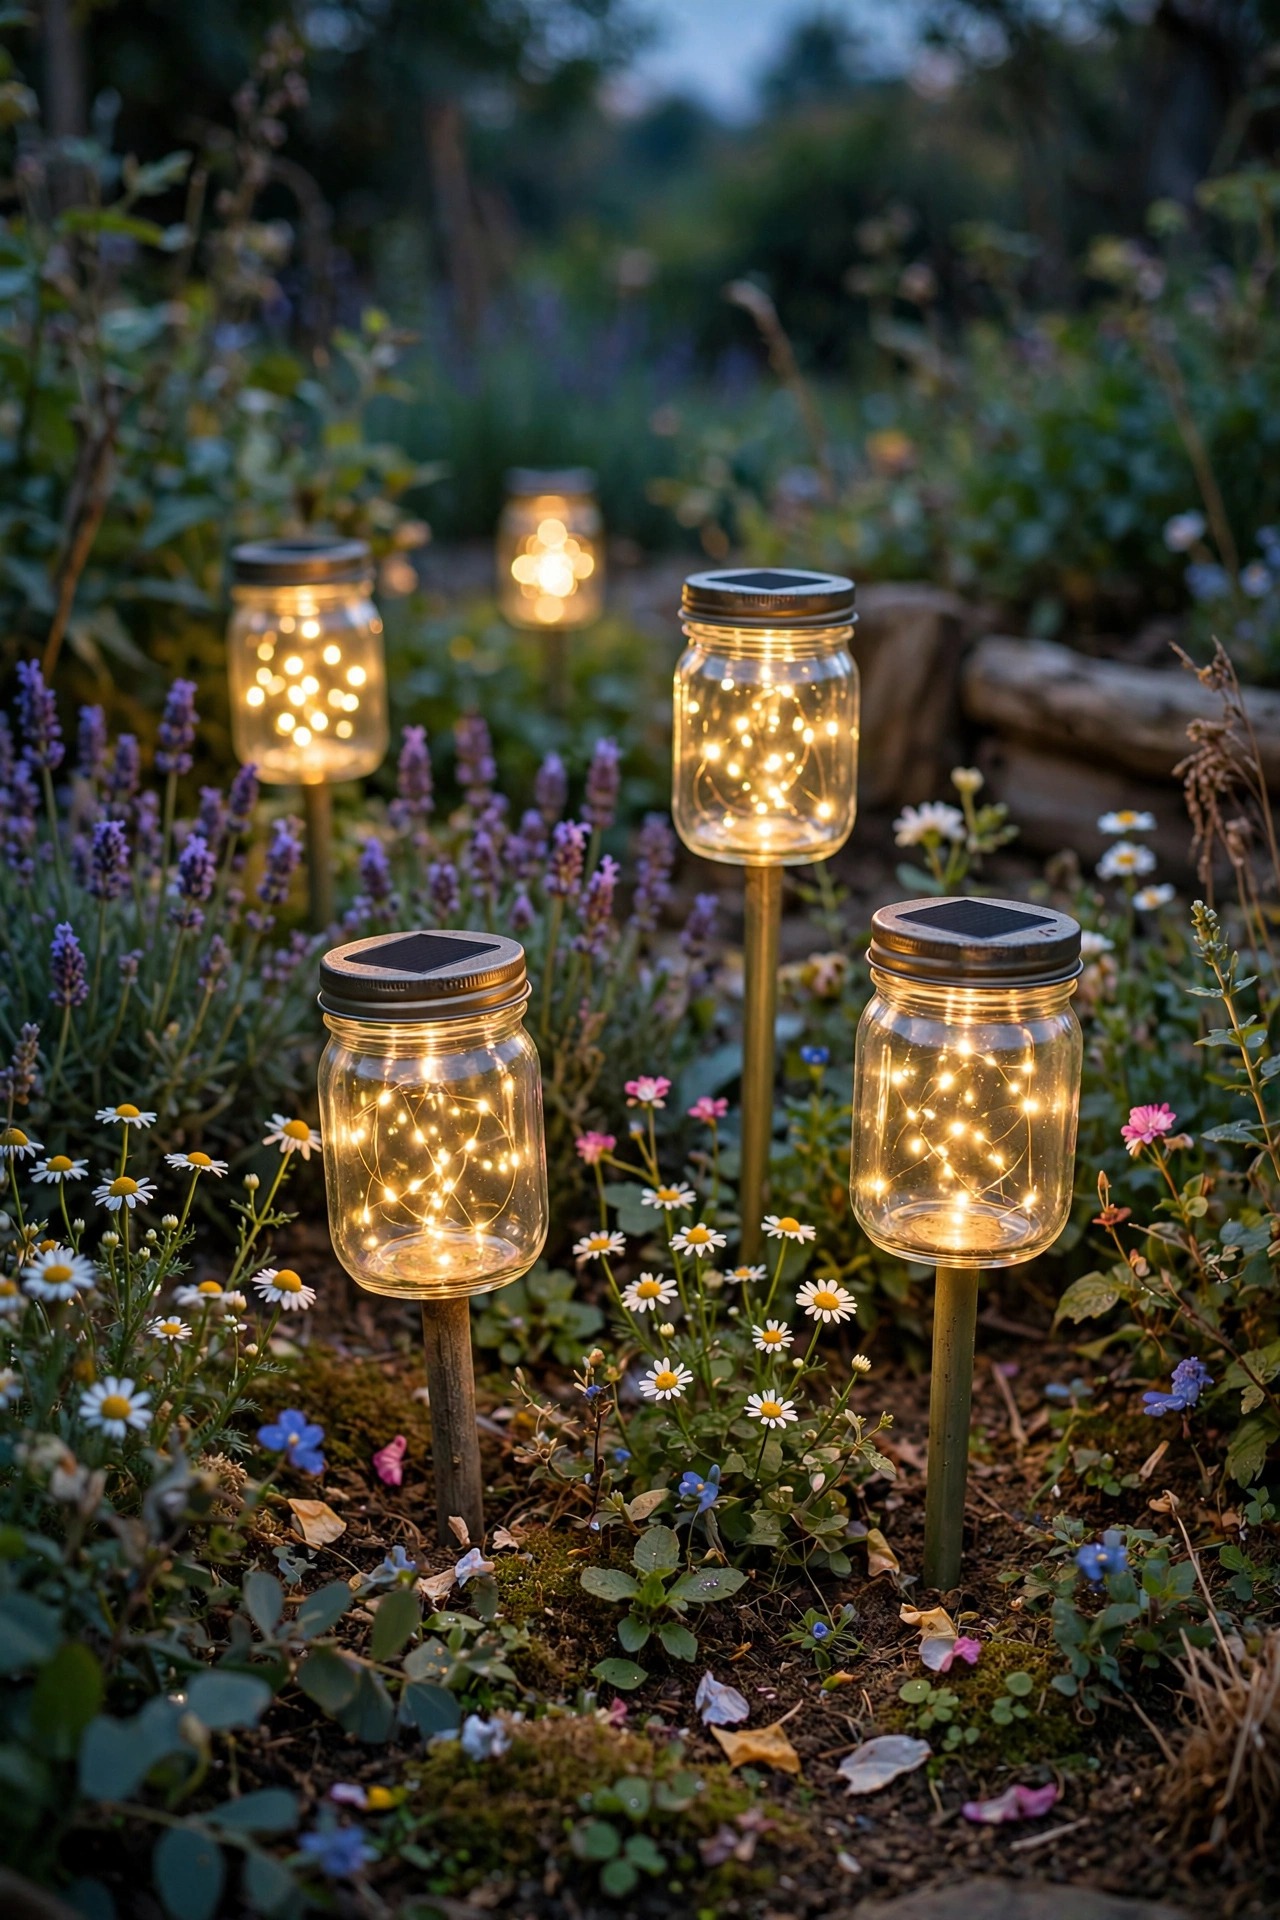
This is the project I recommend to every beginner, because it takes ten minutes and never once has it failed to charm a guest. Twist solar lids onto wide-mouth mason jars, add a handful of pea gravel in the bottom for weight, and hang them from shepherd hooks pushed 10 to 12 inches into the soil. Hooks 36 to 48 inches tall keep the jars above most perennials without towering over them. Space the hooks 6 to 8 feet apart along a curving path — a curve always looks more woodland than a straight runway. The jars glow like captured fireflies, and the speckled light through old glass is prettier than any plastic fixture I have tried. Choose warm white lids rated 2700K; the blue-white bargain lids ruin the mood completely. Bring the jars in during hard freezes if your winters drop below zero, since repeated freeze-thaw can crack the glass. In summer I swap a few jars onto the fence hooks by the gate, and the whole entry feels like a country fair in the best possible way.
Suggested budget range: $40 – $120.

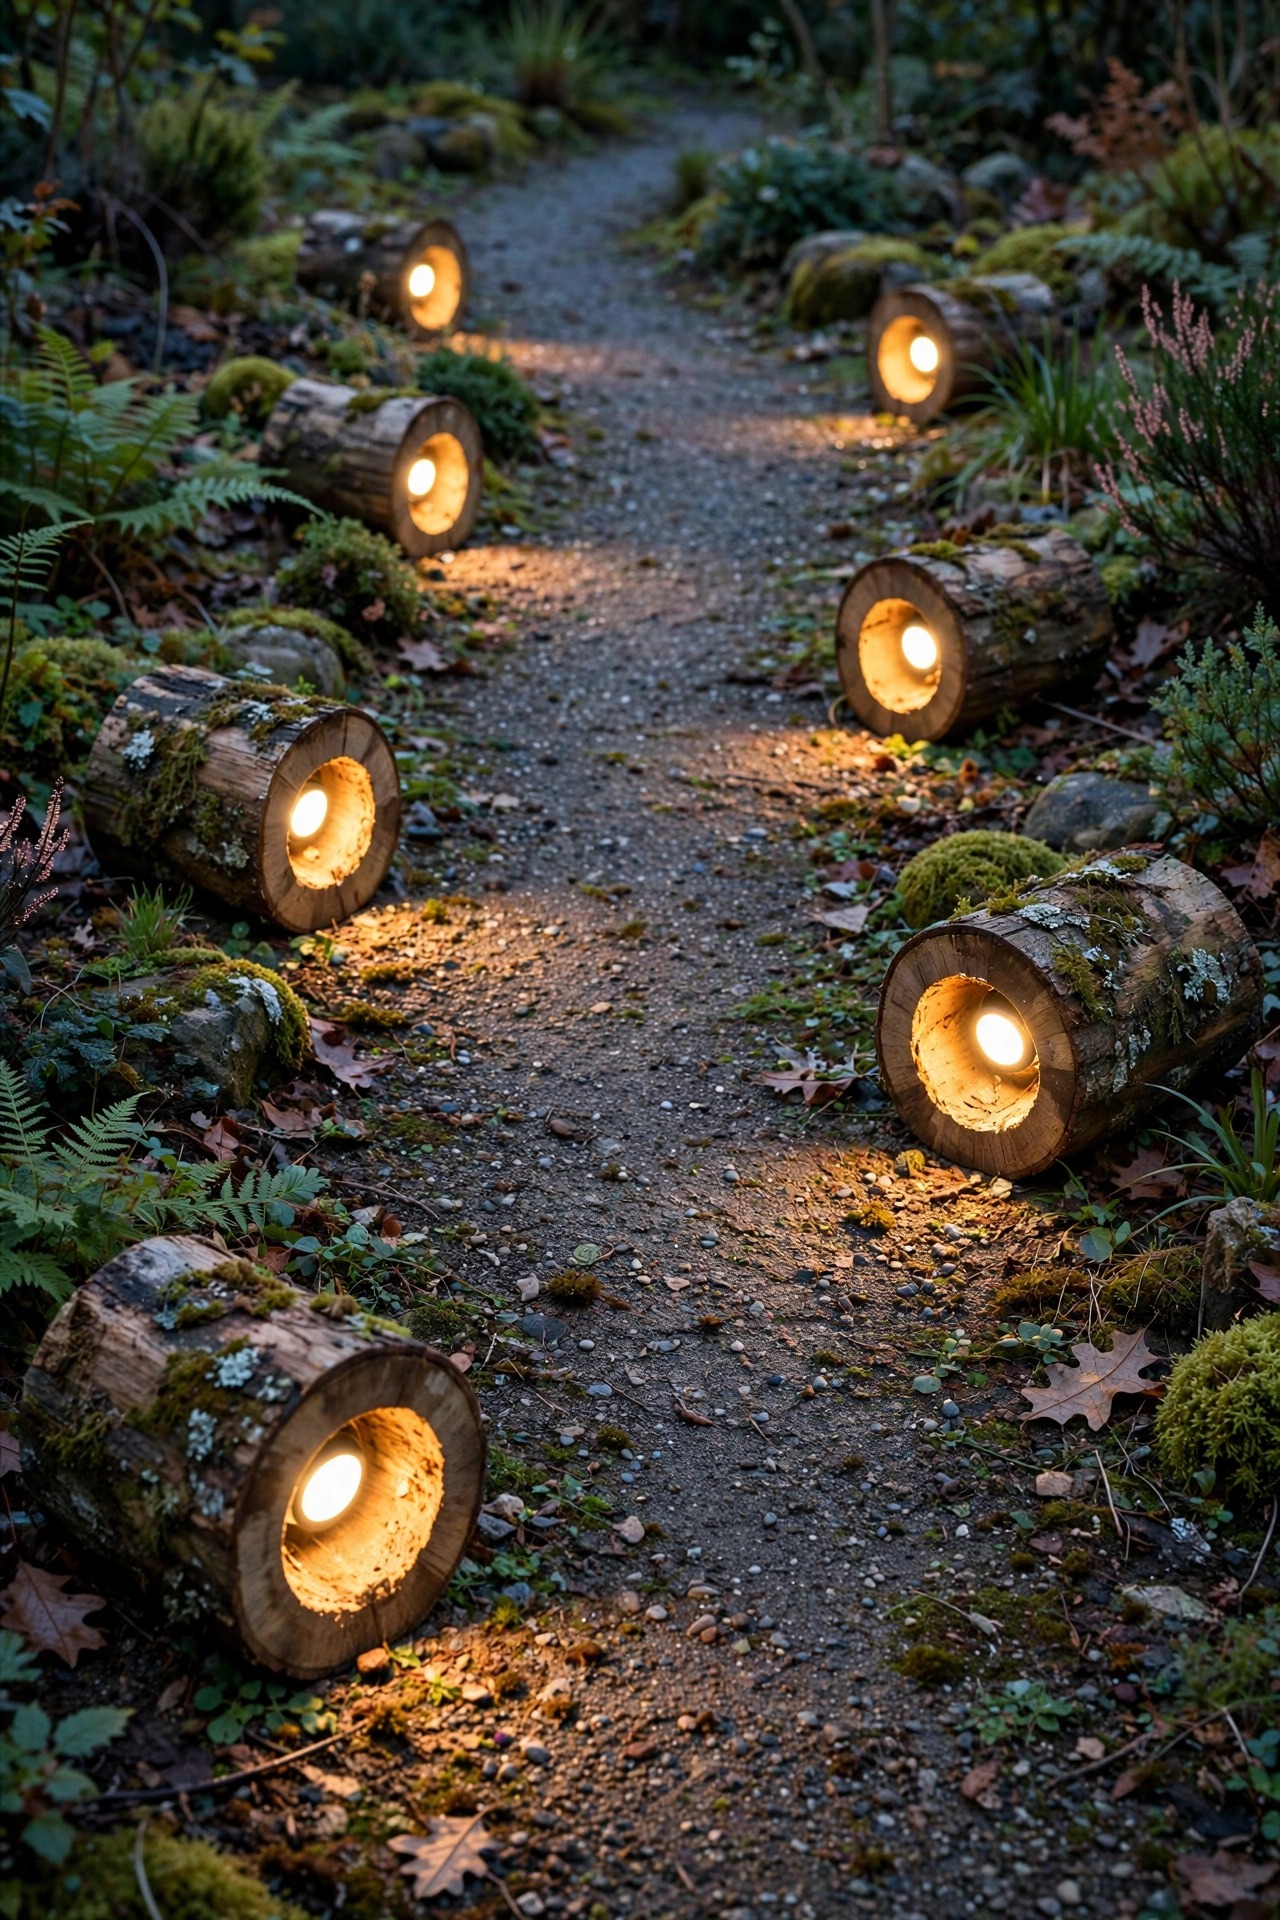
3. Tuck LED Pucks Into Hollow Logs and Stumps
If a tree comes down in your yard, do not haul it all away — the stumps and log rounds are the most rustic fixtures you will ever own. I drill a 2-inch recess into the top of a log section with a Forstner bit, drop in a sealed LED puck light, and set the logs along the path like nature put them there. Keep logs 10 to 14 inches tall so the light pools low across the gravel instead of glaring into eyes. Use pucks rated IP65 or better, and run low-voltage cable in a shallow 3-inch trench behind the logs where the mower never goes. Cedar and oak hold up for years; soft pine gives you maybe two seasons before it softens, which honestly just adds to the look. Leave the bark on — it hides the cable and weathers to a beautiful silver grey. One warning from experience: hollow logs invite ants, so set each log on a flat stone or a bed of gravel rather than bare soil, and check underneath each spring.
Suggested budget range: $60 – $180.
4. Weave Copper-Wire Fairy Lights Through One Favorite Shrub
Copper-wire fairy lights are the lace trim of the rustic garden — a little goes a very long way. I weave one 33-foot strand through a single lilac or hydrangea, tucking the wire along branches so only the pinpoints of light show. One shrub lit well beats six shrubs lit badly, every time. Battery packs with timers are my pick for shrubs far from an outlet; set them to run six hours from dusk and the batteries last most of the season. Solar versions work if the panel can sit in full sun at the shrub's south side. Keep the wire loose — shrubs grow, and a tight wrap will strangle a branch by August. Always use LED strands near foliage, since they stay cool to the touch and will not scorch leaves or dry mulch. Warm white only, please; the multicolor sets belong on the porch at Christmas. When the shrub leafs out fully, the lights look like fireflies that decided to stay, and honestly it is the cheapest magic in this entire list.
Suggested budget range: $25 – $80.

5. Cluster Galvanized Bucket and Punched-Tin Lanterns
Galvanized metal is the workhorse of rustic style: it shrugs off rain, dents gracefully, and greys down to match bark and stone. I group punched-tin lanterns and small galvanized buckets in clusters of three — one tall, two low — beside the bench, the gate, and the potting table. Drop a flameless LED candle inside each one; the punched patterns throw stars across the path, and there is no real flame near dry leaves or wooden benches. Vary the heights with upturned crates or flat stones underneath, because a cluster at one level reads flat from the house. If you find vintage buckets at a yard sale, drill three drainage holes in the bottom so they never hold water against the candle base. Groupings work best in odd numbers and in the spots where people naturally pause. By late summer the tin takes on a soft patina that no new fixture can fake, and the whole corner smells faintly of rain on warm metal when the evening cools.
Suggested budget range: $30 – $90.

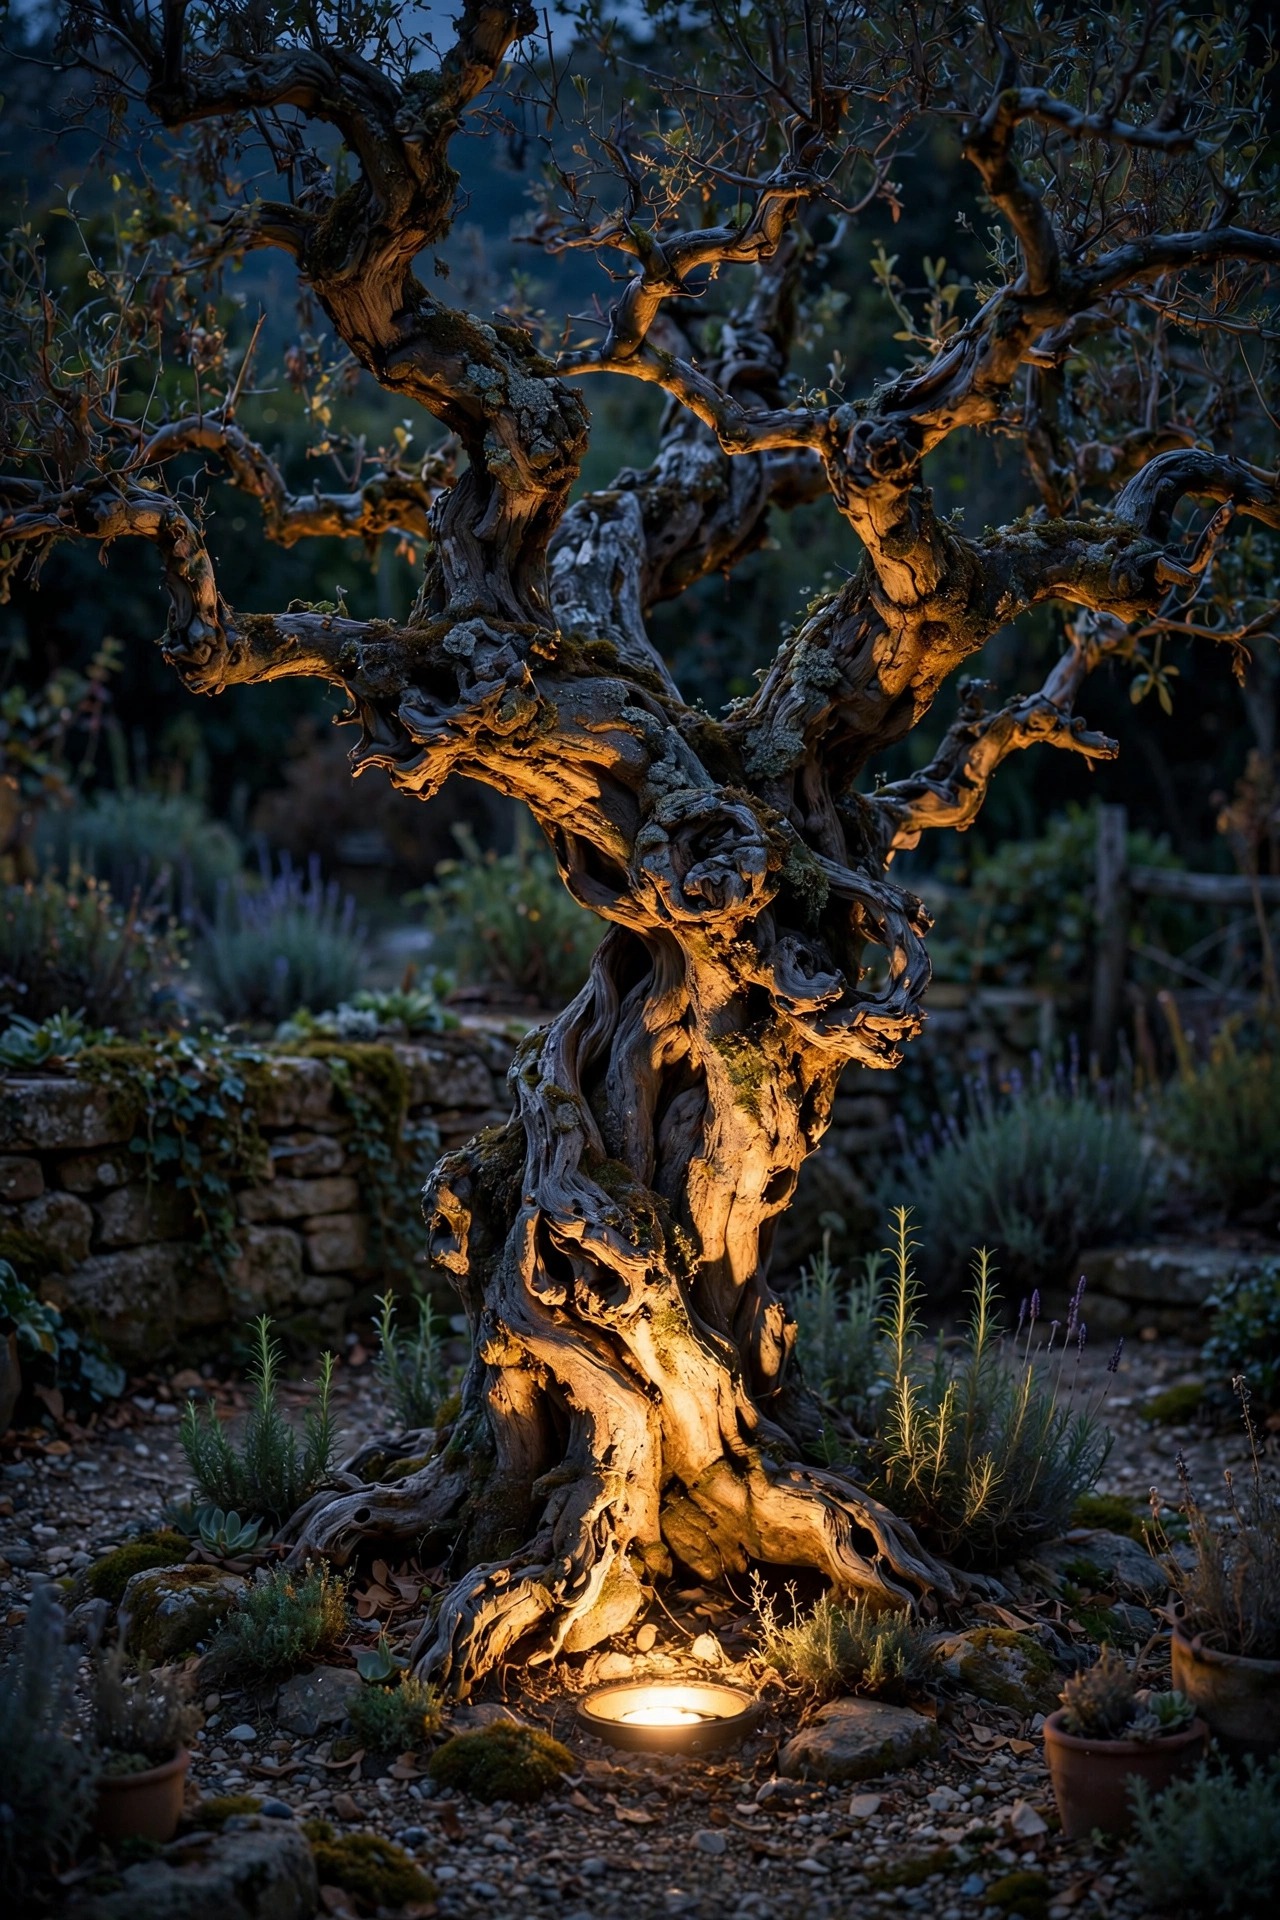
6. Uplight One Old Tree as the Woodland Focal Point
Every woodland garden has one elder — a gnarled apple, a spreading maple, a pine with character. Lighting that single tree from below turns it into the garden's campfire: everything else arranges itself around it. I use one well light or a sturdy low-voltage spotlight set 12 to 24 inches from the trunk, aimed up into the lowest branches with a beam around 36 degrees. Wider beams wash the whole canopy; narrow beams just stripe the bark. Warm 2700K light makes bark look honeyed, and the moving shadows on a breezy night are better than television. Bury the fixture slightly so the rim sits flush with the mulch, and add a glare shield or honeycomb louver if the light faces a seating area. Never nail or screw a fixture into a living tree, and keep the cable in a slit trench so roots and shovels never meet it. Start dimmer than you think — one tree lit gently will outshine three lit like a parking lot, and your neighbors' moths will thank you.
Suggested budget range: $80 – $220.
7. Add Moonlighting From One High Branch
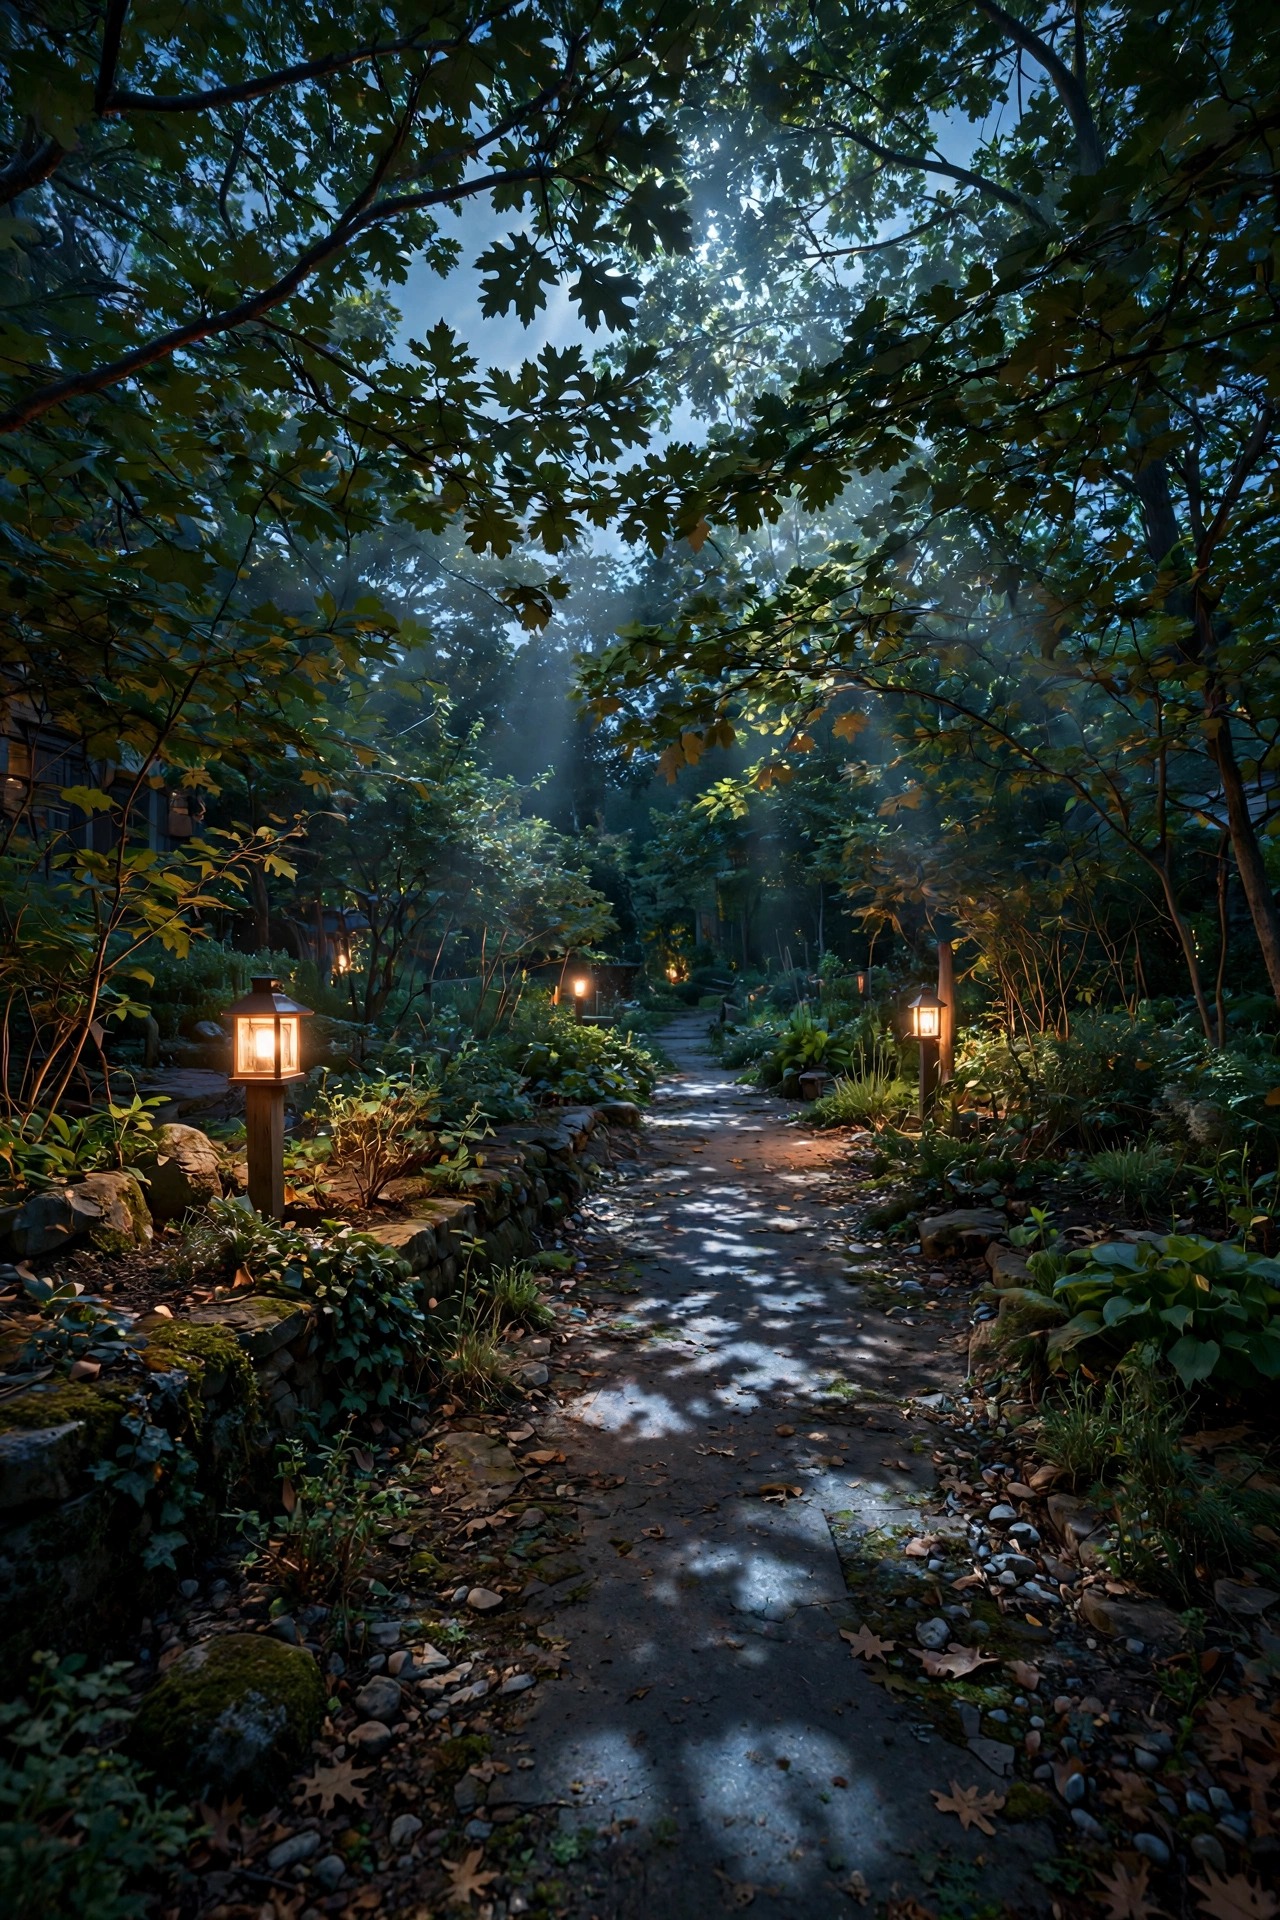
Moonlighting is the effect guests describe as the light feeling like it was always there. A small fixture mounted 20 to 25 feet up in a sturdy tree shines down through the branches, dappling the path and beds with moving leaf shadows, exactly the way a full moon does. I always hire an arborist or electrician for this one — it means climbing, a proper tree mount that grows with the trunk, and cable run neatly down the back side of the tree. Ask for a warm 2700K LED, not the icy blue that old moonlight fixtures used; warm moonlight keeps the rustic mood. Aim the fixture slightly off vertical so light falls where people walk, not straight down the trunk. The magic is brightness discipline: this should be the softest light in the garden, a suggestion rather than a spotlight. Combined with the uplit elder tree two sections back, you get light falling down and rising up in the same view, and honestly the garden starts to feel like a forest clearing in the best storybook sense.
Suggested budget range: $180 – $420.
8. Line the Main Path With Rope-Wrapped Solar Bollards
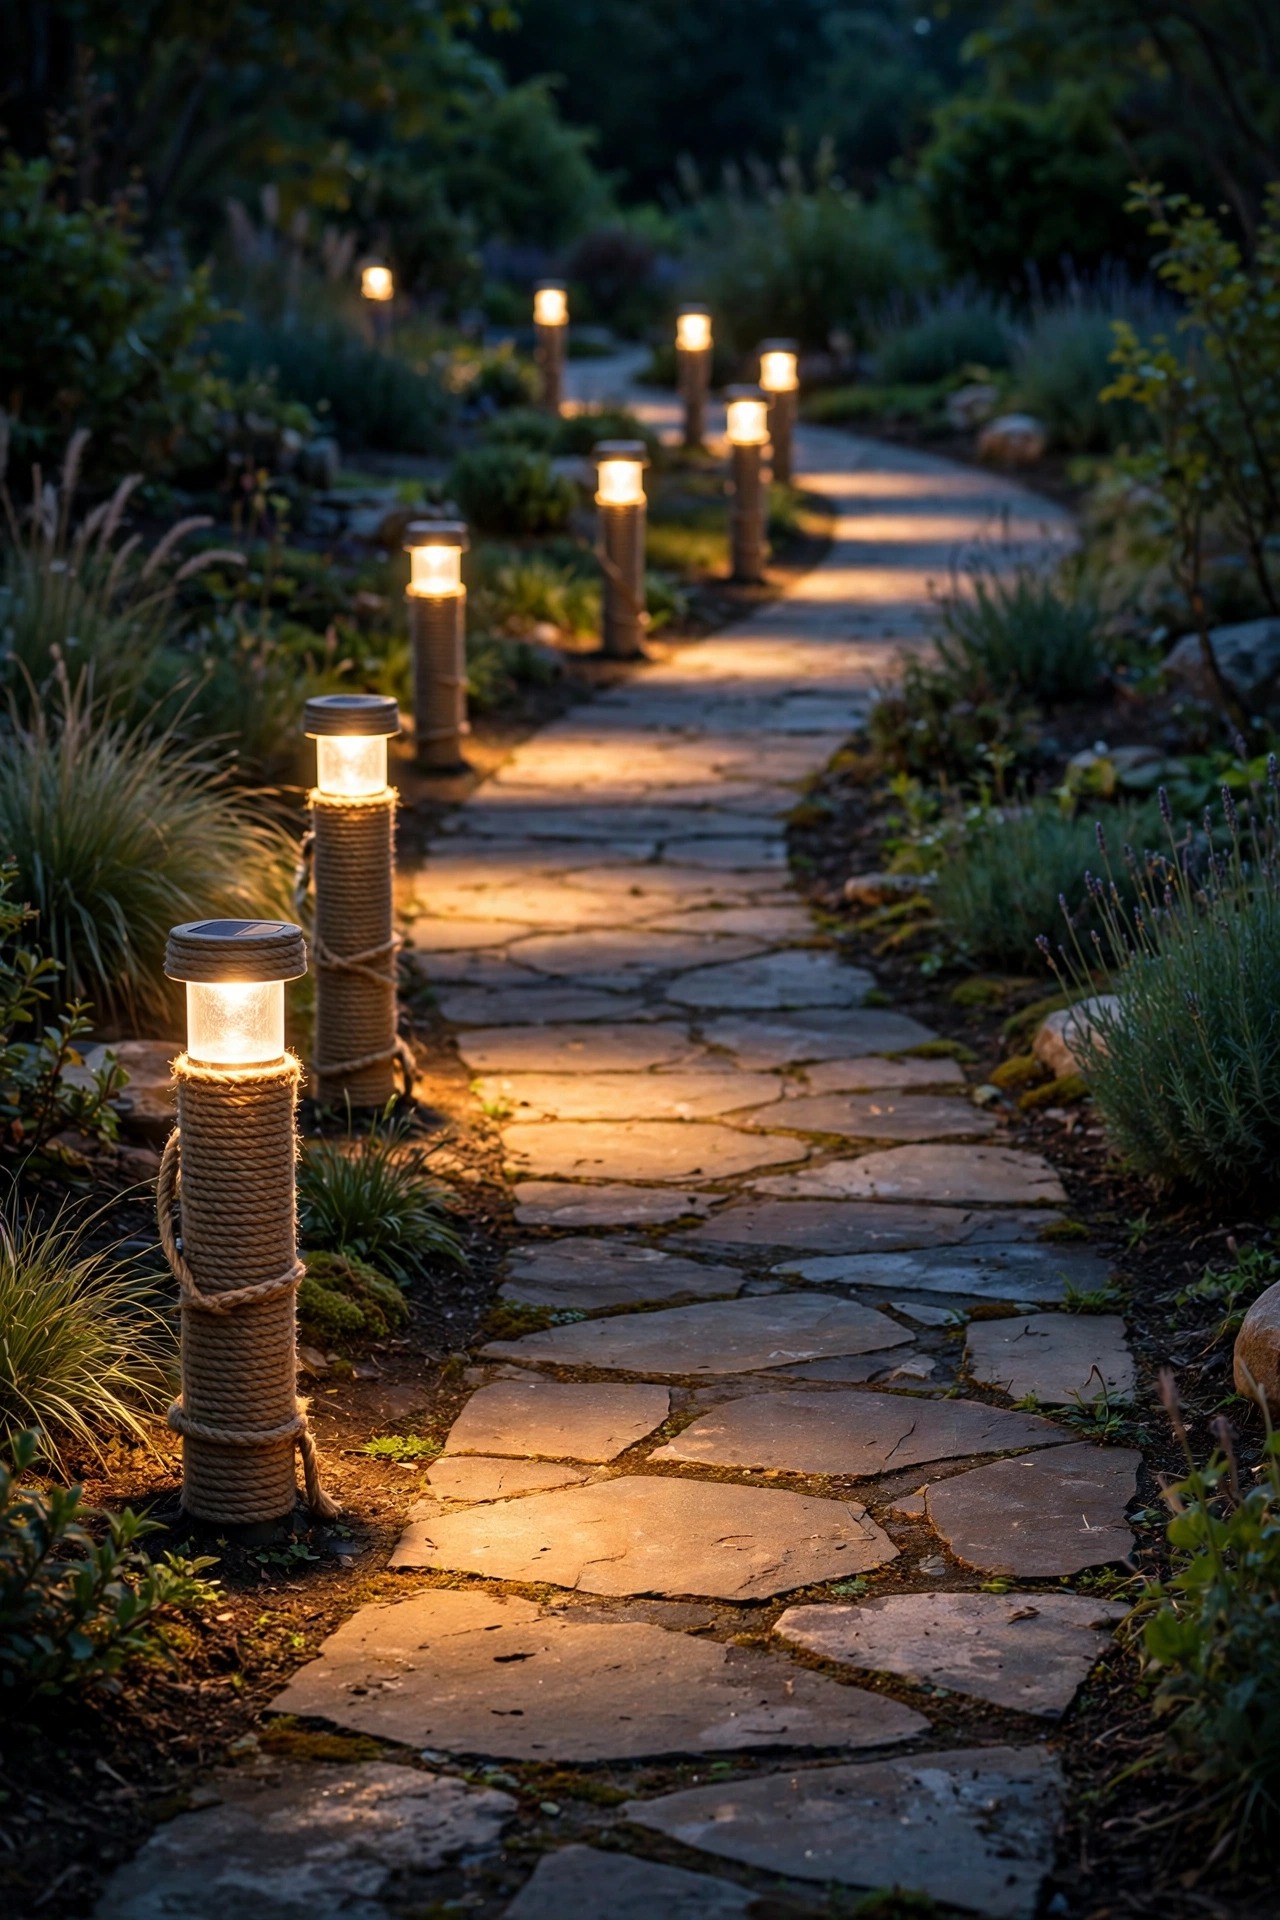
The main path deserves fixtures with a little heft, and rope-wrapped bollards are the sweet spot between store-bought polish and handmade charm. The jute or hemp wrap softens the fixture, hides the plastic seam, and weathers to a driftwood tone within a season. I space them 5 to 6 feet apart on alternating sides of the path so the light pools overlap gently without forming a landing strip. Push solar models deep enough that only the wrapped head and cap sit above the mulch line, and give each panel a clear view of the sky — a bollard under a hosta leaf is a bollard that quits by nine. For shaded paths, and I say this from experience, run low-voltage wired bollards instead; solar needs six to eight hours of sun to keep its promise. Wipe the little panels with a damp cloth monthly, since pollen film cuts charging more than people realize. By the second year the rope frays just slightly at the edges, and that is when they look their absolute best.
Suggested budget range: $70 – $160.
9. Rustic Garden Lighting Ideas for a Stone Wall Wash
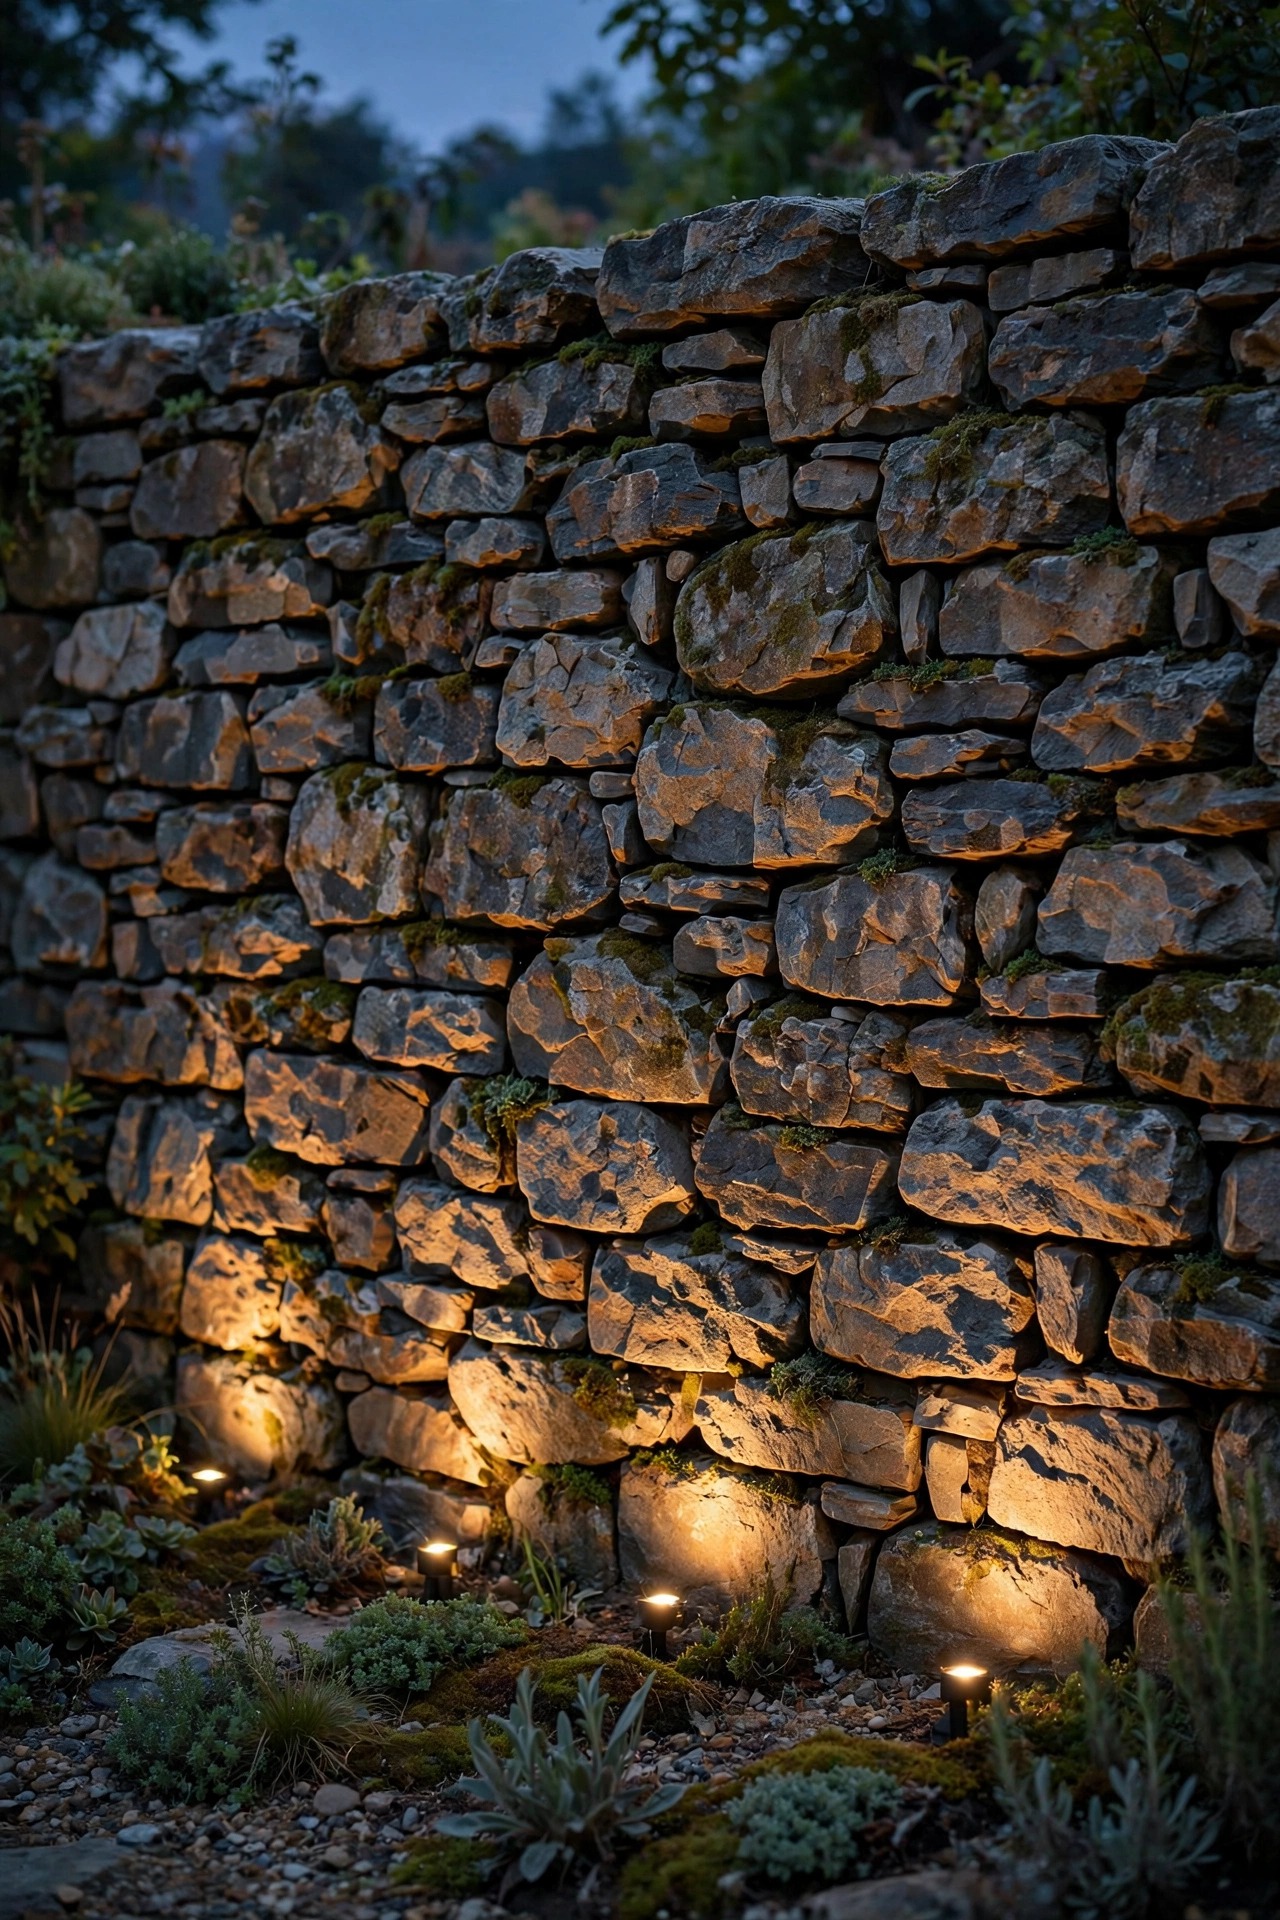
A dry-stacked stone wall is a gift at night, because low grazing light turns every bump and shadow line into sculpture. Place small fixtures 6 to 12 inches out from the base of the wall, aimed almost straight up, so the light rakes across the stones instead of flattening them. Space them 4 to 5 feet apart and let the pools overlap slightly. Well lights buried flush work best where the mower runs; short stake spots work in beds. This is also the smartest safety light in the garden if your wall tops a slope or borders steps — it shows the edge without a single visible bulb. Keep the color at 2700K; cooler light makes fieldstone look grey and dead, while warm light brings out the rust, tan, and honey tones hiding in the rock. If your wall is mortared brick instead, pull the fixtures back to 18 inches for a softer wash. Of all the rustic garden lighting ideas in this list, the wall wash is the one visitors photograph most, and it costs less than dinner out.
Suggested budget range: $90 – $240.
10. Mount Lanterns on the Split-Rail Fence and Weathered Posts
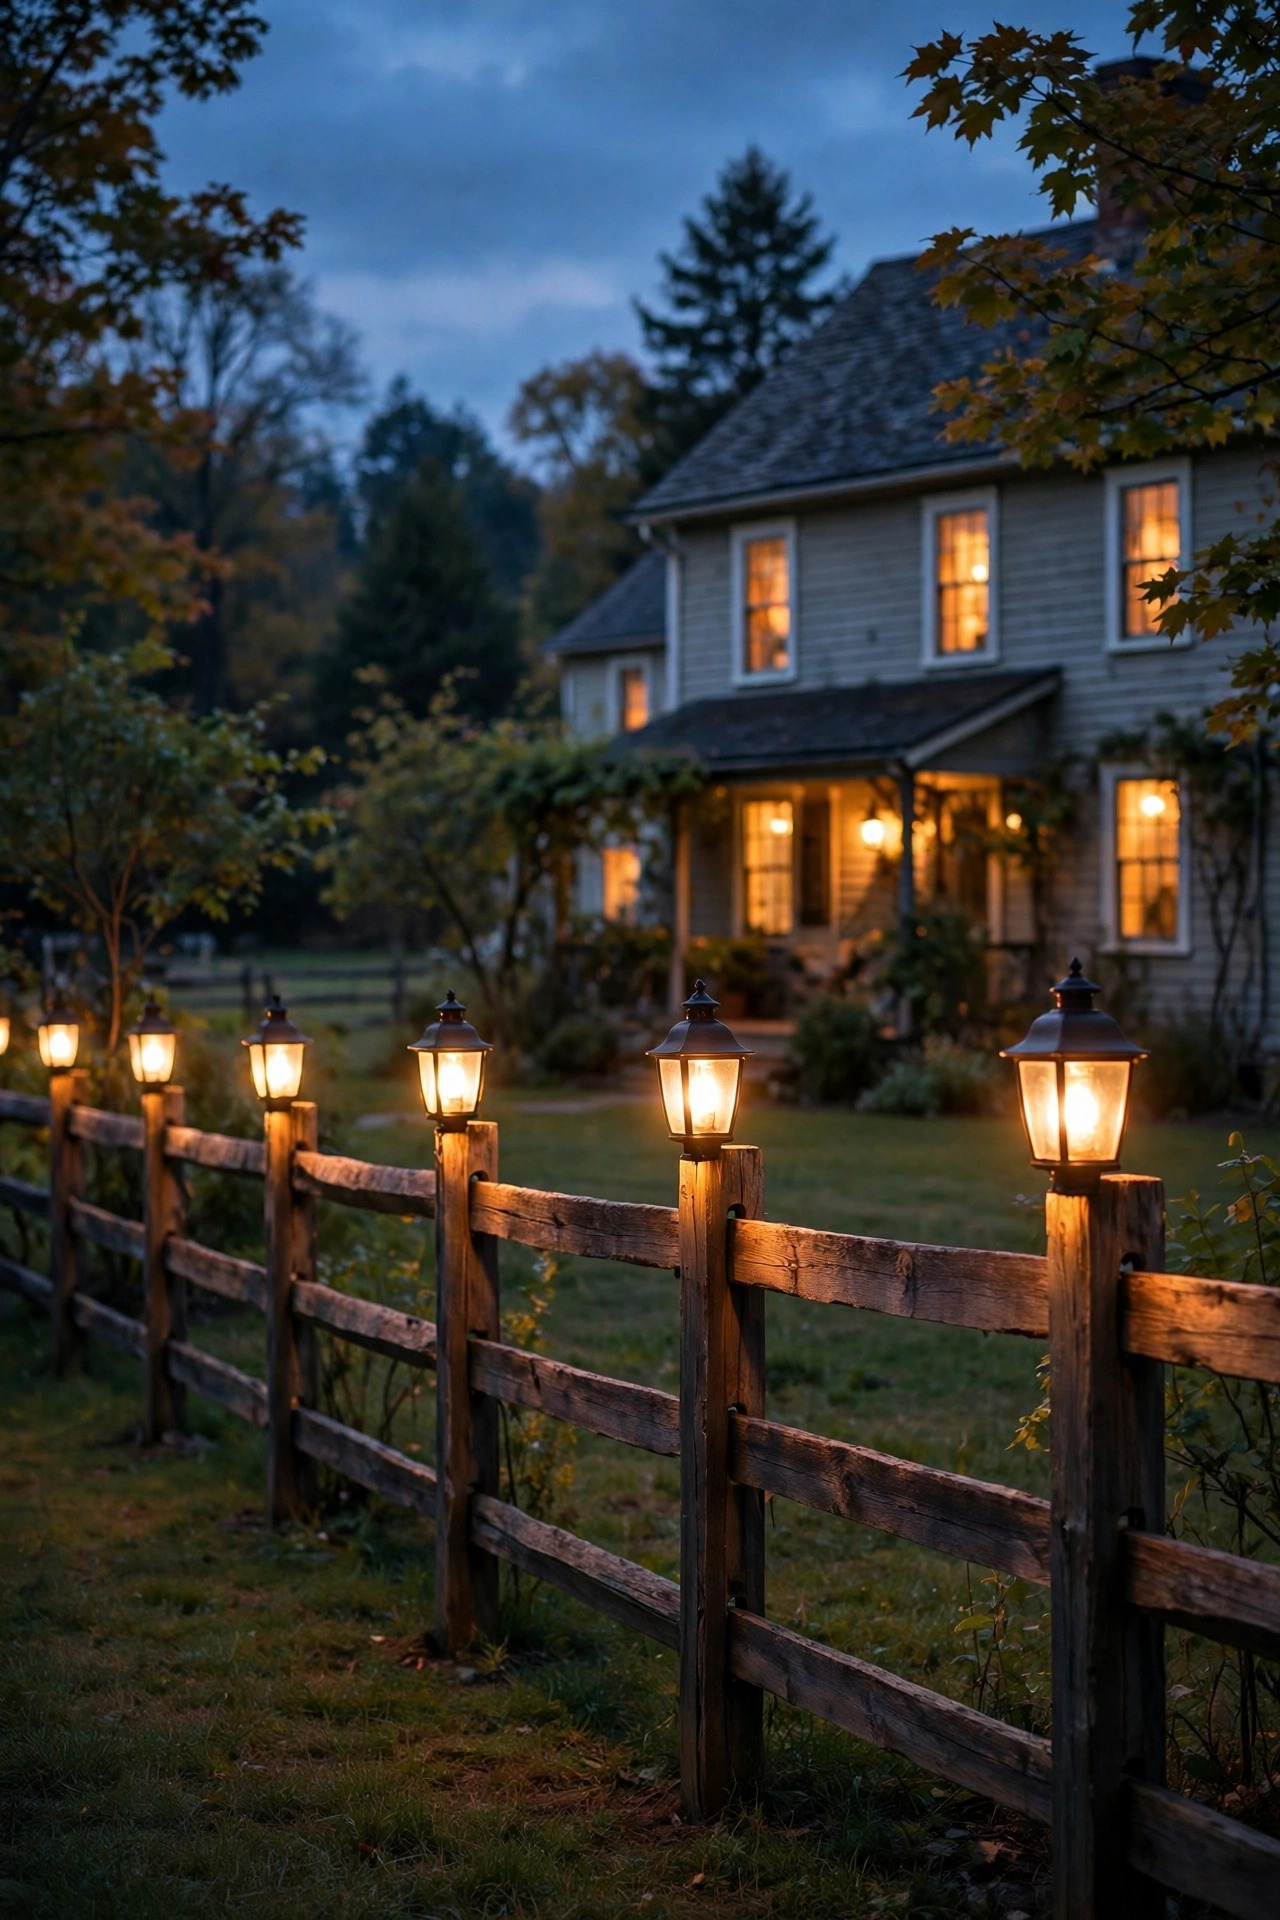
A split-rail fence is rustic architecture all by itself, and a lantern on every second or third post turns it into the garden's picture frame. I use solar lantern caps made for fence posts or hang small carriage-style lanterns from iron hooks screwed into the post tops, about 5 feet off the ground. That height matters: light at eye level welcomes, light above heads interrogates. Solar post caps are the zero-effort route — no wire, no trench — but choose the ones with warm LEDs and real glass if you can find them. On my long run I wired every third post with a low-voltage lantern and filled the gaps with solar, and honestly nobody can tell which is which at dusk. Leave one post near the gate unlit so the gate lantern in idea 13 can be the star. Weathered wood drinks in the warm light beautifully, and by the second summer the whole fence line reads like the edge of an old farm lane.
Suggested budget range: $110 – $300.
11. Scatter Firefly Jar Stakes Through the Flower Beds
Solar firefly stakes — a tiny jar or globe on a slim stem with a few warm LEDs inside — are pure whimsy, and I make no apology for loving them. Push them into the flower beds among the perennials, 8 to 10 inches above the foliage, and let them sway a little in the breeze. The gentle movement is the trick: static lights read as fixtures, moving lights read as fireflies. Group them in loose drifts of five to seven rather than a soldier row, and keep them out of the path edge where feet and mower wheels live. They will not light a walkway and are not meant to — this is accent layer only. Choose stakes with replaceable batteries if you can, because the panel usually outlives the first battery by years. In my bee balm bed they come on at dusk just as the real fireflies start in the back field, and for about twenty minutes in June I genuinely cannot tell where the garden ends and the meadow begins.
Suggested budget range: $35 – $95.
12. Anchor the Garden With a Fire Bowl and Low Accent Lights
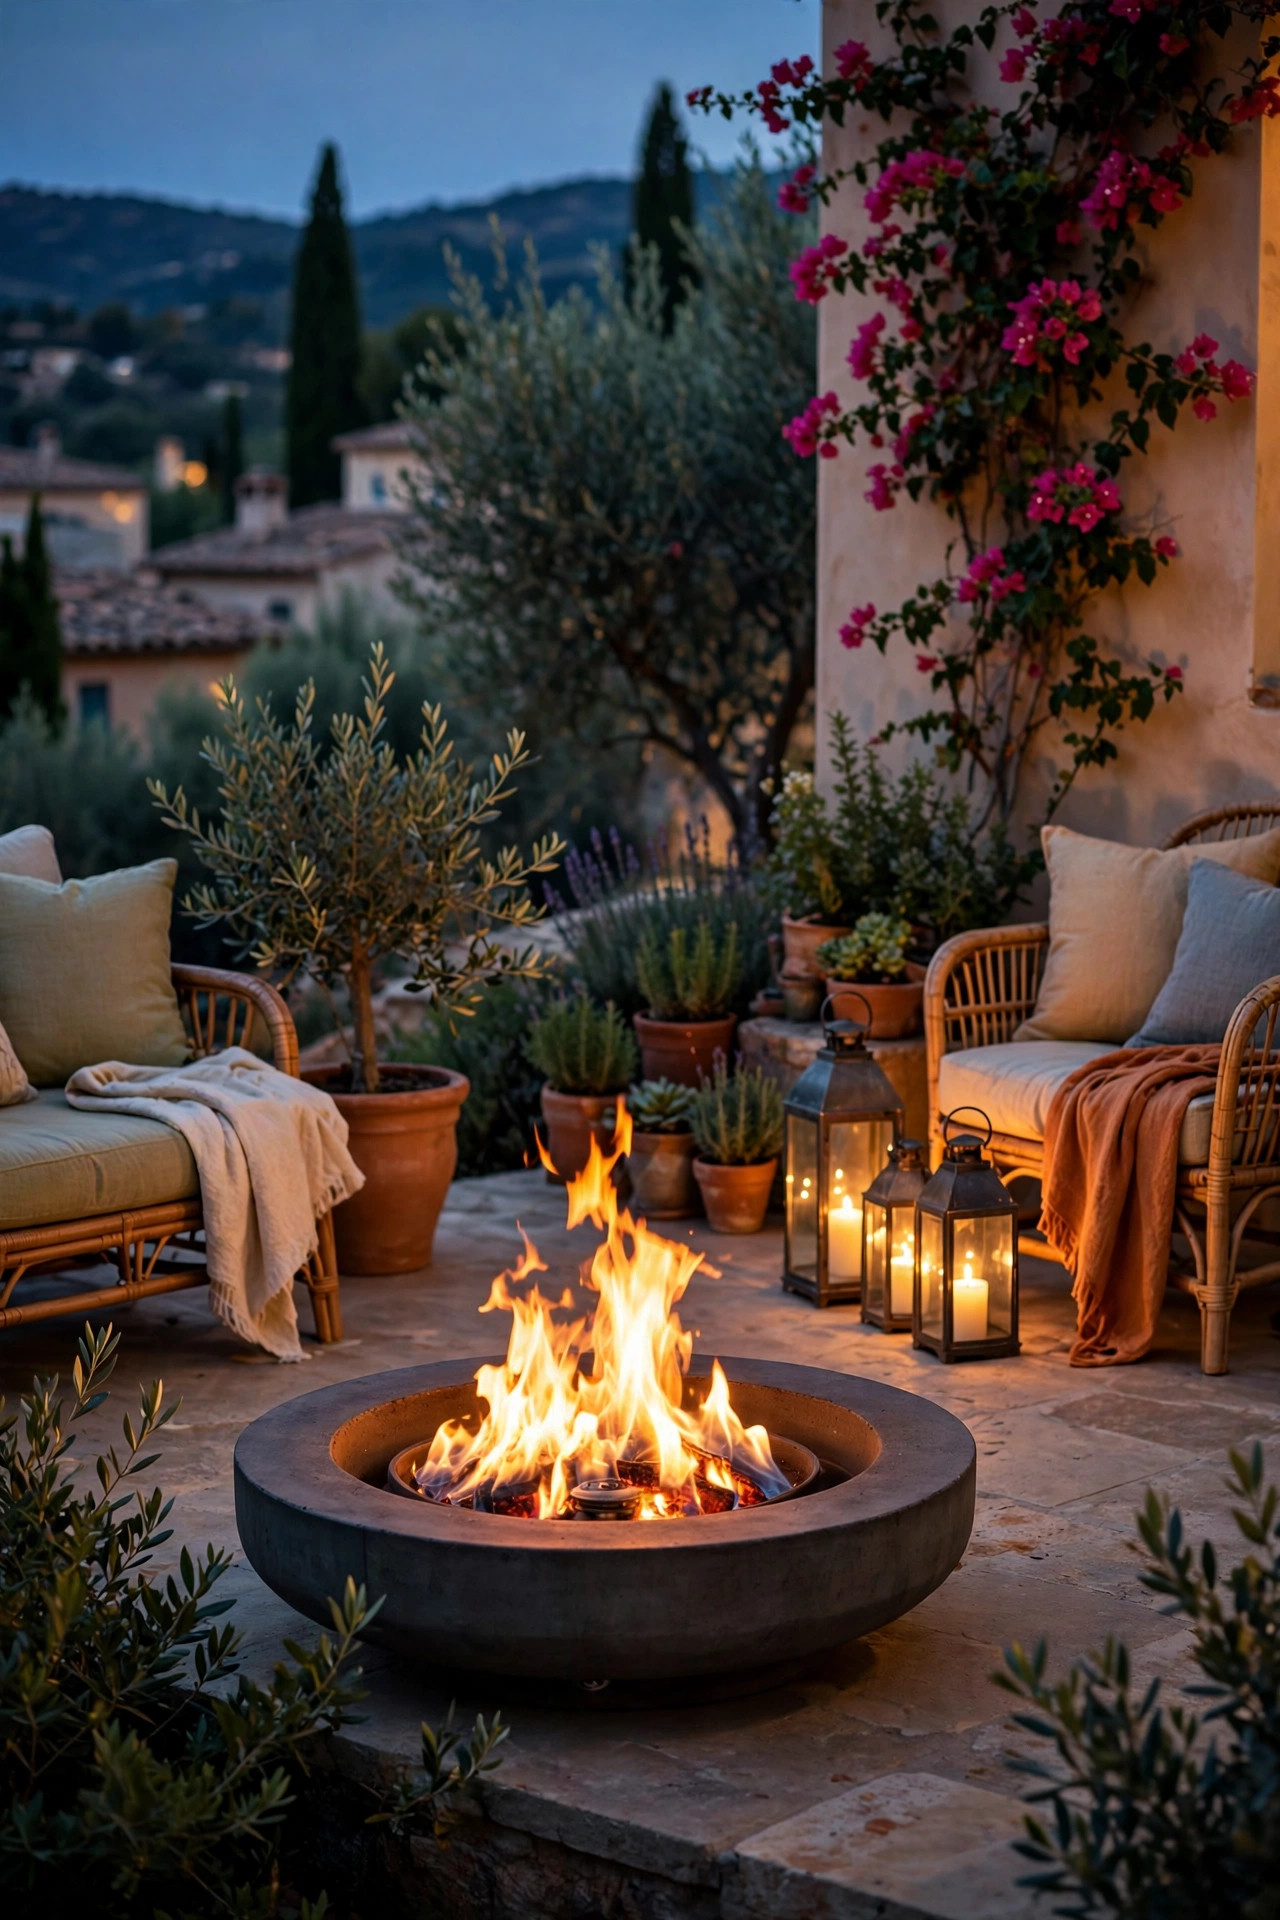
A fire bowl is the rustic garden's hearth, and the light around it should whisper so the flame can talk. I circle the seating area with three or four very low accents — a log light, a lantern on a stump, one bollard at the path entry — all on a separate switch or timer from the fire itself. Keep every fixture at least 10 feet from open flame if it has any plastic parts, and never run cable where feet shuffle around the fire circle. The seating stones or stumps themselves can hide small LED pucks underneath their front edges, washing the gravel with light you feel more than see. Set the fire zone on its own zone of your transformer, dimmed to about half, because firelight plus full-bright accents is just noise. A bag of marshmallows, a circle of stumps, low gold light at the edges — in my experience this is where every garden party ends up by nine o'clock, and where the best conversations of the summer happen.
Suggested budget range: $150 – $500.
13. Light the Garden Gate and Arbor Like a Front Door
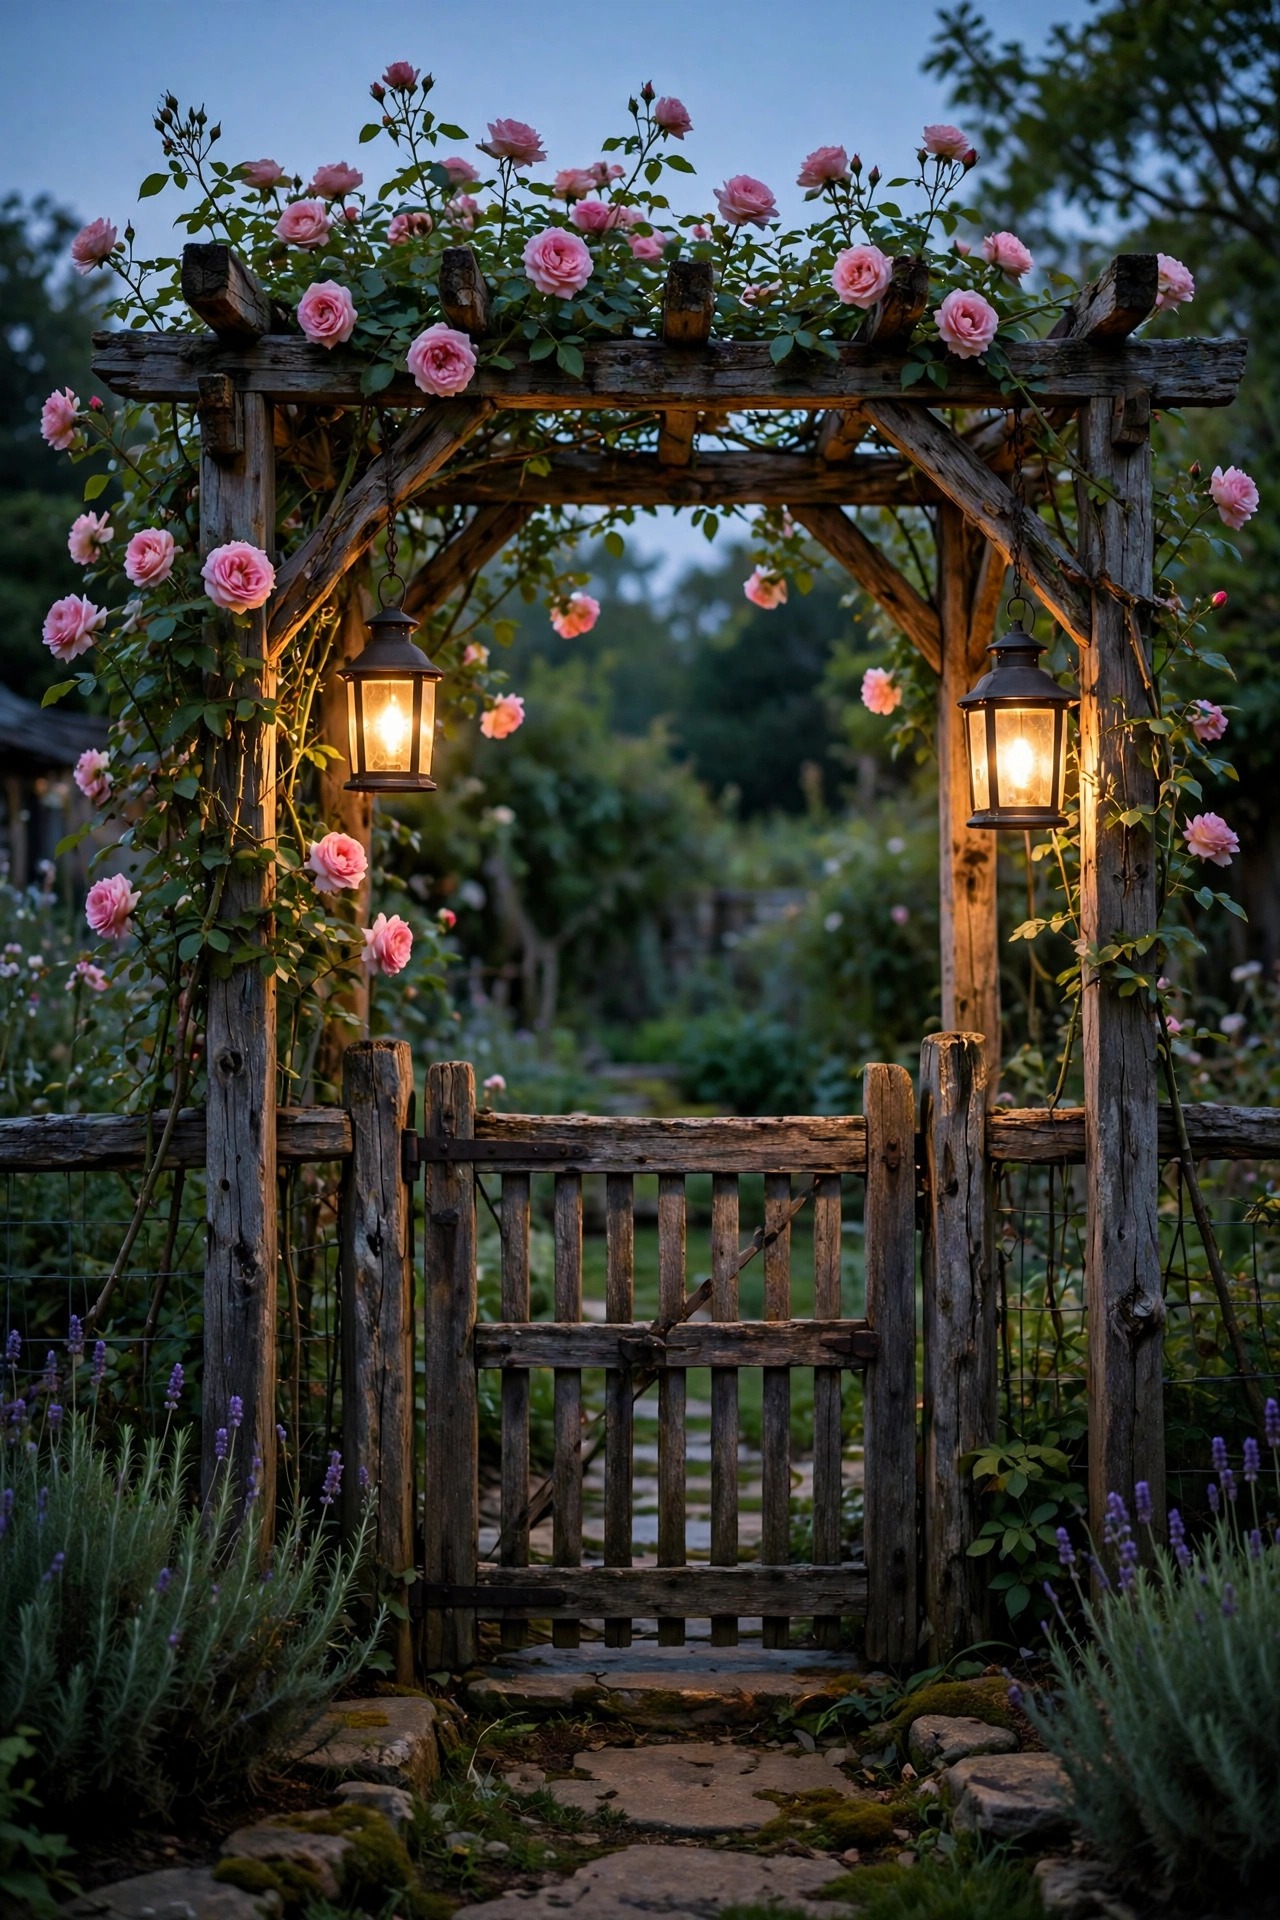
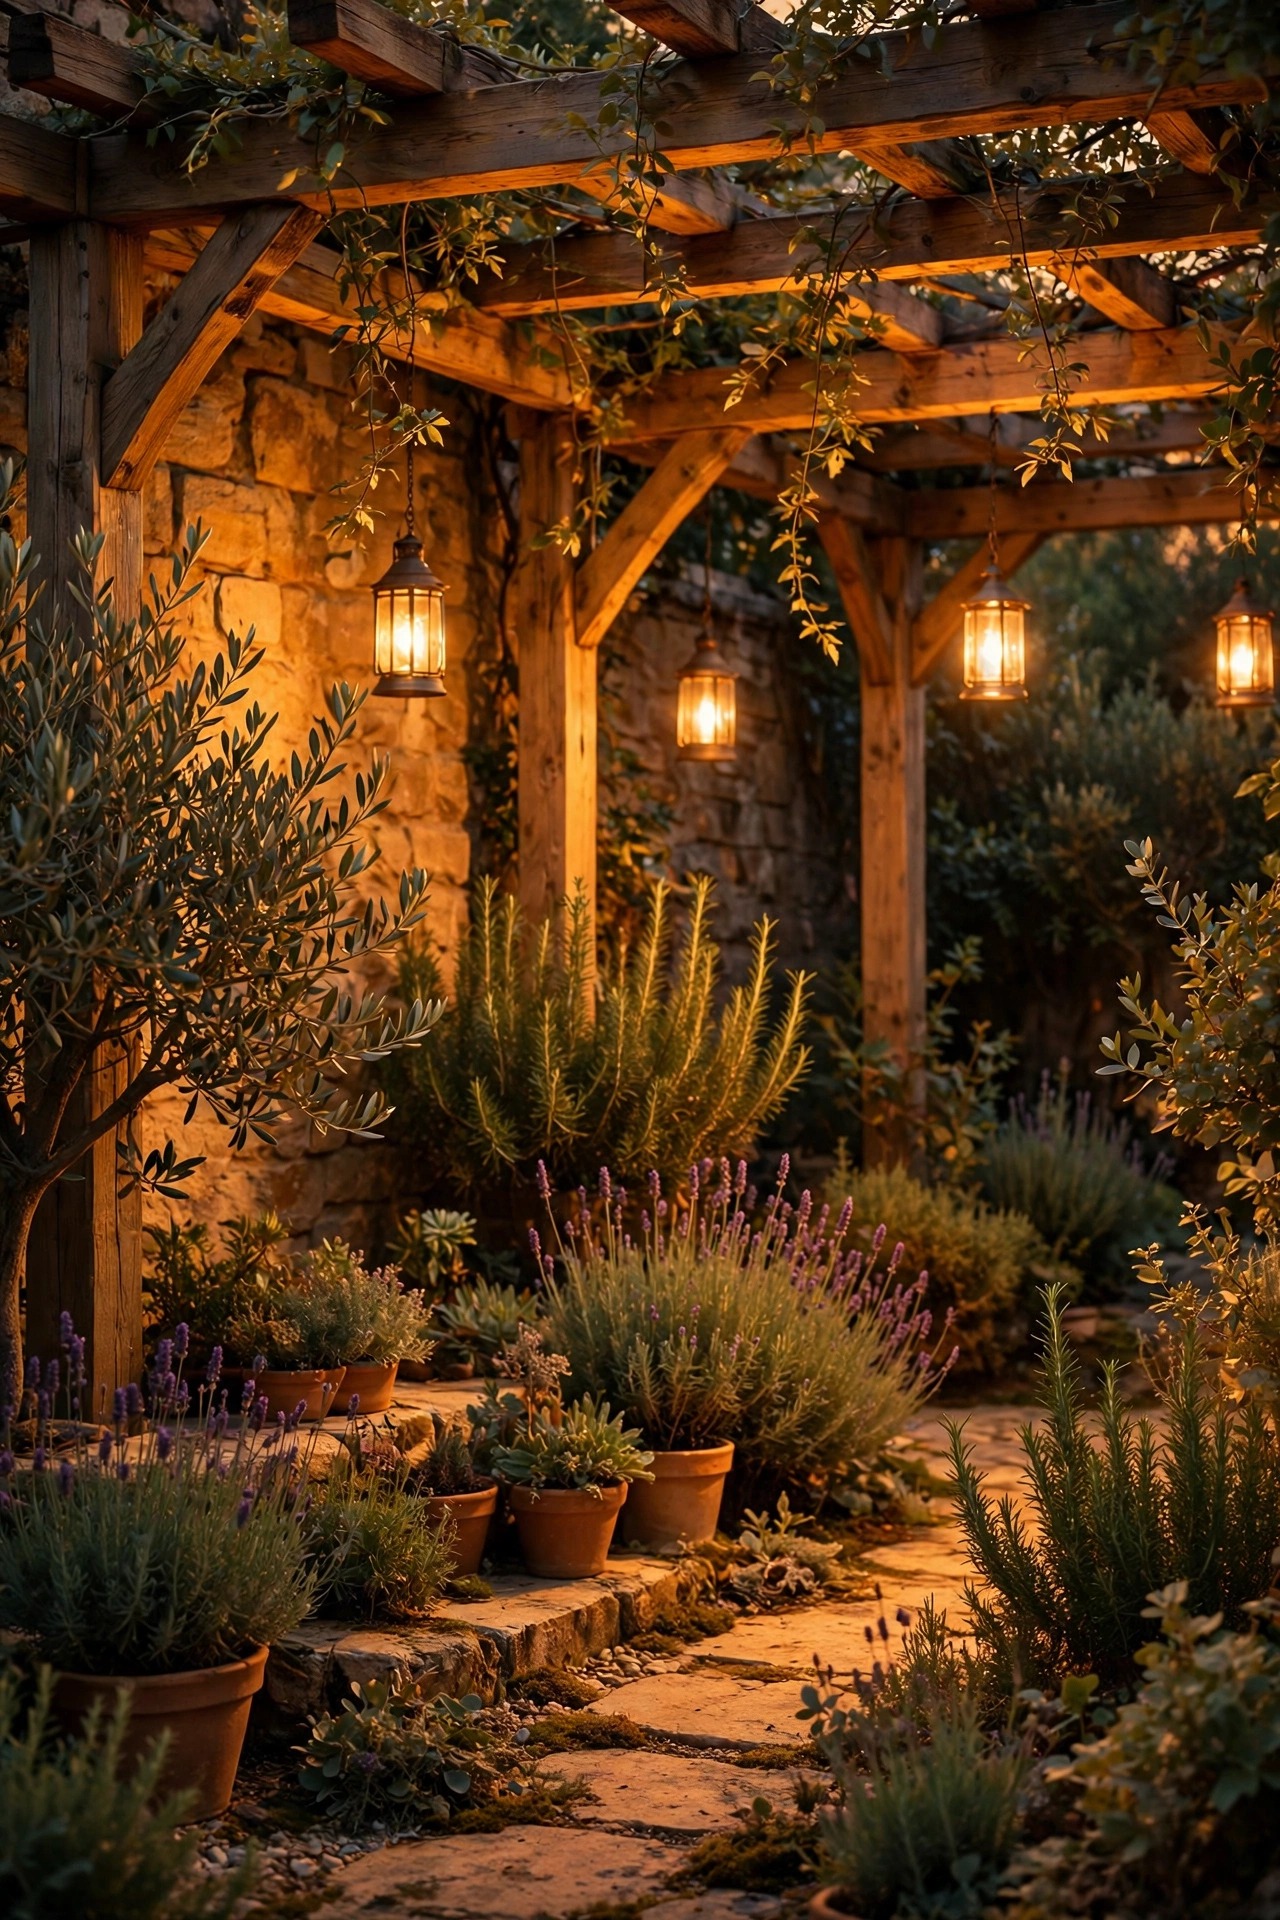
The garden gate is a threshold, and thresholds deserve ceremony. A matching pair of small lanterns — one on the gate post, one on the arbor upright — tells visitors they are entering somewhere loved. Keep the pair identical and at the same height, about 5 feet up, because symmetry reads as intention even in a wild garden. Solar lanterns with dusk sensors are perfect here since gates usually sit far from outlets. If your arbor carries roses or grapevine, weave one short copper-wire strand along the top beam only, and keep every bulb LED and cool-running near the vines. Never drape plug-in string lights where a swinging gate can pinch the cord. I repainted my gate a deep barn red the year I added its lanterns, and the combination stopped walkers on the lane more than once. A lit gate also does practical work: it marks the garden's edge for anyone arriving after dark with a casserole and a flashlight between their teeth.
Suggested budget range: $55 – $170.
14. Cross-Light Boulders and Stone Groupings
Big stones are free sculpture, and cross-lighting them is the easiest drama in the garden. Set two small spotlights at angles — one from the front left, one low from the right — so the boulder gets a bright face and a shadowed side instead of a flat flood. Fixtures 18 to 30 inches away, aimed with a narrow 24 to 36 degree beam, usually do it. One light alone makes a stone look like a lit potato; the second angle is what reveals the crags. Tuck the fixtures behind smaller rocks or clumping grasses so the source disappears. Warm light only, and dimmer than the tree lighting — boulders are supporting actors. This trick also works on a cherished piece of driftwood, an old plow, or a stack of flat stones by the pond. In winter, when the beds are bare, the lit stone groupings carry the whole garden, and I find myself standing at the window with tea just looking at them under a dusting of snow.
Suggested budget range: $75 – $200.

15. Give the Vegetable Patch and Raised Beds Their Own Soft Light
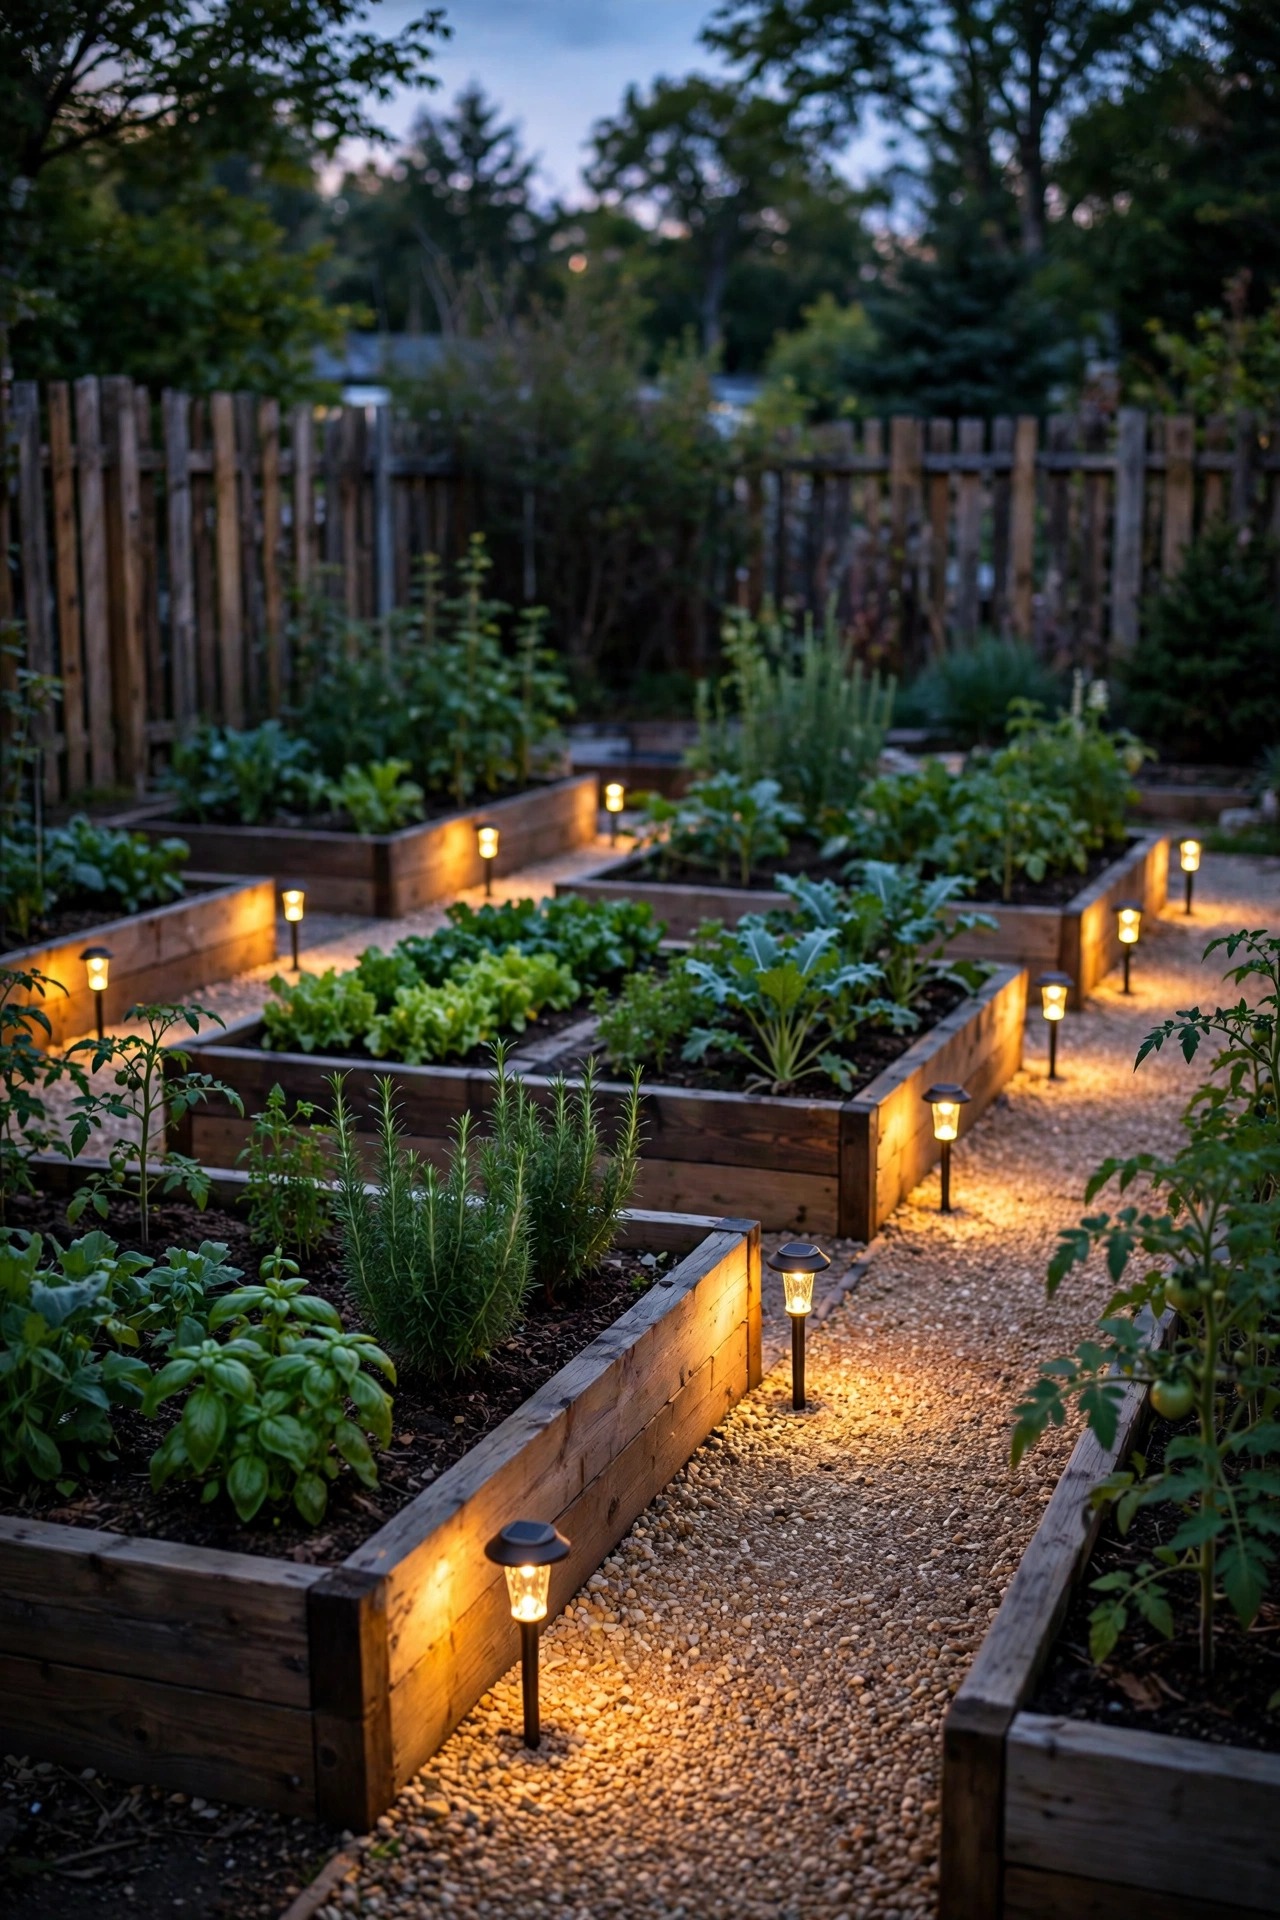
The working end of the garden deserves light too — you will harvest lettuce at dusk all summer, and a flashlight in your teeth is not a system. Low solar stakes along the bed paths, kept under 12 inches tall, put light on the ground where your feet and the hose need to go without blasting the tomatoes. I run one short string of warm bulbs along the fence behind my beds for harvest light, on a timer that shuts off by ten so the plants and the neighbors both get their dark. Raised beds take light beautifully on their outer corners; I mounted small downward fixtures on two bed corners and wrote up the full layout in my raised bed garden lighting ideas. Keep fixtures out of the soil inside the beds, since they will heave with frost and get hoed by accident — ask me how I know. A lit veg patch also discourages the midnight salad bar visits from rabbits, at least a little, and it makes the evening watering round feel like a stroll instead of a chore.
Suggested budget range: $45 – $130.
16. Glow the Birdbath and Small Pond Safely
Water doubles every lumen you give it, so the birdbath and pond need a gentle hand and proper ratings. For a pond, use only submersible fixtures rated IP68, fed from a GFCI-protected outlet, with the transformer and connections kept above the waterline and out of the splash zone. One small warm light tucked behind the waterfall rock or under the pond's edge lip makes the surface shimmer without turning it into an aquarium. For a birdbath, skip submersibles — a single low spotlight from the bed behind it, aimed across the bowl, catches the ripples when the evening birds splash. Keep light off the water after about ten at night; frogs and night insects need their dark hours, and a timer makes that effortless. Never set a standard path light where it can topple into the water, and check cords each spring for chew marks. The first night I lit our little pond, a green frog took up residence on the lit rock like a king on a throne, and he returns every summer.
Suggested budget range: $65 – $210.

17. Set Timers and Photocells So the Garden Lights Itself
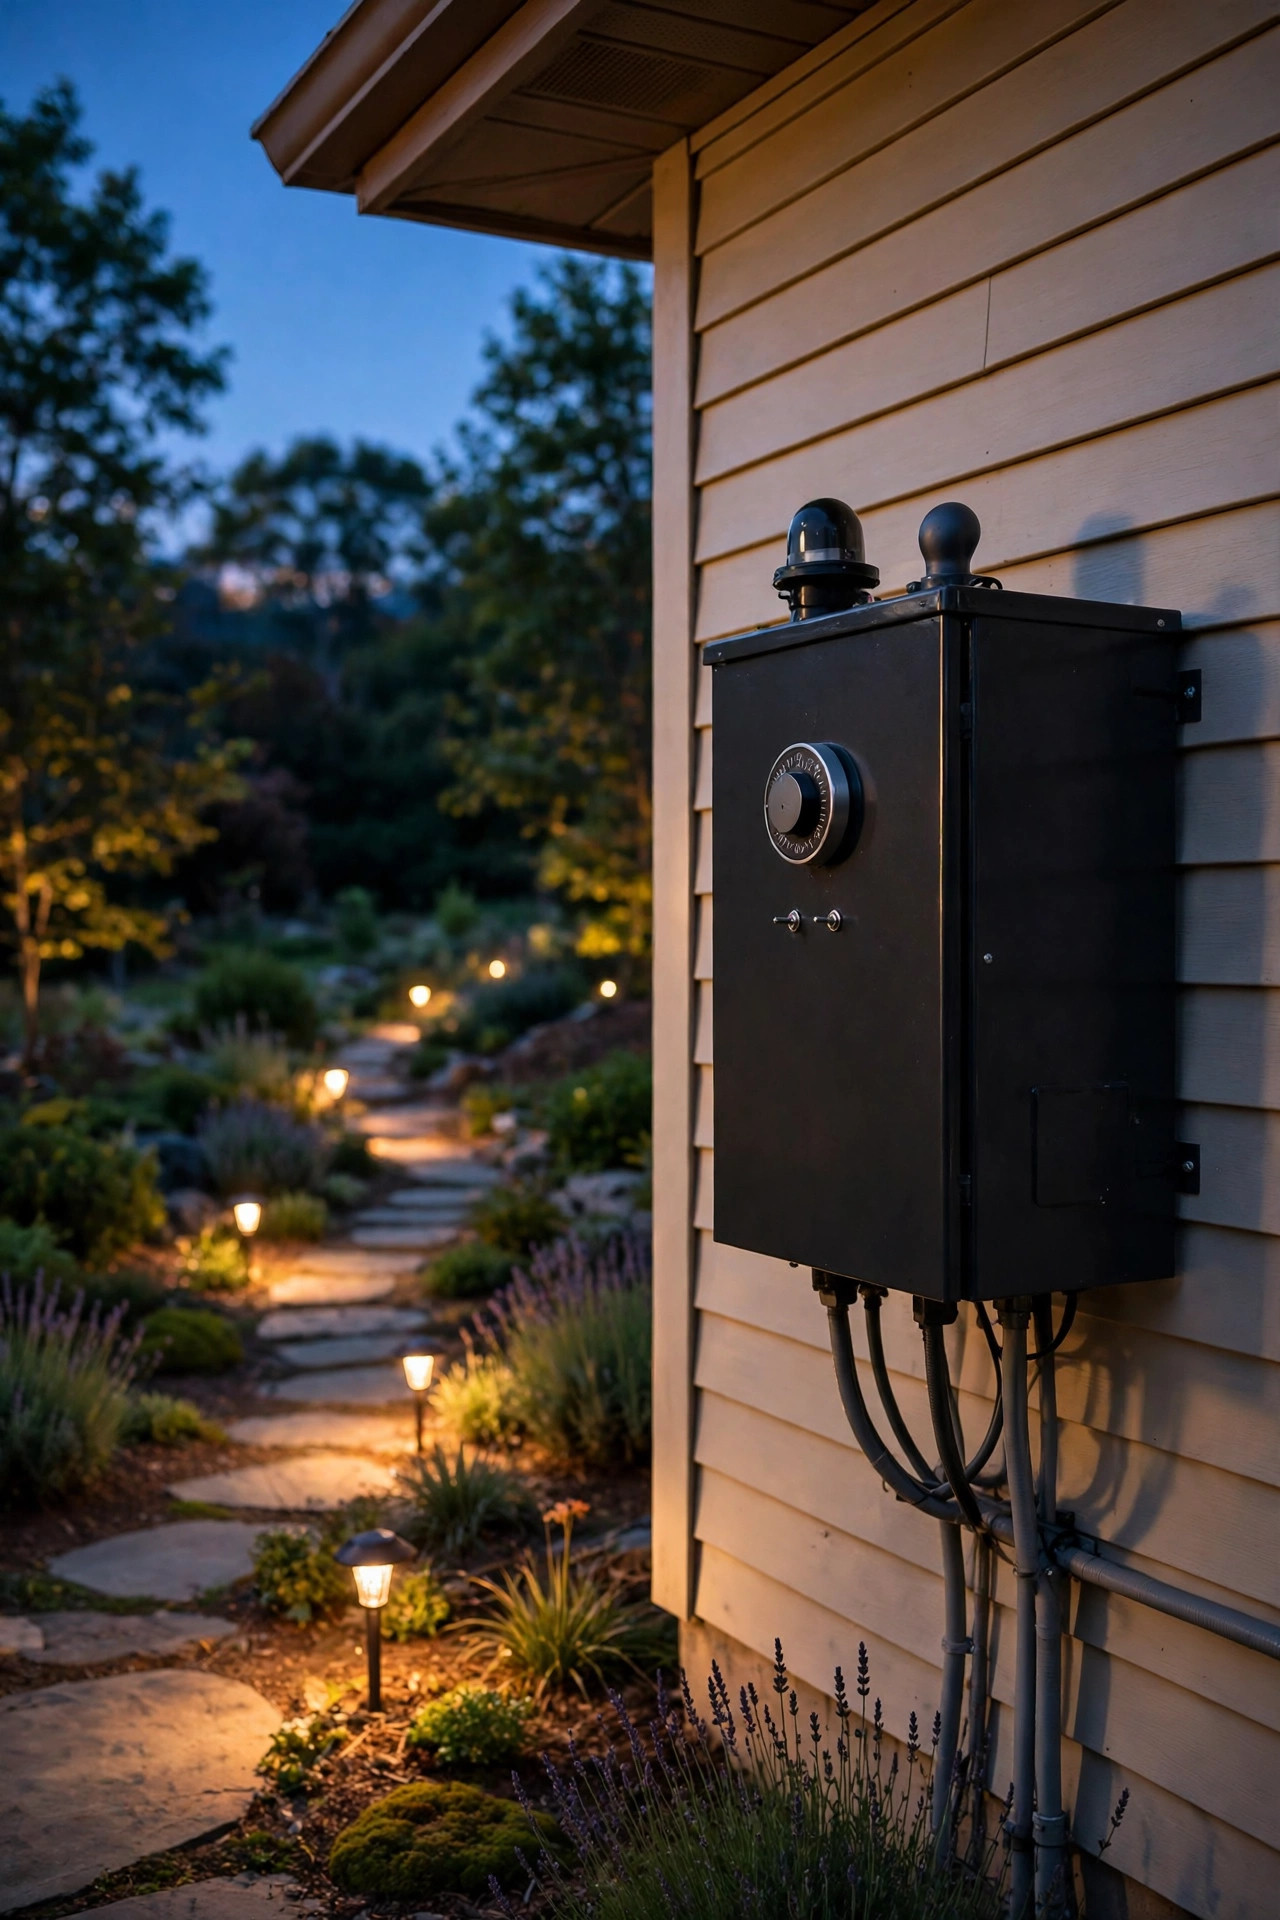
The best lighting system is the one you never think about. A photocell on the transformer turns the wired lights on at dusk without any programming, and a simple timer shuts them down at eleven, when the garden goes back to the owls. For solar pieces, the sensor is built in — just keep the little panel clean and unshaded. I run my garden in two moods: full welcome from dusk to nine, then only the path layer and the gate lantern stay on until eleven, which saves power and keeps the sky dark enough for stars. Astronomic timers are worth the small upgrade if your seasons swing wide, since they track sunset instead of a fixed clock time. Label each zone at the transformer with a tag — path, tree, fire circle — because future-you, standing in November rain with a dead zone, will be grateful. Honestly, automation is what turns a pile of pretty fixtures into a garden that greets you every single evening like it means it.
Suggested budget range: $30 – $110.
18. Commit to One Warm Temperature: 2700K or Warmer
If you remember one number from this whole list, make it 2700. That is the color temperature — in kelvin — of classic candlelight-adjacent bulb glow, and it is what makes wood look honeyed, stone look warm, and skin look like a summer evening. Mix in one 4000K bulb and the spell breaks; that corner of the garden suddenly looks like a dentist's office. When you buy solar fixtures, check the listing for warm white or a kelvin number, since the cheapest sets often ship icy blue-white with no warning. Amber 2200K lights are a lovely exception for a few accents — they read as firelight — but keep them as seasoning, not the main dish. I keep a spare-parts bin sorted by temperature, because bulbs wander between fixtures over the years. Do the squint test from the porch: if one light looks whiter than the others, swap it out. Color discipline costs almost nothing, and it is the difference between a garden that looks gathered and one that looks bought in a hurry.
Suggested budget range: $20 – $90.
19. Finish With the Dusk Walk-Through Your Rustic Garden Lighting Ideas Deserve
The last idea is really a ritual, and it is the one that makes all the others work. Once everything is installed, wait for full dark, pour something warm, and walk the whole garden slowly — the paths your guests walk, the bench where you sit, the view from the road, and the view back from the far gate. You will spot the same three problems every time: one fixture glaring into the bench seat, one corner you meant to be mysterious that is just plain black, and one light aimed at the sky instead of the stone it was bought for. Adjust angles by hand, kick a little mulch over a too-visible base, and swap the one bulb that reads white. Take phone photos from the porch and the lane; glare you miss in person jumps out in pictures. Repeat the walk at the turn of each season, since shrubs grow into beams and frost heaves stakes. These rustic garden lighting ideas are not a set-and-forget purchase — they are a garden habit, and the walk-through is how the woodland soul gets in.
Suggested budget range: $0 – $60.
Frequently Asked Questions
What color temperature looks best for rustic garden lighting?
Warm, always. I use 2700K for nearly everything because it flatters wood, stone, and skin, and I season with a few amber 2200K accents near the fire bowl where a firelight tone makes sense. Avoid 4000K and above anywhere in the garden — that blue-white light belongs in a workshop, and one cool bulb will break the woodland mood of the whole yard. If a solar fixture does not list its temperature, assume it runs cool and test one before buying a set.
Can solar lights really handle a whole rustic garden?
Solar handles the accent and path layers beautifully in a sunny yard — lanterns, stakes, bollards, and post caps all do fine on six to eight hours of sun. Where solar struggles is shade and power: a moonlighting fixture in a tree or a strong uplight for a big oak needs wired low-voltage to stay bright all evening. My own garden mixes both, solar for the far beds and fence, wired for the trees, wall, and path backbone, and the blend is seamless at 2700K.
How do I keep rustic fixtures from rusting out or rotting in a season?
Choose materials that age on purpose: galvanized steel, copper that patinas, powder-coated aluminum, and cedar or oak for wood mounts. Keep fixture bases slightly raised on stone or gravel so they never sit in wet mulch, and check that every outdoor fixture carries at least an IP65 rating. A spring wipe-down and one check of seals and cable connections each year will carry most fixtures past five seasons easily. Pine and untreated mild steel are the two materials I would skip entirely outdoors.
How much does it cost to light a whole rustic garden?
A starter layer — mason jar lanterns, fairy lights, and firefly stakes — runs $150 to $300 and already changes the evening completely. A full layered garden with wired path lights, a tree uplight, and a wall wash typically lands between $600 and $1,500 spread over a season or two. Running costs are tiny: a dozen LED fixtures on a low-voltage transformer use roughly the power of one old porch bulb, usually a few dollars a month on a timer.
Conclusion
A rustic garden at night should feel like the woods decided to be friendly — warm pools of light, honest materials, and plenty of kind dark in between. If these rustic garden lighting ideas leave you with one principle, make it this: layer the light low, keep it at 2700K, and let wood, stone, and copper do the decorating. Start with the mason jars this weekend if you like, then add a layer each season as the garden tells you what it needs. For a wider tour of styles and layouts, browse my full collection of garden lighting ideas — and I will see you out there at dusk, lantern in hand.