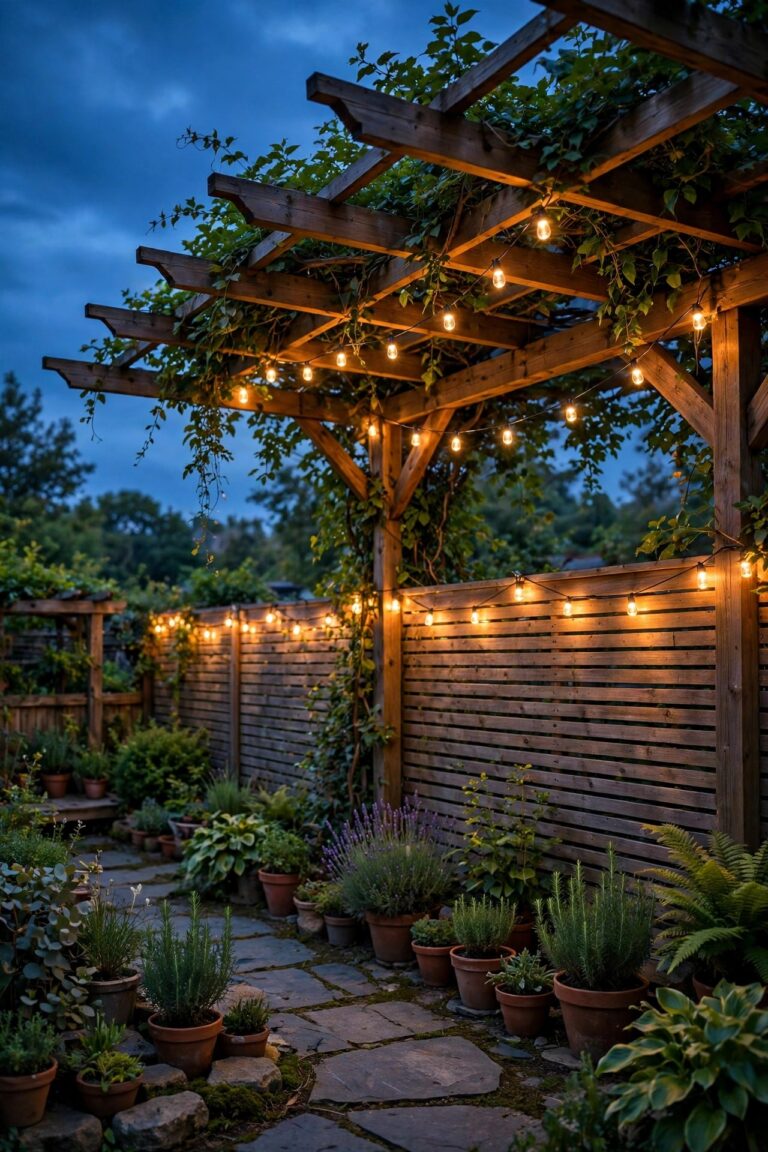
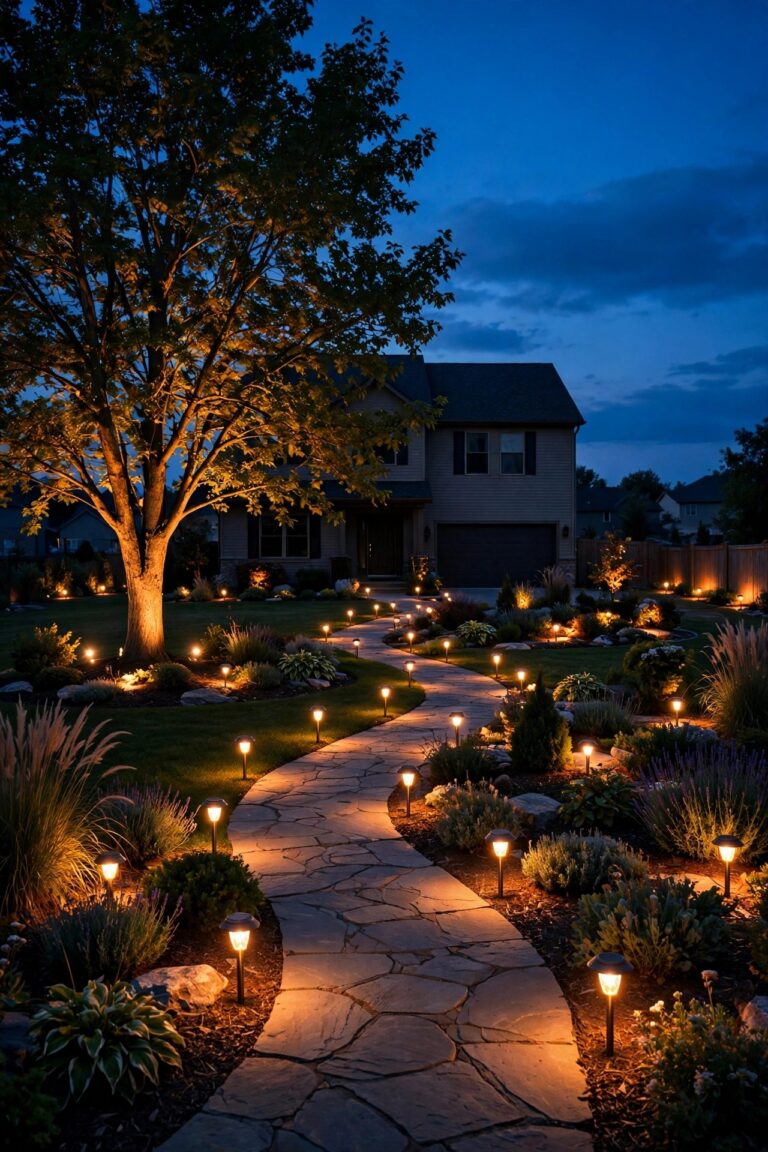
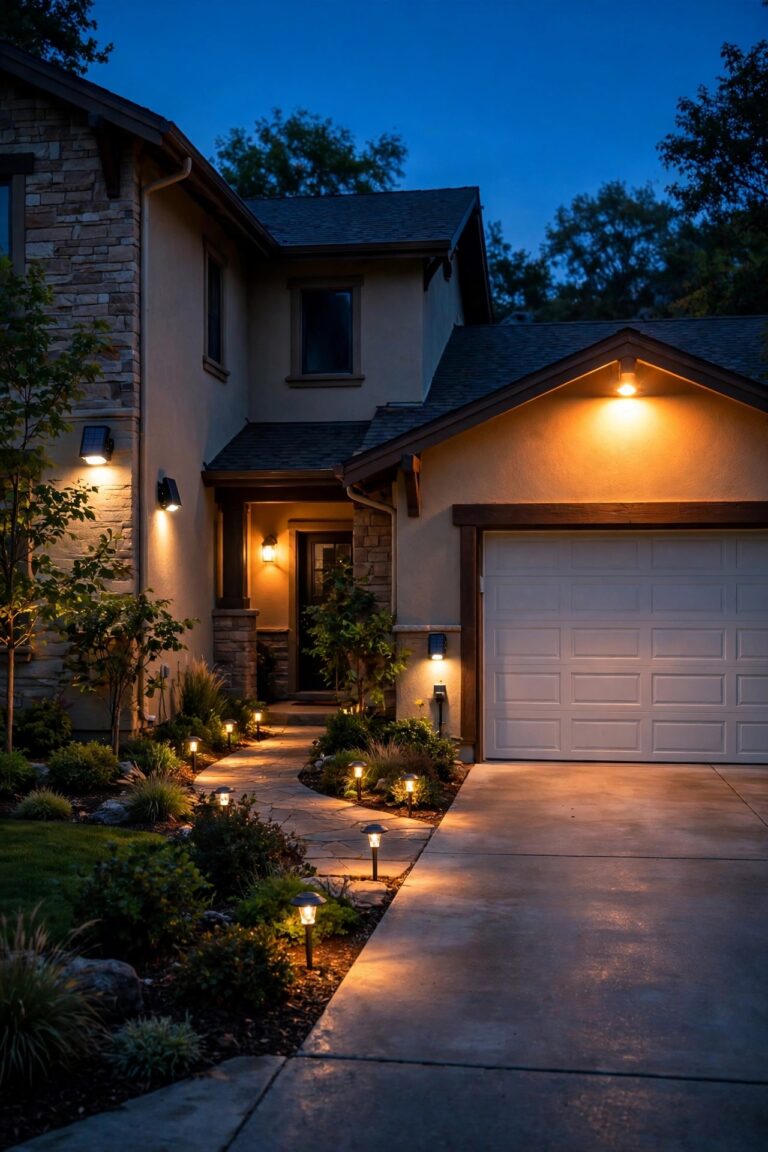
A wine tasting night lives or dies by its light. Too bright and the patio feels like a parking lot; too dim and nobody can see the color of the pour, which is half the fun. After hosting more backyard tastings than I can count, I have learned that the best outdoor wine night lighting ideas are never about one big fixture. They are about layers: a soft canopy overhead, a warm glow at table height where the glasses catch the light, and a gentle guide of light at ground level so guests can move between the tasting table, the snack station, and the fire pit without fumbling in the dark. Every idea below follows that same three-layer formula, scaled for an evening built around good bottles and slow conversation. Mix two or three and your patio will feel like a little vineyard courtyard. Pour yourself a glass and let us plan it.
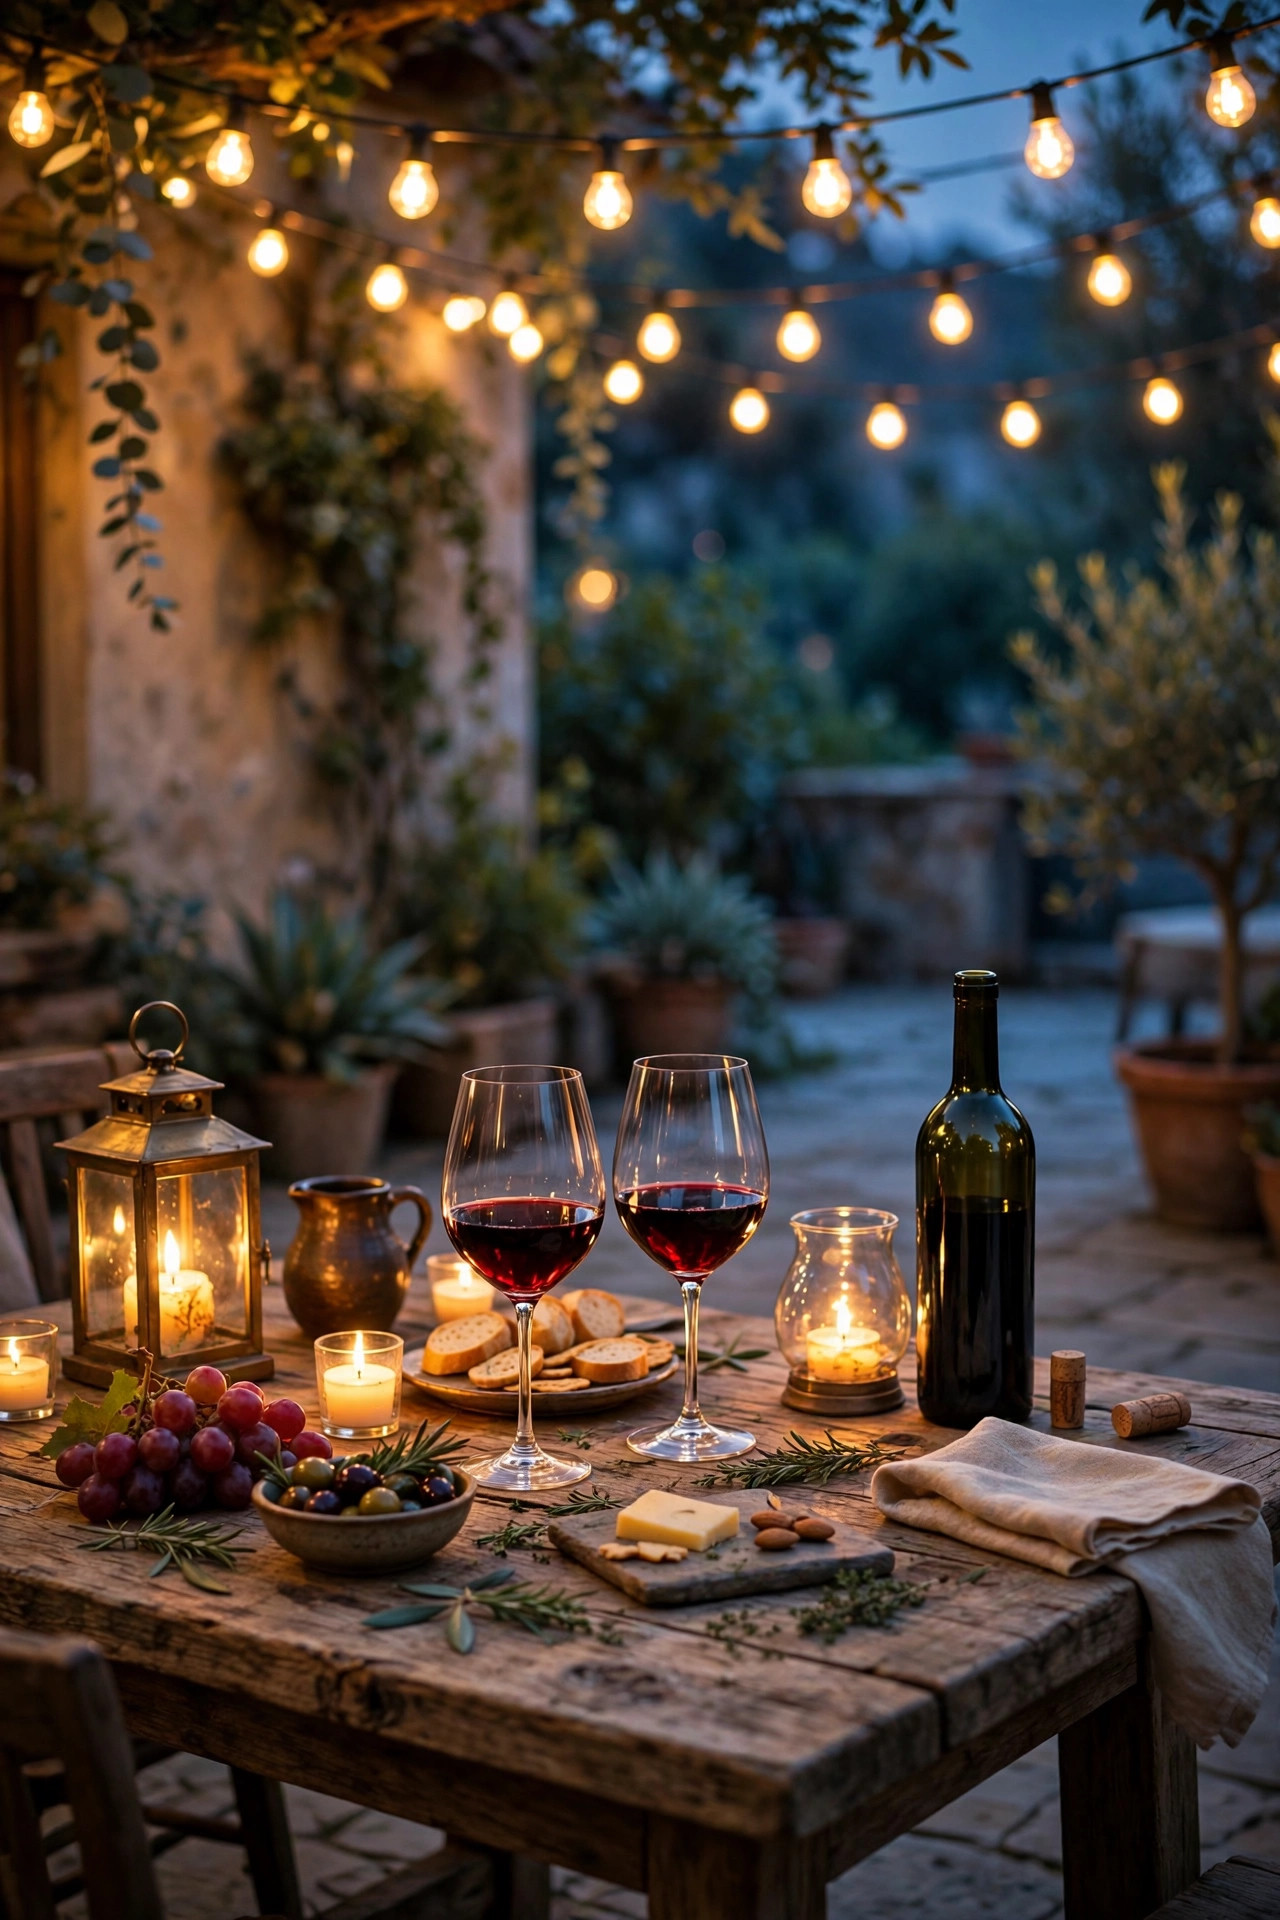
1. Outdoor Wine Night Lighting Ideas: Start With a Three-Layer Plan
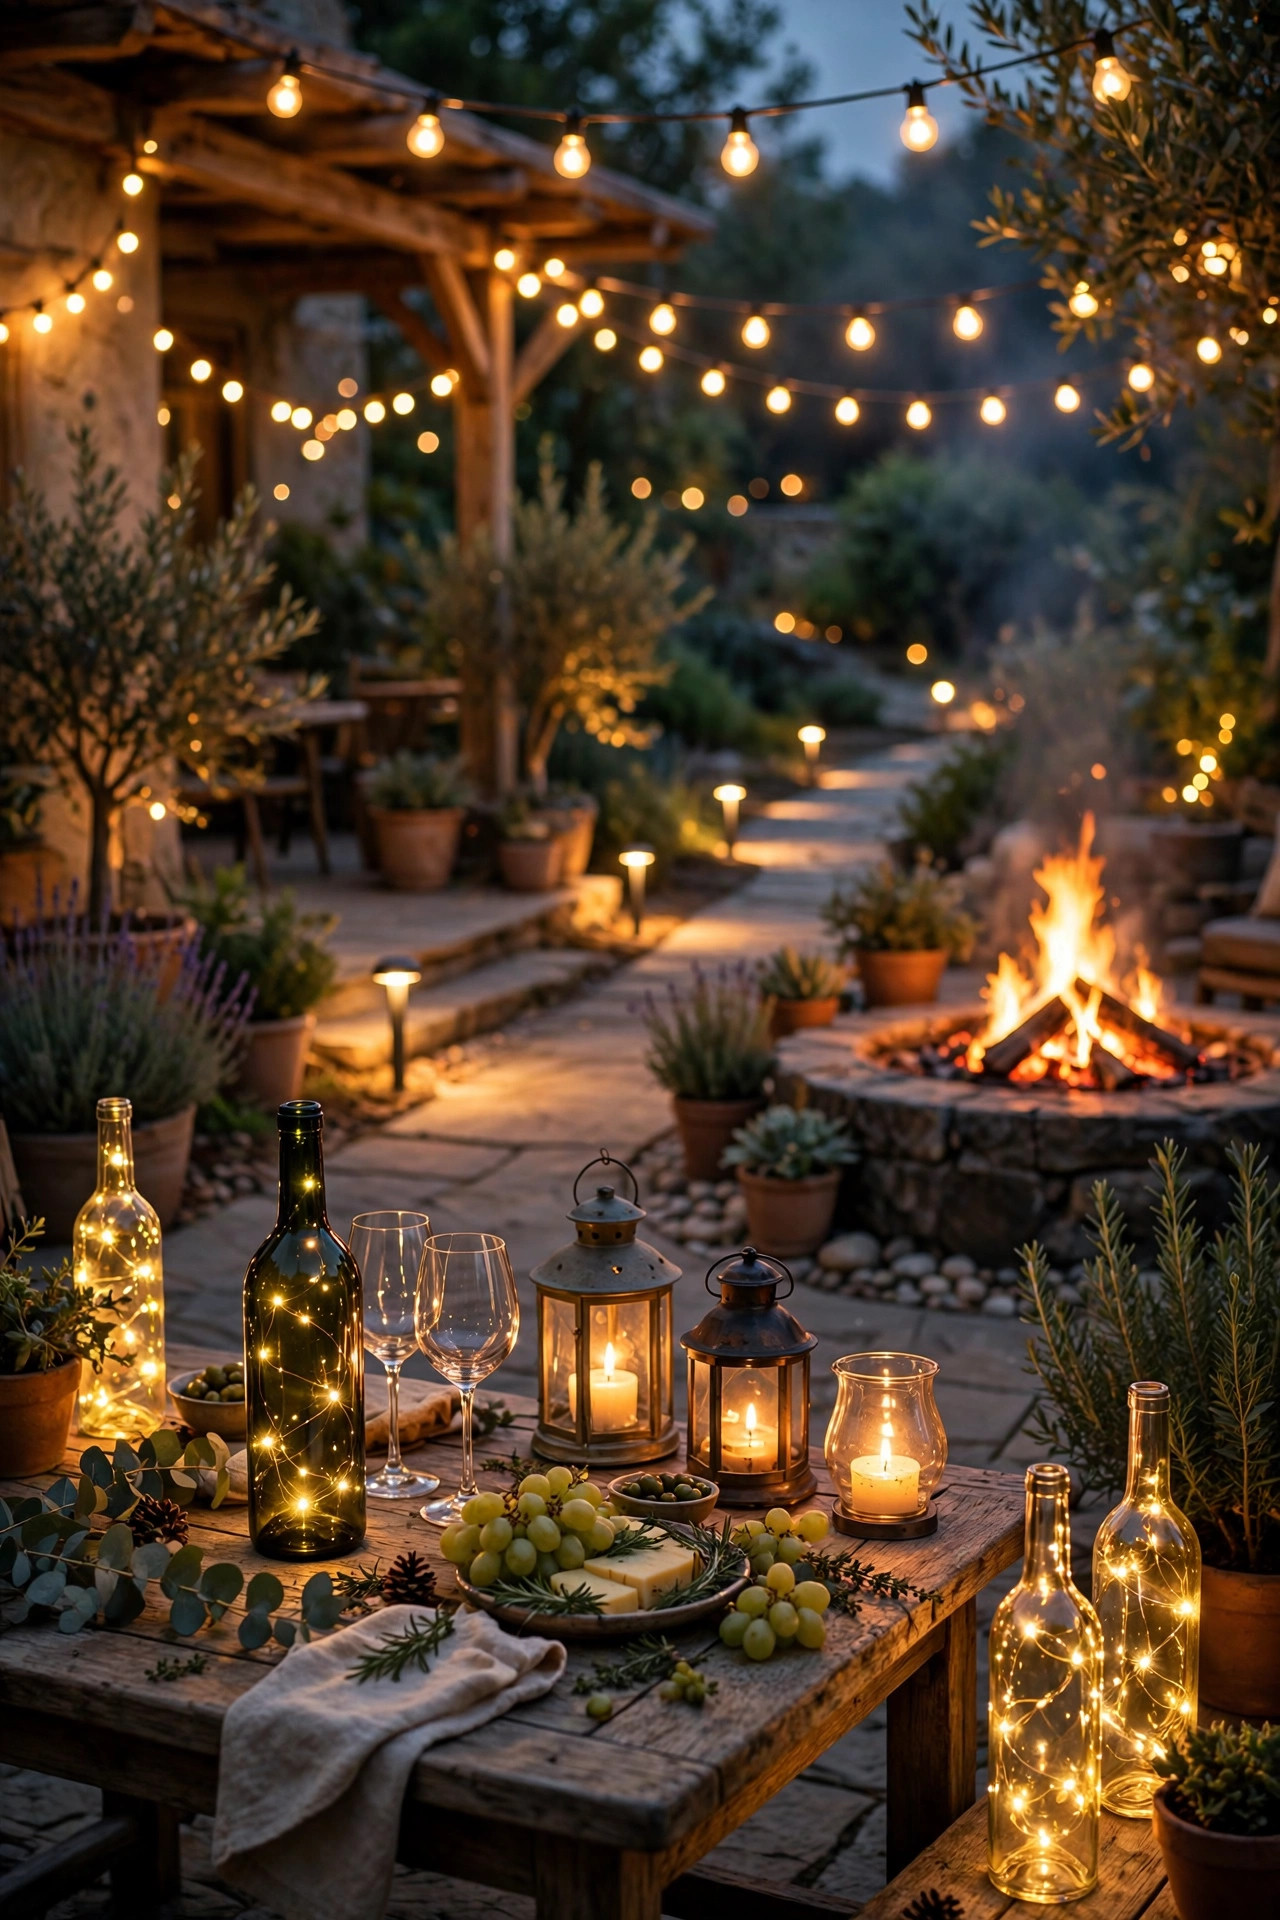
Before you buy a single bulb, sketch the evening in three layers, because this one plan holds every other idea together. Layer one is overhead: string lights, a pendant, or pergola lights that give the whole gathering a soft ceiling of glow. Layer two is table height: lanterns, candles, and bottle lights that put sparkle right where the wine is poured and where faces need flattering light. Layer three is the ground: path lights, step lights, and solar stakes that quietly mark the route from the back door to the table and out to the garden. In my experience, tastings feel magical when no single layer does all the work. Keep each layer dimmable or spaced so you can run the overhead lights low once the candles are lit. A simple rule I follow: if a guest can read the wine label without squinting and still see the stars, the layers are balanced. Start here, then pick your favorite pieces from the rest of this list to fill each layer in.
Suggested budget range: $40 – $120.
2. Swag Cafe String Lights Over the Tasting Table
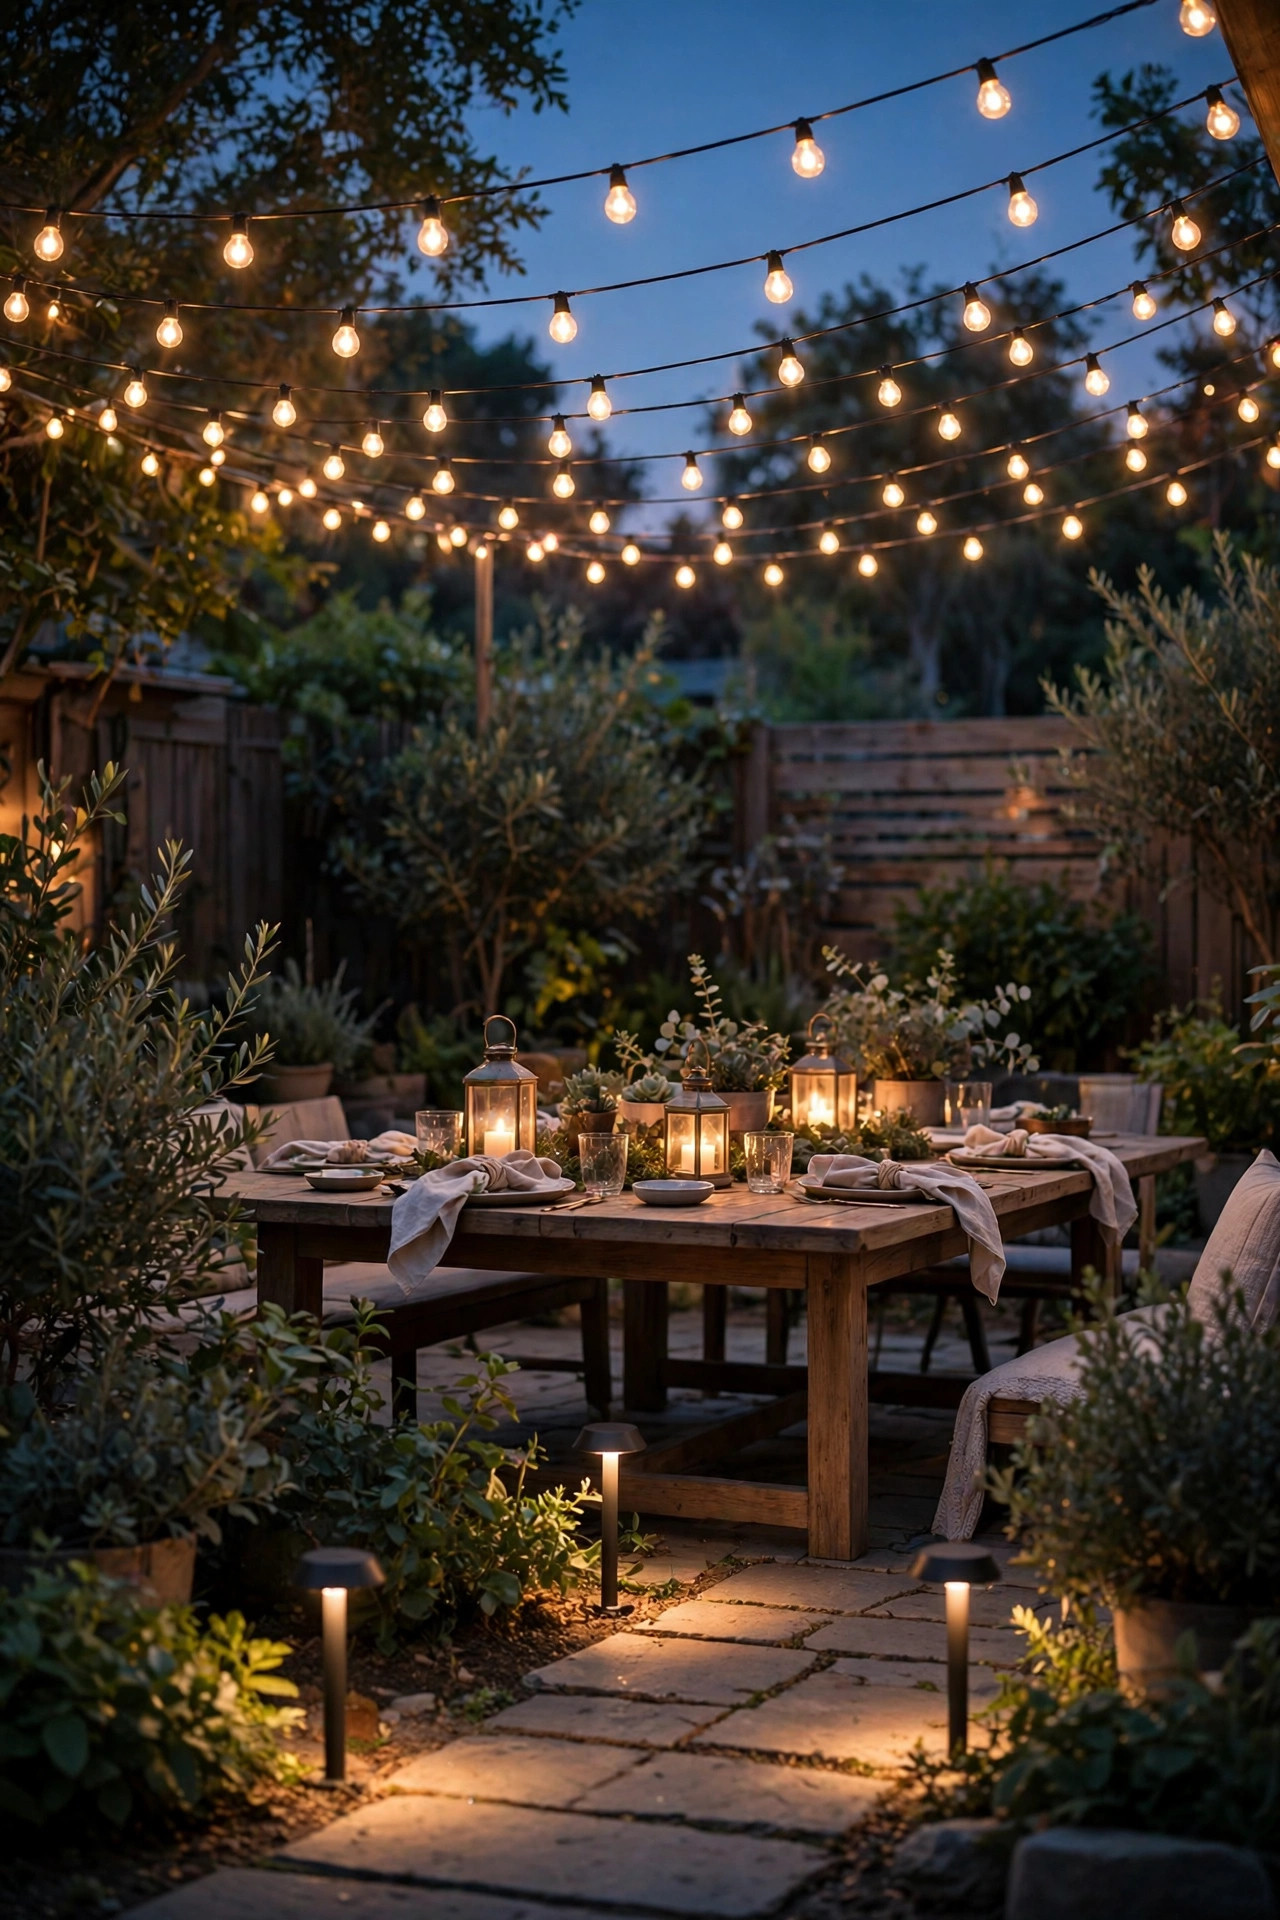
The overhead layer almost always starts with cafe string lights, and for a wine night they are hard to beat. I run two or three strands in gentle swags above the table, anchored to the house and a pair of poles or a pergola, hanging them about 7 to 8 feet above the tabletop so the glow pools on the glasses without shining in anyone's eyes. Choose shatterproof LED filament bulbs in a warm 2700K; they give that amber, bistro feel and sip electricity, so a whole evening costs pennies. Space the strands 2 to 3 feet apart for even coverage, and put them on a plug-in dimmer so you can drop the light as the night deepens and the candles take over. If you love this look, my guide to bistro string light ideas covers hanging hardware and span tricks in detail. One caution: keep bulbs at least a few inches from foliage and fabric, and use outdoor-rated strands with sealed sockets for any chance of dew or drizzle.
Suggested budget range: $35 – $90.

3. Run Flameless Candle Lanterns Down the Table Center
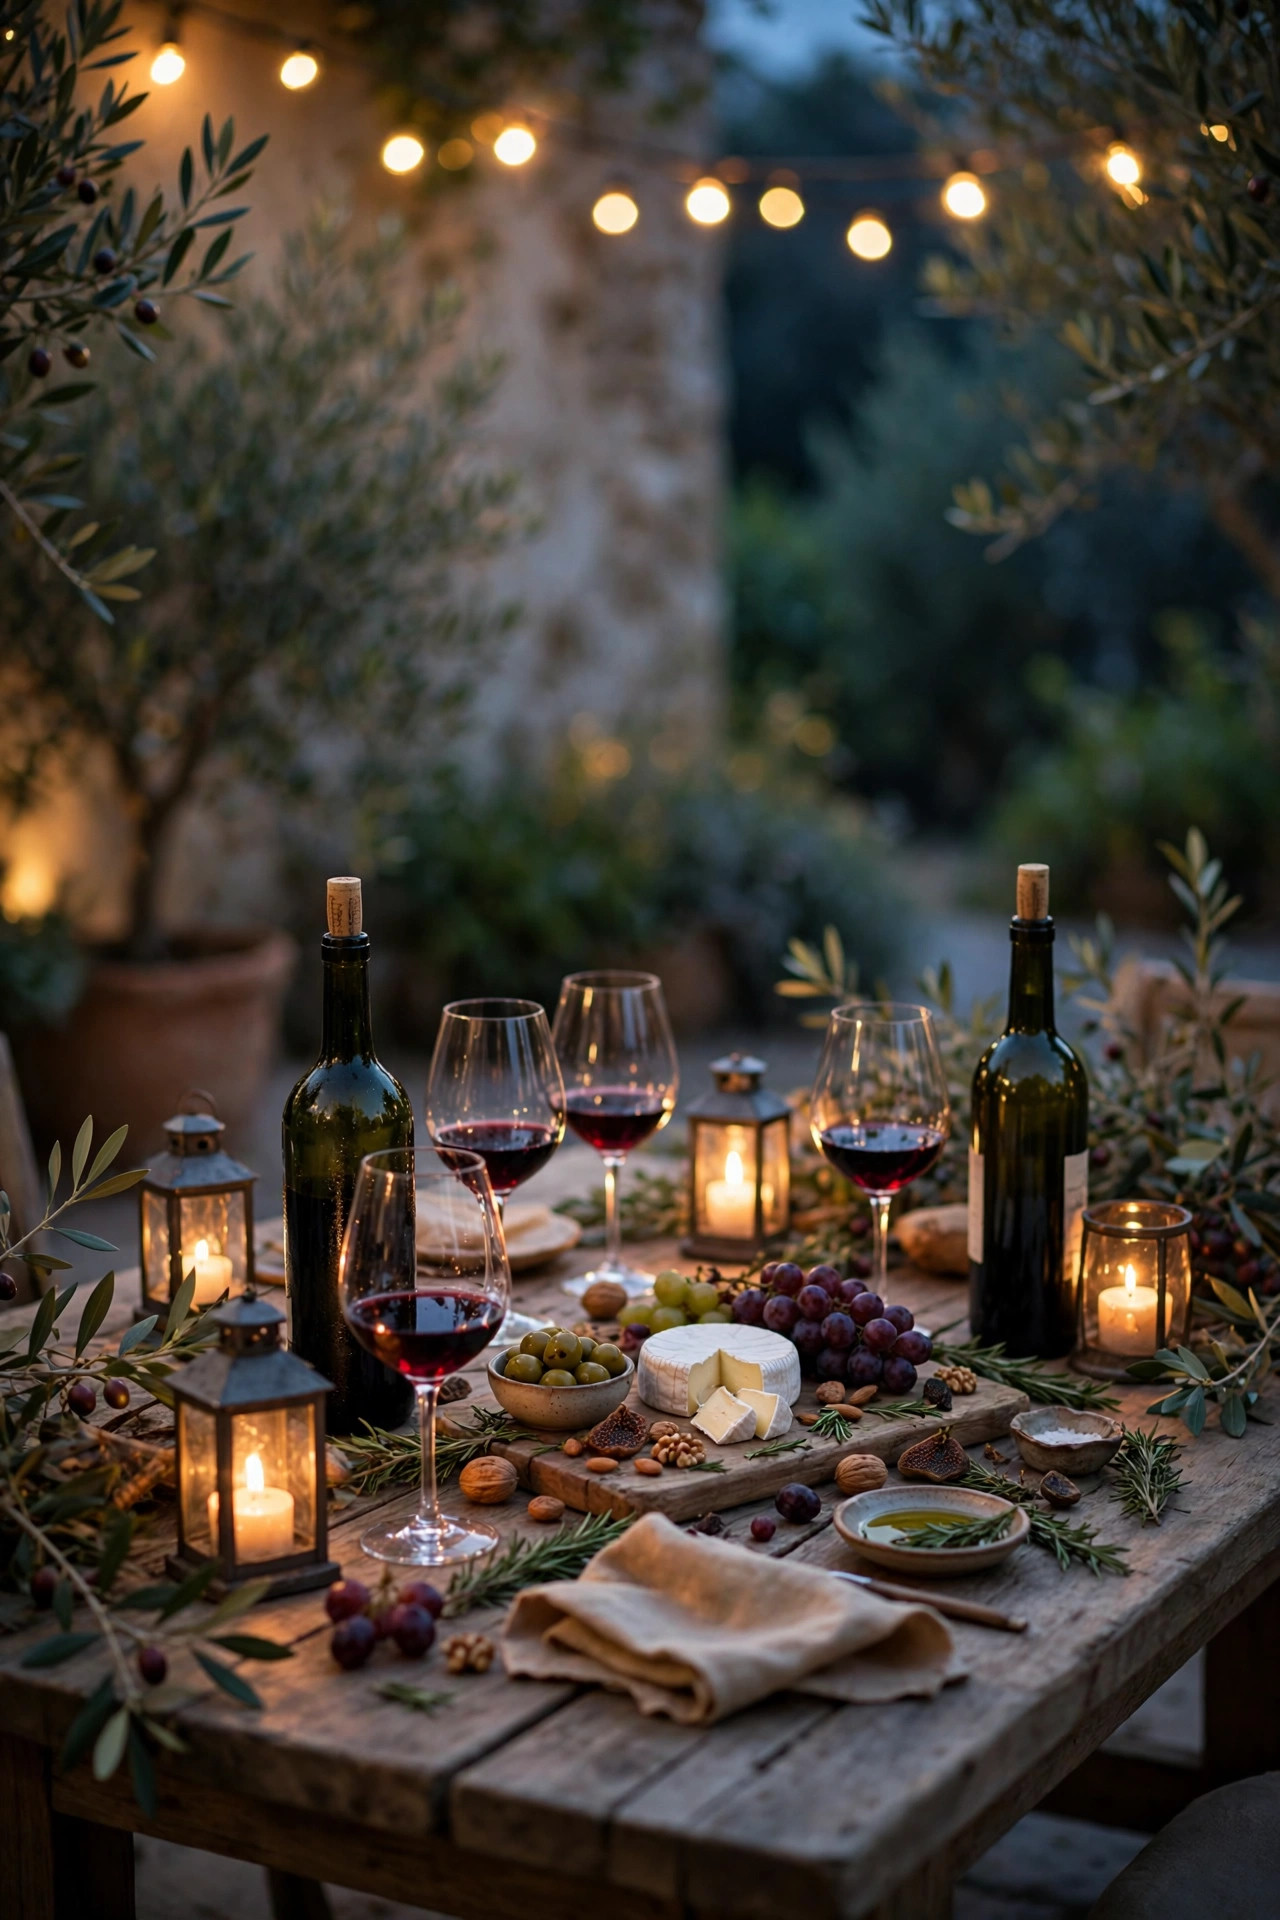
Table height is where a wine night gets its sparkle, and a row of flameless candle lanterns down the center of the table is my most reliable trick. The flicker reads as candlelight on every glass, but there is no open flame near napkins, corks, or a guest reaching across for the decanter. I mix lantern heights, taller ones near the center and shorter toward the ends, and tuck in a little greenery or a few loose grapes so the line feels like a vineyard table rather than a runway. Look for lanterns with timers; set them once at dusk and they will glow for five hours and switch themselves off after everyone has gone in. Battery candles also keep the light steady in a breeze, which real candles on a patio rarely manage. Group them in odd numbers and leave clear space at each place setting so glasses and small plates never crowd the glow. It is the cheapest layer to build and the one guests photograph most.
Suggested budget range: $25 – $70.

4. Turn Empty Bottles Into Wine Bottle Lights
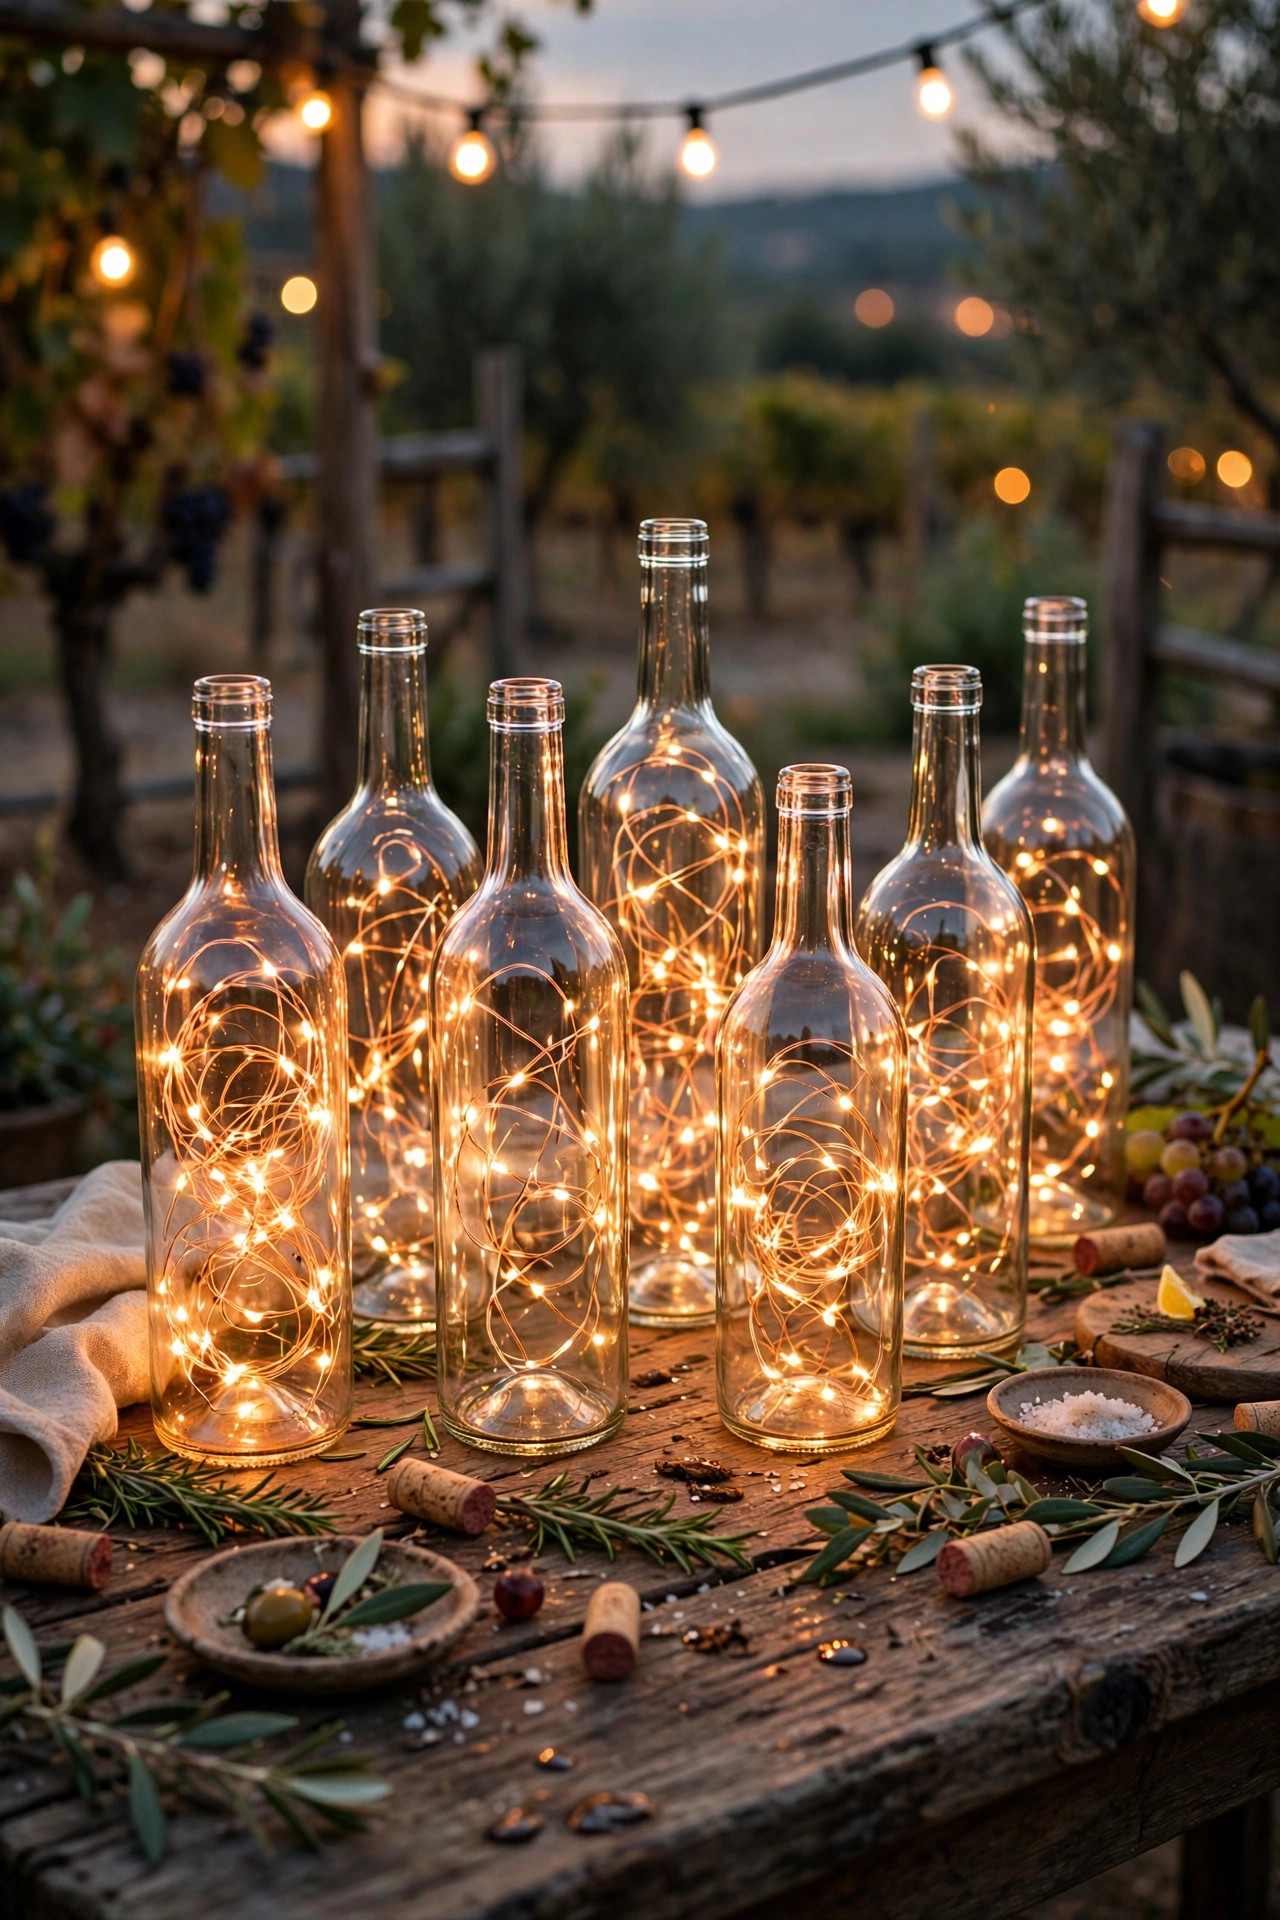
This is the idea guests ask about all night: yesterday's empties, washed and dried, with a strand of copper-wire fairy lights dropped inside. The glass tints the light, so a green bottle throws a soft olive glow and a clear bottle sparkles like a little lantern. I save bottles from the week before the tasting and make one per guest as a place marker, or cluster three bottles of different heights at the end of the table beside the water pitcher. The cork-style battery packs that sit in the bottle neck are the easiest option; switch them on at dusk and they run the whole evening. Keep the bottles on a tray or runner so they stay put when the table gets busy, and skip any bottle with a crack or chip. Honestly, this is recycling at its prettiest, and it costs almost nothing if you already drink the wine. It also gives the table a story: that glowing bottle is the one we opened first.
Suggested budget range: $10 – $30.
5. Use Hurricane Lanterns When the Evening Is Breezy
Every patio has that one corner where the breeze finds the table, and that is where hurricane lanterns earn their keep. The tall glass chimney shields a real candle or a flameless pillar from gusts, so the flame stays upright and the light stays calm instead of guttering. I set one large hurricane at each end of the tasting table and smaller ones along a sideboard or the steps, mixing metal frames with clear glass for a collected, vineyard feel. If you burn real candles, choose unscented pillars so nothing competes with the wine, and keep the lanterns on stable, level surfaces away from table edges and trailing tablecloths. LED pillars give the same look with zero worry, and most come with a remote. For more shapes and finishes, browse the lantern styles already in your collection before buying new; mismatched is charming here. A row of hurricanes along a low wall also doubles as a soft boundary that tells guests where the tasting space ends.
Suggested budget range: $30 – $85.

6. Hang One Statement Pendant Over the Table
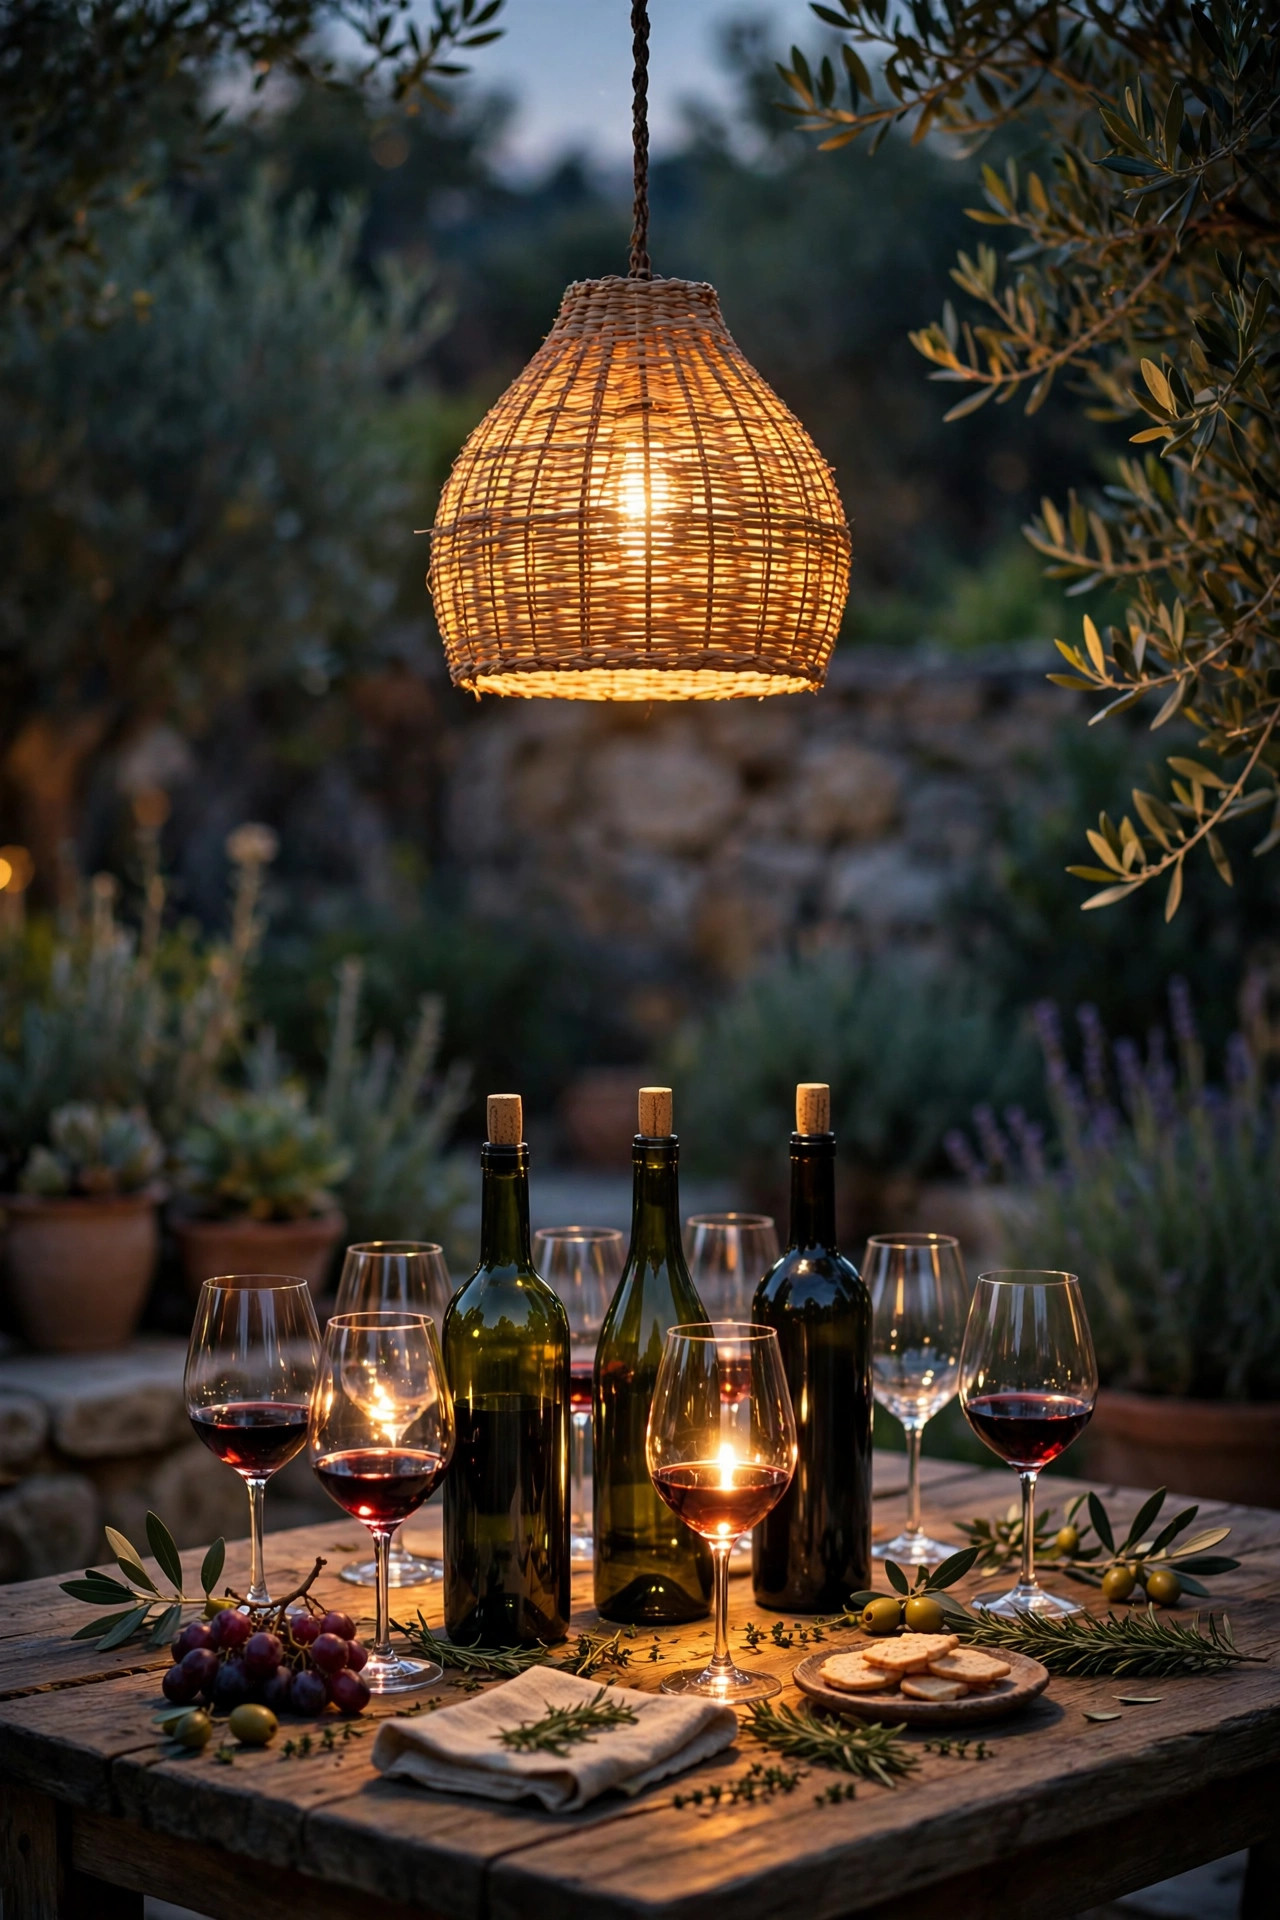
If your tasting table sits under a pergola or a covered patio, a single statement pendant gives the evening a center of gravity. I like a woven rattan or black metal pendant hung so the bottom of the shade sits about 30 inches above the tabletop, fitted with a warm dimmable LED bulb. That pool of light lands exactly on the bottles and glasses, and faces stay softly lit rather than shadowed from directly overhead. On an open patio, a plug-in pendant on a shepherd's hook arm or a string light pole with a hook can fake the same look for one night. Keep the bulb warm, 2700K, and never brighter than about 800 lumens; a tasting table wants glow, not glare. My pergola dining lighting ideas walk through heights and shade sizes if you want the full math. Add a dimmer and the pendant becomes your master control for the whole mood of the night.
Suggested budget range: $45 – $140.
7. Uplight the Trellis, Vine, or Garden Wall Behind the Table
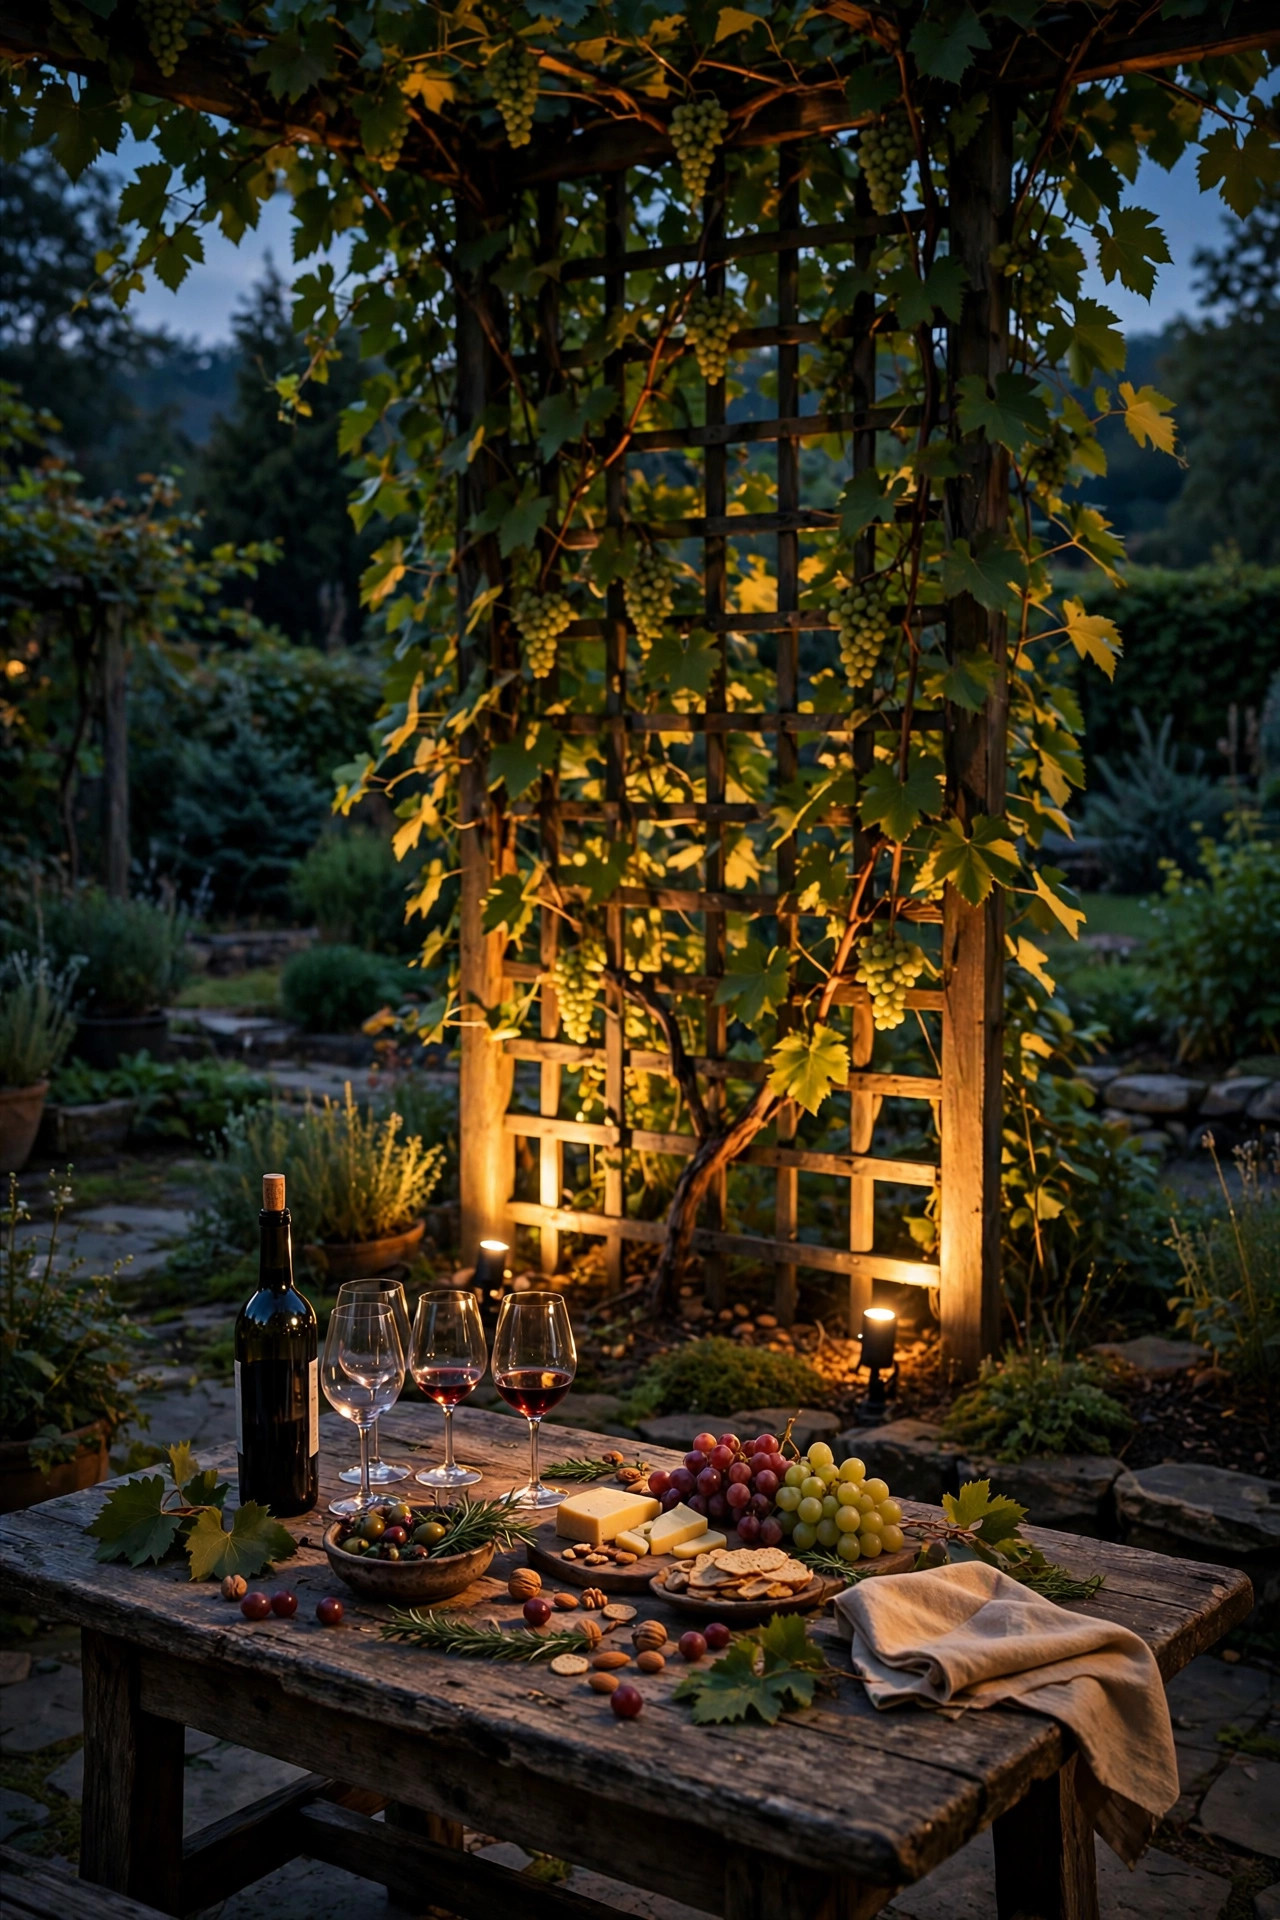
A tasting table against a flat, dark background can feel like it floats in a black box, so I always give the backdrop a little light. A pair of low-voltage uplights aimed at a trellis, a grapevine, a hedge, or a textured garden wall turns that darkness into a soft green-gold backdrop that makes the whole scene feel deeper and richer. Place the fixtures 12 to 18 inches from the base of what you are lighting, angle them up about 30 degrees, and keep the beams narrow so the light grazes rather than blasts. Solar uplights work if the spot gets full afternoon sun; wired low-voltage is steadier for a long evening. This is also the kindest light for photos, because it separates your guests from the background. Avoid aiming any beam where it can hit a seated guest at eye level. On my patio, one uplight on the climbing rose and one on the olive tree frame the table like a picture, and they stay on long after tasting nights end.
Suggested budget range: $30 – $95.
8. Weave Fairy Lights Through Greenery and Garlands
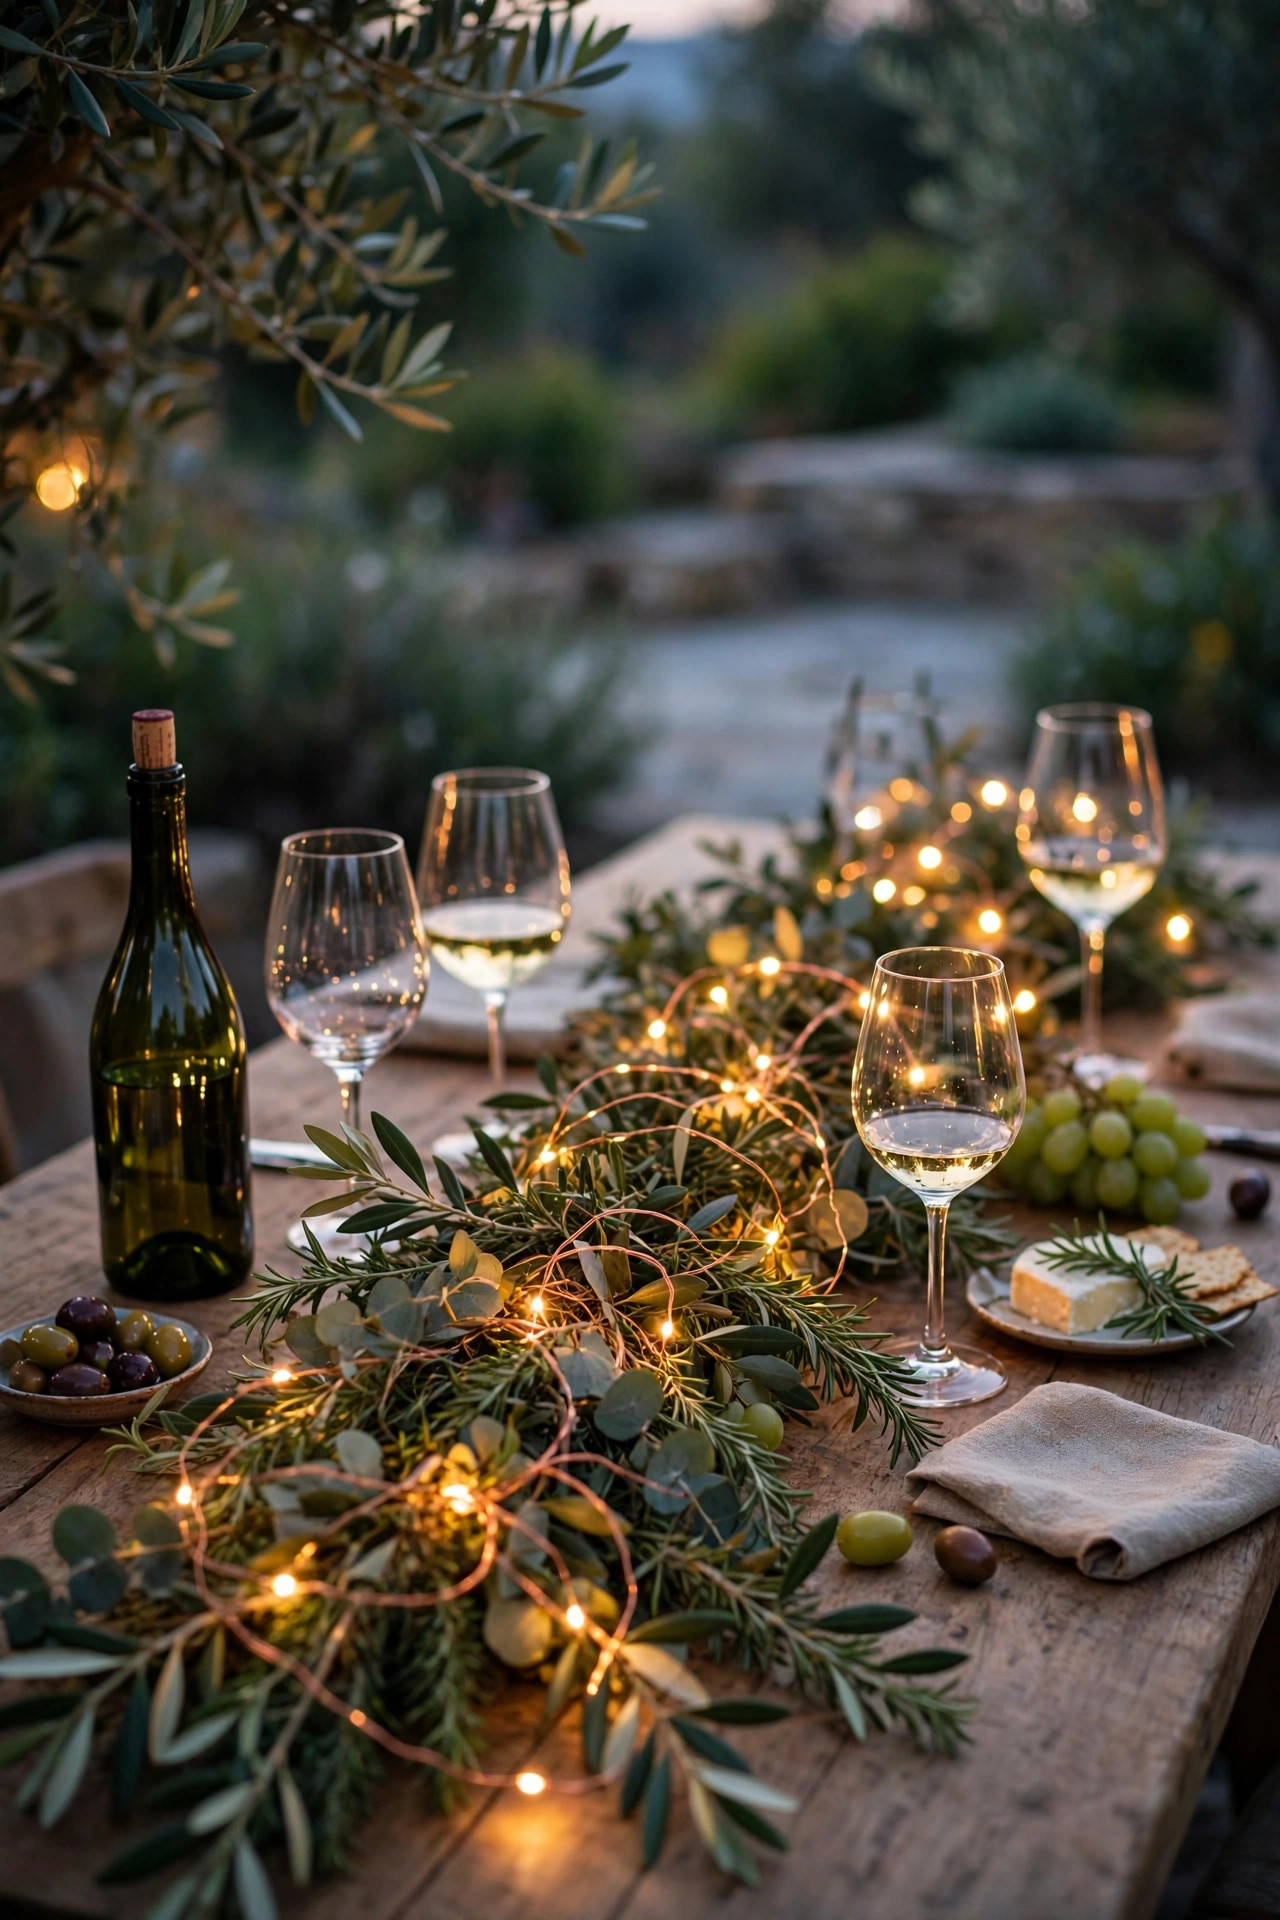
Copper-wire fairy lights are the jewelry of a wine night. I weave one long strand through a eucalyptus or olive-branch garland down the table center, another along the pergola beam, and a third through the shrubs at the patio edge, and suddenly every layer has a little sparkle tying it together. The wire nearly disappears, so the dots of warm light seem to float. Battery packs hide easily under a runner or inside a planter; choose warm white, never cool blue-white, which fights the amber mood. Around the tasting table, keep the strands above shoulder height or flat in the garland so nobody snags a wire reaching for a glass. Fairy lights are accent only, far too dim to read a label by, so pair them with the lantern and overhead layers. Because they are LED and cool to the touch, they are safe tucked into dry foliage and fabric for a single evening, but bring battery packs in if rain threatens overnight.
Suggested budget range: $12 – $35.
9. Give the Tasting Station Its Own Soft Task Light
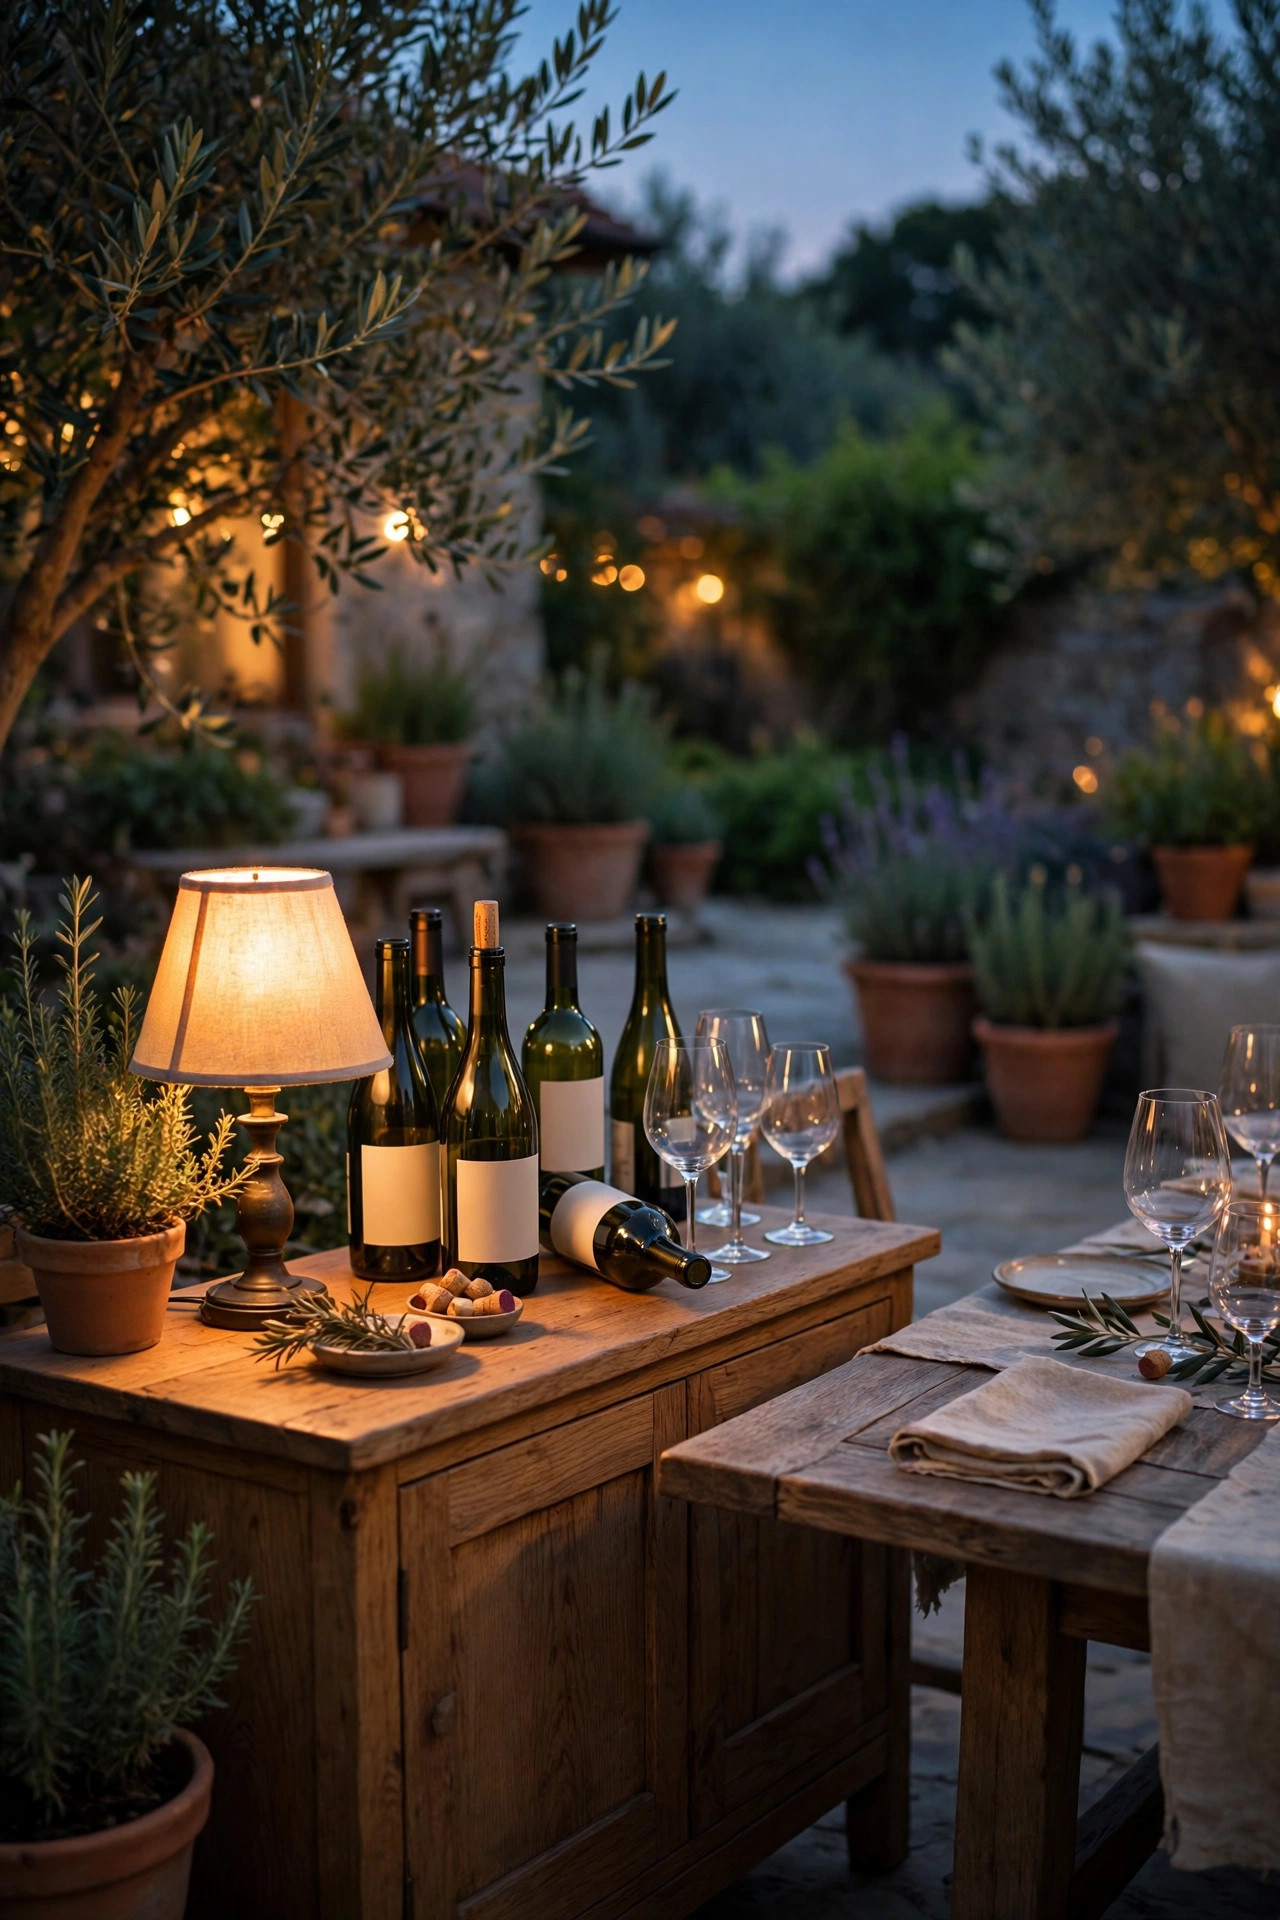
Somebody pours, somebody reads labels aloud, and somebody always wants to compare the color of two pours against a white napkin. That little ritual needs a touch more light than pure ambiance gives, so I set up the tasting station, usually a sideboard or bar cart at the end of the table, with its own soft task light. A small cordless lamp with a fabric shade, or a lantern on its brightest setting, gives enough light to pour cleanly and read a back label without flooding the table. Keep it at one end, never in the middle of the table, so the extra brightness feels like a work zone and the rest of the table stays moody. A battery lamp also travels: when the cheese course comes out, move it to the snack board for two minutes. This is one of those small outdoor wine night lighting ideas that hosts never think of until they have spilled a pour in the dark, and then they never skip it again.
Suggested budget range: $20 – $60.
10. Line the Path So Guests Arrive and Wander Safely
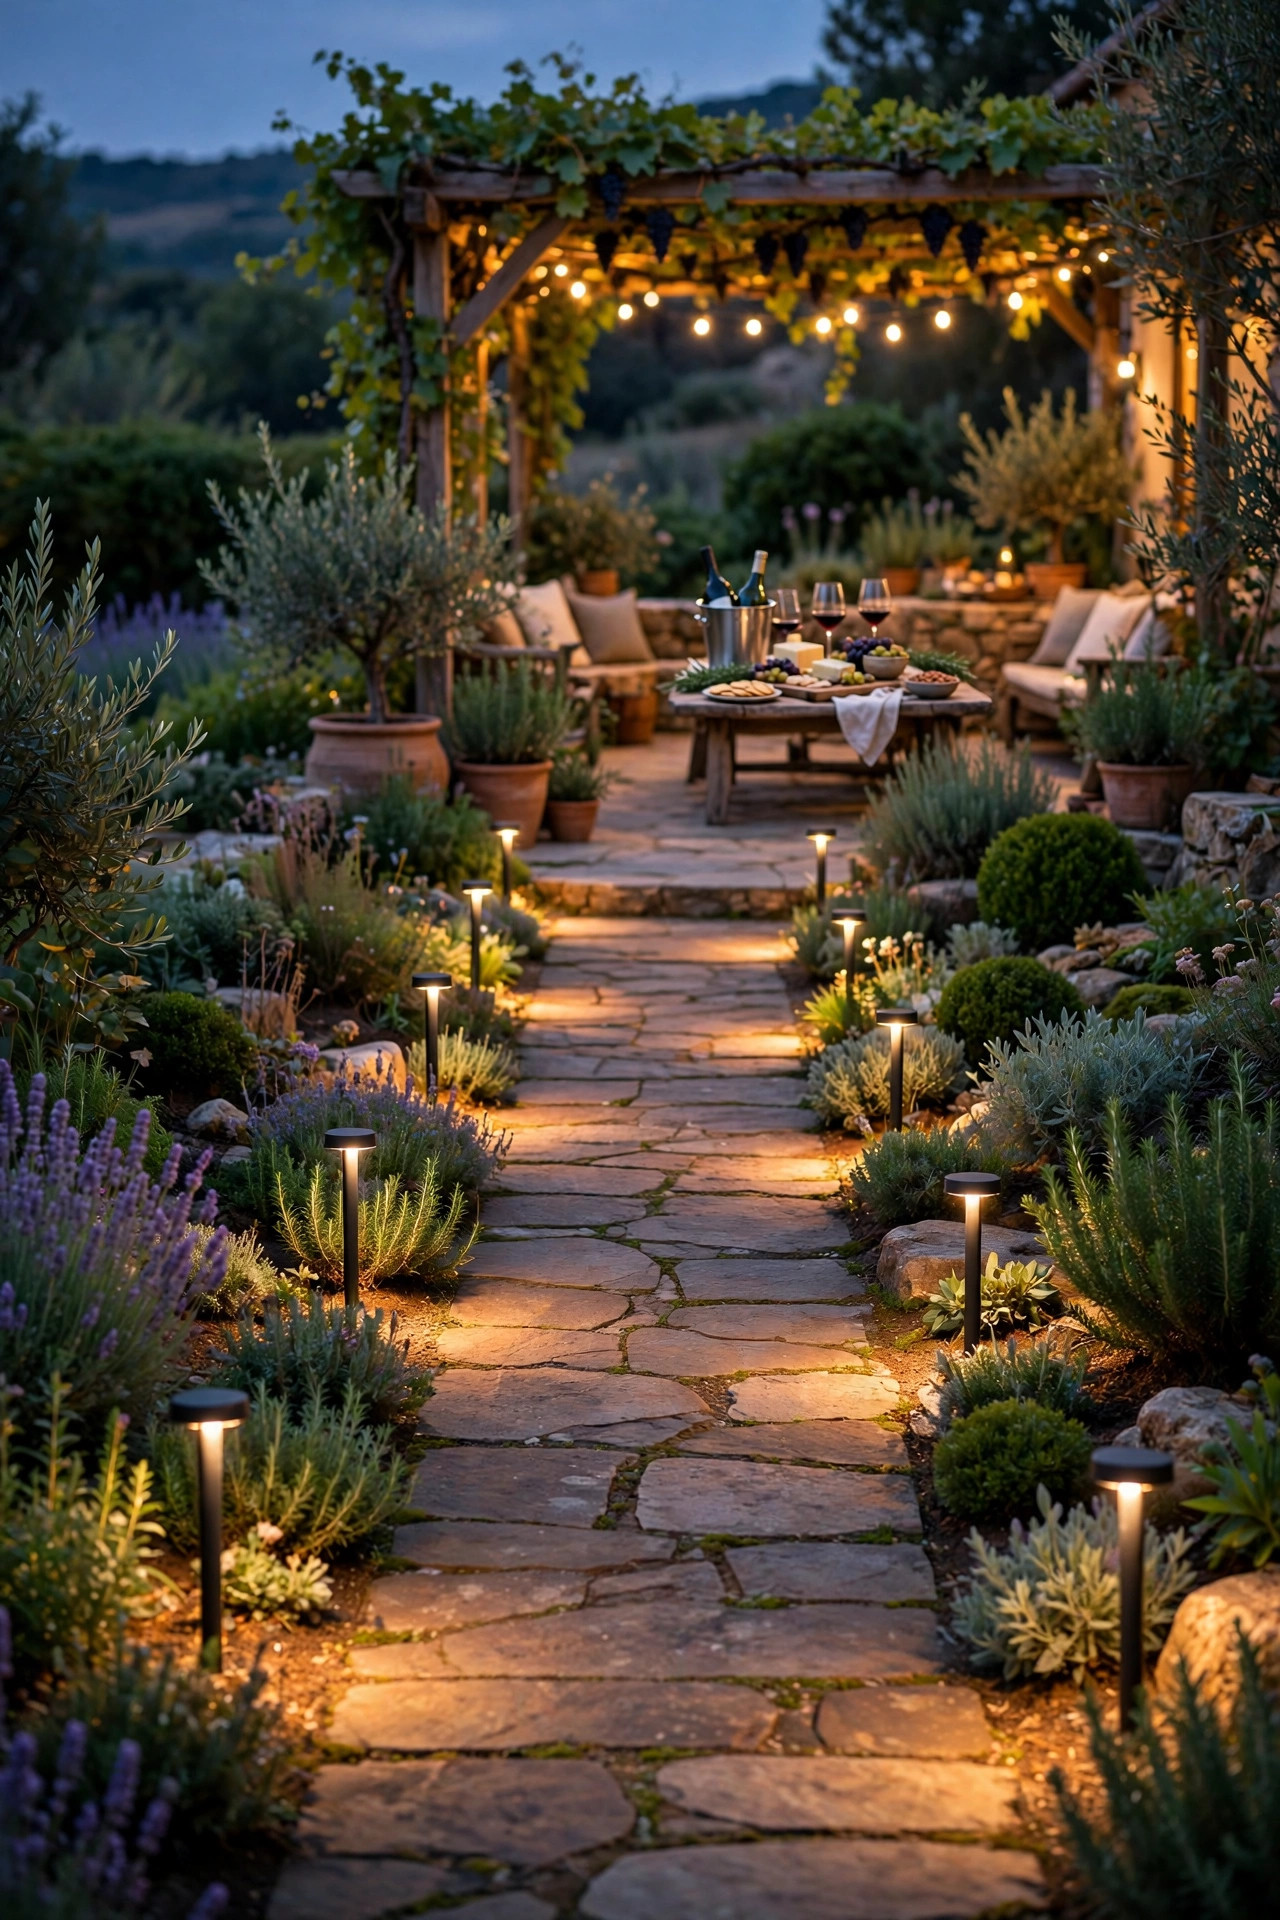
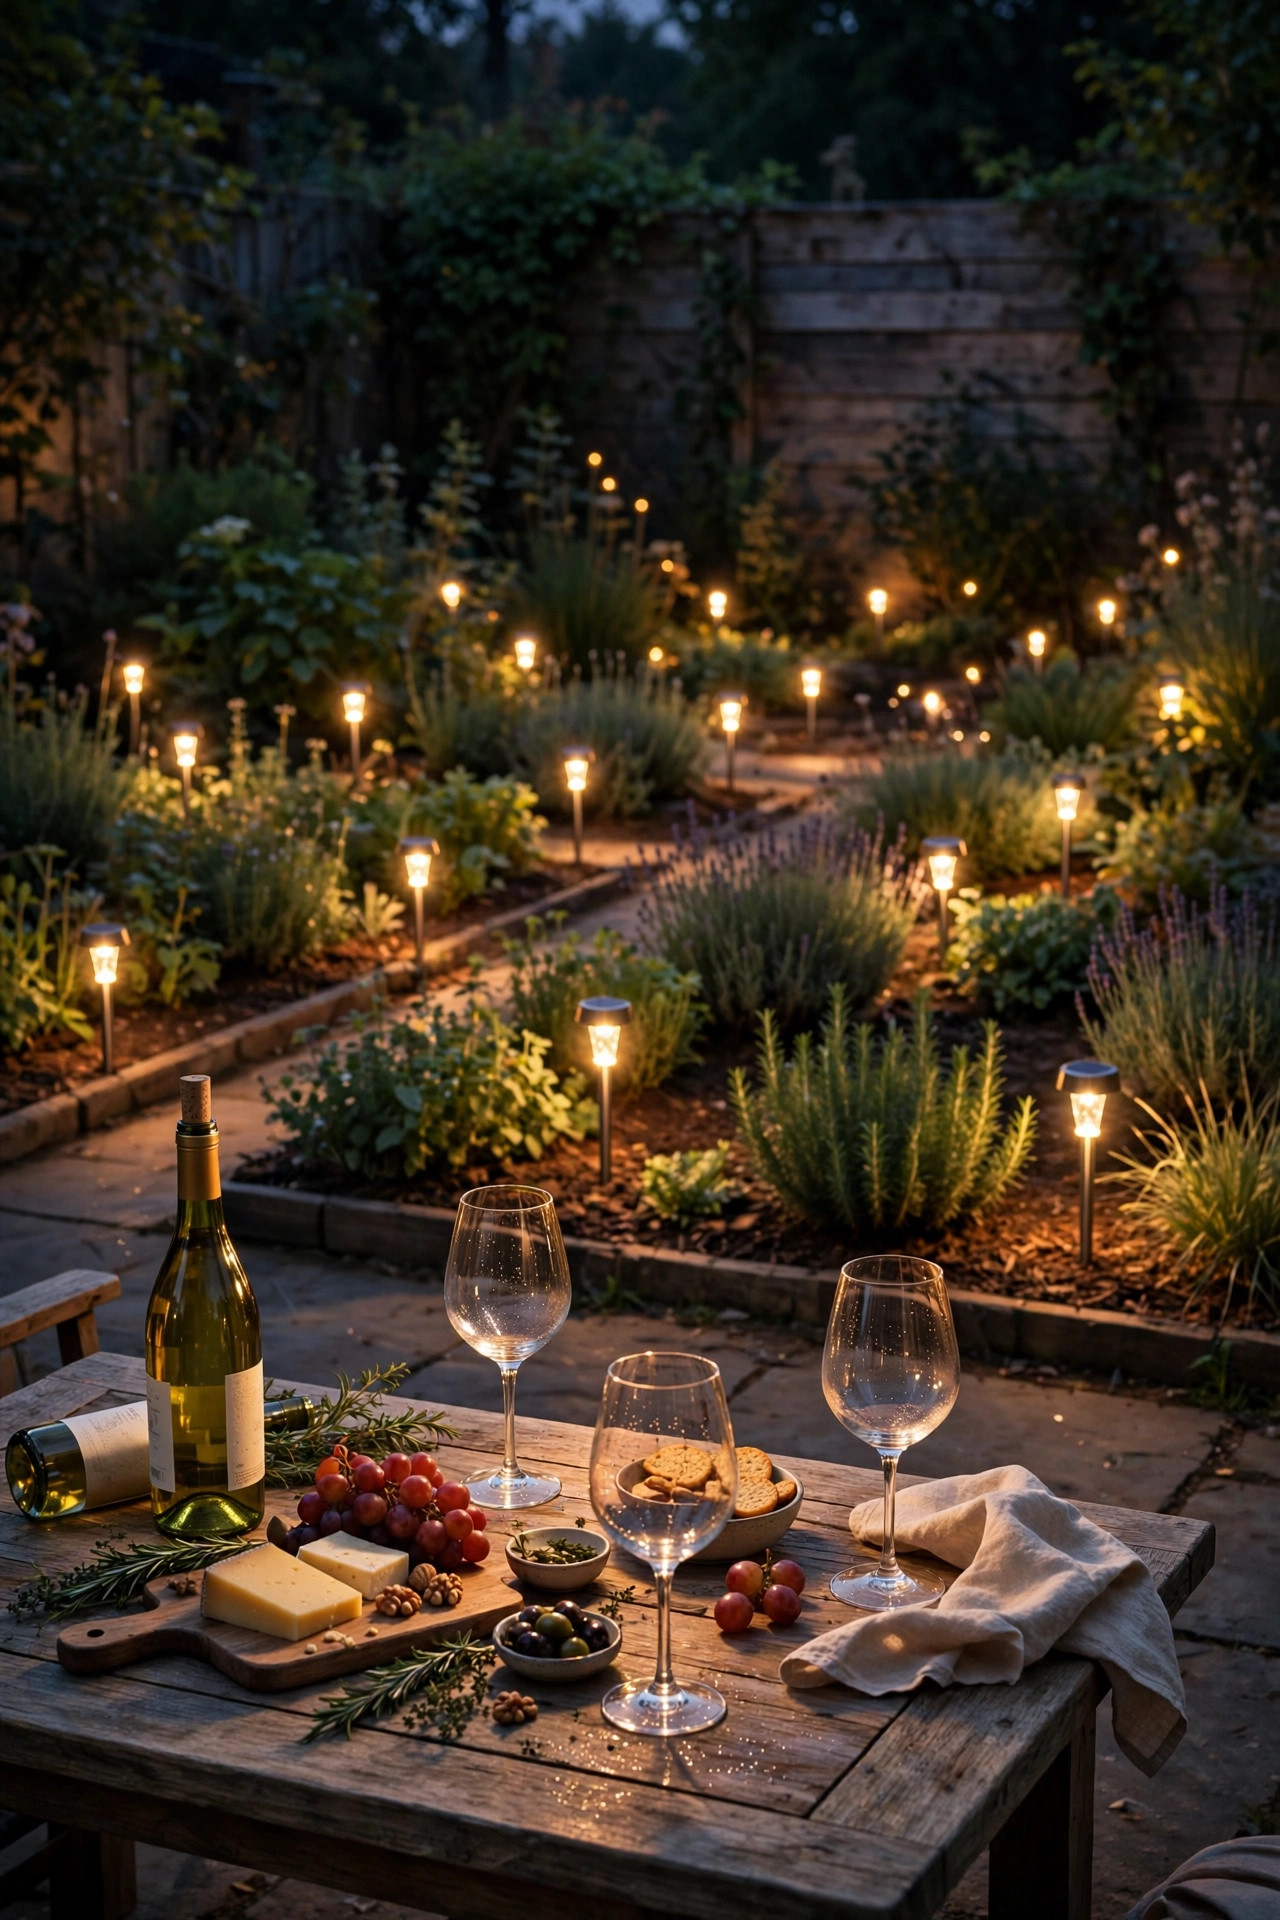
The ground layer is the unsung hero of a wine night. Guests arrive at dusk, make trips to the kitchen, and drift out to see the garden, and every one of those walks should be gently lit. I line the route from the back door to the patio with low path lights spaced 5 to 6 feet apart, alternating sides so the path feels like a stroll rather than a runway. Low-voltage lights give the most even glow; good solar stakes are fine on a sunny path. Keep fixtures low and shielded so they light the ground, not faces, and add one light at every step or level change, because that is where ankles get found. A lit path also frames the evening beautifully from the table: a ribbon of warm dots leading through the dark garden. If your patio sits away from the house, this layer is not optional decor, it is hospitality. Test the walk yourself at full dark before guests arrive.
Suggested budget range: $35 – $100.
11. Finish the Night Around a Fire Table or Fire Pit Glow
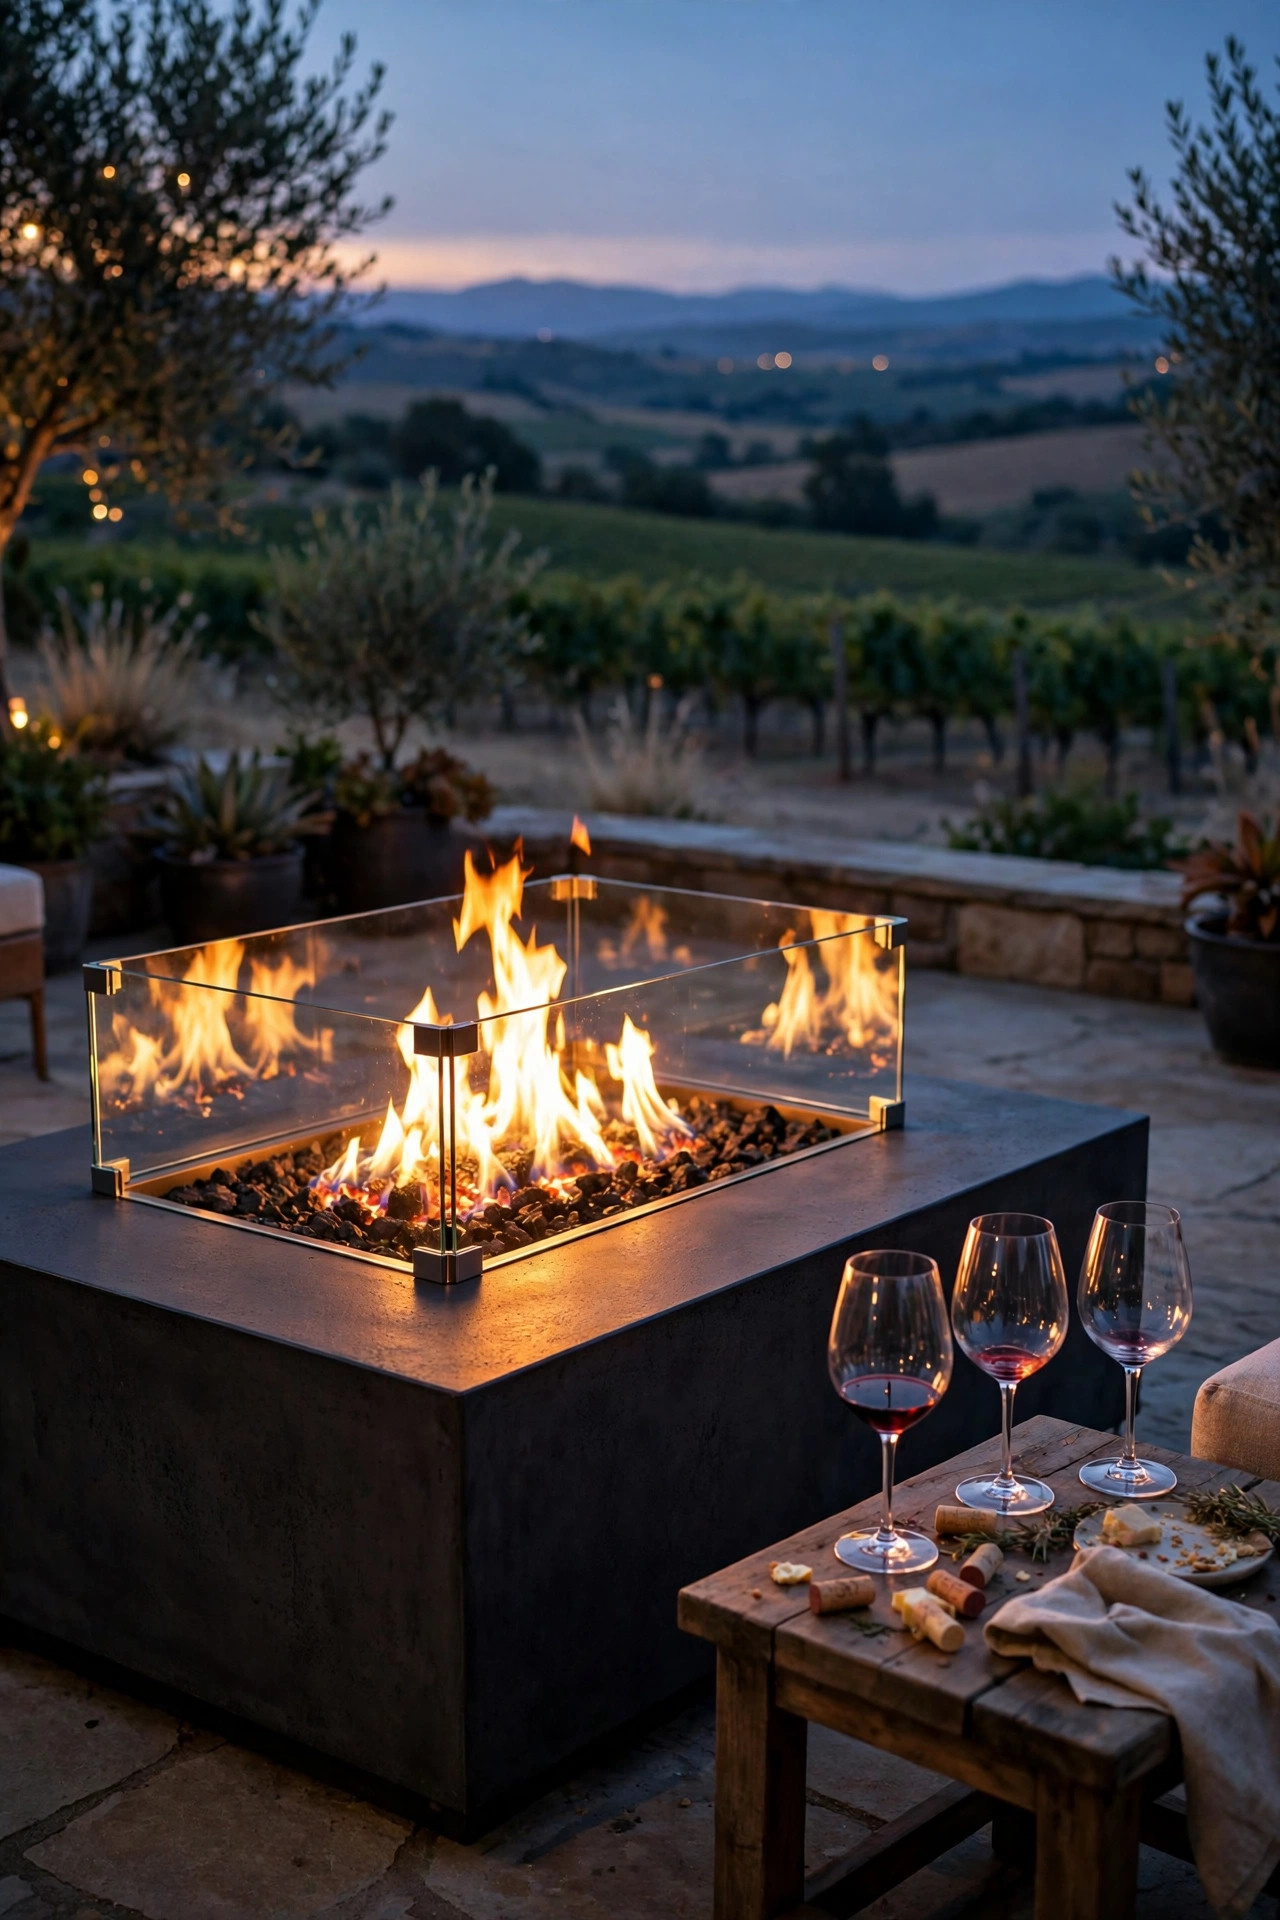
When the last bottle is open and the tasting turns into lingering, firelight is the layer everyone migrates toward. A fire table on the patio or a fire pit a few steps away gives the end of the evening a hearth, and its flicker does the work of ten lanterns. I arrange a few chairs in a loose half circle, set one lantern on a side table for drinks, and let the fire carry the rest. Keep the fire feature at least 10 feet from the tasting table and any fabric canopy, follow the clearances in its manual, and never leave it burning unattended once guests head home. A tabletop fire bowl is the small-space version and looks lovely as a second centerpiece once the main tasting wraps up. Firelight is warm, roughly 1800K, so it will make your 2700K layers look slightly cooler by contrast; that layered warmth is part of the charm. Have the matches or lighter staged before dark.
Suggested budget range: $60 – $250.
12. Dot Solar Stake Lights Through the Garden Beds
While guests sit at the table, their view out into the garden should have depth, and solar stake lights scattered through the beds give exactly that. I push a dozen warm-white stakes among the shrubs and perennials at different depths, a few near the patio and a few farther out, so the garden reads as layers of soft dots instead of a black wall. Solar stakes cost nothing to run and need no wiring, but give them a full day of sun before the party and wipe the little panels clean; a dusty panel is the usual reason a stake looks tired by ten o'clock. Choose warm white to match your other layers, and skip the color-changing modes for a tasting, which belong to a different party. Stakes also quietly mark bed edges and pond rims, places you do not want a guest stepping in the dark. Pull any that stay dim after a sunny day and rotate in spares. It is a ten-minute job with an all-evening payoff.
Suggested budget range: $20 – $55.
13. Hold One Warm Color Temperature Across Every Bulb
Here is the quiet rule behind every beautiful tasting photo: all the light is the same color. Warm LEDs at 2700K give that candlelit amber that flatters skin, food, and red wine alike. The moment one cool 5000K daylight bulb sneaks in, from a porch light or a kitchen window, the scene splits into orange and blue and the magic leaks out. Before the party, walk your layers and check each bulb and lantern setting. Most string lights and lanterns are already warm; the usual offenders are house floodlights and the bulb over the back door, so swap that one for the night or simply leave it off and let your path lights do the work. If you buy smart bulbs for the occasion, set them to 2700K and forget the rainbow scenes until the dance party. Consistency also helps guests' eyes relax, so the evening feels calmer. It costs nothing when you already own warm bulbs, and it is the difference between nice and unforgettable.
Suggested budget range: $0 – $40.

14. Dim by Course With Smart Plugs and Simple Scenes
A tasting has acts: bright enough to mingle and pour at the start, softer for the main flights, and lowest and warmest for dessert wine and lingering. Instead of walking around adjusting lanterns, put the overhead strings and the pendant on smart plugs or a dimmer and save three scenes on your phone. Scene one runs everything at full for setup and arrivals. Scene two drops the overhead layer to about half once everyone is seated, letting the candles lead. Scene three leaves only the table lanterns, backdrop uplights, and fire glow for the last pour. In my experience this tiny bit of theater makes guests feel cared for, and it takes ten minutes to set up before anyone arrives. Keep one lantern battery-powered and off the system, as a graceful backup. If smart gear is not your thing, a single plug-in dimmer on the string lights gets you most of the effect for the price of a pizza.
Suggested budget range: $25 – $80.
15. Cluster Lanterns on Crates and Barrels at the Edges
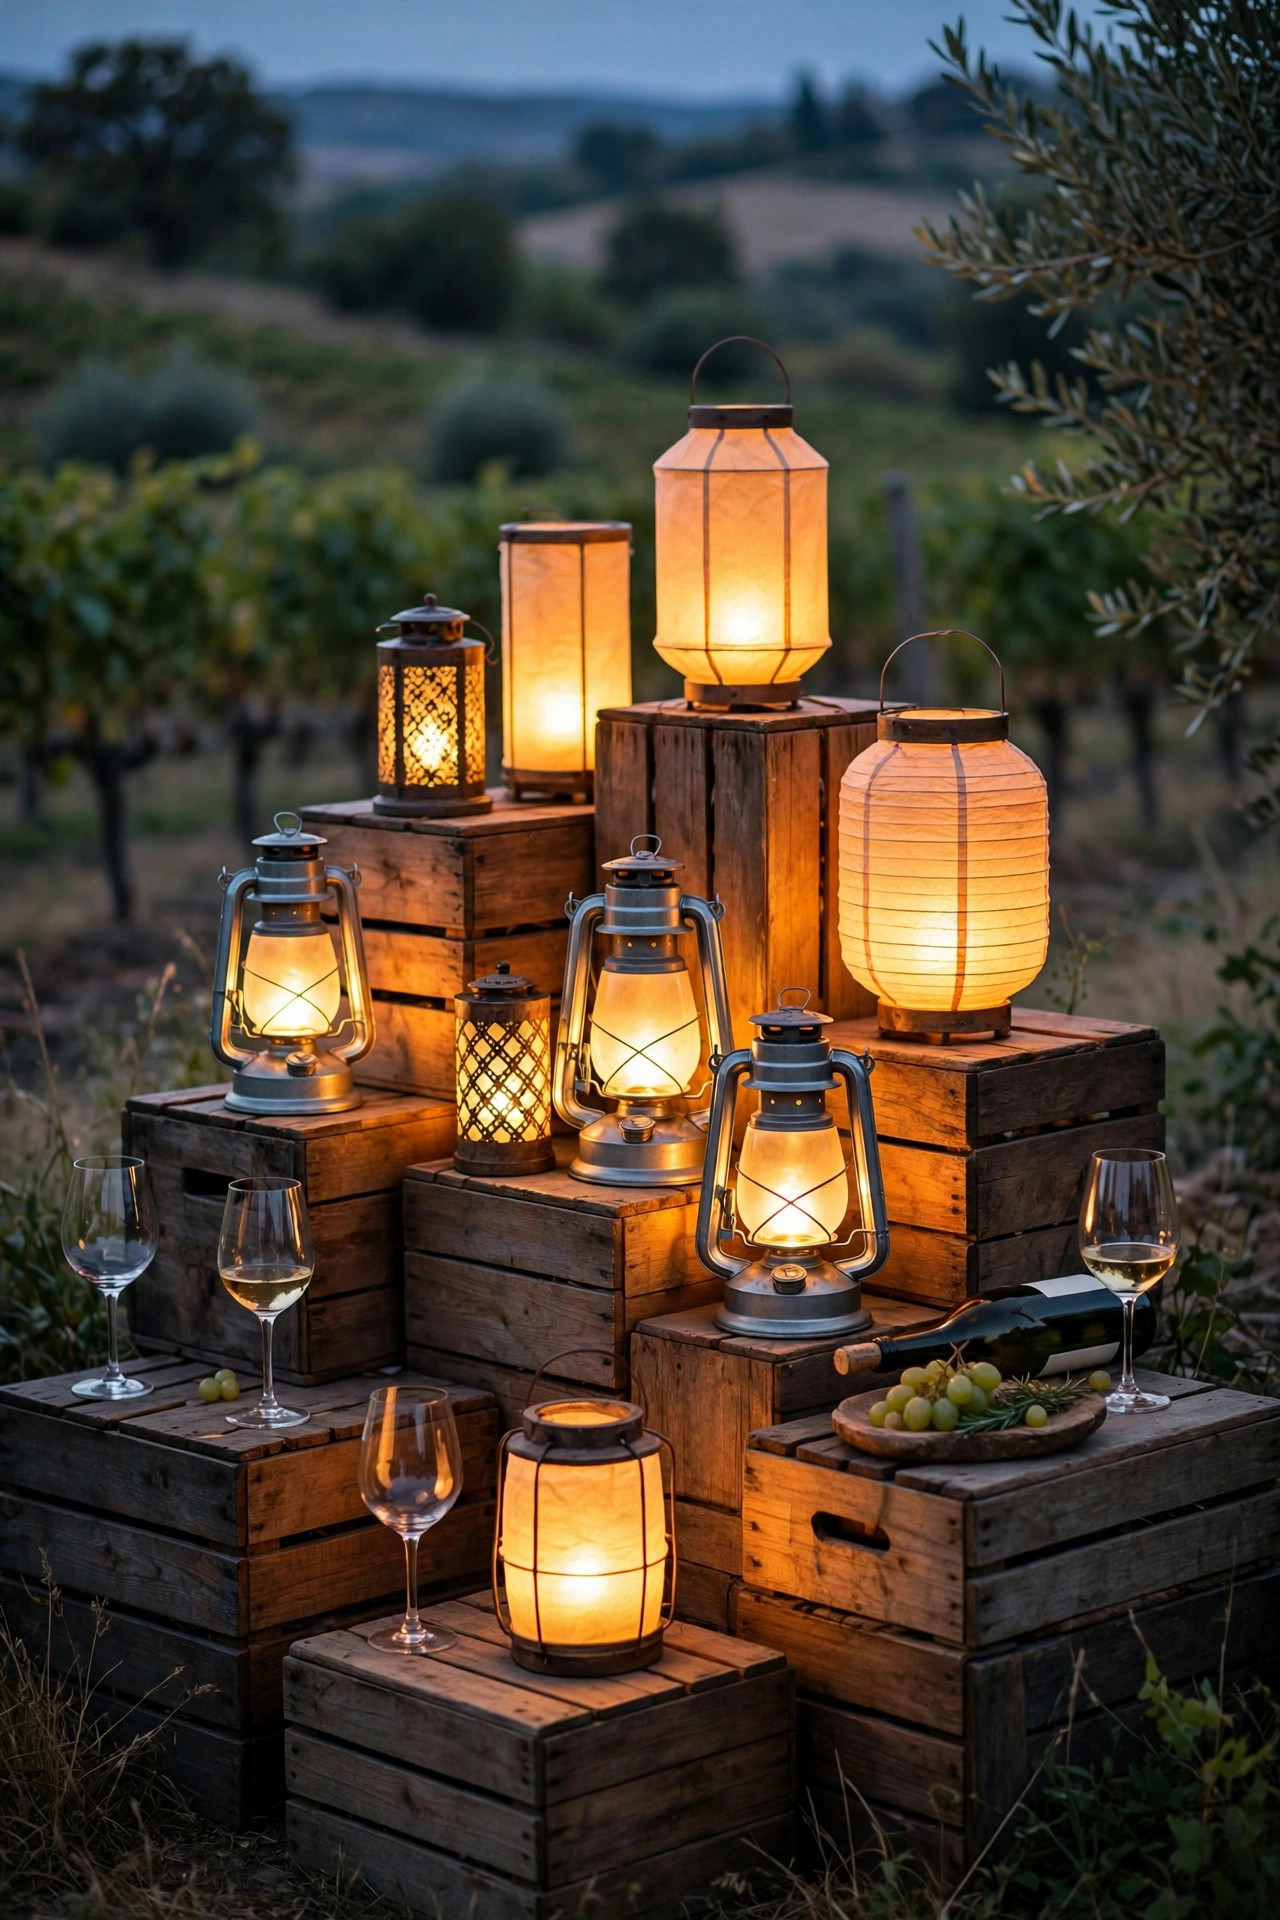
Every tasting setup has corners: the spot by the gate, the end of the sideboard, the step up to the deck. I dress those corners with clusters of lanterns set on wooden crates or a small barrel, at staggered heights, so the edges of the gathering glow as warmly as the center. Three lanterns of different sizes grouped together read as one generous pool of light, and raising them on crates keeps the glow at hip height where it lights faces and the snack board instead of just the ground. Flameless candles make this safe next to a stack of napkins or a basket of bread. This is also a kind way to light the self-serve water and dump bucket station, which guests should be able to find without asking. If you host often, keep the crates stacked in the garage with the lanterns stored inside them; setup takes five minutes. Rustic wood, black metal, and glass suit a vineyard mood better than bright plastic, so borrow from the house before you buy.
Suggested budget range: $30 – $90.
16. Raise String Light Poles Where There Is Nothing to Hang From
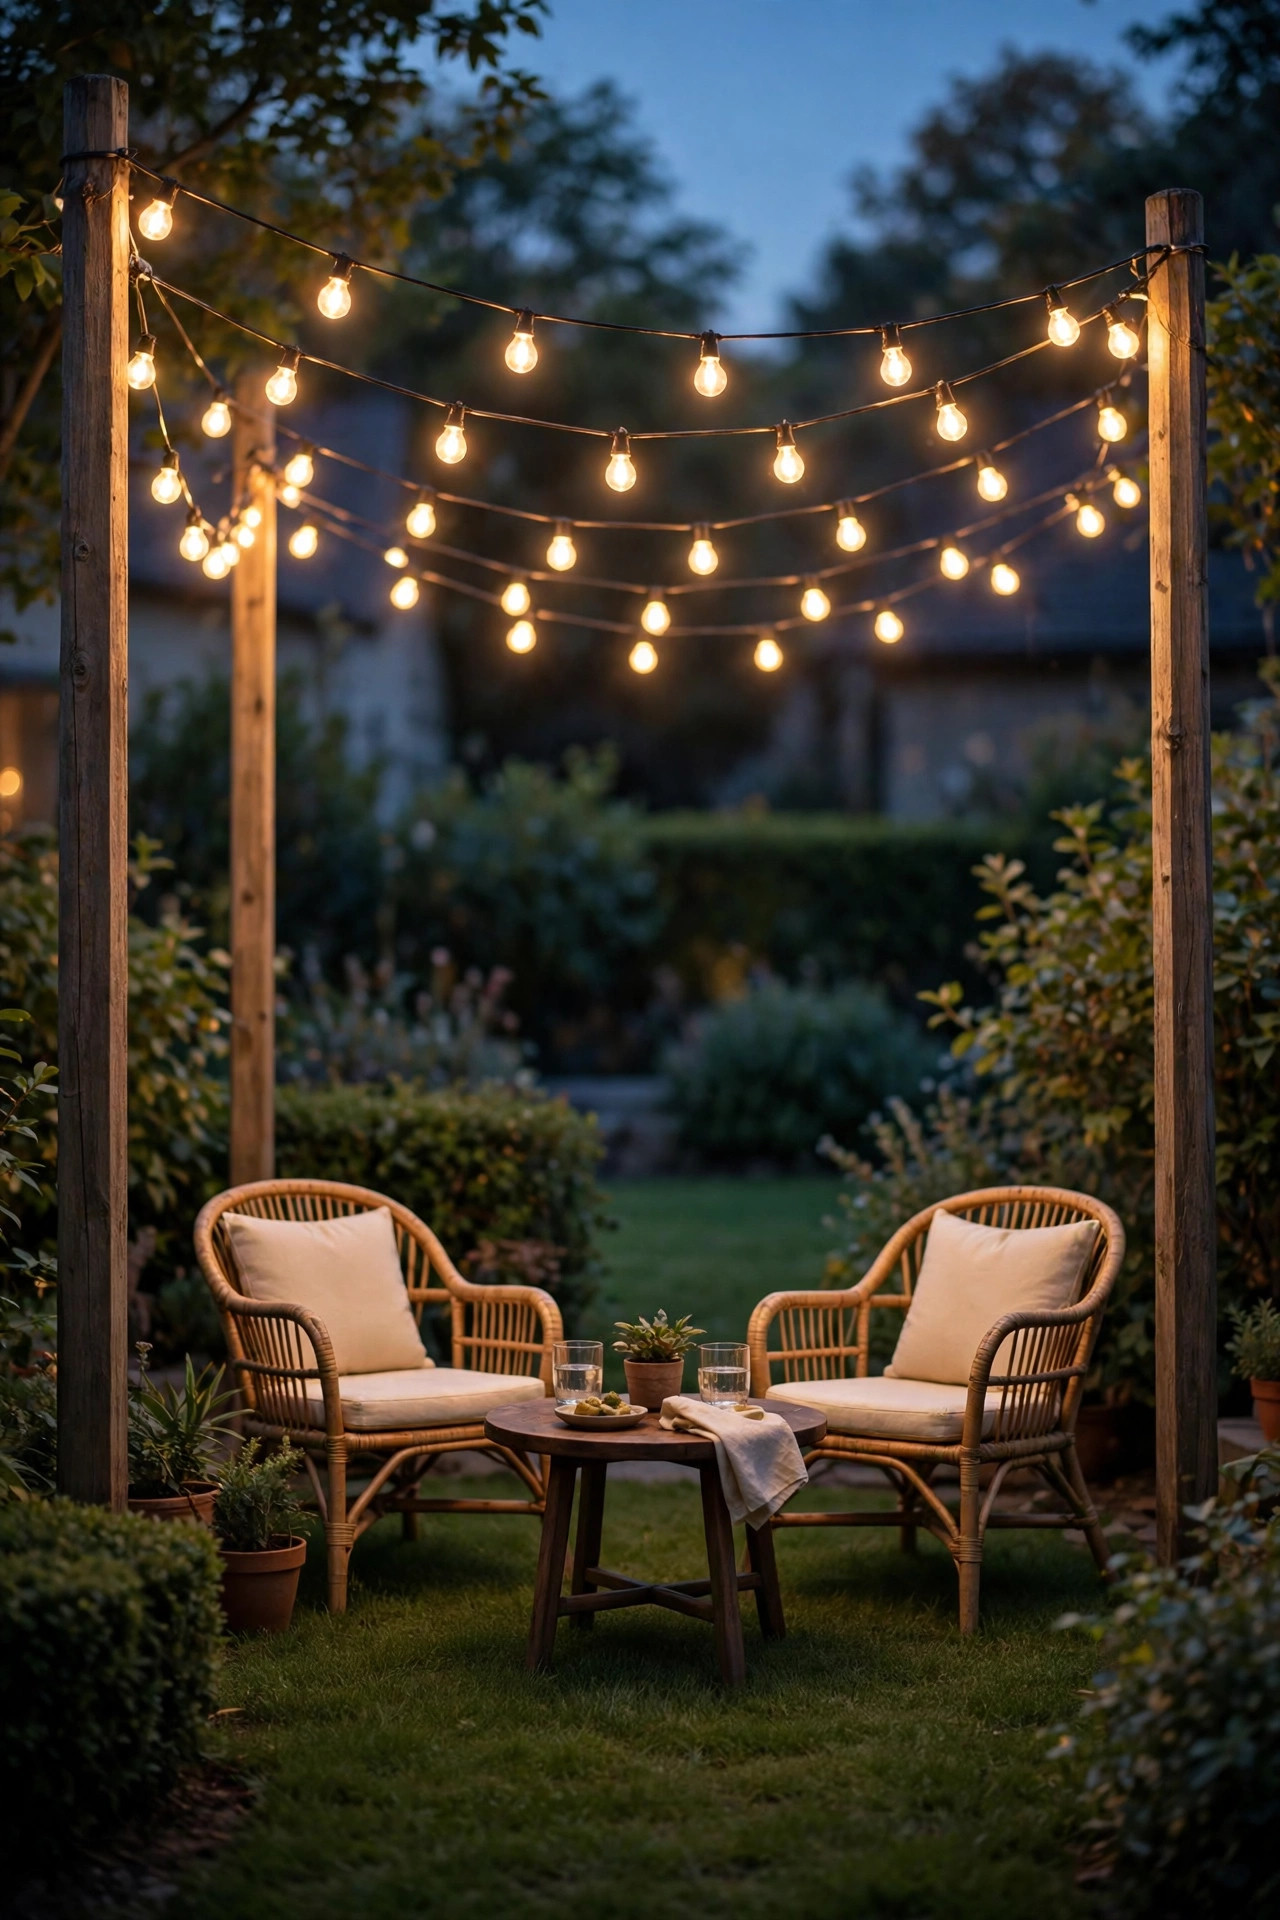
Open lawns and wide patios often have exactly one problem: nothing overhead to attach a string light to. String light poles solve it in an afternoon. I use heavy-duty poles in planters filled with gravel or concrete, or ground-stake poles pushed deep at the lawn edge, spaced 8 to 10 feet apart around the tasting area. Run the strands in a gentle tent peak over the table, keeping the lowest swag at least 7 feet above the ground so guests can stand and mingle underneath. Planters do double duty: plant them with herbs or trailing flowers and they become part of the decor instead of equipment. Anchor well, because a sagging strand in a breeze will find a wine glass eventually. For a one-night event, two poles plus the house wall often make the perfect triangle of attachment points. When the season ends, the poles store flat in the garage and the planters stay pretty on their own.
Suggested budget range: $40 – $110.
17. The Full Recipe: Outdoor Wine Night Lighting Ideas, Start to Finish
On tasting day, I build the scene in this order, and it never takes more than an hour. First the overhead layer: string lights or the pendant on, checked for dead bulbs, dimmer tested. Second the backdrop: uplights aimed at the trellis and tree, solar stakes pushed into the beds while the sun is still up to charge. Third the table: lanterns down the center, bottle lights switched on, hurricane lanterns at both ends, and the tasting station lamp at the sideboard. Fourth the ground: path lights on and the walk from the door tested in the dark. Last, the fire table staged and ready for the final pour. Half an hour before guests arrive, I dim the overhead layer, pour myself a small glass, and look at the scene from the garden gate, because that first view is the one guests remember. These outdoor wine night lighting ideas are a formula, not a shopping list; two layers done well beat five done halfway, every single time.
Suggested budget range: $120 – $350.
Frequently Asked Questions
What color temperature is best for an outdoor wine tasting?
Warm white at 2700K is the sweet spot. It flatters skin, makes red wine glow in the glass, and matches candlelight, so all your layers blend. Avoid anything labeled daylight or 5000K outdoors at night; it reads blue and harsh and will fight every other light you set up.
How bright should the light over the tasting table be?
Think glow, not glare. You want enough light to read a wine label and see the color of a pour against a white napkin, roughly what two or three shaded lanterns and a dimmed string light canopy give together. If guests are squinting or you can see harsh shadows on faces, dim the overhead layer first.
Can I light a wine night with solar and battery lights only?
Yes, and small tastings often run entirely cordless. Charge solar path lights and stakes in full sun all day, use battery lanterns and bottle lights at the table, and keep one plug-in string light strand in reserve if clouds stole your charging day. Battery candles with timers are the most reliable layer of all.
How do I keep bugs away from the wine glasses without ruining the mood?
Set citronella torches or a fan at the edges of the gathering, away from the table, so the protection sits downwind and the table itself stays scent-free for the wine. Cover glasses with small mesh covers or coasters between pours, and keep sweet dessert wines covered most carefully of all.
Conclusion
A great wine night is really a lighting plan with good bottles on it. Pick your overhead glow, build a warm table layer, give guests a lit path, and hold everything at one cozy 2700K, and these outdoor wine night lighting ideas will carry the evening from the first pour to the last story by the fire. For bigger gatherings and more layouts, browse my outdoor party lighting ideas next, then pour something you love and enjoy the patio you just built.