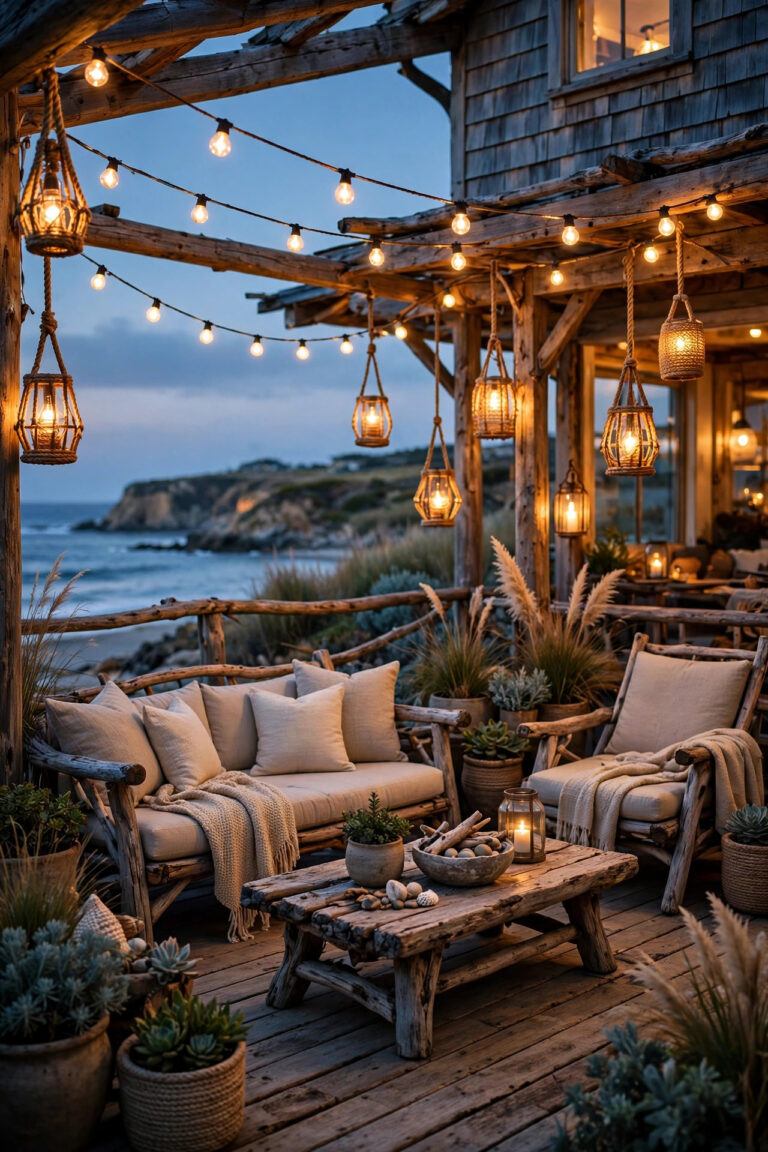
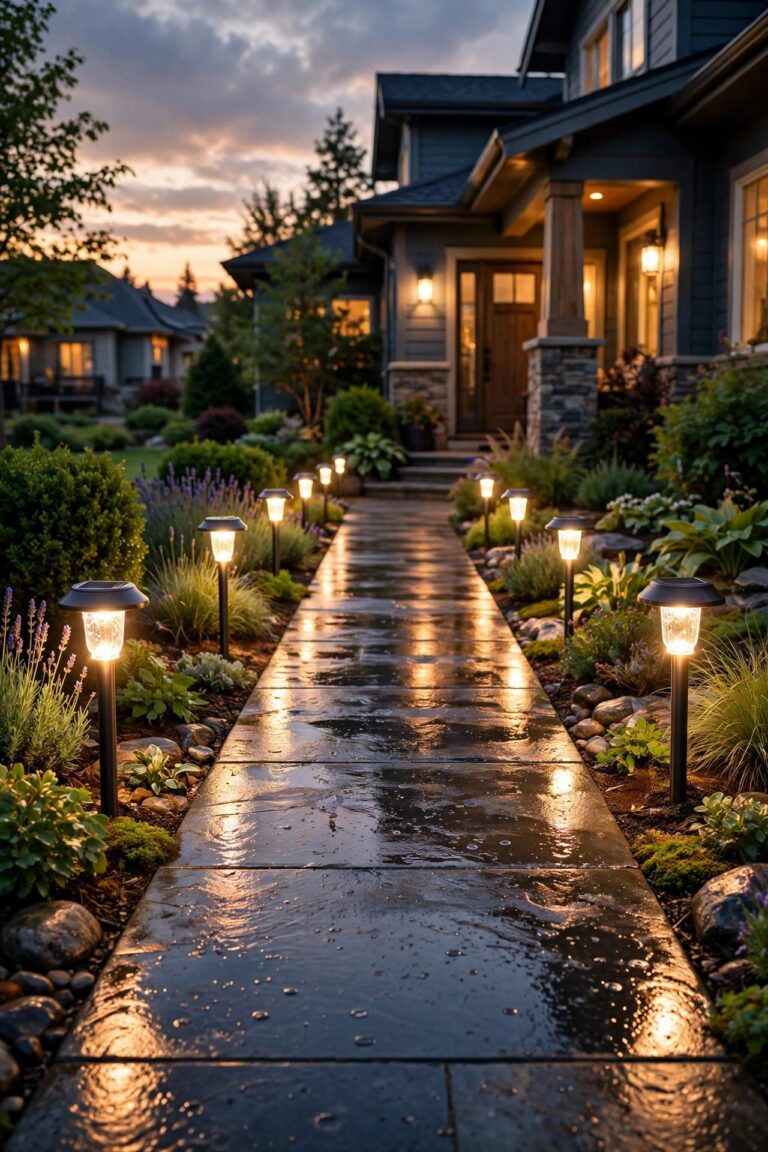
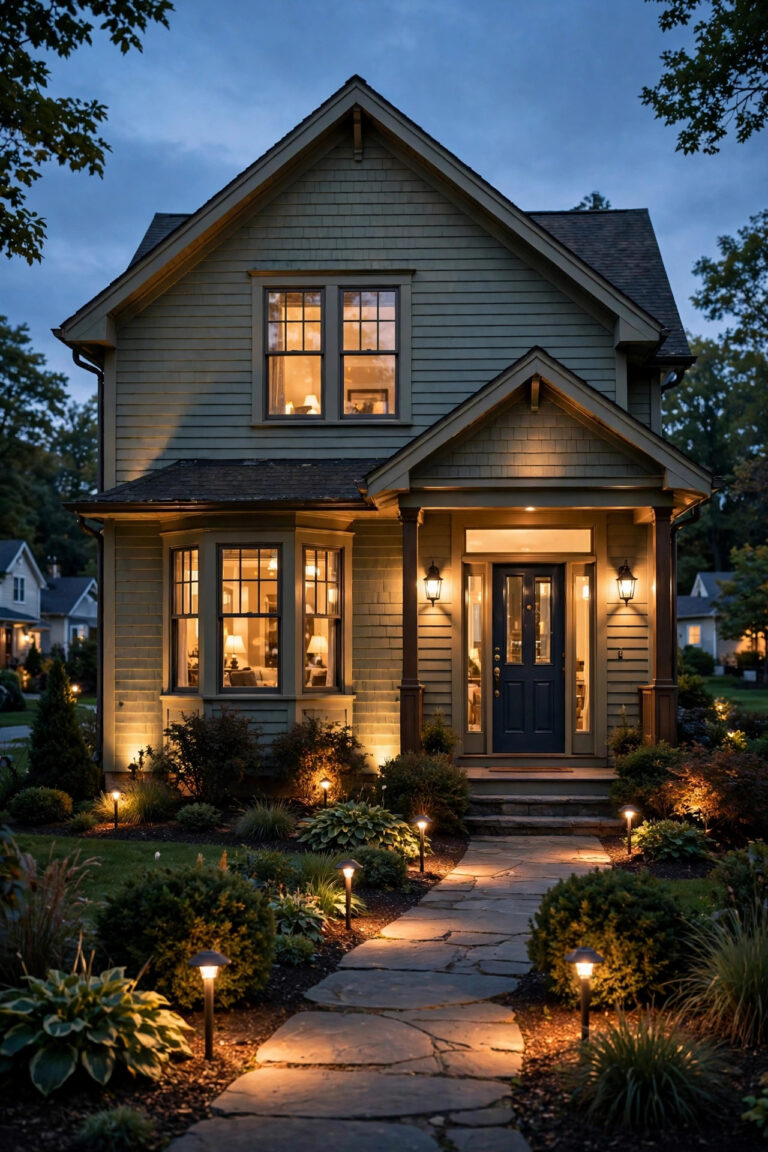
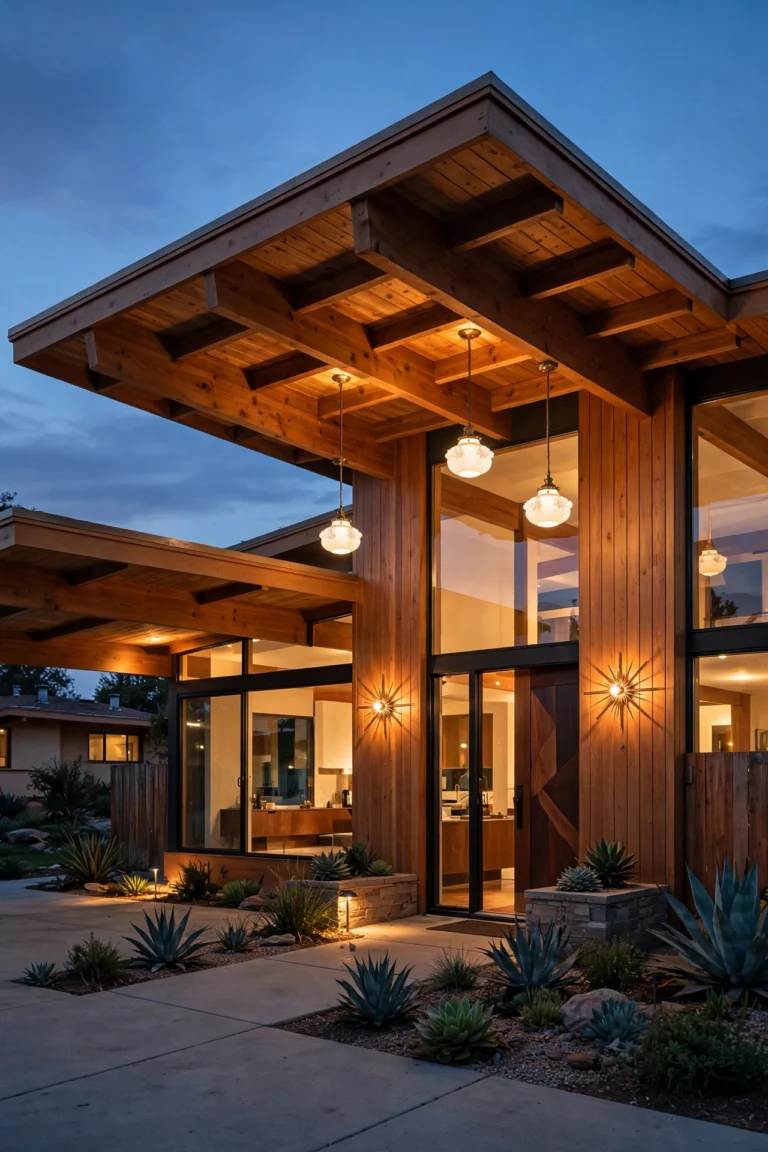
There is a moment just after sunset in the mountains when the sky turns deep indigo and the first stars blink on, and honestly, it is the whole reason we fell for our little cabin. But enjoying the deck after dark takes finesse: flood the space with light and you wash out the Milky Way, go too dim and somebody trips over the cooler on the way to the hot tub. After years of testing, I have landed on a simple philosophy for mountain cabin lighting ideas that actually work up here: layer low, warm light that points down, keep everything dimmable, and let the sky stay the main event. In this post I am sharing the 19 setups that earned a permanent place on our deck, from solar post caps that shrug off snow to a stargazing mode that keeps astronomers happy. Every idea includes real placement measurements, weather notes for high elevation, and a budget range, so you can build one cozy layer at a time.

1. Start With a Three-Layer Plan for Mountain Cabin Lighting Ideas That Respect the Sky
Every good deck lighting scheme starts with layers, and on a mountain cabin the layers matter even more because your ceiling is the night sky itself. I think of it in three bands: a low safety layer that marks steps, edges, and the path to the woodpile; a middle living layer at table and railing height where people actually sit; and a soft overhead layer that gives the whole deck a gentle ceiling of glow. The secret with mountain cabin lighting ideas is keeping all three layers warm, dim, and pointed down, so light pools where you need it instead of scattering into the pines. Start by walking your deck at dusk with a notepad and marking trip hazards first, then seating zones, then anywhere you linger with a mug in hand. Choose 2700K or warmer bulbs for everything, and put each layer on its own switch or smart plug so stargazing nights can run on the low layer alone. This plan becomes your shopping list for every idea that follows, and it keeps you from buying pretty fixtures that fight each other.
Suggested budget range: $20 – $75.
2. Drape Amber String Lights Low Over the Seating Area
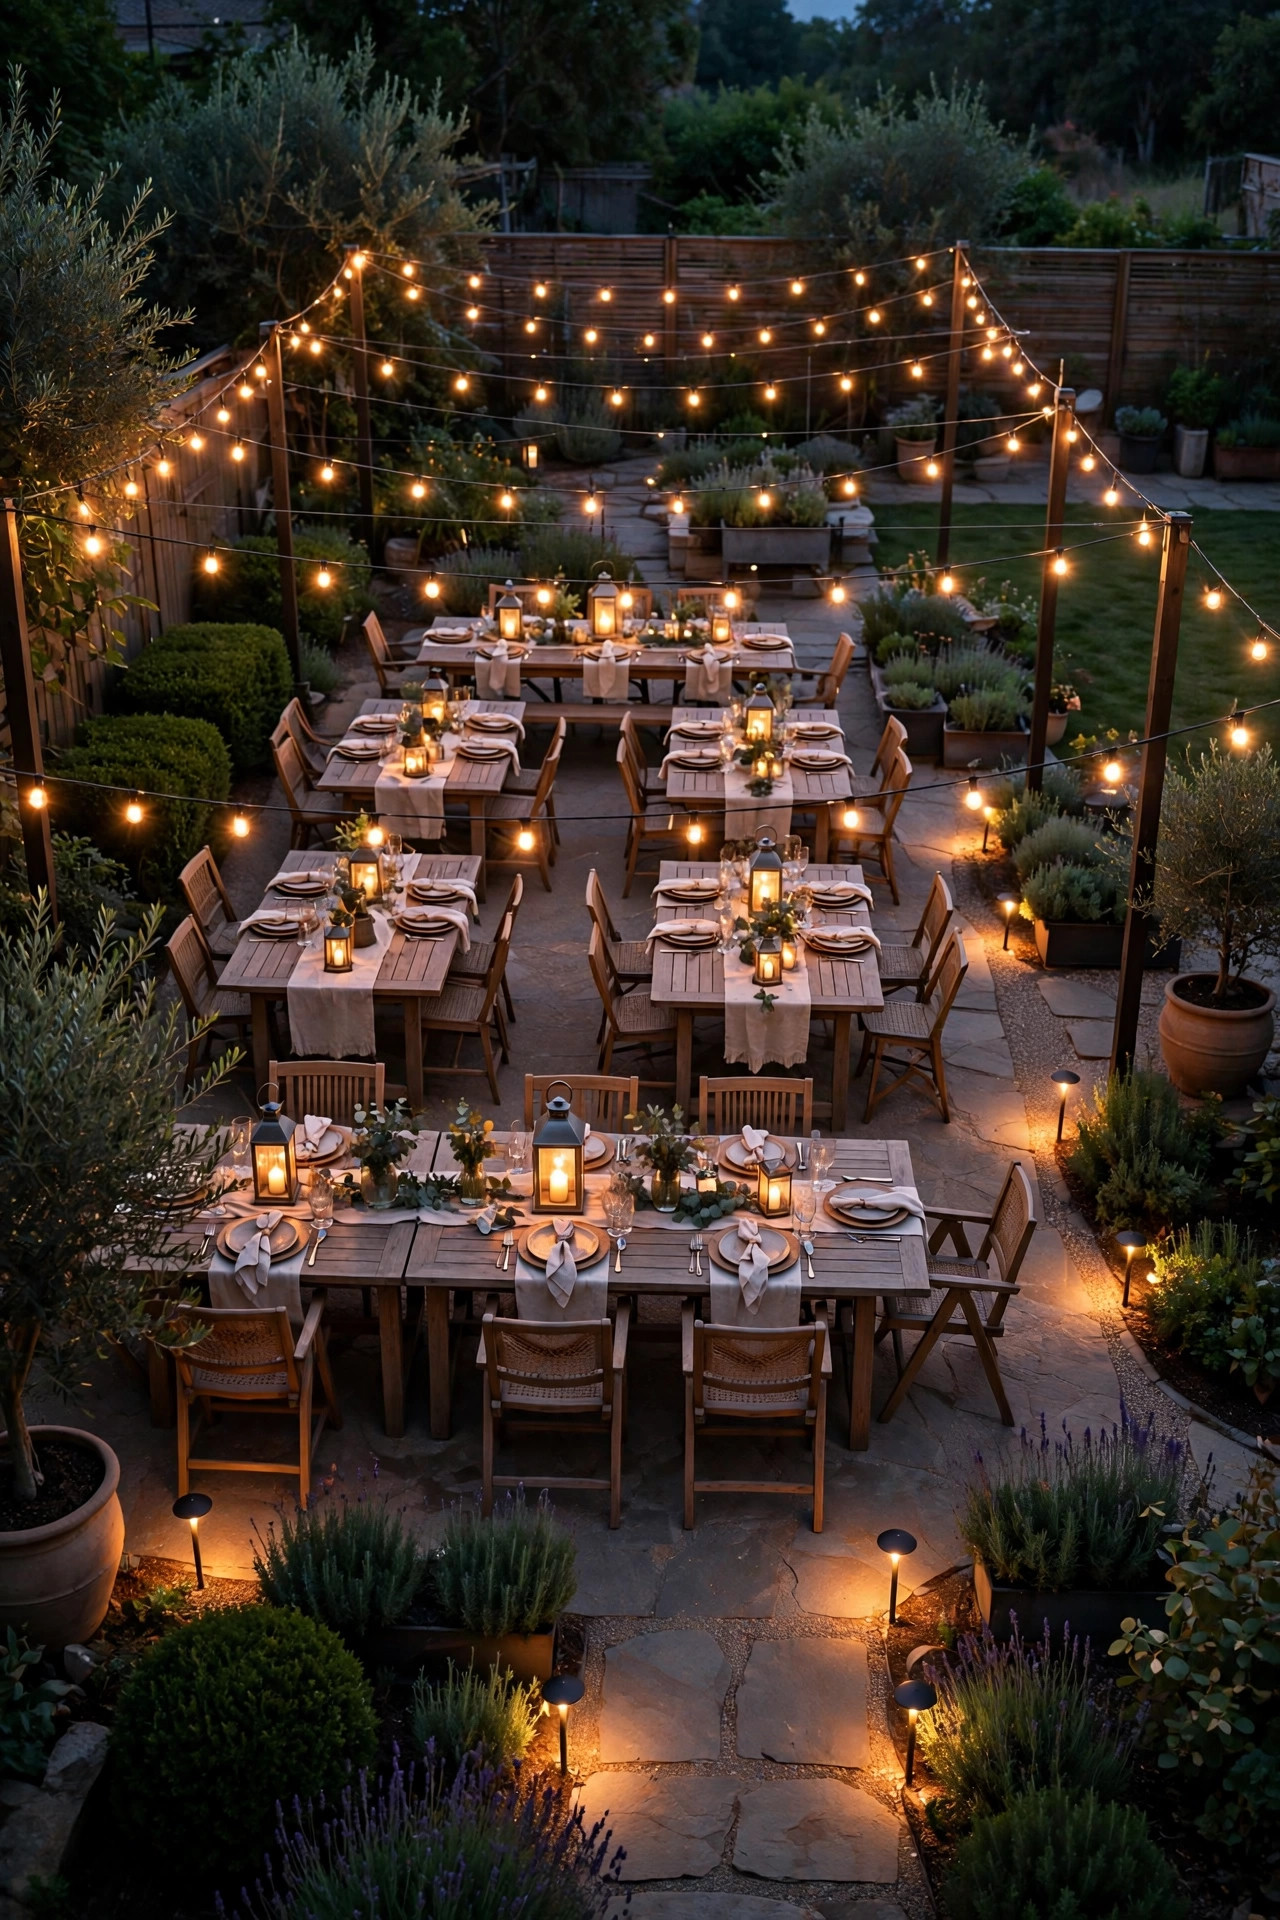
String lights are the fastest way to make a cabin deck feel magical, but placement makes all the difference at elevation. Instead of stringing them high across open sky, I run two gentle swags about 7 feet above the seating area, anchored to the cabin wall and a pair of sturdy posts, so the glow stays under the roofline of the view and the stars stay visible above. Choose warm amber LED filament-style bulbs rated for outdoor use, ideally 2200K to 2700K, because that candlelight tone flatters wood siding and does not attract nearly as many moths as cooler bulbs. Space bulbs about 12 inches apart and let each swag dip roughly 12 to 18 inches in the middle for that relaxed cafe feel. In snow country, spend a little more on commercial-grade strands with thicker wire and suspended sockets, and take them down or add a support cable before heavy snow loads arrive. On a dimmer, these become my overhead layer most nights, bright enough for cards and cocoa, dim enough for meteor showers.
Suggested budget range: $35 – $120.

3. Add Solar Post Cap Lights for a Self-Sufficient Safety Layer
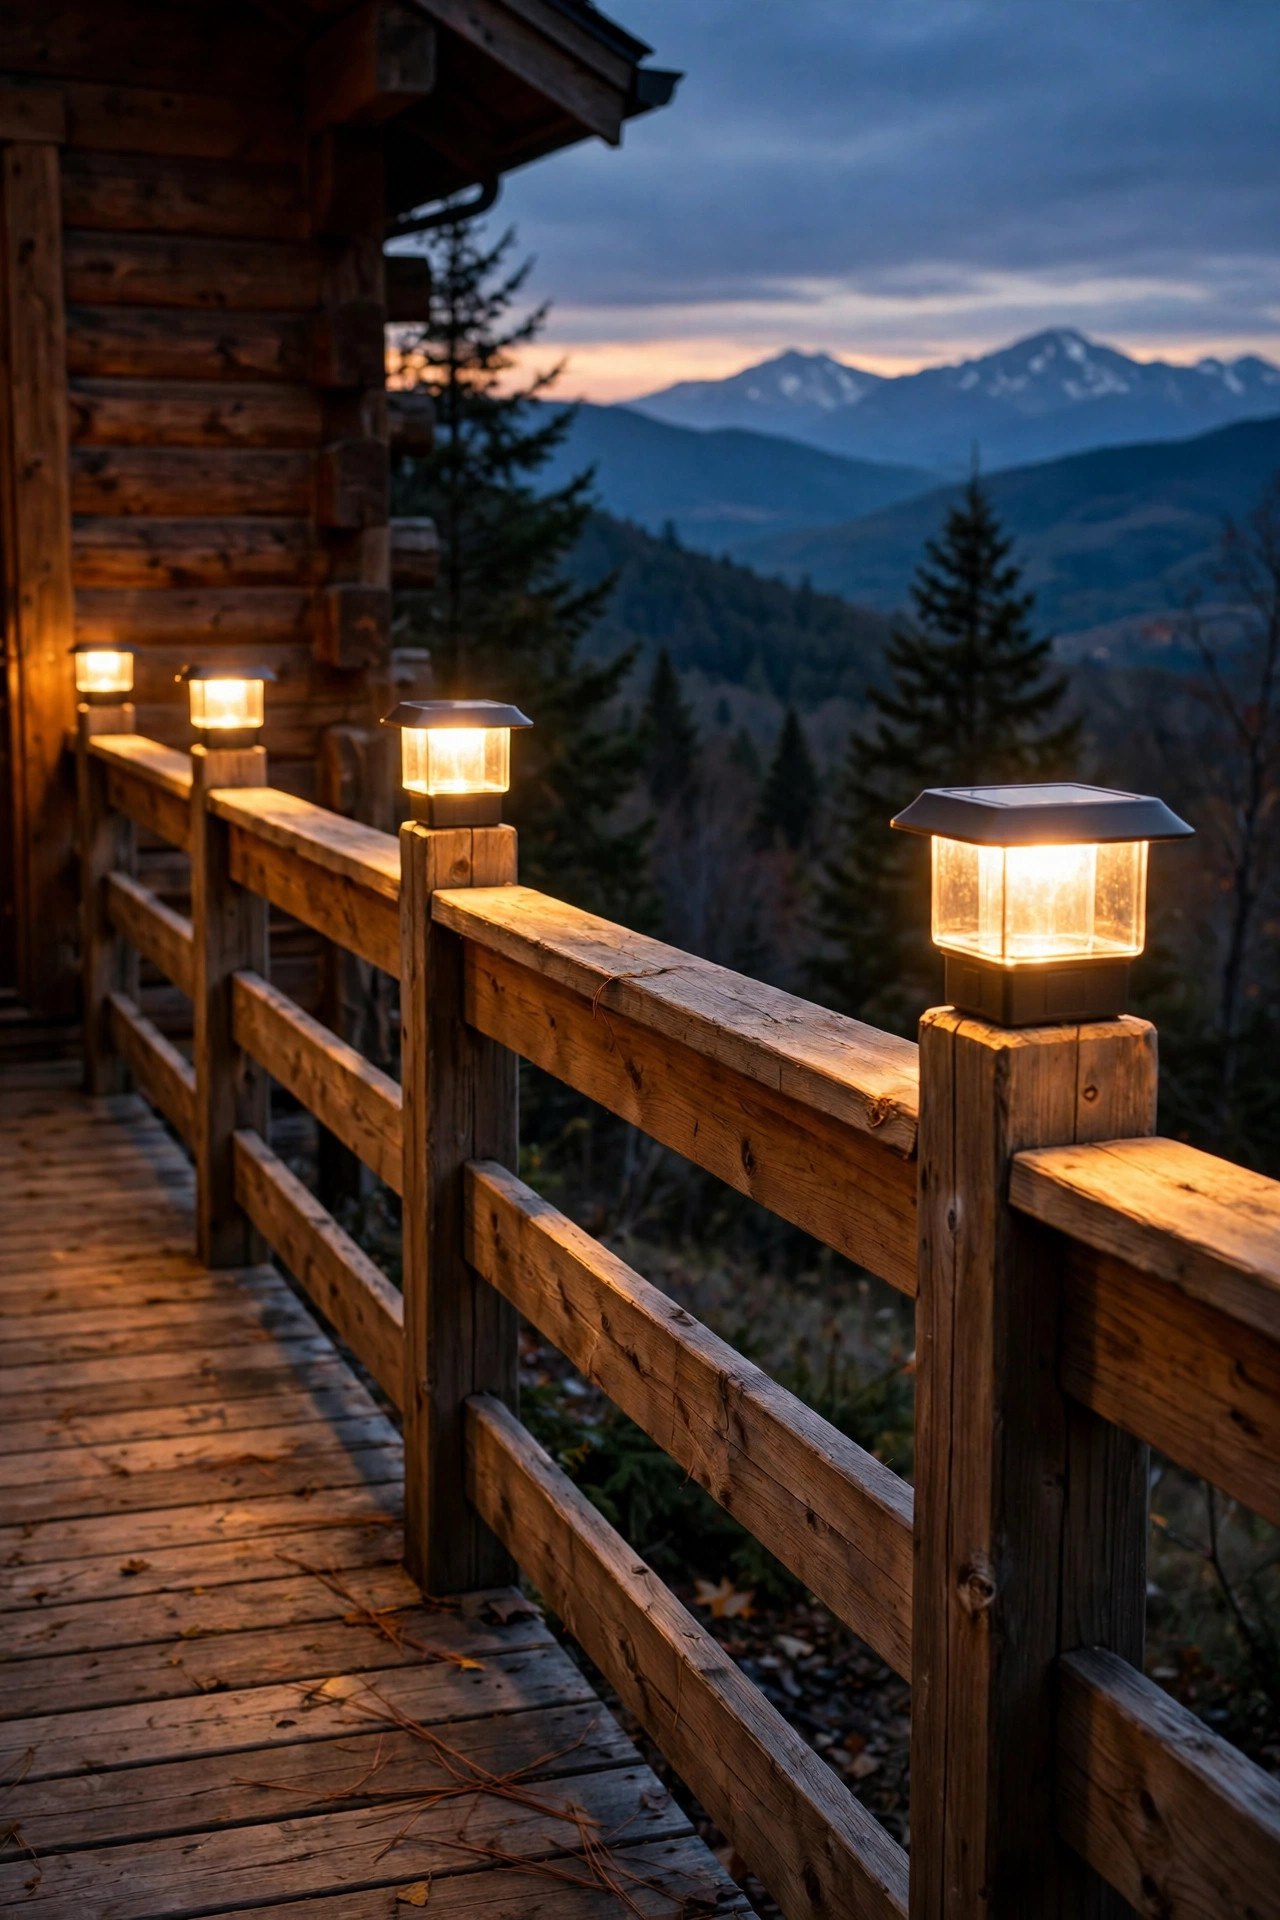
Our cabin is a weekend place, which means the lighting has to handle itself while we are gone, and solar post caps are the hardest-working little fixtures on the deck. They pop onto standard 4×4 or 6×6 railing posts, charge all day, and switch on at dusk without a single wire or outlet. I place them on every other post along the railing and on both posts flanking the stairs, which gives guests a clear read on the deck edge without any harsh beams. Look for caps with replaceable batteries and at least 10 to 15 lumens per cap; at altitude the sun is strong, so even a partly cloudy day usually delivers a full charge. In winter, brush snow off the little panels when you arrive, and expect slightly shorter runtimes in December. The warm white versions blend beautifully with log and cedar railings, and because they sit at hand height, they double as gentle guides when you are carrying firewood in the dark. Simple, cheap, and quietly reliable all year long.
Suggested budget range: $40 – $110.
4. Install Recessed Step Lights So Nobody Misses a Tread
More guests have stumbled on our deck steps than anywhere else, so this was the first permanent upgrade I made. Recessed step lights tuck into the vertical riser of each tread, washing the step below with a soft fan of light that shows exactly where your foot lands. I install one centered on every step, or one per step on alternating sides for stairs wider than 4 feet, wired to a low-voltage transformer with a dusk-to-dawn photocell. Choose warm 2700K LED fixtures with hooded or louvered faces so the light points down at the tread instead of into your eyes as you climb. Low-voltage cable is safe to staple along the stringer and bury in a shallow trench where it crosses the yard, and the whole run sips electricity. In freeze-thaw country, leave a little slack loop in the cable at each fixture so frost heave does not tug connections loose. These lights have completely changed how confidently older relatives and sleepy kids move around the cabin after dark.
Suggested budget range: $90 – $260.

5. Cluster Flameless Lanterns on the Table Instead of Real Candles
A mountain cabin deck is surrounded by dry pine needles, wooden railings, and the occasional gust of wind, which is exactly why real candles make me nervous out here. Flameless LED lanterns give me the same flickering amber glow with zero fire risk, and the good ones are honestly hard to tell apart from the real thing across a table. I group three lanterns in mixed heights at the center of the dining table, then scatter two or three singles near the reading chairs. Look for versions with a timer function, so they click on at dusk and off five hours later, and pick weather-resistant resin or metal frames that can stay outside between visits. The flicker setting runs at a low, warm brightness that lights faces beautifully without touching your night vision, which matters when the plan is dinner followed by stargazing. Tuck a spare set of batteries in the kitchen drawer at the start of the season and you are set until fall. Cozy, safe, and completely windproof.
Suggested budget range: $25 – $80.

6. Run Low-Voltage Path Lights From the Deck to the Hot Tub
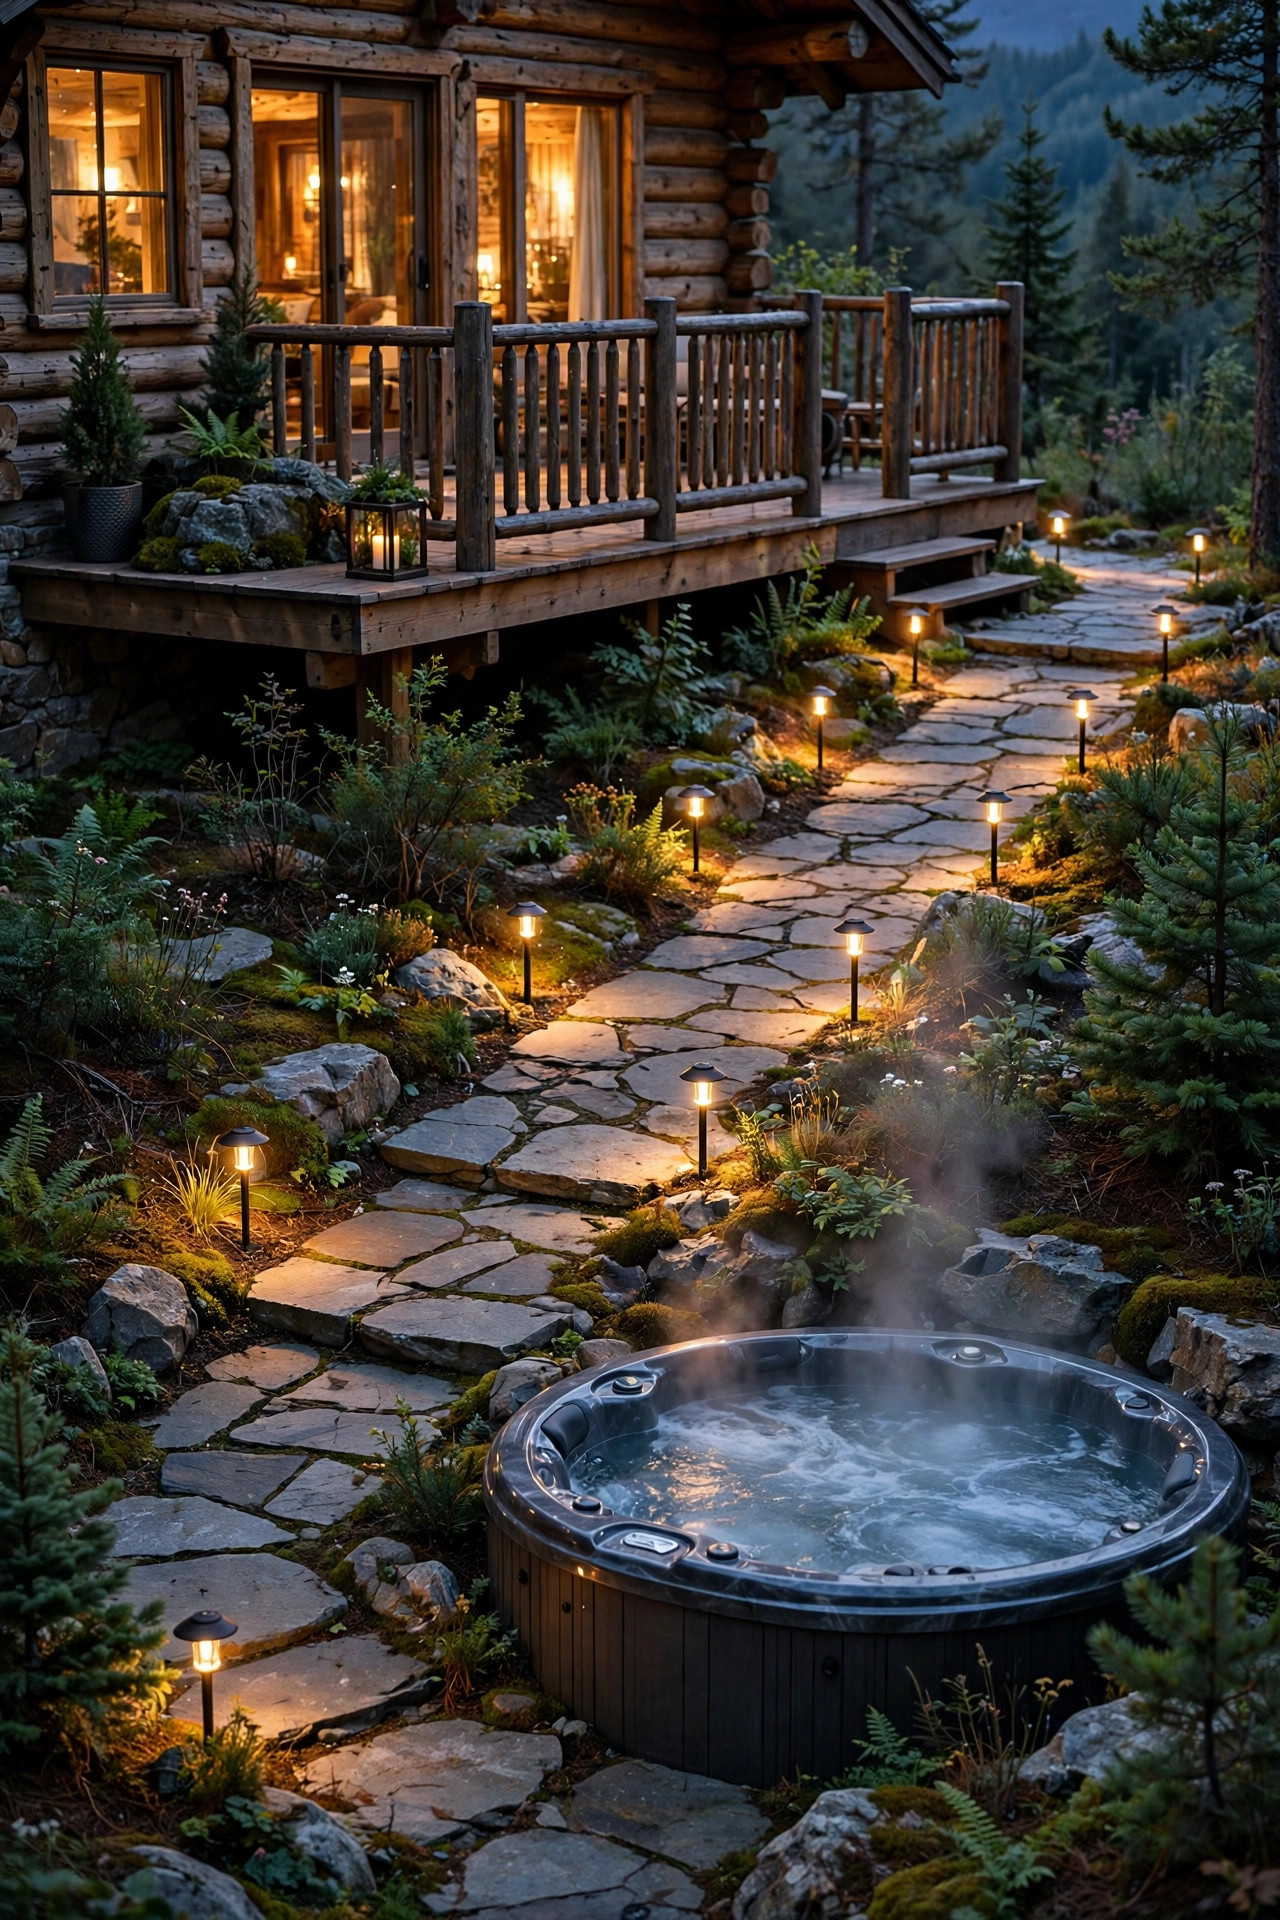
The walk from our back door to the hot tub is only about 30 feet, but it crosses uneven flagstone in the dark, usually while someone is carrying towels and a cup of tea. A short run of low-voltage path lights fixed that for good. I staggered six fixtures along the path, roughly 6 to 8 feet apart, alternating sides so the light pools overlap slightly and nobody walks through a dark gap. Mushroom-style or hooded bollard fixtures around 12 to 18 inches tall aim light straight down at the stones, which keeps glare out of your eyes and keeps the sky dark. The transformer lives on an exterior outlet with a photocell timer, and the cable sits in a 3-inch trench under the path edge, safe from shovels and frost. Warm 2700K lamps make wet stone look golden instead of clinical, and because the system is low voltage, adding two extra lights near the firewood stack later took me twenty minutes. It is the layer our guests compliment most.
Suggested budget range: $120 – $320.
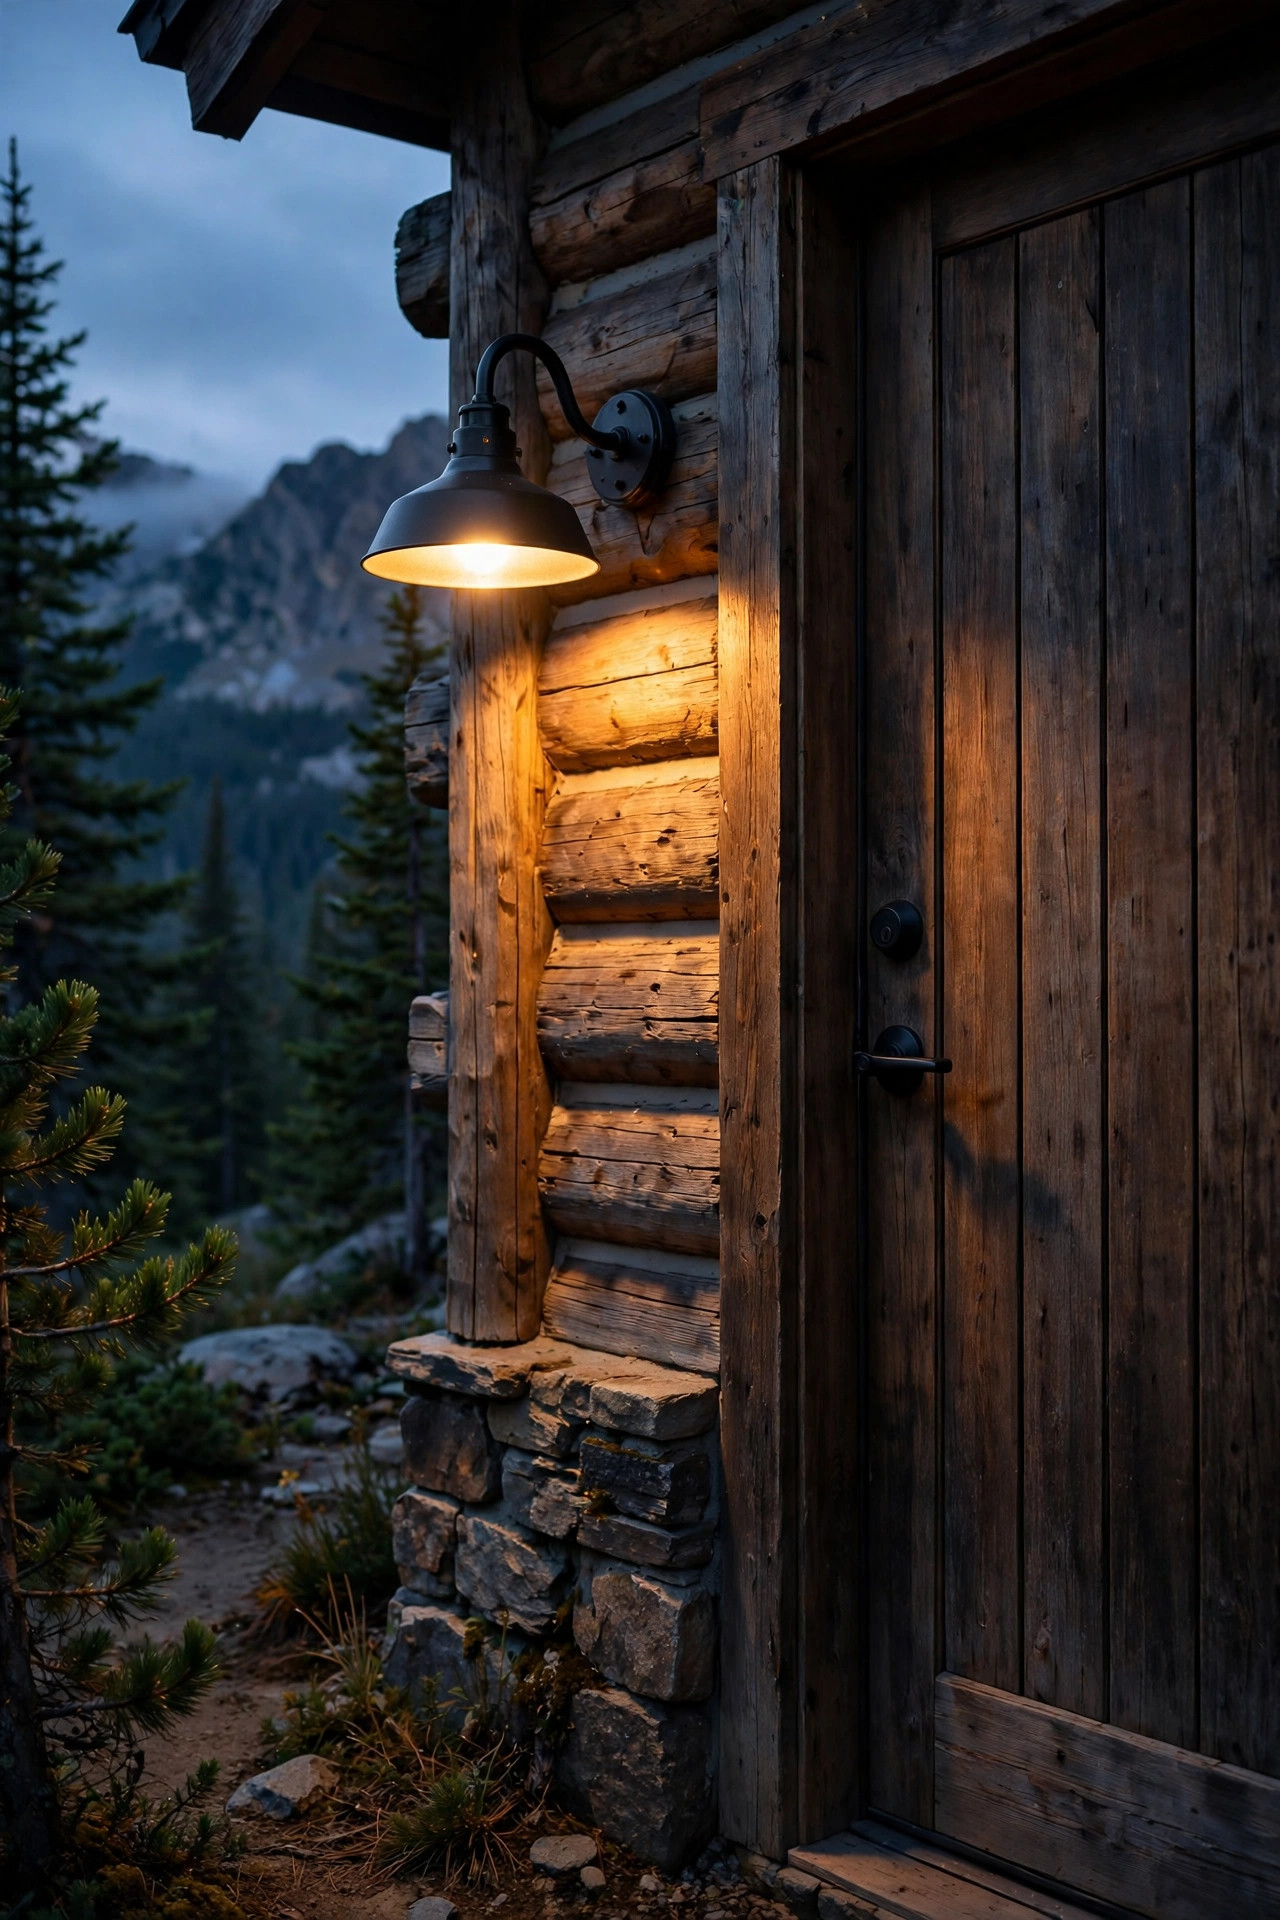
7. Mount Downward-Facing Sconces by the Door for Dark-Sky Manners
Many mountain communities have dark-sky guidelines, and honestly, the rules just describe good manners: keep light on your own porch and out of the sky and your neighbor's windows. A downward-facing sconce beside the cabin door is the easiest way to comply. I replaced our old bare-bulb coach light with a hooded fixture that throws all its light onto the deck boards and the welcome mat, using a 2700K bulb around 450 to 600 lumens, which is plenty for finding keys and greeting guests. The hood also shields the bulb from view, so when you look back at the cabin from the yard, you see a warm pool of light instead of a glaring dot. Mount it about 66 inches above the deck, and if your cabin has two doors, matching sconces keep the look pulled together. Choose a finish that can handle mountain weather, like powder-coated aluminum or sealed bronze, and check that the fixture is rated for wet locations. Practical, polite, and pretty.
Suggested budget range: $45 – $150.
8. Wrap Railing Posts With Copper-Wire Fairy Lights
When I want the deck to feel enchanted without adding a single lumen of glare, I reach for copper-wire fairy lights. These hair-thin strands wrap neatly around railing posts, stair newels, and the occasional antler mount, and from three feet away the wire disappears so the lights look like fireflies that posed for a photo. I wind one 33-foot strand per post in a loose spiral, spacing the wraps about 4 to 6 inches apart, and tuck the battery pack into a weatherproof box under the rail. Warm white is my default, but the amber versions are especially lovely against weathered wood. Because individual fairy bulbs are so dim, you can wrap four or five posts and still keep the deck darker than a single porch bulb would, which makes this a stargazer's best friend. Battery sets with a built-in 6-hours-on timer save you the nightly rounds, and a single set of lithium batteries lasts us most of a season of weekends. Pure atmosphere, almost no light pollution.
Suggested budget range: $15 – $45.

9. Build a Fire Pit Glow Zone With Quiet Perimeter Lighting
Our fire pit sits just off the deck on a gravel pad, and the trick is lighting the perimeter so people can move safely without competing with the fire itself. I ringed the seating area with four low solar stake lights pushed into the gravel about 18 inches behind the chairs, where they outline the zone without shining in anyone's eyes. A pair of small step lights marks the single step down from the deck, and that is honestly all it takes. Keep every fixture low, warm, and behind the seating, and the fire stays the brightest thing in view, which is exactly how it should be. Remember the safety basics: LED and solar fixtures only anywhere near the pit, keep anything with a battery at least 3 feet from the fire ring, and never run extension cords across the gravel where feet and chair legs drag. When friends head out after s'mores, the same perimeter lights walk them back to the deck. For more campfire-night inspiration, my roundup of backyard campout lighting ideas pairs beautifully with this setup.
Suggested budget range: $30 – $95.
10. Hide Battery Puck Lights Under the Railing Top Rail
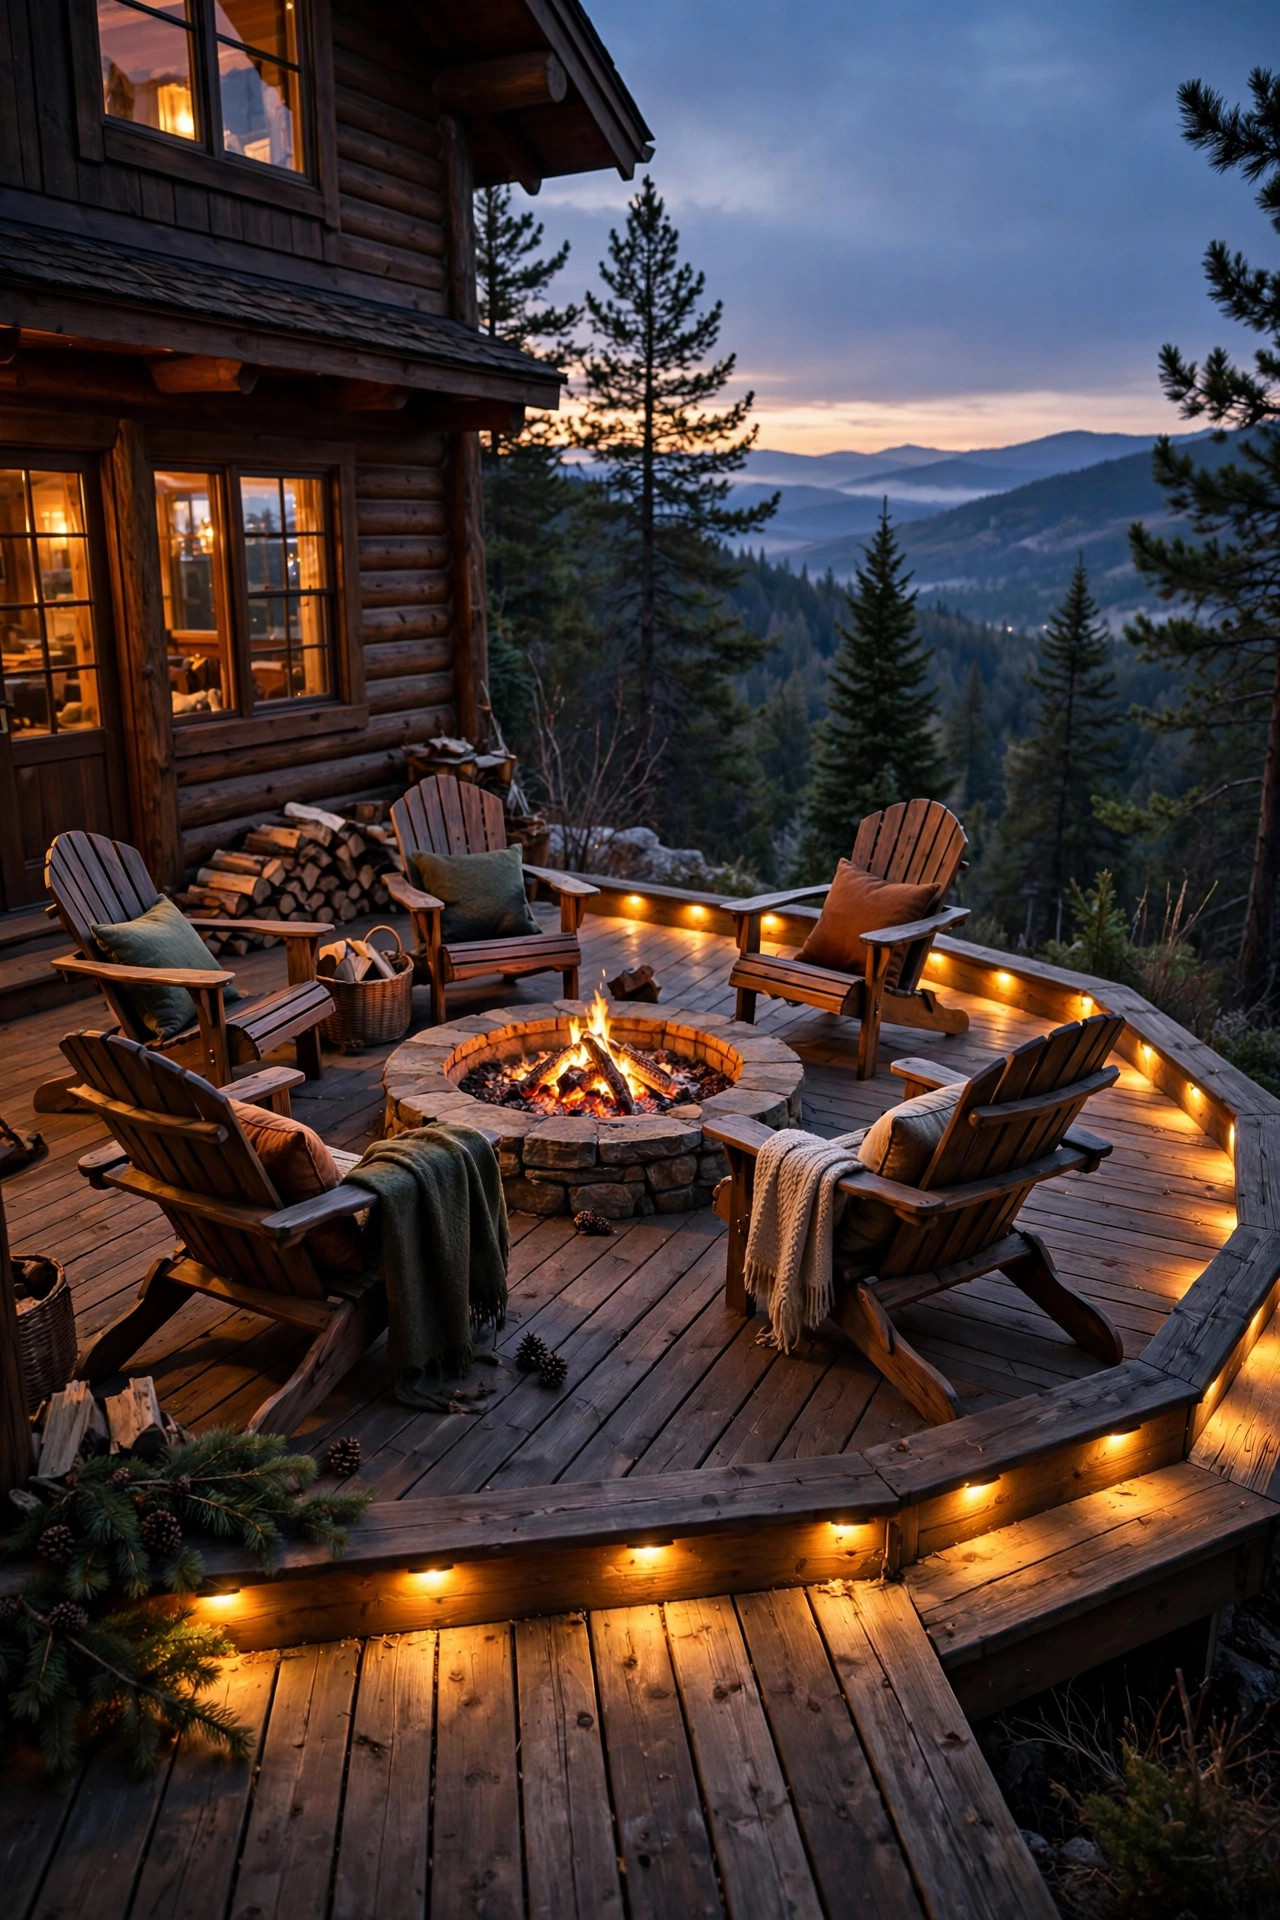
This is my favorite five-minute upgrade in the whole list. Stick-on battery puck lights mounted under the top rail of the deck railing throw a hidden ribbon of light down the balusters and across the deck boards, and because the source is invisible, it looks like the railing itself is glowing. I place one puck every 3 to 4 feet along the main seating run, angled slightly outward, and skip the sections by the grill where hands get greasy. Choose warm white pucks with a remote or a simple tap on-off, and look for weather-sealed versions rated for outdoor use, since mountain dew is relentless. The light level is low and even, perfect for late-night conversations when the string lights feel like too much, and it keeps the edge of the deck readable for anyone heading inside. Rechargeable models save a fortune in batteries over a season; I charge ours on the drive up and they last several weekends. It is subtle, renter-friendly, and completely reversible if you change your mind.
Suggested budget range: $20 – $55.
11. Put a Motion-Sensor Light at the Deck Gate for Wildlife and Late Arrivals
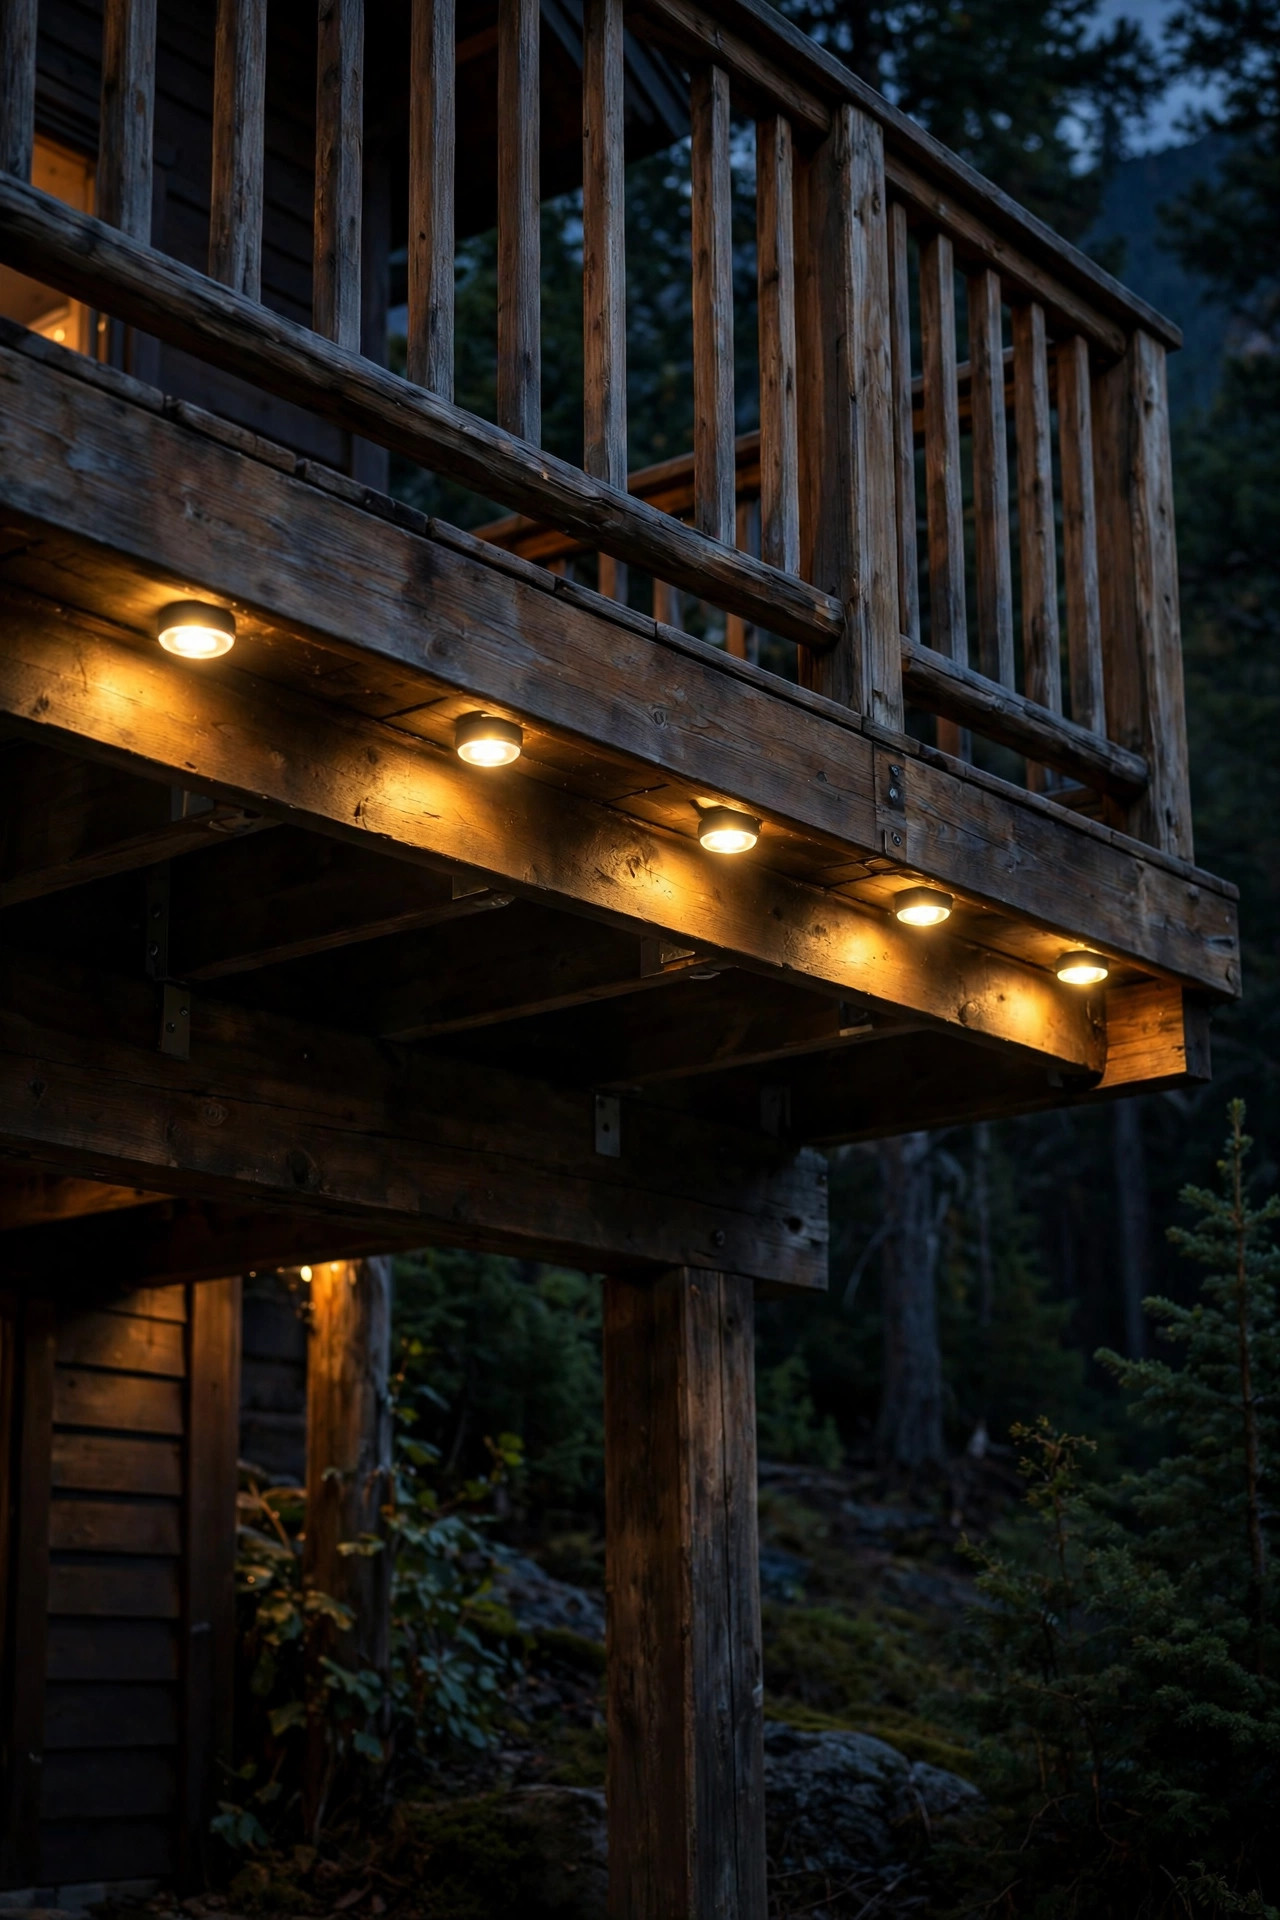
Out here, the things moving around your deck at night are not always people. A motion-sensor light at the gate and the trash enclosure has gently startled away raccoons, warned us about a curious black bear exactly once, and lit the way for every late-arriving guest without leaving a bulb burning all night. I mounted a solar motion fixture about 8 feet high, aimed down the approach path, with the sensitivity dialed to medium so swaying branches do not trigger it. Look for an adjustable timer that holds the light for 30 to 60 seconds, a warm or neutral bulb rather than a blue-white security beam, and a detection range around 20 to 25 feet. Because it only fires briefly, it does not wreck the dark-sky mood the way an always-on floodlight would, and the sudden glow is usually enough to send four-legged visitors elsewhere. If your cabin is a rental or sees winter closures, solar means it keeps working even when the main power is shut off at the panel.
Suggested budget range: $30 – $85.
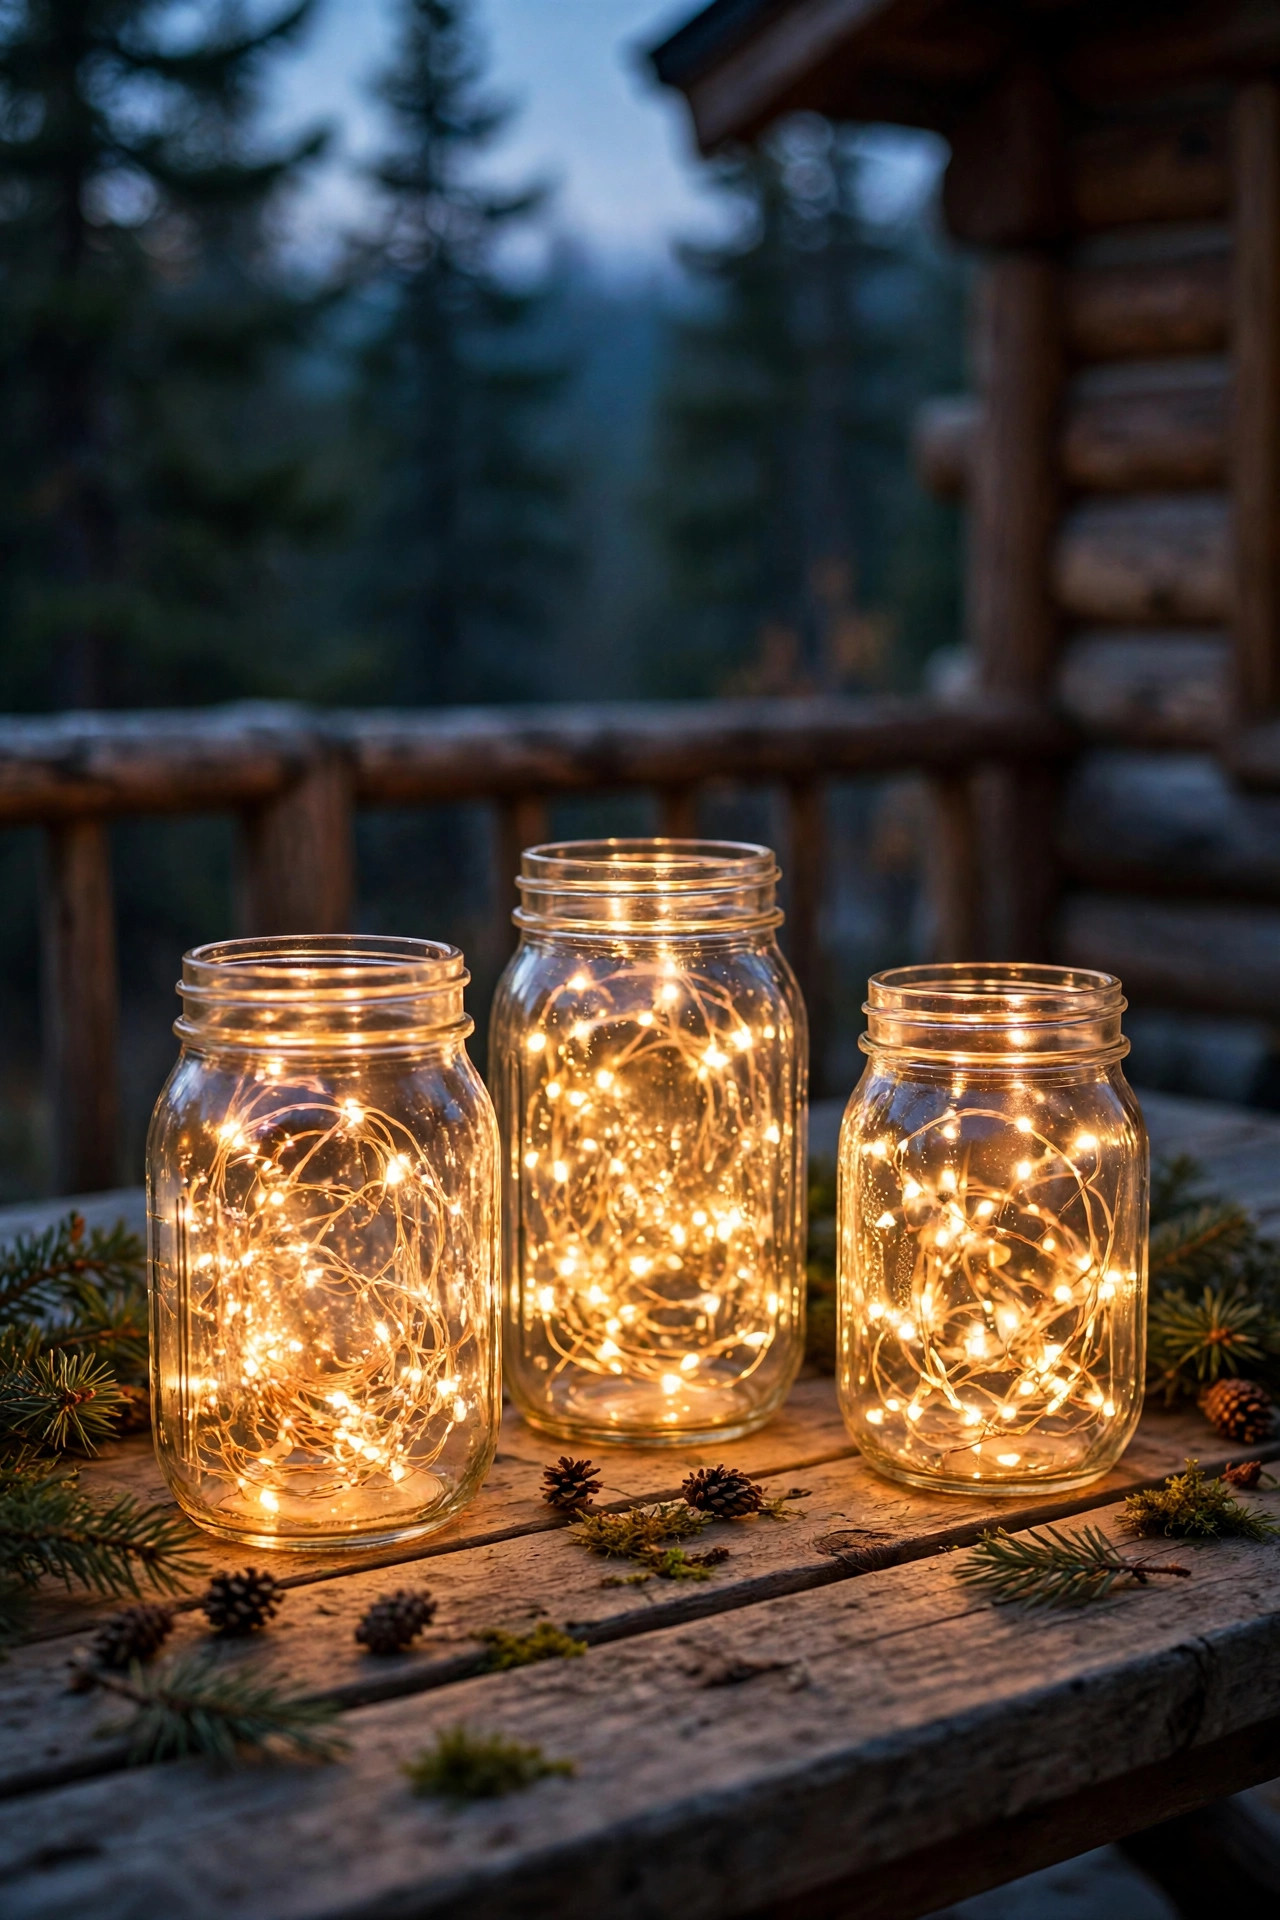
12. Fill Mason Jars With Fairy Lights for Portable Tabletop Glow
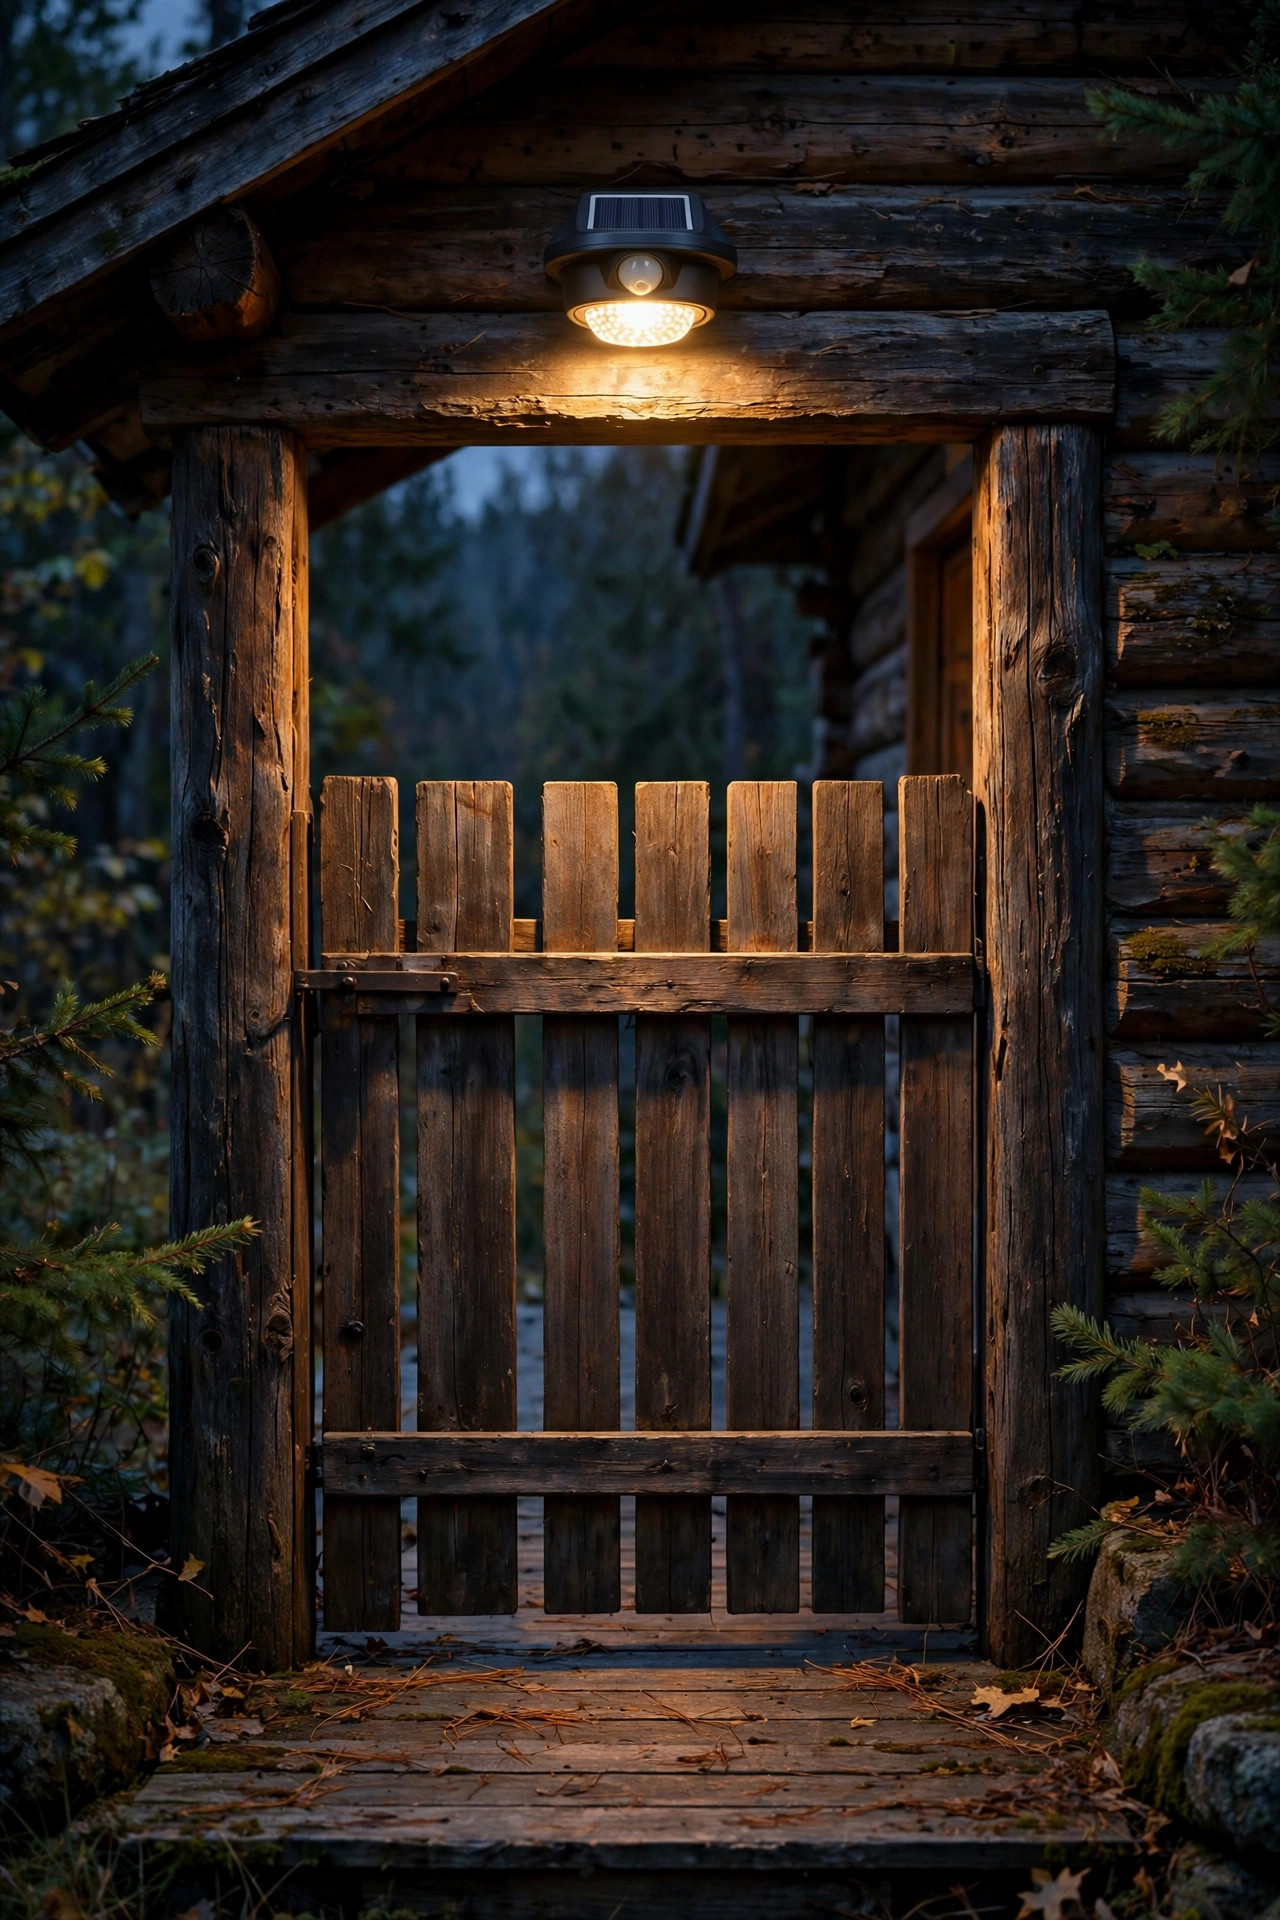
Some nights we drag the chairs to the far corner of the deck where the view opens up, and the lighting needs to come with us. Mason jars filled with a coil of battery fairy lights are my grab-and-go solution, and they could not be simpler: one 6-foot strand per quart jar, battery pack taped inside the lid, and you have a lantern that shrugs off wind and looks like captured fireflies. I keep four on a tray by the door, ready for the table, the railing, or a midnight walk down to the dock. The glass softens the tiny bulbs into a warm blur that lights a cheese board or a card game without any glare, and kids love carrying them. Frosted or amber-tinted jars give an even cozier glow if you want variety. Use lithium batteries for cold nights, since alkaline cells fade fast below freezing, and store the jars indoors over winter so the lids do not rust. Cheap, charming, and endlessly rearrangeable.
Suggested budget range: $15 – $40.
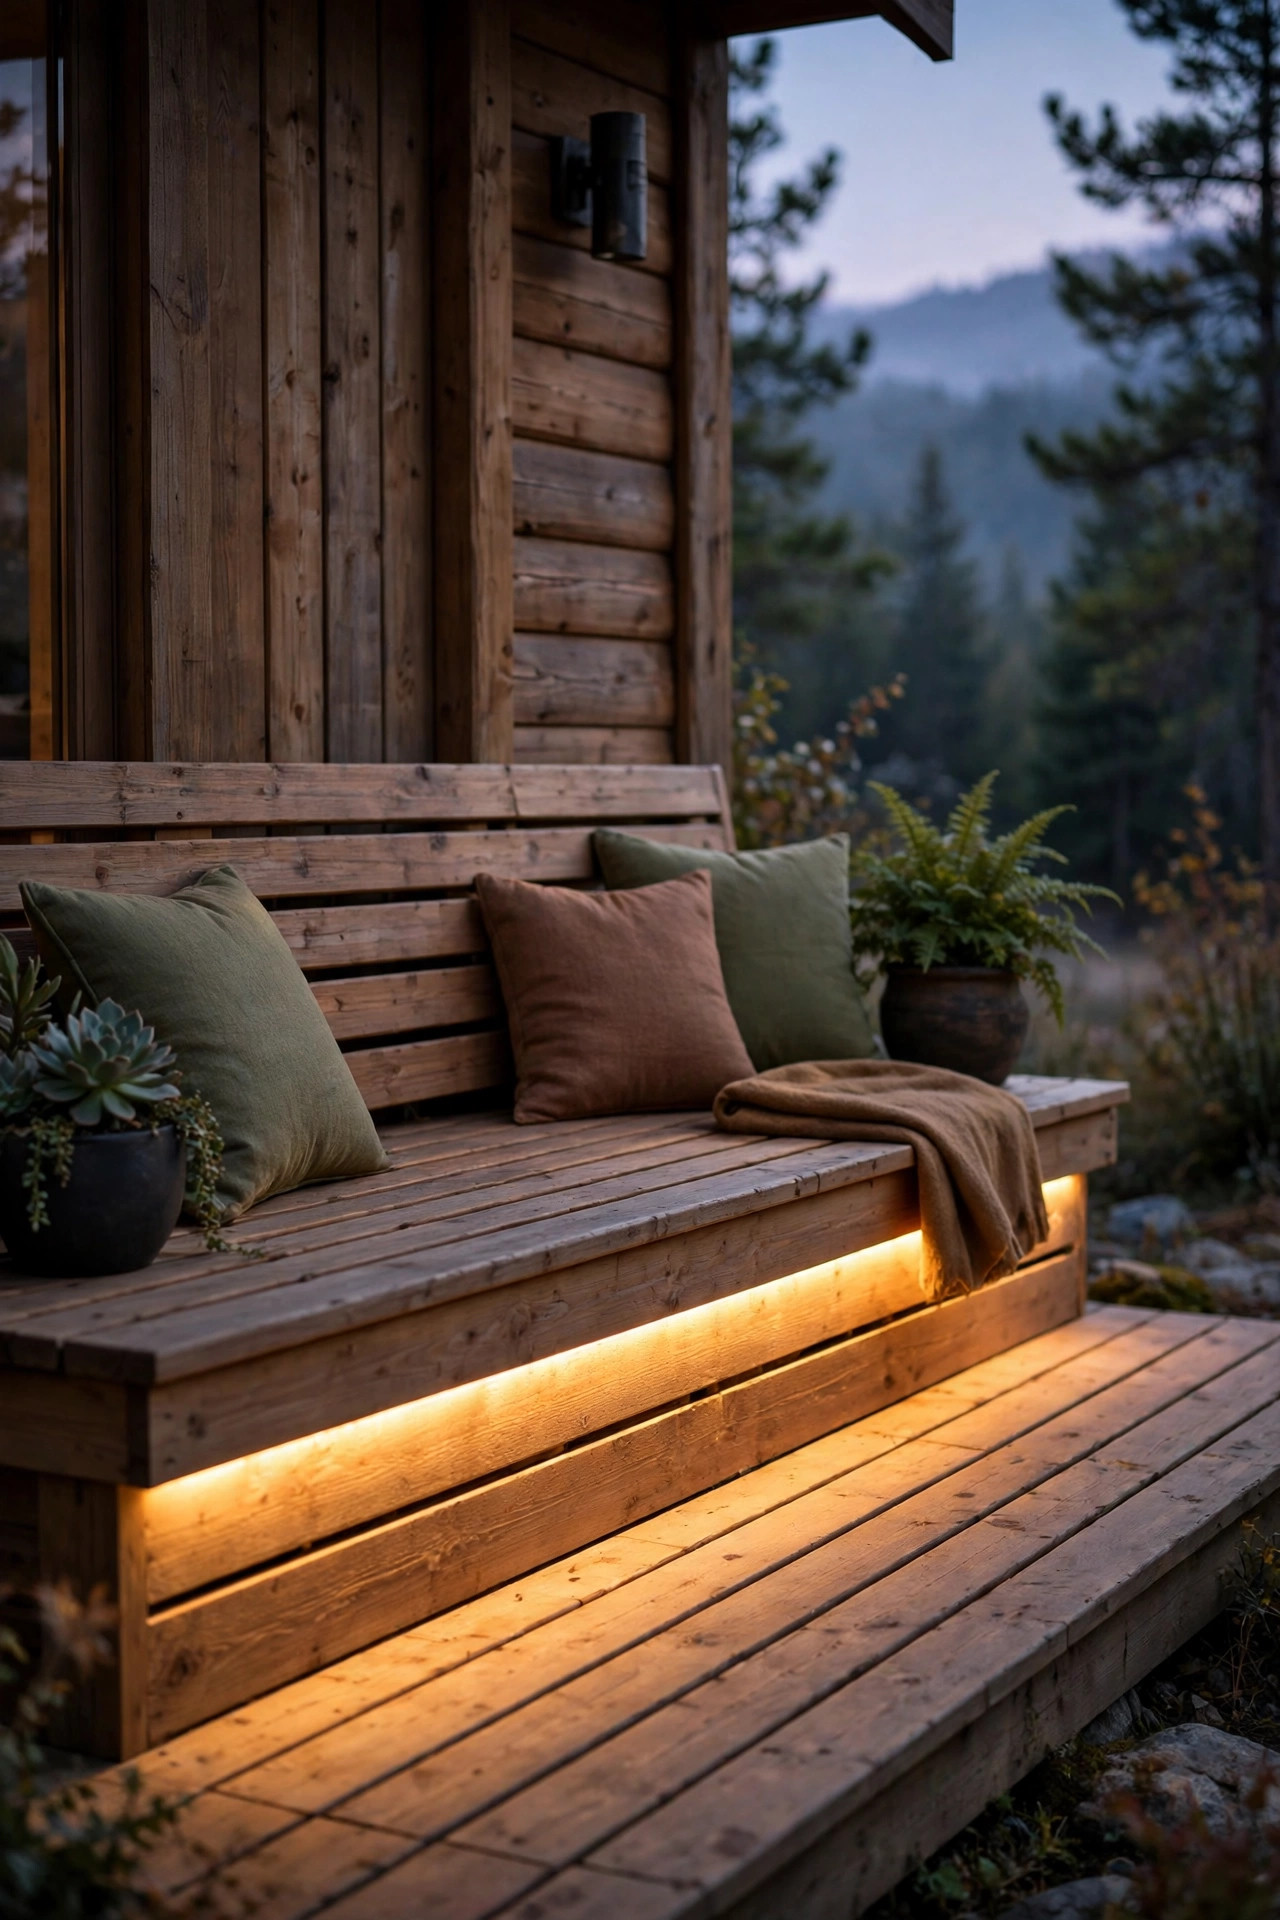
13. Tuck LED Strip Lights Under Bench Seating for a Floating Effect
Built-in benches are common on cabin decks, and the shadow line underneath them is prime real estate for hidden light. I ran a waterproof LED strip along the underside of our bench seats, about 2 inches back from the front edge, and the benches now appear to float above a pool of warm light after dark. Use an outdoor-rated strip with an IP65 or higher rating, warm 2700K output, and a low-voltage driver tucked into a weatherproof box beneath the deck. The glow lands on the deck boards and the fronts of the risers, which quietly defines the seating zone and keeps toes from stubbing bench legs. On a dimmer or a smart plug, the strips can drop to a whisper for stargazing or come up to full for a dinner crowd. Aluminum channel with a diffusing cover is worth the small extra cost in the mountains, since it protects the strip from kicked boots, dripping snowmelt, and curious dogs. The effect looks custom and high-end for very little money.
Suggested budget range: $35 – $110.
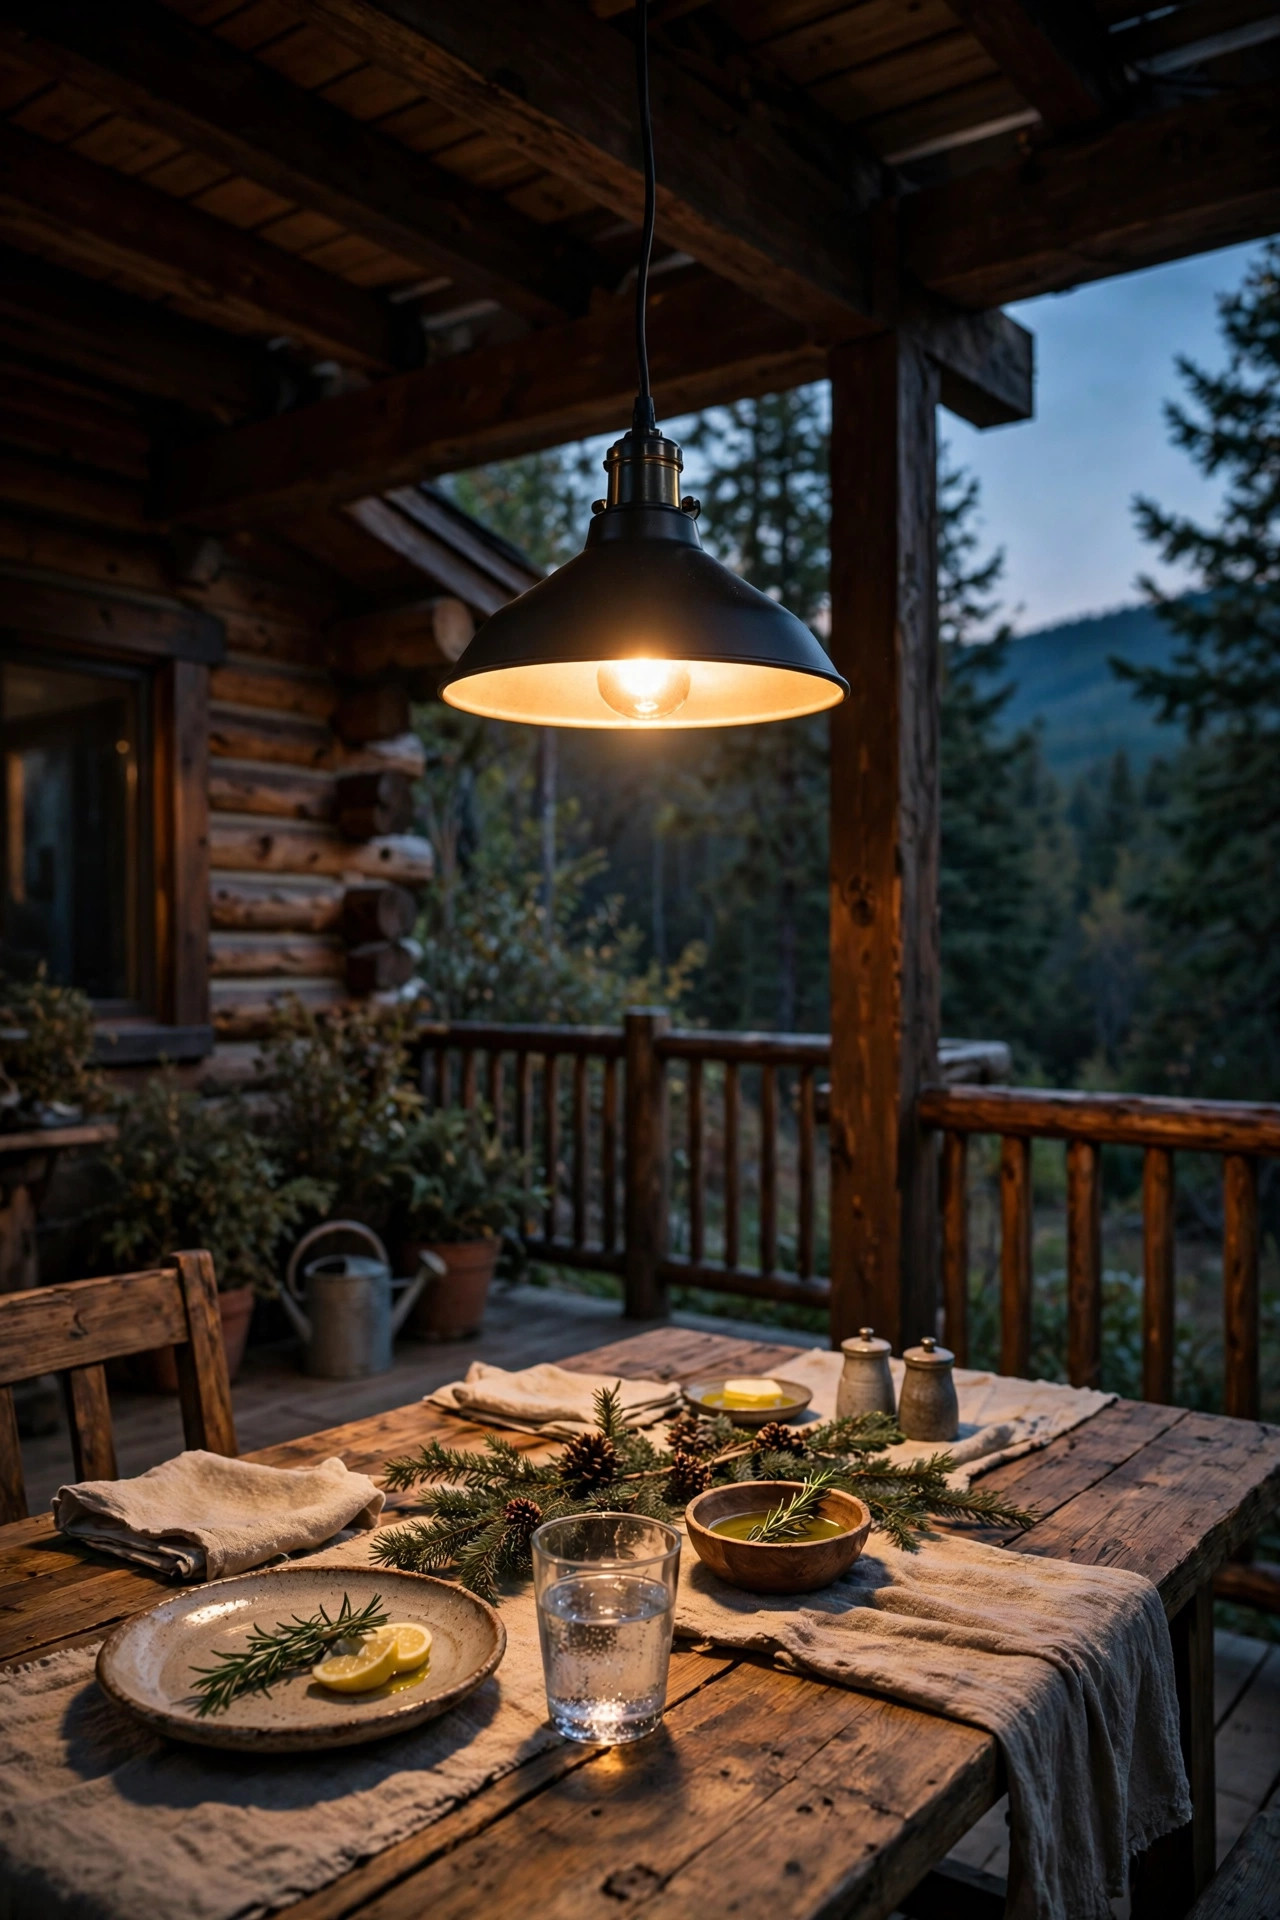
14. Hang a Dimmable Pendant Over the Outdoor Dining Spot
Every deck has that one spot where dinner always happens, and a single hanging pendant turns it into a destination. On a covered section of our deck, I hung a weather-rated pendant about 30 inches above the table, centered over the middle, with a vintage filament-style LED bulb on a plug-in dimmer. The focused pool of light makes food look wonderful and faces glow, while the rest of the deck falls off into soft darkness, which is exactly the balance a mountain evening wants. If your deck is open to the sky, a pendant on a shepherd's-hook stand or a swag hook from a pergola beam works the same way. Choose a metal or resin shade that sheds snow and rain, confirm the fixture is rated for damp or wet locations, and keep the bulb at or below 2700K. At full brightness it is a task light for serving and clearing; dimmed to a third, it is pure ambiance. One fixture, total transformation of the dining corner.
Suggested budget range: $55 – $180.
15. Edge the Deck With Low Solar Stakes Where the Lawn Drops Off
Our deck sits about 3 feet above a sloping lawn, and the far edge used to vanish into blackness, which made everyone hug the cabin wall after dark. A row of low solar stake lights along the ground below the edge fixed the psychology of the whole space. I pushed eight stakes into the soil about 4 feet apart, roughly 12 inches out from the deck skirt, so their glow rims the footprint of the deck without shining up into anyone's eyes. At 12 to 15 inches tall with hooded tops, they read as a dotted line of warm light that says "the yard ends here." Solar keeps the install to ten minutes, and at altitude they charge eagerly even on short winter days. In my experience, the metal-stemmed stakes survive freeze-thaw cycles far better than all-plastic ones, and it is worth pulling them for the deepest winter if your snowpack buries things for months. Guests now use the whole deck confidently, right out to the railing.
Suggested budget range: $25 – $70.

16. Flank the Cabin Door With Rustic Wall Lanterns
There is a reason every storybook cabin has lanterns by the door: it just looks right. I mounted a pair of wall lanterns on either side of our front door at about 66 inches high, choosing black metal frames with seeded glass that throws a soft, speckled glow across the porch boards. Inside each one, a 2700K LED candle-style bulb around 500 lumens gives plenty of welcome without the interrogation-room brightness of a bare floodlight. Wire them to a dusk-to-dawn photocell or a smart switch so the cabin greets you automatically when you roll in after a long drive, groceries in hand. If your entry is exposed to serious weather, confirm the lanterns carry a wet-location rating and sealed tops so wind-driven snow stays out. This is also the easiest place to borrow ideas from my guide to rustic cabin lighting ideas, which covers matching these fixtures with interior wood tones. Classic, welcoming, and dark-sky friendly all at once.
Suggested budget range: $70 – $220.

17. Keep a Red-Light Mode Handy for Serious Stargazing Nights
Twice a year, friends bring a telescope up, and that is when I learned the astronomer's trick: red light preserves your night vision, so your eyes stay adapted to the dark and the faint stars stay visible. I keep two red-light options on the deck now. The first is a set of red fairy lights strung along the stair rail, just bright enough to move safely. The second is a rechargeable lantern with a red mode that lives on the table during viewing sessions. With everything else switched off and only the red layer running, the Milky Way honestly looks twice as dense, and you can still find your cocoa. It takes about 20 to 30 minutes for eyes to fully adapt, so switch to red early in the evening and ask guests to keep phone screens dim and face-down. If stargazing is your deck's main event, my dedicated guide to stargazing patio lighting goes deeper on placement and brightness levels. It feels a little like a submarine, and the kids think it is the coolest thing ever.
Suggested budget range: $15 – $50.

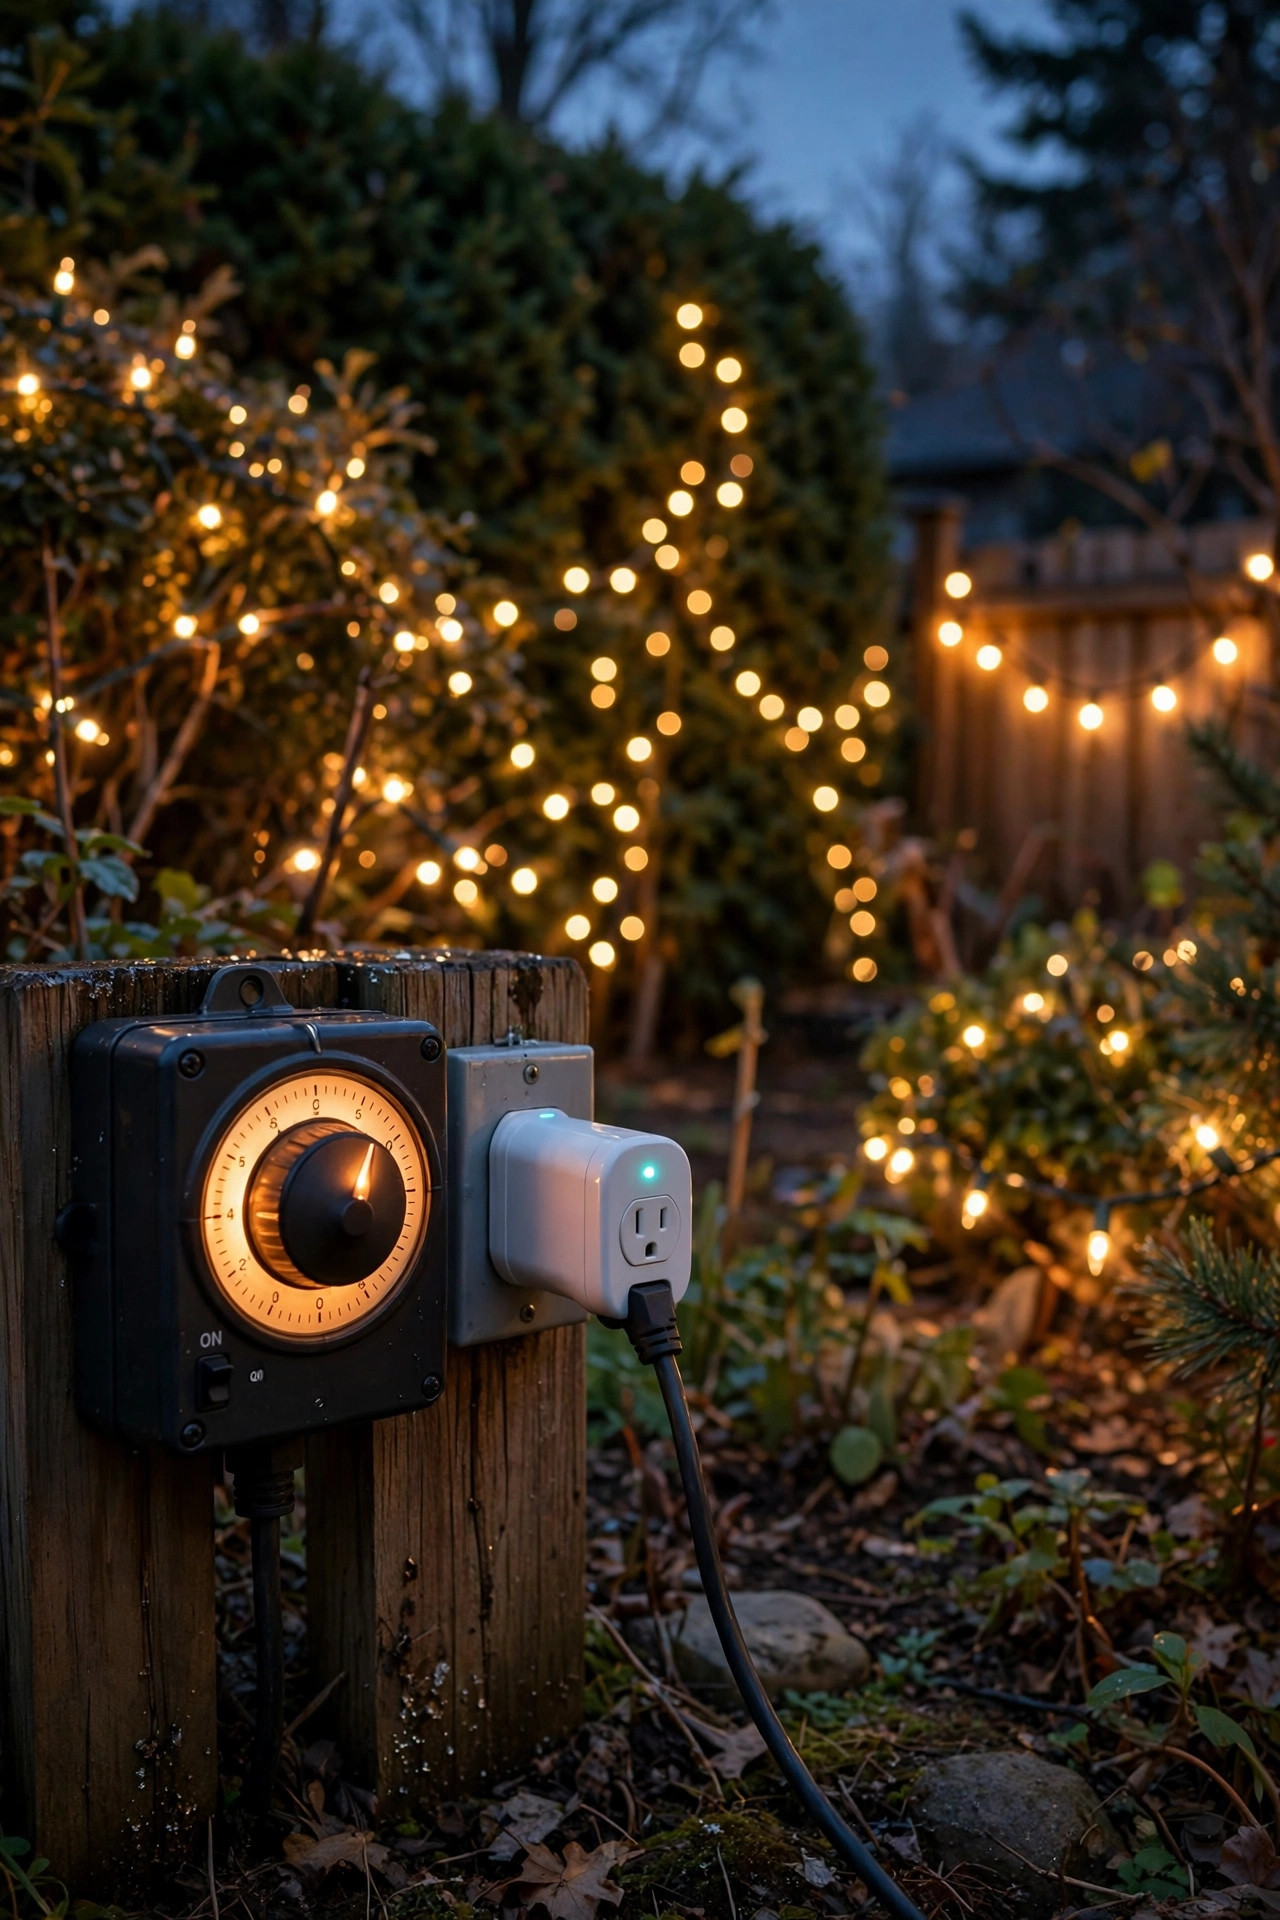
18. Automate Everything With Timers and a Dusk Shutoff
A cabin is supposed to be relaxing, and running around flipping switches at dusk is not relaxing. I put every layer of our deck lighting on timers or smart plugs, and now the whole scheme runs itself: the sconces and step lights wake at sunset, the string lights join them, and everything except the low safety layer shuts off at 11 p.m. so the sky gets the rest of the night. Astronomical timers are the right tool here because they track your local sunset as the seasons shift, which matters a lot when December dusk arrives at 4:45. Smart plugs rated for outdoor use let me override from my phone when we stay up late for a meteor shower, and they keep working on a schedule even when we are not at the cabin, which makes the place look lived-in. Group fixtures by layer, label the plugs, and keep the whole system on GFCI-protected outlets. Automation is the invisible upgrade that makes every other idea on this list feel effortless.
Suggested budget range: $30 – $90.
19. Pull It Together: Mountain Cabin Lighting Ideas for One Perfect Evening
Here is how it all comes together on our best nights. At sunset, the timers wake the safety layer: step lights, post caps, and the path to the hot tub. As we carry dinner out, the pendant comes up over the table and the flameless lanterns flicker on. After dessert, the string lights dim to a low amber, the under-railing pucks take over, and the deck settles into that quiet glow where conversation slows down. Then, weather permitting, we kill almost everything, switch the stair rail to red, and watch the sky do its thing. The lesson after years of tweaking mountain cabin lighting ideas is that restraint is the luxury: fewer, warmer, lower lights, each with a job, all on timers. Start with the safety layer, add the living layer next visit, and save the sparkle for last. Your deck will feel like the cabin in a postcard, and the stars, which were the whole point, will still be putting on their show overhead.
Suggested budget range: $150 – $450.

Frequently Asked Questions
What color temperature is best for a mountain cabin deck?
Warm wins every time in the mountains. I recommend 2200K to 2700K for every fixture on the deck, because that amber range flatters wood, feels like firelight, attracts fewer insects than blue-white light, and does the least damage to your night vision. Matching temperatures across layers also keeps the whole scheme looking intentional instead of patchwork.
Will deck lighting ruin our view of the stars?
Not if it is low, warm, shielded, and pointed down. The biggest star-killers are bright bare bulbs and upward-facing fixtures, which is why every idea in this list keeps light at or below railing height and on dimmers or timers. Switch to just the safety layer, or red lights, after 10 p.m. and the Milky Way stays spectacular.
Are solar lights reliable at high elevation and in winter?
Mostly yes, with a few habits. Mountain sun is intense, so panels charge well, but short winter days and snow cover cut runtime; brush panels off when you arrive and choose fixtures with replaceable batteries. For critical safety spots like steps, wired low-voltage lights are the more dependable choice, with solar as a cheerful backup layer.
How do I keep deck lights from attracting bugs and wildlife?
Warm amber bulbs attract far fewer insects than cool white ones, and keeping lights dim, low, and on timers reduces the draw further. Motion-sensor fixtures near trash and grills discourage raccoons better than constant light, which animals simply learn to ignore. Storing food inside and using flameless candles instead of scented flames helps too.
Conclusion
The best mountain cabin lighting ideas all serve two masters: the people on the deck and the sky above it. Layer warm light low for safety, add a soft middle layer for long evenings with people you love, automate it so the cabin runs itself, and always leave an off switch within reach for the nights the stars deserve the stage. Start with one layer this weekend, and let the mountains handle the rest of the show.