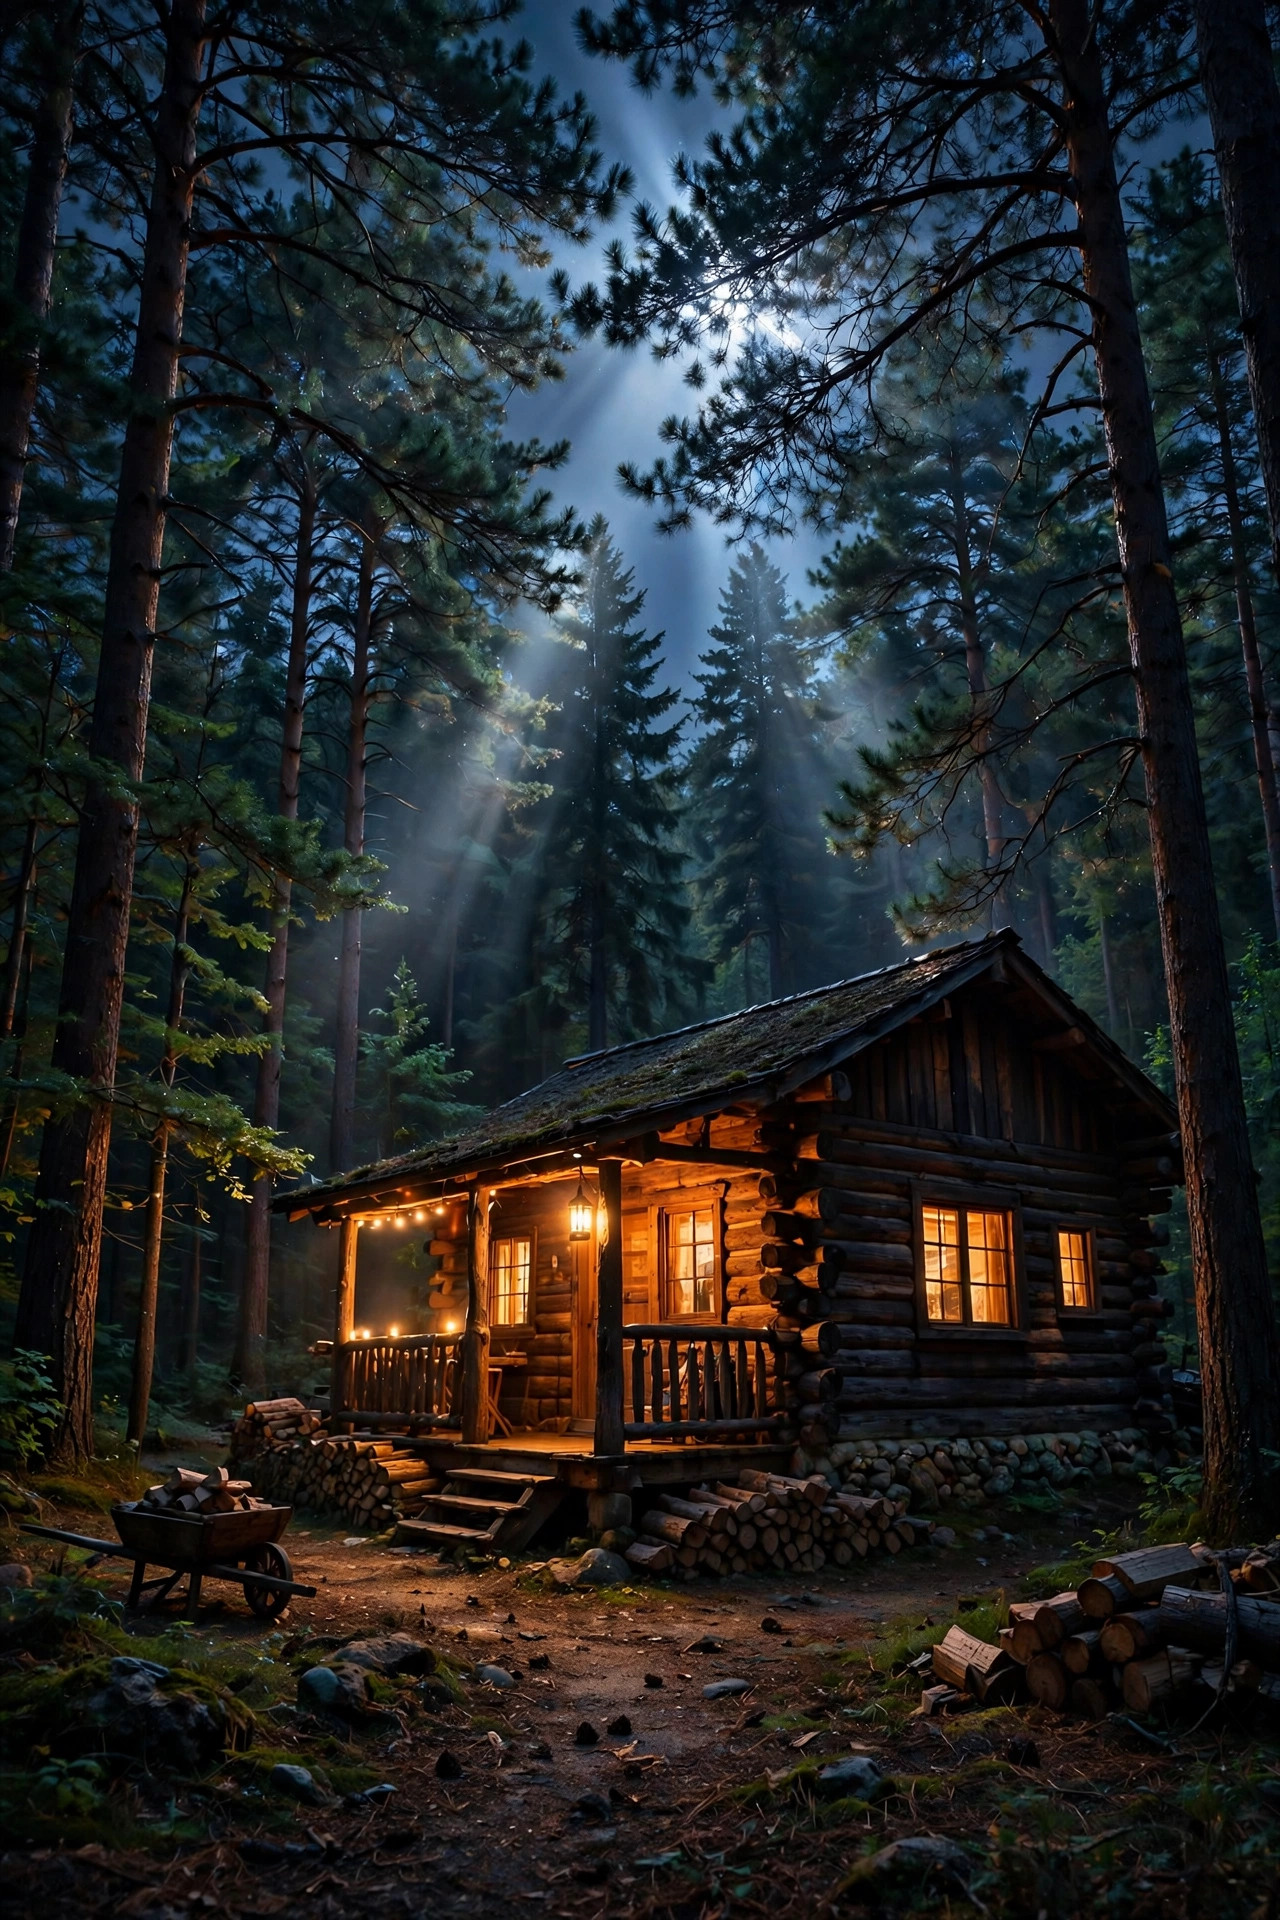
There's nothing quite like pulling up a long gravel driveway at dusk and seeing your cabin glowing warm against the dark treeline. Honestly? That first glimpse is half the reason I love rustic cabin lighting — it turns a hunk of logs and timber into something that feels like a hug. If your cabin looks flat or foreboding after sunset, you're not alone; most cabins were built to keep the weather out, not to show off at night.
In my experience, the secret is layering, just like I do with every exterior: a little task light where you walk, a little accent light on the textures (oh, that log grain in lamplight!), and a lot of warm ambient glow around the places you actually gather. Dark wood swallows light, so be generous and stay in the warm 2200–2700K zone — cool white on a log cabin looks like a parking garage, and nobody wants that.
Below are my 17 favorite ways to light a log cabin, A-frame, or mountain lodge exterior, from classic lantern sconces to fire-pit rings and lakefront dock lights. Every idea includes placement measurements, bulb guidance, and real-world budgets — pick two or three and get started this weekend.
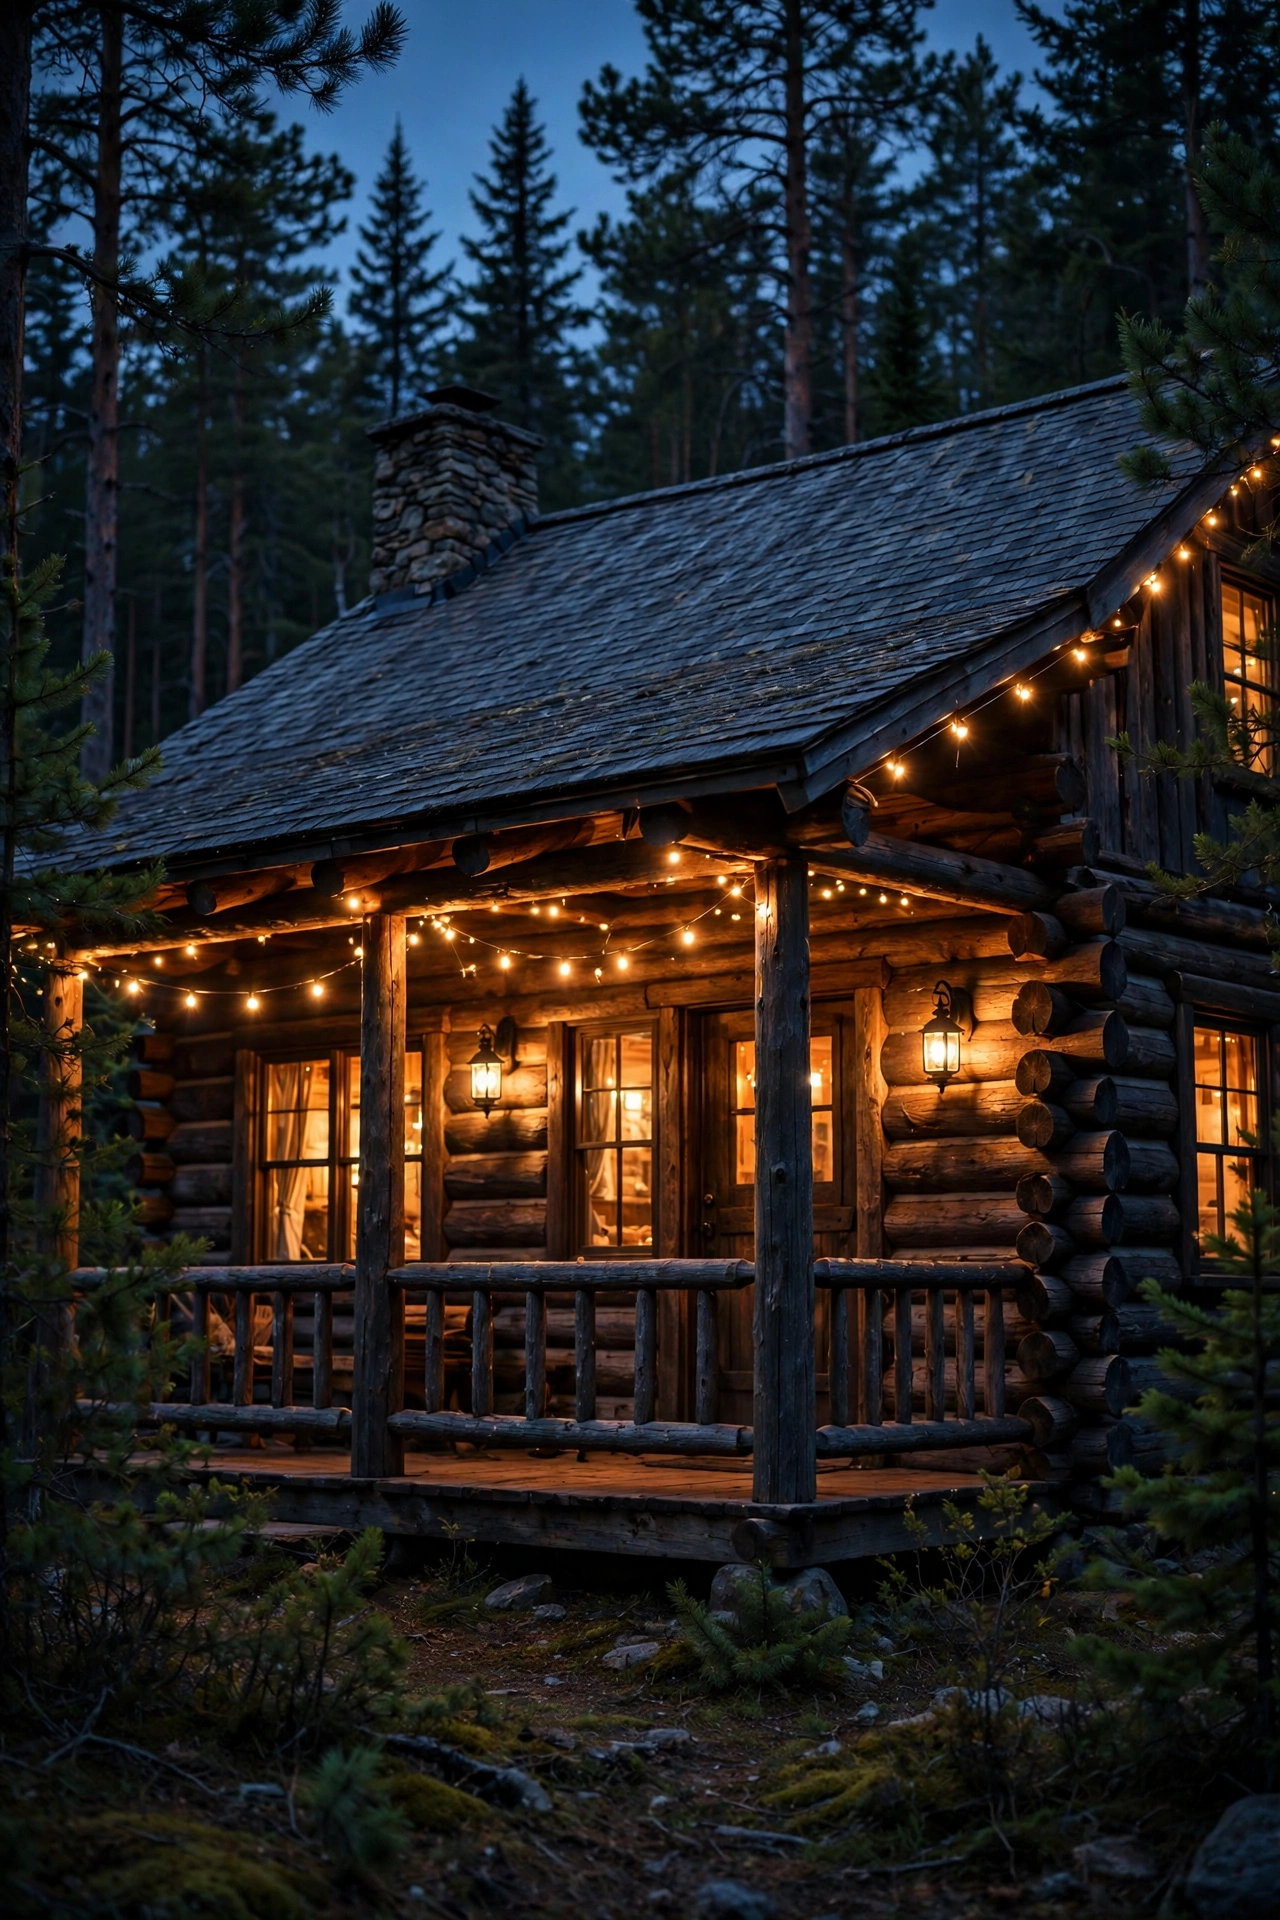
1. Classic Lantern Sconces Flanking the Cabin Door: The Soul of Rustic Cabin Lighting
Nothing says cabin like a pair of lantern-style sconces on either side of the front door. I always recommend this as the very first move for rustic cabin lighting because it sets the tone for the whole facade — that warm, flickering-style glow on log siding is pure storybook. Mount them about 66–72 inches from the ground to the center of the fixture, and 8–12 inches to each side of the door frame so the light washes across the logs instead of blinding guests.
Go for fixtures with a glass enclosure and a faux-antique finish (aged bronze, matte black, or oil-rubbed looks all work). Choose warm-white LED bulbs around 2700K, 400–800 lumens per side — plenty for seeing the keyhole without washing out the ambiance. Put them on a dusk-to-dawn photocell timer so they greet you every evening automatically, and make sure the fixture is rated for wet locations since driving mountain rain hits vertical surfaces harder than you'd think. Caulk the mounting block where it meets the logs to keep water out of the junction box.
Styling tip: pair the sconces with a dark-stained timber lintel above the door, and the whole entry suddenly looks designed instead of improvised.
Suggested budget range: $80 – $240.

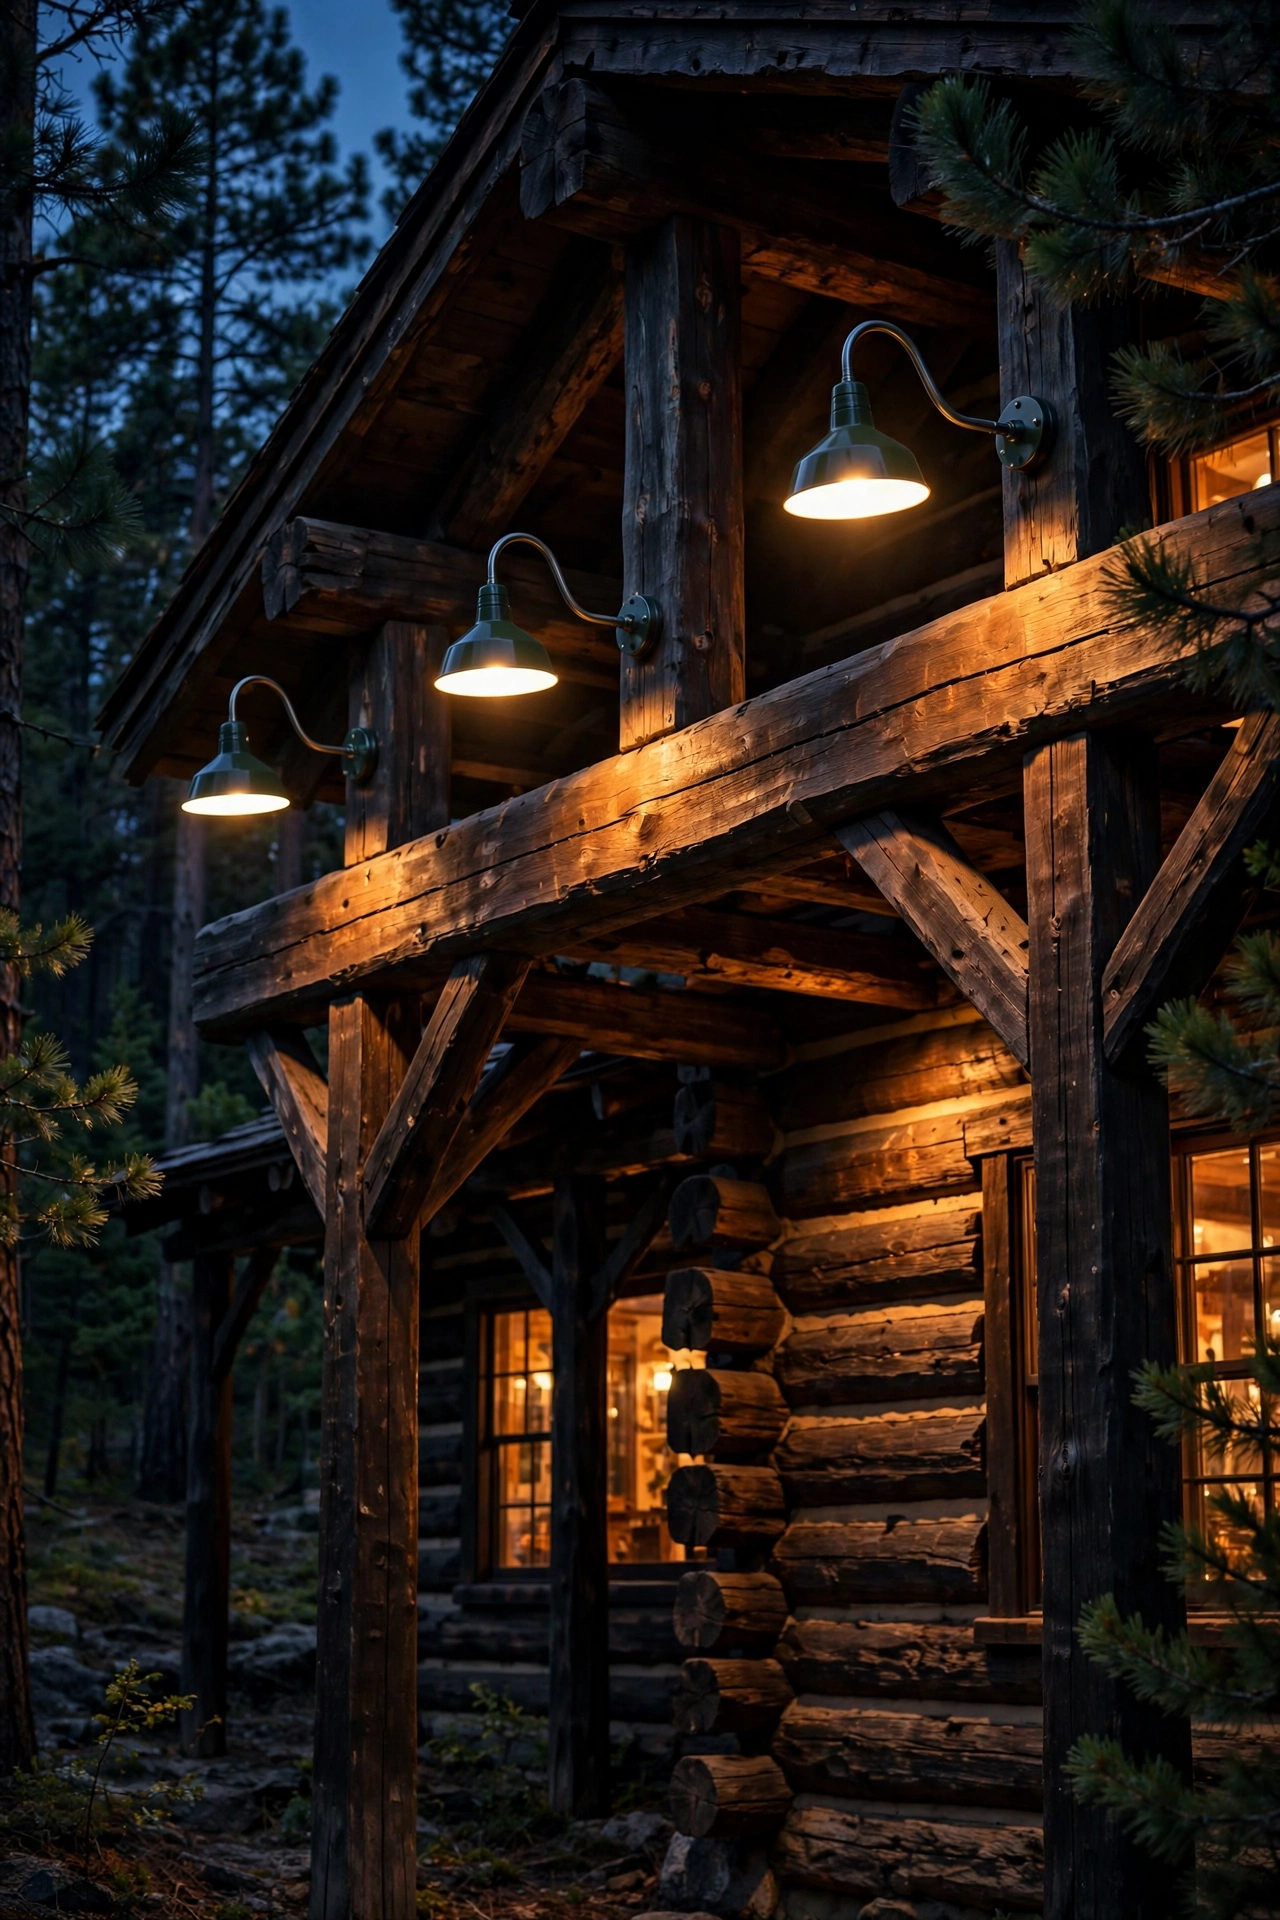
2. Gooseneck Barn Lights Mounted on Heavy Timber
Gooseneck barn lights on exposed timber beams give a cabin that authentic lodge feel while throwing seriously useful light downward. In my experience, these are the workhorses of rustic cabin lighting — perfect over garage doors, above the porch, or flanking a woodshed where you need to actually see what you're doing. Mount the shade 12–18 inches above a door or work area, with the gooseneck arm extending the shade 10–14 inches from the wall so the light lands on the ground, not on the siding.
Because the shade directs light straight down, choose a slightly brighter bulb here — a 2700K LED at 800–1,100 lumens — and angle it away from bedroom windows to avoid light trespass at night. Wire them into a GFCI-protected circuit (required for outdoor hardwired fixtures in most US areas) and use weatherproof boxes designed for rough-log mounting; round logs need a flat mounting block so the fixture sits flush and sealed. A matte black or rustic copper-tone finish disappears beautifully against dark stain.
Styling tip: a row of three goosenecks evenly spaced across a long porch beam reads intentional and lodge-like. Space them 6–8 feet apart.
Suggested budget range: $120 – $450.
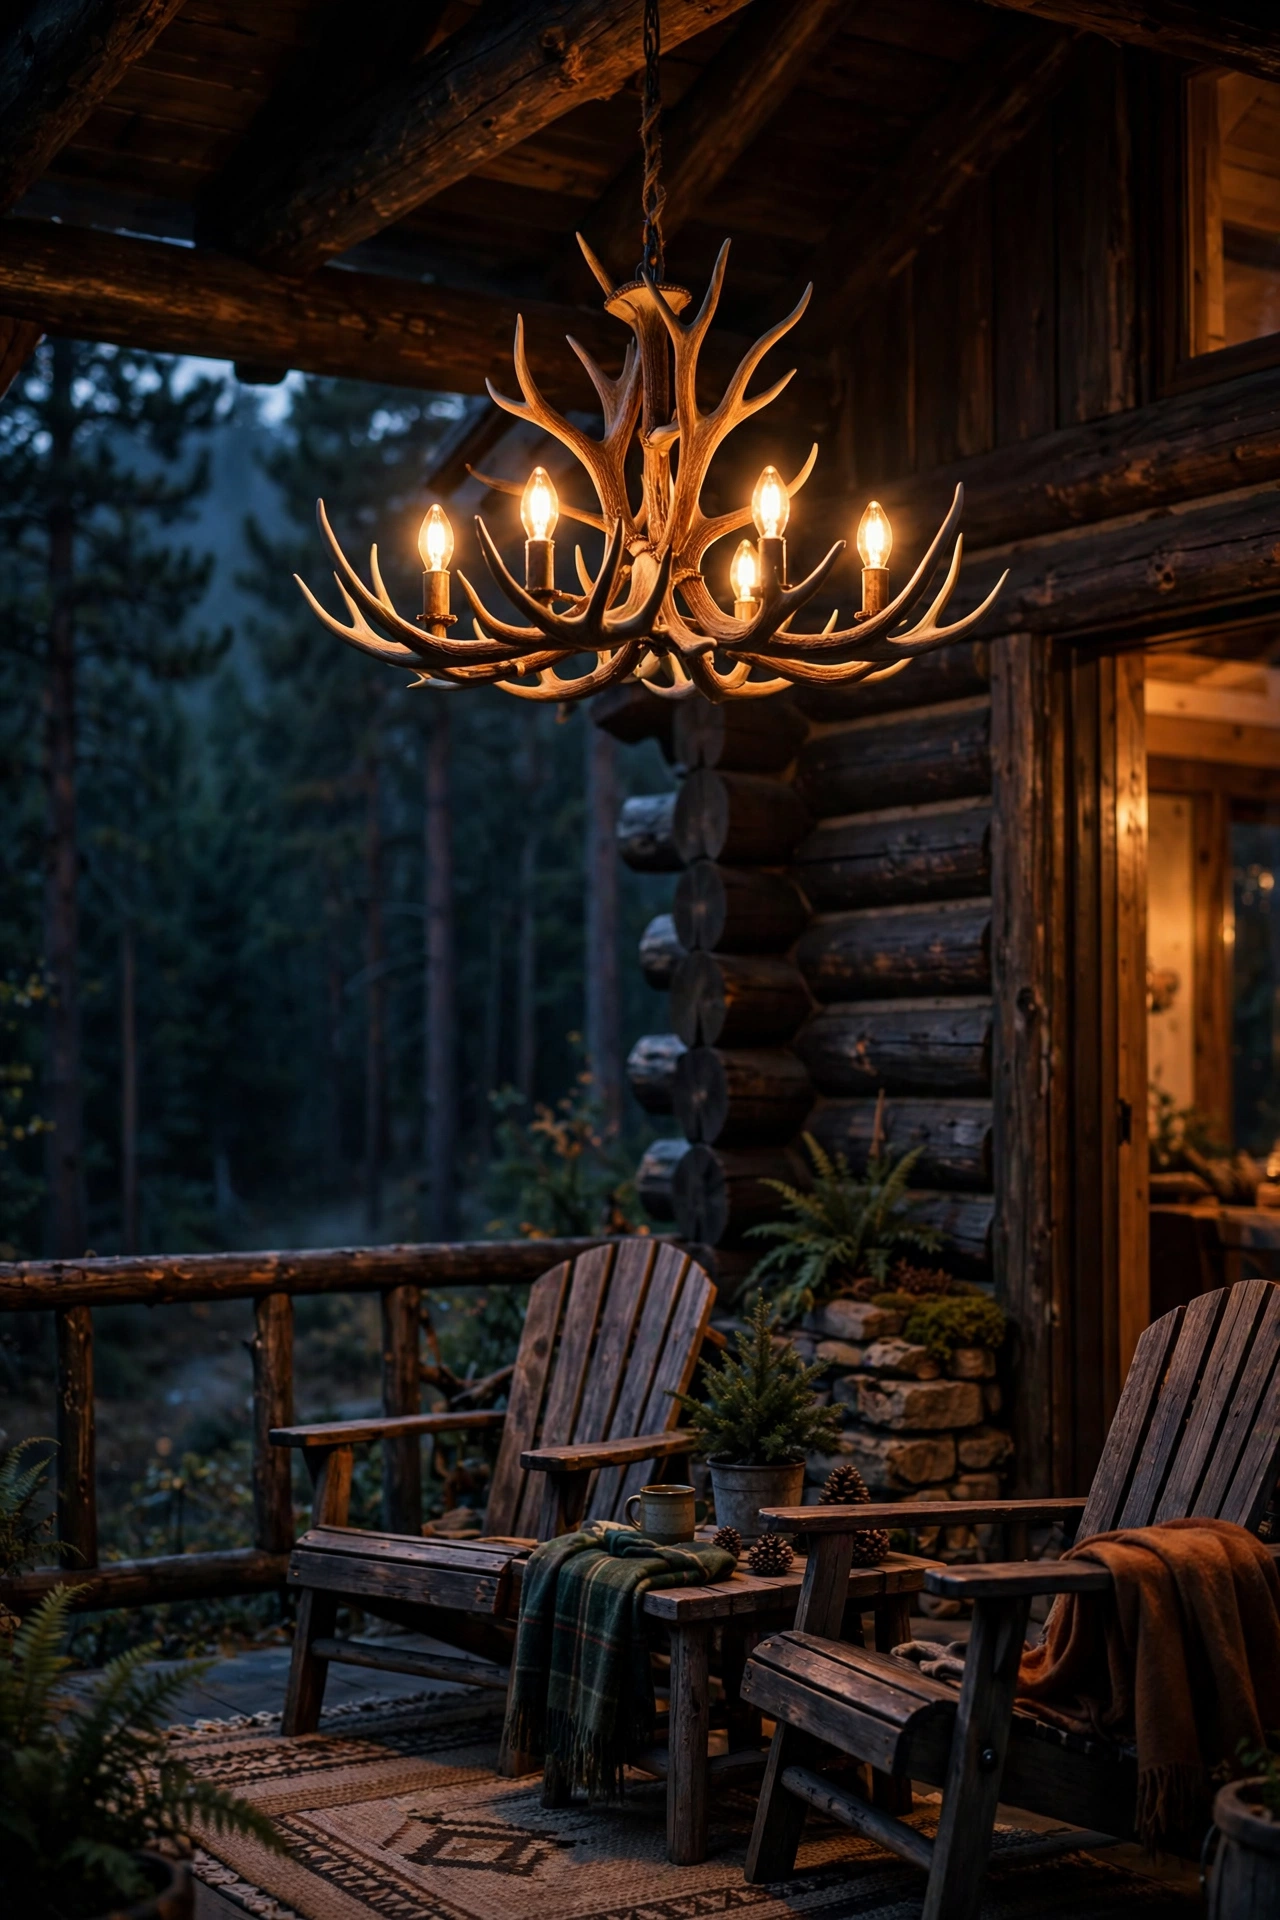
3. An Antler-Inspired Chandelier on the Porch Ceiling
If you want the "wow" moment, hang an antler-inspired chandelier from the porch ceiling. I'll be honest — real antler fixtures are pricey and heavy, but the reproduction versions in cast resin or wrought iron capture the look for a fraction of the cost and weight. Hang it so the bottom of the fixture sits 7–8 feet above the porch floor (standard porch ceilings are 8–10 feet, so a short chain or rigid stem of 6–12 inches usually does it).
Wire it to a dimmer switch rated for LED loads, because full brightness on 6–9 candle-style bulbs will feel like a stadium. Speaking of bulbs: use amber-tinted LED filament bulbs at 2200K, 200–300 lumens each — dimmable, of course — for that flickering-hearth feel. The fixture must be rated for damp locations at minimum; porches take sideways rain. Have an electrician confirm your porch ceiling box is rated to hold the weight (most decorative chandeliers run 15–35 pounds, well within a fan-rated box's limits).
Styling tip: center it over a porch dining table or a pair of rocking chairs so it anchors a conversation zone, and it instantly becomes the spot everyone drifts toward.
Suggested budget range: $150 – $600.
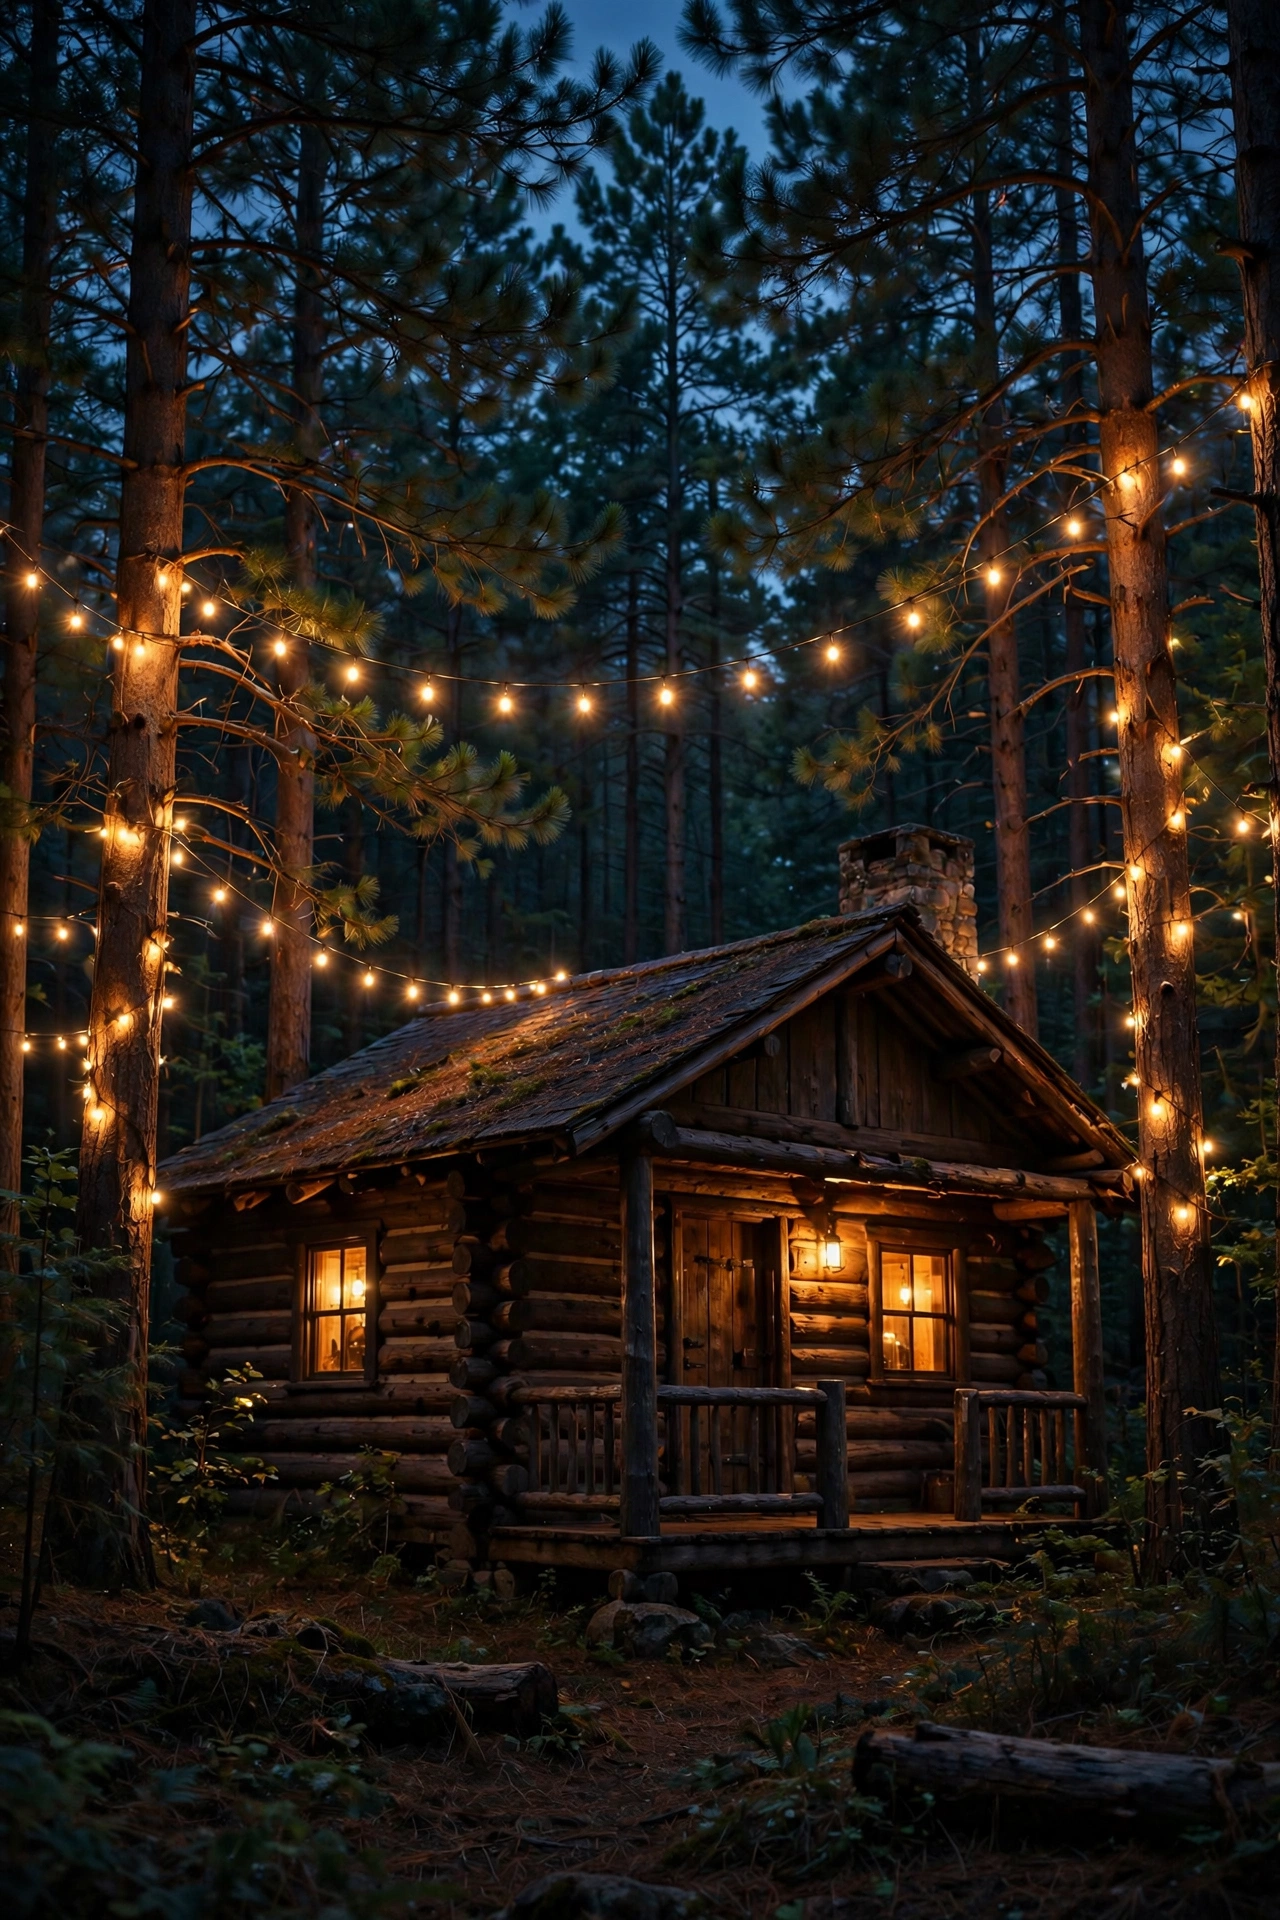
4. String Lights Woven Through the Pine Trees
String lights in the pines are the single fastest way to make a cabin property magical. I always recommend commercial-grade string lights with shatterproof LED bulbs for this — the cheap big-box sets fail after one windy season, honestly. Wrap trunks with a loose spiral starting about 6 feet up (keep strands above deer-browse height and out of reach of curious bears), spacing each wrap 8–12 inches apart. For canopies, drape strands between trees with a gentle swag, keeping the lowest point at least 8–10 feet above walkways so nobody catches a strand.
Use 2700K warm-white bulbs, and don't be shy — 2–3 strands per medium tree reads full, one strand reads sparse. Plug everything into an outdoor-rated timer or smart plug so the trees light at dusk and switch off around midnight; that saves energy and keeps the night sky dark for the owls. Safety matters here: use only outdoor-rated extension cords, never staple through wire insulation (use plastic cable clips on bark or insulated tree-friendly straps), and check straps yearly so they don't girdle the trunk as it grows.
Styling tip: mix one strand of slightly larger globe bulbs among the minis for depth — the layering reads custom and expensive.
Suggested budget range: $60 – $250.
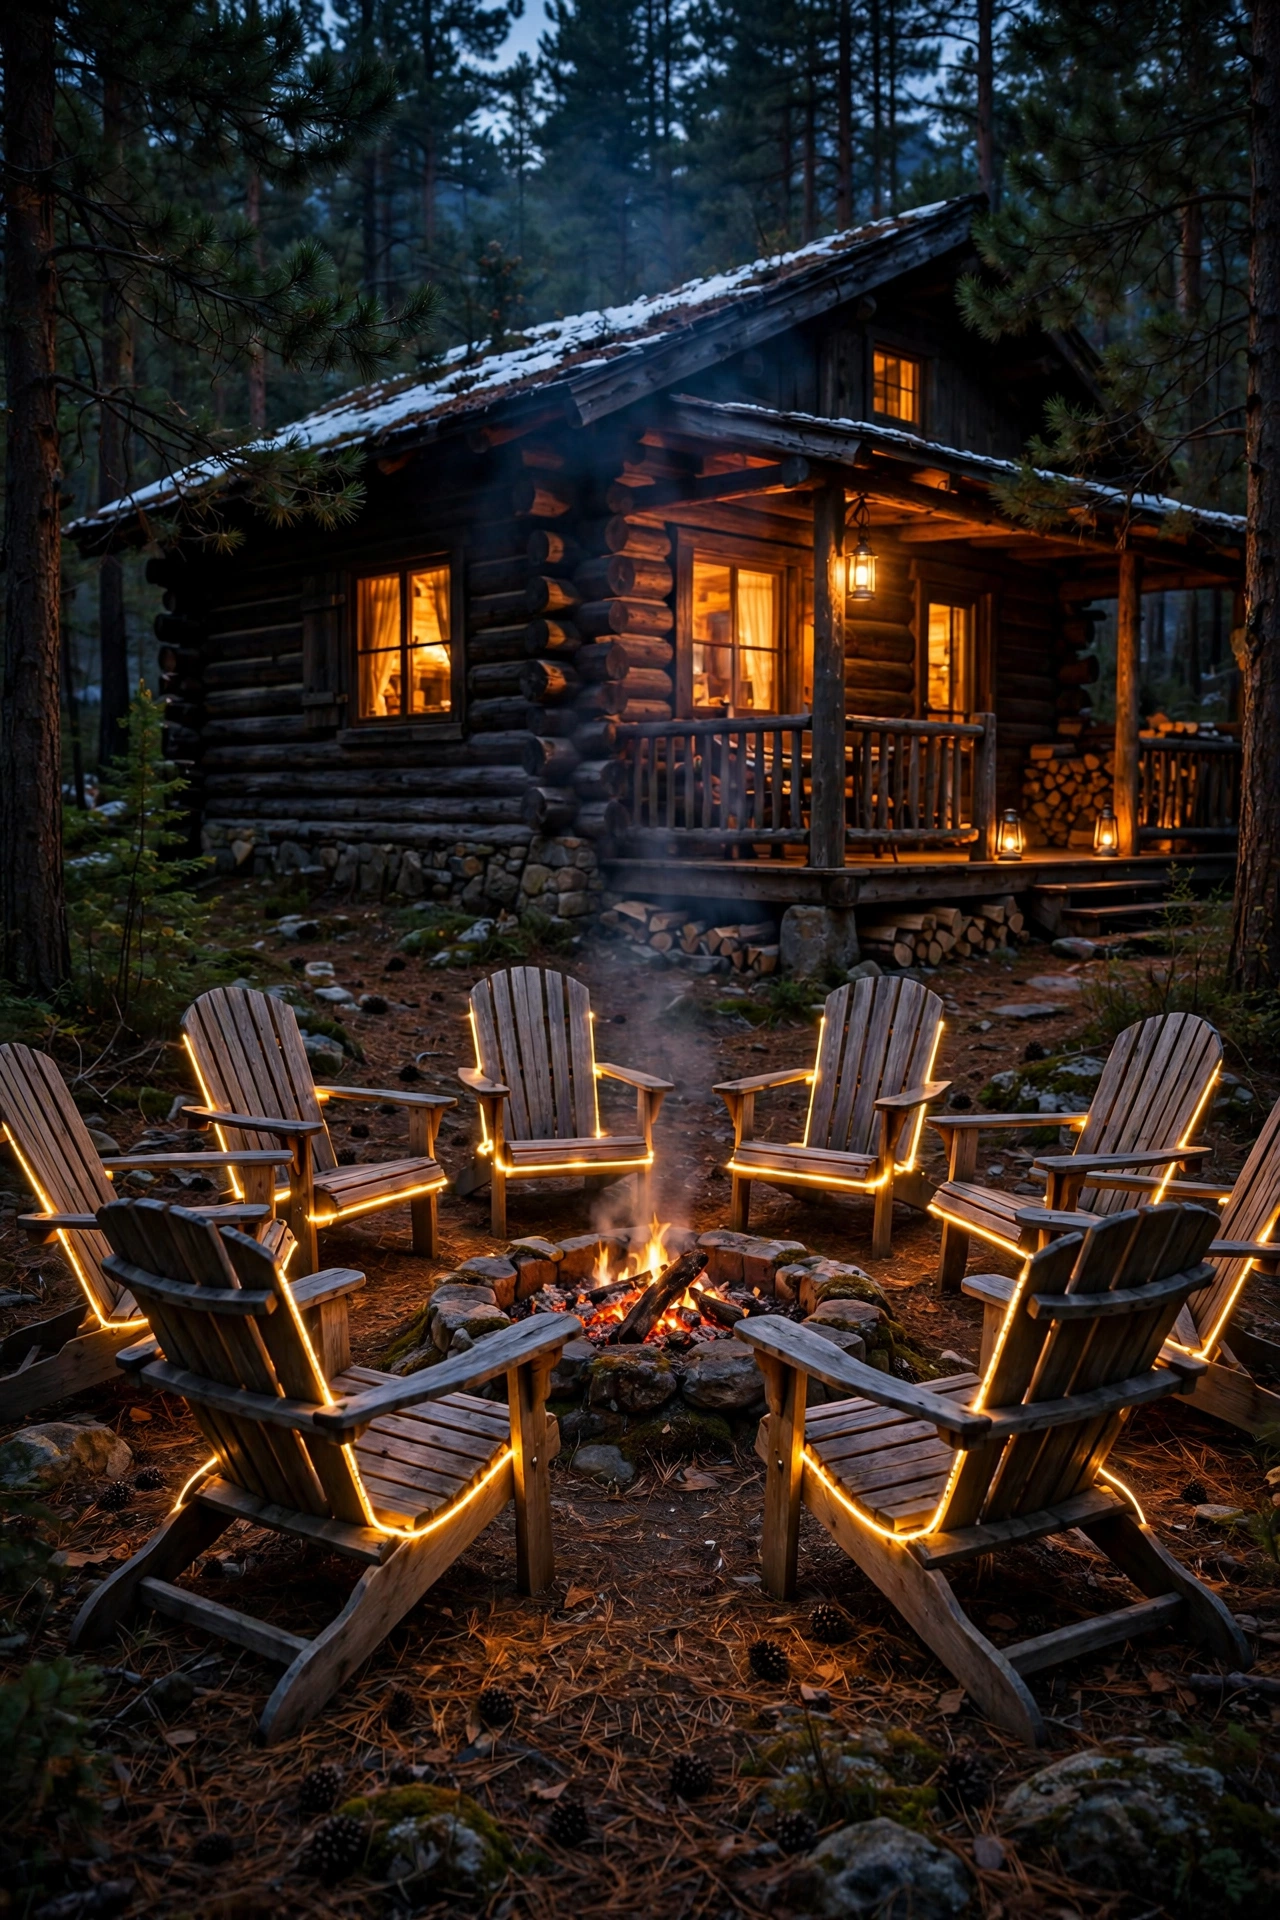
5. A Fire-Pit Seating Ring: Rustic Cabin Lighting for Gatherings
A fire pit is the heart of every cabin gathering spot, but stumbling to your Adirondack chair in the dark is nobody's idea of fun. I love ringing the seating area with low, warm accent lights — think small stake lights or rope-style LED edging tucked just outside the chair circle, about 12–16 inches off the ground, pointing down and away from the fire. Keep all fixtures at least 4 feet from the fire-pit edge so heat and stray embers never reach them, and use LED-only sources near anything flammable.
Choose amber 2200K lights at very low brightness (50–150 lumens each); the fire is the star, and these are just there to define the edge and guide feet. Solar stake lights work beautifully here if the spot gets 4–6 hours of direct sun, but honestly, for reliability on wooded lots, a low-voltage wired system on a timer wins — one 12-volt transformer can run the whole ring. Space stakes 4–6 feet apart around the circle for an even, subtle boundary.
Styling tip: set the accent lights to come on a half hour before your usual campfire time, so the ring is already glowing when you walk out with marshmallows. If you love this cozy seasonal layering, you'll also enjoy my fall porch lighting ideas for more warm-weather inspiration
Suggested budget range: $90 – $350.
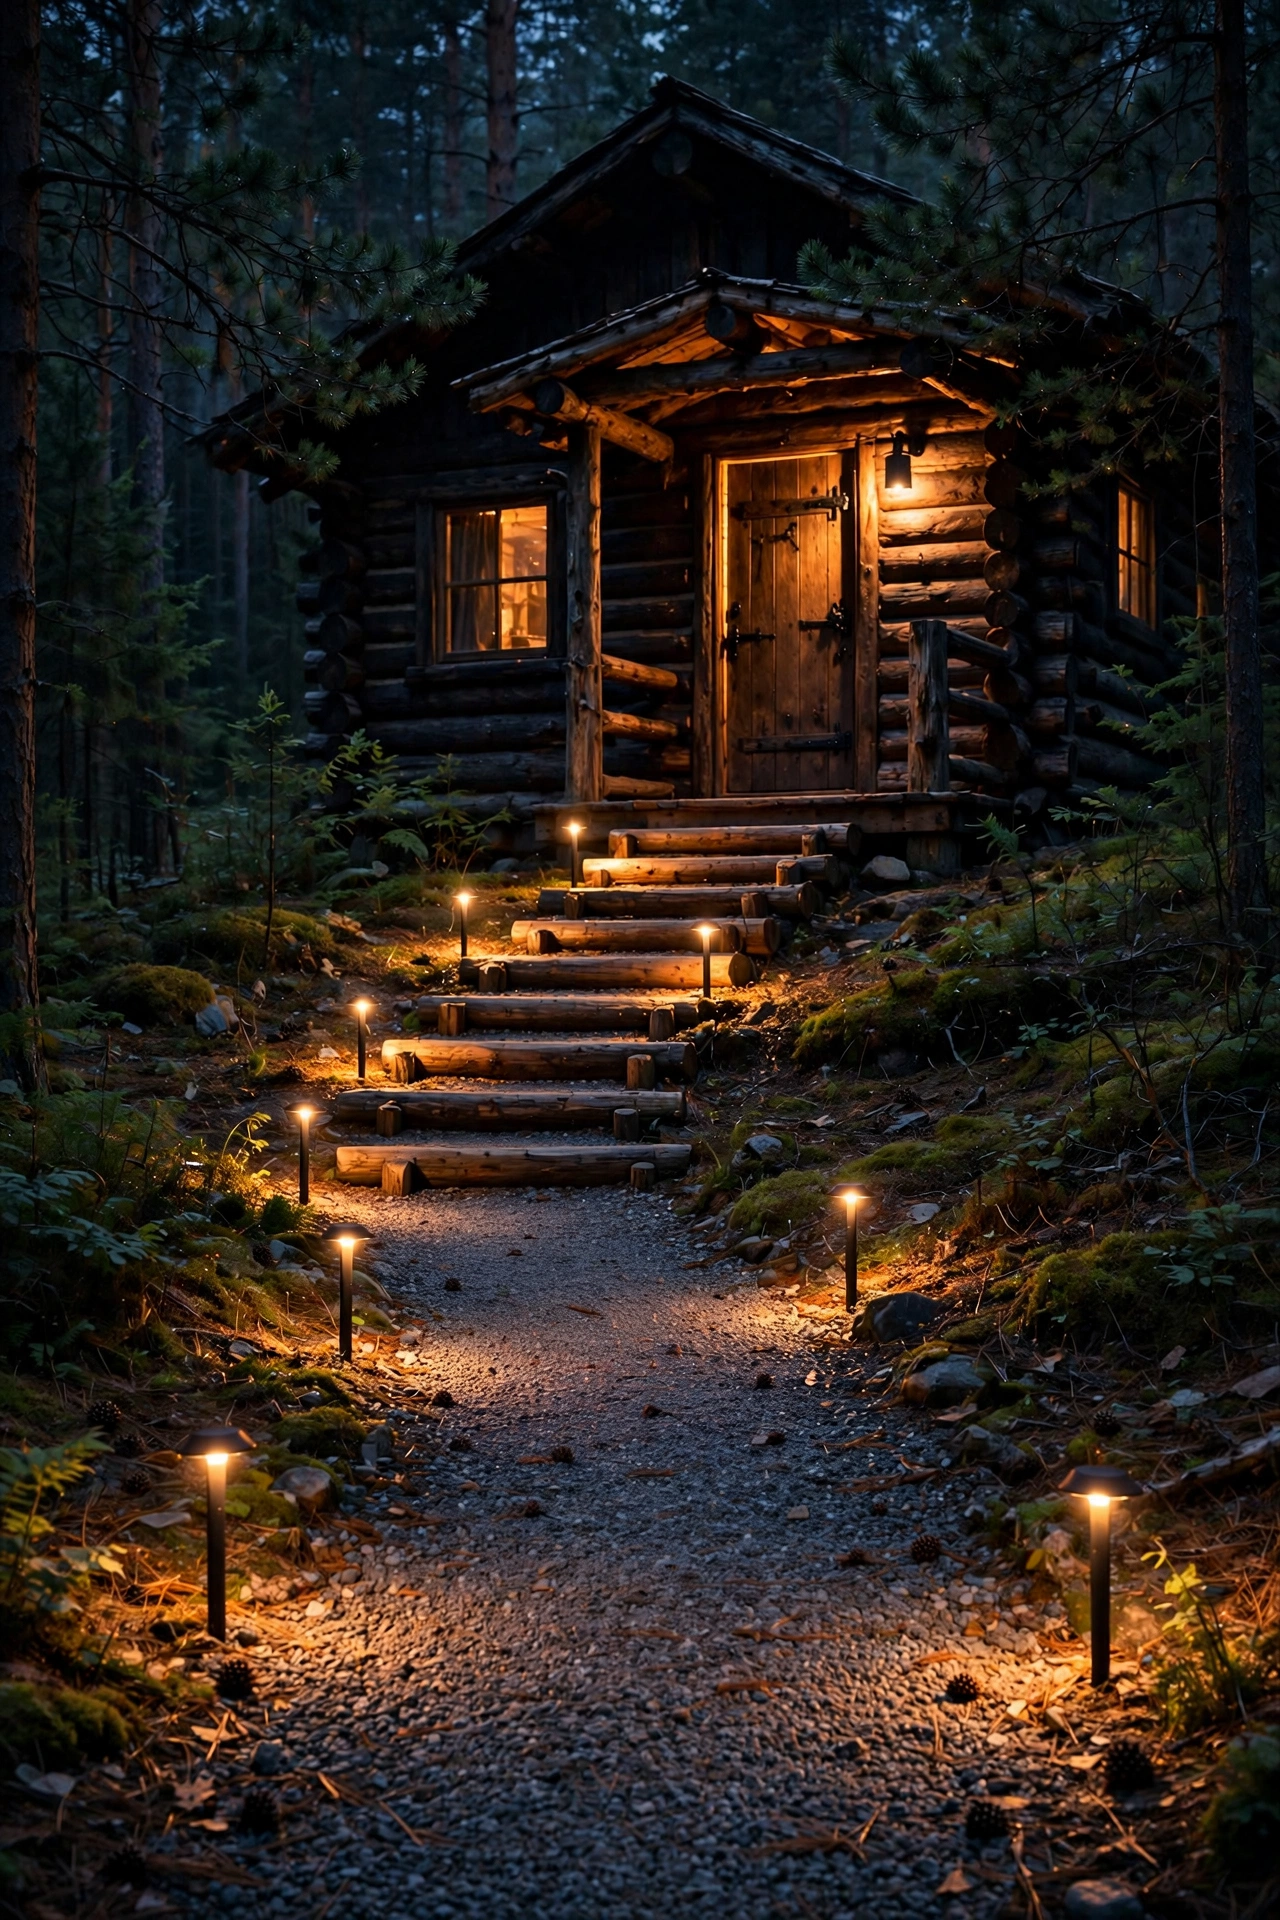
6. Path Lights Along the Log Stairway and Walkway
Cabin walkways are rarely level — you get log steps, gravel, roots, and uneven stone, which is exactly why path lighting is a safety essential, not just decoration. Place low path lights 6–8 feet apart, alternating sides, so pools of light overlap without creating a runway effect. Keep fixtures 18–24 inches back from the path edge so a shovel or snow blower doesn't clip them, and aim the light downward to cut glare.
For log steps, add small step lights or louvered fixtures recessed into the risers, wired on a low-voltage 12-volt system — it's the safest DIY-friendly outdoor wiring, and one transformer typically handles 8–12 fixtures. Choose warm 2700K bulbs at 100–200 lumens; brighter than that and every moth in the county moves in. In snowy regions, look for fixtures with a raised, sturdy stake design that sits above typical snowpack, and mark their positions so plows don't find them.
Styling tip: match the fixture finish to your cabin's metalwork — aged bronze for traditional log homes, matte black for modern A-frames — and the lighting reads like it was always part of the design.
Suggested budget range: $100 – $400.
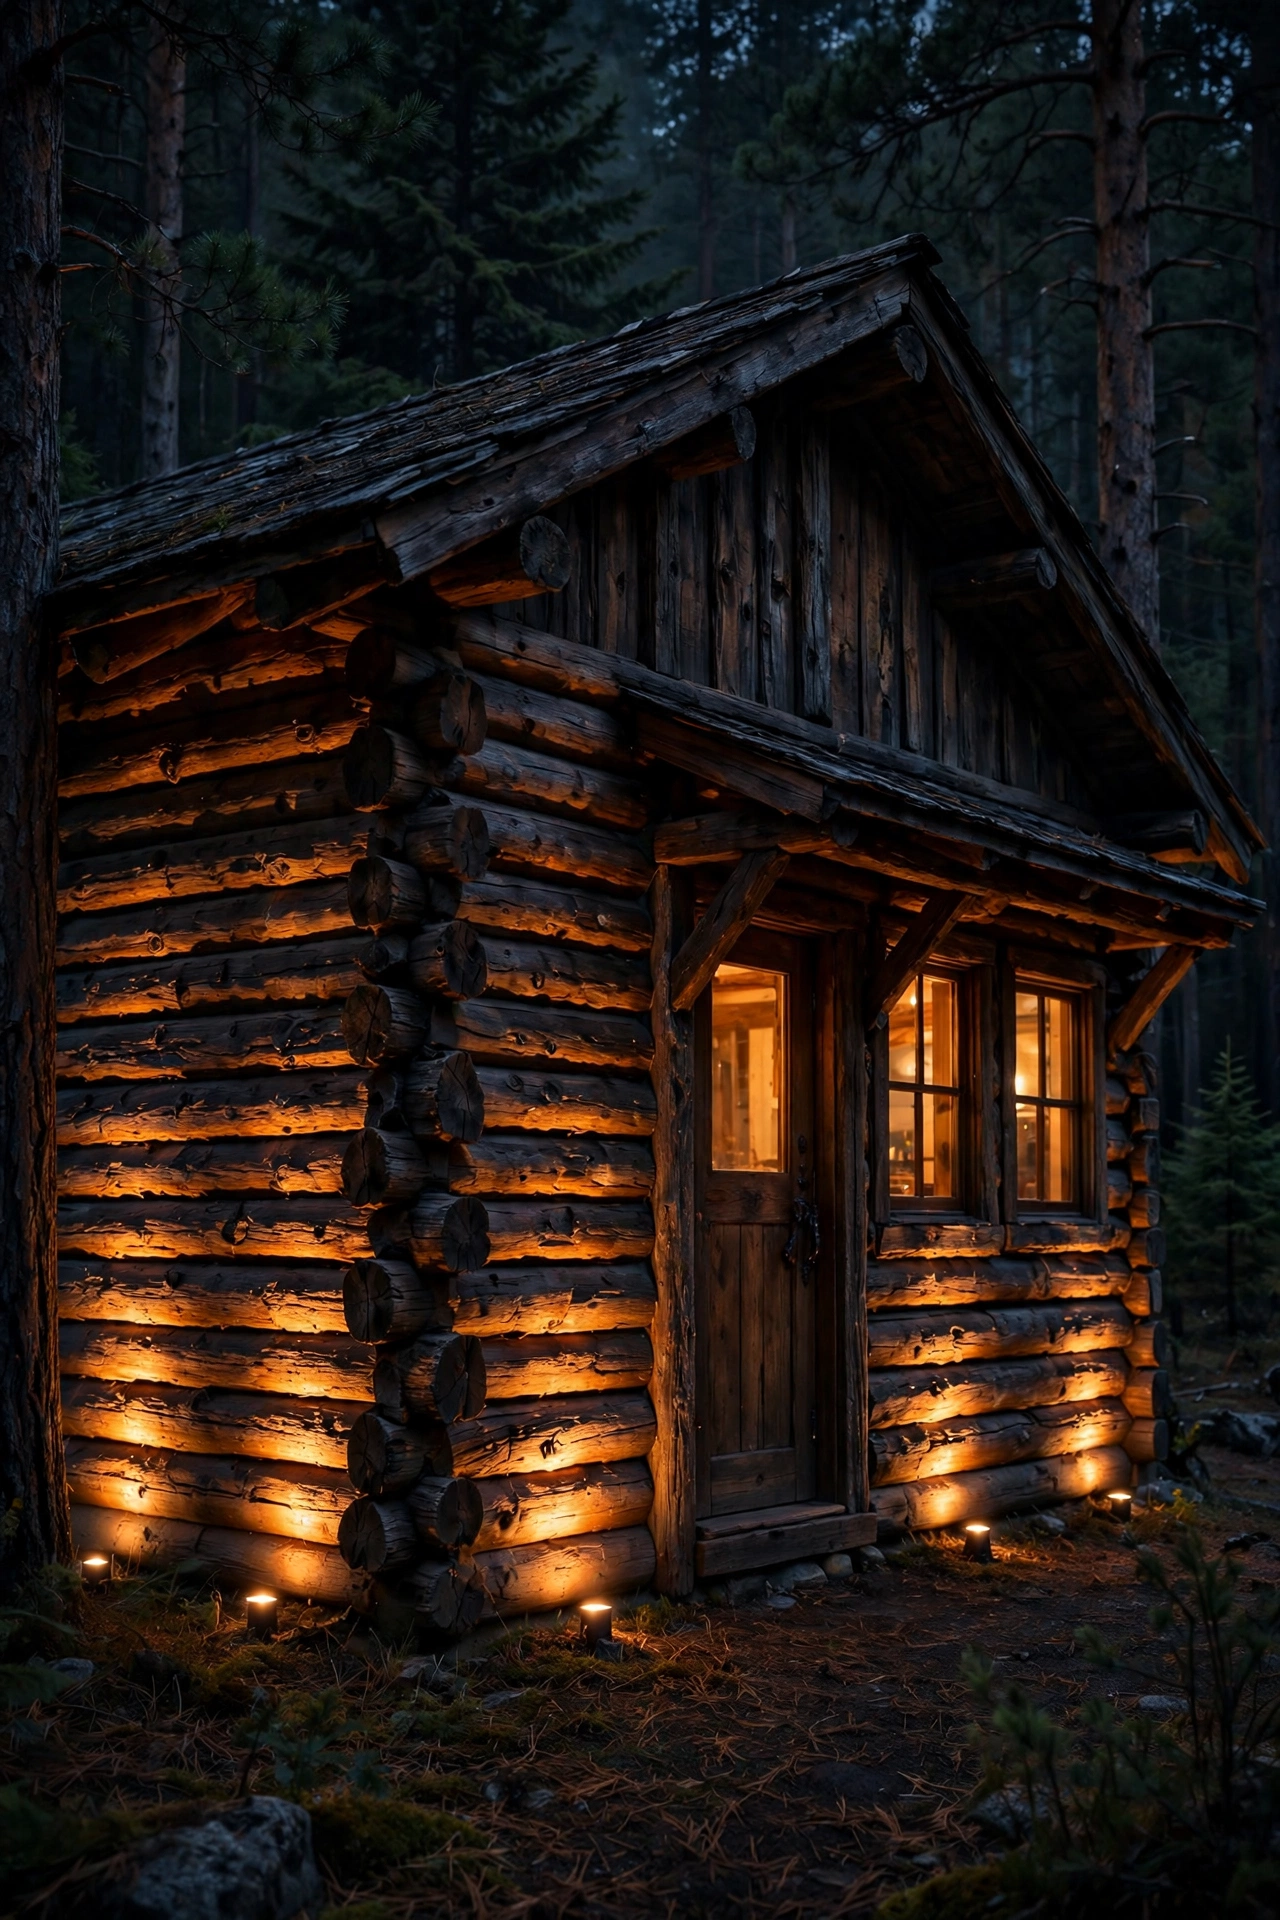
7. Uplights Grazing the Log Cabin Facade
Uplighting is how you make those beautiful log walls and stone accents earn their keep after dark. Set well lights or stake-mounted spotlights 12–24 inches out from the wall, angled up at about 30–45 degrees, so the light grazes across the log texture and creates those gorgeous long shadows in the chinking. Space fixtures 8–12 feet apart along the facade, and light from the corners inward — it makes the cabin feel anchored and grand.
Use narrow-beam (35–60 degree) 2700K LED spotlights at 300–600 lumens each; wide floods wash everything flat. Honestly, the single biggest mistake I see is mixing color temperatures — one cool-white flood among warm uplights ruins the whole effect, so buy all bulbs from the same temperature family. Bury low-voltage cable 6 inches deep (below typical mulch and root depth) and use watertight connectors; mountain soil stays damp, and cheap twist connectors corrode in a season. Set them on an astronomical timer that adjusts for sunset year-round.
Styling tip: uplight one signature feature — a stone chimney, a timber gable, a big boulder — rather than the entire wall, and it becomes a focal point instead of a floodlit box.
Suggested budget range: $120 – $500.
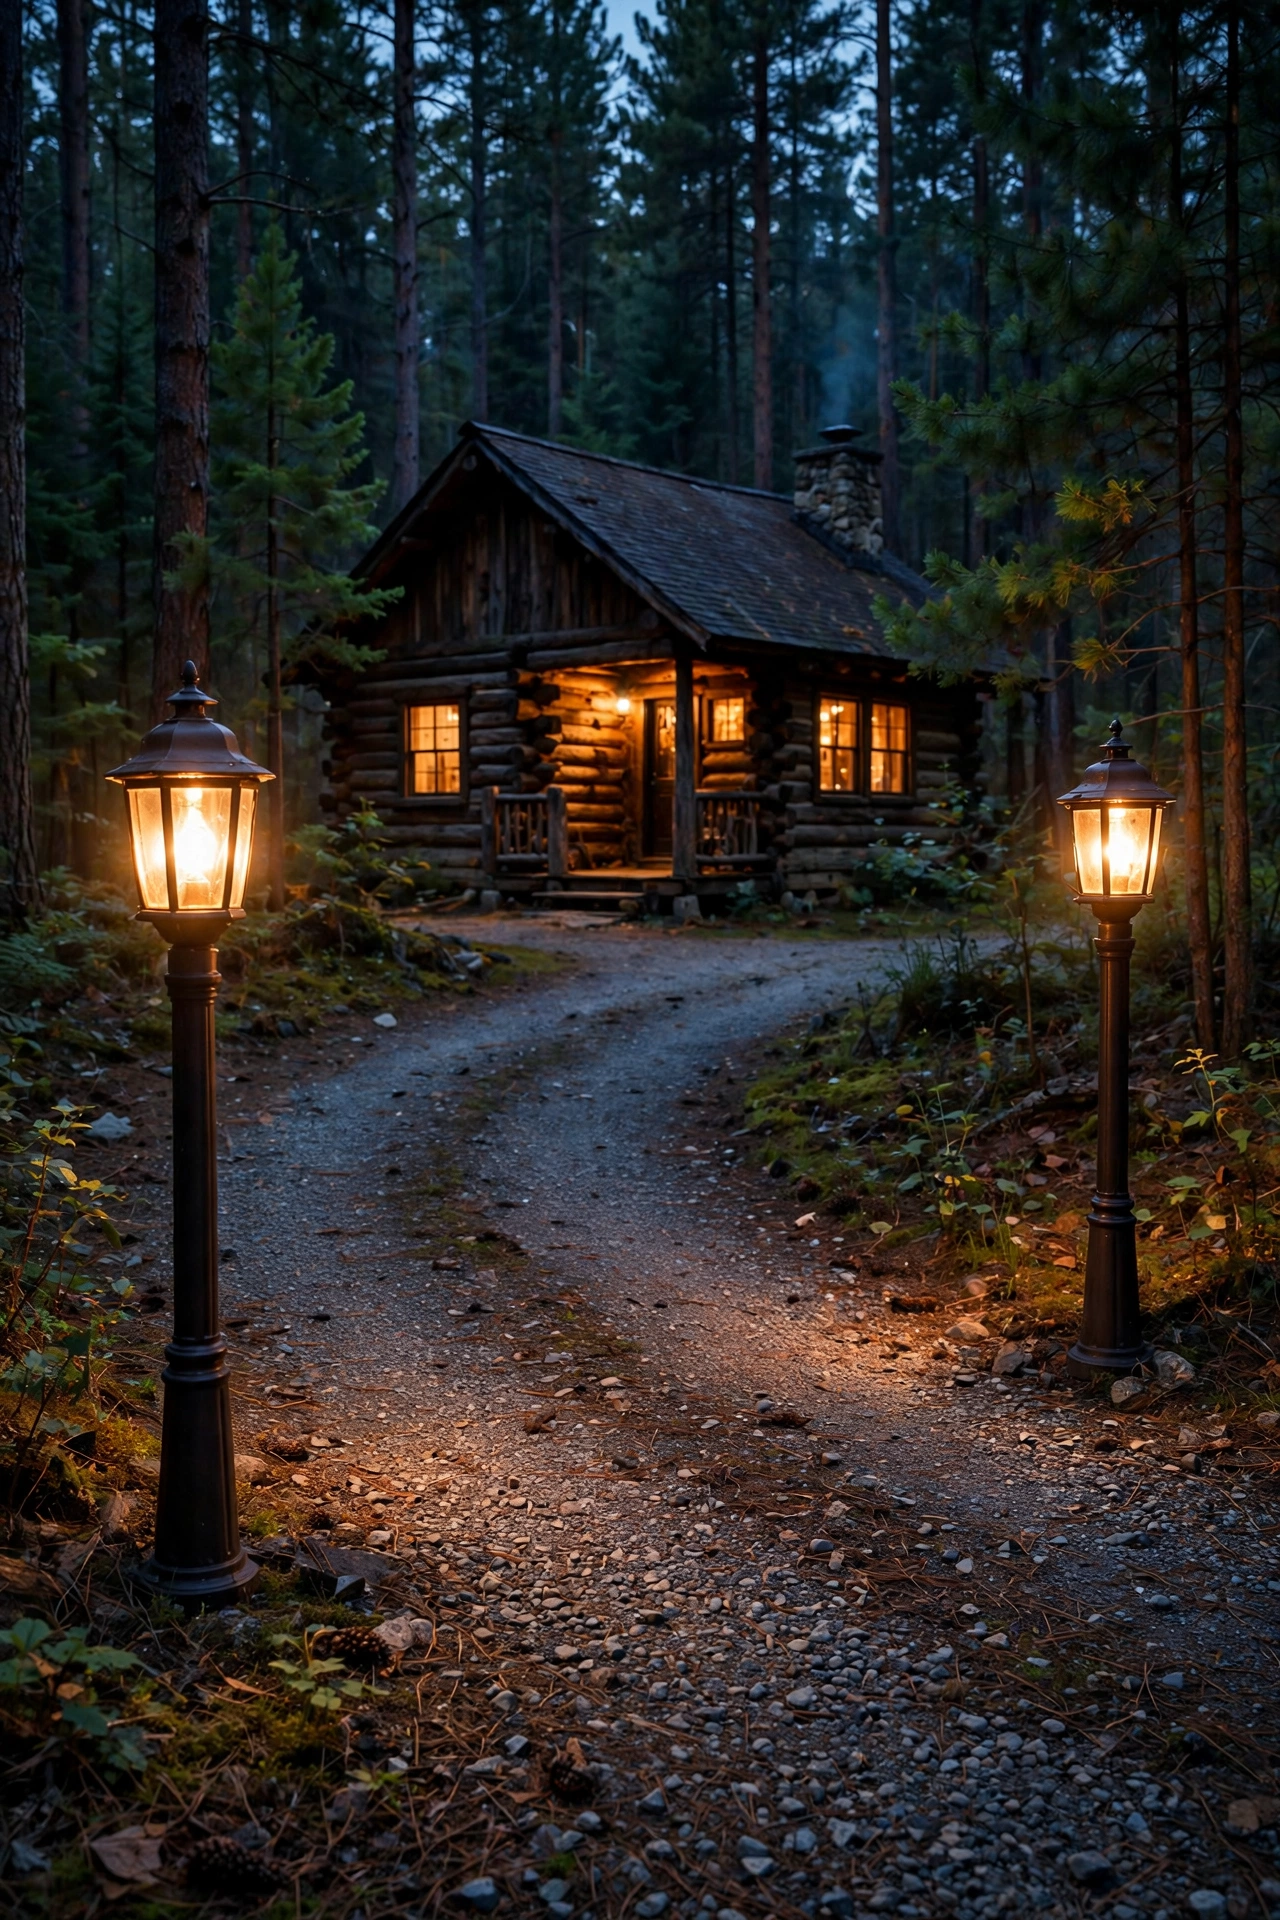
8. Lantern Posts Marking the Driveway Entrance
Two lantern posts at the driveway entrance say "someone wonderful lives at the end of this road" — and they make the turn-off findable for guests arriving after dark. I always recommend 6-foot posts set in concrete footings below your local frost line (typically 24–36 inches in mountain regions), placed 10–15 feet apart flanking the drive. The lantern heads should sit high enough to clear snowbanks — that's usually 6–7 feet to the fixture base.
Choose lantern heads with clear or seeded glass and 2700K LED bulbs at 400–800 lumens; seeded glass is my personal favorite for cabins because it softens the light and hides the bulb. Wire them on a photocell so they burn all night — entrance lights are the one place I'll happily run dusk-to-dawn, since a lit entrance deters curious wildlife and lost drivers alike. In bear country, skip fixtures with food-scented anything (sounds silly, but citronella torches near the entrance are a no), and use motion-sensor settings if you prefer lights that only wake when a car approaches.
Styling tip: hang a simple wooden or metal address sign between the posts, lit by a small downlight — guests stop squinting, and it looks straight out of a lodge brochure.
Suggested budget range: $200 – $700.
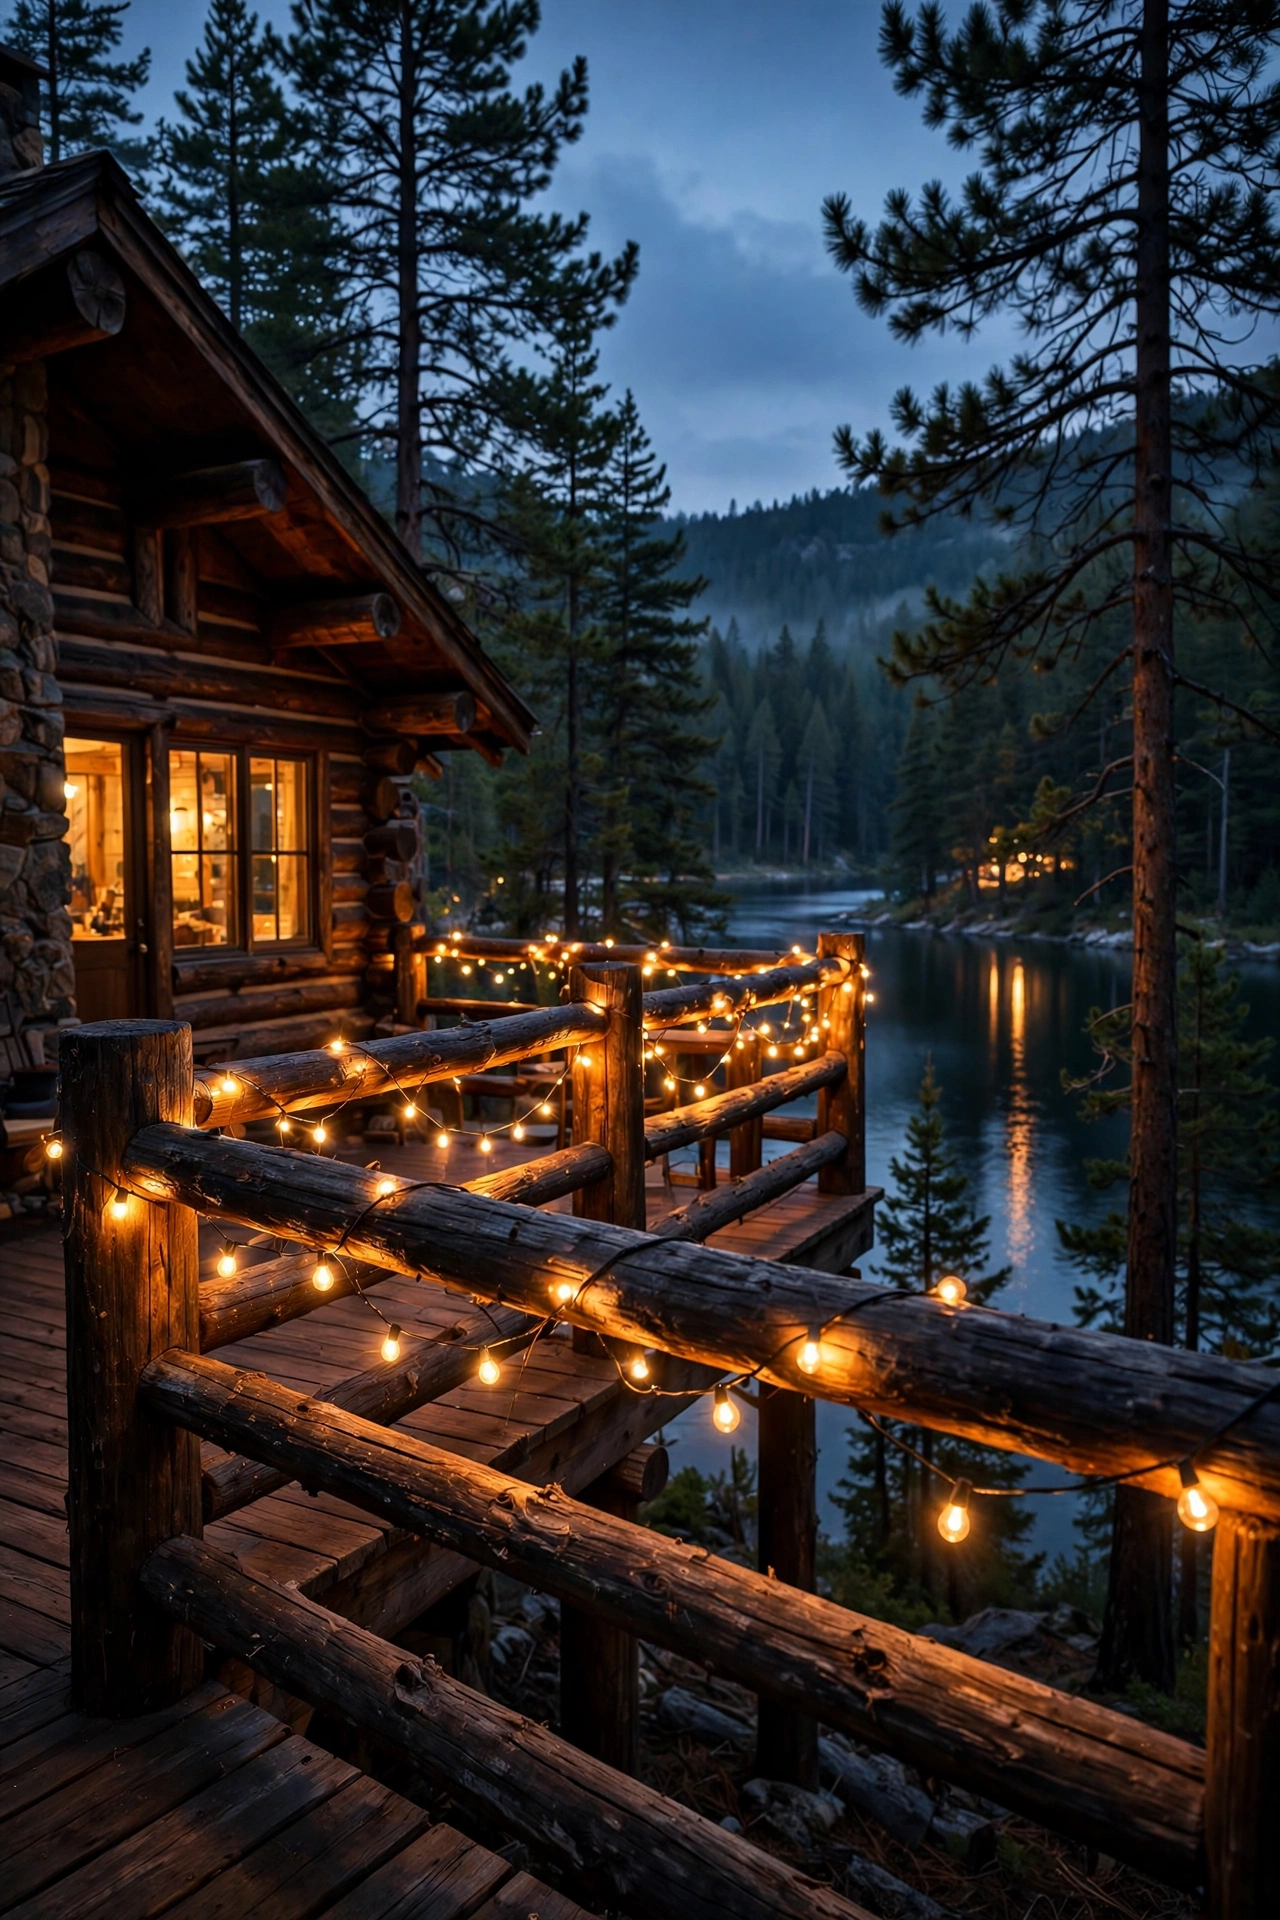
9. Deck Railing String Lights: Rustic Cabin Lighting for the Lakefront
If your cabin has a deck — especially a lakefront one — railing string lights are pure magic reflected in the water. I like draping a single strand along the top rail, securing it with small clear clips every 12–18 inches so it doesn't sag or flap in the wind. Keep bulbs 2–3 inches above the rail so they don't get crushed by elbows and drink glasses, and run the strand so the plug end lands near your outdoor outlet (a 25-foot strand covers most small decks; link up to 3 end-to-end for big wraparounds).
Choose shatterproof 2700K LED globe or Edison-style bulbs — glass bulbs on a busy deck are just future cleanup. Because decks catch wind and rain, use only outdoor-rated strands with sealed sockets, and plug into a GFCI outlet (decks near lakes fall squarely in wet-location rules). A simple plug-in timer handles on/off; smart plugs let you dim from your phone, which is lovely when you're watching the sunset fade and want the lights to take over gradually.
Styling tip: combine the railing strand with a few potted evergreens wrapped in matching lights, and your deck looks decorated year-round with zero seasonal fuss. For more deck-specific inspiration, my summer patio lighting ideas roundup covers railing and pergola looks
Suggested budget range: $40 – $160.
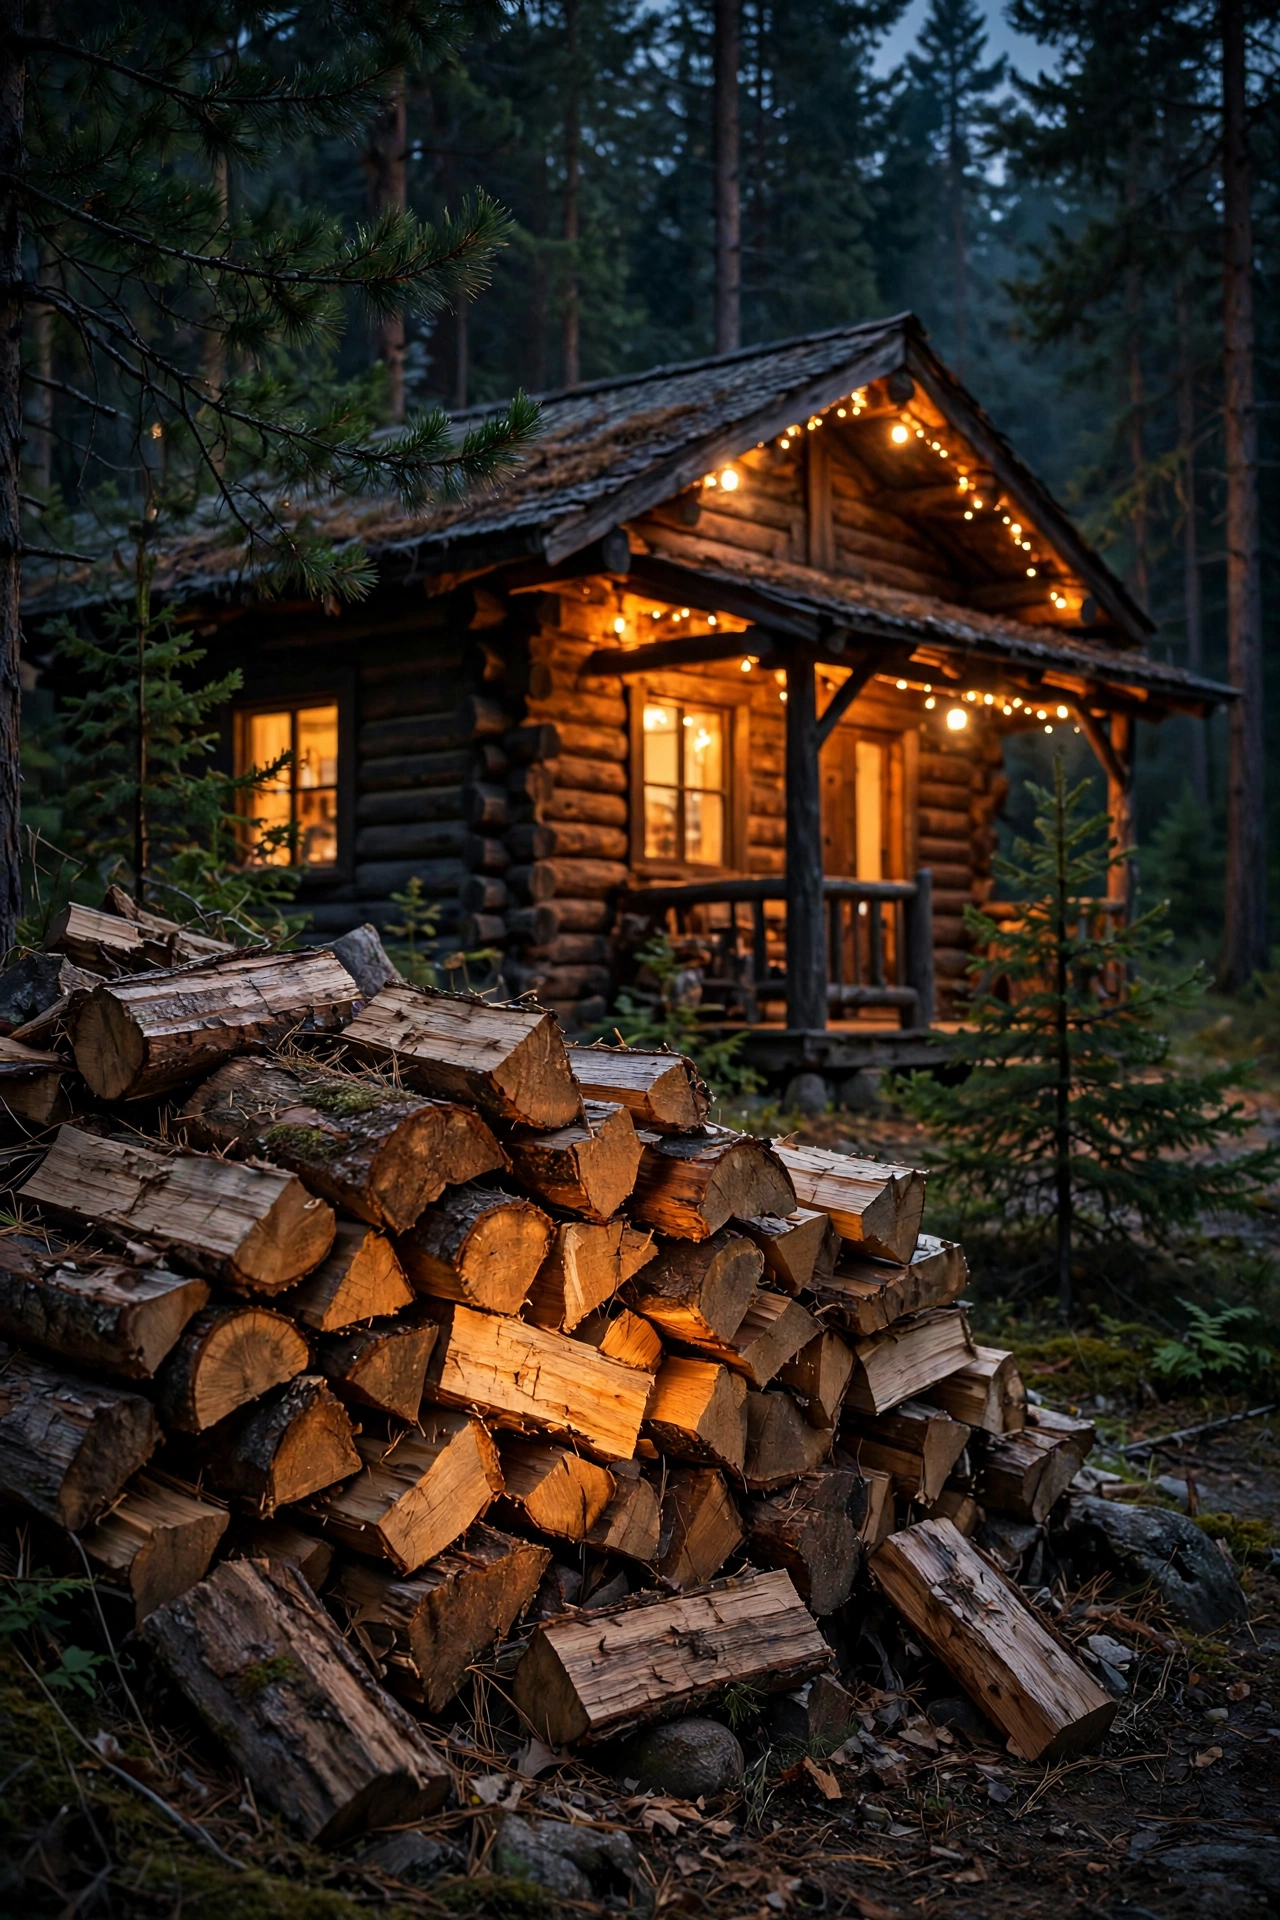
10. Woodpile Accent Lighting: Backlight the Stacked Firewood
This one's a sleeper hit. A neatly stacked woodpile is basically cabin art, and a little accent light turns it into a glowing sculpture at night. Tuck one or two low-voltage spotlights at the base of the pile, 2–3 feet out, aimed up and across the cut ends of the logs so the warm light catches the bark texture and the pale end grain. Use very warm 2200K light at 200–400 lumens — the amber tones make the wood look almost ember-lit.
Safety first: LED fixtures only, mounted well clear of the pile itself (never rest a fixture on the wood), and keep all wiring away from where axes and boots go. Honestly, this is also where I check for critters — a lit woodpile is less appealing as a midnight condo for raccoons. A low-voltage system is ideal since it's DIY-safe and the transformer can share the circuit with your path lights. Put the woodpile lights on the same timer as your facade uplights so the whole property fires up together at dusk.
Styling tip: stack the pile with the cut ends facing the main viewing angle (the porch or the fire-pit area), because end grain catches light far more beautifully than bark sides.
Suggested budget range: $60 – $220.
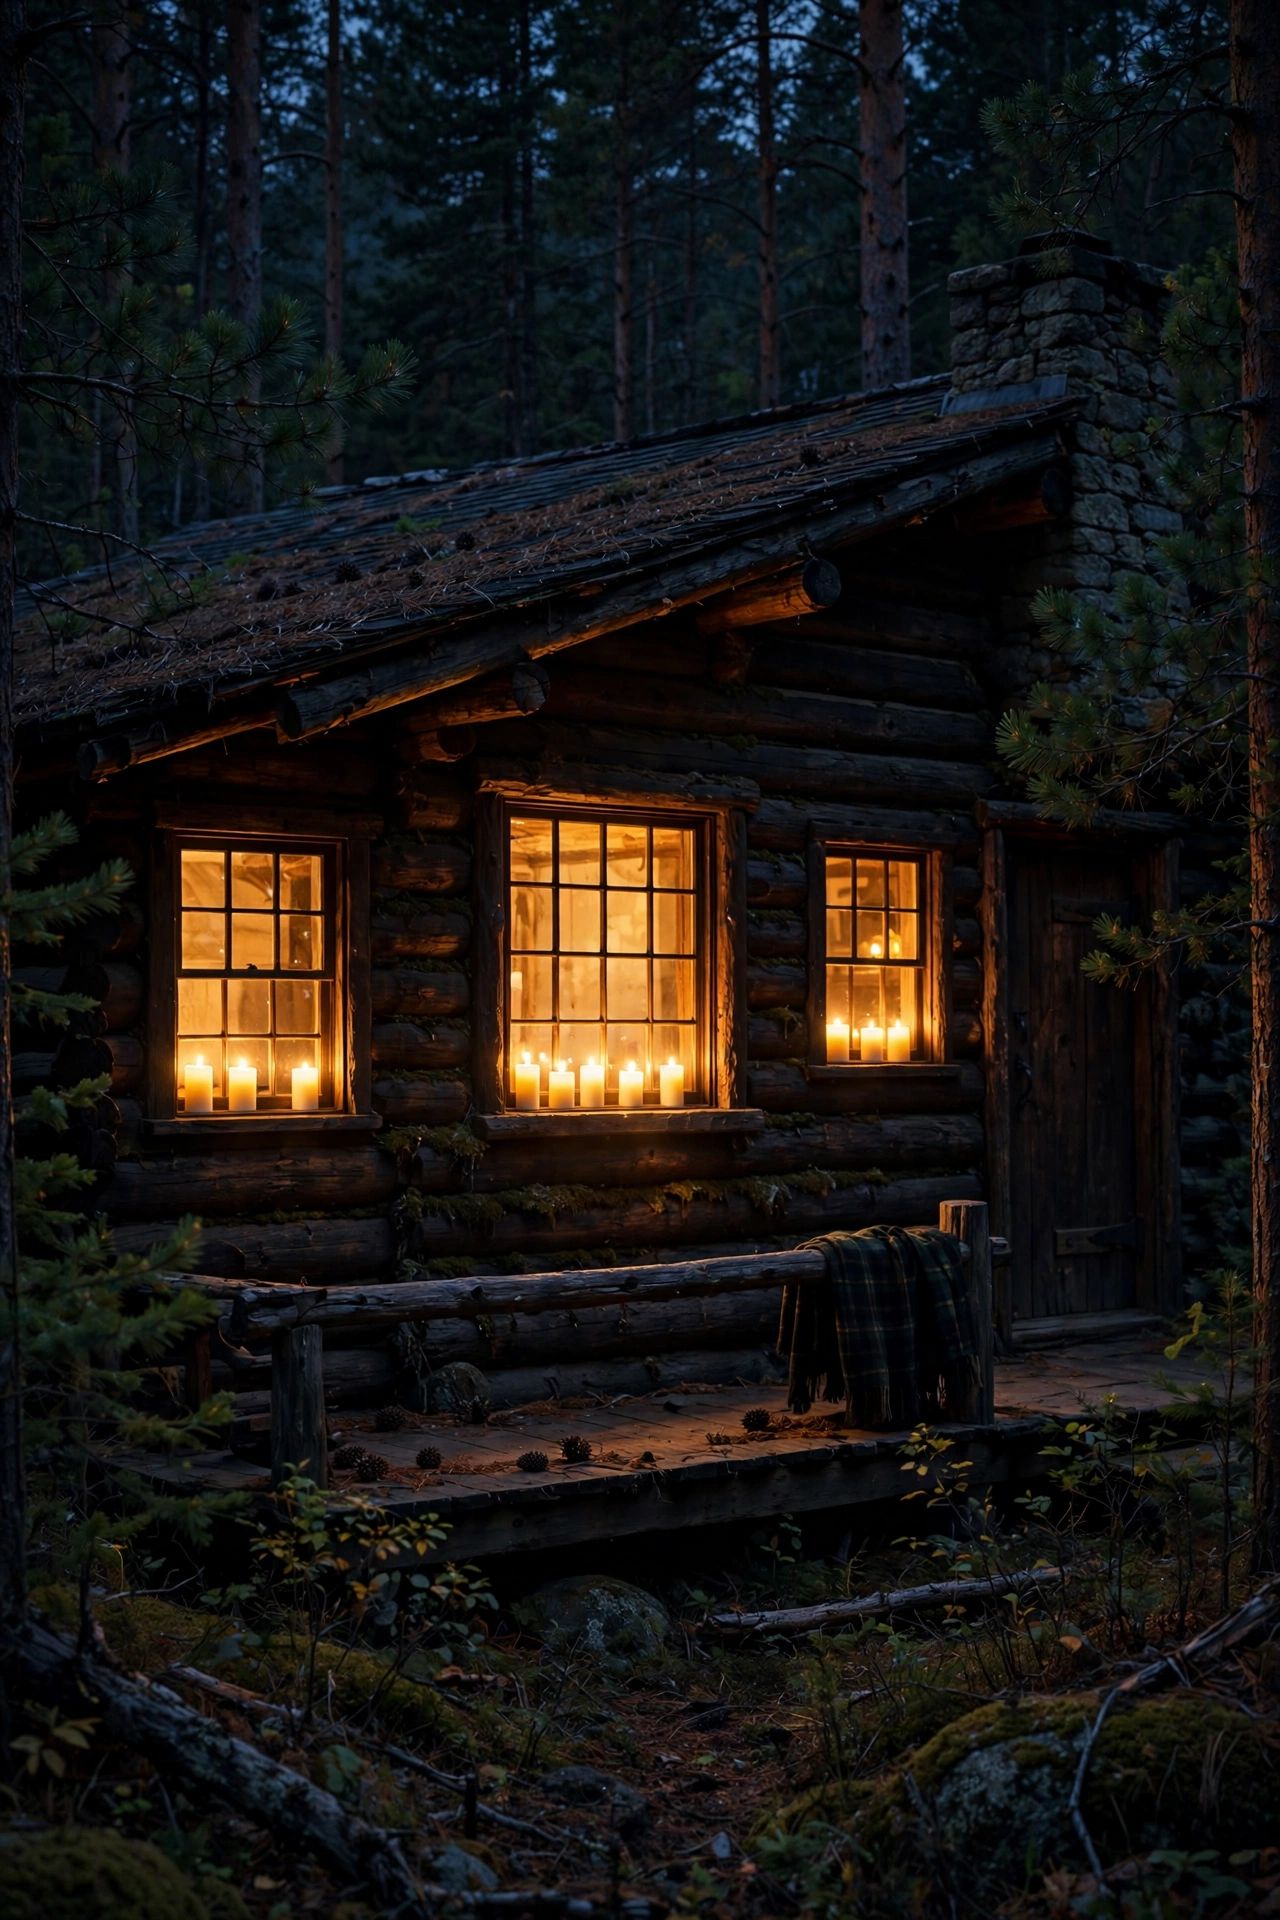
11. Window-Mounted LED Candles in Every Cabin Window
There's a reason every cozy cabin photo has glowing windows — LED window candles are the cheapest way to make a cabin look loved from the road. I always recommend battery or plug-in LED candles with built-in timers (the 6-hours-on/18-off type) so every window lights at dusk without you touching a thing. Set one candle per window, centered, with the flame tip about 4–6 inches above the sill so it reads clearly from outside.
Choose warm 2700K flame-tip styles with a realistic flicker mode — steady-on looks fine too, but flicker sells the "someone's home by the fire" story. Suction-cup or clip mounts beat adhesive for cabin windows, which often have rough trim; just make sure the candle sits a few inches back from the glass so condensation doesn't reach the battery compartment. Check batteries seasonally (lithium AAs last months even in cold), and for plug-in versions, run the cords discreetly behind curtains and use a single power strip per room.
Styling tip: light every visible window, even upstairs ones — one dark window breaks the illusion instantly, while a fully lit cabin glows like a lantern in the woods.
Suggested budget range: $25 – $90.
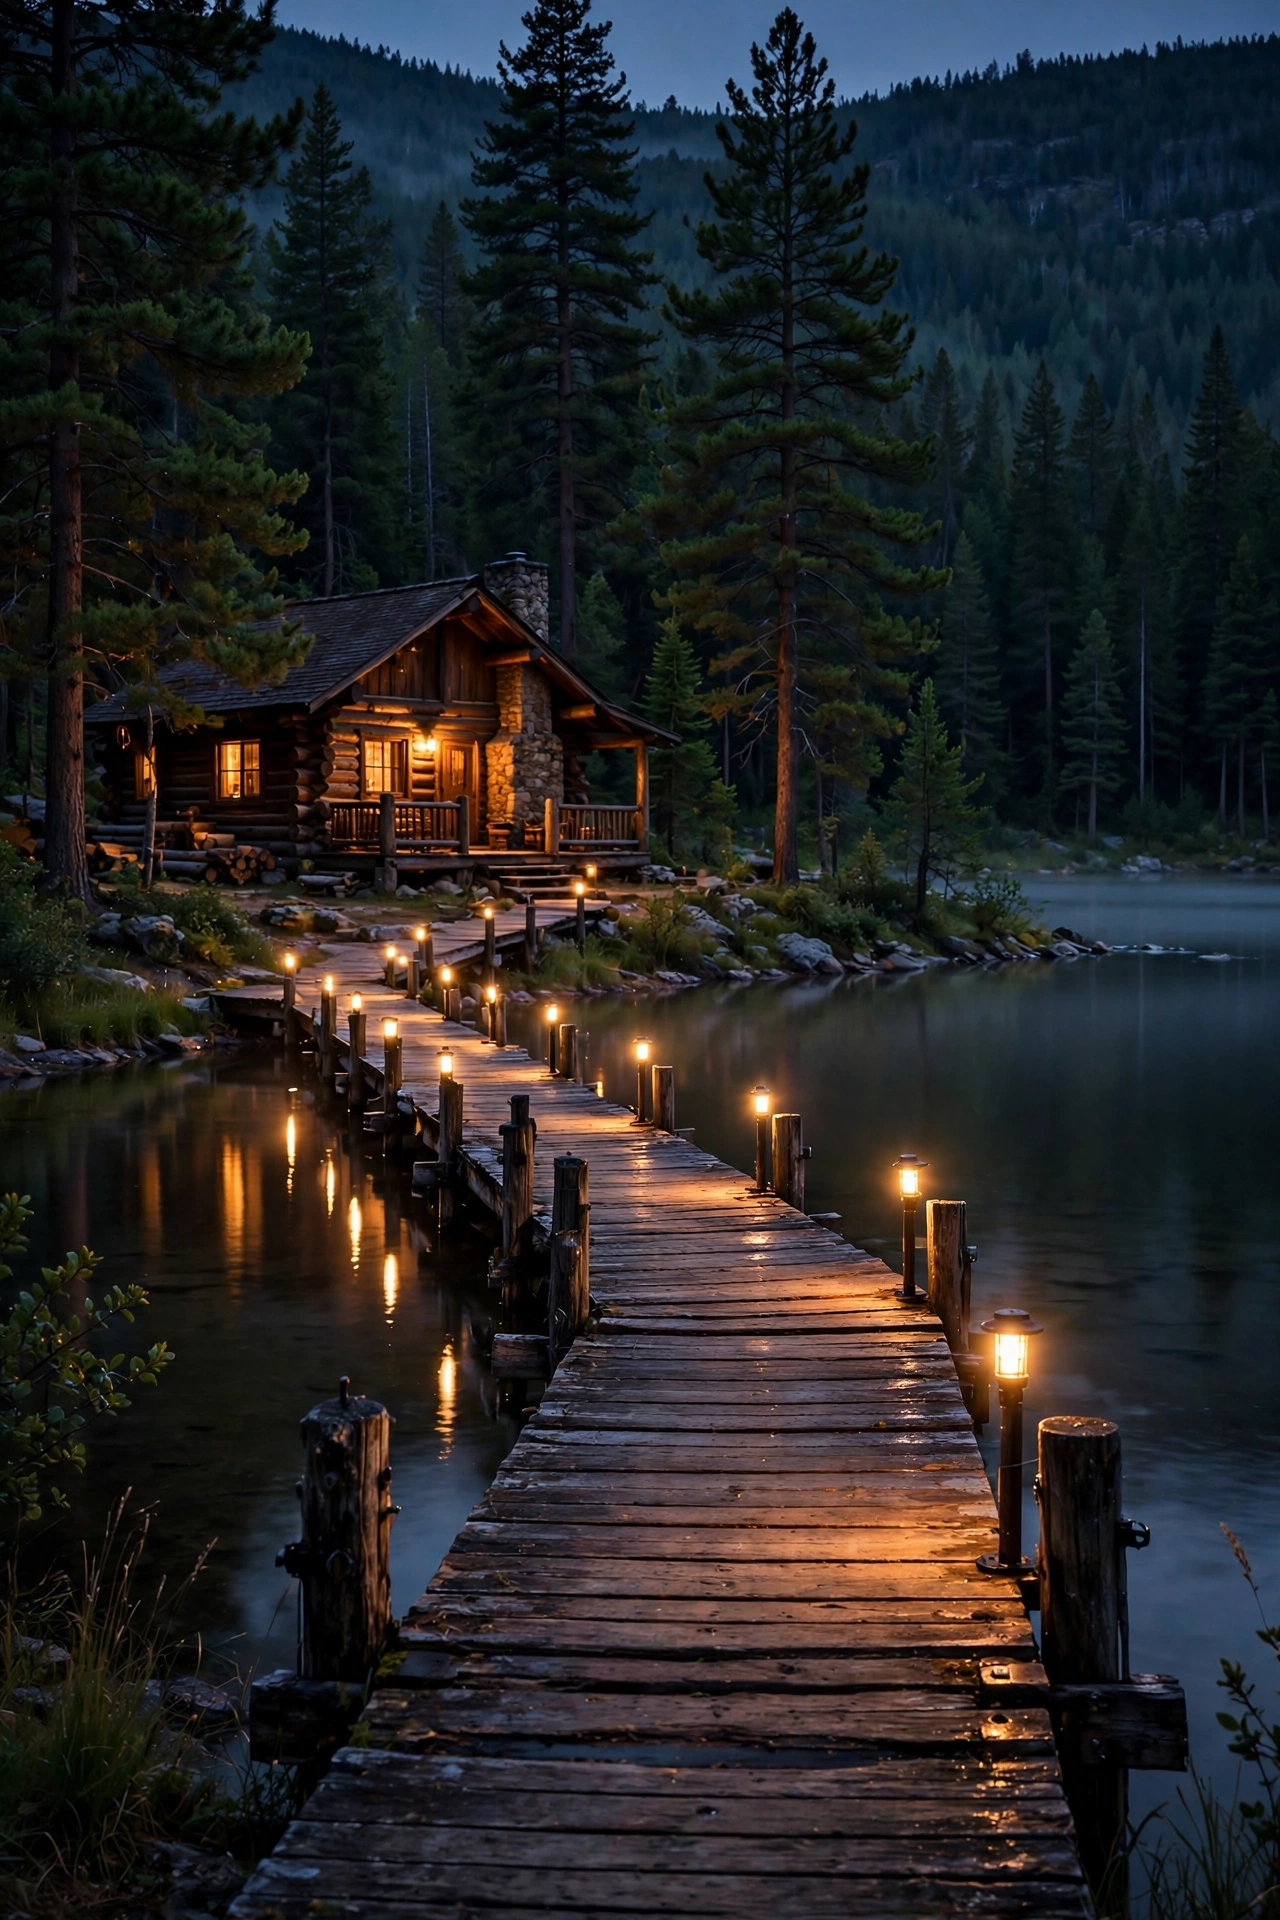
12. Lakefront Dock Post Lights for the Water's Edge
A cabin on the water deserves a dock that glows. Cap each dock post with a small solar or low-voltage post light, 6–12 inches tall, in a style that echoes your cabin — cedar-tone caps or matte black metal both look right. Space them on every post or every other post depending on dock length (every post for short docks under 20 feet; every other for longer ones). Warm 2700K light at 50–150 lumens per cap is plenty — you're marking edges for safe footing, not lighting a marina.
Solar caps are the easy win here since running wire to a dock is a project, but in my experience, shaded or north-facing docks need low-voltage wired lights for reliable all-night performance. If you go solar, wipe the panels monthly; lake mist and pollen cut charging fast. Mount caps with stainless-steel screws (lake air eats cheap hardware), and make sure any wired system uses marine-grade cable and a GFCI-protected circuit — water plus electricity demands zero shortcuts.
Styling tip: add one small downlight under the dock's outer end aimed at the water, and you'll get a shimmering reflection column that doubles the romance for about twenty dollars.
Suggested budget range: $80 – $350.
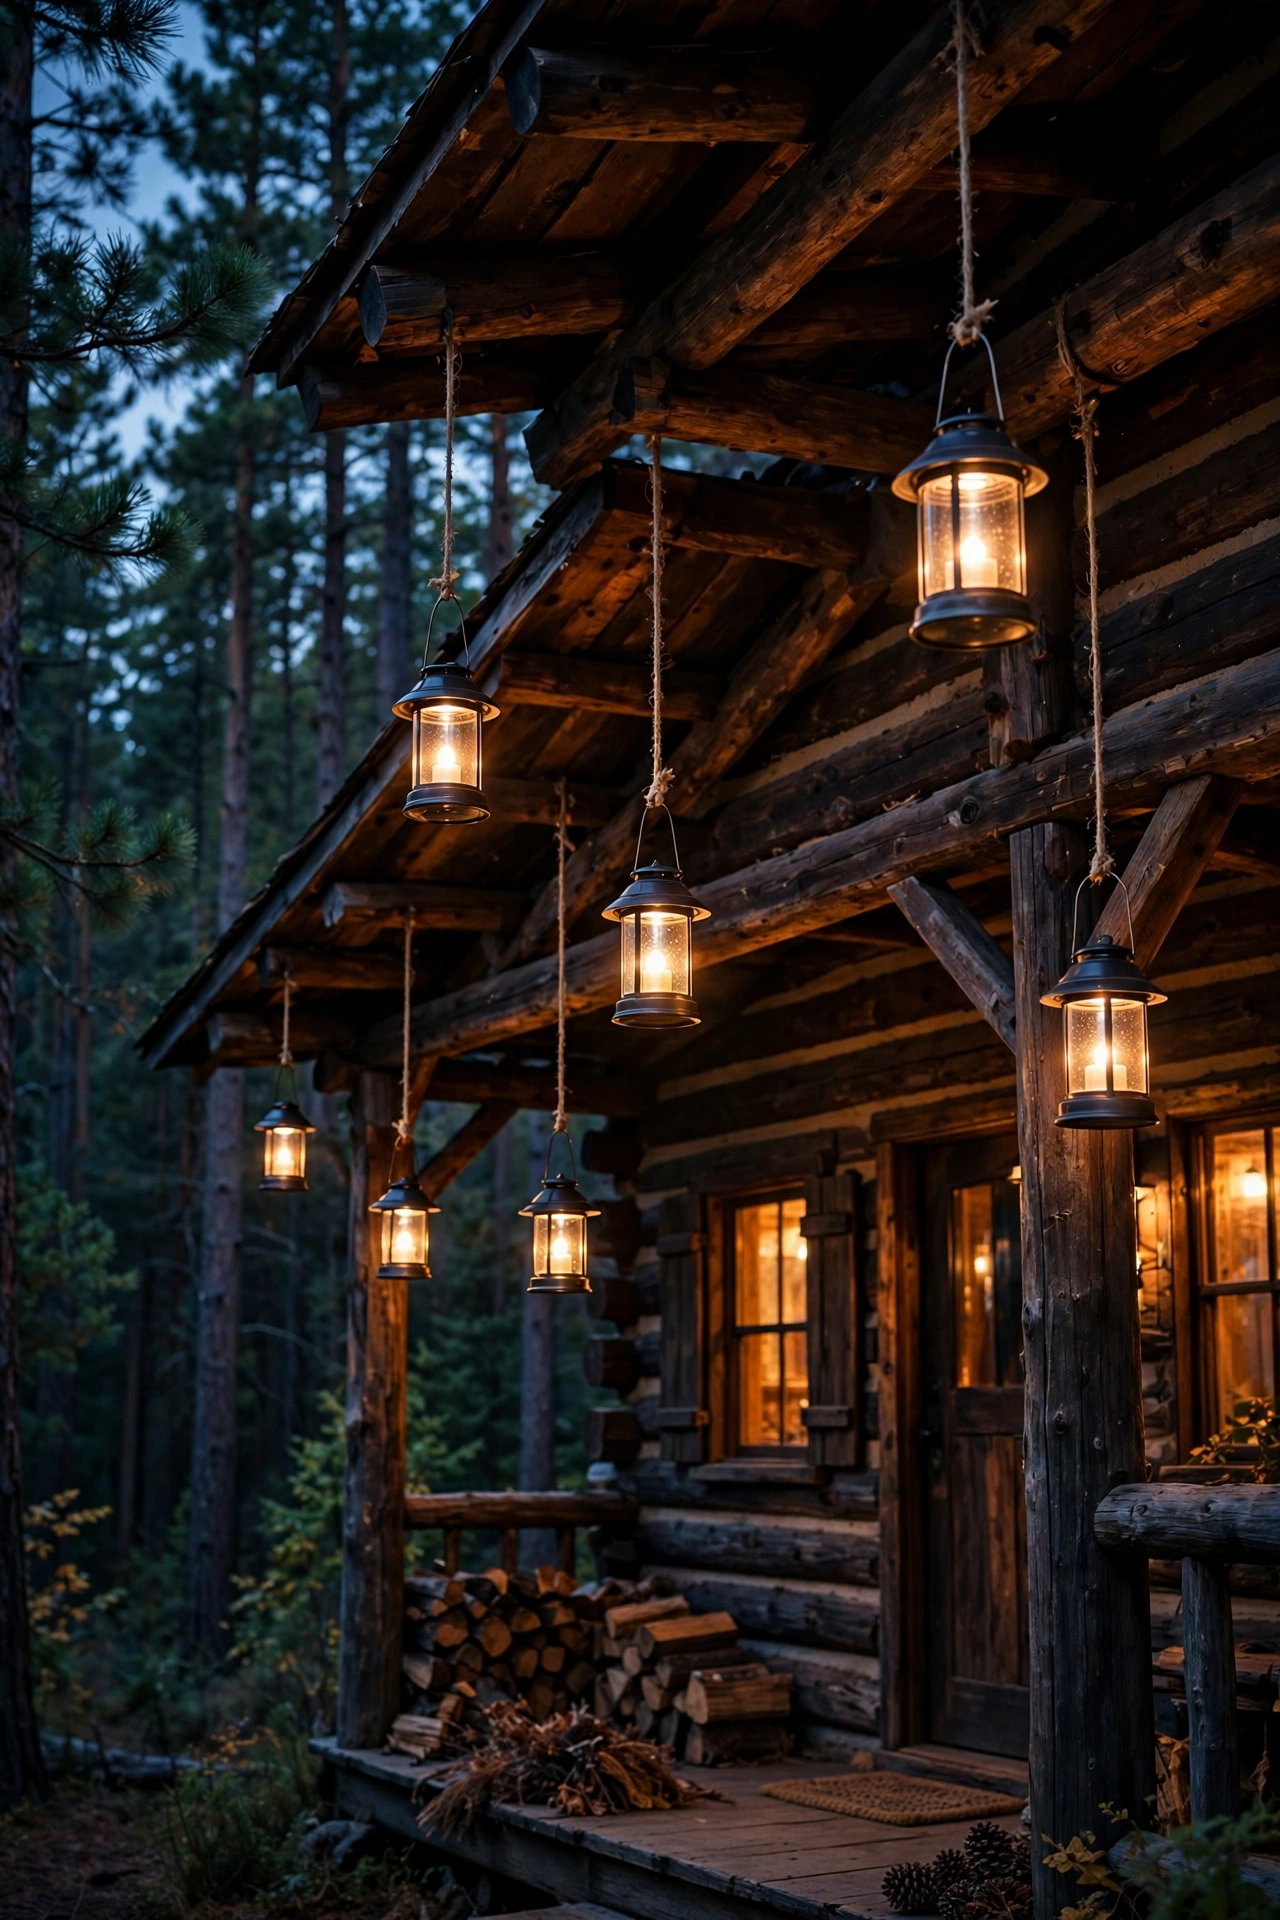
13. Solar Lanterns Hanging from the Porch Rafters
Hanging solar lanterns from porch rafters is the zero-wiring way to get that flickering-lantern look — perfect for cabins where running new circuits means drilling through 8-inch logs (ask me how I know). Hang them from the rafter with S-hooks or short chains so the lantern body sits 7–8 feet off the porch floor, spaced 4–6 feet apart along the beam. The solar panel needs to see sky, so mount the little panel on the rafter top or use lanterns with remote panels you can place on the porch roof edge.
Here's the honest truth about solar in the woods: a lantern under a covered porch gets maybe 2–4 hours of usable charge light, so set expectations — these are accent glow, not task lighting. Choose lanterns with warm 2700K LEDs and a frosted or seeded-glass enclosure, which diffuses the light beautifully even at low brightness. Bring them inside during the harshest winter months if they're not rated below freezing; batteries hate deep cold and you'll double their lifespan.
Styling tip: cluster three lanterns at slightly different heights over a porch swing or bench, and you get a designer-looking installation from fixtures that cost less than dinner out.
Suggested budget range: $45 – $150.
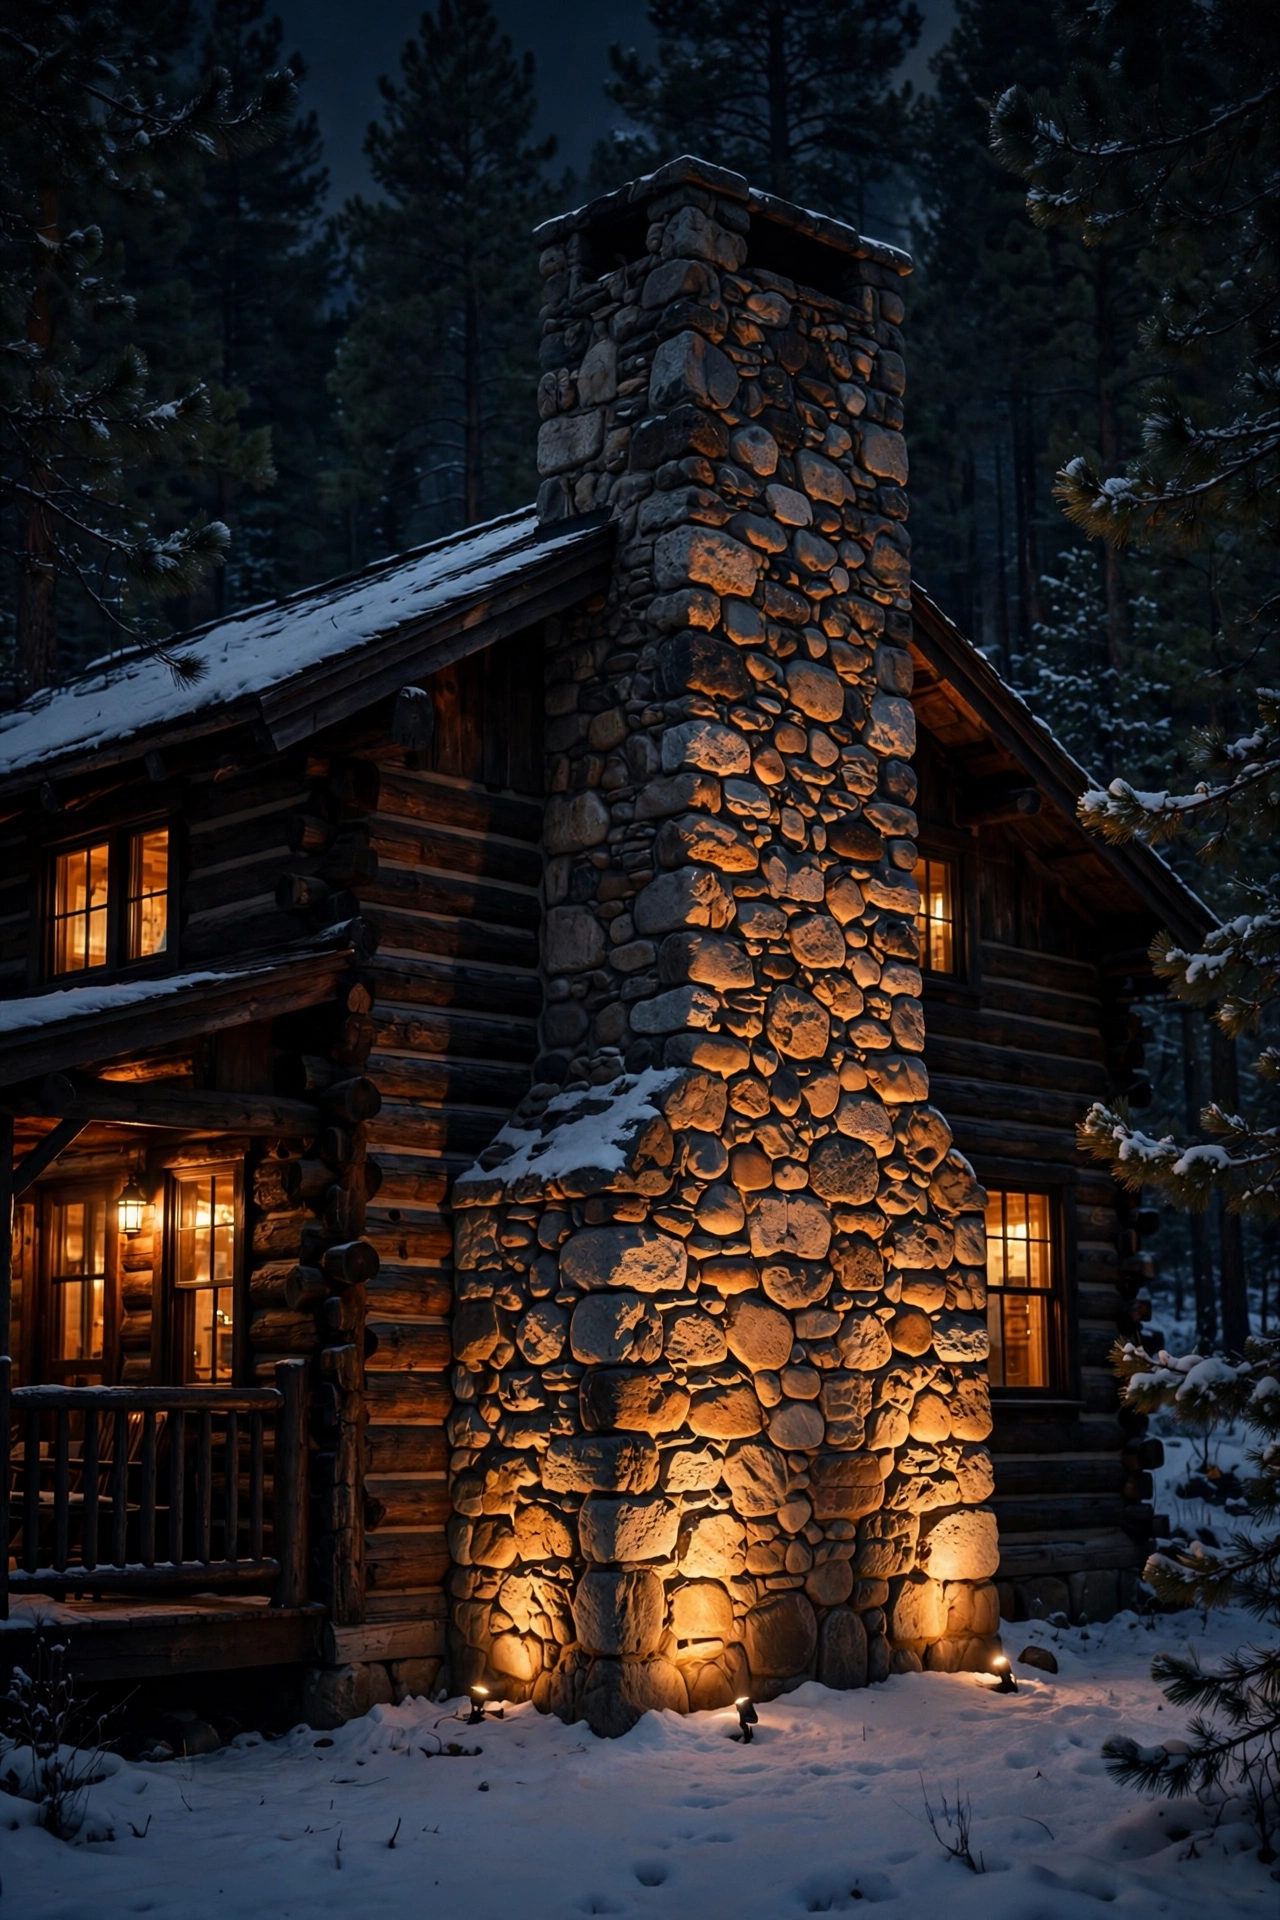
14. Stone Chimney and Firewood Wall Wash
If your cabin has a stone chimney or a firewood storage wall, washing it with light creates one of the most dramatic rustic cabin lighting moments there is. Place two low-voltage flood or wide-beam spotlights 3–5 feet out from the base, angled up at roughly 30 degrees, one on each side — cross-lighting like this fills in harsh shadows and makes every stone pop. Warm 2700K at 500–900 lumens per fixture handles a two-story chimney; a single-story wall needs half that.
Because chimneys and stone walls shed water and snow, choose fixtures rated for wet locations with sealed lenses, and aim them so they never shine directly into windows or toward the road — light trespass is a fast way to annoy the neighbors across the hollow. Bury cable 6 inches deep and keep fixtures clear of falling snow and ice shed zones (that strip right under the eaves is a fixture graveyard in winter). Tie them into your astronomical timer with the facade uplights so the stonework glows every evening like a hearth you can see from the yard.
Styling tip: this technique is stunning in winter, when the lit stone contrasts with snow — see my winter landscape lighting ideas for cold-season layering that complements it
Suggested budget range: $90 – $320.
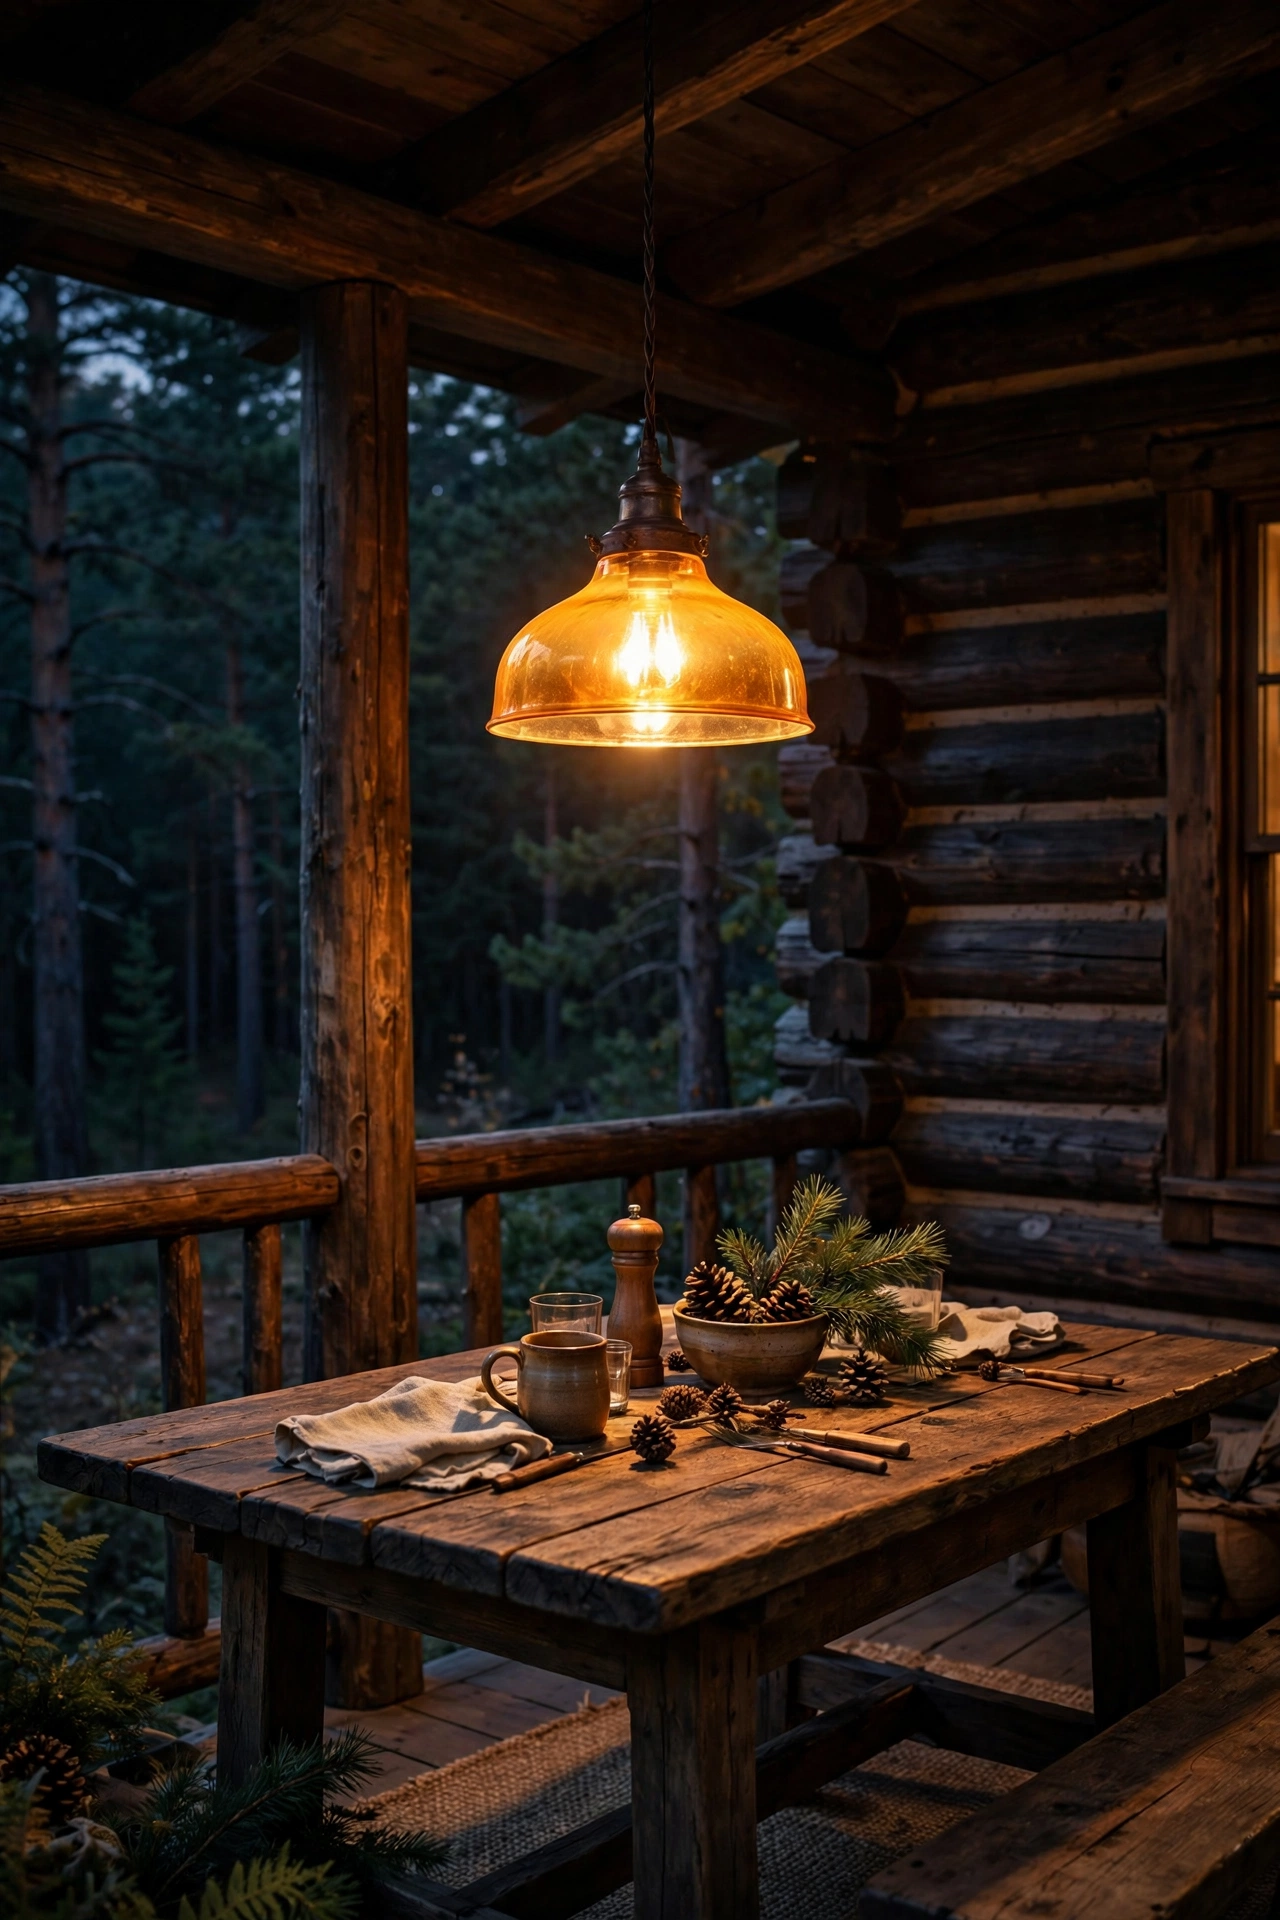
15. An Amber Pendant Over the Covered Porch Table
A single amber pendant hanging over the porch dining table turns every cabin dinner into an occasion. Hang it so the bottom of the shade sits 30–36 inches above the tabletop — low enough to feel intimate, high enough that nobody bonks it standing up. For an 8-foot porch ceiling, that usually means a 24–30 inch downrod or chain. Choose a wide shade (14–18 inches across) so the light pool covers the whole table without harsh hotspots.
Use a dimmable amber LED bulb at 2200K, 400–600 lumens, on a dimmer switch — full brightness for card games, low glow for late-night talks. The fixture needs a damp-location rating at minimum (covered porches still get humidity and the occasional sideways rain), and if your porch ceiling is rough-sawn timber, have the electrician use a fan-rated box with a flat mounting block. In my experience, a seeded-glass or perforated-metal shade throws the prettiest patterns on the table below — it feels like candlelight, but steadier.
Styling tip: center the pendant on the table, not the room — porches are often off-center, and aligning to the furniture is what makes it look professionally designed.
Suggested budget range: $70 – $280.
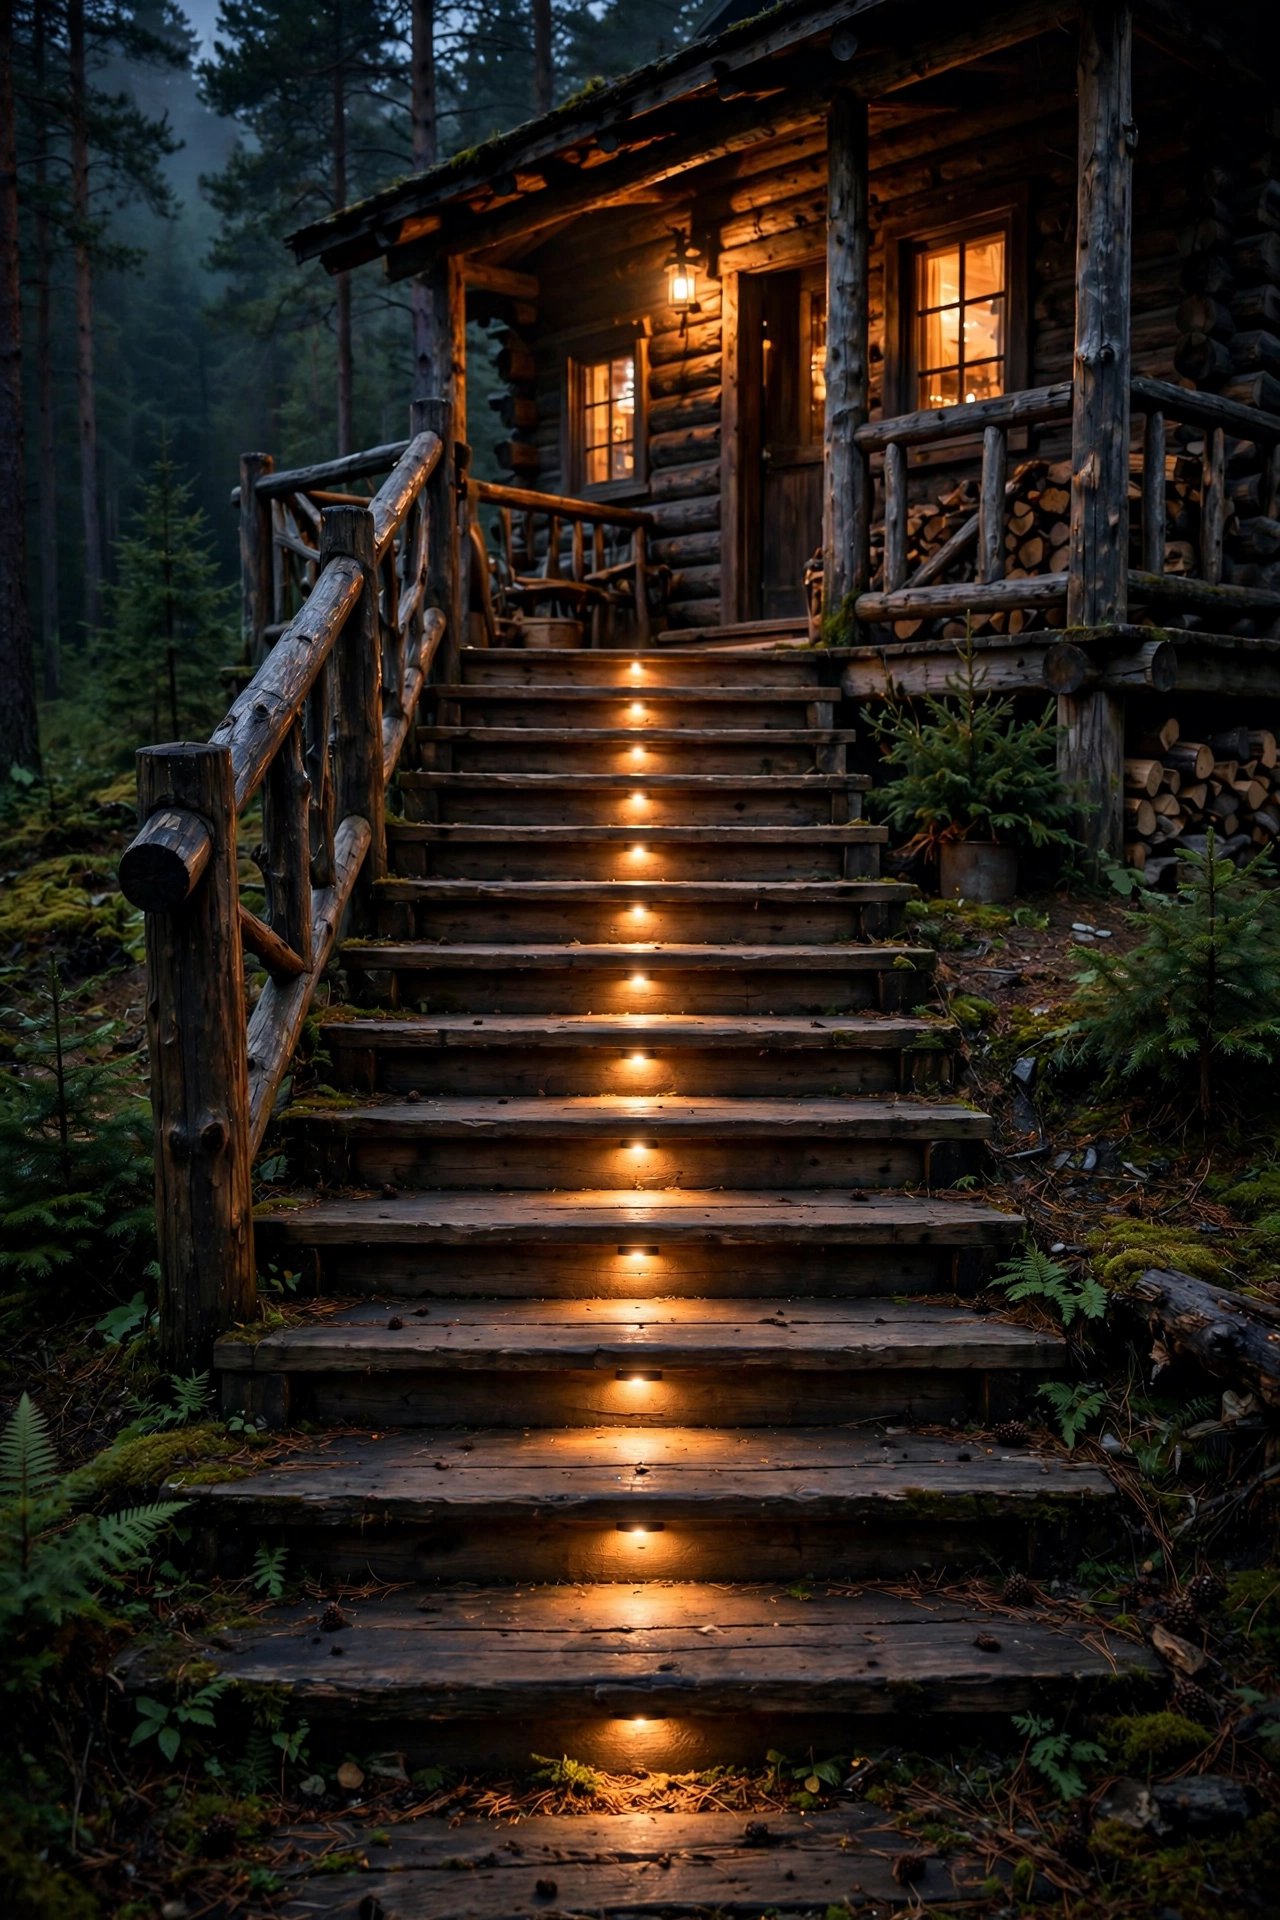
16. Step Lights Built Into the Cabin Porch Stairs
Porch stairs at a cabin are an accident waiting to happen after dark — uneven treads, no handrail, maybe a little frost. Recessed step lights in the risers fix that elegantly. Install louvered LED step lights centered in each riser (or every other riser on long runs), wired on a low-voltage 12-volt line; the louvers throw light down onto the tread without glare in anyone's eyes. Aim for a soft 2700K glow at 50–100 lumens per step — you want to see the tread edge, not read by it.
If cutting into existing risers feels daunting, surface-mounted step lights on the stringer or side posts work nearly as well and install in an afternoon. Either way, put them on a photocell or motion sensor so they only burn when it's dark — porch steps don't need to glow all day. Use wet-rated fixtures and silicone-seal every cable entry; porch stairs take splashback from every rainstorm. And keep the fixtures flush or recessed — anything protruding becomes a toe-stubber, which defeats the entire purpose.
Styling tip: match the step-light finish to your railing hardware so the safety lighting disappears into the design during the day.
Suggested budget range: $75 – $300.
17. Moonlighting from Tall Pines Plus a Motion Sensor at the Door
My favorite finishing touch: mount a downlight high in a tall pine — 20–30 feet up — aimed down through the branches so it dapples the yard like moonlight. This is called moonlighting, and on a cabin lot it's pure magic. Use a single 2700K LED downlight at 600–1,000 lumens with a wide beam, mounted with tree-friendly straps (never nails or screws into a living tree), and aim it to wash the driveway or seating area, not the cabin walls.
Pair it with a motion-sensor flood at the cabin door — but here's the trick: choose a warm 2700K motion light at modest brightness (700–1,000 lumens), not the blazing cool-white security floods that make a cabin feel like a convenience store. Set the sensor to a 5-minute timeout and aim it down the walkway so arriving cars and guests trigger it, not every passing deer (mount it 8–10 feet high and angle the sensor head downward to cut false triggers). Both go on the same dusk-to-dawn schedule; the moonlight stays constant, the motion light only wakes when needed.
Styling tip: the contrast between the soft constant moonlight and the brighter welcome light at the door gives your cabin a layered, professionally lit feel with just two fixtures.
Suggested budget range: $110 – $420.
Frequently Asked Questions
How do I weatherproof outdoor lanterns on a cabin in harsh mountain weather?
Start with fixtures rated for wet locations (not just damp) — mountain rain, wind-driven snow, and freeze-thaw cycles punish anything less. Mount lanterns on flat cedar or composite mounting blocks sealed with exterior caulk where they meet the log wall, and make sure the fixture's weep holes point downward so trapped moisture drains. I always recommend a thin bead of clear silicone around the top and sides of the mounting plate (never the bottom — water needs an exit). In my experience, the bulbs outlast the sockets in harsh climates, so check gaskets and socket contacts every fall before the snow flies.
Will amber porch lights attract fewer bugs — and what about bears?
Yes, and this matters at a cabin. Amber light (2200K and below) attracts significantly fewer moths and flying insects than cool-white light, which is why I specify it throughout this post — fewer bugs at the door means fewer spiders setting up shop around your fixtures. As for bears: lights don't attract bears, food smells do. Keep the lighting plan separate from the food plan — never hang citronella torches or scented anything near entry lights, store trash in bear-resistant containers away from the cabin, and motion-sensor lights at the door can actually startle a curious bear into moving along.
Should I use amber or warm white bulbs for rustic cabin lighting?
Honestly? Use both, but in the right places. Amber (2200K) is my pick for ambiance zones — porches, fire-pit rings, string lights, anywhere you gather — because it flatters wood tones and feels like firelight. Warm white (2700K) works better where you need to actually see: stairways, driveways, door locks, work areas. The one rule I never break: don't mix them on the same fixture run or the same facade — pick one temperature per visual zone so the cabin glows cohesively instead of looking like a patchwork.
Do solar lights work on a heavily wooded cabin lot?
They can, but with honest expectations. Deep woods cut solar charging to a fraction of open-sky performance, so solar works best for low-stakes accent lighting (path markers, decorative lanterns) rather than security or task lighting. Choose panels you can mount separately from the fixture and place them in the sunniest spot you have — even a south-facing clearing 15 feet away beats a shaded fixture-top panel. For anything you rely on — door lights, stair lights, driveway markers — I recommend low-voltage wired systems on a timer; they work every night regardless of canopy cover.
Conclusion
The best rustic cabin lighting isn't about any single fixture — it's about layering warm light the way you'd layer blankets: a little safety light on the steps, a little drama on the log walls, and a generous wash of amber glow wherever you gather. Pick two or three ideas from this list, keep everything in the warm 2200–2700K family, and your cabin will go from dark box in the woods to the glowing heart of the property.
If this got your wheels turning, browse more lighting ideas on the site — there's a whole library of porch, deck, and landscape looks waiting to spark your next weekend project. Your cabin deserves to shine after dark, and honestly, so do you.