There is a special kind of heartbreak in spending a Saturday afternoon setting up the telescope, waiting for full dark, and then realizing your own patio lights are washing out half the sky. I learned that lesson the first summer we hosted a meteor-shower night, and it completely changed how I think about stargazing patio lighting ideas. The goal out here is not more light. It is the right light, in the right places, at the lowest glow that still keeps everyone safe and comfortable. Night vision takes a good 20 to 30 minutes to build, and one blast from a bright white porch bulb can undo all of it. So this low-glow edition of my usual layering philosophy turns everything down: soft pools of light at ground level, warm amber tones instead of blue-white, and every fixture shielded or dimmed so the light stays on the patio and out of the sky. Below are the 15 setups I use for stargazing nights at home, with honest budgets, real measurements, and the little tricks that keep the Milky Way exactly where it belongs: overhead and unmissable.
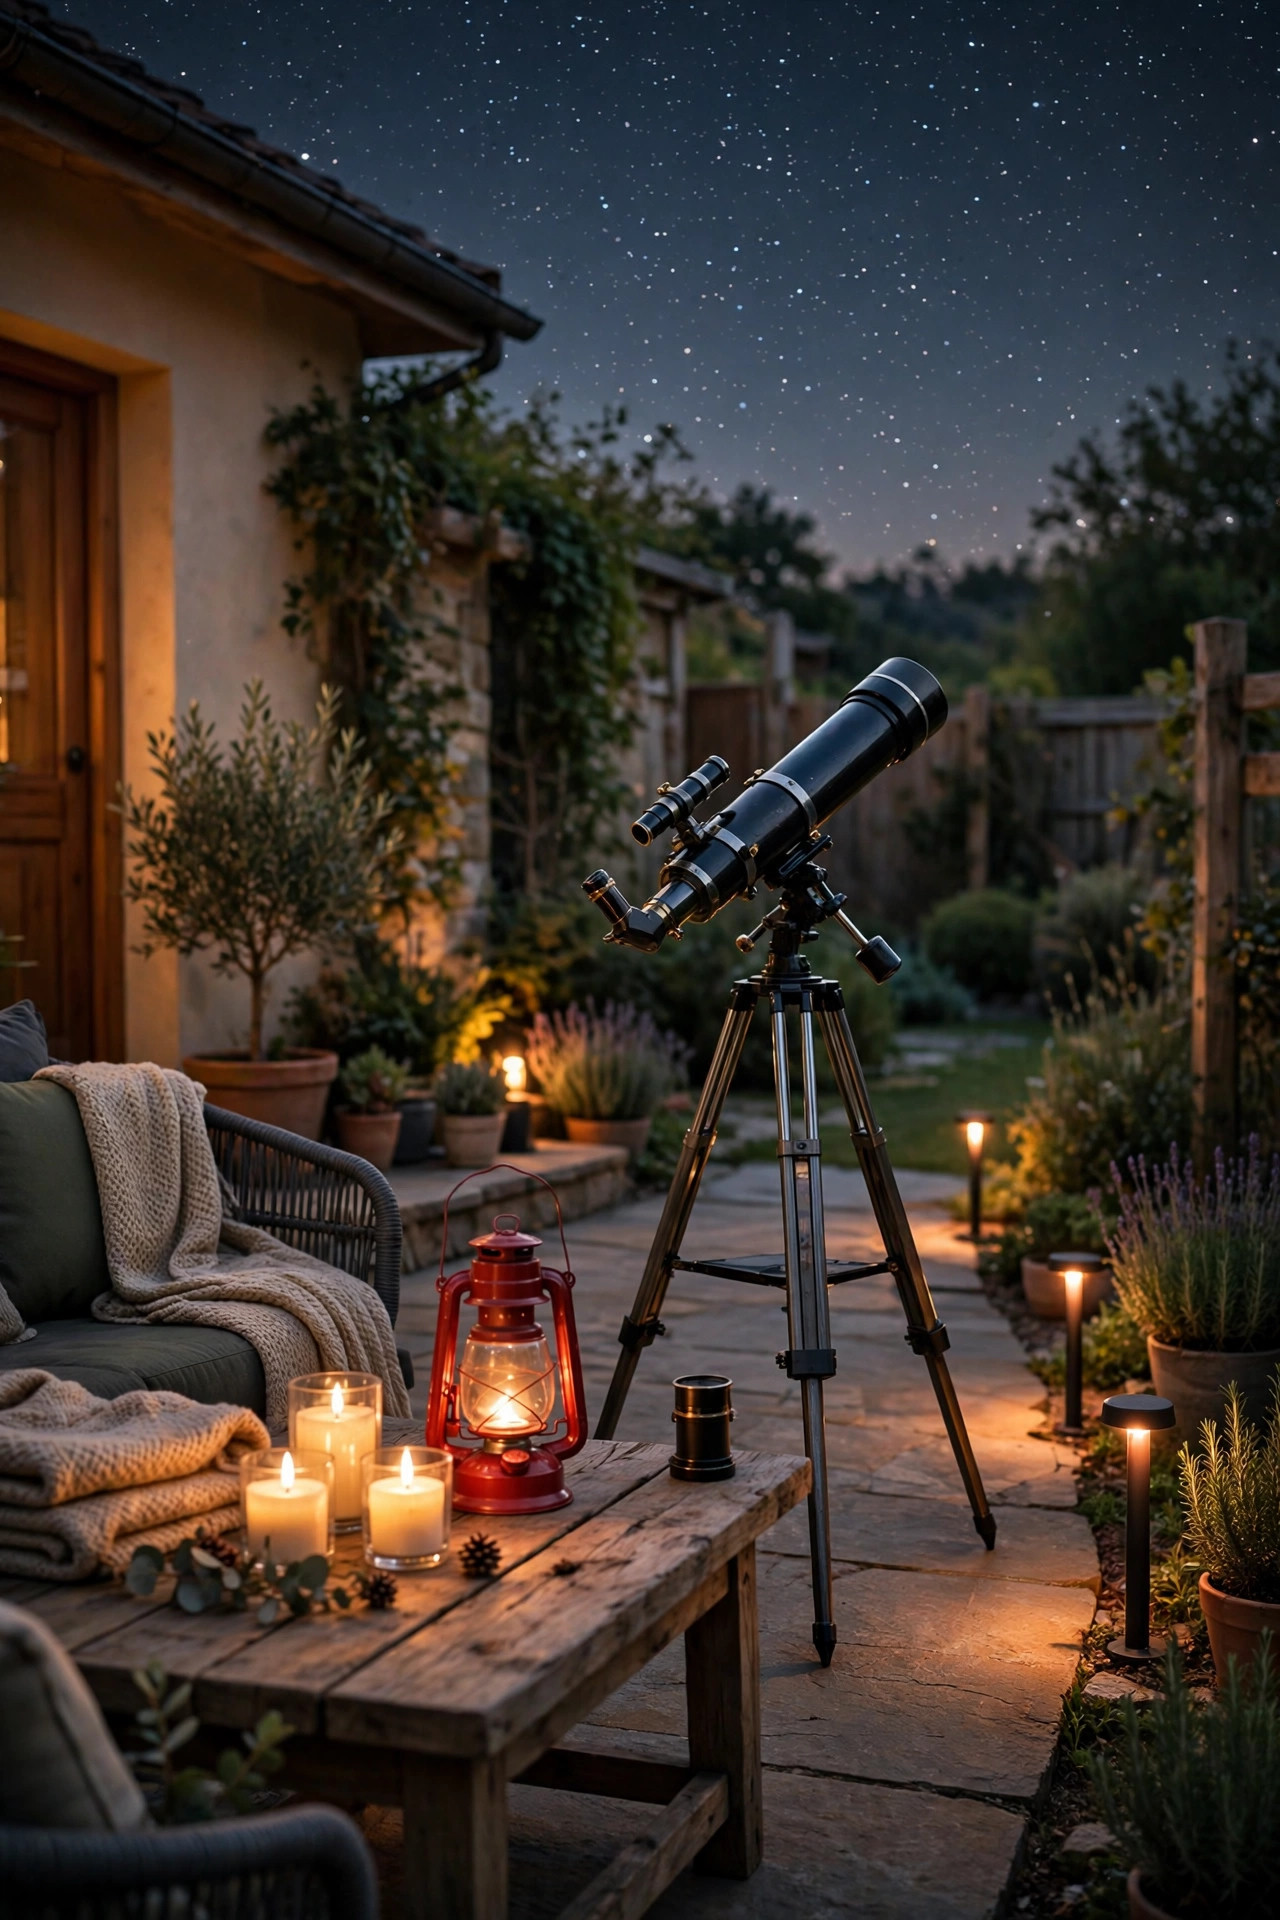
1. Stargazing Patio Lighting Ideas Start With Less Light, Not More
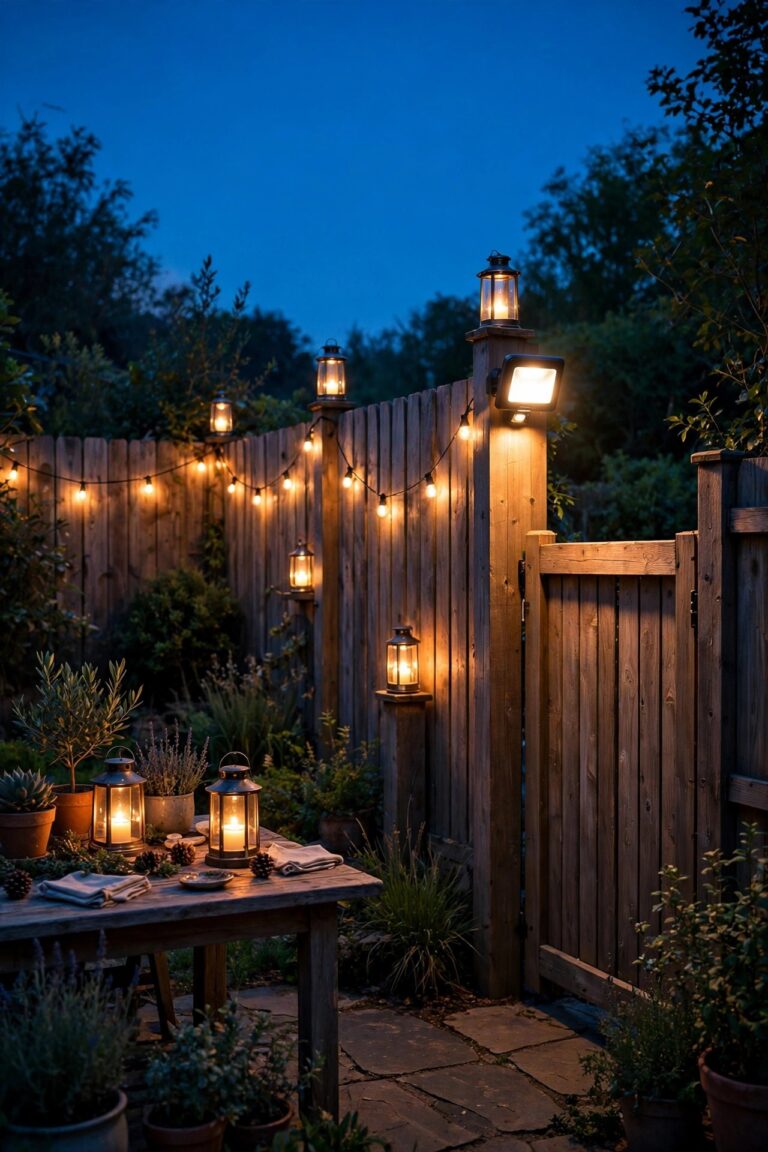
Every lighting plan I write starts with layers, and this one is no different, except the dimmer lives way down low. Layer one is ground guidance: tiny pools of light on paths and steps so nobody trips walking out with a mug of cocoa. Layer two is seat-level warmth: a candle or lantern glow around the chairs, kept below eye level so it never shines in anyone's face. Layer three, the overhead layer, mostly disappears on stargazing nights, or drops to a whisper. My rule of thumb is that no single fixture out here tops 100 lumens, and most sit far below that. Everything is shielded, hooded, or pointed at the ground, never at the sky. I also put the whole setup on one switch or dimmer by the back door, so switching to viewing mode takes two seconds. If you want the deeper philosophy behind this approach, I follow the same principles in my guide to dark-sky friendly outdoor lighting, and honestly? Once you watch the Milky Way fade in over a dim patio, you will never go back to floodlights.
Suggested budget range: $30 – $150.
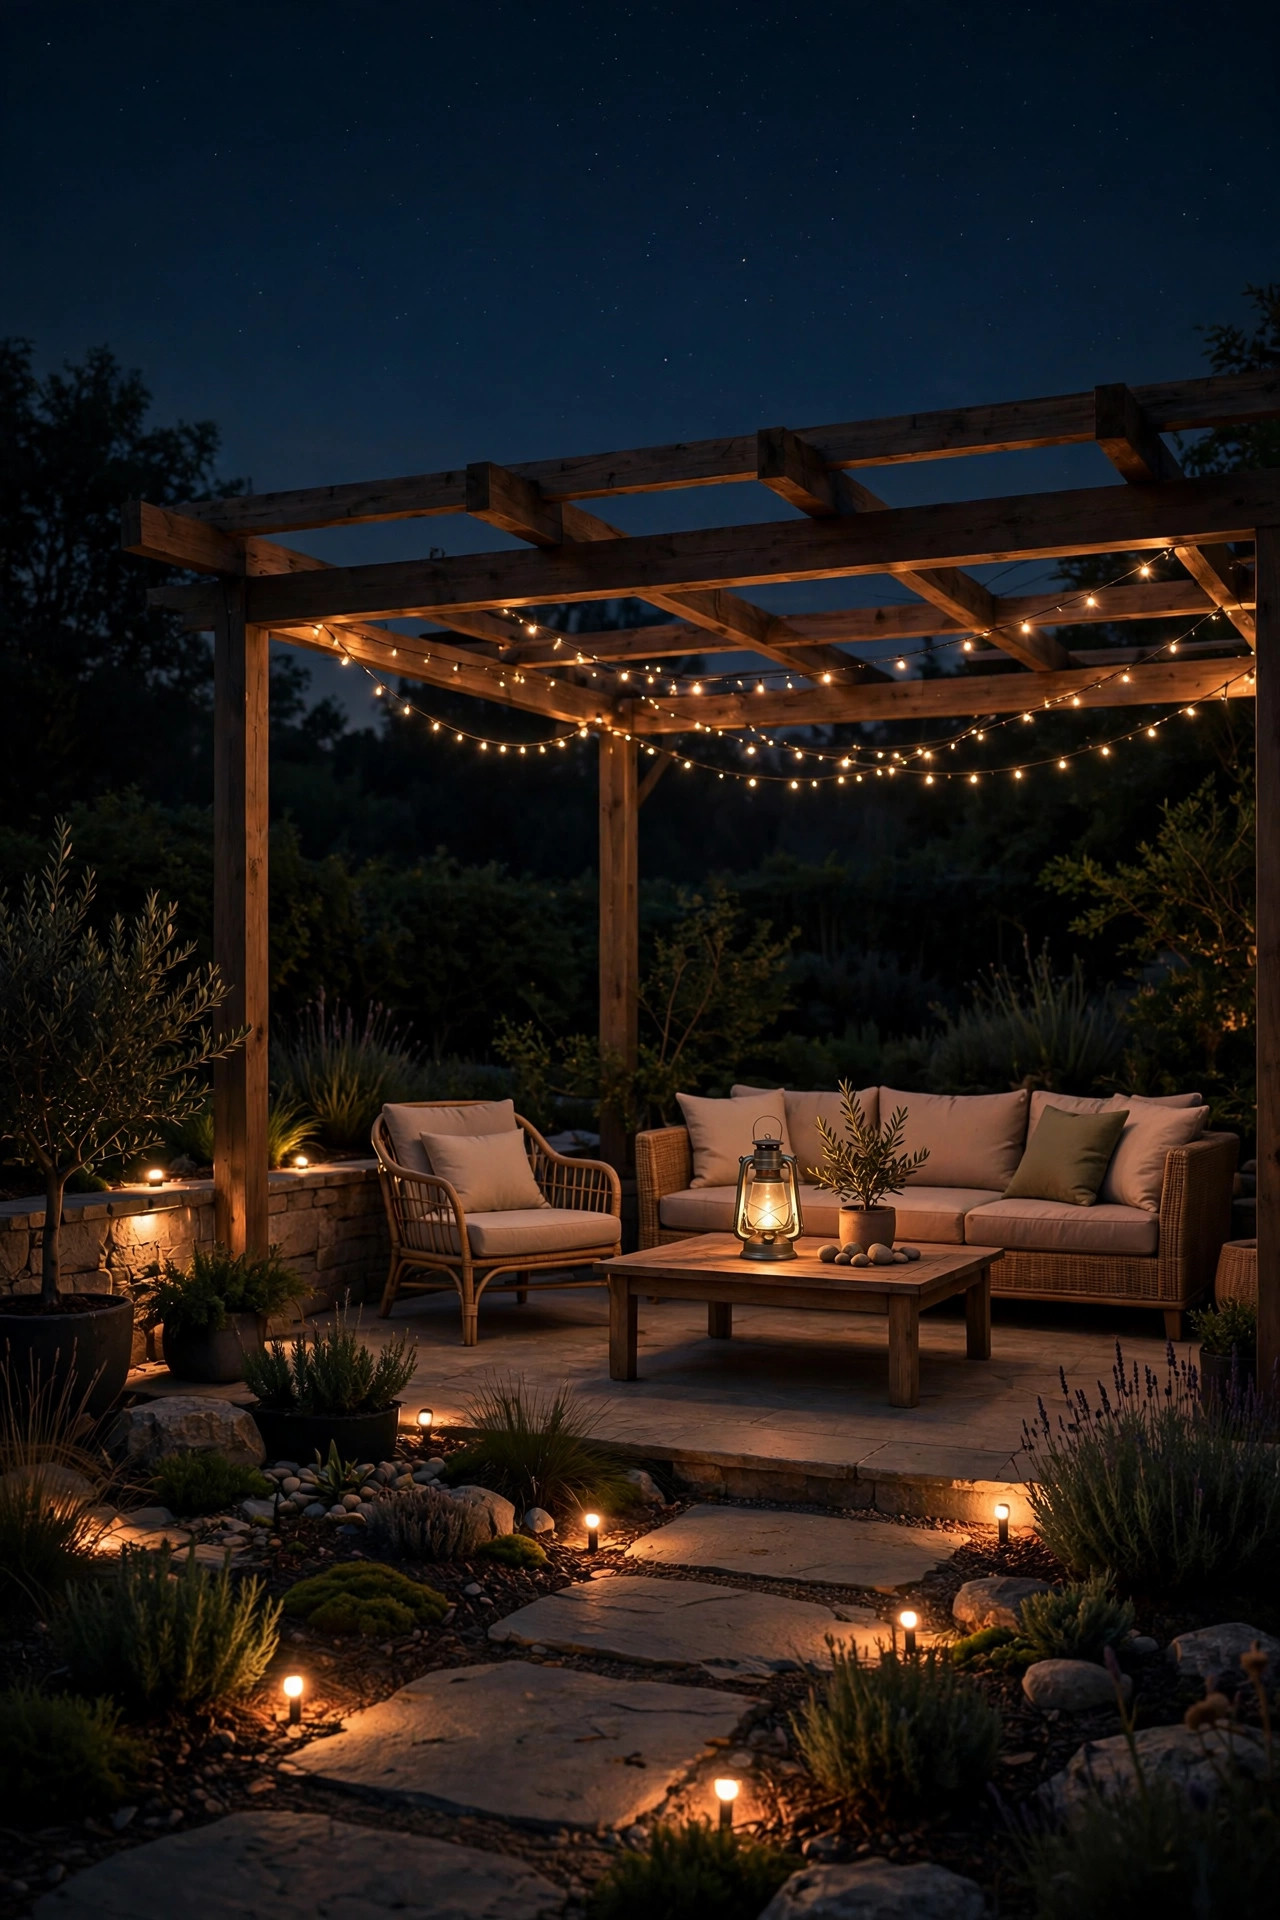
2. Red Lanterns That Protect Your Night Vision
Here is the science bit that changed everything for me. Your eyes build night vision slowly, over 20 to 30 minutes, as the rods in your retinas adjust, and a single look at bright white light resets a big chunk of that progress. Red light barely touches it. That is why astronomers live by red flashlights, and why my first stargazing purchase was a pair of red LED lanterns. I park one by the patio steps and one next to the telescope, both set low, around waist height or lower, so the light pools downward. For everyday lanterns you already own, red filter sleeves or a wrap of red cellophane does the same job for pennies. Keep the red glow dim, just enough to read a star chart or find the cocoa thermos. If you want to understand why red and amber behave so differently from cool white, my outdoor light color temperature guide breaks it down in plain English. Fair warning: guests will ask about the red lanterns, and explaining them makes you sound delightfully like a submarine captain.
Suggested budget range: $15 – $60.
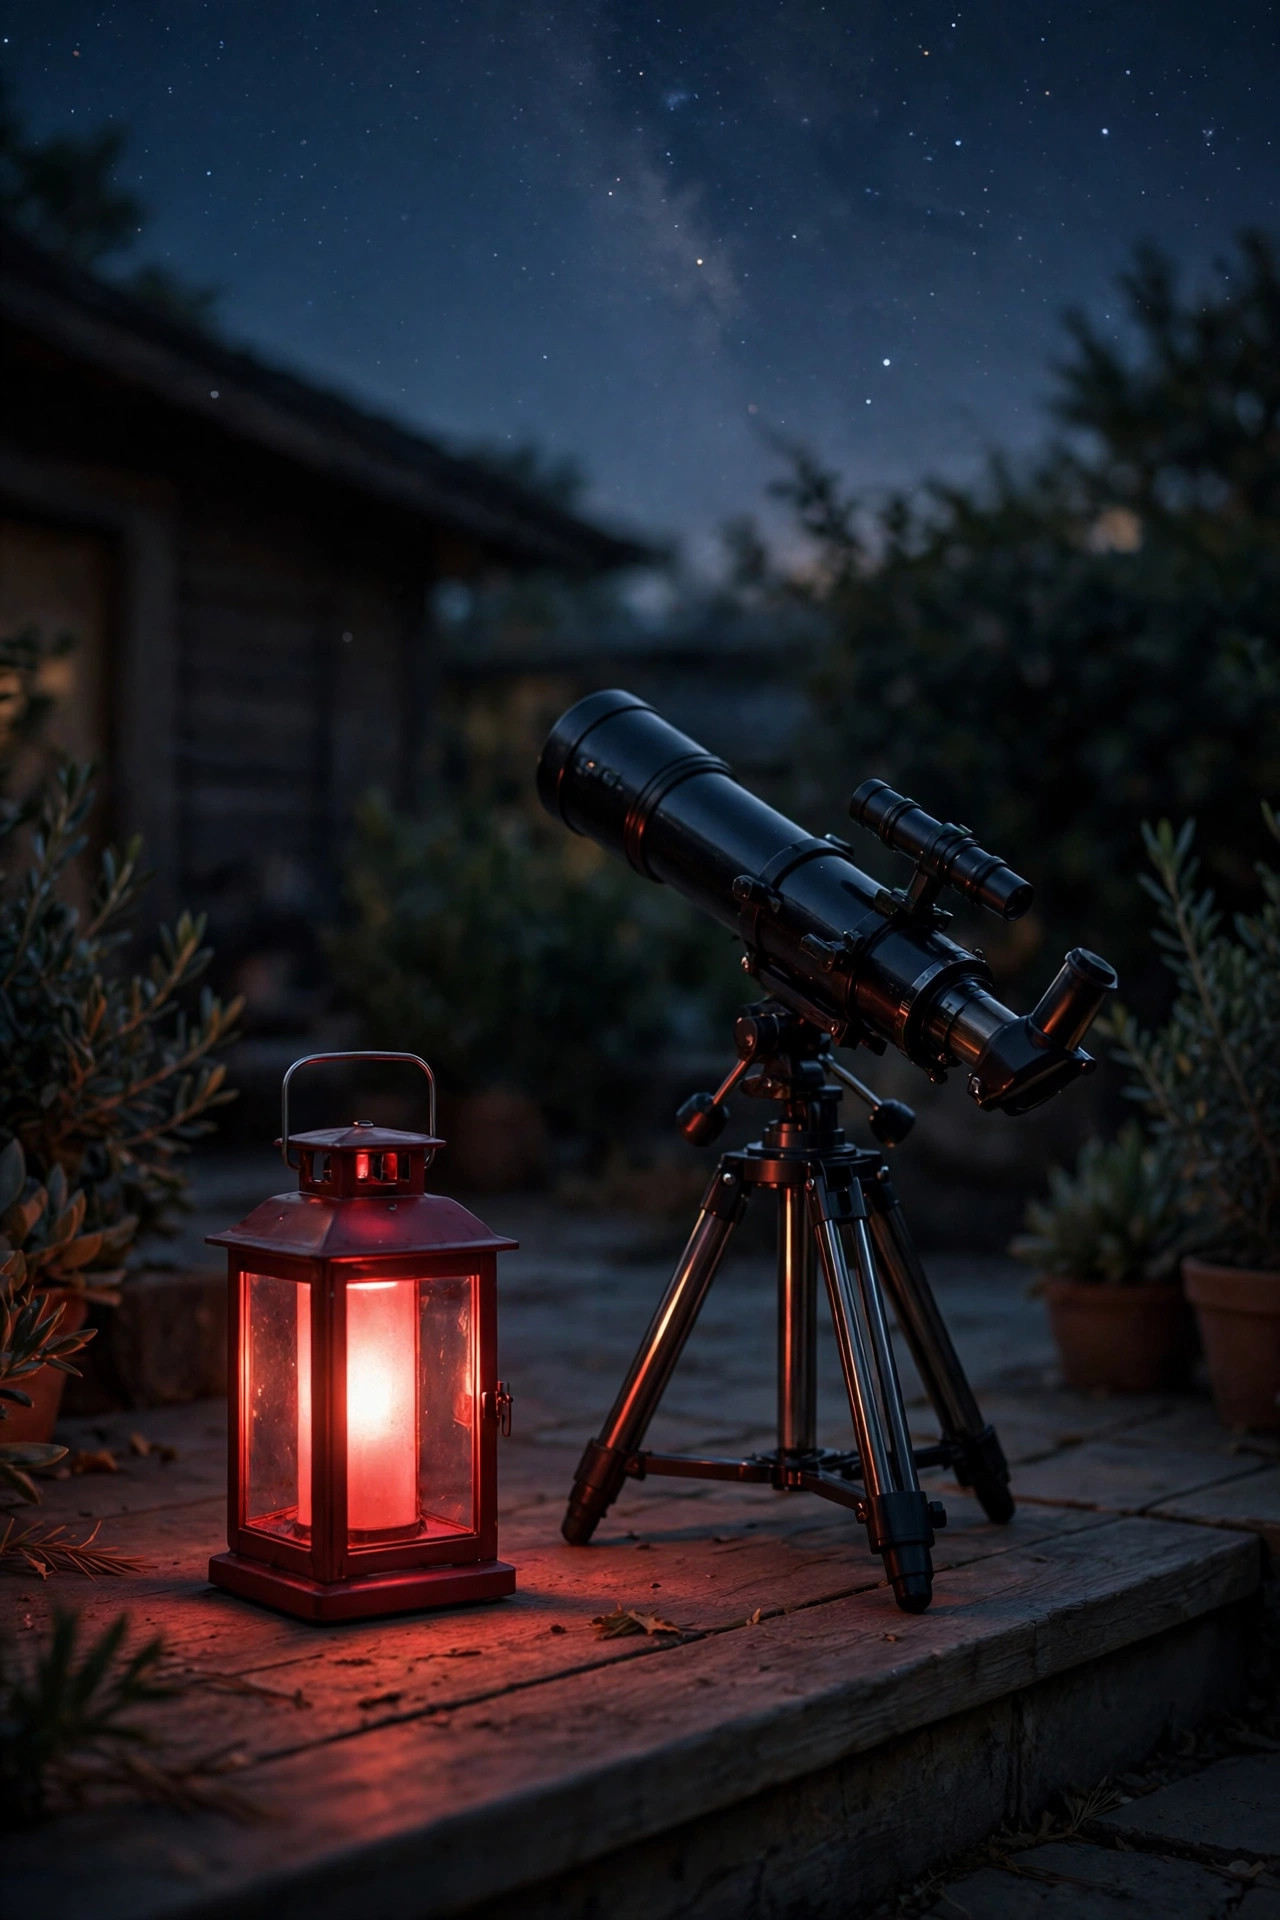
3. Dimmable String Lights, Set to a Whisper
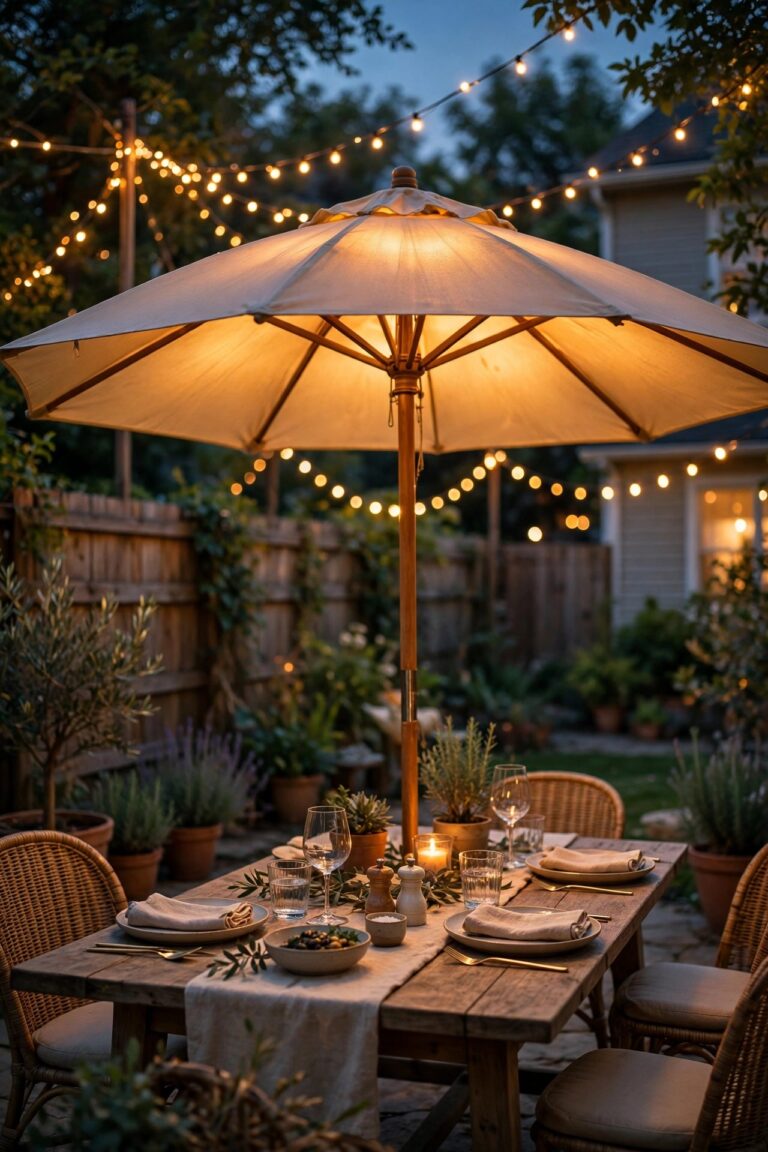
I know, I know. String lights are my love language, and no, you do not have to take them down for stargazing. You just have to tame them. The secret is a plug-in outdoor dimmer between the outlet and the strand, which lets you run café lights at 10 to 20 percent output, where they read as a warm shimmer instead of a carnival. Choose shatterproof LED filament-style bulbs in the warmest tone you can find, 2200K to 2700K, and hang the strands with a gentle 12-inch sag on guide wire so they sit below the roofline and out of your upward sightline. During snacks and setup, that low glow is perfect. When the main viewing starts, I dim them to nearly nothing or switch them off entirely and let the candles take over. One honest note: never put dimmers on strands that are not rated dimmable, and keep the dimmer itself in a weatherproof box, because outdoor electrics and dew are not friends.
Suggested budget range: $35 – $110.
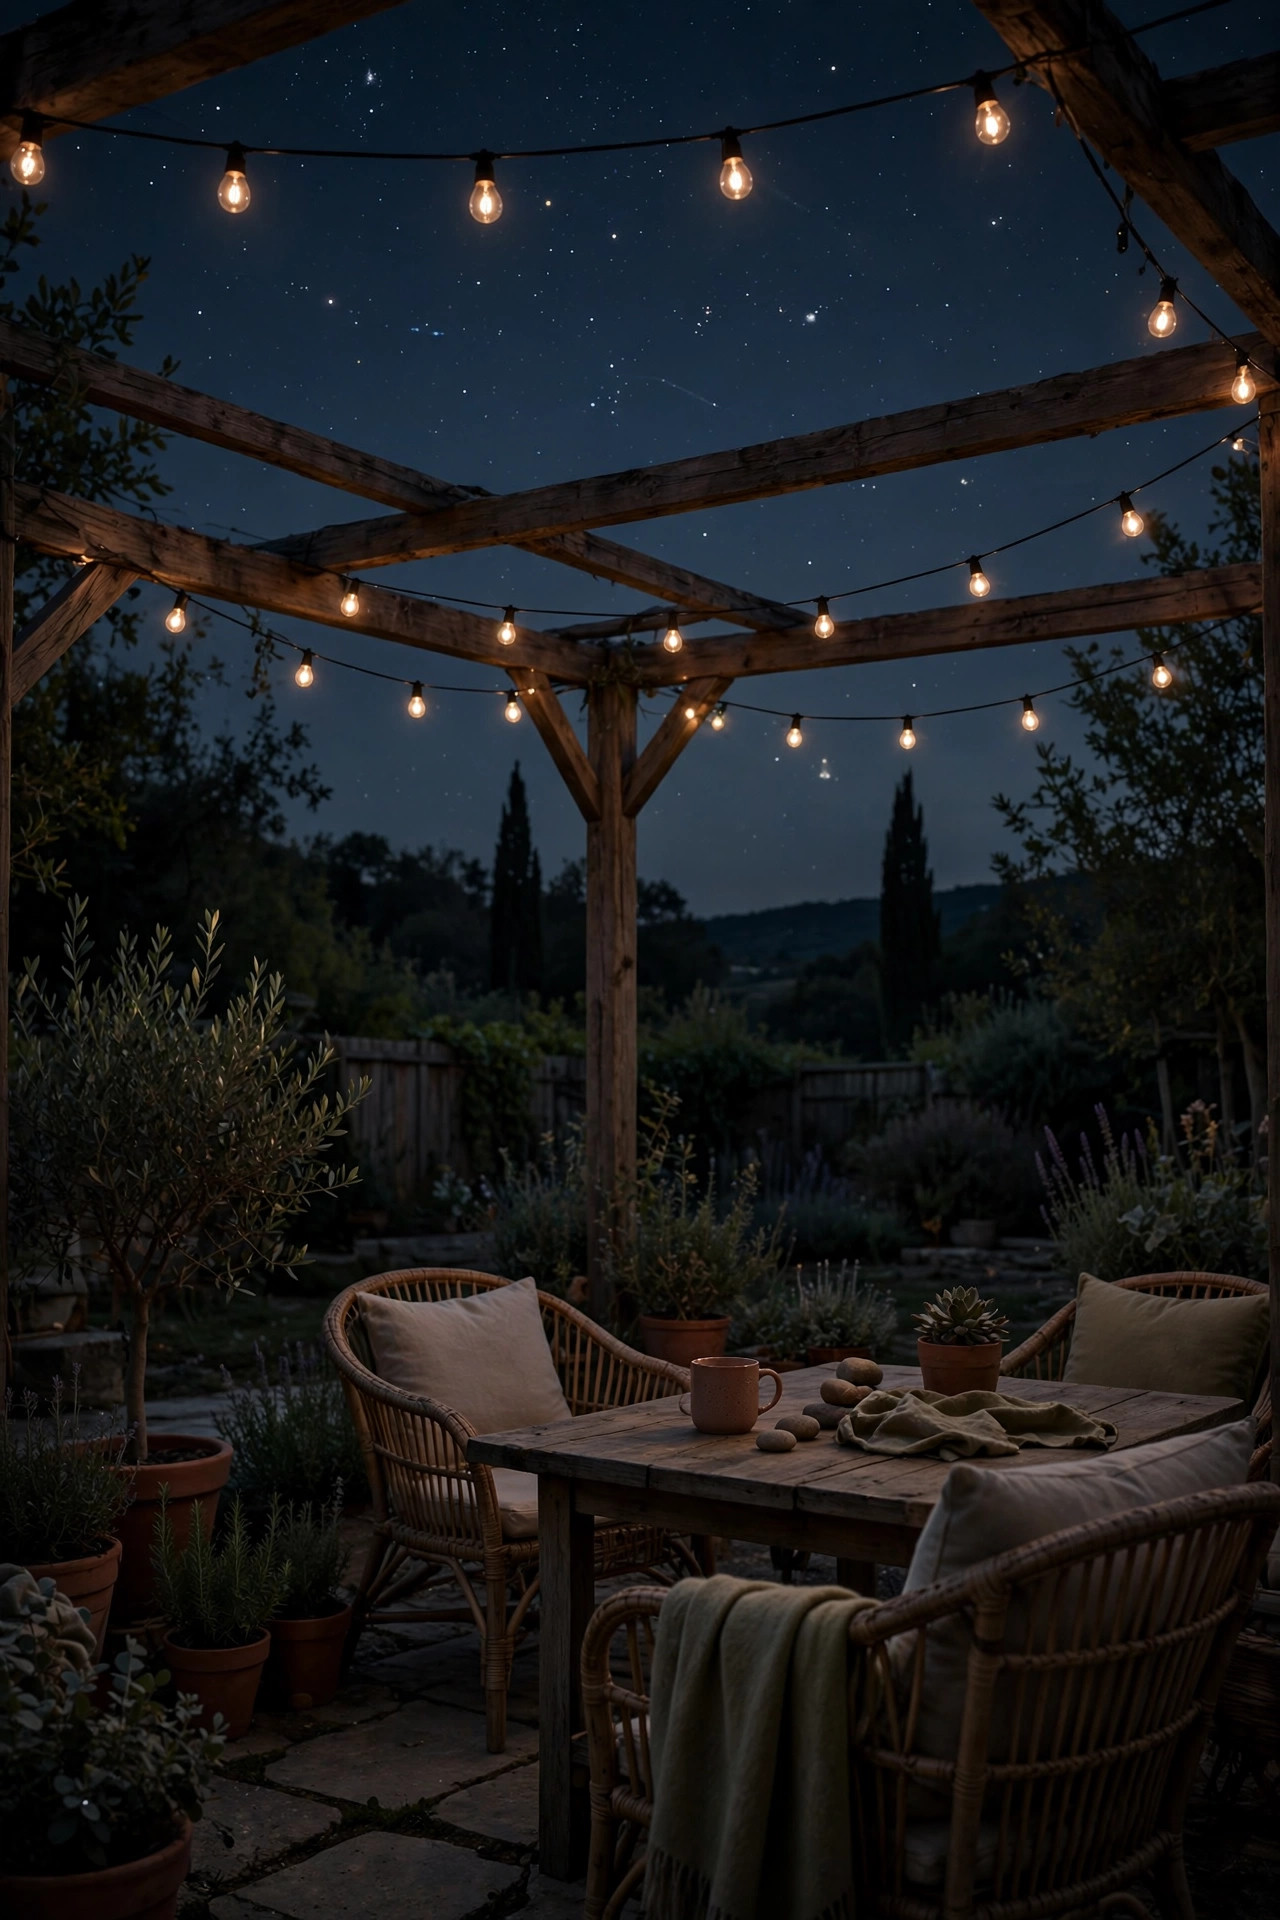
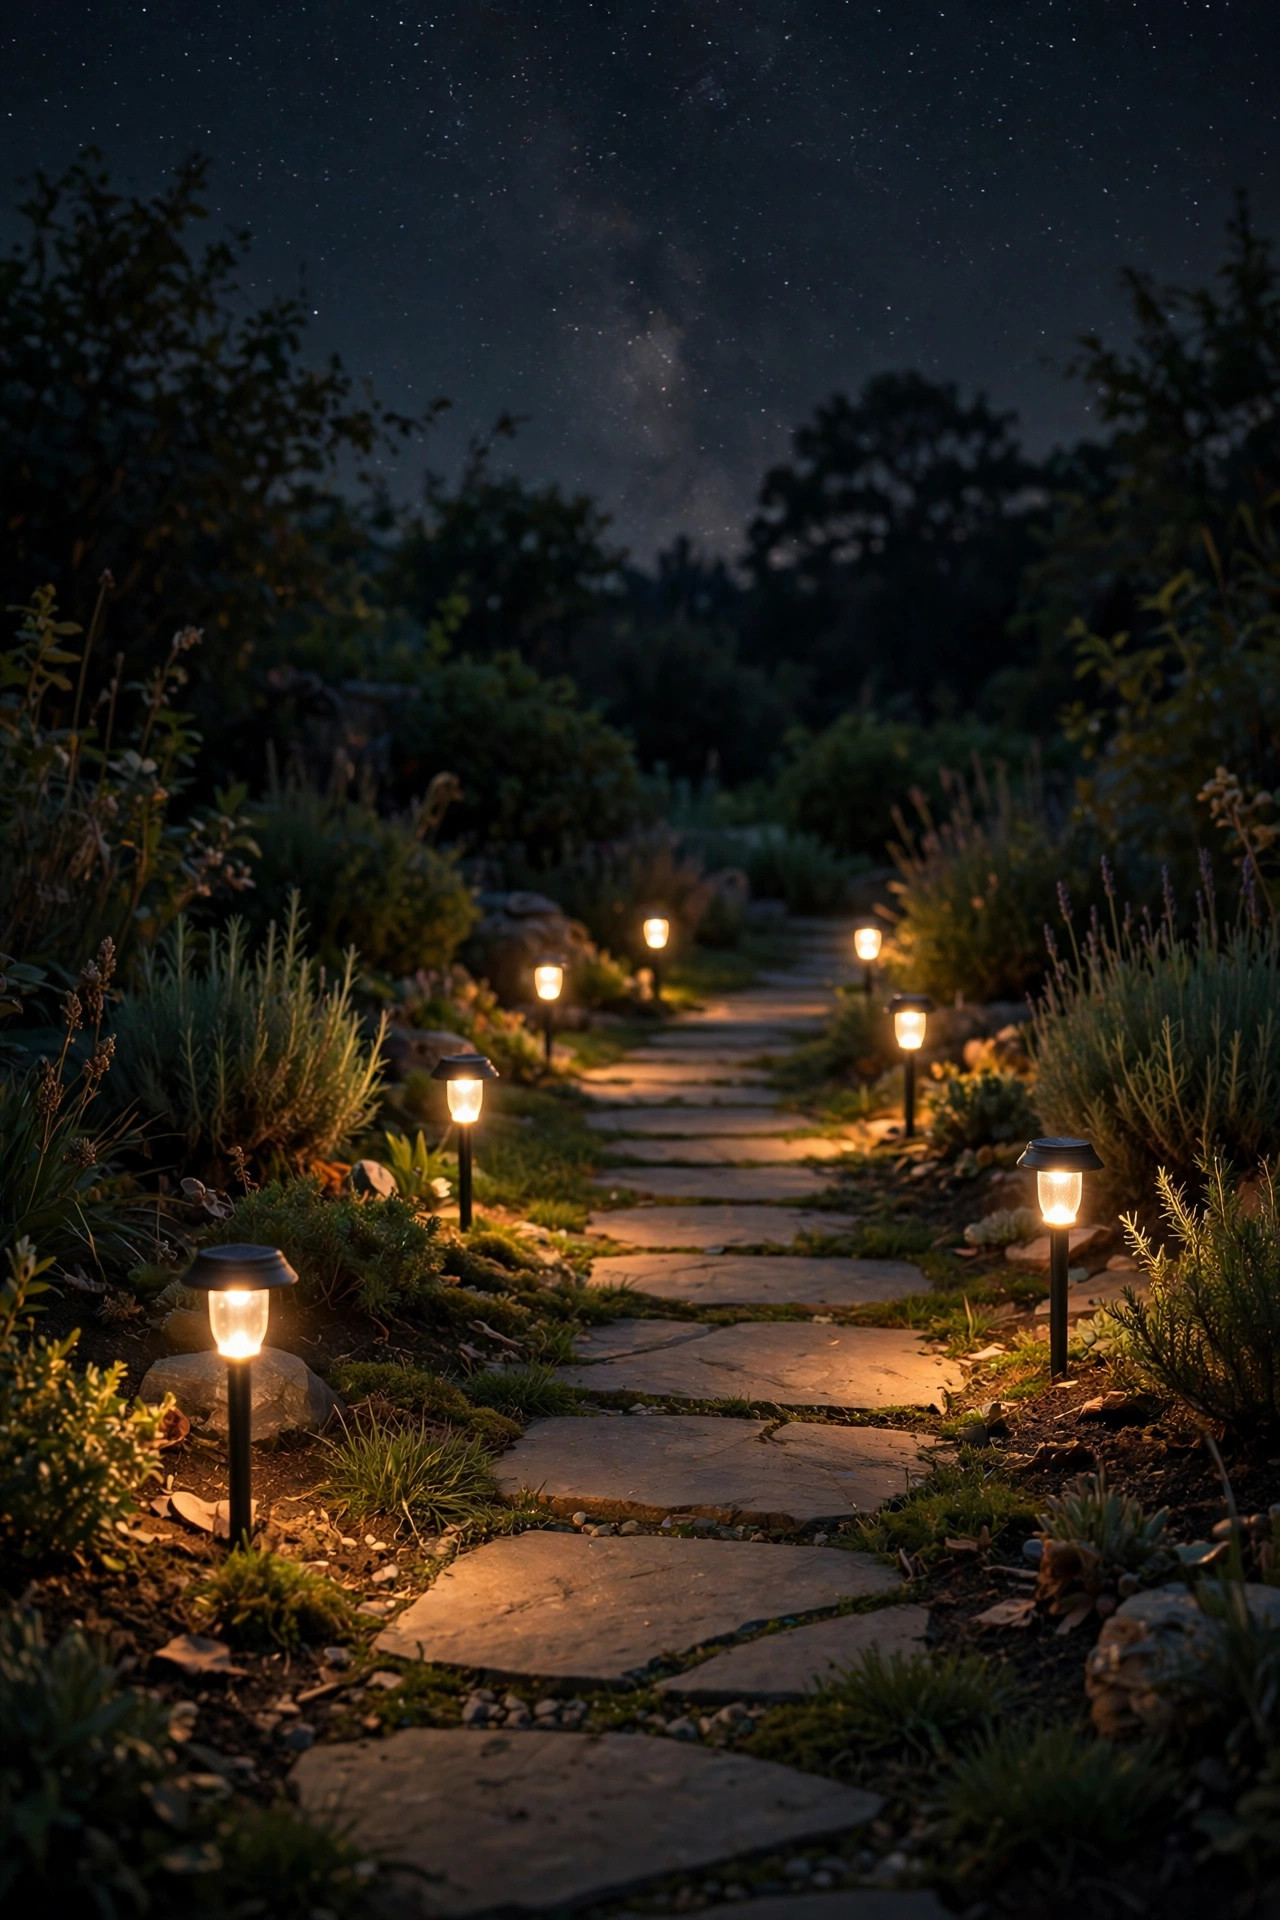
4. Shielded Path Lights That Only Kiss the Ground
Guests still have to walk from the back door to the chairs without tripping over the sprinkler heads, and that is exactly what path lights are for, as long as they behave. For stargazing, behave means fully shielded: a solid cap or hood on top, no exposed bulb visible from the side, and the light thrown straight down into a pool about 3 feet wide. I space mine 6 to 8 feet apart along the walk, staggered rather than in a runway line, and I choose low-output fixtures in the 15 to 40 lumen range, which is plenty once eyes adjust. Short stems, 12 to 14 inches, keep the glow near the ground where it belongs. Warm tones matter here too; amber or 2700K at low brightness disappears into the landscape, while even a dim blue-white stake seems to shout. Skip the solar spotlights aimed up into trees entirely. On a stargazing patio, the only thing that should be lighting up the trees is the moon.
Suggested budget range: $40 – $120.
5. Flameless Candles in Amber Glass, Zero Glare
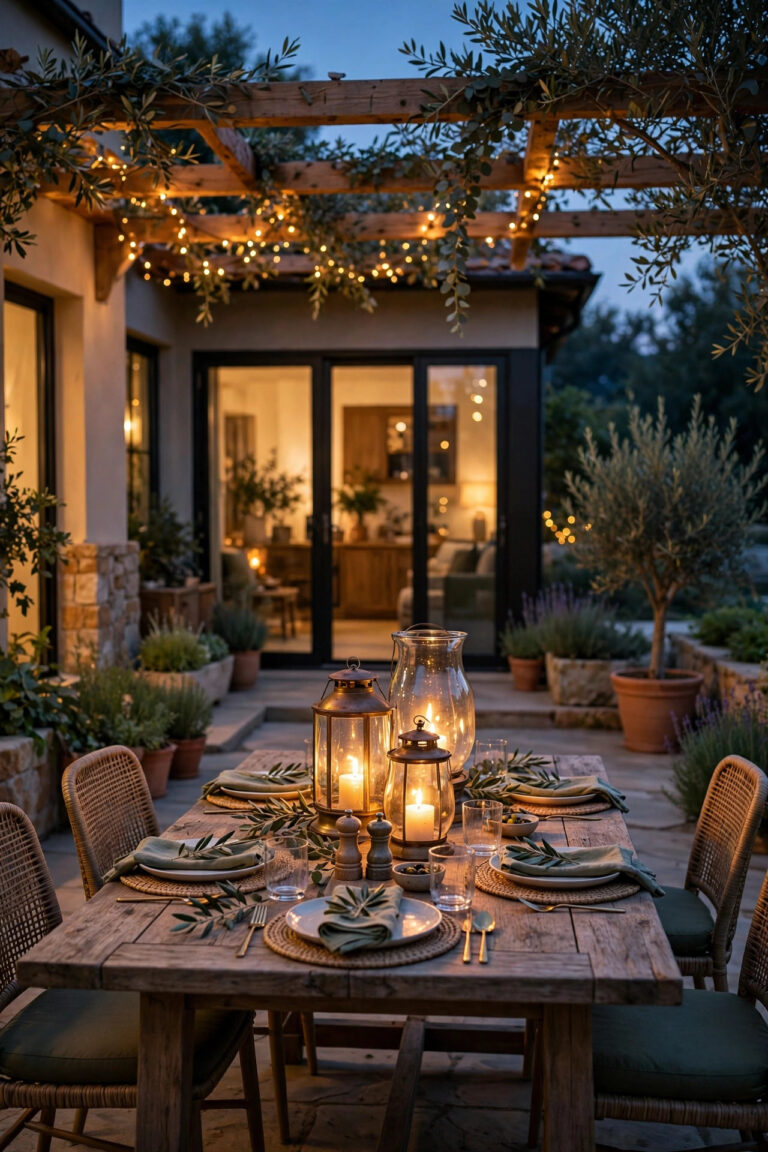
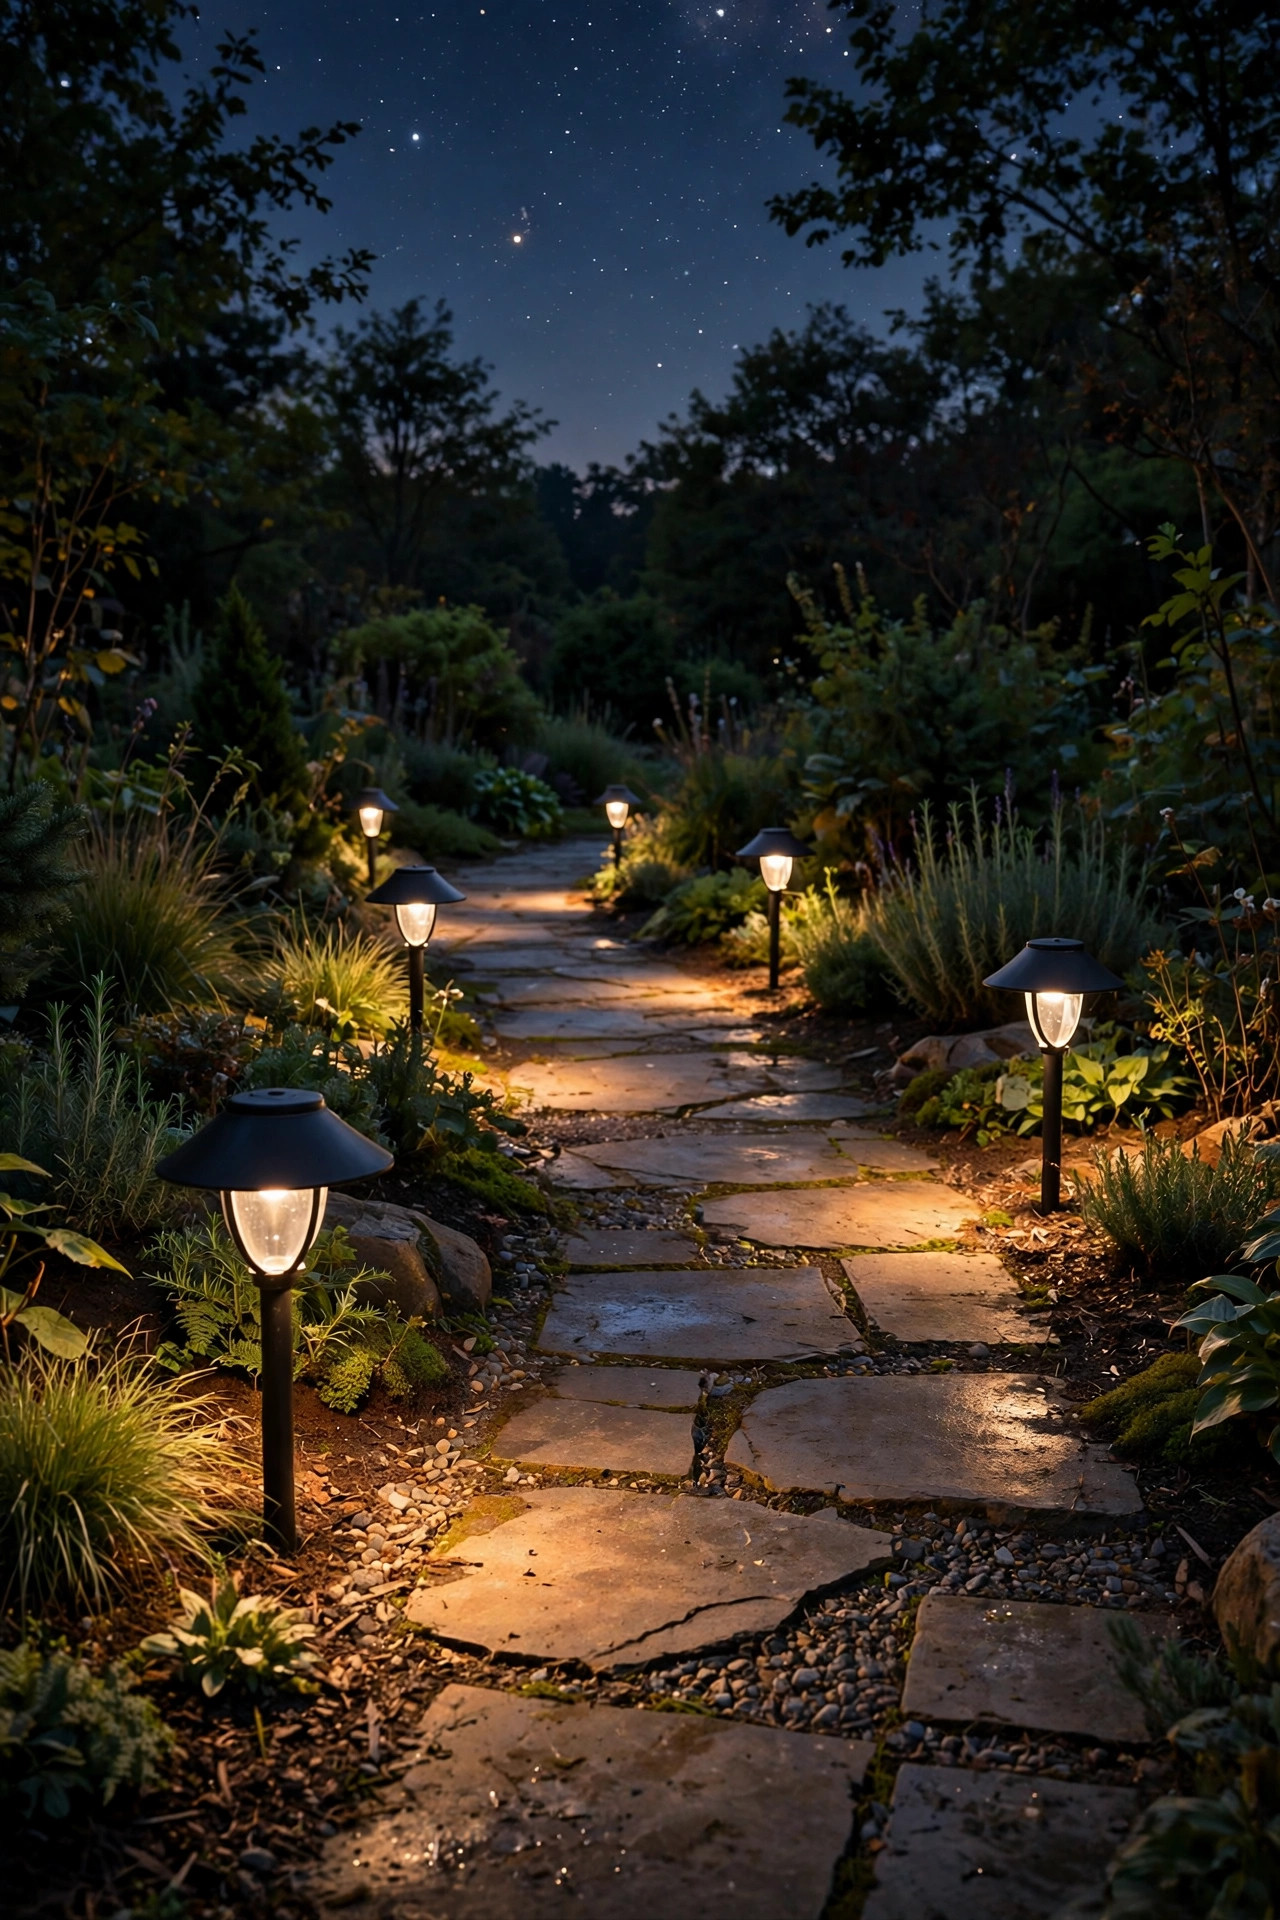
My favorite seat-level layer for stargazing is also the cheapest: flameless LED candles tucked into amber glass jars and hurricane holders. The amber glass does double duty, warming the color and cutting the brightness, so what reaches your eyes is a soft honey glow that never competes with the sky. I cluster them in odd numbers, threes and fives, on the side tables and along the patio edge behind the chairs, never in front where they would sit in your sightline. Most flameless candles come with a five-hour timer, so I set them once and they quietly switch themselves off at bedtime. They are also the safest light I own around star charts, blankets, and telescope gear, since there is no real flame to blow out or wax to spill. Real candles work too, and I love them for dinner, but on a breezy viewing night the flameless versions win on pure reliability. Honestly, half my guests never realize they are not real.
Suggested budget range: $12 – $45.
6. Louvered Bollard Lights for the Patio Edge
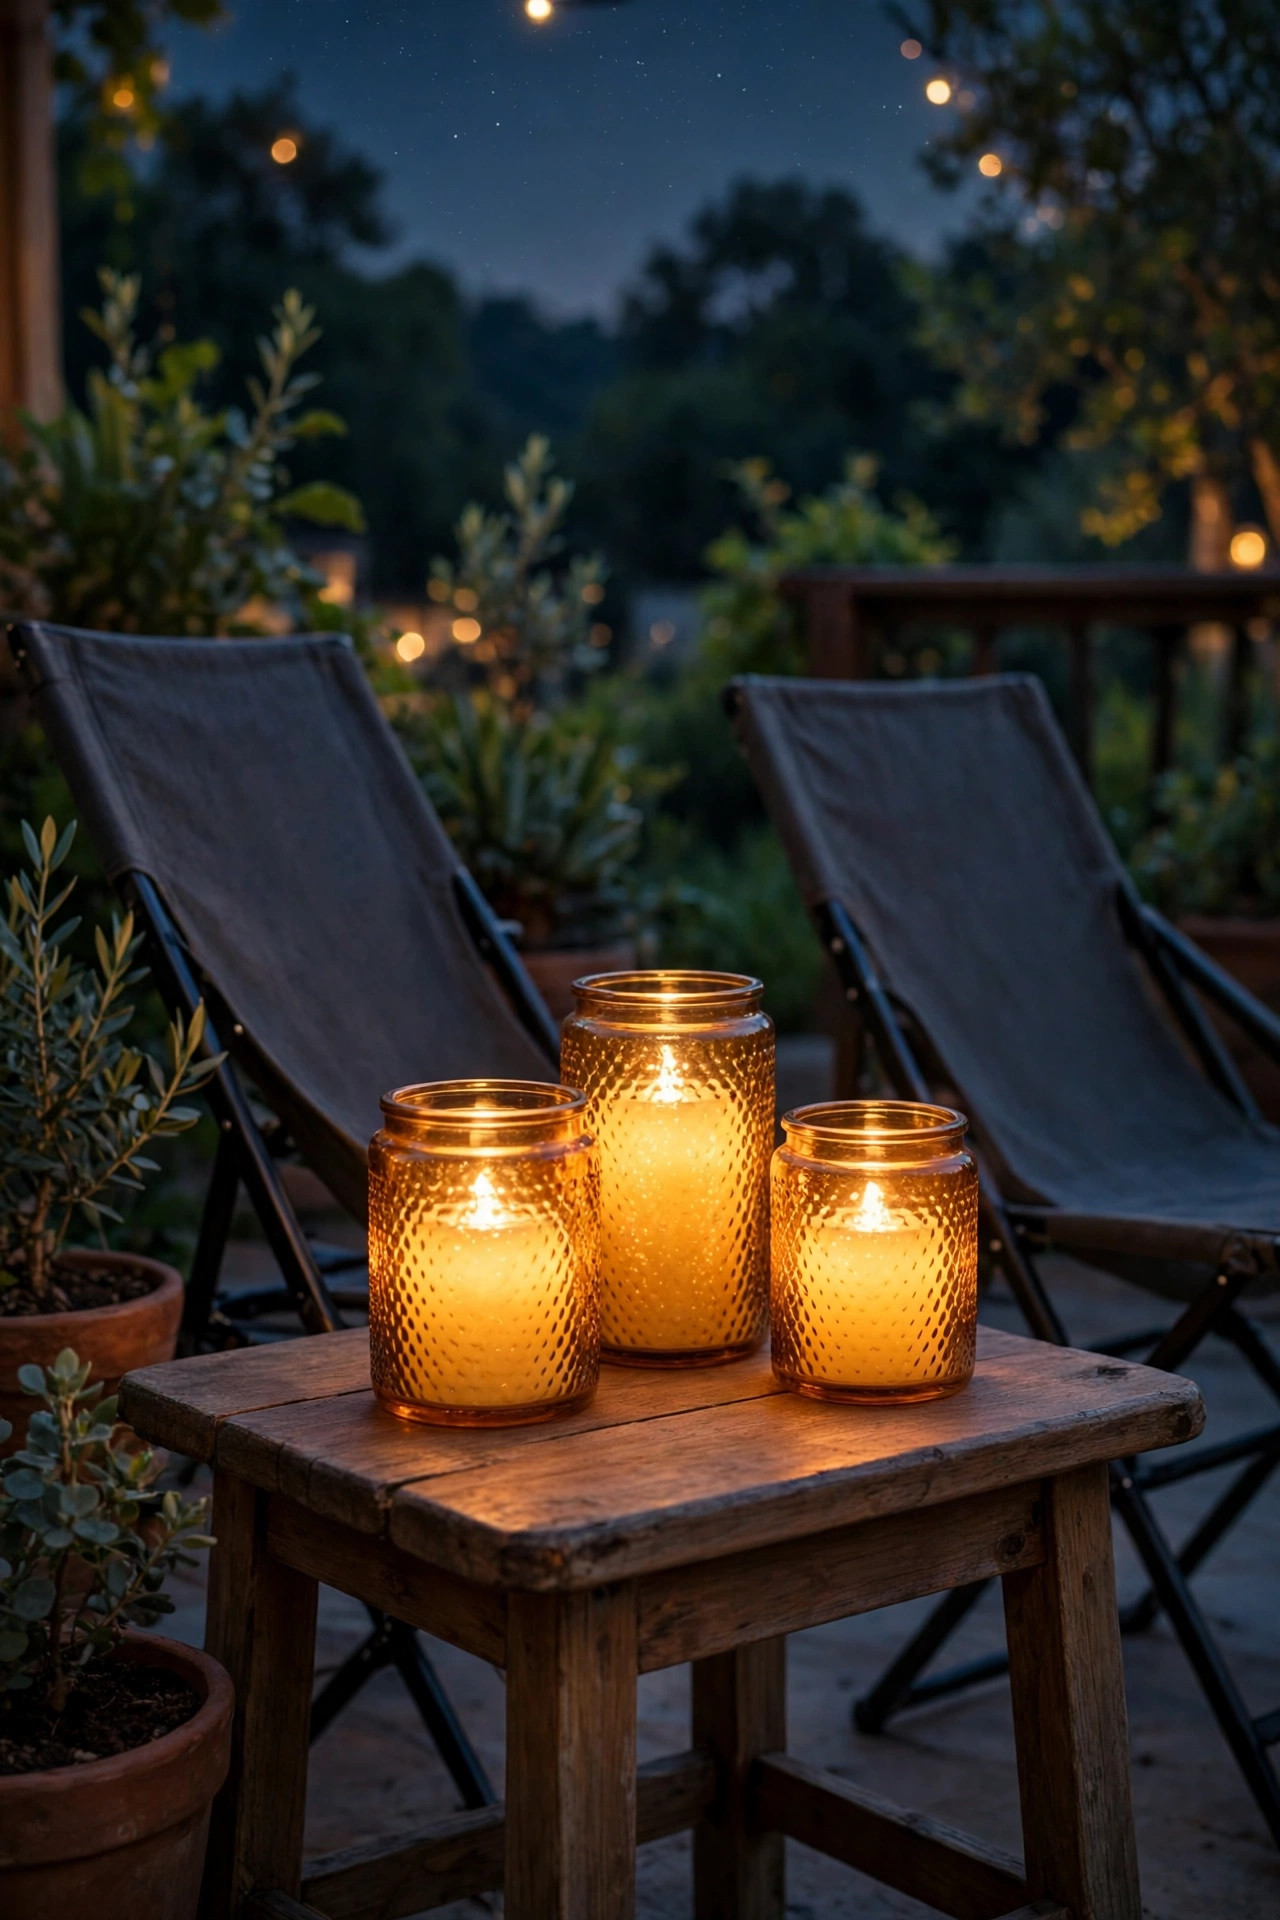
If your patio needs a defined edge, maybe it borders a lawn or a pool deck where a misstep matters, louvered bollards are the grown-up answer. A bollard is a short post, usually 24 to 36 inches tall, and the louvered kind has angled slats that throw all of its light downward in a tidy ring at its base. From anywhere else on the patio, you see almost no direct glare, which makes these the best-behaved bright-ish fixtures I know. I run them along the edge farthest from the viewing chairs, spaced 8 to 10 feet apart, so the boundary reads clearly without washing the seating area. Low-voltage versions tie into a landscape transformer and are a comfortable weekend install; line-voltage models belong in an electrician's hands. Pick warm 2700K lamps and the lowest wattage that does the job. In my experience, bollards are what visitors compliment without knowing why, because the patio simply feels calm and intentional.
Suggested budget range: $60 – $180.
7. One Soft Downlight, Moonlighting Style
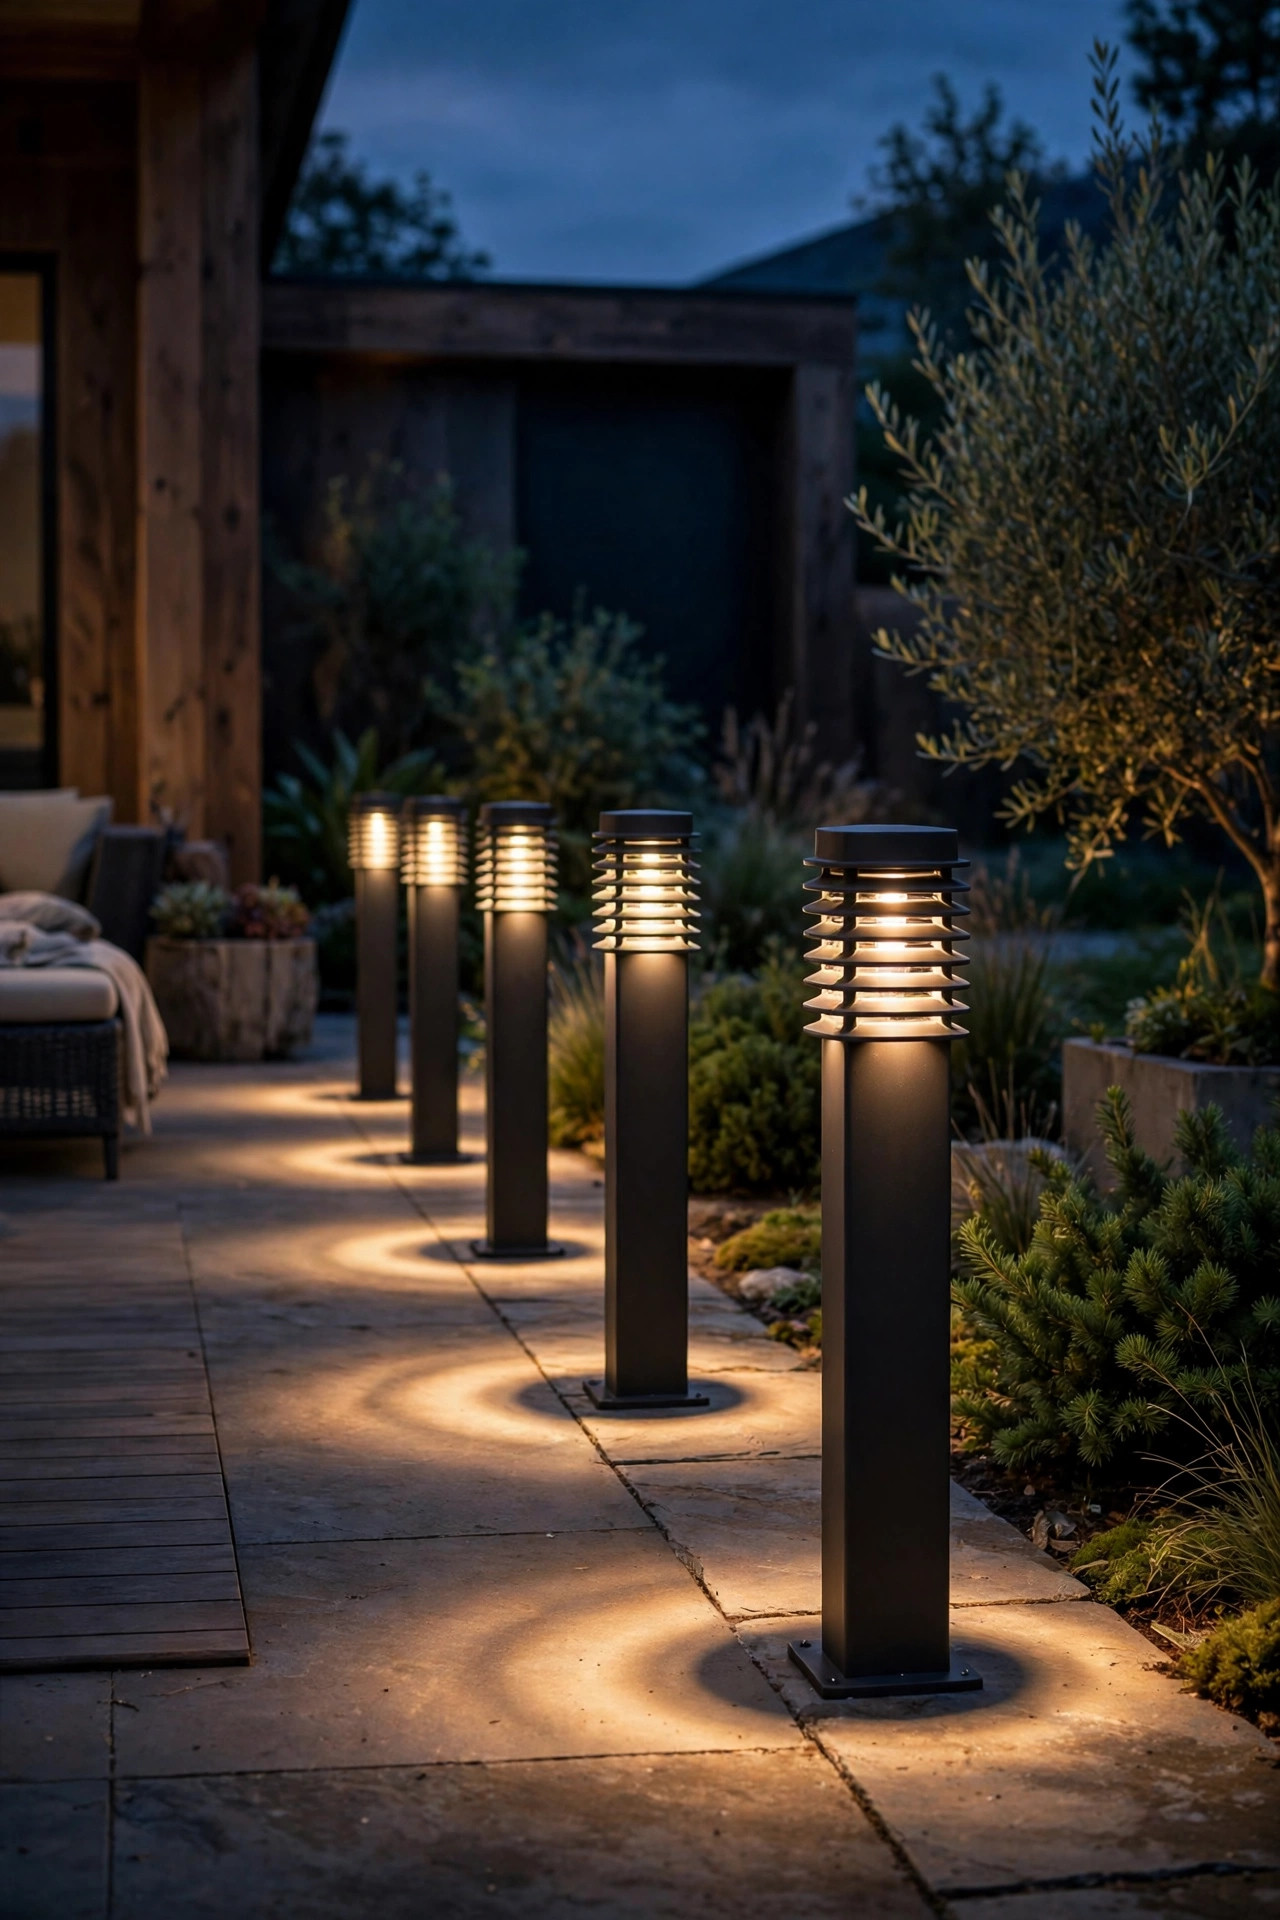
Moonlighting is the trick of mounting a single fixture high in a tree branch or pergola rafter and aiming it down through the leaves, so the light dapples the ground the way real moonlight does. For stargazing, the discipline is in the singular: one fixture, on its own dimmer, run at low output. Two or three downlights and your patio starts to feel like a very pretty stadium. Mount it 15 to 20 feet up if a tree allows, shielded so the source is invisible from the chairs, and let the leaf shadows do the decorating. Warm white at low brightness reads as natural and gentle; the effect is there to keep the cocoa table findable, not to light a work site. This is also the one fixture I leave on during viewing at its lowest setting, because dappled light from above bothers dark-adapted eyes far less than any light shining sideways into them. Keep the dimmer within reach of your chair and it becomes a volume knob for the whole evening.
Suggested budget range: $45 – $160.
8. Low-Lumen Solar Stakes You Can Actually Switch Off
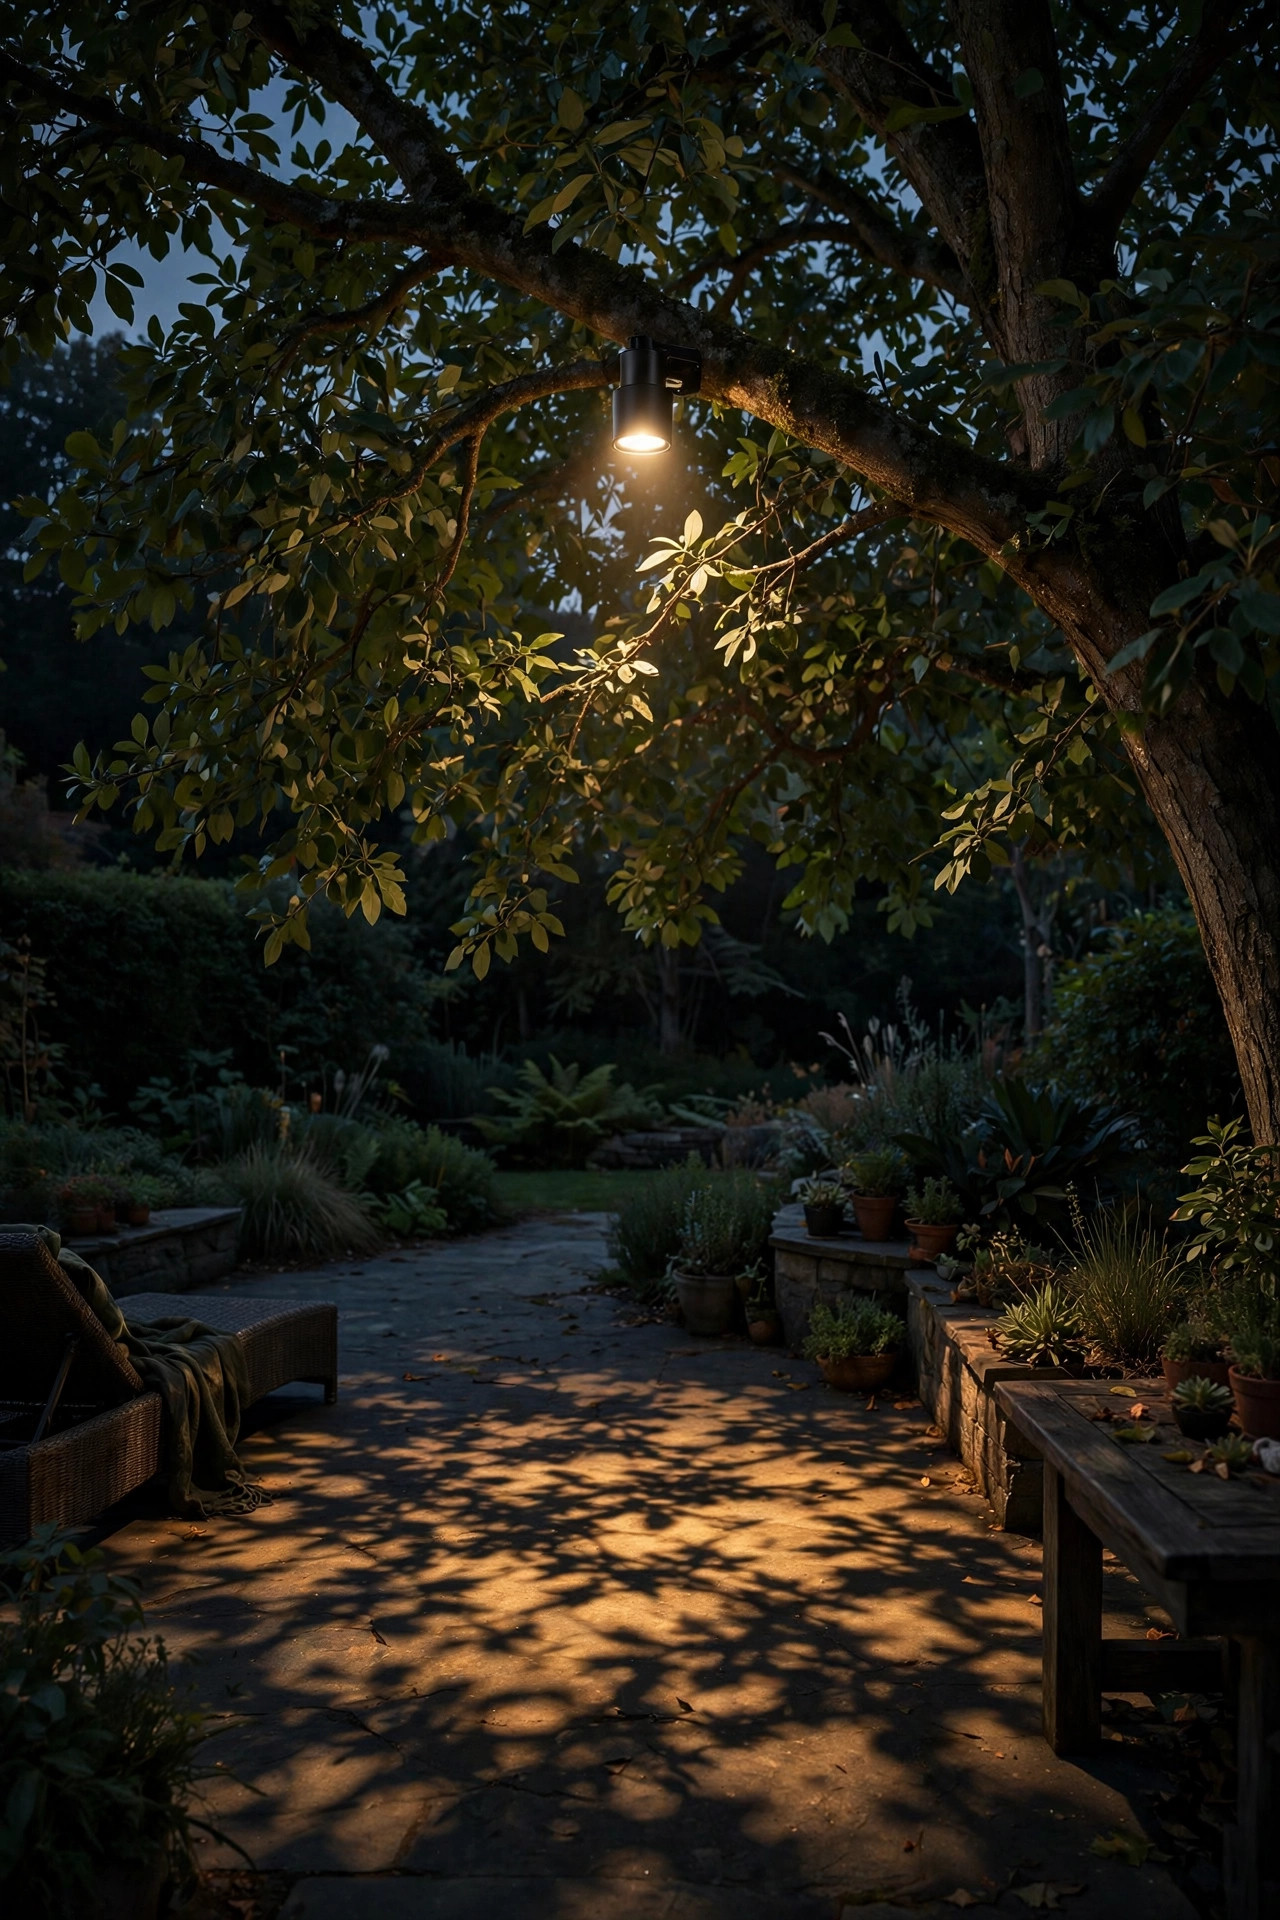
Solar stakes get a bad reputation among stargazers, mostly because the cheap cool-white ones are brighter than they need to be and impossible to control. The fix is shopping with three filters: warm color, low output, and a real on/off switch. Plenty of solar stakes now run just 2 to 15 lumens, which at ground level is a gentle ember rather than a lamp. I line the short walk from the back door with them, and during peak viewing, the switch means I can silence the brightest two in about ten seconds, or simply pull them and stand them in a bucket by the door. That bucket trick sounds silly and works brilliantly. Let the panels charge in full sun during the day, well away from the viewing corner, since a stake that spends its evening hunting for light it cannot find will flicker, and flickering is the one thing worse than brightness out here. Steady, warm, and dim wins every time.
Suggested budget range: $20 – $70.
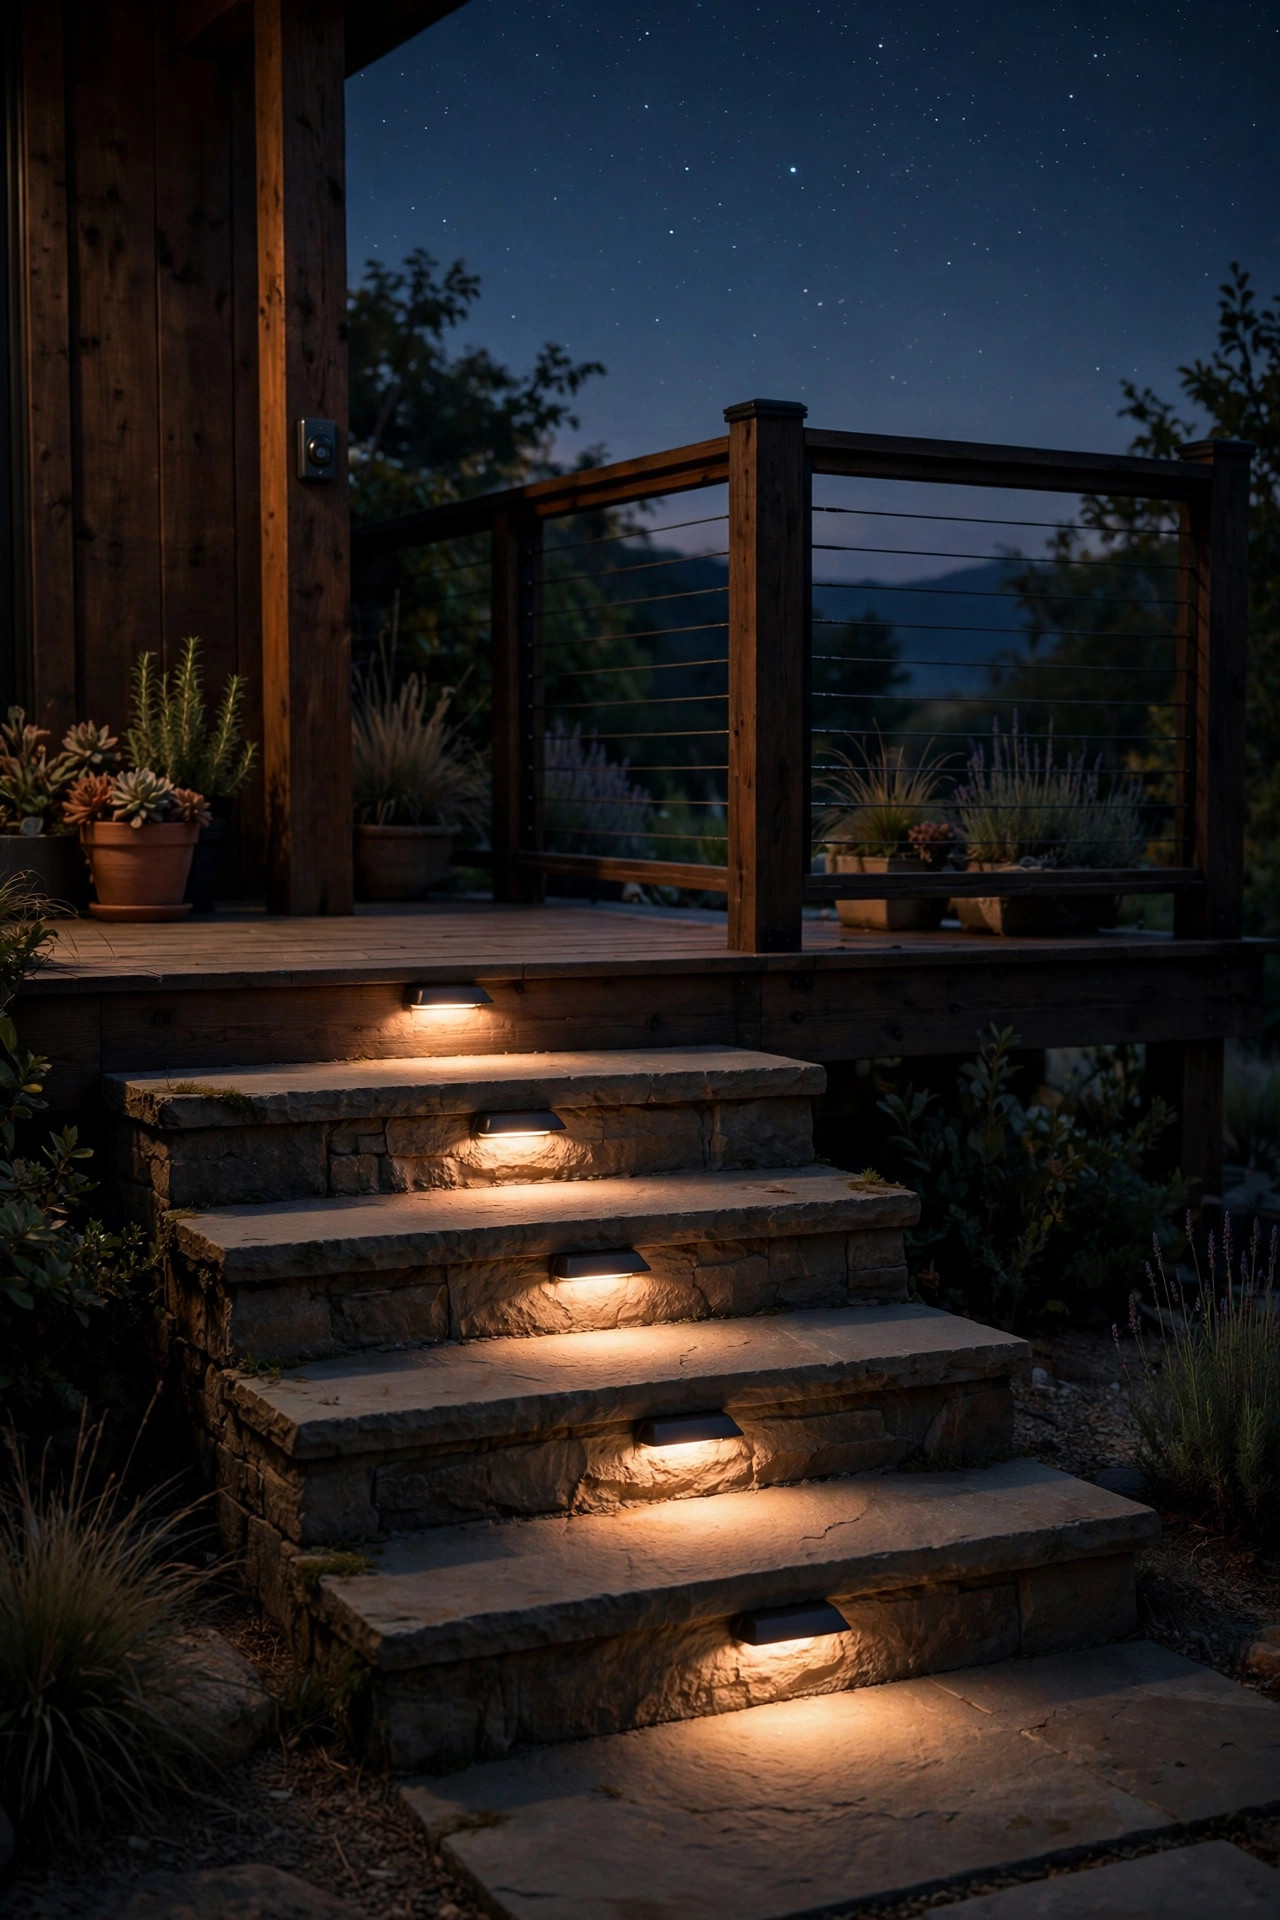
9. Step Lights on Their Own Dimmer
Steps are where low-glow living gets serious, because the one thing nobody wants at a stargazing party is a twisted ankle. My answer is hooded step lights, recessed into the risers or mounted low on the stringer, with louvered covers that push every lumen onto the tread below. The key move is wiring them on their own dimmer or smart plug, separate from everything else on the patio. During arrival and snack runs, they sit at half brightness. Once everyone is settled with blankets, I drop them to the lowest setting that still outlines each step edge, which in practice is barely on. If your steps are deck wood, surface-mount lights under the tread nosing hide the source completely and just wash the step below, a look I adore. Whatever style you choose, test them from the bottom step looking up: if you can see a bare bulb, add the louver cover. Your future dark-adapted self says thank you.
Suggested budget range: $50 – $175.
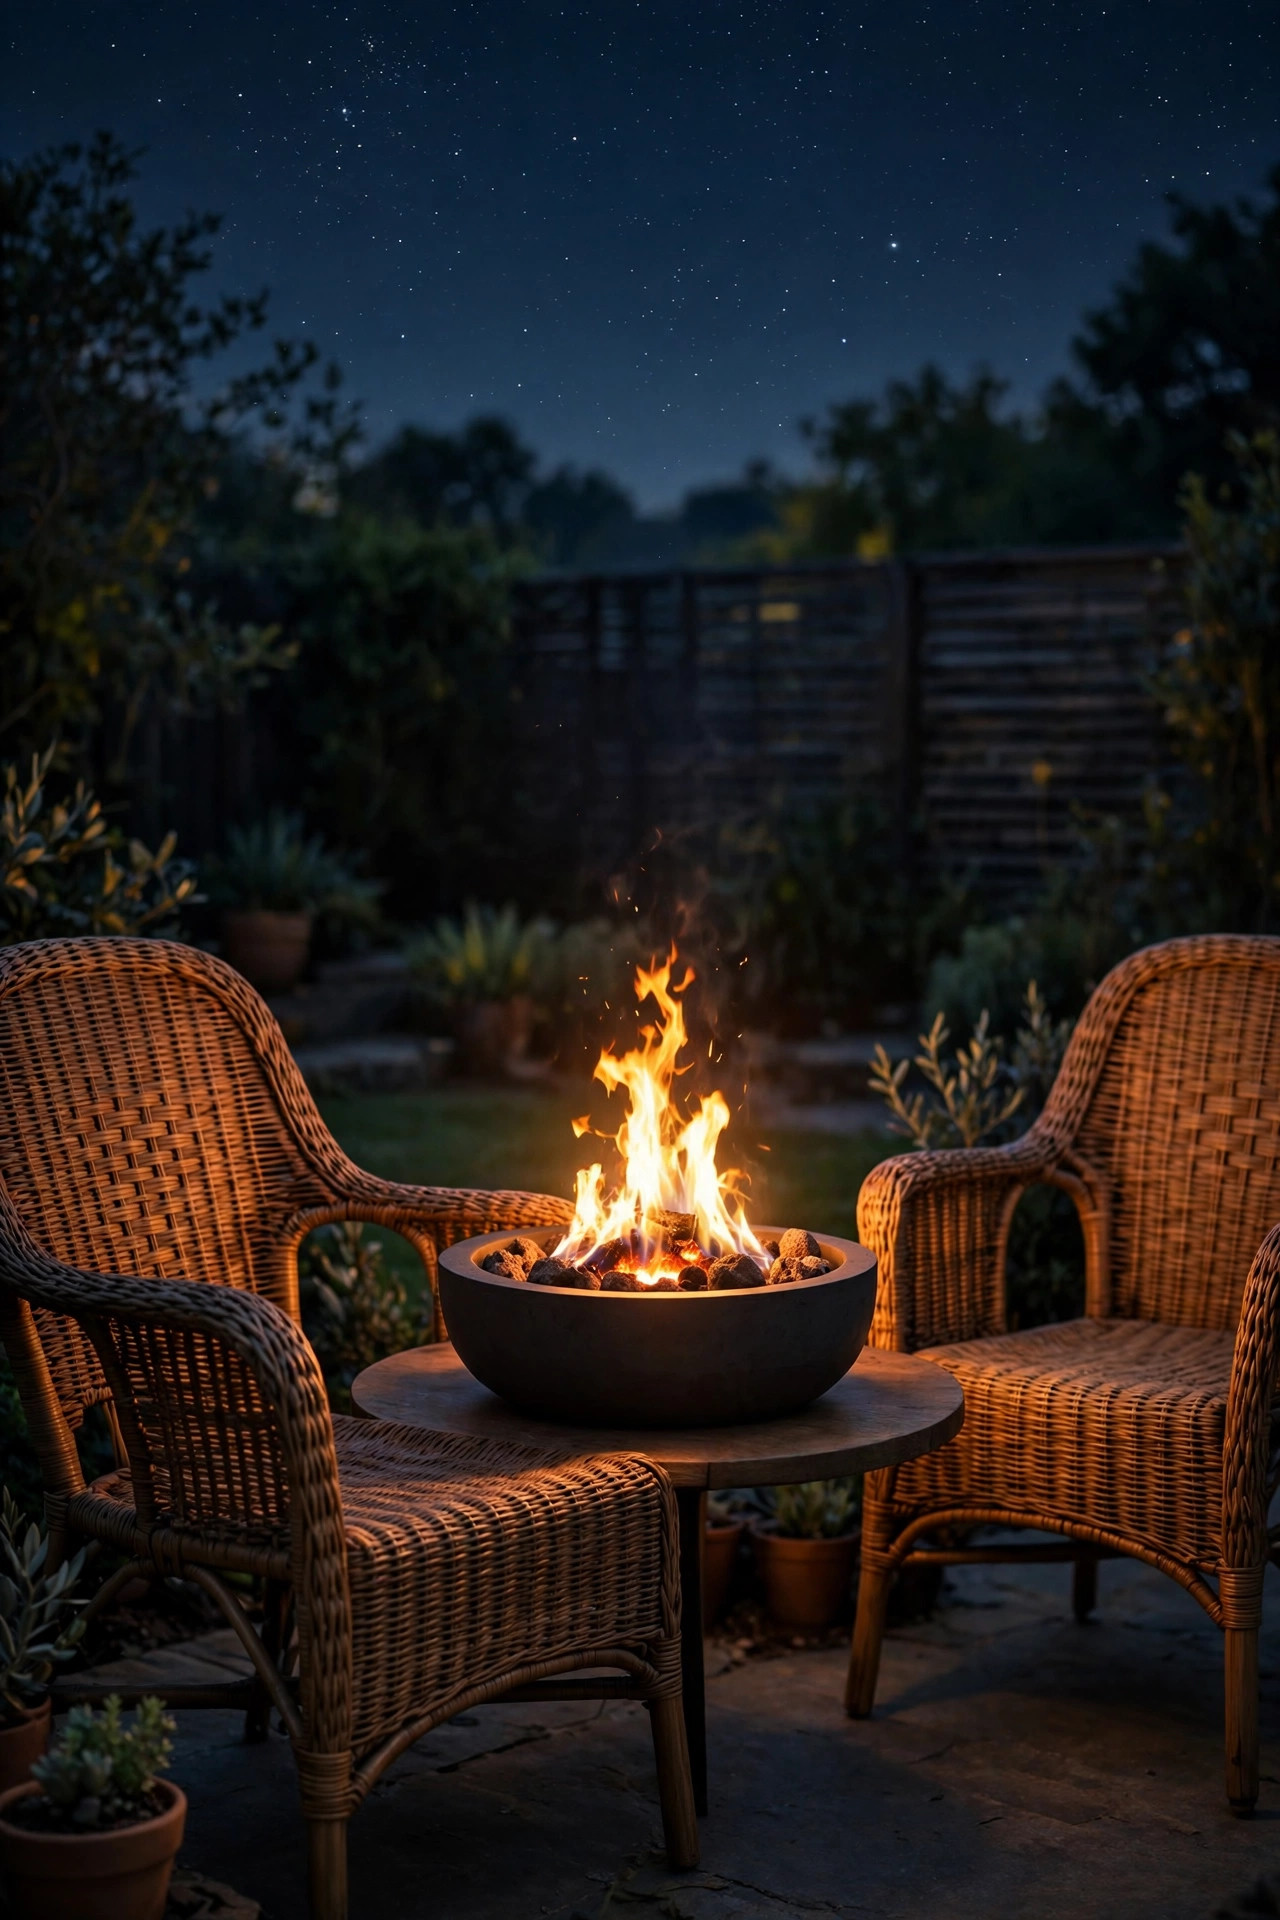
10. Let a Small Fire Bowl Be the Brightest Thing Out There
Here is a lovely quirk of human eyes: we tolerate firelight remarkably well. The flicker is warm, low, and constantly changing, and it sits below your sightline, so a small tabletop fire bowl can be the brightest source on the patio without wrecking the sky show. I use a tabletop propane bowl or a gel-fuel model on the coffee table between the chairs, and the whole group naturally orients around it like campers. Keep it small, keep it stable, and use the spark screen if your model has one. Set it at least 3 feet from telescope gear, charts, and blanket corners, and never leave it burning unattended, the usual fire common sense. The payoff is bigger than light: warmth on a cool night, a reason for people to linger, and a glow that makes cocoa breaks feel ceremonial. On meteor-shower nights, the bowl becomes home base, and honestly, some of my favorite viewing happens with my feet up near the fire, just watching the sky do its thing.
Suggested budget range: $25 – $90.
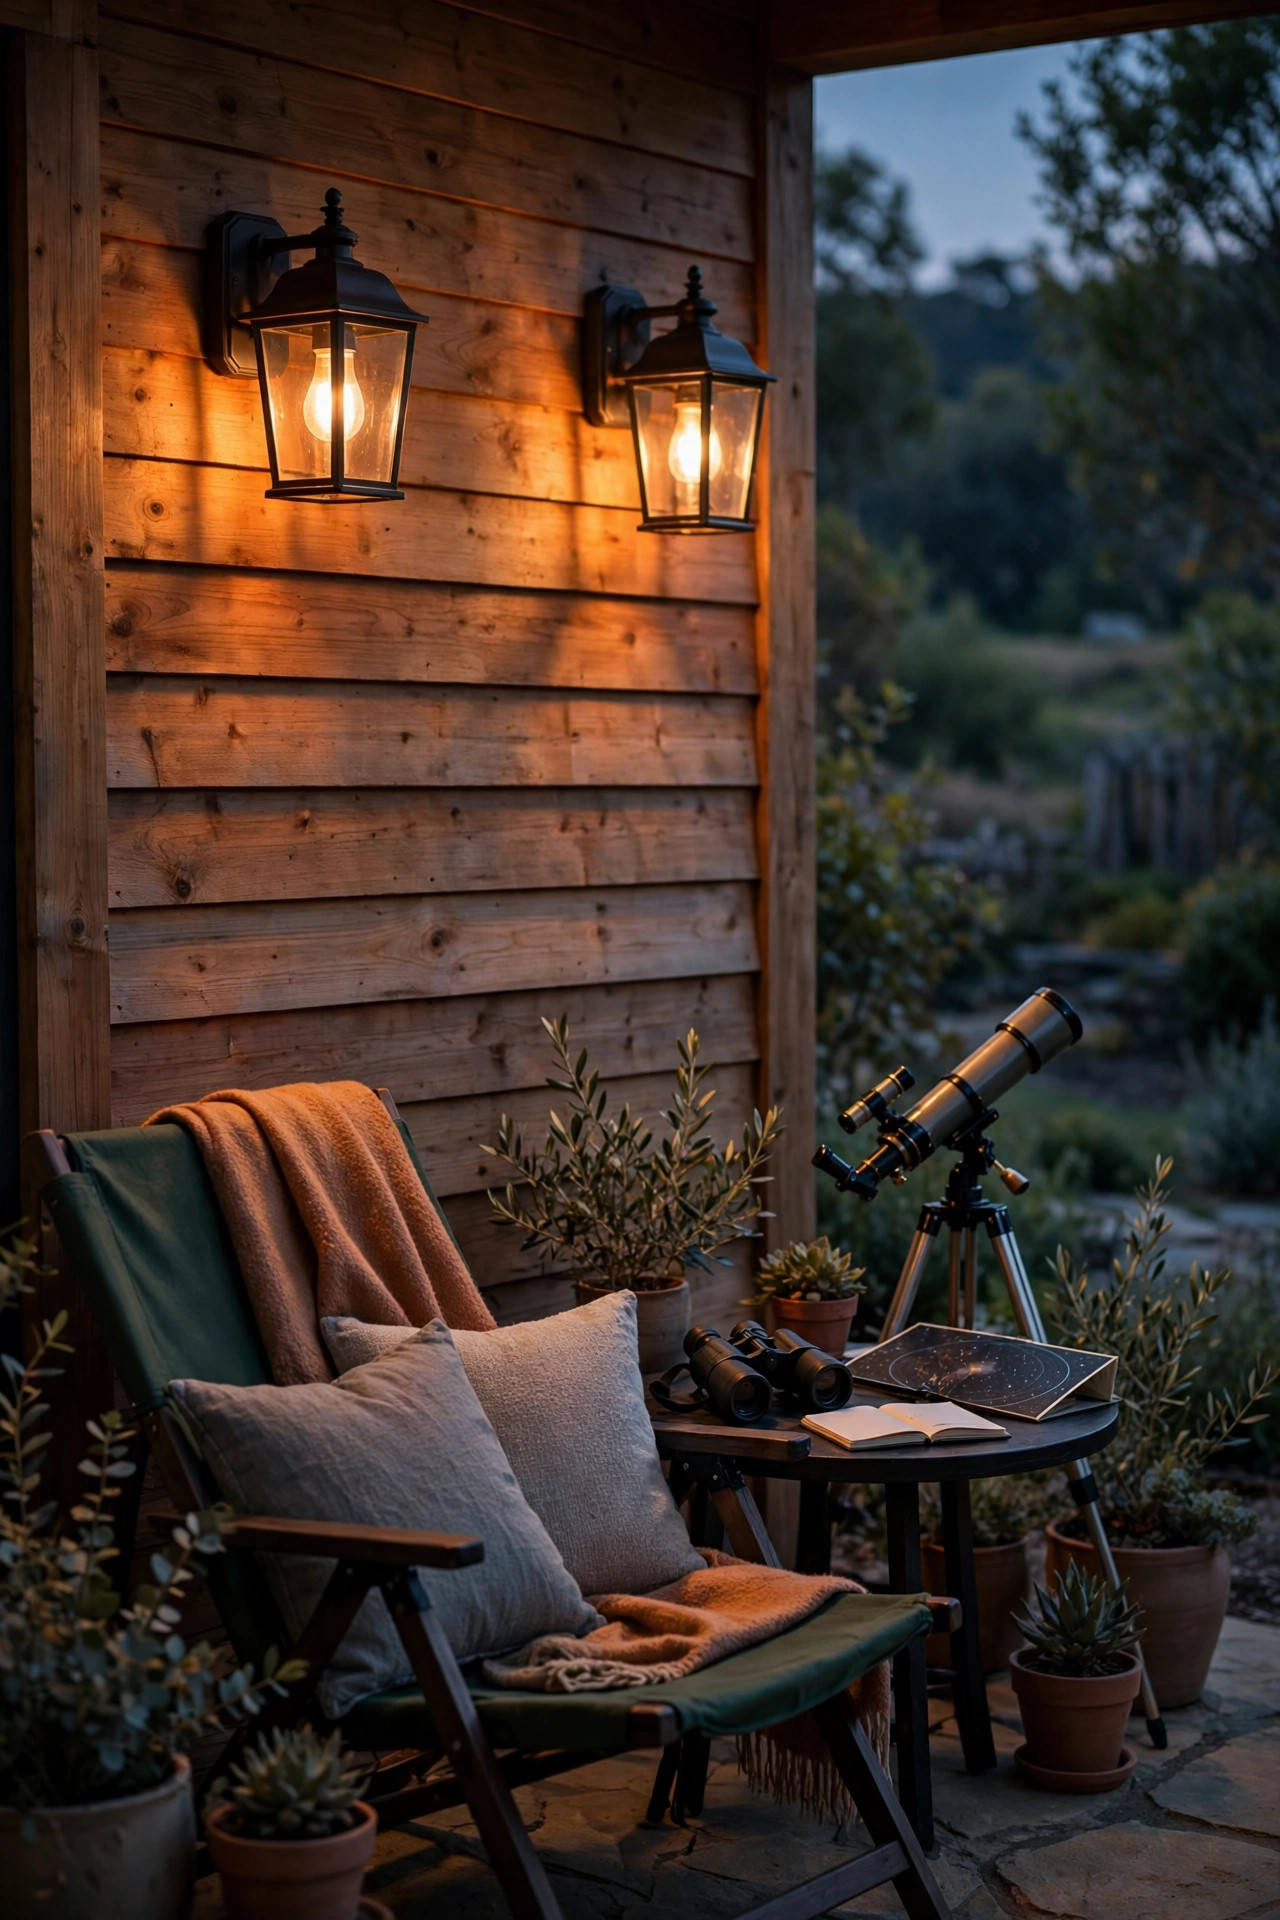
11. Smart Bulbs Set to a Deep Amber Stargazing Scene
If your porch or patio already has sconces, smart bulbs are the easiest upgrade I know. Swap the bulbs, set up a scene in the app, and name it Stargazing: every bulb drops to deep amber or soft orange at 5 to 10 percent brightness. Amber tones sit far from the blue wavelengths that scatter most and disturb night vision, so the patio stays navigable while the sky stays black. I add a sunset routine that brings the patio up normally for dinner, then eases it down into the stargazing scene at full dark, no fiddling required. Voice control helps more than you would expect, because the other night-vision killer is a phone screen at full brightness; dim your phone or switch it to its red-tinted night mode before you come out. One caution: some smart bulbs default to full bright white after a power flicker, so test yours after an outage, or keep the porch sconce off your scene and let the lanterns carry the night.
Suggested budget range: $30 – $100.
12. Put Your Stargazing Patio Lighting Ideas on an Astronomical Timer
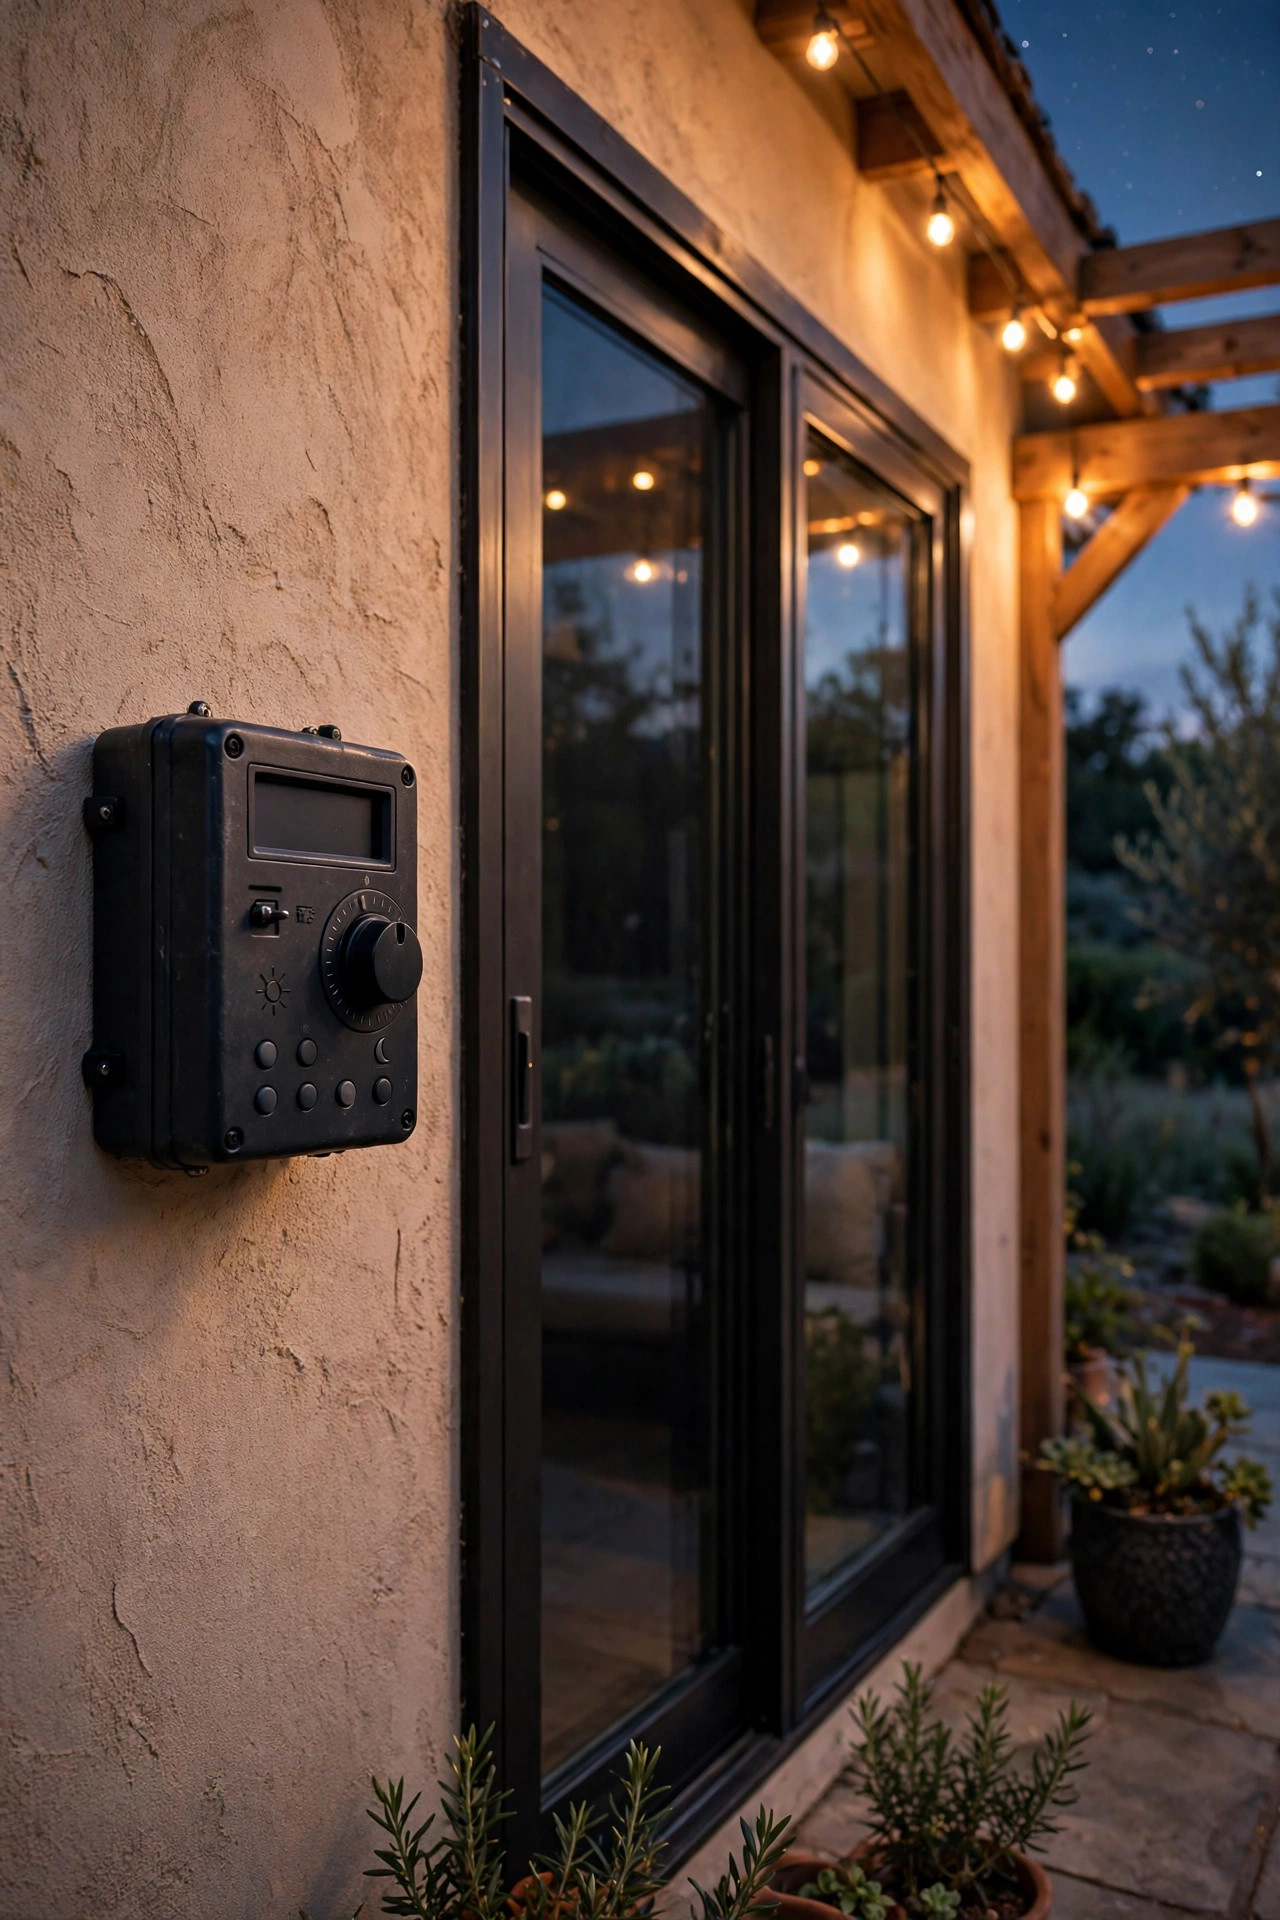
An astronomical timer is the unsung hero of my whole setup, because it knows the sunset time for your exact location and date, and adjusts itself all year. No more 6 p.m. lights blazing in bright June daylight or a dark patio at 5 p.m. in December. I program a gentle two-act evening for stargazing nights: at dusk, the path and step lights come on at their low viewing levels for setup and snacks, and at full dark, anything still too bright clicks off on schedule. What remains is exactly the ember-level glow this whole post is about. Setup takes about fifteen minutes, following the steps in my astronomical timer setup guide, and then it simply handles itself. Pair the timer with the dimmers from earlier ideas and you get a patio that transitions itself while you are busy finding Saturn. Automation is not the opposite of ambiance, done right, it is how the ambiance happens on time, every single night.
Suggested budget range: $25 – $80.
13. Build One True Dark Corner for the Telescope
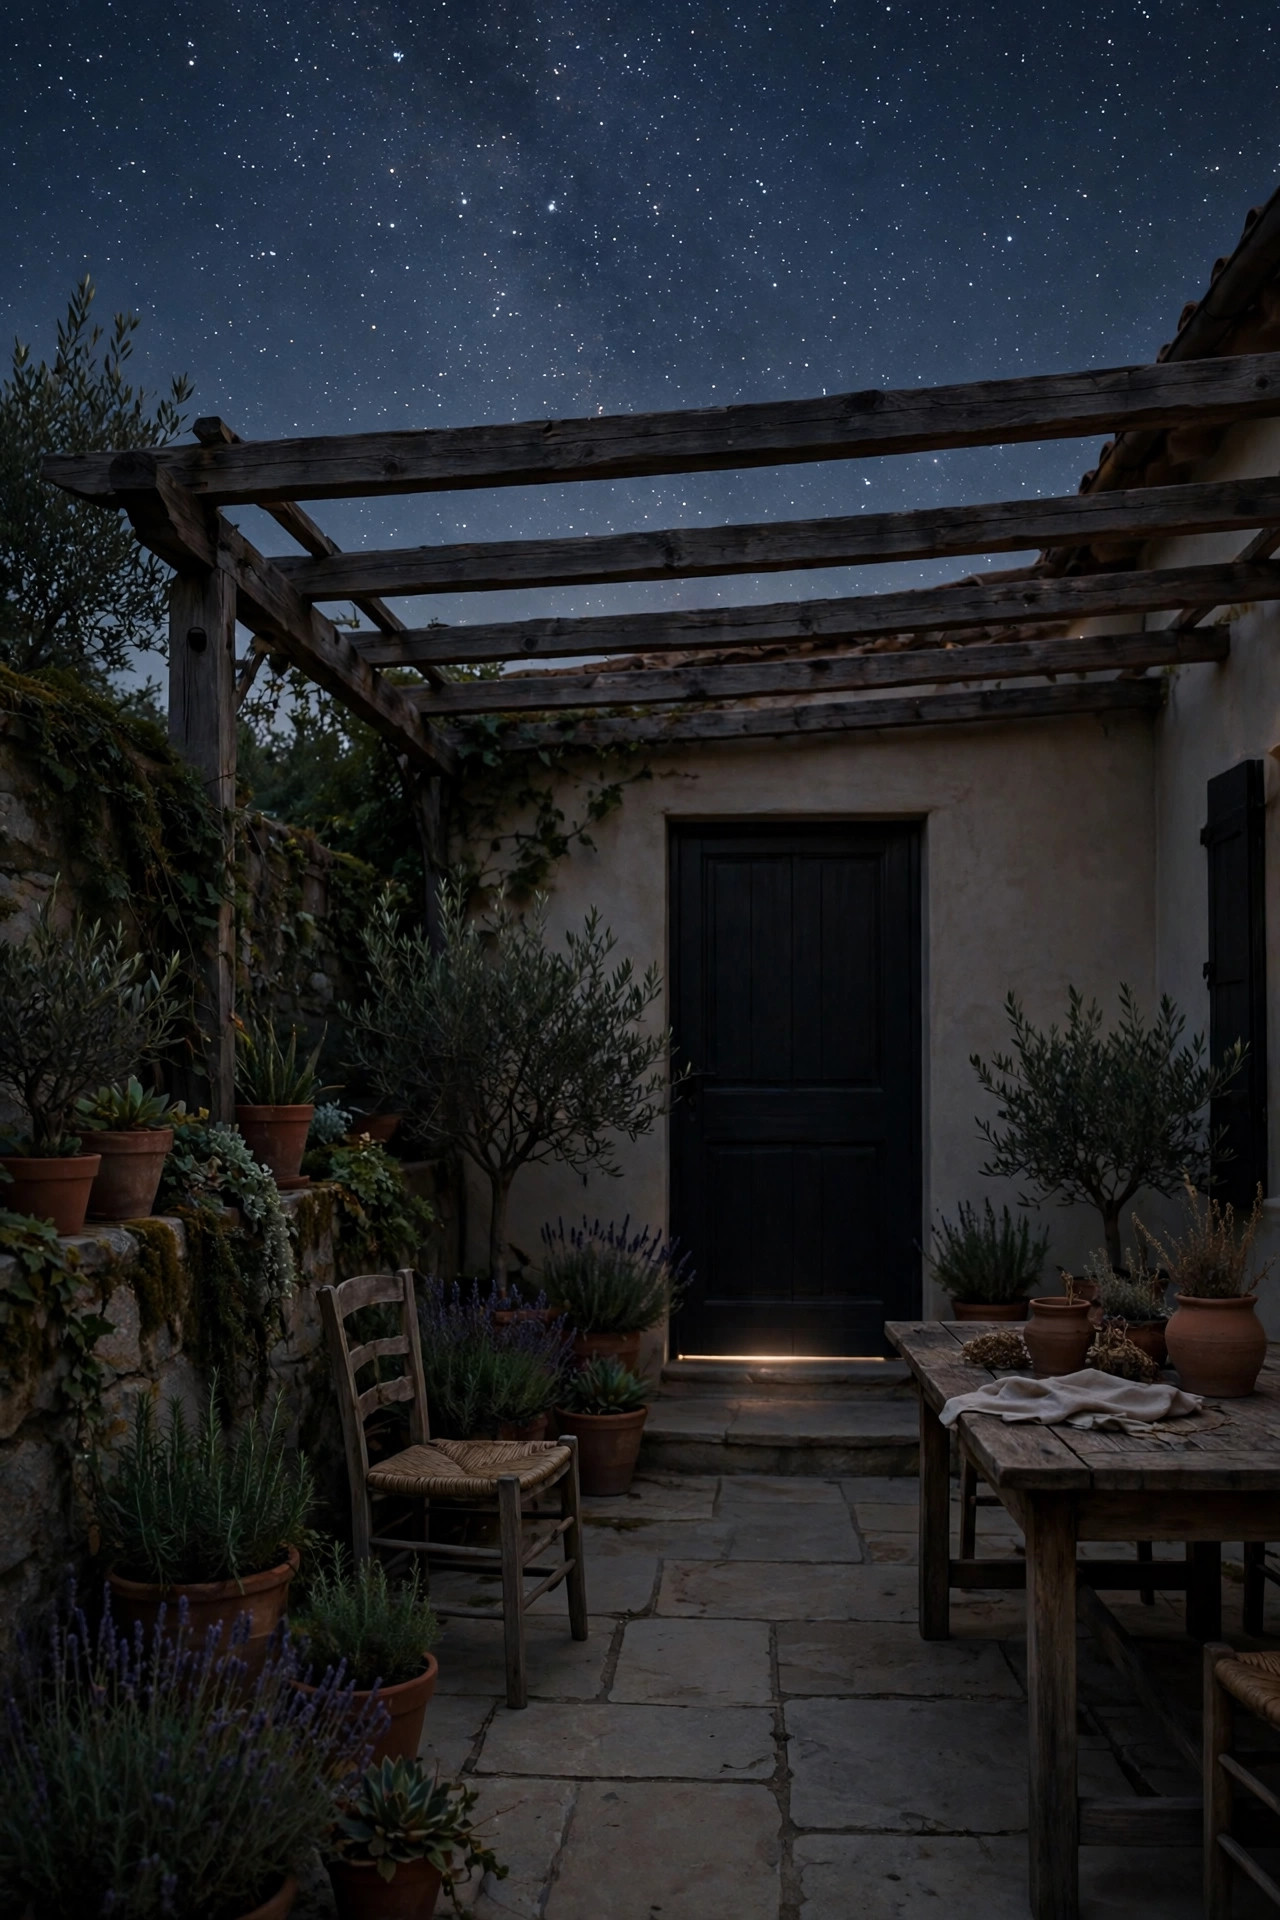
Every stargazing patio needs a designated dark corner, the spot farthest from house windows, the streetlight out front, and the neighbor's floodlight. That is where the telescope and the best chairs live. I chose the corner of our patio behind the tall hedge, and the difference from the rest of the yard is honestly startling: same sky, twice the stars. If your fence line is open, a simple privacy screen, a row of tall planters, or a trellis with a climbing vine blocks more stray light than you would expect, and it makes the corner feel like a little observatory room. Turn off or shield any house light that spills toward it, and angle a single red lantern on the side table for chart reading. During the day this corner just looks like a quiet reading nook. At night it becomes the reason people ask when the next viewing party is. Claim your darkest corner first, then build everything else around it.
Suggested budget range: $0 – $120.

14. Glow-in-the-Dark Markers Instead of More Lights
Some of my hardest-working stargazing tools emit no electricity at all. Glow-in-the-dark stones, tape, and paint charge up in daylight and then hold a faint green glow for hours, just enough to mark a hazard without adding a single lumen of sky glow. I run a line of flat glow stones along the edge of the raised patio, press a strip of glow tape onto the one sneaky step between the lawn and the deck, and, my personal favorite, wrap a small band of glow tape around each telescope tripod leg. If you have ever caught a tripod leg with your shin in the dark, you understand that this ten-dollar fix is pure genius. You can also mark the cooler handle, the gate latch, and the edge of the cocoa table. Keep expectations honest: the glow is faint and fades toward morning, and it needs a real charge of daylight or a bright lamp earlier in the evening. For trip hazards, faint is all you need.
Suggested budget range: $8 – $30.

15. Finish With a Five-Minute Lights-Out Walkthrough
The last idea is a habit, not a fixture, and it catches what shopping lists cannot. About twenty minutes before your guests settle in, or before your own session starts, sit in the viewing chair, let your eyes begin to adjust, and simply look around for glare. You will find things you never noticed: the little standby LED on the outdoor speaker, the power strip glow under the bench, light leaking around the kitchen blinds, a landscape light two beds over that points a fraction too high. Tape over the standby lights with a dot of electrical tape, close the blinds, nudge the stray fixture down with your toe. Then walk the route your guests will take from the back door and check it at shin height and eye height. Five minutes of this turns a dim patio into a genuinely dark one. I do it every single time, even when I am only viewing solo, and it has become a small ritual I love: the moment the yard goes quiet and the sky takes over.
Suggested budget range: $0 – $25.
Frequently Asked Questions
What color light is best for stargazing?
Red is the gold standard for moving around, because it preserves the night vision your eyes spend 20 to 30 minutes building. For general ambience, deep amber and very warm white at 2200K or below are the friendliest choices. What you want to avoid is blue-rich white light, 4000K and up, which scatters more in the atmosphere, looks harsh at night, and resets dark adaptation fastest. If a fixture does not list a color temperature, that is usually your answer: skip it for the viewing area.
How many lumens do I actually need on a stargazing patio?
Far fewer than most people guess. For path and step guidance, 10 to 50 lumens per fixture is plenty once eyes have adjusted, and accent glows like candles and lanterns can live under 20 lumens happily. My personal test is simple: if you could comfortably read a newspaper by it, it is too bright for stargazing. Dim, shielded, and downward is the whole game, so buy dimmable or low-output fixtures and turn them down until the sky looks black again.
Do solar lights ruin stargazing?
They can, but they do not have to. The troublemakers are cheap solar spotlights aimed up into trees and bright cool-white stakes with no off switch. Warm, low-lumen solar stakes, especially models you can switch off or pull up and park during peak viewing, are perfectly compatible with a dark patio. In my experience the fixture style matters more than the power source: shielded and dim beats bright and wired every time.
How long does it take for eyes to adjust to the dark, and what ruins it?
Full dark adaptation takes about 20 to 30 minutes, and the improvement is dramatic: stars you could not see at minute two are obvious at minute twenty-five. The fastest ways to ruin it are a phone screen at full brightness, a white porch light, and car headlights. Red light barely affects it at all, which is why this whole post leans on red lanterns, amber glass, and phone night modes. Protect the adaptation and the sky rewards you.
Conclusion
Great stargazing patio lighting ideas all come down to one principle: light the ground, warm the color, shield the source, and keep every fixture switchable. Do that, and your patio stays safe and welcoming while the sky does the real decorating. Start with the red lanterns and one dimmable layer, claim your dark corner, and add pieces as your viewing nights grow. If this low-glow approach has you rethinking the rest of your yard, browse more of my patio and landscape lighting ideas here on the site, and I will see you out there on the next clear night, cocoa in hand, waiting for the Milky Way.