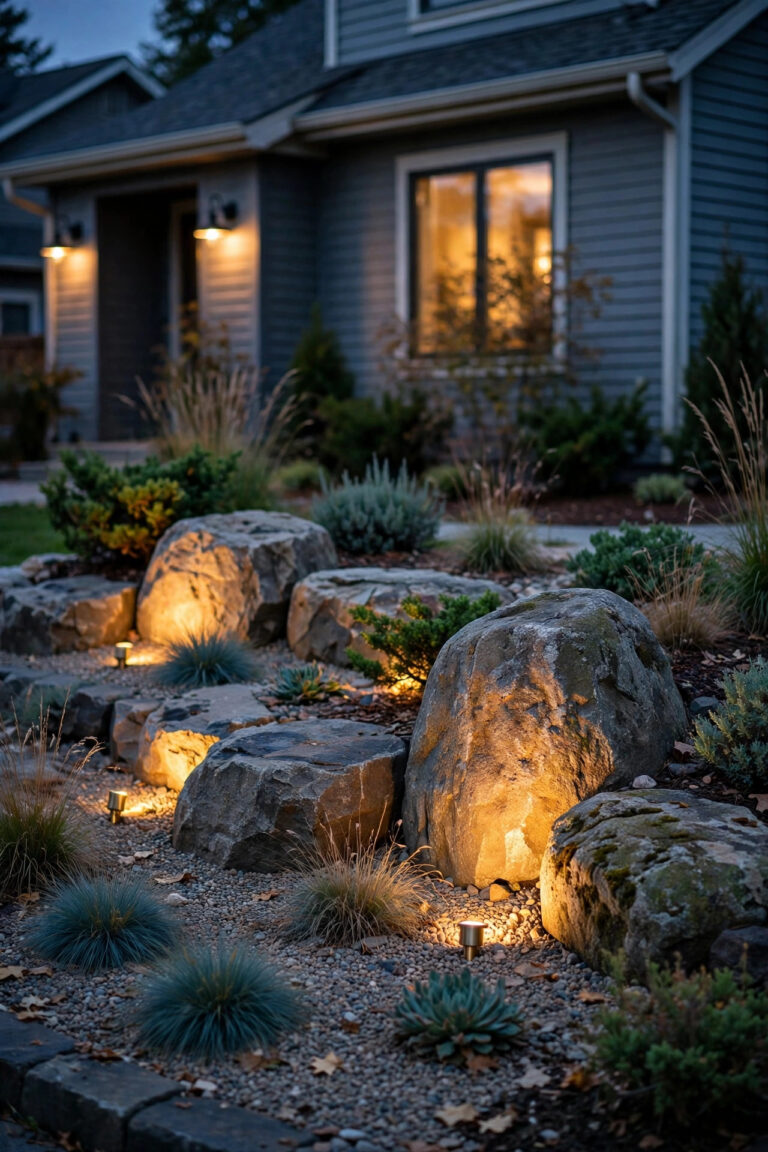
There is a small heartbreak I know too well: you spend a Saturday morning wrestling a beautiful stone heron into exactly the right spot by the flower bed, and by eight that evening it has completely vanished into the dark. The best garden statue lighting ideas fix that in an afternoon, and honestly, a well-lit statue does more for a yard at night than almost anything else I own. My whole approach is layering, the same as everywhere else in the garden: a soft base of light so the statue sits in its scene, one true accent that models the face and form, and a gentle backdrop so the silhouette reads from the house. None of this needs an electrician or a scary budget. Below are the 15 setups I rotate through my own garden, from a single solar stake to a proper low-voltage scene, each with honest budget ranges. If you want the wider tour first, my garden lighting ideas guide covers the whole yard, and this post zooms in on the statues themselves.
1. Start With the One-Fixture Plan Behind All Good Garden Statue Lighting Ideas
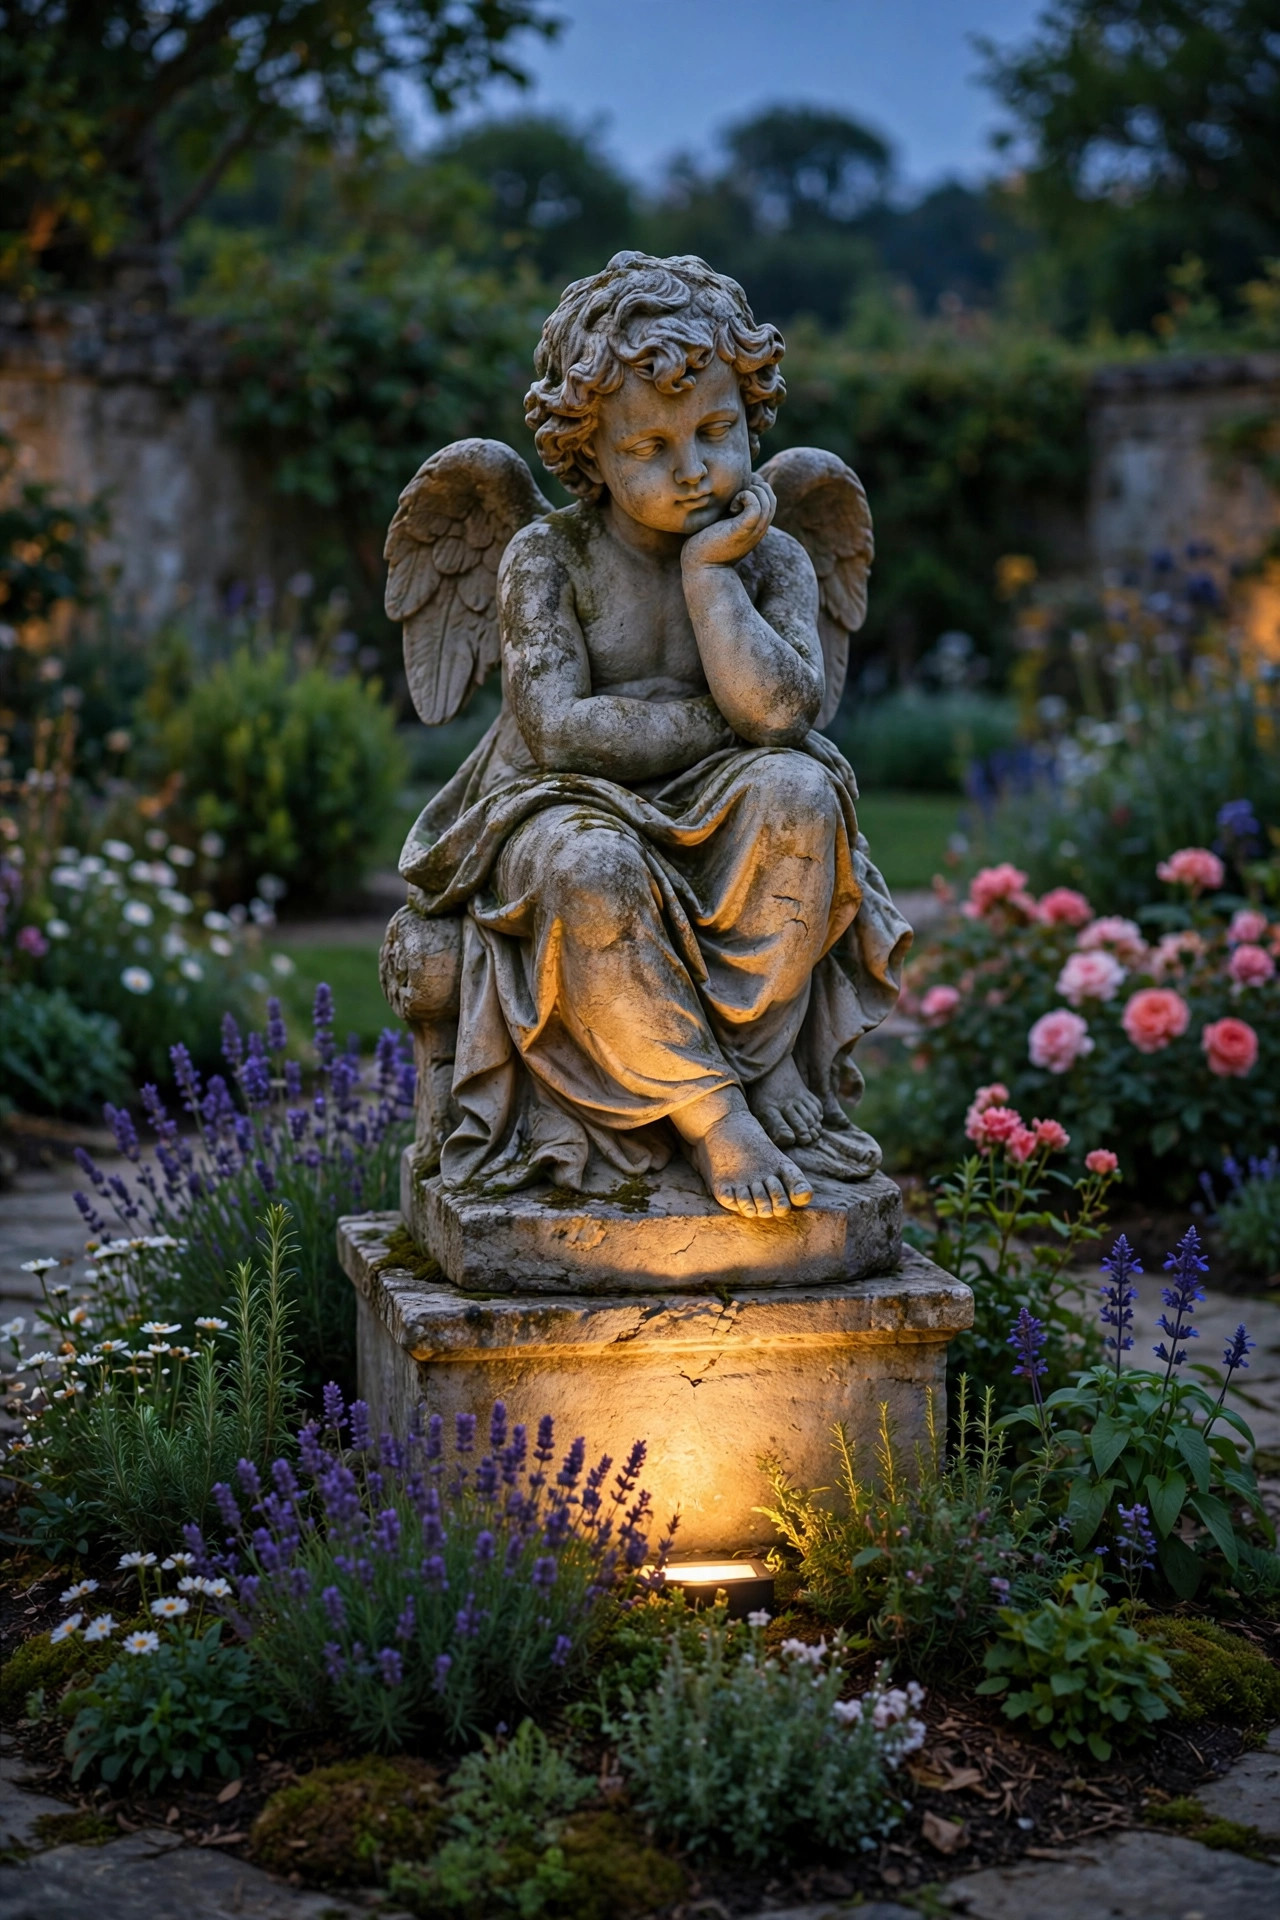
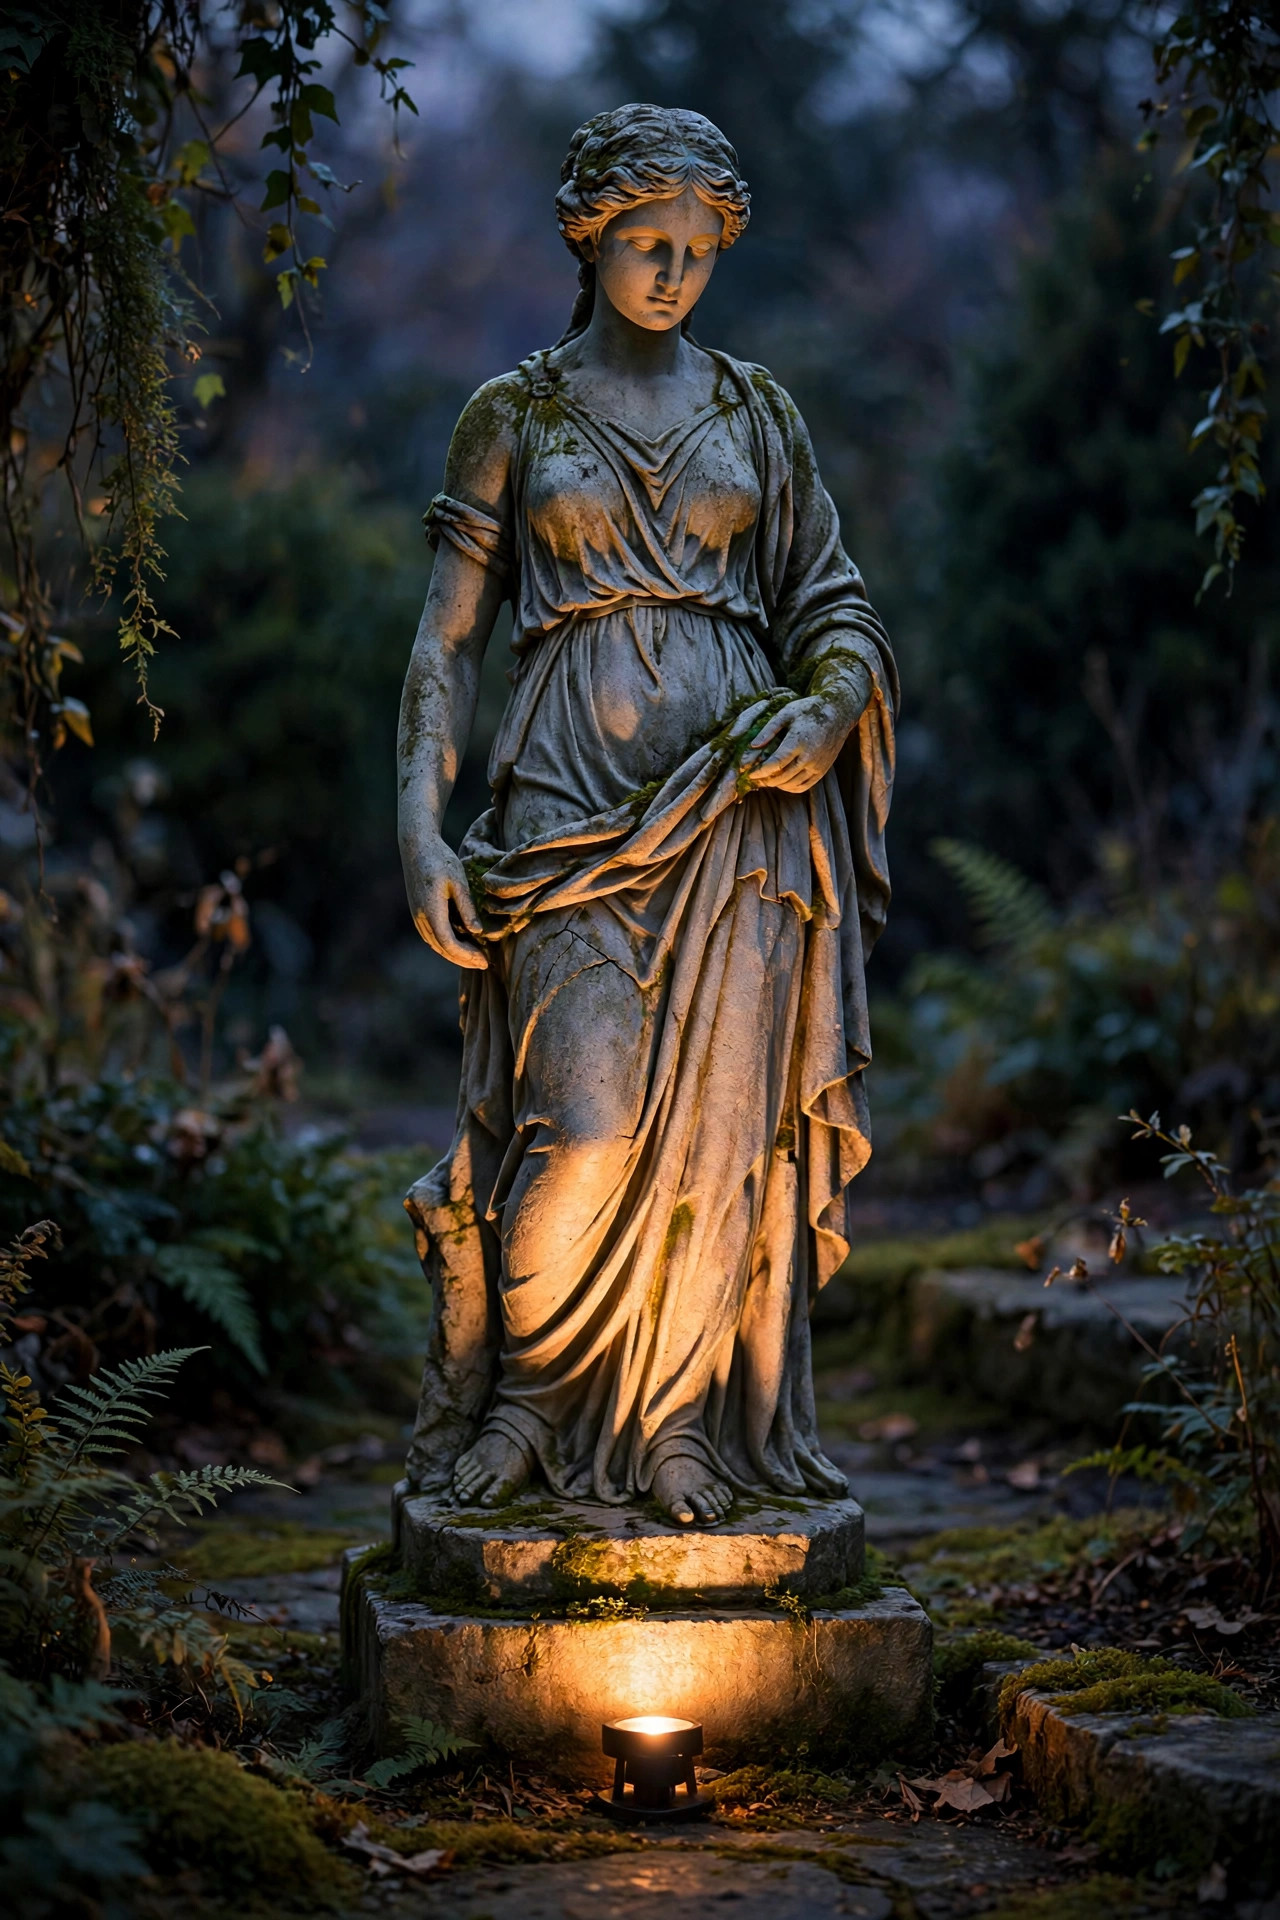
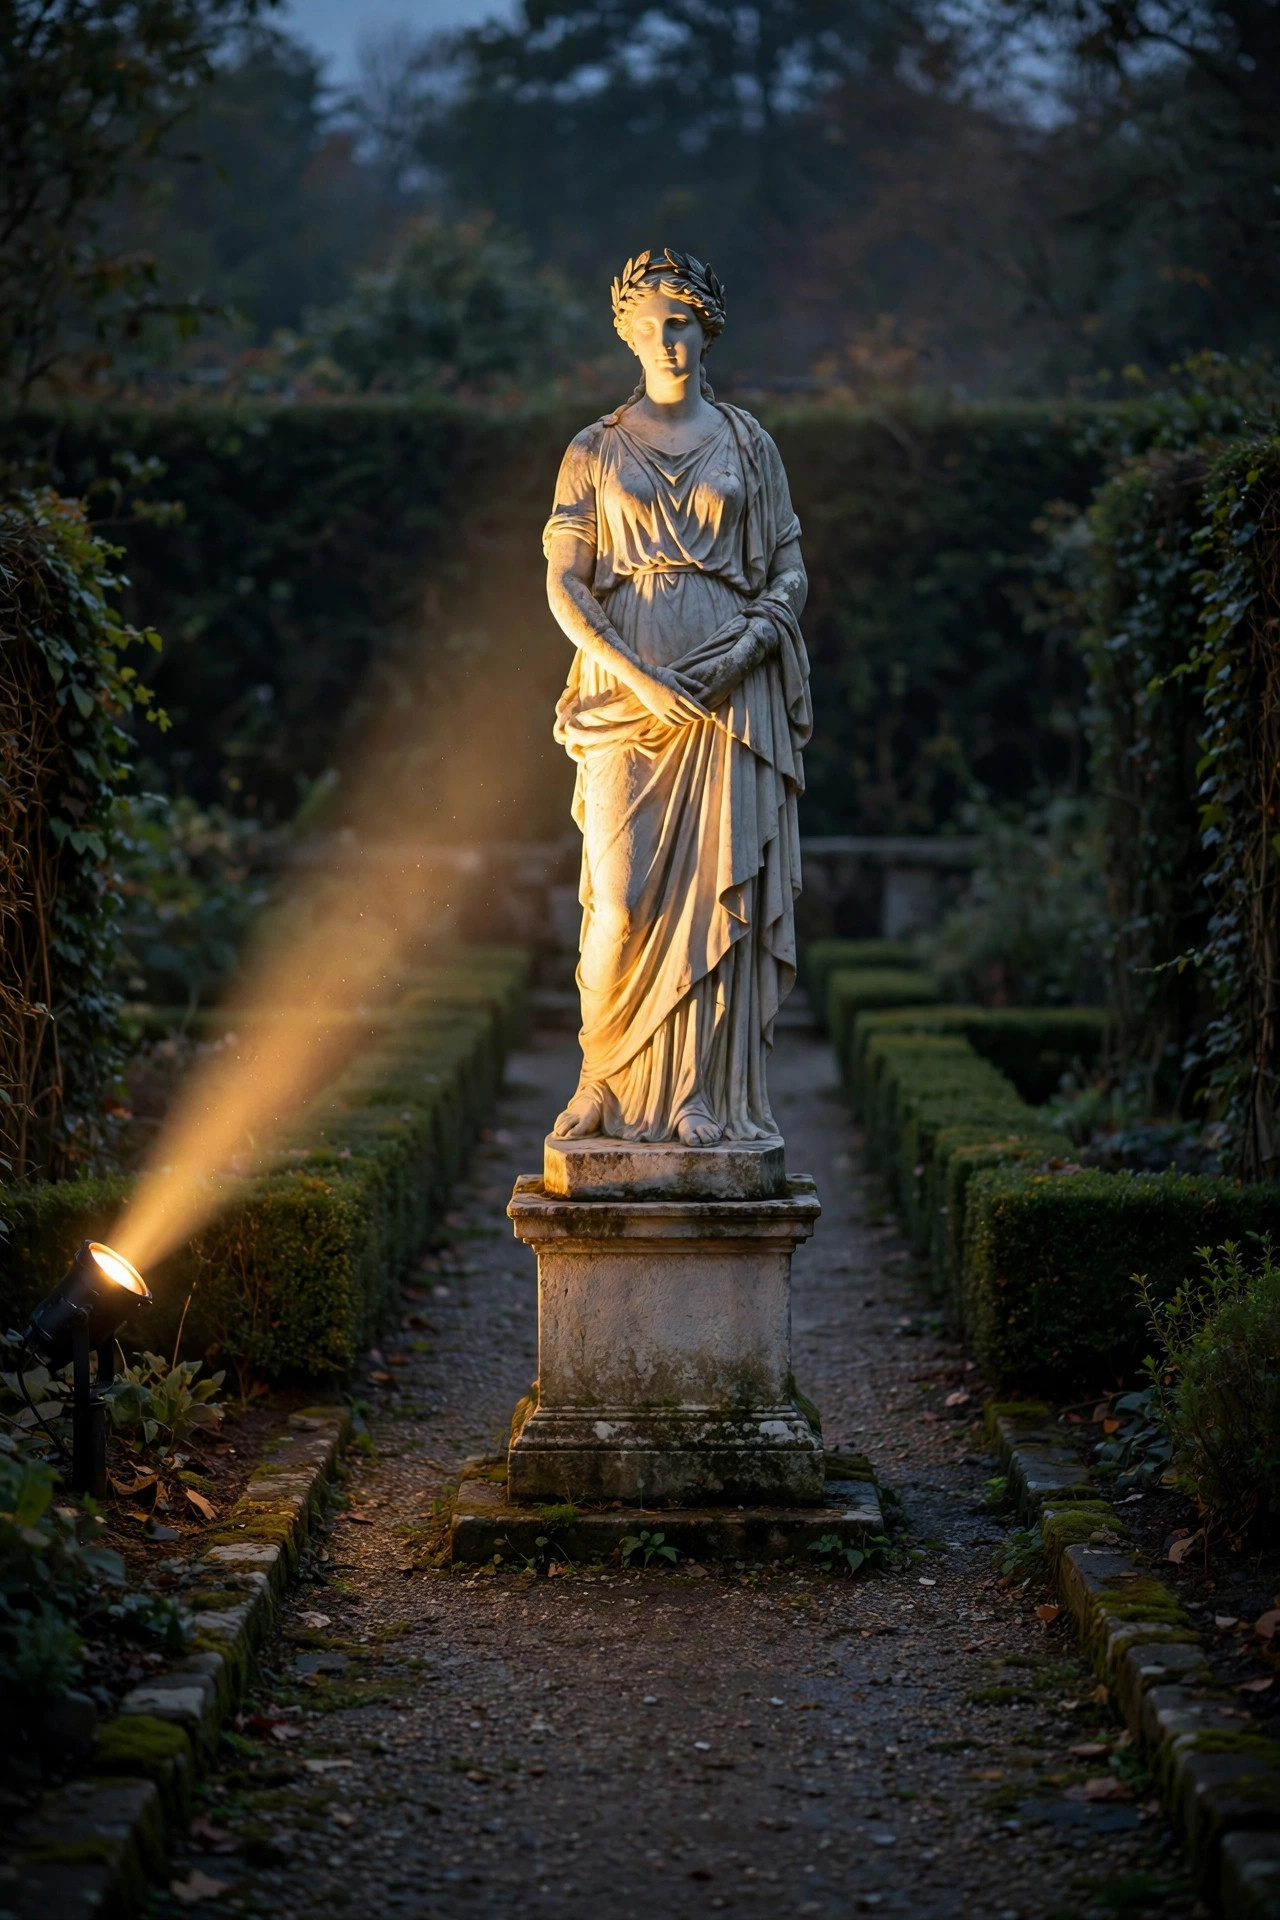
Before you buy anything fancy, do what I do: take one light you already own, a flashlight or a spare path light, and walk out at dusk to experiment. Almost every statue I have ever lit looks wonderful with a single spotlight placed at its base, aimed upward at about a 30 to 45 degree angle. Set the fixture 6 to 12 inches in front of the statue for a small piece, or 18 to 24 inches back for something taller, and stand where you will actually view it from, the patio or the kitchen window, not right beside it. That one beam gives you modeling, shadow, and drama all at once, and it tells you immediately whether your statue wants more. Stone and concrete drink up warm light beautifully, while dark bronze needs the fixture a touch closer or one step brighter. If the face matters, and it usually does, nudge the light slightly to one side so one cheek catches light and the other falls into soft shadow. That tiny offset is the difference between a museum piece and a mug shot. Start here, live with it a night or two, and let the statue itself tell you what to add next.
Suggested budget range: $15 – $40.
2. Cross-Light From Two Sides for Faces and Fine Detail
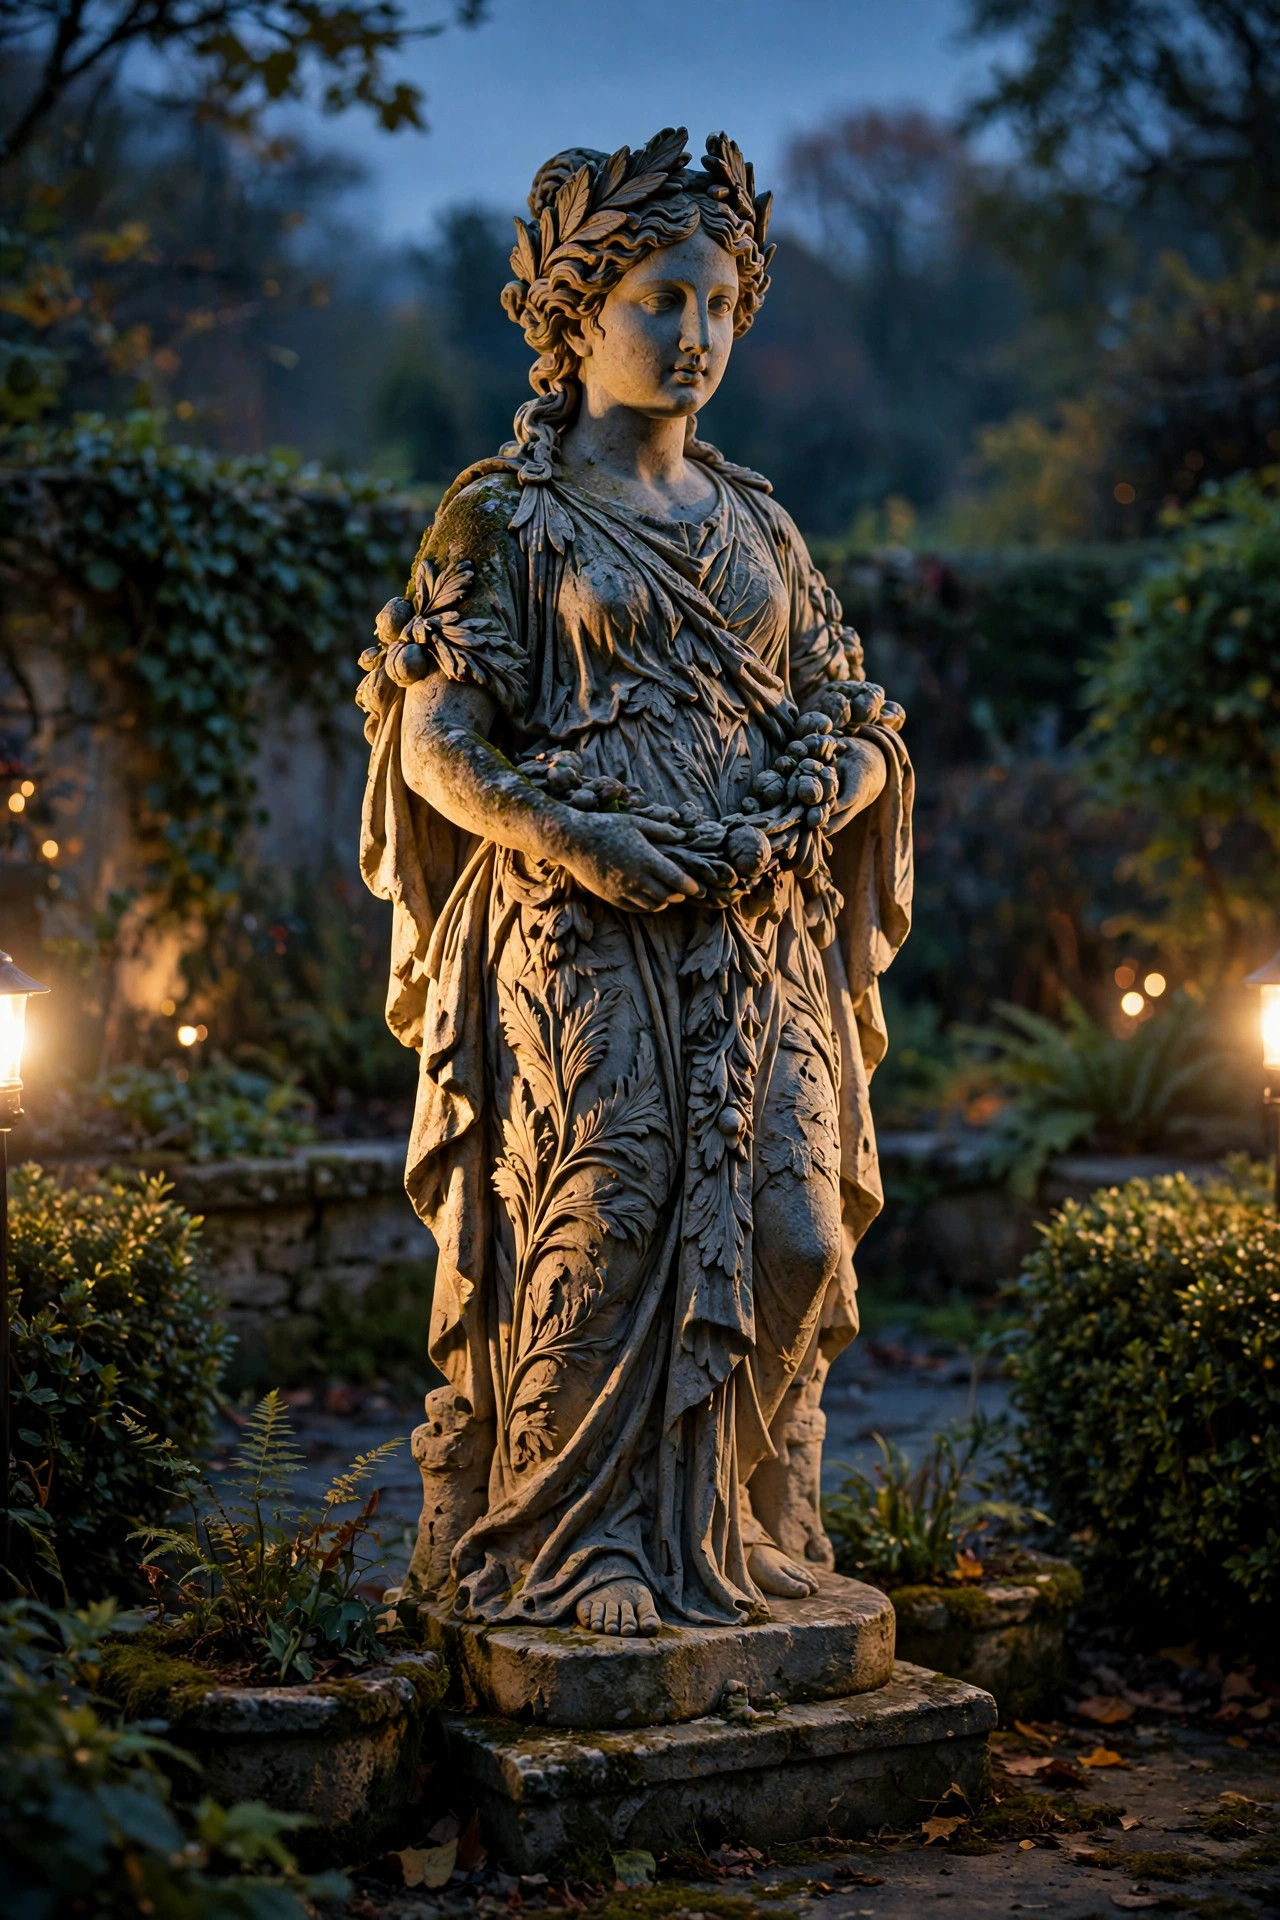
One light is a great start, but for statues with real detail, a carved face, folded drapery, a bird with layered feathers, cross lighting is where the magic happens. Place your main spotlight low and to one side, about 45 degrees off center, then add a second, dimmer light from the opposite side at a slightly higher angle. The bright side does the sculpting and the softer side fills in the shadows so nothing goes pitch black. I keep the fill light at roughly half the brightness of the main one; most low-voltage spotlights make this easy because you can choose a lower-wattage bulb for the fill. This is the exact trick portrait photographers use, and it works just as well on a stone angel as on a person. Watch out for the classic mistake of placing two equal lights dead ahead on both sides: that flattens everything and can throw a distracting double shadow onto the plants behind. Cross lighting also rescues statues tucked into corners, where a single front light leaves one whole side in gloom. Take your time aiming after dark, and adjust in small turns of the fixture head rather than big swings.
Suggested budget range: $35 – $80.
3. Reach for Solar Spotlights When There Is No Outlet Nearby
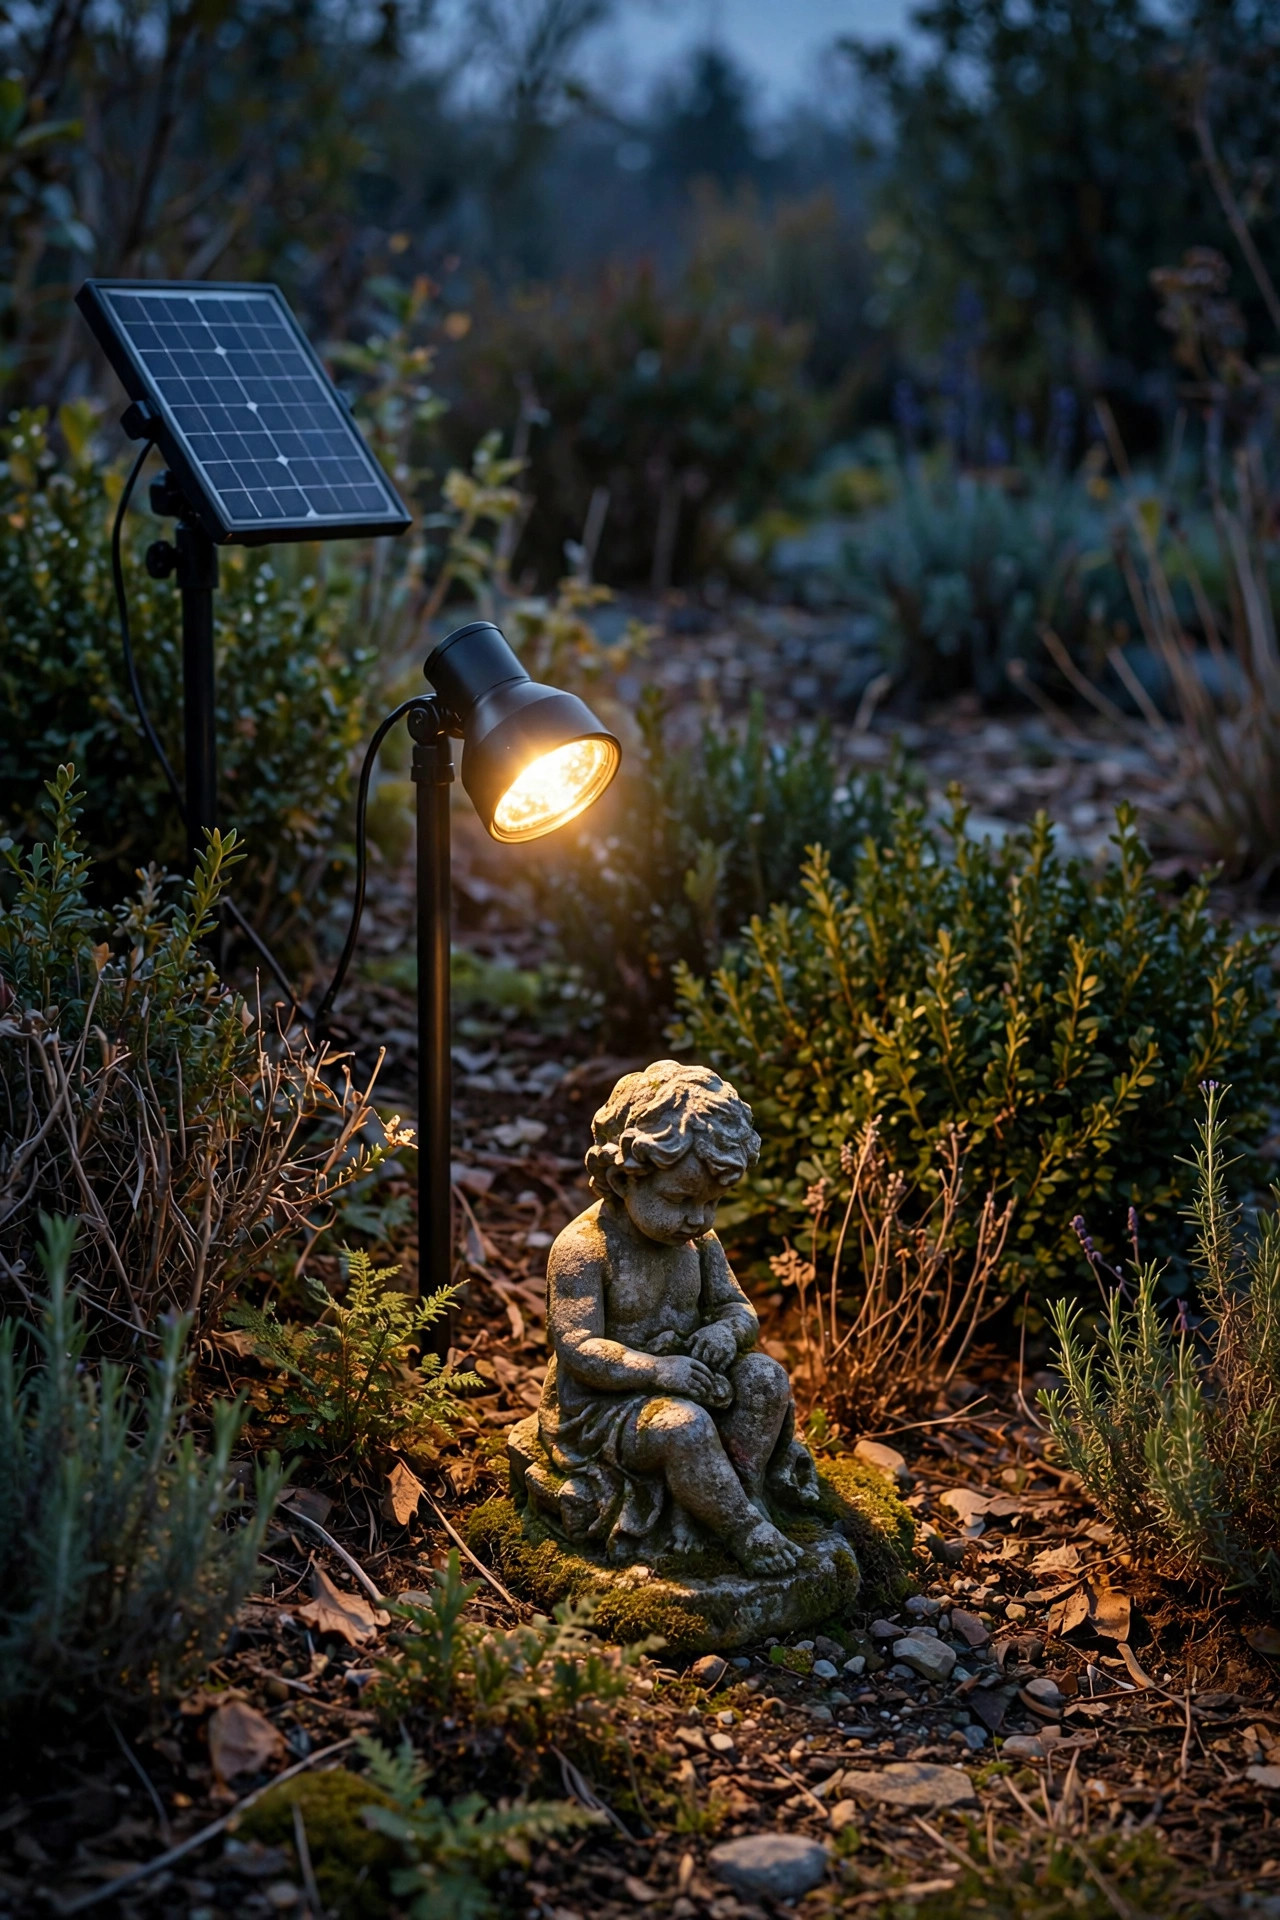
Half the statues in my garden live nowhere near an outlet, and solar spotlights are the reason they still glow. Modern solar spots are a world better than the dim little stakes of ten years ago: look for a separate solar panel on a short cord, which lets you park the panel in full sun while the light itself sits in the shade at the statue base. Aim for at least 200 lumens for a small statue and 400 or more for a tall one, and choose warm white, 2700K to 3000K, so the stone looks candlelit rather than surgical. In my experience the panel position matters more than the price tag: six honest hours of direct sun will carry a decent light through a summer night. Brush dust and pollen off the panel every few weeks, because a grimy panel quietly steals your runtime. Solar is also my favorite way to test a new statue placement before committing to wire, since you can move the whole setup in five minutes. Just know that deep-shade corners and short winter days will humble even good solar, and that is where idea 4 earns its keep.
Suggested budget range: $20 – $50.
4. Run One Low-Voltage Line and Light Every Statue on the Path
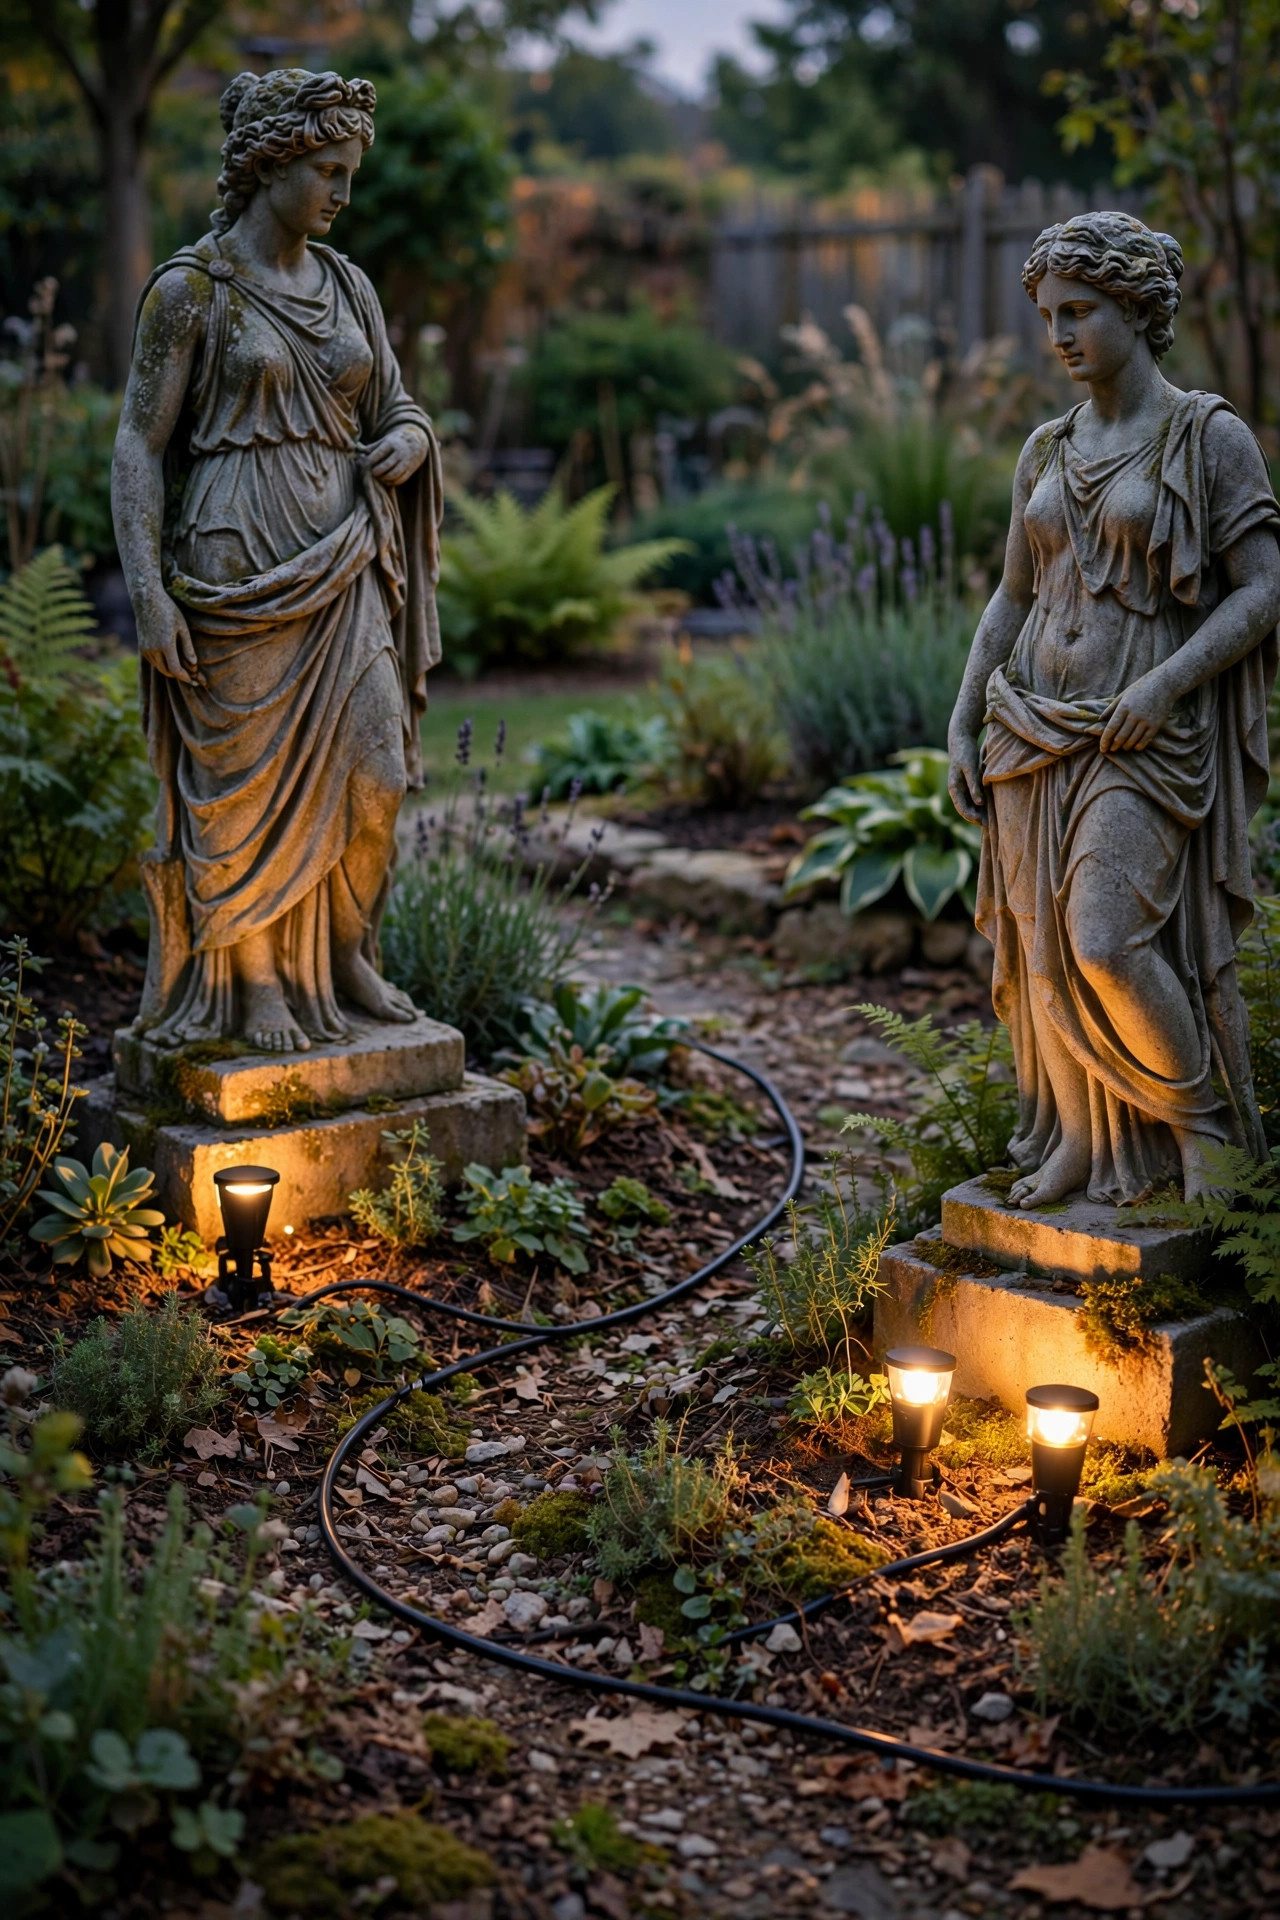
If you have two or three statues along the same bed or path, a single low-voltage run beats a pile of solar lights every single time. A small transformer plugs into an outdoor outlet, and from there a 12-volt cable snakes through the mulch, tapping off a compact spotlight at each statue. Low voltage is genuinely DIY friendly: no conduit burial depth worries like line voltage, and the cable only needs to sit 6 inches down or tucked under mulch. Size the transformer with headroom, adding up your fixture watts and staying under 80 percent of its rating, so future statues can join the line. I space my statue spots 8 to 15 feet apart along the run and use waterproof wire connectors, never twisted bare wire, because corrosion is the number one reason these systems fade after a wet season. Put the transformer on a timer or choose one with a built-in photocell so the whole gallery switches on at dusk without you thinking about it. The per-statue cost drops fast on a shared run, and the light quality, steady, bright, identical every night, is something solar in a shady yard simply cannot promise.
Suggested budget range: $90 – $220.
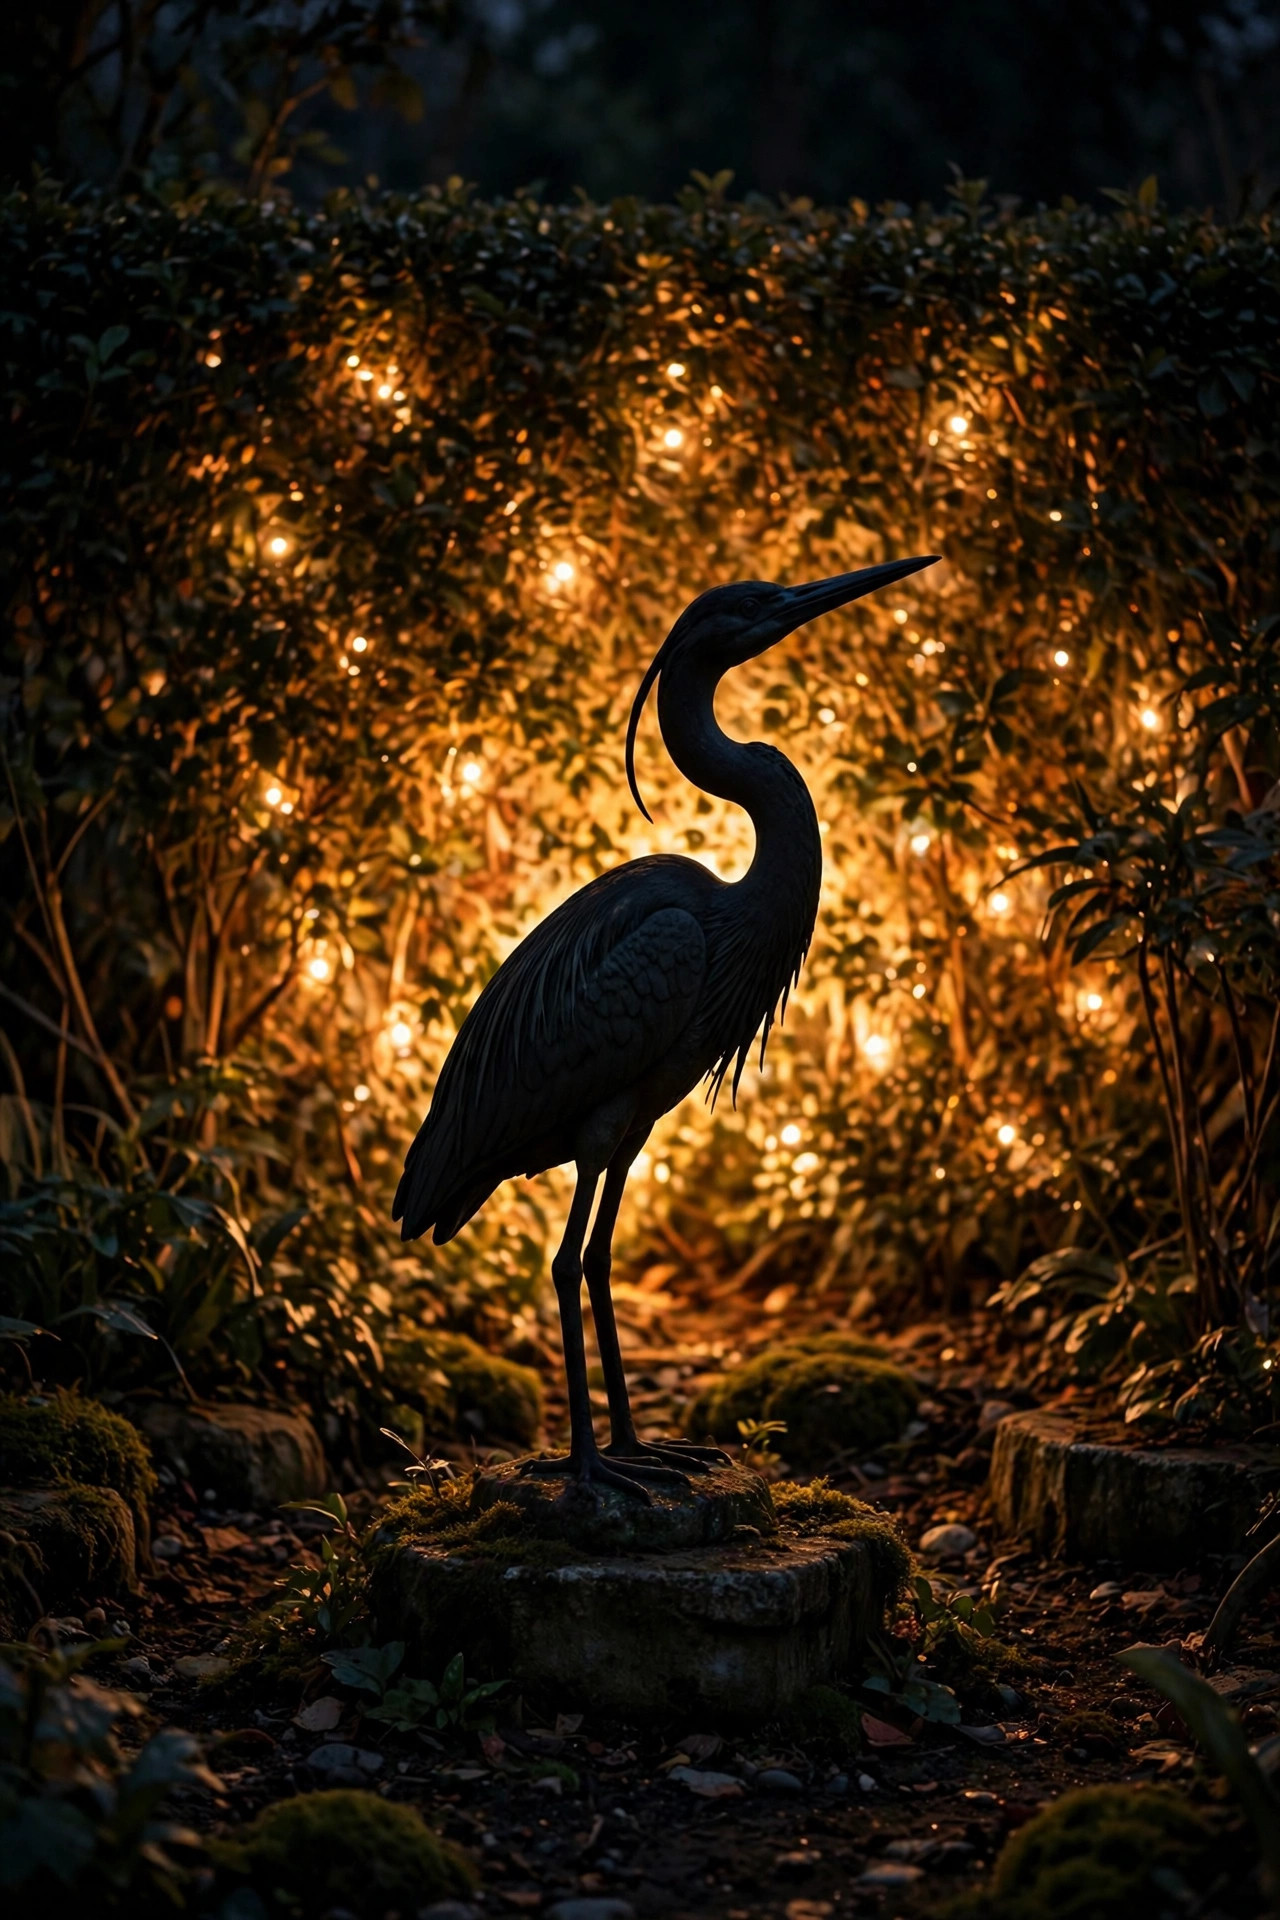
5. Backlight the Statue for a Pure Silhouette
Some statues are all shape: a heron, a leaping hare, an abstract swirl. For those, forget lighting the front and hide a light behind the piece instead. Tuck a small spotlight or well light on the ground behind the statue, aimed at a fence, hedge, or wall a few feet beyond it, and the statue turns into a bold black cutout against a warm halo of light. It is the single most dramatic look in this entire list, and it asks almost nothing of the statue itself, so it is perfect for weathered pieces whose fronts have seen better decades. A thick green hedge makes the loveliest backdrop because the light catches leaf texture and the silhouette floats on something alive. Keep the fixture hidden behind the statue base or a clump of ornamental grass so guests see the glow, never the source. This trick also flatters inexpensive resin statues, honestly, because in silhouette nobody can tell resin from carved marble. If your statue backs onto open lawn with nothing behind it, plant a loose group of tall grasses first and give them a season to fill in; the effect is worth the patience.
Suggested budget range: $20 – $55.
6. Borrow the Moon With a Downlight From Above
Uplighting is dramatic, but sometimes you want the statue to feel discovered rather than staged, as if moonlight found it. Mount a small downlight high in a nearby tree, 12 to 18 feet up, or under a pergola beam or eave, and aim it down at the statue at a gentle angle. The light pools softly around the base, shadows fall naturally downward the way our eyes expect, and the whole scene feels calm and a little magical. Choose a cool-neutral or soft warm bulb; I lean toward 3000K so it reads as moonlight with a friendly streak. A fixture with a long glare shield, sometimes called a shroud, keeps the bulb hidden from view so nobody gets an eyeful of bare LED from the patio. Tree mounting needs a little care: use stainless straps or screws rated for outdoor use and leave slack in the cable for growth, and recheck the aim every spring because trees move more than you think. This is my favorite treatment for a statue at the end of a path, where the pool of light acts like a destination and quietly pulls you down the garden.
Suggested budget range: $45 – $110.

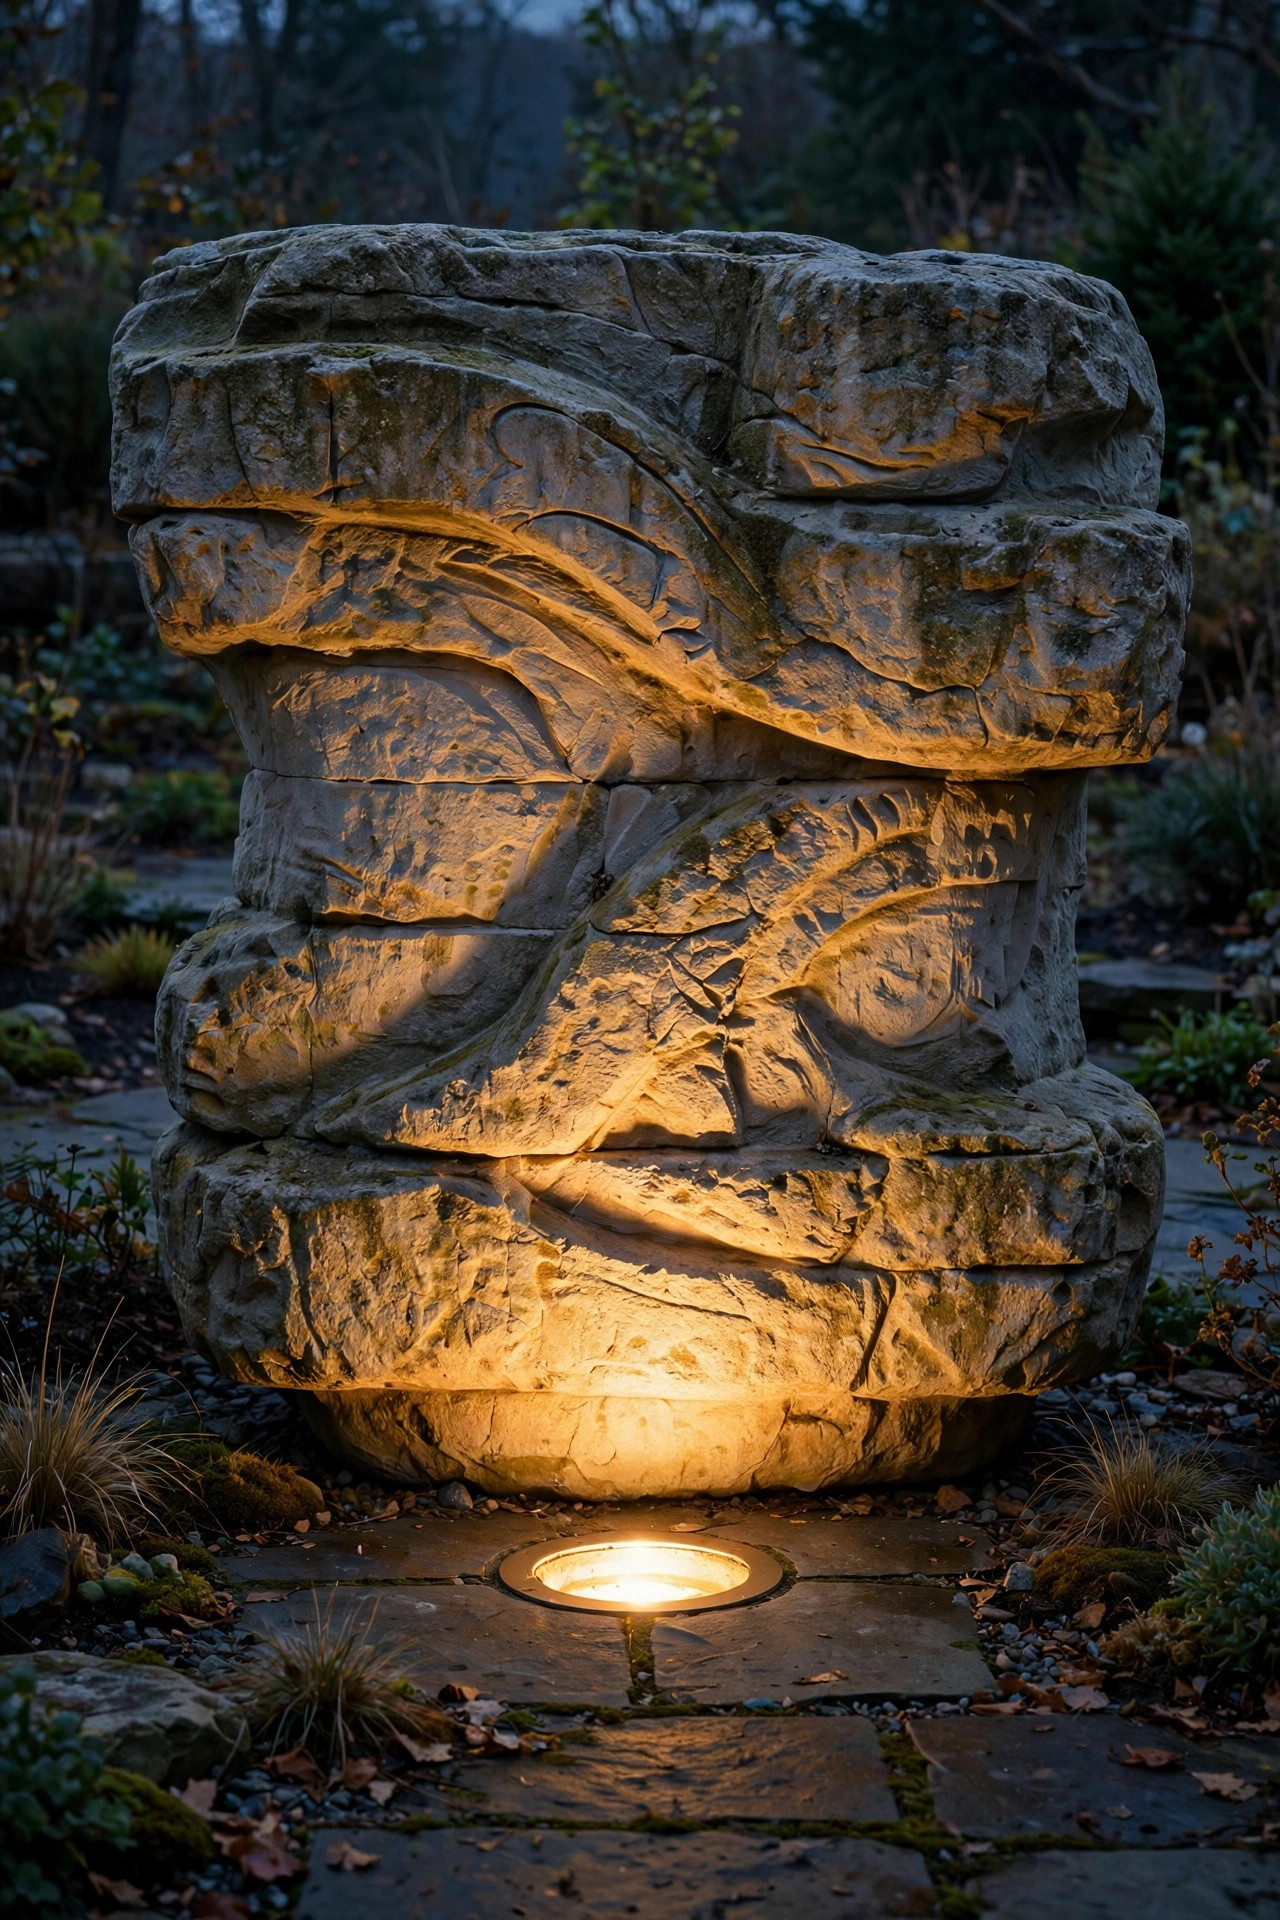
7. Sink a Well Light Flush for a Clean, Trip-Free Glow
In a front yard or along a walkway, a chunky spotlight stake can look untidy and catch every passing shoe. A well light solves that: the fixture sits in a short cylinder buried in the ground, flush with the soil or mulch, and only the lens shows. From a statue base, a well light throws a wide, even wash upward that is especially kind to broad pieces like stone benches with carved ends, sundials, and low, wide sculptures. Most well lights have a slightly angled or adjustable inner lamp, so you can lean the beam toward the statue instead of straight at the sky. Pay attention to drainage when you install one: set the housing on a few inches of gravel so rainwater has somewhere to go, because a well light that sits in a puddle will fog its lens no matter how good the seal. Choose a model rated for in-ground use, IP67 or better, with a brass or heavy composite housing, since this fixture lives the hardest life of any on this list. Mow and edge carefully around the lens, and wipe it clear of mulch creep a few times a season; the reward is a statue that seems to glow from the earth itself.
Suggested budget range: $30 – $75.
8. Let a Statue Share the Spotlight With Moving Water
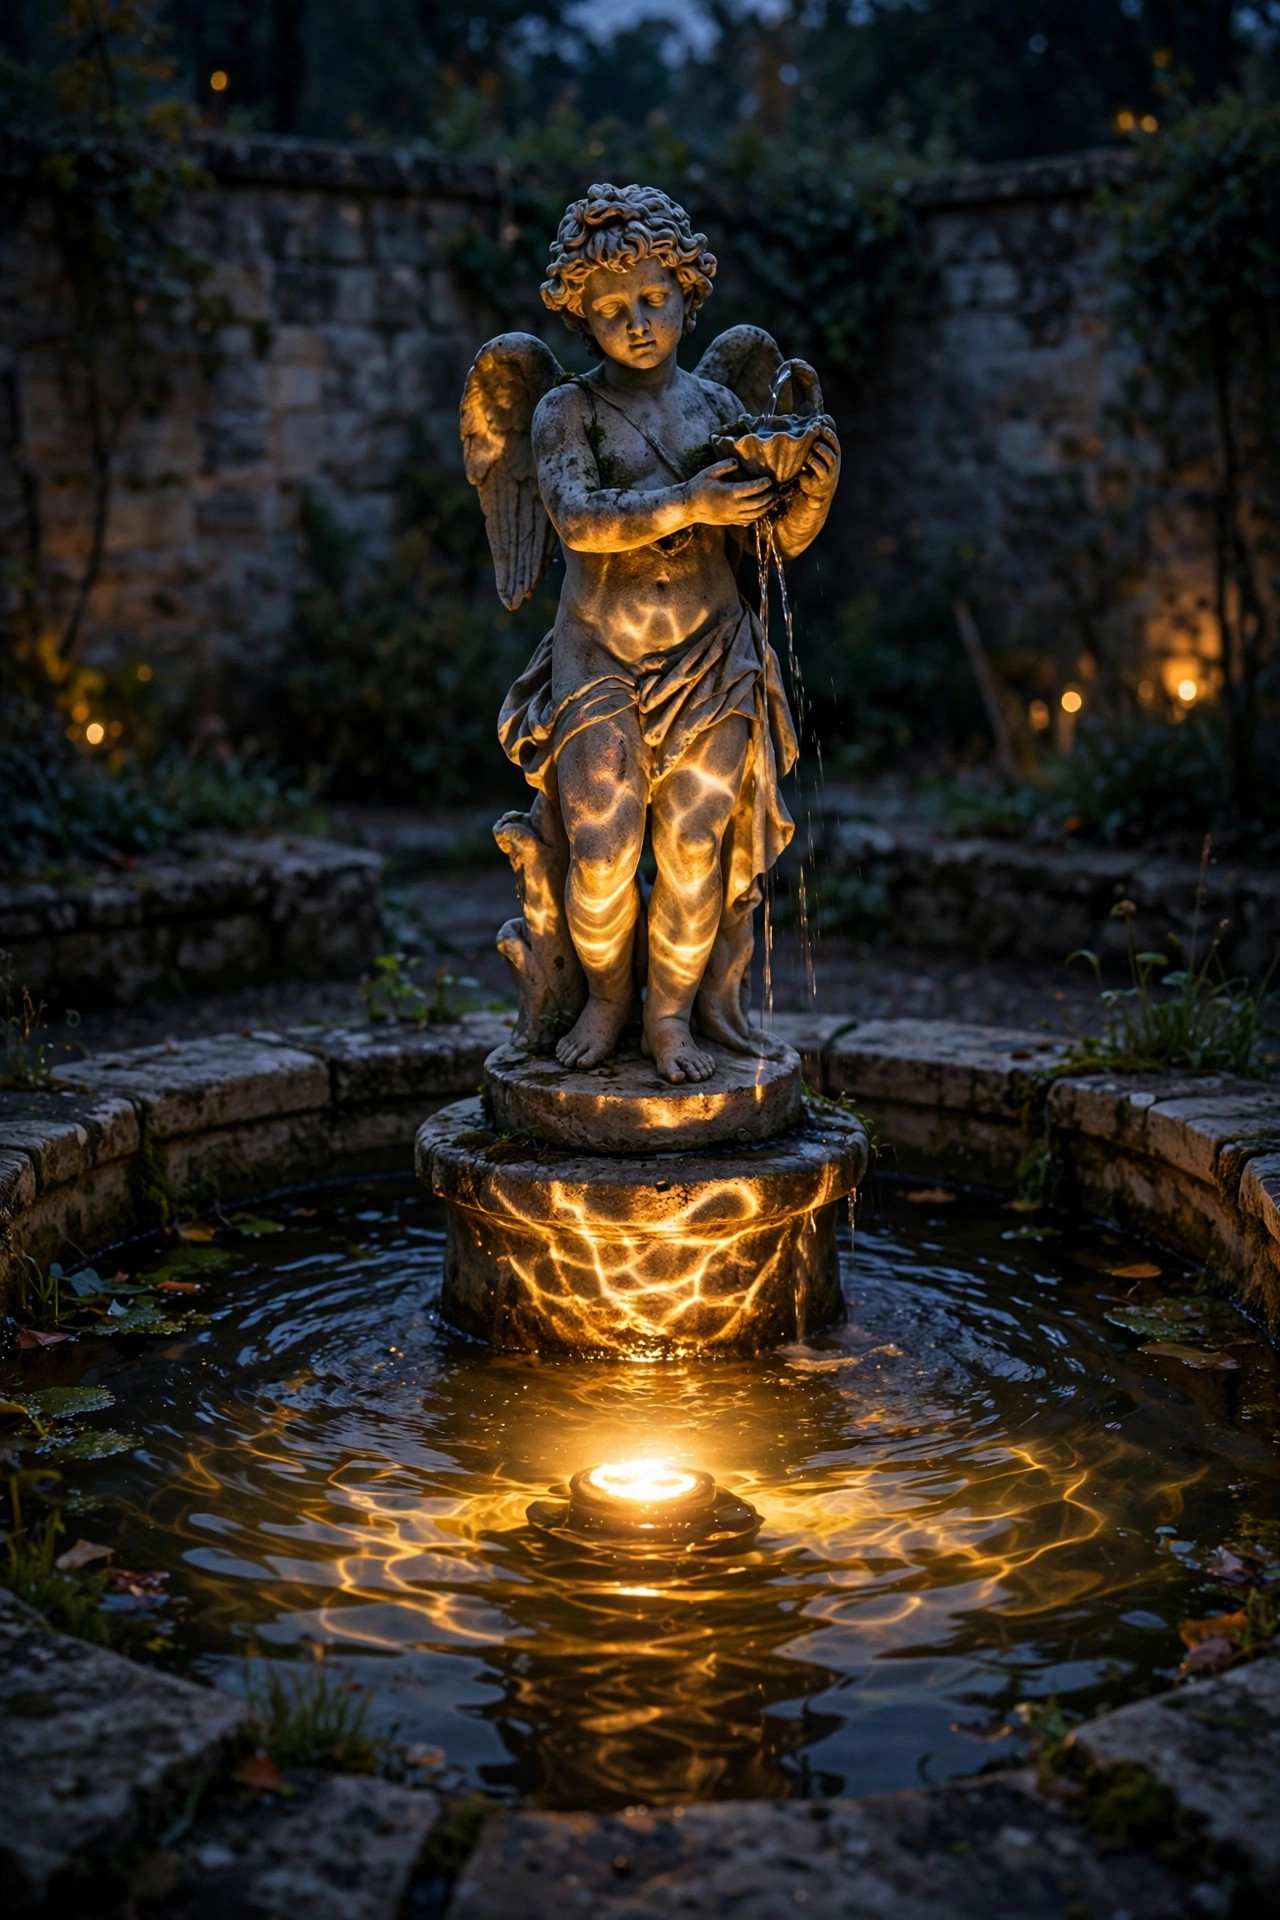
A statue beside, or standing in, a fountain or pond deserves light that plays with the water. The prettiest approach I know is a small submersible light in the basin aimed up at the statue so the moving surface throws rippling reflections across the stone; it looks alive in a way no steady beam can match. If your statue stands beside the water instead, a low spotlight at the basin edge grazes both the figure and the falling water in one pass. Keep every fixture and cable in or near water rated for submersion, IP68, and run anything plug-in through a GFCI outlet without exception. My fountain lighting ideas guide goes deeper on underwater fixtures if your statue keeps company with a fountain. Warm white is the safe, elegant choice here; colored underwater lights can be fun for a party but will make a classical statue look like a carnival prize. One practical note from my own pond: algae and mineral film cloud underwater lenses fast, so pick a fixture you can lift out and wipe in under a minute, and plan on that quick wipe once a month in summer.
Suggested budget range: $35 – $95.
9. Frame the Statue With a Wash of Light on the Wall Behind It
When a statue stands in front of a wall, fence, or tall hedge, you have a free backdrop, so use it. A wide-beam floodlight placed low, a few feet in front of the statue and aimed past it, washes the backdrop in a broad, soft glow while the statue itself catches the near edge of the beam. The result is a framed picture: bright ground, glowing backdrop, statue standing proud between them. Beam angle is everything here. A 60 to 120 degree flood gives that even wash, while your narrow spots would leave a silly bright stripe up the wall. Brick and stone walls reward this treatment most because the grazing light picks out every bit of texture, and even a plain wood fence looks ten times richer washed in warm light. Keep the backdrop wash a touch dimmer than the statue light so the eye still lands on the figure first. This is also the kindest way to light a statue you view from indoors, since the whole composition reads like a lit painting through the window. If the backdrop is a hedge, push the flood a little closer and lower so the light feathers into the leaves instead of blasting through the gaps.
Suggested budget range: $25 – $60.

10. Build a Little Shrine Corner With Lanterns and Fairy Lights
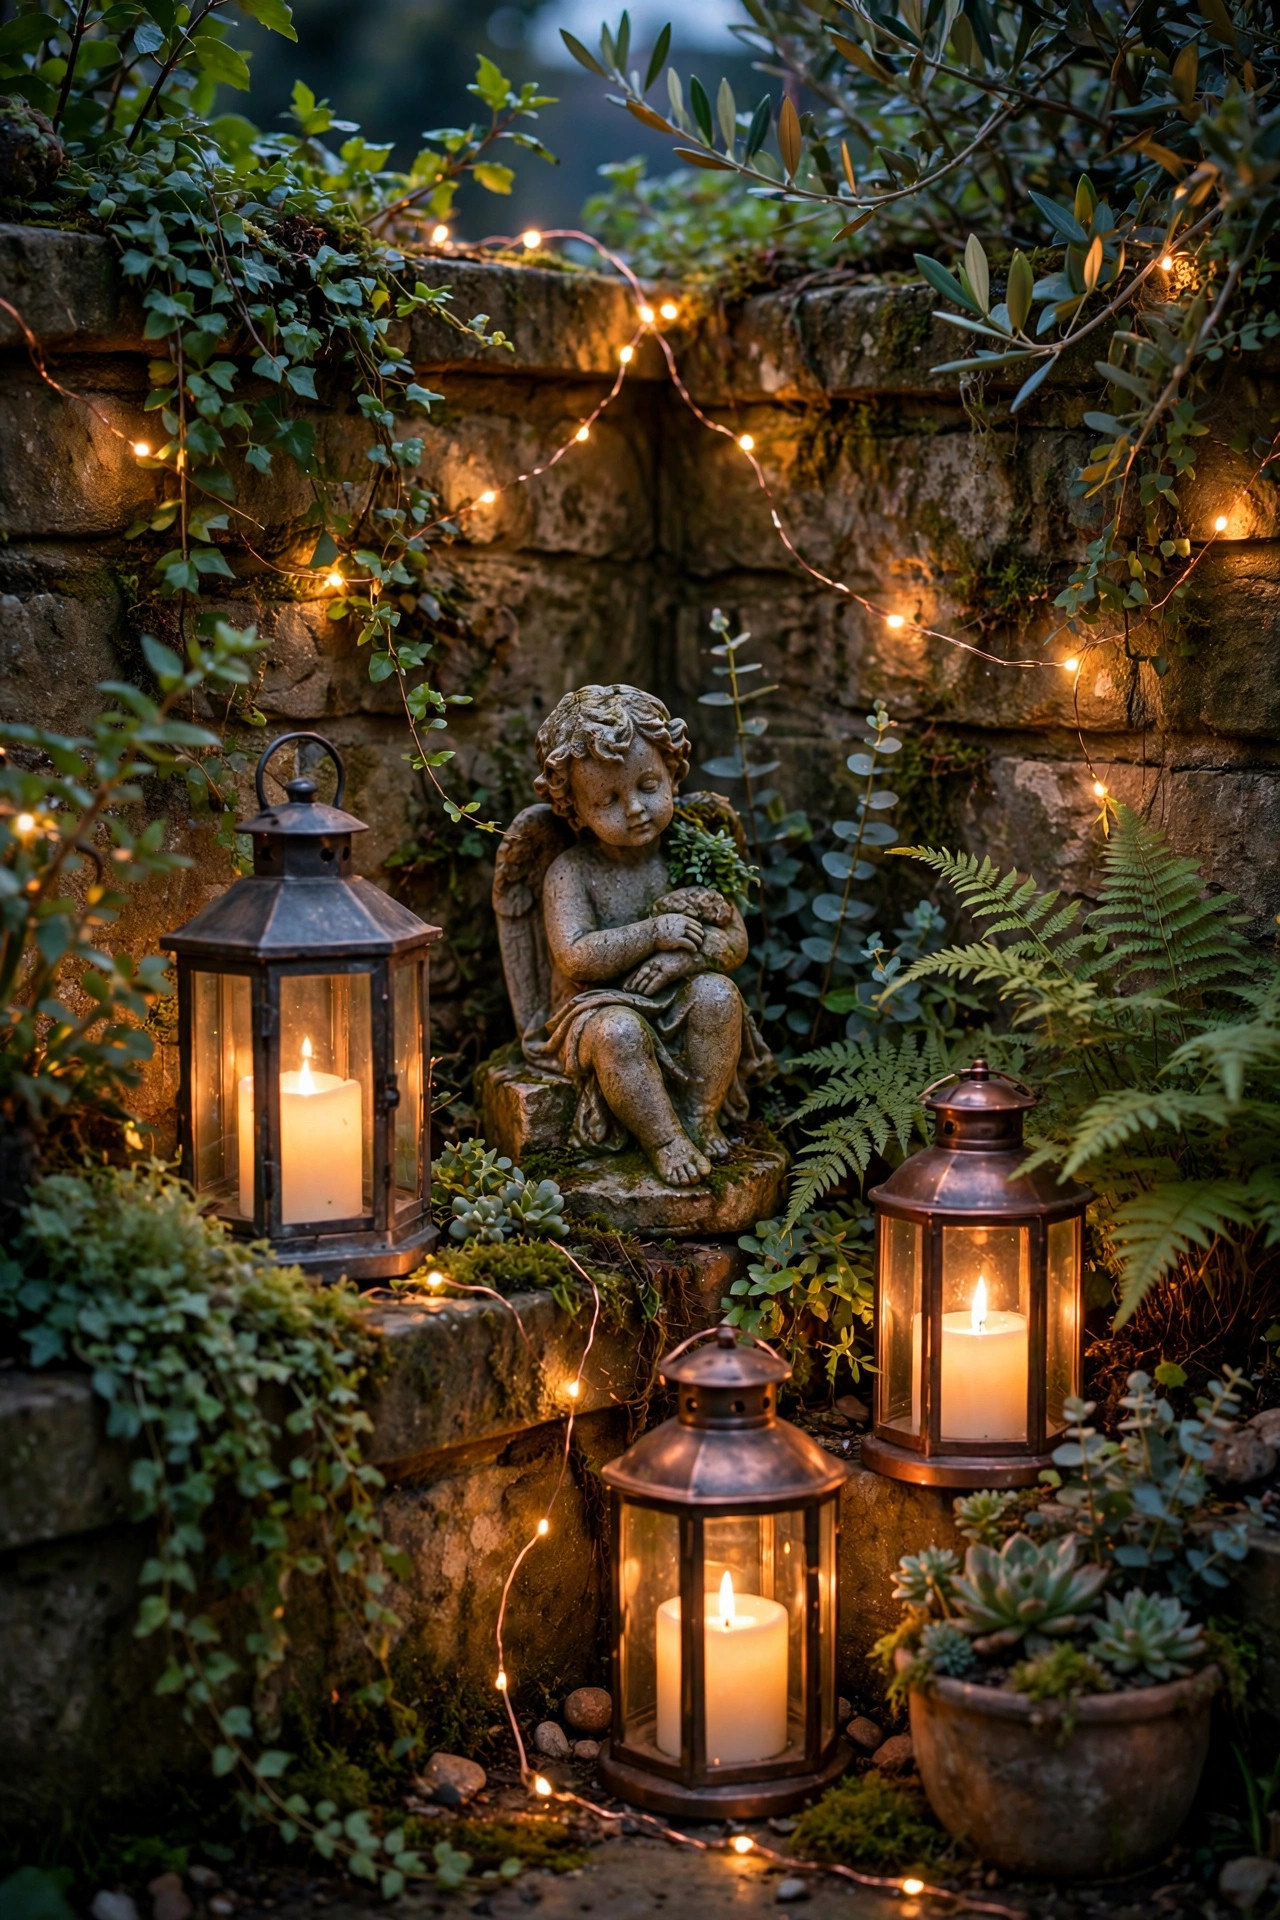
Not every statue wants a spotlight; some, especially small, sweet pieces, a tiny Buddha, a reading rabbit, a pair of stone mushrooms, are happiest in a cozy corner that glows rather than beams. I build these little shrines with a cluster of lanterns at the base: two or three flameless candle lanterns at different heights, plus a strand of copper-wire fairy lights woven through the plants behind. Keep every flame fake and every bulb LED, since real candles near mulch and dry leaves are a risk I never take. The fairy lights give you that sprinkle of stars, the lanterns give warm pools at ground level, and the statue sits in the middle looking like it keeps the garden secrets. Solar lanterns make this a zero-wiring project, and a small solar fairy strand tucked into a shrub charges happily if the corner gets afternoon sun. Style it like a mantel: odd numbers, varied heights, one trailing plant to soften the edges. This is the treatment my grandkids love most, and it photographs beautifully, which is not nothing if your garden statues have a social life of their own.
Suggested budget range: $25 – $65.
11. Light the Way to the Statue With a Short Run of Path Lights
A statue glows brighter when the journey to it is lit too. A short run of three to five path lights leading from the patio or gate toward the statue does two jobs: it keeps feet safe on dark ground, and it builds anticipation, so the statue feels like the finale of a little procession. Keep the path lights low, 12 to 18 inches, with shielded tops that throw light down onto the path instead of into eyes, and space them 4 to 6 feet apart, staggered on alternate sides so the route feels like a stroll rather than a runway. Match the color temperature to your statue spotlight, all 2700K or all 3000K, because a warm path ending at a blue-white statue looks like two gardens stapled together. Resist the urge to make the path as bright as the destination; dimmer along the way makes the statue light feel generous by contrast. This pairing is the whole layering philosophy in miniature, honestly: low guide light for your feet, one proud accent for your eyes. Solar path stakes work fine on a sunny route, but for a shaded path I tap them into the same low-voltage line as the statue spot so everything rises and rests together.
Suggested budget range: $30 – $85.

12. Crown a Tall Statue With a Spotlight From a Distance
Tall statues, anything over about 4 feet, punish lights placed at their feet: the base blows out bright while the face disappears into darkness. The fix is distance. Move a narrow-beam spotlight 6 to 10 feet away, across the path or bed, and aim it up the full height of the piece; the long throw evens out the brightness from base to crown in a way a close fixture physically cannot. A beam angle of 15 to 30 degrees suits most tall figures, tight enough to hold its shape over the distance without spilling all over the neighbors fence. My garden focal point spotlight ideas post collects more of these long-throw tricks if a tall piece is your garden centerpiece. From across the path, though, the fixture sits where feet and mower wheels roam, so choose a sturdy stake or a small ground mount, and consider a fixture with a locking aim that will not get knocked sideways by the first curious dog. Aim at dusk with a helper standing at the viewing spot calling adjustments; solo aiming from ten feet back involves a lot of walking, ask me how I know.
Suggested budget range: $30 – $70.
13. Keep It Warm: Match Bulb Color to the Stone
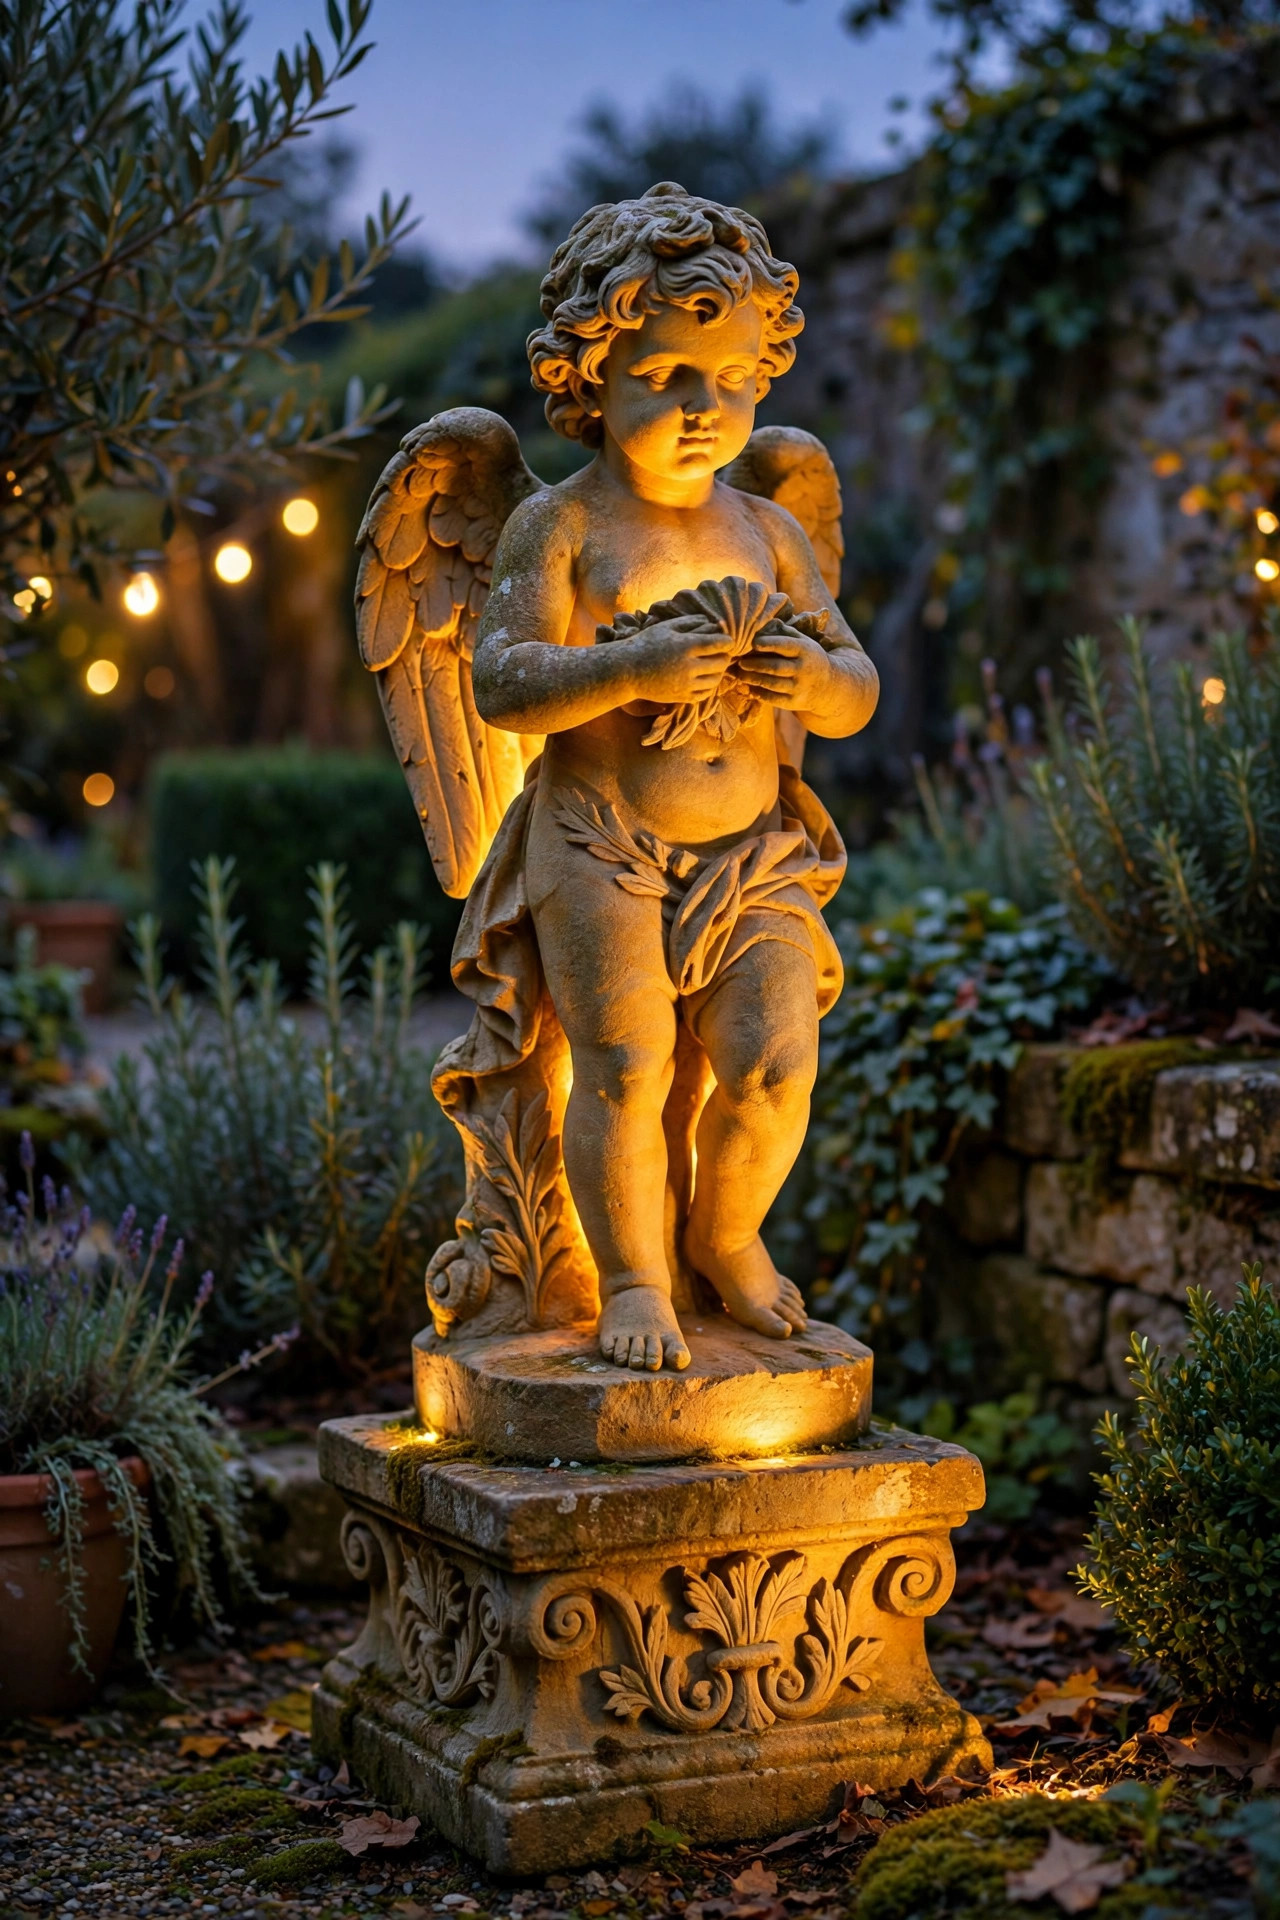
Here is the quiet detail that separates a statue that looks expensive from one that looks lit by a parking lot: color temperature. Warm white, 2700K to 3000K, flatters almost every statue material. It deepens the honey tones in sandstone, softens white marble so it glows instead of glaring, and gives bronze that candlelit richness museums charge admission for. Cool white bulbs, 4000K and up, have their place over a workbench, but on a statue they read as blue and clinical, and they flatten carved detail into a gray blur. If your statue is gray concrete or a silvery zinc piece and you want it to feel moonlit and moody, 3000K is as cool as I would ever go. The second half of this rule is discipline: every fixture aimed at the statue, and ideally every fixture in that corner of the garden, should share the same temperature. Mixed bulbs are the most common mistake I see in friends yards, a warm spot from the front and a cool solar stake from the side fighting each other across the poor statue. Buy your bulbs in one batch when you can, because even the same labeled temperature can drift slightly between production runs.
Suggested budget range: $10 – $35.
14. Put the Whole Scene on a Timer and Forget It
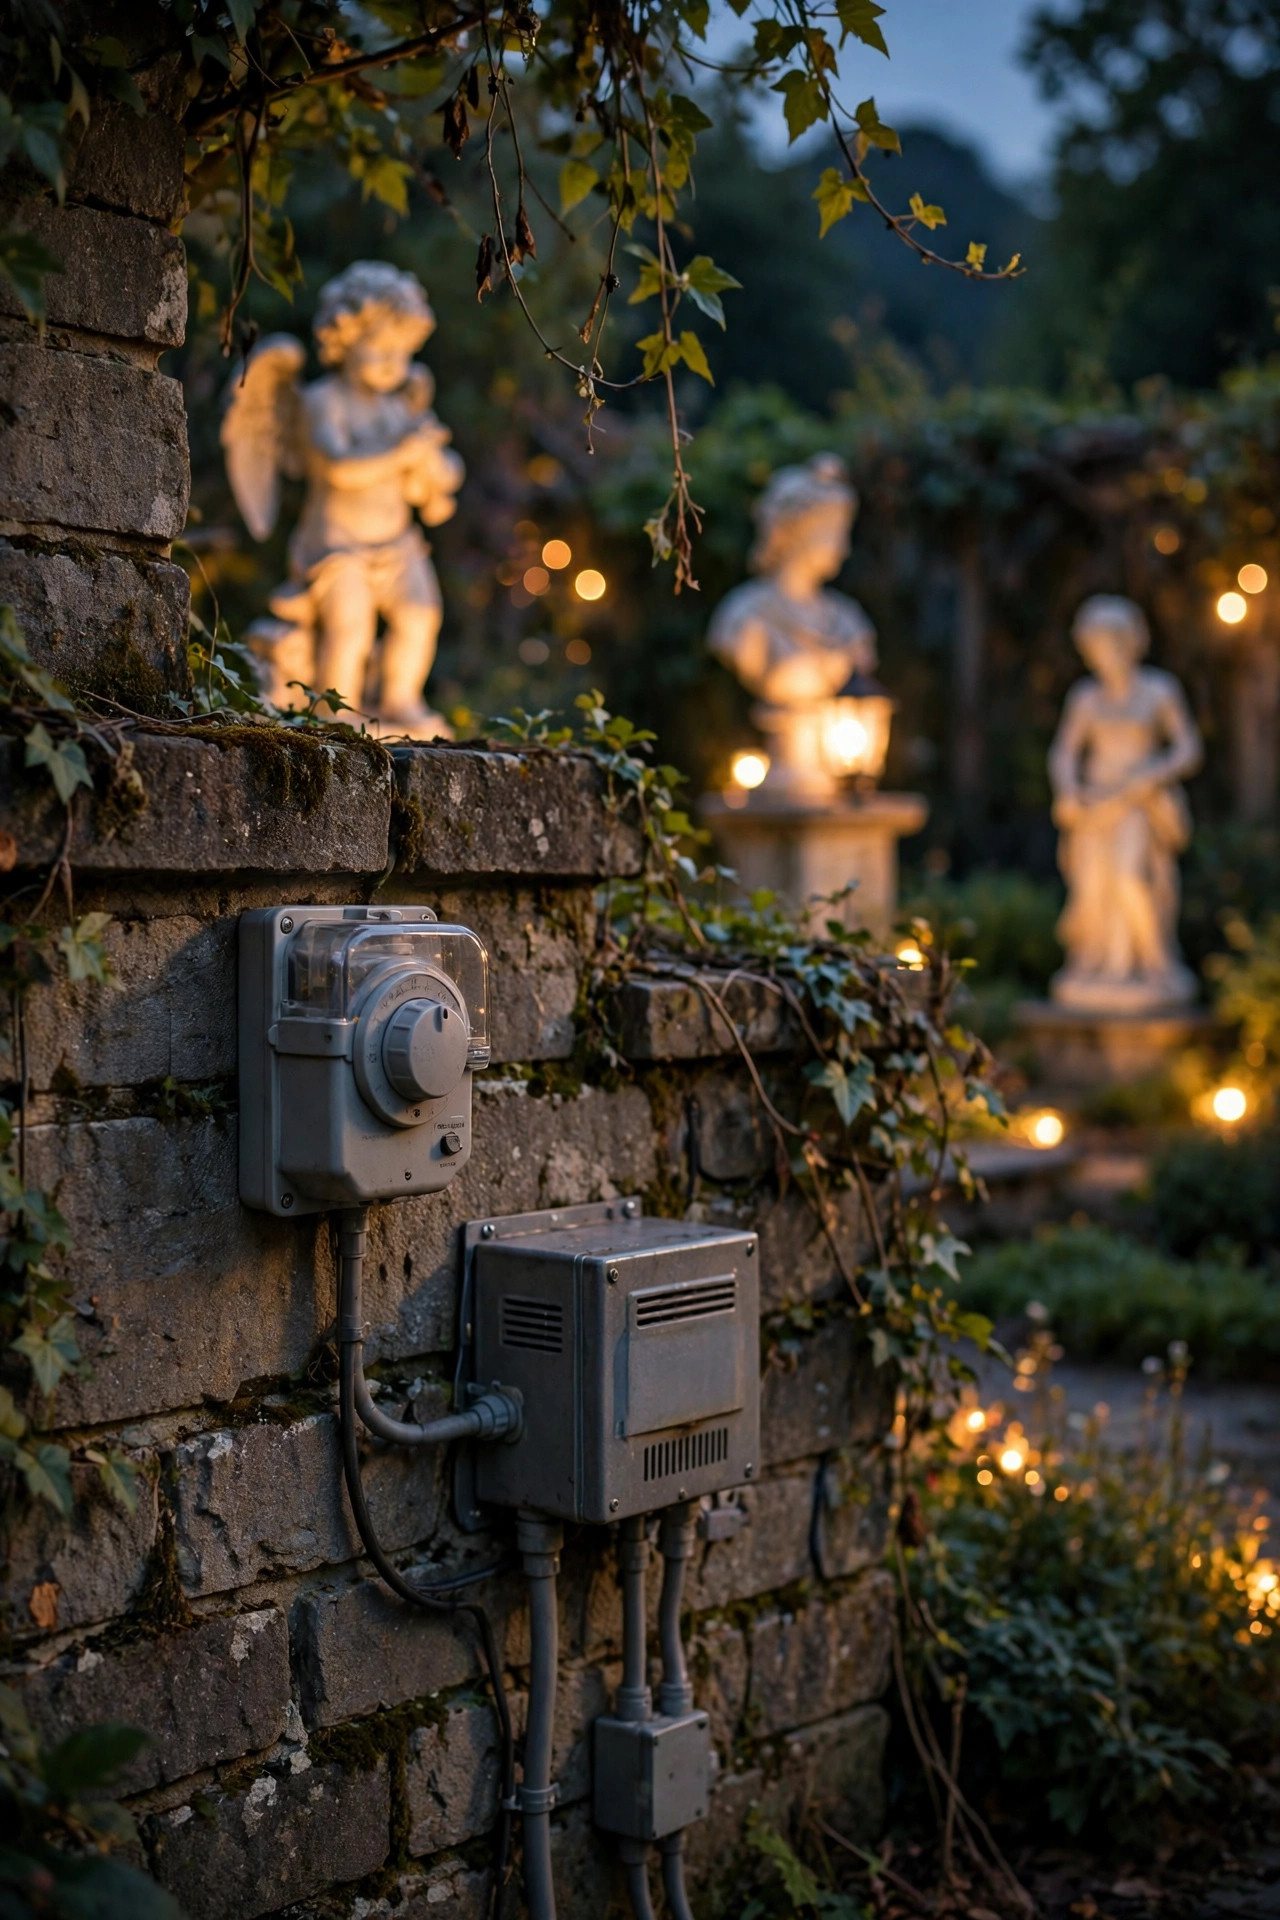
Statue lighting only works if it is actually on, and the most elegant setup in the world fails the night you forget to flip the switch. A timer turns your gallery into a habit the house keeps for you. The simplest route is a plug-in outdoor timer or a smart plug on the transformer, set to run from dusk until 11 p.m. or midnight, which covers the hours anyone is awake to admire it and saves the rest of the electricity. I prefer astronomical timers or plain photocells for set-and-forget duty, because they track the seasons on their own; a fixed 7 p.m. start that is perfect in June leaves your statues glowing into an empty bright yard in December and dark at dinnertime in the same month. Most low-voltage transformers now include a photocell and timer dial built right in, so check before you buy extras. Solar pieces handle themselves, of course, but mixing one timed wired scene with solar accents is fine, just accept that the solar bits will fade gently toward morning. One evening a month, take your coffee outside and actually look at the scene the timer has been running; bulbs shift, plants grow, and a two-minute re-aim keeps the magic honest.
Suggested budget range: $15 – $45.
15. Layer It All: My Complete Garden Statue Lighting Ideas Recipe
When a statue really matters to me, the graduation piece at the end of the main bed, I give it the full recipe, and it is just the earlier ideas stacked with restraint. Start with the base uplight from idea 1 to model the front. Add the dim cross fill from idea 2 only if the shadows go truly black. Wash the backdrop from idea 9 so the silhouette has somewhere to stand, or borrow the moonlight downlight from idea 6 if there is a tree overhead. Finish with the approach: two or three path lights from idea 11 so the statue is a destination, not a surprise. Three or four fixtures total is the sweet spot; five and the statue starts to look like it is being interrogated. Every bulb at 2700K to 3000K, everything on one timer, and the brightest thing in the scene always the statue itself. That is the whole secret of the garden statue lighting ideas I use again and again: light in layers, each one dimmer than the star, and let the stone do the showing off. Build it one layer an evening if you like; statues are patient, and so is a good garden.
Suggested budget range: $120 – $300.

Frequently Asked Questions
What color temperature is best for lighting a garden statue?
Warm white, between 2700K and 3000K, flatters nearly every material, from honey-toned sandstone to white marble and dark bronze. It gives stone a candlelit richness that cool white bulbs cannot match, since 4000K and above reads blue and clinical outdoors and flattens carved detail. Whatever temperature you choose, use the same one for every fixture aimed at the statue so the light looks like one scene, not several competing ones.
Can I light a garden statue with solar lights, or do I need wired fixtures?
Solar spotlights work beautifully for a single statue in a sunny spot, especially models with a separate panel you can place in full sun while the light sits in shade. Choose at least 200 to 400 lumens depending on the statue height. Wired low-voltage lighting wins in deep shade, in winter, or when you want several statues on one reliable timer, because it delivers the same brightness every night regardless of the weather.
How do I keep statue lighting from looking harsh or creating ugly shadows?
Soften the setup in three ways. Move the fixture a little farther back and angle it around 30 to 45 degrees instead of pointing straight up. Aim slightly off center so shadows fall to one side with shape, rather than splitting the statue down the middle. If shadows still go pitch black, add a second light at about half the brightness from the opposite side as a gentle fill, and avoid cool white bulbs, which make every shadow look harder.
How much does it cost to light one garden statue?
A single solar spotlight runs about $20 to $50 and installs in minutes. One quality low-voltage spotlight on an existing system costs roughly $30 to $75 per statue, while starting a new low-voltage setup with a transformer and cable lands around $90 to $220 and can serve several statues at once. A fully layered scene with backdrop wash and path lights typically totals $120 to $300 per statue.
Conclusion
A statue you cannot see after sunset is only half yours, so give it its evening shift. Start with one warm uplight, stand back at dusk, and add layers only where the stone asks for them: a fill for deep shadows, a wash for the backdrop, a short lit path so the piece feels like a destination. Keep every bulb warm, put it all on a timer, and you have turned a quiet garden ornament into the moment everyone remembers. These garden statue lighting ideas scale from a single solar stake to a full low-voltage gallery, and every one of them starts the same way: one light, one statue, one dusky evening of experimenting. Browse the rest of my lighting ideas here on the site for the beds, paths, and corners around your statues, and they will glow as a whole garden rather than a single bright guest.