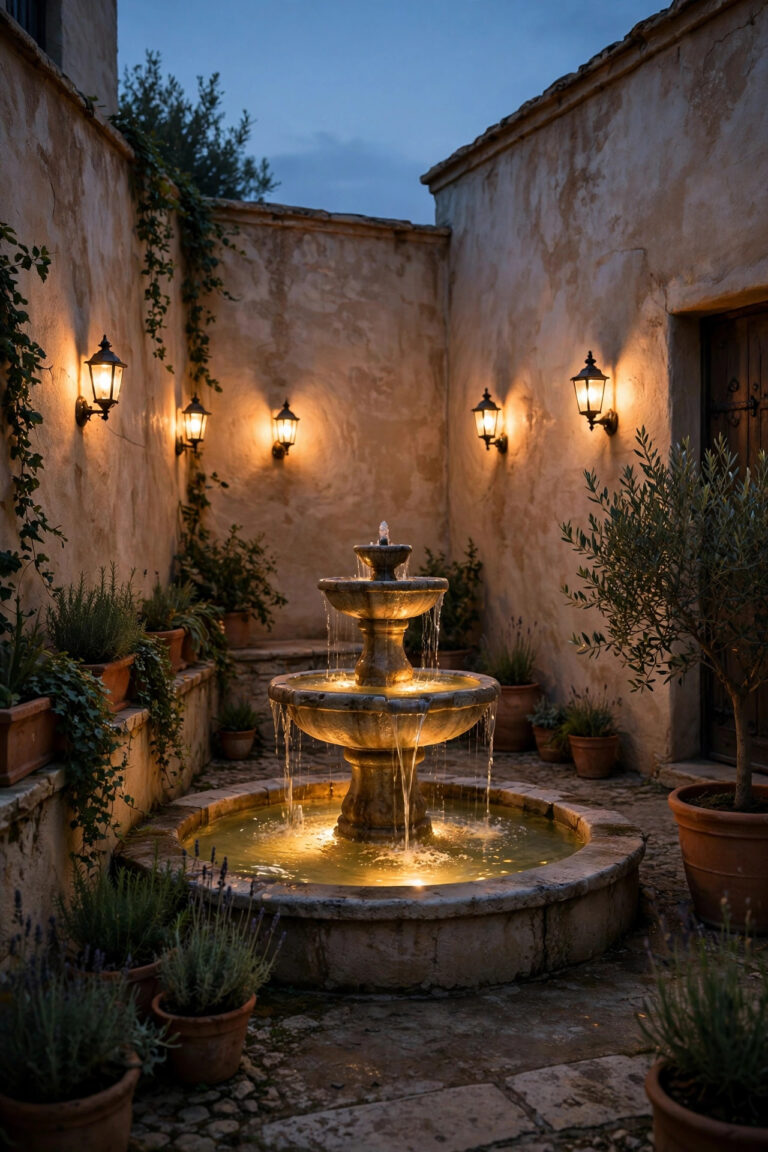
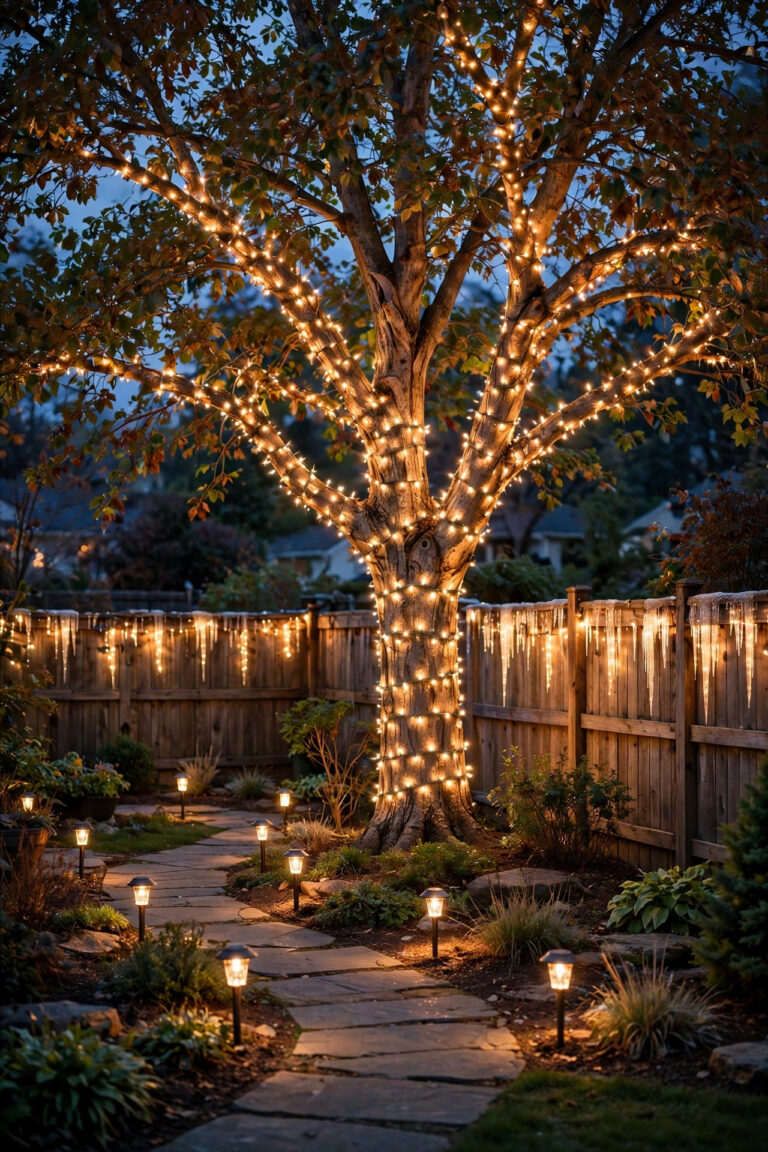
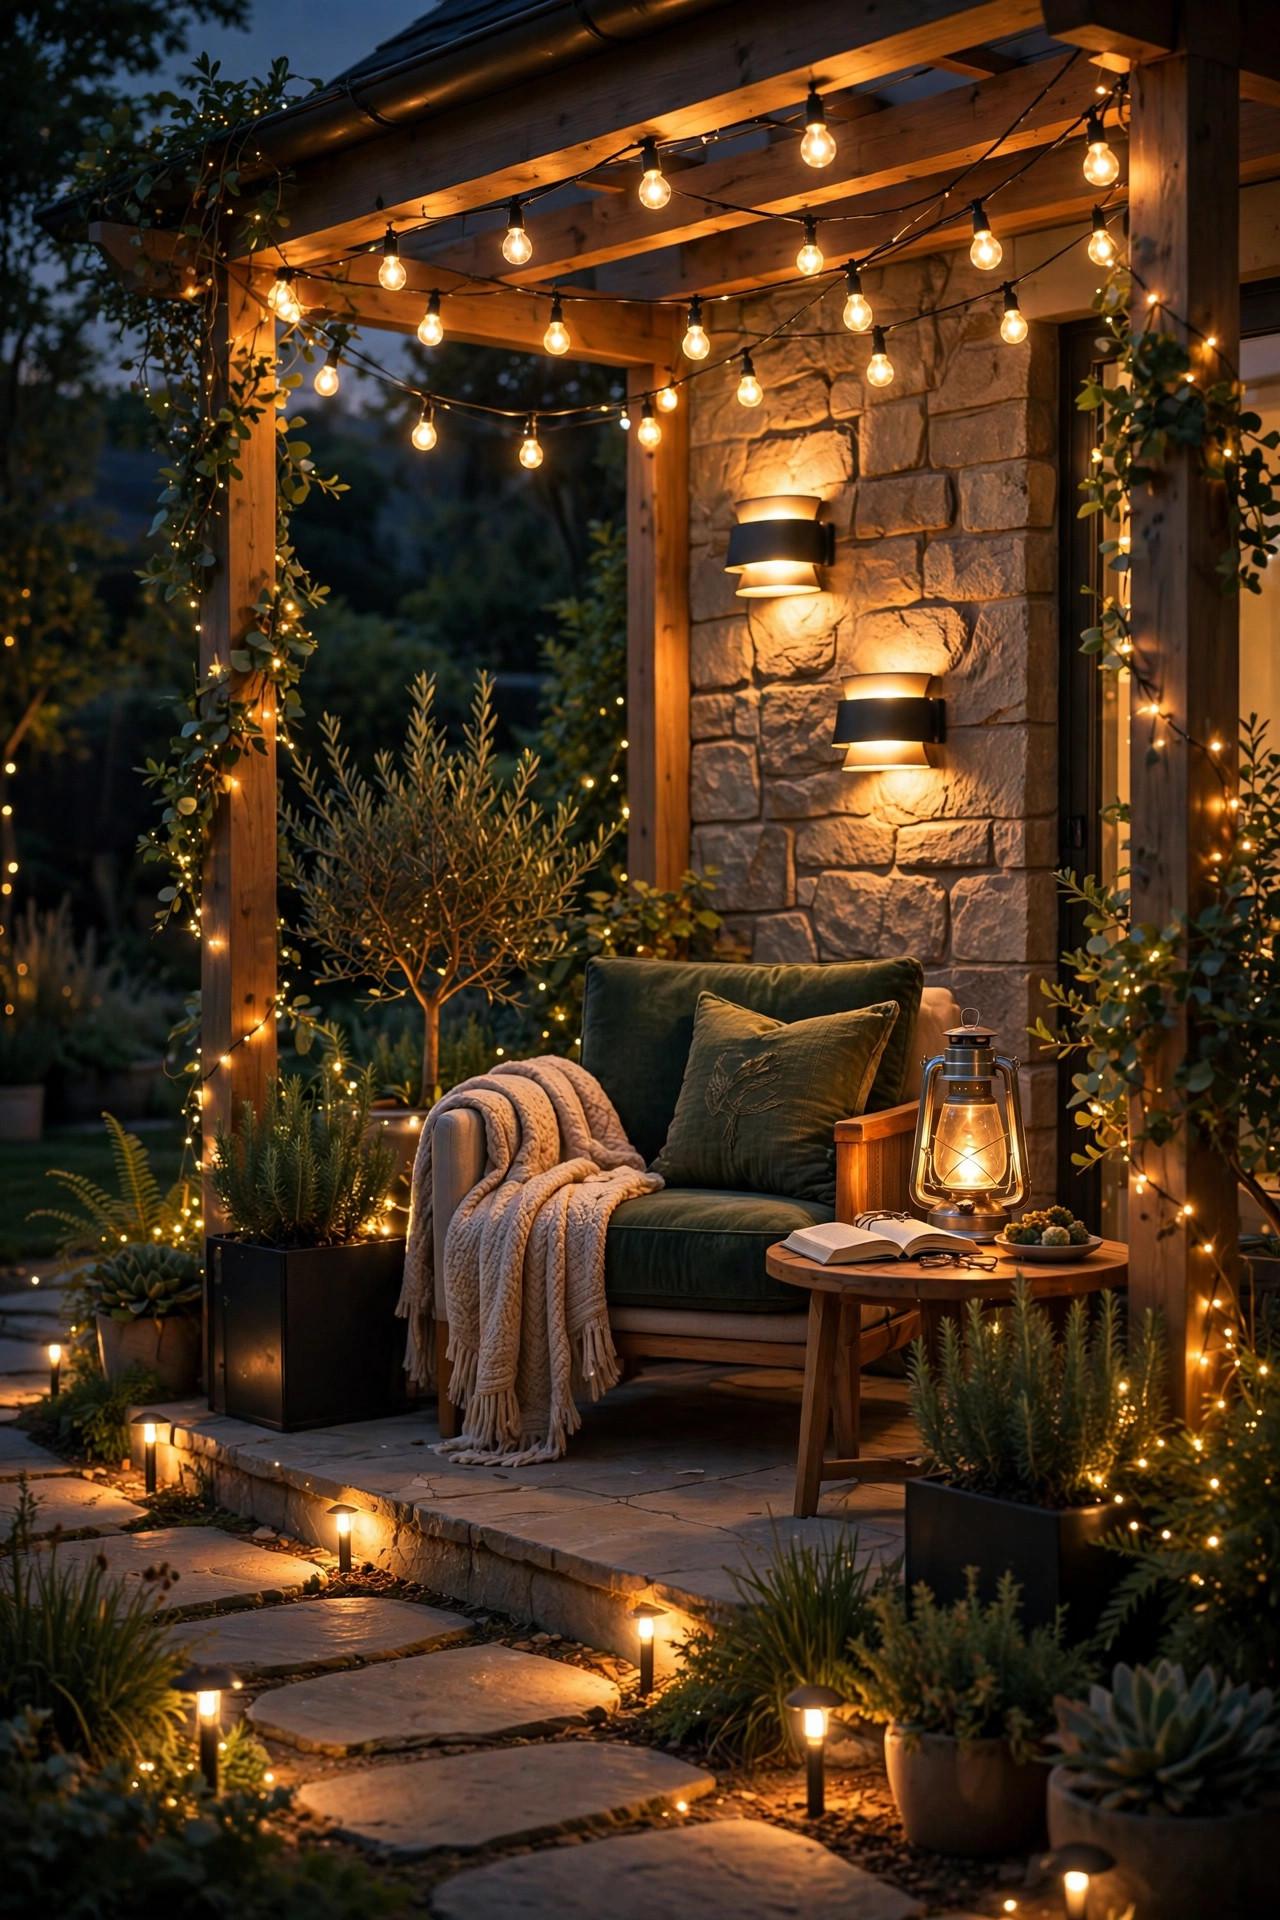
There is a corner of my back porch where the evening light lands just right, and it took me three summers of squinting to understand why it still was not working. The problem was never the amount of light. It was the direction, the color, and the glare bouncing off the page. Good outdoor reading nook lighting is a different animal from party lighting: it has to be bright enough to keep your eyes relaxed, soft enough to feel like a retreat, and aimed so the bulb never shines straight into your face. My approach is the same layering I use everywhere else, just tuned down and pointed carefully. A focused task light does the real reading work, a warm ambient layer makes the corner feel like a room, and a whisper of low light marks the path and the edges so the nook feels held. I figured most of this out in a tiny space first, and my notes on balcony reading lighting ideas cover the small-space version. Below are the 17 setups I rotate through now, with honest budgets, real measurements, and the eye-comfort tricks that matter most.

1. Start With Three Layers of Outdoor Reading Nook Lighting
Before you buy a single fixture, let me give you the formula behind every nook that actually works. Layer one is task light: a focused source 18 to 24 inches from the page, delivering roughly 300 to 500 lumens onto the book itself. That is the only layer doing real reading work. Layer two is ambient: a soft wash at about a third of that brightness, from string lights, a lantern, or a dim sconce, so your eyes are not jumping between a bright page and a black yard. That contrast jump is what tires eyes fastest, honestly. Layer three is low guidance: path lights or a gentle uplight that outlines the space and gets you back to the kitchen without a flashlight. Keep all three layers at 2700K warm white and put the task and ambient layers on separate switches or dimmers, because a breezy June evening and a still September one want different settings. Build the layers first, in that order, and every idea below becomes a simple way to fill one of them in.
Suggested budget range: $60 – $200.
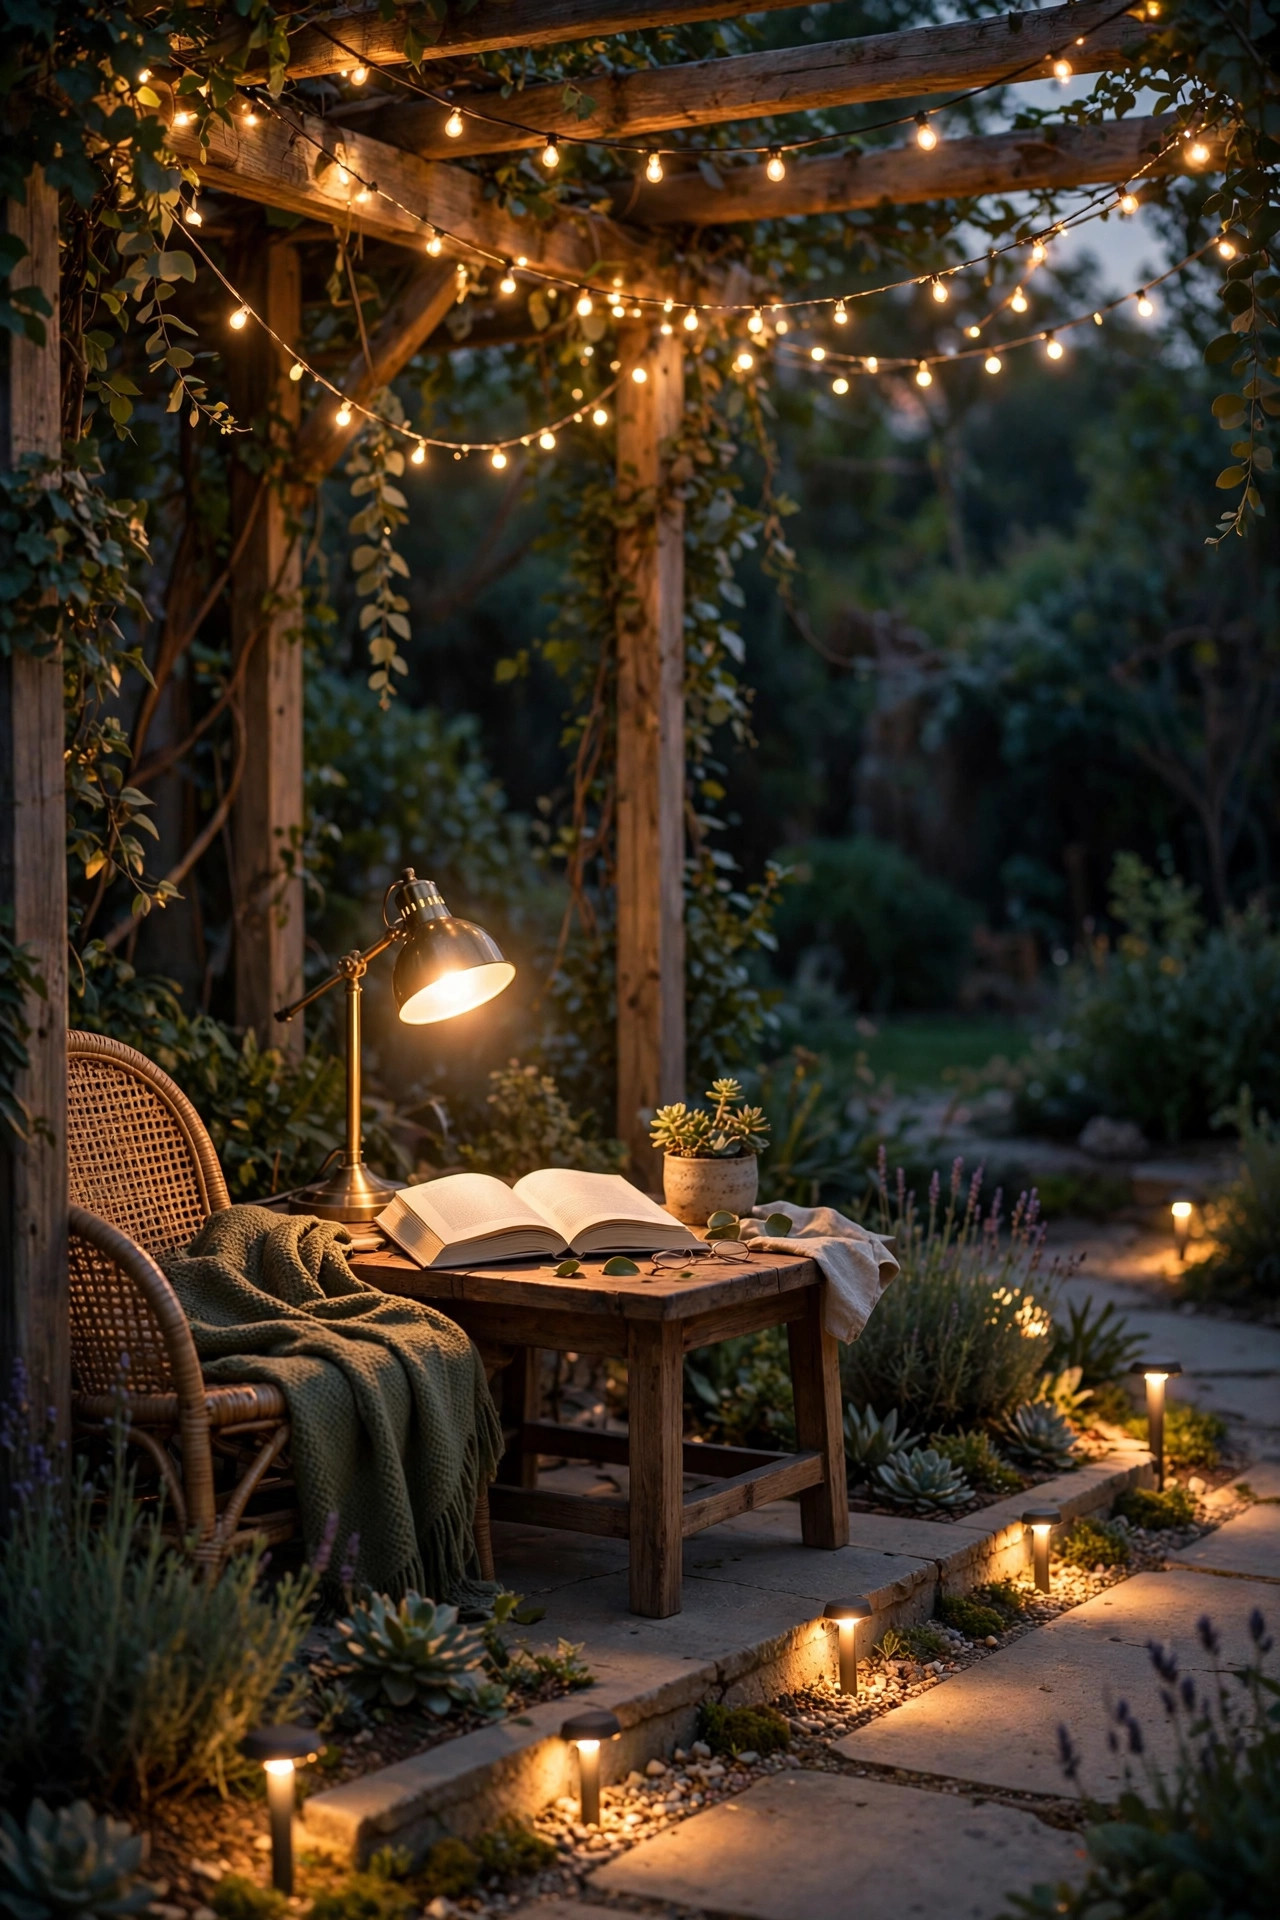
2. Mount a Reading Sconce Beside the Chair
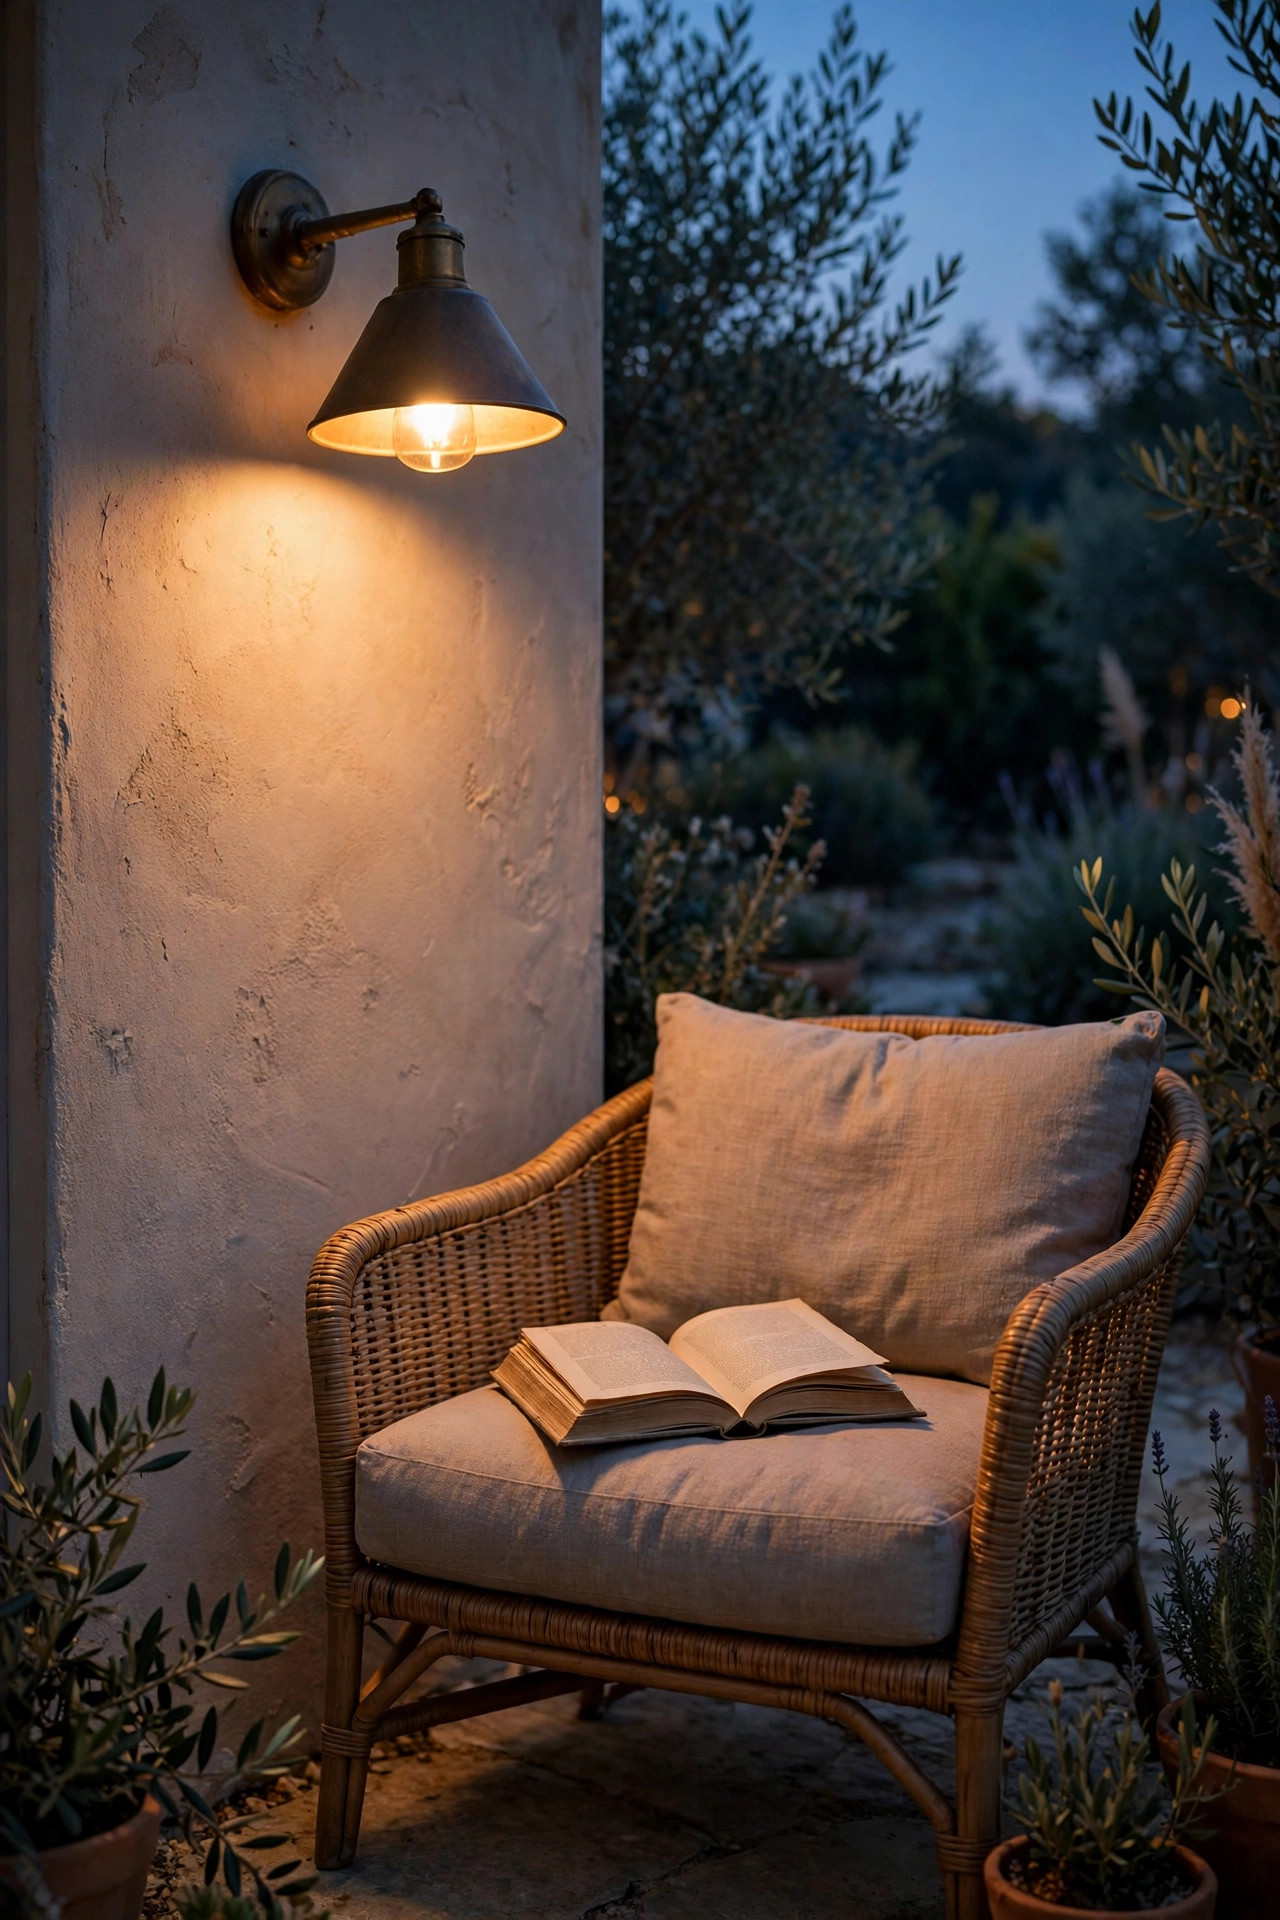
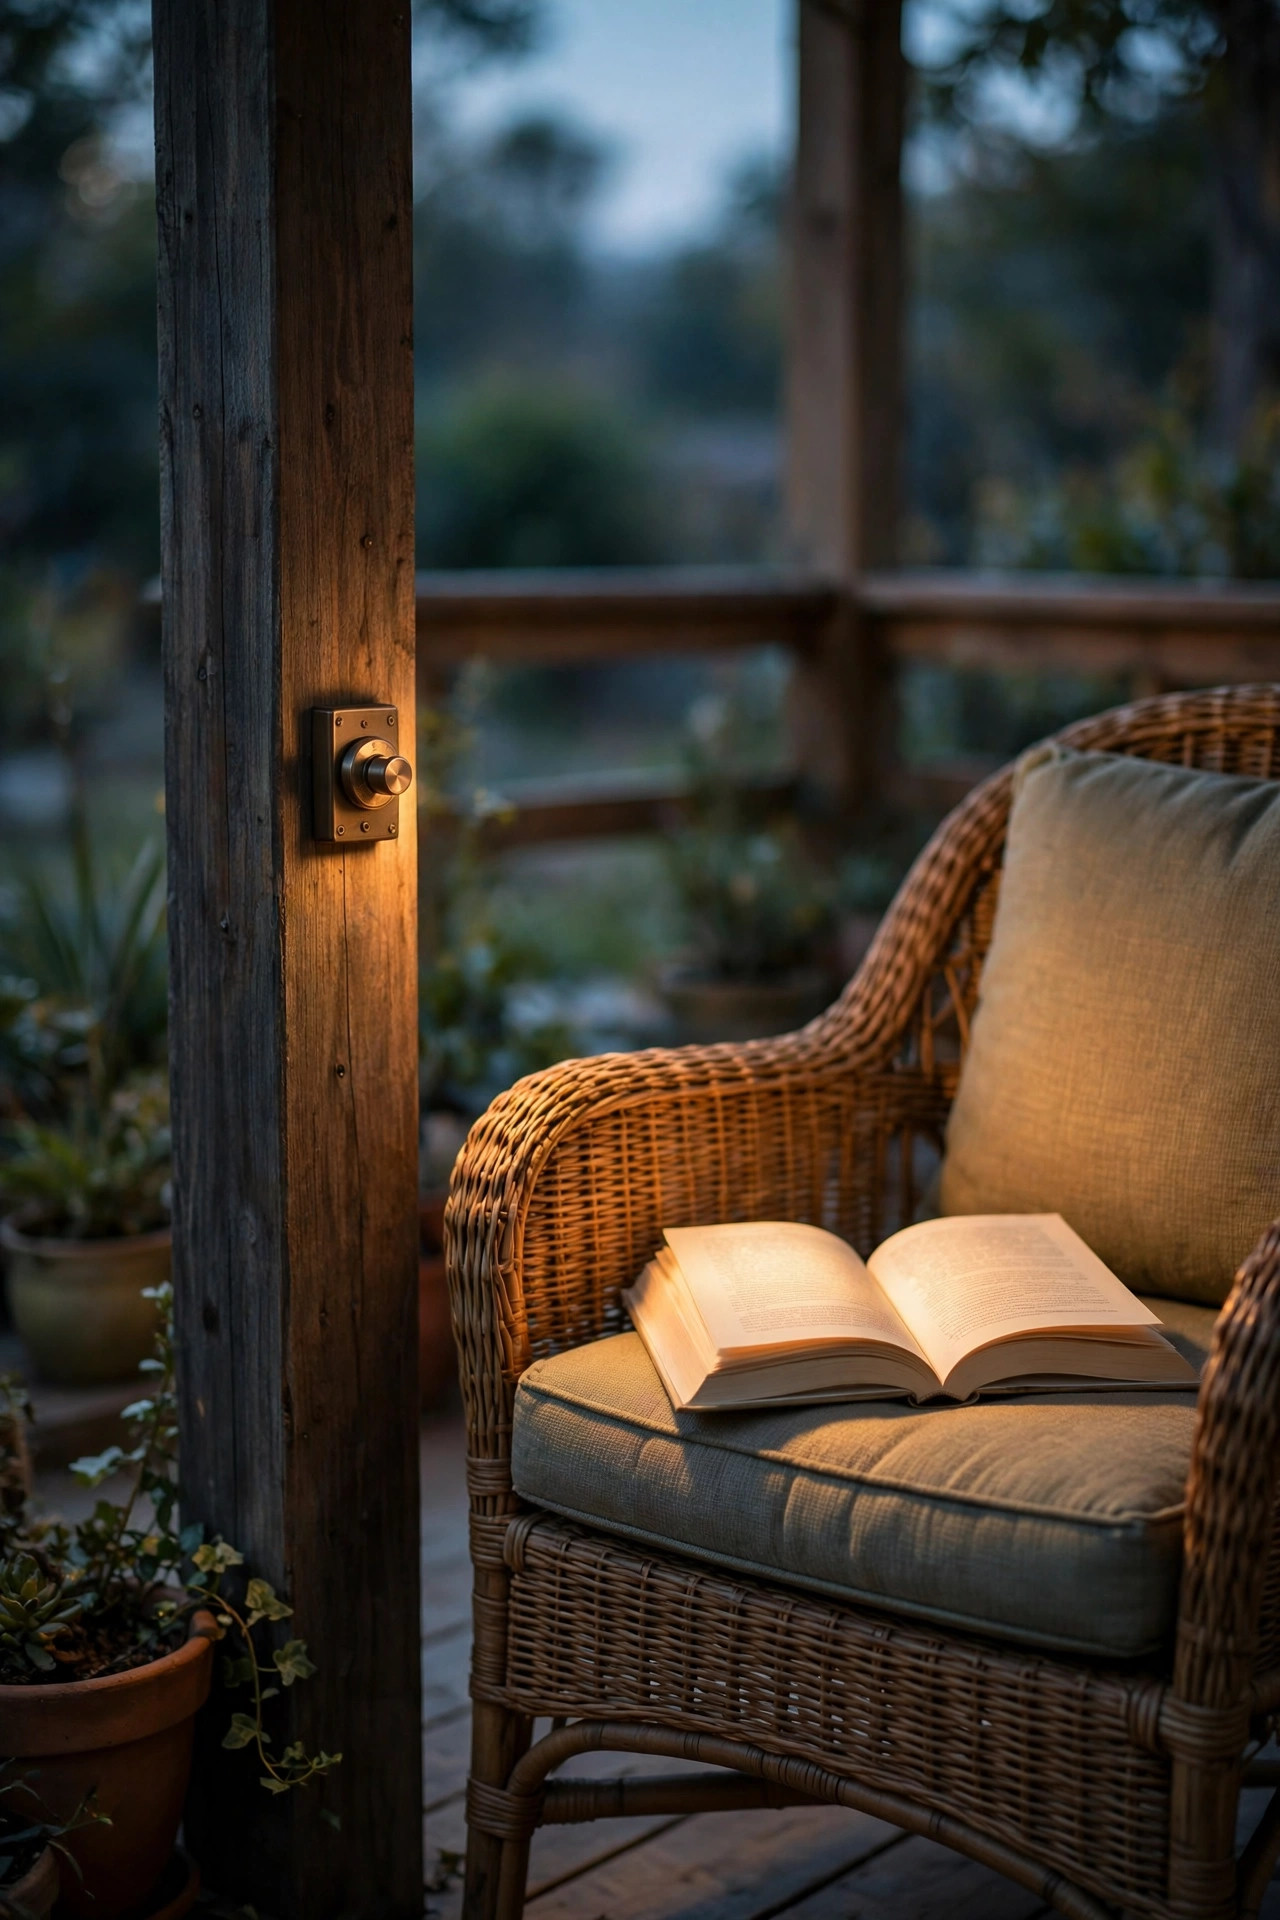
A wall sconce is the most reliable task light a nook can have, because it stays exactly where you aimed it, season after season. Mount it on the wall or post beside your chair, 48 to 60 inches off the floor, which puts the shade just above shoulder height when you are seated. Choose a fixture with an opaque or downward-facing shade so the light pools on your lap instead of your eyes, and angle it slightly behind your shoulder rather than in front of you. Hardwired is tidiest, but a plug-in sconce with a cord cover works fine and needs no electrician. Either way, the fixture must be rated for damp or wet locations, and anything hardwired belongs on a GFCI-protected circuit. In my experience a 450-lumen warm LED in a shaded sconce is the sweet spot: bright enough for a paperback with small print, gentle enough that you forget it is there. If your nook is a freestanding chair with no wall nearby, a sturdy fence post or pergola leg makes an equally good mounting spot.
Suggested budget range: $35 – $120.
3. Keep a Clip-On Book Light in the Basket
This is my cheapest idea and the one I reach for most on weeknights. A rechargeable clip-on book light with a flexible gooseneck gives you pinpoint light exactly on the page and nowhere else, which makes it perfect for a nook that shares space with people who want the evening dimmer than you do. Look for one with at least two brightness settings and a warm mode around 2700 to 3000K, plus an amber setting if you read late, since amber is noticeably gentler before bed. Clip it to the back cover of a hardcover, or to the chair arm for a paperback. The battery on most of these runs 20 to 60 hours per charge, and a USB recharge means no drawer full of button batteries. I keep mine in the basket with the throws, charged on the first of every month. One caution: these little lights are not weatherproof, so the basket lives under cover and the light comes inside during storms. For ten to thirty dollars, it solves more reading-light problems than fixtures ten times the price.
Suggested budget range: $10 – $30.

4. Set a Solar Lantern on the Side Table
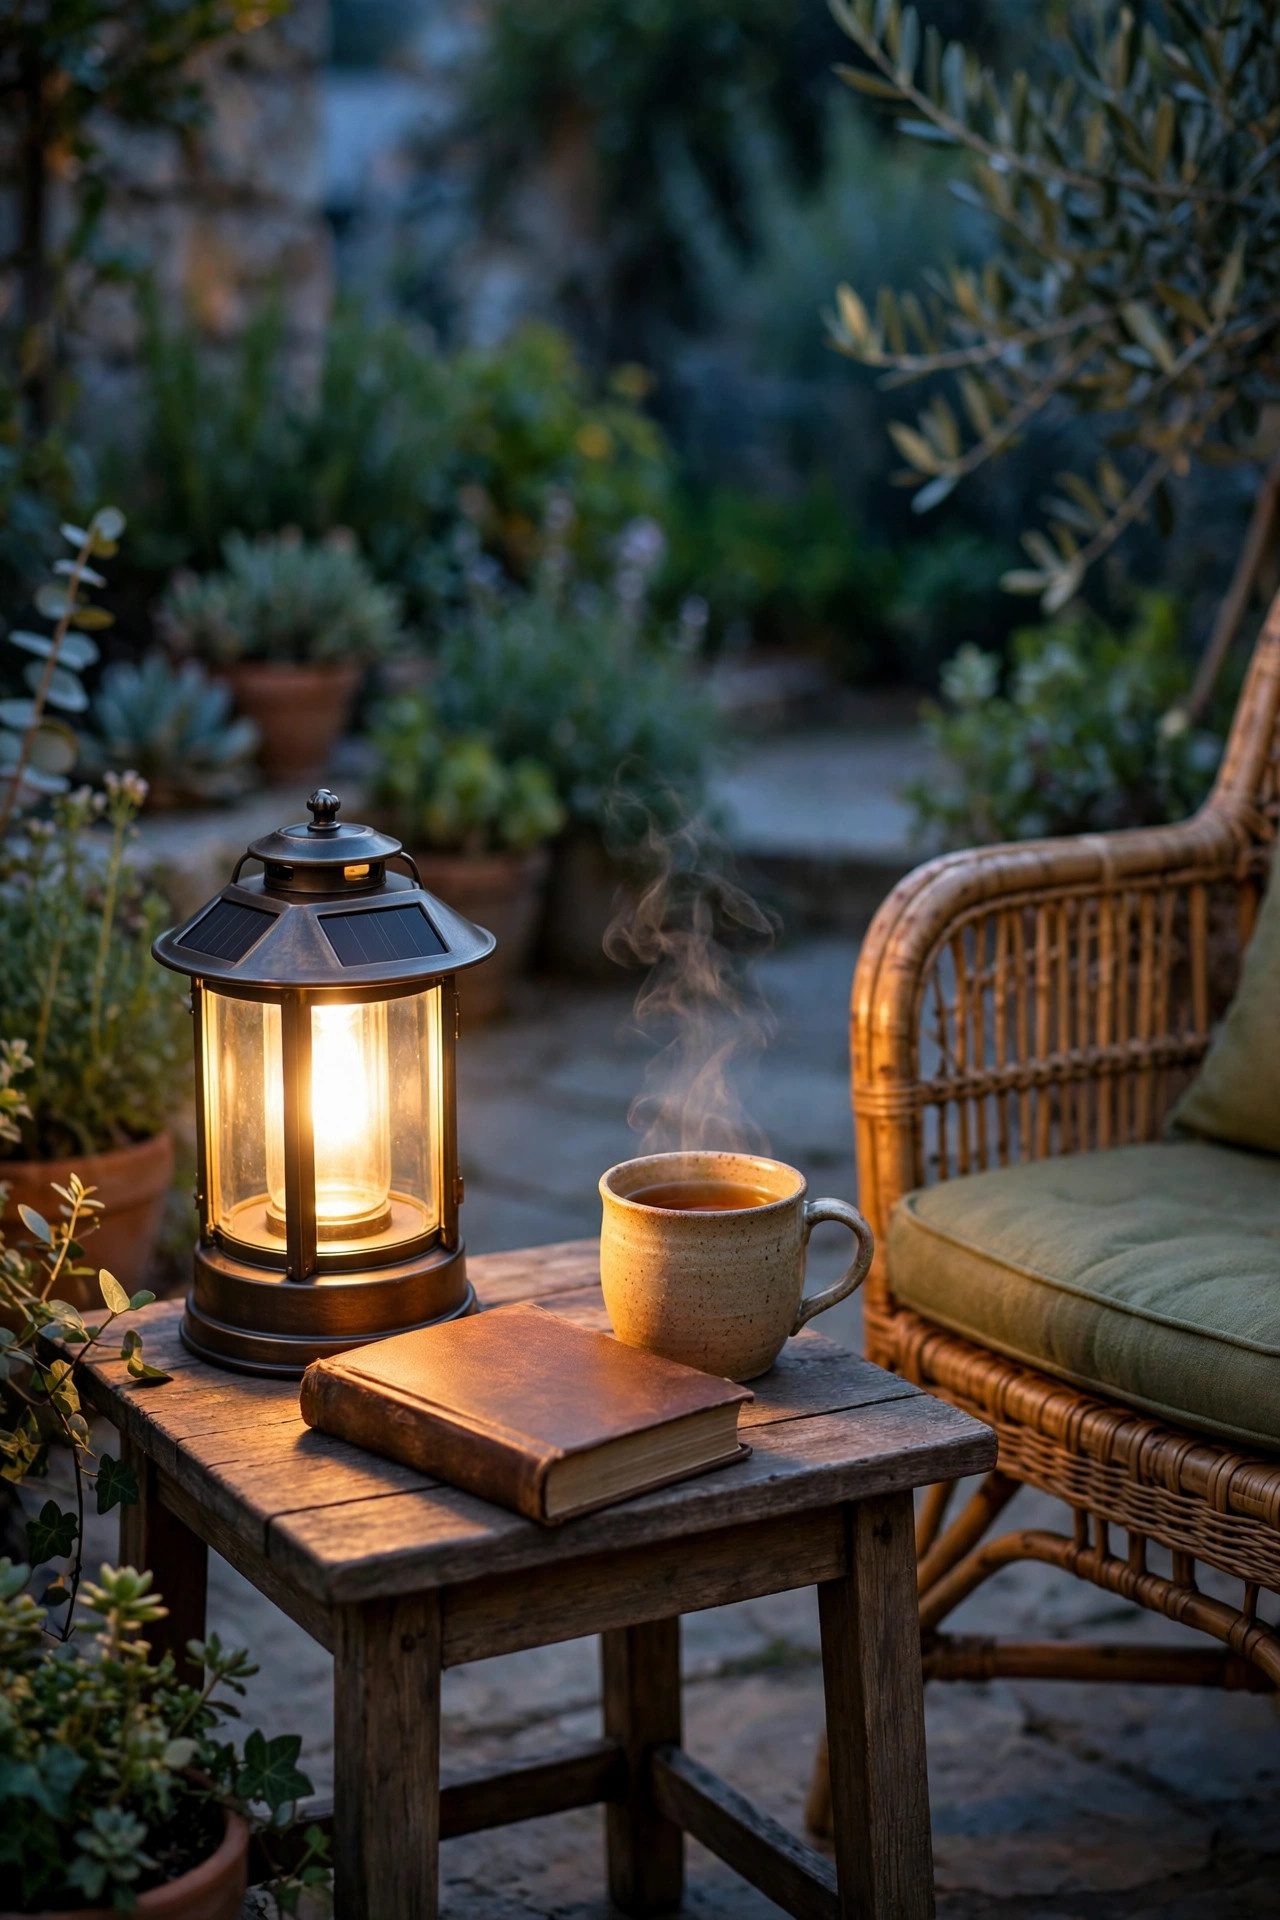
A side table without a light on it is a missed layer. A solar lantern parked there gives you the ambient glow that softens the contrast between your bright page and the dark garden, and it costs nothing to run. Most solar lanterns put out a modest 20 to 100 lumens, which is exactly right for ambience and exactly wrong for reading by, so treat this as layer two, never layer one. The trick is panel placement: the lantern needs six to eight hours of direct sun to charge, so if your nook sits in deep shade, choose a lantern with a remote panel on a cord and stake the panel out in the sun while the lantern stays in the shade. Flicker-effect solar lanterns that mimic candlelight are lovely here, just keep the flicker subtle, because a strobing table light will fight your eyes while you read. Wipe the panel monthly; a dusty panel quietly halves your runtime by midsummer, in my experience.
Suggested budget range: $15 – $45.
5. Drape Bistro String Lights Overhead for the Ambient Layer
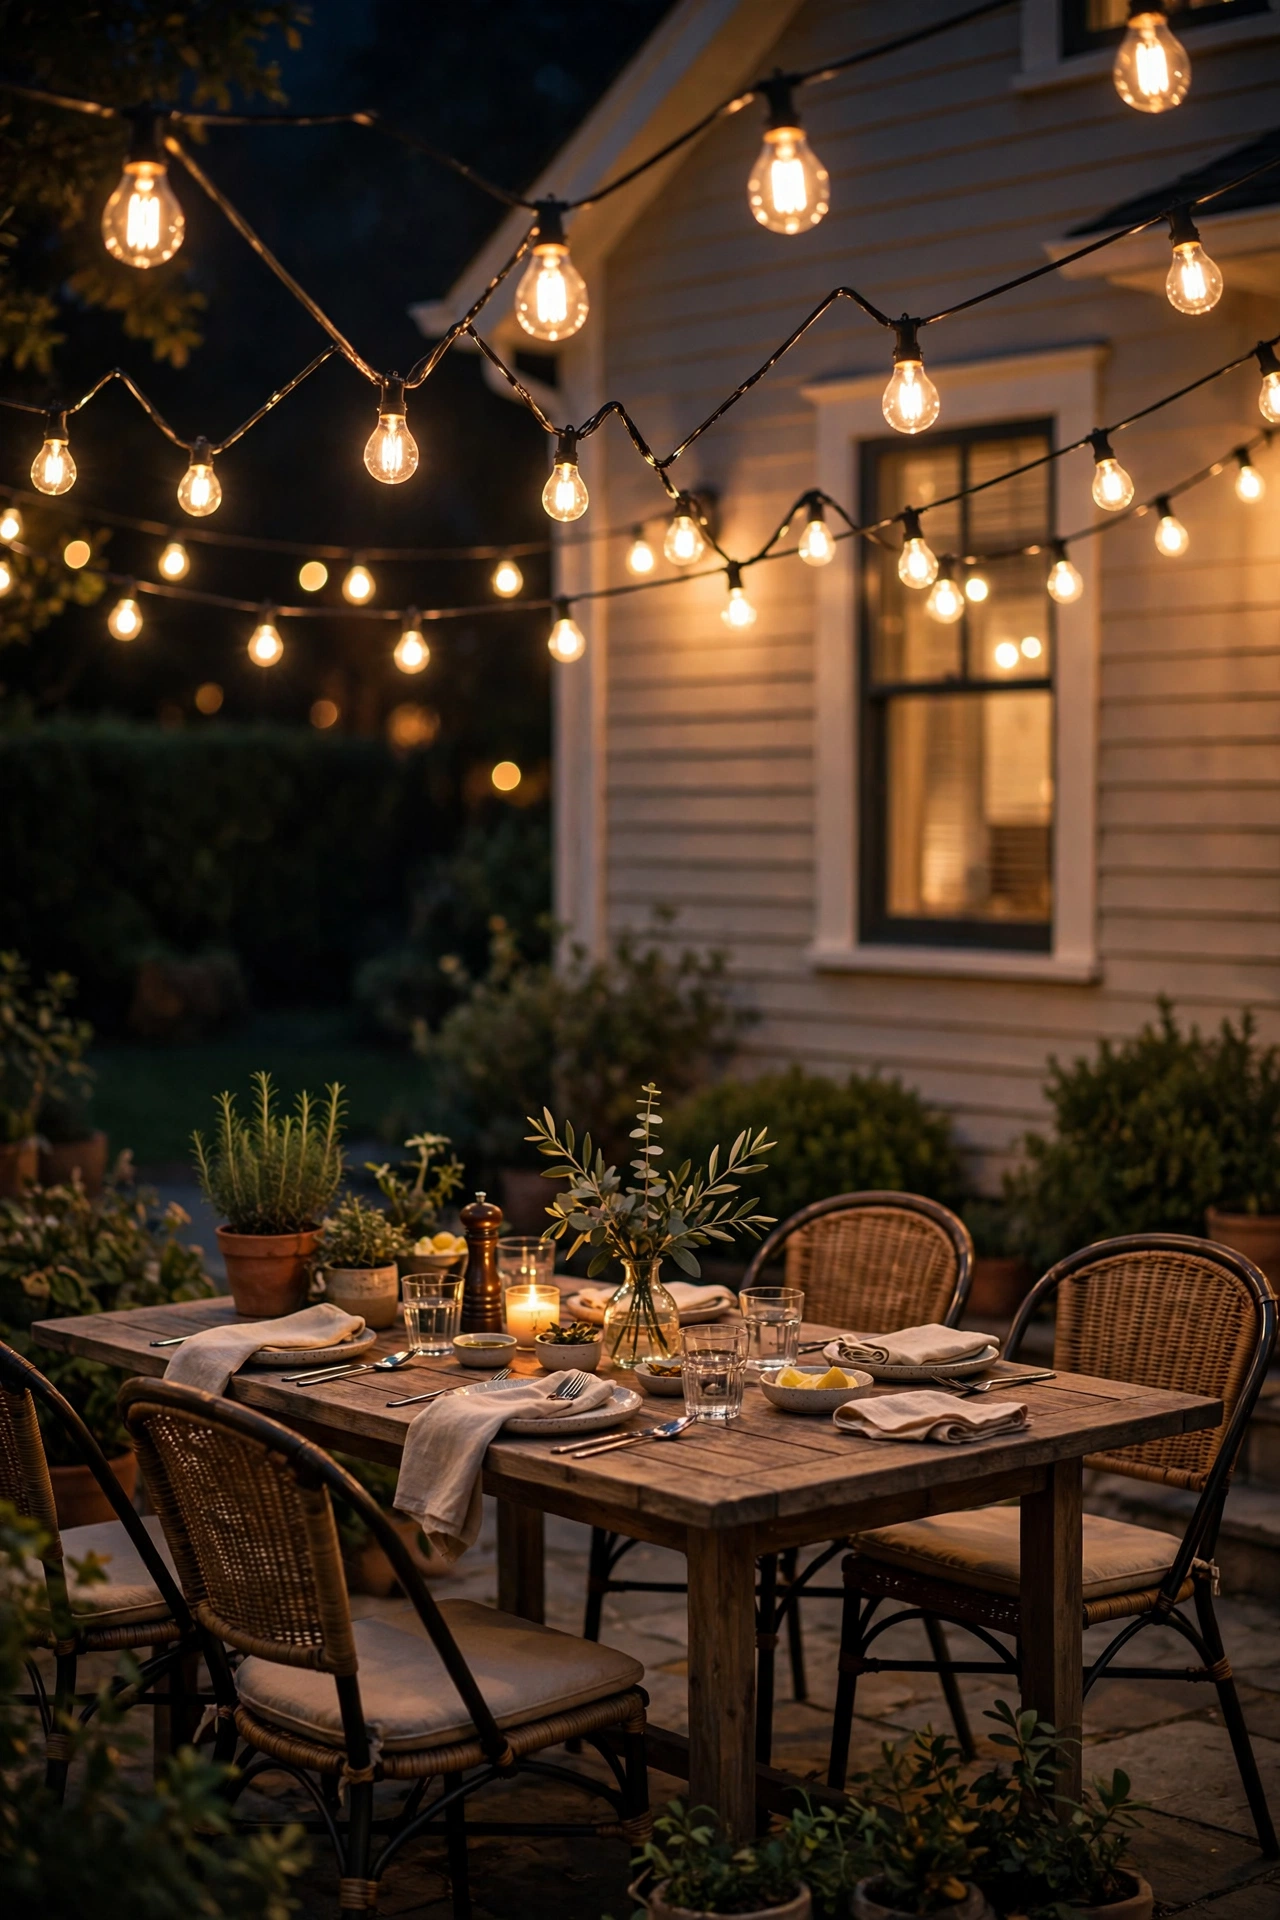
One or two strands of string lights overhead turn a chair in a corner into a destination, and they are my favorite way to build the ambient layer. The reading-specific rules are what matter. Hang the strands 7 feet or higher so no bulb sits in your sightline when you look up from the page, and route them behind or beside the chair rather than directly overhead, because a bulb right above you creates a bright reflection on glossy pages. Shatterproof LED filament-style bulbs are non-negotiable over a seating area, and warm 2700K keeps the glow flattering. One 24 to 48 foot strand is plenty for a nook; more than that and the corner starts to feel like a patio party. My full roundup of bistro string light ideas covers hanging hardware and spacing in detail. On their own these strands are ambient only, around 50 to 100 lumens per bulb spread wide, so always pair them with a real task light from idea one or two.
Suggested budget range: $25 – $80.
6. Choose Warm 2700K Bulbs and Skip the Daylight Tones
Color temperature is the single biggest eye-comfort decision in this whole post. Bulbs are sold by Kelvin rating: 2700K is warm and golden, 5000K and up is blue-white daylight. Daylight bulbs outdoors at night feel harsh, flatten the garden into a parking lot, and make white pages glare. Every bulb in my nook, task, ambient, and path alike, is 2700K, and I recommend you hold that line with no exceptions, because mixing temperatures is what makes a corner feel restless even when each light is fine on its own. If you read on an e-reader or tablet too, warm light matters double, since a cool bulb reflected in a glossy screen adds a second glare source. Check the box before you buy: plenty of outdoor bulbs are quietly 4000K, and they sneak in looking fine at noon and feeling clinical at nine. A high color-rendering rating, CRI 90 or above, is worth the small premium on your main reading bulb, because print contrast reads crisper under it.
Suggested budget range: $10 – $40.
7. Put the Task Light on a Dimmer and Find Your Level
Brightness is personal, and it changes with the book, the hour, and how tired your eyes are, so a fixed-brightness reading light is always a compromise. A dimmer fixes that in one evening. If your sconce or lamp is hardwired, an outdoor-rated inline dimmer or a dimmable smart bulb does the job; plug-in fixtures can run through a plug-in dimmer switch instead. Here is how I set mine: I start the evening around 70 percent, when the sky still gives some light, and ease down toward 40 percent as full dark arrives, which keeps the page-to-surroundings contrast steady instead of letting the page become a glowing island. That steady, gentle contrast is the whole secret to reading outside for two hours without a headache. Watch out for cheap dimmers that make LED bulbs buzz or flicker at low settings; a flickering page light is worse than none. My guide to dimmable outdoor light ideas walks through the compatible-bulb details if you hit that snag.
Suggested budget range: $15 – $60.
8. Bring In an Outdoor Floor Lamp Behind Your Shoulder
When there is no wall for a sconce, a floor lamp made for outdoor use is the next best task light, and placing it correctly matters more than the model you pick. Stand it behind and slightly to the side of your chair, on the opposite side from your turning hand, so light falls over your shoulder onto the page the way a good indoor reading lamp does. The shade bottom should sit roughly at ear height when you are seated, which hides the bare bulb from your eyes while keeping the page lit. Insist on a wet-location rating, a weighted or stake-down base so summer storms do not topple it, and a cord you can route along a wall or under a deck edge rather than across a walkway. Output of 800 to 1,100 lumens with a warm bulb sounds like a lot, but the shade and distance tame it to a comfortable pool on the book. I always recommend plugging any outdoor lamp into a GFCI outlet, no exceptions.
Suggested budget range: $60 – $180.

9. Tuck Fairy Lights Into the Hedge Behind the Chair
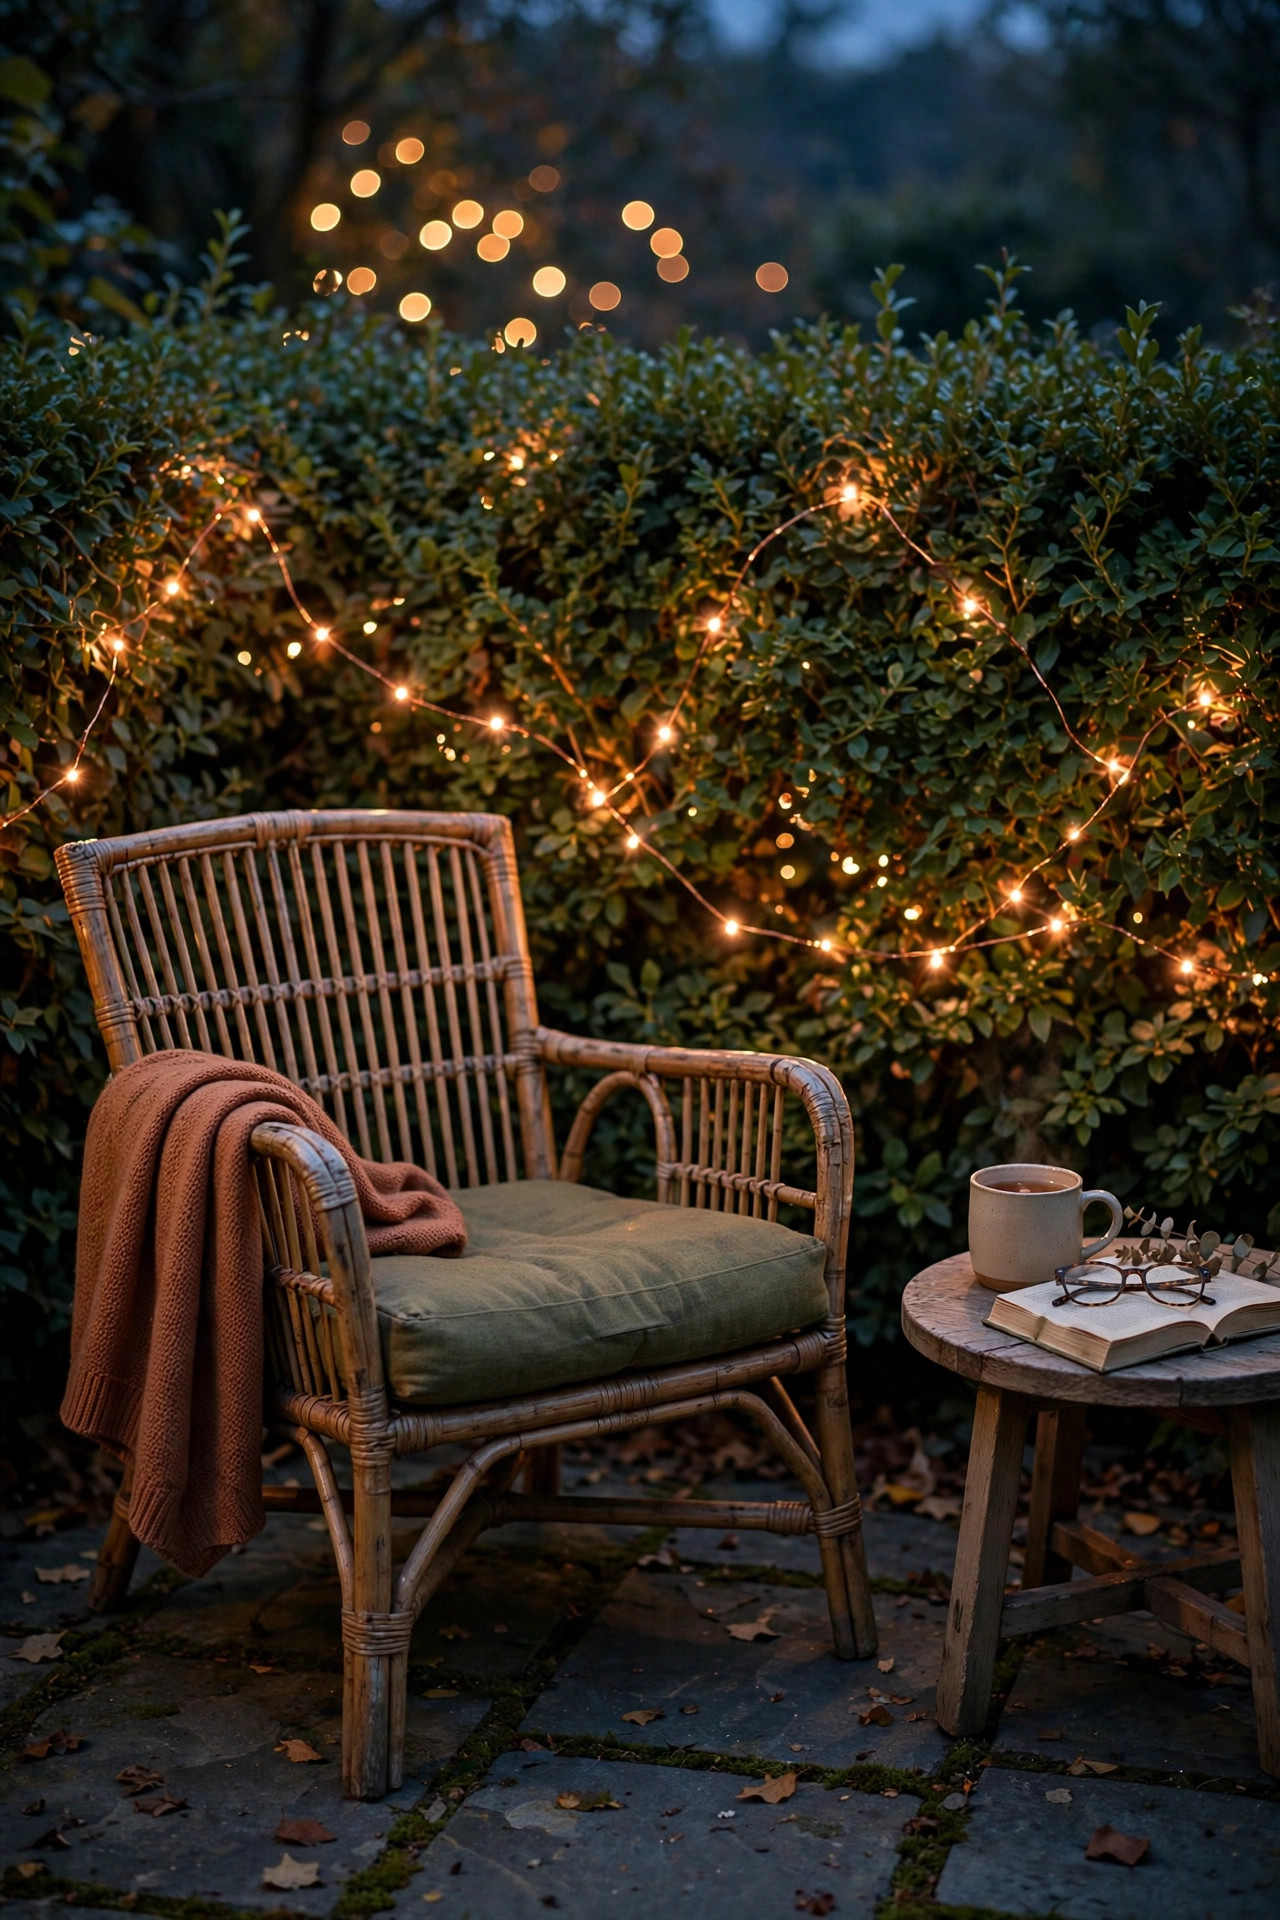
Every nook needs one light that does no work at all and simply makes the corner feel enchanted. Copper-wire fairy lights woven loosely through the hedge, trellis, or climbing vines behind your chair are mine. They throw almost no usable reading light, and that is the point: they give your eyes a soft, sparkling middle distance to rest on when you look up from the page, which genuinely reduces fatigue over a long chapter. Use the warm-white version, never the cool blue-white, and keep the twinkle or fade modes off while you read; steady-on is restful, blinking is not. A 33-foot battery or solar strand is usually enough to dress a nook backdrop, and the thin wire disappears against foliage in daylight. Solar versions with the panel staked into a sunny gap are the zero-effort option here. Because these sit at eye level behind you rather than in front, glare is never an issue. Battery strands are not fully weatherproof at the pack, so tuck the battery box inside a small waterproof pouch or under the chair cushion edge.
Suggested budget range: $10 – $35.
10. Cluster Flameless Candle Lanterns for Flicker Without Fire
Real candles near paperbacks, throws, and a reader who might doze off is a risk I will not take, but I refuse to give up the flicker. Flameless LED candle lanterns are the compromise that turned out to be no compromise at all. Group three lanterns at staggered heights on the floor beside the chair or along a low wall, and the moving glow makes the whole corner feel alive without adding glare to your page. Most run on timers, five hours on and nineteen off, so the nook lights itself at dusk and I never think about it. Choose real wax-look pillars inside glass or metal lanterns rated for outdoor use, and keep the flicker setting on its slowest, softest mode. These contribute ambience only, maybe 15 to 40 lumens each, so they belong firmly in layer two. One safety rule still applies: even flameless candles should sit on a stable surface where a curious dog or a gust through the gate cannot knock them into dry mulch.
Suggested budget range: $12 – $40.

11. Light the Path to the Nook So the Trip In Feels Easy
A reading nook you have to stumble toward in the dark loses half its magic before you sit down. A short run of low path lights from the door to your chair fixes the trip and quietly defines the nook as its own little room. Solar stake lights are the easy route: space them 4 to 6 feet apart, stagger them rather than lining them up like a runway, and choose models with shaded or downward-facing heads so the light lands on the path instead of in your eyes. About 30 to 80 lumens per stake is plenty; brighter path lights start to compete with your reading light and flatten the mood. If your nook sits at the end of a deck, low step lights along the edge do the same job. I keep this layer on its own photocell timer so the path wakes up at dusk whether or not I read that night. It is layer three of the formula, pure guidance, and it makes the whole corner feel intentional.
Suggested budget range: $20 – $70.

12. Hang a Shaded Pendant Over a Covered Nook
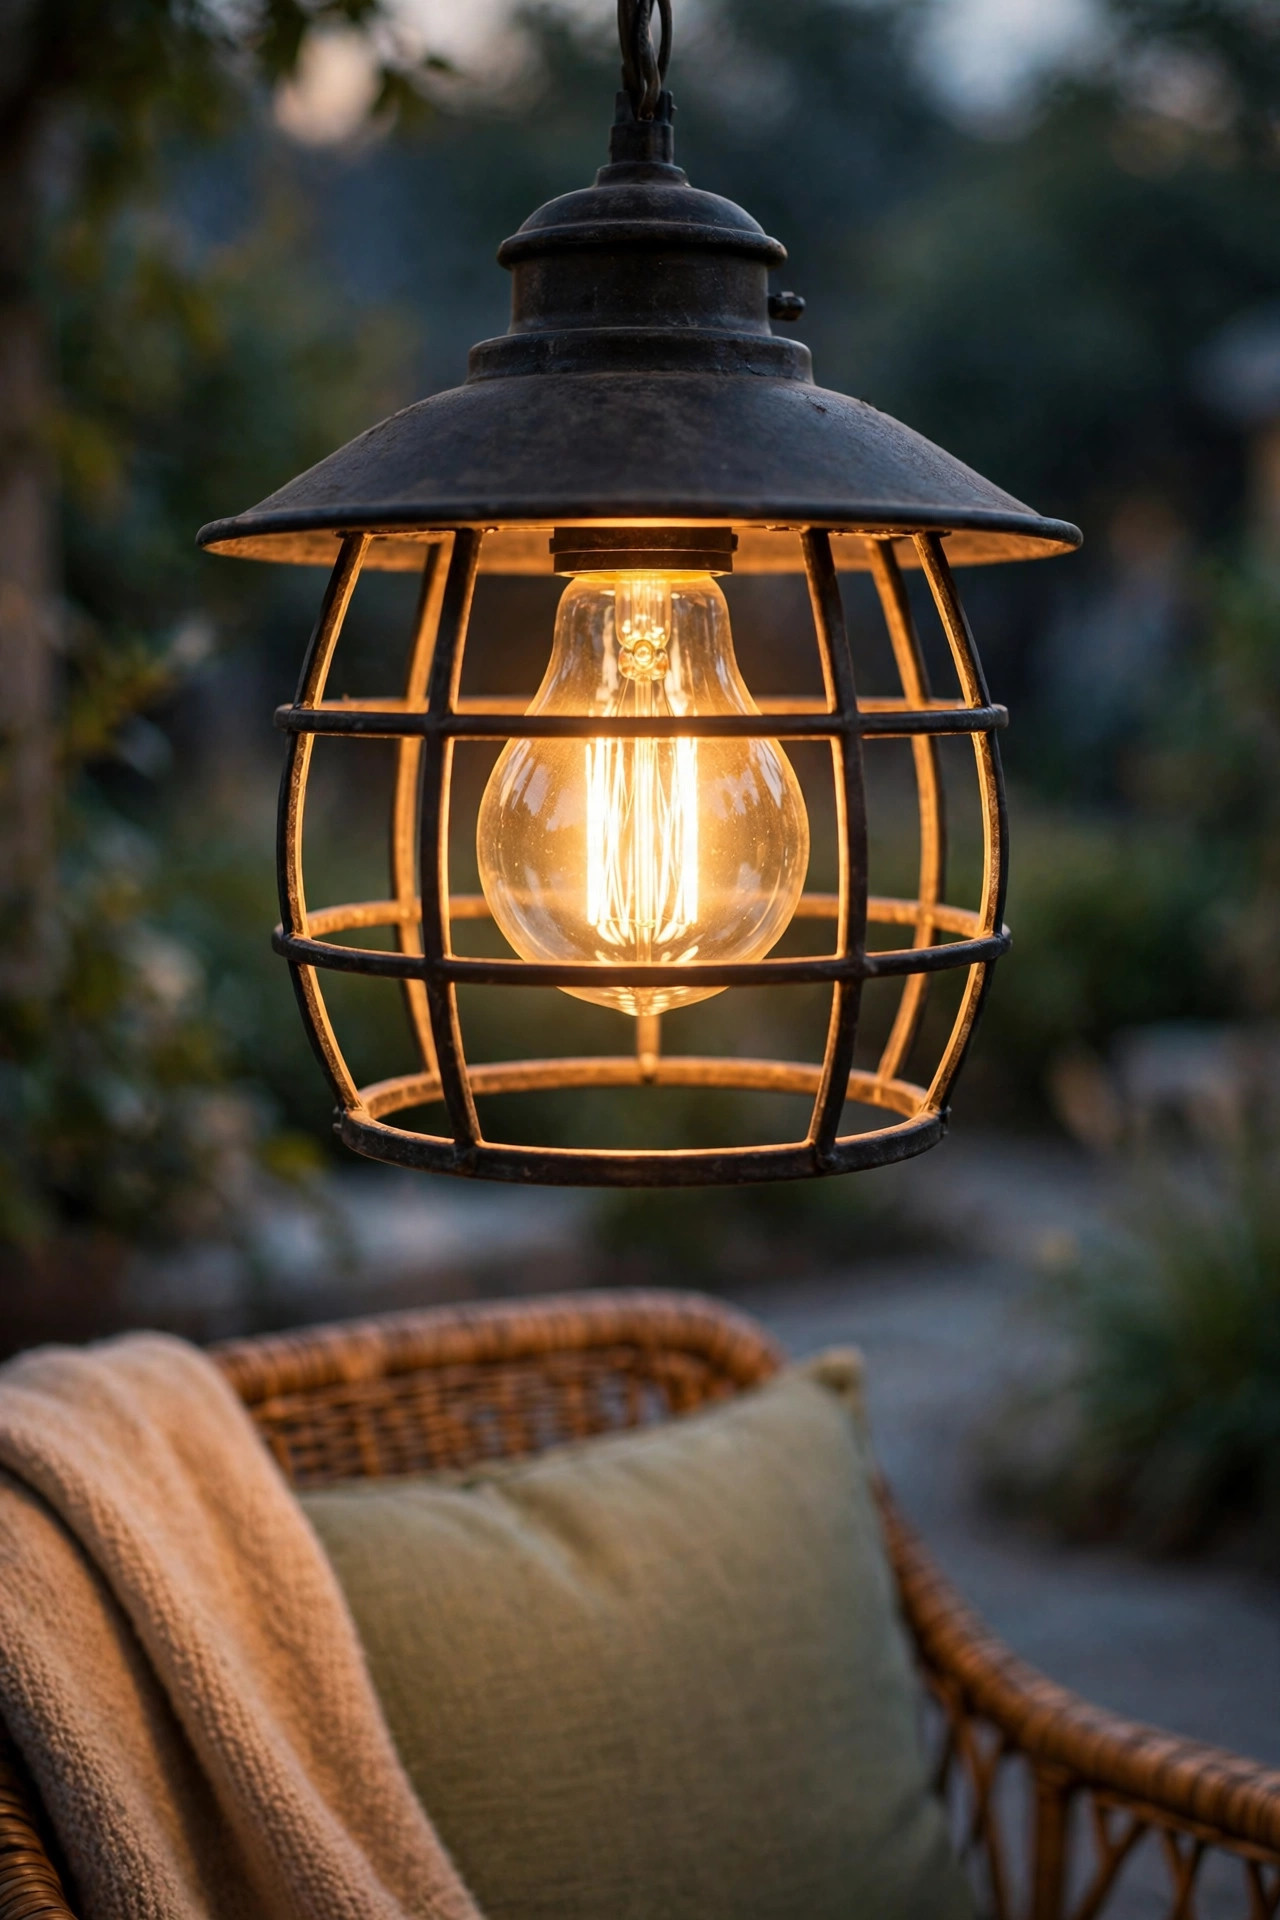
If your reading corner lives under a porch roof, pergola, or gazebo, a shaded pendant is the most handsome task light you can give it. Hang the fixture so the shade bottom sits 30 to 36 inches above your side table, or centered about 5 feet above the chair if it lights the whole seat, and always choose a shade deep enough that the bulb hides inside it from a seated eye line. That hidden bulb is everything: you get a generous pool of downward light with zero direct glare, and the pages stay evenly lit edge to edge. A pendant rated for damp locations is fine under a solid roof, but an open pergola calls for a full wet-location rating. Put it on a dimmer if you can, following the same ease-down routine from idea seven. In my experience this is the setup that makes guests say the nook feels like a boutique hotel porch. Chain-hung pendants sway in wind, so a short rigid stem is the calmer choice in breezy yards.
Suggested budget range: $45 – $150.

13. Switch to Amber Bulbs Where the Bugs Gather
Nothing ends a reading session like a cloud of moths orbiting the lamp and dive-bombing the page. Amber or yellow bug-light bulbs genuinely help, because most flying insects are drawn to the blue and ultraviolet end of the spectrum and largely ignore warm amber. Swapping your ambient fixtures, the string lights and the path lights, to amber tones can cut the crowd around your chair dramatically while keeping the corner golden. Here is the honest tradeoff: amber light is poor for reading, since it flattens print contrast, so keep your task light warm white at 2700K and let only the surrounding layers go amber. A second trick I always recommend is the decoy: place one brighter white light 20 to 30 feet away from the nook, near the far fence, and the insects that do show up will gather there instead of with you. Between the amber layers and the decoy, I get through most summer nights with nothing worse than the occasional beetle investigating my bookmark.
Suggested budget range: $8 – $25.
14. Try a Rechargeable Cordless Table Lamp for No-Outlet Nooks
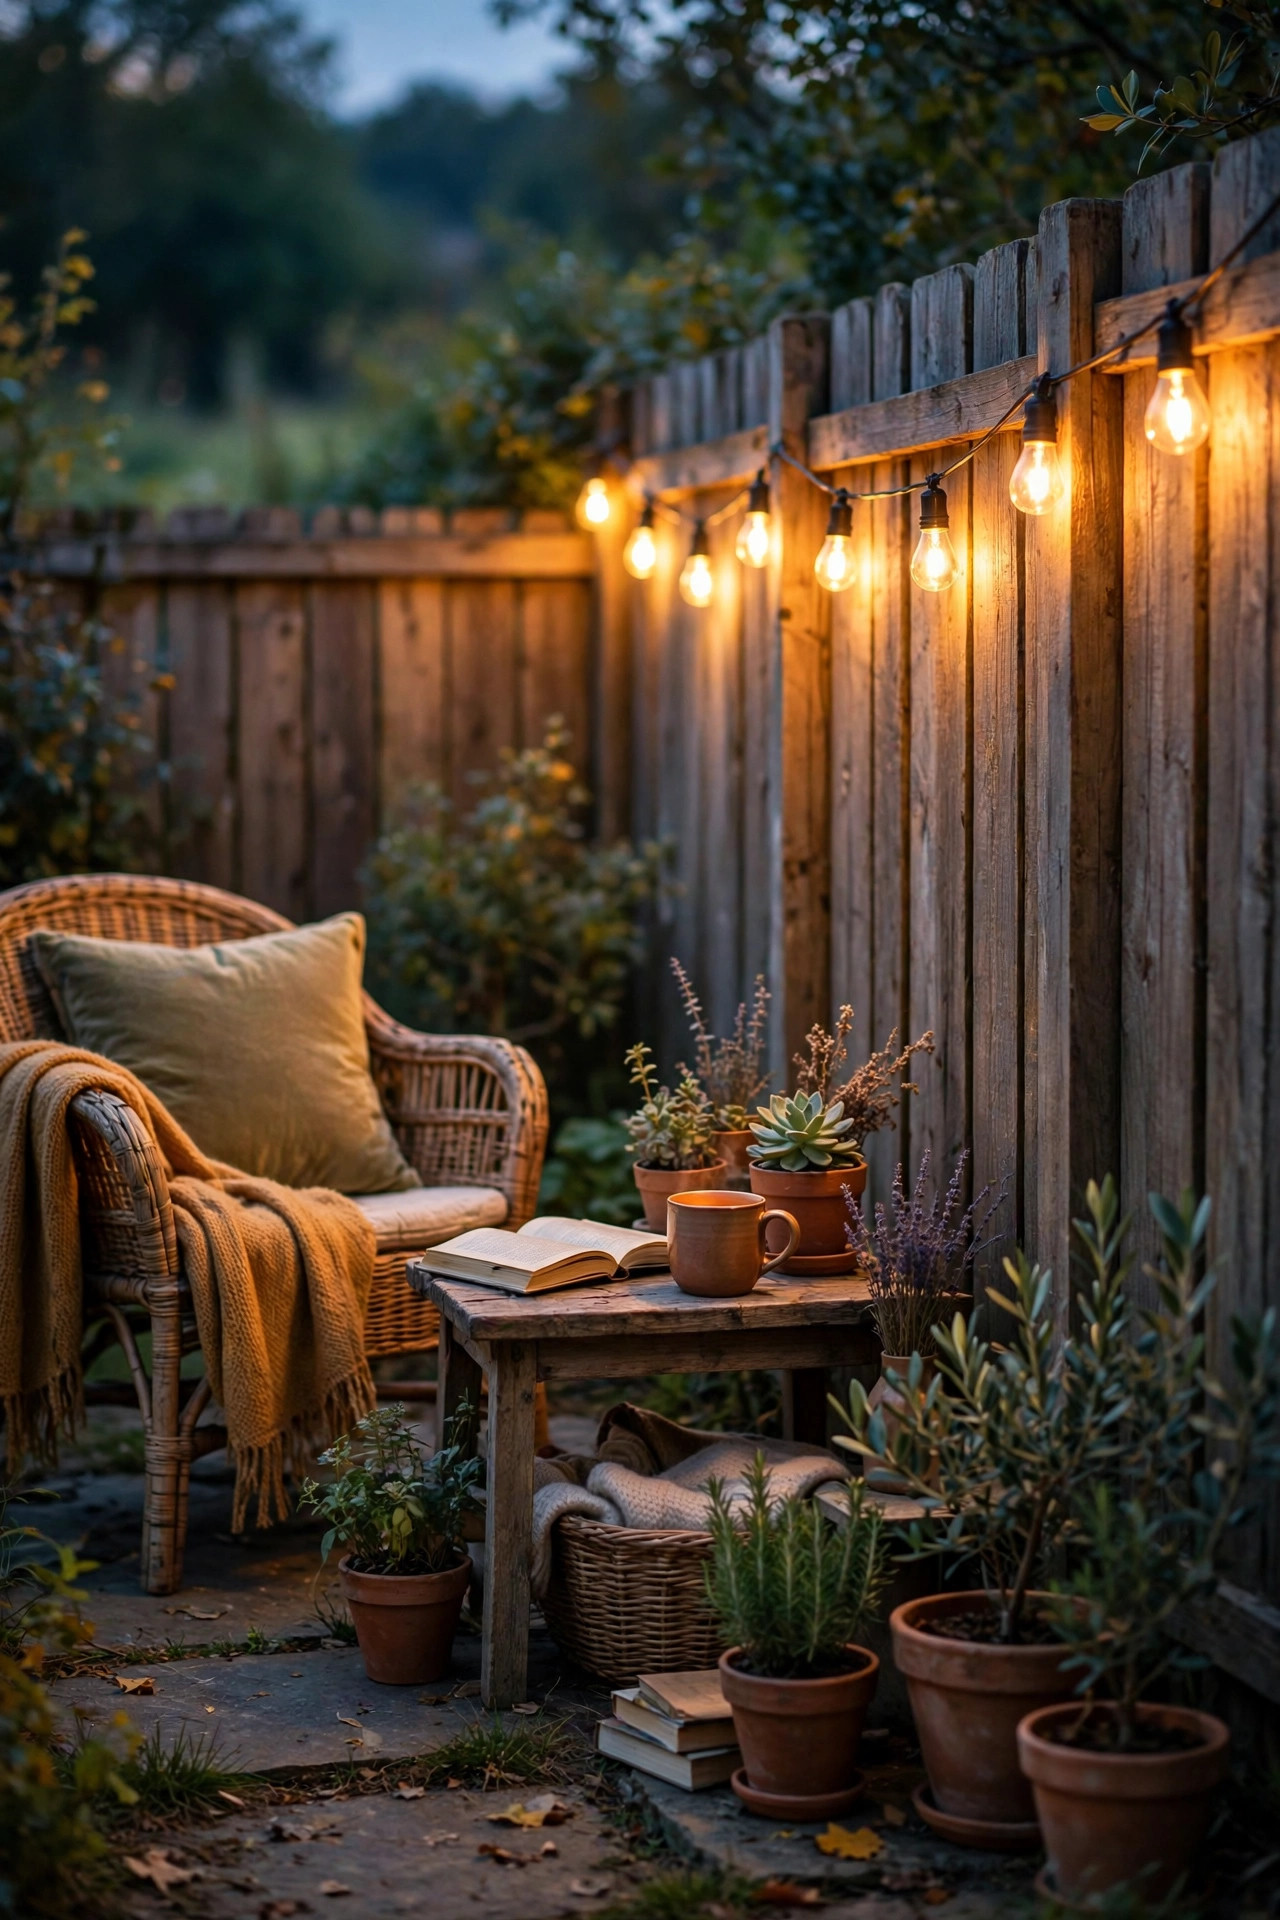
Some of the best reading corners, a bench under the big tree, a hammock stand, the far end of the garden, have no outlet anywhere near them, and running an extension cord across the lawn is both ugly and a tripping hazard. A rechargeable cordless table lamp built for outdoor use solves it cleanly. Look for at least three brightness levels topping out around 300 to 400 lumens, a warm 2700K setting, and a battery rated for 10 or more hours at reading brightness so it survives a long weekend of evenings. Charge it indoors on a Sunday and it lives on the side table all week. The better models are genuinely weatherproof, but I still park mine under the chair cover during storms, because charging ports and rain are uneasy friends. Set it 12 to 18 inches from the book, slightly behind the page line, and it performs like a little shaded sconce you can carry anywhere. Renters and anyone not ready to commit to wiring, start here.
Suggested budget range: $25 – $70.

15. Wash the Fence or a Tree With One Soft Uplight
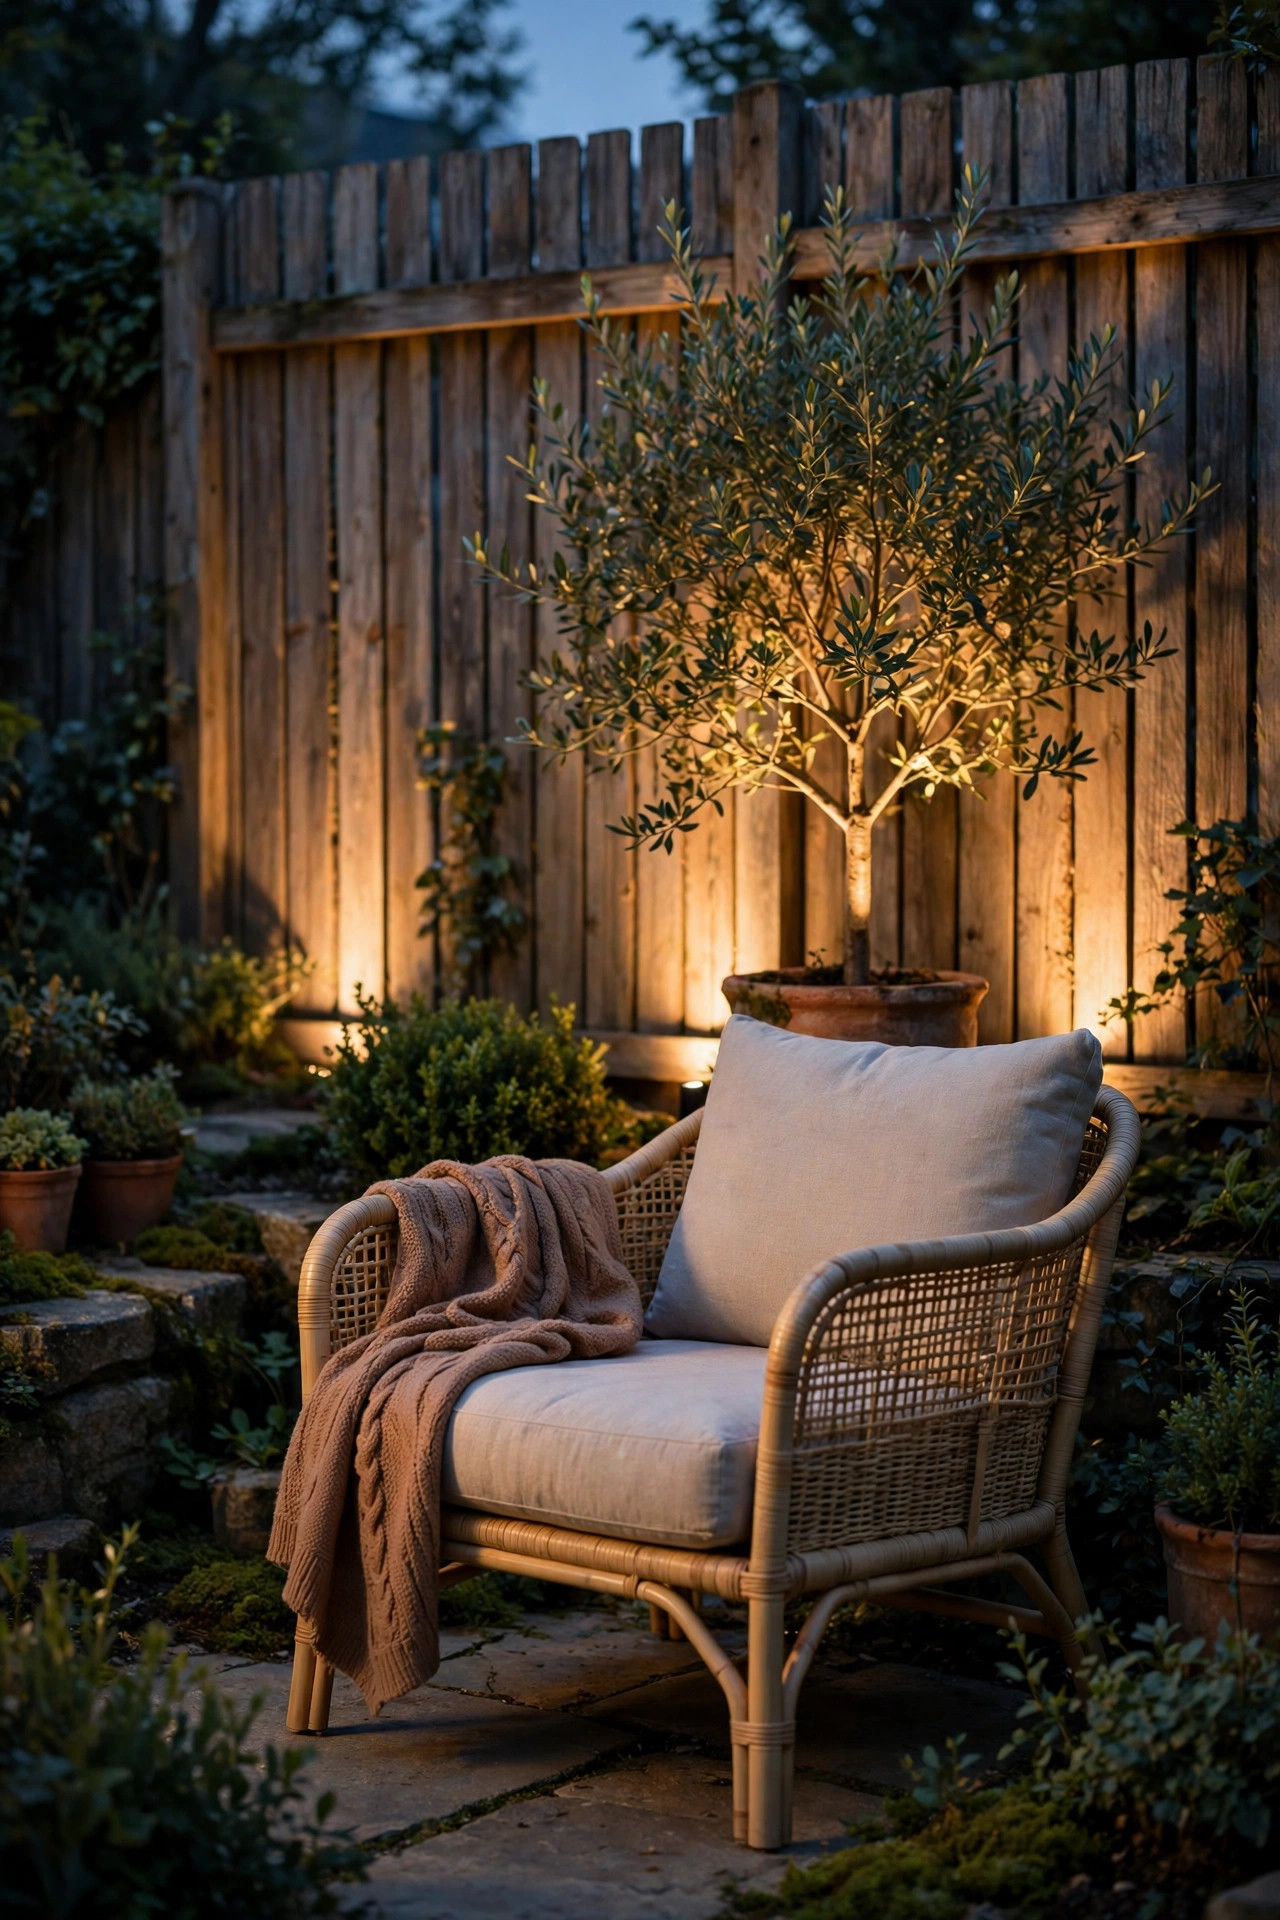
This is the layer nobody believes in until they try it. A single low-voltage spotlight aimed up into a small tree, or washed flat across the fence behind your chair, bounces a faint glow back into the nook and erases the black-void feeling at the edge of your vision. Your eyes relax when the world beyond the page is dim rather than pitch dark, and reading sessions quietly get longer. Keep it subtle: a 100 to 200 lumen fixture with a wide beam, aimed so the bright hotspot never lands where you can see it directly from the chair. Sit in the chair at night and check before you bury the cable, because an uplight glaring from the corner of your eye is worse than darkness. Low-voltage systems are forgiving DIY, with cable you can run under mulch and connectors that need no tools. If the nook already has a landscape system nearby, tapping in one fixture is an afternoon project at most.
Suggested budget range: $20 – $90.
16. Set the Whole Nook on a Timer So It Greets You at Dusk
The best reading light is the one already on when you wander out with your book and a drink. Putting the nook on a timer or smart plug means the layers fade up at dusk like the corner has been expecting you, and shut off at a set hour so nothing burns till dawn after you have gone inside. An astronomical timer is my favorite here, because it tracks sunset through the seasons and you set it once in spring and forget it. Smart plugs add dimming schedules and a remote override from the couch for the nights you read past the timer, just be sure the plug itself is rated for outdoor use or lives in a weatherproof box. Keep the path lights on their own simple photocell so they stay independent. One practical note: put the task light on the same schedule but at its dimmer preset, so the corner wakes up at evening levels instead of blasting at full brightness.
Suggested budget range: $12 – $45.

17. My Full Outdoor Reading Nook Lighting Recipe, Start to Finish
Here is the whole formula in one place, the exact stack I would build if I started a new nook tomorrow. First, the task layer: a shaded sconce or cordless lamp at shoulder height, 300 to 500 lumens, 2700K, on a dimmer. Second, the ambient layer: one strand of string lights behind the chair plus a solar or flameless lantern on the side table, both warm, both steady. Third, the backdrop: fairy lights in the hedge or one soft uplight washing the fence, so the dark has depth instead of edges. Fourth, the guidance layer: three or four low path lights from the door, on a photocell. Fifth, comfort control: amber bulbs in the ambient fixtures during peak bug season and a decoy light at the far fence. Total damage lands between a modest weekend splurge and a full season budget, and every piece can be added one paycheck at a time. Build the task layer first, because good outdoor reading nook lighting always starts at the page.
Suggested budget range: $120 – $350.
Frequently Asked Questions
What color temperature is best for reading outdoors?
Warm white at 2700K is the sweet spot for most readers. It is golden and relaxing, keeps white pages from glaring, and matches the rest of your evening garden lighting so the nook feels like one scene. Cooler 4000K and 5000K daylight bulbs can feel brighter on paper at first, but outdoors at night they read as harsh and clinical, and they tire eyes faster over a long session. Whatever you choose, keep every layer in the nook at the same temperature.
How many lumens do I need to read a book outside comfortably?
Plan on 300 to 500 lumens landing on the page itself from your task light. That matches what most people find comfortable for print indoors, and it accounts for some light lost to the open air. A 450-lumen shaded sconce or a cordless lamp at its top setting about 18 inches from the book lands right in that range. If you read large print or mostly use a backlit e-reader, you can sit happily at the lower end.
Can solar lights be bright enough for reading?
For the task layer, no, not reliably. Most solar fixtures deliver 20 to 100 lumens and fade as the battery drains, which is fine for ambience and path lighting but leaves you squinting at a page. Use solar for the lantern on the table, the path stakes, and fairy lights, where its free running cost shines, and give the actual reading light a battery you charge indoors, a plug, or a hardwired connection. That split is the setup I recommend to everyone.
How do I keep bugs away from my reading light?
Three things together work best. Use amber bulbs in the ambient fixtures around the chair, since most night insects ignore amber light. Keep your brighter warm-white task light small and shaded so it draws less attention. Then set a decoy: one brighter light 20 to 30 feet away pulls the crowd to the far fence instead. A small fan on the side table is the final trick, since weak fliers cannot hold position in moving air, and the breeze feels lovely besides.
Conclusion
If this post leaves you with one idea, let it be this: reading light is about direction and contrast, not raw brightness. Aim a warm task light at the page, wrap it in a dimmer ambient layer, and give the dark beyond a little depth, and your corner will hold you for one more chapter every time. Start with the task layer this weekend, add the pretty layers as the season unfolds, and the best outdoor reading nook lighting will quietly become the seat everyone in the house argues over. For more corners worth lingering in, browse the rest of my outdoor lighting ideas here on the site, and come back at dusk.