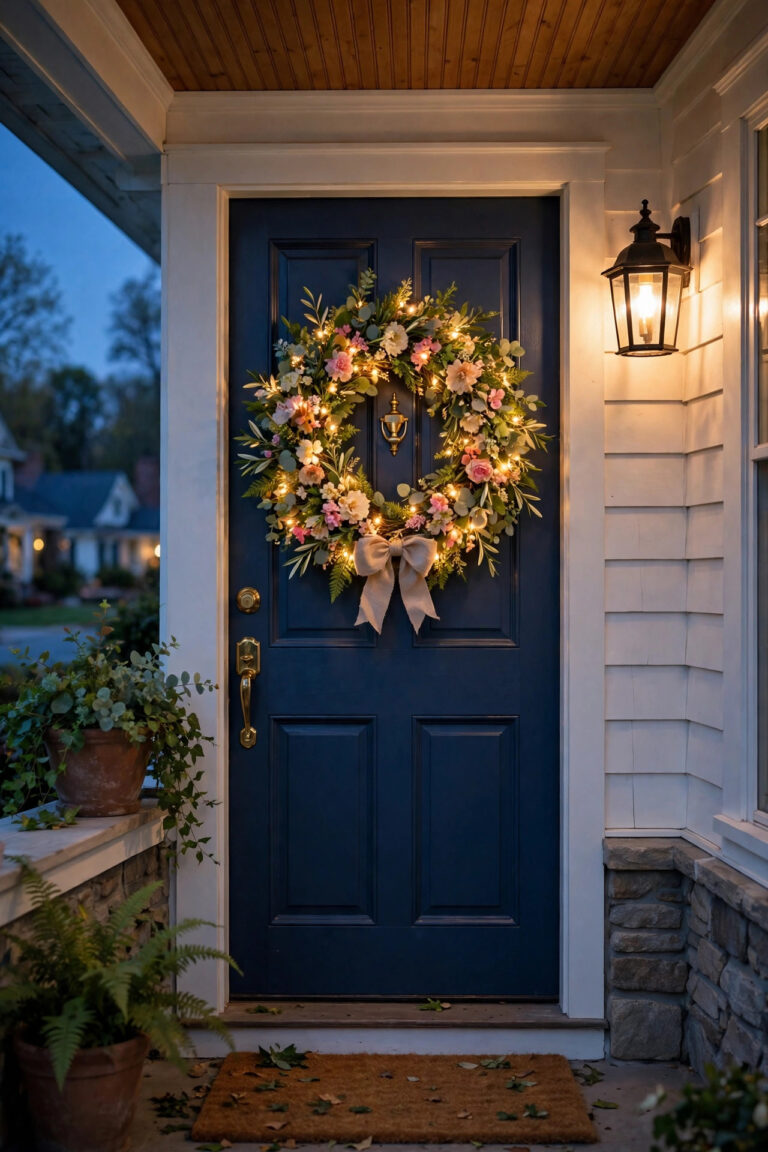
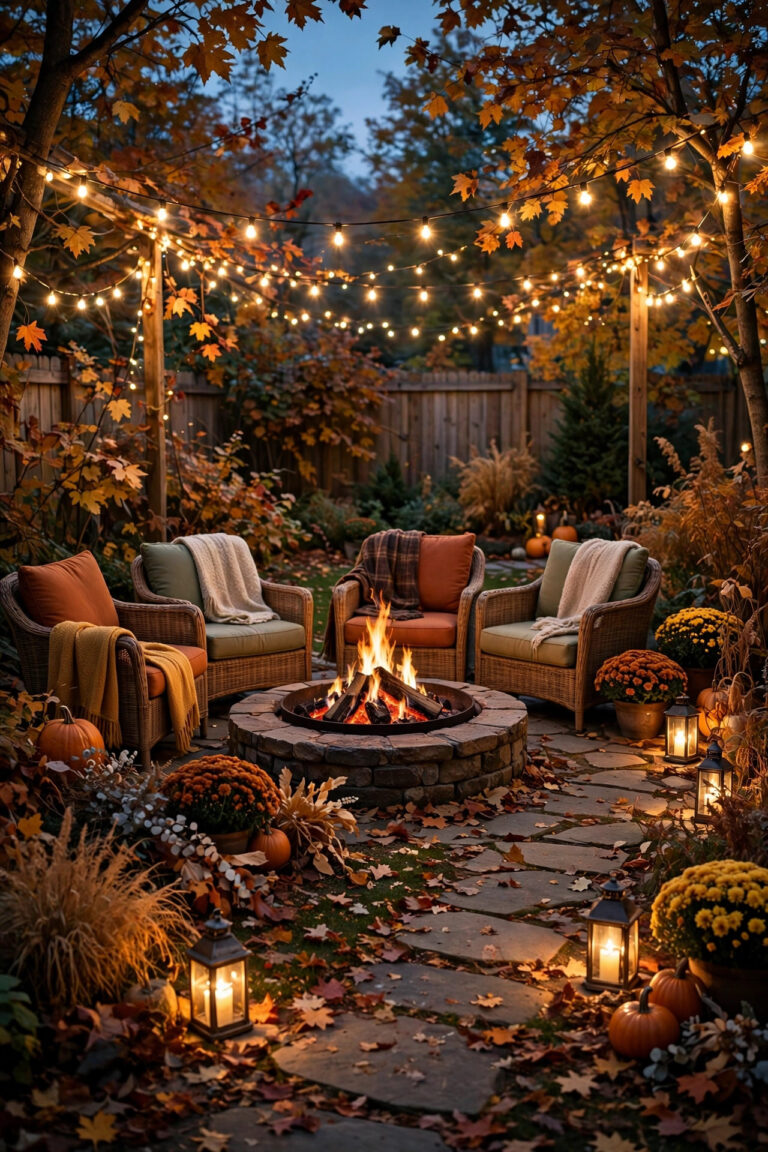
There is a golden half hour in my backyard, right after dinner, when the light goes soft and the hammock starts calling my name. Honestly? A hammock in the dark is just a tripping hazard, but a hammock wrapped in the right glow becomes the best seat in the whole yard. That is exactly what these hammock lighting ideas are about: turning a simple sling of fabric between two trees into a cozy little retreat you will reach for every single evening. My approach is the same one I use everywhere outdoors, layering. A soft wash overhead, a warm point of light at eye level, and a gentle guide along the ground. No single fixture has to work hard, nothing glares in your eyes while you read, and the whole corner feels finished instead of forgotten. Whether your hammock hangs from trees, a stand, or a pergola post, you will find options here at every budget, most of them solar or battery powered, so there is no wiring to hire out and no cords to bury. Grab a lemonade, and let us light your lazy evenings properly.

1. Solar String Lights: My Favorite Hammock Lighting Ideas for Zero Wiring
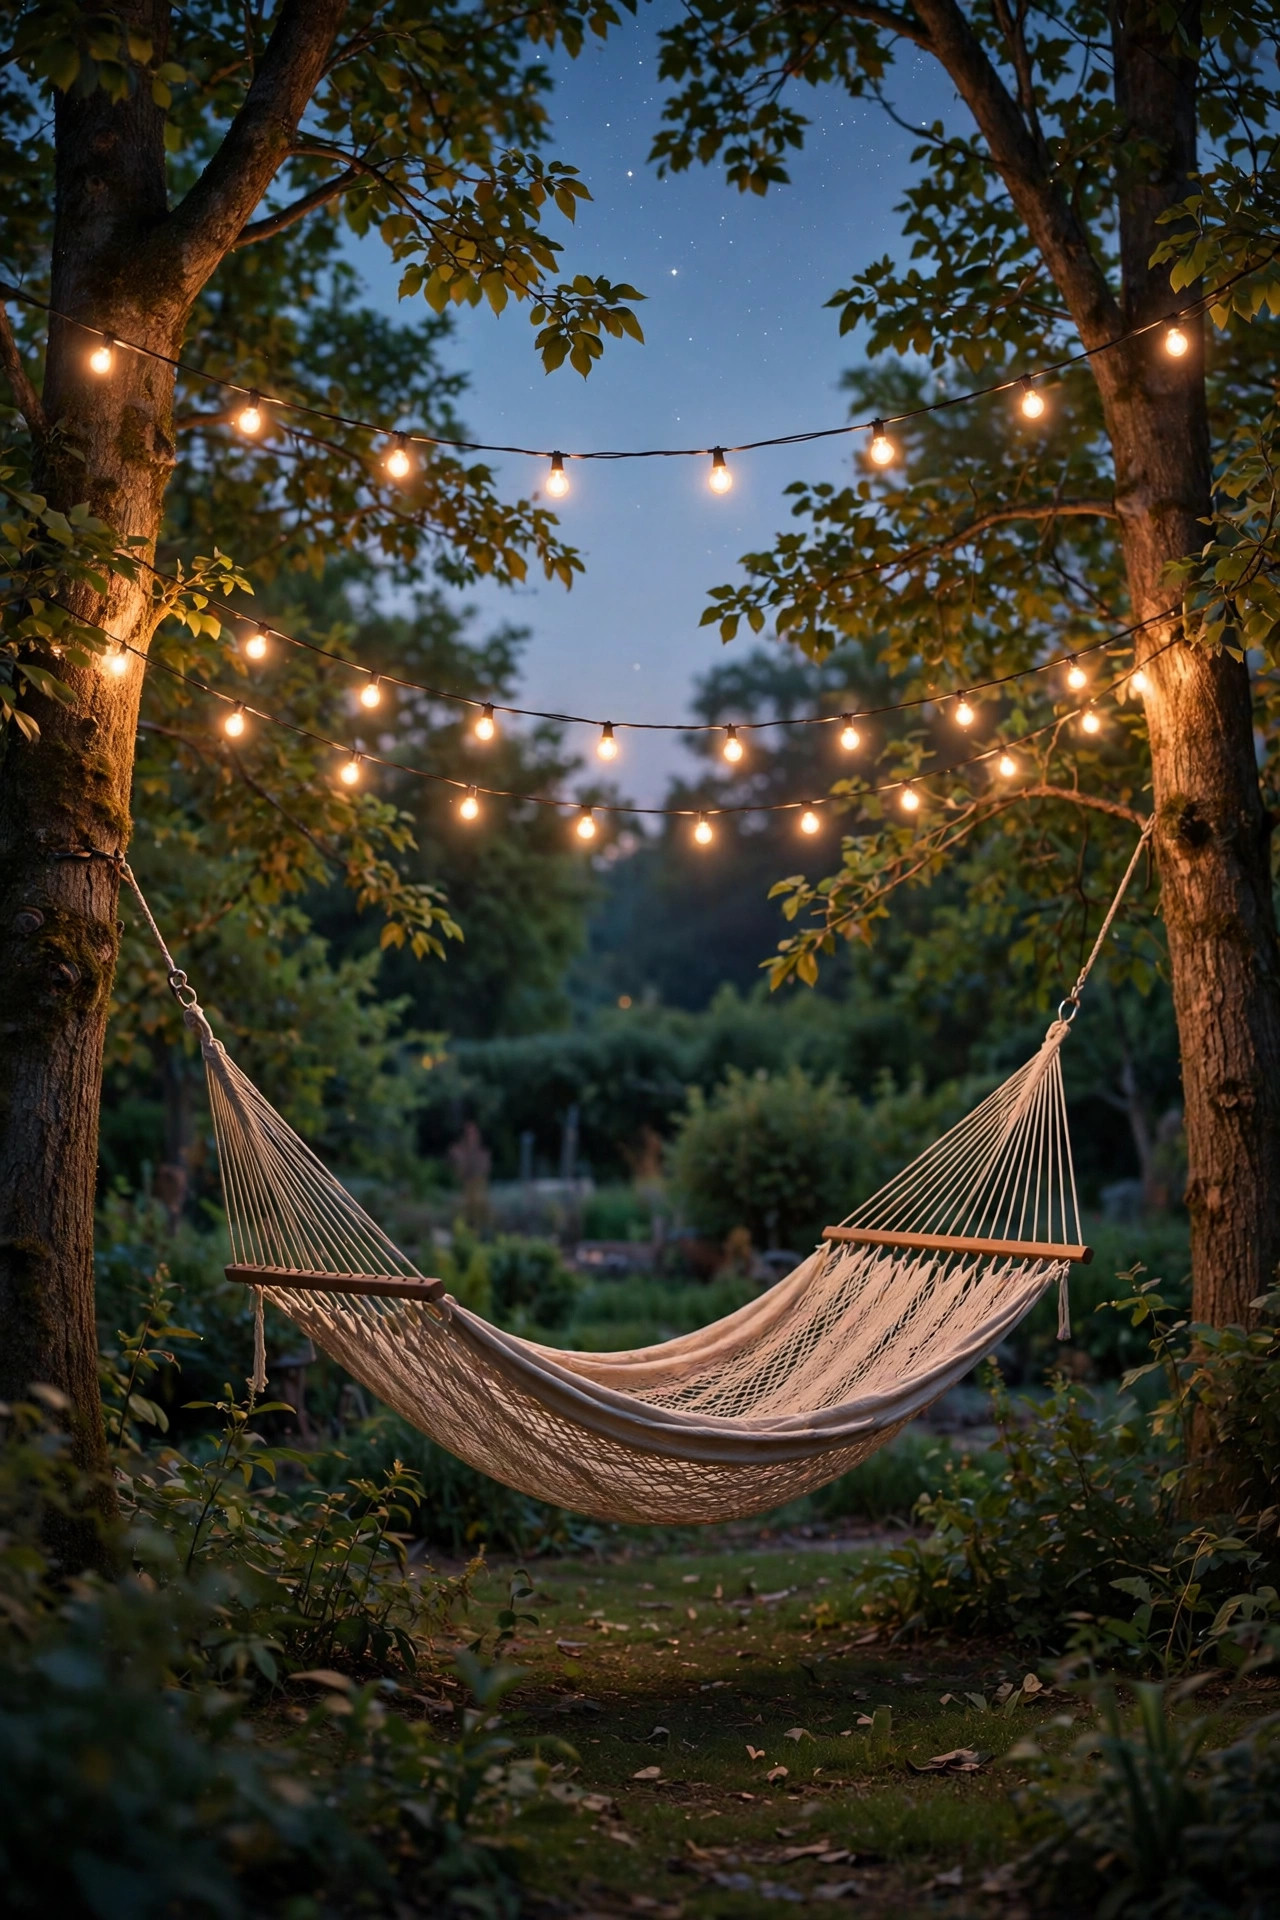
If your hammock corner sits far from an outlet, solar string lights are the idea I reach for first, every time. The little panel stakes into a sunny patch a few feet away, and by dusk the strand wakes up on its own. Drape two 20-foot strands in a gentle catenary curve between the same trees that hold your hammock, keeping the lowest dip at least 7 feet off the ground so nobody clotheslines themselves climbing in. In my experience, warm white solar bulbs at 2700K look far cozier than the bluish daylight versions, and shatterproof plastic bulbs survive both wind and the occasional hammock flip. Look for a panel with a replaceable battery and at least 8 hours of runtime after a full day of sun. If your trees shade the panel, run the lead wire to a sunnier spot up to 10 feet away. I have a full roundup of solar string light ideas if you want more styles to compare. No cords, no timer to set, no electrician. For a renter-friendly, ten-minute install, this one is nearly impossible to beat.
Suggested budget range: $25 – $60.
2. Copper-Wire Fairy Lights Woven Through the Trees
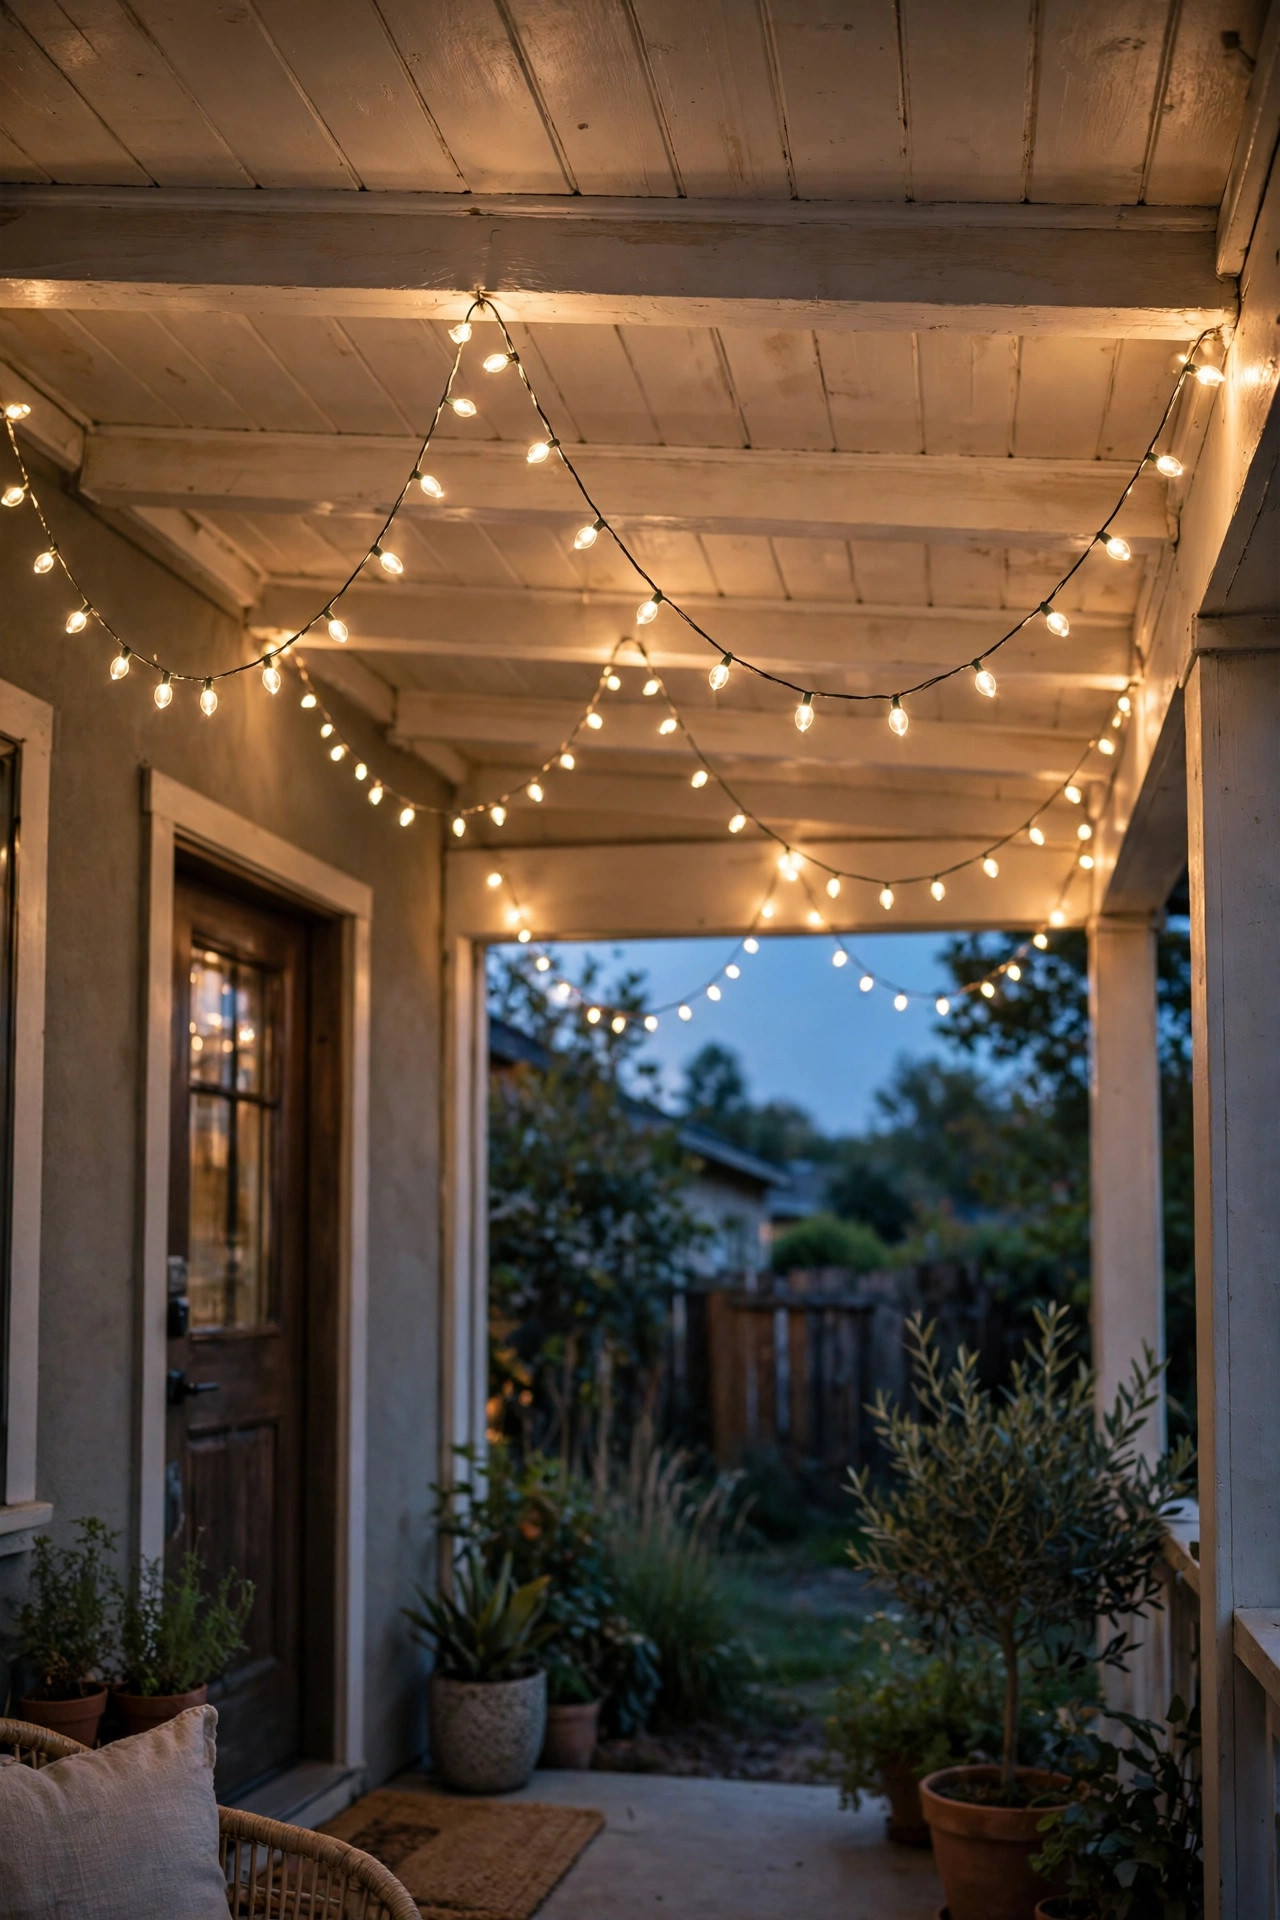
Fairy lights are the softest layer in my whole hammock setup, and they cost almost nothing. A 33-foot copper-wire strand weighs practically zero, so I weave it loosely through the lower branches of the hammock trees, letting it pool and wander like fireflies settling in for the night. Because the wire is bendable, it stays exactly where you put it, no clips needed. Solar and battery versions both work; I prefer battery packs tucked into a small weatherproof box at the trunk base when the canopy is too dense for a solar panel to charge. Keep the density gentle, roughly one strand per tree, because fairy lights are atmosphere, not task lighting. They will not help you read, but they make everything else look magical. One caution from experience: check the IP65 rating before leaving them out through rainy weeks, and bring cheap indoor-rated strands in for winter. My guide to fairy light tree wrap ideas shows the wrapping patterns that look best from the hammock itself. Paired with a brighter overhead layer, this is the combination guests always ask about.
Suggested budget range: $15 – $40.

3. Classic Café String Lights Between Two Trees
When I want the hammock corner to feel like a little bistro tucked into the garden, café string lights are the answer. The bigger globe or Edison-style LED filament bulbs throw noticeably more light than fairy strands, enough to read a paperback by if you hang them right. I run a single 25 to 48 foot strand from tree to tree, then a second strand crossed over the first to make an X above the hammock. Use a steel guide wire if your span is longer than about 15 feet, because café strands are heavier than they look and will sag by midsummer without support. LED filament bulbs are non-negotiable for me near fabric: they stay cool to the touch, unlike old incandescent sets that genuinely worried me over a cotton hammock. Space the visual weight evenly, and keep bulbs at least 18 inches from leaves and branches. My collection of backyard string light ideas covers hanging hardware in detail. This is the layer that makes the whole corner photograph beautifully.
Suggested budget range: $30 – $80.
4. A Lantern on a Shepherd's Hook Beside the Hammock
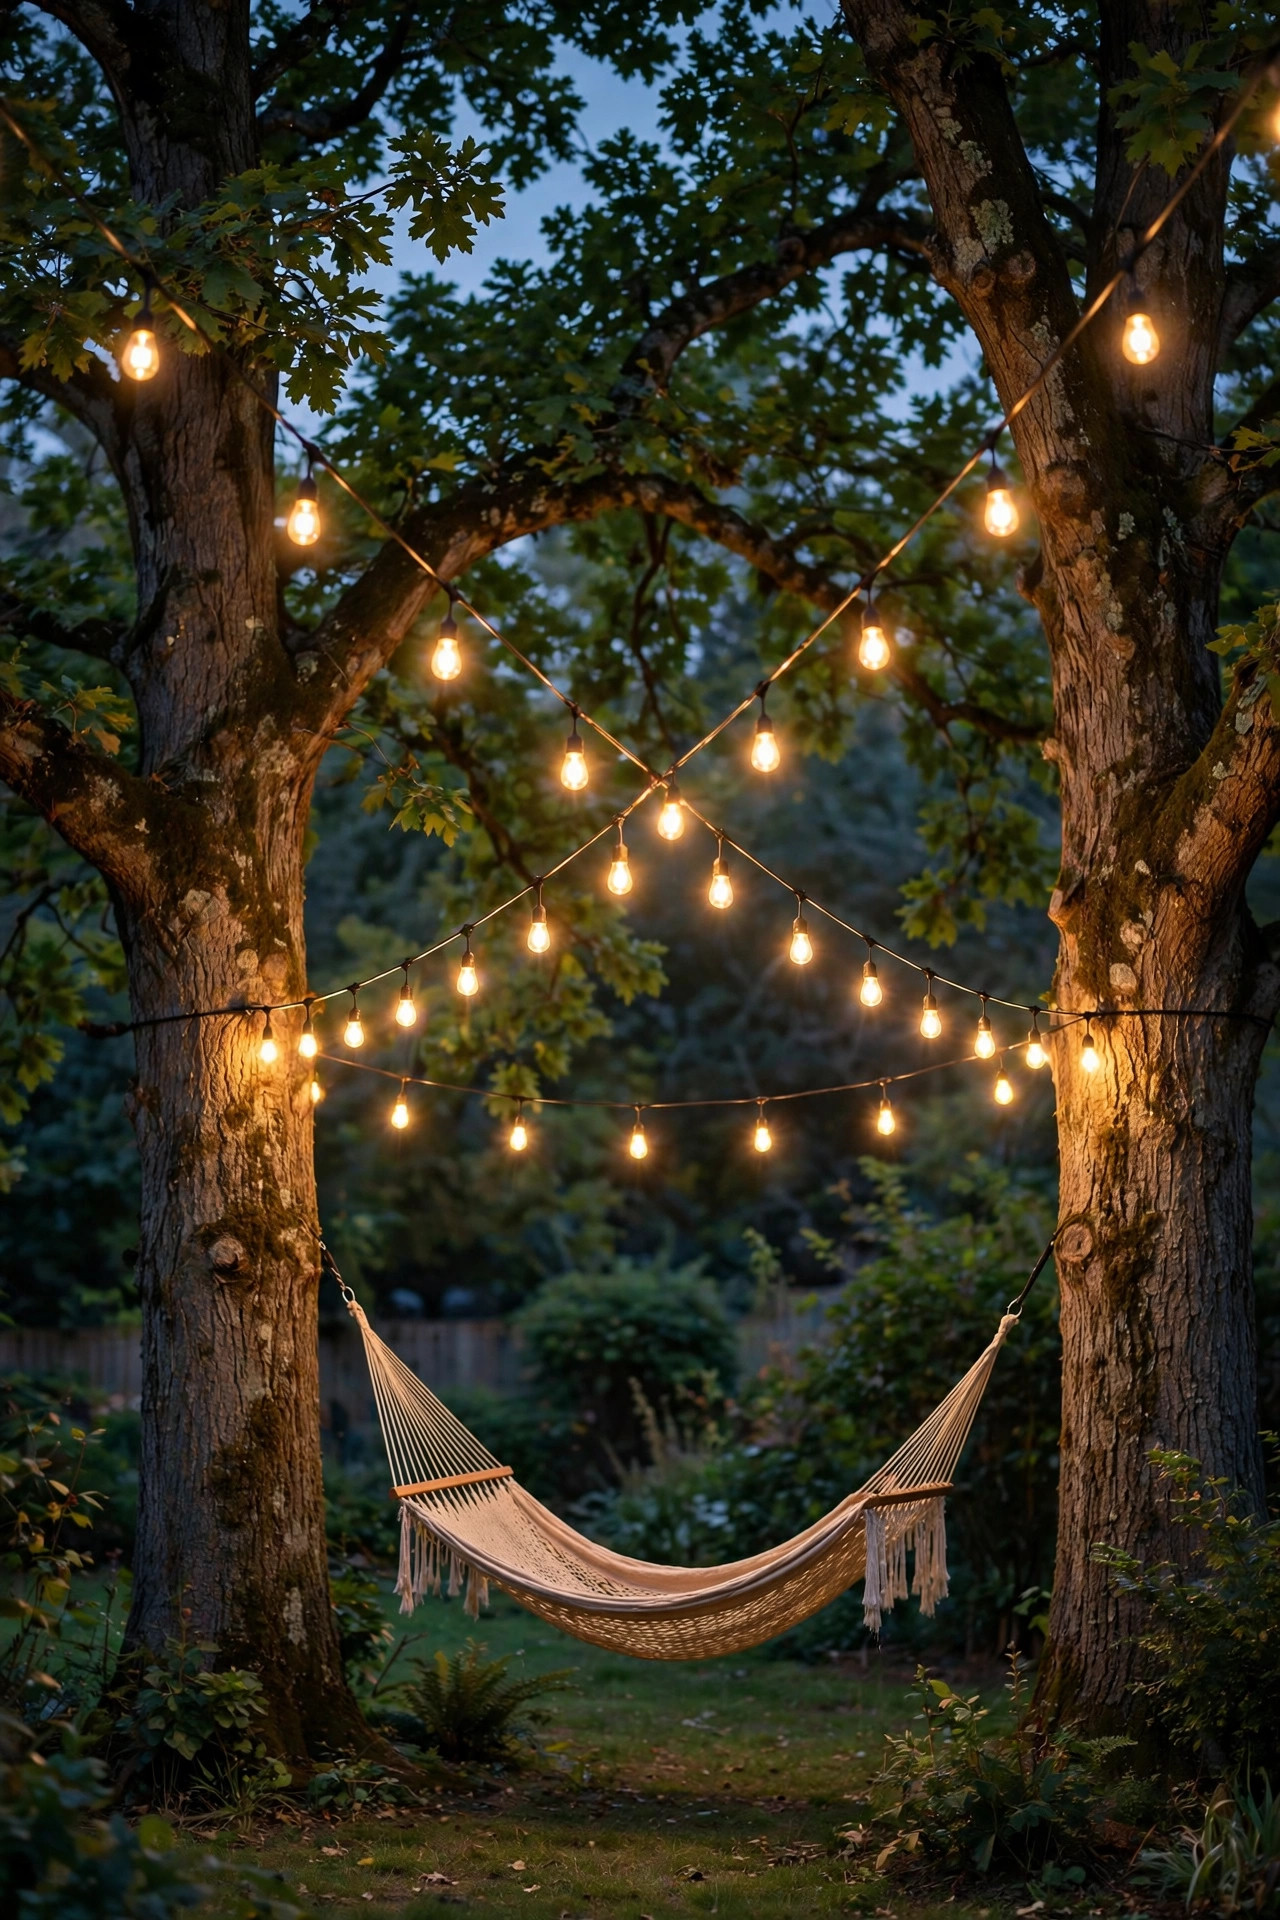
Every hammock needs one dependable point of light at eye level, and a lantern on a shepherd's hook is my favorite way to get it. Push a 4 to 5 foot hook into the soil about 2 feet from the hammock's edge, close enough to reach your book, far enough that a swinging elbow never connects. A solar lantern with a warm flicker mode feels like candlelight without any of the risk, and the better ones run dusk to dawn on a single charge. If you read out there for hours like I do, choose a lantern with a steady-on mode at around 100 lumens, which is plenty for a page at arm's length. Hang the lantern so its glow sits slightly below your eye line when you are reclined; light from above your head casts annoying shadows across the page. In windy spots, pick a hook with a double-prong ground stake so it does not slowly lean. Simple, movable, and endlessly charming, this is the one piece I would buy first on a tiny budget.
Suggested budget range: $20 – $50.

5. Paper Lanterns Hung at Mixed Heights
Paper lanterns give a hammock corner that soft, floating, festival feeling for very little money. I hang three to five lanterns in 8, 10, and 12 inch sizes from a low branch or a strand of guide wire, clustering them at slightly different heights above one end of the hammock rather than spreading them in a stiff line. Inside each one goes a battery LED puck or a solar bulb unit, never a real candle and never an incandescent bulb; paper and heat are a combination I will not risk. Nylon lanterns hold up far better outdoors than true paper, and they shrug off the dew that ruins paper in a single season. White and cream read classic and glow the warmest, while a single soft color, pale blush or sage, adds personality without turning the corner into a party store. Expect to refresh them every year or two. Cluster them where you see them against the dark trees from the hammock, not directly overhead, so you are looking at the glow instead of up into it.
Suggested budget range: $15 – $45.

6. Moonlighting From a High Branch
Moonlighting is the most natural-looking trick in outdoor lighting, and a hammock is the perfect place to enjoy it. A single shielded downlight fixture mounts 15 to 20 feet up in the hammock tree, aimed straight down through the branches so the light filters through leaves and lands in soft, dappled patches, exactly like a full moon. From the hammock, you never see the fixture, only the gentle light. This is usually a low-voltage wired fixture, so it is the one idea on this list that may mean hiring an electrician or running cable yourself with a transformer. Use a cool-neutral bulb around 3000 to 4000K here, the one exception to my warm-white rule, because it mimics real moonlight convincingly. Keep the beam wide and the output modest; you want a silvery wash, not a spotlight interrogating your novel. The effect is subtle enough that guests rarely notice the lighting at all, they just say the corner feels peaceful. If I were lighting one hammock forever and never changing it, this is what I would install.
Suggested budget range: $60 – $150.
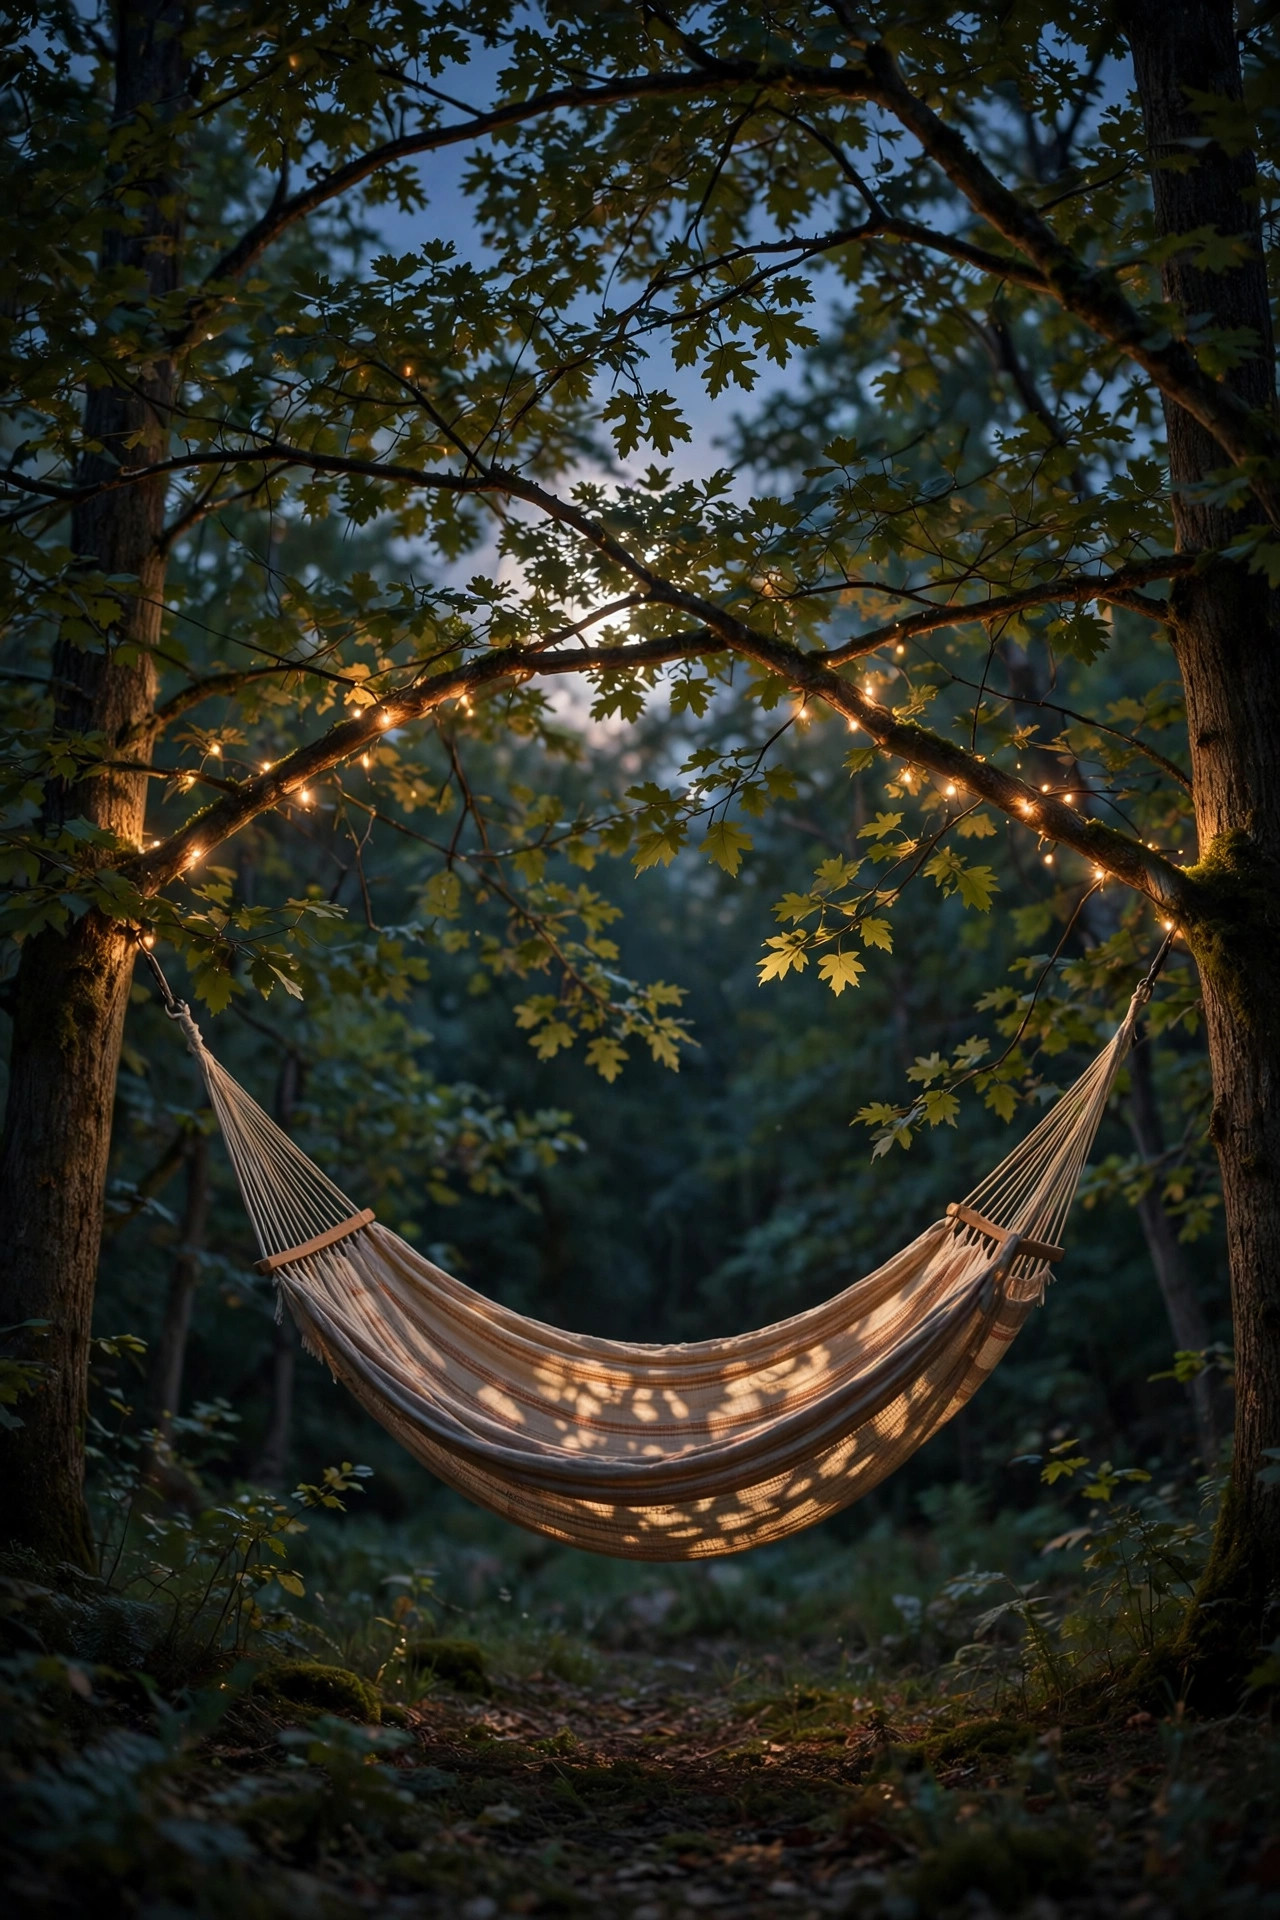
7. Battery Globe String Lights for Stand Hammocks
No trees? A stand hammock can absolutely join the glow party. Battery-powered globe string lights are my go-to because the pack is small enough to zip-tie neatly to the stand itself. I run the strand along the stand's top bar if it has one, or spiral it gently around the two end posts and drape a swag between them above the sleeper. The key measurement is clearance: keep every bulb at least a foot above the fabric at the hammock's lowest sag, so nothing presses against cloth when the hammock dips under weight. Battery strands with a built-in 6-hour timer are worth the small premium, since they shut themselves off after you have gone inside and forgotten. Rechargeable packs save a fortune in AA batteries over a summer; I swap in fresh cells every two to three weeks of nightly use. Because nothing plugs in, this setup travels beautifully to a campsite or a rental house porch. It is proof that good hammock lighting is about placement, not permanent installation.
Suggested budget range: $20 – $45.
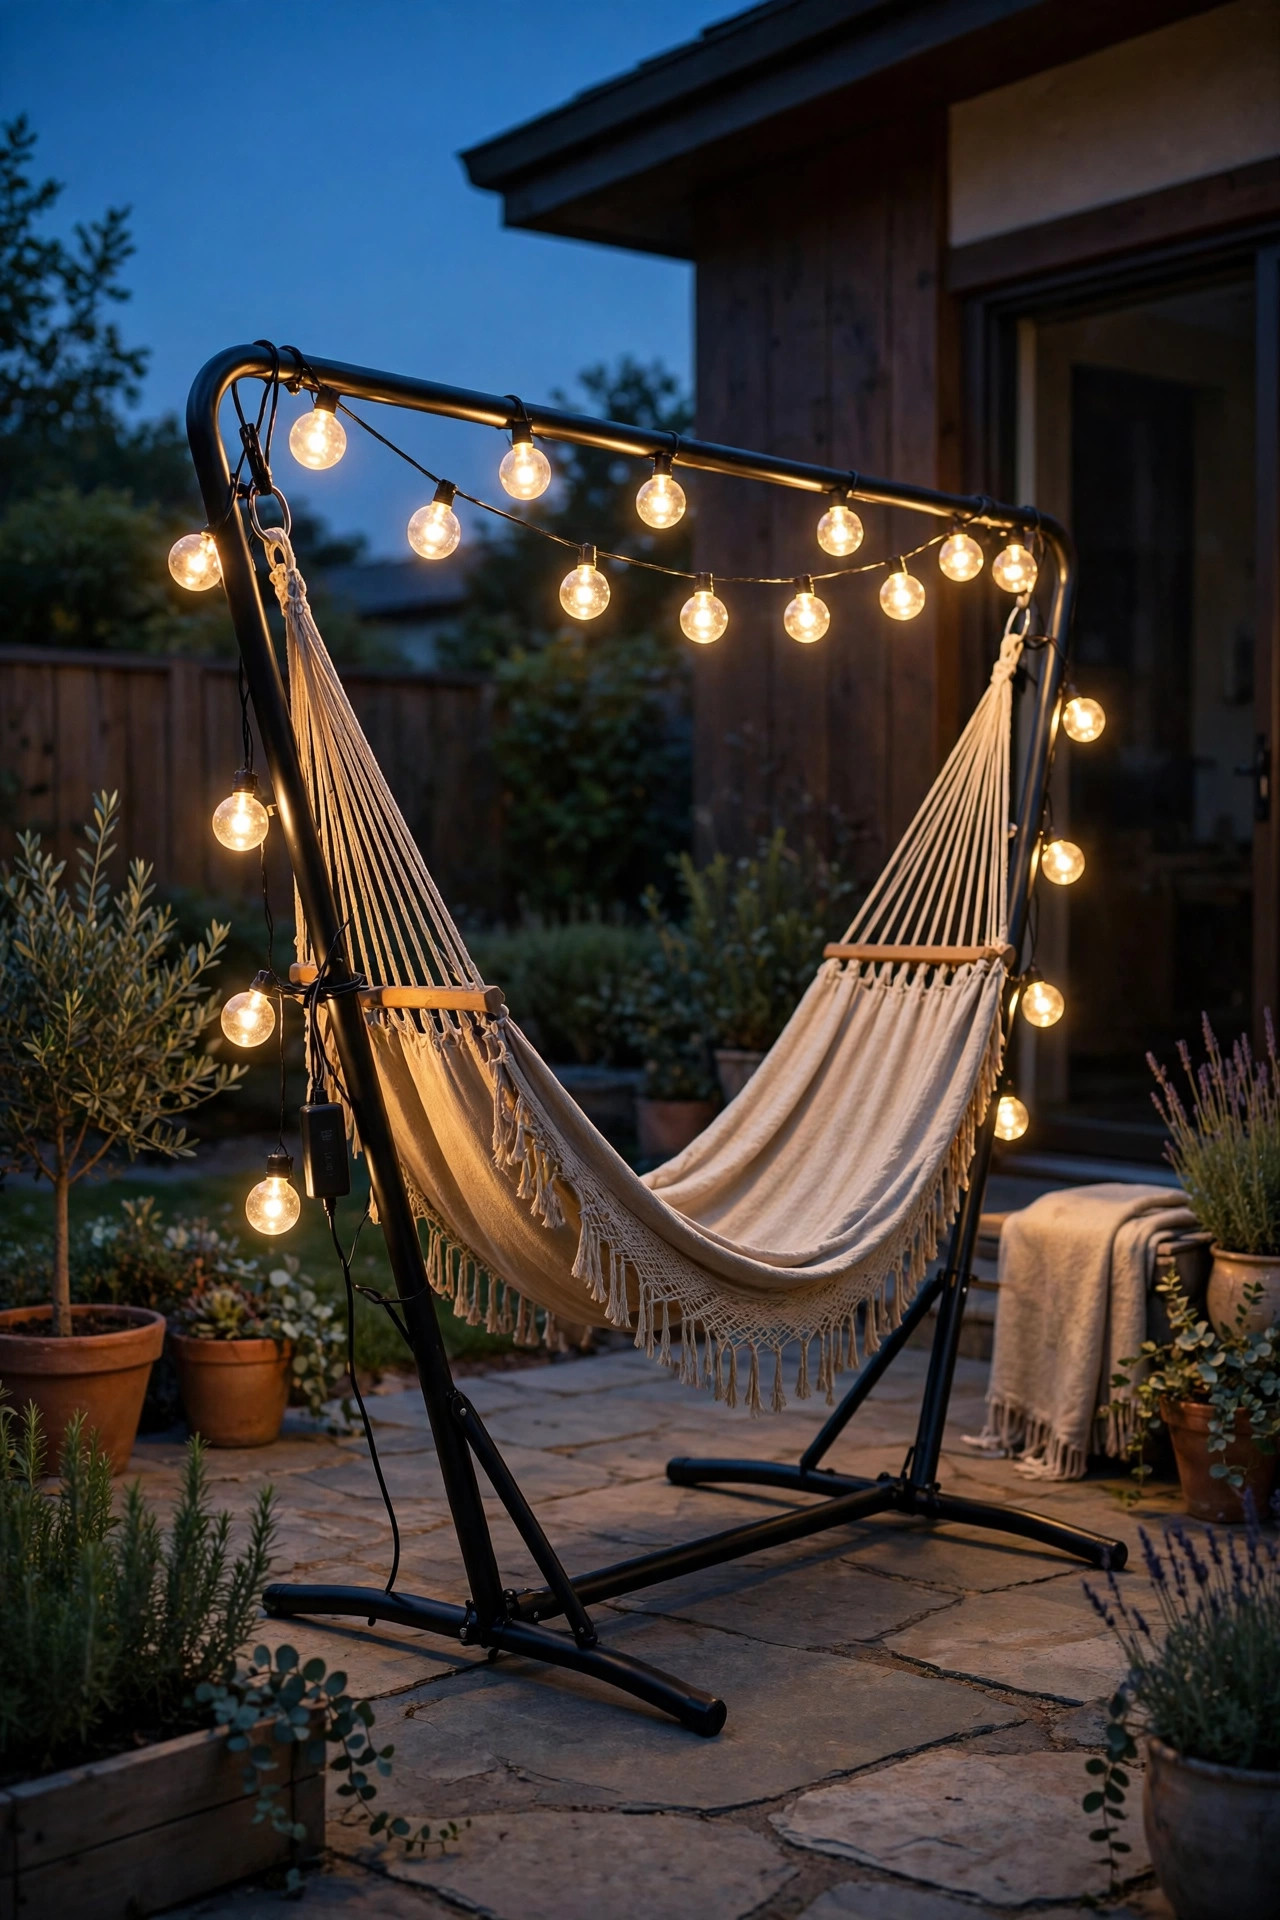
8. A Flameless Candle Lantern Cluster on a Stump Table
Every hammock deserves a little side table, and mine is a flat-topped stump that doubles as a lantern stand. On it I group two or three flameless candles in hurricane glass holders of different heights. The flicker is convincing, the light is gentle, and there is zero flame risk next to a fabric hammock, a paperback, and a dozing reader, which is a combination that makes real candles a hard no in my yard. Flameless candles with a remote and timer are the sweet spot: set them to glow from 7 to 11 p.m. and forget them entirely. Cluster in odd numbers, three is my favorite, and vary the heights by at least 2 inches so the group looks collected rather than matched. The glass hurricane matters outdoors, not for wind, since there is no flame, but because it keeps morning dew off the wax-look finish. Move the cluster onto the ground beside the hammock on nights you want the light lower and moodier. Small, cheap, and endlessly rearranged, this layer gets used at my house more than any fixture I own.
Suggested budget range: $15 – $40.
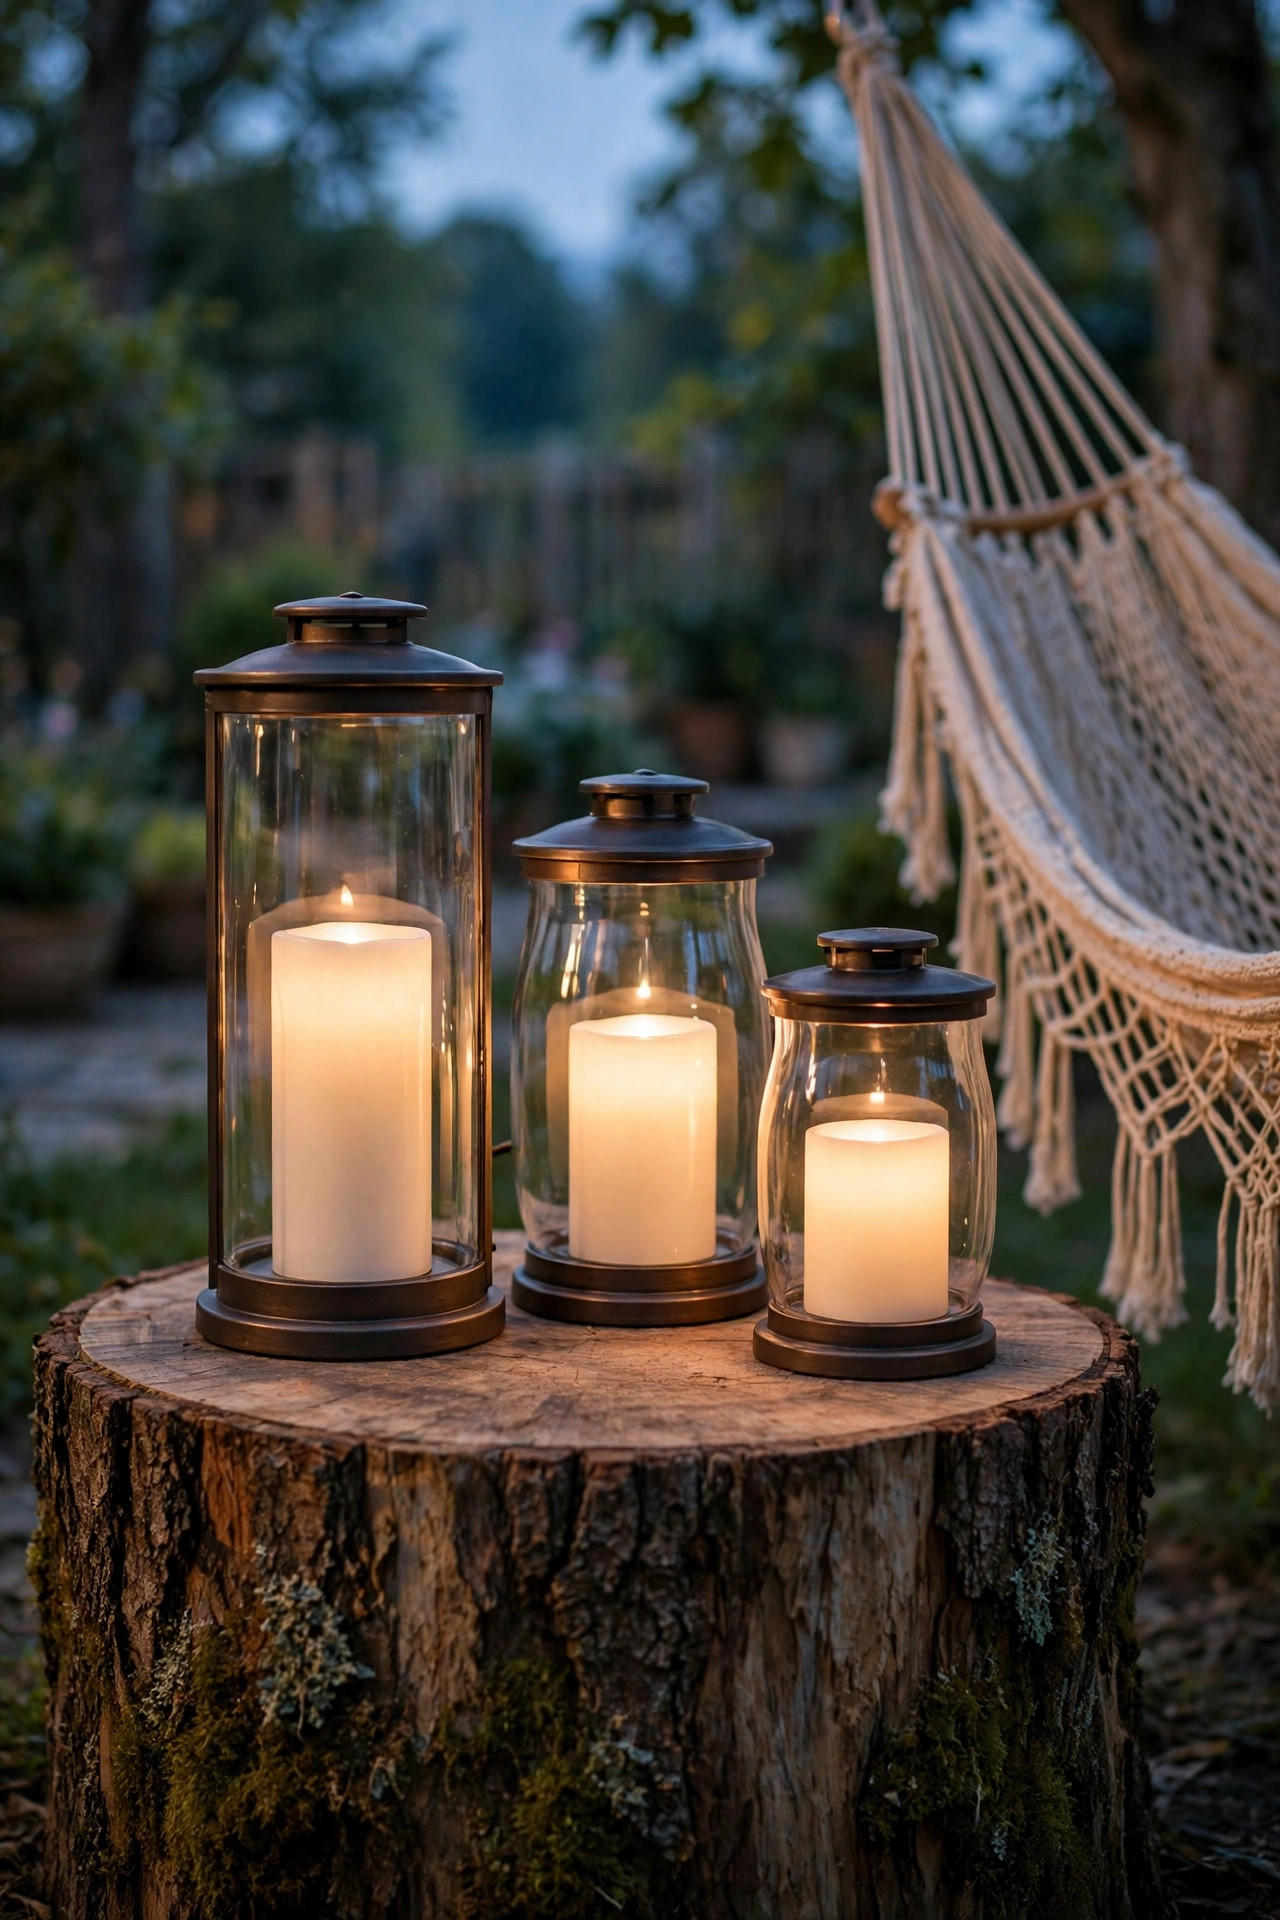
9. Low Path Lights to Guide the Way In
The loveliest hammock glow in the world is wasted if you trip over a sprinkler head getting there. A short run of low path lights from the patio to the hammock corner solves the journey and frames the destination. I place three to five solar stake lights along the natural walking line, spaced about 4 to 6 feet apart, alternating sides so the path reads as a gentle zigzag of pools rather than a runway. Keep them low and shielded, 12 to 18 inches tall, with the light thrown downward onto the grass and stepping stones. Brightness should be modest, 20 to 50 lumens each is plenty for safe footing without flooding the hammock's own soft mood. Solar stakes are the obvious pick here, and mid-priced ones with real glass lenses and replaceable batteries will outlast the bargain-bin sets by seasons. From the hammock, this little trail of light looks like a invitation, and honestly it works on me every single night. Practical and pretty rarely agree this completely.
Suggested budget range: $30 – $90.
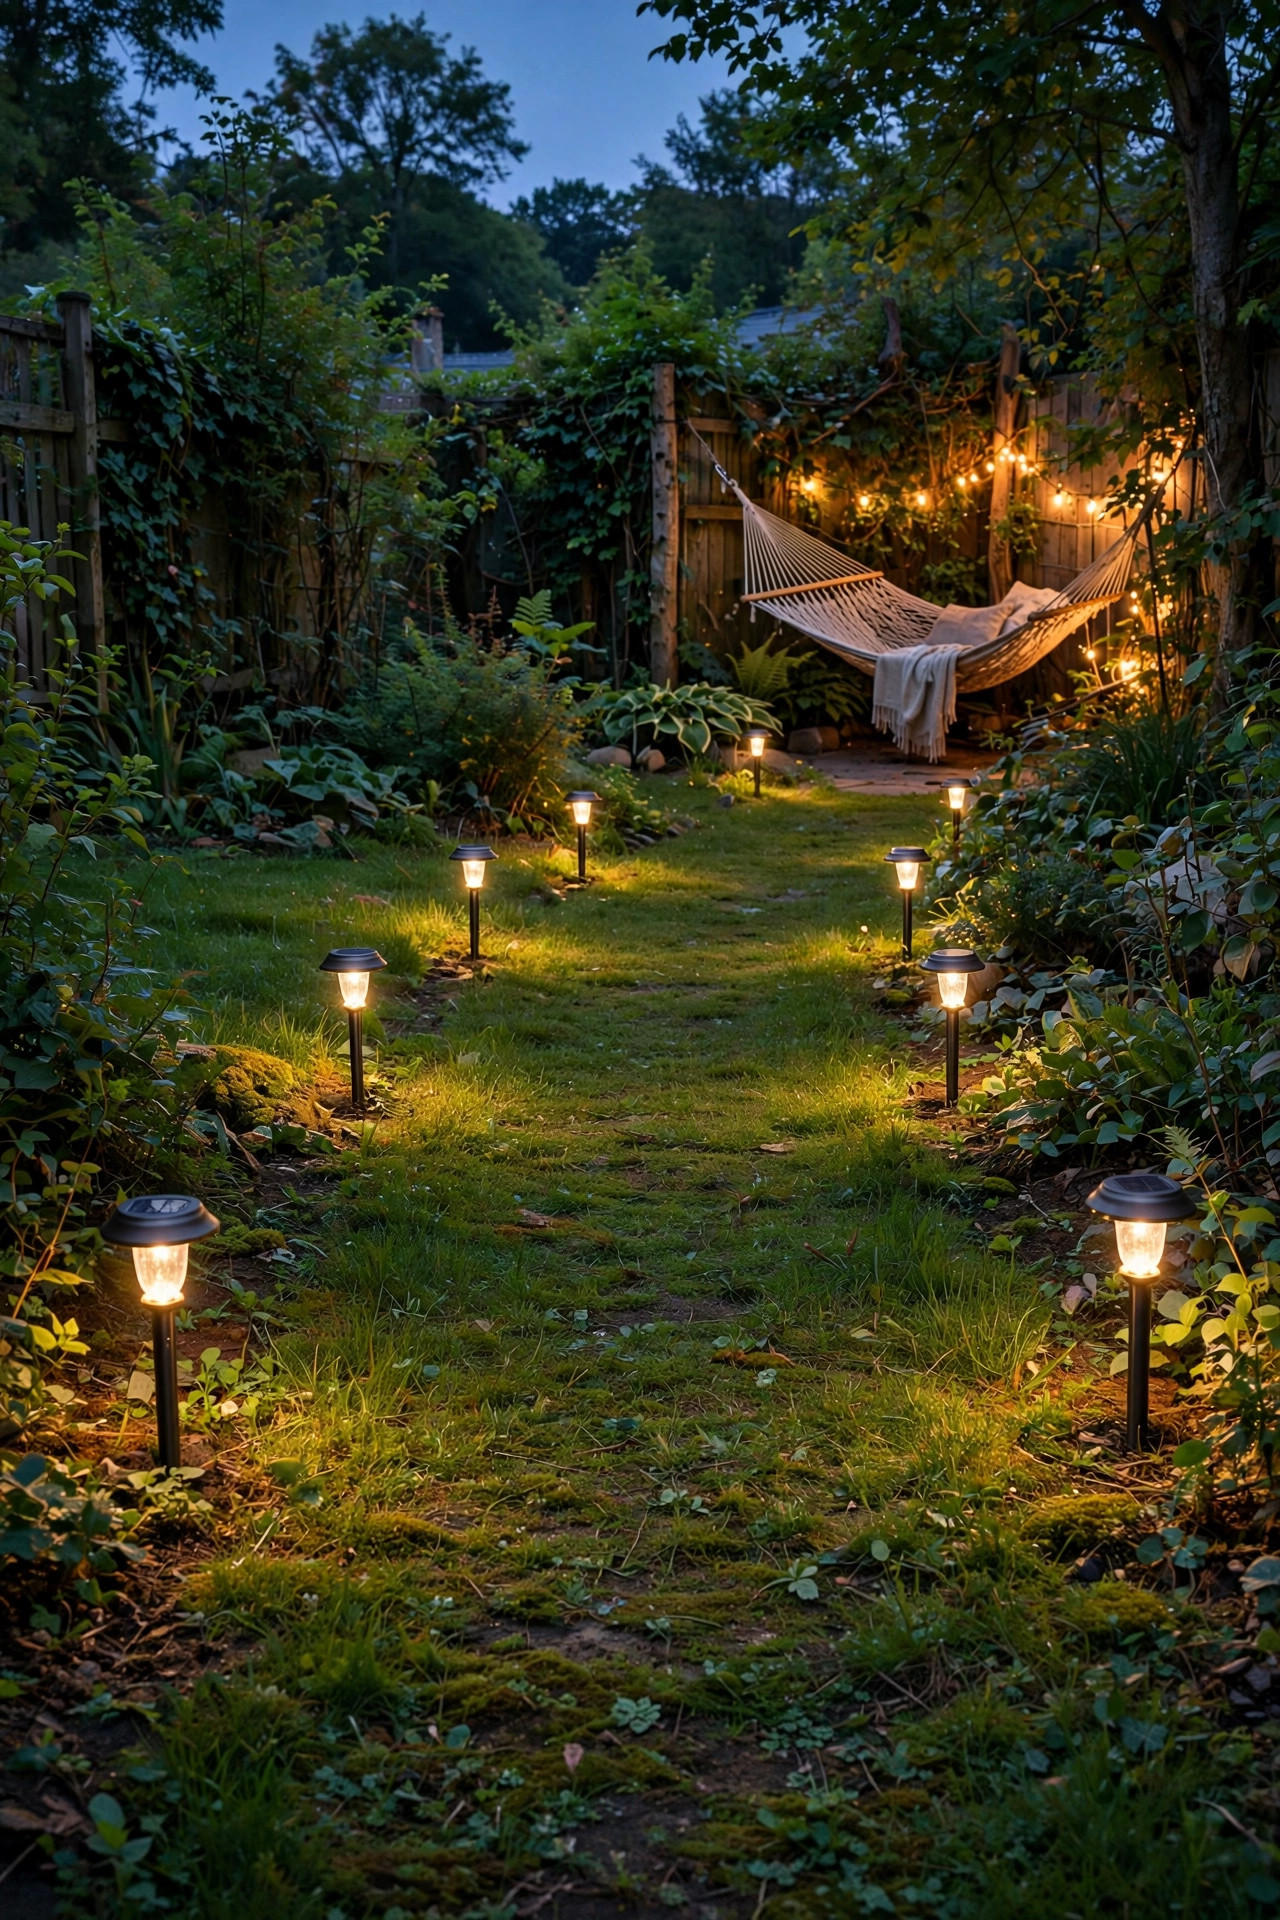
10. Fairy Lights Twined Around the Hammock Stand
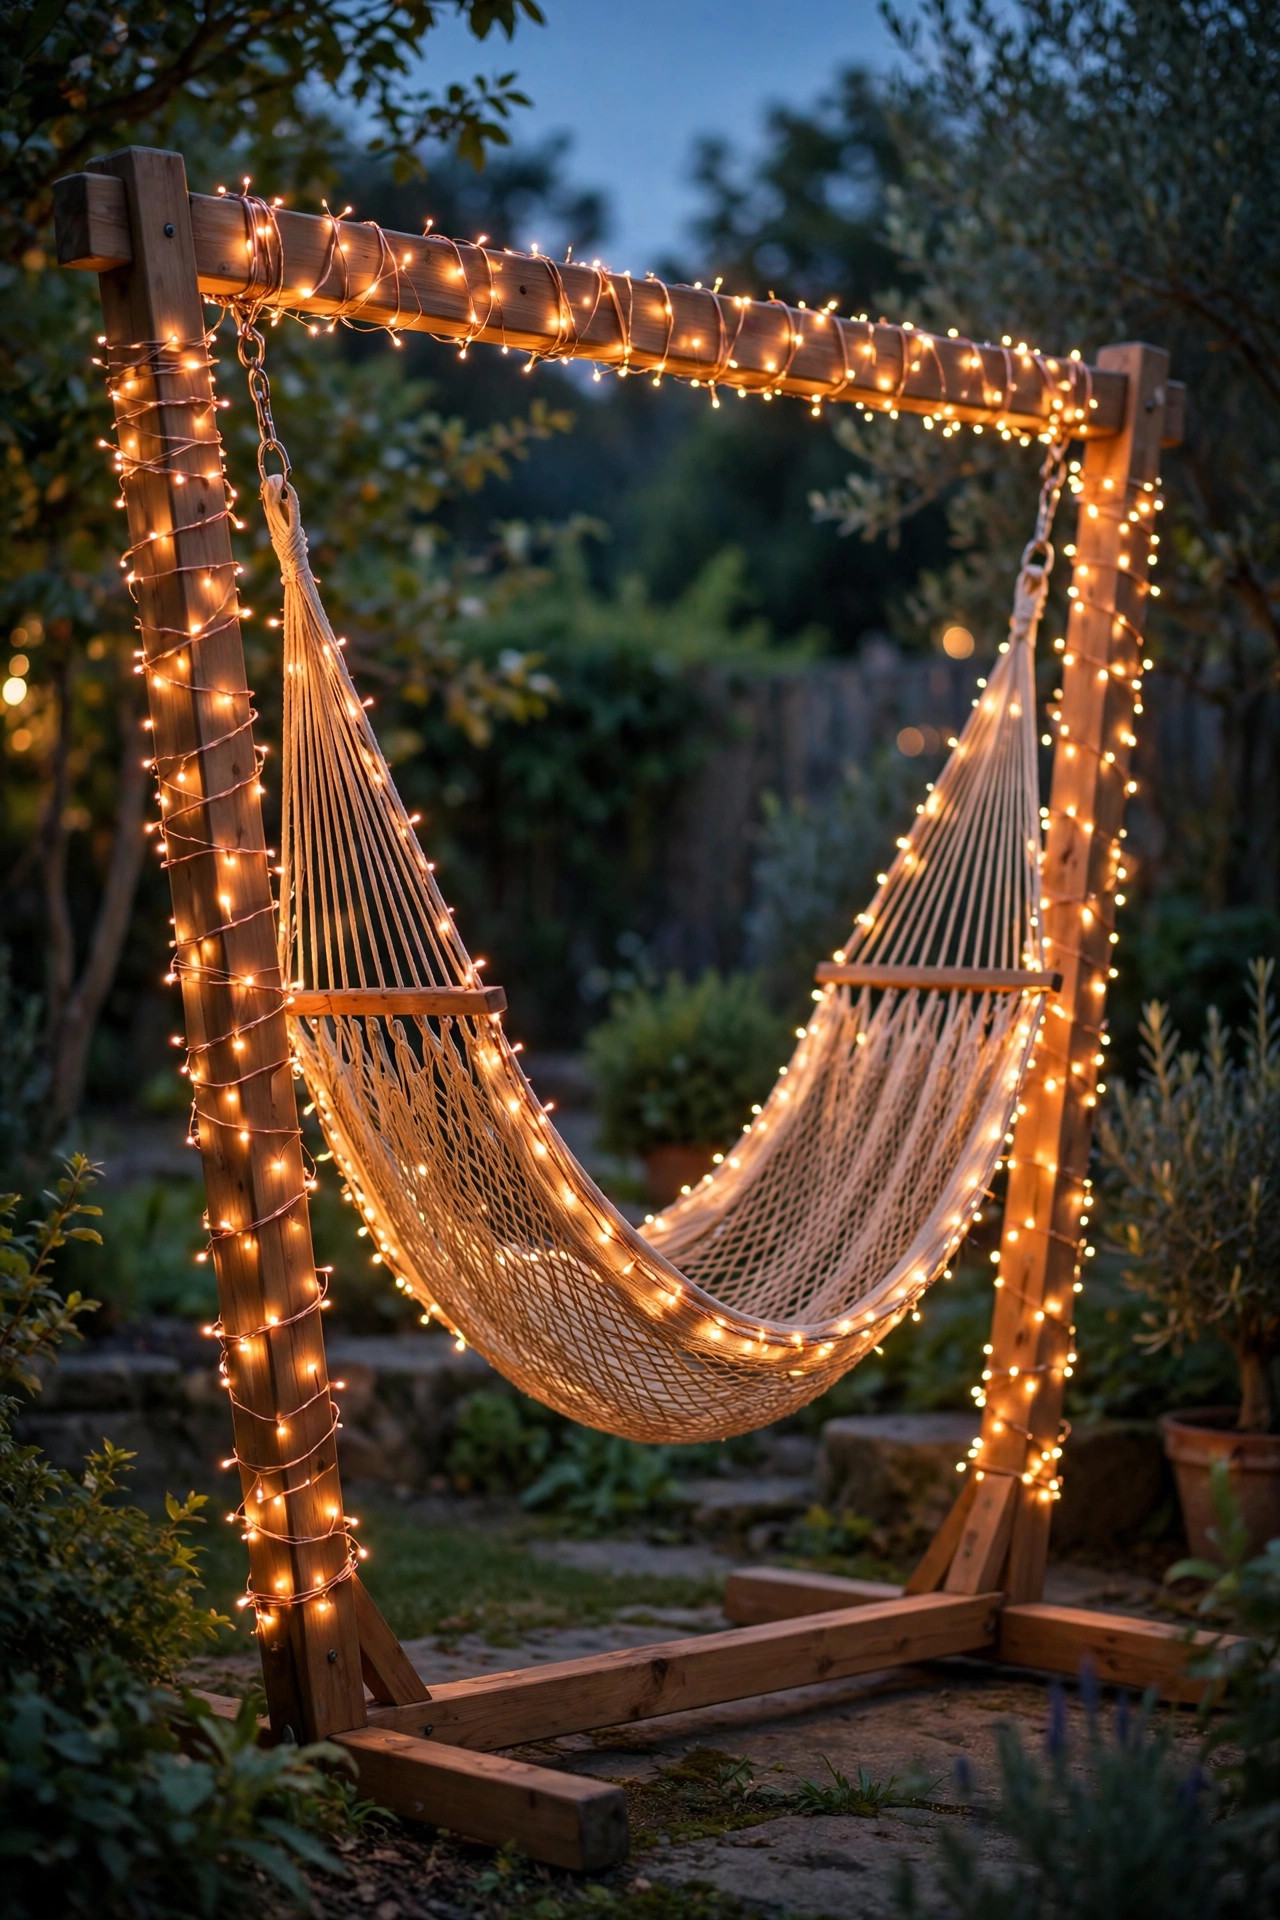
If your hammock lives on a metal or wood stand, the stand itself can hold the light. I twine two strands of copper-wire fairy lights around the stand's legs and up the end frames, so the whole structure outlines itself in a soft sparkle. Because the wires sit right against the frame, use battery or solar strands only, never anything that plugs into the wall with a cord trailing across the grass. Keep the battery pack mounted on the underside of the frame where rain cannot pool in it, and choose strands rated IP65 or better. The effect from a distance is wonderful: the hammock floats inside a little cage of light, and the fabric itself catches a warm rim glow. One practical note from my own trial and error, secure the wire every 6 inches or so with tiny clear zip ties, because loose loops love to snag on hammock ropes and sandals. This is also a brilliant trick for a balcony hammock chair, where floor space is too precious for lanterns or stakes.
Suggested budget range: $10 – $30.
11. A Smart Plug and Dimmer So the Mood Obeys You
The difference between good hammock lighting and great hammock lighting is control. An outdoor-rated smart plug, around fifteen dollars, puts every plug-in strand on a schedule: on at sunset, off at midnight, no nightly trips outside to unplug anything. Paired with dimmable LED string lights, I can drop the whole corner to a low amber murmur for stargazing or raise it for a chapter of my book. If a smart plug feels like overkill, an inline dimmer switch on the strand does the same job with a thumb wheel. Set your scenes by activity: bright for finding your sandals, medium for reading, low for talking and doing absolutely nothing. Astronomic timers that track sunset automatically are the set-and-forget upgrade I recommend to everyone, because a fixed 7 p.m. start is wrong by July. Keep the plug sheltered under an eave or in a weatherproof box, connections off the ground. Comfort is not just the hammock; it is never having to get out of it to fix the lighting.
Suggested budget range: $15 – $35.
12. Uplighting the Trees Behind the Hammock
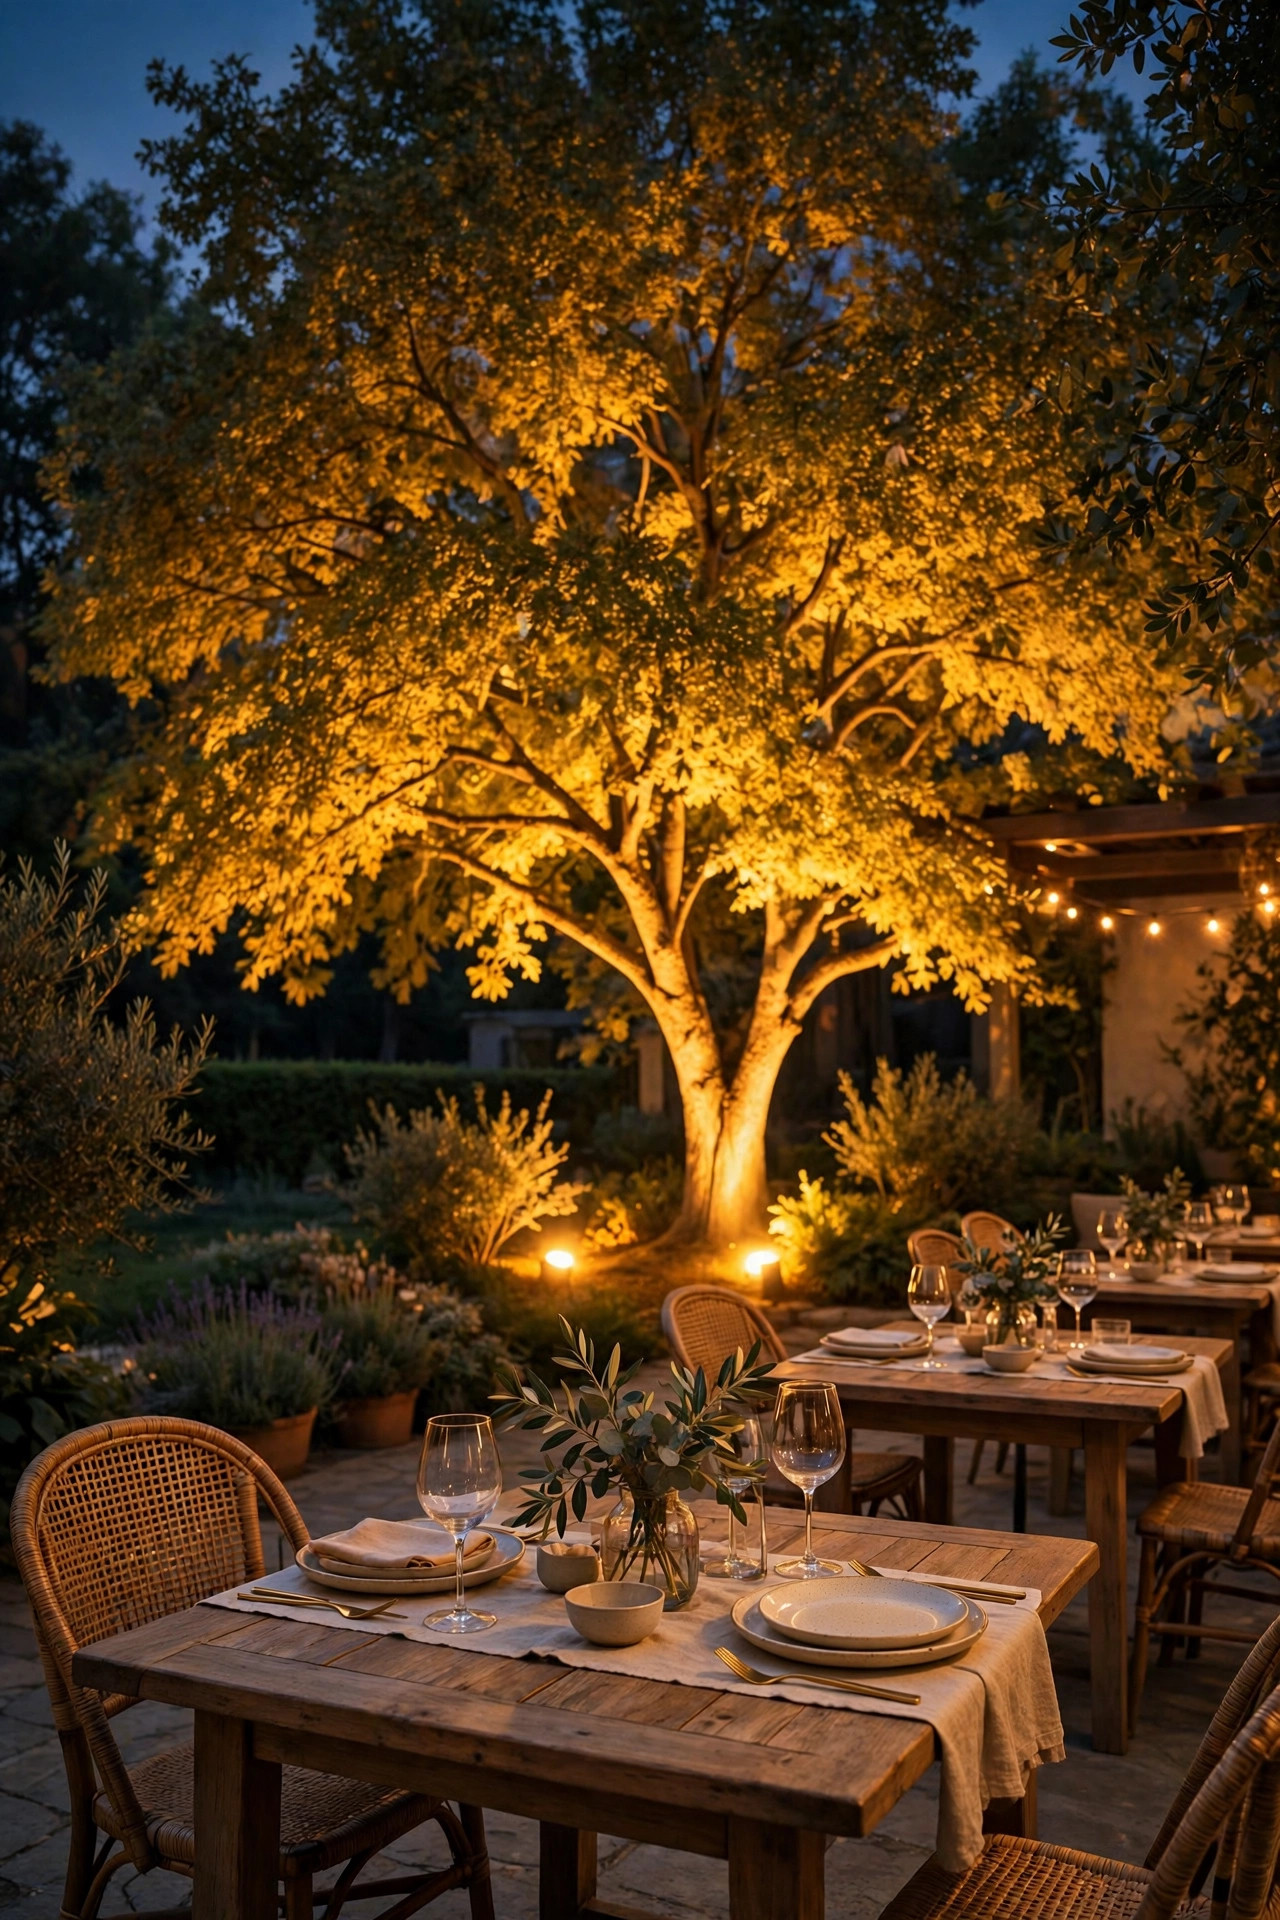
Here is the styling secret that makes a hammock corner look professionally designed: light the backdrop, not the hammock. Two solar or low-voltage uplights placed at the base of the trees behind your hammock, aimed up into the canopy, turn plain trunks and leaves into a glowing green backdrop. Your eye reads the depth instantly, and the hammock itself stays in soft shadow, which is exactly where a person trying to relax wants to be. Position fixtures 1 to 2 feet out from the trunk, tilted so the beam grazes the bark texture; that raking light is what makes the trunk look sculptural. Warm white around 2700K keeps the foliage golden and friendly rather than ghostly. Solar uplights have improved enormously, but for a tall canopy I still prefer low-voltage wired spots for their reach. Keep the light in the trees and off the neighbors' windows by aiming carefully at dusk and adjusting once. From the hammock, you will feel tucked inside a lit garden room, and that feeling of enclosure is pure luxury for the price of two fixtures.
Suggested budget range: $40 – $120.
13. LED Rope Light Along the Fence or Pergola Edge
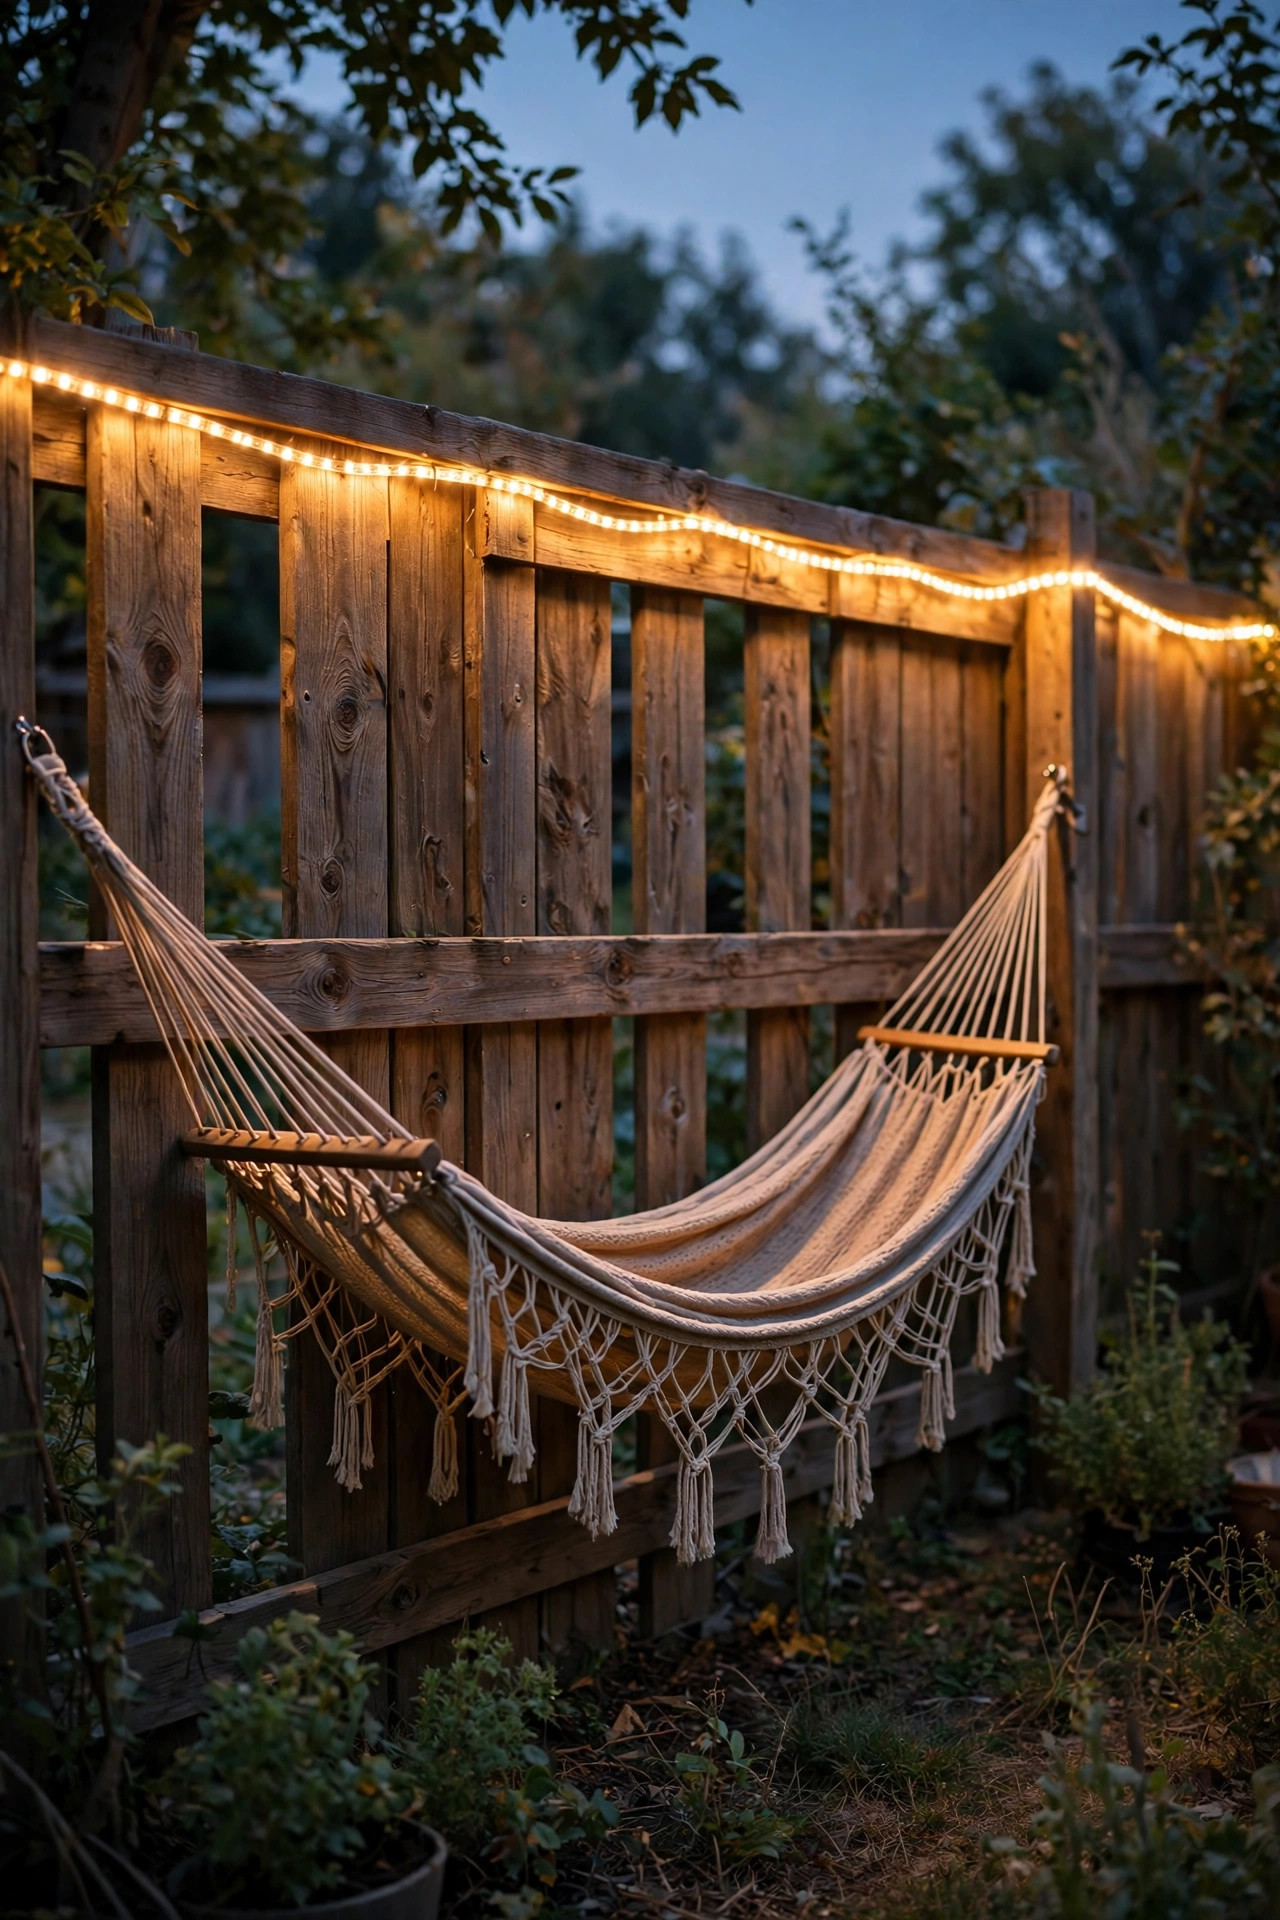
When the hammock hangs near a fence, a deck rail, or a pergola beam, an LED rope light traces that edge with a clean, continuous line of glow. I mount mine under the top rail of the fence behind my hammock using the little clips that come in the box, spaced every 12 inches so the line never sags. The light bounces softly off the boards and lands as a low ambient wash, no visible bulbs, no glare. Outdoor-rated rope light is sealed against weather, and LED versions stay cool along their whole length, which matters anywhere near wood and fabric. Choose warm white 2700K and, if you can, a dimmable version, because a full-bright rope light can read a little commercial. A 16-foot roll covers most hammock nooks; cut only at the marked intervals if you shorten it. This layer works beautifully as the only light for a minimalist corner, or as the quiet base under café strands. It is also my favorite trick for renters, since a few small clips leave almost no trace when you move.
Suggested budget range: $20 – $50.
14. Firefly Solar Stakes in the Planting Beds
The newest addition to my hammock corner, and maybe my favorite, is a bundle of firefly-style solar stakes tucked into the planting beds around it. Each stake carries a cluster of tiny warm LEDs on flexible stems that sway in the breeze, so the lights drift and bob exactly like real fireflies. From the hammock, the effect is genuinely enchanting, and it takes about ninety seconds to install: push the stakes in, done. Place five to eight stems in a loose group where you can see them from your pillow end of the hammock, mixing them among real foliage so the lights appear and disappear as they sway. They are pure decoration, throwing almost no usable light, so think of them as the seasoning, never the meal. Most sets charge by day and glow for 8 to 10 hours. Because they sit low in the beds, they also quietly mark the garden edge on your walk back to the house. Every guest who has ever lain in my hammock has asked where they came from.
Suggested budget range: $18 – $40.
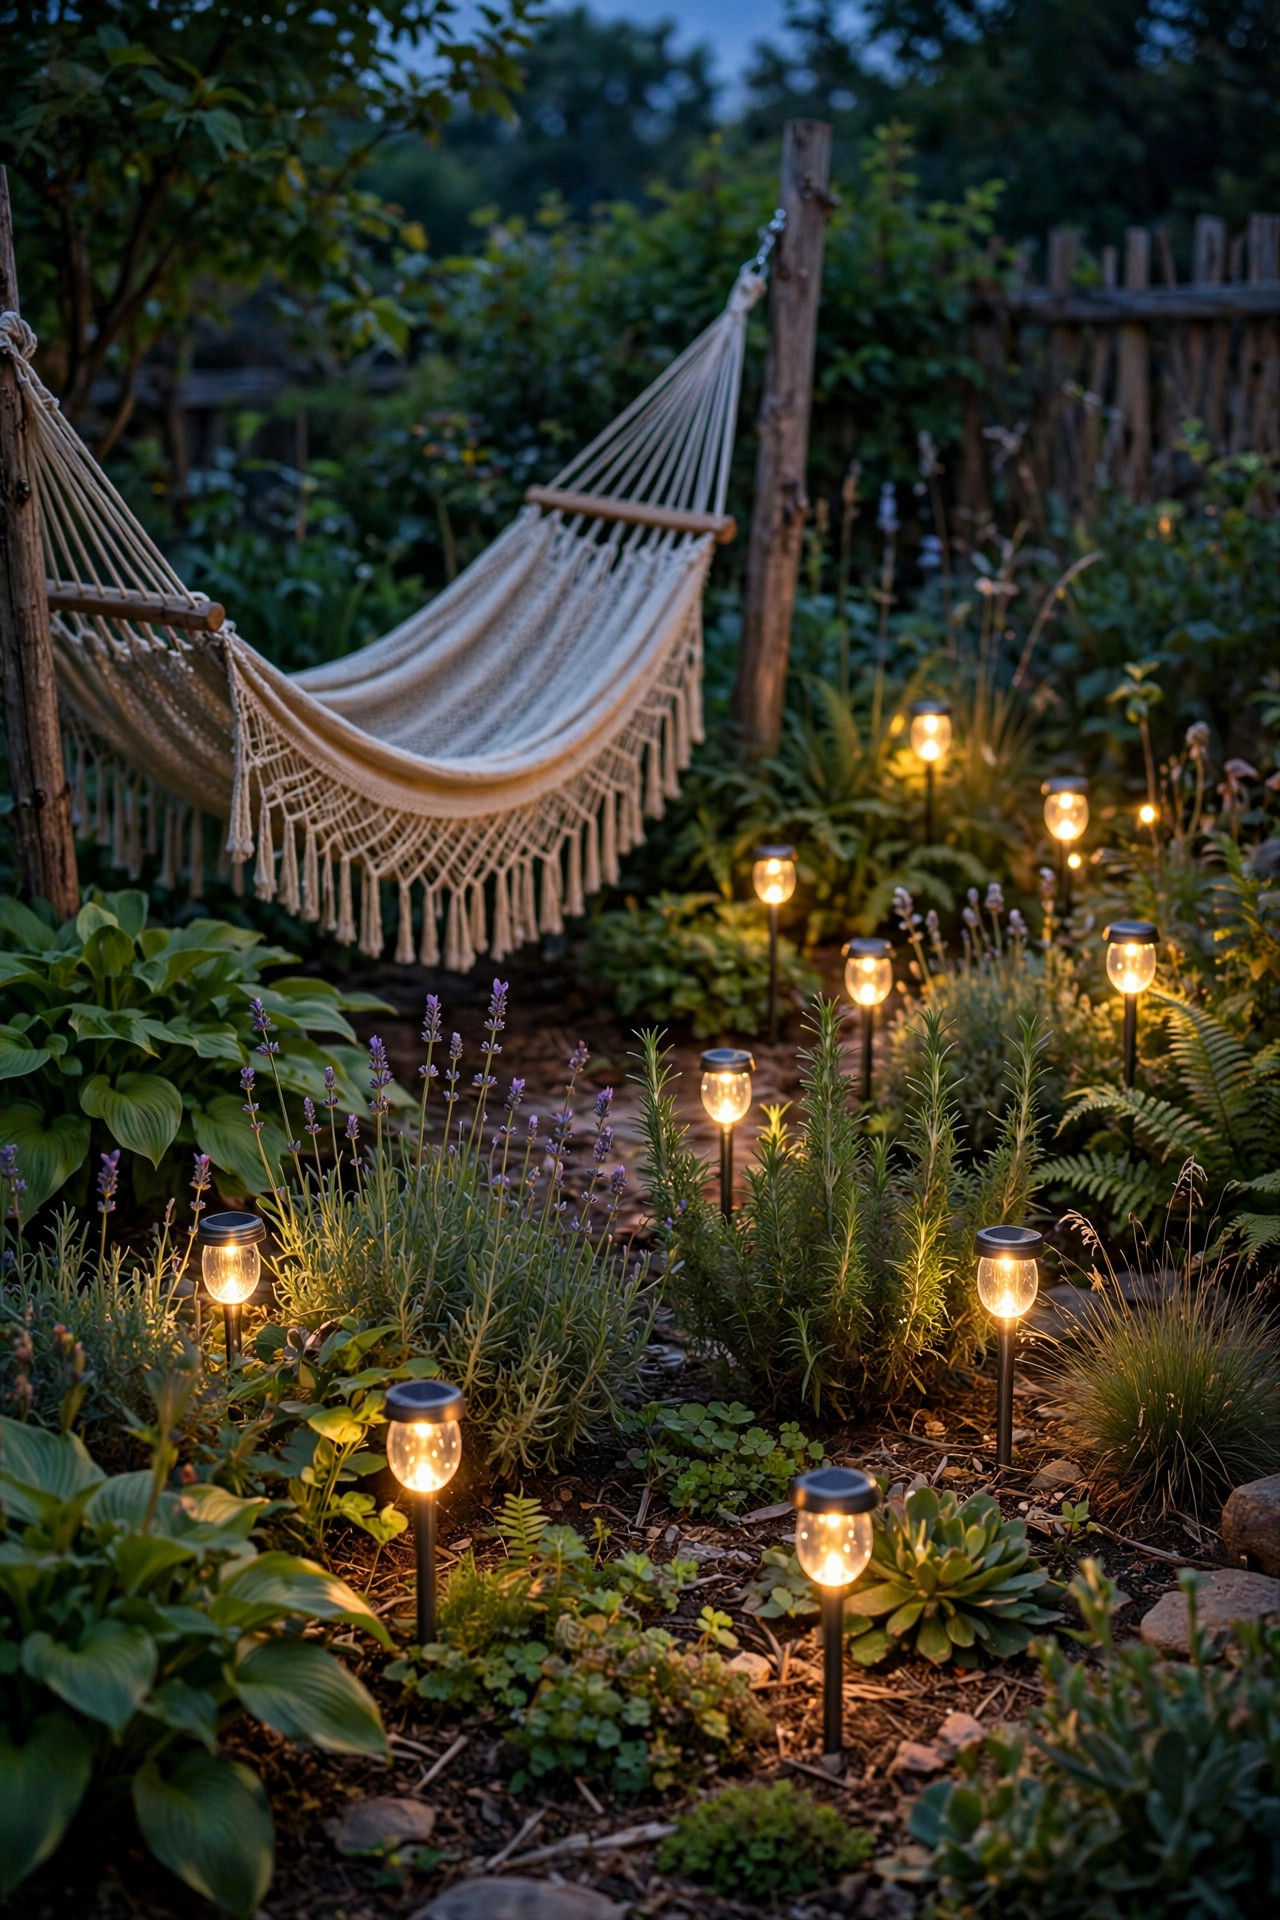
15. The Layered Formula: Hammock Lighting Ideas That Always Work
When friends ask me to just tell them the recipe, this is it, the same three layers behind every idea in this post. Layer one is overhead: one strand of string lights, solar or café style, draped above the hammock for general glow. Layer two is eye level: a lantern on a hook or a flameless candle cluster beside you, warm and close, bright enough to read by. Layer three is the ground: a few low path lights or firefly stakes guiding the way in and grounding the scene. Keep every layer warm white, 2700 to 3000K, and nothing above your sight line should be bare-bulb bright. Total spend lands anywhere from a budget mix of solar and battery pieces to a wired setup with moonlighting, and both can look wonderful. Start with the layer you are missing most; in my experience, most hammocks only lack the eye-level light, and a twenty-dollar lantern transforms them in one evening. Add the rest across the season as sales and birthdays allow. That is the whole philosophy: soft, layered, and always within arm's reach of the hammock.
Suggested budget range: $75 – $200.

Frequently Asked Questions
What color temperature is best for hammock lighting?
Warm white, between 2700K and 3000K, is the sweet spot for a hammock corner. It flatters skin, fabric, and foliage, and it feels like candlelight or a low sun rather than a parking lot. The one exception is a moonlighting downlight high in a tree, where a cooler 3000 to 4000K bulb mimics real moonlight more convincingly. Whatever you choose, keep every fixture in the same corner within the same range so the layers blend instead of clashing.
Are solar lights bright enough for reading in a hammock?
A single solar strand usually is not, but a solar lantern hung at eye level beside you often is. Look for a lantern rated around 100 lumens with a steady-on mode, and position it slightly behind your shoulder so the page catches the light without glare in your eyes. For long reading sessions, a dimmable plug-in or battery lantern gives you more control, with solar layers handling the atmosphere around it.
How do I light a hammock on a stand with no trees nearby?
Work with the stand itself. Battery globe string lights drape beautifully between the end posts, copper-wire fairy lights can twine around the frame, and a lantern on a shepherd's hook works beside a stand just as well as beside a tree. Because nothing needs a plug, a stand hammock can actually be the easiest setup of all, and it can move to wherever the shade is best that week.
Is it safe to leave string lights up over a hammock all summer?
Yes, with the right products and habits. Choose outdoor-rated strands (IP65 or better), LED bulbs only so nothing gets hot against fabric or leaves, and plug anything corded into a GFCI outlet. Check the strand monthly for cracked sockets or chewed insulation, keep bulbs a few inches from the hammock fabric itself, and unplug during severe storms. Quality outdoor sets are designed for exactly this kind of season-long use.
Conclusion
A hammock asks so little of us, just two anchor points and a free hour, and it gives back so much more when the lighting is right. These hammock lighting ideas all follow the same gentle recipe: something soft overhead, something warm at eye level, and something low to guide your steps, every layer in cozy warm white. Start with whichever layer your corner is missing, keep flames away from the fabric, and let timers do the remembering for you. If you are ready to extend the glow beyond the hammock, browse the rest of my outdoor lighting ideas here on the site and build your backyard one cozy corner at a time. I will see you out there at golden hour.