Some of my favorite summer evenings have started with the little ritual of lighting tiki torches — and ended with me fussing over hot fuel cans, smoky wicks, and one torch that toppled toward the mulch. Solar tiki torch lights changed all of that for me. Modern solar flame torches flicker with a dancing amber glow that's startlingly close to real firelight, they charge quietly all day, and they switch themselves on at dusk with no fuel, no matches, and no open flame anywhere near the pool towels. In this post I'm sharing 19 ways I use them: lining the front walk, ringing the fire pit, flanking the patio steps, and mixing them with the classic fuel torches where those still earn their place. You'll get the placement measurements, spacing rules, height tricks, and honest brightness notes I wish someone had handed me, plus a realistic budget for every single idea. By the end, you'll know exactly how to give your yard that barefoot, tropical-resort glow — and how to layer the flames so the whole place feels like a vacation you get to keep.
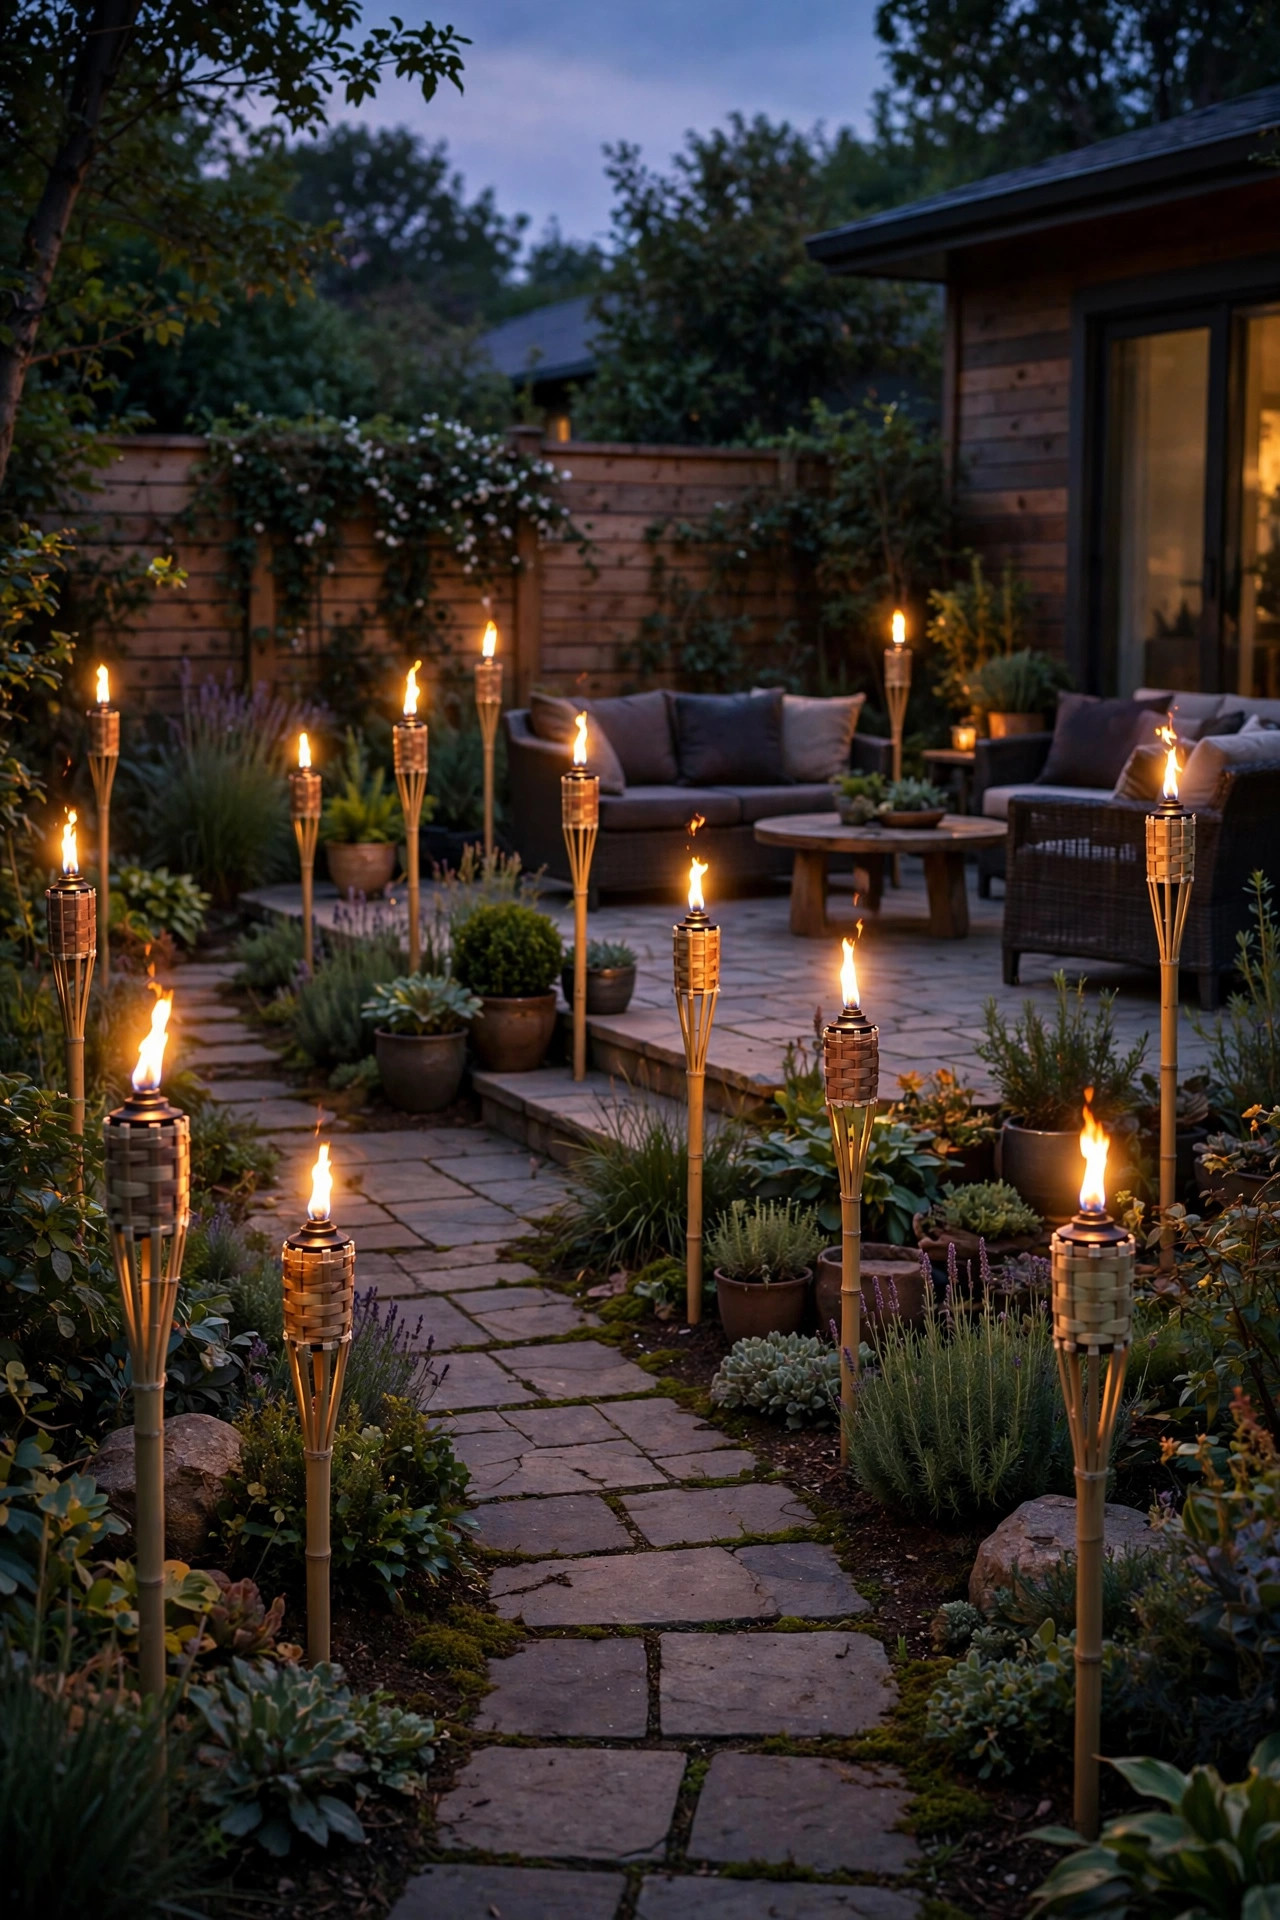
1. Solar Tiki Torch Lights Lining the Front Walkway
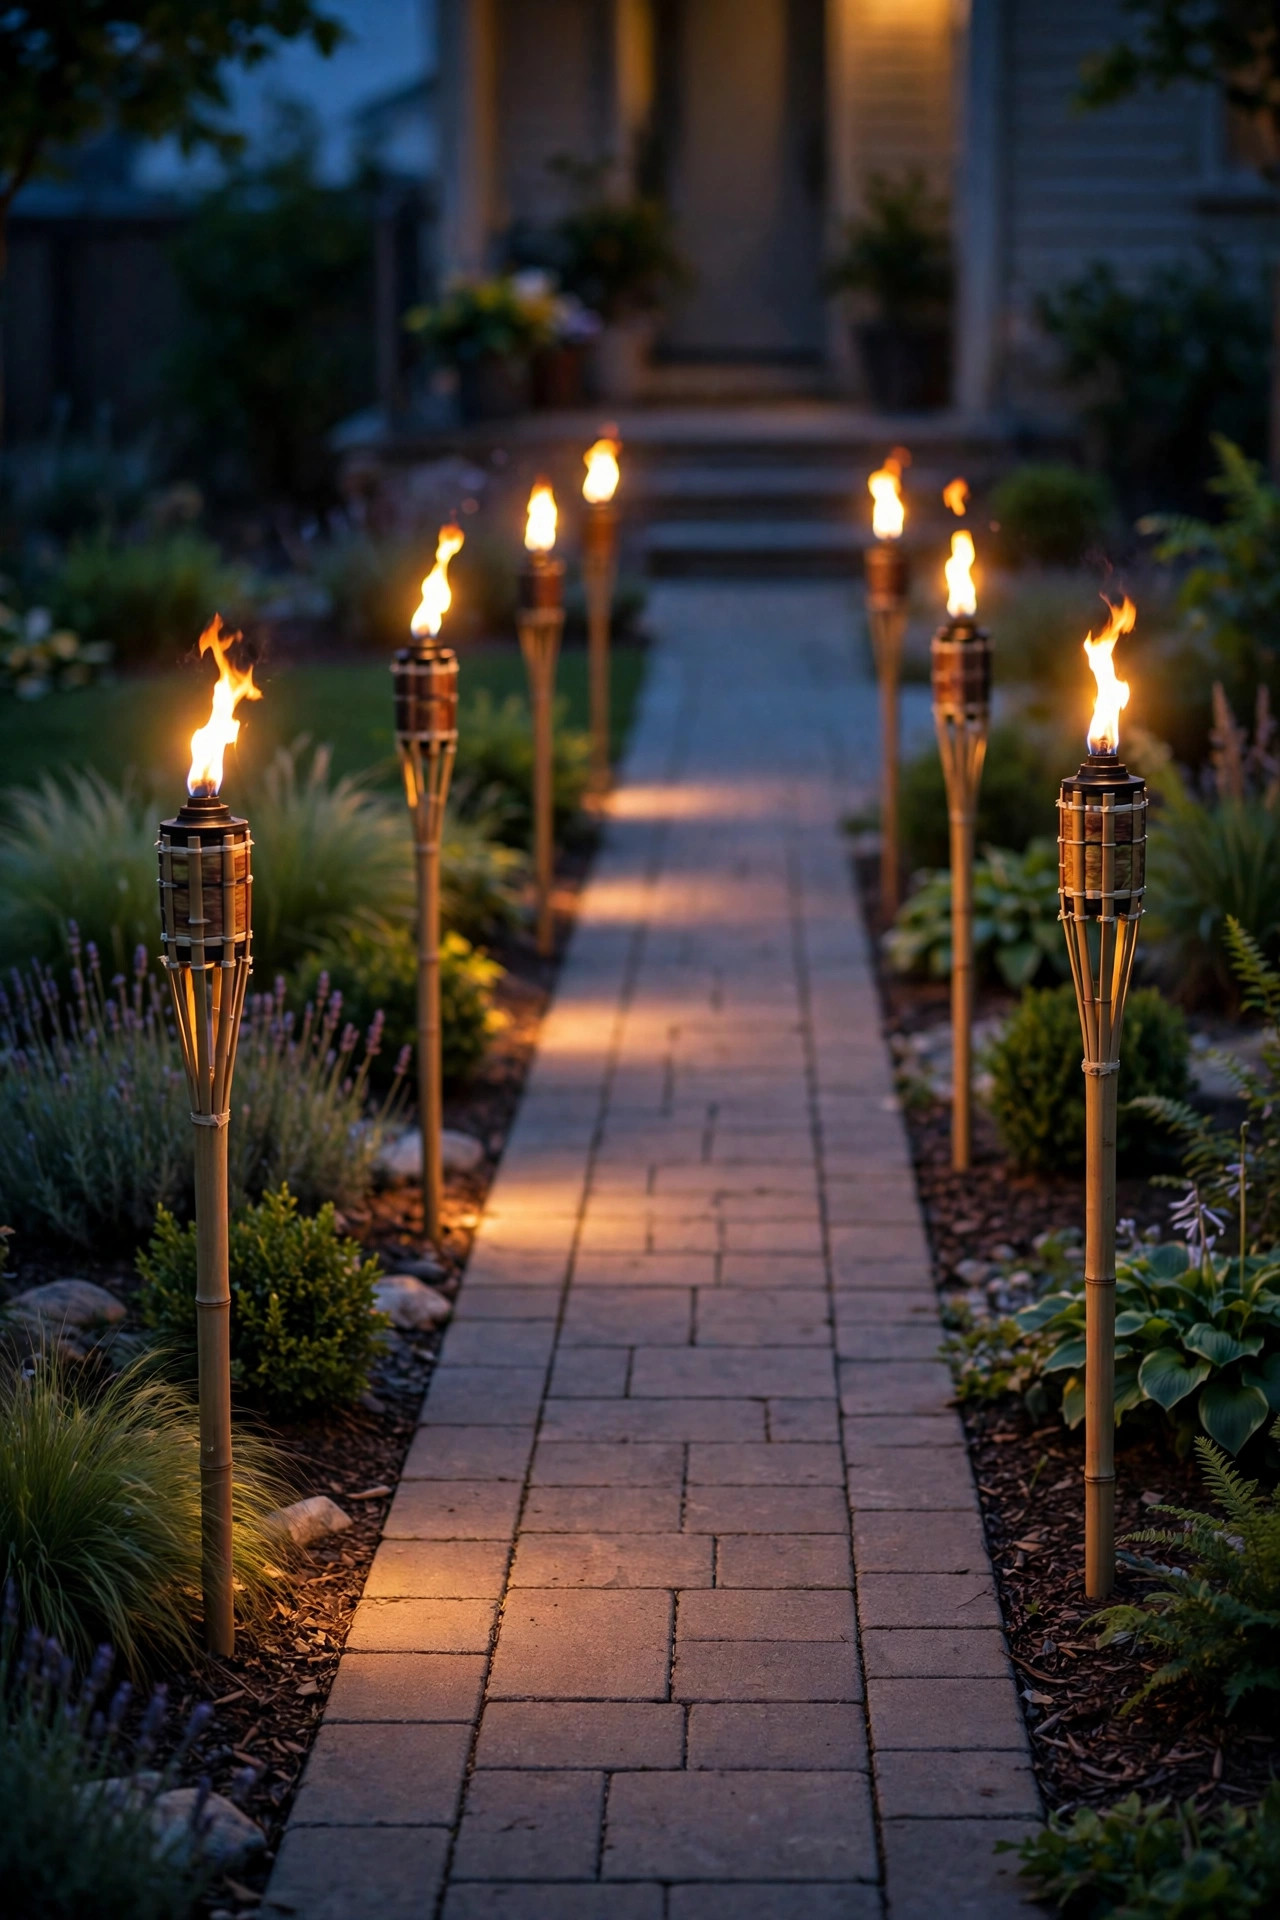
This is where almost everyone starts, and honestly? It's still my favorite use. A row of solar tiki torch lights down the front walk gives you that resort-entry feeling for the price of a nice dinner out, and the install takes about ten minutes. Most solar torches come as stakes 12 to 24 inches tall once pushed in, and I space them every 4 to 6 feet, alternating sides so the flames zigzag guests toward the door instead of marching them down a runway. Push each stake straight down at least 6 inches so it doesn't lean after the first rainstorm, and keep the little solar panel on top clear of overhanging shrubs — a torch shaded all day is a torch that quits by nine. One honest note on brightness: these flames are for atmosphere and edge-marking, not true illumination. You'll see the walk's outline beautifully, but if your path has steps or a cracked slab, treat that as a separate problem (idea 18 covers my fix). Wipe the panels with a damp cloth monthly, because pollen film quietly steals runtime, and expect 6 to 10 hours of flicker after a full sunny charge.
Suggested budget range: $30 – $70.
2. A Tropical Double Row Along the Driveway
Driveways are wide, dark, and usually the least loved stretch of the yard — which makes them perfect torch territory. I run solar flame torches in two staggered rows along the drive's edges, one torch every 8 to 10 feet per side, offset so the rows never mirror each other. The doubled flicker reads lush and tropical from the street, and it quietly solves a real problem: guests backing out at night can actually see where the pavement ends and the lawn begins. Keep every stake at least 18 inches back from the concrete edge so car doors and delivery vans swing clear. Because driveway torches sit in open sun all day, they're the hardest-working solar lights I own — full charges, long runtimes, and the steadiest flames of the bunch. If your drive is long, resist the urge to space them tighter. That rhythm of flame, dark, flame, dark is exactly what creates the resort-driveway feel, and buying twelve torches when eight will do helps nobody's budget. For a finished look, match the torch finish to your mailbox or house trim — black metal reads modern, while bamboo-look resin reads pure island.
Suggested budget range: $60 – $130.

3. Flickering Solar Torches Around the Pool Deck
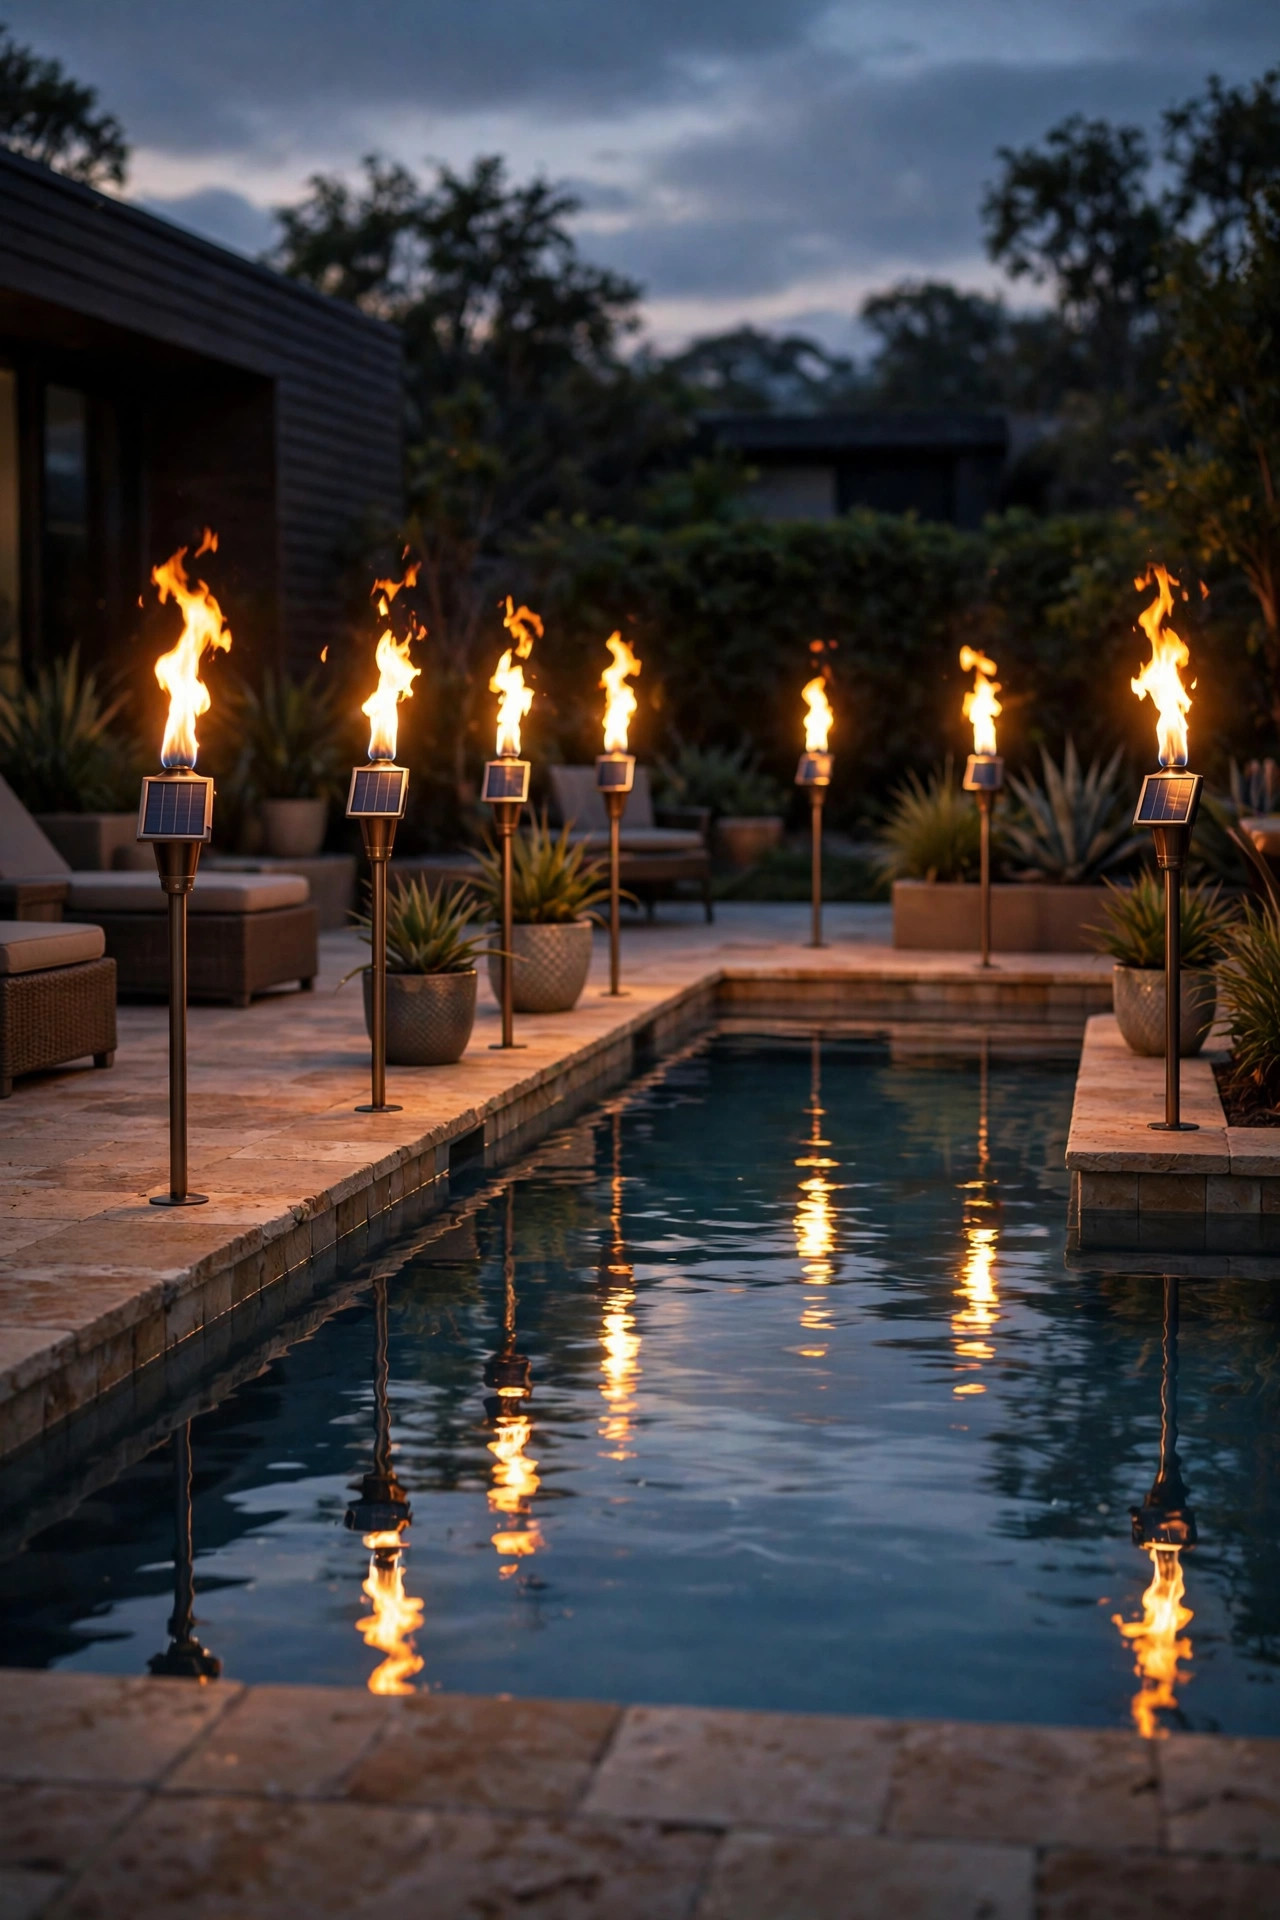
The pool deck is where solar torches beat real flame so completely it isn't even close. There's no glass fuel can to tip into the water, no open flame near towels and inflatable toys, and the stakes stay cool if a bare foot or a curious kid brushes one. The flicker doubled in the water's reflection is pure resort — I swear the pool looks twice as expensive at night. Placement takes a little thought on a concrete deck: instead of staking into ground, set torches in the planter beds and pots around the deck's edge, or use weighted tabletop torch bases on side tables between loungers. Keep them a comfortable 3 feet back from the water's edge so splashes and cannonballs don't soak the electronics, and choose models rated IP65 or better, because pool decks are wet places even without swimmers. One caution from experience: the cheapest no-name torches fog up inside the flame lens after a month of pool humidity. Mid-range torches with sealed housings survive season after season out there. Pull them into the garage when you close the pool for winter and they'll greet you again on opening day.
Suggested budget range: $45 – $110.
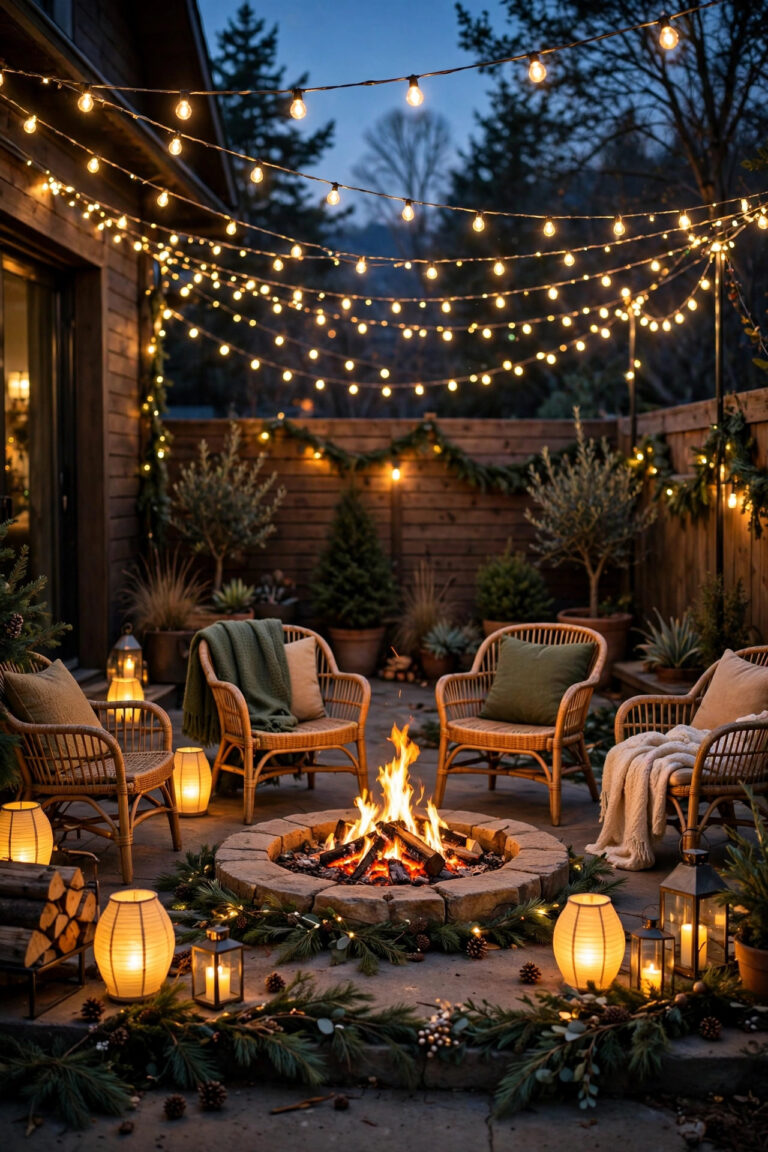
4. A Solar Torch Ring Around the Fire Pit
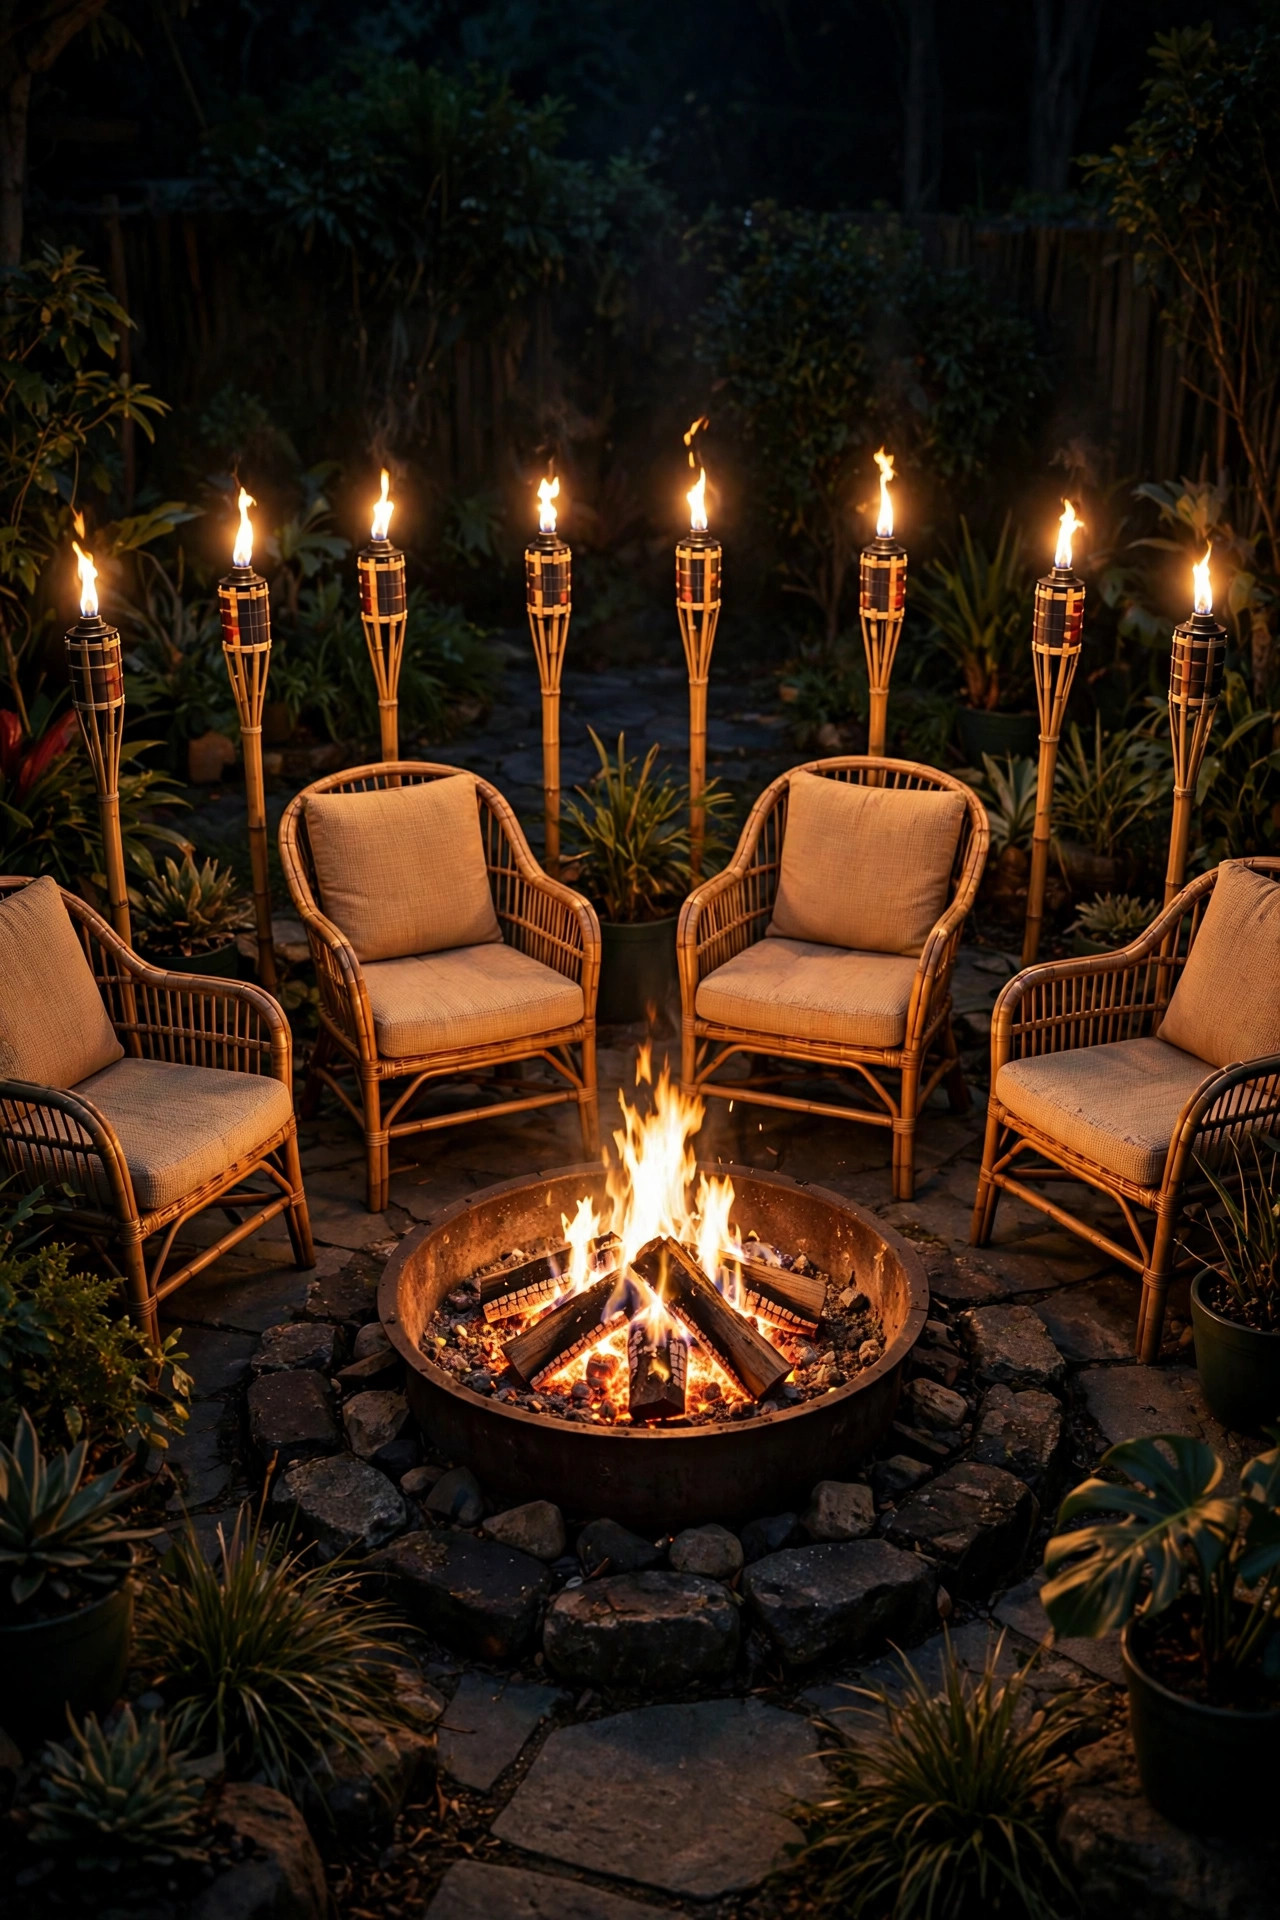
A fire pit already gives you real flame at the center, so the torches' job here is framing — they mark the seating circle and light the ground where people walk with drinks in hand. I ring solar torches just behind the chairs, roughly 12 to 14 feet across if your pit is standard size, with one torch behind every seat and one at each "entrance" gap. That behind-the-chairs placement matters: flames at eye level in front of people get annoying fast, while a flickering halo behind them reads as pure ambiance. Solar is the right call this close to seating, since guests lean back, blankets drape, and nobody should be reaching past an open fuel flame to grab a marshmallow stick. If you want to go deeper on the pit itself, my guide to fire pit area lighting covers the layered approach I use there. On party nights I add two taller torches at the path back to the house, because the walk to refill drinks is where ankles meet garden edging. Keep a small gap in the ring on the downwind side so smoke escapes instead of swirling through your guests.
Suggested budget range: $40 – $95.
5. Real-Flame Fuel Tiki Torches for the Classic Luau Look
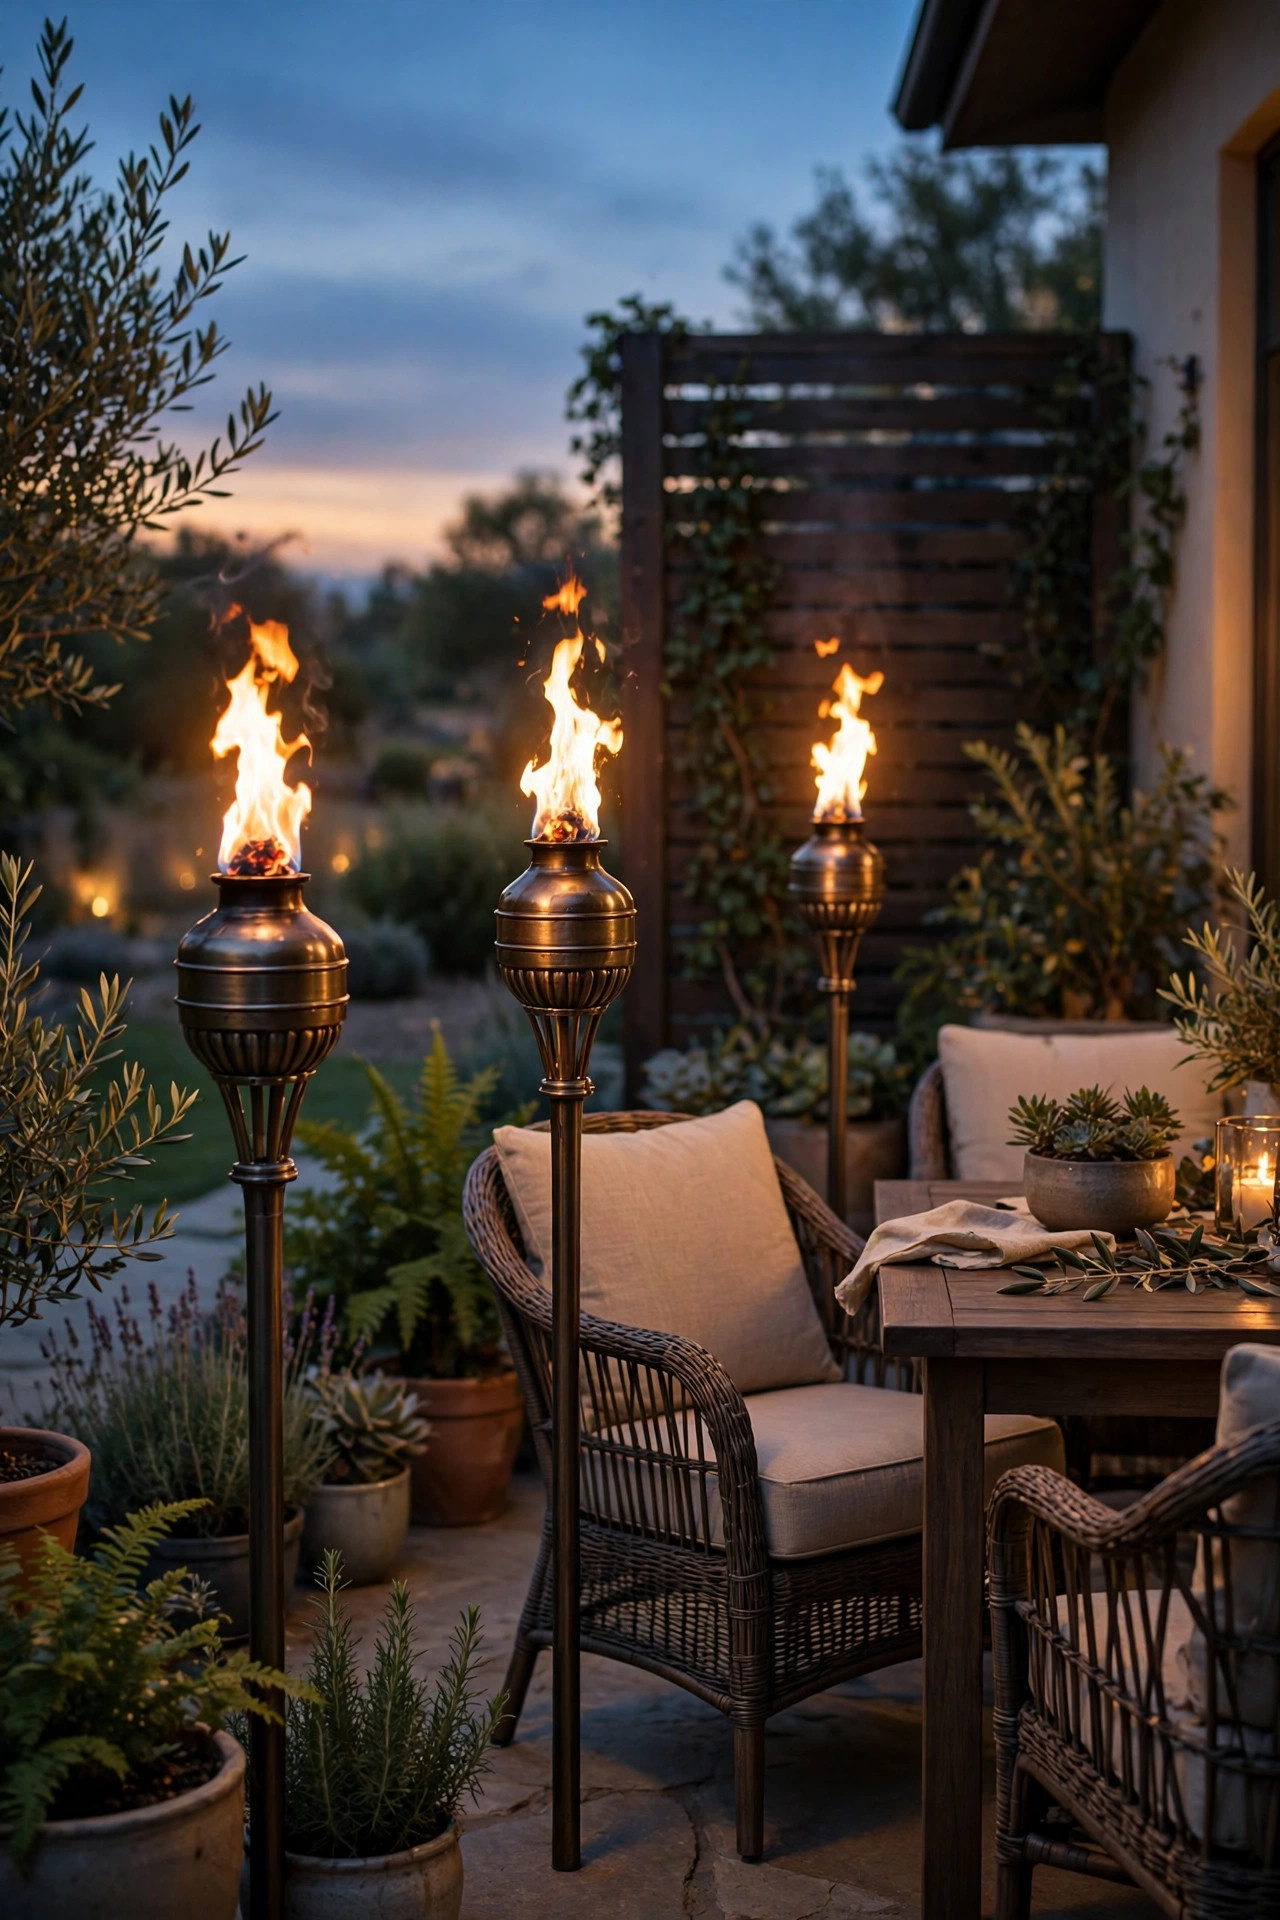
Sometimes you want the real thing, and I still keep a set of classic fuel torches for exactly that. Real flame has a height and movement no LED has fully matched yet, and citronella-blend fuel does take a modest edge off the mosquitoes within a few feet of each torch. Here's my honest safety routine, because this is the one idea on the list that can hurt someone. Fill the canisters on a flat surface away from the house, never top up a hot or lit torch, and set the wick about 3/4 inch above the collar — higher wicks smoke and soot. Place fuel torches at least 3 feet from structures, fences, and overhanging branches, more if it's breezy, and press the pole a solid 12 inches into firm ground so a bumped torch can't topple. Never leave them burning unattended, keep the snuffer caps handy, and store fuel in a cool spot away from the water heater and any pilot lights. Metal canister torches outlast bamboo by years and look better doing it. My rule: fuel torches are for the nights I'm outside the whole time, hosting. The rest of the week, solar does the job.
Suggested budget range: $50 – $120.
6. Tall Statement Torches Flanking the Patio Steps
Every yard has a spot that deserves punctuation, and mine is the patio steps. Two tall solar torches — the 48 to 60 inch kind — flanking the top step turn a plain transition into a little ceremony every time you walk out with your coffee. Symmetry is the whole trick here: matched pair, matched height, planted at the same distance out from the railing, about 18 inches to each side of the stair opening. Taller torches carry bigger solar panels and bigger batteries, so this pair will usually out-flicker your short stakes by an hour or two on the same charge. They're also the most visible torches from inside the house, which is why I splurge slightly on this pair — heavier poles, a flame lens that doesn't look plasticky in daylight, a finish that matches the railing. During the day an ugly torch is just an ugly stick in your garden, and these two are on display around the clock. If your steps are wide, go one size up rather than adding a third torch; a bold pair beats a timid trio every time. Add a low planter at each base to hide the stake junction and the whole thing looks built-in.
Suggested budget range: $45 – $90.

7. Solar Torches in Big Planters and Pots
No yard? No problem. Renters, apartment patios, and anyone with a fully paved backyard can still run torches — just plant them in pots instead of soil. Choose heavy planters at least 14 inches across, fill the bottom third with gravel for ballast, then soil, then push the torch stake in dead center. I finish with a real plant around the base — sweet potato vine or trailing lantana hides the stake and makes the torch look like it grew there. Two honest tips from my own patio experiments. First, the solar panel needs the same sun it would get in the ground, so a pot parked under a deep balcony roof will disappoint you; wheel it into the sun's path or accept a shorter show. Second, group pots in odd numbers — a trio of torches at staggered heights by the door looks designed, while a lone pot looks like you forgot to put it away. Clay and glazed ceramic pots are heavy enough to stay put in a storm; lightweight resin planters need the gravel treatment plus a sheltered corner. Water the plant, not the torch — keep the hose stream off the panel and flame head.
Suggested budget range: $35 – $85.
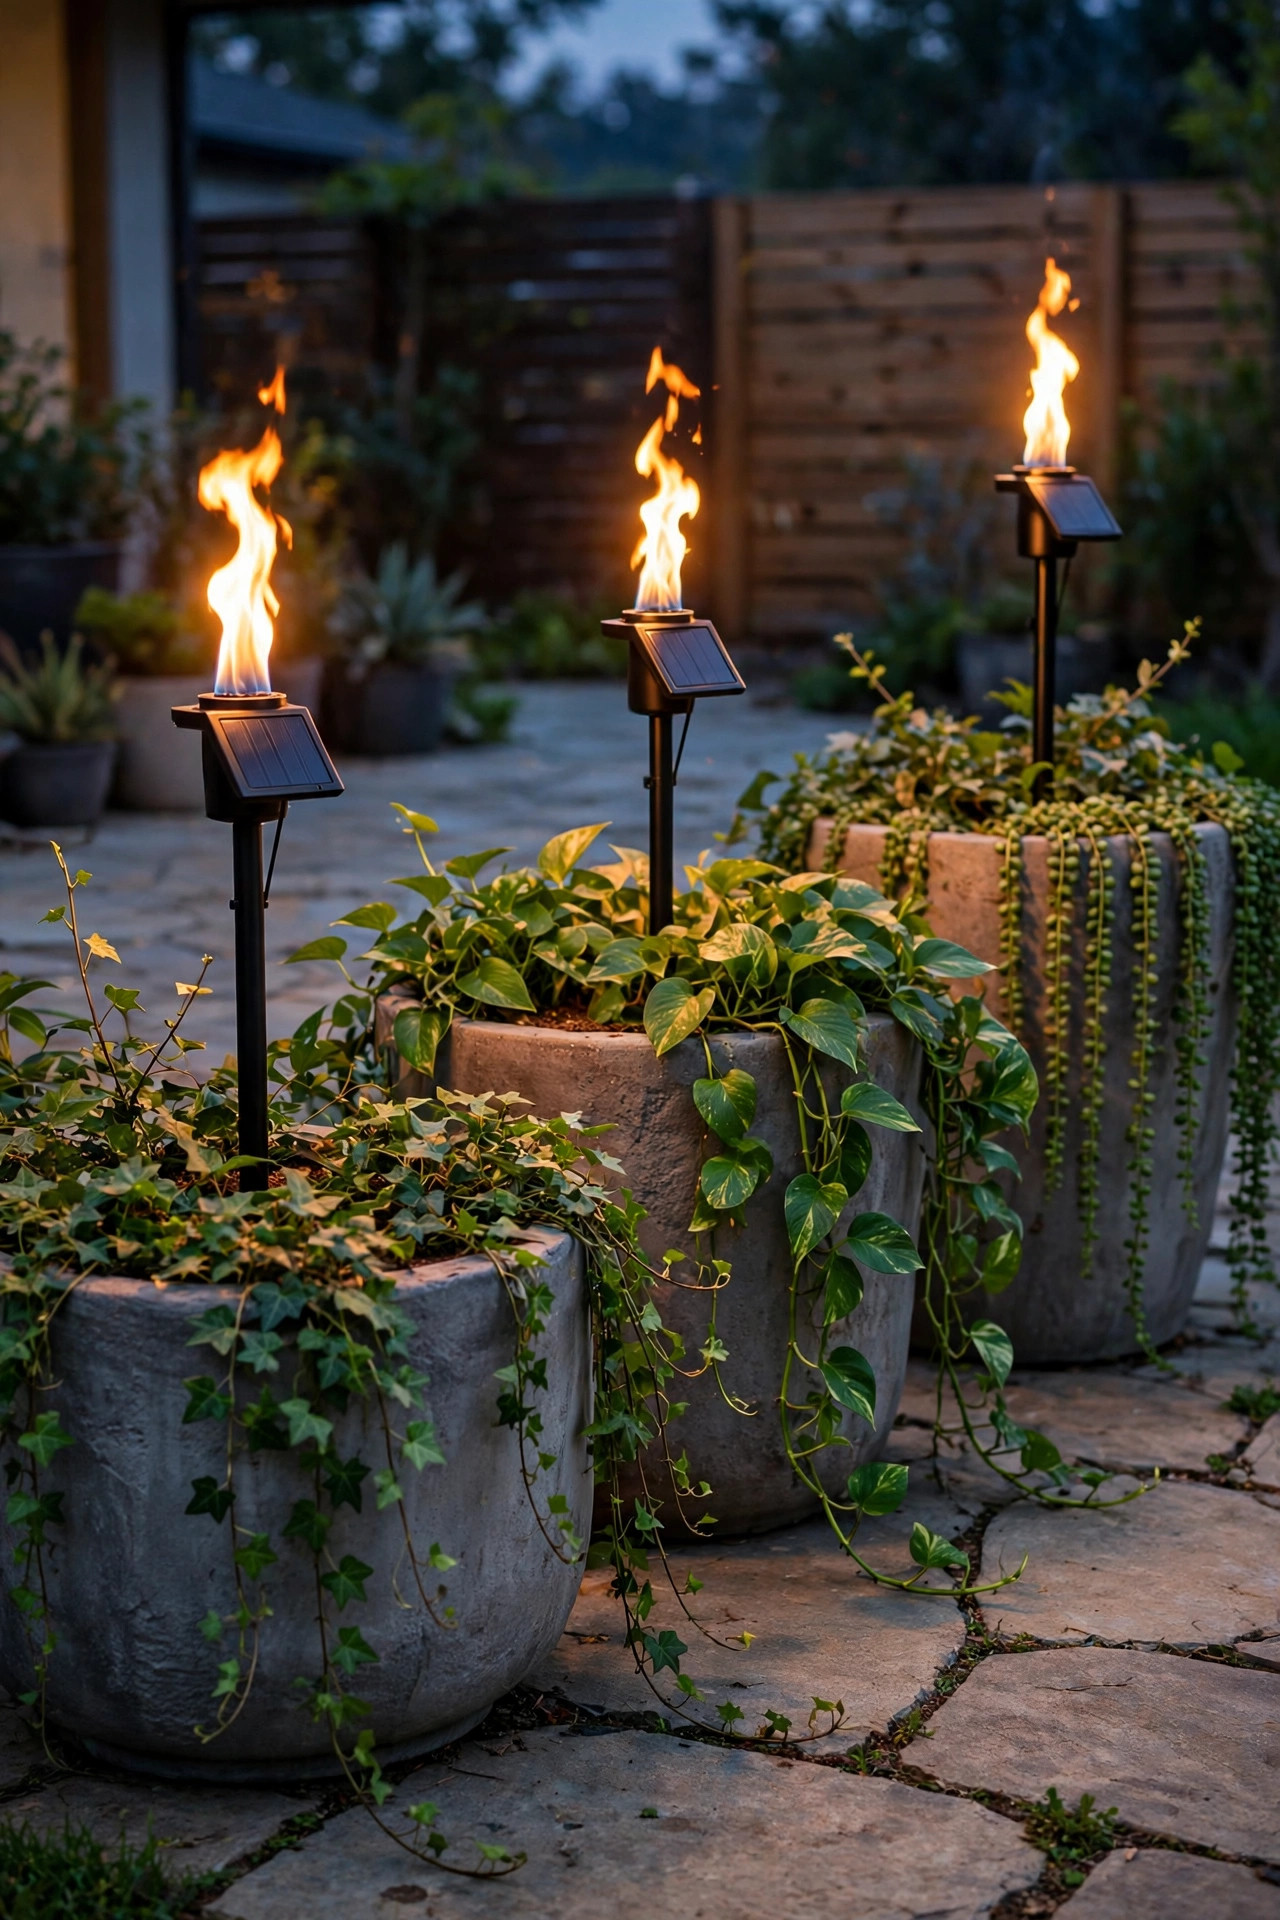
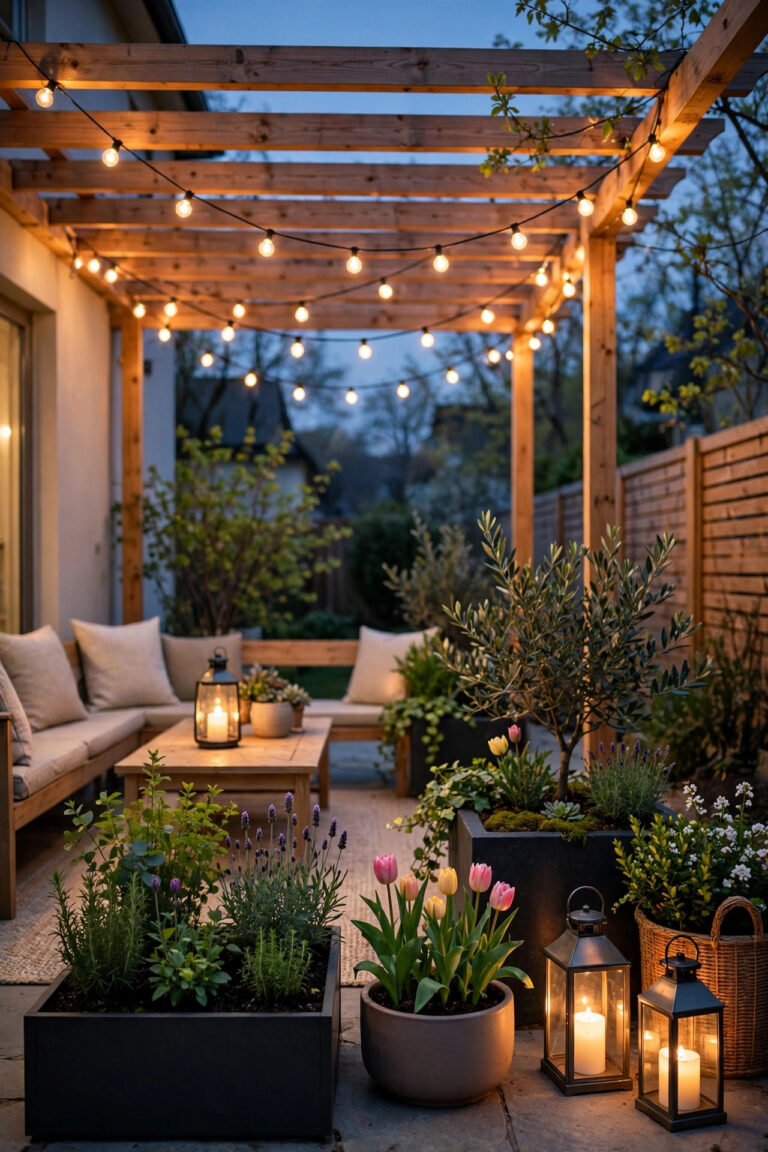
8. Layering Solar Tiki Torch Lights Under String Lights
If I could only teach one trick in this whole post, it's this one: solar tiki torch lights at ground level plus warm string lights overhead is the single most "how is this your backyard?" combination I know. The string lights give you the canopy — general glow, faces lit, food visible — while the flames below give you movement and depth. Keep the color stories close cousins: 2700K warm-white strings above, amber flame below. Cool-white strings over amber torches look like two different parties arguing. My layout is simple. Strings zigzag across the patio or hang from the pergola, and torches stake along the edges of that same footprint, one every 5 to 7 feet, just outside the seating so nobody's back is against a flame head. The layered look also fixes each light's weakness — strings alone can feel flat and fairground-ish, while torches alone are too dim to eat by. Together they read as intentional design. On the nights I host, I turn nothing else on. The porch light stays dark, the floodlight stays dark, and the yard does all the talking. Try it once and you'll understand why this is the layering I recommend to everyone.
Suggested budget range: $55 – $120.

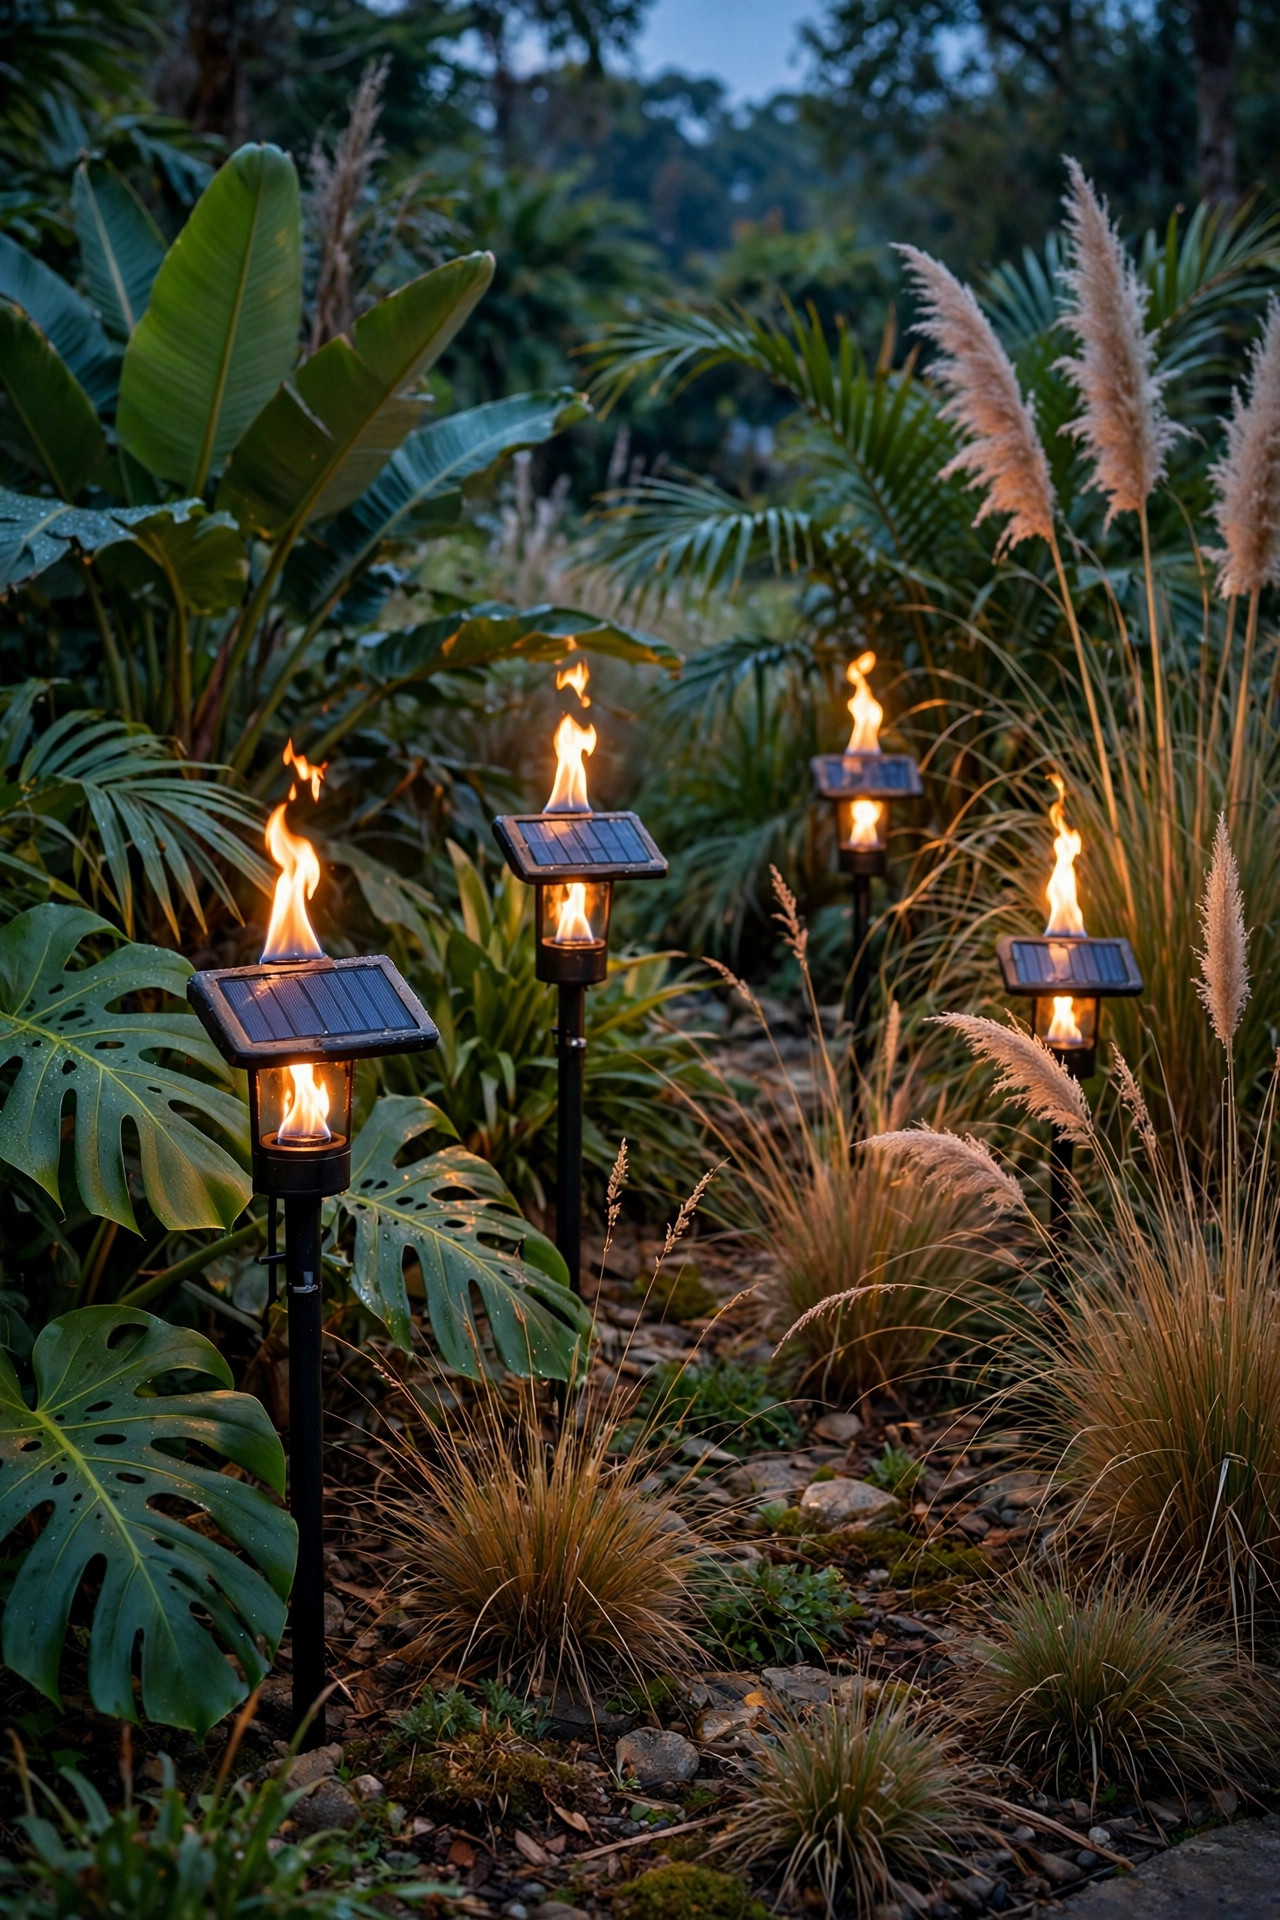
9. Torches Tucked Through Tropical Garden Beds
A torch lined up in open lawn is fine, but a torch rising out of a planting bed is a moment. I push solar torches in among big-leaf plants — cannas, elephant ears, hostas, ornamental grasses — so the flame appears to float inside the foliage, and the leaves catch the flicker and throw it back doubled. Because solar flames are cool LEDs, there's no heat to scorch a leaf that leans in, which is exactly why this idea is solar-only in my yard; a real flame inside a dry bed of ornamental grass is a hard no. Spacing inside beds is looser and more organic than on a path: cluster two or three torches near a feature plant, then leave a dark gap, then another cluster. Sight lines matter more than measurements — walk the path at night and adjust until the flames reveal themselves one at a time as you move. Keep panels poking above the foliage line or the plant will shade your torch into an early bedtime; a taller stake behind shorter plants solves it. Come fall, the torches stay while the perennials fade, and they carry the bed's interest right through the first frosts.
Suggested budget range: $35 – $80.
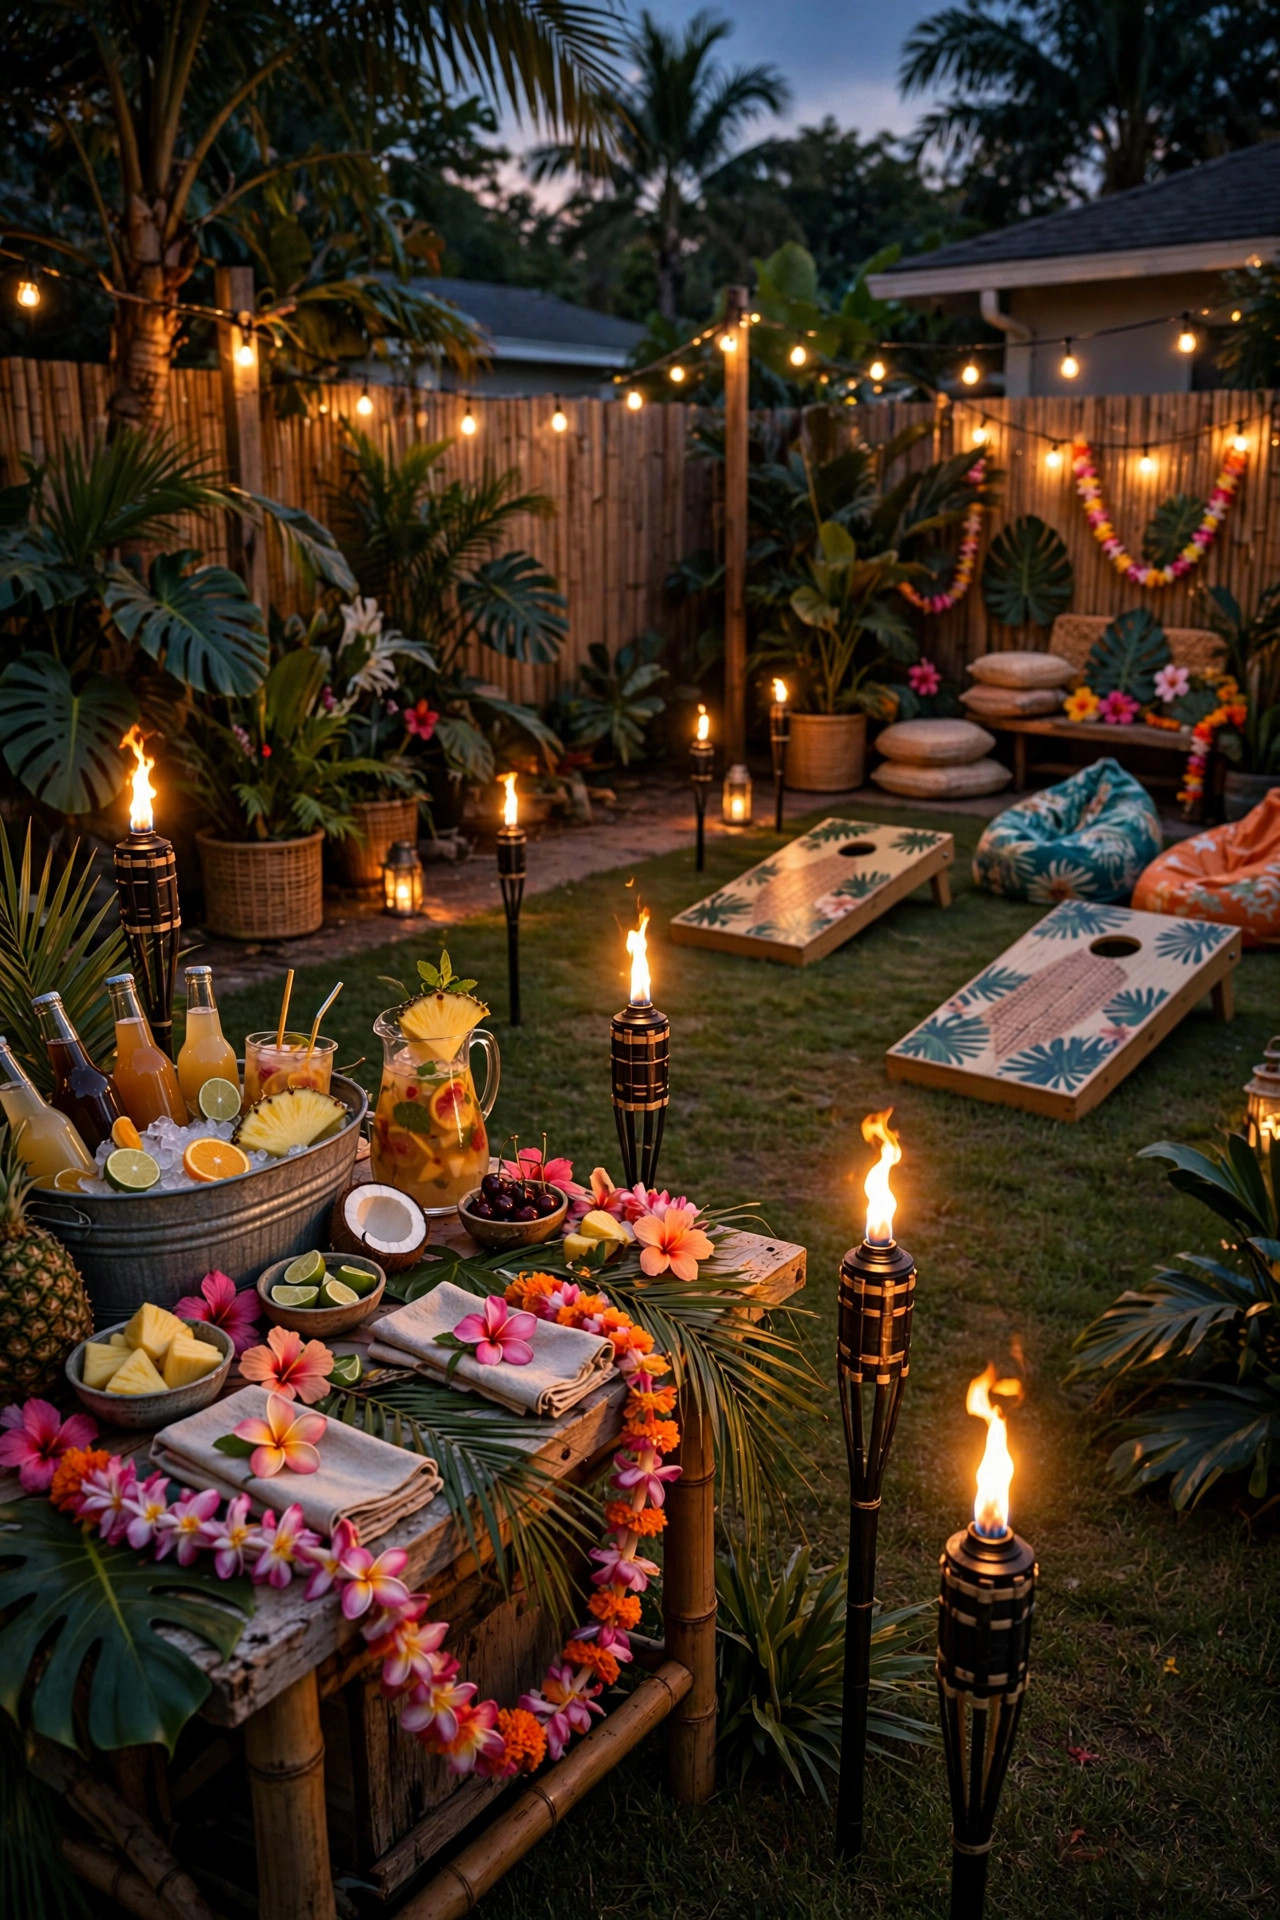
10. A Luau-Ready Party Layout With Torch Zones
For parties, I stop thinking in rows and start thinking in zones. Torches become the signage: a welcoming pair at the gate, a flickering runway down the side path, a cluster of three at the drink station, and a loose ring around the lawn games. Guests navigate by flame without ever noticing they're being guided, and the photos come out looking like a resort luau instead of a backyard. The drink-station cluster is my favorite detail — three torches at staggered heights behind the table make every bottle glow and give people a landmark ("meet me by the torches") that actually works. Keep flames a sensible distance from the buffet itself and from any paper decorations; solar flames are cool, but real tiki fuel and paper lanterns should never share a table. I do the whole layout in daylight the morning of the party so the panels charge in their party positions — moving a solar torch at 6 p.m. means an uncharged torch at 8. If you're building out the rest of the patio for the night, my patio lighting ideas round out the zones that torches don't cover. Borrow extra torches from quiet corners of the yard rather than buying party-only stock.
Suggested budget range: $60 – $140.
11. Clamp-On Torches for Deck Rails and Fences
Decks used to be torch-free zones in my yard, because there's nowhere to stake. Clamp mounts fixed that. Torch holders that clamp onto a standard 2×4 or 2×6 rail let you perch solar torches along the deck edge, and the effect from the yard looking back — a floating line of flame at rail height — is gorgeous. Space them 4 to 6 feet apart, or one per railing section, and angle the heads so the solar panels tilt up toward open sky rather than sitting in the shadow of the house; a south- or west-facing rail charges far better than one tucked under the eaves. Check the clamp's grip before the season's first party — vibration and weather loosen them, and a torch in the flowerbed below is a sad sight. Tabletop torch bases are the other deck option: short, weighted, designed to sit on the dining table like a candleholder with ambition. I use one on the table and clamps on the rails, never fuel on the deck — hot oil and wood decking are a combination I've made my peace with avoiding. When winter comes, the clamps loosen with two twists and everything stores in one bin.
Suggested budget range: $40 – $90.

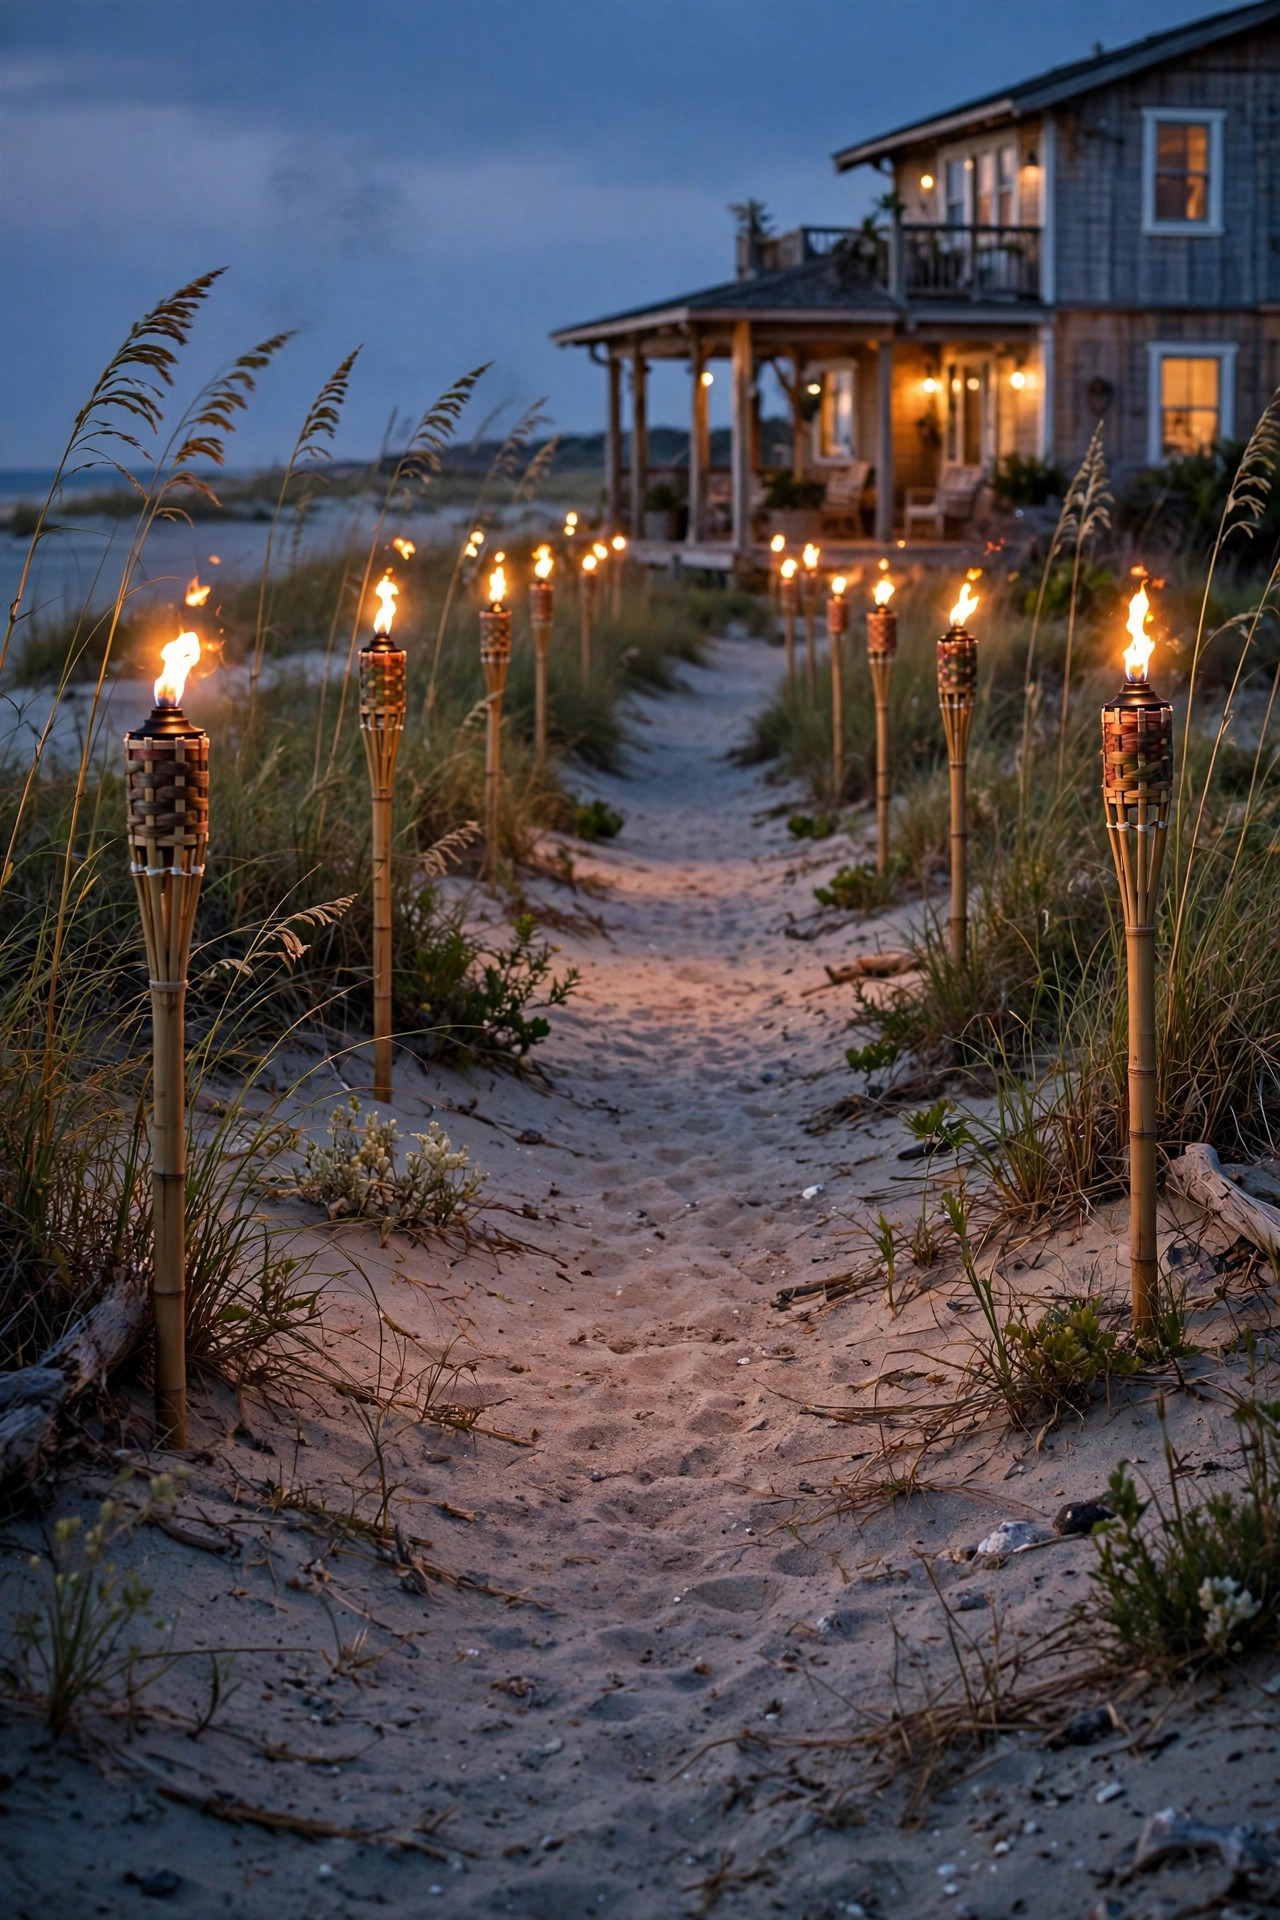
12. Wind-Proof Torch Rows for Coastal and Beach-House Yards
If you live anywhere near the water, you already know the dirty secret of real tiki torches: the first decent breeze turns them into smoky, guttering candles, and a real gust lays the flame sideways toward whatever's dry. Solar torches simply don't care about wind. The flame is a pattern of LEDs, so a beach-house row flickers serenely through the same onshore breeze that would have you relighting fuel torches every twenty minutes. Coastal placement has its own rules, though. Salt air corrodes cheap metal poles within a season, so pick resin or powder-coated aluminum torches and give them a fresh-water rinse when you hose the deck. Sand is the other enemy — stakes slide in beachy soil, so push them deeper than the instructions say, a good 8 inches, or set them in buried coffee cans of gravel for a firm socket. I love a double row marching toward a dune crossover or dock path, spaced 6 feet apart, because the eye reads it as a boardwalk to somewhere fun. And since coastal yards get serious sun, these torches charge hard and run long — mine regularly outlast the party. Bring them in for named storms; everything else, they shrug off.
Suggested budget range: $55 – $115.
13. Motion-Sensor Solar Torches That Brighten When You Pass
Here's the honest problem with every flame torch: it's mood lighting, not security lighting. A newer style of solar torch tries to have it both ways — a gentle flicker at idle, then a brighter warm-white boost when its motion sensor catches you walking by. In my experience, they genuinely help on the routes you walk after dark: the side gate, the path to the trash bins, the steps off the deck. The flame keeps the yard pretty for the neighbors, and the boost gives you real footing light for the ten seconds you need it. Place the sensor head to face the direction you approach from, about waist height on the stake, and expect the detection range to be a modest 10 to 16 feet — these are path sensors, not driveway alarms. Brightness honesty still applies: even the boost mode won't light a workspace or read a house number, so treat these as a comfort upgrade, not a safety system. They're also the priciest torches on this list per unit, so I deploy them surgically — two or three on working paths, plain flicker torches everywhere the light is purely for looking at.
Suggested budget range: $50 – $100.
14. Short Torch Stakes Edging the Lawn and Mulch Beds
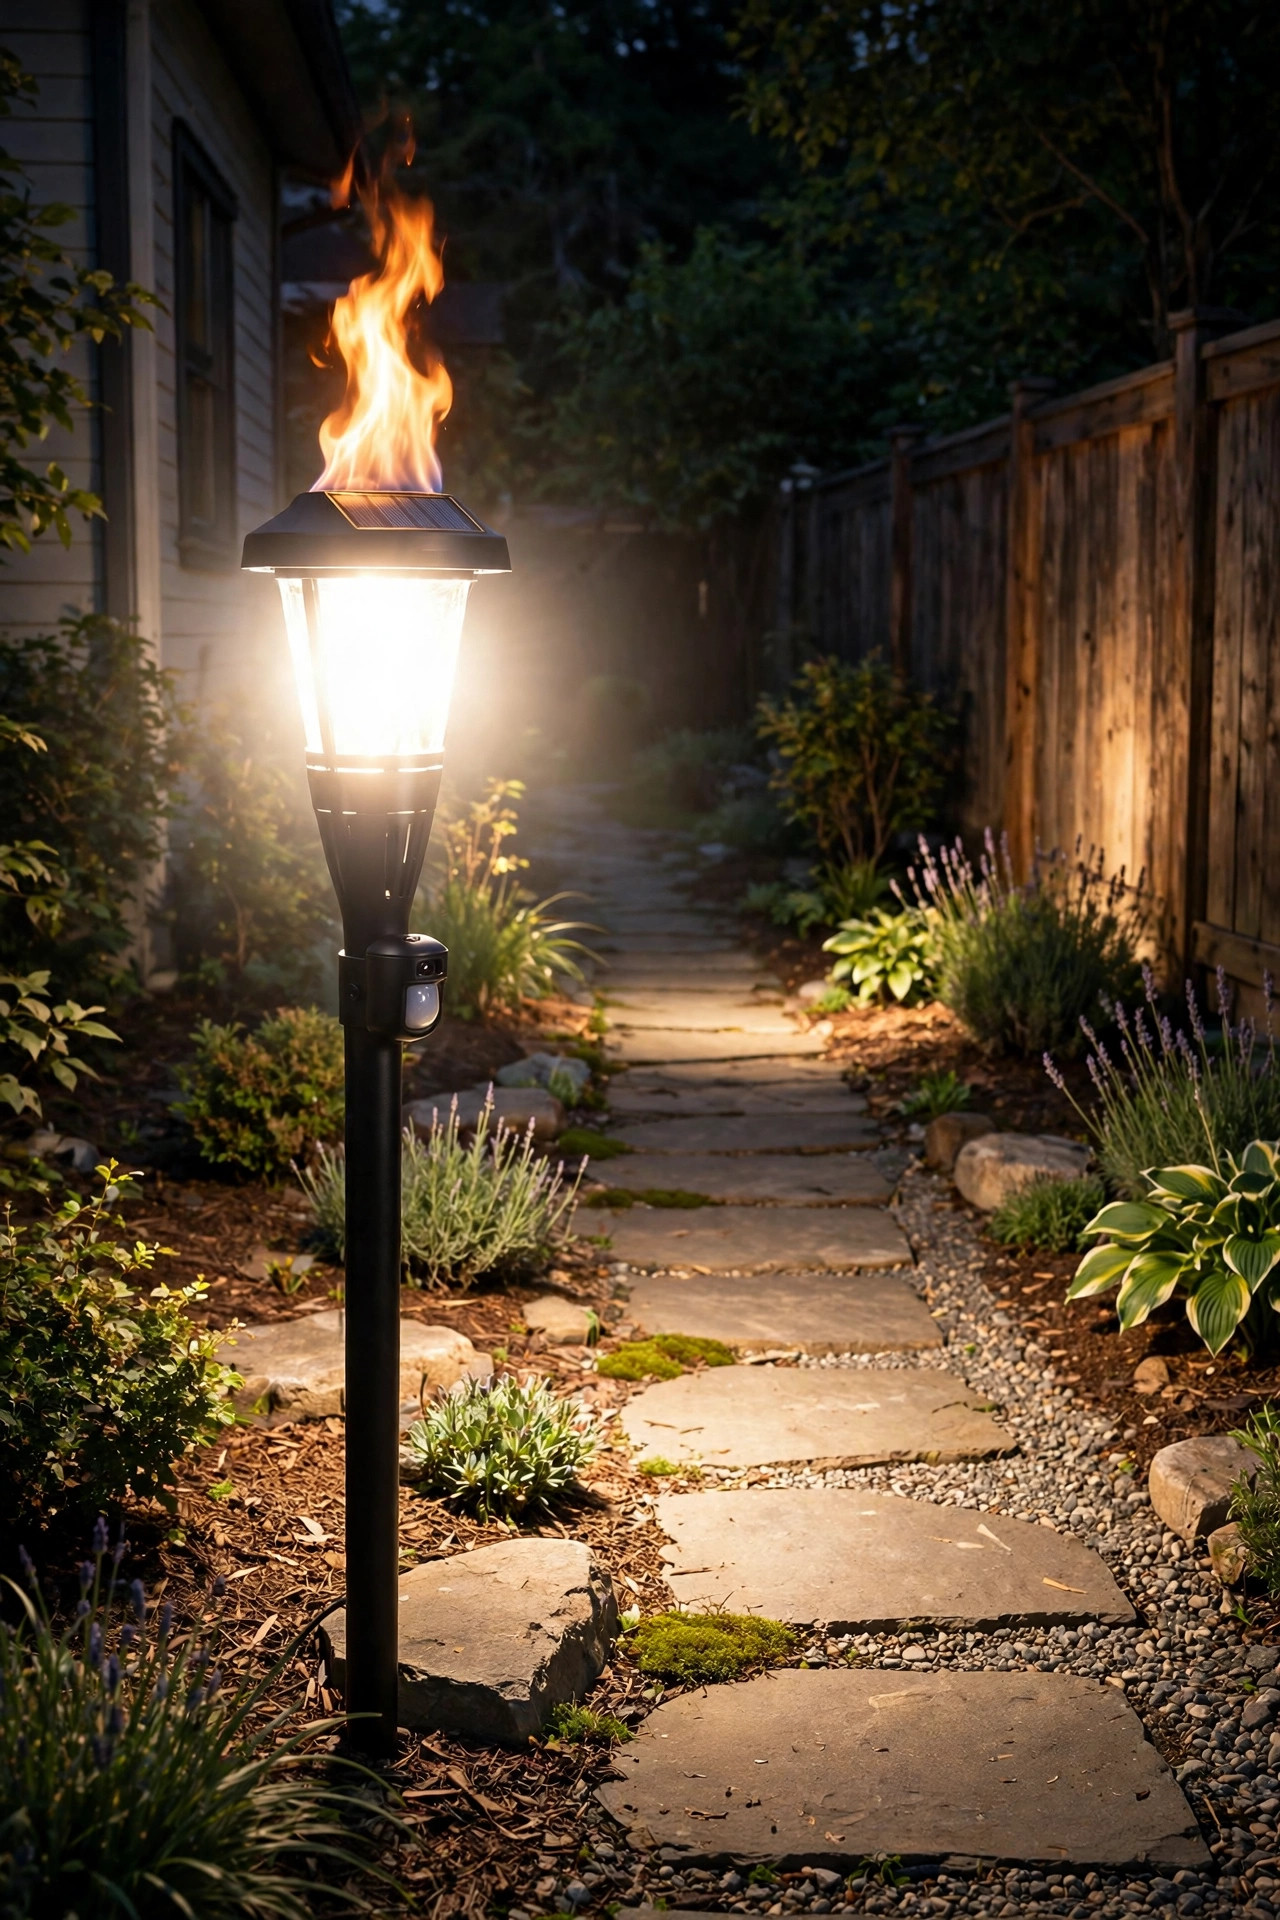
The little 12-inch torches are the wallflowers of the torch world, and I mean that as praise. Staked along the curve where lawn meets mulch bed, they draw a flickering dotted line that shows off your edging work and keeps guests (and the occasional delivery driver) from cutting across the plantings. Because they're short, the flames sit down inside the garden's silhouette instead of poking above it, which reads surprisingly elegant — more candlelit border than luau. Space them 3 to 4 feet apart along a curved edge; curves eat up torches faster than straight runs, so measure the arc before you order. The one real headache is mowing. Either pull the row on mow day (they lift out in seconds, and I keep a bucket by the gate for exactly this) or leave a clean mulch margin so the mower never has to swerve. String trimmers are the true assassin here — one careless pass cracks a flame lens — so edge that bed by hand or with a half-moon edger. In fall, the low flames among pumpkins and mums on the bed's edge is, I'm not exaggerating, the prettiest week my front yard has all year.
Suggested budget range: $25 – $55.

15. Bamboo, Metal, or Resin: Choosing Your Torch Style
Stand in the garden center and the torch wall looks like a dozen versions of the same idea, but the material decides how your torches age. Bamboo-look resin is my default recommendation for solar torches: it reads tropical in daylight, never rusts, shrugs off rain, and the molded texture fools everyone past arm's length. Powder-coated metal poles look sharper and more modern, hold straighter in the ground, and suit houses with black fixtures and clean lines — just buy coated, because bare steel near sprinklers freckles by August. Real bamboo belongs to the fuel-torch world: it's cheap, charming, and honestly disposable, splitting and graying within a season or two outdoors. I treat real bamboo as party rental, not infrastructure. Glass flame lenses deserve a mention too — they look richer than plastic up close, but one dropped torch on the patio ends the romance, so resin lenses win anywhere near pavement. Whatever you choose, buy two spares of the exact model. Torch lines get discontinued constantly, and a mismatched replacement in the middle of a row will bother you every single evening. Ask me how I know. Two spares in the garage is the cheapest peace of mind in this entire post.
Suggested budget range: $30 – $75.

16. Winter Storage and Battery Care So They Last for Years
Solar torches are sold as set-and-forget, and mostly they are — but twenty minutes of care in fall buys you extra seasons. In freezing climates I pull mine before the ground locks up, because a stake frozen into the soil snaps at the neck when someone brushes it with a snow shovel. Wipe the panels clean, switch each torch off, and store them somewhere dry; a garage shelf beats a damp shed. The batteries are the wear item: most solar torches run on a rechargeable AA or a small lithium cell, and after two or three seasons you'll notice runtimes shrinking. That's not a dead torch — it's a tired battery, and replacements cost a couple of dollars each. Swap them in spring, charge the torches in full sun for a full day before their first night out, and they're reborn. If you live somewhere mild and leave torches out year-round, do the battery check anyway and clear fallen leaves off the panels monthly; a panel under a magnolia leaf is a panel on strike. One more thing: photograph your rows before you pull them for winter. Come April, you'll thank yourself for the map instead of guessing at your own spacing.
Suggested budget range: $10 – $25.

17. Staggered Heights for a Flame Skyline With Depth
A row of identical torches at identical heights looks like a product display. The fix is height variety, and it's the cheapest design upgrade on this list because you may not need to buy anything new — just regroup what you own. Solar torches come in roughly three useful heights: the 12-inch minis, the standard 20 to 24 inch stakes, and the tall 48 to 60 inch statement poles. My formula for a bed or border is tall at the back, standard in the middle, minis at the front edge, so the flames stack into a little skyline with real depth. Where a path curves, put a tall torch on the outside of the bend — it acts like a lighthouse and pulls the eye around the corner. Cluster in odd numbers, threes and fives, and vary the gaps as well as the heights; nature never spaces anything evenly, and your yard shouldn't either. Test the arrangement at full dark before committing, because daylight impressions lie — a grouping that looks sparse at noon can look crowded once only the flames are visible. Take a photo from the street, squint at it, and move the one torch your eye keeps landing on. There's always one.
Suggested budget range: $45 – $100.

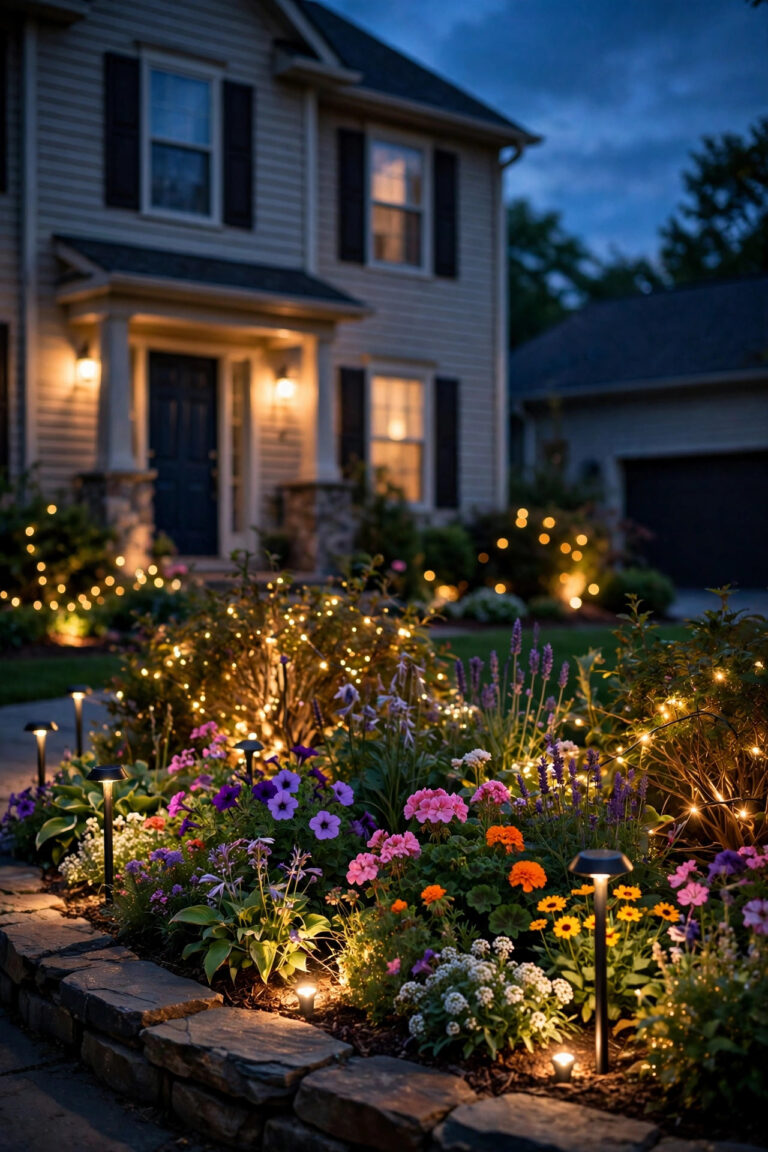
18. Pairing Torches With Real Path Lights for Safe Steps
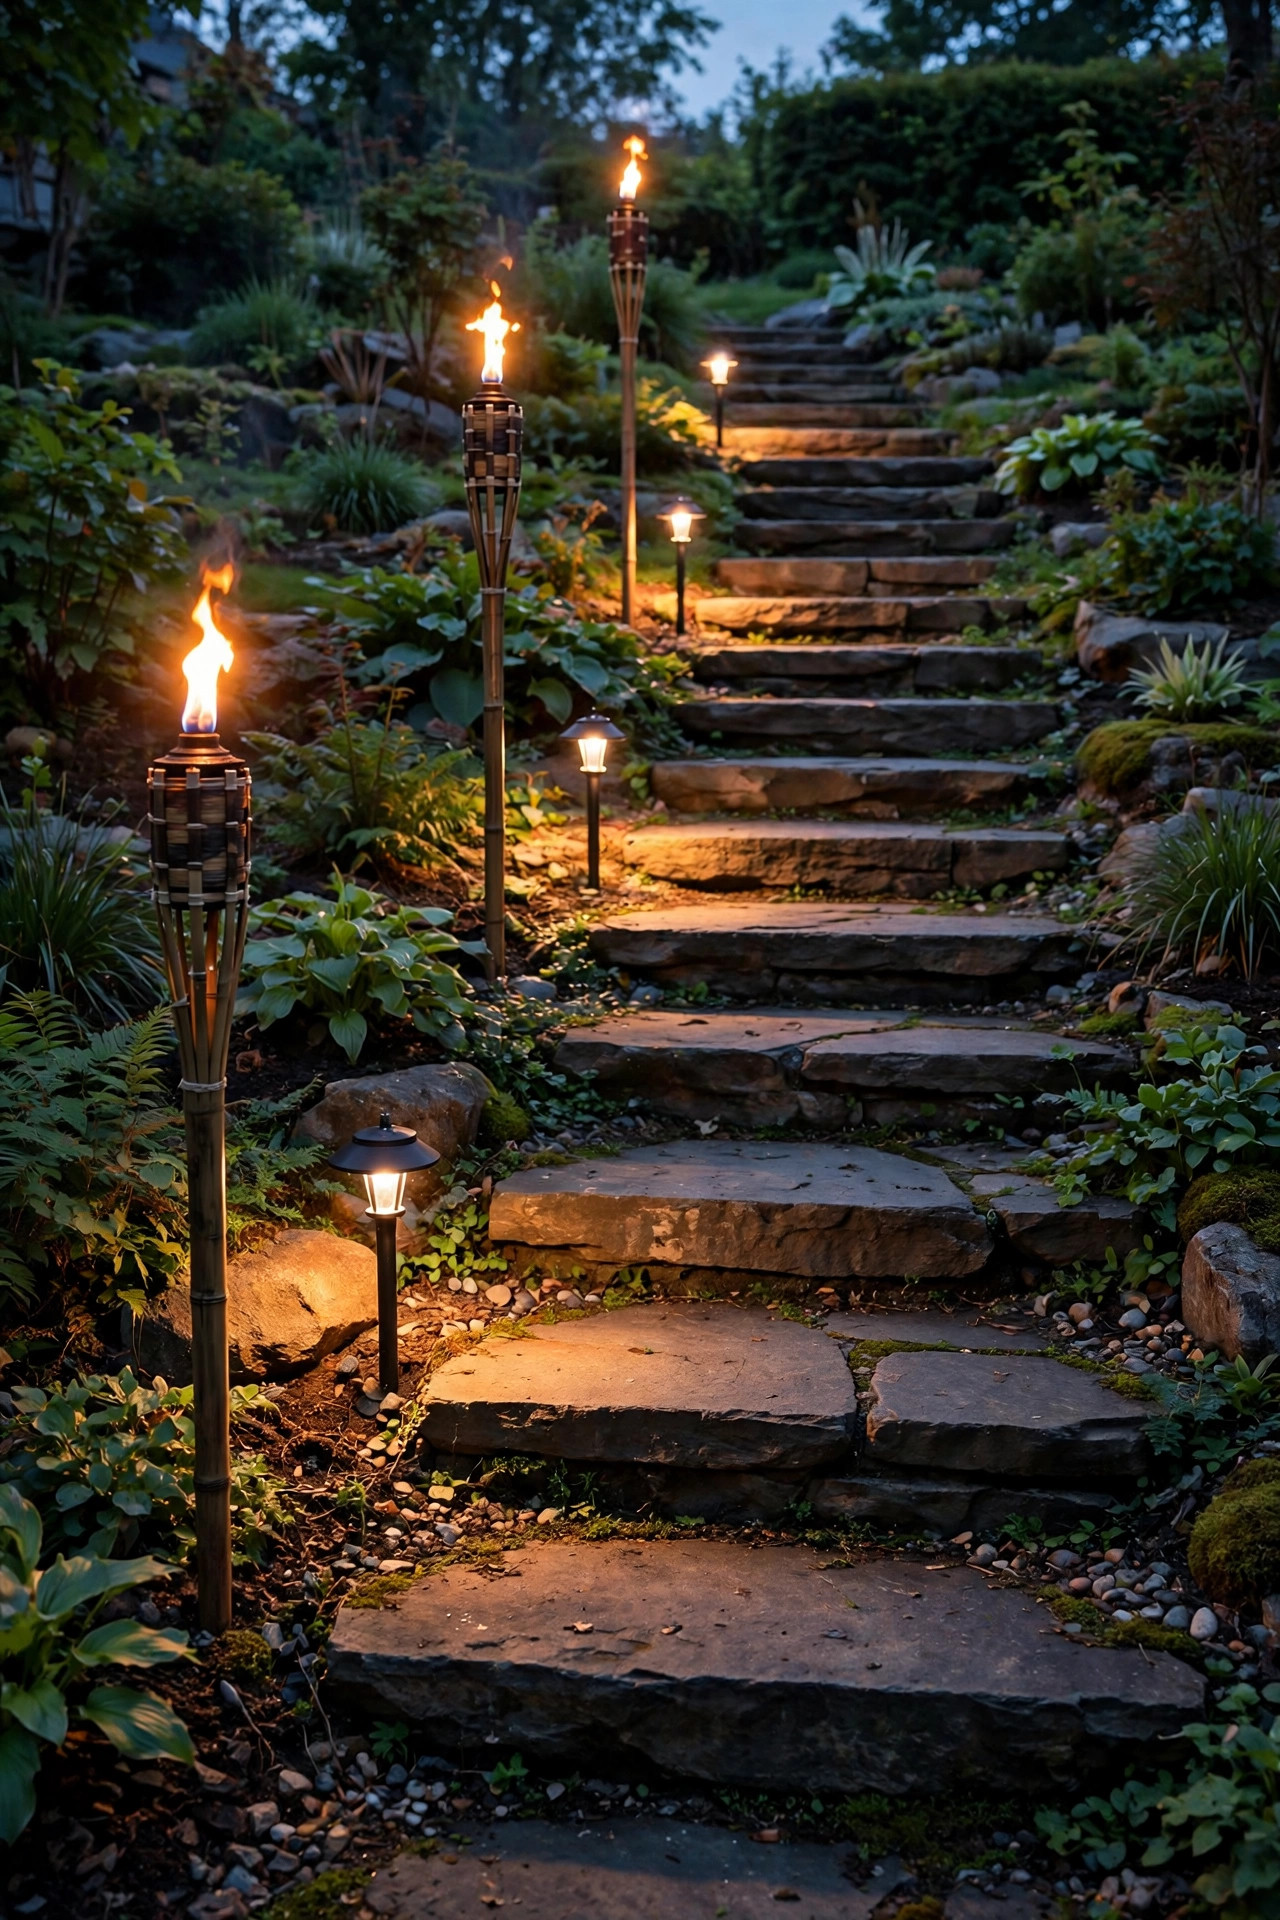
I promised you honesty about brightness, so here's my actual system: torches are the beauty layer, and something else has to be the safety layer. On any route with steps, grade changes, or guests who don't know the yard, I pair each torch with a real path light — one true light for every one or two torches, alternating down the run. The path lights do the work: a warm 2700K wash across the treads, enough to see edges and shadows honestly. The torches do the magic. Because both layers are warm, they blend instead of competing, and from the street the whole run just looks like a beautiful, flickering path that happens to be easy to walk. My solar path lights guide has the spacing and brightness math I use to size the working layer. Pay special attention to the top and bottom of any stair run — that's where falls happen, and a real fixture at both ends is non-negotiable in my yard. The torches can flank the middle steps for style. This pairing is also my answer for older guests and my own parents: nobody has ever tripped on my watch, and the yard still looks like a postcard.
Suggested budget range: $70 – $150.
19. The Whole-Yard Plan: Layering Solar Tiki Torch Lights Like a Resort
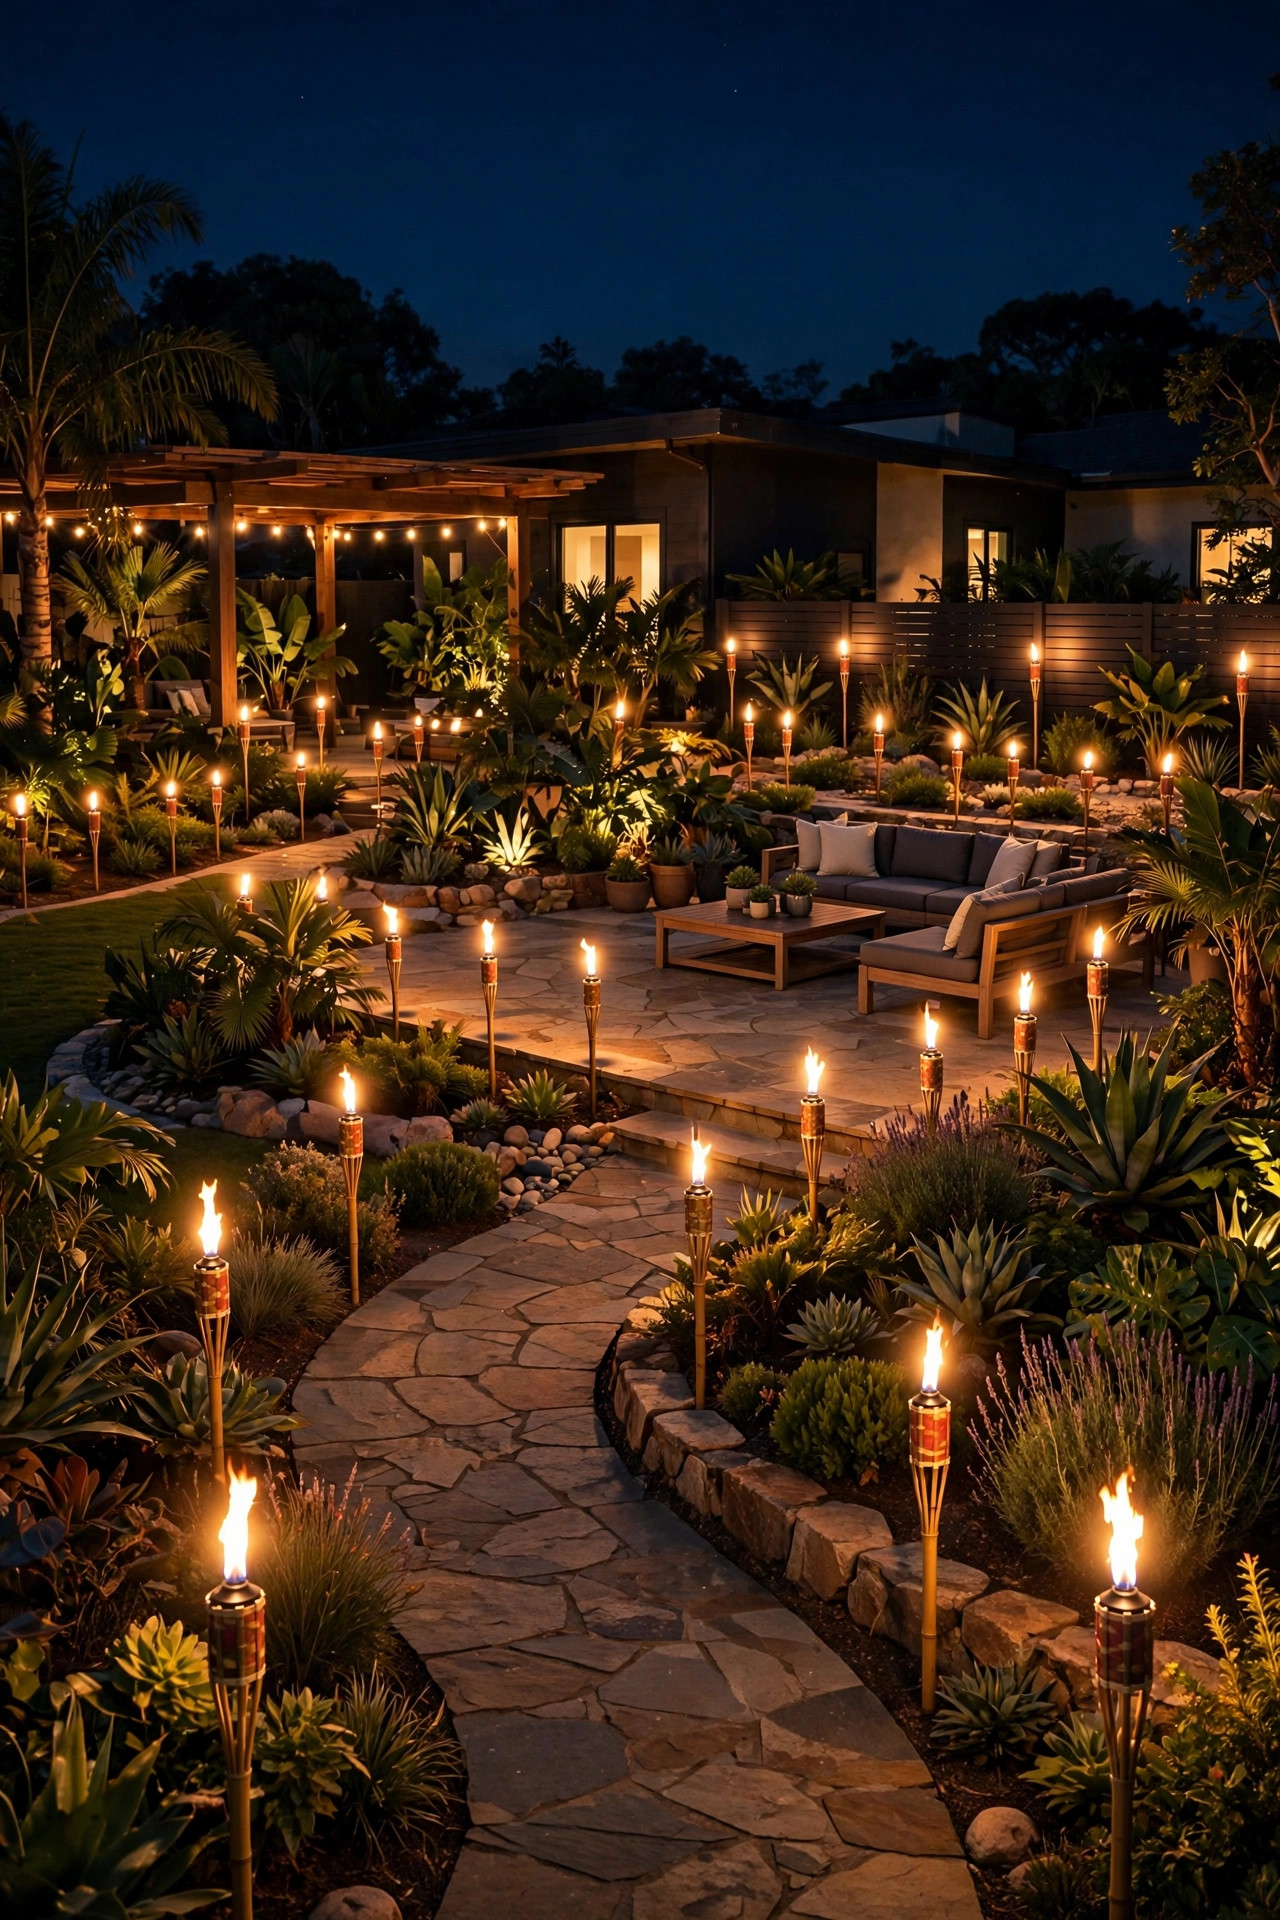
Let's put it all together, because the difference between "some torches" and "that house" is a plan. Resorts layer flame in zones, and your yard can too. Zone one is arrival: a welcoming pair at the mailbox or gate, a staggered run down the drive, torches zigzagging up the front walk. Zone two is living: the string-light patio with torches at its edges, the statement pair at the steps, the fire-pit ring glowing behind the chairs. Zone three is the deep yard: clusters in the beds, a tall torch at the garden's far corner, a line toward the pool or dock — flames that pull you out into the evening instead of letting everyone crowd by the back door. For an average suburban lot, that whole picture takes 16 to 22 torches, bought in matching families over two or three sales rather than all at once. Walk your plan at dusk with a notepad before you buy, stand where guests will stand, and count sightings: every viewpoint should see flame in at least two zones. That's the secret — solar tiki torch lights reward the planner, and the yard they'll give you back is worth every minute of the planning.
Suggested budget range: $150 – $350.
Frequently Asked Questions
How long do solar tiki torch lights stay lit at night?
On a full day of direct sun, expect 6 to 10 hours of flicker — long enough to take you from dusk through any reasonable bedtime. Runtime shrinks when the panel is shaded, dusty, or charging through short winter days, and a torch that fades by nine is almost always under-charged rather than broken. Clean the panel, move it into better sun for a day, and you'll usually get the full show back. After two or three seasons, a fresh rechargeable battery restores the original runtime.
Are solar flame torches bright enough to light a walkway on their own?
Honestly? They mark a walkway beautifully but light it gently. A solar torch is an accent glow — enough to read the path's edge and your footing on a familiar, level walk, not enough for steps, uneven stone, or guests who don't know the yard. I pair torches with real path lights on any route where footing matters and let the flames handle the atmosphere. Think of them as candlelight, not headlights, and you'll place them perfectly.
Are tiki torches safe around kids, pets, and dry mulch?
Solar torches are the safest flame look I know: the "flame" is pure LED, the housing stays cool to the touch, and there's no fuel, wick, or open flame anywhere near mulch, decking, or small hands. Real fuel torches are a different story — those I place at least 3 feet from structures and dry plantings, never leave burning unattended, and keep snuffed and stored once kids or pets are roaming. When in doubt, solar wins the spot and fuel sits the night out.
Solar vs fuel tiki torches: which should I choose?
Choose solar for everyday ambiance, windy or coastal yards, pool decks, and anywhere kids, pets, or dry mulch are nearby — they cost a little more upfront and then run free, lit every night without you thinking about them. Choose fuel torches for the authentic tall flame and a modest citronella benefit on the nights you're outside hosting the whole time. Most yards, mine included, end up happiest with both: solar as the nightly backbone, fuel trotted out for parties.
Conclusion
Strip it all back and the principle is simple: flame is the oldest outdoor light we have, and solar tiki torch lights let you borrow its magic every single night with none of its fuss. Pick the two or three ideas that fit your yard — a walkway row, a layered patio, a fire-pit ring — charge them in real sun, pair them with honest light where footing matters, and let the flicker do the rest. For more ways to build out the glow, browse the rest of my outdoor lighting ideas here on the site, and I'll see you out there at dusk.