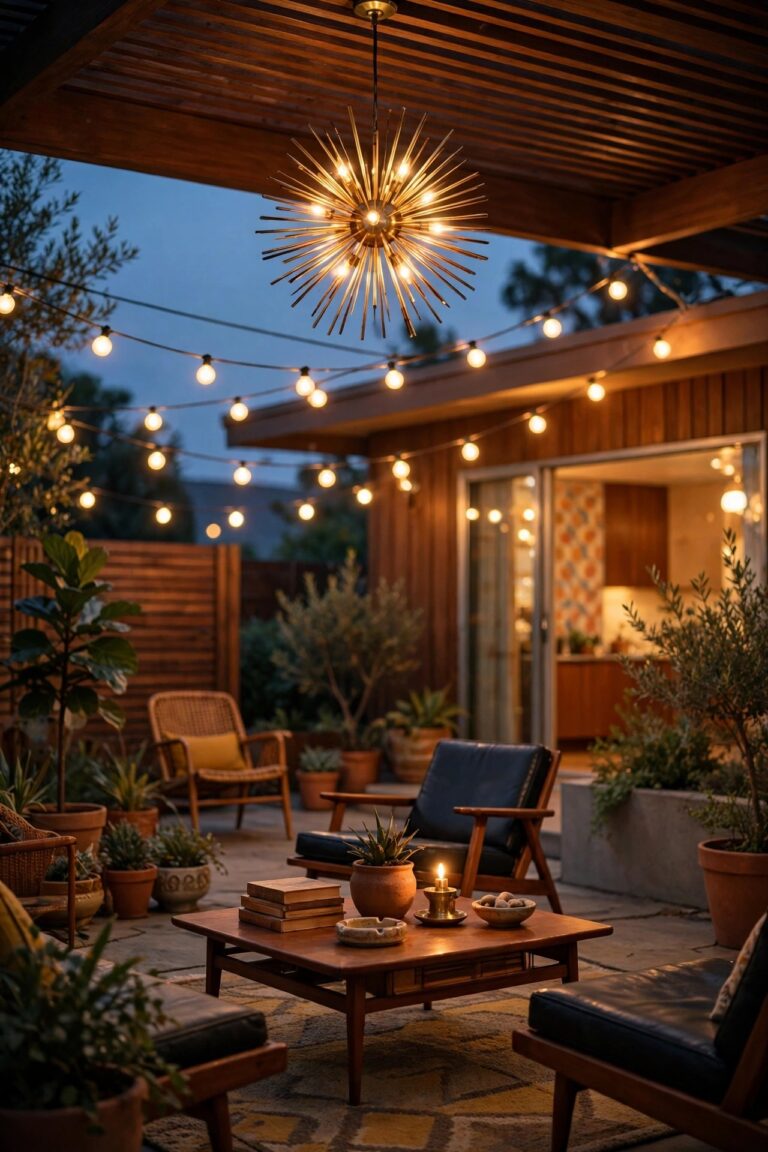
When we swapped our sagging wooden pergola for a clean-lined aluminum one, I assumed the lighting would take care of itself. It did not. That beautiful powder-coated frame looked stunning at noon and disappeared into the dark by eight, and every bulb I owned belonged to a cozier, more rustic house. If your modern frame is giving you the same blank stare after sunset, these metal pergola lighting ideas are the exact playbook I worked through, one fixture at a time. Metal is honestly a gift for lighting: the beams are straight and true, clamps and magnets grip anywhere, and many aluminum frames even hide wiring channels inside the posts. My whole philosophy is layering — soft ambient light up high, task light where you eat and read, and a little sparkle at eye level. Below you will find 17 ways to build those layers on a metal frame, from ten-minute solar wins to a weekend of hidden strips, each with the budget I would plan on and the mounting tricks metal makes easy.

1. Café String Lights Swagged Beam to Beam
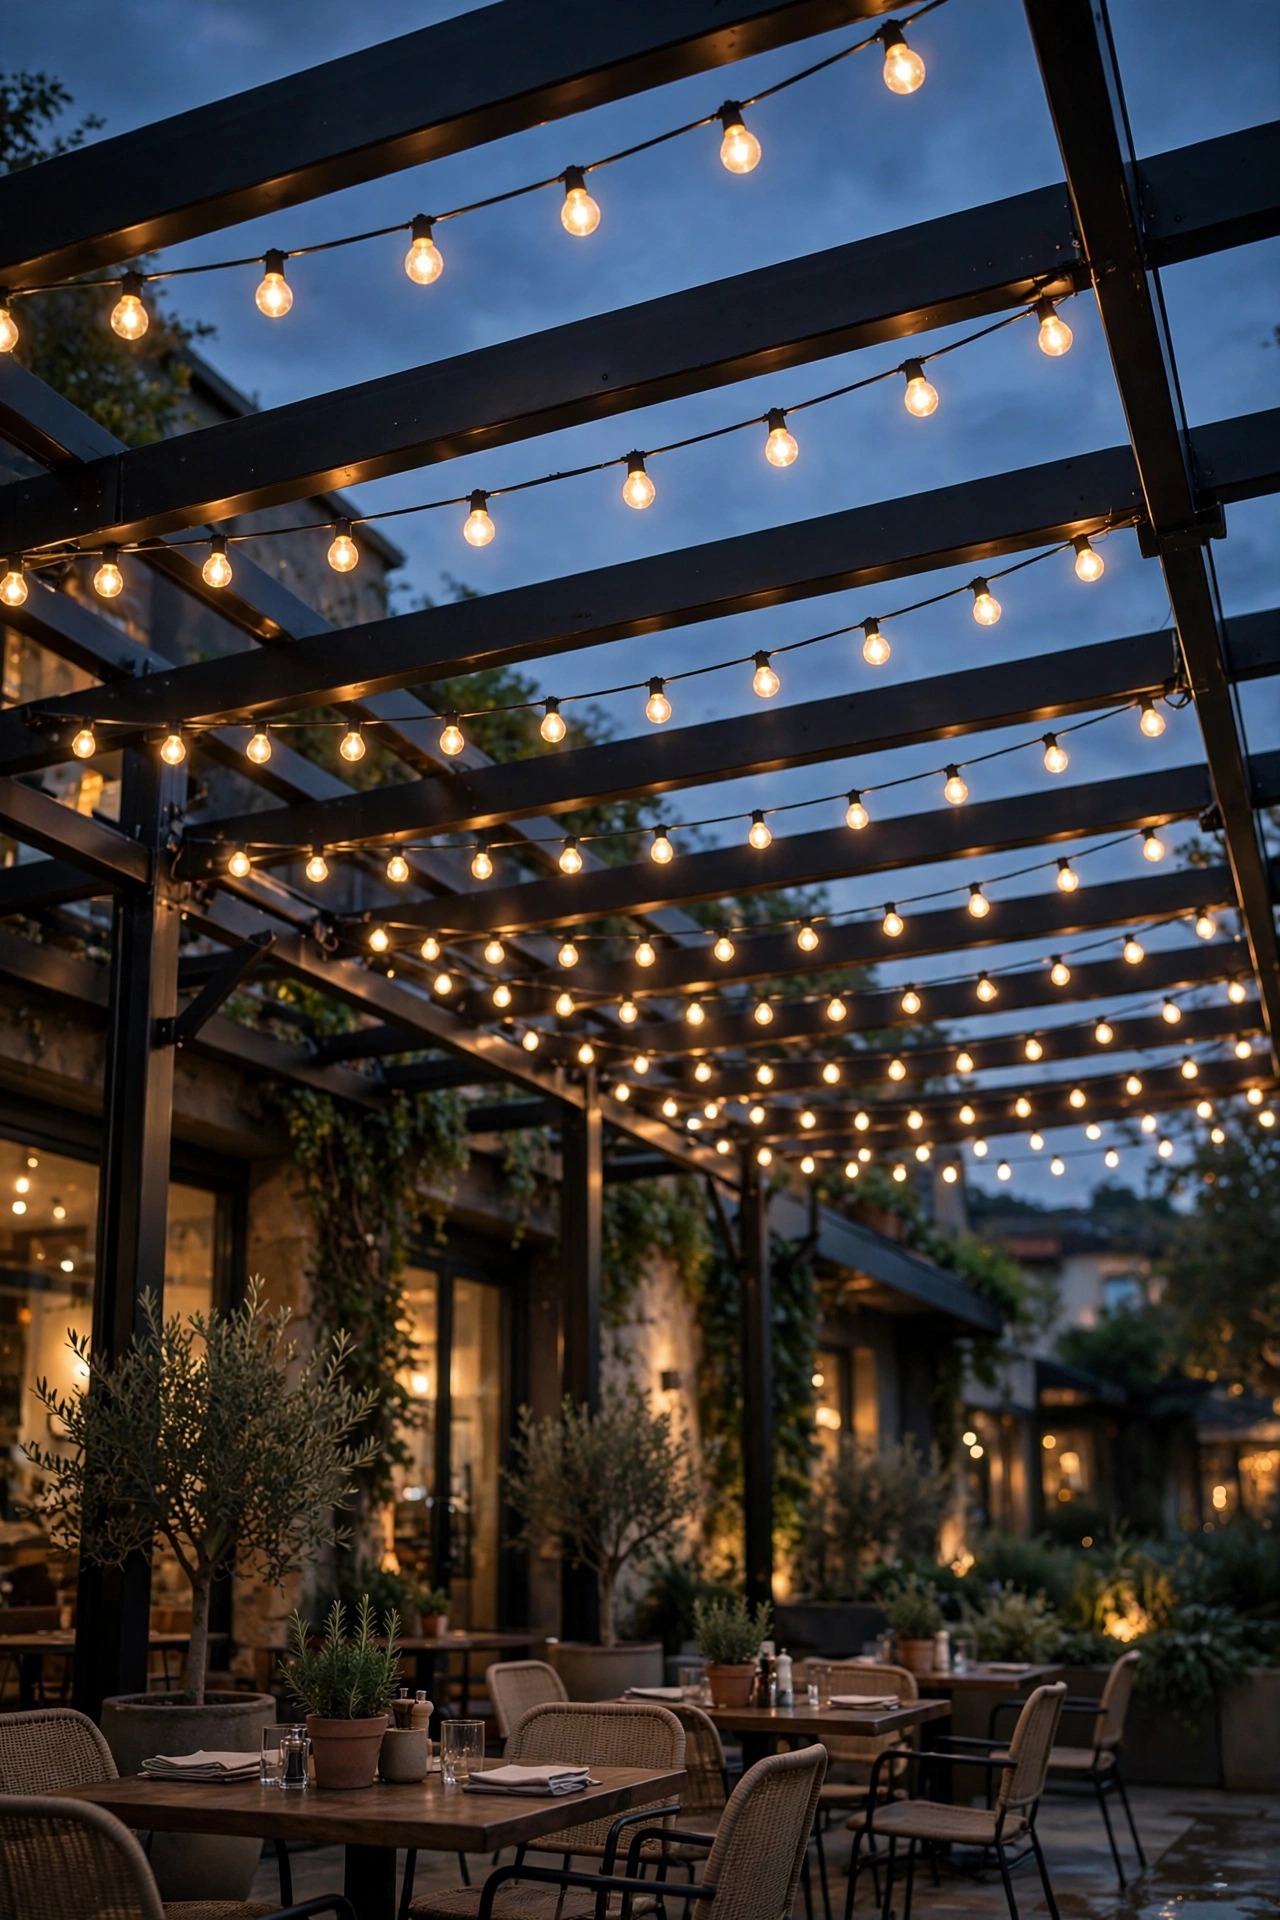
This is where almost everyone starts, and on a metal frame it looks sharper than it ever did on wood. The straight, level beams give you perfect swag geometry: measure your beam span, then order commercial-grade café strands about 20 percent longer than the run so each swag dips 12 to 18 inches at the center. I run three parallel swags across a 12-foot pergola, spaced about 3 feet apart, and the symmetry is what makes it read "modern" instead of "backyard party." Metal makes mounting easy — stainless screw hooks into the frame, or heavy-duty clamp hooks if you rent and cannot drill. Choose shatterproof LED filament-style bulbs in 2700K; glass over a patio is a cleanup I never want to repeat. In my experience, one strand per swag on its own plug lets you replace a single run without darkening the whole roof. Keep the plug end at the corner post so the cord drops invisibly down the leg. Hang them before any other layer, live with the glow for a week, and you will know exactly where the darker corners still need help.
Suggested budget range: $40 – $120.
2. LED Strip Lights Tucked Under the Rafters
If string lights are the friendly option, hidden strips are the architectural one — and metal pergolas practically beg for them. Many aluminum rafters have a flat underside or even a recessed channel; a peel-and-stick outdoor LED strip sits in that shadow line and washes the whole ceiling plane with an even glow, no visible bulbs at all. I use IP65-rated strips rated for damp locations, warm white at 2700K, and I add the aluminum diffuser channel anywhere the strip would be visible from a low lounge chair, because bare diodes look dotted and cheap. Run the low-voltage wire down inside a hollow post if your frame allows it, and the install disappears completely. Dimming matters here: at full brightness strips can feel like a showroom, so put them on a dimmer or choose a strip with a remote and park it around 60 percent for evenings. Honestly, this single layer replaced two table lamps' worth of glare in our setup. Just keep strips LED-only near any fabric cushions or drapes — they run cool, but outdoor-rated product is still the rule.
Suggested budget range: $50 – $160.

3. Recessed Downlights: The Cleanest of All Metal Pergola Lighting Ideas
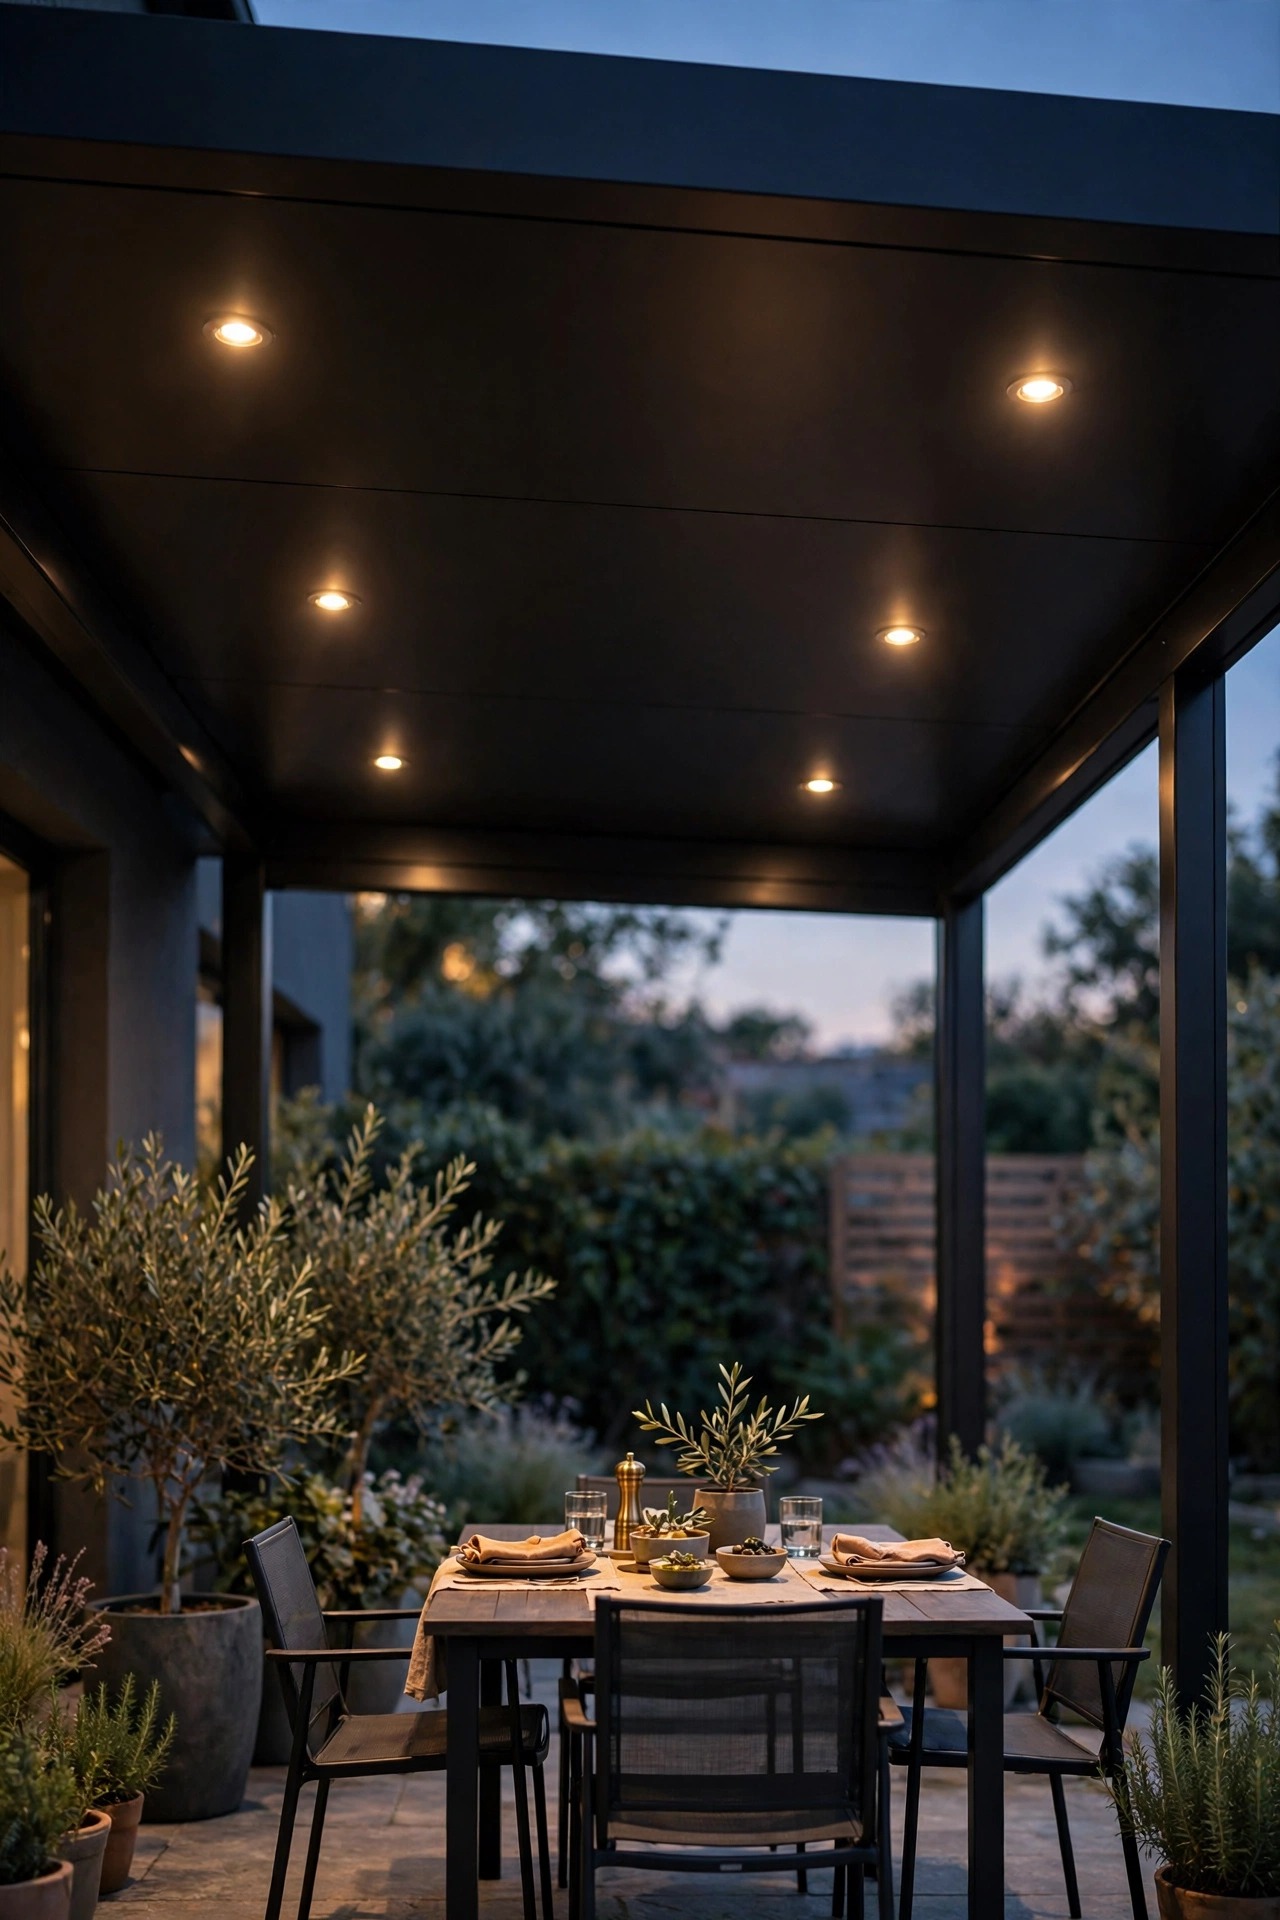
For a pergola with a solid or louvered roof, recessed puck downlights give you the built-in look that modern backyards do best. Small 3- to 4-inch LED pucks sit flush in the roof panels or mount in slim surface housings under each beam, throwing tidy pools of light straight down onto the dining table or seating — no cords, no swags, nothing swinging in the breeze. I space them 3 to 4 feet apart over the main zone and put them on a dimmer, because fixed-bright downlights can feel like a dentist's office outdoors. This is the one idea on the list I will flag as electrician territory if it means new line-voltage runs; low-voltage puck kits with a plug-in transformer are the DIY-friendly version and still look completely integrated. Wet-location rating is non-negotiable since roof edges drip. What you get for the effort is the calmest light on this list — faces lit softly from above, table settings glowing, and the clean frame lines of your pergola left totally uninterrupted. It is the layer guests never notice and always compliment.
Suggested budget range: $120 – $450.
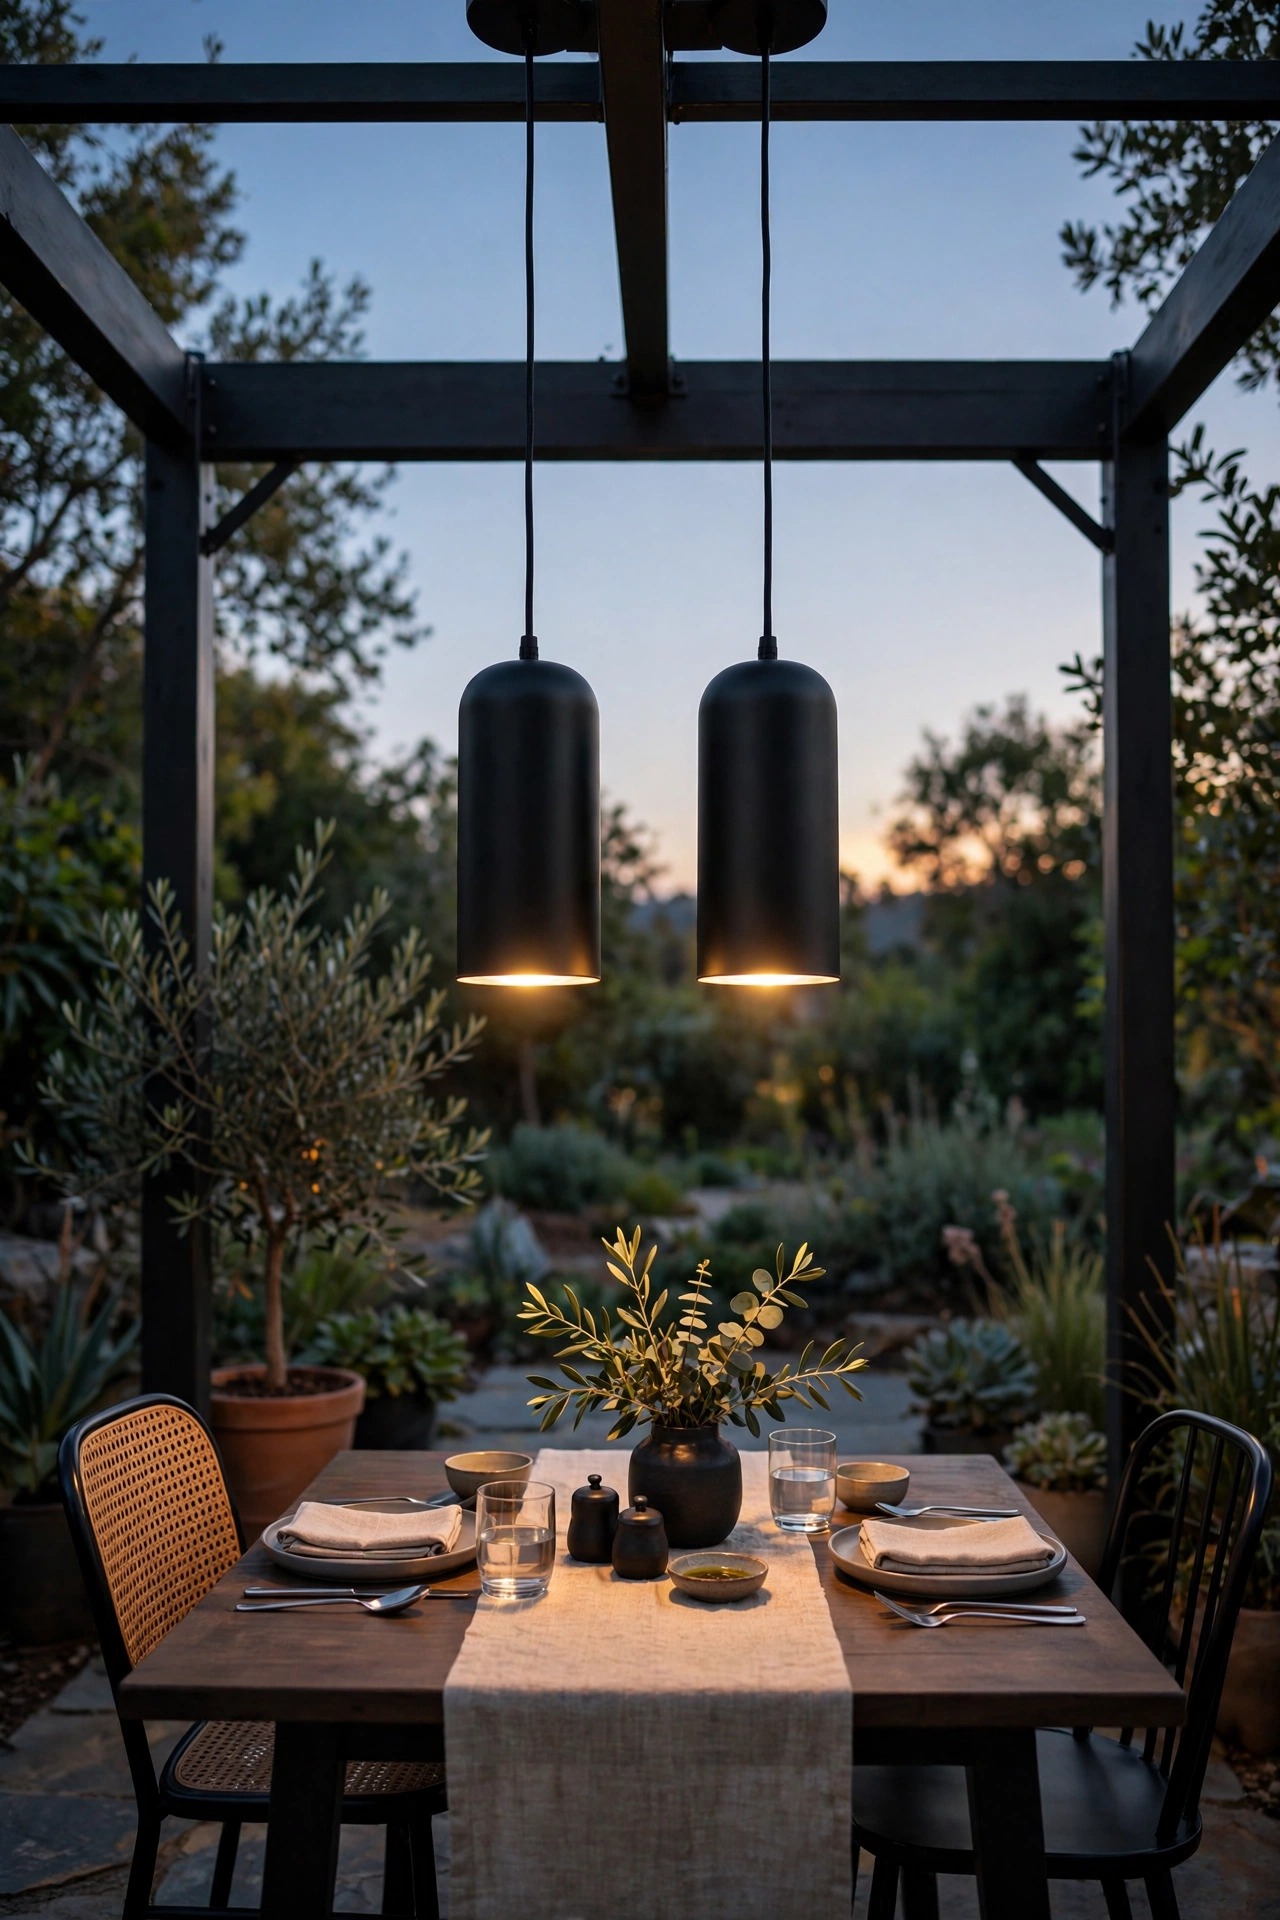
4. Pendant Lights Hung Over the Table
A pair of pendants over the dining table is the fastest way to make a metal pergola feel like an outdoor room instead of a structure. The center beam gives you a ready-made mounting line: hang two pendants 24 to 30 inches above the tabletop, spaced about 30 inches apart, and the pool of light lands exactly where plates and faces are. On metal, you have options renters love — clamp mounts and heavy-duty magnetic hooks rated for the fixture's weight mean zero drilling. Weatherproof pendants with sealed sockets and LED filament bulbs in 2700K keep the look warm and modern; black or brushed finishes echo the frame beautifully. Hardwired pendants on a dimmer are the polished route, but battery and solar pendants have gotten genuinely good and skip the electrician entirely. My one caution: check the total drop length against your tallest guest standing up — a pendant at forehead height ends conversations fast. In my experience, two smaller pendants beat one oversized statement piece on a 10- to 12-foot pergola every time.
Suggested budget range: $60 – $280.
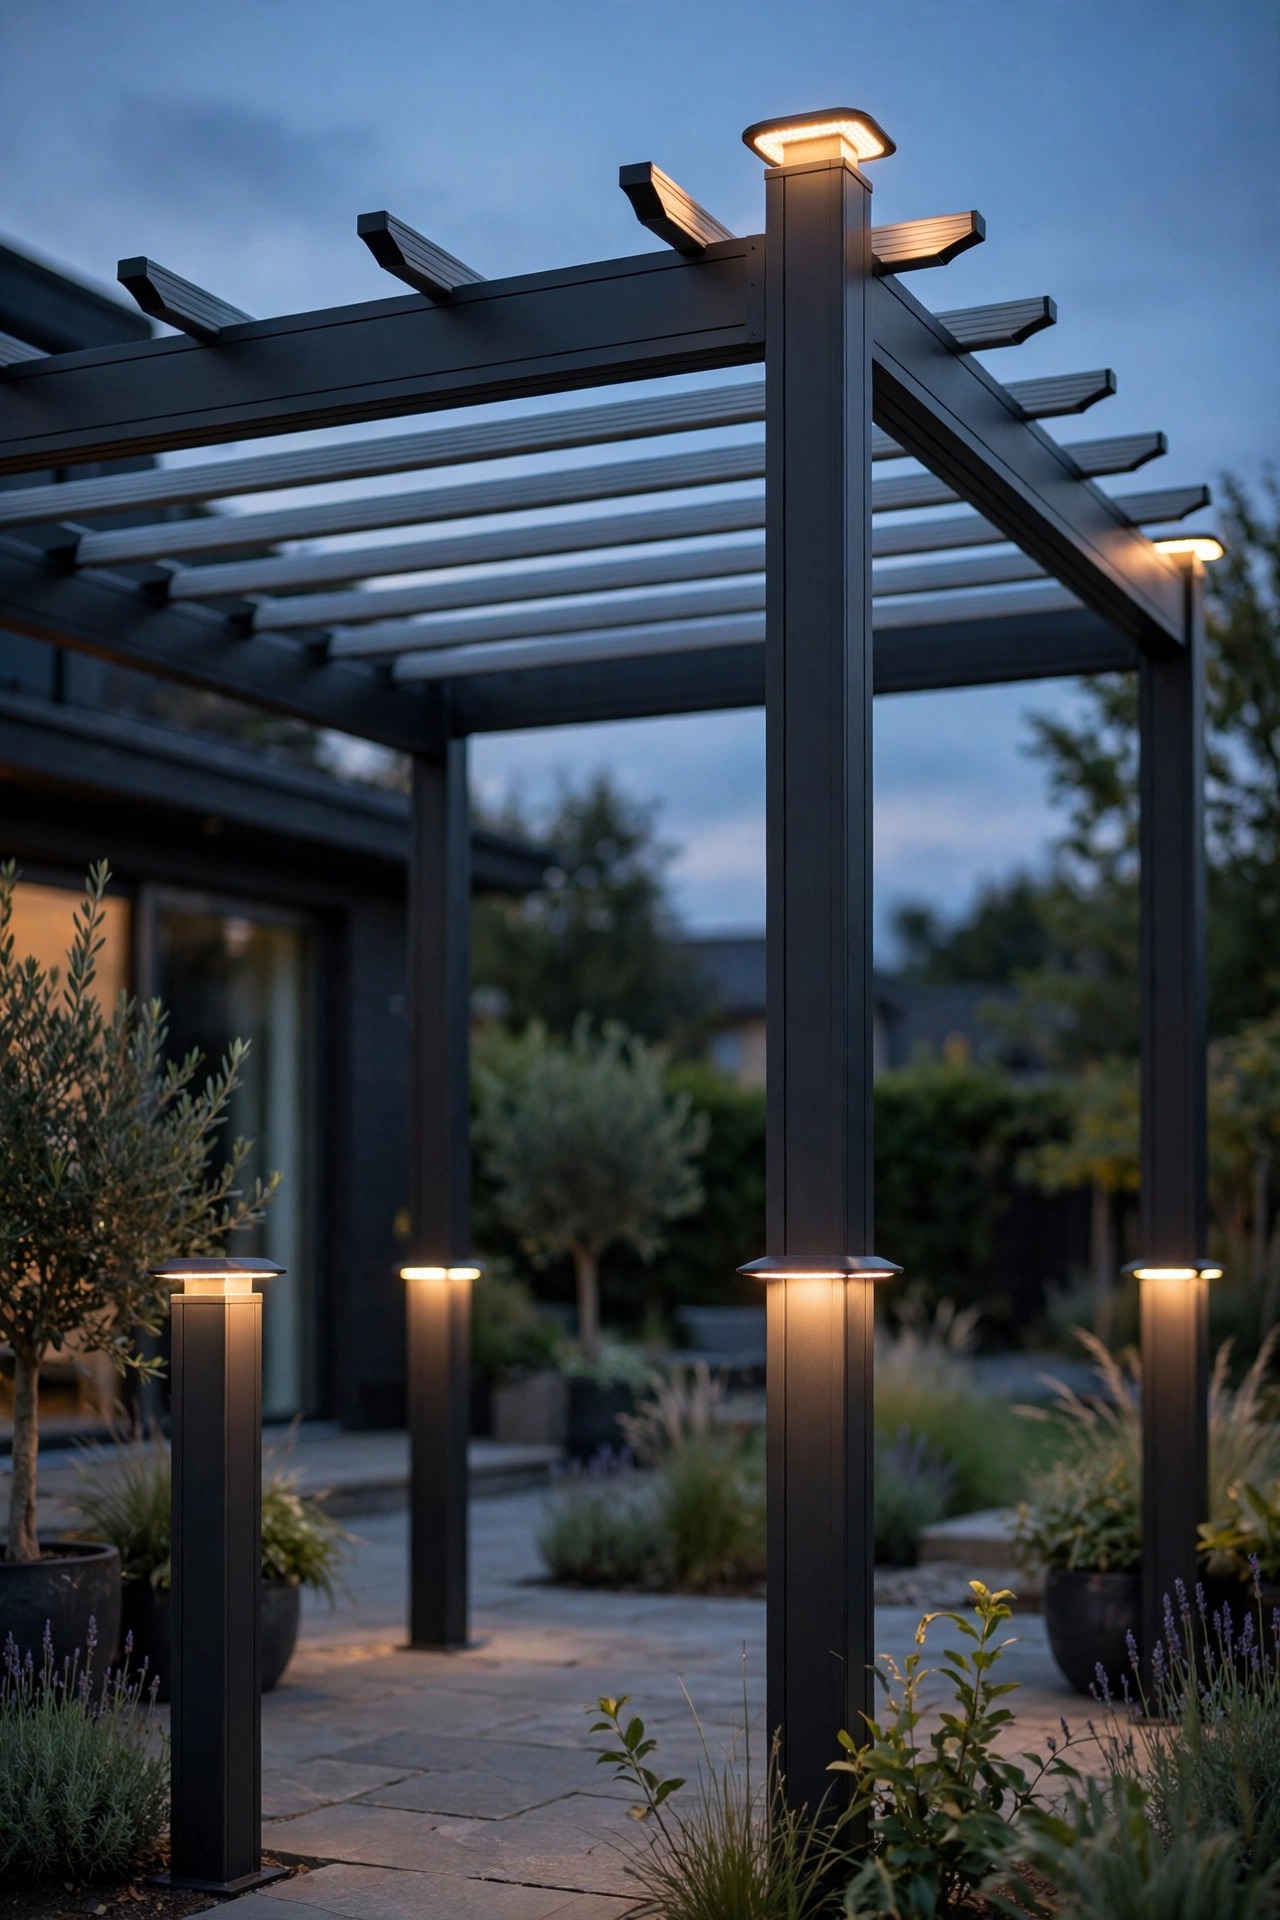
5. Solar Cap Lights on the Corner Posts
Metal pergola posts are usually hollow squares with a flat top — which makes them perfect landing pads for solar post-cap lights. These slip or screw onto the post tops, charge all day, and switch on at dusk with a soft downward-and-outward glow that outlines the whole structure. On a modern frame I choose low-profile caps in a finish matched to the powder coat, so by day they read as part of the pergola, not an add-on. Brightness is modest, honestly — think wayfinding and outline rather than illumination — but four glowing corners do an enormous amount for how "finished" the space feels from the house. Look for caps with replaceable batteries and at least IP44 weather resistance, and wipe the little solar panels monthly; a dusty panel is the number one reason these underperform. If your post tops are an odd size, measure before ordering, since caps come in strict 4×4 and 6×6 fits with adapter rings for in-between metal sizes. Ten minutes per post, no wiring at all.
Suggested budget range: $35 – $110.
6. Clamp-On Spotlights Aimed at the Plants
Here is where a metal frame quietly outperforms wood: you can clamp a spotlight anywhere, aim it, and move it next month when the garden changes. Small clamp-on or stake-style spotlights with adjustable heads let you uplight a potted olive tree inside the pergola, graze a textured plant wall, or wash the fence behind the seating so the space feels deeper. I use two or three spots at most — restraint is what keeps it modern — each on its own clamp at post height or staked at the base, aimed up at roughly 30 degrees. Warm 2700K keeps foliage rich instead of the blue-white glare of security lights. Low-voltage spot kits are the safe DIY route and the wire tucks neatly along the frame's base channel. In my experience, lighting the plants around a pergola matters as much as lighting the pergola itself; a glowing green backdrop makes the whole structure feel like a garden room after dark. Keep fixtures LED-only and never rest a hot lamp against mulch or dry leaves.
Suggested budget range: $45 – $150.

7. Fairy Lights Woven Through Climbing Vines
Modern does not have to mean sterile, and a fine copper-wire fairy light woven through a climbing vine is the softest counterpoint to a crisp metal frame I know. If you grow jasmine, bougainvillea, or a grape up one post, thread two or three 33-foot copper-wire strands through the foliage as it climbs, and by midsummer the whole corner twinkles like it grew that way. Because the wire is nearly invisible by day, the effect is pure sparkle with no visible hardware — very much in keeping with a modern structure. Solar fairy strands free you from outlet math, though plug-in versions hold brightness steadier through winter. Keep the density gentle: one strand per square yard of vine is plenty before it tips into holiday territory. This is also my favorite trick for renters, since everything removes in minutes. One honest warning — weave loosely and re-check each spring, because a determined vine will swallow a tight wire wrap and pruning gets fiddly. Battery packs tucked at the post base stay hidden behind the pot.
Suggested budget range: $15 – $45.

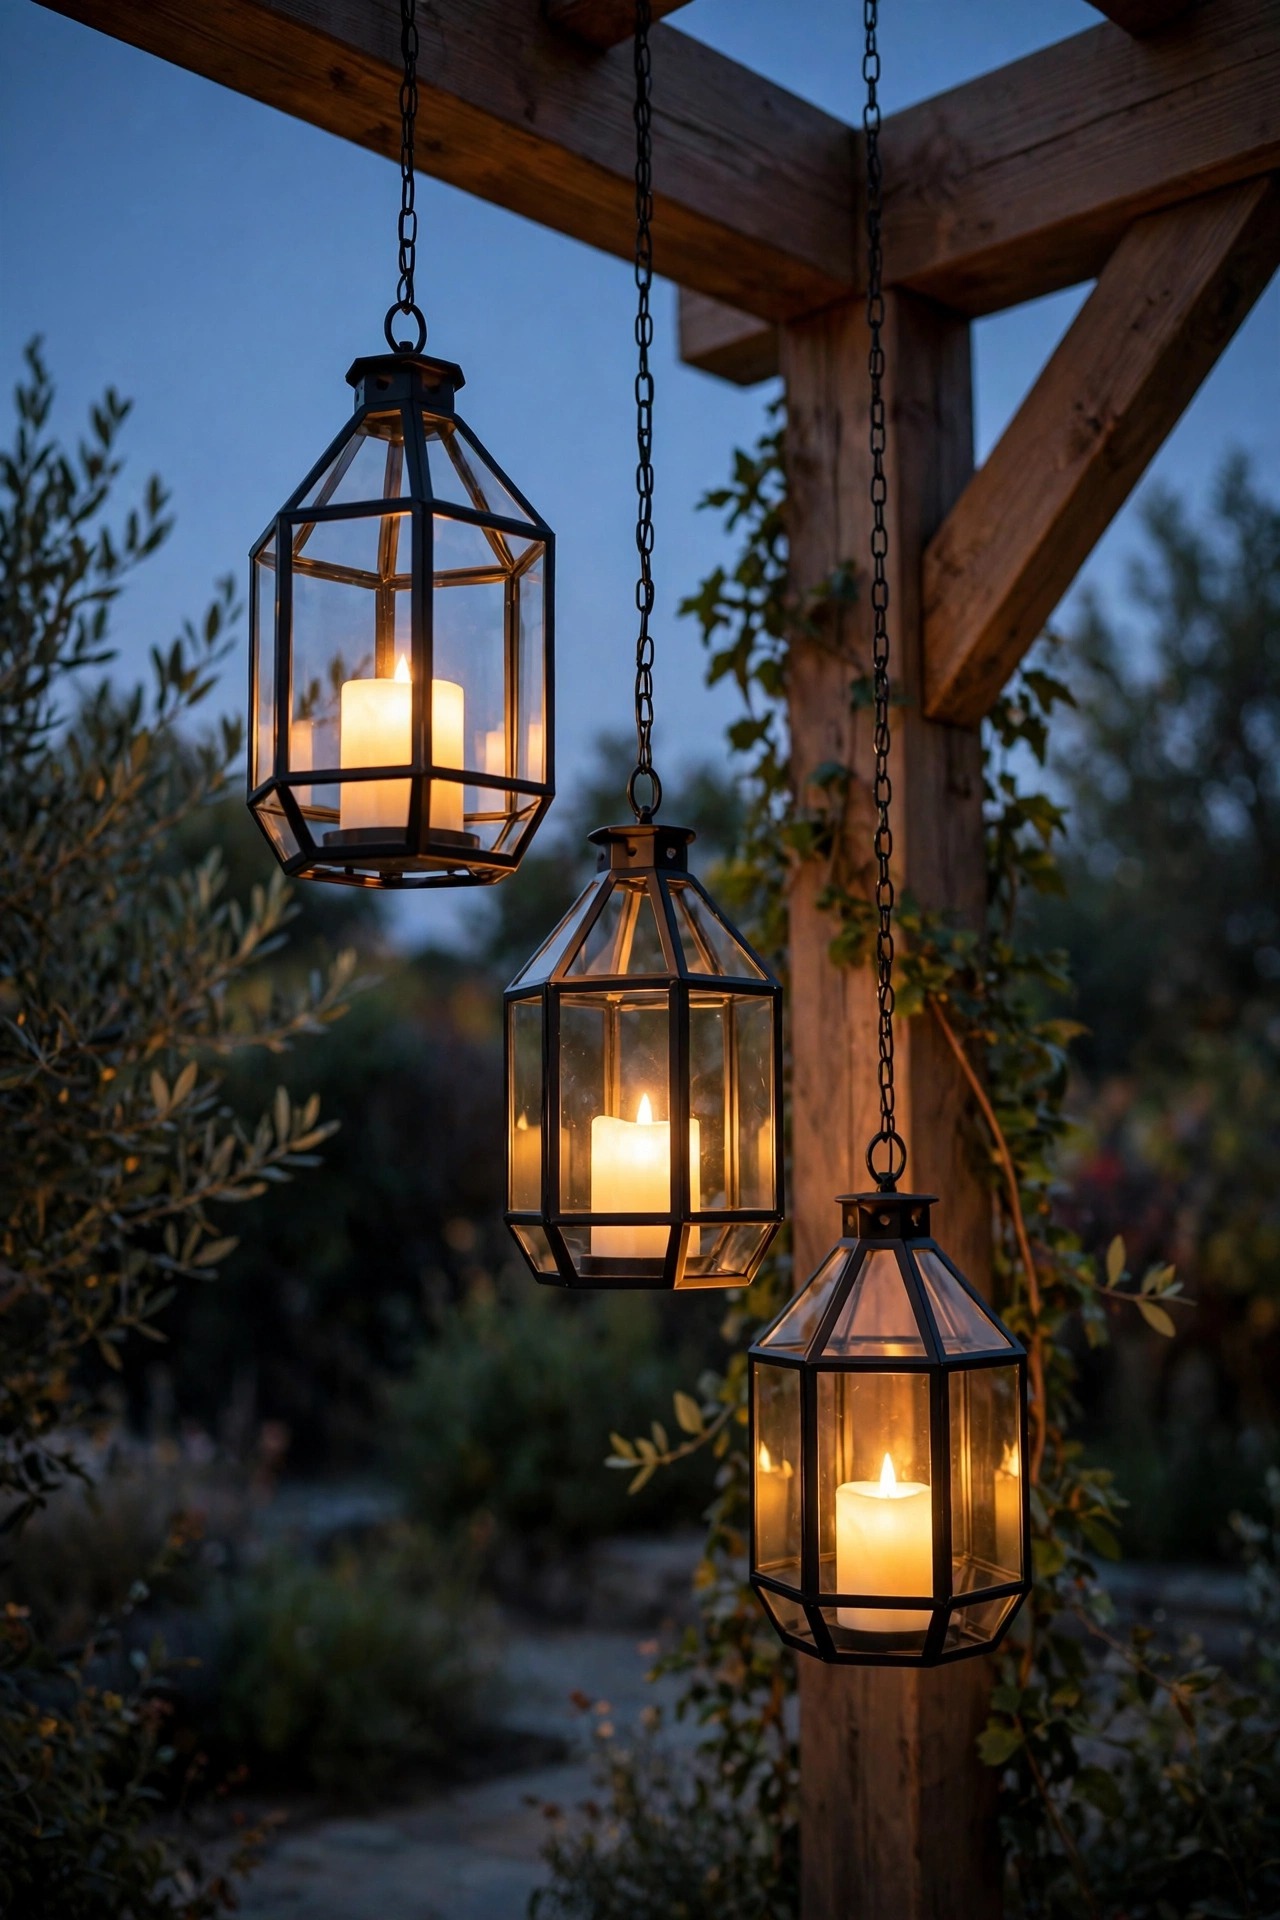
8. Lanterns Hung at Staggered Heights
A cluster of lanterns hanging from one corner beam gives a metal pergola a sculptural moment that flat, even lighting never will. I hang three lanterns from S-hooks or short chains at staggered drops — roughly 12, 20, and 28 inches below the beam — grouped tight at the corner over a side table or reading chair. Metal frames make this trivially easy since hooks grip any beam edge. Choose simple geometric lanterns in matte black or brushed steel to echo the structure, and fill them with LED candles or battery pillar candles only — real flame inside a hanging lantern near cushions and drapes is a risk I will not take, and modern LED candles flicker convincingly. Solar hanging lanterns work too if your corner gets decent sun. The stagger is the whole trick: one lantern looks accidental, three at matched heights look staged, but three at varied heights look designed. This corner became our favorite reading spot after dark, lit just enough for a book with the dimmer ambient layers doing the rest.
Suggested budget range: $40 – $130.
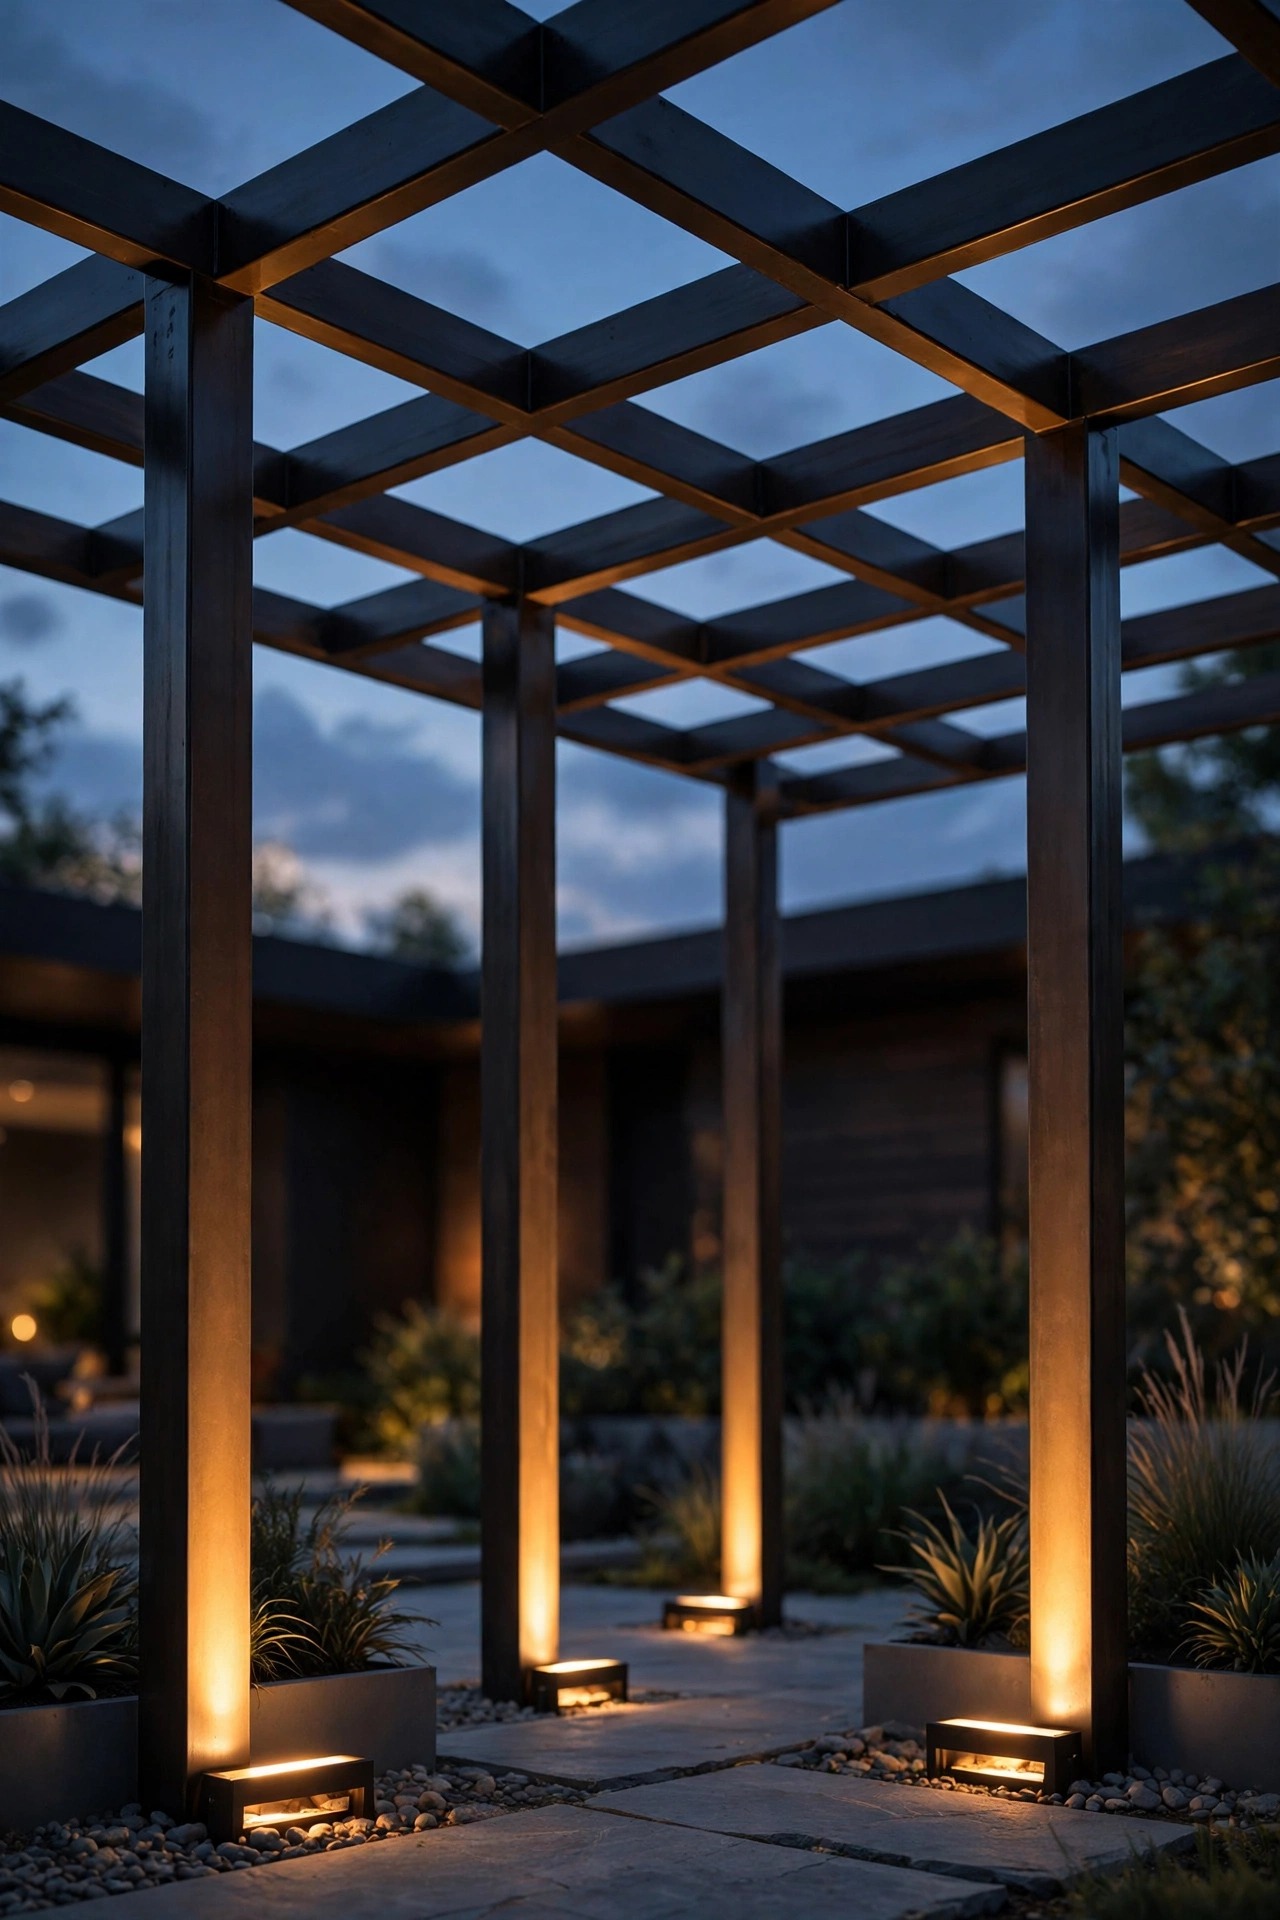
9. Uplights at the Base of Every Post
If you want the pergola itself to be the light sculpture, uplight it from the ground. A small in-ground or stake uplight at the base of each post sends a narrow beam straight up the metal, and the structure glows like an architectural drawing after dark. This works best on smooth powder-coated posts — the light grazes the surface and picks up every clean line. Choose narrow-beam fixtures, 15 to 30 degrees, so the light climbs the post instead of spilling across the patio, and aim for 2700K to keep the metal's color honest. Four posts, four fixtures on one low-voltage run is an easy Saturday install, and the transformer can hide behind a planter. Honestly, this layer is more drama than function — you will still want ambient light for faces — but as a backdrop it is unmatched, and it makes a modest pergola look custom. Keep fixtures a few inches off the post base so mowing and trimming stay simple, and check local glare etiquette if your posts face a neighbor's bedroom window.
Suggested budget range: $70 – $220.
10. A String-Light Curtain Down One Open Side
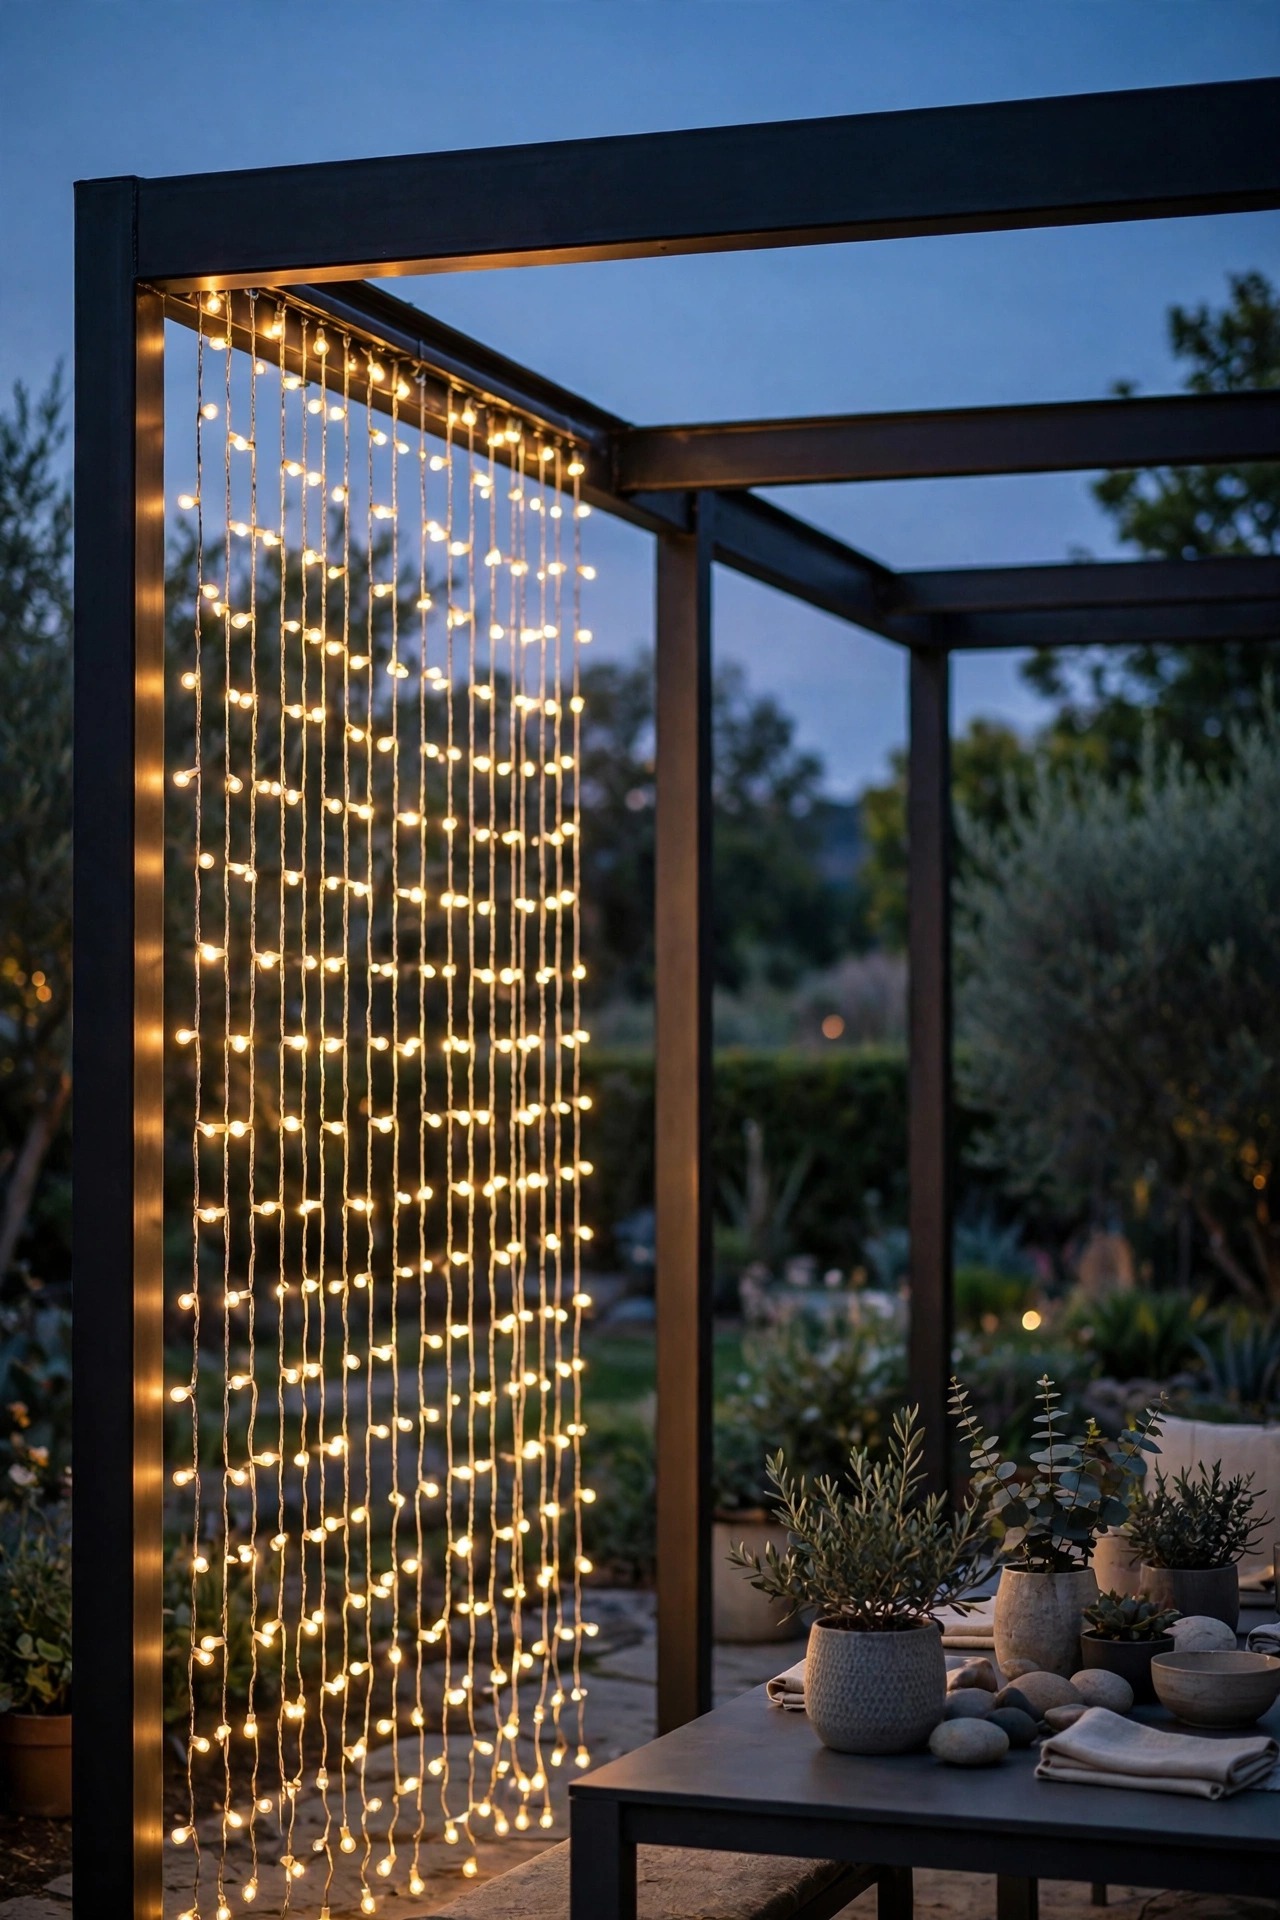
Pick the open side of your pergola that faces the house or the sunset, and hang a curtain of vertical light strands from the top beam — it turns that side into a glowing backdrop and gently closes the room without a wall. Curtain-style net strands made for this are easiest: hooks along the beam every 6 to 8 inches, strands dropping to about a foot off the ground so they sway without pooling. On metal, adhesive-backed or clamp hooks along the beam's underside keep everything invisible. I light our curtain on its own switch, separate from the overhead swags, because the two looks are different moods — curtain on for dinner parties as a photo backdrop, off for quiet nights when we want the garden view. Warm white only, and match the color temperature to your overhead bulbs or the mismatch will nag at you. If wind is a regular guest, add a light bottom weight or a low tension line so strands do not tangle against the posts. I borrowed this trick from my gazebo lighting ideas, where a curtain side does the same room-closing magic on a round frame. It photographs beautifully, which your guests will prove within minutes.
Suggested budget range: $35 – $100.
11. Smart Color Bulbs for Party Mode
Every modern setup deserves one playful layer, and a festoon strand fitted with color-changing smart bulbs is mine. Ninety percent of the time they sit at the same warm 2700K as everything else — guests never know — but for a birthday or a game night the pergola washes coral, teal, or amber at a tap, and the clean metal frame takes color like a gallery wall. Choose outdoor-rated smart bulbs in a standard socket strand so replacements stay simple, and confirm your Wi-Fi reaches the backyard; a weak signal is the only real frustration I have had. Set your everyday warm scene as the default power-on state so a flipped switch never surprises you with last night's disco. In my experience the trick to keeping color classy is saturation restraint — deep, slightly muted tones read expensive, while full-bright rainbow cycles read carnival. Metal's neutral finish helps here, since the frame itself never clashes with whatever color you choose. This is the layer my kids request and the one adults secretly love most.
Suggested budget range: $80 – $200.

12. A Ceiling Fan With Light for Solid-Roof Pergolas
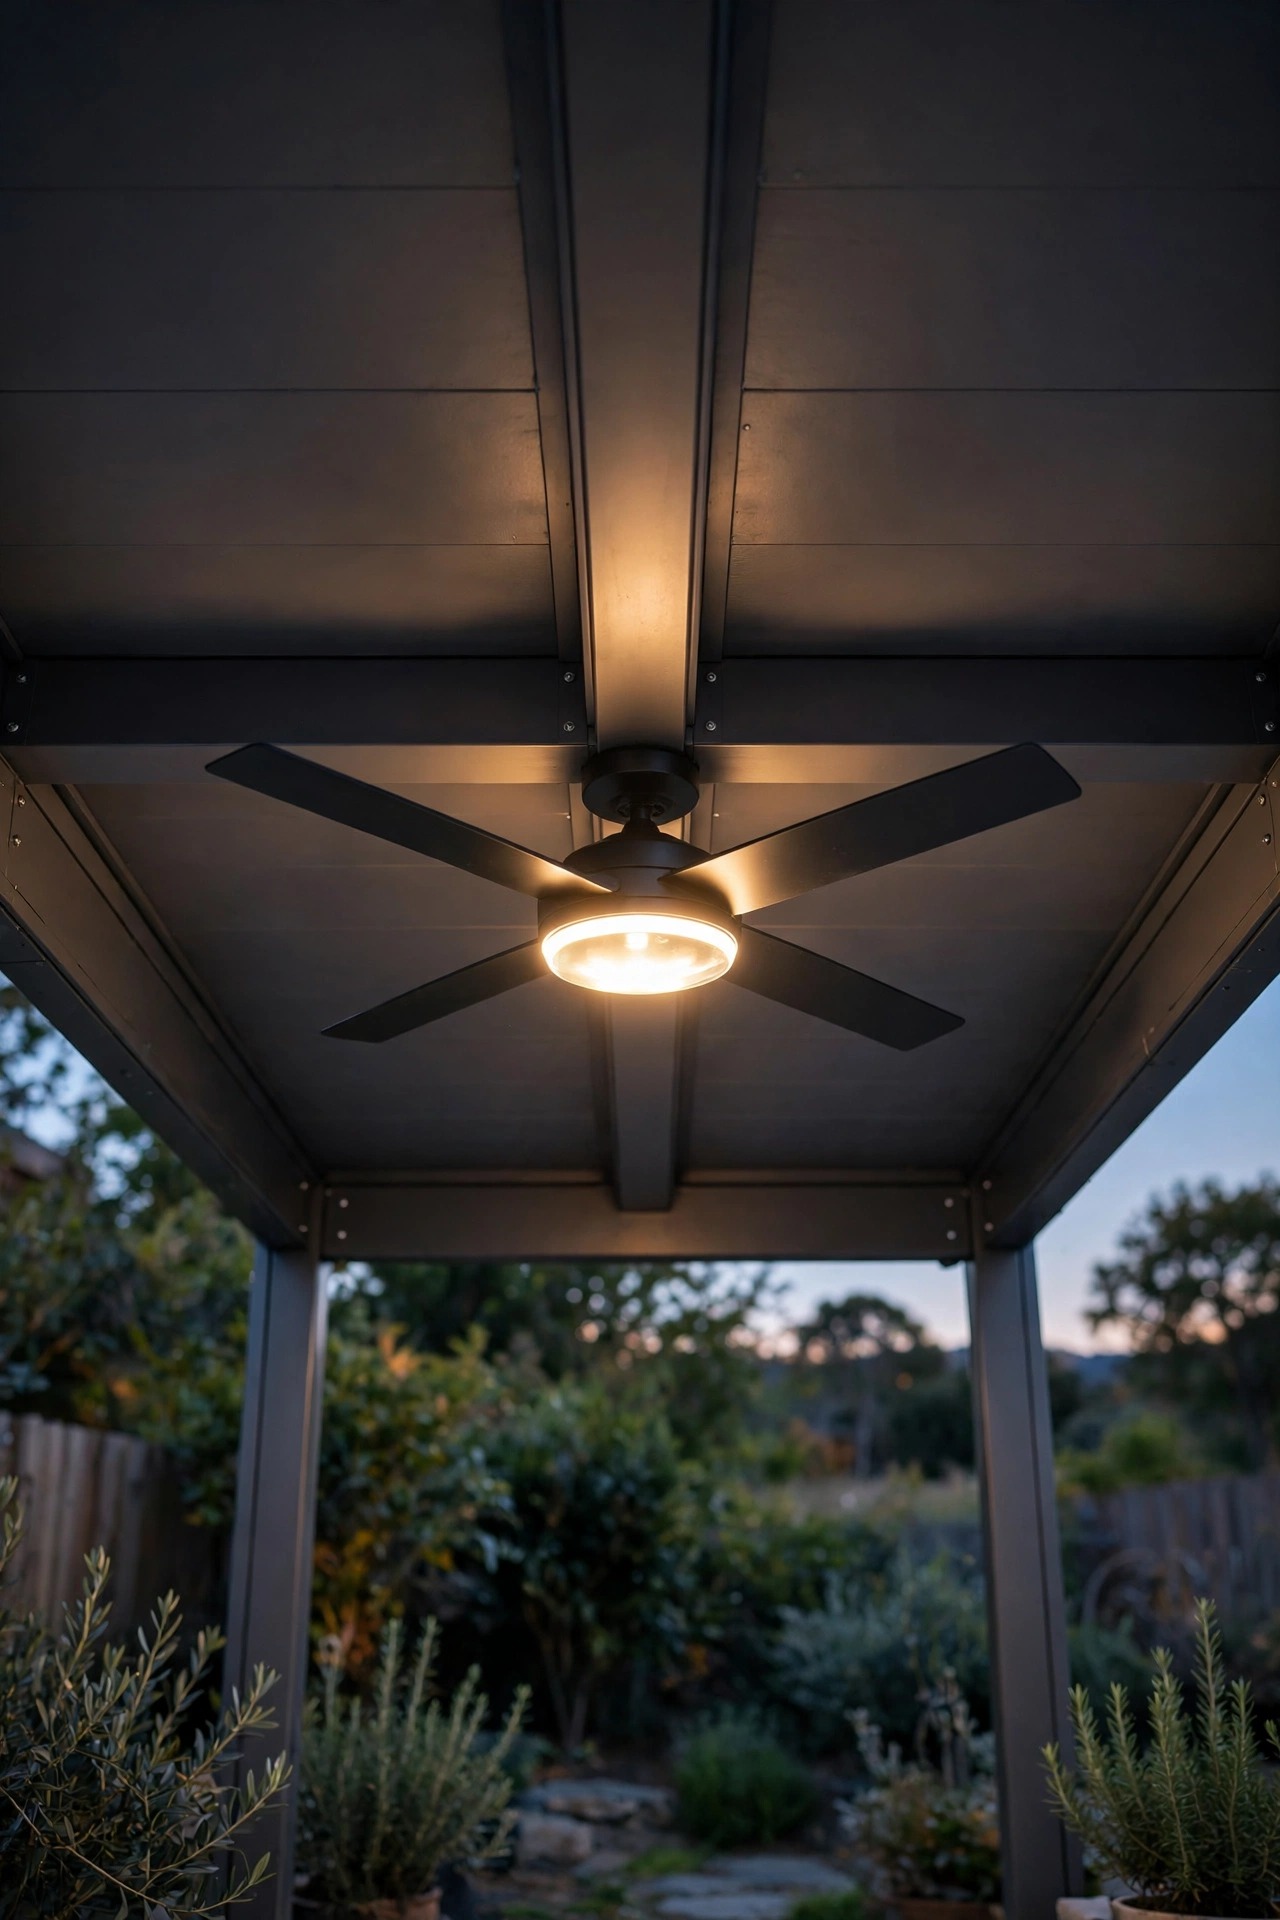
If your metal pergola carries a solid or insulated roof panel — common on modern louvered systems — a damp-rated ceiling fan with an integrated light kit is the hardest-working fixture you can add. It solves two problems at once: still, hot air on August evenings, and a central light source that spreads evenly from the one place every seat can share. Mount it to the center structural beam only, and check the manufacturer's weight rating for your frame; fans belong on beams rated for the load, not on decorative rafters. I choose a low-profile hugger style in a finish matching the frame, with the light on a separate dimmer from the fan speed so a breeze never forces brightness. LED kits at 2700K keep it warm rather than clinical. This is line-voltage work in most cases, so budget for an electrician unless a rated outlet box already exists in the beam. Honestly, on a covered pergola this single fixture is why we eat outside through the whole summer.
Suggested budget range: $180 – $520.
13. Motion-Sensor Solar Lights on the Posts
Not every light on a pergola needs to be atmosphere — some should just be smart. Small motion-sensor solar lights mounted at post height, about 6 to 7 feet up, quietly handle the trips back to the kitchen, the dog's last outing, and guests finding the steps. On metal posts they mount with screws, straps, or magnetic bases in minutes, charge from a fingernail-sized panel, and stay dark until someone walks within about 10 feet. I set ours to a dim standby glow that brightens on motion, which feels welcoming instead of startling. Place them on the posts facing the approach paths, not the seating, so they never fire while people sit still at the table. Two are plenty for most pergolas. This is also the most forgiving idea here for shady yards if you choose models with a separate cabled solar panel you can park in a sunny spot. Practical, invisible by day, and the layer my future self thanks me for every single night.
Suggested budget range: $25 – $70.

14. Rope Light Tracing the Roofline
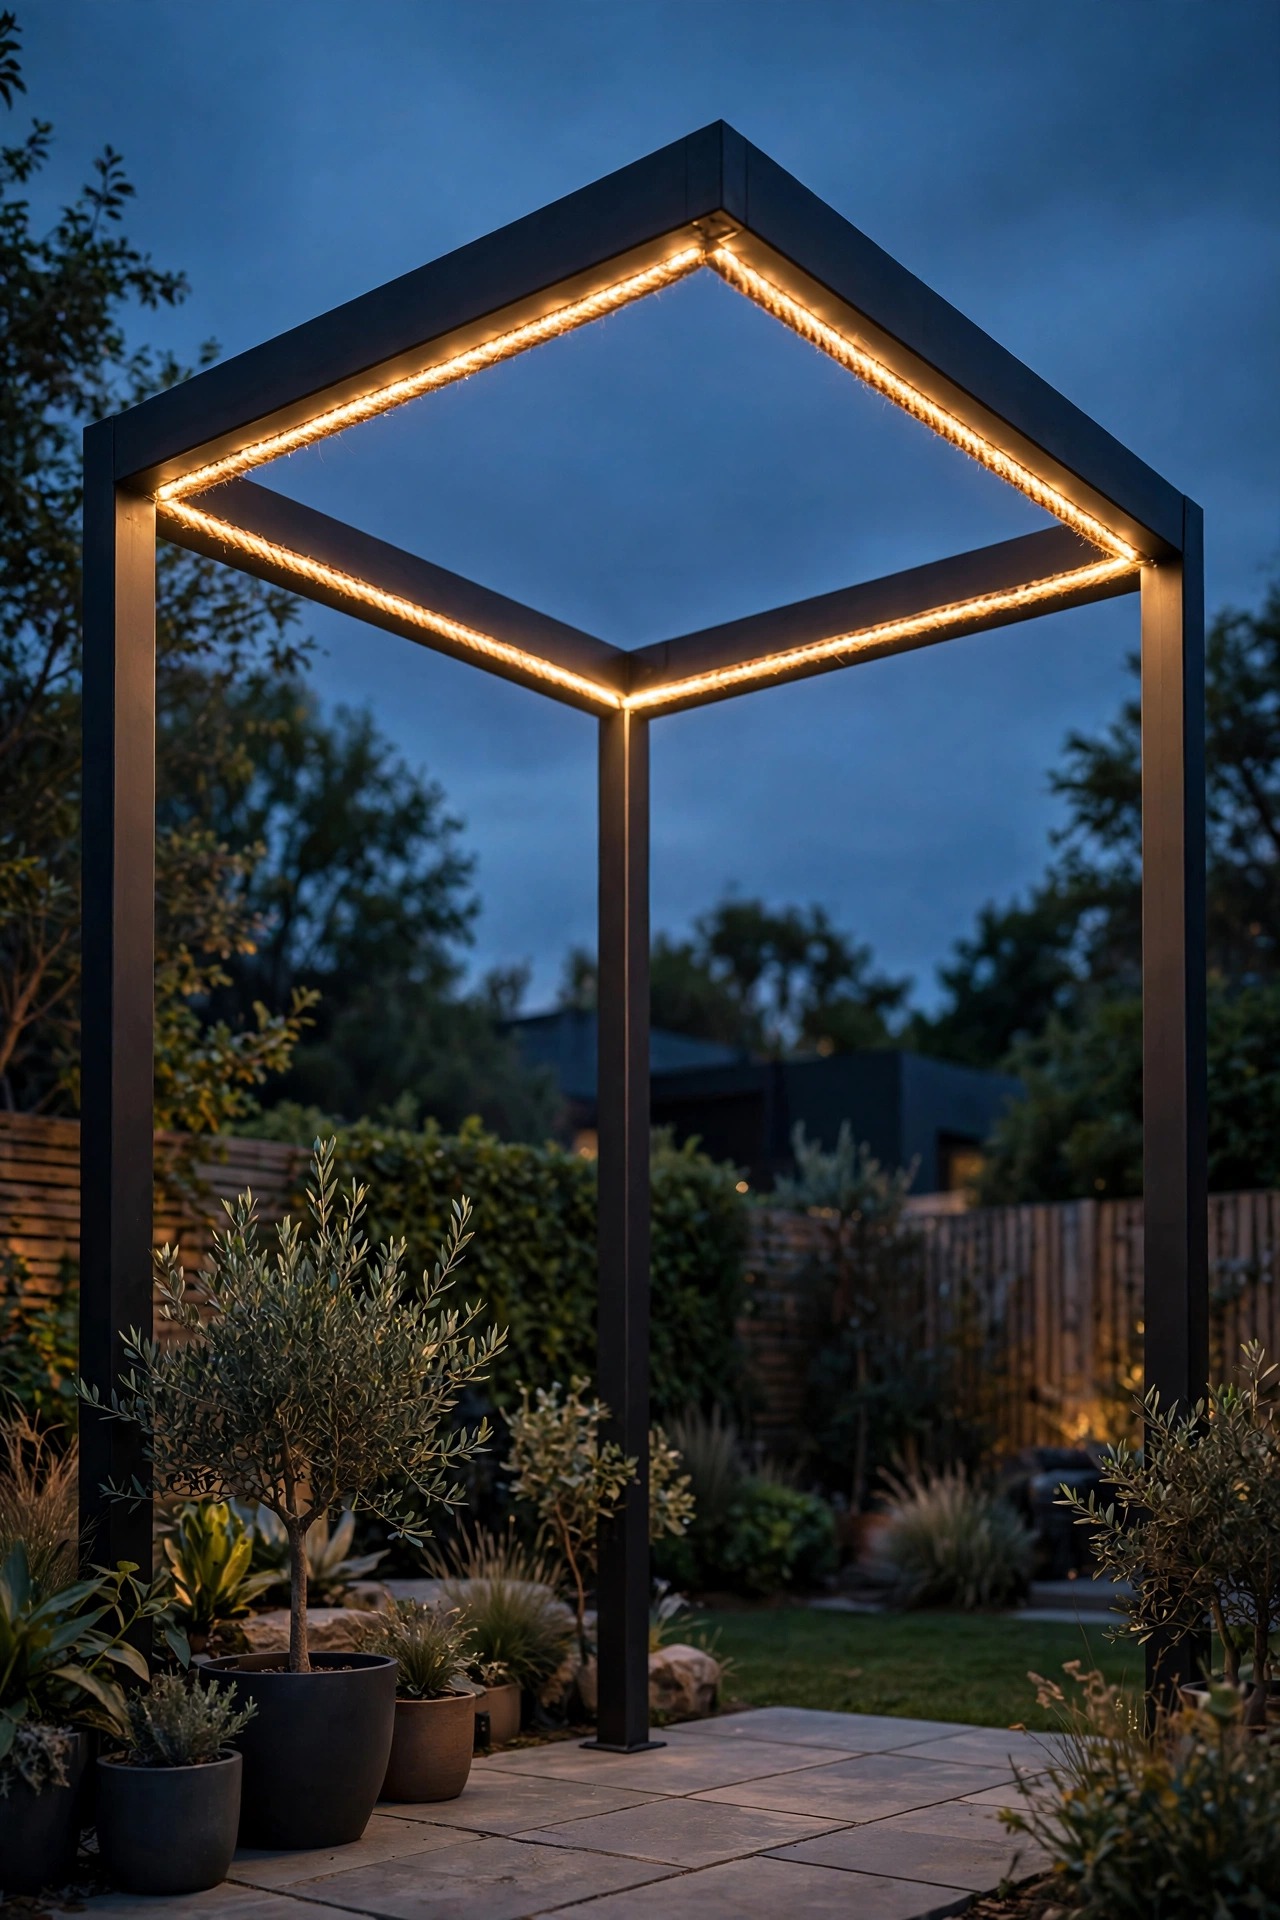
A rope light run along the inside edge of the roofline gives a metal pergola a crisp outline — think architectural sketch, not holiday trim. Because the frame's edges are perfectly straight, the line stays ruler-true, and that precision is exactly the modern effect. Mount it on the inner face of the perimeter beams with the clips made for the rope's diameter, spaced every 12 inches, so from below you see a floating rectangle of light with no hardware. Warm white LED rope rated for outdoor use is flexible enough for clean corners on square frames, and it is dimmable with the right controller. I run ours as the first layer on in the evening — before the string lights — because at dusk the outline alone looks stunning against a deep blue sky. Keep the plug and controller tucked at a corner post where the drop to the outlet hides. One caution: buy the full length you need in a single piece, since rope light cuts only at marked intervals and a short final run ruins the symmetry.
Suggested budget range: $30 – $90.
15. Flameless Candle Clusters at Table Level
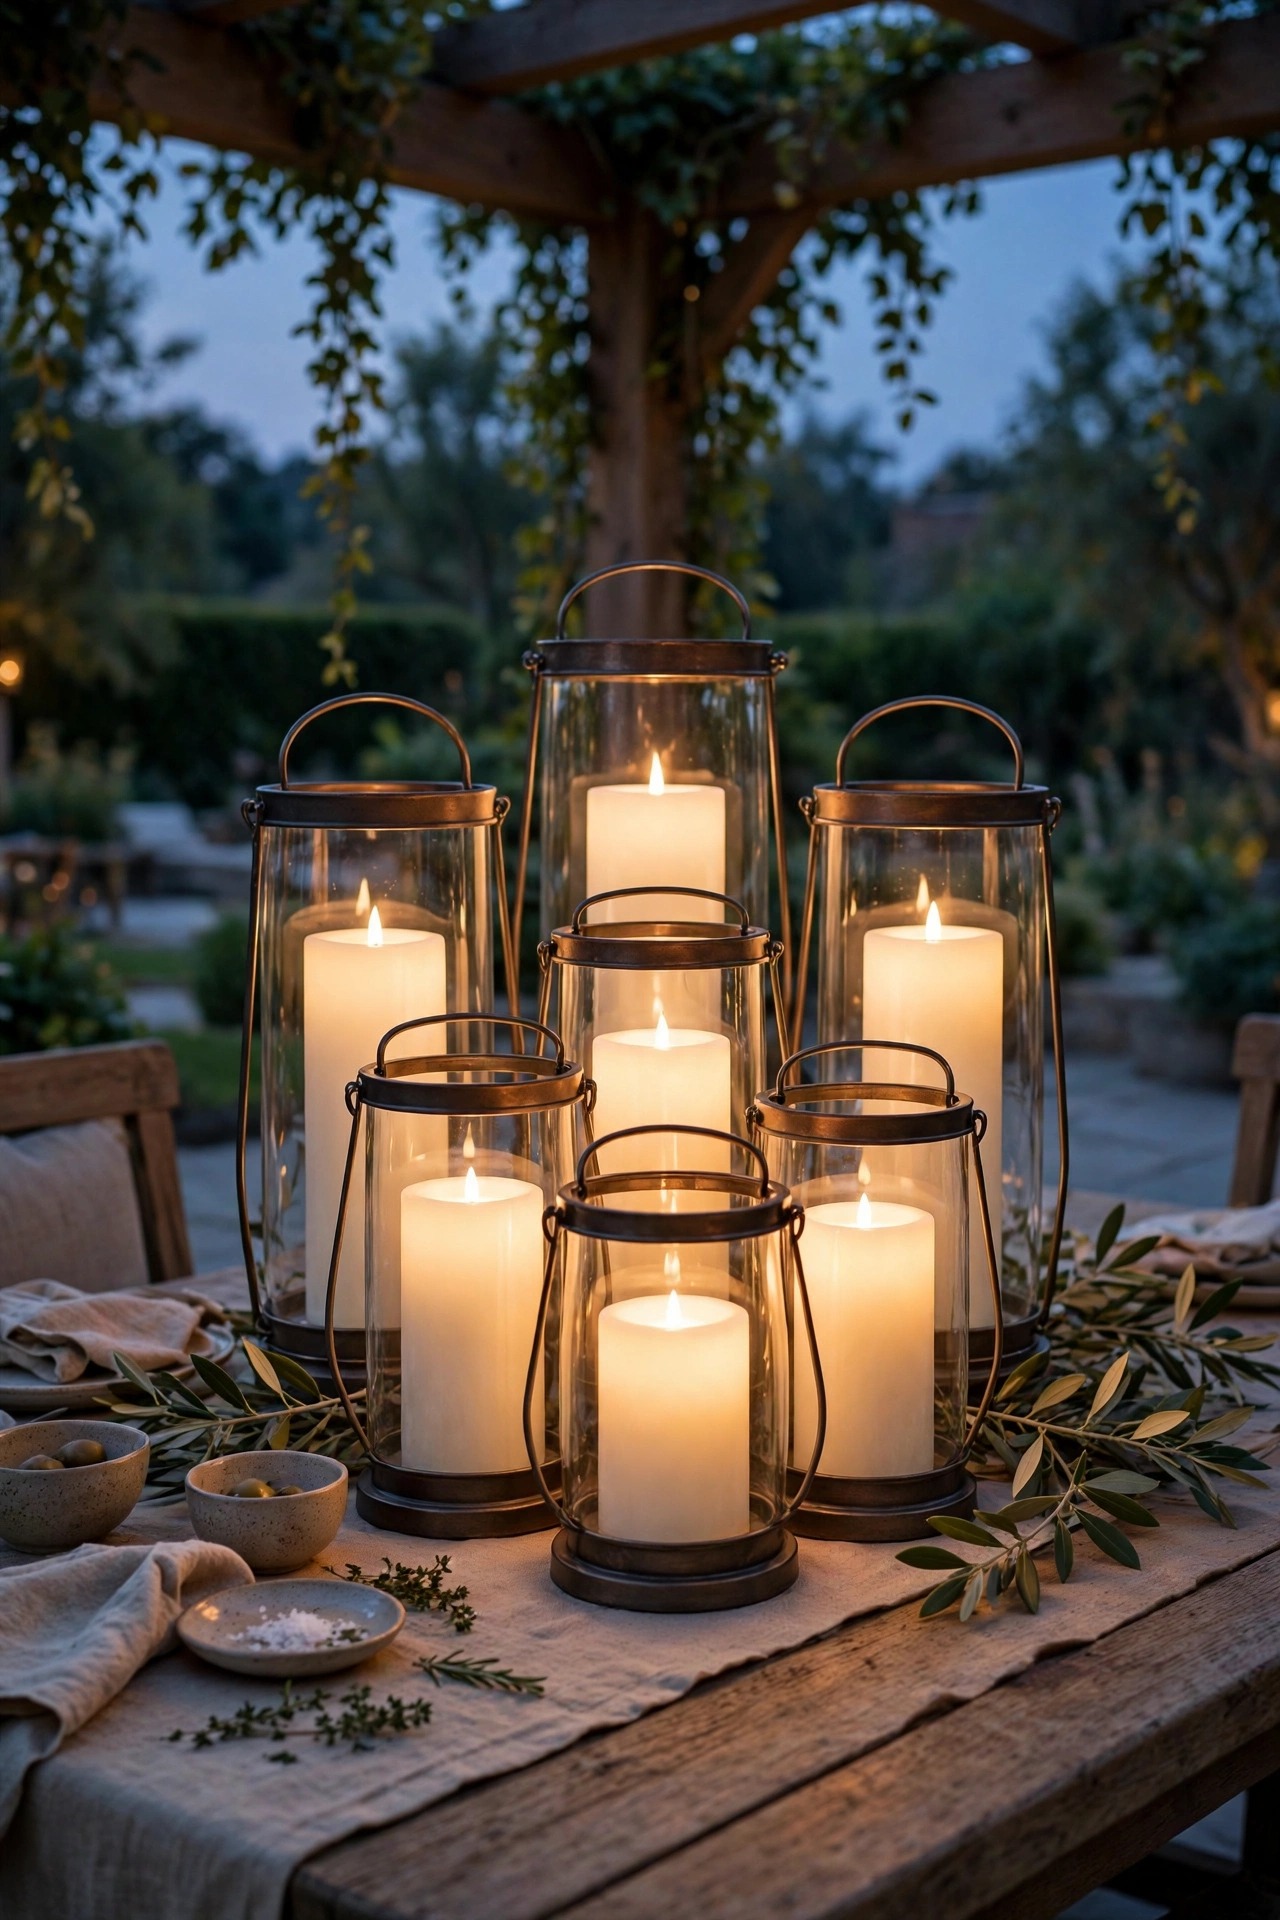
Every layered scheme needs light at table height, and a cluster of flameless candles in simple metal or glass hurricanes is the easiest layer of all. I group three to five pillars of different heights on a tray at the dining table and a second small cluster on the sideboard, and the flicker does what no overhead fixture can — it makes faces look wonderful. LED candles with a warm 2200K-style glow and a realistic flicker setting are the ones worth buying; the flat orange kind will cheapen an otherwise modern setup. Timers are the killer feature: set them once to come on at dusk for five hours and this layer runs itself all season. Because there is no real flame, they are safe beside drapes, paper napkins, and curious kids — the LED-only rule near flammables is one I never bend. Metal hurricanes echo the pergola frame and protect the candles from breezes that would not bother a flame-free candle anyway. Honestly, dollar for dollar, this is the highest-return idea in the whole list.
Suggested budget range: $20 – $75.
16. Bollard and Path Lights Leading In
A pergola that glows in a dark yard looks stranded; a short procession of path lights leading to it looks intentional. Three to five low bollards or path fixtures, spaced 6 to 8 feet apart along the route from the patio door, stitch the house to the pergola and make the whole backyard read as one designed space. Modern yards suit simple cylindrical bollards in a finish matched to the frame — by day they look like part of the same furniture family. Keep them low and shielded so the light lands on the path, not in anyone's eyes, and stay at 2700K to match your other layers. Solar bollards are fine on a sunny route; a low-voltage wired run is steadier and lets you put the path on the same timer as the pergola's ambient layer, which I recommend — one dusk-on moment for everything feels designed. In my experience this is the idea that most changes how the yard feels from inside the house, because the view from the kitchen window becomes a little lit journey.
Suggested budget range: $60 – $240.

17. Layer Your Metal Pergola Lighting Ideas Into Smart Zones
The final idea is the one that turns 16 nice fixtures into a system: put your layers on separate smart zones and run them like scenes. My overhead strips and downlights sit on one dimmer zone, string lights on a smart plug, and spots and path lights on a dusk-to-midnight timer — so "dinner" is one tap (pendants and candles full, strings at half), "party" adds the color strand, and "movie night" drops everything to the candle layer and the curtain. Smart plugs rated for outdoor use live in a weatherproof box at the post base, and everything defaults to the warm everyday scene if the Wi-Fi sulks. This is where metal pergola lighting ideas stop being a shopping list and become the way the space actually lives, night after night. Start with two zones rather than six; you can split further once you know your habits. In my experience, the scene you will use 300 nights a year is the simple one — ambient at 60 percent, sparkle on, task light ready — and getting that onto a single button is the real luxury.
Suggested budget range: $40 – $180.

Frequently Asked Questions
What color temperature looks best on a metal pergola?
Warm white, 2700K, is my default for nearly every layer, and 2200K works beautifully for candle-style accents. Cool white makes powder-coated frames look blue and washes out skin tones. I keep a full breakdown of how each temperature behaves outdoors in my outdoor light color temperature guide, and the golden rule is simple: pick one temperature and match every bulb and strip to it, because a mix of warm and cool is the fastest way to make a modern space look accidental.
Can I drill into a metal pergola frame to mount lights?
Usually yes, but check your warranty first — some manufacturers void coverage on drilled posts, and never drill a post that carries a concealed wiring channel without locating it. Stainless self-tapping screws are the standard fix, and a dab of touch-up paint seals the hole against rust. If you would rather not drill at all, clamps, magnetic hooks, straps, and adhesive channels cover most of the ideas in this list, which is one reason metal frames are so renter-friendly compared with wood.
How do I light a metal pergola with no nearby outlet?
Go solar and battery in layers: solar post caps for outline, a solar string strand for ambient, motion-sensor solar lights for the paths, and flameless candles on timers for the table. The honest trade-off is brightness and winter run time, so choose fixtures with replaceable batteries and panels you can angle toward the sun. If one corner of the pergola roof gets strong sun, a strand with a separate cabled panel mounted up there outperforms every all-in-one fixture I have tried at the table level.
Is a metal pergola harder to light than a wooden one?
In my experience it is easier. The beams are level, so swags and strips sit straight; posts are often hollow, which hides low-voltage wire; and clamps and magnets give you mounting options wood never will. If you want the broader starting point before specializing, my general pergola lighting ideas cover every frame type, and the structure-specific tricks — like grazing uplight up a smooth post — are where metal really pulls ahead.
Conclusion
A metal frame is not a limitation to work around; it is the easiest lighting canvas I have ever used, because straight beams, hollow posts, and clamp-anywhere mounting forgive every experiment. Start with one ambient layer, live with it, then add task light and sparkle until the pergola feels like a room that happens to have a sky for a ceiling. Whether you begin with ten-minute solar caps or a weekend of hidden strips, the best metal pergola lighting ideas are simply the ones layered with intention — so pick your first layer tonight, and browse the rest of my outdoor lighting ideas here whenever you are ready for layer two.