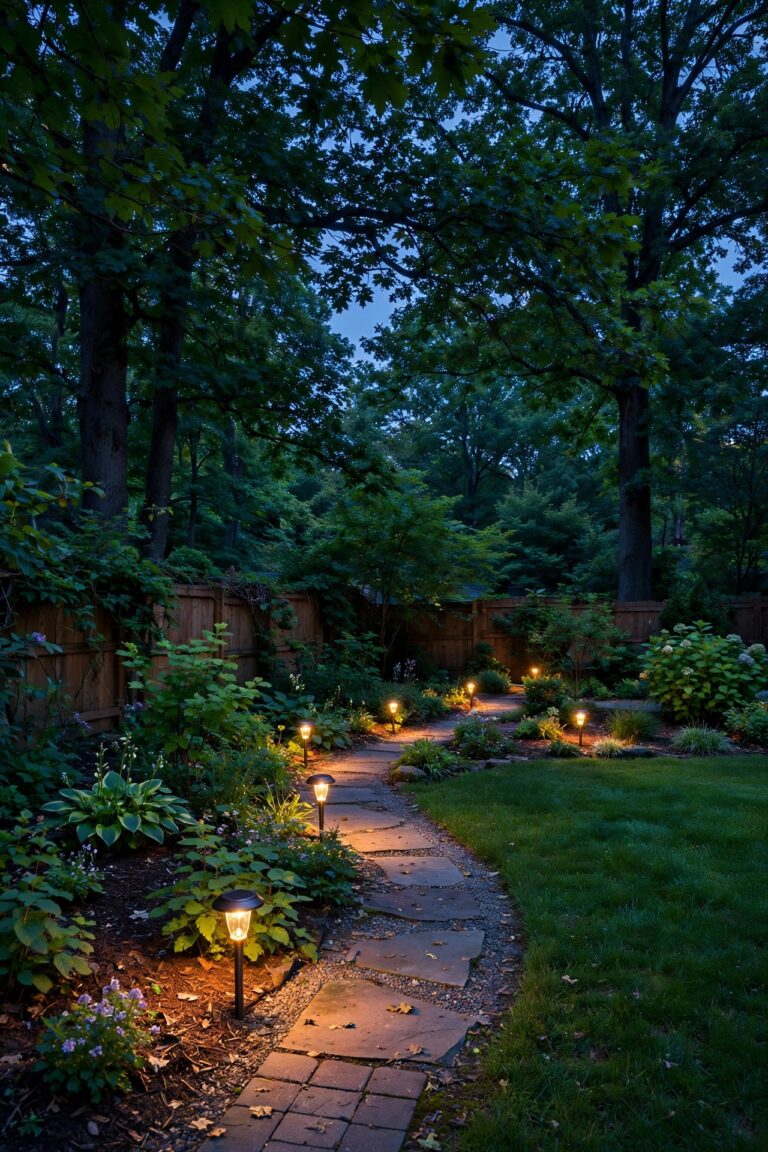
A hundred dollars does not sound like much when you start pricing outdoor lighting. One hardwired fixture can eat the whole budget before you have bought a single bulb. But front yard lighting under $100 is absolutely doable when you stop thinking like a contractor and start thinking like a stager: three layers, bought in the right order, placed where eyes actually land. In my experience, the yards that look expensive at night are rarely the ones with the most fixtures. They are the ones with a lit path, a welcoming entry, and one beautiful thing glowing on purpose. Everything else is just spending. This guide gives you the complete makeover plan I would hand a friend: the philosophy behind it, where the money should concentrate, the placement cheats that let fewer lights do more work, what to skip without regret, and an itemized list that lands under budget with tax included. You will finish in one afternoon, with no wiring, no electrician, and no trenches across your lawn. By the end, you will know exactly what to buy, where each piece goes, and how the whole thing grows later when you are ready to spend more.

The Short Answer
If you only remember one thing, make it this: buy the path first, the entry second, and one accent last. A multi-pack of warm-white solar path lights does the heaviest lifting because it outlines the walkway and the beds in a single purchase. Your existing porch fixture usually just needs a warm LED bulb and a good cleaning, not a replacement. Then spend what is left on one solar spotlight aimed at your best tree or at your house numbers. That is the entire formula, and it works because every dollar lands where guests actually look.
The Three-Layer Plan: Path, Entry, One Accent
Every front yard I have ever lit, at any budget, comes down to three layers. The first is the path layer: a gentle outline along the walkway that tells feet where to go and tells eyes that the yard has a plan. The second is the entry layer: the glow at the front door that says someone is home and guests are expected. The third is the accent layer: exactly one beautiful thing lit on purpose, a tree, a textured wall, a cluster of ornamental grass catching the light. When money is no object, you add more layers. When money is tight, you protect these three and cut everything else.
This is where most small budgets go wrong. People buy a little of everything: two path lights, one string of fairy lights, a lantern, a color-changing bulb, and they end up with five weak gestures instead of one strong one. The layers only read as a design when each one is complete. A fully lit walkway looks intentional. Two lonely stakes look like a mistake you ran out of money on.
The second decision is power. At this budget, solar is not the cheap compromise; it is the whole strategy. Wiring eats money before it makes light: cable, connectors, a transformer, and hours of trenching on your knees. Solar fixtures arrive with their power supply built in, install in minutes, and cost nothing to run. Their weakness is brightness and winter stamina, and this plan respects both. Solar gets path and accent duty, never security duty, and its panels go where the sun actually reaches. Choose warm white, 2700 to 3000K, everywhere, so the three layers melt into one glow instead of competing with each other.

Where the Money Concentrates: One Bulk Buy, One Upgrade, One Accent
The shopping list has a strict order, and honestly, the order matters more than the items themselves.
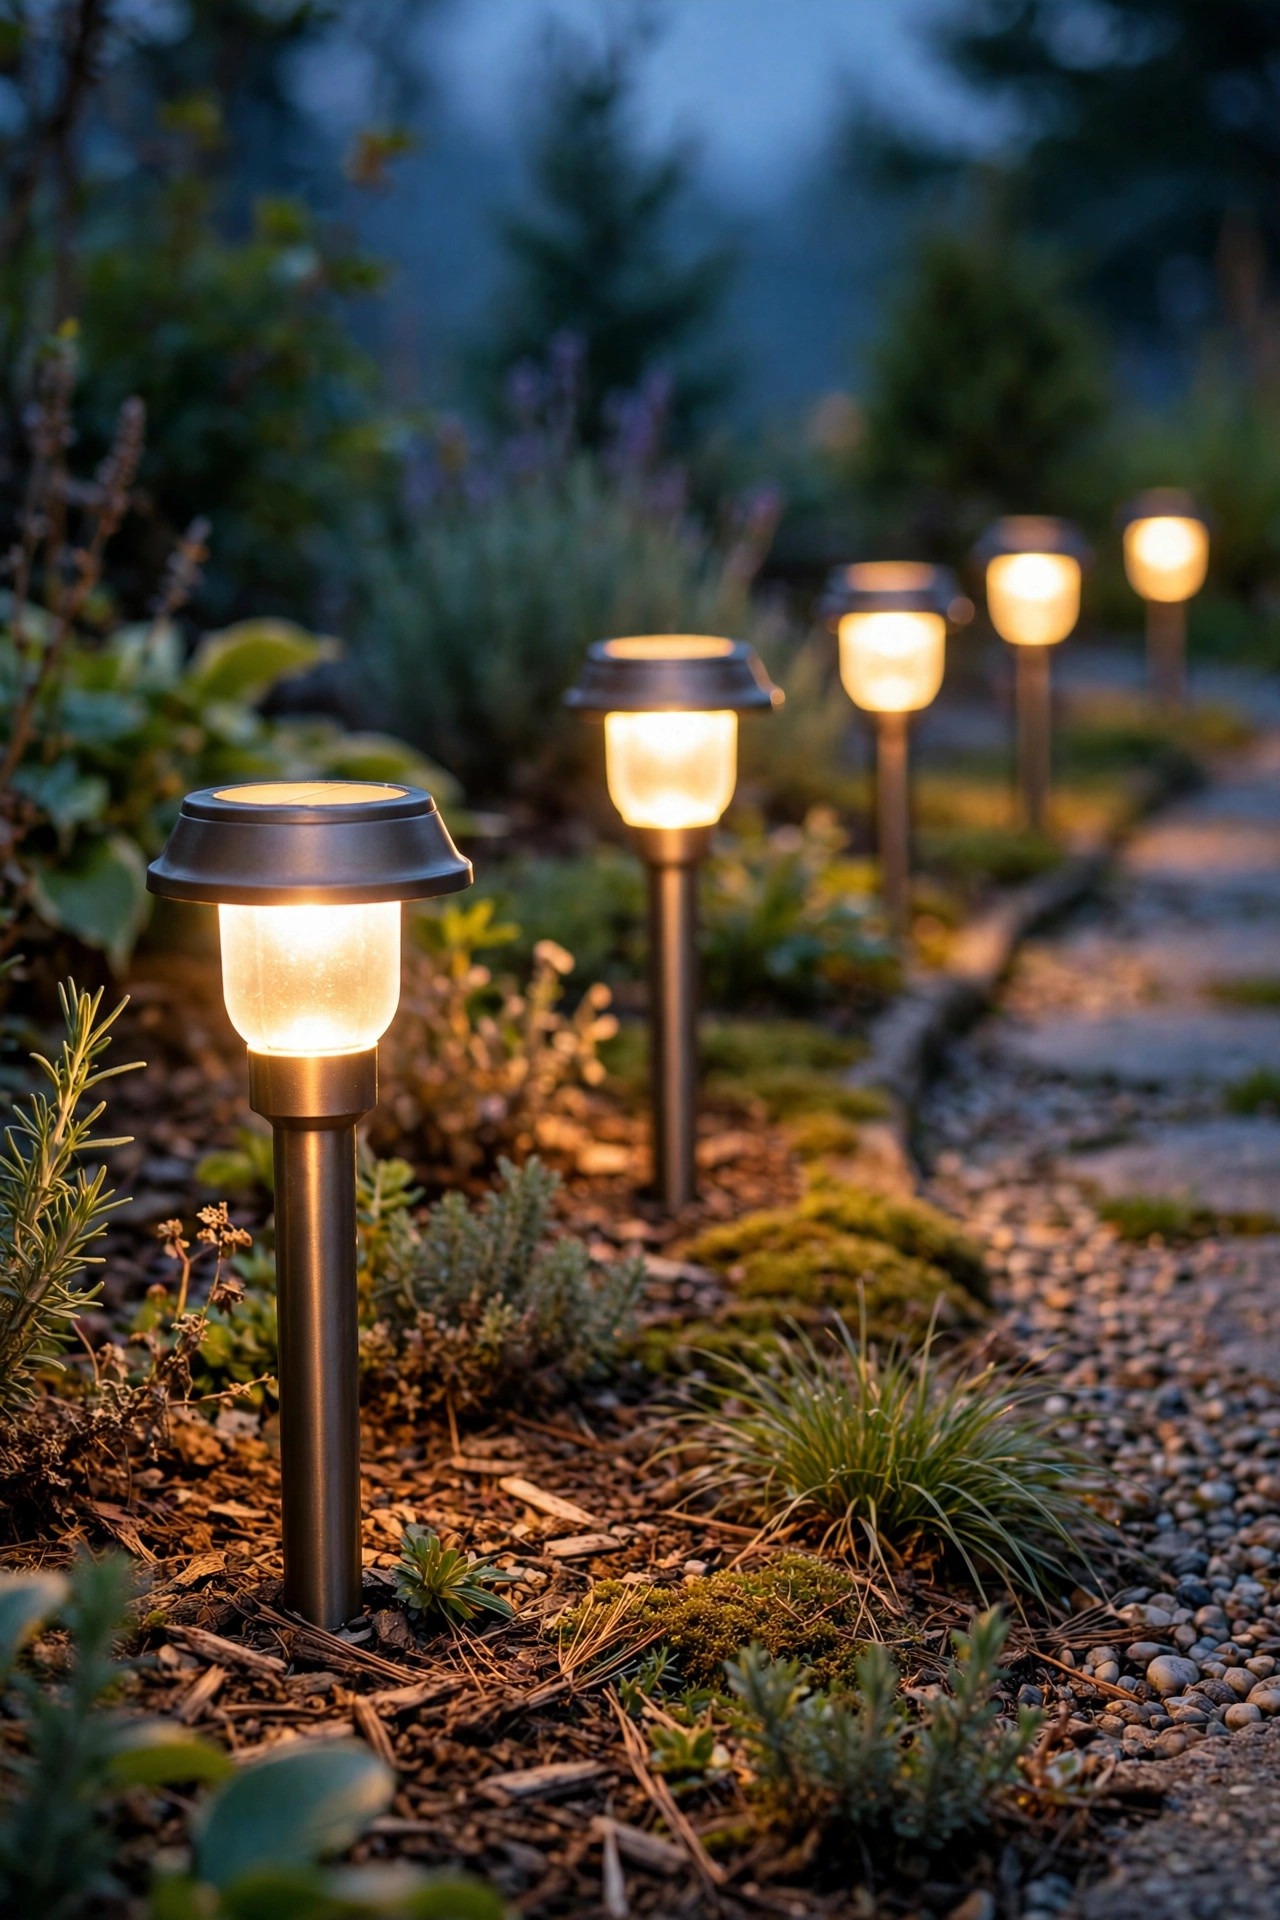
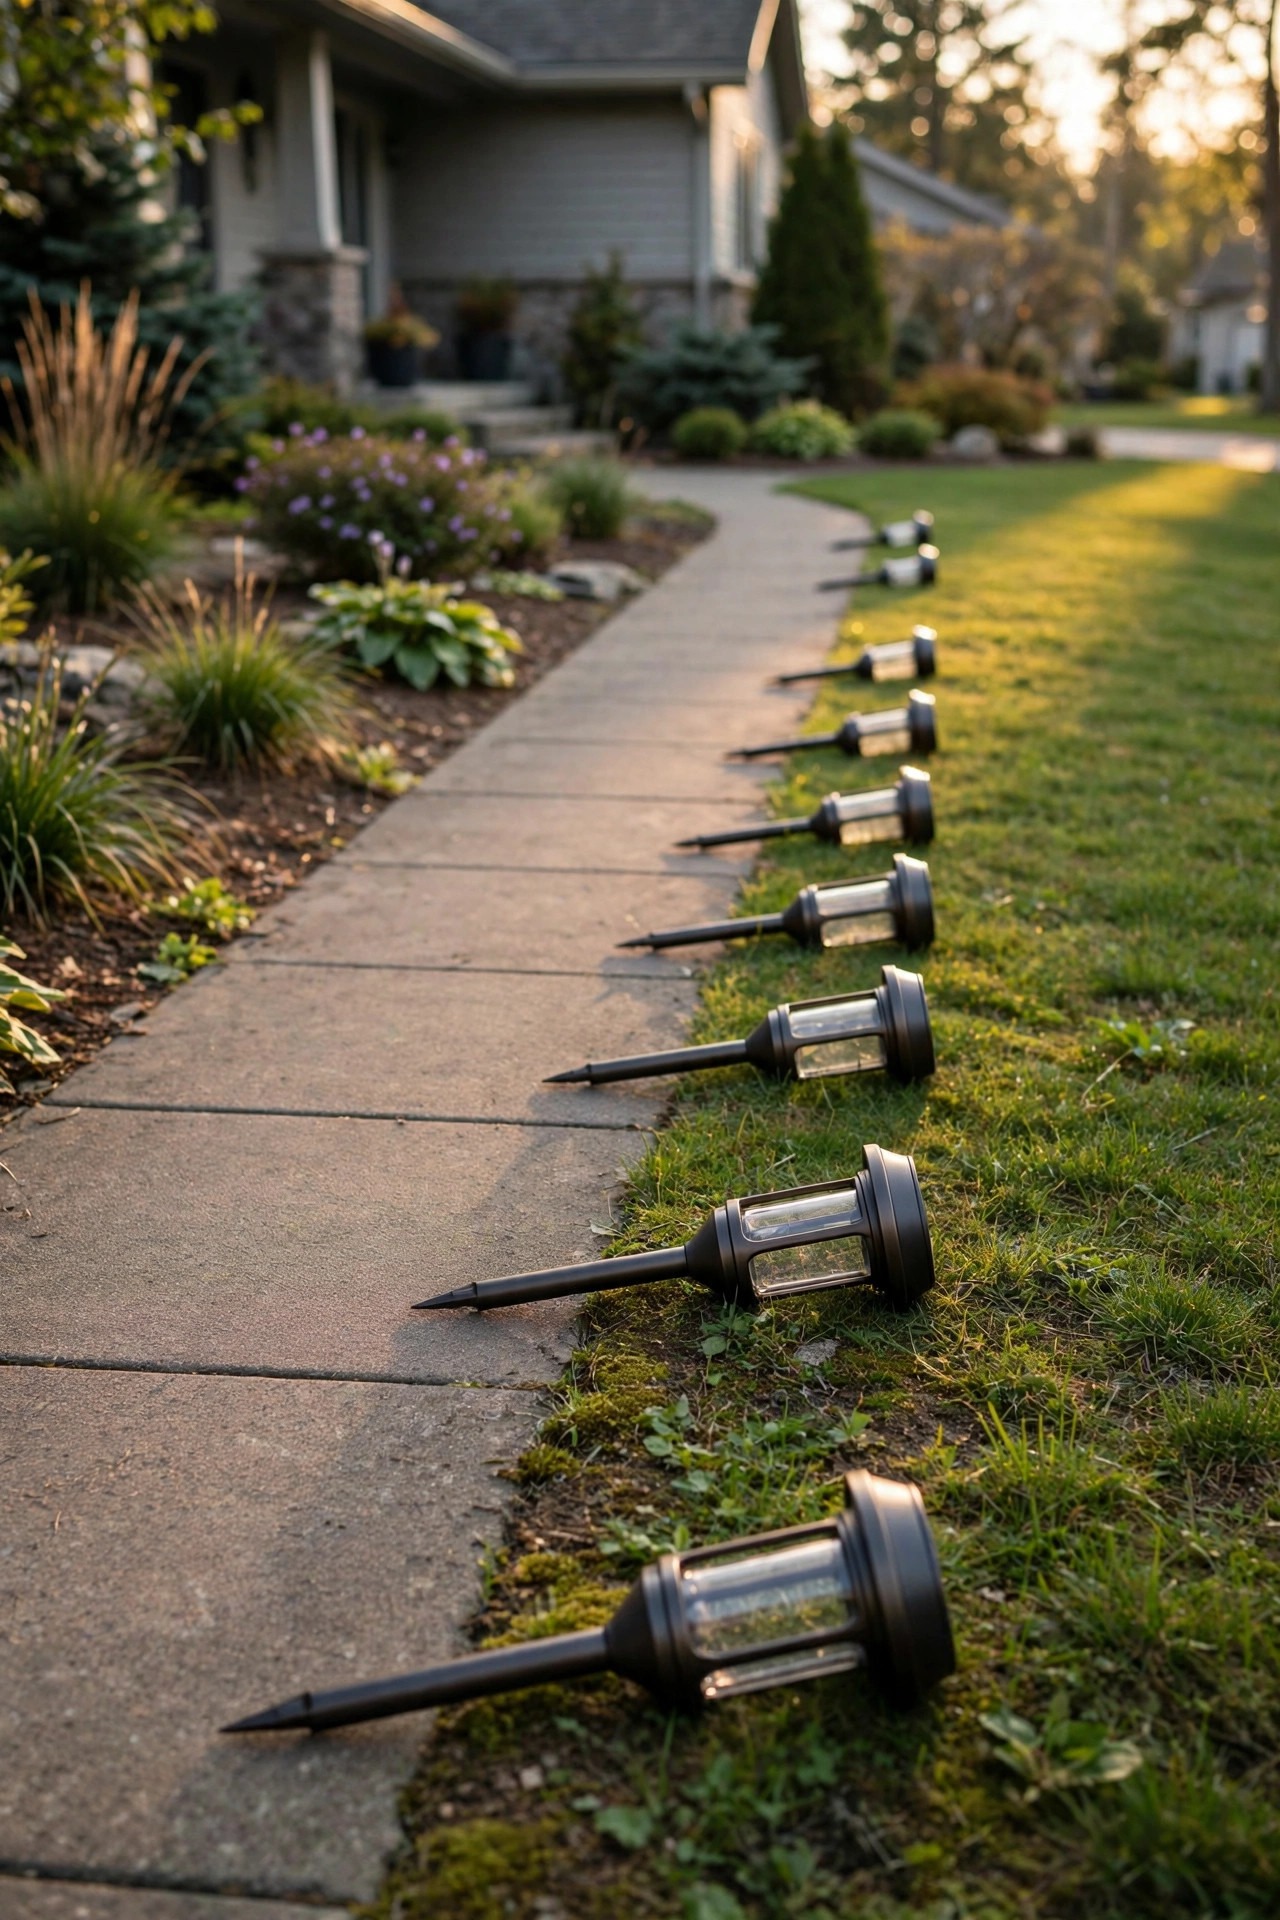
First, the bulk buy: path lights, and buy them as a multi-pack, never as singles. A pack of eight or ten matching solar stakes costs a fraction of the same fixtures bought two at a time, and matching matters more than people expect. Same height, same color temperature, same little pool of light repeated down the walk. That repetition is what reads as professionally landscaped from the street. I go through what to look for in my solar path lights guide, but the short version is warm white output, a panel that is not the size of a postage stamp, and a housing that will survive being knocked by a mower wheel.
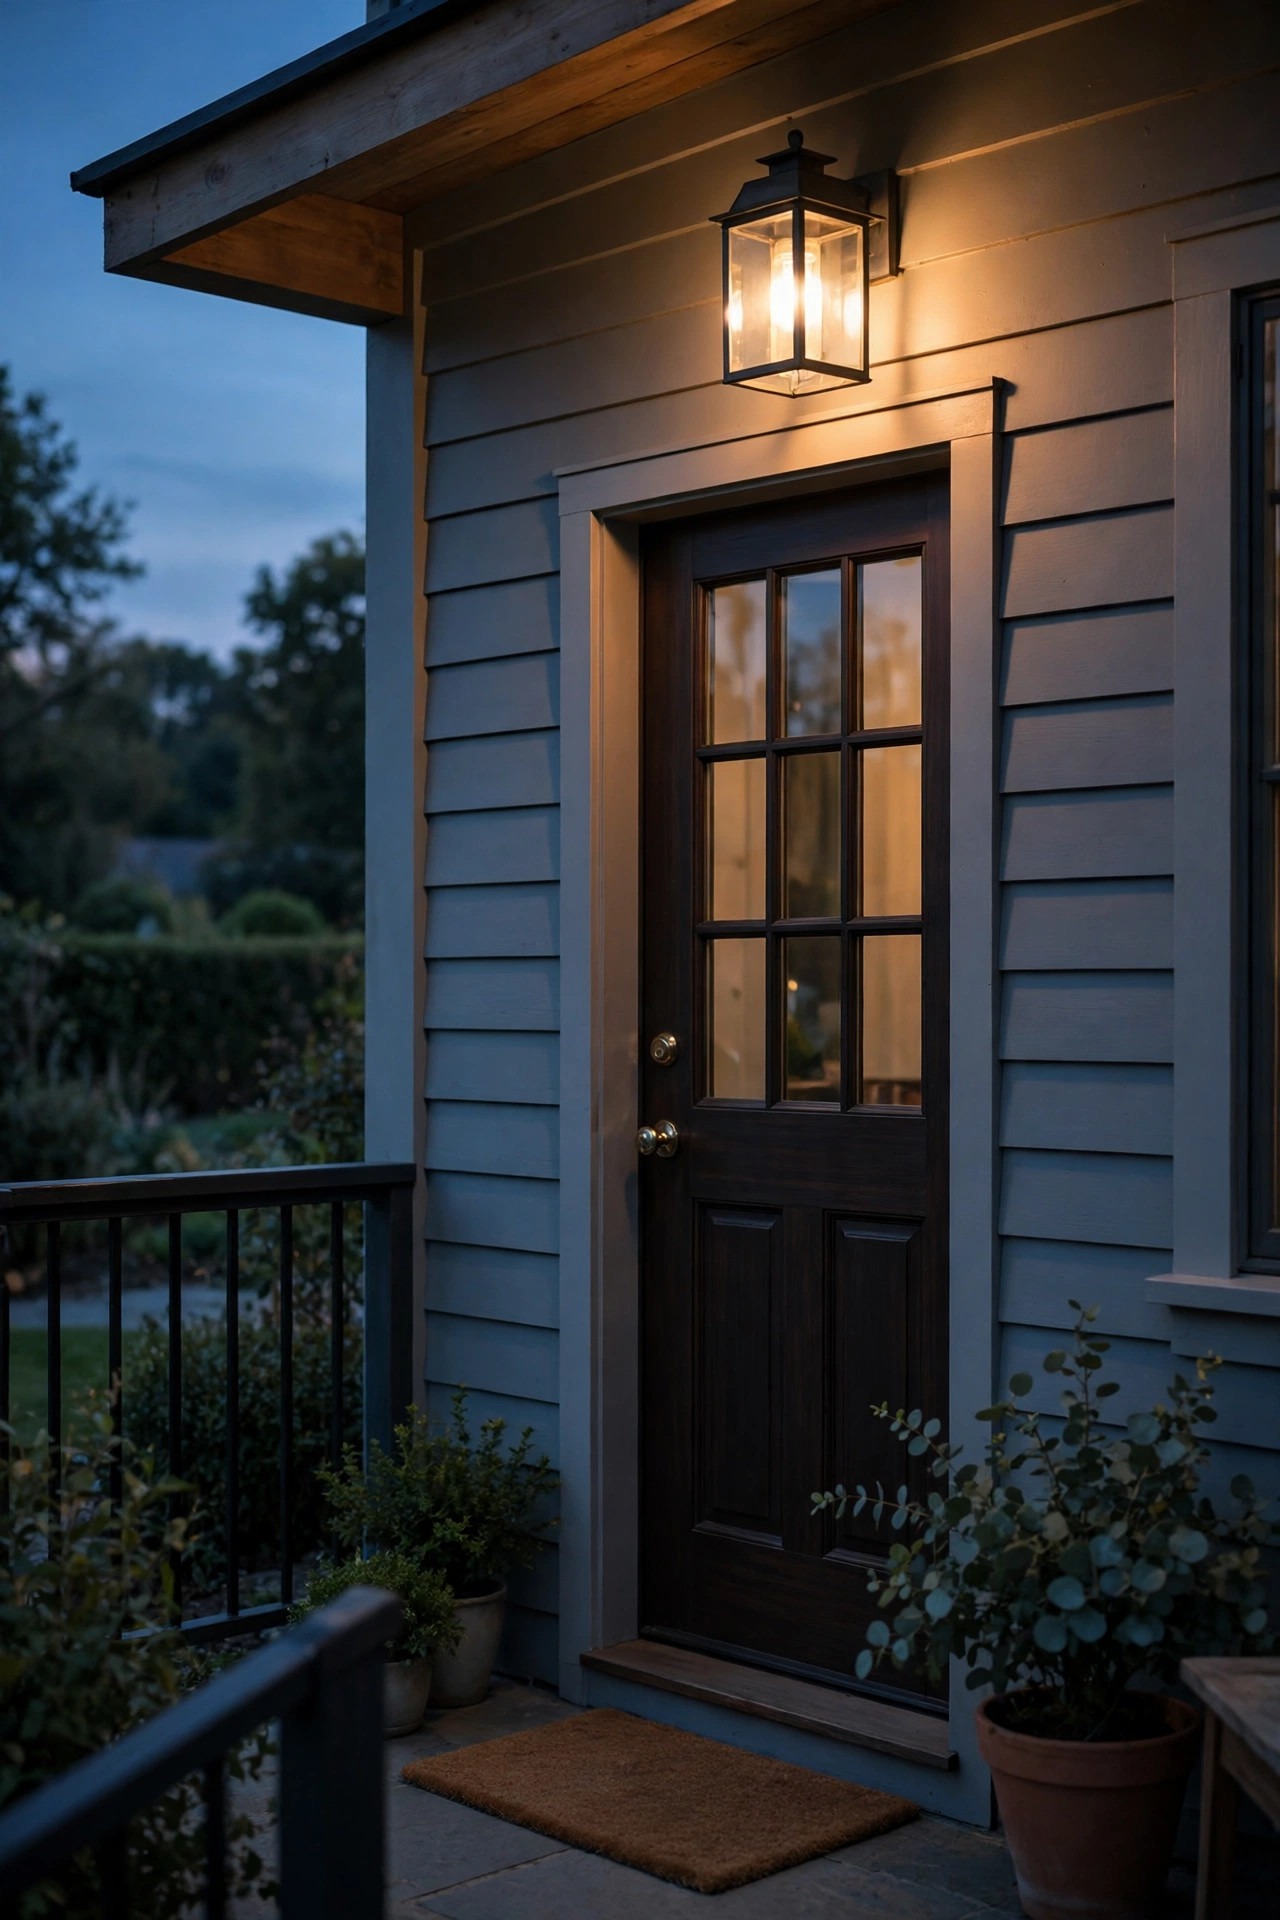
Second, the entry, and here is the surprise: you probably do not need a new fixture at all. Most porch lights look tired because of the bulb and the dirt, not the housing. A warm LED bulb, a soapy wash of the glass inside and out, and ten minutes to straighten a crooked mount will transform most entries for the price of a coffee. Save the fixture replacement for the upgrade phase, when you can buy the one you actually love.
Third, the accent, bought with whatever is left: one solar spotlight. Not a pair, not a set of four. One, aimed at the single best thing in your yard. Scarcity is exactly what makes it an accent instead of more clutter.
Notice what is not on the list: nothing for the driveway, nothing for the side yard, nothing decorative that does not emit light. At this budget, every purchase has to glow.
Front Yard Lighting Under $100: The Placement Plan
Placement is where a small budget gets multiplied, so steal these cheats from every tight install I have ever done.
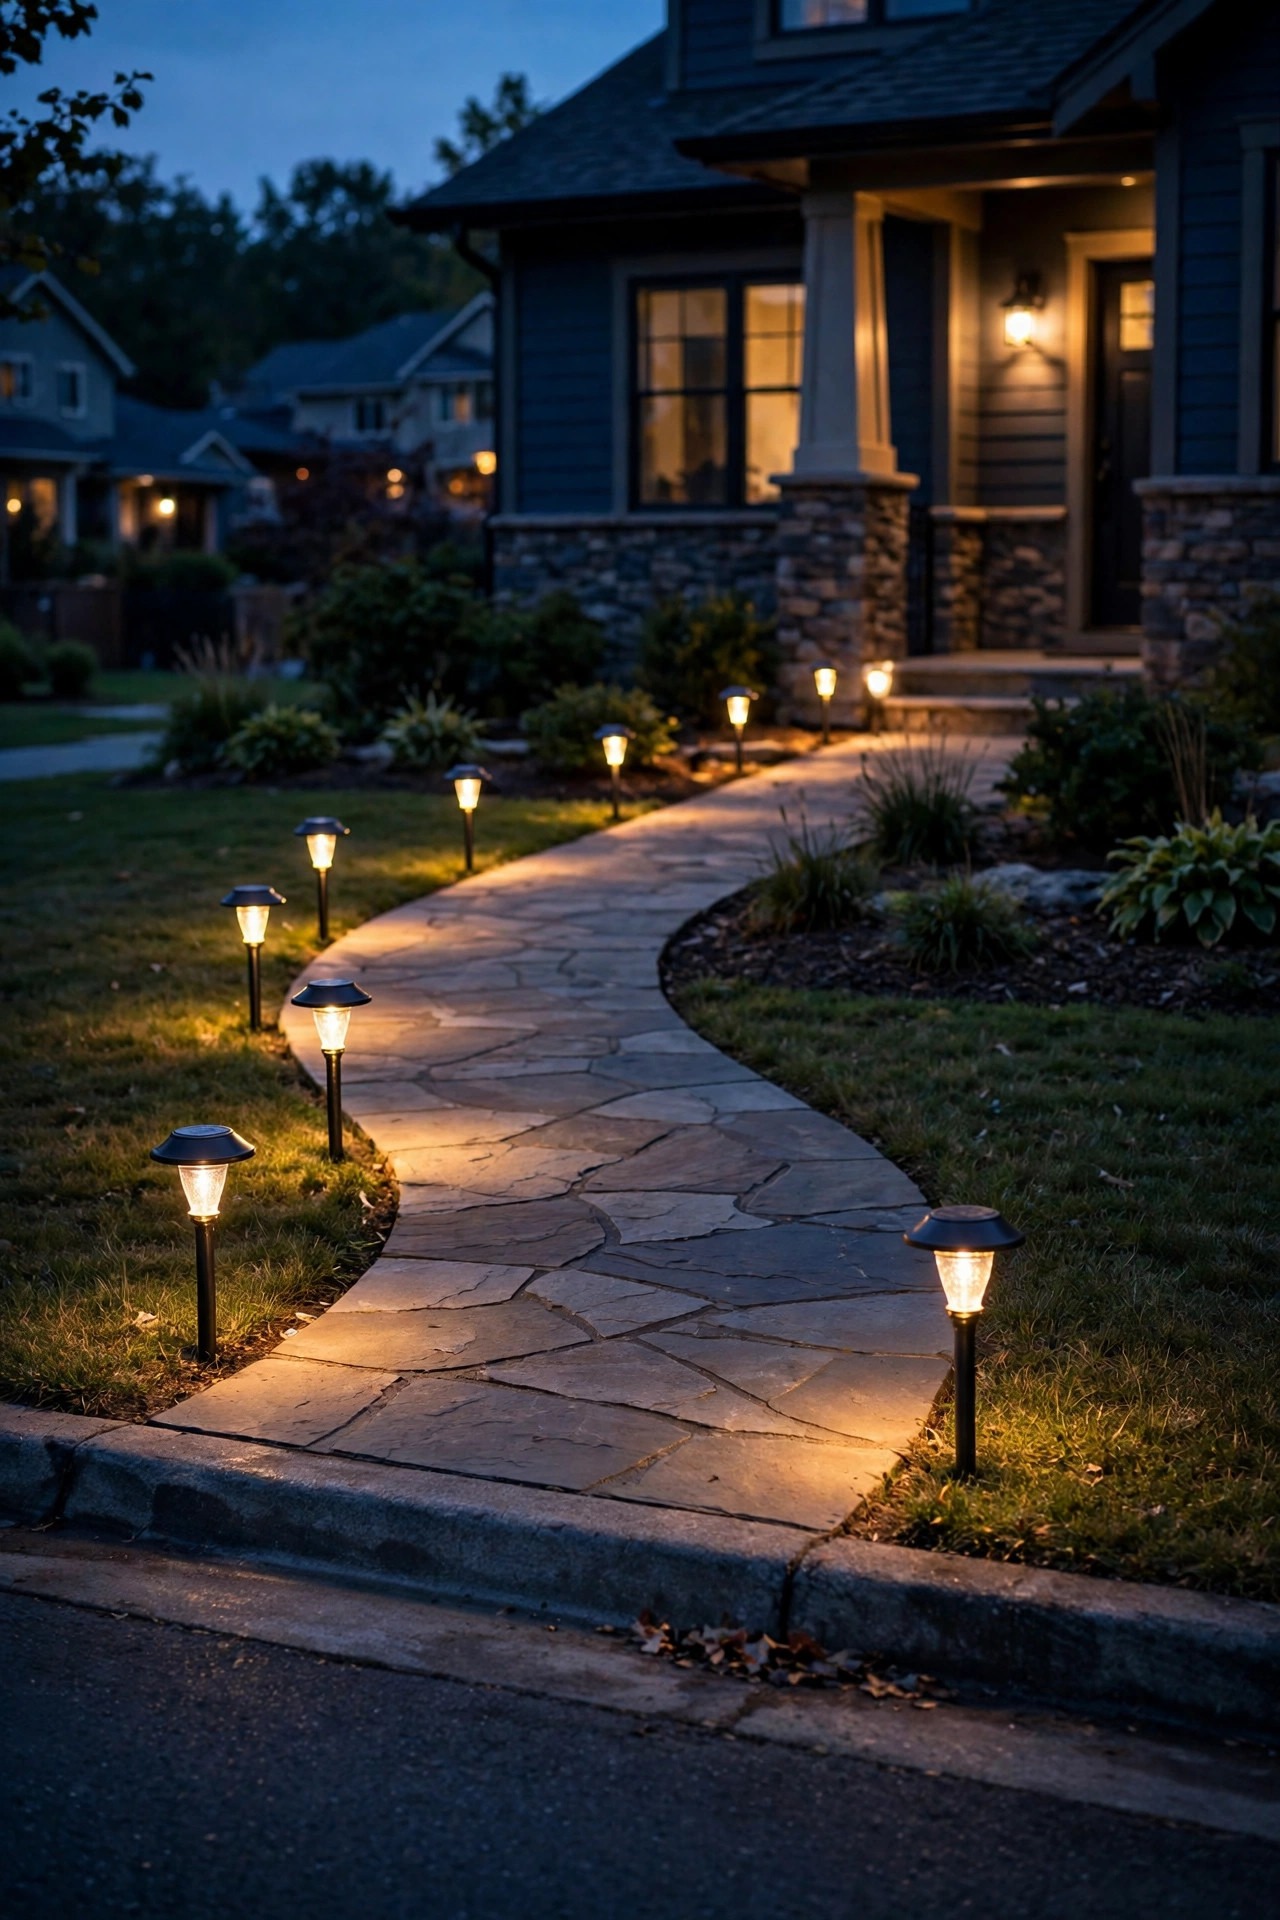
Light the walk from one side only. Rows on both sides double your fixture count and create a runway effect that makes your walkway look like a tiny airport. A single staggered line, spaced roughly six feet apart and set a few inches back from the pavement edge, gives feet all the guidance they need and reads twice as elegant from the street.
Place for the view from the street and the view from the door, not from above. Walk out to the curb at dusk and look back at your house. That is the angle your neighbors, your guests, and your phone camera actually see. Fixtures that look perfectly even on a tape measure often bunch up visually from the street, so adjust for the sightline and stop worrying about symmetry on paper.
Give the door the brightest pool of light in the yard. The hierarchy should be obvious at a glance: entry brightest, path gentle, accent focused. If a path light near the steps competes with the porch light, move it further down the walk where it belongs.
Aim the accent from low and close. A solar spotlight placed two feet from a tree trunk and angled upward will outperform one sitting six feet away every time, because brightness falls off fast at this price point. If your best feature is flat rather than tall, wash the house numbers beside the door instead. A lit address is beautiful and genuinely useful for deliveries and late guests.
Finally, test before you commit. Set everything out in the afternoon, then stake nothing down hard until you have seen the yard at full dark. Solar forgives experiments, so use that freedom.
What to Skip at This Budget (Without Regret)
Saying no is a skill at this budget, and these are the nos that protect the plan.
Skip anything hardwired. One wired fixture means a transformer, cable, connectors, and a trench dug across your beds, and suddenly your entire budget is infrastructure with a single light at the end of it. Hardwired systems are wonderful later, as an upgrade, once the layout is proven. Right now they are a trap dressed up as quality.
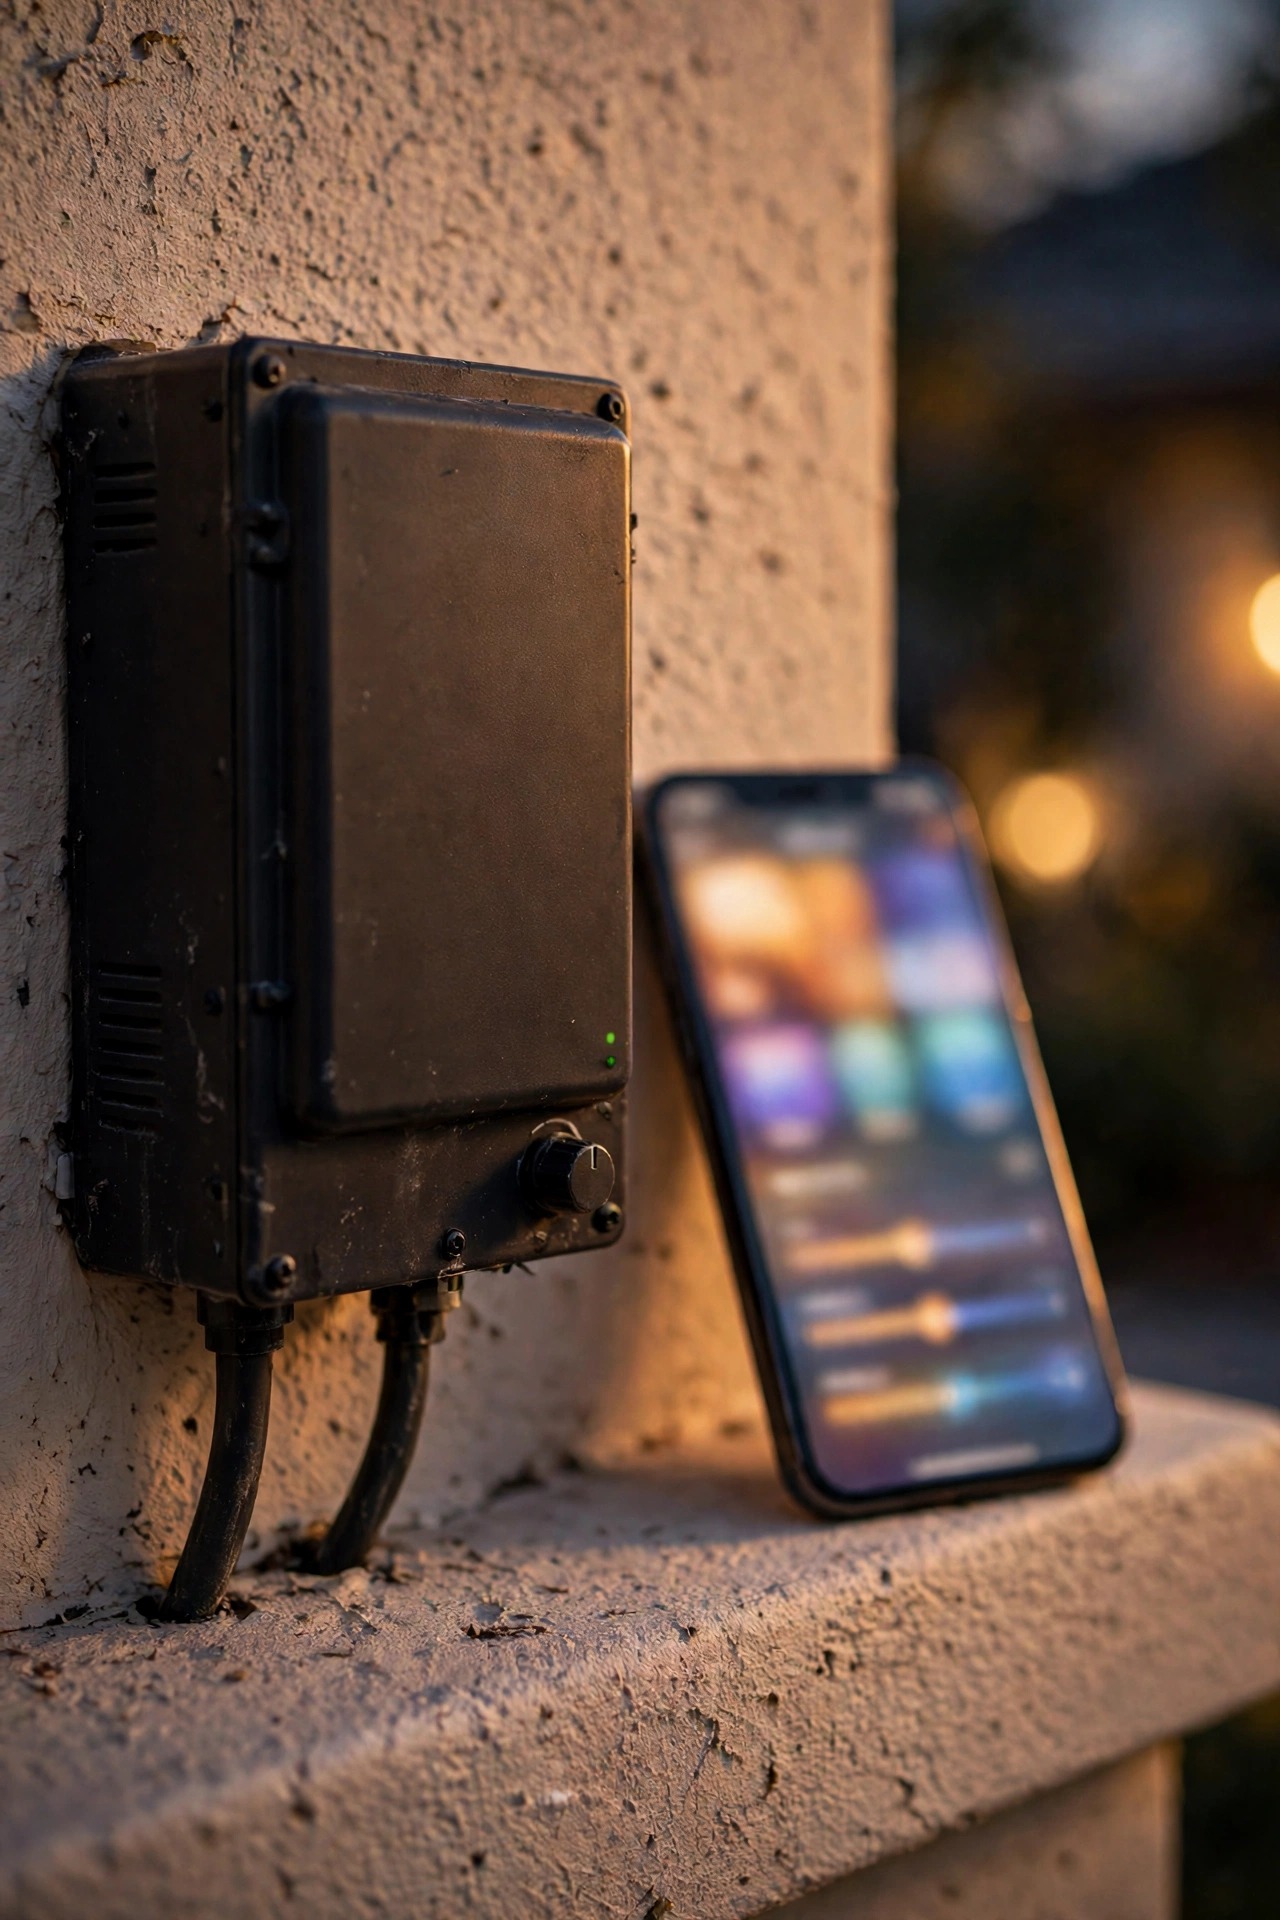
Skip the smart features. App control, color changing, and voice assistants are delightful on a porch with money to spare, but every smart fixture carries a premium for electronics nobody can see from the street. A simple timer on the porch bulb later, if you even want one, delivers most of the convenience for almost nothing.
Skip matching everything. The instinct to buy one coordinated boxed set with a fixture for every zone sounds tidy, but budget sets quietly spread their cost across many mediocre pieces. Three strong purchases that happen to share a color temperature look far more designed than a set of seven weak ones.
Skip the driveway and the side yard entirely. They are legitimately useful places to light, and they are also where small budgets go to die quietly. Drivers have headlights. Guests have the path. Light the places where people linger and look, and let the work zones wait for phase two.
And skip replacing anything that works. A dated but functional porch fixture with a fresh bulb and clean glass beats a cheap new fixture every single time.
One Afternoon, Start to Finish
The whole makeover fits between lunch and dinner, and most of that time is honestly just waiting for dark so you can fine-tune. Here is the order I work in.
Step 1: Charge everything first. Unbox the solar fixtures in the morning and set them out, switched on, with their panels in full sun while you do everything else. A light that starts the evening half-charged will underwhelm you unfairly and might get returned for entirely the wrong reason.
Step 2: Do the entry while it is light out. Turn the power off at the switch, swap in the warm LED bulb, wash the fixture glass inside and out, and check that the mount sits straight against the wall. Ten to fifteen minutes, and it is the biggest single transformation of the day.
Step 3: Lay out the path line with the fixtures unlit. Push each stake in just far enough to stand on its own, then walk to the street and adjust the spacing from the curb view. Curves want tighter spacing on the bend, while straight runs can stretch a little further apart.
Step 4: Set the accent last, but do not aim it until dark. Solar spotlights need their aim judged at night, and two feet of repositioning completely changes the effect. Rough placement now, real aiming later.
Step 5: Take the dusk walkthrough. At full dark, walk the property line, the sidewalk, and the front door approach. Nudge angles, pull back one light that glares into the street, push another deeper into a bed. This twenty minutes is the difference between bought and designed.
Stretching Front Yard Lighting Under $100 Even Further
Once the base plan is in, a few habits stretch it noticeably further than you would expect.
Buy in the off-season and at season's end. Solar path lights are priced for spring enthusiasm and discounted hard in late summer and fall, and the fixtures genuinely do not care when they were bought. If you can wait a few weeks for a sale cycle, the same pack often costs meaningfully less, and that difference quietly becomes your accent light for free.
Always price the multi-pack against the singles. The per-fixture math on packs of eight or twelve is routinely half the single-piece price, and spares are not waste at this quality level. They are next year's replacements, already paid for. Store the extras in the garage, and a dead light becomes a two-minute swap instead of a mismatched emergency purchase.
Grow monthly instead of all at once. This plan is deliberately modular: this month the walk, next month a second accent to balance the door, the month after a pair of step lights. Because everything shares one color temperature and one simple style family, additions blend in invisibly. I keep a running list of ideas in my roundup of budget outdoor lighting ideas for exactly this kind of slow build.
And protect what you bought. A two-minute panel wipe each month, plus pulling the lights before the first hard freeze in cold climates, can double the useful life of budget solar. Longevity is the quietest form of saving there is.

What It Costs in 2026
Here is the complete plan, itemized at typical 2026 shelf prices. This section is the shopping list, so this is where the money gets specific.
– Multi-pack of 8 warm-white solar path lights: $34 – $44
– Two-pack of solar spotlights (one for the accent, one spare): $17 – $23
– Warm-white LED bulbs, 2-pack, for the existing porch fixture: $6 – $9
– Solar house-number and address accent light: $12 – $17
– Small consumables, spare rechargeable cells and stake clips: $0 – $4
Shopping carefully at the low end of those ranges, the basket totals about $69 – $78 before tax. At an average sales tax rate that lands around $75 – $85 out the door, leaving $15 – $25 of headroom under the $100 ceiling. Spend the headroom in this order: first, step the path pack up to the version with larger panels if your yard is partly shaded; second, add a second accent spotlight to balance the door; third, bank the rest toward the upgrade phase instead of spending it just because it is there.
Two honest notes. Prices swing by season by a few dollars either way, so treat these totals as a plan rather than a promise. And the running costs are genuinely zero for the solar pieces, while the porch bulb on a typical evening schedule adds well under a dollar a month. That is the quiet superpower of this whole approach: once it is bought, it is free to enjoy.

5 Mistakes That Shrink a Small Budget
Five mistakes waste small budgets faster than anything else I see, and every one of them is avoidable.
Spreading the money evenly. A little here, a little there, a taste of everything, and nothing ends up bright enough, finished enough, or numerous enough to read as a design. Concentration is the entire strategy. Even spreading is simply how a budget evaporates politely.
Buying blue-white light. The cheapest solar fixtures often glow at 6000K, a cold blue-white that makes a sweet yard look like a parking lot at midnight. If the packaging does not state a warm color temperature, assume the worst and keep shopping. One blue fixture in an otherwise warm plan poisons the whole view.
Buying singles. A single beautiful stake light is a sample, not a solution, and the per-piece price is quietly punishing. Packs first, always, even if it means waiting a week.
Judging at noon. Solar lights that look adorable on a shelf can be hopelessly dim by ten at night, and layouts that seem balanced in daylight bunch up from the street. Charge everything fully, then judge it all at full dark, ideally before the return window closes.
Lighting the yard you wish you had. A spotlight bought for a tree that is still a sapling, path lights lining a walkway guests never use. Light the yard as it actually is tonight: the walk people really take, the door they really knock on, the one tree that already deserves the attention.
The Upgrade Path: Where This Plan Goes Next
Here is the part nobody tells you about budget lighting: done in this order, it is not a compromise you will throw away in two years. It is phase one of the real thing.
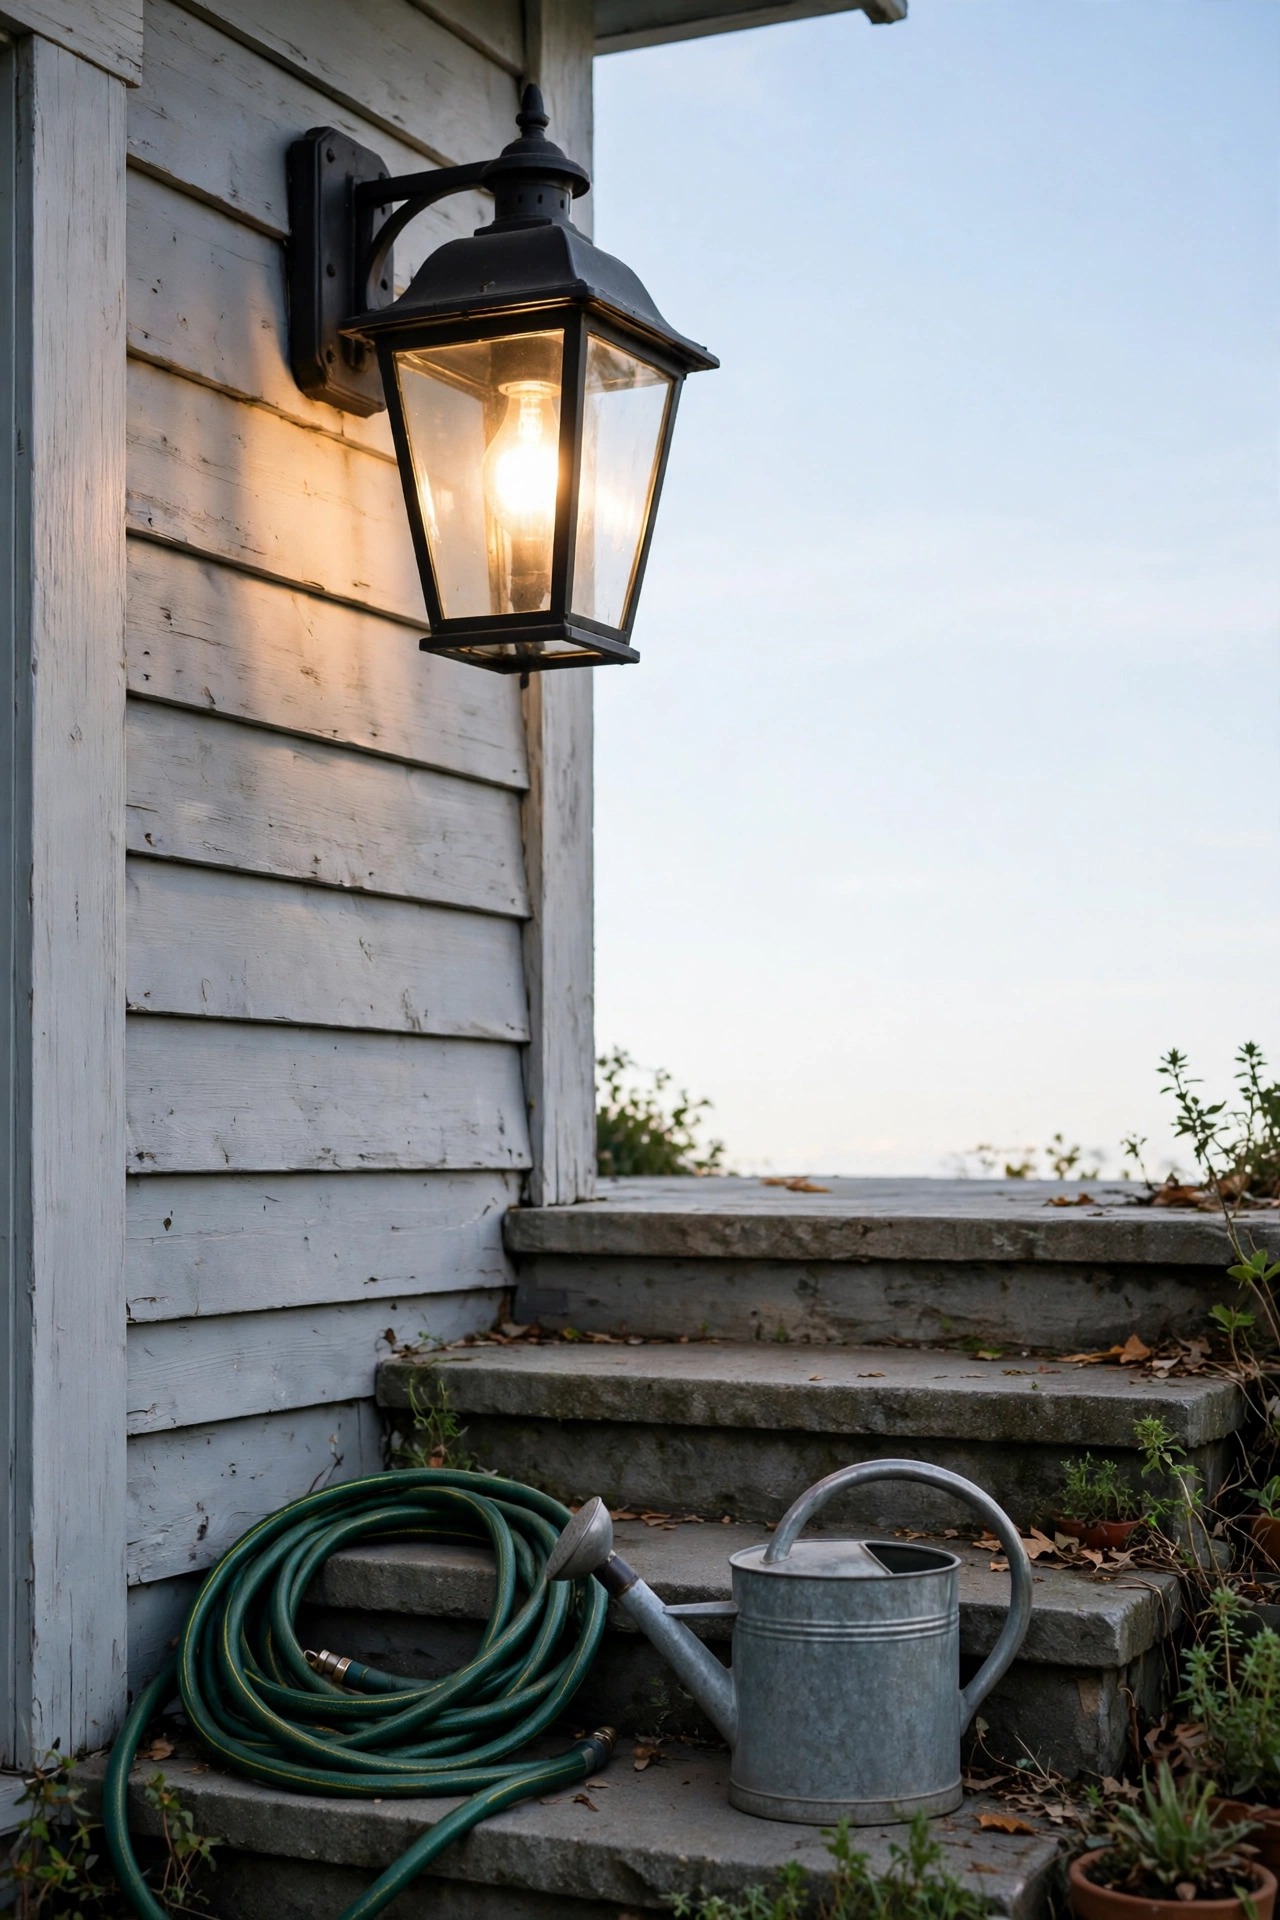
The first upgrade, when money allows, is the entry fixture itself, replaced properly with a fixture you genuinely love, because the door carries the brightest and most-seen light in the yard. The second upgrade is converting the path to low-voltage wired, reusing the exact layout your solar stakes already proved. That is the real gift of starting with solar. The design work, the spacing, the sightlines from the street, is already done and tested in the dark, so the wired system goes in right the first time. My full breakdown of front yard lighting costs shows what that conversion runs zone by zone.
After that, grow outward in the order guests experience the yard: step lights for safety, a second accent to balance the composition, then the driveway and side path if you still want them. The solar pieces you retire along the way move to the garden beds and the backyard, where their gentler light is honestly perfect, so almost nothing is wasted.
Notice that none of this requires starting over. The small plan and the grand plan are the same plan at different depths, and that is exactly why the modest version is worth doing carefully.

Frequently Asked Questions
Can you really light a whole front yard on a hundred-dollar budget?
Yes, if the yard is a typical suburban size and you let solar handle the path and accent layers. The honest limits are brightness and run time: budget solar glows rather than floods, and on short winter days it may fade before midnight. For a walkway, an entry, and one accent, it is genuinely enough to look finished. For security lighting or a very long driveway, it is not, and no clever shopping changes that.
How long do inexpensive solar path lights last?
Expect two to three seasons of good service from most of them. The fixture itself usually outlives the rechargeable battery inside it, and many budget models let you swap that battery, which extends the light's life cheaply. Wiping the panel clean once a month and storing the lights indoors through harsh winters extends their run further. When one eventually dies, replace it from your spare pack stock so the whole set still matches.
Do solar lights work in a shady front yard?
Partly, and it depends on the shade. Solar does not need blazing sun, but it does need a few hours of real daylight falling on the panel. Under dense tree cover, expect dimmer light and shorter nights, especially in winter. The usual fixes are remote-panel fixtures staked where a sunny patch exists, choosing the larger-panel versions of any light, and letting a wired porch bulb carry the entry layer, which is exactly what this plan does anyway.
What is the first upgrade when I have more to spend?
The porch fixture, because it is the brightest and most visible light you own, and everyone ends up standing under it. After that, convert the path line to low-voltage wired using the layout your solar lights already tested; the spacing and sightlines carry straight over. Retire the solar stakes to beds and borders rather than the trash, and keep growing outward in the order guests see the yard.
Conclusion
That is the whole makeover: three layers, bought in order, placed from the curb's point of view, and judged after dark. Front yard lighting under $100 works not because the fixtures are secretly premium, but because every dollar is assigned a job and nothing is spent twice. Start with the walk this weekend, give your front door a fresh bulb and a good bath, and aim one kind light at the prettiest thing you own. When you are ready for phase two, browse the rest of my outdoor lighting ideas here on the site, because the best front yards are built one good layer at a time.