Three hundred dollars sounds like one nice fixture and a prayer, not a whole yard of light. I used to think exactly that, until I stopped shopping for individual lights and started planning rooms instead. That shift is the entire secret behind successful outdoor lighting under $300: your yard is not one big dark space, it is a handful of small rooms — an entry, a walk, a patio, a few beds — and each room only needs one job done well. In this guide I will walk you through the exact plan I give friends: how to divide the money, which fixture each zone actually needs, what to skip without a single regret, and the order to install everything across two easy weekends. No trenching, no electrician, no matching sets bought out of guilt. By the end, you will know how to make guests feel welcomed from the curb, keep steps and gates safe, and give your patio that warm evening glow, all with money left over.

The Short Answer
Yes, a whole yard is genuinely doable on this budget if you spend with a plan instead of impulse. Give the front entry the biggest share, because curb appeal carries the whole house. Use solar stakes along the front walk, string lights over the patio, two accent spots on your single best garden bed, and one motion light for the side yard so safety is funded, not forgotten. Skip matching sets and smart everything. Keep every bulb warm white, install front to back over two weekends, and save the fun add-ons for month two.
The Room-by-Room Logic Behind Outdoor Lighting Under $300
Here is the mindset that makes the math work. Walk your property at dusk and name the rooms: the entry, the front walk, the patio or deck, the garden beds, the side yard, and the dark corners where safety matters. Each room gets one clear job — welcome, guide, gather, show off, or protect — and one fixture type that does that job. That is how a modest plan for outdoor lighting under $300 ends up feeling generous instead of thin: nothing is spread everywhere, so everything reads as intentional.
The allocation follows a simple order. The front of the house gets the largest share, roughly a third of the money, because it is the face your home shows the street and the first impression for every guest. The living zones come next — the patio where you actually spend evenings deserves real investment in atmosphere. Safety comes last in the buying sequence but it is protected money, never raided when the pretty things tempt you. I break down what each spending level realistically covers in my guide to landscape lighting budget tiers, and this plan sits squarely in that sweet entry tier. One more rule before we spend a cent: every zone gets finished completely before the next one starts, so the yard never looks half-done at any point in the project.

Front Entry: The Curb-Appeal Anchor
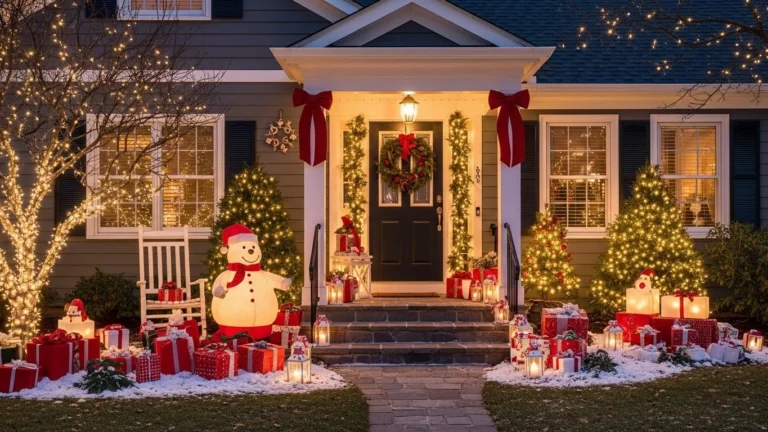
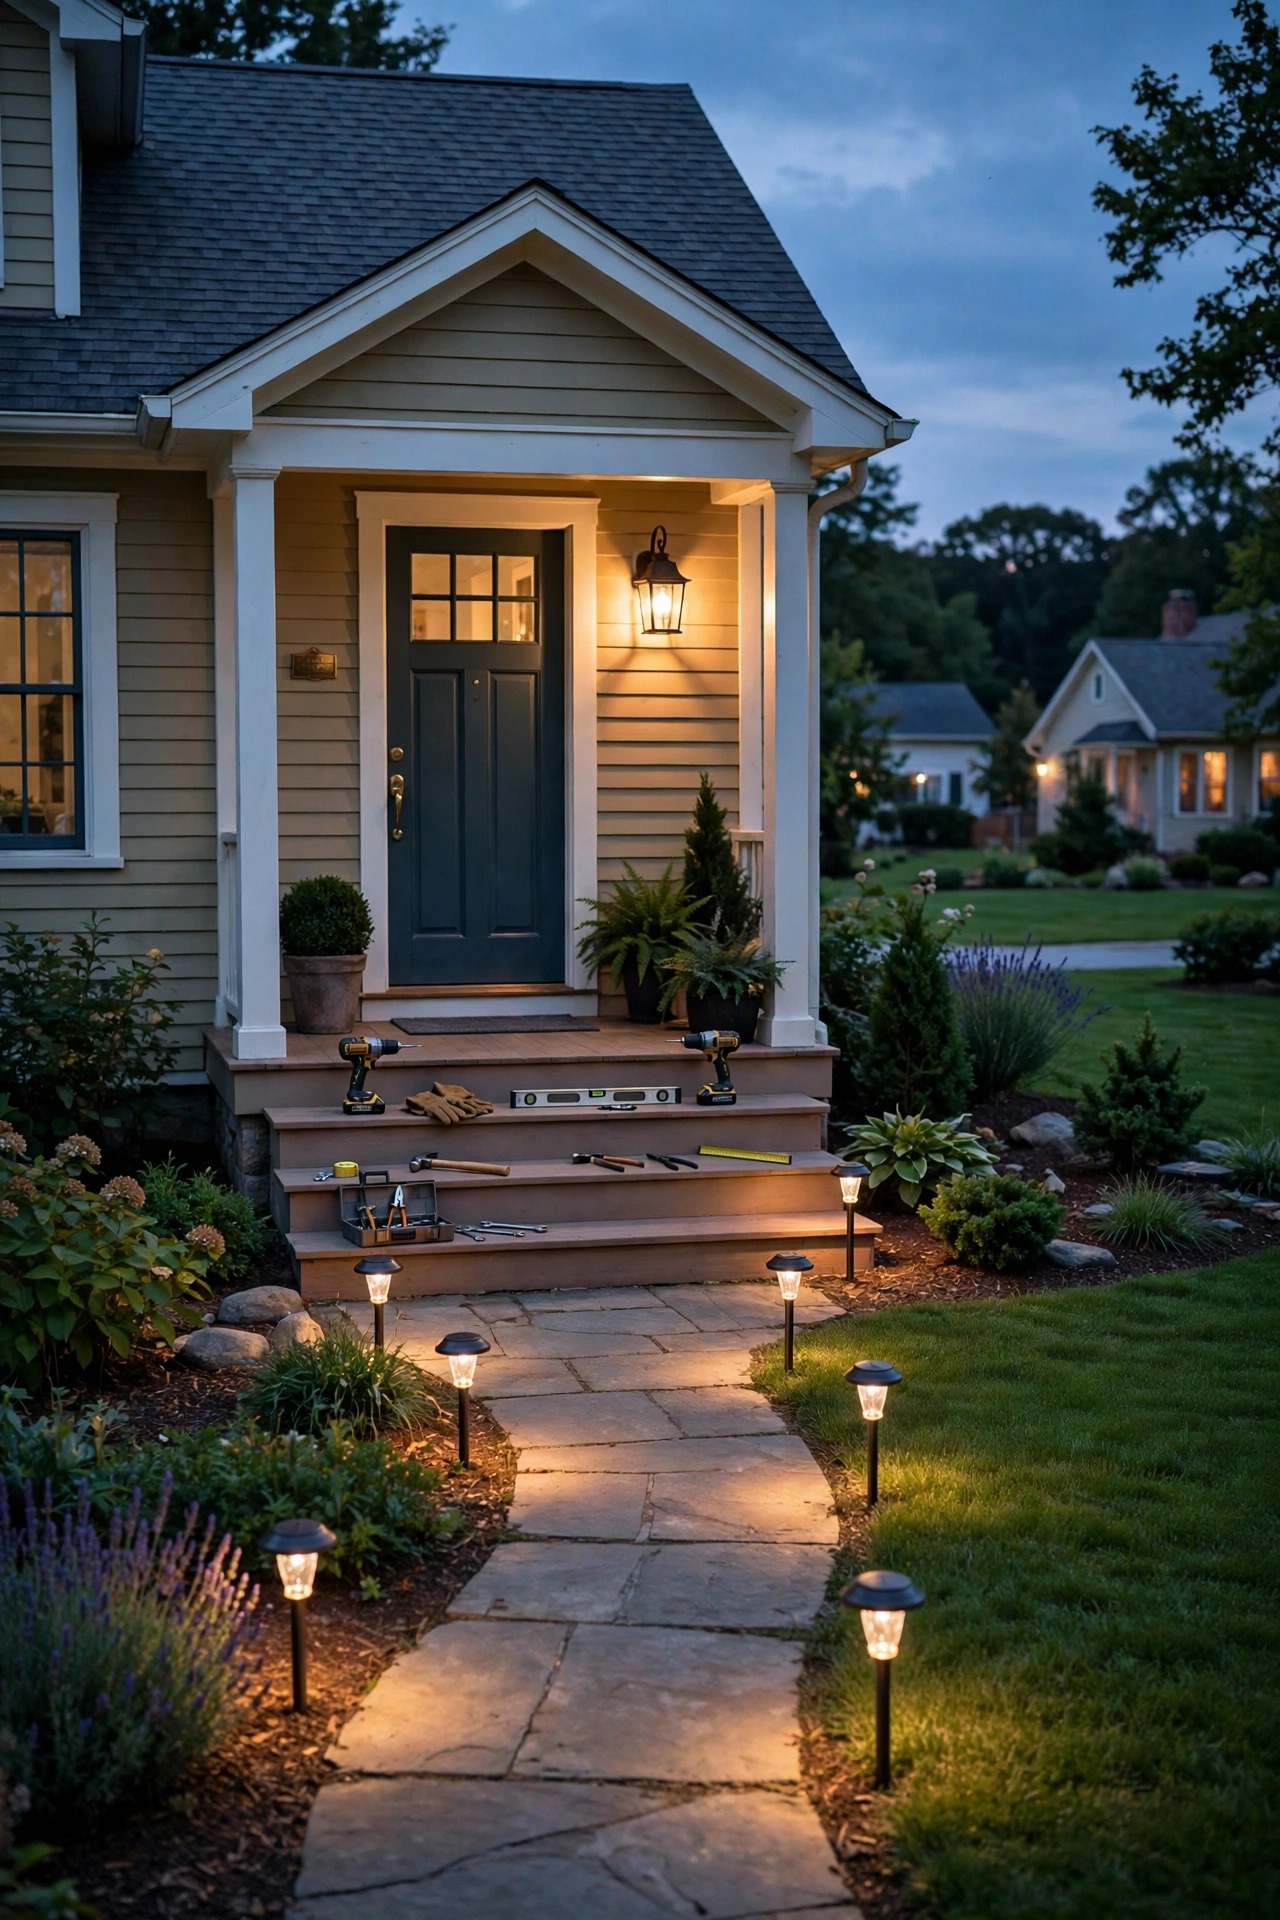
If one fixture in this whole plan earns a splurge, it is the one beside your front door. The good news is that the entry is also the cheapest dramatic upgrade you will ever make, because the wiring and junction box already exist. Swapping a tired builder-grade lantern for a larger, better-proportioned fixture takes one Saturday morning, a screwdriver, and the breaker switched off — no new wiring, no electrician, no drywall dust.
Choose a fixture with some presence: at least a foot tall looks right on most homes, and clear or seeded glass shows off a warm LED filament bulb beautifully. Aim for a bulb in the 800 to 1,100 lumen range so the entry feels generous without glaring into guests' eyes, and keep it at 2700K warm white so brick, wood, and painted doors all look rich instead of clinical. If you have two sconces flanking the door, replace both with the same style so the entry reads symmetrical and calm. This single swap does so much visual work that neighbors will assume you spent far more than you did — it is the anchor the rest of the plan leans on. While the old fixture is down, wipe the mounting plate clean and check the gasket, because a fresh seal now prevents the wasp nests and moisture spots later.

Front Walk: A Path That Feels Finished
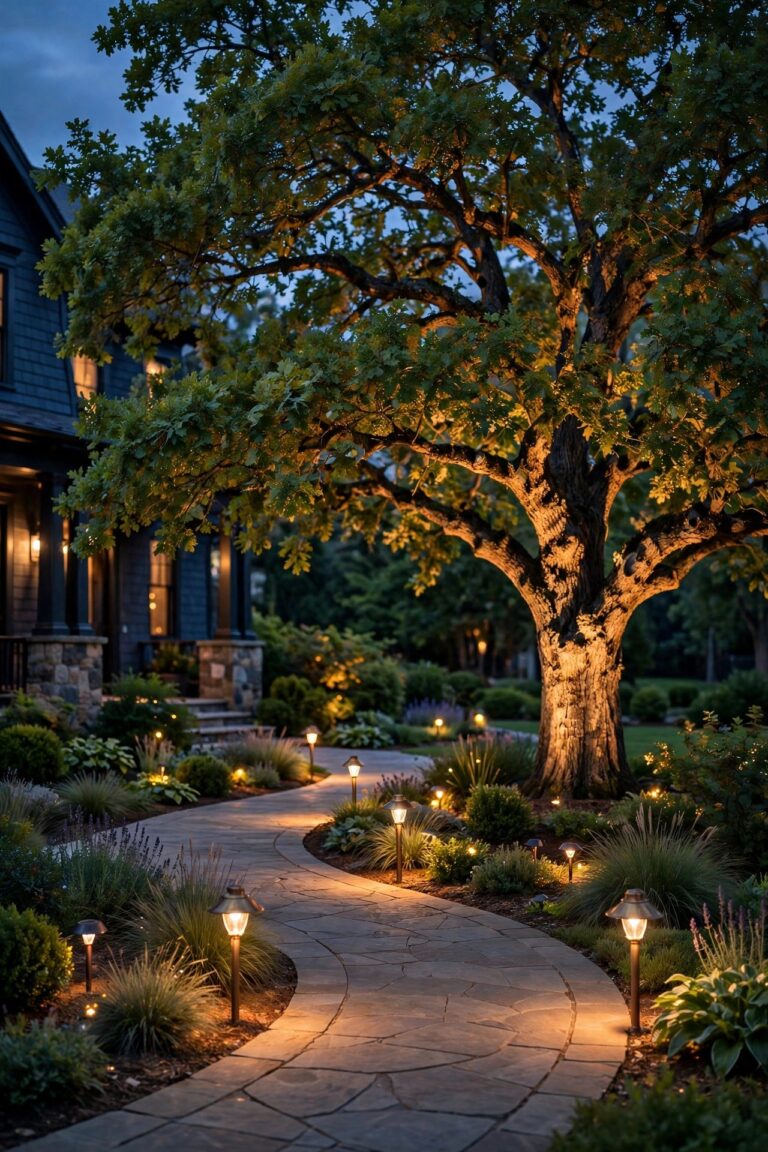
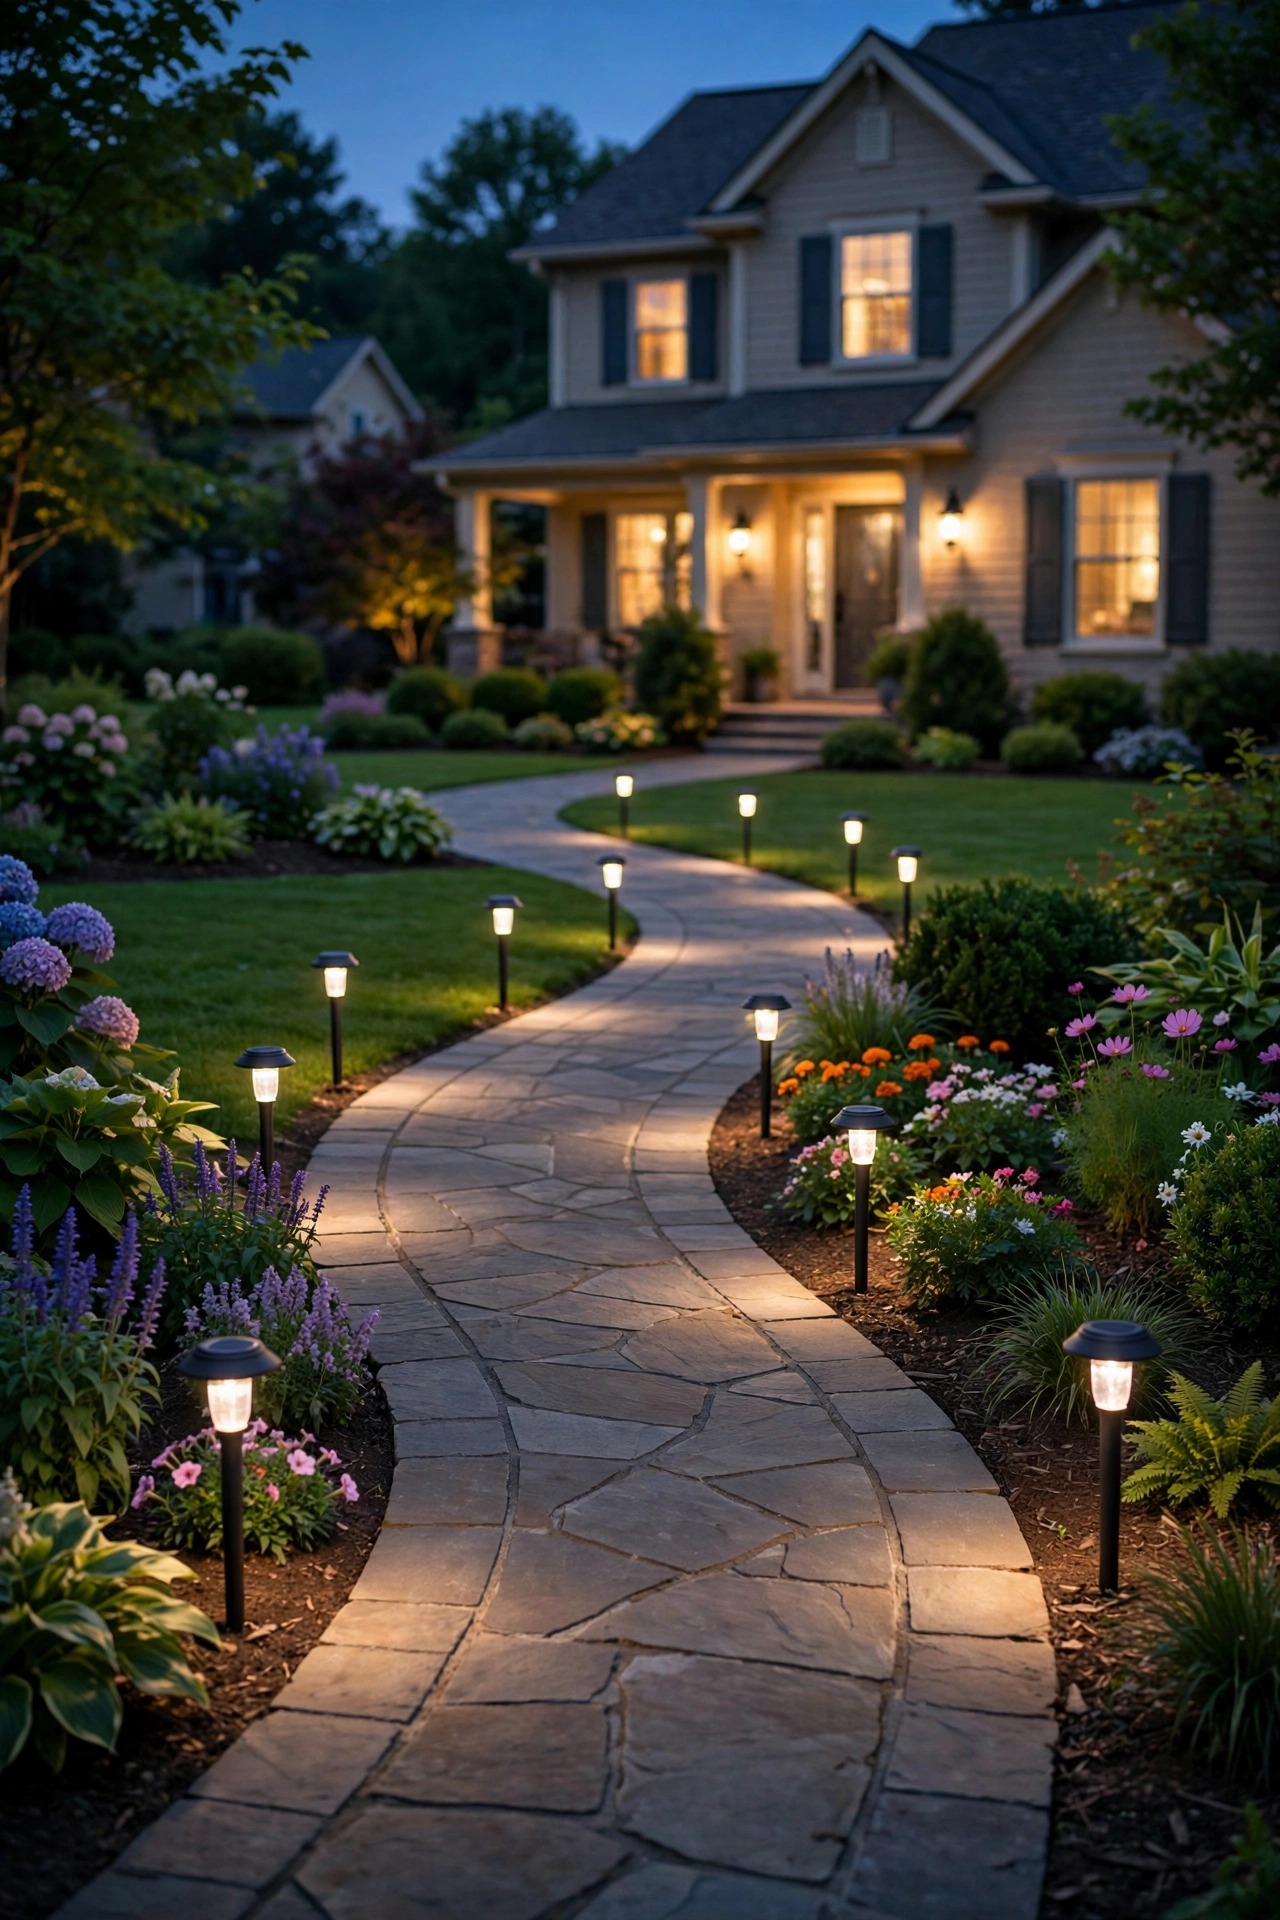
The front walk does not need wired path lights to look cared for. A matched set of solar stake lights, spaced evenly, gives you that finished, intentional rhythm from the street to the door, and guests get a clearly guided route without a single cable buried. This is the zone where solar genuinely shines, because the walk usually gets decent sun and the light level needed is gentle guidance, not stadium brightness.
Space the stakes about 6 to 8 feet apart along one side of the walk, or stagger them on both sides if the walk is wide — resist lining them up in tight soldier rows, which looks like a runway. Push them into soft soil a few inches back from the pavement edge so mowers and snow shovels pass safely. Look for warm-white versions, since the bluish bargain-bin glow is what gives solar a cheap reputation. Expect a soft pool of light from each, enough to read the path edges and any step changes. On cloudy stretches they will dim earlier in the night, and that is honestly fine — the walk matters most in the first hours after dinner, when people are actually arriving and leaving.
Backyard Patio: Where Your Evenings Actually Happen
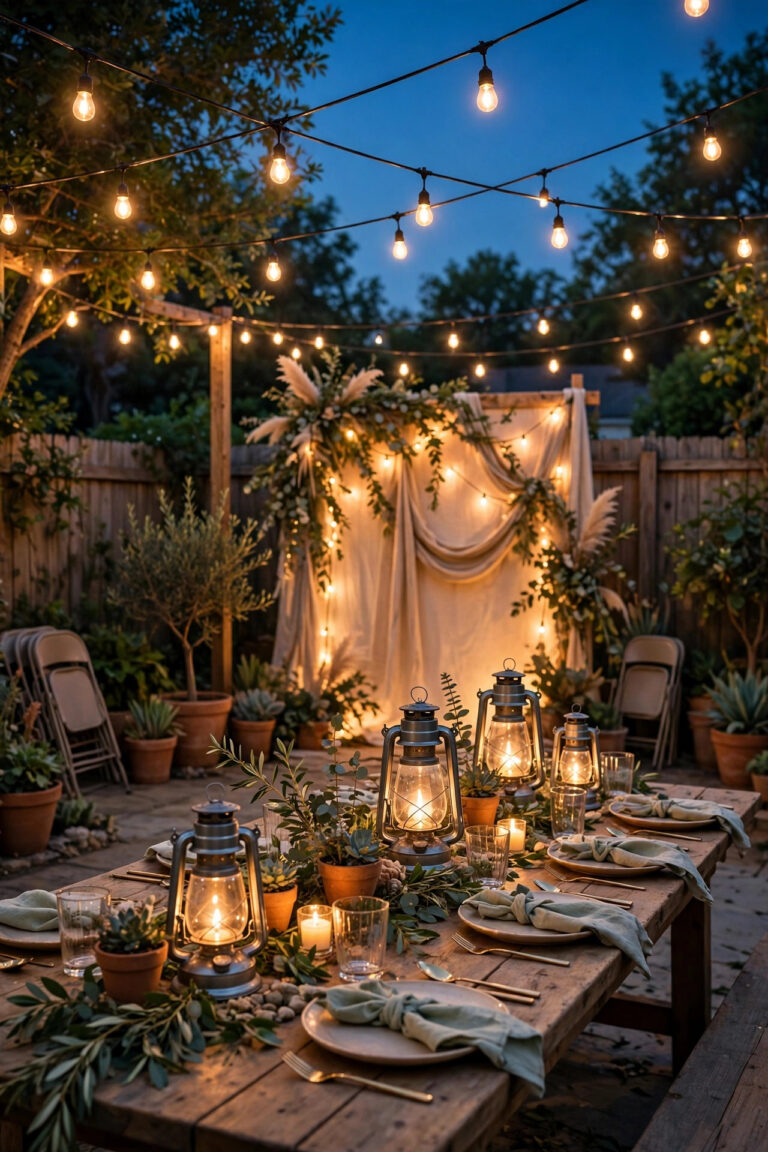
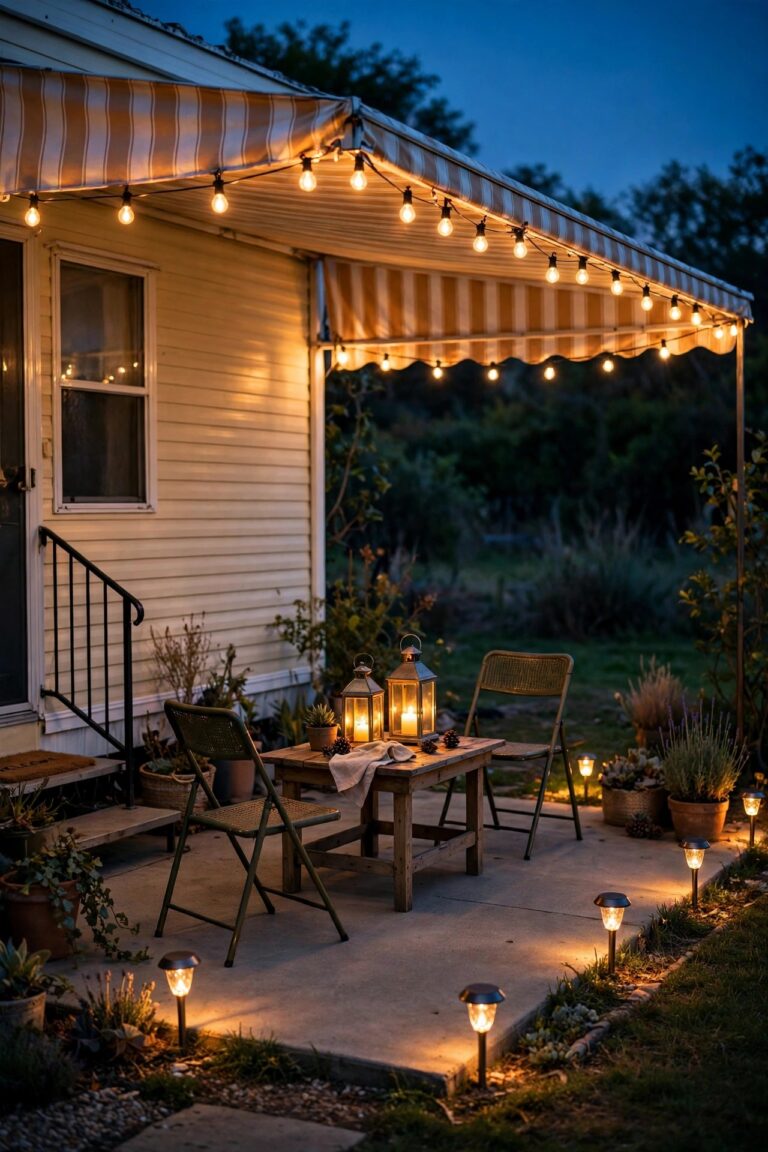
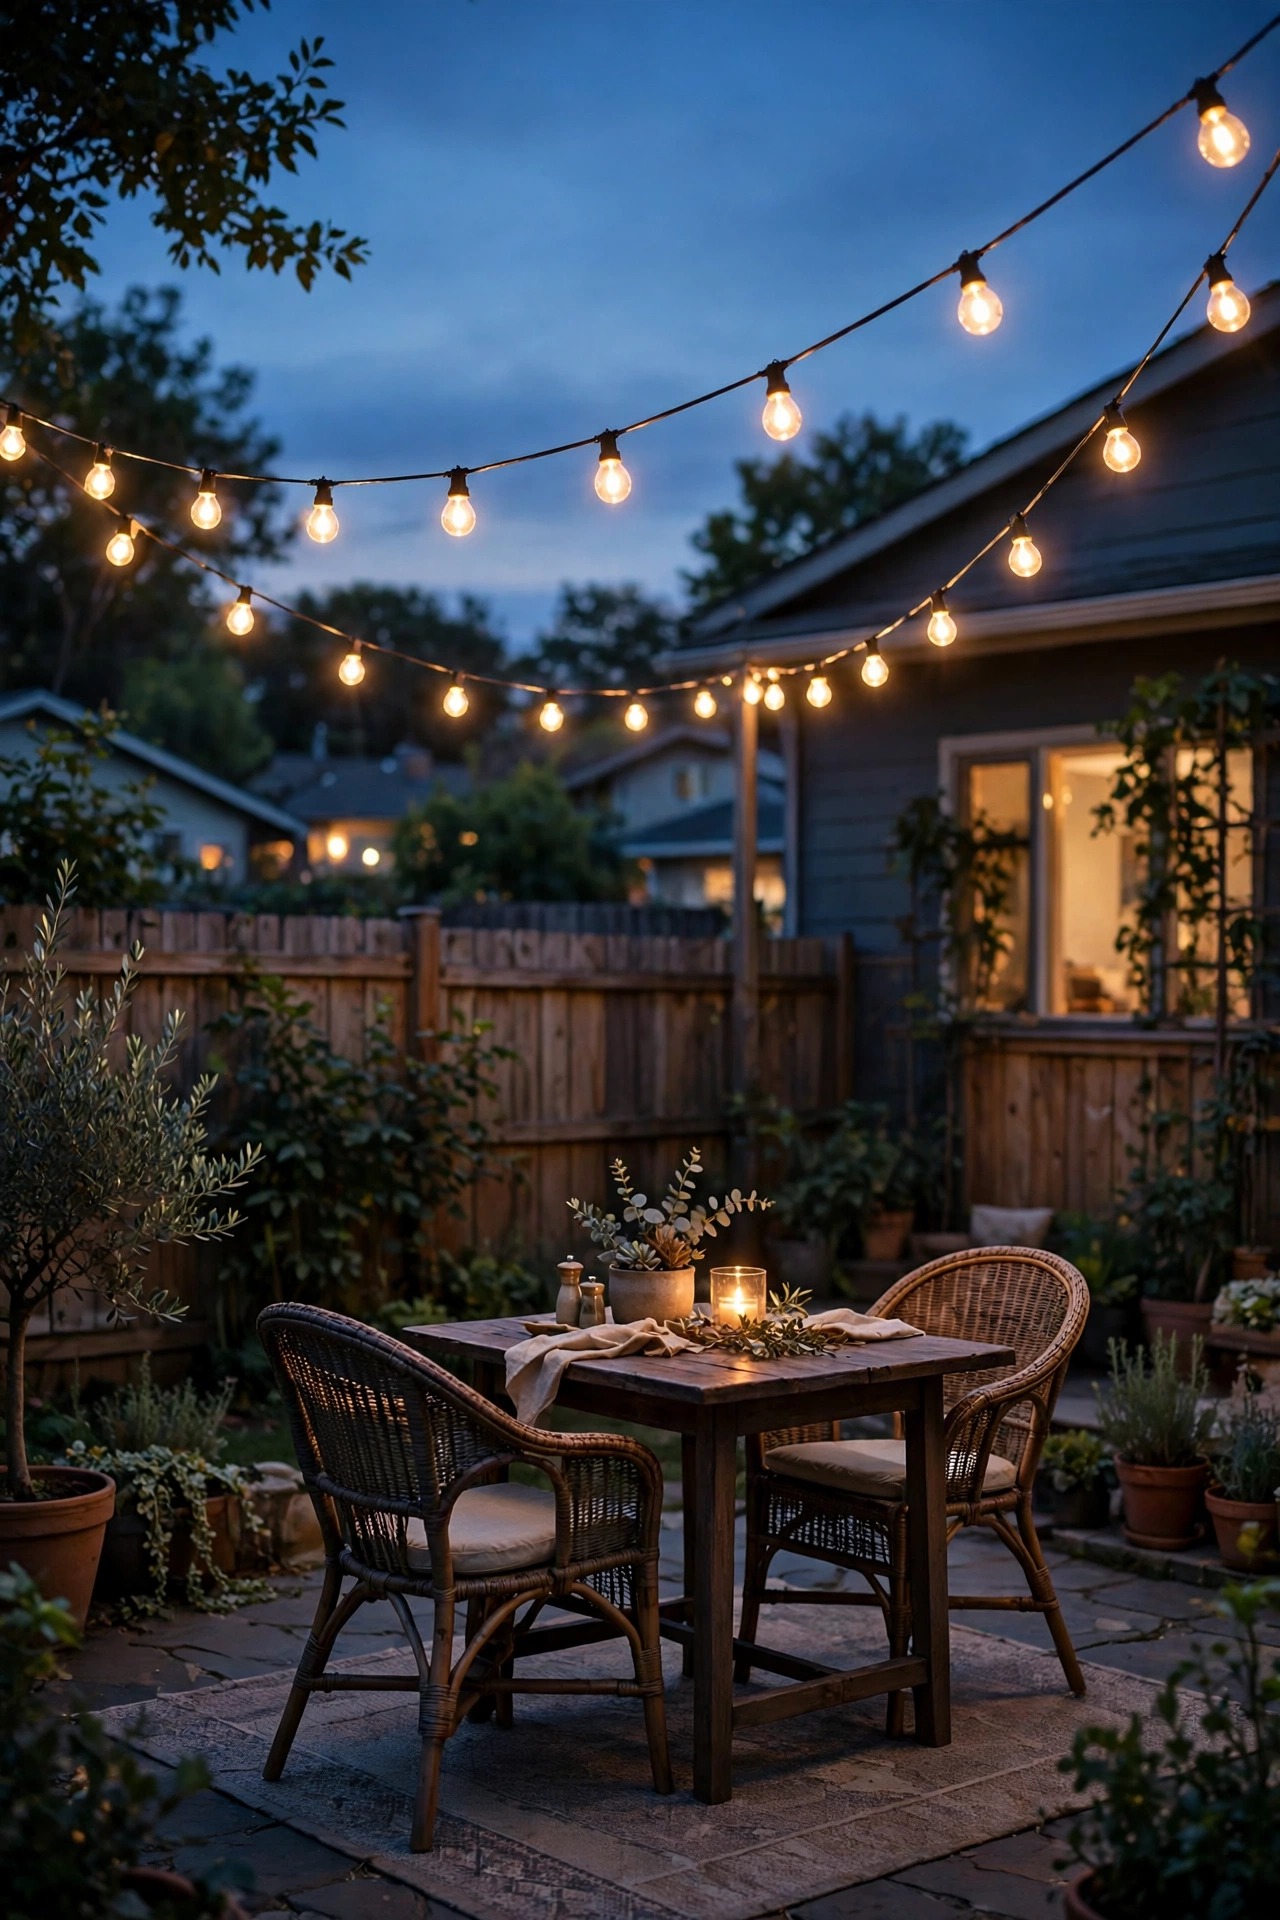
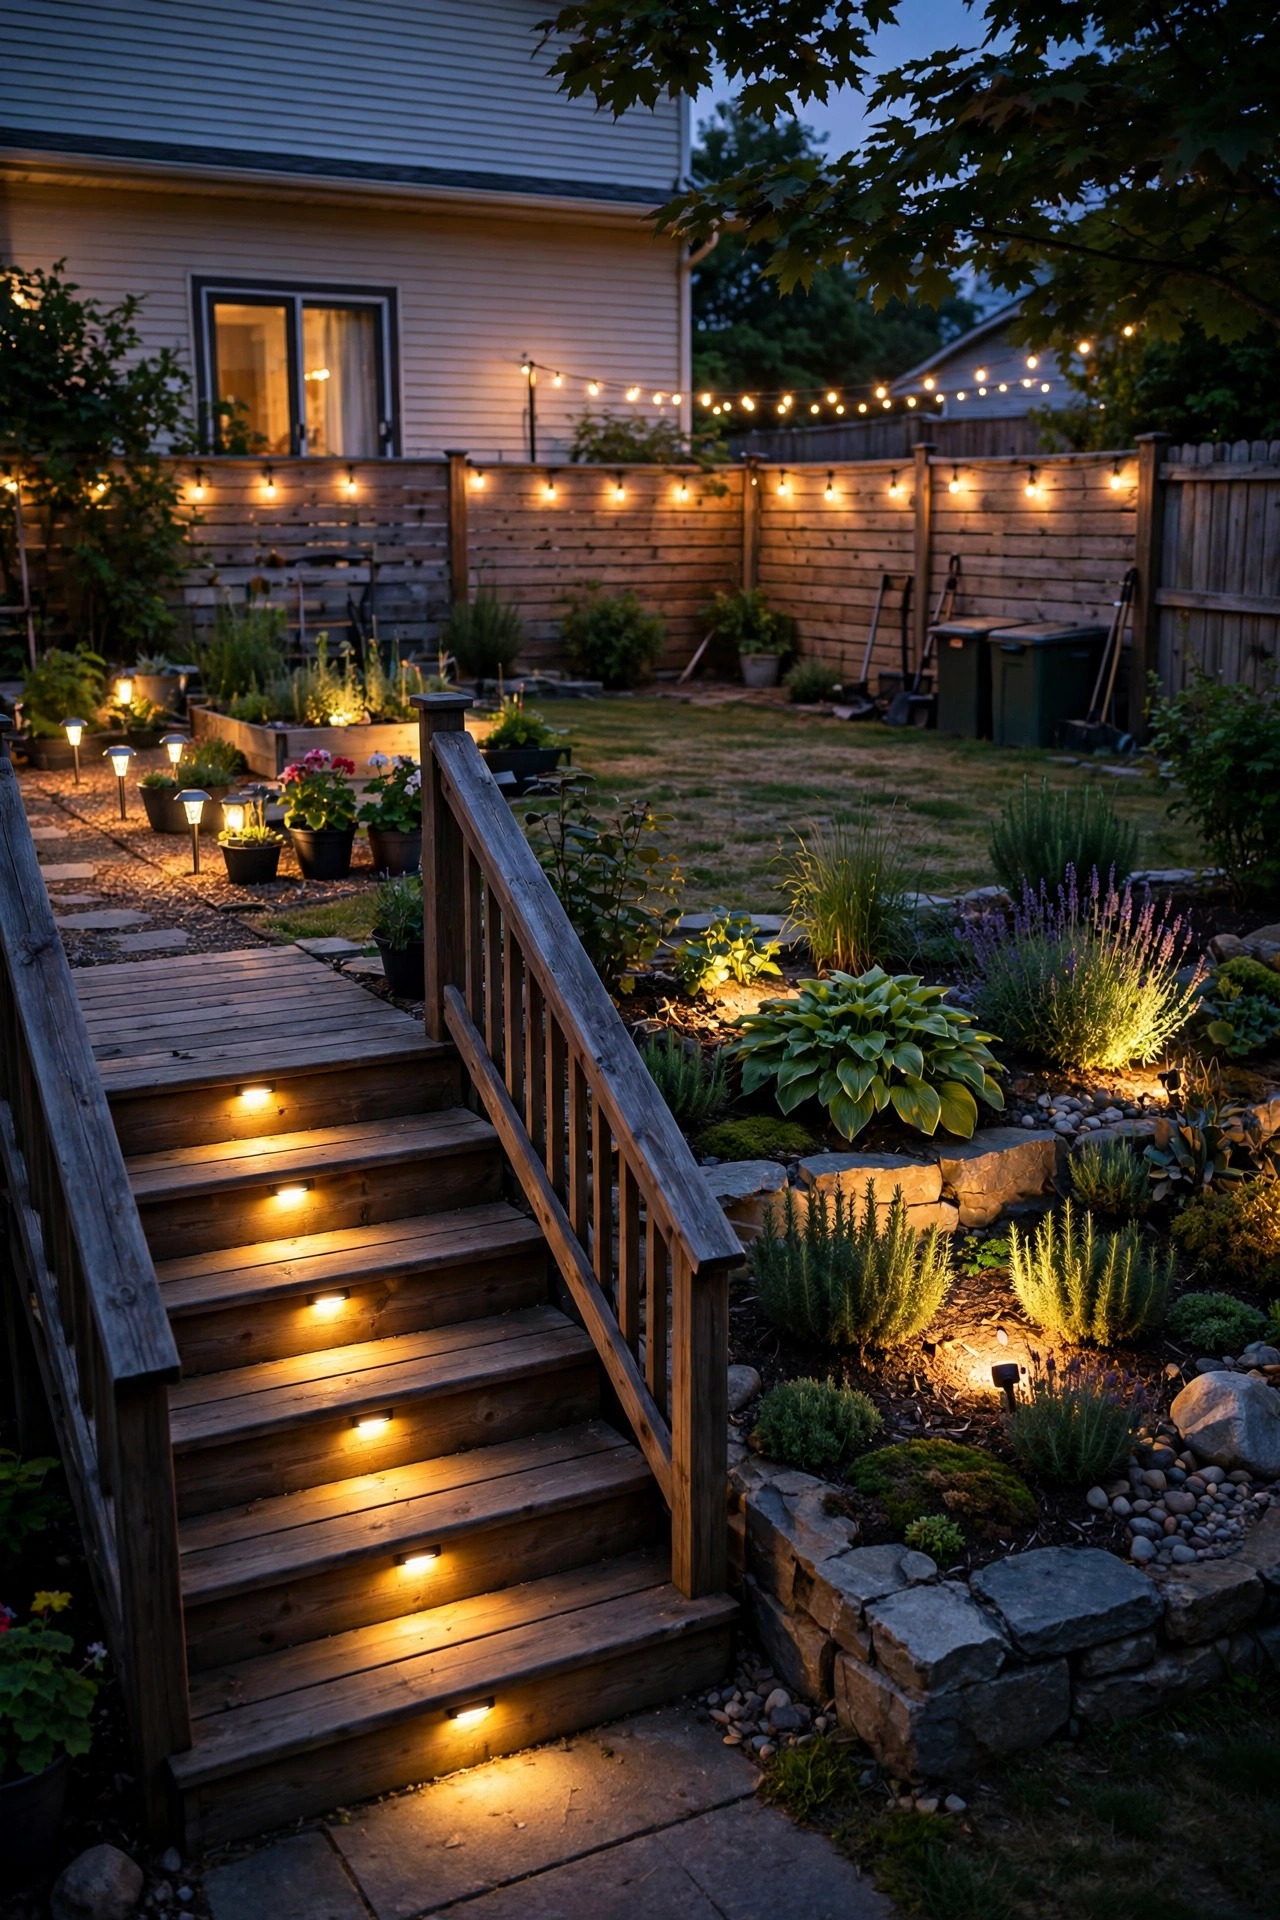
The patio is the room you will judge this whole project by, because it is where you actually sit. String lights are the budget miracle here: two generous strands swagged overhead turn a plain slab into a destination, and the cost per evening of enjoyment is almost embarrassingly low. Drape them in gentle catenary curves from the house to a fence post, a sturdy tree, or a simple pole set in a weighted planter if you have nothing to anchor to.
Leave a little slack in every swag — a tight, straight line looks tense and puts real strain on the sockets and mounting points. Choose outdoor-rated strands with LED filament-style bulbs, which sip energy and shrug off the occasional bump. Hang the lowest point at least 7 feet above the seating so nobody's head becomes part of the decor. Add the strands to the same dusk routine as everything else, and suddenly weeknight dinners migrate outside on their own. When friends ask what changed about your yard, this is the zone they will be sitting in when they ask. A plug-in dimmer on the strand cord is my favorite tiny upgrade here — full glow for grilling, softer for lingering.
Garden Beds: Two Accent Spots, Maximum Drama
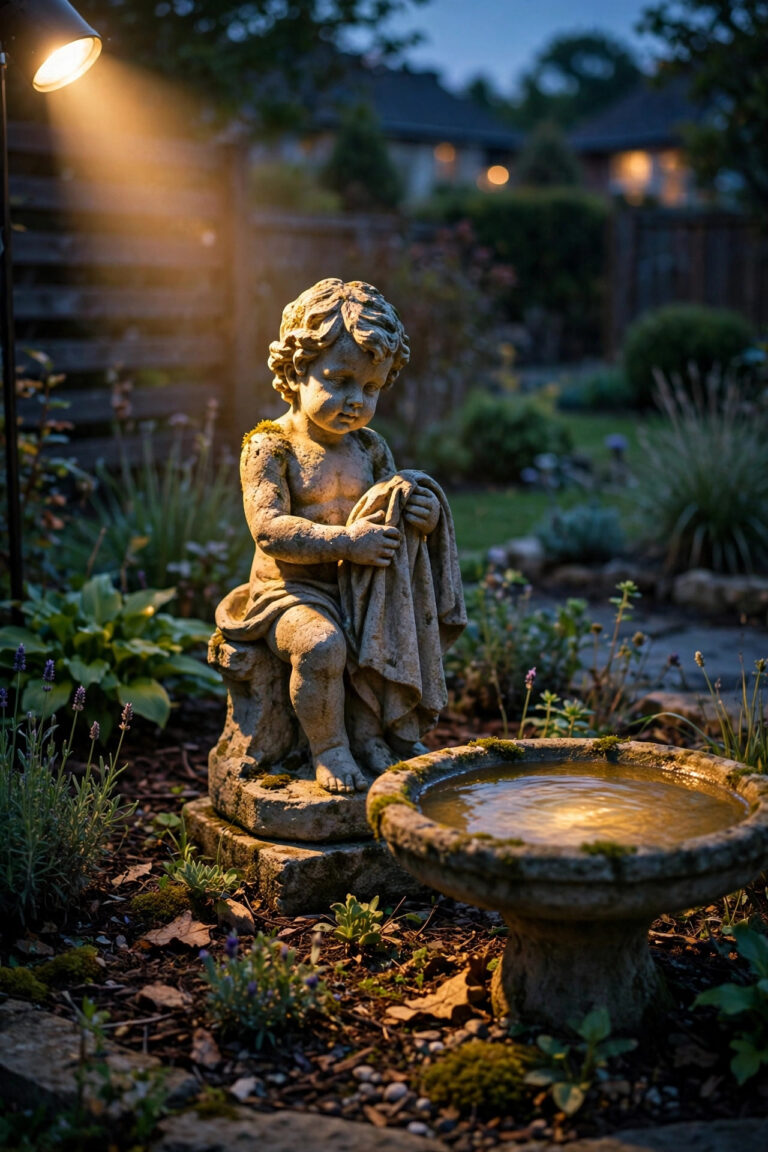
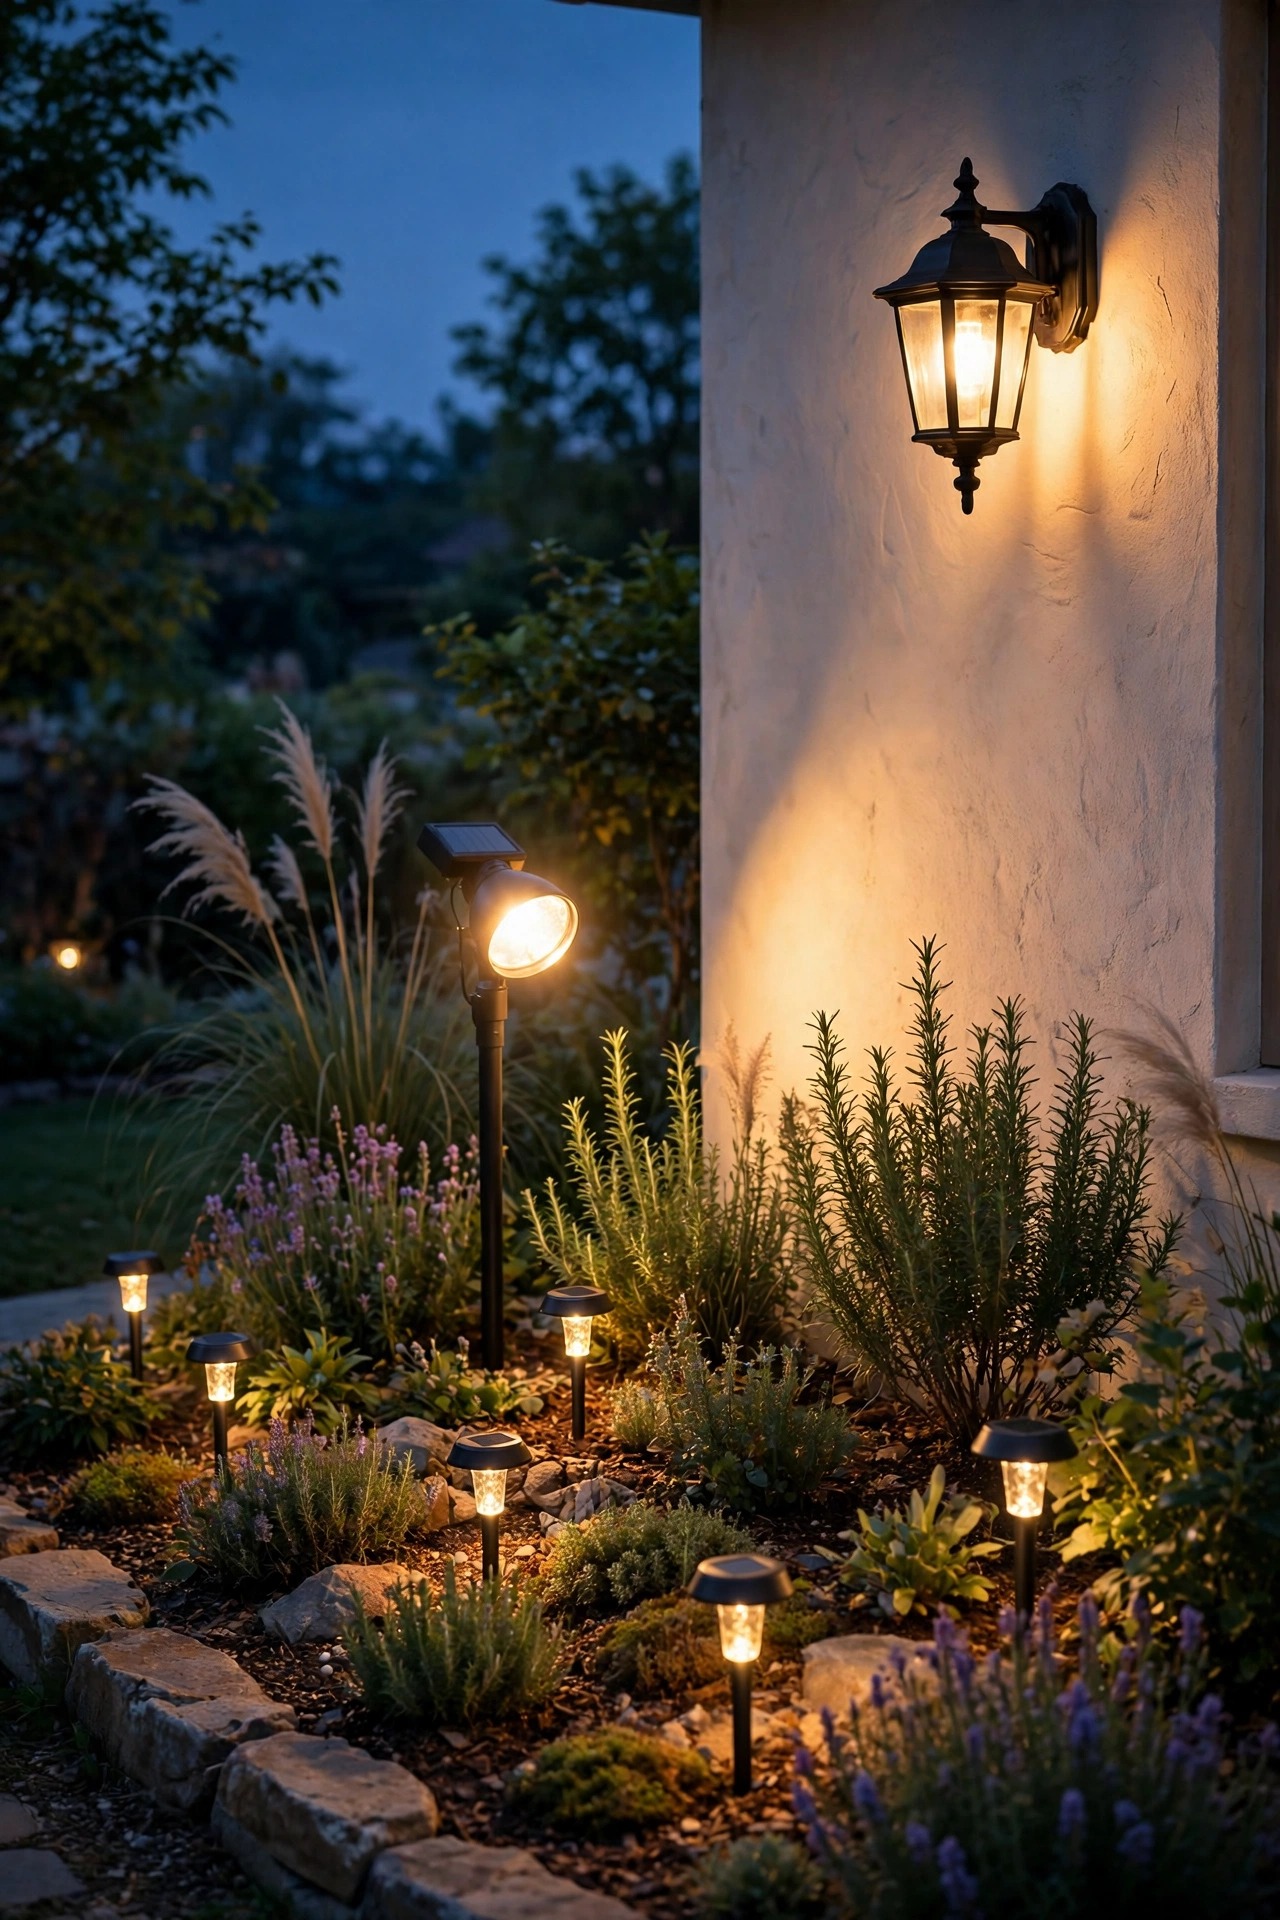
Here is where restraint pays for itself. You cannot light every bed on this budget, and you should not try — one beautifully lit feature beats six beds with one sad light each. Pick your single best asset: a sculptural small tree, a cluster of ornamental grasses, a stone wall with lovely texture. Then give it two solar spotlights, angled from slightly different positions, and watch the whole yard gain depth.
Set the fixtures 12 to 18 inches out from the base of the plant or wall, tilted up at roughly 30 degrees, so the light grazes across texture instead of blasting straight through the leaves. Crossing two beams slightly removes the harsh single-shadow look and makes foliage glow from within. Solar spots have gotten genuinely good — the better ones hold a focused beam for most of the evening after a sunny day. Keep the panels angled toward midday sun and wipe them clean every few weeks; dust and pollen quietly steal a surprising amount of brightness. One dramatic focal point also gives the eye somewhere to land from the patio, which makes the unlit beds read as peaceful darkness instead of neglect. Live with the angles for two or three evenings before you call them final.

Side Yard and Safety: Funded, Not Forgotten
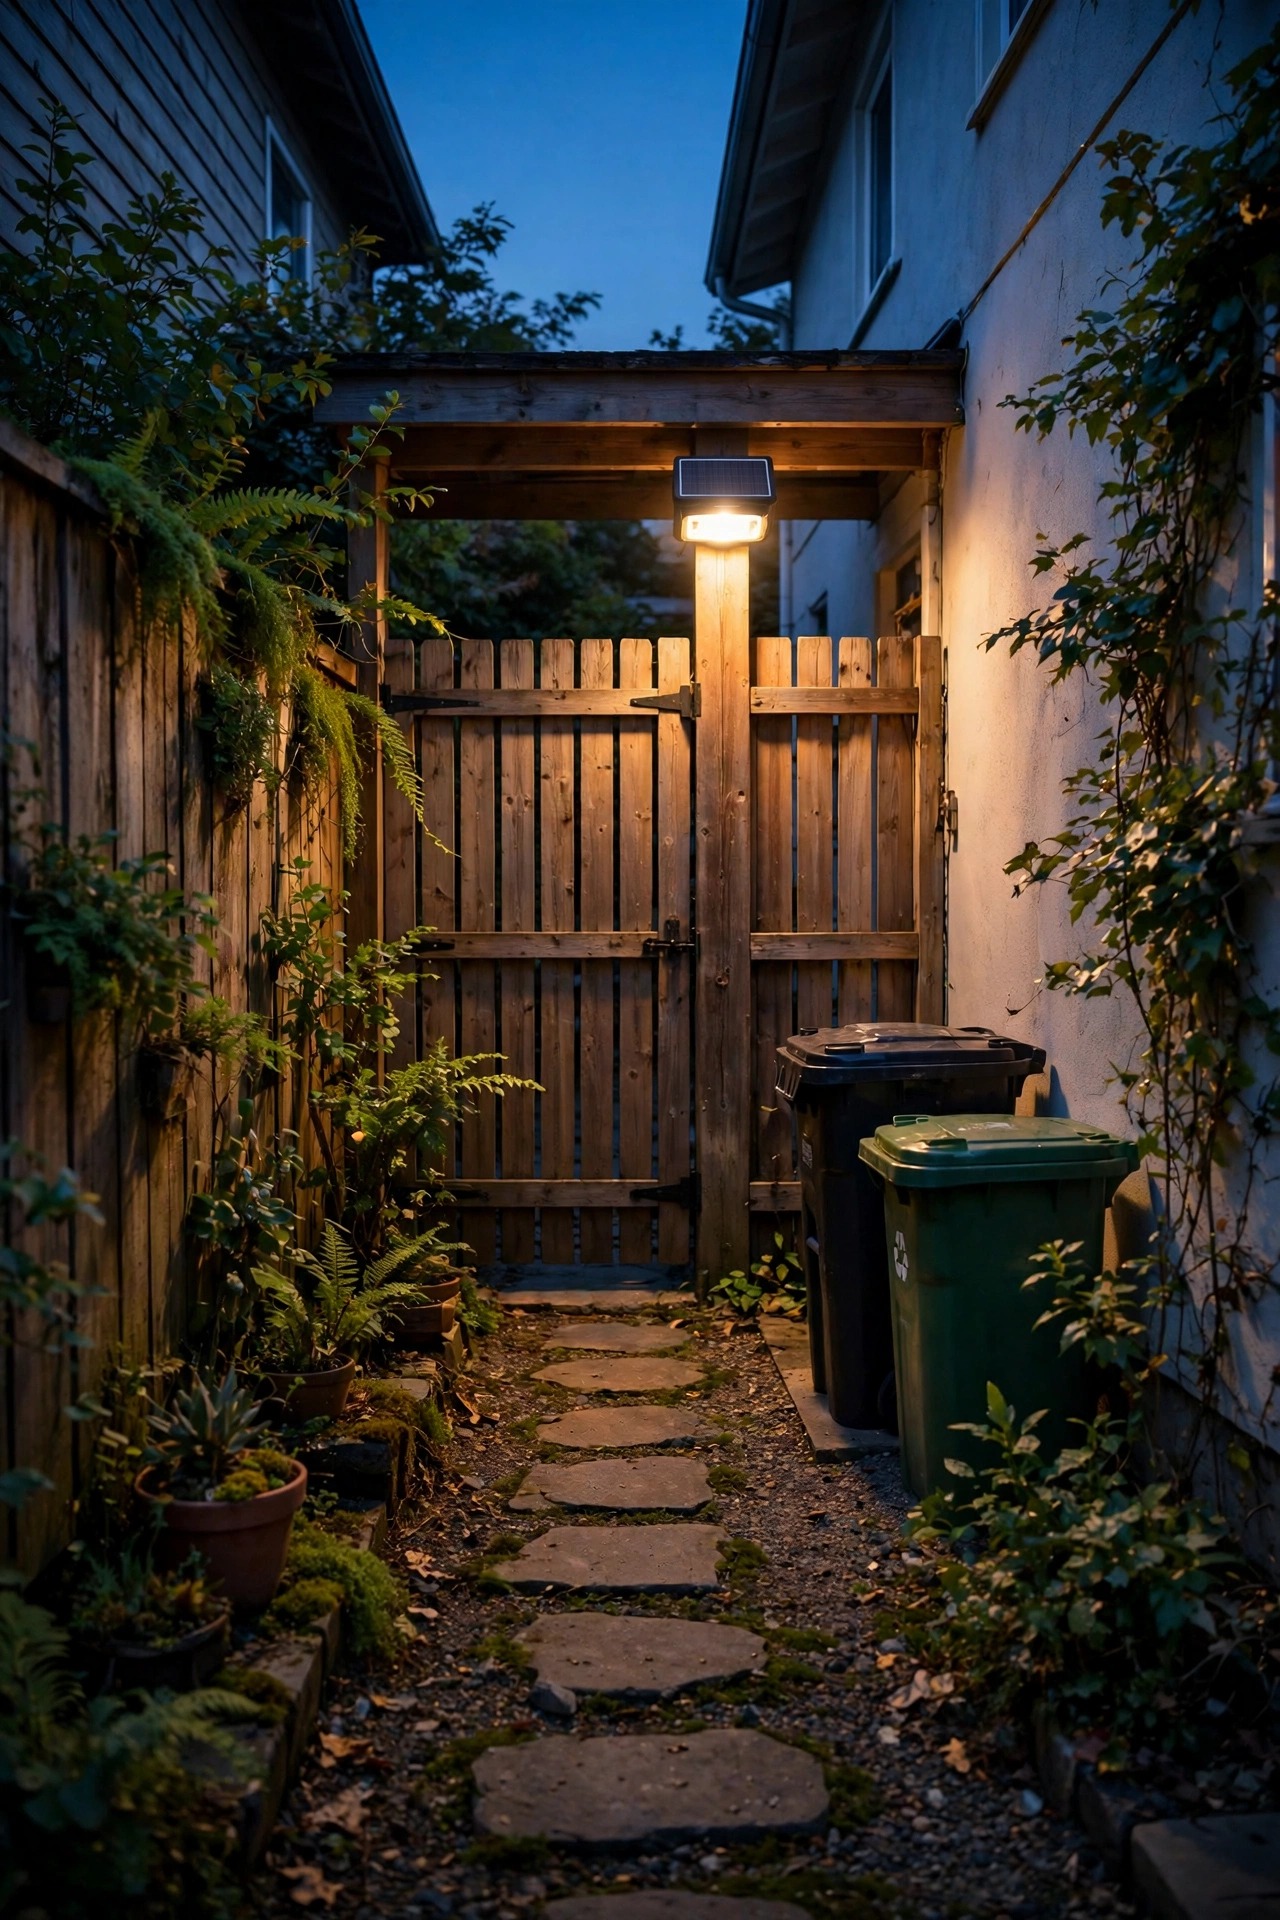
Every home has that one neglected passage — the side yard with the gate, the bins, the AC unit, and the stepping stones nobody can see after dark. It is unglamorous, and it is exactly where someone eventually trips carrying recycling in socks. This plan protects a slice of the budget for a solar motion-sensor flood light mounted above the gate or on the side wall, and I never let the pretty zones borrow from it.
Mount it 8 to 10 feet up, angled down the passage, with the sensor facing the direction people approach from. Modern solar motion lights are properly bright — a wide, confident wash when triggered, then back to dark, so the battery easily lasts the night on motion alone. Test the trigger zone at dusk with a walk-through and adjust the tilt until it catches you at the gate, not at the neighbor's cat three yards over. Add a pair of small solar step lights anywhere the path changes level. Safety lighting is the least photogenic part of this plan and the part you will be grateful for most often, usually at 11 p.m. in the rain, when you are wrestling the bins out in the dark.
Solar, Wired, or One Small Transformer?
At this budget, solar does the heavy lifting, and it is worth understanding why the wired alternative mostly waits. A low-voltage system starts with a transformer, cable, and connectors before you buy a single fixture — that infrastructure can swallow a fifth of the whole budget on day one, before the yard looks any different. Solar stakes and spots skip all of it: no hub, no cable runs, no outlet required, and you can rearrange everything in an afternoon when the garden changes its mind.
Solar is the right call for the walk, beds, and side yard in this plan, full stop. The entry stays wired because the house already wired it for you — the fixture swap rides on existing power, which is the best of both worlds. Where does a transformer eventually win? Long, shaded properties where panels starve, and homeowners who want one timer running a dozen fixtures identically every night of the year. If that sounds like your five-year plan, wonderful — buy the solar pieces now, enjoy them for years, and let a future transformer inherit only the front beds. Renters, meanwhile, should stay entirely solar and socket-based: everything in this plan except the entry swap leaves with you.
What It Costs in 2026
Here is the whole plan as one honest shopping list. The front entry fixture — a good-sized lantern style with a warm LED bulb included in the math — runs about $55. The front walk takes a six-pack of warm-white solar path lights at about $42. The patio gets two outdoor string light strands at about $46, plus $8 for cup hooks and mounting hardware, so $54 all in. The garden beds get two solar spotlights for about $34. The side yard motion-sensor solar flood light costs about $28. Safety extras — a pair of solar step lights and a dusk-to-dawn bulb for the garage fixture — come to about $22. Finally, hold back about $25 for the unglamorous consumables: spare rechargeable batteries, extra stakes, cable clips, and tax.
Add it up and the full plan lands at $260, which leaves a $40 cushion for a price increase, a seventh path light, or the plant you will inevitably buy while standing in the garden center. Individual items vary — entry fixtures range from $30 for simple to $80 for large and ornate, and solar path sets run $25 to $60 depending on brightness and materials — so shop the ranges, not the exact numbers. Running costs are nearly nothing: the solar gear is free to run, and the single wired entry bulb adds roughly a dollar a month. If one zone comes in under budget, move the surplus to the entry fixture, never spread it thin.

Install Order: Two Weekends, Front to Back
Sequencing matters more than speed here, because each finished zone teaches you something about the next. Weekend one belongs to the front. Saturday morning, swap the entry fixture while the light is good and the breaker is easy to verify — kill the power, match the wires, hang the new lantern, and restore power before lunch. Then place the solar walk stakes in daylight but judge them after dark, nudging spacing until the pools of light just touch.
Weekend two moves to the back. Hang the patio strings first, since drilling anchor points and setting a pole takes the most fiddling, then position the two bed spotlights, and finish with the motion light over the side gate. Charge every solar piece in full sun for a day before its first evening if you can — first impressions matter, and a half-charged panel makes good lights look weak. End each workday with a dusk walk-through, phone in hand, photographing every zone from the street and the patio. Those photos become your adjustment list and, honestly, your favorite before-and-afters. Everything in this plan is reversible with a screwdriver and ten minutes, so give yourself permission to tweak angles for a week.
What to Skip Without Regret
A small budget survives on its refusals, so here are mine. Skip the matching everything: matching sets across zones look like a showroom, not a home, and the per-piece premium buys you nothing after dark. Skip smart everything — app-controlled bulbs in every fixture will eat the entire budget in three fixtures, and a simple timer or dusk sensor delivers ninety percent of the magic. I get honest about these trade-offs in my piece on where to splurge and where to save with landscape lighting, and this plan follows that advice strictly.
Skip burying cable you do not need yet; the day a wired system makes sense, the trench will take an hour, not a weekend. Skip premium metal finishes everywhere — spend on the entry fixture's finish if you love it, and let the solar gear be honest plastic that you replace in a few years without tears. Skip lighting every bed, every tree, and both sides of every path. Darkness between lit moments is not failure; it is contrast, and contrast is what makes the lit rooms feel special. Finally, skip the giant multipack of ultra-cheap solar lights at the warehouse store. Twelve dim blue lights help nothing.
What Month Two Adds to Your Outdoor Lighting Under $300 Plan
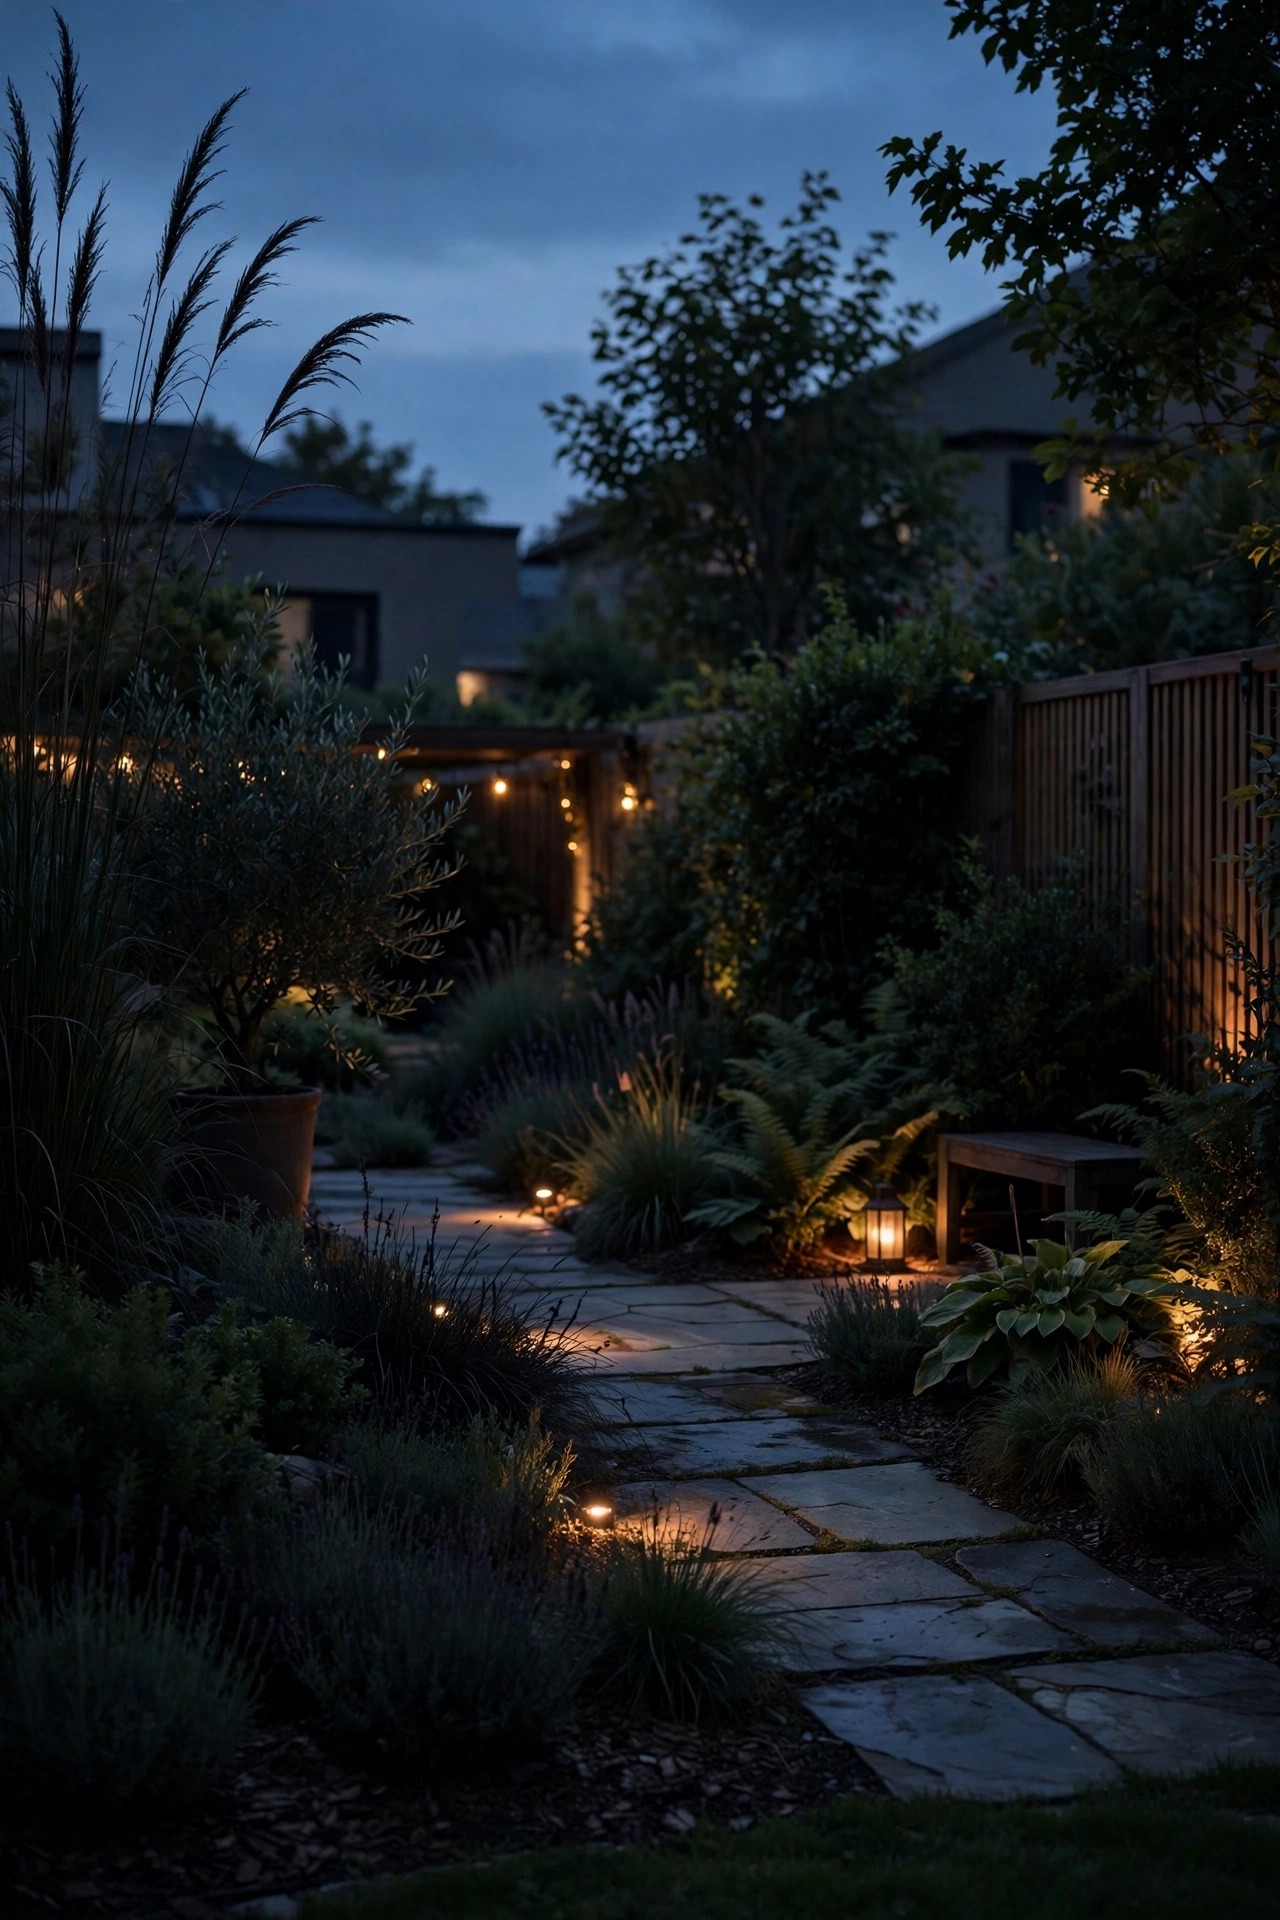
The smartest thing about this plan is that it is a foundation, not a finish line. After a month of living with it, you will know exactly what your yard still wants — that knowledge is worth more than any guess you could make today. Keep a notes list on your phone: the step that still feels dark, the bed that deserves to be second, the corner where guests keep missing the turn. Month two simply funds the top of that list, in order, with the same one-job-per-room discipline.
Typical month-two additions for my friends: two more spotlights for the second-best bed, step lights for the patio stairs, a timer on the entry fixture so it greets you before you reach the door, and a second motion light for the back gate. If your home is mostly patio with barely any lawn, my guide to backyard lighting on an even smaller budget shows how to concentrate the same ideas in one space. The deeper principle is phasing: because the color temperature and style language were set in month one, every later purchase slots in calmly, and your outdoor lighting under $300 foundation never needs to be ripped out and restarted — it just keeps growing, one small, well-chosen piece at a time.
5 Mistakes That Waste a Small Budget
Mistake one is spending the whole budget on the front of the house because it photographs well, then living every evening in a dark backyard. The plan order exists precisely to stop that. Mistake two is forgetting the motion and security light entirely — it never makes the inspiration board, but it is the fixture that prevents the twisted ankle and lights the late-night bin run. Fund it early, in writing, before the fun shopping starts.
Mistake three is mixing color temperatures zone to zone: warm at the entry, daylight on the patio, bluish solar on the walk. Each zone alone looks fine; together they look like three different houses arguing. Buy everything at 2700K to 3000K warm white and the whole property reads as one calm, connected place. Mistake four is chasing maximum brightness everywhere, which produces glare, runway paths, and annoyed neighbors — gentle pools of light win. Mistake five is spending to the last cent on fixtures and leaving nothing for batteries, stakes, and mounting hardware, so half the plan sits in boxes waiting for a second trip. Keep the cushion. It is the difference between a finished weekend project and a month of almost.
Frequently Asked Questions
Can you really light a whole yard for three hundred dollars?
Yes, if you define whole yard as the zones you actually use — entry, walk, patio, best bed, and side passage — rather than every square foot of lawn. Solar fixtures have removed the wiring cost that used to eat small budgets, and one good wired entry swap rides on power your house already has. The plan in this guide leaves a cushion, which tells you the number is honest, not stretched.
Should everything be solar at this budget?
Almost everything, yes. Solar carries the walk, beds, and safety lighting beautifully and asks for no outlet, cable, or electrician. The front entry is the exception because it is already wired, so a fixture swap gives you full wired brightness and reliability for the price of the fixture alone. If your yard is deeply shaded all day, prioritize the wired entry and patio, and place the few solar pieces only where panels truly see the sky.
What color temperature should I buy?
Warm white, between 2700K and 3000K, for absolutely everything. It flatters skin, brick, wood, and foliage, and it is the single easiest way to make a modest budget look expensive. The bigger rule is consistency: one temperature across every zone makes the property feel designed. Check the box before buying solar multipacks, since the cheapest sets often run cool and bluish even when the photo on the box looks golden.
How long will budget solar lights last?
Expect two to three good seasons from the fixtures themselves, with rechargeable batteries usually needing replacement after the first year or two. That is factored into this plan — the consumables cushion exists for exactly that swap. Better solar spots with replaceable batteries stretch much longer. Think of budget solar as a low yearly subscription to a lit yard rather than a lifetime purchase, and it stays a bargain.
Conclusion
A beautiful yard after dark is not about how much you spend; it is about giving every zone one job and the right light to do it. That is the whole heart of outdoor lighting under $300: anchor the entry, guide the walk, gather on the patio, spotlight one gorgeous bed, and keep the side yard safe — then let the plan grow a piece at a time. Start with weekend one this Saturday, and browse the rest of my lighting ideas here whenever you are ready for month two. Your yard is closer to glowing than you think.