There is something about a mobile home patio at dusk that just works. The awning throws a cool patch of shade all day, and once the sun drops, that little slab becomes the best room in the house. Honestly, the difference between a patio you walk past and one you live on is almost always the lighting. When I help friends pull together mobile home patio lighting ideas, I start with the same rule I use everywhere: layer it. One soft ambient glow so the space feels welcoming, a little task light where you actually do things, and a few accents that make it pretty. The catch with mobile homes is that you often cannot drill into the siding or awning frame, and outlets are scarce. Every idea below respects that: clips, clamps, solar, and battery options that go up in an afternoon, come down without a trace, and survive real weather. Pick three or four to start, then build from there as the season warms up.

1. Plan Your Mobile Home Patio Lighting Ideas in Three Layers
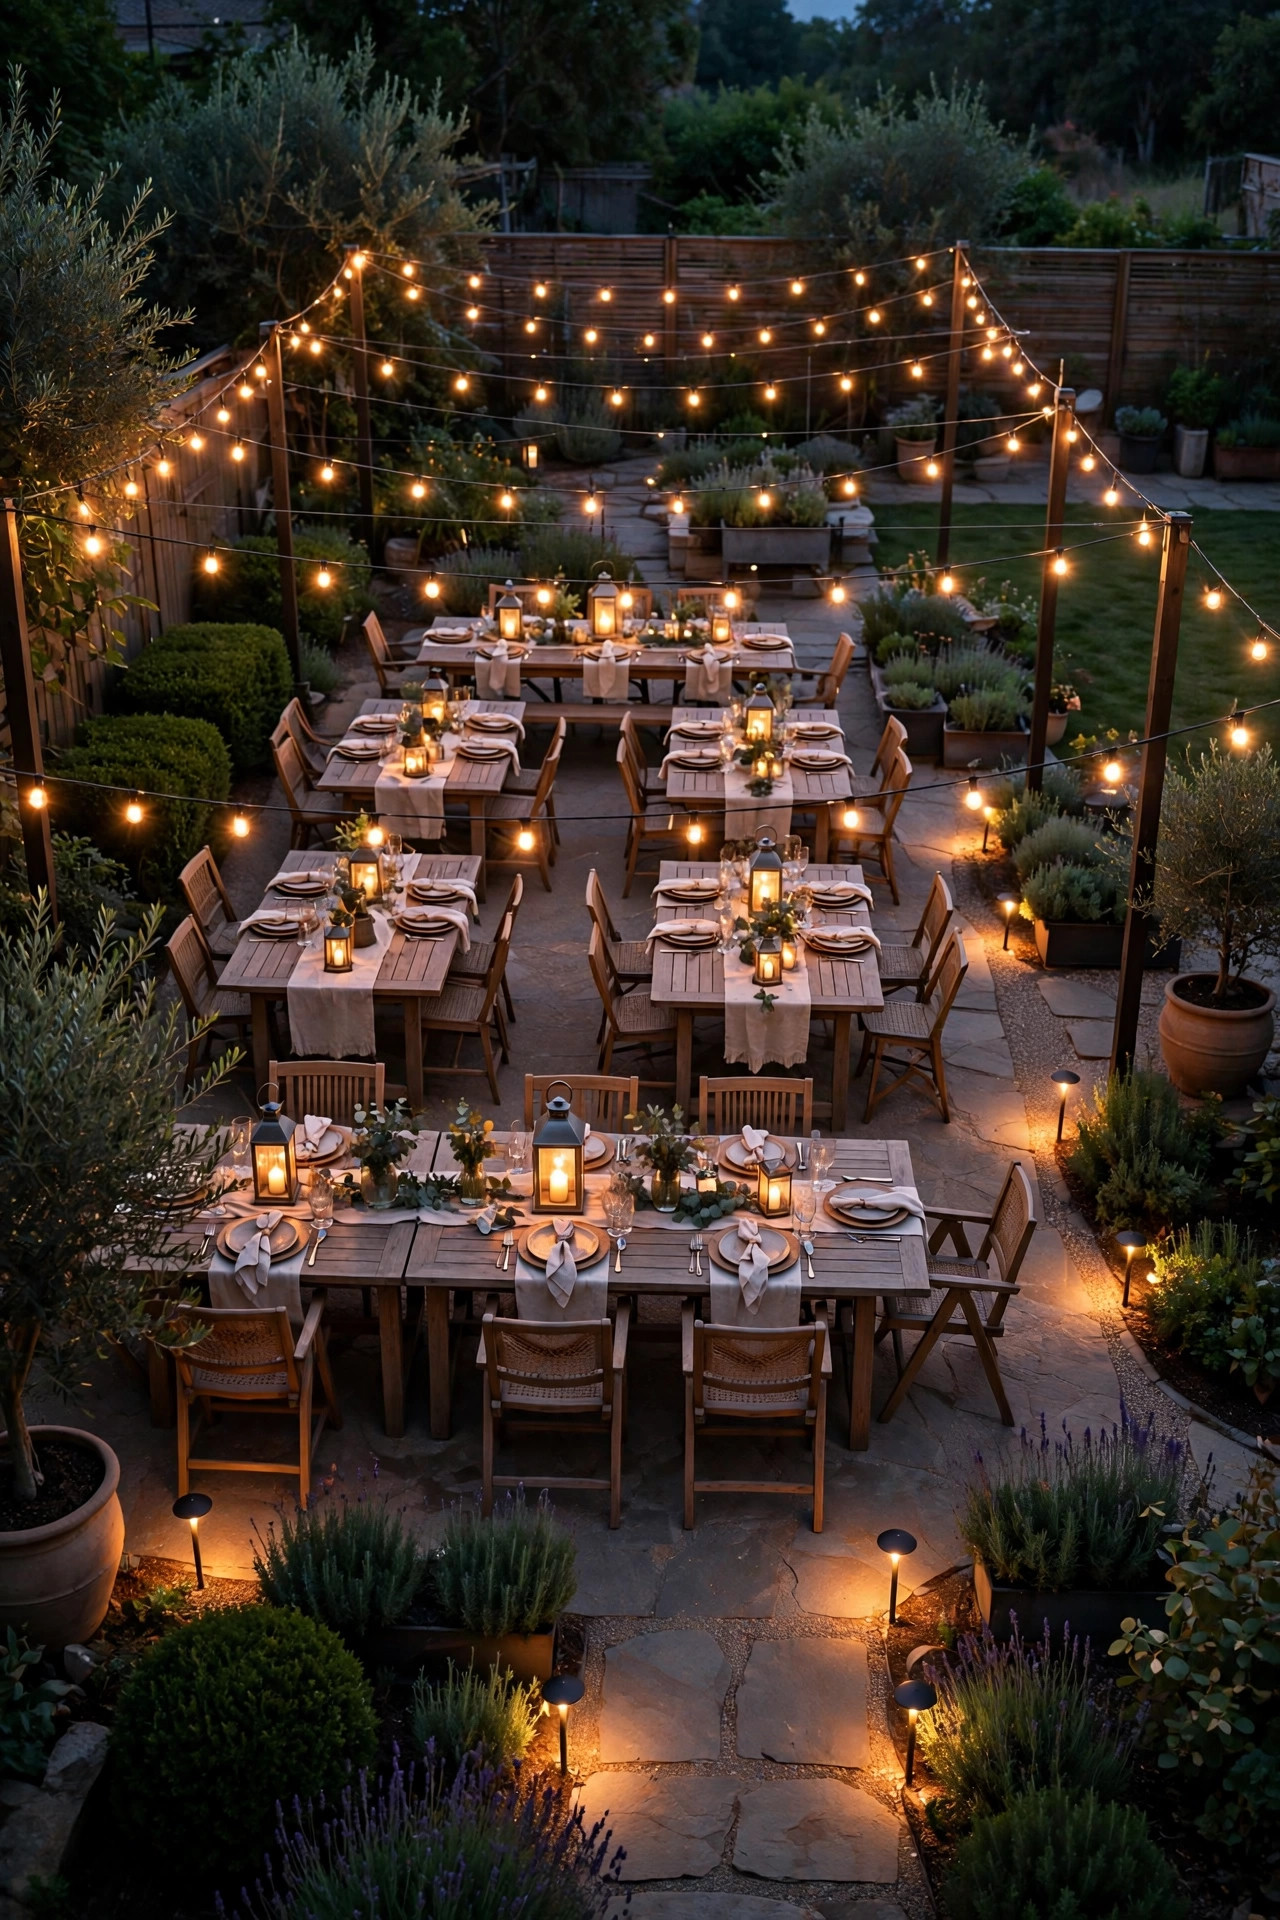
Before you buy a single bulb, stand on the patio at dusk and think in three layers, because that is exactly how I approach every outdoor space. Layer one is ambient light, the overall glow that replaces the harsh porch bulb: usually string lights or a soft wash of lantern light. Layer two is task light, something brighter over the grill, the steps, or the card table where you actually need to see what you are doing. Layer three is accent: fairy lights wound through a plant, a lantern glowing on the step, little points of sparkle that make the whole setup feel finished. For a typical 10-by-14-foot mobile home patio, one string of cafe lights, two table lanterns, and a row of path lights genuinely covers all three layers. Sketch it on paper first, note where your single outdoor outlet lives, and mark the spots that get real sun for solar charging. That ten-minute plan saves the classic mistake of buying six pretty things that all do the same job while the steps stay pitch dark and the grill sits in shadow.
Suggested budget range: $10 – $25.
2. Clip Cafe String Lights Along the Awning Edge
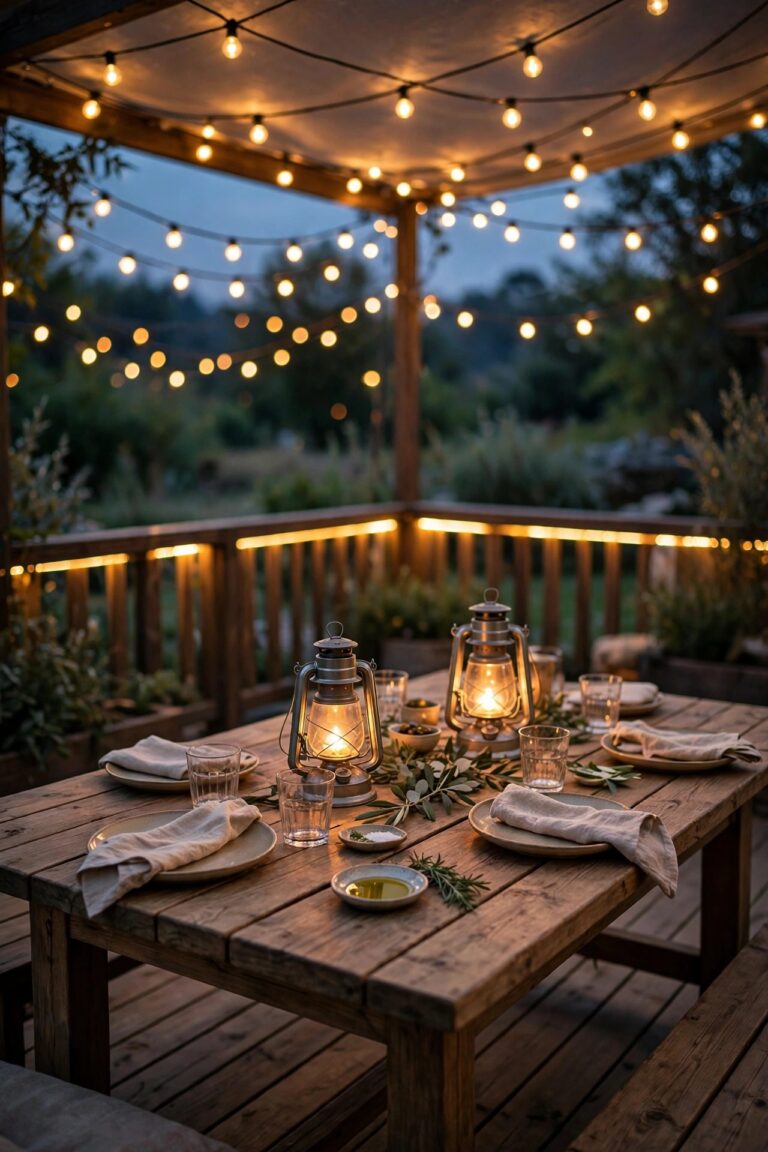
The awning edge is prime real estate: it is already overhead, it already frames the patio, and a strand of cafe lights clipped along the valance instantly defines the whole space. Use plastic gutter-style clips or awning clips that slide into the rail channel, spaced every 12 to 18 inches, so nothing pierces the fabric or the aluminum frame. I always recommend shatterproof LED filament-style bulbs here, because they shrug off wind gusts that would crack glass and they sip power on a single outlet. Let the strand swag gently, about 6 inches of dip between clips, rather than pulling it drum-tight; tight strands stress the clips in a storm. If your awning is a roll-out style, clip to the front bar only, so the lights pop off in seconds before you retract it. This is the same trick I lean on for roofed spaces in general: my covered patio lighting ideas use the same clip-and-swag approach on pergolas. One 24-foot strand handles most single-wide patios; a double-wide may want two strands meeting at the center post.
Suggested budget range: $25 – $60.

3. Use Freestanding Poles Where You Cannot Drill
Plenty of parks, and plenty of awnings, say no to screws, and honestly? Poles are the better answer anyway. Freestanding string light poles plant into the ground beside the patio or stand in heavy planter bases, then hold your strands at 8 to 9 feet, well above head height. Set one pole at each open corner of the patio and run the lights from the awning edge out to the poles, which gives you that lovely tent-of-light ceiling without touching the home at all. In soft soil, forked ground stakes hold fine; on a concrete slab, use poles with wide weighted bases or drop them into half-barrel planters filled with soil and flowers, which looks intentional rather than improvised. I keep a full rundown of patio string light pole ideas with the spacing and height math if you want to get precise. Keep the lowest swag at least 7 feet above the walking area so taller guests are not ducking, and take the strands down before serious windstorms. Poles forgive a lot, but a sail of lights in a 40-mile gust will test any base.
Suggested budget range: $40 – $110.
4. Try Solar String Lights on the Sunny Side
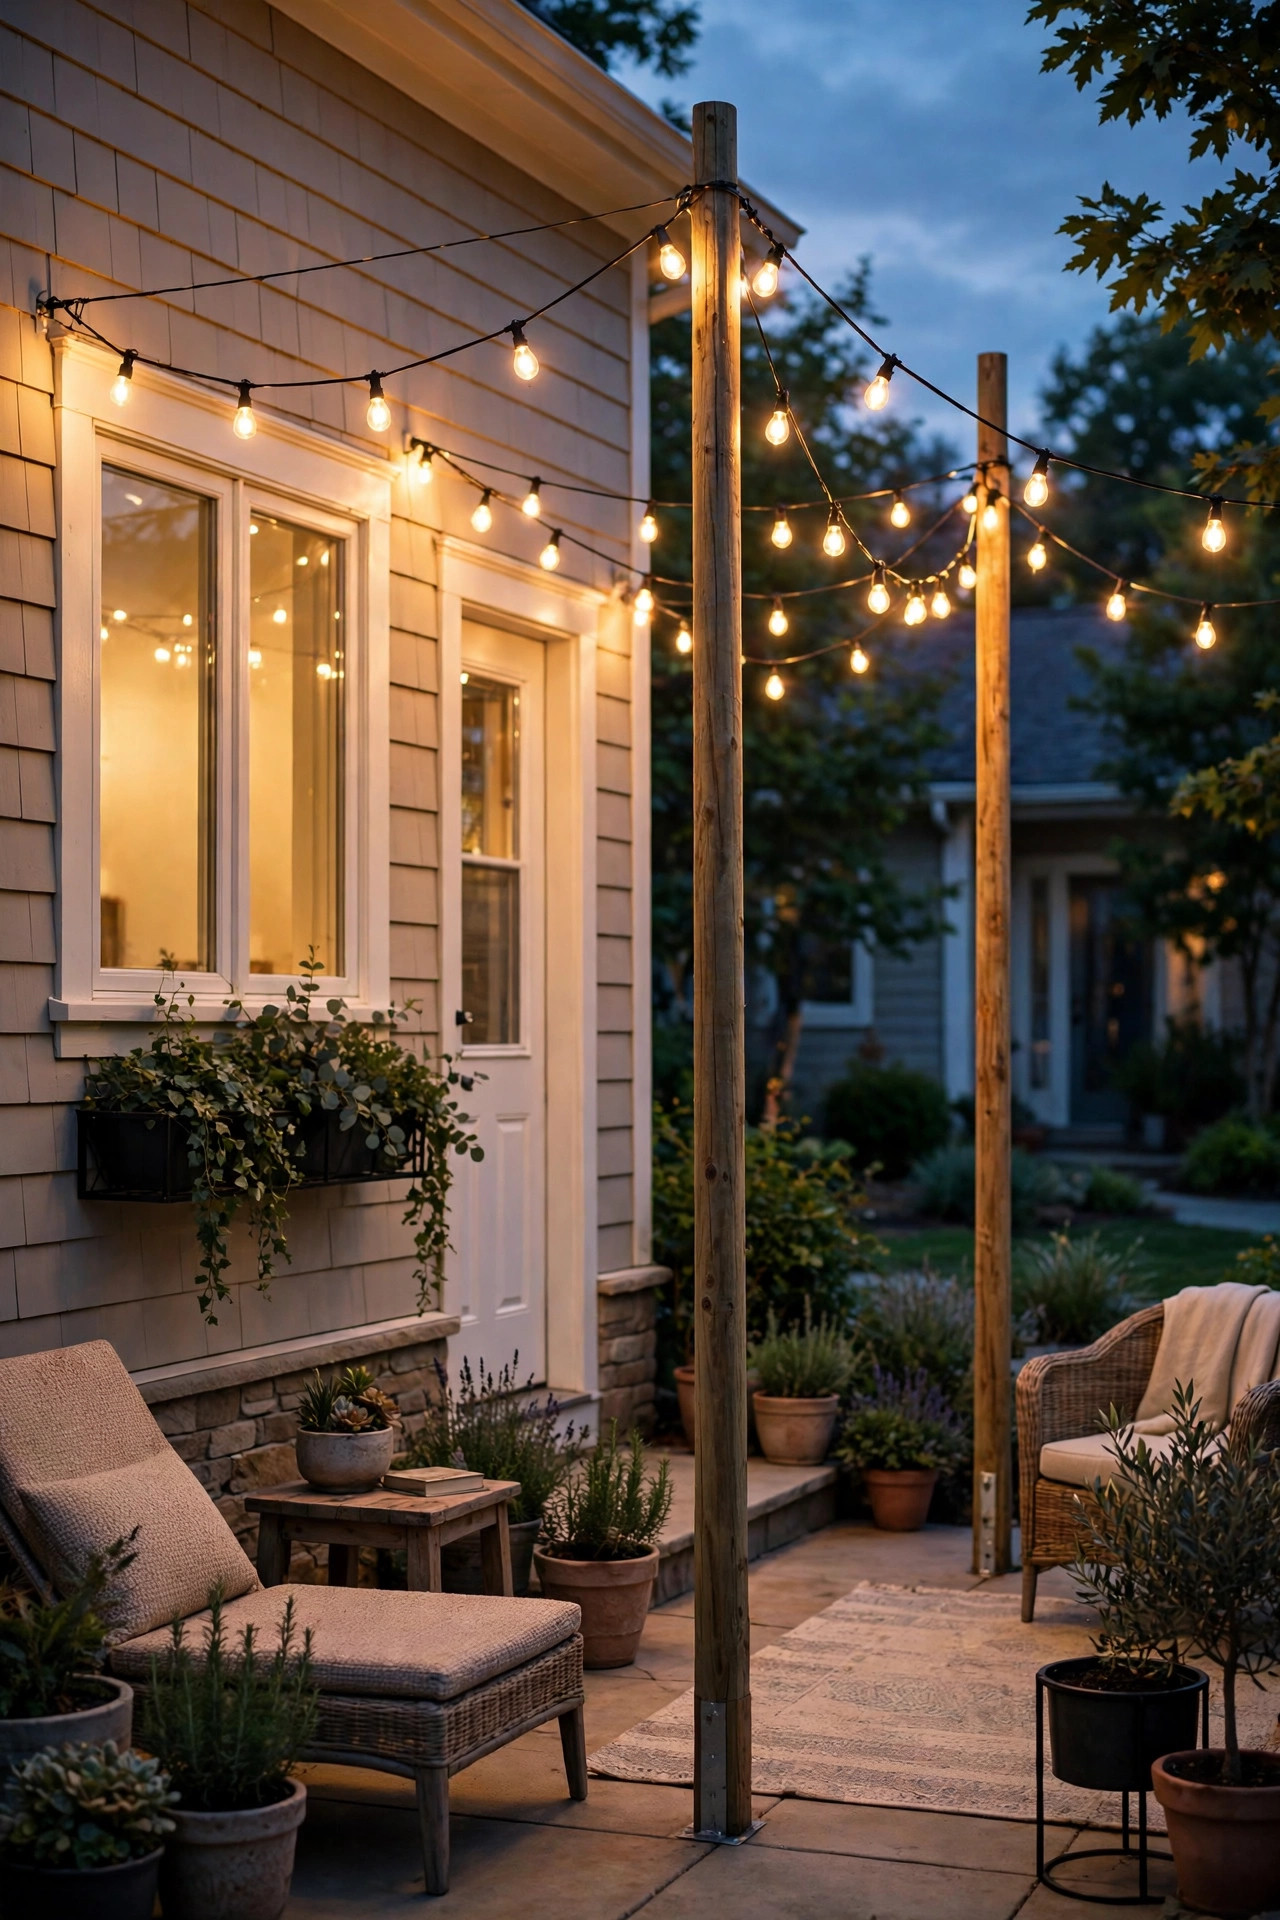
If your one outdoor outlet is already spoken for, solar string lights earn their keep fast. The little panel stakes into the sunniest spot near the patio, usually the south end of the skirting, and the strand itself can run through shade, since only the panel needs direct sun, ideally six hours of it. Modern solar strands with LED filament-style bulbs give a genuinely warm glow around 2700K, not that cold blue of early solar lights, and a full charge runs them six to eight hours after dusk. I keep a longer guide to solar string light ideas if you want the full rundown of what to look for. Two honest caveats from experience: brush dust and pollen off the panel monthly or brightness fades noticeably, and expect a shorter run time in December when the days are brief. For an awning-covered patio, mount the panel on a small stake just outside the awning shadow line, or clip it to the awning edge facing up. That one placement detail makes the difference between lights that die at nine and lights still glowing at midnight.
Suggested budget range: $20 – $45.
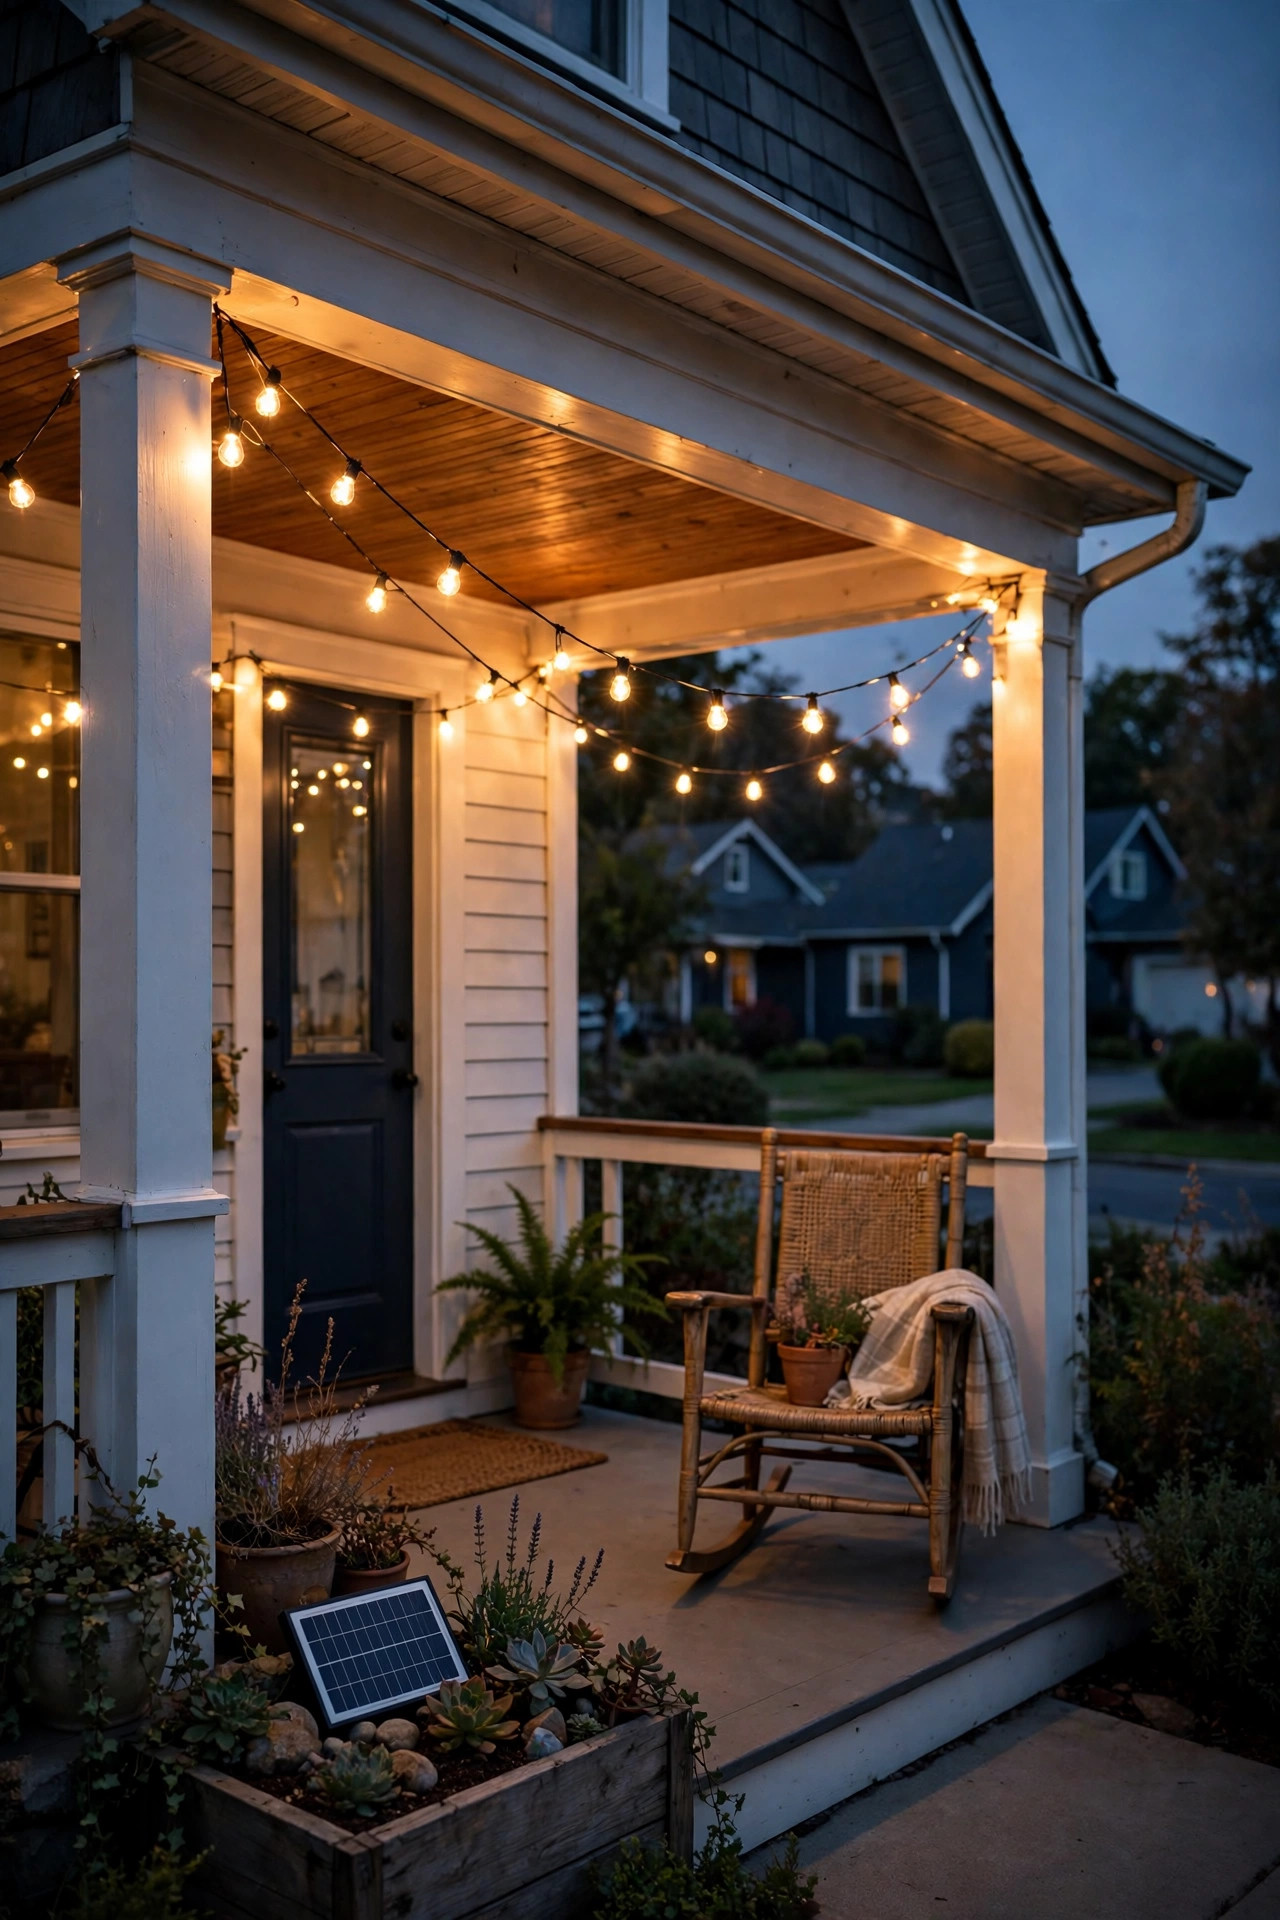
5. Set Out Flameless Lanterns at Table Height
Some of my favorite patio light never gets installed at all; it just gets set down. Battery lanterns with flameless LED candles give you that flickering, golden, table-level glow that makes faces look good and dinners run long, and they are completely safe around awning fabric, vinyl siding, and grandkids. I group them in odd numbers: three on the dining table in mixed heights, one on the side table, a pair flanking the steps. Look for lanterns with a built-in timer that turns them on at dusk and off five hours later, because a lantern you have to remember is a lantern that stays dark. Metal cage and woven-look styles both suit a mobile home patio; just check the weather rating if they will live outside full time, since cheap indoor lanterns rust at the seams by August. Real candles under an awning are a hard no from me: one gust, one paper napkin, and you have a story nobody wants. Flameless versions cost about the same now, run for weeks on a set of batteries, and you can carry one inside when the card game moves to the kitchen.
Suggested budget range: $15 – $50.
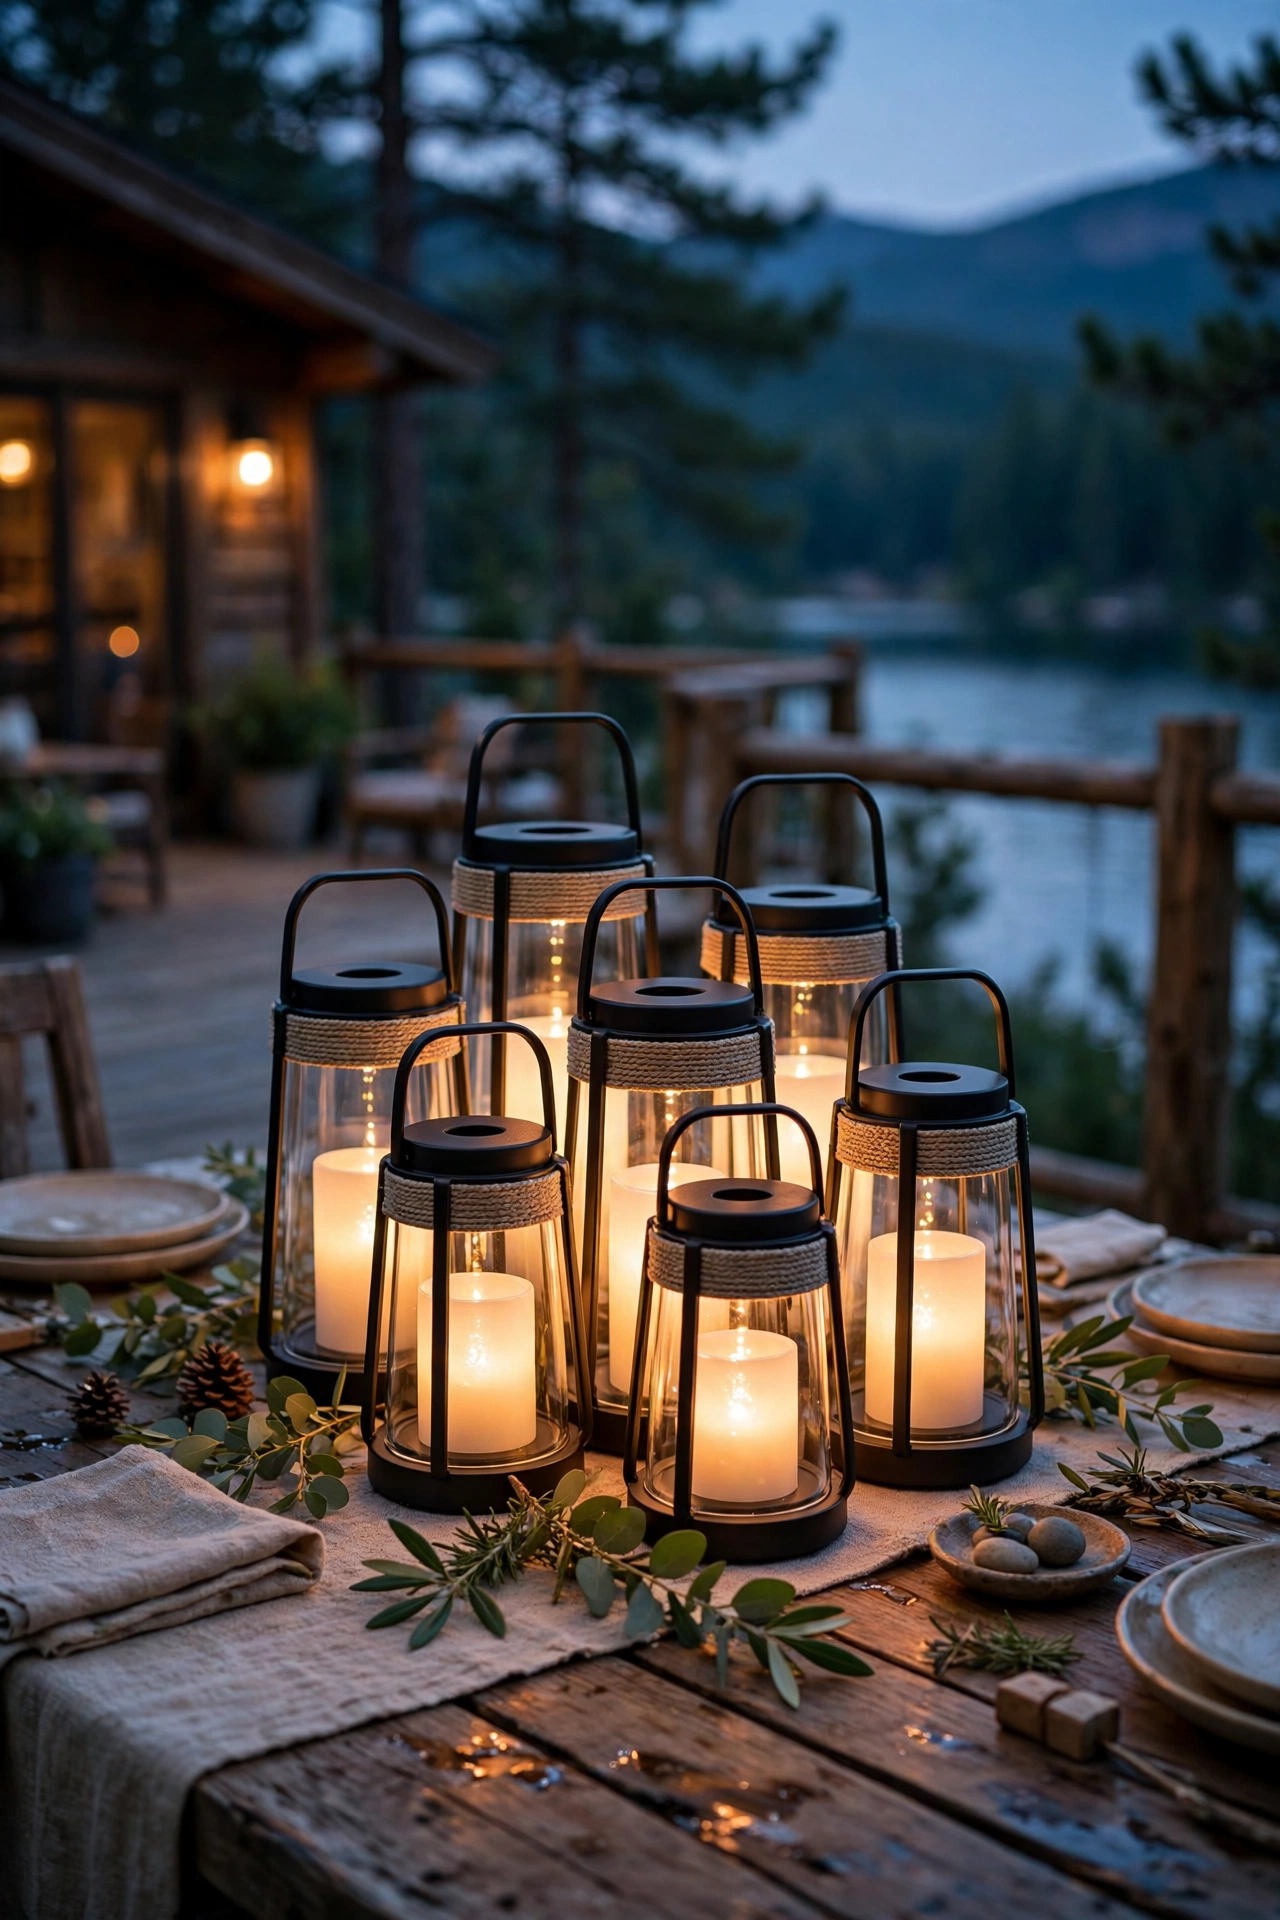
6. Clamp On a Clip Light for Grilling and Tasks
Ambient glow is lovely until you are trying to tell whether the chicken is done. A clamp-on light with a flexible gooseneck solves task lighting without a single screw: it grips the awning frame, a shelf edge, or a sturdy chair arm and aims exactly where you need it. Choose an LED model rated for outdoor use, with a neutral bulb around 3000 to 4000K, slightly cooler than your ambient lights on purpose, because task light is about seeing clearly, not mood. Battery and USB-rechargeable versions are perfect for mobile homes since they skip the outlet hunt entirely, and a good one runs a full evening of cooking on a charge. I clamp mine to the awning support arm above the grill, angled down so it lights the grates without blinding the cook, then swing it over the cooler or the game table later. When the evening ends it comes inside and lives in a kitchen drawer, which also means zero weathering and nothing for the park to object to. If you use a plug-in version, keep the cord off walkways and plug it only into a GFCI-protected outlet.
Suggested budget range: $15 – $35.
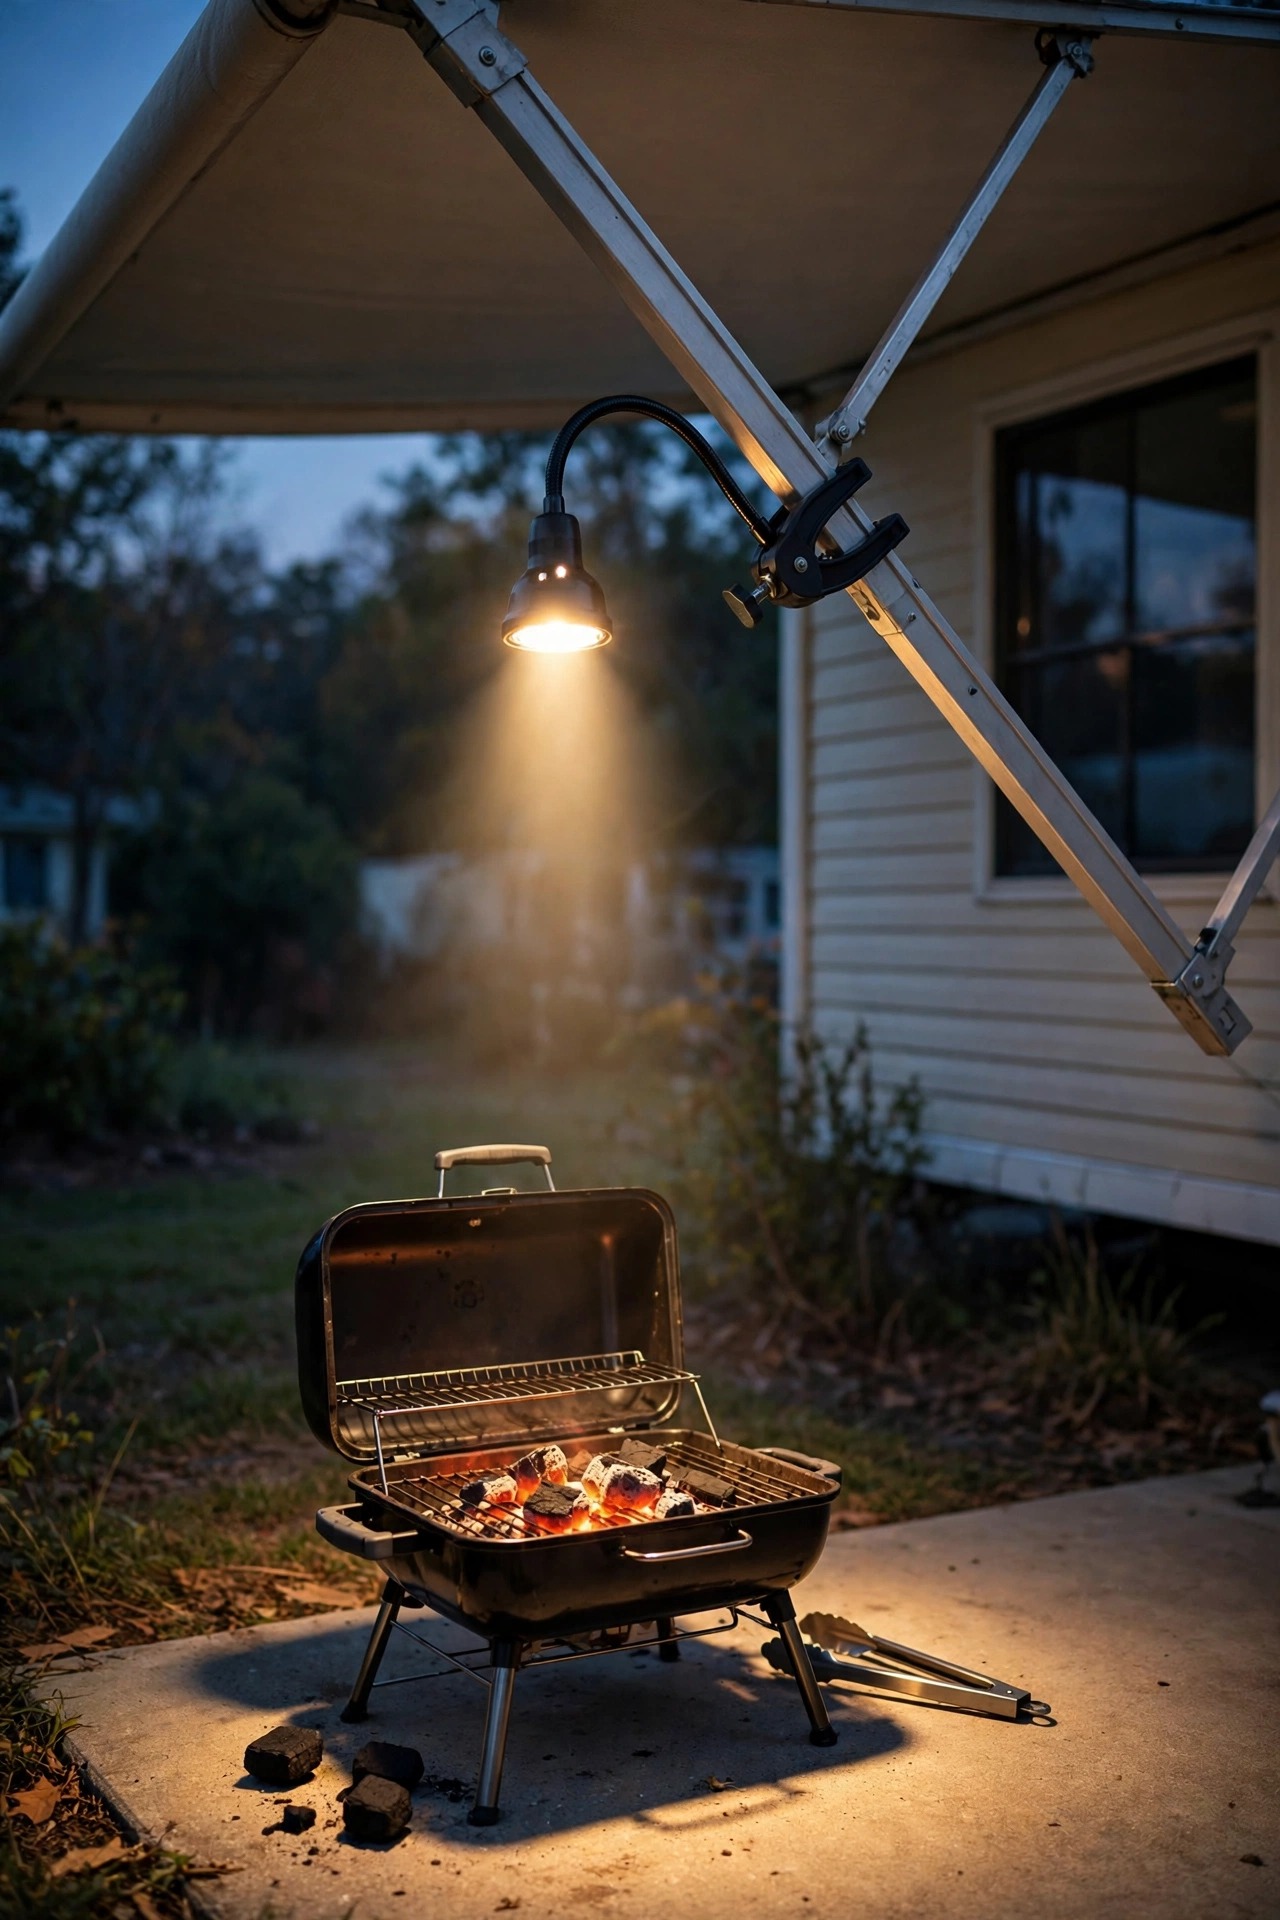
7. Run an LED Strip Under the Awning Rail
For a clean, modern line of light, adhesive LED strip lights tucked under the awning rail are hard to beat. The strip hides completely, so after dark all you see is a soft wash of light falling down the wall and across the patio: no visible fixtures, no glare in your eyes. Peel-and-stick backing works on clean aluminum rails; on rougher surfaces, inexpensive mounting clips every 18 inches keep it from sagging in summer heat. Buy outdoor-rated, silicone-coated strip, IP65 or better, in a low-voltage 12- or 24-volt setup, which is safer and easier than anything line-voltage. A warm 2700K strip on a dimmer is the sweet spot: full brightness for cleaning up, low for movie night. Plan the power drop at the end nearest your outlet and hide the thin cord down the awning leg with clips. The whole install takes under an hour, most of it spent wiping the rail with rubbing alcohol so the adhesive actually holds. It is the single change that makes neighbors walk over and ask what you did to the place, and it costs less than a pizza night.
Suggested budget range: $20 – $50.
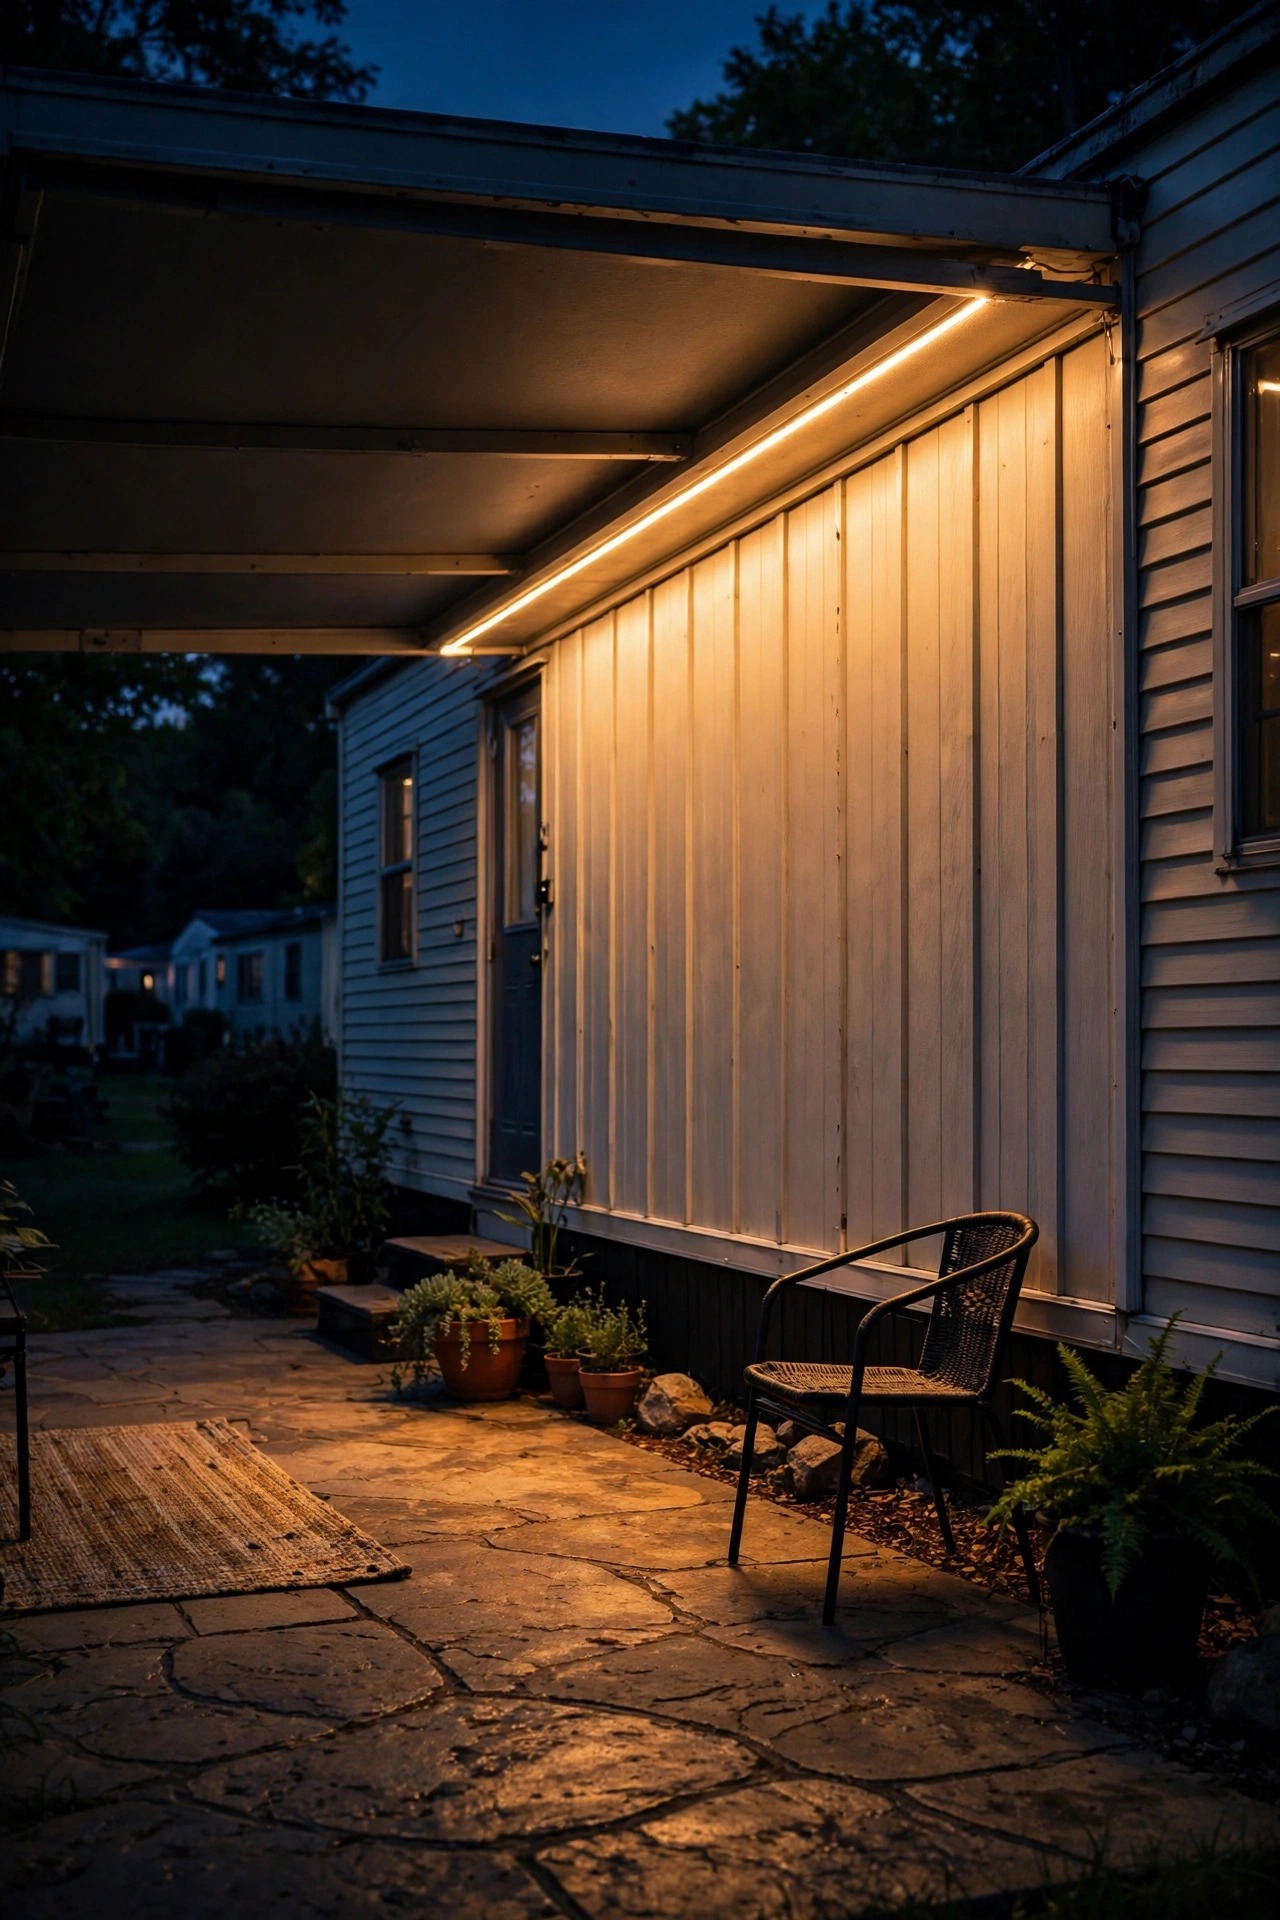
8. Edge the Slab With Solar Path Lights
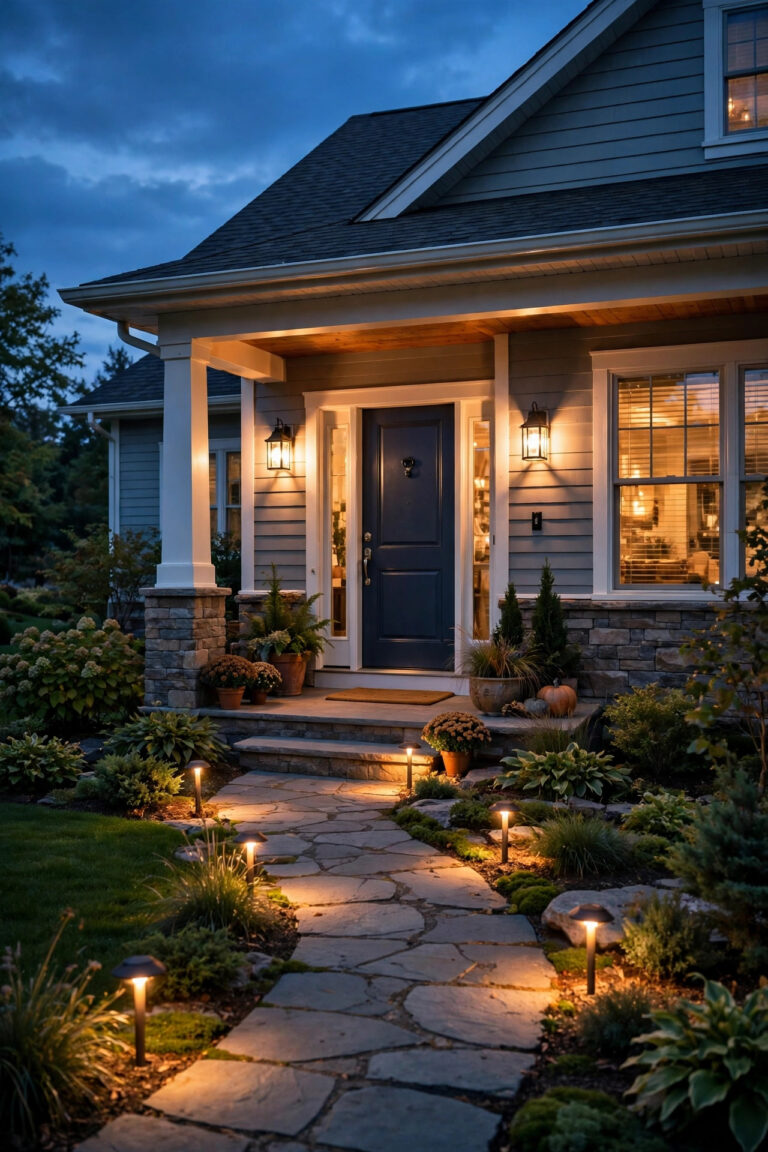
The edge of the patio slab is where ankles get rolled and drinks get kicked, so a row of solar path lights does double duty: it marks the boundary beautifully and keeps everyone safe. Space them 4 to 6 feet apart along the open edges of the patio and down any path to the door, close enough to read as one line of light, far enough to avoid the airport-runway look. The stakes push straight into the soil beside the slab, no wiring and no tools, which makes them the friendliest option in parks with strict rules about digging. Choose warm-white models with a real glass or quality plastic lens, and expect the taller 12-to-16-inch styles to throw a nicer pool of light than the tiny flush discs. In my experience the cheapest multi-packs dim within a season; a mid-priced set with replaceable batteries lasts for years, and swapping the batteries each spring keeps them honest. If one side of your patio sits in full shade all day, run a few low-voltage wired lights there instead, or simply accept a dimmer glow, because a panel that never sees sun cannot fake it.
Suggested budget range: $25 – $70.
9. Hang a Battery Sconce Beside the Door
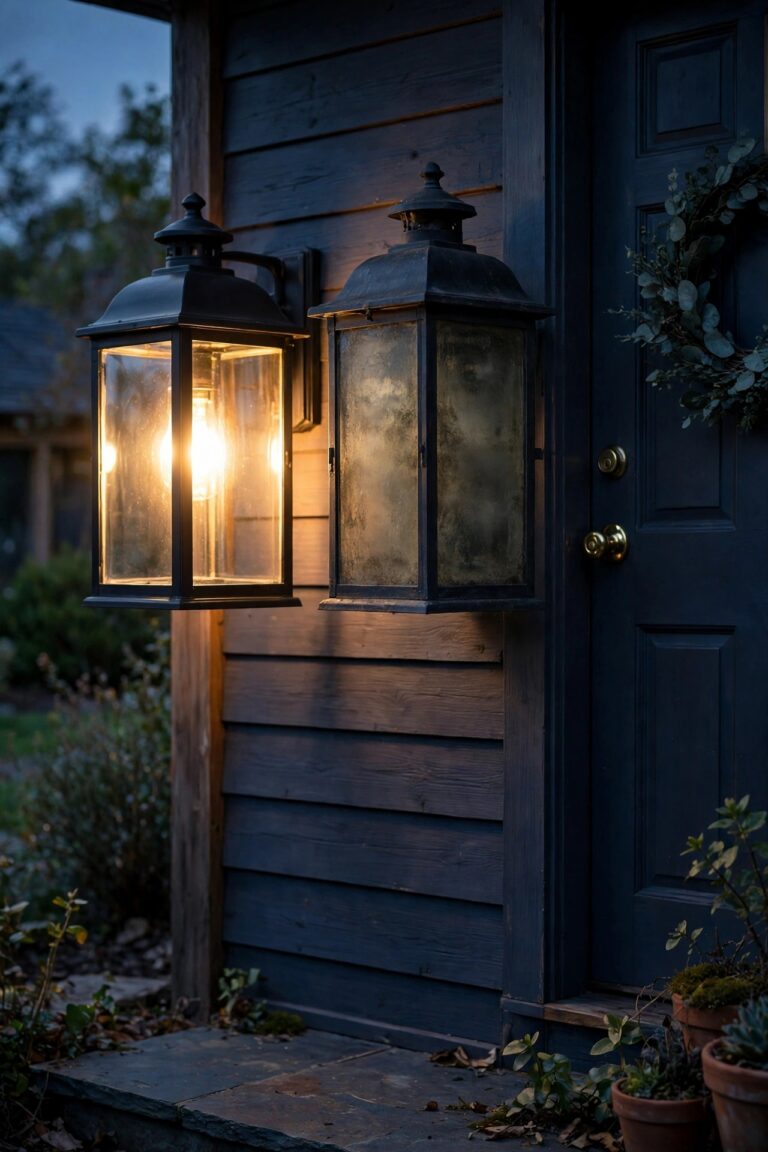
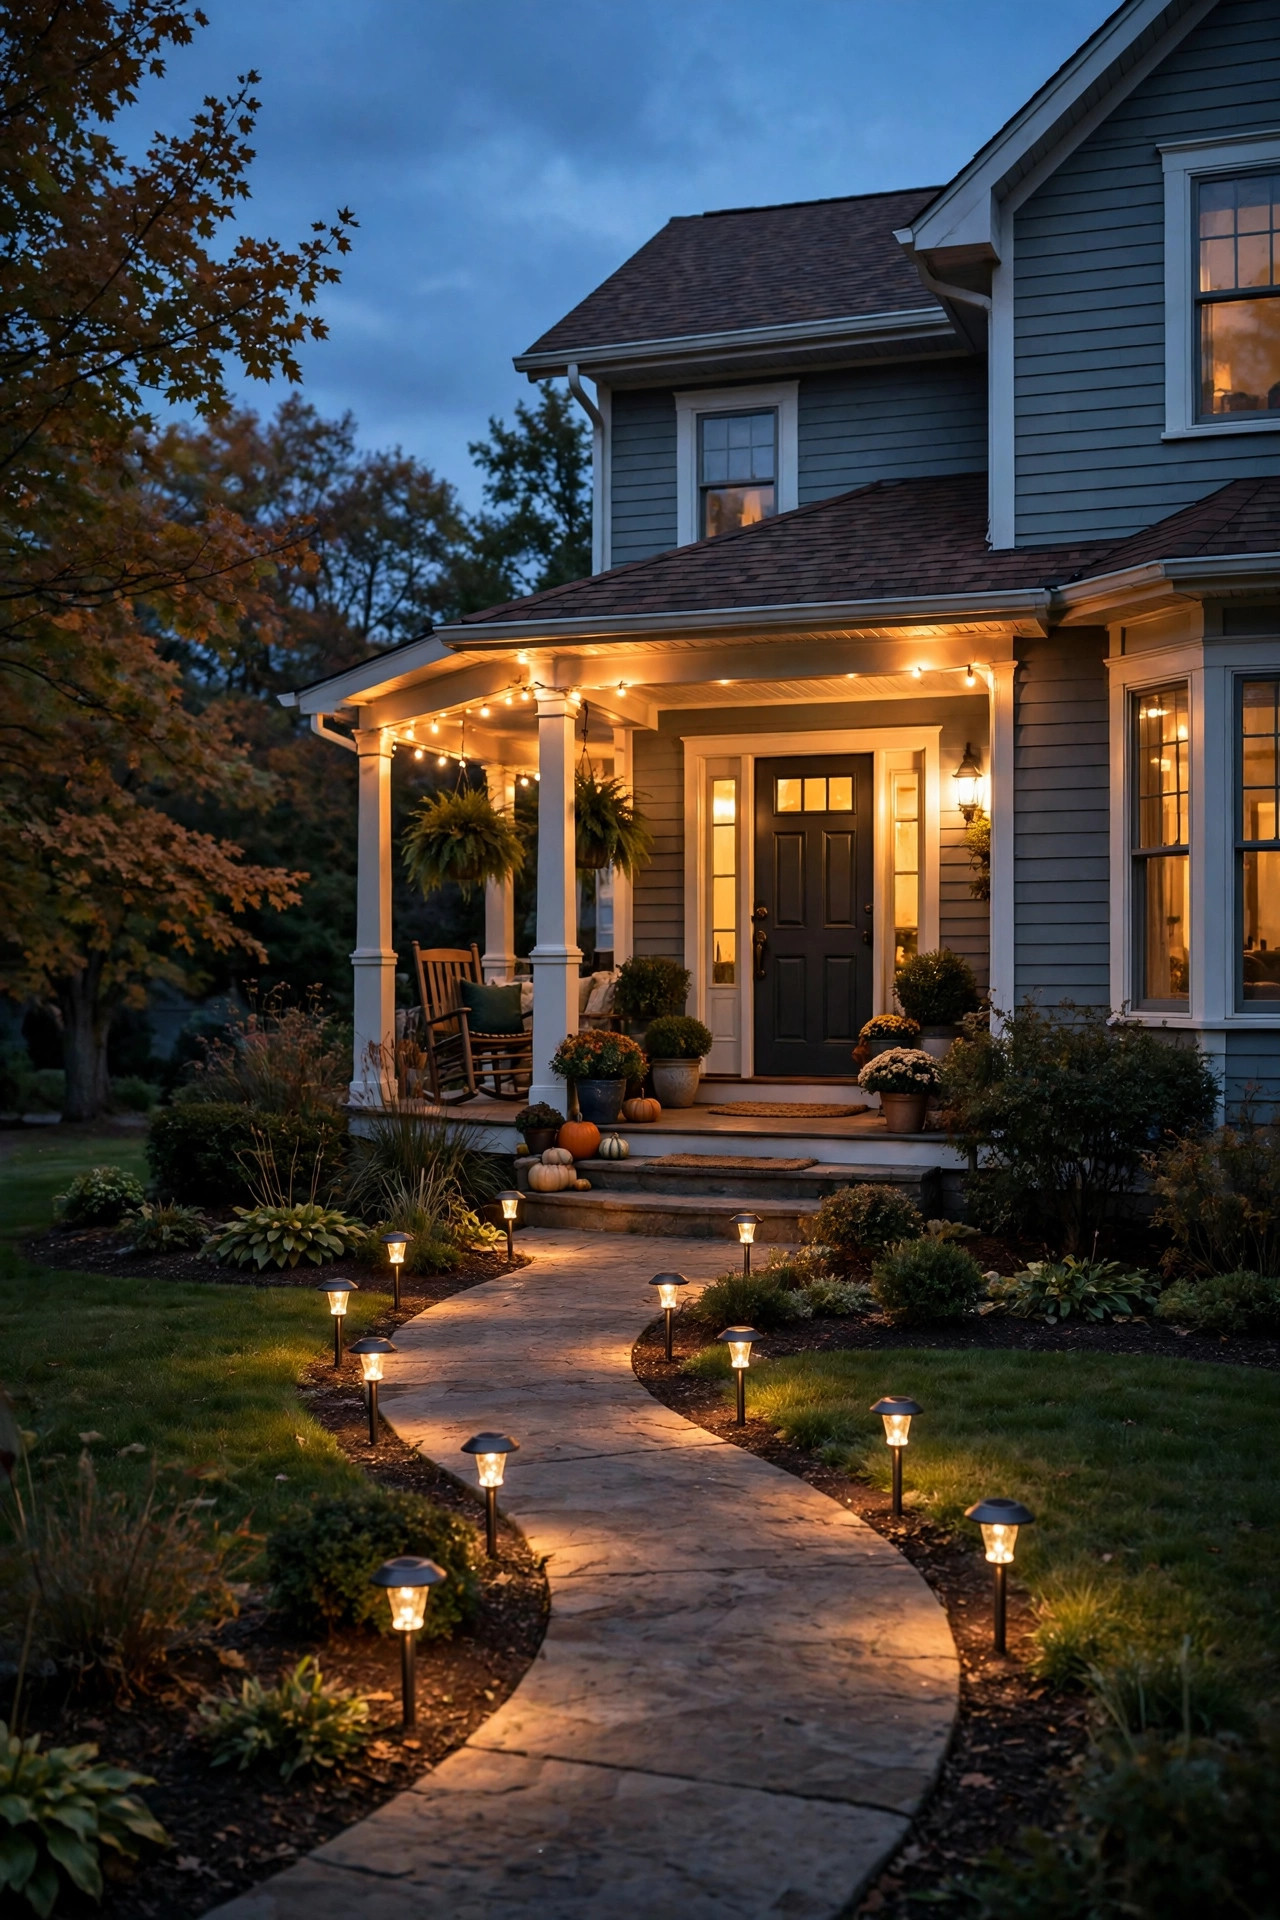
The light right beside the door sets the tone for the whole patio, and it is the one most mobile homes get wrong with a bare, glaring bulb. A battery-powered or solar wall sconce in a lantern style fixes it in about ten minutes, and many mount with heavy-duty adhesive strips or a single small hook rather than screws, which keeps your siding intact and your park manager happy. Look for a warm 2700K LED behind frosted or seeded glass, which reads as classic porch light instead of interrogation lamp, and a dusk-to-dawn sensor so it greets you automatically. Position it roughly 66 inches off the patio floor, beside the door on the latch side, where it lights faces and the lock without shining straight into anyone's eyes. Solar sconces need their little panel facing real sky, so under a deep awning a battery model is the more reliable pick; a set of rechargeable batteries swapped monthly handles it easily. It is a small fixture, but it makes the entry feel finished: the difference, honestly, between a trailer door and a front door.
Suggested budget range: $20 – $45.

10. Tuck Fairy Lights Into Pots and Planters
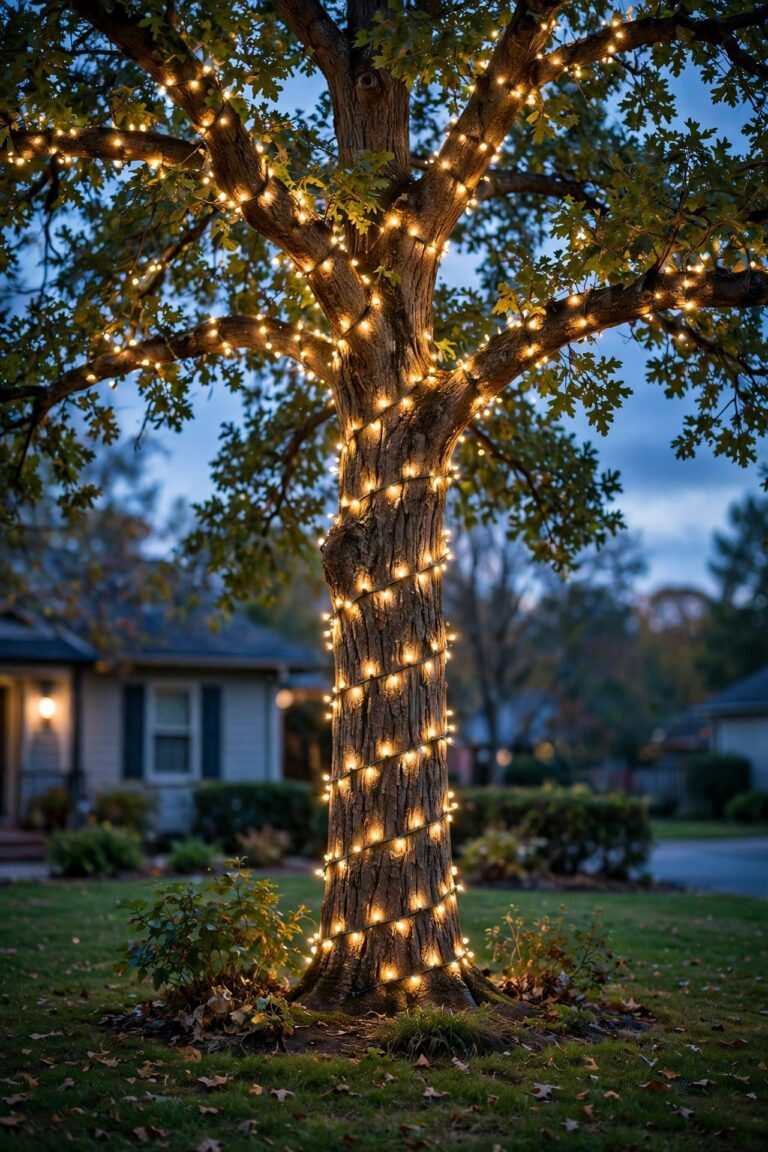
Accents are where a patio gets its personality, and copper-wire fairy lights tucked into potted plants are my favorite cheap trick. The wire all but disappears in daylight, and after dark each pot becomes a little jar of fireflies: hibiscus, ferns, and ornamental grasses all glow from inside like they are lit by magic. The battery packs hide under the soil line or behind the pot, and solar versions work if the pot sits anywhere near sun. Wind about 10 feet of lights loosely through one large plant rather than spreading them thin across five, because density is what makes it read as intentional sparkle instead of stray holiday lights. Keep the battery pack out of the watering splash zone, or slip it into a small zip bag, since fairy light packs are rarely waterproof even when the strand itself is. I also run a strand along the inside of the awning valance sometimes, where it outlines the patio roofline in the prettiest way. Swap the batteries when the glow fades to a whisper, and bring delicate strands in before a hard winter, because the fine wire fatigues in freeze-thaw cycles.
Suggested budget range: $10 – $30.

11. Add a Motion-Sensor Light Over the Steps
Safety light earns its place the first time someone carries a tray down the steps in the dark. A small solar or battery motion-sensor light mounted above the steps, or tucked under the awning edge near the door, stays politely dark until someone approaches, then gives a clear, bright pool of light exactly where feet need to land. Aim the sensor across the path of travel rather than straight out, so it triggers as you reach the steps instead of after you are already on them, and set the on-time short: 20 to 30 seconds is plenty. Because it only fires on motion, it never bothers the neighbors, never runs up a bill, and the batteries last for months. Choose one with an adjustable head so the beam lands on the treads and not the lawn, and test the angle at night with a helper before the final mounting. Many models stick on with adhesive pads or a magnetic base, perfect for steel skirting and awning posts. If your patio has two entrances, one sensor light at each is still cheaper than a single hardwired fixture.
Suggested budget range: $15 – $40.

12. Line the Skirting With Flameless Tiki Torches
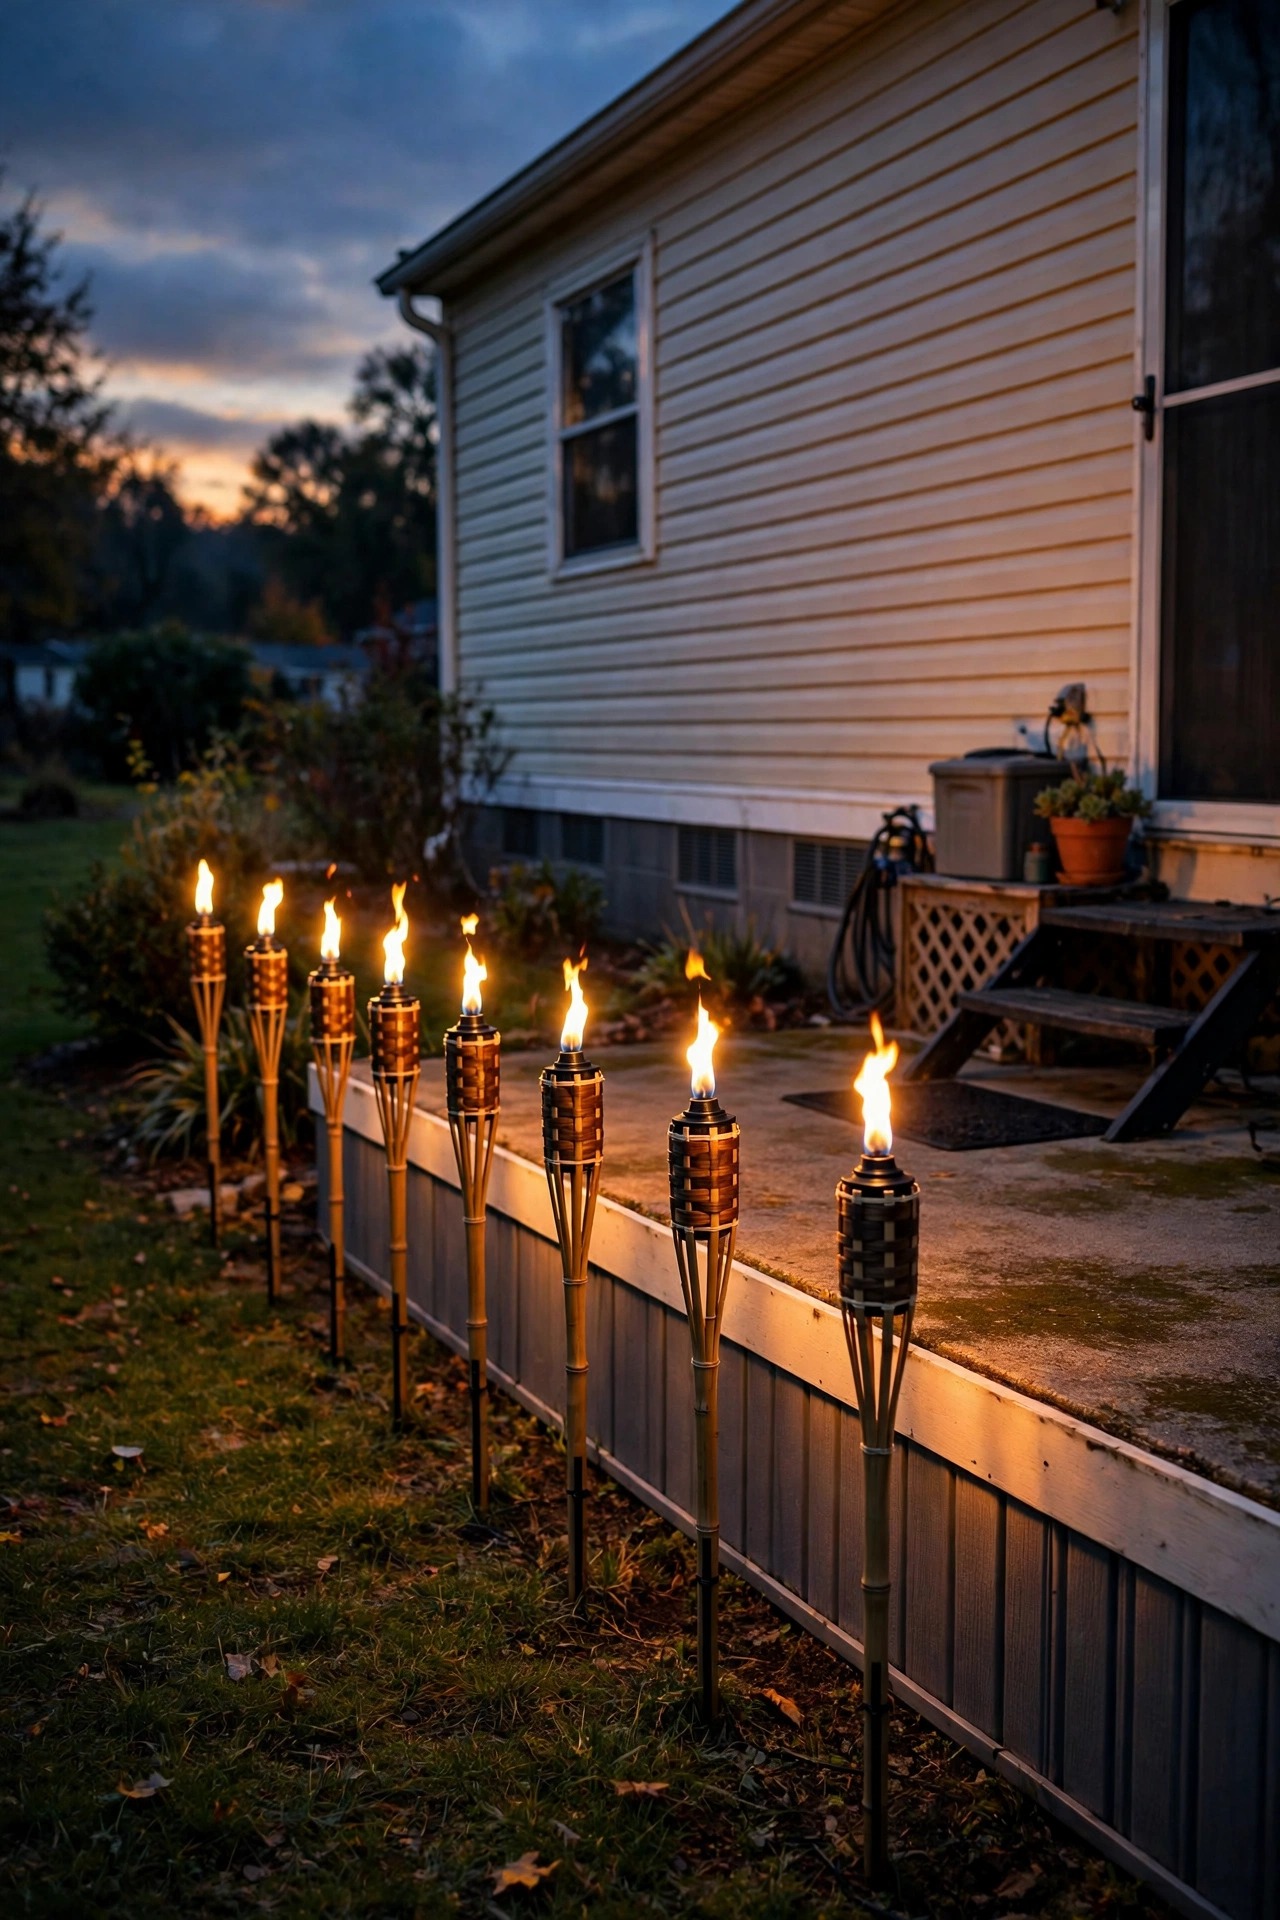
That plain strip of ground where the patio meets the skirting is wasted space on most mobile homes, and a row of flameless tiki-style torches turns it into a resort border. The solar versions flicker with a remarkably convincing flame effect, charge all day along the sunny skirting line, and, the important part, involve zero real flame near vinyl skirting, dry mulch, or awning supports. Push the stakes in 3 to 4 feet apart for a continuous ribbon of flicker, or cluster three at the patio corner for a focal point. Real tiki torches with oil look tempting, but open flame that close to a home with skirting and fabric overhead is a risk I will not take, and many parks ban them outright. The flameless ones also shrug off the wind that would blow out a real flame in a minute. Expect the flicker effect to read best from a few feet away in true dark; under bright patio light it stays subtle. Come fall, pull them up, wipe the little panels clean, and store them in a tote. They will come back next spring looking brand new.
Suggested budget range: $30 – $80.
13. Suspend a Pendant From the Awning Frame
Every dining table deserves a light of its own, and a pendant hung from the awning frame gives you that cozy restaurant-booth feeling right over the patio table. The no-drill trick is a heavy-duty S-hook or clamp over the awning support beam, with the cord swagged off to the side and down to your outlet, so nothing penetrates the frame. Battery-powered pendant shades exist too and skip the cord altogether. Choose a weather-resistant shade in metal, resin wicker, or a sealed bamboo-look material, sized about one-third the width of your table, and hang it so the bottom sits roughly 30 inches above the tabletop: low enough to feel intimate, high enough to pass dishes under. A warm 2700K bulb on an inline dimmer takes it from card-game bright to dinner-party glow. Weight matters here, so keep the fixture under about five pounds for awning frames, and bring lighter shades inside ahead of big storms. If your awning retracts, hang the pendant from the fixed support post instead so nothing has to move. It is the most complimented light on every patio where I have done this, every single time.
Suggested budget range: $30 – $75.

14. Drape a Light Curtain for Privacy and Sparkle
Mobile home patios often sit close to the neighbors, and a curtain of lights along the open side gives you privacy, sparkle, and a soft boundary all at once. Run a slim cable or the awning edge as your top line, then hang curtain-style strands, the kind sold as one wide panel of vertical drops, or simply zigzag two regular strands between the awning and a pair of poles. The wall of tiny lights blurs sightlines surprisingly well while still letting the breeze through, and from inside the patio it feels like sitting inside a lantern. Solar curtain panels exist, though wired ones on an outdoor timer are brighter and more consistent; either way, keep the lowest drops at least a foot off the ground so chairs and pets do not tangle them. Warm white only, in my book: multicolor reads as a holiday leftover by July. Secure the bottom corners lightly with clips so the curtain sways instead of whipping in the wind. On movie nights, this backdrop behind a laptop screen is genuinely cinematic, and it costs about as much as a delivered pizza.
Suggested budget range: $20 – $55.

15. Put Your Mobile Home Patio Lighting Ideas on Timers
The best lighting system is the one that is simply on when you walk out, and timers make that happen. A single outdoor plug-in timer on your main strand, set to fire at dusk and rest at eleven, means the patio greets you every evening without a thought, and it looks lived-in when you travel, which your insurance agent will appreciate. Mechanical timers are cheap and fine; dusk-to-dawn photocell plugs are even easier because they follow the seasons automatically. Put the accent lights on the timer circuit and leave the motion-sensor and solar pieces to run themselves, and the whole patio choreographs itself nightly. Smart outdoor plugs are worth it if you want schedules from your phone or a voice command to soften things for movie night, and they keep working while you are away. Whatever you choose, keep timers and plugs sheltered under the awning or inside an in-use weatherproof cover, lift cords off the ground where they cross walkways, and plug everything into a GFCI-protected outlet. Set it once in May, and your patio quietly performs every single night until the first frost says it is soup season.
Suggested budget range: $10 – $35.

Frequently Asked Questions
What color temperature looks best on a mobile home patio?
Warm white, around 2700K, is my pick for nearly everything out there. It flatters skin, food, and wood tones, and it makes a small patio feel cozy instead of clinical. Save the cooler 4000K range for a task light over the grill where you need to judge doneness. The one rule that matters most: keep every ambient bulb the same temperature, because a mix of warm and blue-white strands is what makes a patio look patched together.
Can I hang lights from my awning without damaging it?
Yes, and you should not need a single screw. Clips that slide into the awning rail channel, gutter-style clips, S-hooks over the support beam, and adhesive or magnetic mounts handle nearly every fixture in this post. Avoid drilling into the frame or fabric: holes void warranties, invite leaks, and can upset park rules. Keep total hanging weight modest, spread it across many clips, and take strands down before severe wind.
Are solar lights bright enough for a small patio?
For ambient and accent light, absolutely, as long as the panels get around six hours of direct sun. Solar string lights and path lights will not match a hardwired fixture lumen for lumen, though, so keep one plug-in or battery option for real task light at the grill and steps. Place panels outside the awning shadow, wipe them monthly, and expect shorter run times in midwinter when the days are short.
How much does it cost to light a mobile home patio?
A starter setup that covers all three layers, one strand of cafe lights, two flameless lanterns, and four solar path lights, usually lands between $75 and $150. Most of the ideas in this post run $10 to $75 each, and because nearly everything is solar, battery, or low-voltage LED, the running cost is close to zero. Add pieces one layer at a time and the patio improves every payday without ever feeling like a big project.
Conclusion: Small Patio, Big Evenings
Here is the honest truth after years of fussing with my own outdoor spaces: a mobile home patio does not need more square footage, it needs better light. Start with layers, respect the no-drill rules with clips and clamps, let solar and batteries do the heavy lifting where outlets are scarce, and put the whole show on a timer so it just happens every evening. The best mobile home patio lighting ideas are the ones you actually use nightly, not the fanciest ones. Pick two ideas this weekend, the awning-edge strands and a pair of table lanterns are my starter recommendation, and I promise the patio becomes the room you choose instead of the slab you cross. Browse the rest of my outdoor lighting ideas here whenever you are ready for round two.