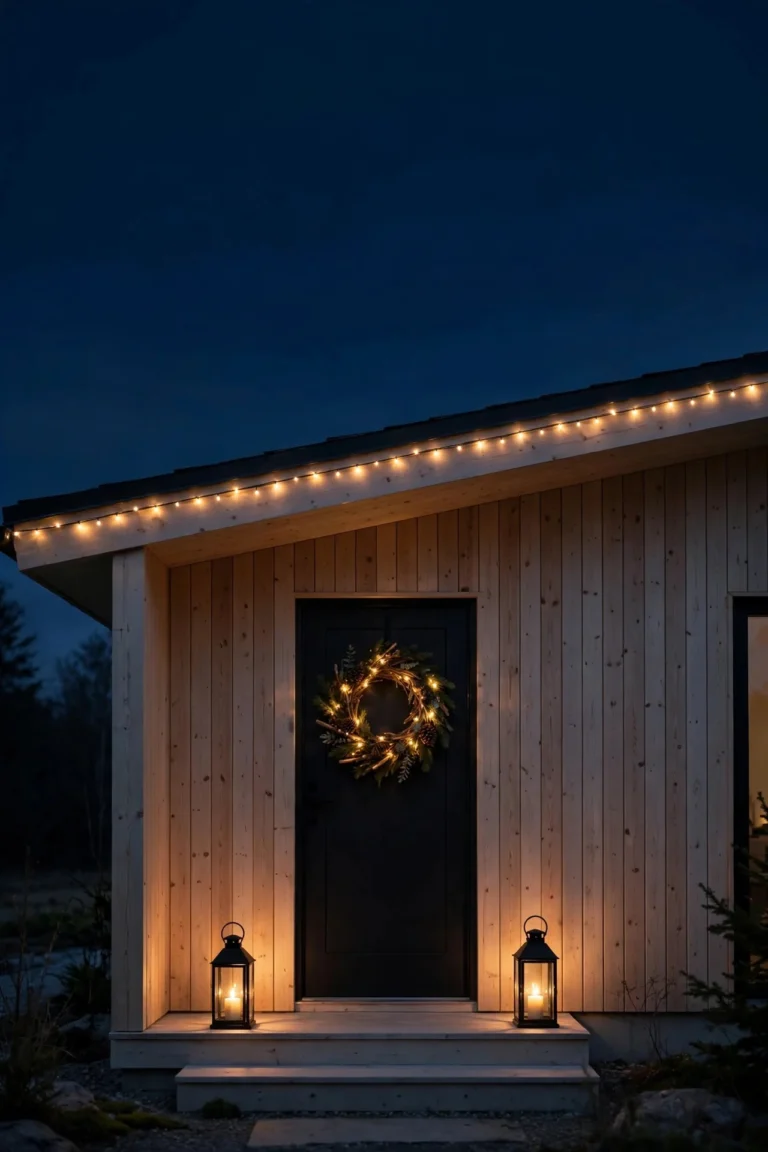
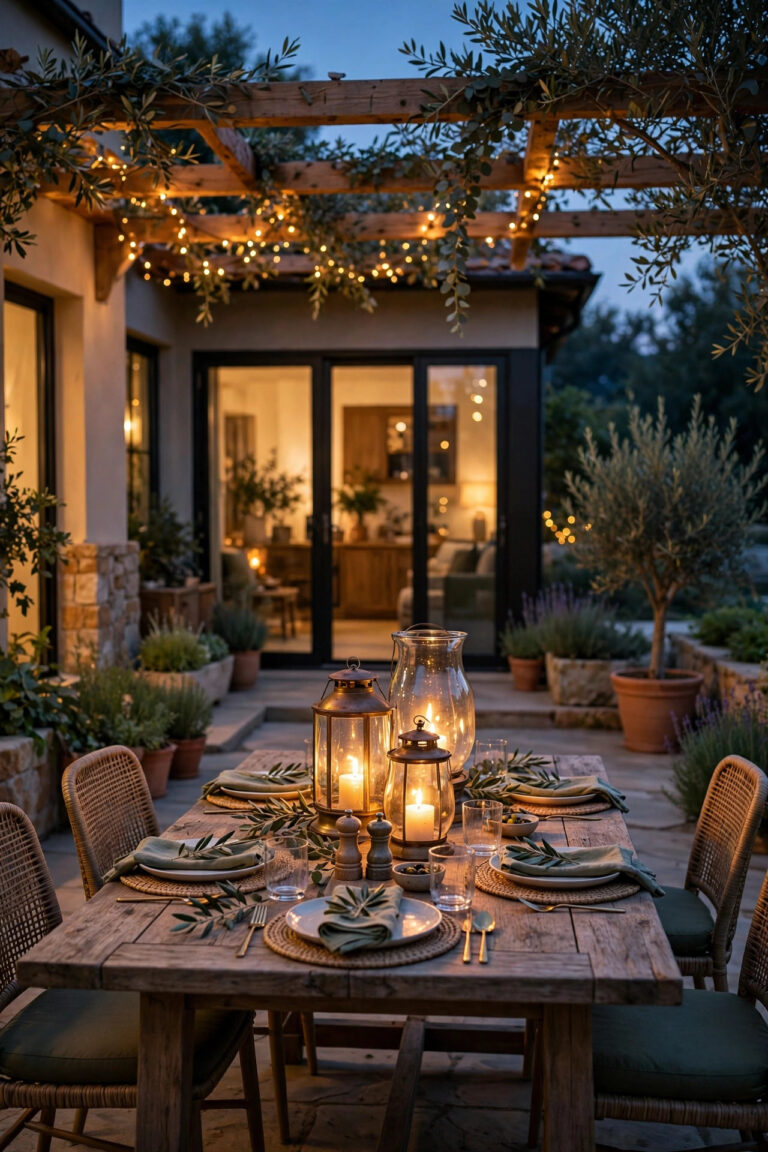
Every spring I hear the same story: someone falls in love with a glowing canopy of cafe lights, buys three strands, walks into their yard… and realizes there is absolutely nothing to hang them from. No trees, no pergola, no fence in the right place — just a wide-open patio and a house wall. That's exactly the problem string light poles solve. A good pole gives you an anchor point anywhere you want one, at the height you want, so the lights can swoop gracefully over a dining table, a fire pit, or a pool deck instead of sagging into someone's hair. In this post I'm sharing 21 pole and post setups I've used or recommended, from permanent buried wood posts to no-dig planter poles renters can take with them when they move. As always, think in layers: poles create the canopy, and a few path lights or lanterns underneath finish the scene. Pick the style that matches how permanent you want to be, and let's get you glowing.
1. Buried 4×4 Wood Posts in Concrete: The Permanent Classic
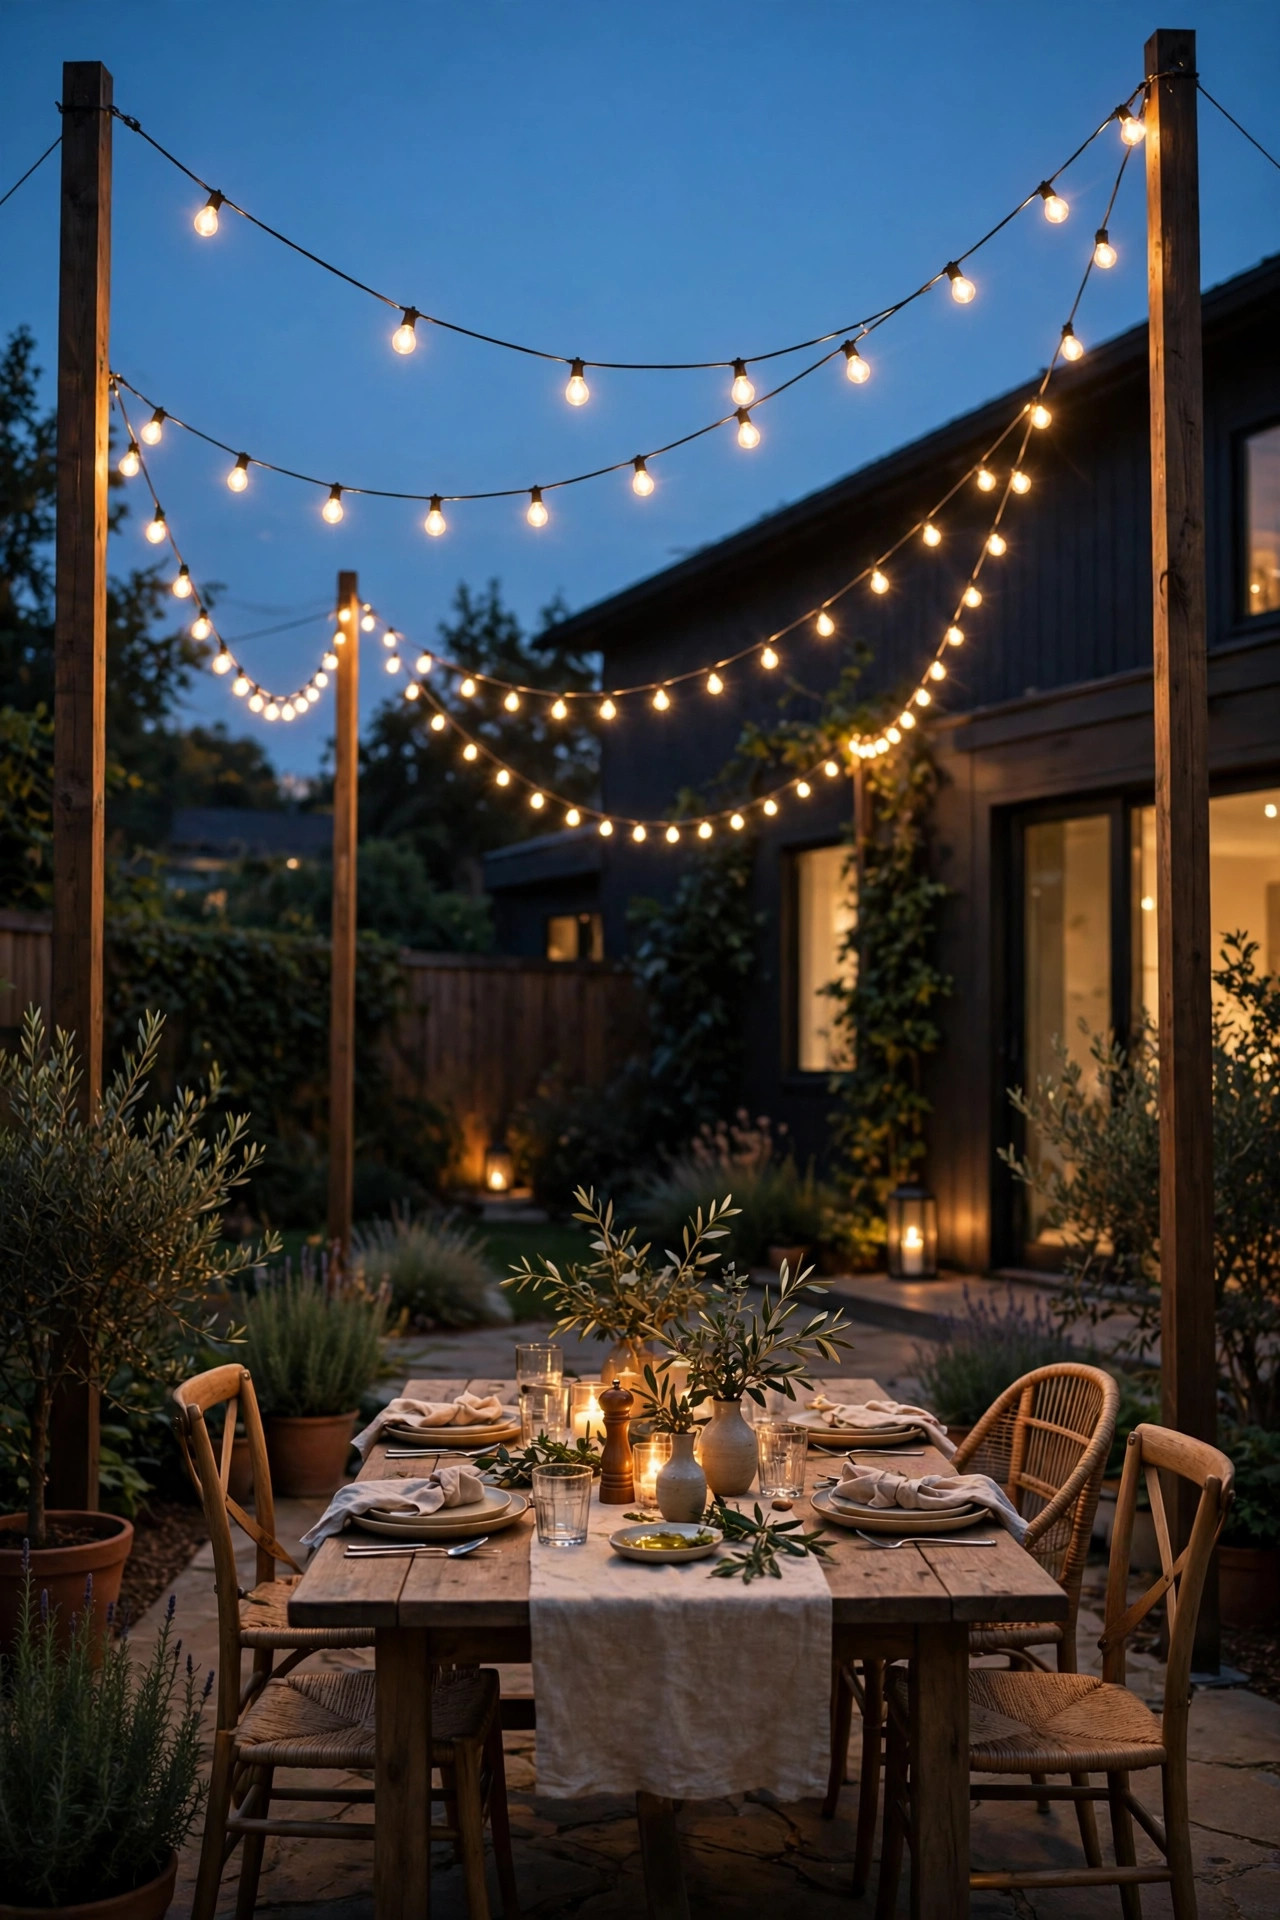
If you own your home and know your layout isn't changing, this is the setup I recommend most. A pressure-treated 4×4 post, 10 or 12 feet long, buried about 2 feet deep in a bag of concrete, gives you an 8-to-10-foot anchor that will hold heavy commercial-grade strands for a decade. Dig the hole a few inches wider than the post, drop in some gravel for drainage, plumb the post with a level, and brace it while the concrete sets. I top each post with a screw eye or a small cup hook rated for outdoor use, positioned so the cable clips in cleanly. Space posts 10 to 15 feet apart for that gentle swag — farther apart and even good cable sags more than you'll like. Cedar and redwood cost more but weather beautifully; pressure-treated pine is the budget workhorse, and you can stain it to match your fence. One honest note: call 811 before you dig, every time. Hitting a buried line turns a $40 project into a very bad weekend. This is the gold standard every other idea on this list is measured against.
Suggested budget range: $25 – $50.

2. Wood Posts in DIY Concrete Planter Boxes
This is my favorite middle ground: nearly as sturdy as buried posts, but you can rearrange them, take them when you move, and they double as planters. Build or buy a sturdy planter box at least 18 inches square — bigger is more stable — set a 4×4 or 2×4 post in the center, pour concrete around the base inside the box, then top it off with soil and flowers once it cures. The concrete does the real work; a finished planter typically weighs 80 to 120 pounds, which is plenty of ballast for a 9-foot pole. Cascading flowers or a small ornamental grass softening the base makes the whole thing look designed rather than improvised. In my experience, these shine along patio edges where you can't dig because of pavers or a slab. Just remember the golden rule of weighted poles: the taller the pole, the wider and heavier the base needs to be. A 10-foot pole in a skinny 12-inch pot is a tipping hazard in the first thunderstorm, so size the planter generously and you'll sleep fine.
Suggested budget range: $40 – $85.

3. Store-Bought String Light Poles With Forked Ground Stakes
Don't want to mix concrete or build anything? Purpose-built metal string light poles have gotten genuinely good. Most are steel poles, 9 to 10 feet tall, that assemble in two or three sections and anchor with a long forked stake — two or three prongs you push or step into the ground. The fork design resists twisting and leaning far better than a single spike, and in reasonably firm soil they hold a standard strand without drama. I like them for lawn seating areas and garden parties because you can pull them up in minutes when the season ends. A few honest tips: they perform best in soil that isn't pure sand or freshly tilled mulch, and spans should stay modest — 10 feet or so — since the pole flexes more than wood. If your ground is soft, push the fork in at a very slight angle away from the direction of pull, which locks it tighter under tension. Keep a rubber mallet in the garage for installation; stepping them in with your full weight works too, but a mallet is kinder to your knees.
Suggested budget range: $30 – $60.
4. Metal Poles With Fillable Weighted Bases
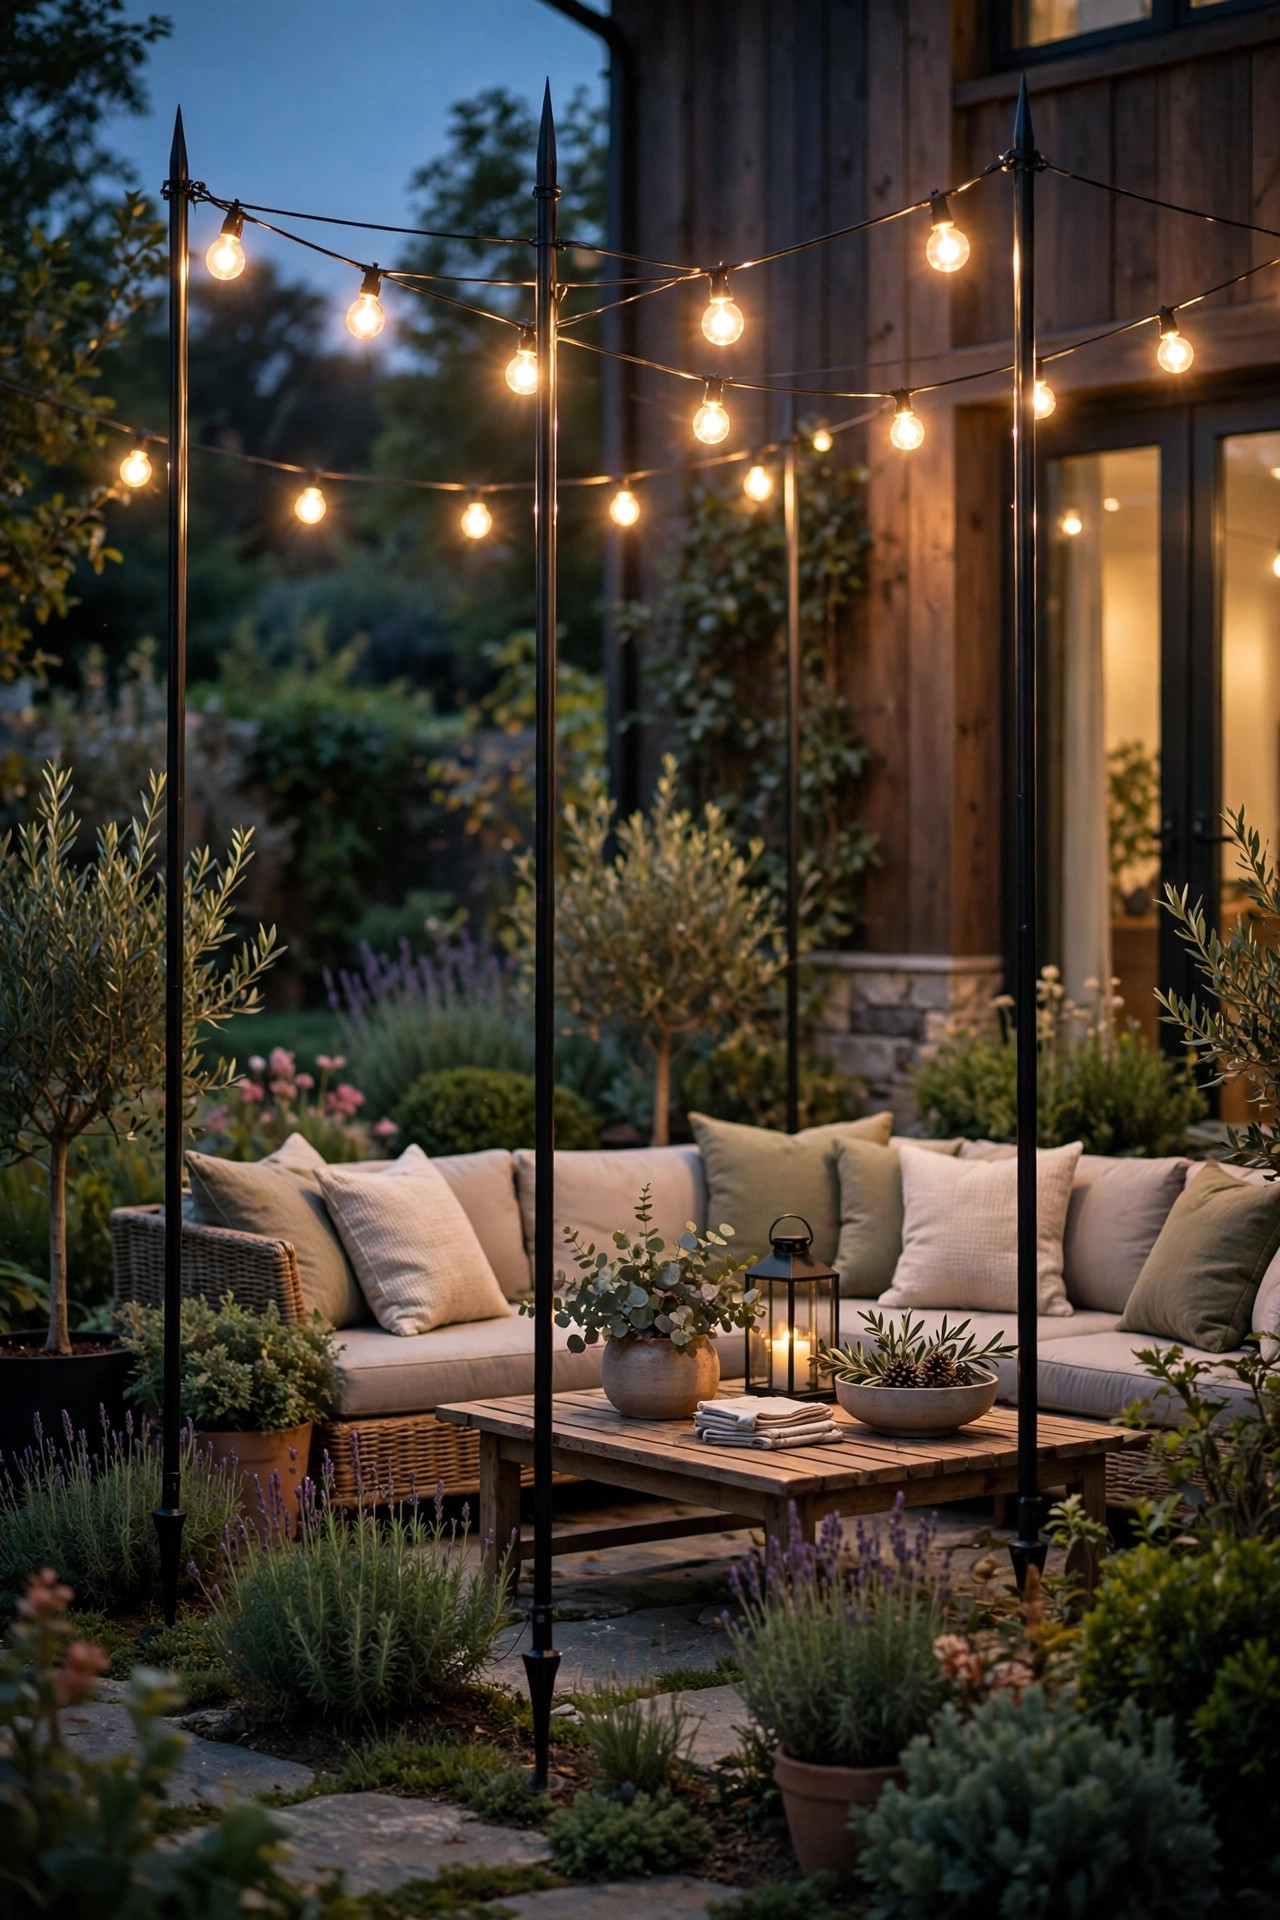
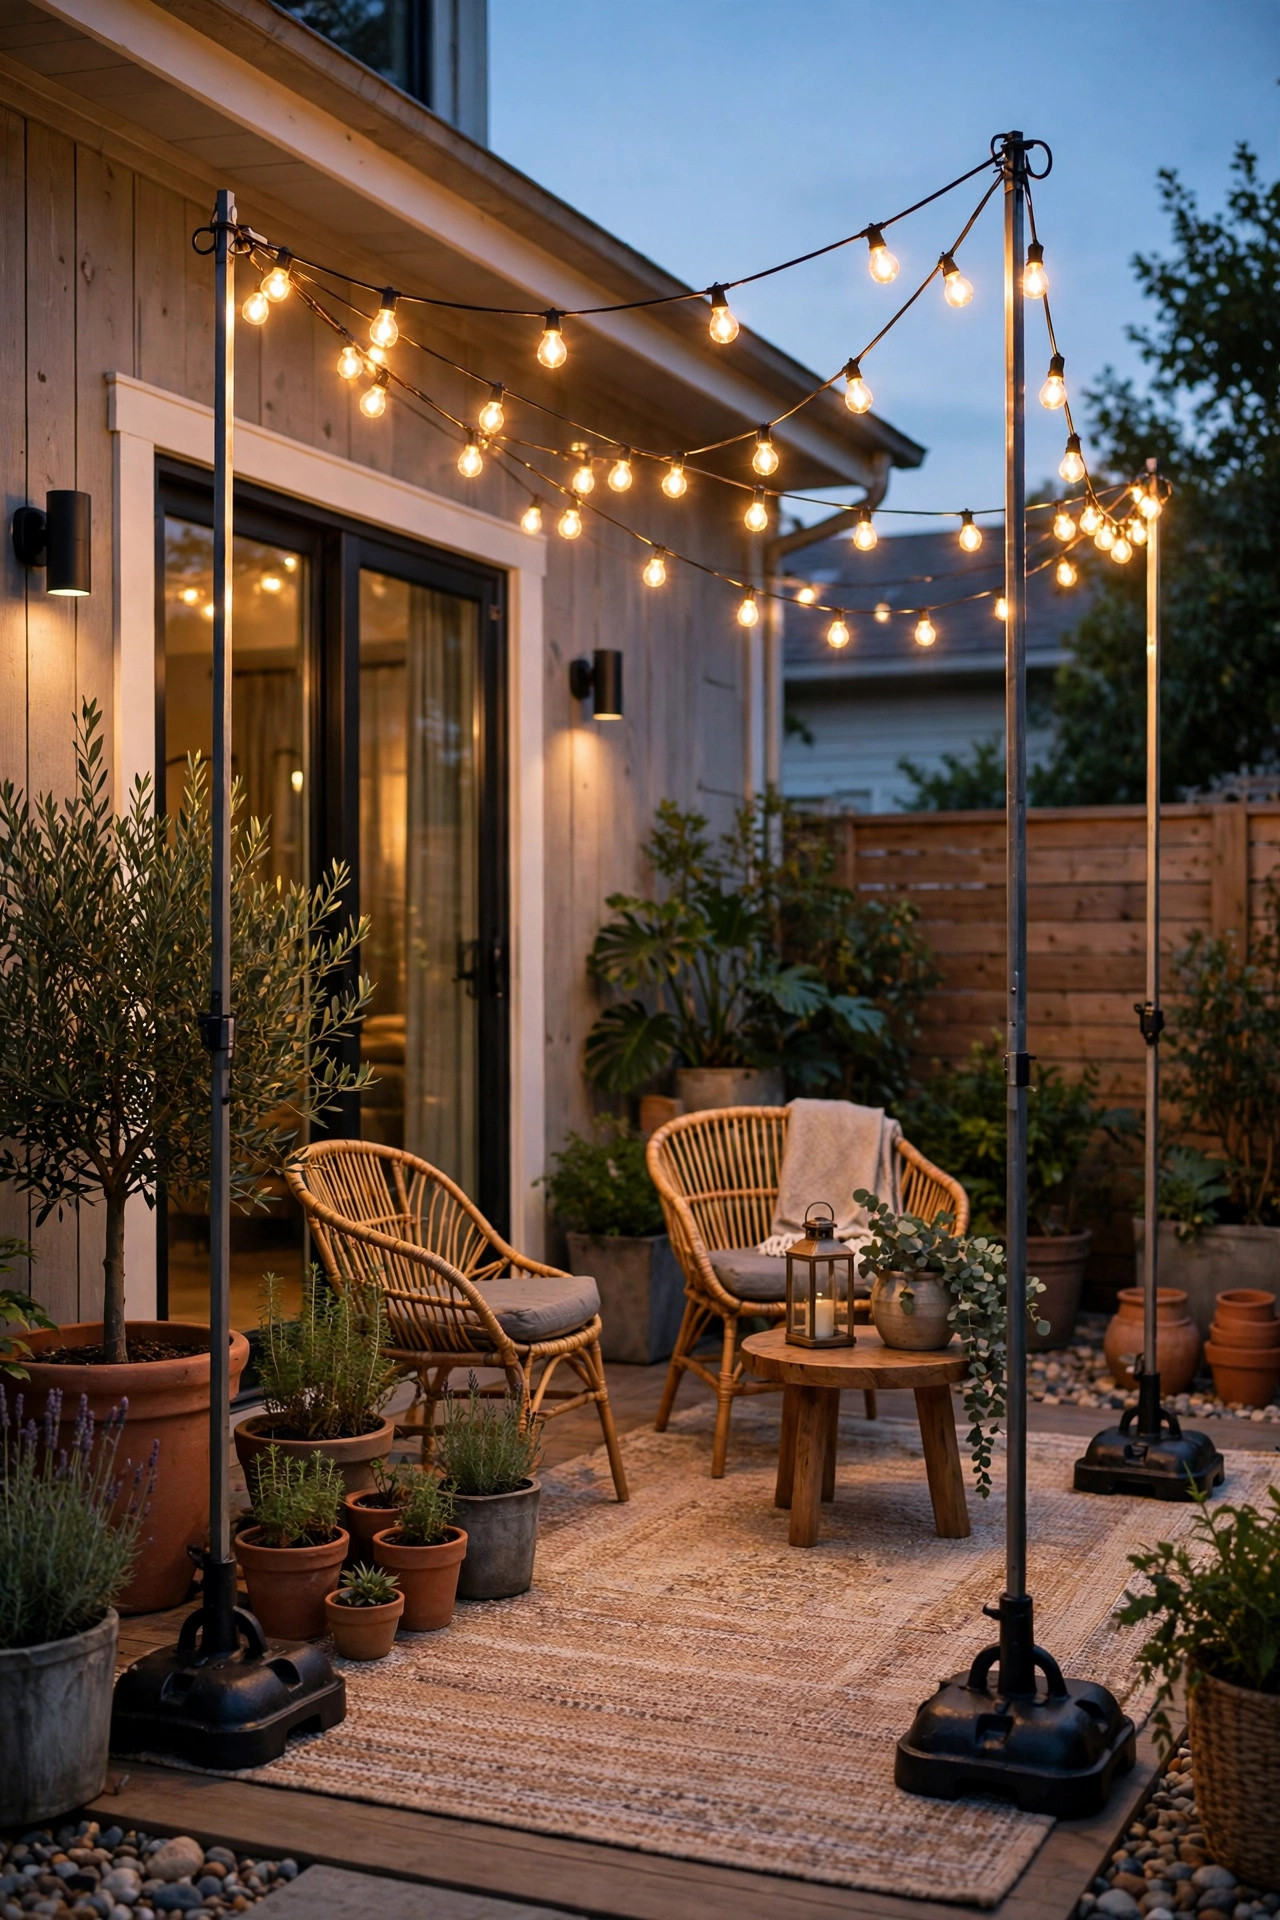
Think of these as the patio-umbrella solution applied to string lights: a steel pole that drops into a heavy, hollow base you fill with sand or water. They're made for hard surfaces — concrete patios, pool decks, driveways, rooftops — where nothing can be staked or dug. A sand-filled base usually lands between 40 and 60 pounds, heavy enough for a pole around 8 to 9 feet carrying a light-to-medium strand. I use these most on slab patios where planter posts would eat too much floor space, because the base footprint is slim and tucks neatly into a corner. Two cautions from experience: water-filled bases need draining before a hard freeze, or they'll crack, and on very smooth surfaces a strong gust can scoot a base an inch at a time — a rubber mat underneath stops the creep. Stack the look by choosing black or bronze finishes to match your furniture, and honestly, from three feet away most guests will never notice the base at all. The lights are the show; the pole is just the stagehand.
Suggested budget range: $50 – $90.

5. Five-Gallon Bucket Poles: The Cheerful Budget Workhorse
Yes, the humble bucket. A 5-gallon bucket, a post or sturdy dowel, and a bag of quick-set concrete make a perfectly serviceable portable pole for about the price of a pizza — and I've used this exact setup for birthday parties, a wedding reception in a rented field, and one very memorable Halloween. Sink the post into wet concrete inside the bucket, let it cure a full day, and dress the bucket up however you like: wrap it in burlap, paint it, drop it inside a larger decorative pot, or surround it with potted mums so it disappears. Total weight lands around 50 to 60 pounds, which handles an 8-foot pole and a standard strand in calm weather. Because buckets are top-narrow, they are the least wind-stable option on this list, so I keep bucket poles for events and sheltered corners rather than season-long installs in exposed yards. When the party's over they stack in the garage corner and wait for the next one. Cheap, cheerful, and genuinely effective — there's a reason this trick never dies.
Suggested budget range: $15 – $30.
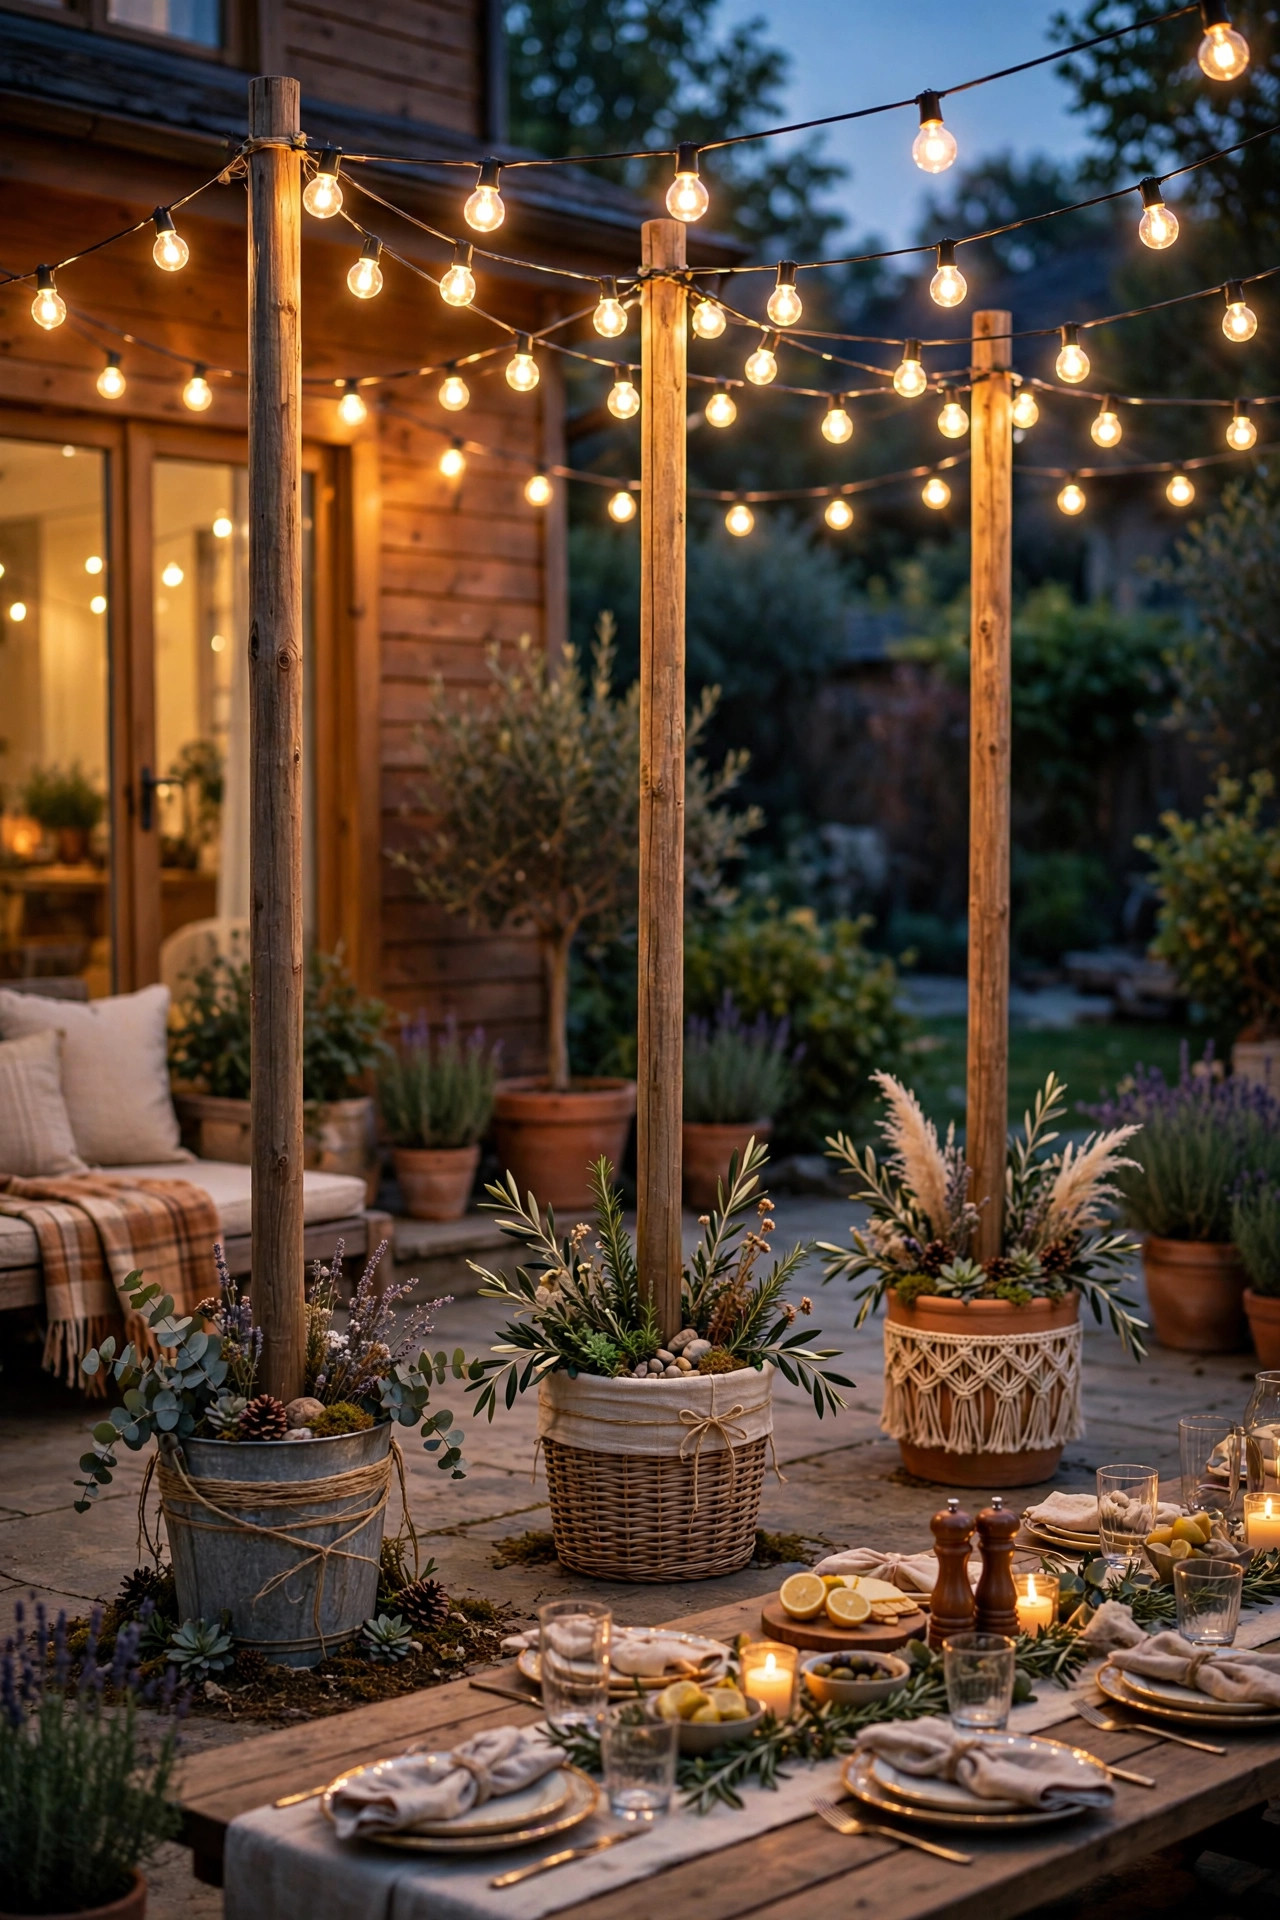
6. Half Whiskey Barrel Planter Poles
If the planter-post idea appeals to you but raw lumber doesn't match your yard's personality, half whiskey barrels are the prettiest ballast I know. Those wide, squat barrels are naturally stable — a much lower center of gravity than a tall planter box — and a post set in concrete inside one isn't going anywhere in normal weather. Drill a drainage hole, add the post and concrete, then finish with soil and something trailing: sweet potato vine, creeping jenny, or a mound of petunias spilling over the staves. The barrel-and-post combination reads farmhouse in the best way and pairs beautifully with Edison-style bulbs. Expect each finished barrel to weigh well over 100 pounds, so build it where it will live — wheelbarrow it into place before you pour, not after. Real oak barrels cost more; the resin look-alikes are lighter, cheaper, and honestly hard to tell apart once they're planted. Either way, set poles around 8 to 9 feet above the barrel so diners' heads and the lowest swag of lights keep a comfortable distance apart.
Suggested budget range: $45 – $90.
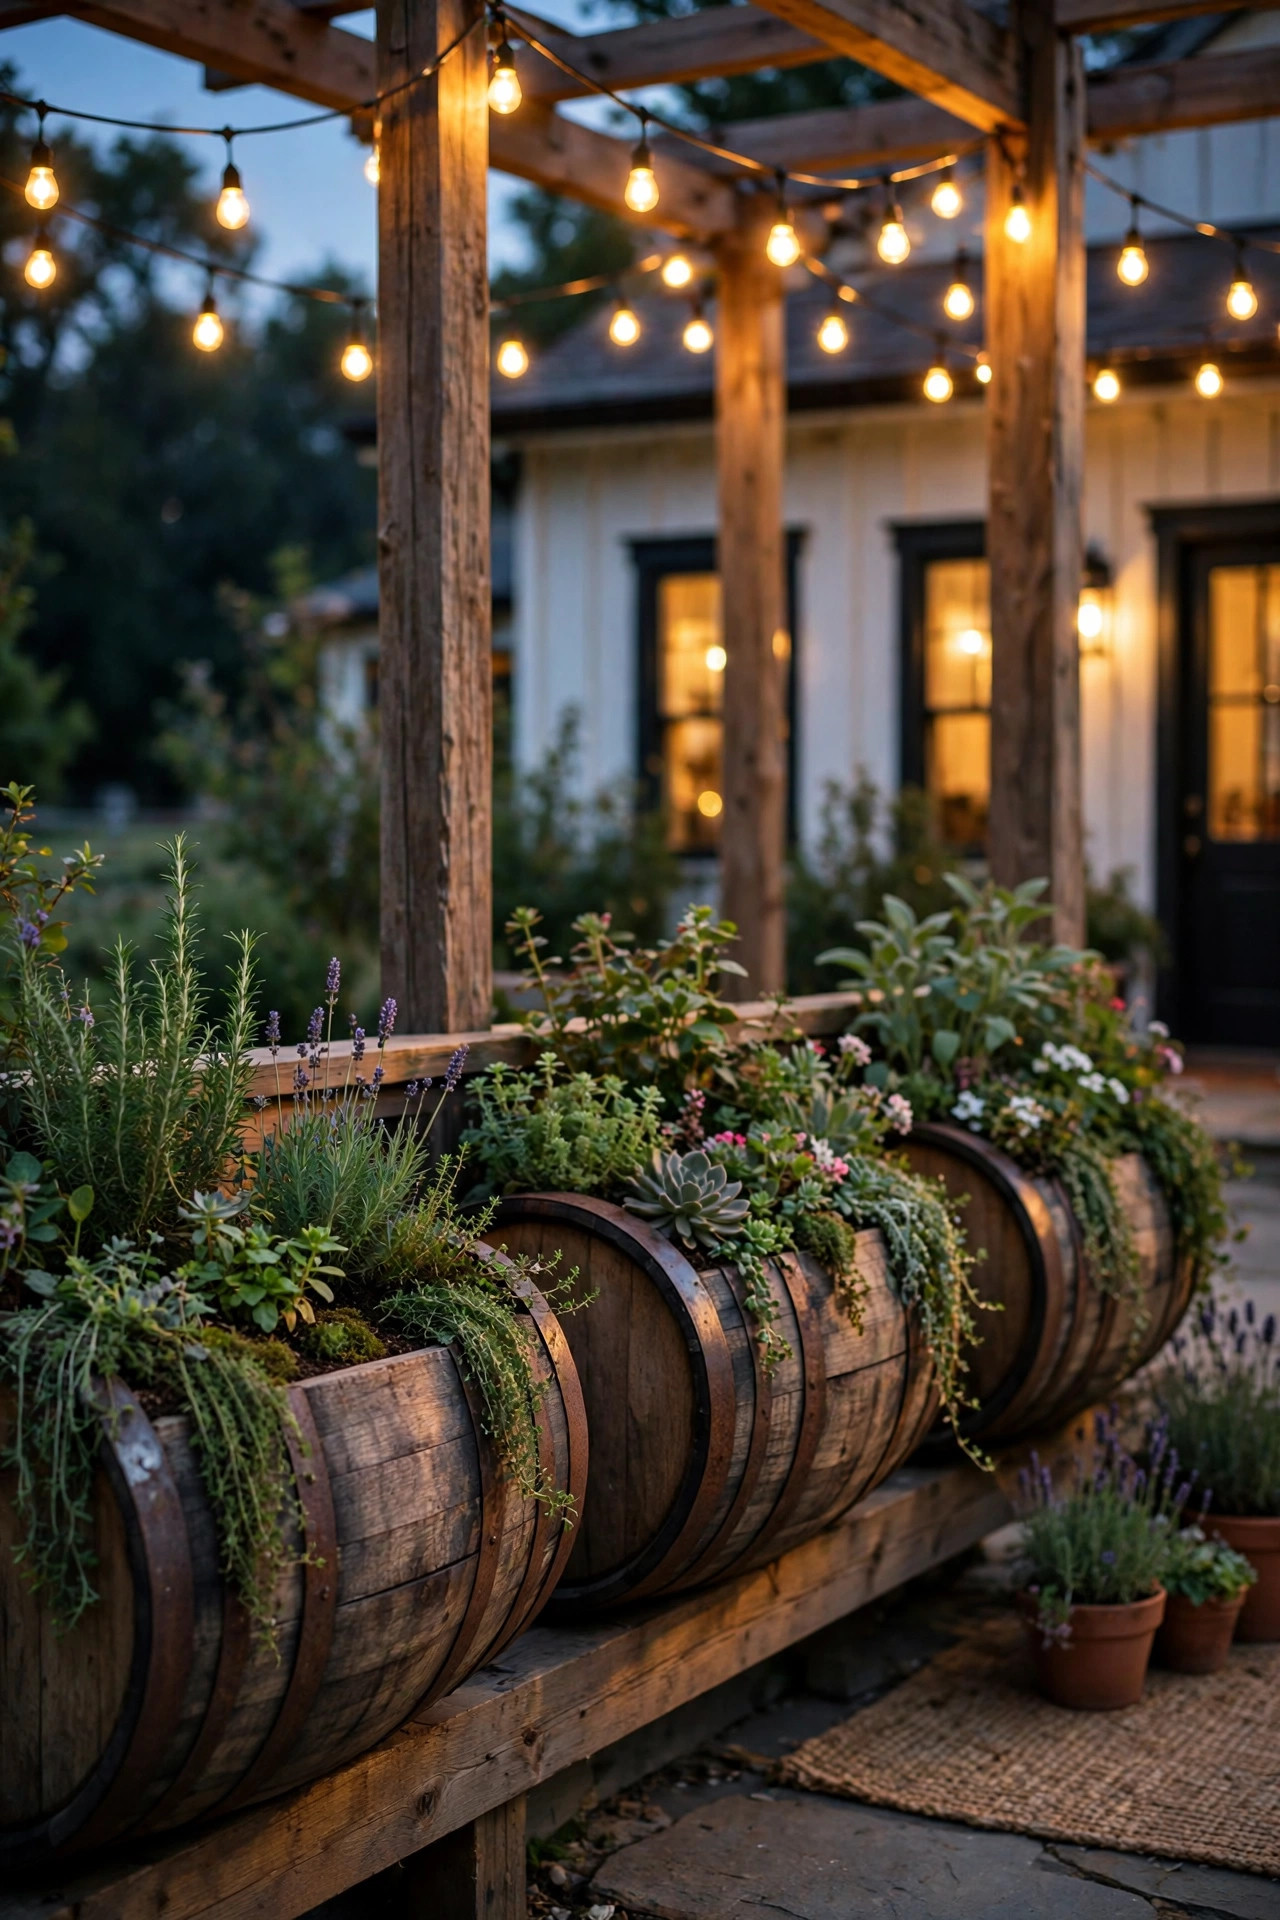
7. Poles Clamped to a Deck Railing
Deck owners, this one's for you: some of the sturdiest anchors in your yard are already built. Pole-and-clamp kits — and plenty of DIY versions using strut clamps or U-bolts — fasten a vertical pole directly to your deck's railing posts or rim joist, so the lights rise above the deck without touching the ground at all. A 4-foot extension above a standard railing puts the lights right around 8 feet over the deck boards, which is the sweet spot over a dining set. Because the deck structure carries the load, these setups feel rock solid compared to any freestanding option, and they keep your deck floor completely clear. Do check the connection honestly before trusting it: grab the pole and give it a firm shake. Any wobble at the clamp multiplies at the top. I'll also add a soft-grip or rubber-lined clamp if your railing is composite or freshly painted, so you don't trade pretty lights for scarred rails. At season's end, two bolts and the whole thing comes down for storage. Renters with a tolerant landlord, take note — this leaves zero holes in the ground.
Suggested budget range: $35 – $70.

8. Poles Mounted Along the Fence Line
A fence is a long, strong structure that just happens to sit at exactly the height where string lights want an anchor. Mounting a short pole or a simple angled bracket on top of each fence post extends your reach to 8 or 9 feet and lets the lights run along the yard's edge or zigzag from fence to house. I use stainless lag bolts into the fence post itself — never into the pickets, which are too thin to hold tension — and a screw eye at the top of each extension. This approach is quick, inexpensive, and keeps poles completely out of the lawn, which your mower will thank you for. The one layout rule: string lights pull sideways on their anchors, so brace the end posts of a long run, or keep individual spans under about 15 feet. Vinyl fences need a gentler touch — clamp-on brackets that grip the post without drilling are the way to go there. Honestly, if your yard is fully fenced, this might be the only idea you need: anchor to the fence on two sides and the house on the third, and skip freestanding poles altogether.
Suggested budget range: $20 – $45.

9. Galvanized Conduit Poles in Ground Sleeves
This is the handyperson's elegant solution, and it's the one I installed at my own house. Sink a short length of larger-diameter PVC or metal pipe into the ground as a permanent sleeve — concrete it in flush with the lawn — then slide a galvanized steel conduit pole, typically three-quarter or one-inch EMT, down into it. The pole lifts out in seconds for mowing, storms, or winter storage, leaving nothing above grass level to trip over. A 10-foot conduit pole in a 2-foot sleeve is surprisingly rigid, and a bolt through both sleeve and pole near the top stops any rotation. EMT conduit is cheap, straight, and takes spray paint beautifully if galvanized gray isn't your look. One real-world note: keep a cap on empty sleeves so they don't fill with water and debris, and in freezing climates a sleeve full of water can crack — a few inches of gravel at the bottom gives it somewhere to drain. If you like clean yards and clever hardware, this system disappears better than any other on the list.
Suggested budget range: $20 – $40.

10. PVC Pipe Poles: The Ultra-Budget DIY
When the budget is truly tiny or the need is one weekend long, PVC pipe delivers. A length of 1.5 or 2-inch Schedule 40 PVC, set in a bucket of concrete or a planter, makes a lightweight 8-to-9-foot pole for a few dollars. Left white it looks like plumbing, but a coat of spray paint made for plastic — matte black or oil-rubbed bronze — transforms it completely; guests will assume it's metal until they touch it. Here's what experience taught me: PVC flexes, a lot, especially in summer heat. Keep spans short, use lightweight LED strands rather than heavy commercial cable, and if a pole bows more than you like, slide a wooden dowel or a length of rebar inside it for a hidden spine. That dowel trick doubles the stiffness for pocket change. PVC also won't rust, rot, or need sealing, which makes it a fine choice for pool areas and coastal yards where metal gives up early. It may be the least glamorous material here, but a painted PVC pole holding a perfect swag of warm light over your table looks exactly as magical as any other — the bulbs do the showing off.
Suggested budget range: $10 – $25.

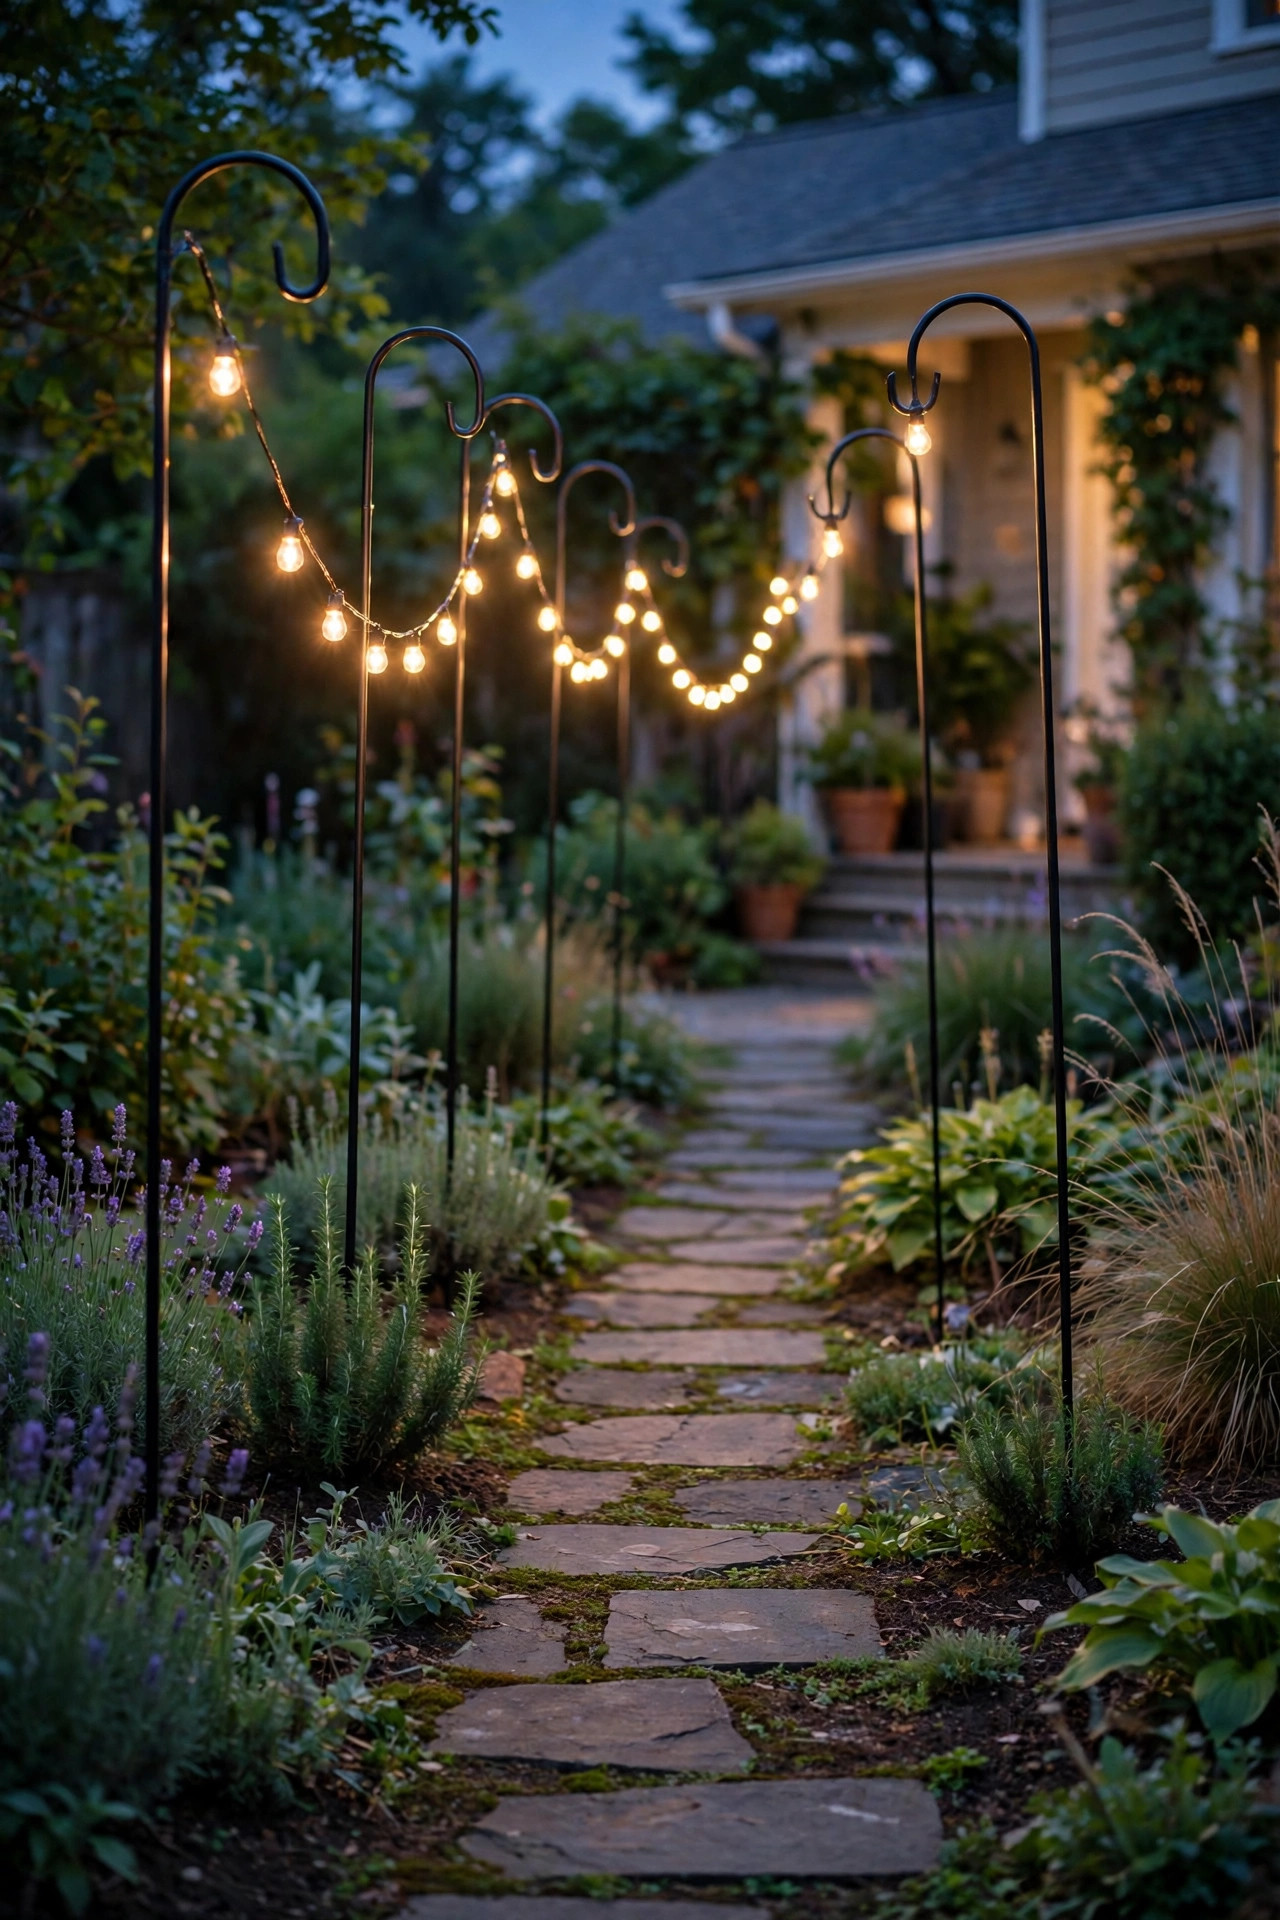
11. Tall Shepherd's Hooks as Light-Duty Poles
For a single strand along a path, a garden edge, or a small bistro corner, tall shepherd's hooks are the zero-effort answer. The heavy-duty versions stand 7 to 8 feet — a little short for a full canopy, but perfect for draping one light strand along a walkway or framing a bench. Push the double-prong base deep, hang the strand from the hook, and you're done in five minutes with no tools at all. Where they fail is ambition: a long, heavy span will slowly lean a shepherd's hook toward the load, so keep runs short and strands lightweight, or anchor two hooks and split the span. I also use them as mid-span helpers — a hook placed under the lowest point of a long swag lifts the belly of the strand and buys you head clearance over a walkway. Choose forged or thick-steel hooks rather than the thin wire kind; the difference in stiffness is night and day. Because they read as garden ornaments, a row of them along a flower bed looks intentional even in daylight, which is more than I can say for a bucket.
Suggested budget range: $15 – $35.
12. Heavy Umbrella Stands Repurposed as Pole Bases
Somewhere in your garage or on your patio there's probably an umbrella base doing nothing since the umbrella died. Those cast-iron or resin bases — the good ones weigh 40 to 75 pounds — make excellent ready-made pole stands. The trick is matching diameters: most bases accept a pole around 1.5 to 2 inches, and a snug sleeve of PVC or a wrap of rubber shims up anything smaller. Once fitted, you have a flat, stable, genuinely movable pole that works on any hard surface and rolls or slides to wherever the party is. I keep two of these for exactly that flexibility — dinner on the patio Friday, lights over the lawn games Saturday. Because the base is low and wide, these are calmer in wind than buckets of similar weight, though I'll repeat the standing advice: taller pole, heavier base, always. If you're buying rather than repurposing, look for the heaviest base your budget allows and a tightening knob on the collar — that knob is what keeps the pole from slowly spinning and sagging your strand sideways overnight.
Suggested budget range: $30 – $70.

13. Telescoping and Adjustable-Height Poles
Not sure how high you want your lights? Adjustable poles let you experiment. These are usually aluminum or steel poles with cam locks or twist collars that extend anywhere from about 5 to 10 feet, so the same pole can light a low, intimate fire-pit circle one weekend and a tall, airy canopy over the whole patio the next. Photographers' light stands and flag-pole-style telescoping masts get repurposed for this all the time, and dedicated string light versions exist too. The practical advantage I love most: you can lower a pole to clip lights on while standing on the ground, then raise it into place — no ladder, no stretching, no dropped strand in the dirt. Just respect the physics: the higher you extend a telescoping pole, the more it flexes, so the top section should carry the lightest loads. And in a real storm, collapsing them takes two minutes and removes the sail entirely. For indecisive decorators and multi-use yards, adjustability isn't a gimmick — it's the feature you'll use most.
Suggested budget range: $40 – $85.

14. Bamboo Pole Clusters for a Boho Backyard
If your style leans natural and a little wild, bamboo poles are pure charm. Thick bamboo culms — 2 inches or more in diameter — are surprisingly strong for their weight, and a cluster of three poles lashed together at the top makes a sculptural tripod anchor with serious boho credentials. Set the tripod feet in planters or stake them into the soil, run the strand from the lashing point, and let a few extra short poles with lanterns fill in underneath. Bamboo takes stain and weatherproofing oil well, and a fresh coat each spring keeps it golden instead of gray. Honest durability note: bamboo is a natural material living outdoors, so expect two to four good seasons before a pole splits or softens — but at this price, replacing one is a shrug, not a crisis. Buy poles rated for outdoor or fencing use rather than thin garden stakes, and store them under cover in winter if your climate is harsh. Paired with globe lights and a few paper lanterns, a bamboo tripod turns a plain corner into the spot everyone drifts toward at golden hour.
Suggested budget range: $15 – $35.

15. A Four-Post Pergola Frame, Minus the Roof
Sometimes the right answer is to build the structure the lights were dreaming of. Four buried posts — wood 4x4s or 6x6s — connected by simple top rails create a pergola frame without the full pergola price or the shade roof, and the lights zigzag across the open top in that classic restaurant-patio pattern. Because the posts are tied together, the whole frame is far stronger than four independent poles, so it shrugs off longer spans and heavier commercial strands. It also defines a room: dining area, outdoor living room, hot tub surround — the frame tells everyone where the evening happens. I won't pretend this is a Saturday-morning project; it's a weekend or two of digging, leveling, and ladder work, and the budget reflects real lumber. But of everything on this list, it's the one that adds actual structure and value to the yard. Leave the top open, or add a retractable canopy cloth later if you fall in love. Plant a climbing rose or jasmine at one post and by next summer the frame starts disappearing into the garden, which is exactly the goal.
Suggested budget range: $180 – $450.
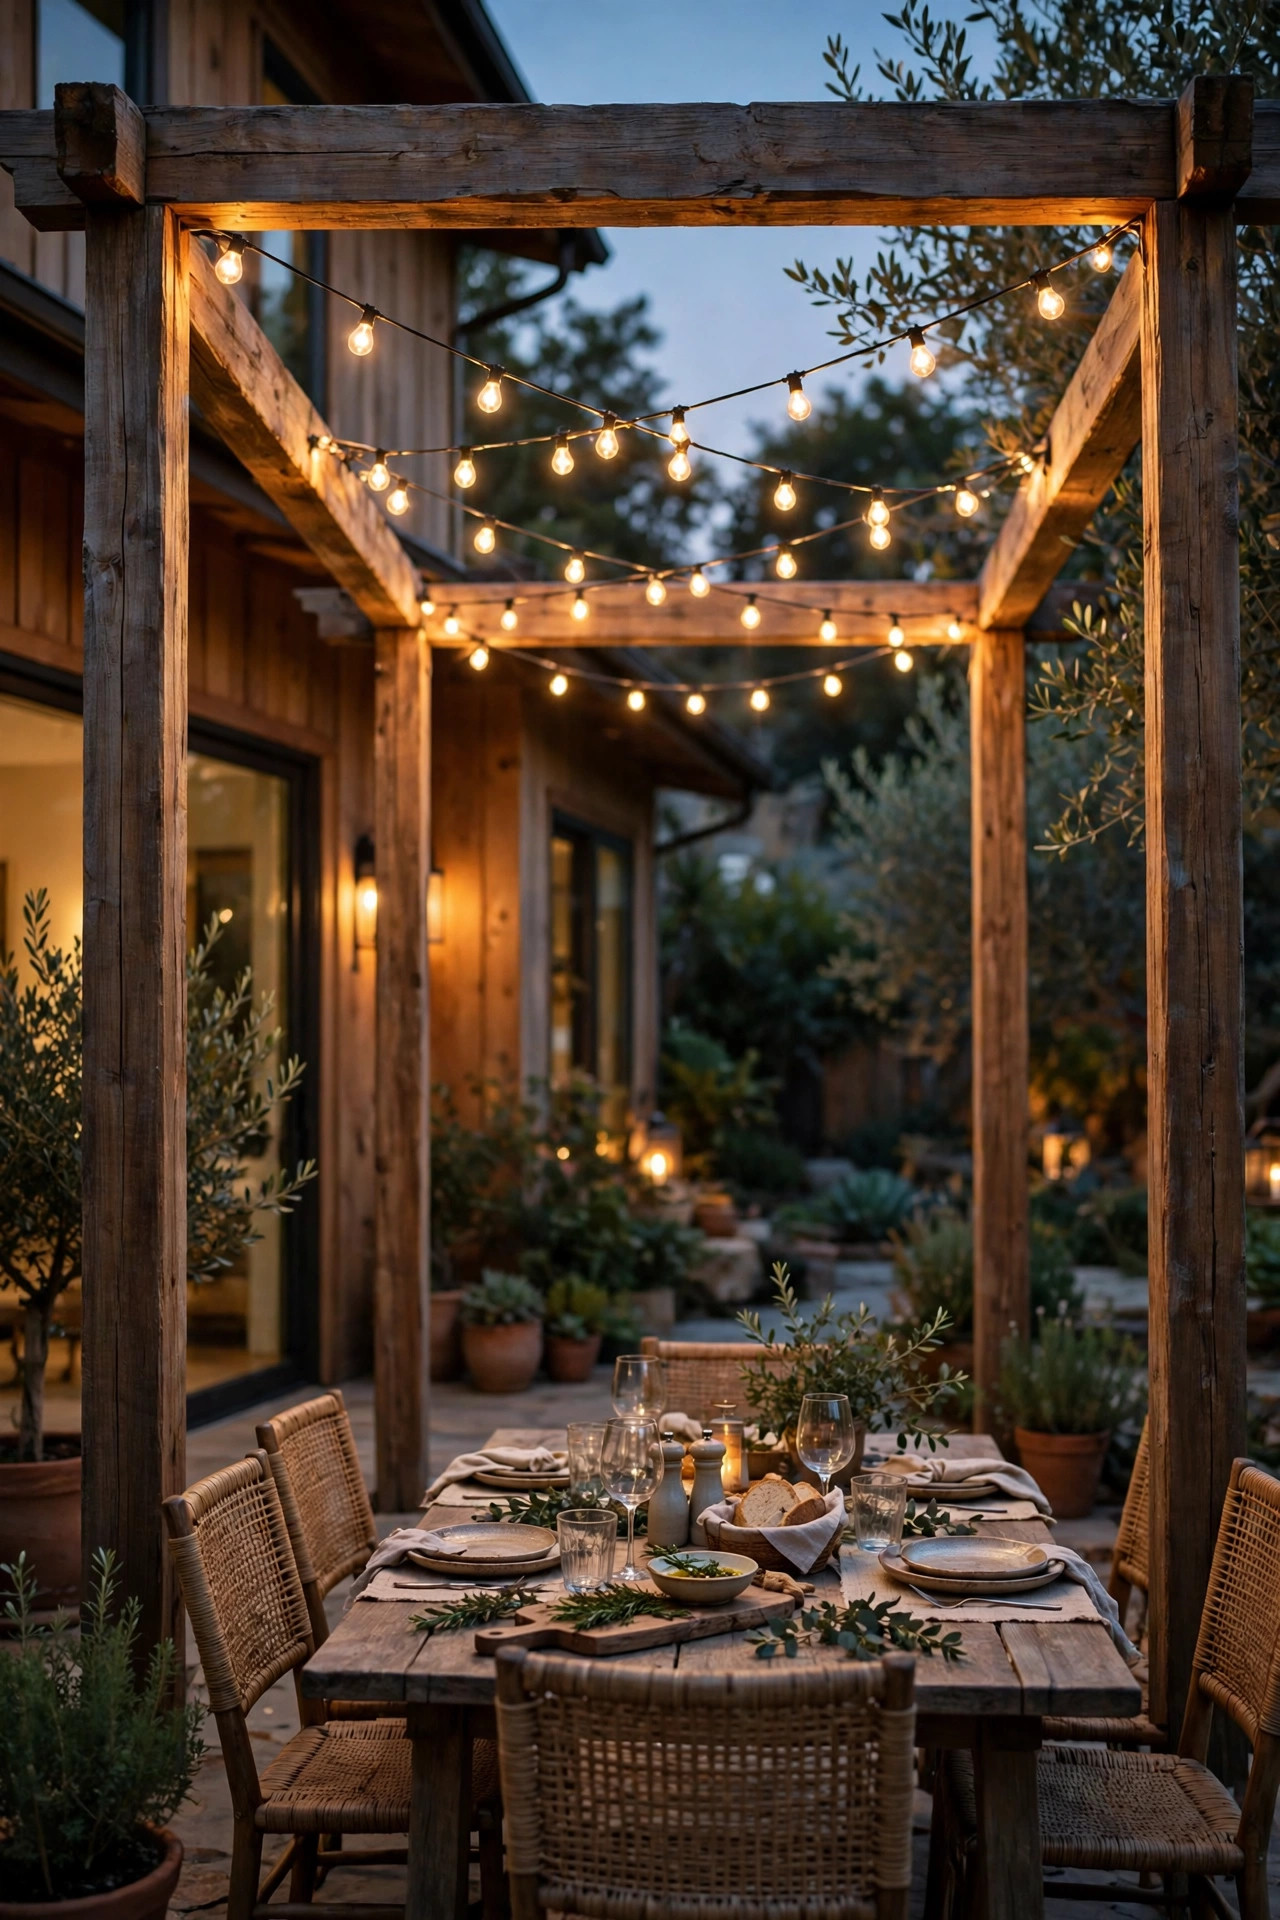
16. The Two-Pole Corner: Let the House Be the Third Anchor
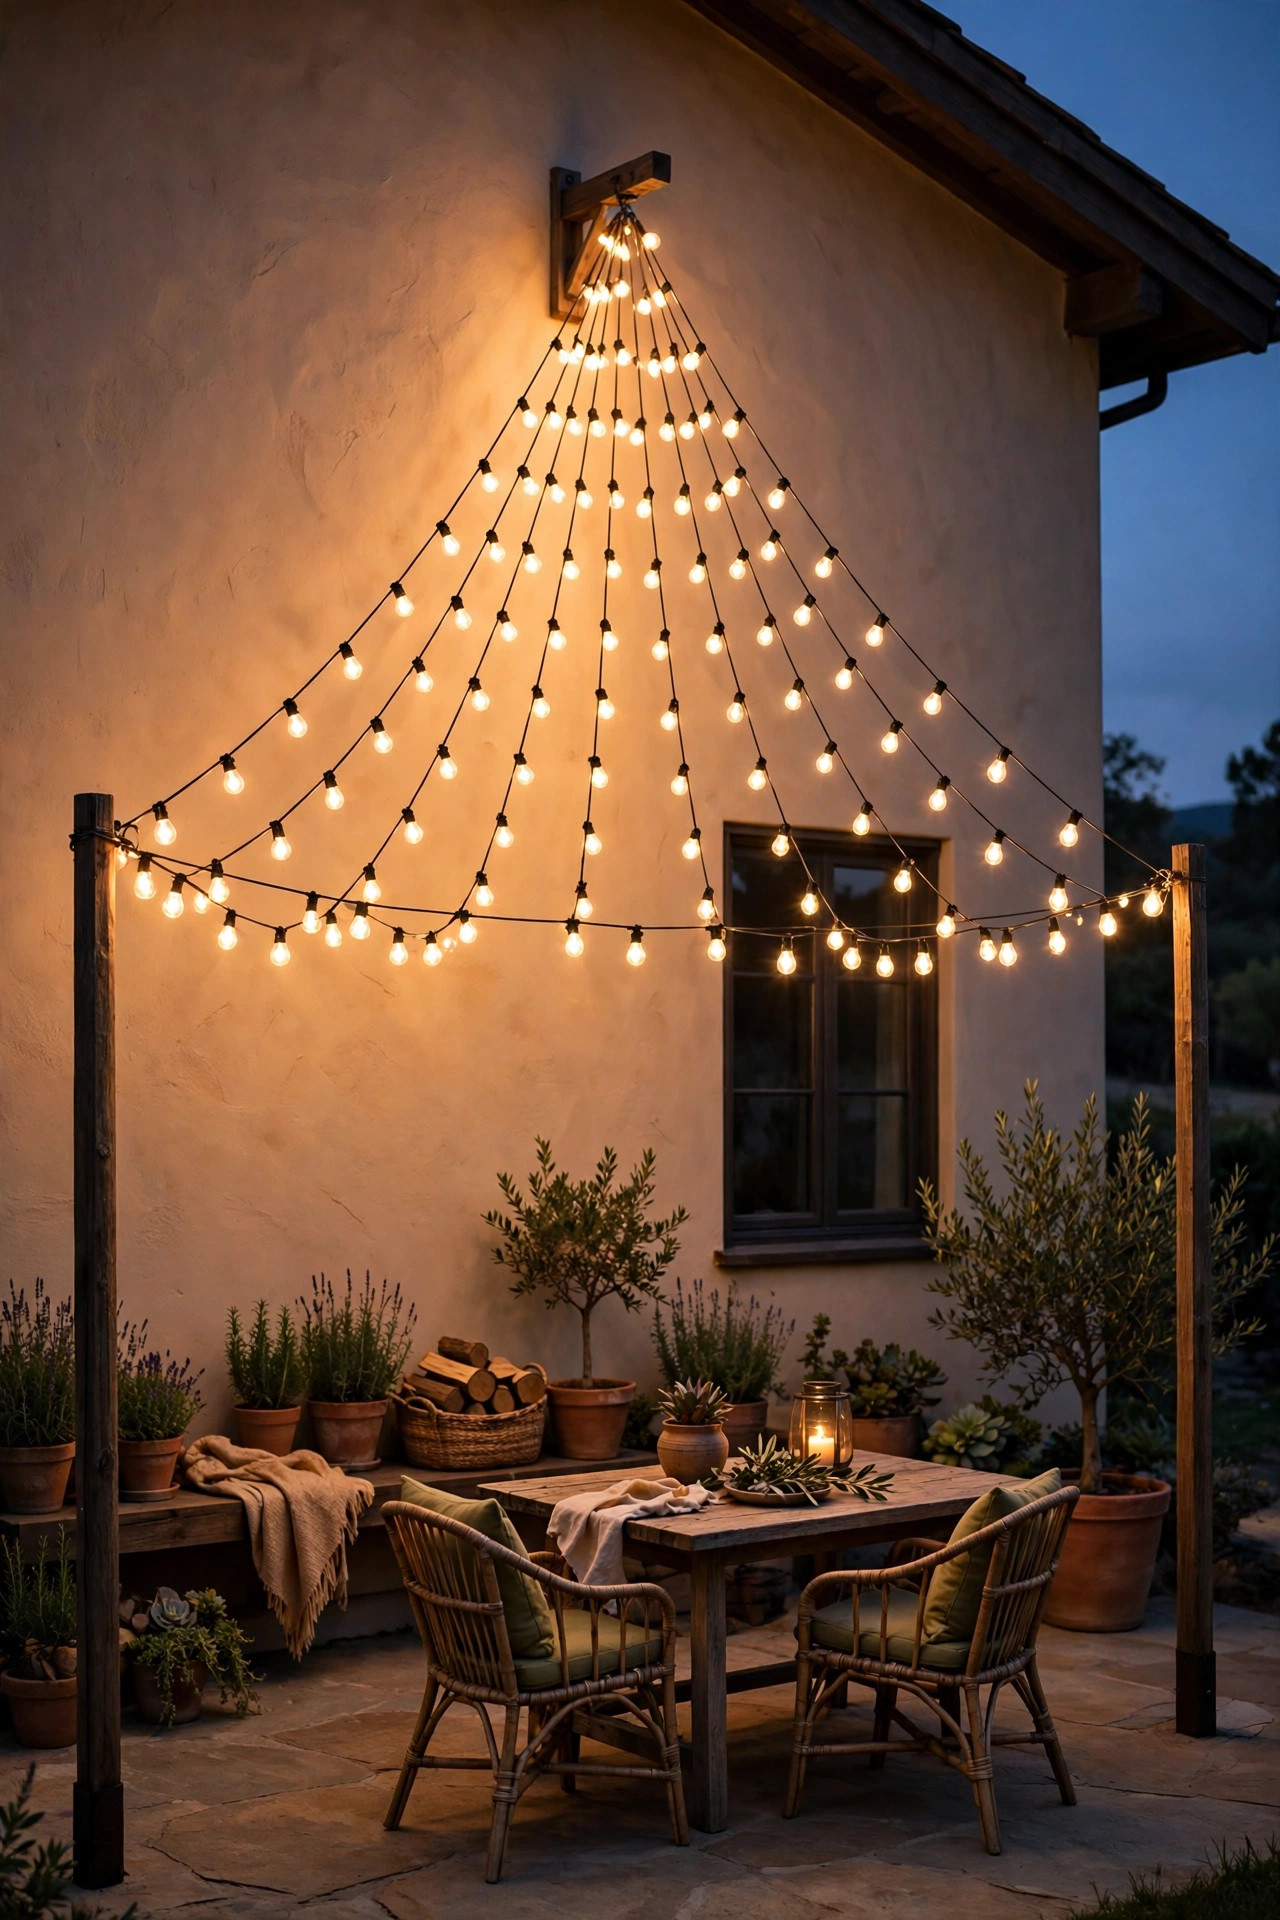
Here's the layout I suggest most often for a standard patio, because most people need fewer poles than they think. Your house wall is a tall, immovable anchor — use it. Install a sturdy screw eye or a small wall plate into the house framing near the roofline, then set just two poles at the patio's outer corners, and run the strands in a V or a fan from the house out to each pole. Two good poles do the work of four, the fan pattern looks deliberate and generous, and the highest point of the canopy sits over the middle of the patio where you want it. Attaching to the house does come with homework: find solid framing or masonry behind the siding, seal the penetration with exterior caulk, and if your home has fiber-cement or brick, use the right anchors for the material. My full walkthrough of clips, tension, and strand layouts is in my outdoor string lights guide, and it's worth a read before you drill anything. Fewer poles, less digging, less money — and honestly, the fan pattern photographs better than a grid.
Suggested budget range: $50 – $120.
17. Stepped-Height String Light Poles for Sloped Yards
Sloped yards break the standard advice, because three identical poles on a hill give you a canopy that tilts like a funhouse. The fix is to step the poles: taller poles on the low side of the slope, shorter ones uphill, so the tops land at roughly the same elevation and the strands run level. In practice that might mean a 10-foot pole at the bottom of the yard and an 8-foot pole at the top, with your dining area enjoying a flat, even ceiling of light. Measure from a shared reference — a laser level at dusk is the satisfying way, a friend holding a string line is the free way — rather than trusting your eyes, because slopes lie. Buried or planter poles both work; the math matters more than the style. One more slope-specific caution: weighted bases belong on the level patio, not on the grade itself, since a base on a slope is already halfway to tipping downhill. Get the heights right and a tricky yard becomes the most dramatic lighting on the block, terraced and glowing.
Suggested budget range: $30 – $60.

18. Guy-Wired Poles for Long, Ambitious Spans
The moment you want a strand to cross 20 or 25 feet of open lawn — over a pool, a volleyball court, a big fire-pit circle — a lone pole stops being enough, and guy wires become your best friend. A slim steel cable or weatherproof cord runs from the top of the pole down to a ground anchor a few feet behind it, on the opposite side of the pull, turning a bendy pole into a braced mast. Tent-style screw-in earth anchors hold astonishingly well, and the wire itself nearly disappears after dark. This is how event venues hang those soaring festival canopies, scaled down for a backyard. Keep tension snug but not guitar-string tight, and put a bright ribbon or a small solar marker on each wire for the first few weeks — everyone, including you, will walk into an invisible guy wire exactly once otherwise. If you're stringing a dedicated support cable for the lights to clip onto — a catenary wire — the guy wires carry that load too. It's the most engineered idea here, and the one that unlocks the biggest, boldest layouts.
Suggested budget range: $35 – $65.

19. Planter Poles With Climbing Vines and Flowers
Why should a pole just be a pole? Wrap the base planter with something alive and the whole anchor turns into a garden feature. Sweet peas, black-eyed Susan vine, or a mannerly clematis will climb a wood post through the season if you give them a wrap of jute twine or a slim trellis strip to grab, and the flowers weaving up toward the lights at dusk is one of the prettiest sights I know. Keep the planting honest about light: the vine gets the sun, the bulbs are LED and cool to the touch, so there's no scorch risk with a few inches of clearance — but never let foliage grow directly against any bulb or socket, and keep strands clear of dry vegetation in fire-prone areas. Evergreen options like a small clipped boxwood in the planter give winter structure when vines die back. This is the same planter-pole engineering from earlier on this list, just finished with intention: ballast below, beauty above, lights overhead. Neighbors will ask who your landscaper is. The answer is a bag of concrete and a seed packet.
Suggested budget range: $45 – $85.

20. Poles Topped With Solar Lanterns: Light on Two Levels
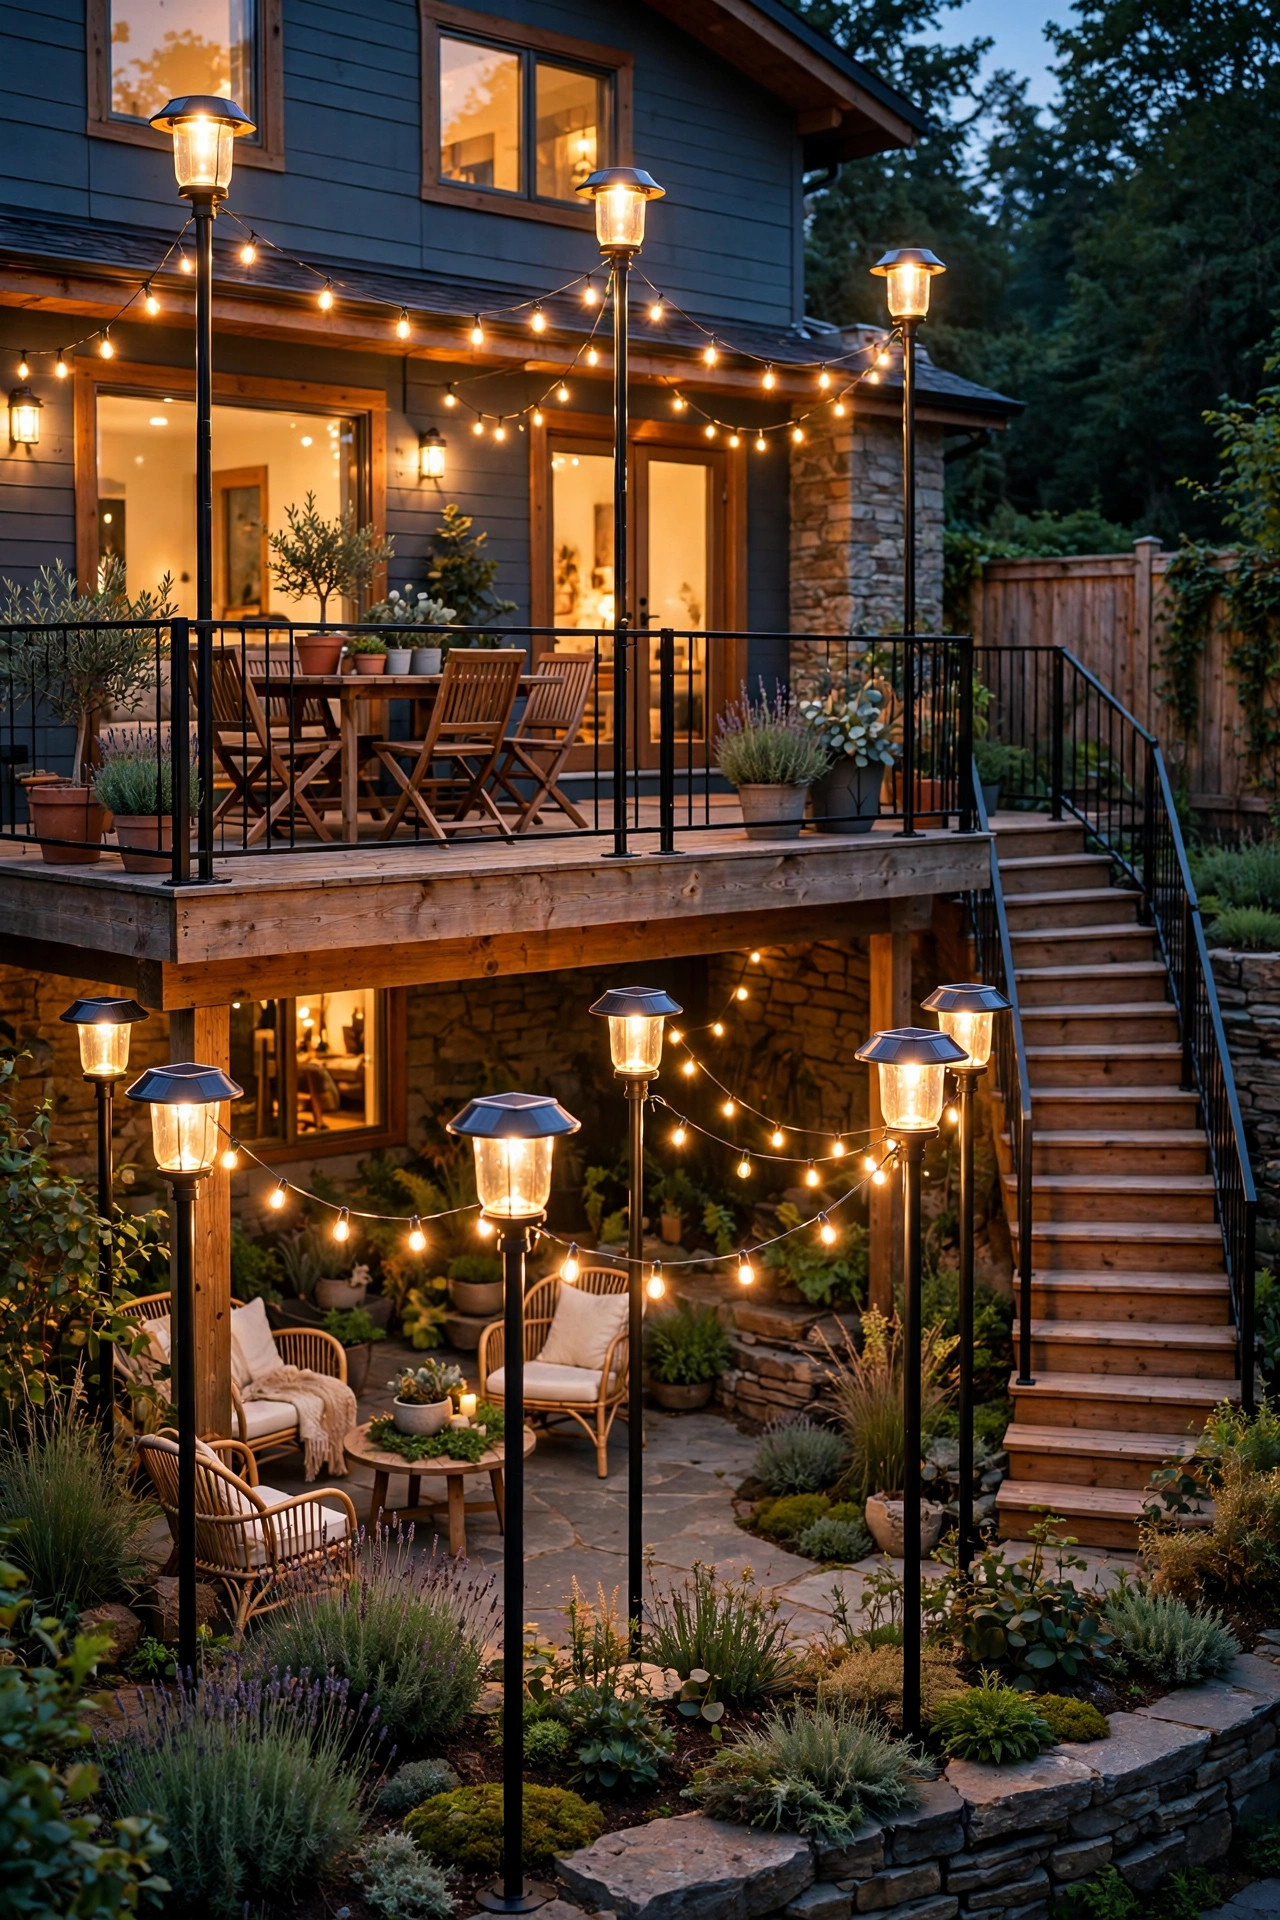
My layering philosophy applies to poles too. A pole that only holds the canopy is doing one job; cap it with a solar lantern or a finial-style solar light and it keeps glowing at eye level even in the spots the strands don't reach. The top light marks each anchor point — genuinely useful at the edge of a dark lawn, where a pole you can't see is a pole you'll walk into — and the doubled glow looks rich and intentional. Solar caps need decent sun, so this idea shines in open yards and sulks in deep shade; in a shady yard, choose a plain cap and get your second layer from path lights instead. If you love the cordless route generally, my roundup of solar string light ideas pairs beautifully with these poles. Mixing sources works best when the color temperature matches, so hunt for solar lanterns in the same warm 2700–3000K family as your strands — mismatched blue-white solar lights next to warm cafe bulbs is the one combination that always looks like a mistake.
Suggested budget range: $40 – $75.
21. The Renter's Lineup: No-Dig Poles You Take With You
Let me close with the setup I'd build in a rental, because "nothing to hang from" and "nothing I'm allowed to dig" is a very common double problem. The lineup: two fillable weighted-base poles for the patio corners, one planter-box pole where you want a soft edge, and a railing clamp if there's a deck — zero holes, zero concrete, zero angry landlord, and every piece loads into a car on moving day. Total investment stays modest, and because nothing is permanent, you can re-test layouts freely until the swags fall exactly where you want them. Two renter-specific tips from experience: photograph your patio before setup if your lease is fussy about modifications, and keep strands on a plug-in timer or smart plug inside a weatherproof outlet box so you're never drilling for a switch. Honestly, some of my favorite yards belong to renters, precisely because every piece was chosen on purpose. When you buy your own place someday, these same poles become the temporary setup while the buried posts from idea #1 go in. Nothing wasted, everything glowing.
Suggested budget range: $120 – $250.
Frequently Asked Questions
How tall should string light poles be?
For most patios, 8 to 10 feet above the ground is the sweet spot. That height lets a strand swag down to about 7 to 7.5 feet at its lowest point — comfortably above heads, even your tallest guest's. Over a dining table you can dip slightly lower for intimacy, around 7 feet at the swag's belly, but over walkways and lawns keep the low point at 7 feet minimum. If your poles will also anchor a shade sail or a second strand crossing the first, go 9 to 10 feet so the layers don't tangle.
How far apart can string light poles be spaced?
With a standard strand clipped directly to the poles, plan on 10 to 15 feet between anchors. Commercial-grade strands on their own built-in cable handle the longer end of that range; lightweight residential strands are happier at 10 feet. For spans beyond 15 feet, run a tensioned support cable — often called a guy wire or catenary wire — between the poles first, and clip the lights to the cable. That keeps the electrical strand from carrying the mechanical load, which is what causes most sagging and socket damage.
Are string light poles safe to leave up in wind and rain?
Yes, with the right setup. Poles should be buried, concreted, or weighted in proportion to their height, and strands should be outdoor-rated with a little slack in the swag — a drum-tight strand transfers every gust straight into your anchors. In a serious storm, unclipping the strands and dropping adjustable poles takes minutes and is worth it. Electrically, plug everything into a GFCI-protected outdoor outlet, use only strands and extension cords rated for outdoor use, and keep connections off the ground where puddles form.
What is the cheapest way to hang string lights without trees?
The bucket pole: a post set in a 5-gallon bucket of concrete costs roughly $15–$30 per anchor and can be built in an afternoon, then dressed up with paint, burlap, or a larger decorative pot. PVC poles run even cheaper if your strands are lightweight. If you'd rather buy than build, forked-stake metal poles are the lowest-cost ready-made option and store flat in winter. Whichever route you choose, spend the savings on good outdoor-rated LED strands — that's where the magic actually comes from.
Conclusion
A yard with nothing to hang from isn't a yard without string lights — it just needs anchors with a little imagination behind them. The best string light poles for you depend on one honest question: how permanent do you want to be? Buried posts if you're staying, planters and weighted bases if you're not, and guy wires if you're dreaming big. Start with two poles and the house wall, live with the glow for a week, then add and adjust — lighting is a layering game, and poles make every layer possible. If you're ready to keep going, browse my patio lighting ideas for more ways to build the scene underneath your new canopy. Now go measure your patio — your first swag is closer than you think.