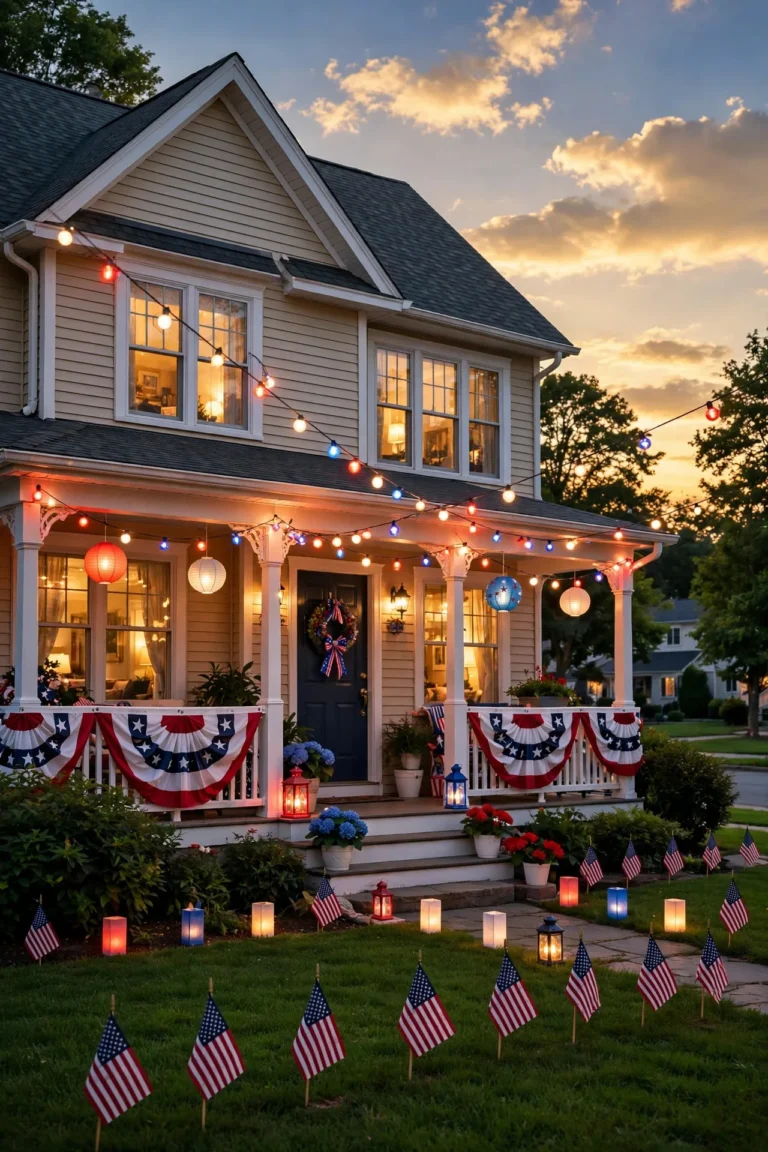
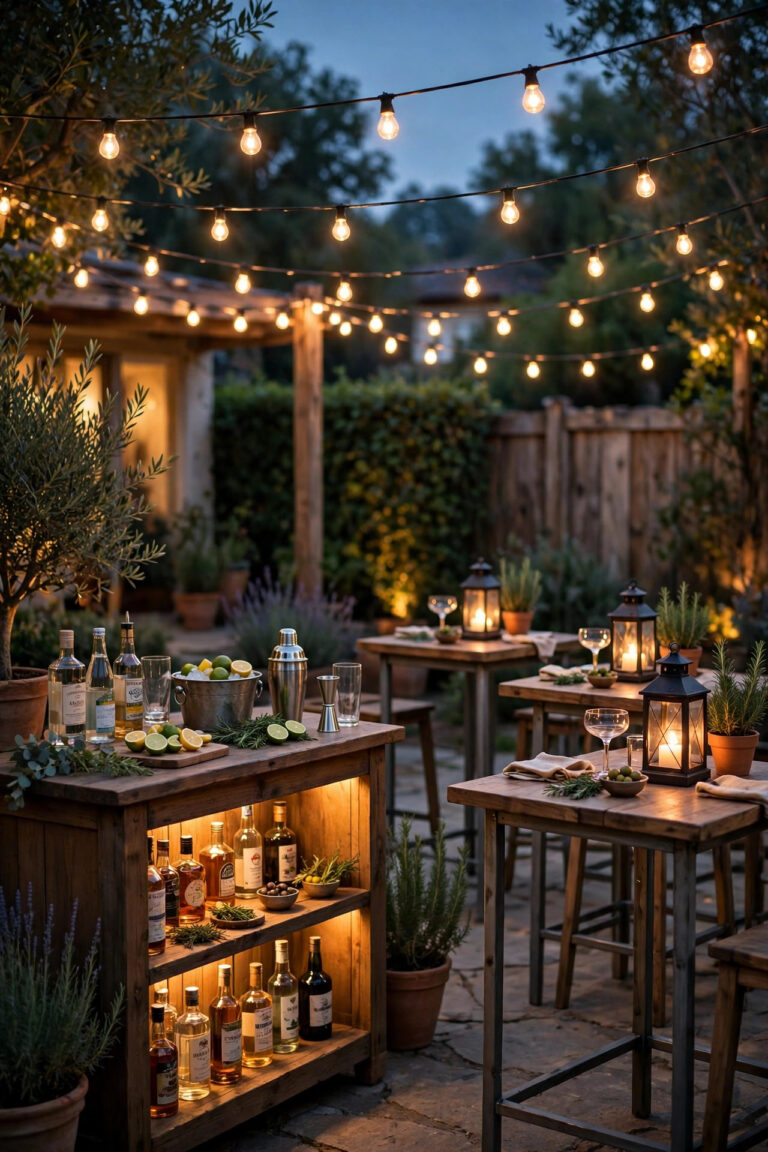
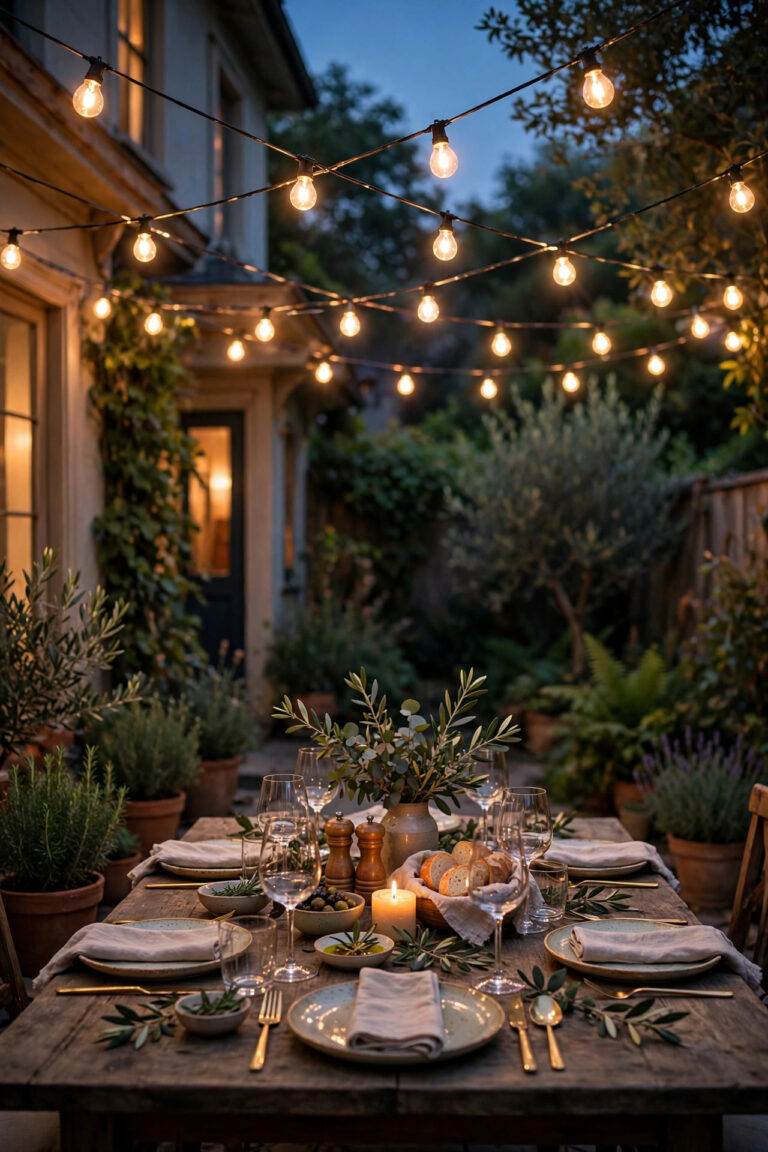
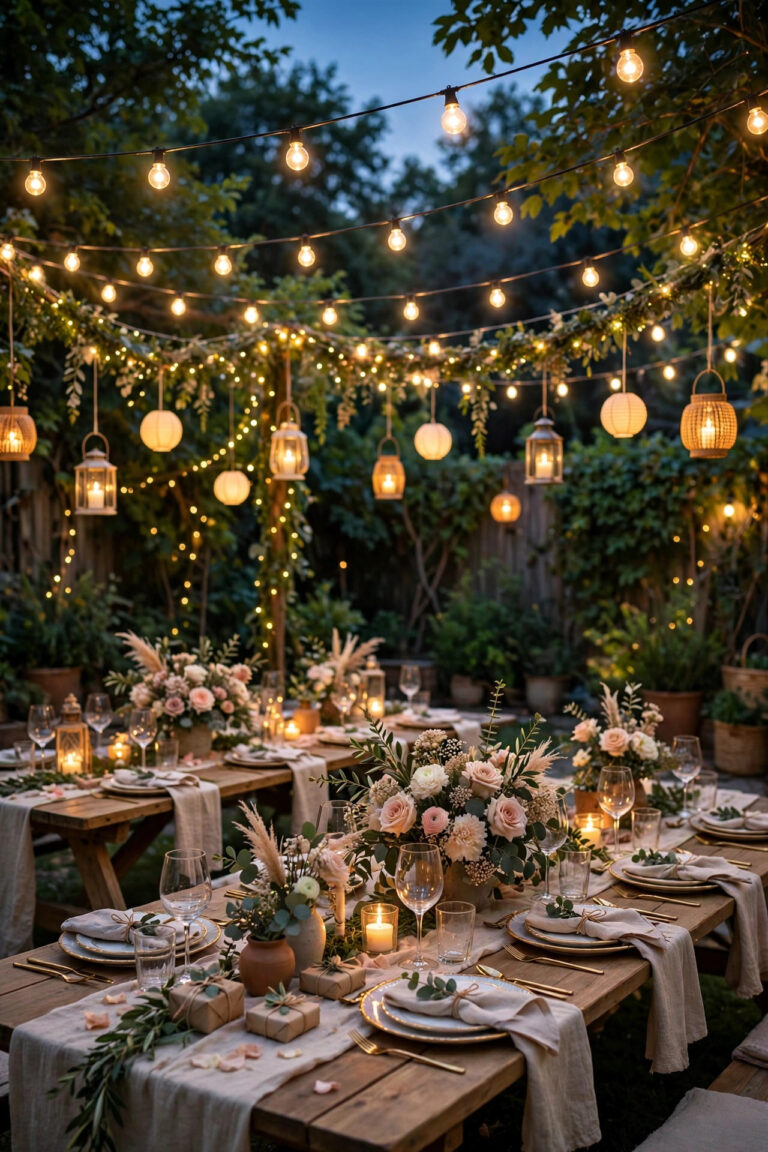
There is a moment just after sunset when a craftsman home either comes alive or disappears into the dark, and the difference is almost always the lighting. My bungalow has the wide porch, the tapered columns, and the low-pitched roof this style is loved for, but for years the yard went flat and shadowy by 7 p.m. These craftsman landscape lighting ideas changed that completely, and they can do the same for your front yard. The secret is layering: soft path light to guide the way, gentle uplighting to show off stonework and trees, and a warm lantern glow at the door that ties it all together. Nothing here needs to be bright or complicated. Craftsman style is about honest materials and warm, welcoming light, so every idea below leans on amber-toned fixtures, sturdy shapes, and placement that feels intentional rather than flashy. I will walk you through 17 ideas, from the walkway to the big shade tree, with real spacing numbers, bulb advice, and a budget range for each one so you can plan the project in a single weekend or build it slowly, layer by layer.
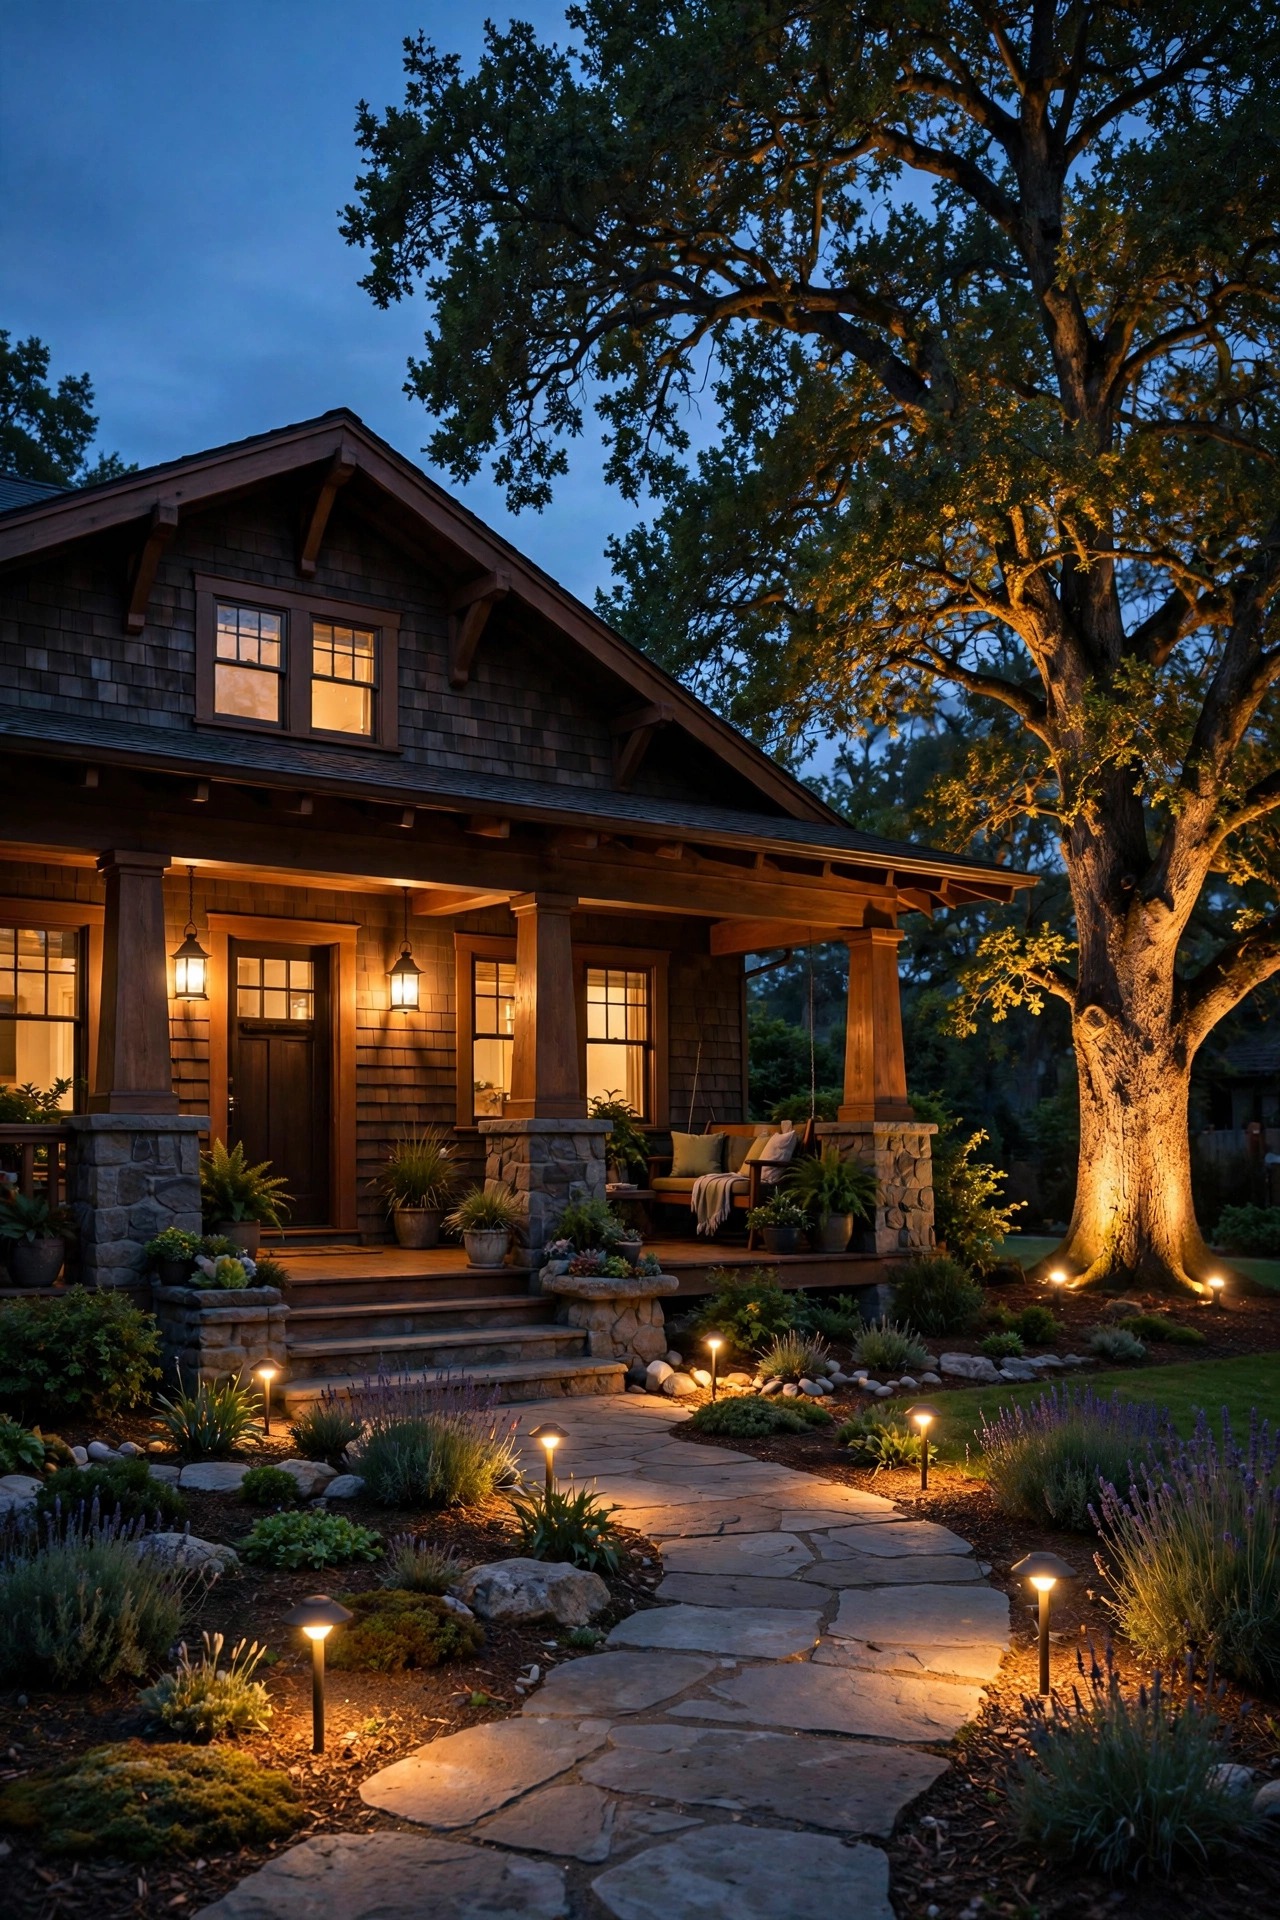
1. Craftsman Landscape Lighting Ideas Start With a Layered Plan
Before you buy a single fixture, stand at the curb at dusk and divide your yard into three layers. The first is guidance light: the walkway, steps, and driveway edge, so guests can move safely. The second is welcome light: the porch and front door, the warm pool of light that says someone is home. The third is accent light: the tree, the stonework, the flower beds, everything that gives a craftsman yard its character after dark. When I sketch a plan, I assign every fixture to one layer and make sure no layer is missing, because a yard with only path lights looks like a runway and a yard with only accents leaves guests guessing at the steps. Count your fixtures, add up the wattage, and size your low-voltage transformer with about 20 percent headroom for future additions. If you want a deeper walkthrough before you start, my guide to front yard landscape lighting covers layout basics that pair beautifully with the ideas below. A simple pencil sketch now saves a lot of re-digging later, honestly.
Suggested budget range: $75 – $250.
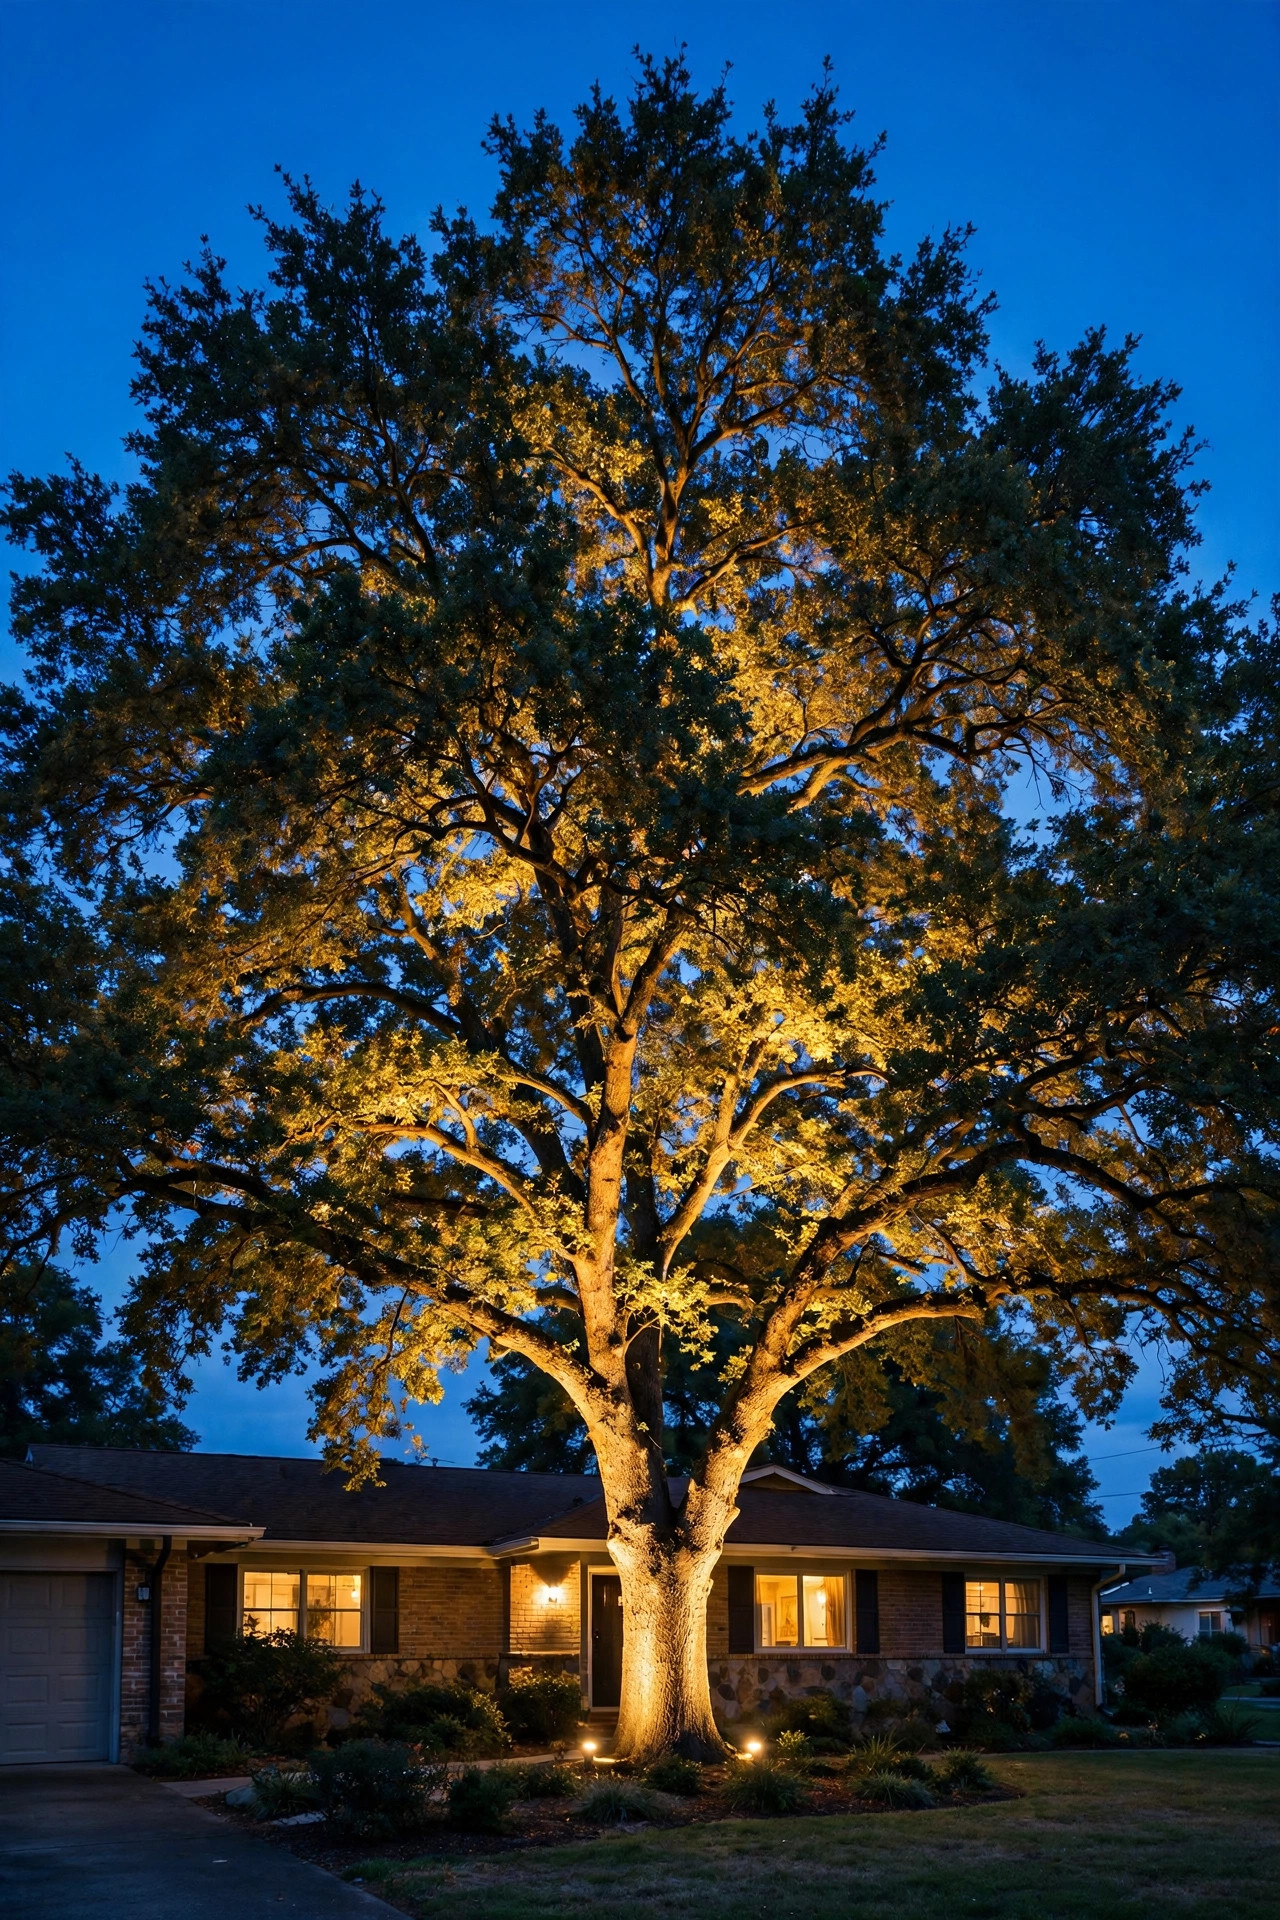
2. Uplight the Big Shade Tree
Every craftsman yard I love has one mature tree doing the heavy lifting, and a single well-placed uplight turns it into the whole neighborhood's favorite silhouette. I use an in-ground well light or a sturdy stake-mounted spot placed 12 to 18 inches from the trunk, aimed up into the canopy at about a 30-degree angle. A 2700K LED with a 36-degree beam spread works for most oaks and maples; narrower beams suit tall, slim trees. Keep the fixture a few inches back from the mulch ring so the light grazes the bark texture instead of blasting a hot spot at the base. If the canopy is wide, two lights crossed from opposite sides fill in the shadows and keep the tree from looking lopsided. This is also the one spot where I skip solar, because most solar spots simply cannot throw light 20 feet into branches. For more placement angles and fixture types, see my favorite front yard tree lighting ideas. Run the cable in a shallow trench and leave a small service loop at the base so you can re-aim after storms.
Suggested budget range: $60 – $180.
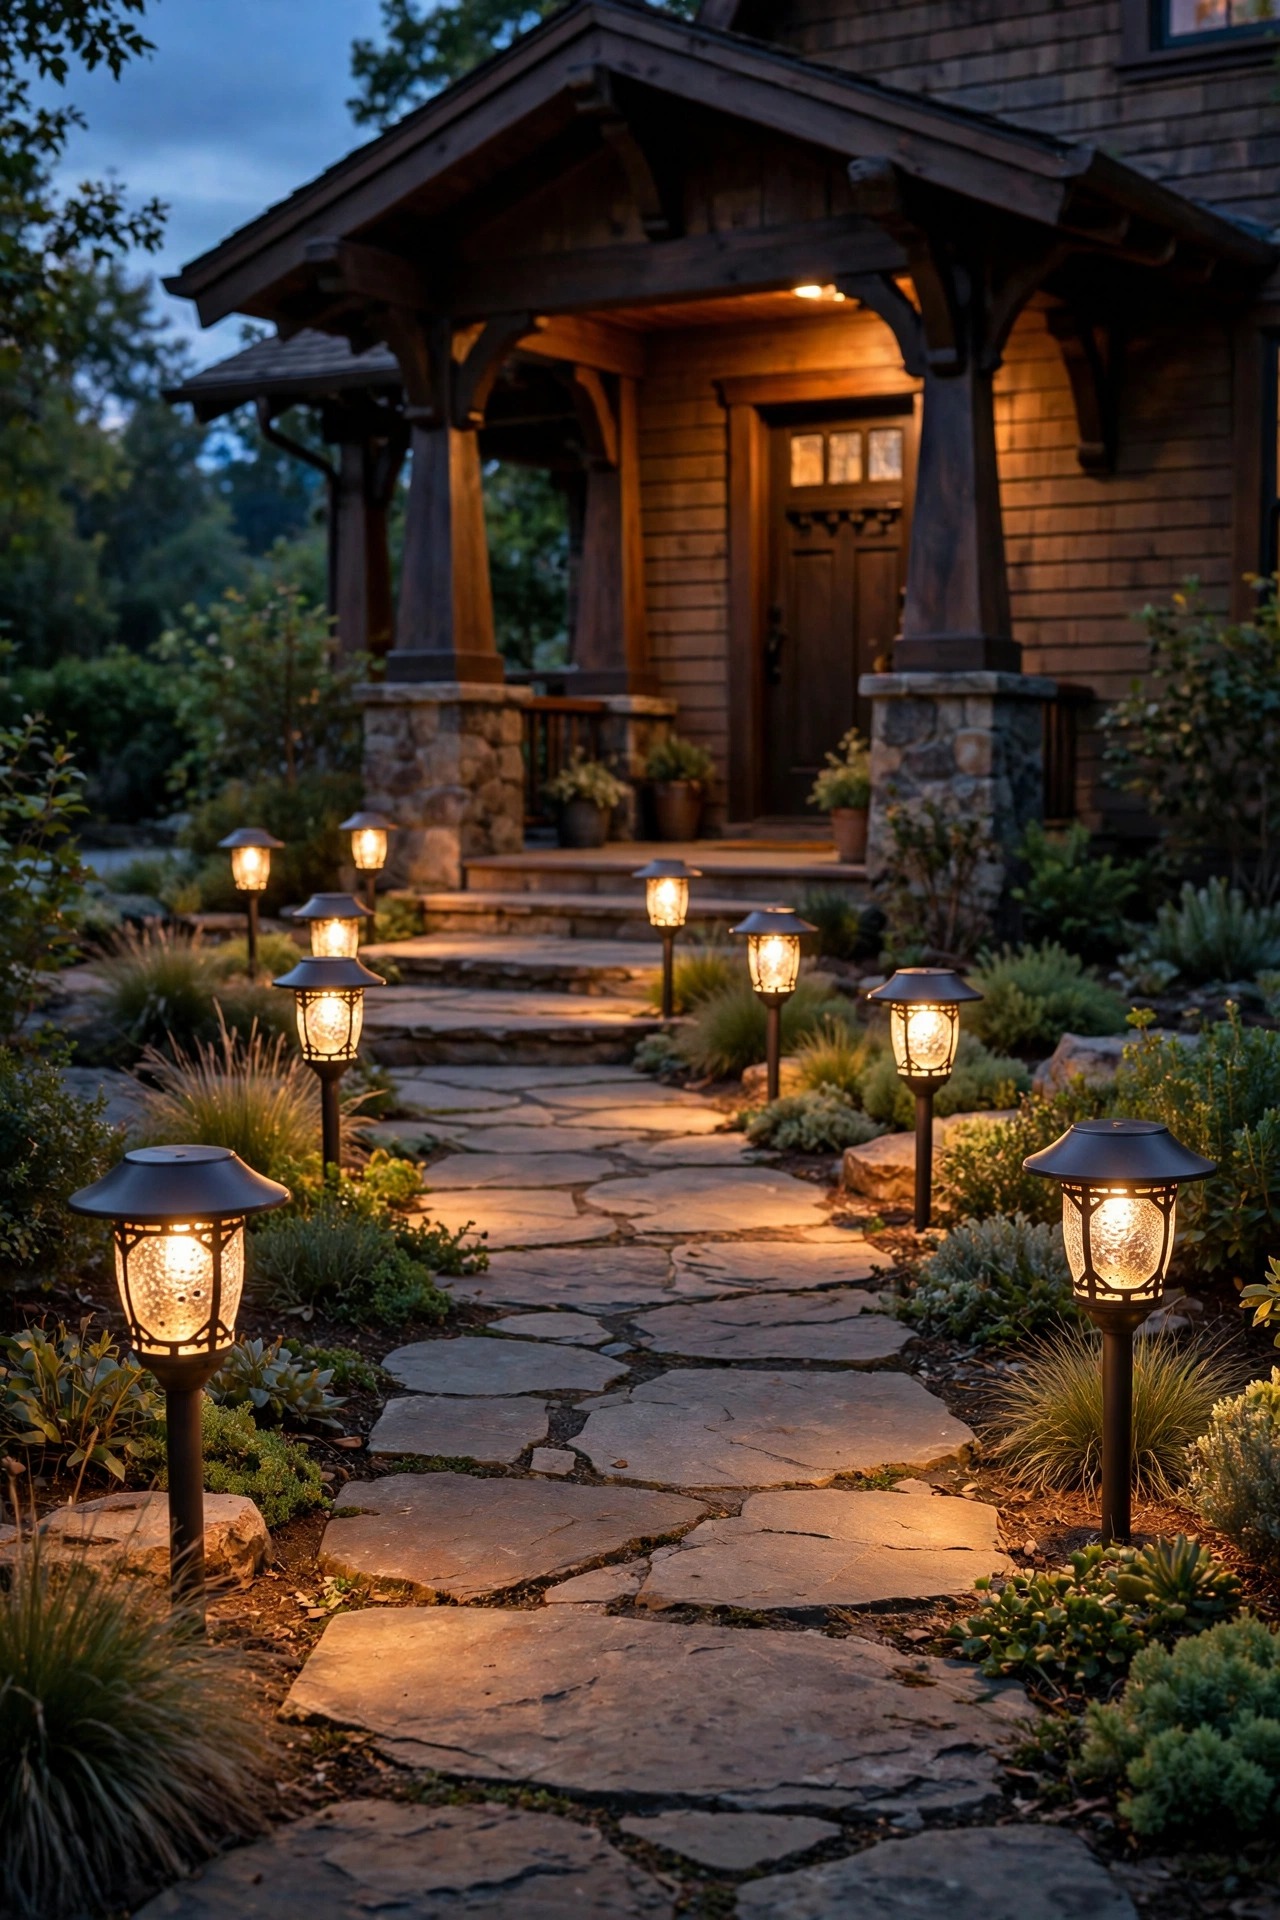
3. Line the Walkway With Mission-Style Path Lights
The walkway is where craftsman style really shows its hand. Look for path lights with the strong, simple geometry the style is known for: straight lines, a flat or gently peaked cap, mica-look or seeded glass panels, and a finish like oil-rubbed bronze or matte black. Hooded fixtures that throw light down and out in a soft pool are the goal, never bare bulbs at eye level. I space mine 5 to 6 feet apart, staggered on alternating sides of the path so the pools of light overlap slightly without looking like an airport runway. Fixtures 12 to 18 inches tall suit most front walks; keep them at least a foot back from the path edge so mower wheels and snow shovels pass safely. Low-voltage wired lights give the most consistent brightness, and my roundup of low voltage path lights explains the transformer math in plain English. Push the stakes in after a rain when the soil is soft, and check the line from the street at dusk. If you can see the bright source itself rather than just its glow on the path, tilt or shield it.
Suggested budget range: $120 – $350.
4. Match Your Porch Lanterns to the Yard Fixtures
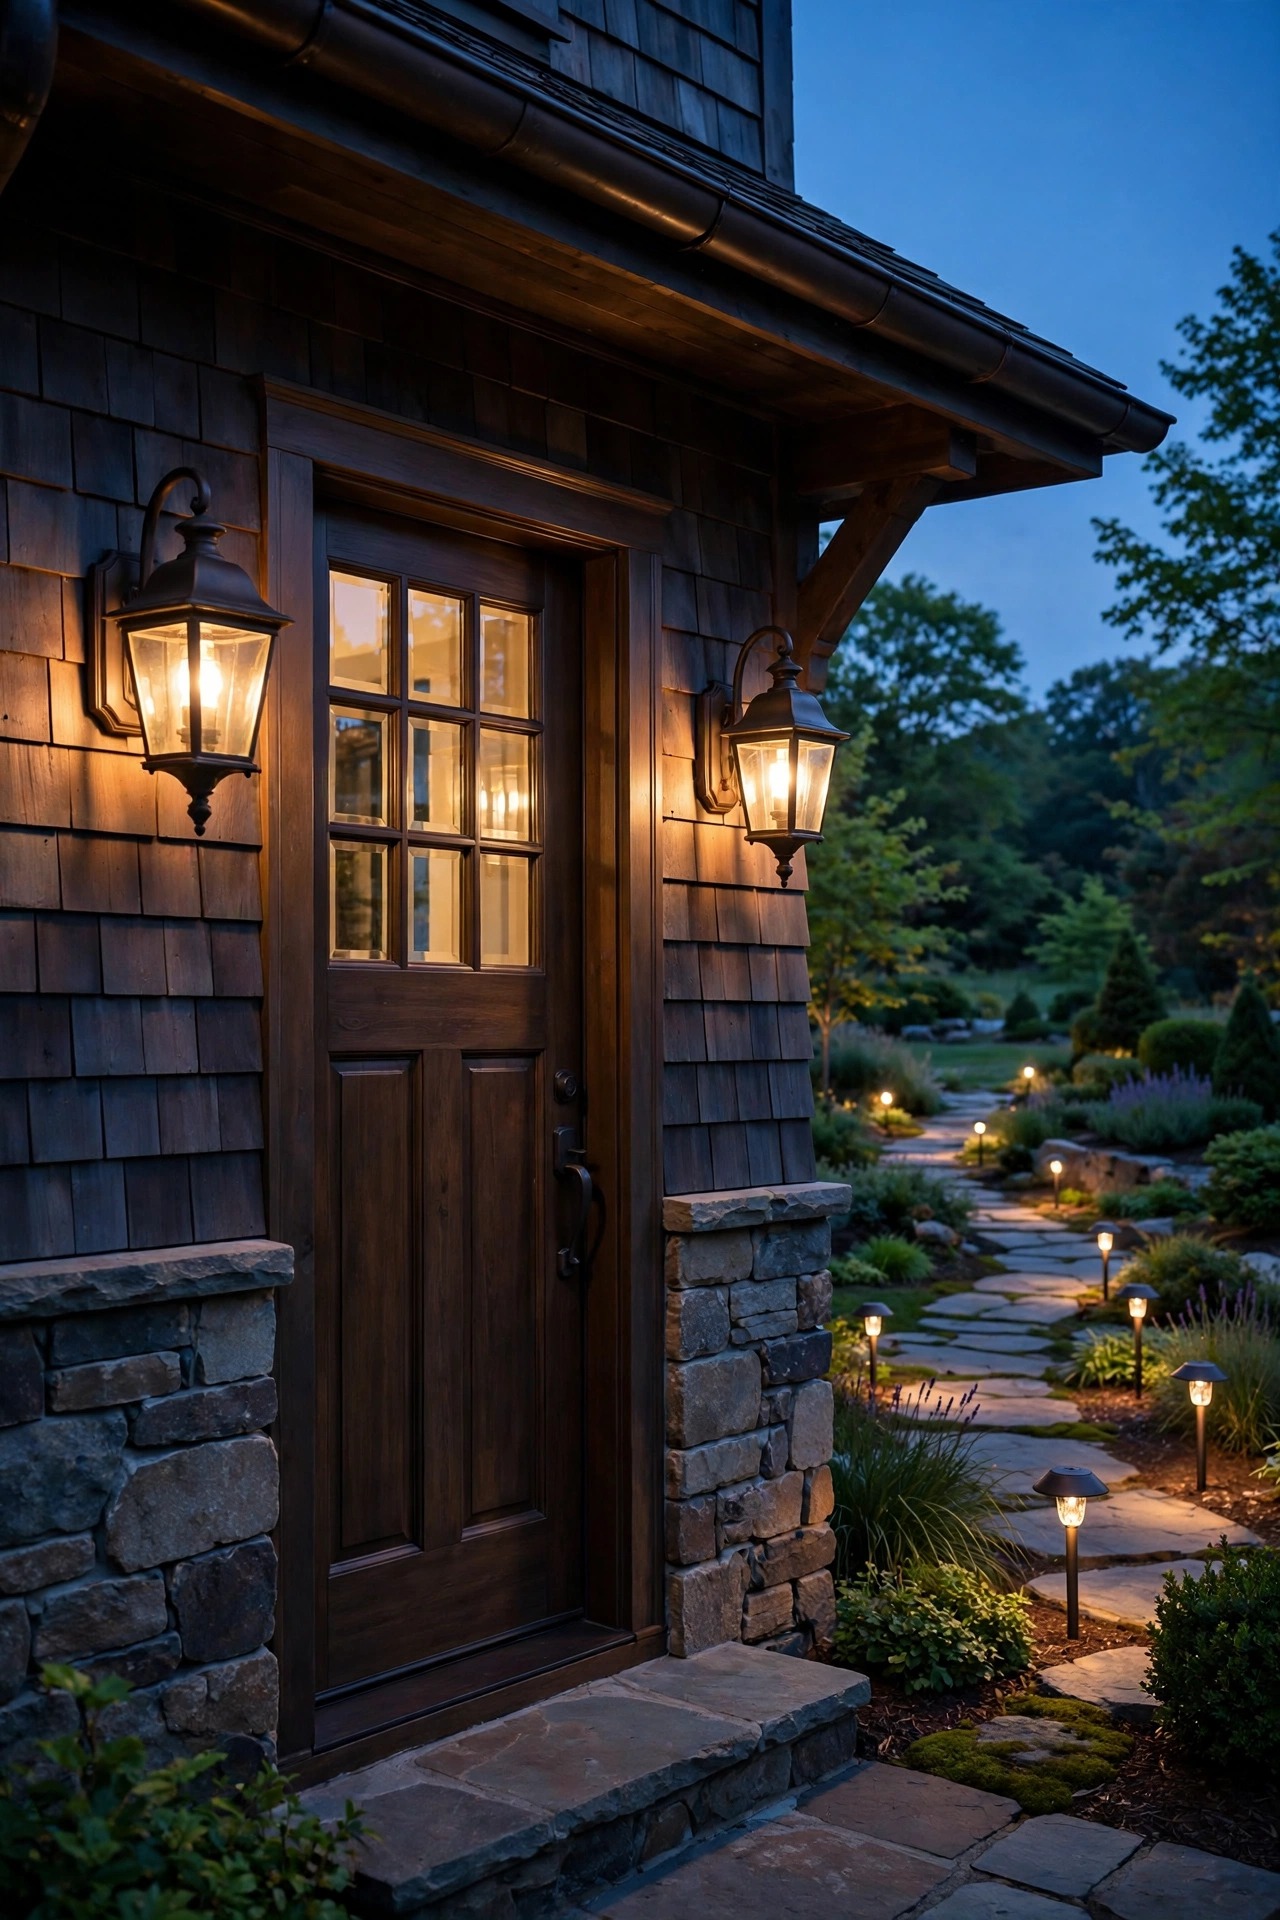
Your porch lanterns and your yard fixtures should feel like they came from the same family, even if you buy them years apart. Pick one finish, usually oil-rubbed bronze or matte black, and one glass style, then repeat them everywhere: the door lantern, the path lights, the garage sconce. That repetition is what makes a craftsman yard look designed instead of collected. For the door itself, a lantern pair flanking the frame reads more classic than a single fixture, and the lantern bottom should sit roughly at eye level, about 66 inches from the porch floor. Size matters too: each lantern should be about one-quarter to one-third the height of the door. Warm 2700K filament-style LED bulbs give you the candlelit look without the heat or the short lifespan of real flame bulbs. If your porch has the classic tapered columns, a lantern hung from the beam between them centers the whole scene beautifully. Add a dimmer rated for LEDs and you can drop the porch to a soft ember glow once guests have arrived, which makes the landscape layers beyond it stand out even more.
Suggested budget range: $90 – $300.
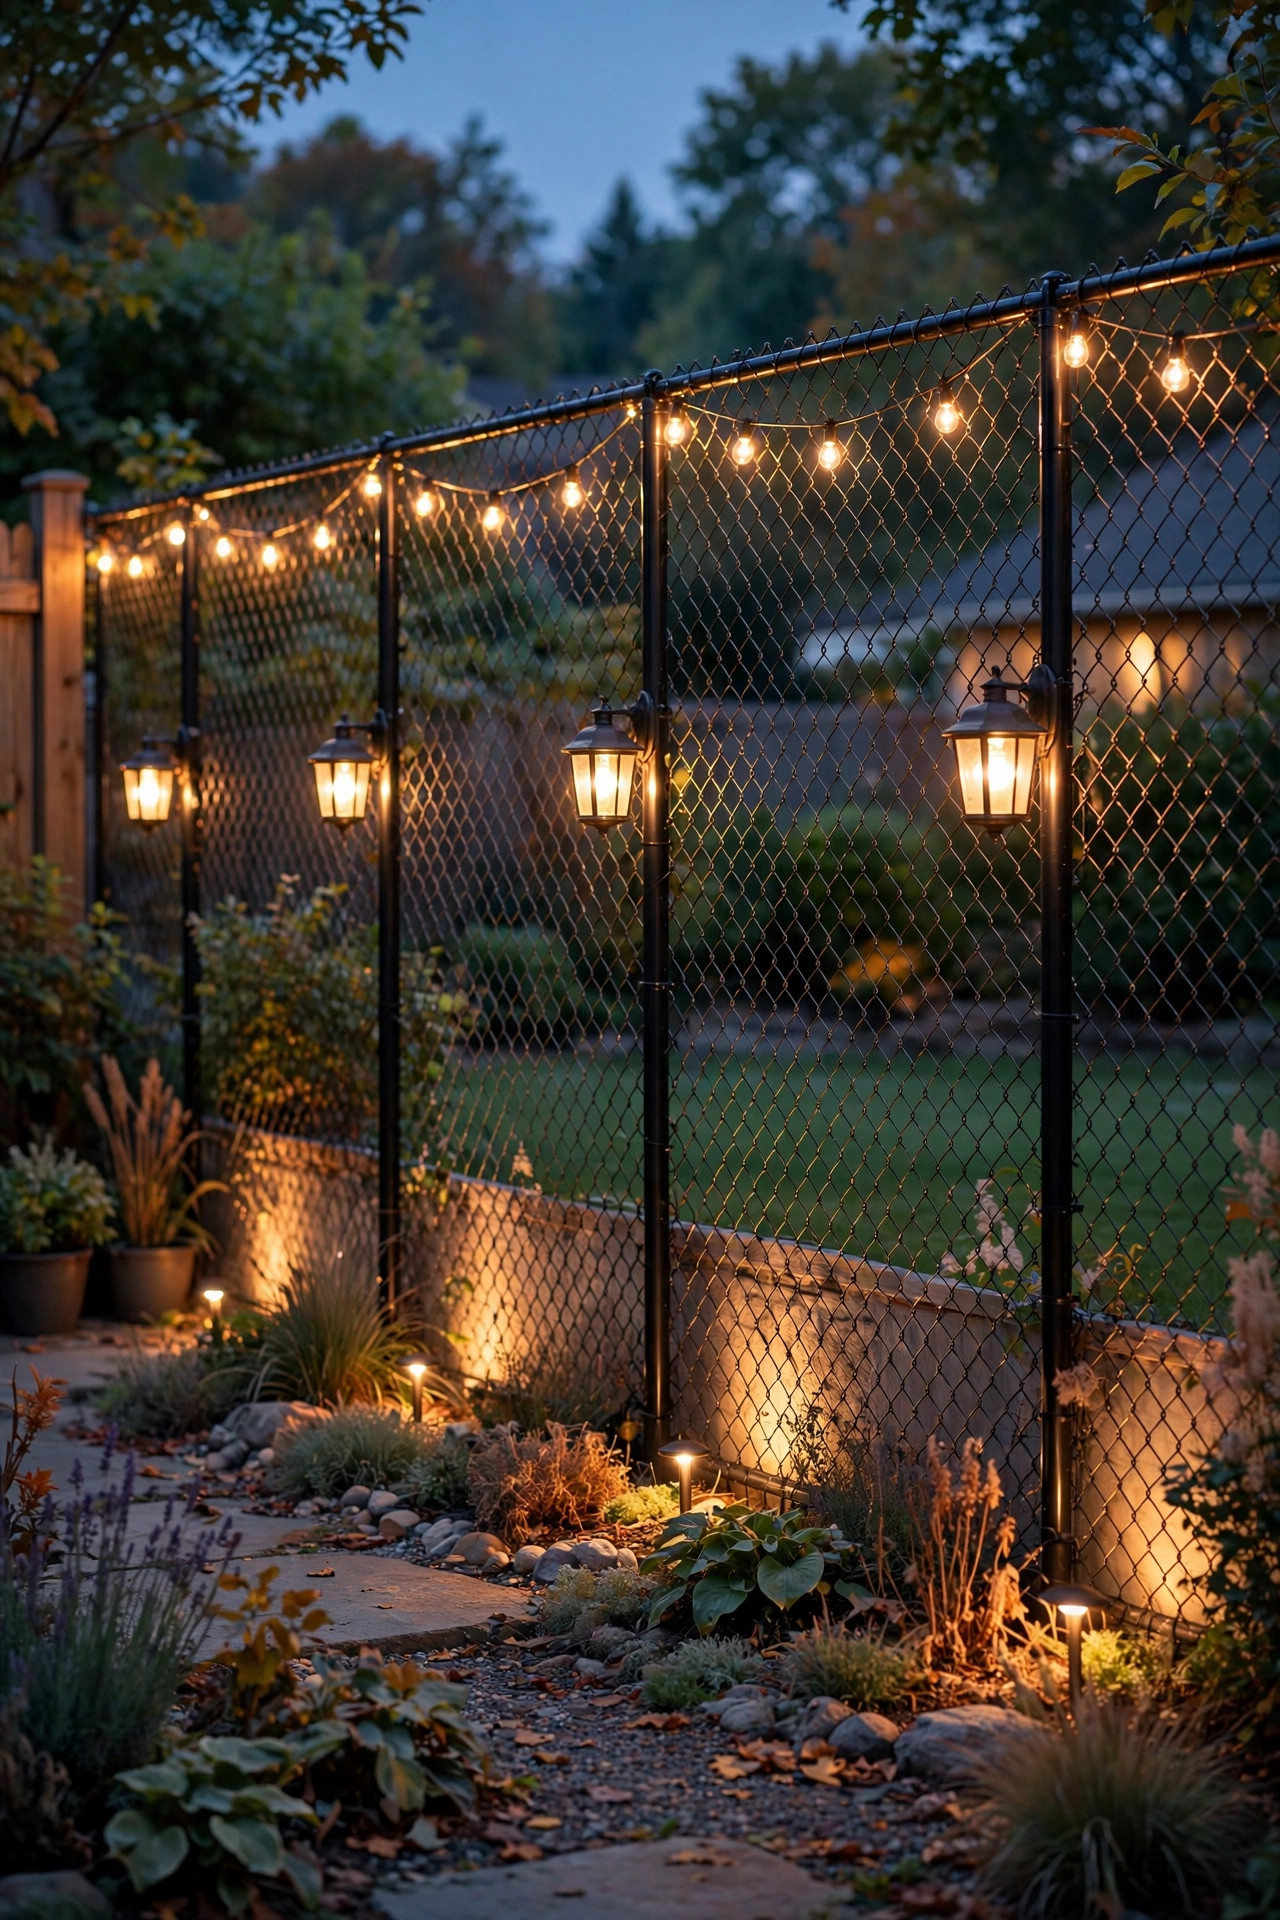
5. Add Low Bollards Along the Driveway
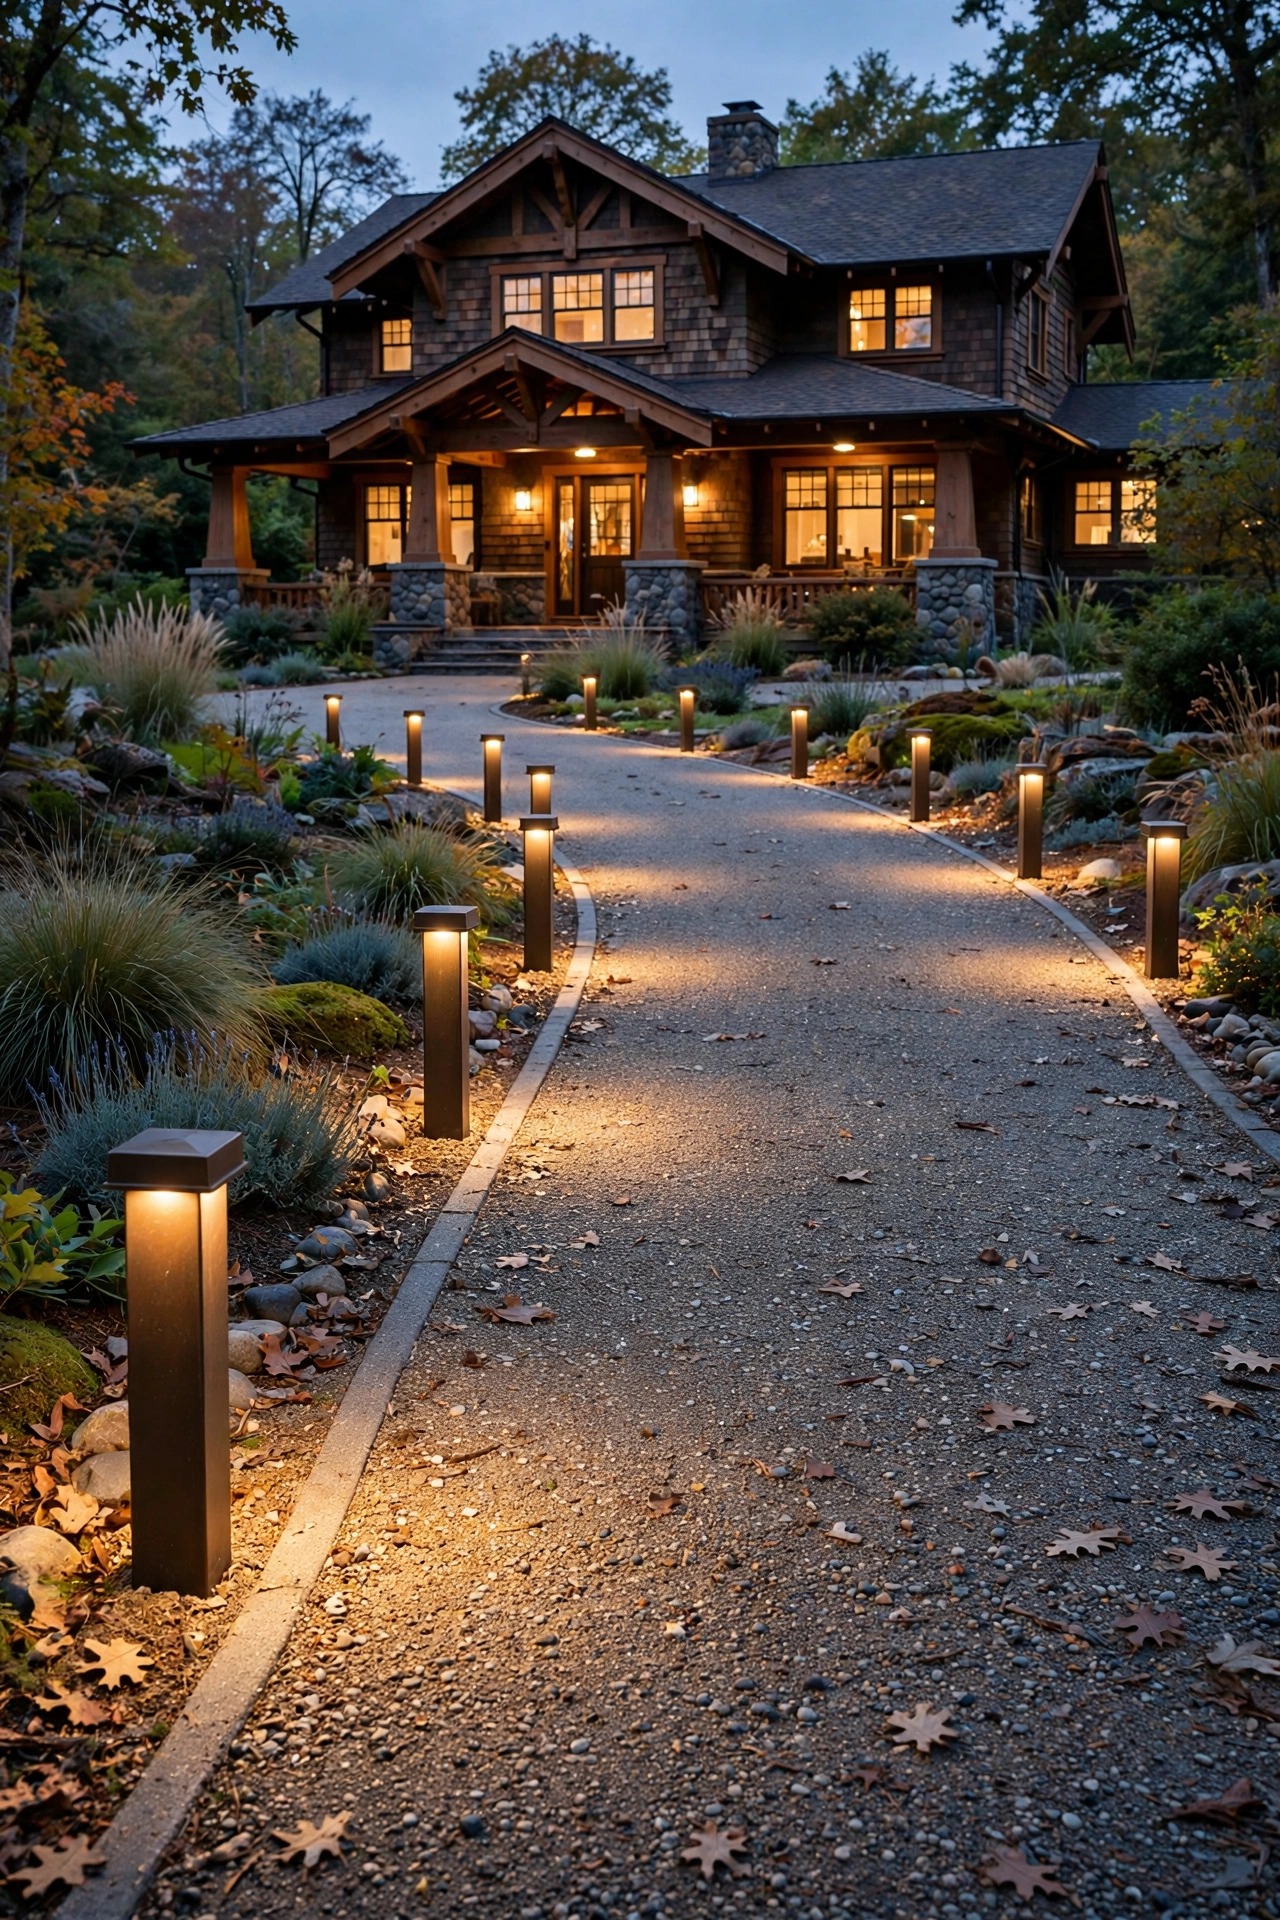
A long or curved driveway needs guidance light too, and short bollards are the craftsman-friendly way to do it. Choose simple, squared bollards in a dark bronze or black finish, nothing with a modern spaceship silhouette. Space them 8 to 10 feet apart along one side of the drive, or flank the entrance pair-style at the street for a proper sense of arrival. The light should wash the gravel or concrete surface, not shine into drivers' eyes, so look for louvered or shielded designs that push light downward. Keep bollards at least 18 inches back from the drivable surface so mirrors and snowplows clear them, and set them in small gravel beds rather than lawn so string trimmers never chew the finishes. Wired low-voltage models hold up best in this high-traffic spot, though a line of quality solar bollards can work on a short, sunny drive. I always add one extra fixture at the curve or the turnaround if the drive bends, because that is exactly where guests drift onto the grass in the dark. Mark the cable route on your plan so future planting projects do not slice through it.
Suggested budget range: $150 – $420.
6. Graze Light Across Stonework and Tapered Columns
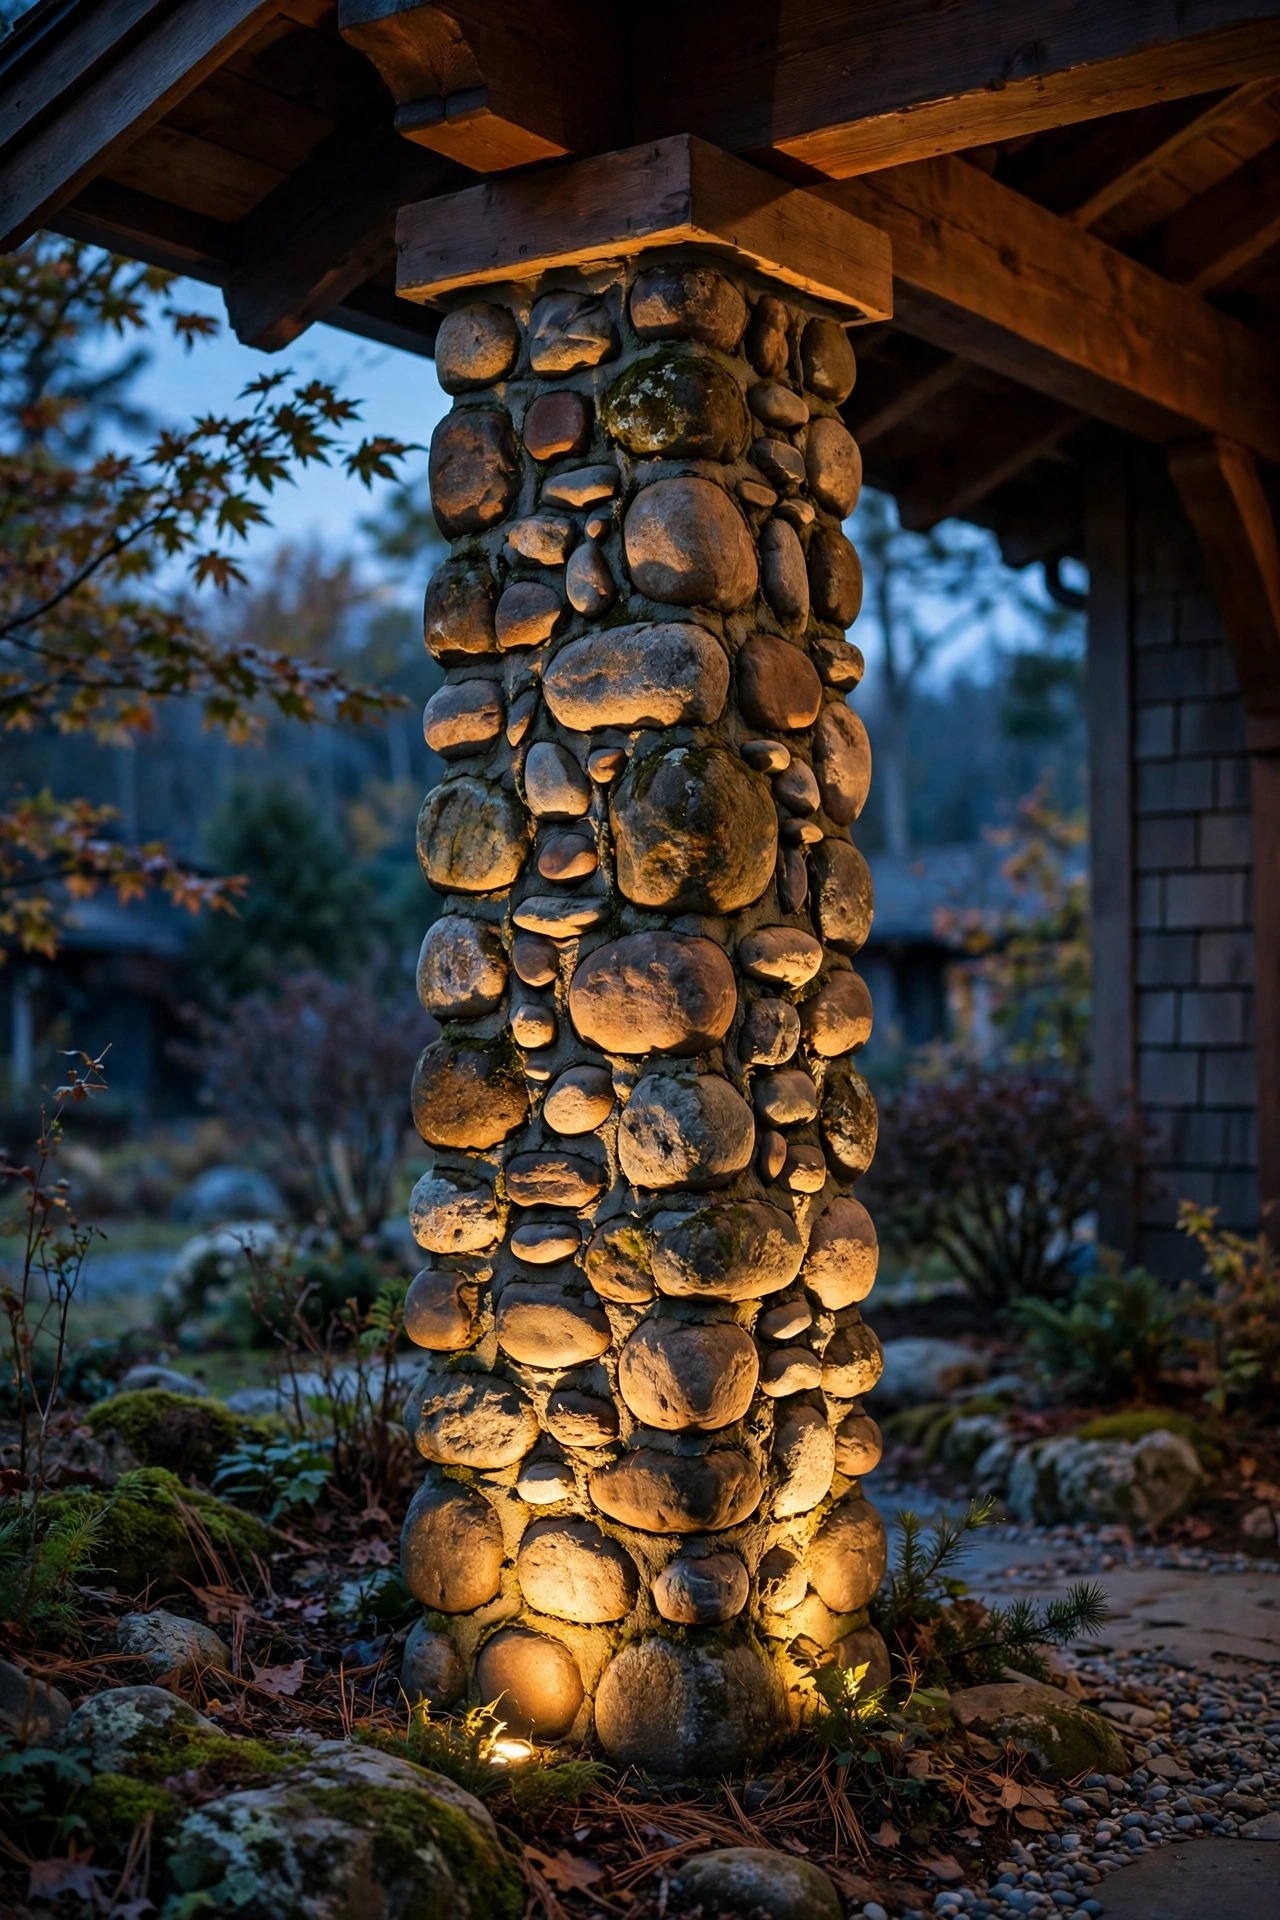
Craftsman homes are built from texture: river rock foundations, brick piers, shingle siding, and those wonderful tapered columns. Flat floodlighting washes all of that character away, but grazing light brings it to life. Place a compact spotlight or well light just 4 to 6 inches from the base of the wall or column, aimed almost straight up, so the beam rakes across the surface and every stone and mortar line casts a tiny shadow. That raking angle is the entire trick; move the fixture two feet out and the magic disappears into a flat wash. A narrow 15 to 24-degree beam works best on columns, while wider beams suit long foundation walls. Keep the brightness modest, because grazed stone amplifies light, and a dim fixture up close beats a bright one far away. I love this treatment on the porch piers flanking the steps, where it frames the entry without a single visible fixture in daylight. Use fixtures with a glare shield or honeycomb louver, and always check from the street that you see glowing stone, not the bulb itself.
Suggested budget range: $70 – $200.
7. Tuck Solar Stakes Into the Flower Beds
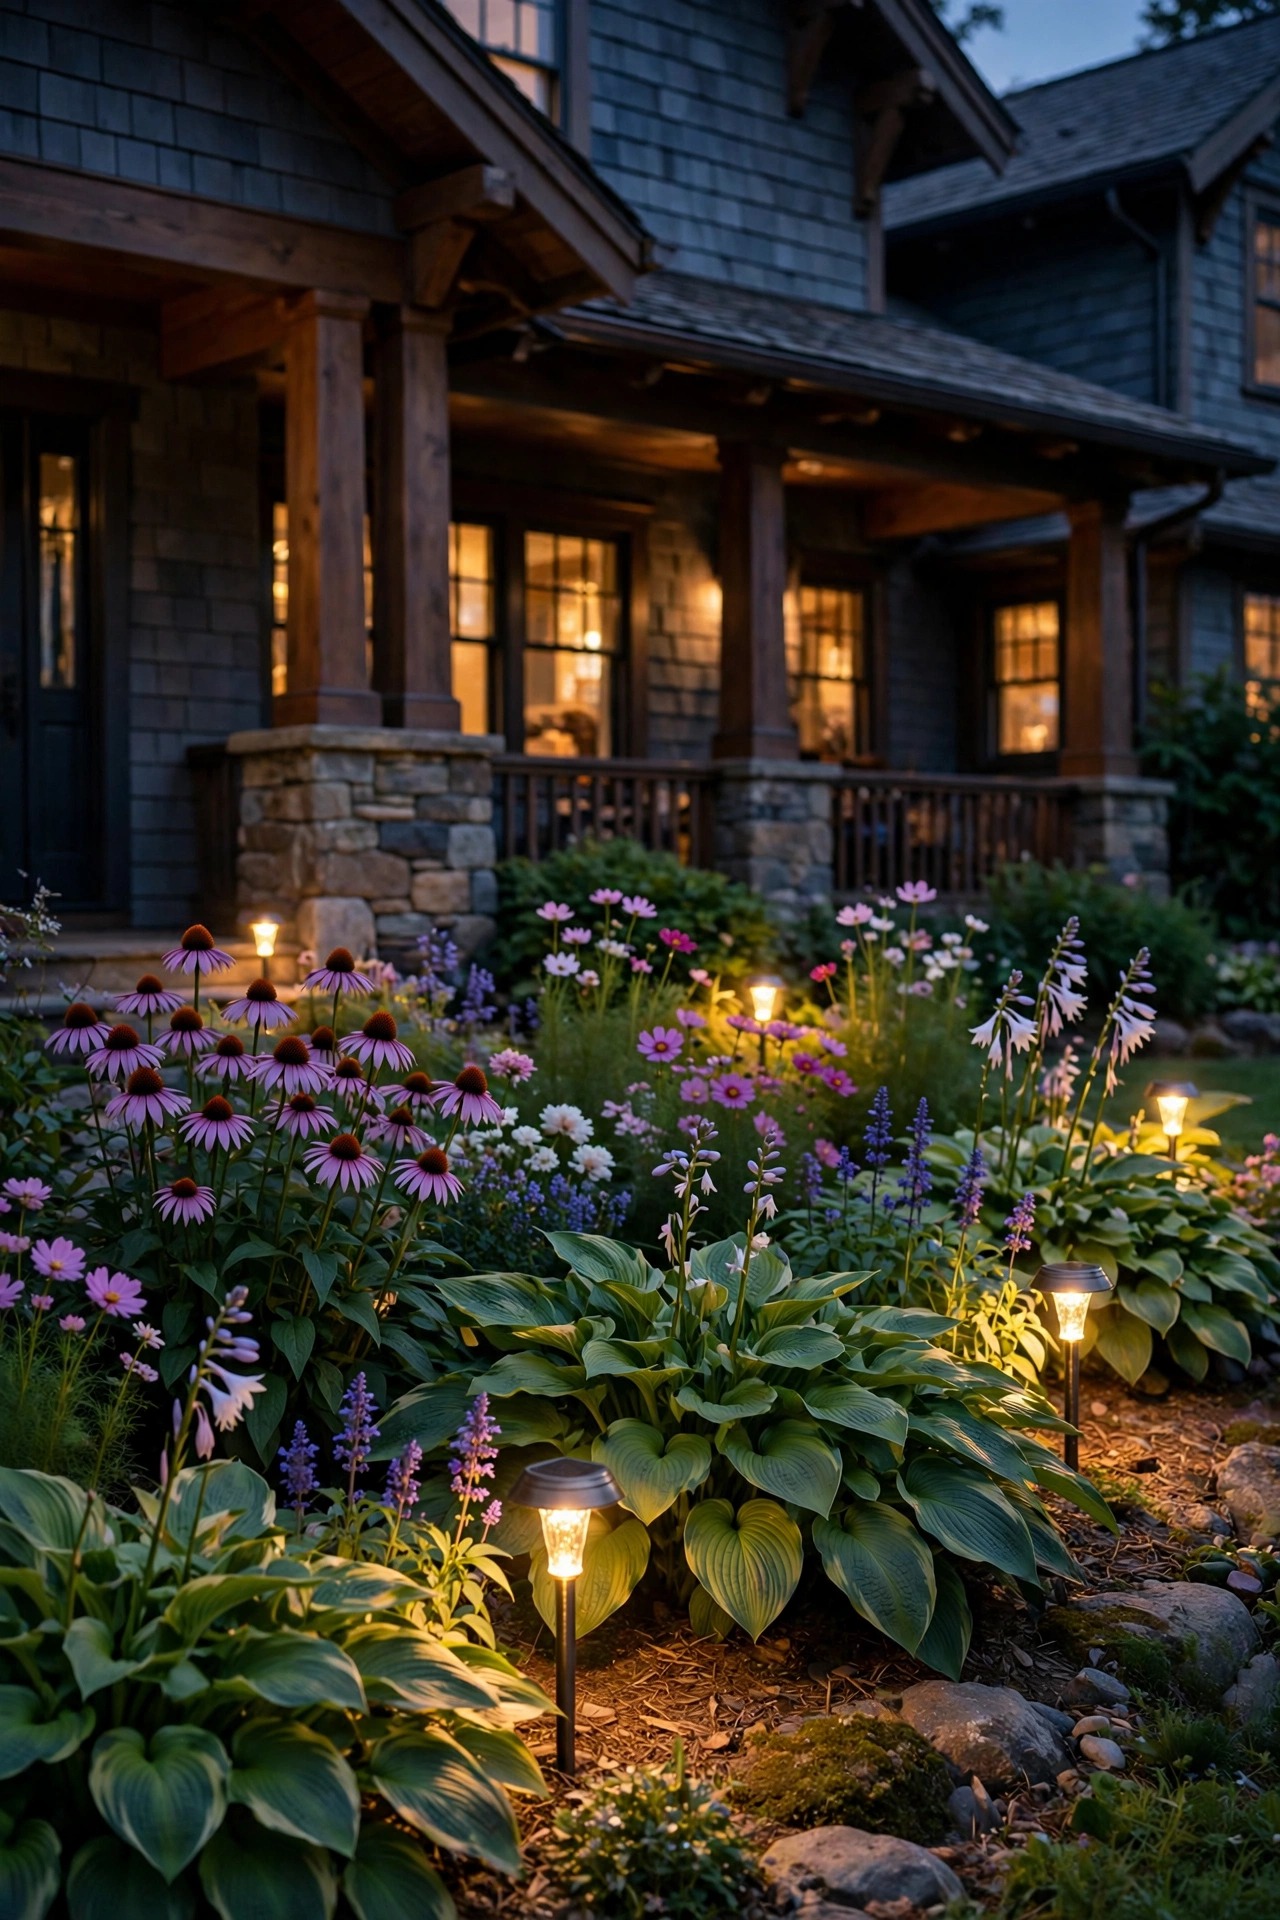
Not every bed needs a wire run, and solar stakes are the friendly, no-dig way to fill the gaps. Tuck them between hostas, along the front of a low hedge, or in the curved bed under the front window where running cable would mean tearing up roots. The honest truth is that solar brightness varies, so buy one step up in quality, look for warm white 2700K to 3000K output rather than the bluish daylight tone, and choose stakes with replaceable batteries so a tired battery does not kill the whole fixture. Place them where the panel gets at least six hours of direct sun, which usually means the front of the bed, not the back. I space solar stakes a little closer than wired path lights, about 3 to 4 feet apart, because each one throws a smaller pool of light. They will dim on cloudy winter weeks, and that is okay; think of them as accent sparkle rather than safety lighting. Rinse the panels once a month and the difference in brightness will genuinely surprise you.
Suggested budget range: $40 – $130.
8. Try Moonlighting From High in the Branches
Moonlighting is the most natural-looking trick in landscape lighting: a fixture mounted high in a tree, shining down through the branches so the ground below gets the same dappled light as a full moon. Mount a shielded downlight 15 to 20 feet up, ideally on the side of the trunk facing away from the street, and let the branches break the beam into soft patches across the lawn and walk. Because the light comes from above, it never glares into eyes, and it covers a surprisingly wide area with one fixture. Use a true 2700K bulb here; it still reads warm and golden, which suits craftsman style far better than blue-white moonlight tones. This is the one job I happily hand to a pro or an arborist if the tree is tall, because climbing with tools and wiring is no place for guesswork, and the cable needs slack loops to move with the tree as it grows. Down below, keep the ground fixtures minimal. Moonlighting plus a lit path is often all a front yard needs, and guests always ask how we did it.
Suggested budget range: $180 – $450.
9. Add Step Lights to Porch and Garden Steps
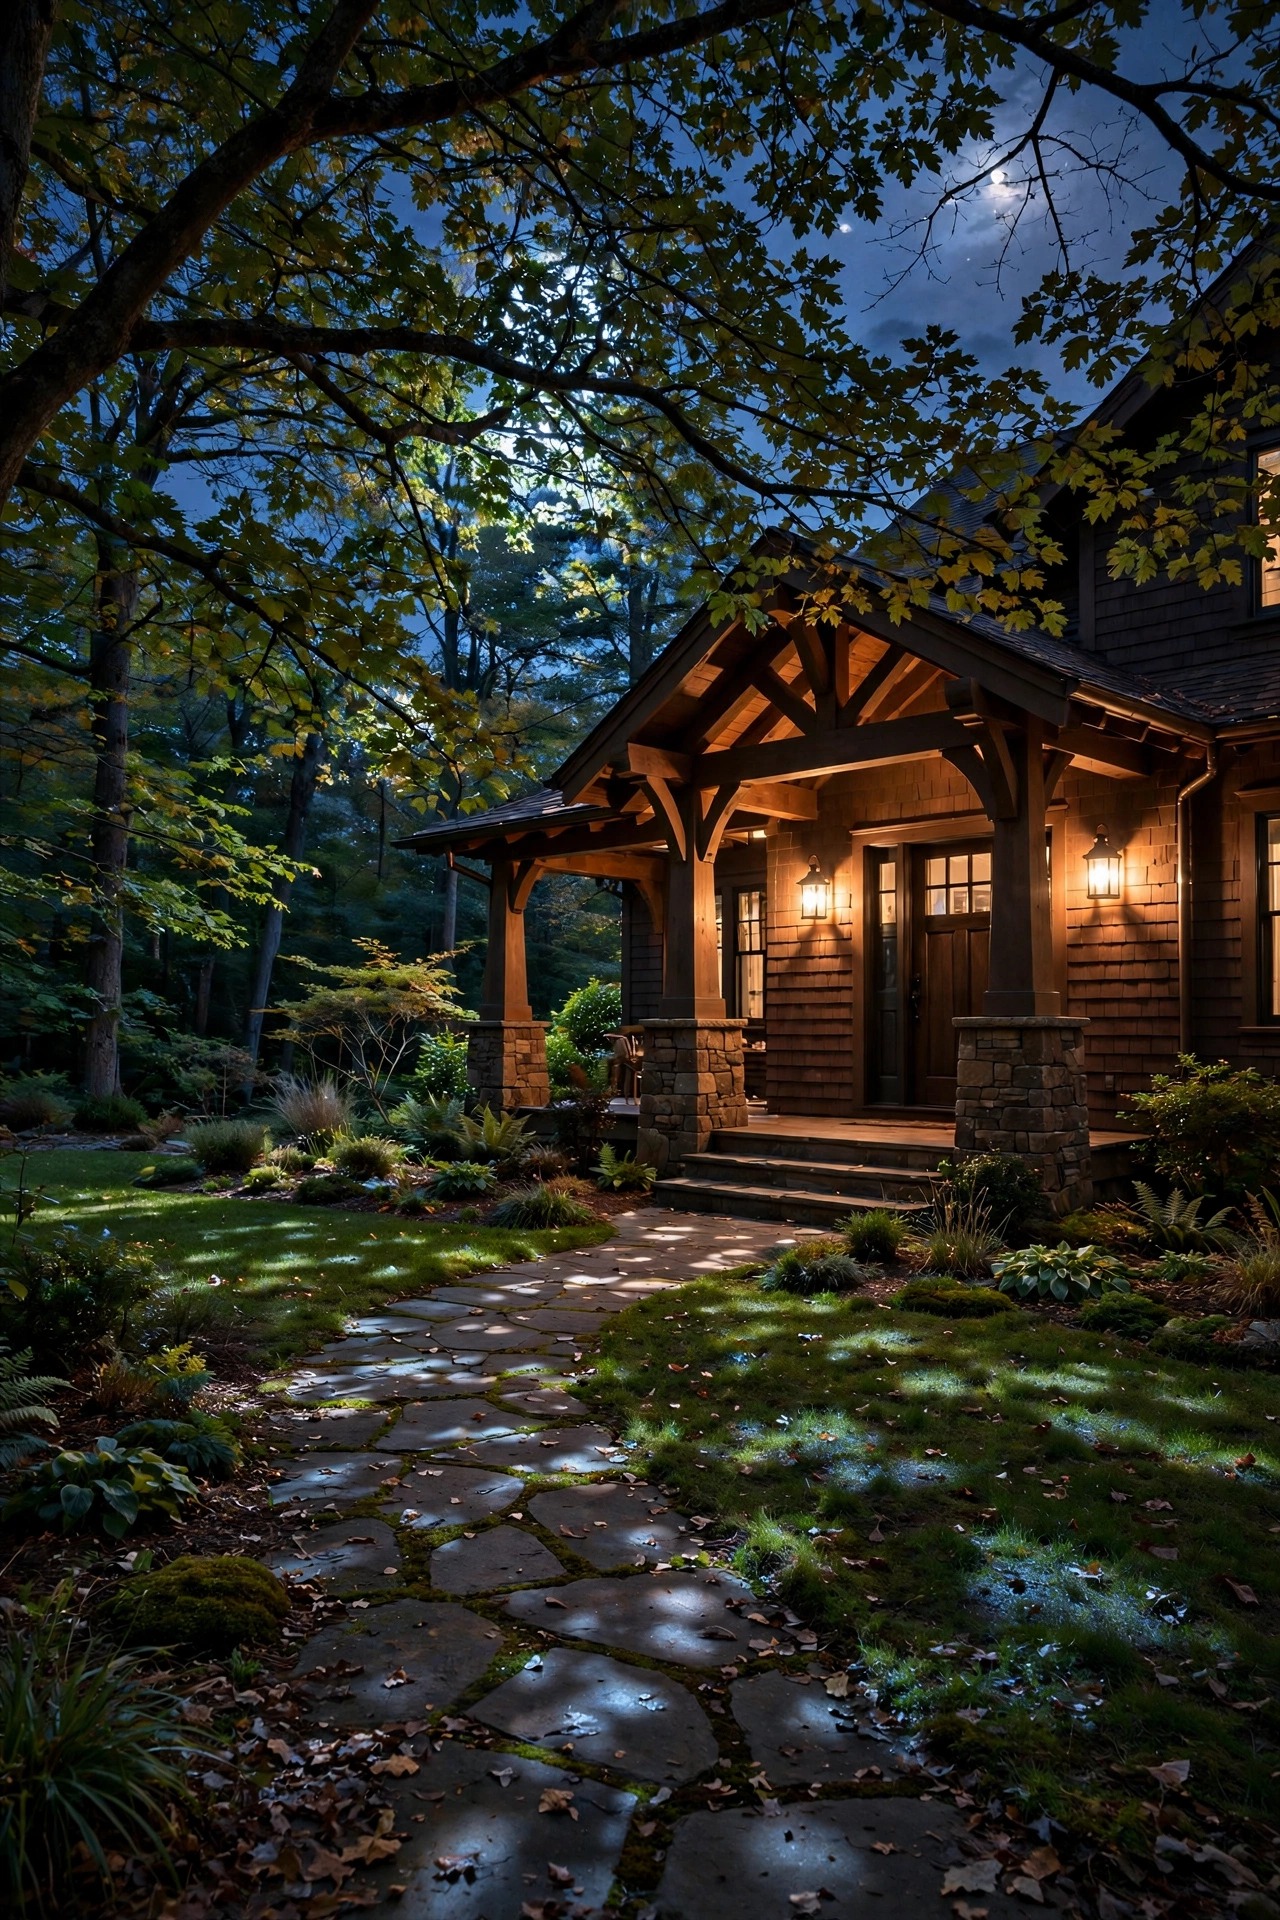
Porch steps, garden steps, and the little step up from the walk are where guests actually get hurt after dark, so step lights are the least glamorous and most important fixtures on this list. Recessed lights set into the riser of each step are the cleanest look, but surface-mounted lights under a tread nosing or on the side wall work just as well and are far easier to retrofit. Aim for one light per step, or one every other step on wide, shallow stairs, and keep the beam tight to the treads so nobody stares into a bright source while climbing. LED step lights sip power, often just 1 to 3 watts each, and they run cool, which matters near wooden treads and dry leaves. If your steps are stone or brick, a mason can core-drill for recessed fixtures during a repointing project, which is when I finally did mine. Connect step lights to the same timer circuit as the path lights so they are never forgotten on a busy evening. Choose wet-location rated fixtures, full stop, because steps take direct rain and hose spray.
Suggested budget range: $80 – $260.
10. Spotlight Specimen Shrubs and Small Trees
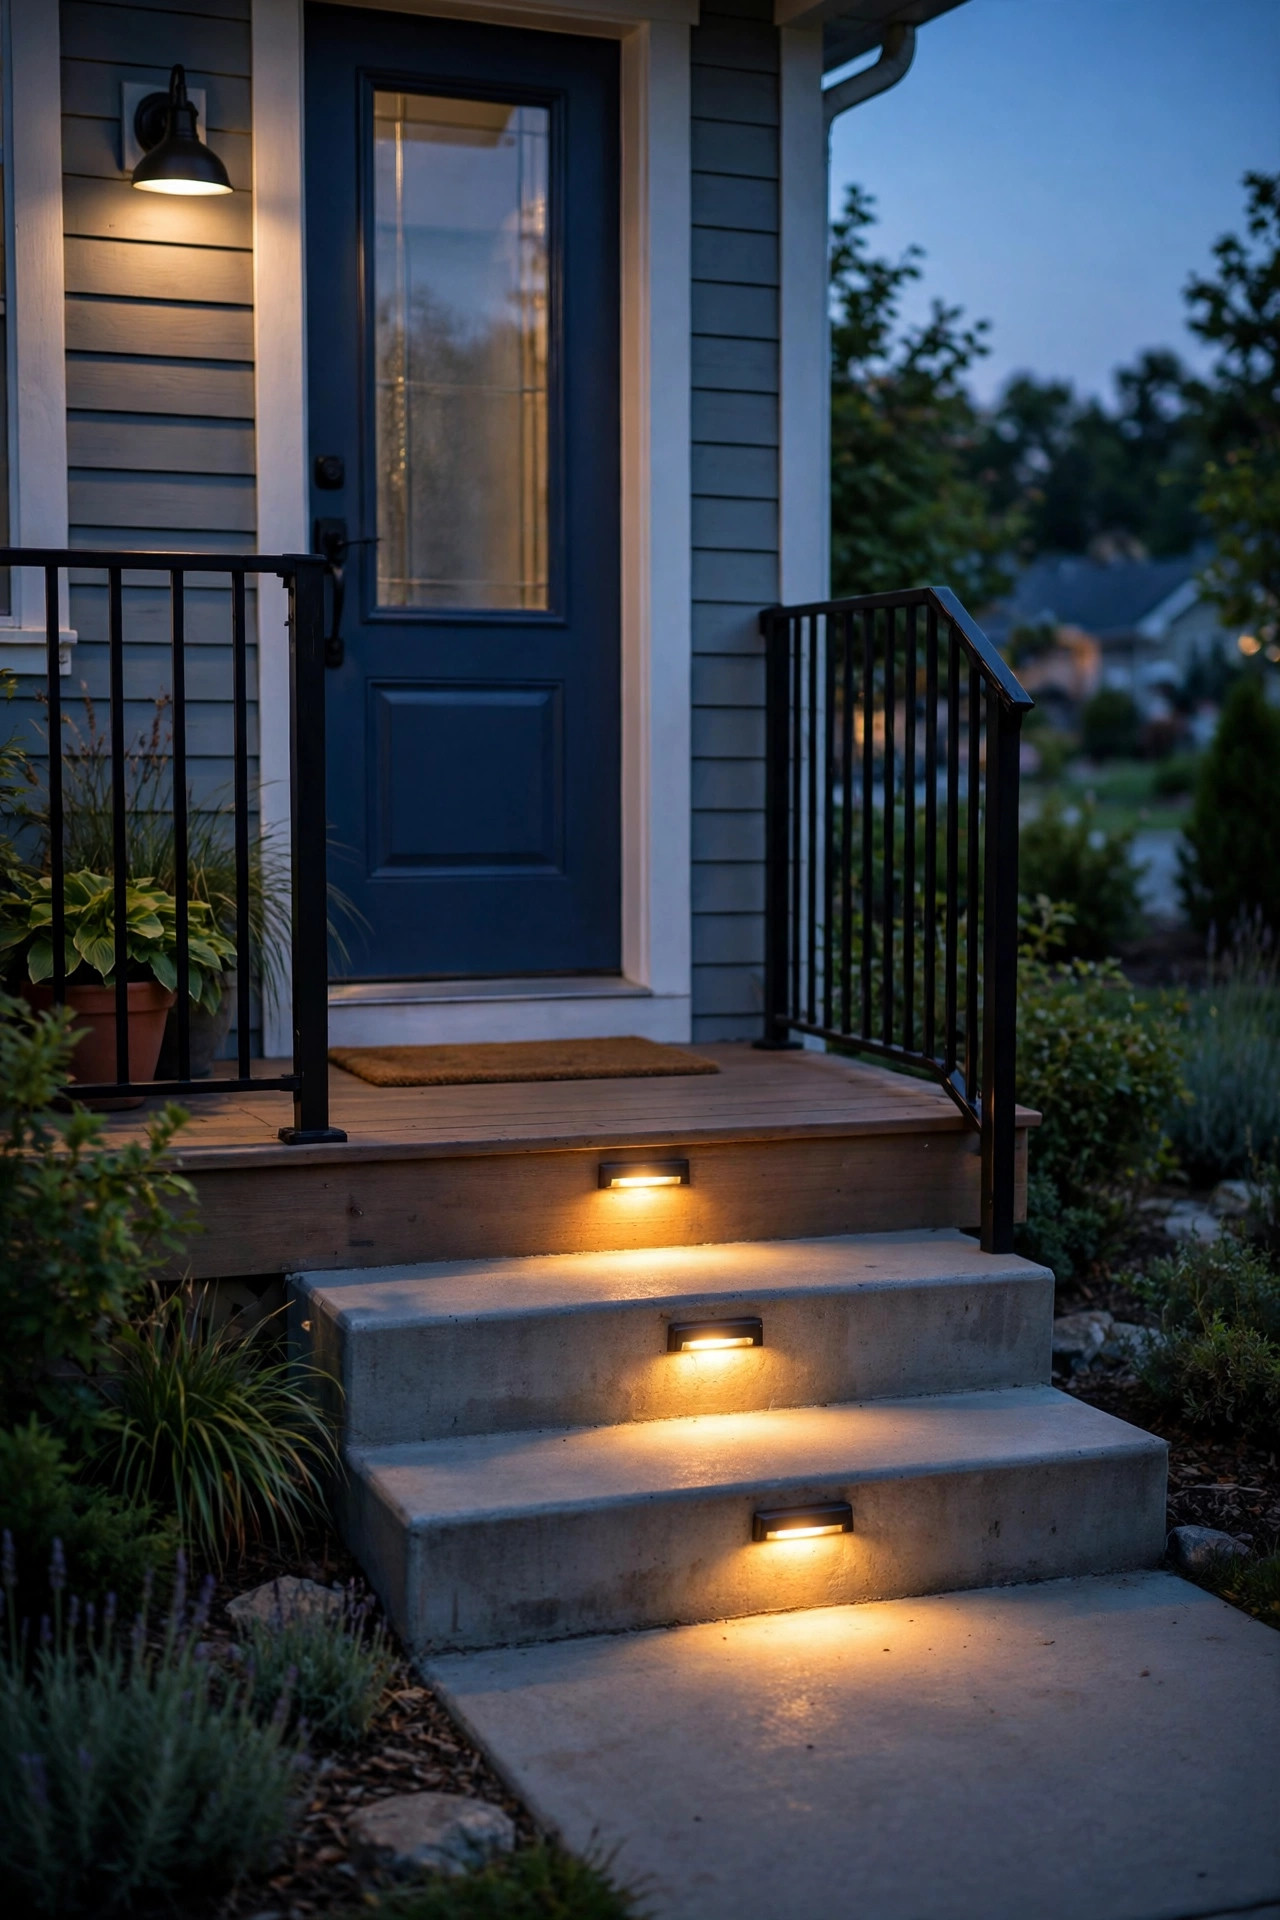
A single specimen shrub or small ornamental tree deserves its own moment in a craftsman yard. The Japanese maple by the corner, the sculptural lilac, the little dogwood near the porch: one narrow spotlight each turns them into living sculpture after dark. Place the fixture 12 to 24 inches in front of the plant, angled up about 30 degrees so the light catches the branching structure, not just the lowest leaves. Cross-lighting with two low-wattage fixtures from opposite front corners fills the shape and avoids the flat, one-sided look a single beam creates. Keep total brightness gentle; shrubs sit close to the house, and an overlit bush glares in the front windows all evening. As the plant grows, re-aim twice a year, because a fixture that was perfect in spring can be buried in foliage by August. This is another spot where a well light disappears nicely into mulch during the day. Pair one lit specimen on each side of the porch and the whole front of the house gains balance, which is the quiet secret behind most classic curb appeal.
Suggested budget range: $60 – $170.
11. Light the House Numbers and Mailbox
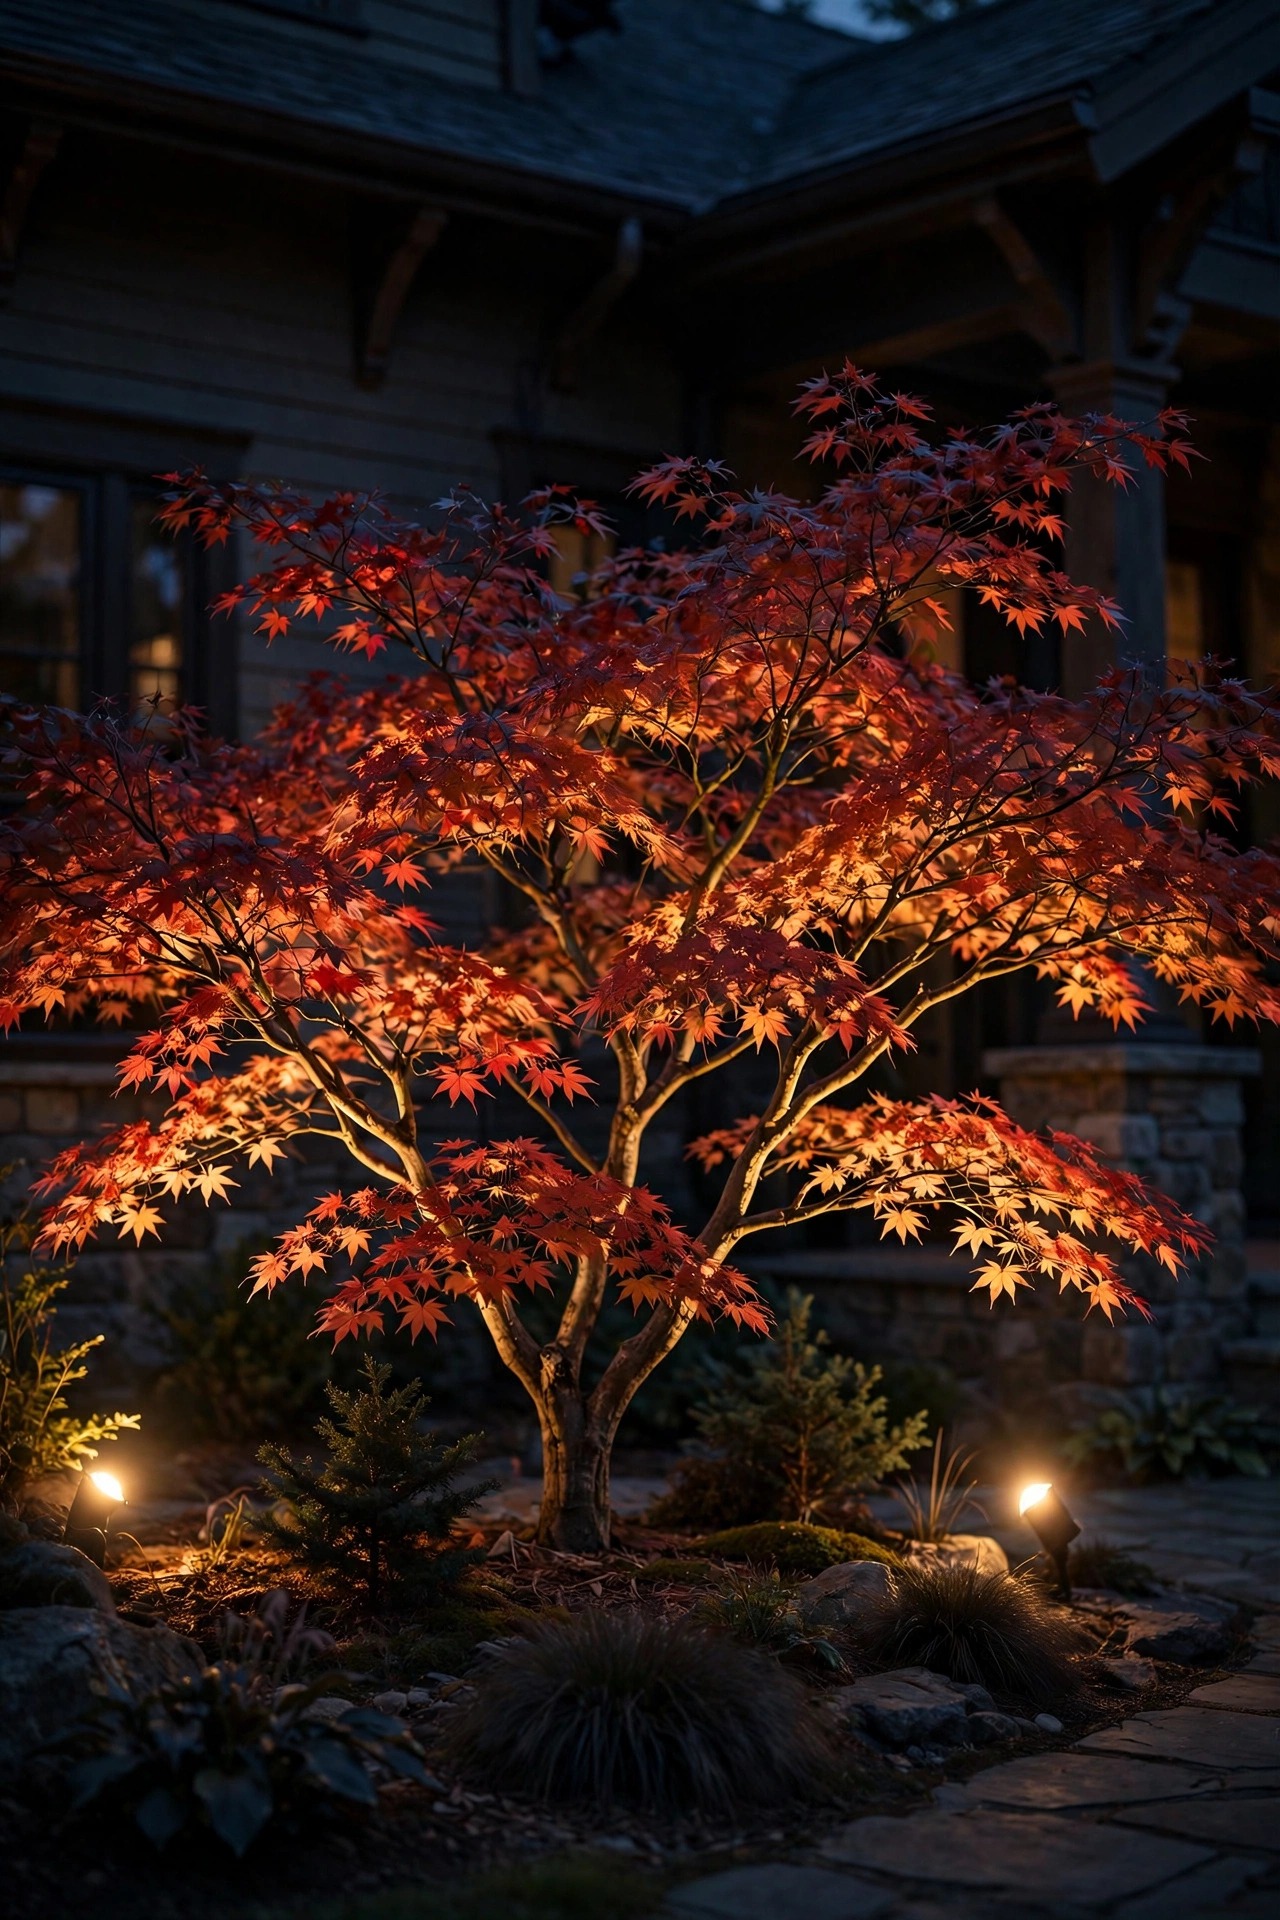
Pretty is good, but findable is better, and lit house numbers are the hardest-working small upgrade on this list. Delivery drivers, guests, and emergency vehicles all hunt for your address after dark, and a small downlight or backlit number plaque solves it in an evening. Mount numbers on the porch pier or beside the door where the landscape light already lives, and wash them with a soft fixture from above rather than pointing a spotlight straight at them. If your numbers sit out at the street on the mailbox, a small solar lantern on the post keeps them readable and marks the driveway entrance in one move. Choose numbers at least 4 inches tall in a simple, high-contrast style; ornate scripts are charming at noon and illegible at midnight. Keep the light warm and modest so the numbers read clearly without turning into a glowing billboard. This is also a lovely place to repeat your fixture finish one more time, tying the street view back to the porch. Check readability from a slow-moving car at night, because that is the view that actually matters.
Suggested budget range: $35 – $120.
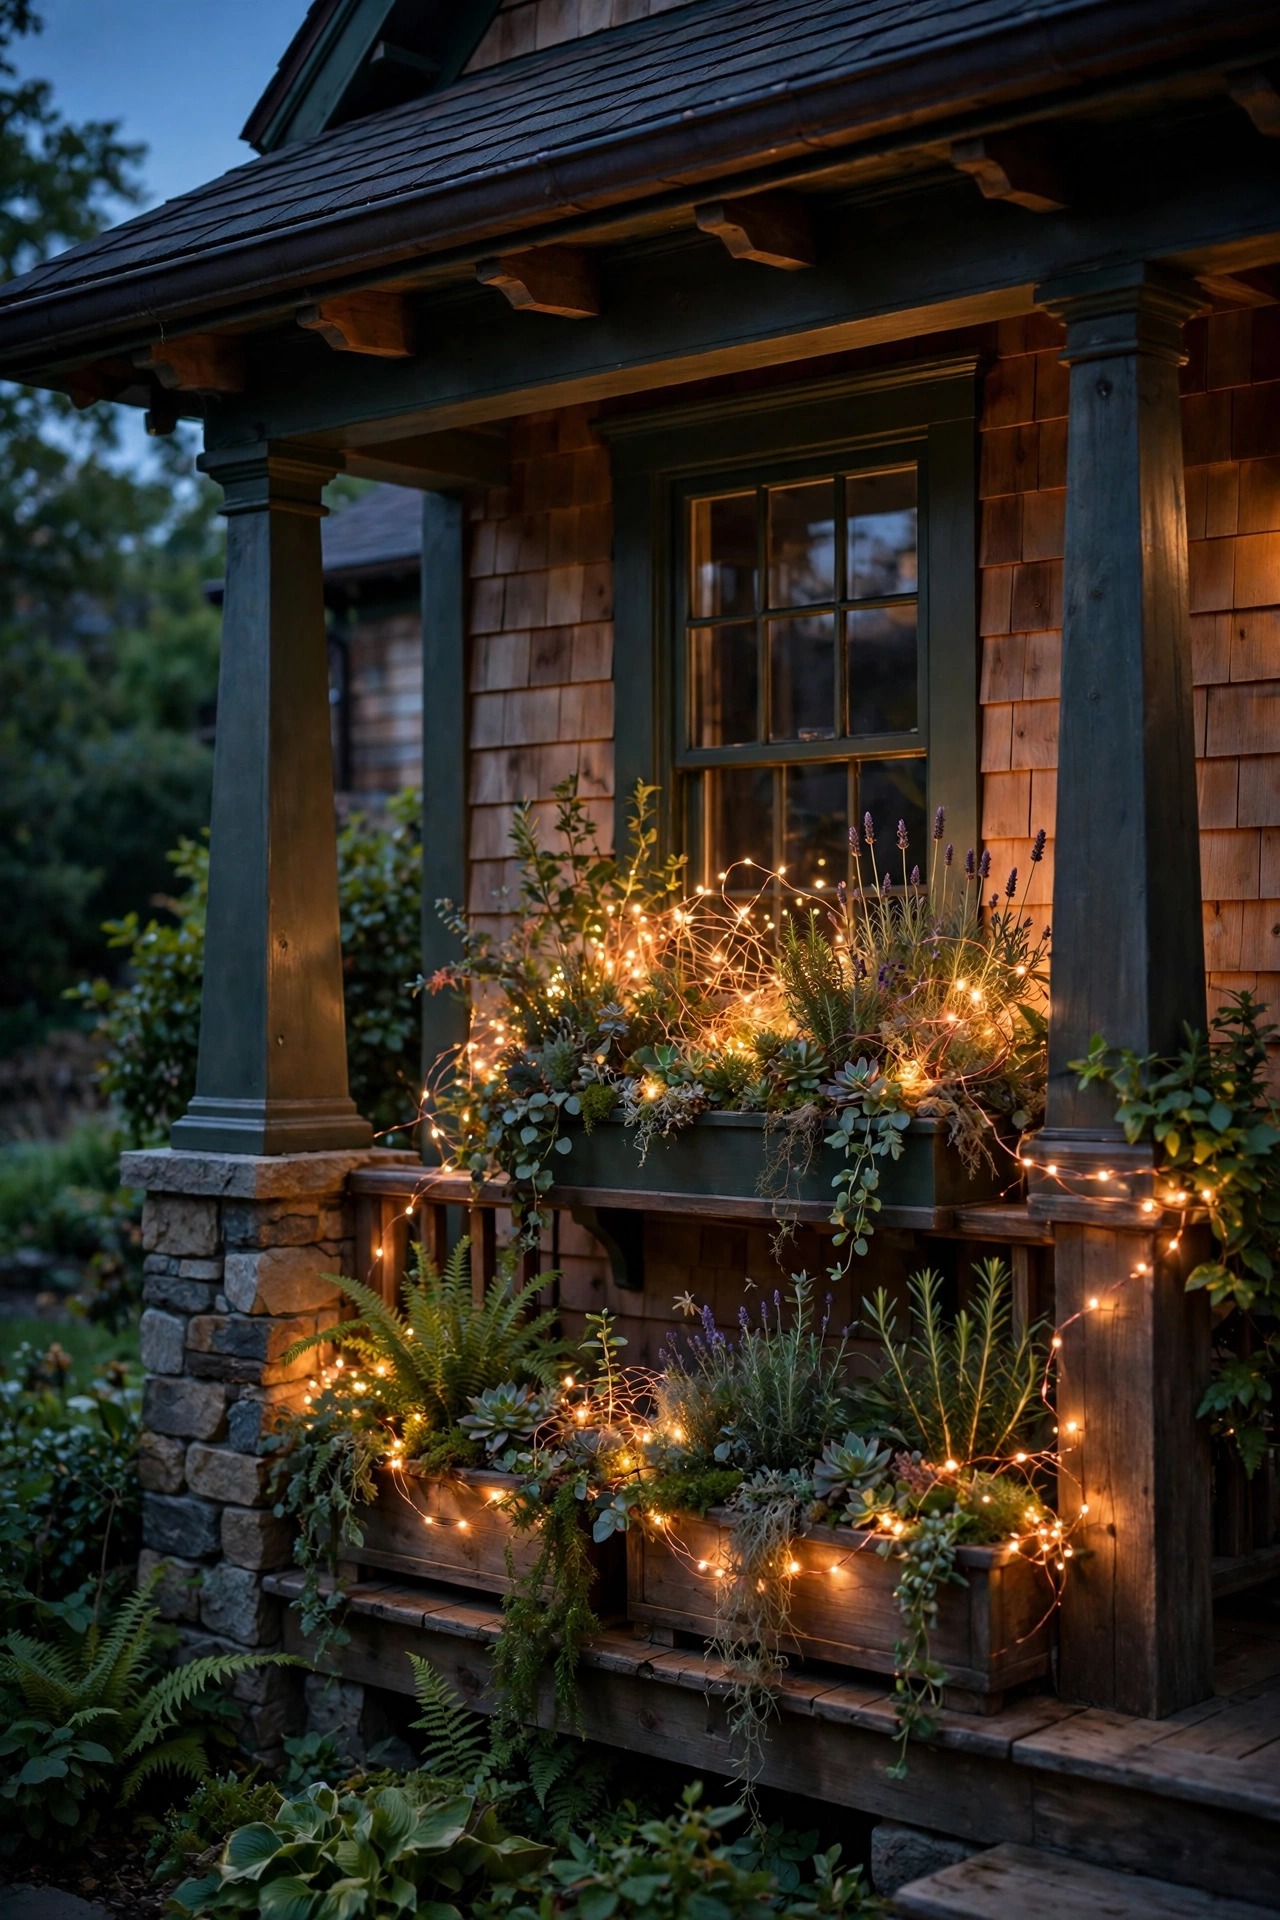
12. Weave Fairy Lights Through Planters and Window Boxes
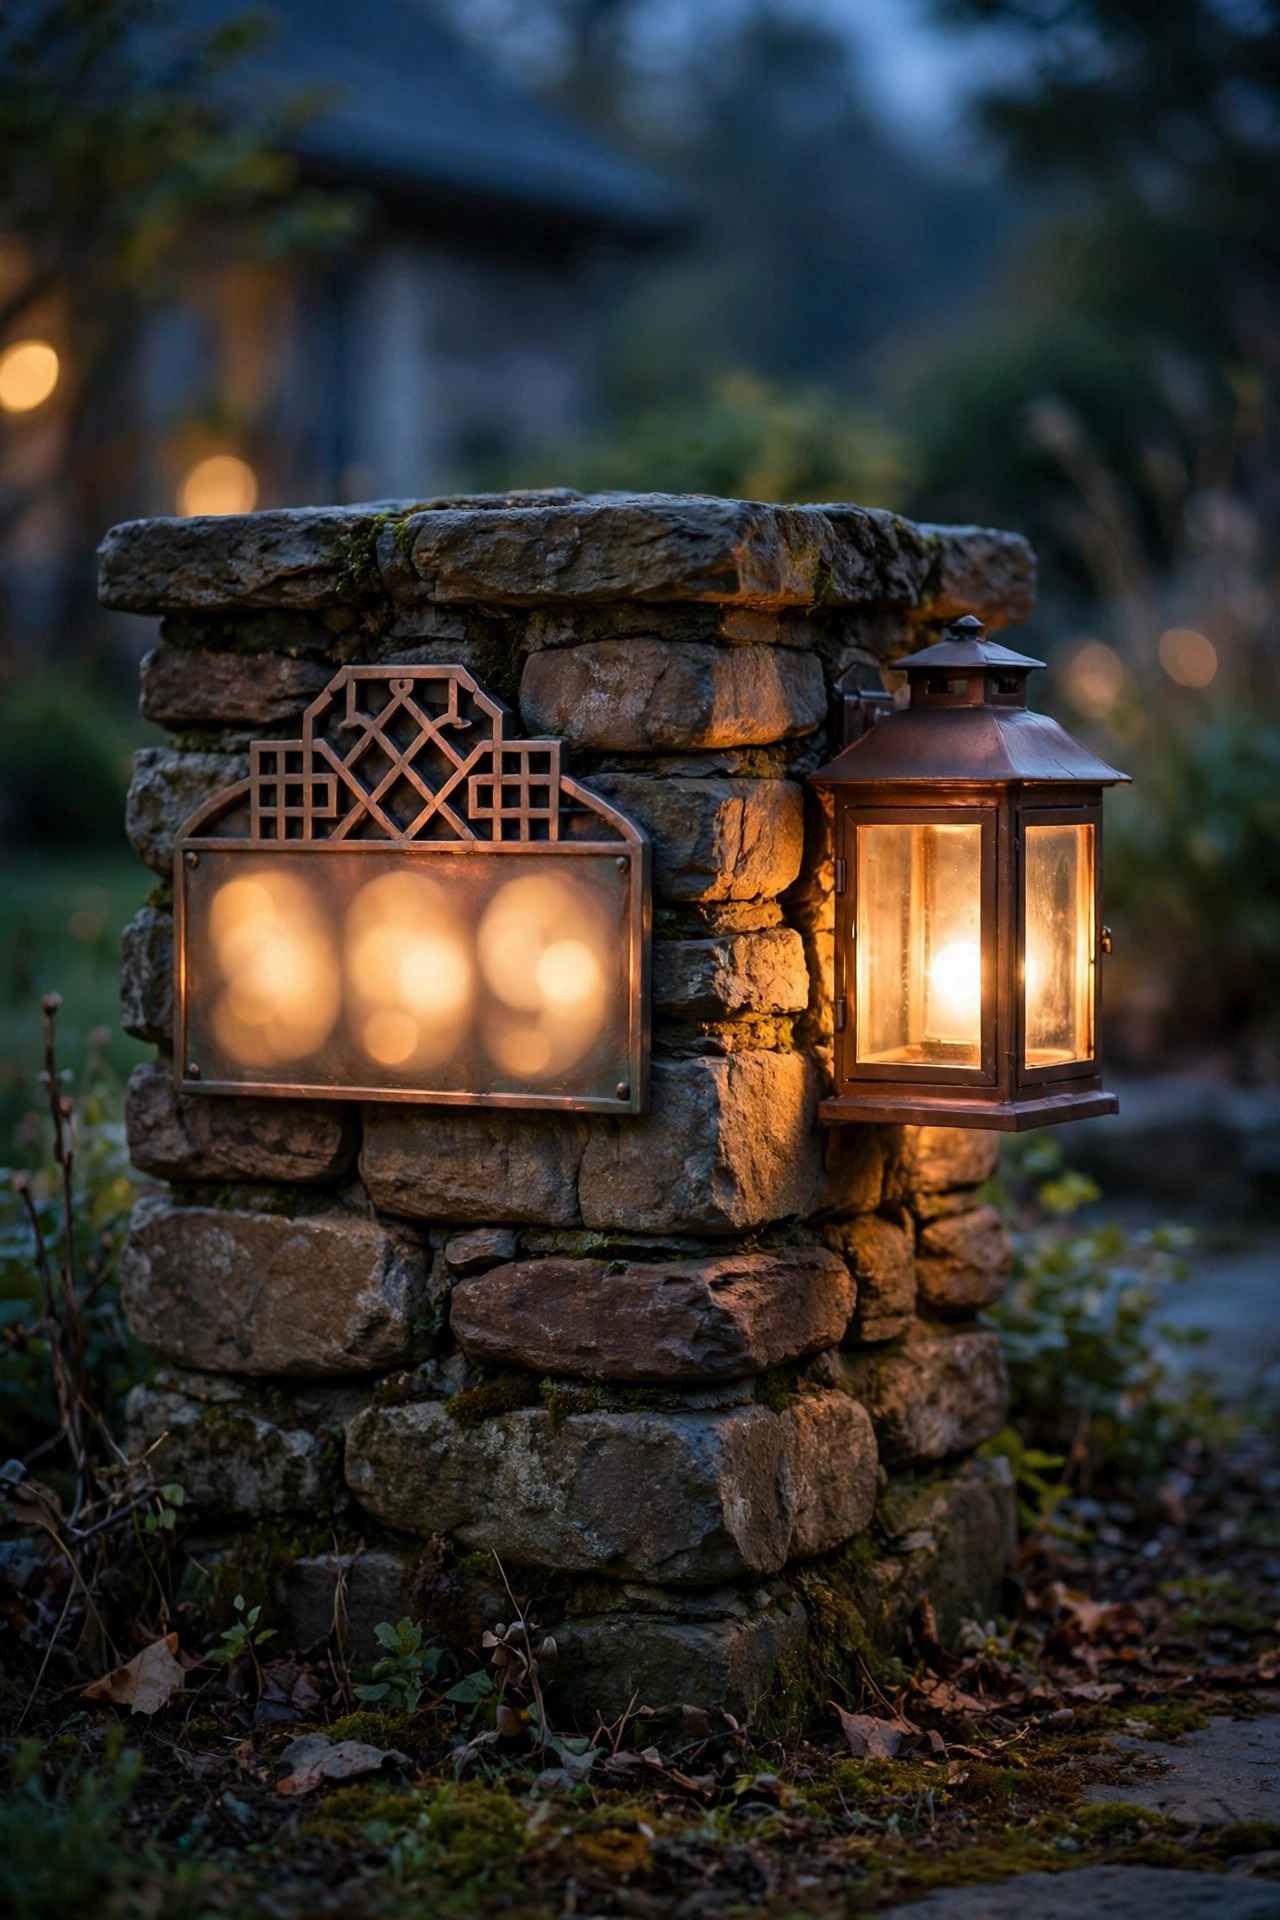
Craftsman style is sturdy and grounded, but it still has room for a little whimsy, and copper-wire fairy lights woven through planters are my favorite soft touch. Run a strand through the porch planters, wind one around the small tree in a big entry pot, or thread them along the window boxes so the flowers glow from inside. Battery or solar sets with a built-in timer are the easiest here because planters rarely sit near an outlet, and the 6-hours-on, 18-hours-off cycle means you set them once in spring. Choose warm white only, and use LED strands exclusively, since they stay cool against dry leaves and cedar mulch. The wire nearly disappears in daylight, which keeps the look honest and uncluttered. One strand per large planter is plenty; fairy lights should read as fireflies, not as a holiday display in July. Bring battery packs under the porch roof or flip them off for the deepest winter if your winters are harsh, and the strands will last for years. In my experience, this is the detail guests photograph most.
Suggested budget range: $25 – $80.
13. Hang Lanterns on the Fence and Garden Gate
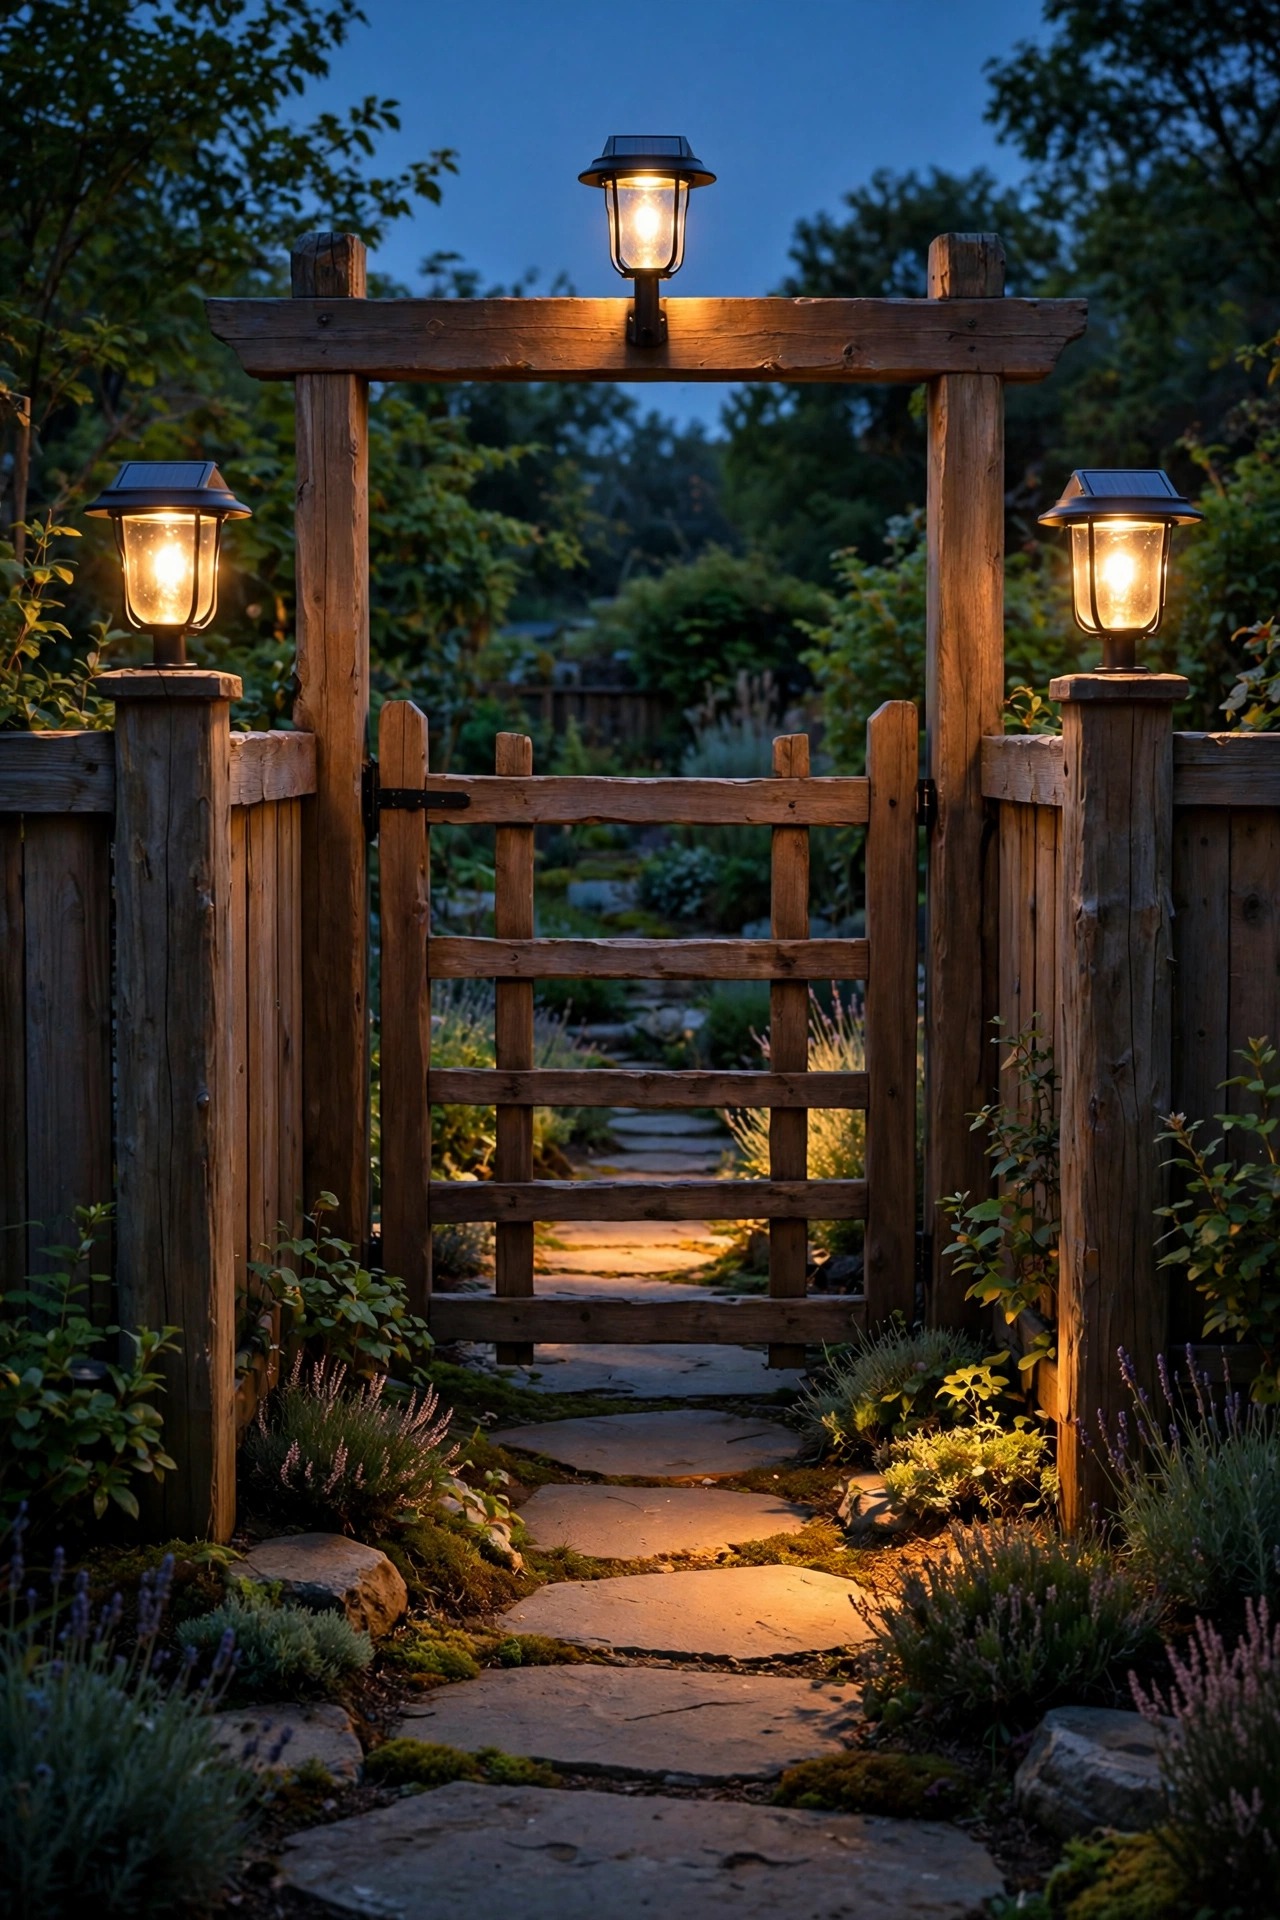
A front fence or garden gate is pure craftsman charm, and it deserves light of its own. Solar lanterns hung on shepherd hooks beside the gate, or small post-cap lights on the fence posts, mark the entrance to the yard the same way porch lanterns mark the door. If your fence runs along the front, light just the gate and one post on each side rather than every post; restraint looks intentional, and the dark stretches between fixtures make the lit ones feel warmer. Match the lantern shape to your porch fixtures, simple rectangles and squares, seeded glass if you can find it. For a wired option, low-voltage post caps give steadier light and can join the main timer circuit. Keep gate hardware in mind: a lantern hung too close to the latch gets knocked every single day, so offset it by at least a foot. A lit gate also quietly improves security, because it removes the dark pocket where the yard meets the sidewalk. Sit the fixtures so their glow spills onto the path inside the gate, guiding guests the last few steps to your porch.
Suggested budget range: $70 – $220.
14. Put Everything on Timers and Photocells
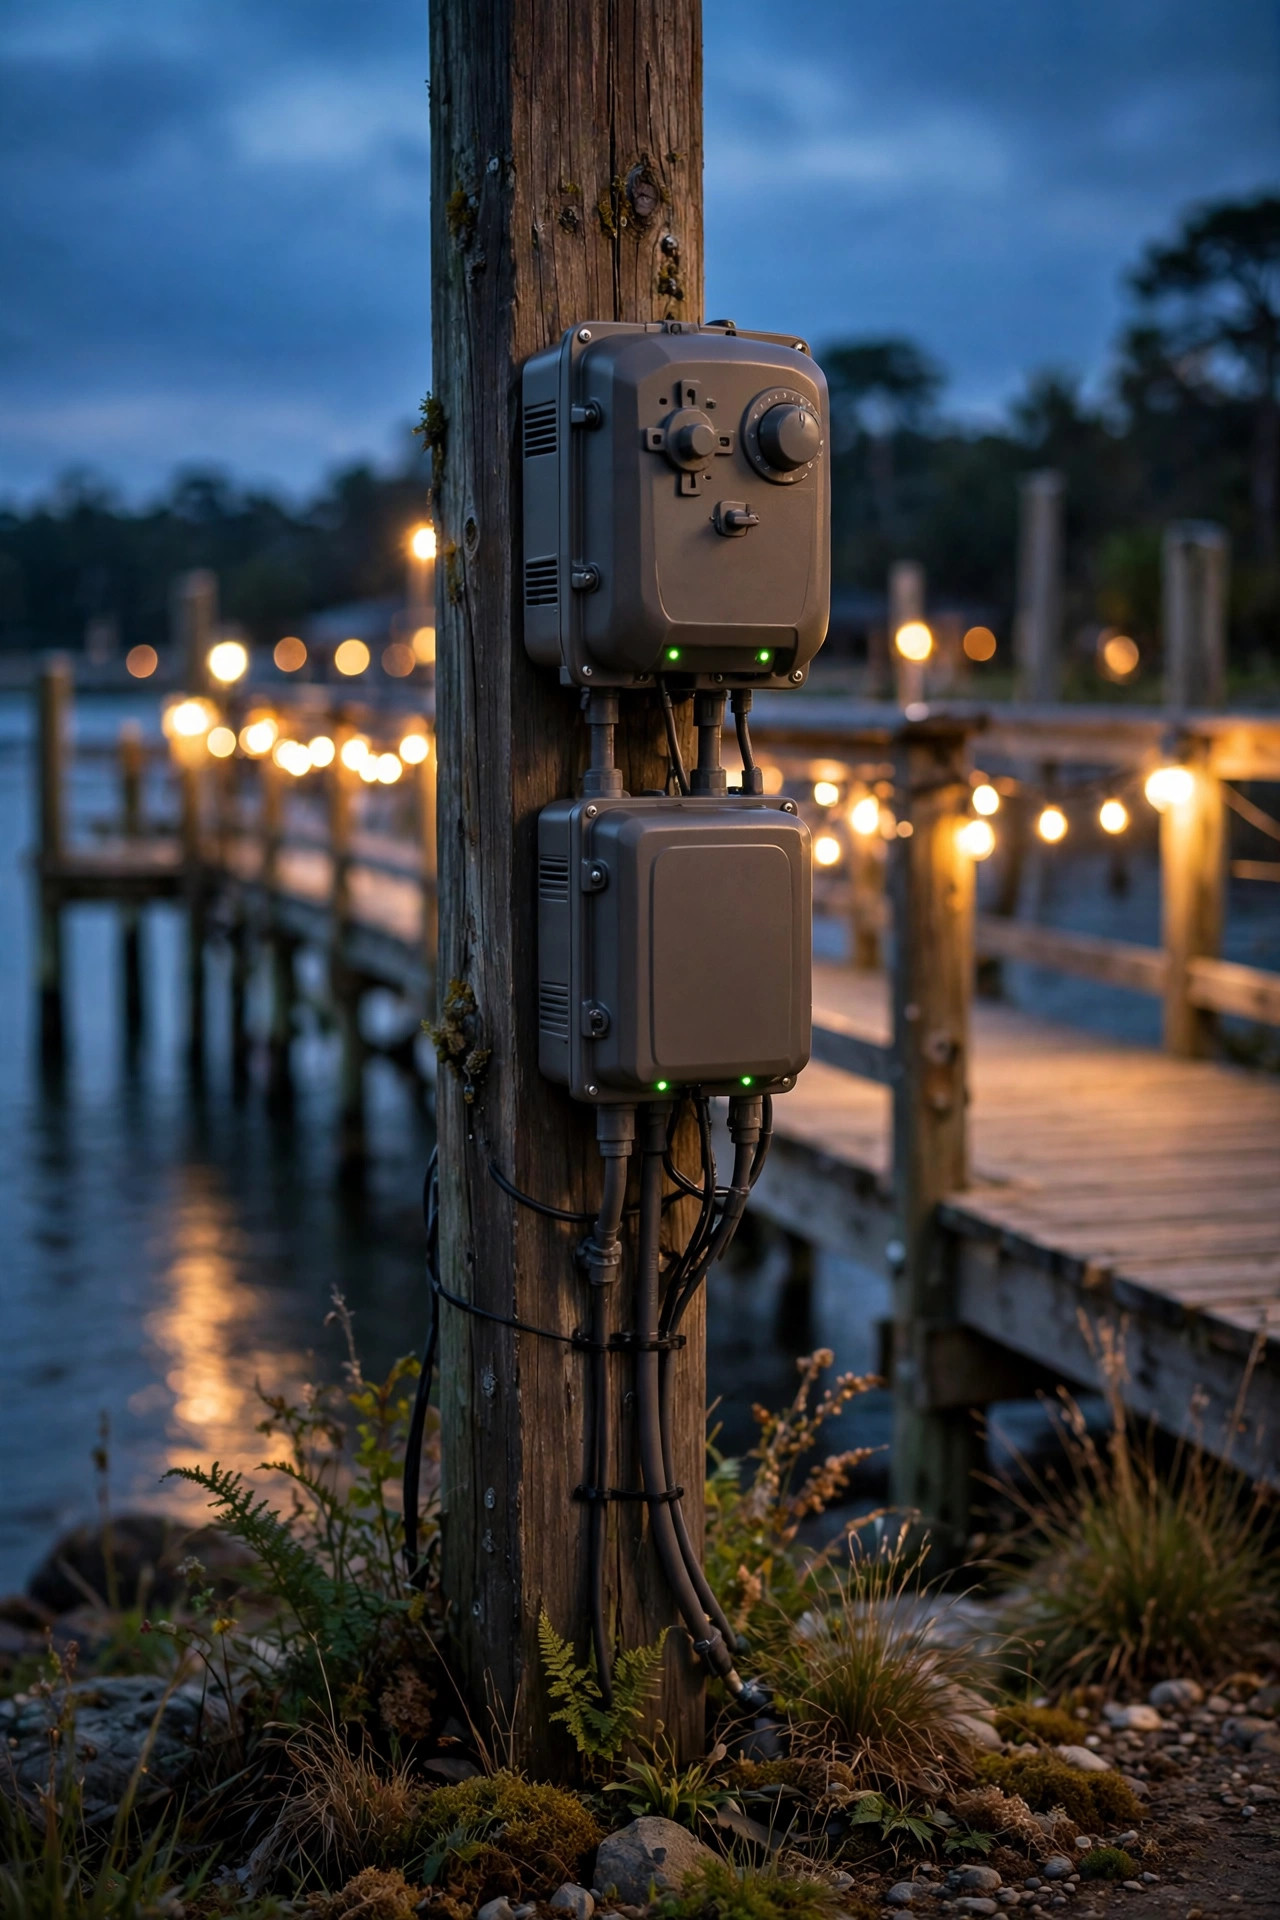
The best landscape lighting is the kind you never think about, and timers with photocells make that happen. A photocell transformer turns the system on at dusk automatically, and an astronomical timer knows sunset shifts through the year, so your lights are never burning at 4 p.m. in December or still dark at 9 p.m. in June. I run my front yard until about 11 p.m. and then let it rest, which saves energy, extends bulb life, and is kinder to the birds and the neighbors. Smart plugs rated for outdoor use can retrofit an older transformer, but keep the plug itself inside a covered in-use box or in the garage. Split your system into two zones if you can: safety lights on the path and steps in one zone that runs all evening, and pure accents in a second zone you can switch off for stargazing nights. Whatever you choose, retire the routine of wandering out in slippers to flip a switch. Set it once, check it at each daylight saving change, and let the yard take care of itself while you enjoy it from the porch swing.
Suggested budget range: $45 – $160.
15. Keep Every Bulb at One Warm Temperature
If you remember one technical rule from this whole list, make it this one: every bulb and fixture in the yard should be the same warm color temperature, 2700K. Mixed temperatures are the number one reason DIY lighting looks patchy, with one bluish path light undoing six warm ones. When you shop, the number is printed right on the box, and filament-style LEDs at 2700K give that early-electric glow craftsman homes were literally built around. Integrated LED fixtures list their temperature too, so check before the box goes in the cart. Buy one or two spare fixtures from the same batch as your originals, because manufacturers quietly change LED tones between production runs and a replacement two years later can clash. Hold a new bulb beside an old one at dusk before installing the whole set; your eyes will spot a mismatch in seconds that the spec sheet swore would not happen. Warm light also flatters brick, stone, cedar, and skin tones, which is why everything about a well-lit craftsman yard feels cozy. Consistency is cheap, and it is the difference between a yard that glows and a yard that just has lights.
Suggested budget range: $30 – $100.
16. Give the Birdbath or Fountain Its Own Soft Glow
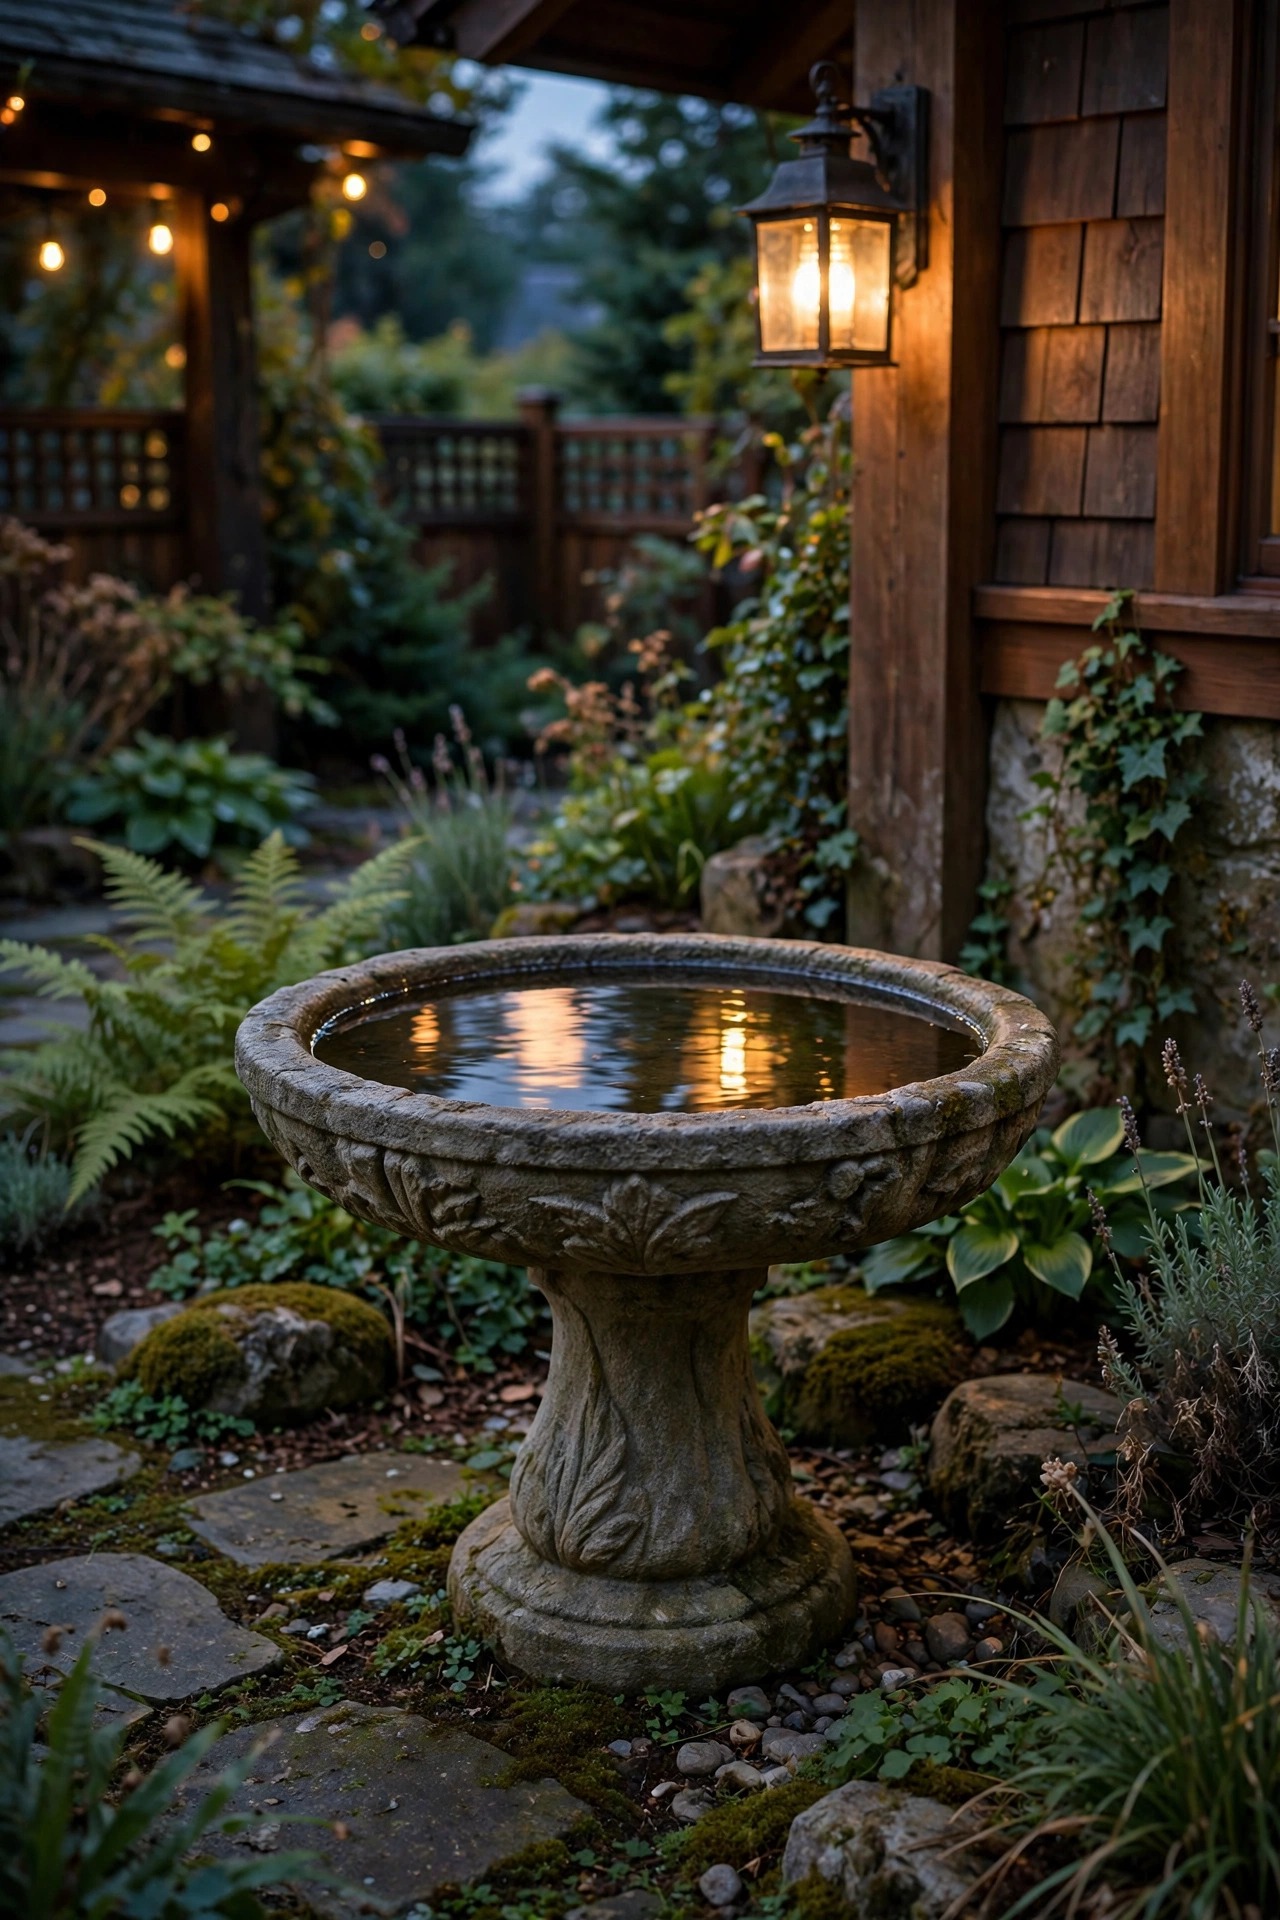
Every craftsman garden has a quiet corner, and a birdbath, small fountain, or stone bench lit softly becomes the moment guests remember. The simplest version is a small solar accent light tucked into the planting beside the feature, aimed across it so the light catches the water's edge or the stone texture. For a fountain, a submersible LED ring in the basin makes the moving water sparkle, but keep the transformer and connections on a GFCI-protected circuit and follow the wet-location ratings to the letter, because water and electricity demand respect. If wiring feels like too much for one small feature, a solar lantern on a short stake beside the birdbath gives 80 percent of the effect for almost no effort. Keep the brightness low here on purpose; this is a whisper of light, not a focal flood. Place the feature within view of the porch if you can, so the glow lands in your evening sightline. On still nights the reflection doubles the effect, and honestly, it is the cheapest bit of magic in the whole yard.
Suggested budget range: $30 – $110.
17. Pull Your Craftsman Landscape Lighting Ideas Together With a Dusk Walk-Through
A week after you install everything, do the most useful ten minutes of the whole project: the dusk walk-through. Start at the street, where your guests and the mail carrier actually see the house, and walk every path slowly with a notebook. You are hunting for three things. First, glare: any fixture whose bare bulb hits your eyes gets tilted, shielded, or dimmed. Second, gaps: dark stretches on steps or at the gate that need one small fixture added. Third, balance: one side of the porch glowing while the other sits dark, which usually just means re-aiming a spotlight. Take phone photos from the curb; the camera is brutally honest about hot spots your eyes forgive. Adjust angles with the lights on, wearing the shoes guests wear, at the hour guests actually arrive. This is also when I fine-tune the timer and swap any bulb that looks even slightly cooler than its neighbors. These small corrections are what separate the yards people slow down to admire from the yards that simply had money spent on them. Keep the notebook in the garage and repeat the walk each spring; plants grow, fixtures shift, and ten minutes keeps all your craftsman landscape lighting ideas looking freshly installed.
Suggested budget range: $0 – $60.
Frequently Asked Questions
What color temperature looks best for craftsman landscape lighting?
Warm white at 2700K is the classic choice, and it is what I use across my whole yard. It echoes the glow of early electric and gas lanterns, flatters brick, stone, and wood siding, and makes skin tones look warm when guests gather on the porch. Avoid 4000K and 5000K bulbs outdoors; they read blue and clinical against craftsman materials. Whatever temperature you choose, use it everywhere, because mixing tones is what makes a yard look patchy.
Is solar or low-voltage better for a craftsman front yard?
Low-voltage wired lighting wins for the fixtures that matter most: path lights, step lights, and tree uplighting, where brightness and reliability count. Solar earns its place as accent lighting in flower beds, on fence posts, and anywhere digging a cable trench would tear up roots or cross a driveway. Most yards I help with end up a hybrid, wired for the backbone and solar for the sparkle, and that balance keeps both the budget and the electric bill friendly.
How many lights does a typical front yard need?
For an average craftsman front yard, plan on 12 to 20 fixtures total. A common recipe is 6 to 8 path lights, 2 porch lanterns, 1 to 2 tree uplights, 2 to 4 accent spots for stonework and shrubs, and step lights as needed. Count by layer rather than by fixture deals: if the guidance, welcome, and accent layers are all covered, the yard will look complete even at the lower end of that range.
How much does it cost to light a craftsman front yard?
A DIY low-voltage system with a transformer, cable, and 12 to 16 quality fixtures typically runs $400 to $1,500, and the per-idea budget ranges in this post will help you phase it in over a season or two. Professional design and installation usually starts around $2,500 and climbs with fixture count and stonework. Running costs stay tiny either way, since a full LED yard often draws less power than a single old porch bulb.
Conclusion
Great craftsman landscape lighting ideas all come back to the same principle: warm light, honest materials, and layers that guide, welcome, and accent in that order. Start with the plan and the path, add the tree and the stonework when you can, and keep every bulb at 2700K so the whole yard glows as one. None of this needs to happen in a single weekend. My own yard took three springs, one layer at a time, and every stage looked finished along the way. Pick the idea that fixes your darkest corner first, and browse the rest of the lighting ideas here whenever you are ready for the next layer. I will see you out on the porch at dusk.