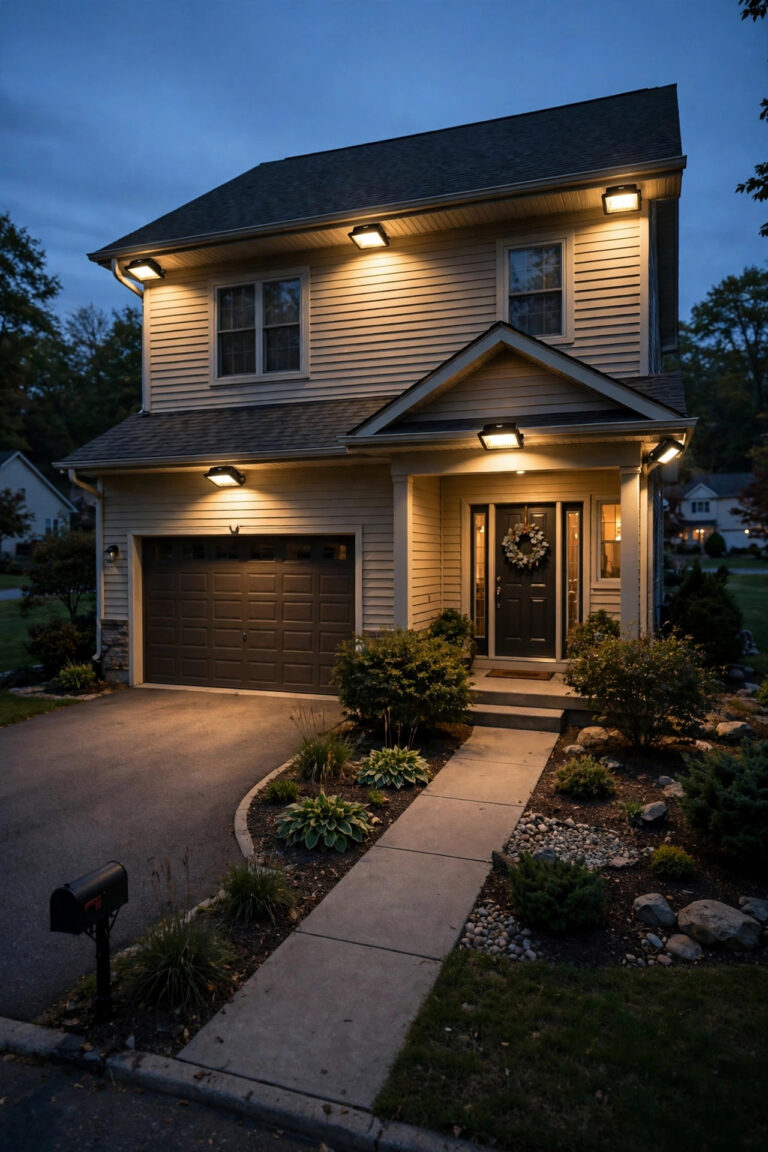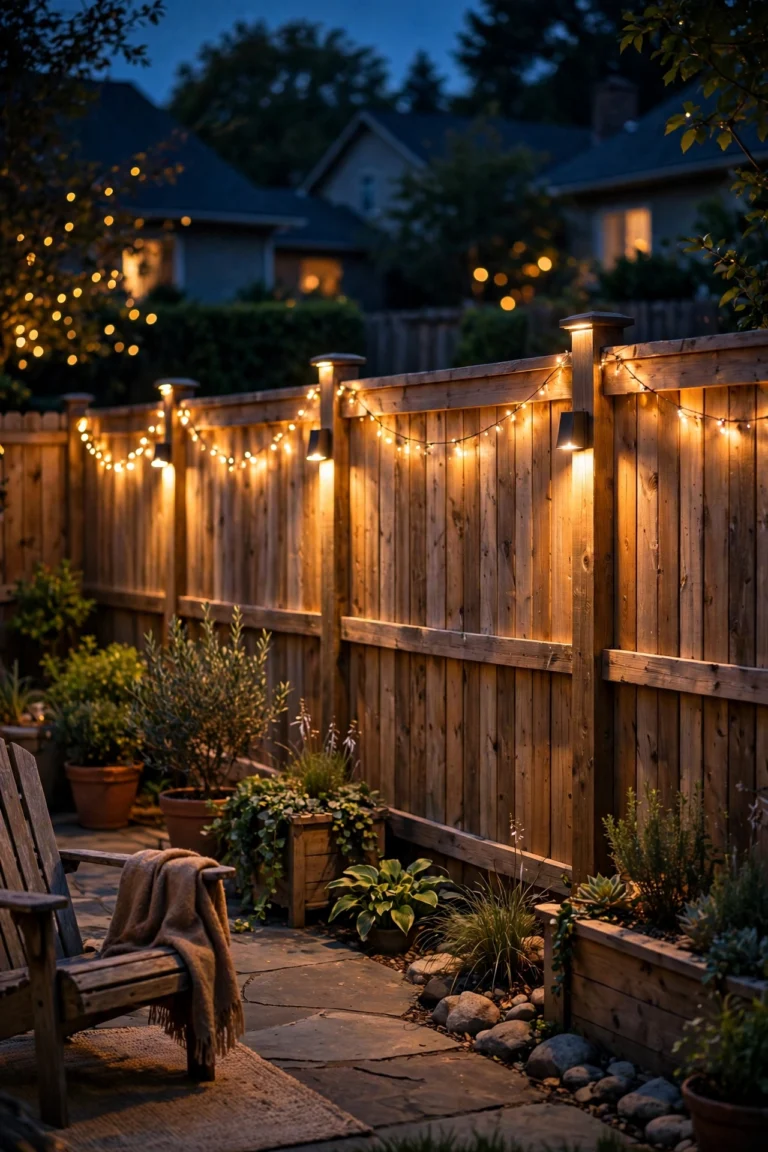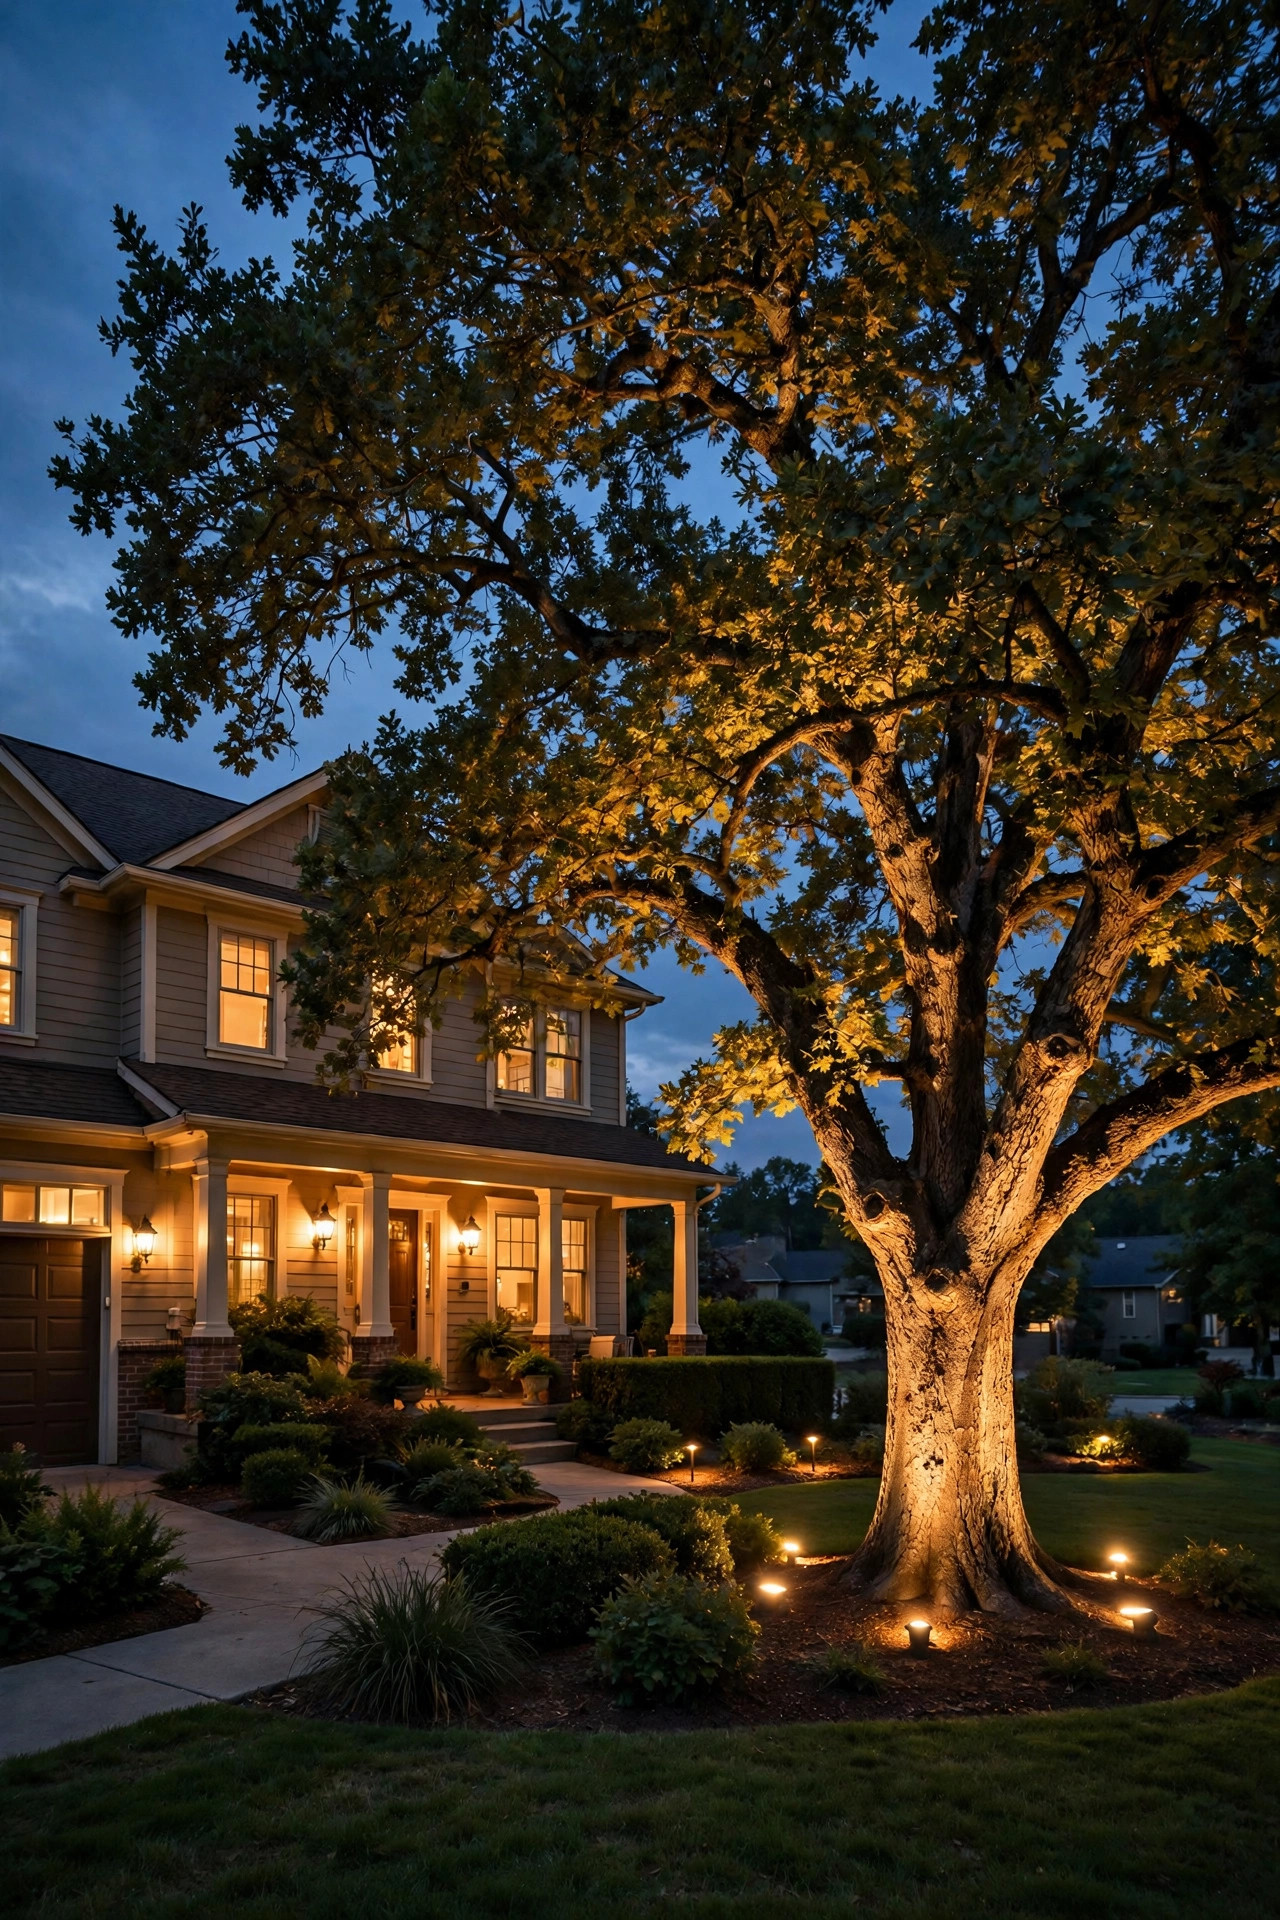
Your front yard trees are doing quiet, beautiful work all day — and then the sun goes down and they vanish. Honestly? That always felt like such a waste to me. The right front yard tree lighting ideas can turn a plain maple or a scraggly ornamental into the centerpiece of your whole street after dark, and most of them are easier (and cheaper) than people expect. In my experience, the secret is layering: pick one main technique per tree, add a soft supporting glow, and keep everything warm — 2700K to 3000K is the sweet spot that flatters bark, leaves, and brick alike. Below you'll find 19 ways to light the trees you already have, from a single $30 solar spot to full moonlighting rigs, each with placement tips and an honest budget range so you can plan your weekend.
1. Classic Bullet Uplights at the Trunk Base
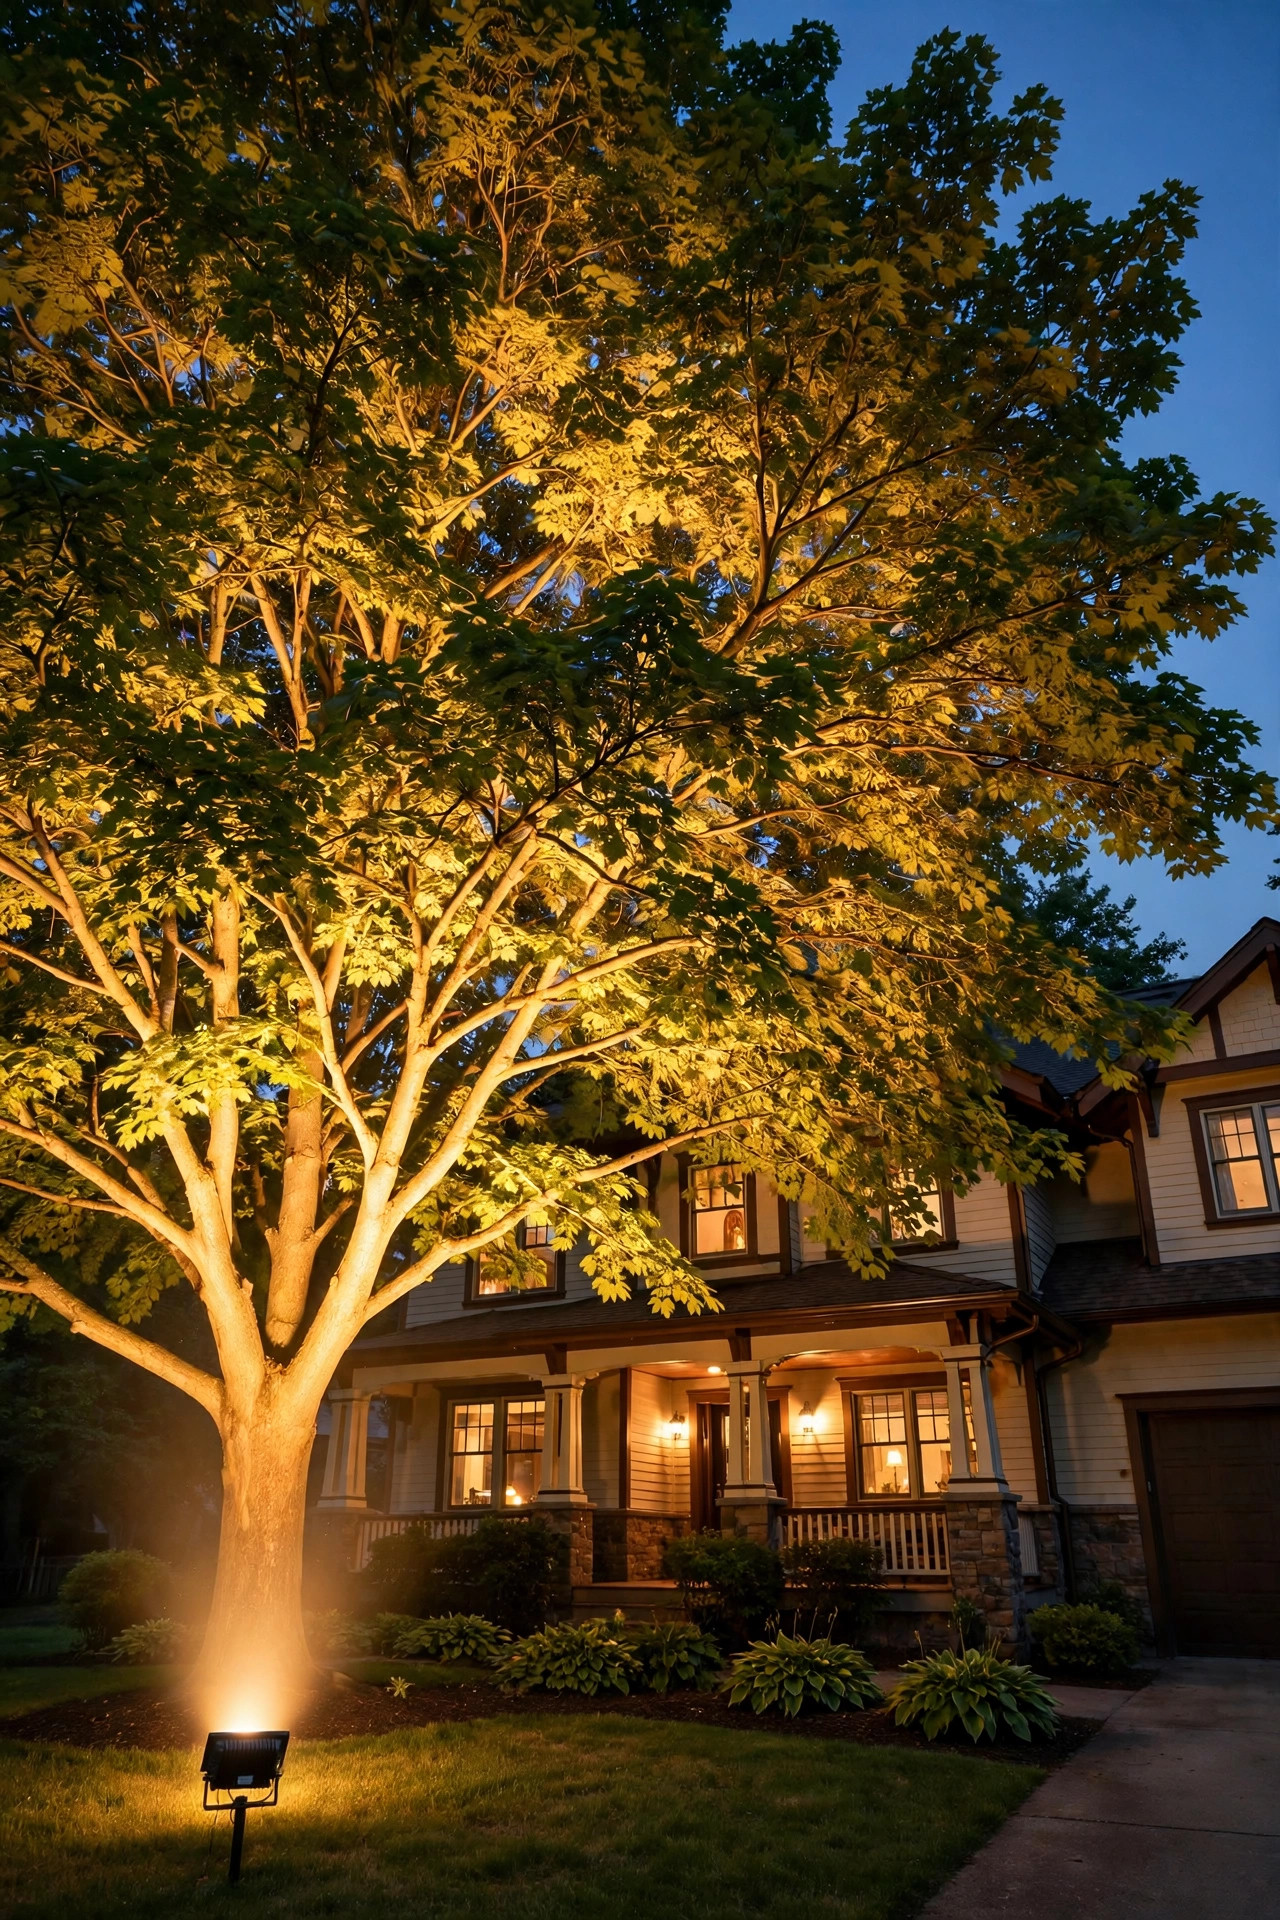
This is the technique I'd teach anyone first, because it works on almost every tree: a low-voltage bullet spotlight staked at the base of the trunk, aimed straight up into the canopy. The light travels up the bark, catches the branching structure, and blooms into the leaves — instant drama for very little money. Place the fixture 12 to 18 inches out from the trunk so the beam grazes the bark rather than blowing a white stripe up the middle of it. For a medium tree, a 35- to 50-degree beam angle fills the canopy nicely; tall, narrow trees want a tighter 15- to 24-degree beam. One light is plenty for trees under about 15 feet tall; bigger specimens look better with two, which I'll cover next. Aim slightly past the trunk center so the light lands in the foliage instead of disappearing behind the tree. I always recommend testing with a flashlight at night before you bury any cable — ten minutes of experimenting saves a season of "almost right." Suggested budget range: $60 – $150.

2. Cross-Lighting With Two Fixtures
A single uplight can leave one side of a tree looking flat and shadowy from the street. Cross-lighting fixes that: two bullet fixtures placed at roughly 10 o'clock and 2 o'clock around the trunk, each aimed up and slightly across the canopy. The overlapping beams fill in shadows, model the branching so it reads three-dimensional, and keep the tree looking good from multiple angles — important for corner lots or curved driveways where people see the tree from more than one side. Keep both fixtures the same wattage and beam angle so one side doesn't overpower the other, and stagger their distances slightly (say 14 inches and 20 inches out) for a natural, not-mirror-image feel. This is my go-to for the main front yard tree that anchors the whole facade. If you're deciding between uplighting styles for a specimen tree, my complete tree uplighting guide walks through beam angles and fixture counts in more depth. Suggested budget range: $120 – $280.

3. In-Ground Well Lights for a Clean, Hidden Look
If you love the glow but hate seeing hardware, well lights are your friend. These fixtures sit in a sleeve buried flush with the soil or mulch, so during the day there's nothing to trip over, mow around, or catch a string trimmer on — just a discreet lens at ground level. They're wonderful for trees in the middle of a lawn panel where a staked fixture would look cluttered. Choose a model with a rock guard or louvered face if the tree is anywhere near a play area, and stick with a sealed, gasketed housing rated for direct burial; cheap open wells fill with mulch and water and fail within a season or two. Because the fixture is fixed in the ground, aim matters even more — pick an adjustable internal gimbal so you can tilt the beam a few degrees after installation. In my experience, one well light centered 18 to 24 inches from the trunk gives the cleanest trunk-to-canopy wash on small and medium ornamentals. Suggested budget range: $90 – $220.

4. Moonlighting From High in the Canopy
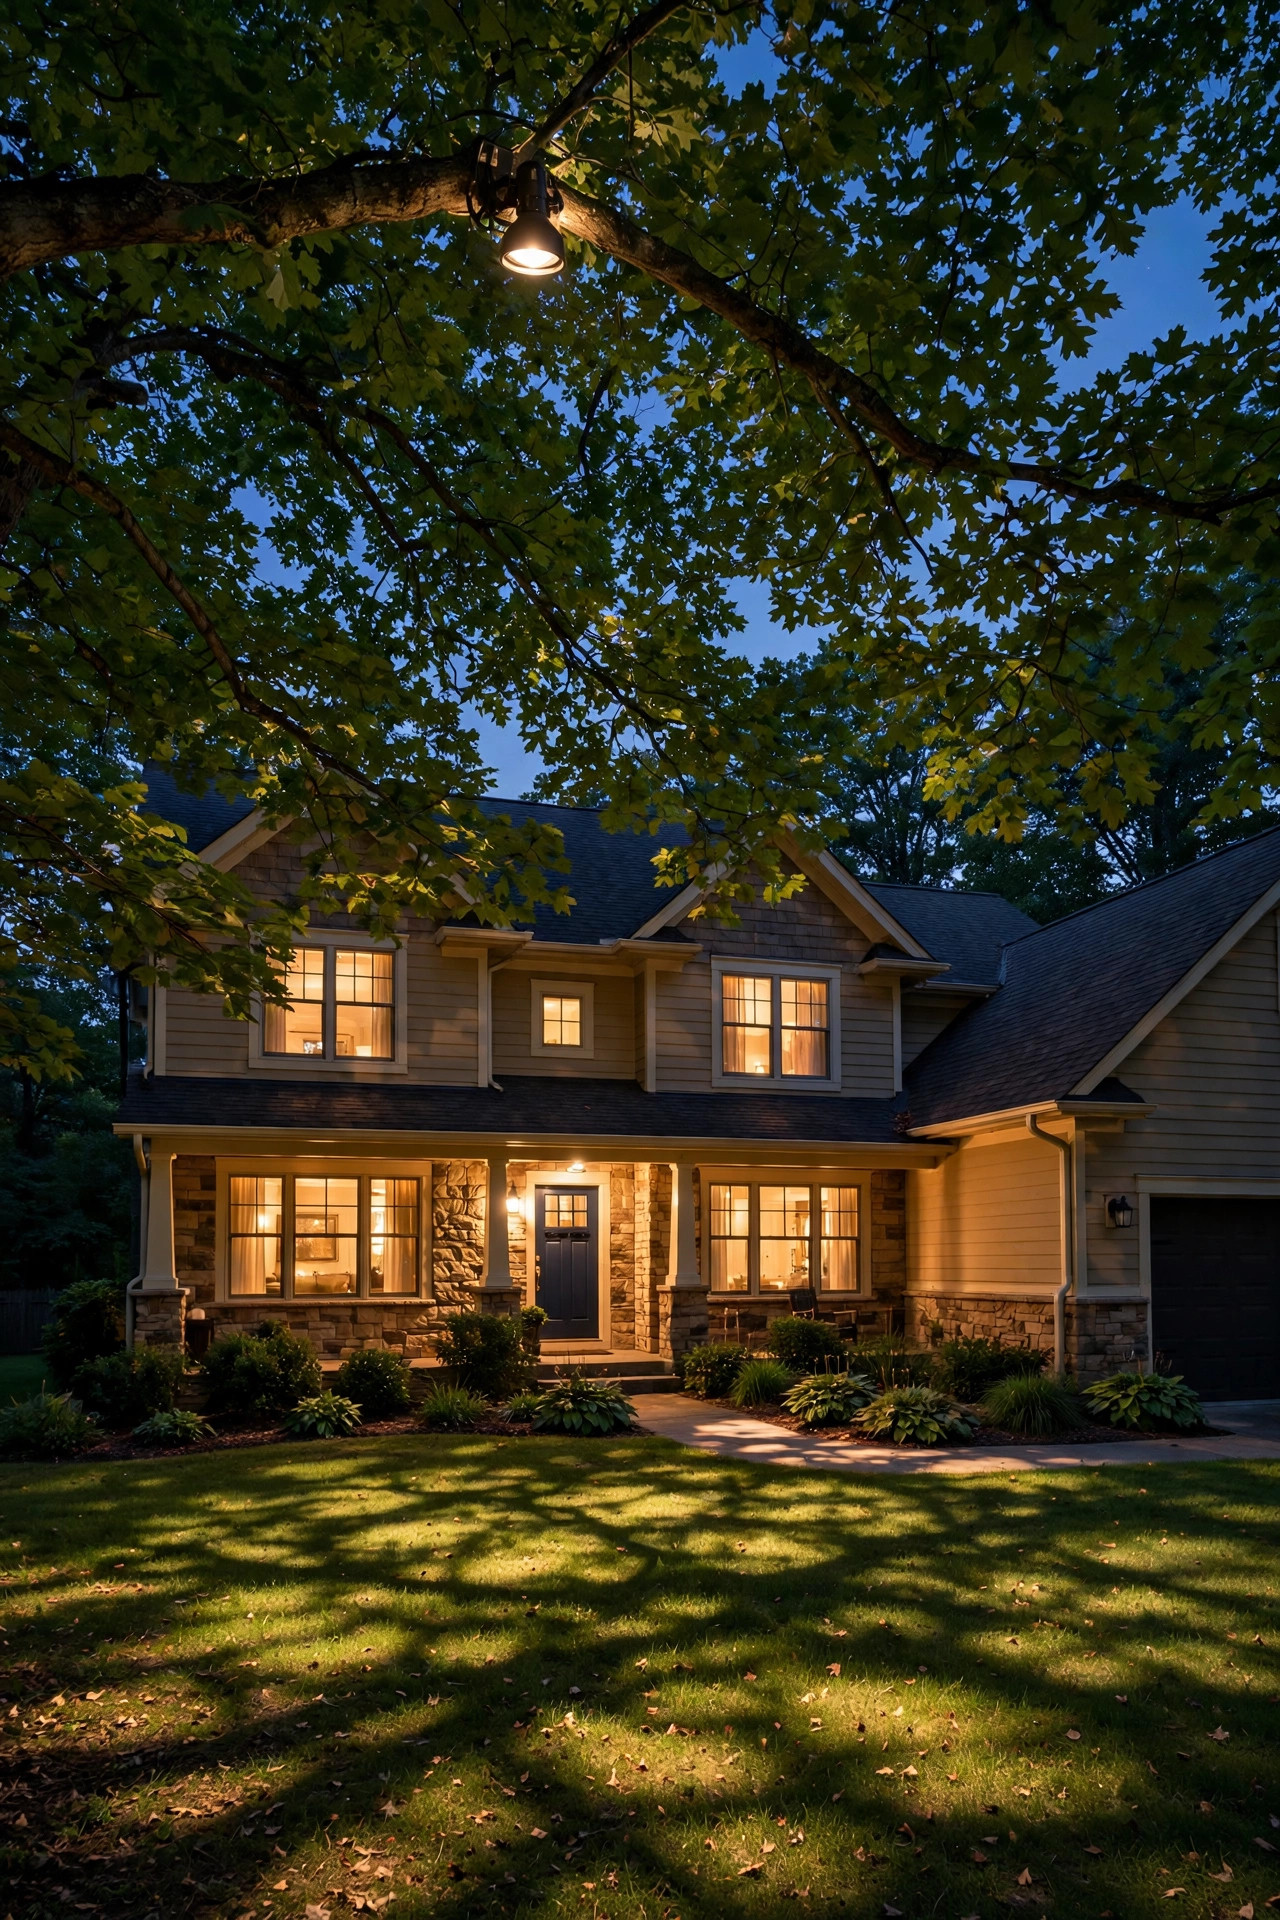
Moonlighting flips the whole idea: instead of shining up, you mount a downlight 15 to 25 feet up in the tree and let soft light filter down through the branches, dappling the lawn and walkway below exactly the way a full moon does. It is, honestly, the most natural-looking tree lighting there is — guests feel the effect before they ever spot a fixture. Use a cool-ish but still warm 3000K lamp, keep the brightness gentle (this is ambience, not security lighting), and angle the fixture so the beam passes through gaps in the foliage rather than blasting one branch. Mount with tree-friendly straps or lag systems designed to grow with the tree, and route the cable down the back side of the trunk where nobody sees it. This one usually needs an arborist's ladder work or a pro install on big trees, but for a mature oak over a front walk it is worth every penny. My moonlighting trees guide covers mounting heights and safe hardware in detail. Suggested budget range: $250 – $600.
5. Silhouette Backlighting Behind the Tree
Some trees earn their keep with shape — a sculptural Japanese maple, a gnarly old olive, a young redbud with that perfect vase form. For those, don't light the tree itself at all. Place a single flood or well light on the ground behind the tree, aimed at the house wall or fence behind it, and the trunk and branches go dark against a glowing backdrop. The silhouette effect is pure theater and it works from the street like nothing else on this list. Keep the background surface 6 to 12 feet behind the tree for the cleanest outline, and choose a wide beam (60 degrees or more) so the halo spreads evenly. Warm white reads elegant; a very soft amber reads magical. One caution from my own yard: this only works when there's a backdrop — a tree standing alone against open sky will just disappear. Pair it with path lights nearby so the base of the tree still feels grounded and safe. Suggested budget range: $70 – $180.

6. Shadow Play With a Low Front Light
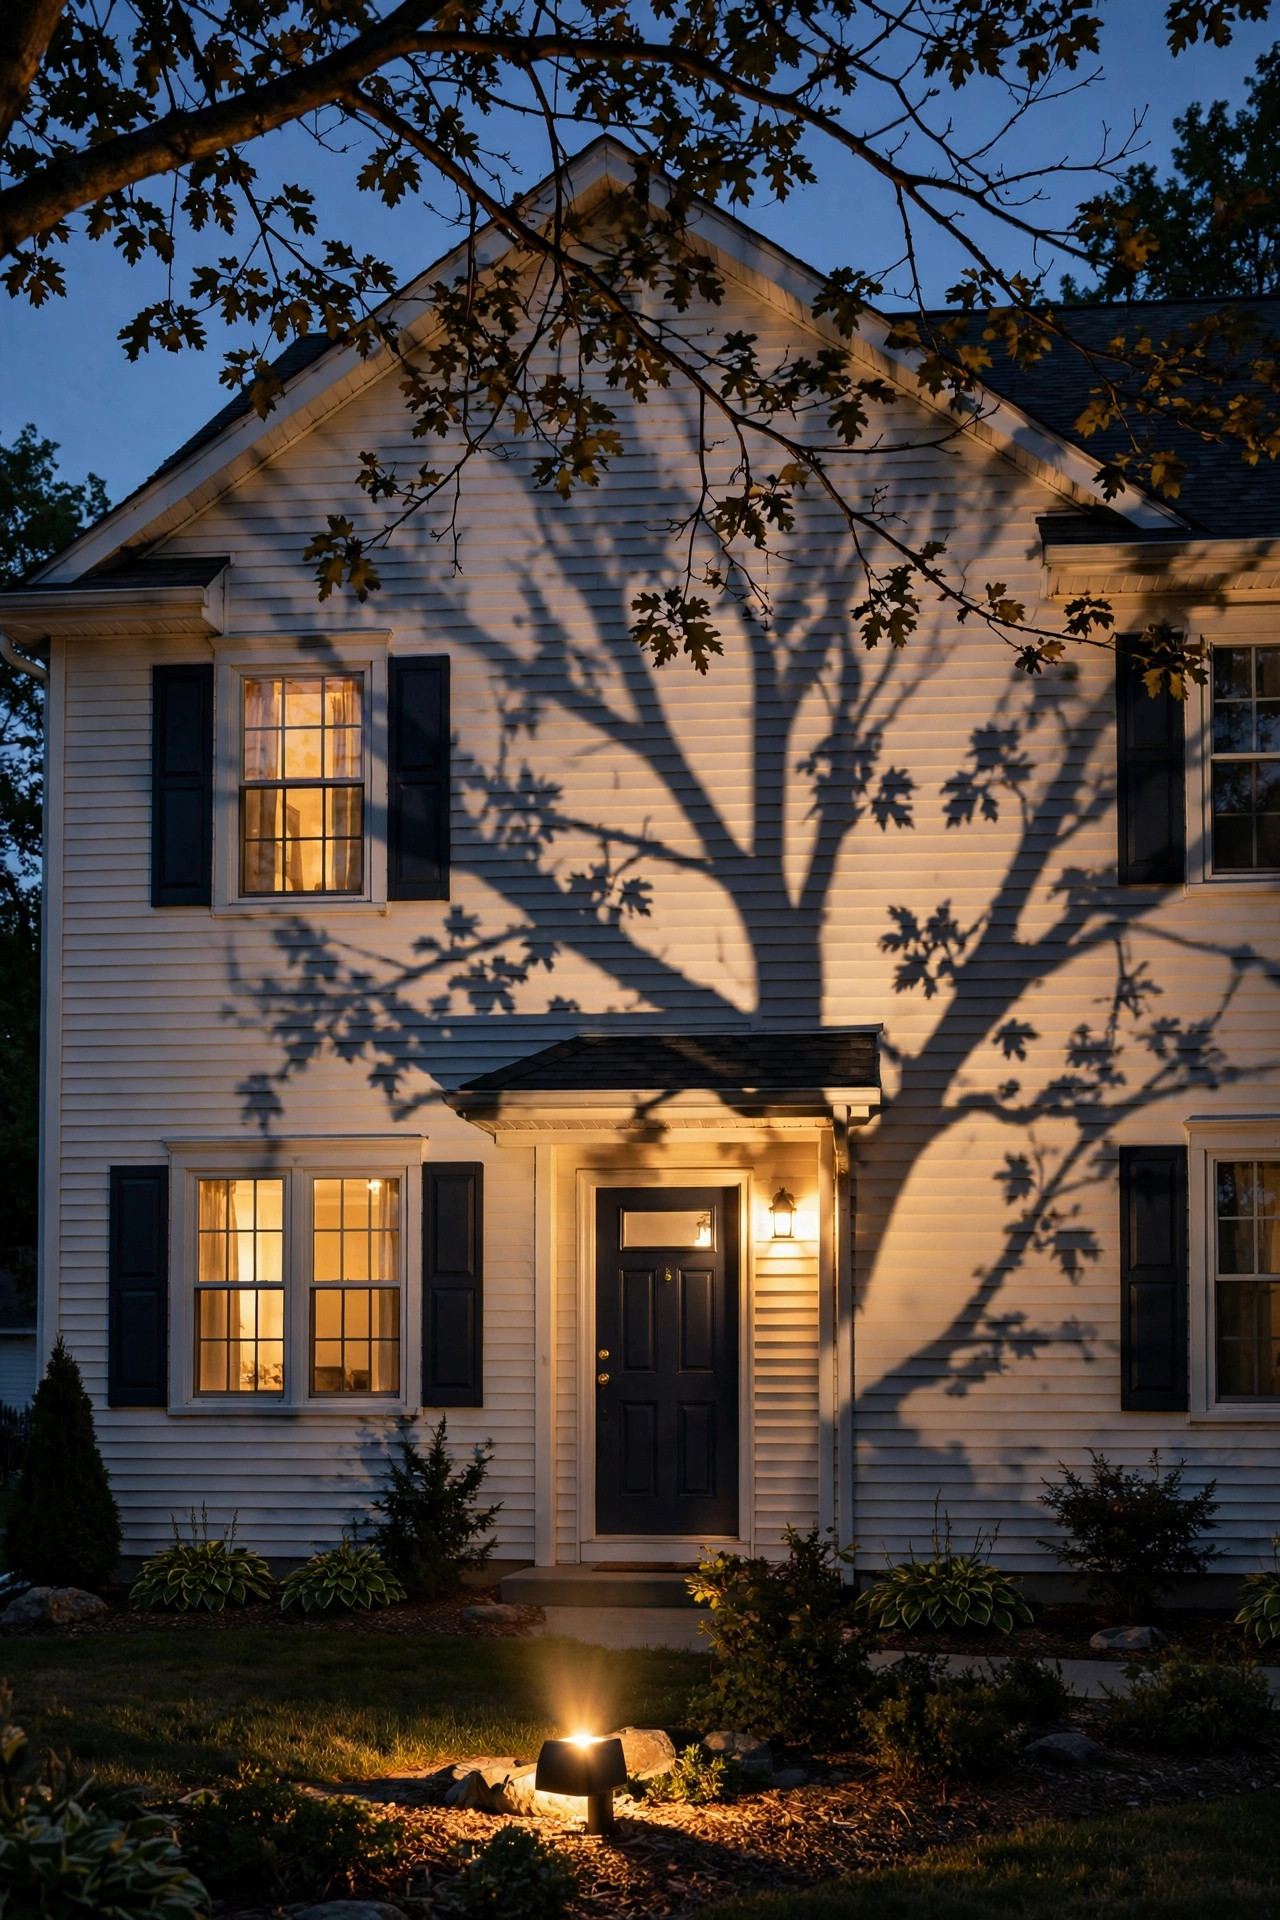
Here's the playful cousin of uplighting: place a fixture low and in front of the tree — say 4 to 6 feet out, between the street and the trunk — and aim it up through the branches toward your house. The tree itself gets lit, yes, but the real show is the giant, intricate branch shadows it throws across your facade, lawn, or driveway. It turns a plain wall into living artwork that moves in the breeze. A slightly wider beam keeps the shadows soft-edged and dreamy; a narrow beam makes them sharp and dramatic, so experiment before committing. This works best on trees with open, interesting branching — crape myrtles and multi-stem ornamentals cast gorgeous patterns. Keep the fixture low and shielded so drivers and pedestrians aren't catching glare, and never aim it where it can hit a neighbor's windows. I always recommend a dimmer or a lower-wattage lamp here; the shadows should whisper, not shout. Suggested budget range: $50 – $140.
7. Fairy Lights Wrapped Around the Trunk and Branches
There is a reason every cozy street has one house with a wrapped tree: it simply makes people happy. Copper-wire fairy lights spiral up the trunk and out along the main branches, tracing the tree's architecture in tiny warm points of light. For a front yard, I recommend outdoor-rated, plug-in strands over solar — the brightness is consistent and they hold up for seasons. Work from the base upward, spacing wraps 4 to 6 inches apart on the trunk and loosening as you move into the branches so it looks grown-in, not shrink-wrapped. Warm white (2700K feel) is the classic; save multicolor for December. Secure with soft plant ties every few feet — never zip ties pulled tight, because the tree grows and the wire doesn't. Leave a little slack in a gentle catenary curve on branch runs. This is technically temporary lighting, but mine have stayed up year-round for three years and still make me smile every single evening. Suggested budget range: $40 – $120.

8. String Light Swags From Branch to House
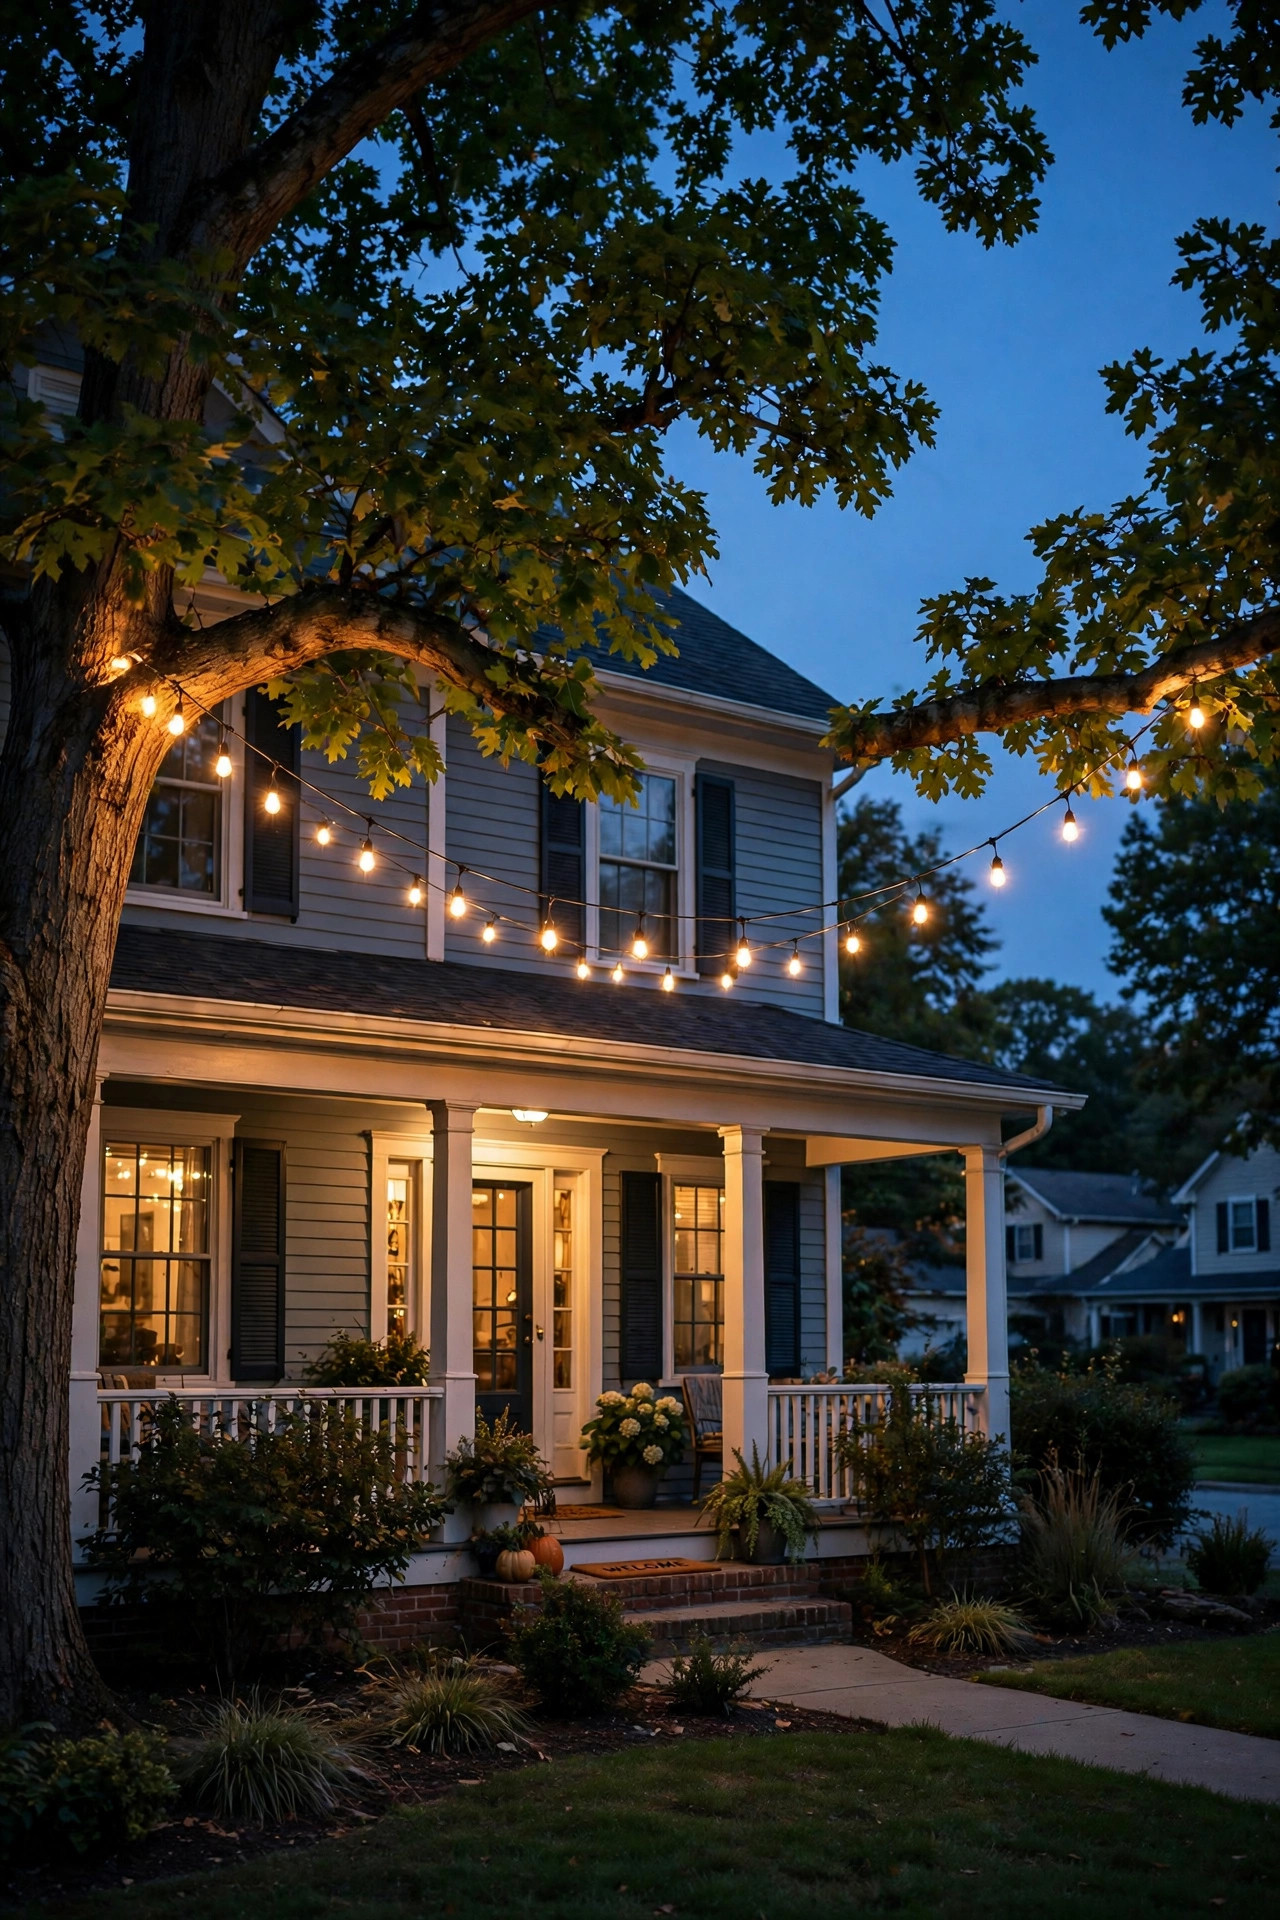
If your tree stands within 15 to 25 feet of the porch, garage, or a fence, you can borrow its height for overhead string lights — and suddenly the tree is part of your outdoor room instead of just scenery. Run commercial-grade string light strands from a sturdy lower branch out to the house, sagging them in gentle swags. Use a proper support cable or guy wire for longer spans so the tree isn't carrying the full tension, and attach with a padded strap, never a screw eye straight into a young tree. Globe or Edison-style LED filament bulbs in warm white give that bistro glow; keep them on a dimmer for movie-night softness. The tree becomes an anchor point, so leave a service loop of slack — branches flex in wind and grow over the season. This layers beautifully over a front patio or a wide porch where you'd otherwise need poles. Just keep strands clear of the walkway headspace: 7 feet minimum clearance over paths. Suggested budget range: $80 – $200.
9. Solar Spotlights for Zero-Wiring Front Yard Tree Lighting
No transformer, no cable trench, no electrician — solar spotlights are the fastest way into front yard tree lighting, and modern ones are genuinely good. Look for units with a separate solar panel on a stake and a 6- to 10-foot cord, so the panel can sit in full sun while the light hides in the shade at the trunk. Aim for models rated 200 lumens or more per head with an adjustable beam; the $8 twin-packs at big-box stores will disappoint you on a real tree. Solar works best on small to medium trees (under 20 feet) and in yards where the panel gets six-plus hours of direct sun — under a dense canopy or on a north-facing front, expect dimmer results by mid-winter. Set the panel at a 30- to 45-degree tilt, wipe it monthly, and angle the light exactly as you would a wired uplight. For renters and anyone testing the look before committing, this is where I'd start. Suggested budget range: $30 – $90.

10. Narrow-Beam Spots for Tall, Columnar Trees
Columnar oaks, Italian cypress, upright junipers, tall pines — vertical trees need vertical light. A standard flood wastes most of its beam into the sky on either side of a narrow crown; a narrow-beam spotlight (10 to 24 degrees) keeps all that light on the tree, carrying it dramatically from the base to the very top. Place the fixture close — 8 to 12 inches from the trunk — and aim almost straight up, just a few degrees off vertical so the beam hugs the foliage column. For trees over 30 feet, step up the wattage: a 7- to 12-watt LED bullet is a good starting range, and two fixtures crossed at the base can help the crown fill out. The effect from the street is a glowing exclamation point, and a pair of them flanking a driveway entrance is one of the most high-end looks on this entire list. Keep glare shields on — narrow beams are intense up close. Suggested budget range: $80 – $200.

11. Wide Flood Washes for Spreading Canopies
Some trees are all width — a live oak, a mature elm, a spreading shade maple. Trying to light one with a single narrow spot gives you a bright trunk and a black ceiling of leaves. Instead, use a wide flood (60 to 90 degrees) placed further back, 4 to 8 feet from the trunk, so the beam opens up and washes the whole underside of the canopy. The crown glows like a lantern and the yard underneath gets a soft pool of borrowed light for free. Two floods angled from opposite sides will handle genuinely huge canopies and prevent that flat, one-note look. Because floods spread light wide, keep the wattage moderate and add a glare shield or louver so the light stays in the tree and out of drivers' eyes. If your tree overhangs the sidewalk, angle fixtures to favor your side of the canopy and keep the public path gently lit, not blasted. This is the most forgiving technique for beginners — floods hide aiming mistakes that spots would expose. Suggested budget range: $90 – $220.
12. Grazing Light to Show Off Beautiful Bark
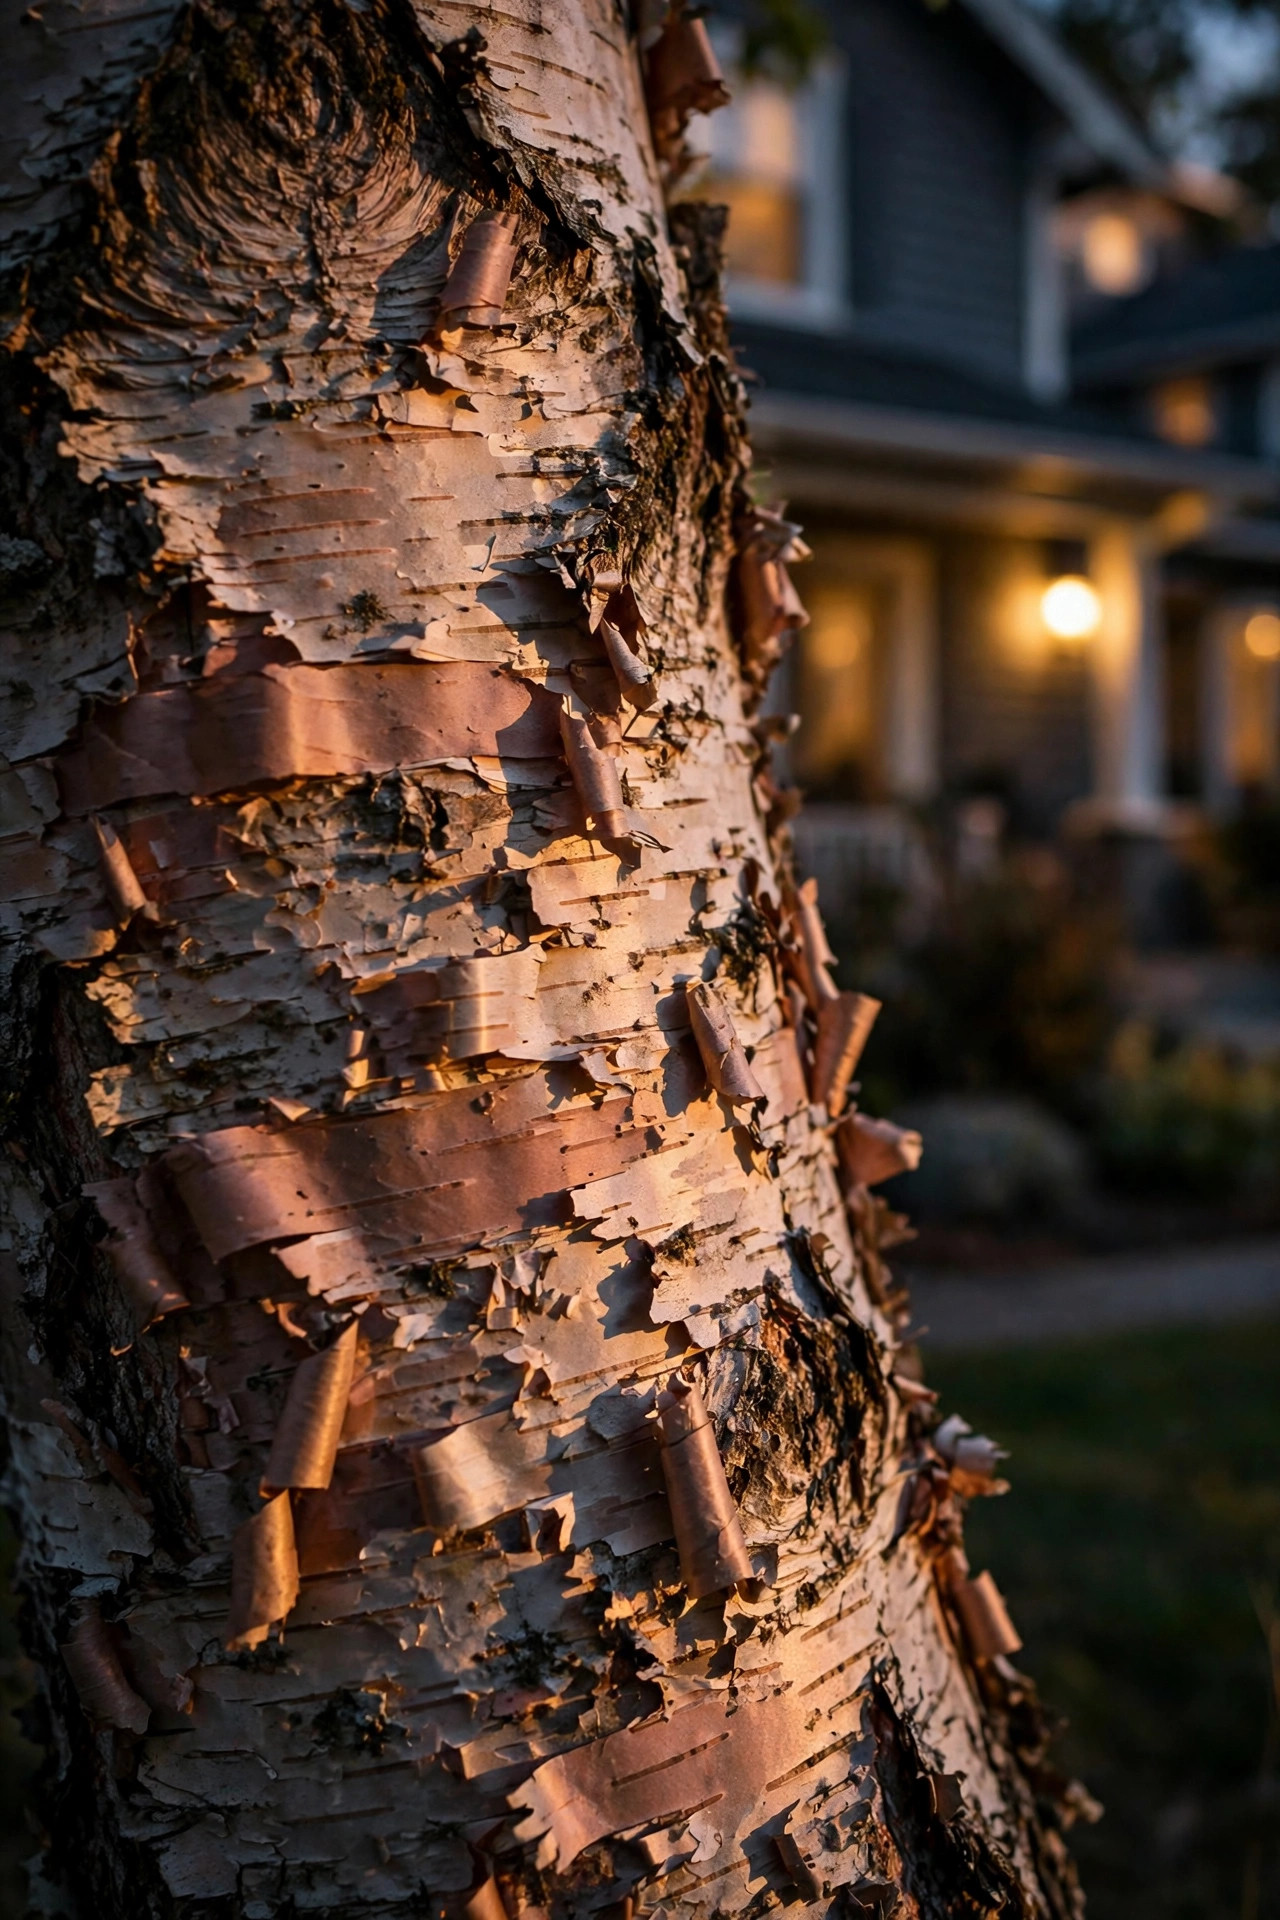
Some trees are planted as much for their bark as their leaves — paperbark maples, river birches with peeling curls, crape myrtles with that smooth cinnamon trunk, mature pines with plated texture. Grazing light is made for them: the fixture sits very close to the trunk, 4 to 8 inches away, and fires almost straight up so the beam rakes across the surface and every ridge and curl casts a tiny shadow. The texture practically doubles in depth. Because you're lighting bark, not canopy, a modest 3- to 5-watt LED is plenty, and the effect reads best in warm 2700K. Place one grazer at the street-facing side; if the tree is a true specimen, a second at 90 degrees adds dimension without going theme-park. Keep mulch pulled back from the lens so nothing blocks the low beam, and check the angle after the first rain — soil settles and close fixtures tilt. Honestly, this is the cheapest "wow" on the list per dollar spent. Suggested budget range: $45 – $110.
13. Hanging Lanterns on Low Branches
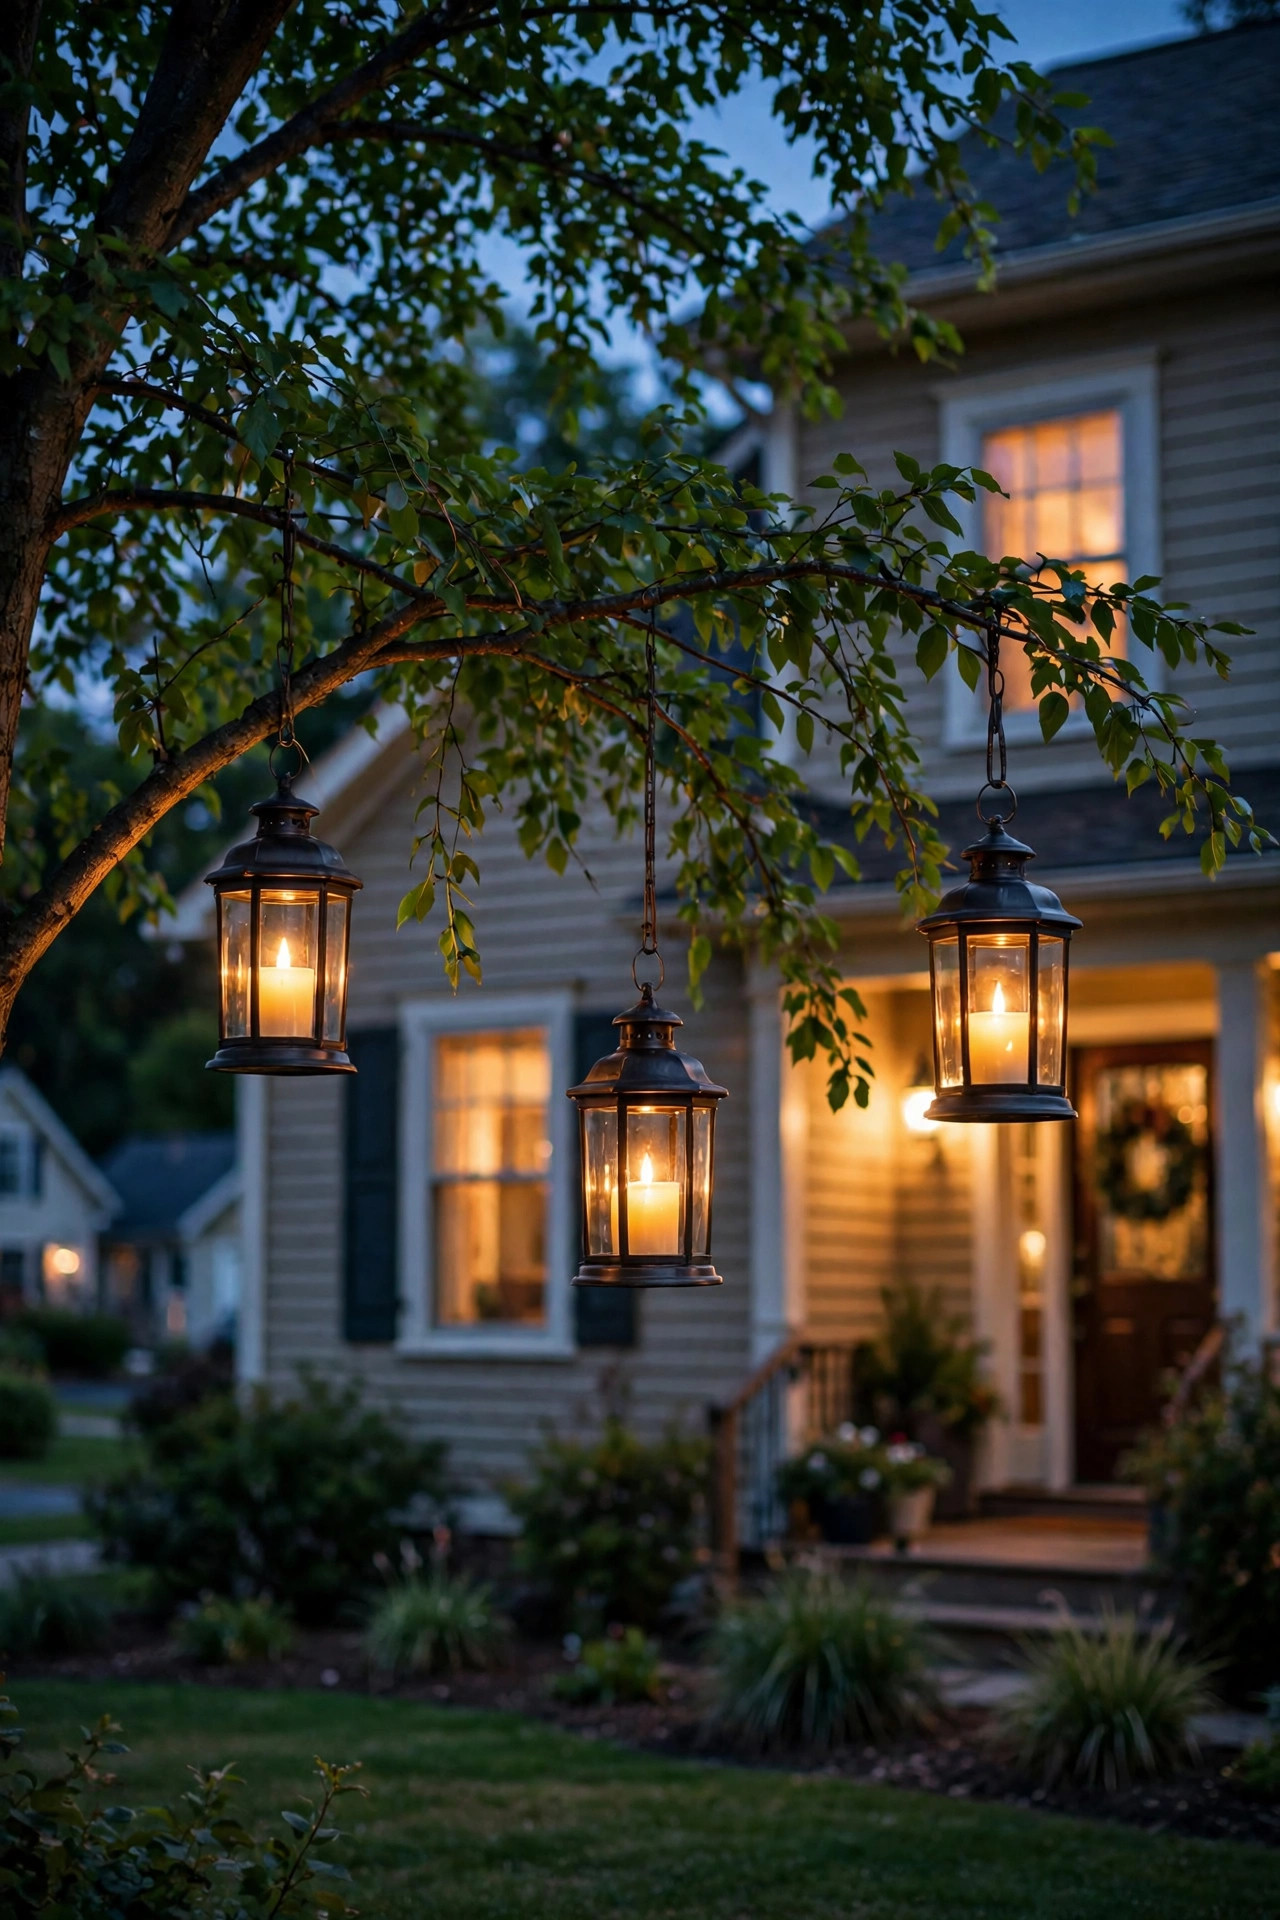
For a tree with strong horizontal branches over a garden bed or front path, hanging lanterns add the one thing uplights can't: light at human height, right where faces and flowers are. Use outdoor-rated lanterns with LED candles or low-wattage LED bulbs — never real flame in a tree, full stop — hung from S-hooks or soft straps at varied heights, 12 to 24 inches below the branch so they swing clear. Odd numbers read best: three lanterns on a small tree, five on a big one, staggered rather than symmetrical. Solar lanterns are the easy route and plenty bright for ambience; wired low-voltage lanterns give you timer control and consistent output. Keep the total weight modest and distribute it across branches rather than loading one limb, and take lanterns down ahead of serious storms. The look is pure storybook in the front yard — I've watched neighbors slow down their cars for ours. Just make sure nothing hangs over the walkway below 7 feet. Suggested budget range: $60 – $170.
14. One Light Per Trunk for Multi-Stem Ornamentals
Multi-trunk trees — serviceberry, Japanese maple, crape myrtle, olive — confuse people because a single central uplight leaves the outer trunks dark and the whole thing looks half-finished. The fix is simple: give each main trunk its own small uplight, placed at the base of that trunk and angled up through its section of canopy. Use lower wattages than you would for a single big tree (3 to 5 watts per stem is a good starting range) so the combined effect glows rather than glares. Matching beam angles across all fixtures keep the tree reading as one composition. This is also the most honest way to light clumping bamboos and large multi-stem shrubs that act as small trees in the front bed. Wire all the fixtures to the same circuit and timer so the tree always comes on as a single piece. When it's done right, the branching architecture becomes a glowing sculpture — in my experience this is the technique guests ask about most. Suggested budget range: $110 – $260.

15. Warm Amber and Soft Color Accents
White light is the default, but a whisper of color can make a front yard feel designed. My favorite tasteful move is a warm amber uplight on a single tree — it reads like firelight, flatters autumn foliage and red brick, and looks expensive. Soft green is the other classic: it deepens the color of evergreens and makes a winter yard look alive when everything else is brown. If you want flexibility, choose color-capable LED fixtures or simple theatrical gel filters over one accent light, and keep the rest of the yard warm white so the color stays an accent, not a theme. Save saturated blues, purples, and full rainbow cycles for holidays and game days — a little goes a very long way in a front yard your neighbors see every night. One tip: color looks richer at lower brightness, so dim to about 60 to 70 percent of what you'd use for white. Tasteful, layered, and easy to change with the seasons. Suggested budget range: $70 – $190.

16. A Feature Tree on Its Own Zone and Dimmer
Here's the pro secret that ties a whole front yard together: put your star tree on its own lighting zone with its own dimmer. Every yard has one tree that deserves the spotlight — the heritage oak, the perfectly shaped maple by the corner. When it runs on a separate circuit from the path lights and porch sconces, you can tune its brightness independently: full glow for a party, 40 percent for a quiet Tuesday, off entirely when you want the house to be the star. Zoning also solves the most common front yard mistake, which is everything at the same brightness fighting for attention. Layered yards have a hierarchy — feature brightest, supporting trees softer, paths softest — and a dimmer is how you actually achieve it in real life. If you're planning a bigger front yard scheme, my front yard landscape lighting guide shows how zones layer across a whole property. Suggested budget range: $150 – $350.

17. Bed-Edge Lighting Around the Mulch Ring
The neatest front yards share a detail most people can't name: the tree bed itself is edged in soft light. A ring of low path lights or small mushroom fixtures around the mulch circle defines the tree's "room" in the yard, keeps guests (and lawn mowers) from wandering into the bed, and gives low uplights a base layer to build on. Space fixtures 4 to 6 feet apart around the ring, choose low, hooded styles that throw light down and out rather than up into eyes, and match the metal finish to your other fixtures for a pulled-together look. This works beautifully combined with idea #1 or #14 — the ring handles the ground plane while the uplights handle the tree. Keep voltages consistent if you mix fixture types on one run, and bury the cable in a shallow trench just inside the bed edge so edging tools never find it. Suggested budget range: $100 – $240.

18. Net Lights and Twinkle Strands for Seasonal Sparkle
Sometimes you want the tree to celebrate. Net lights — mesh grids of tiny bulbs — drape over the canopy of small ornamentals and shrubs-turned-trees in minutes, giving perfectly even sparkle that would take an hour to wrap by hand. Twinkle strands with a gentle random-fade pattern are the other holiday hero: woven through the outer branches, they make the whole canopy shimmer like it's breathing. I use these from Thanksgiving through New Year's in the front yard, then move the same strands to the backyard for summer parties, because warm white reads festive in December and just plain pretty in July. Buy outdoor-rated, connectable strands, keep connections off the ground in drip loops, and run everything from a GFCI-protected outlet with a timer so the show runs itself from dusk to bedtime. Store nets flat and labeled by tree — future you will be grateful. This is seasonal icing; make sure your year-round lighting underneath is handled by the ideas above. Suggested budget range: $50 – $150.

19. Timers, Photocells and Smart Controls to Run It All
Beautiful tree lighting that you have to remember to switch on is lighting you'll enjoy about twice a month. Put the whole system on autopilot: a transformer with a built-in timer and photocell is the classic setup — lights on at dusk, off at midnight (or dawn, if you prefer). Astronomical timers are even better because they adjust for the shifting sunset all year without you touching a dial. Smart plugs and app-controlled transformers add the fun stuff: dim the feature tree from the couch, set a vacation schedule, or turn everything on early when guests are coming. Whatever control you choose, put tree lights on their own schedule group — in my experience, trees look best running slightly longer into the evening than path lights, and a "midnight off" setting keeps the yard dark-sky friendly and the neighbors happy. One last practical note: after any power outage, check your timer settings; the number of yards glowing at noon in July is funnier than it should be. Suggested budget range: $40 – $160.

Frequently Asked Questions
What color temperature is best for lighting trees?
Warm white, almost always. In my experience, 2700K to 3000K flatters green foliage, bark, and brick without the blue, institutional cast that cooler lamps give a yard. Evergreens can handle a touch cooler (3000K to 3500K) if you want them to read deeper green in winter, but never mix temperatures on the same tree — keep each tree one consistent color.
How many lights does one tree need?
A small ornamental under 12 feet usually needs just one uplight. Medium trees (12 to 25 feet) look best with two crossed fixtures, and large or multi-trunk trees typically take three — one per main trunk — or a combination of uplights plus a wide flood. Start with fewer than you think and add; it's much easier to add a fixture than to un-see an over-lit tree.
Are solar lights strong enough to light a whole tree?
For small trees, yes — a quality solar spotlight with a separate panel handles a 10- to 15-foot ornamental nicely in a sunny yard. For anything taller, or in a shaded or north-facing front yard, solar usually fades by mid-evening in winter. Low-voltage wired lighting is still the reliable choice for big canopies, which is why I treat solar as a starter option or a supplement rather than the whole plan.
How far from the trunk should I place uplights?
As a rule of thumb: 12 to 18 inches out for a standard uplight wash, 4 to 8 inches for a grazing effect on bark, and 4 to 8 feet back for wide floods on spreading canopies. The goal is to light the trunk and canopy, not the fixture — if you can see a glaring lens from the street, add a shield or nudge the angle.
Conclusion
The best front yard tree lighting ideas share one principle: light the tree you actually have, in layers, at a warmth that flatters it. Pick a hero technique for each tree — an uplight, a moonlight, a wrap of fairy lights — support it with soft ground-level glow, and put it all on a timer so the show runs itself. Start with your most visible tree this weekend and I promise you'll be planning the second one by Monday. Browse more of our outdoor lighting ideas here on the site, and let your landscape glow after dark.