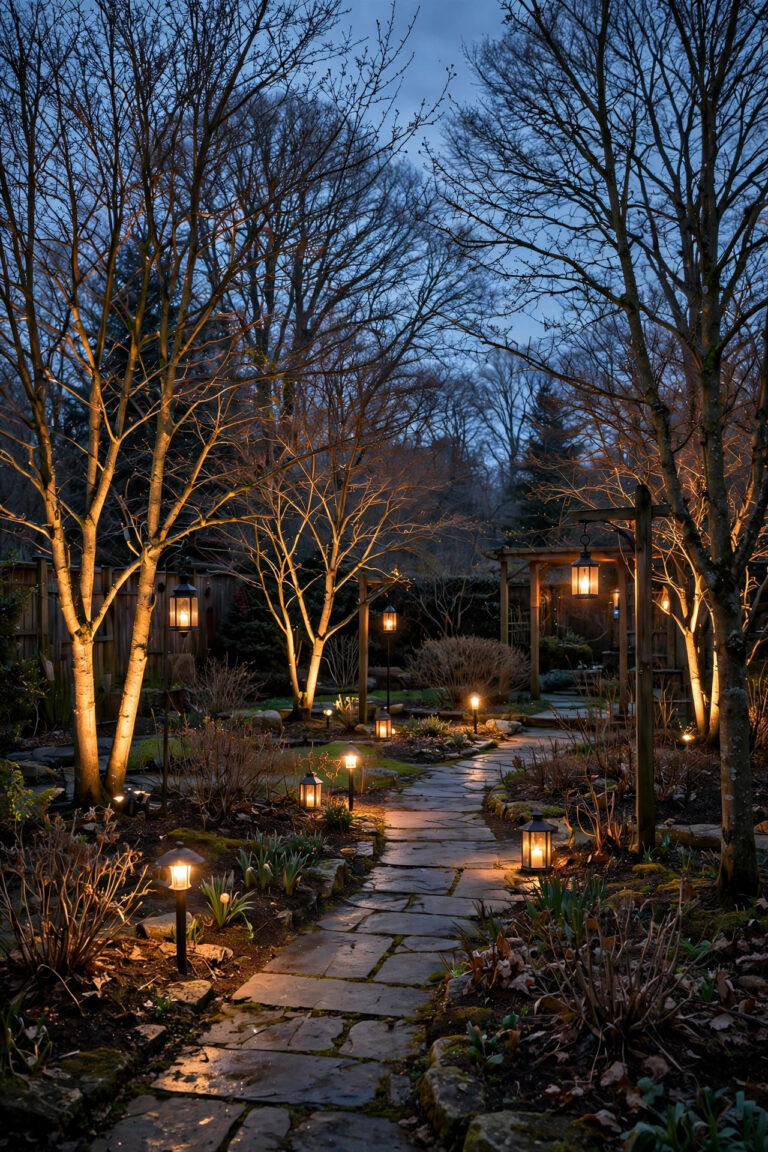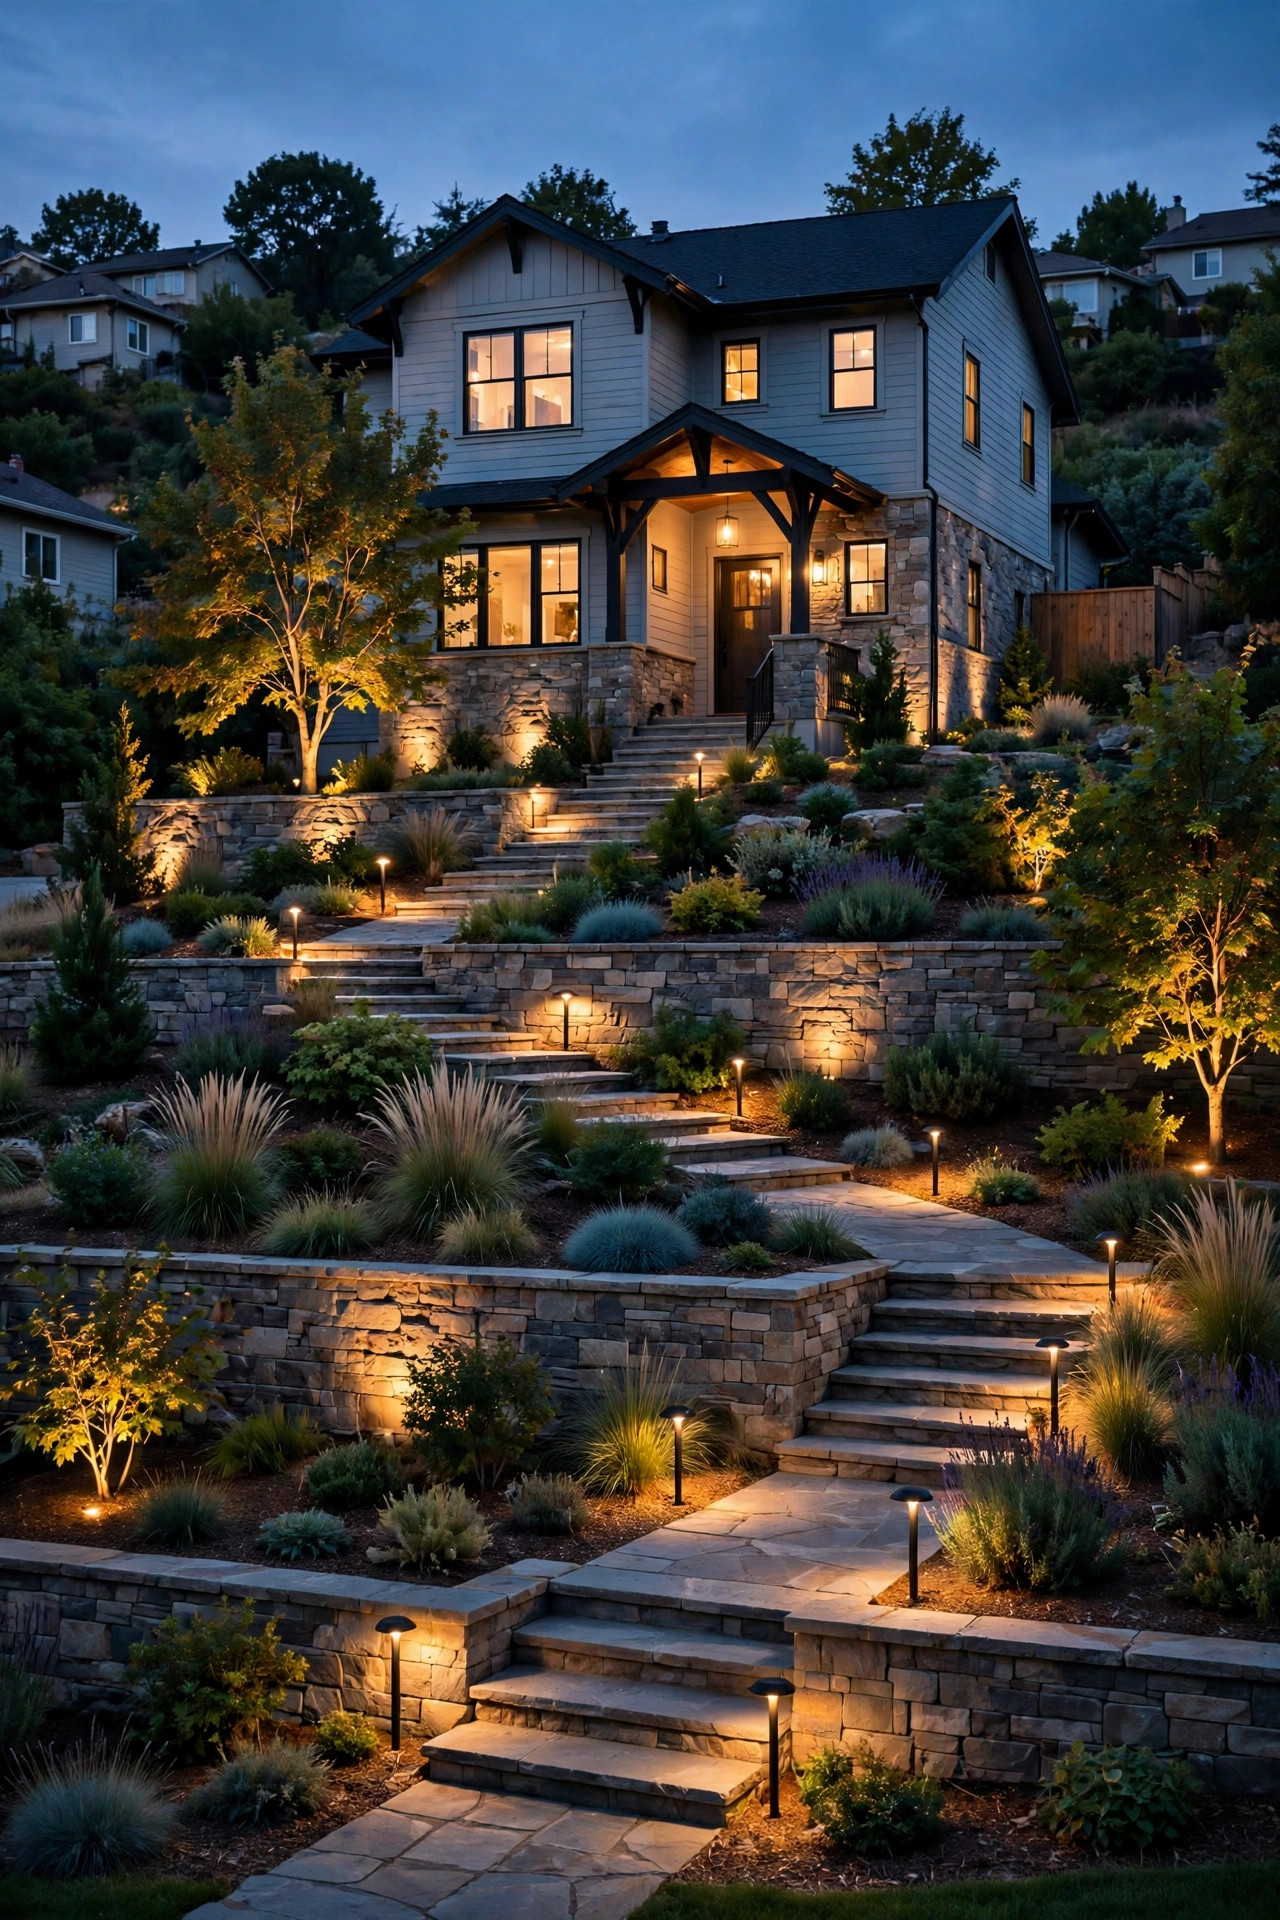
If your home sits up on a hill, you already know the truth nobody tells flat-lot people: a sloped front yard is the prettiest view on the street after dark — if it's lit, and a dark, slightly scary climb if it isn't. The good news is that a hillside gives you something flat yards never get: built-in drama. Every terrace, retaining wall, and switchback step is a ready-made stage for light. My philosophy, on slopes more than anywhere, is layering — low path lights for safe footing, mid-level accents that graze across your plantings, and one or two higher sources that wash the whole scene in warmth. These sloped front yard lighting ideas walk you level by level, from the street to your front door, with honest budgets and the placement measurements I actually use. Whether your slope is a gentle rise or a full-on staircase workout, you'll find a mix of low-voltage, solar, and hardwired options here.
1. Follow the Switchbacks With Low-Voltage Path Lights
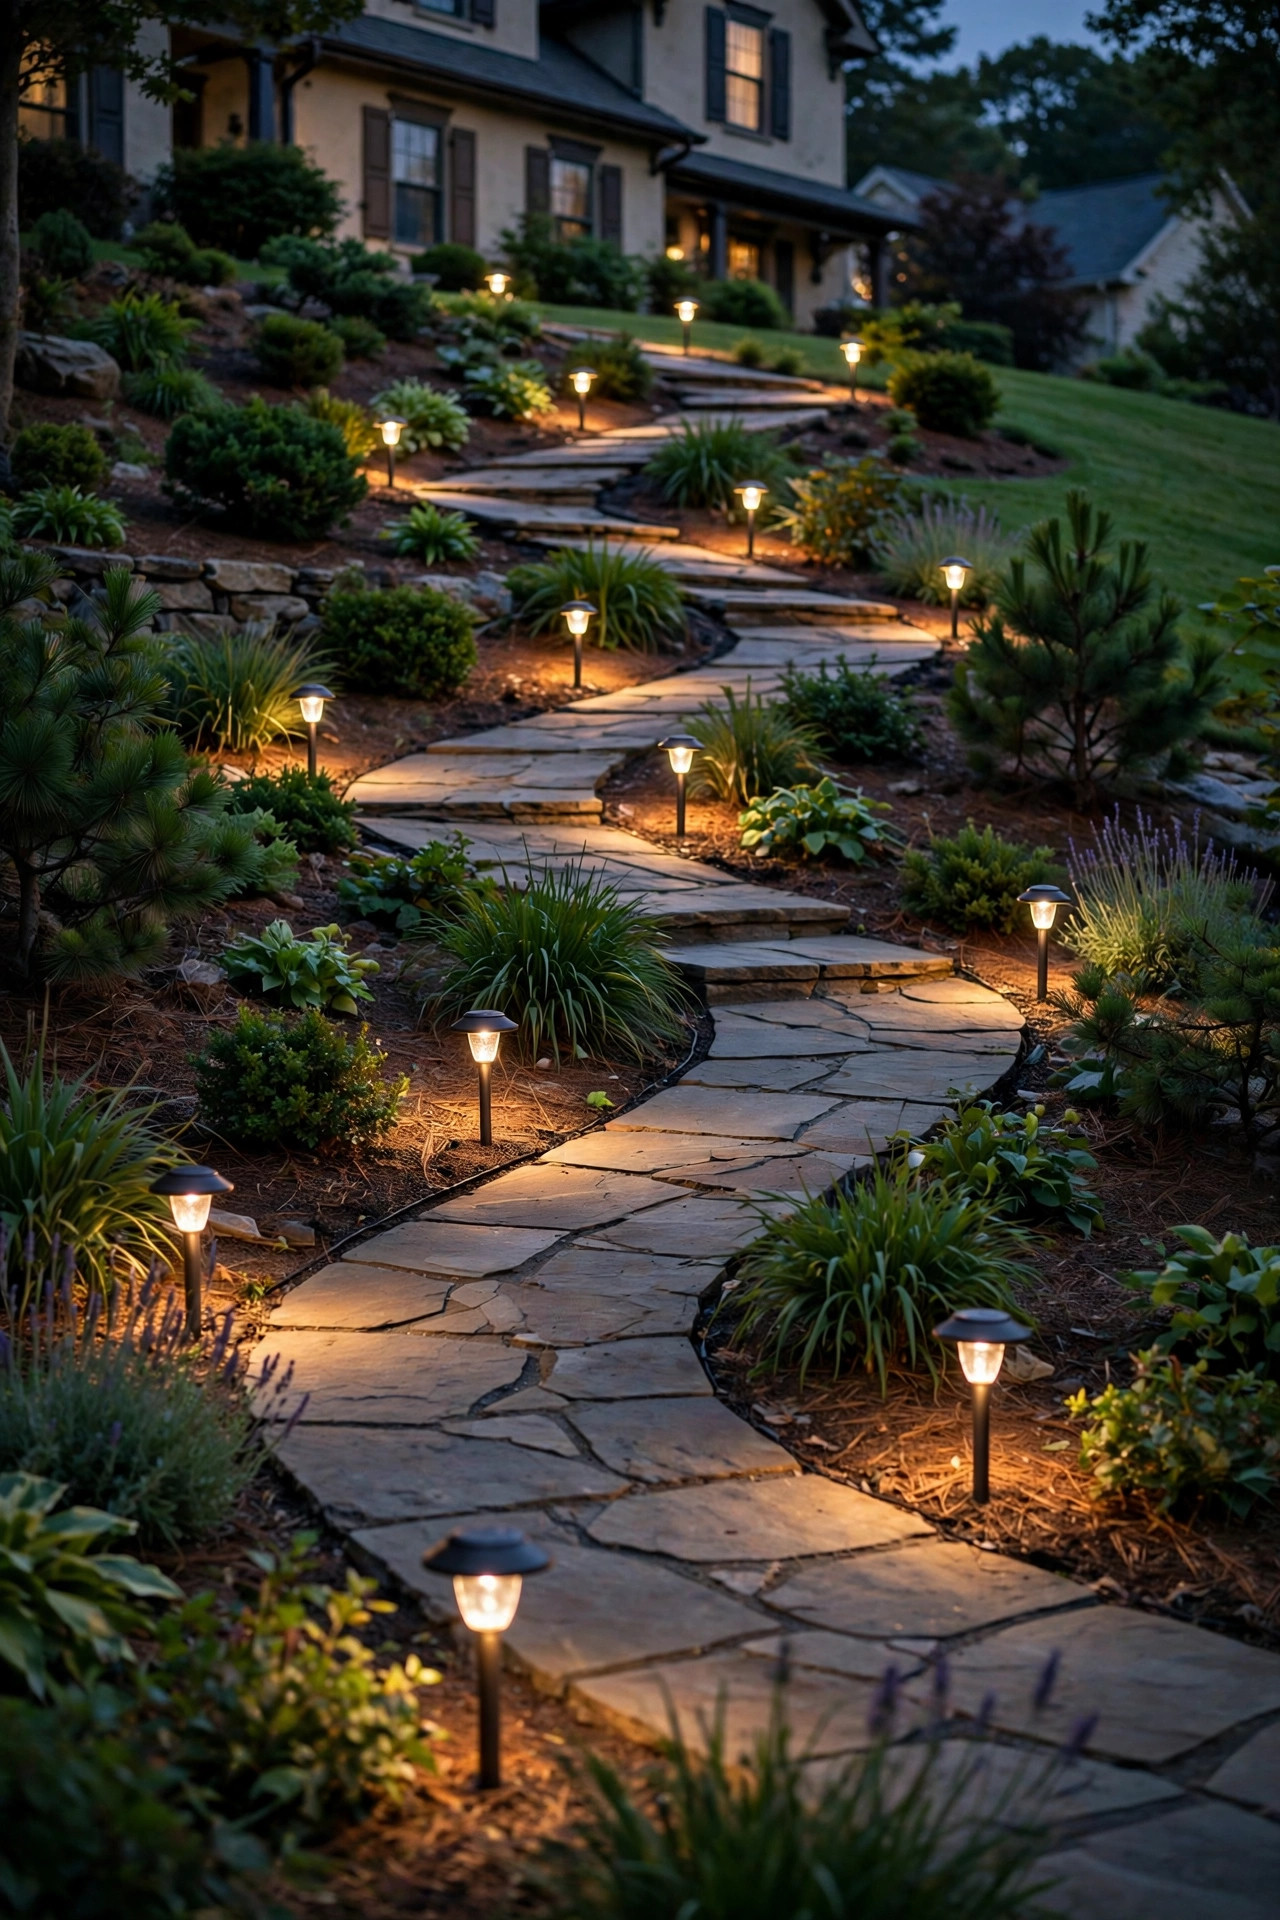
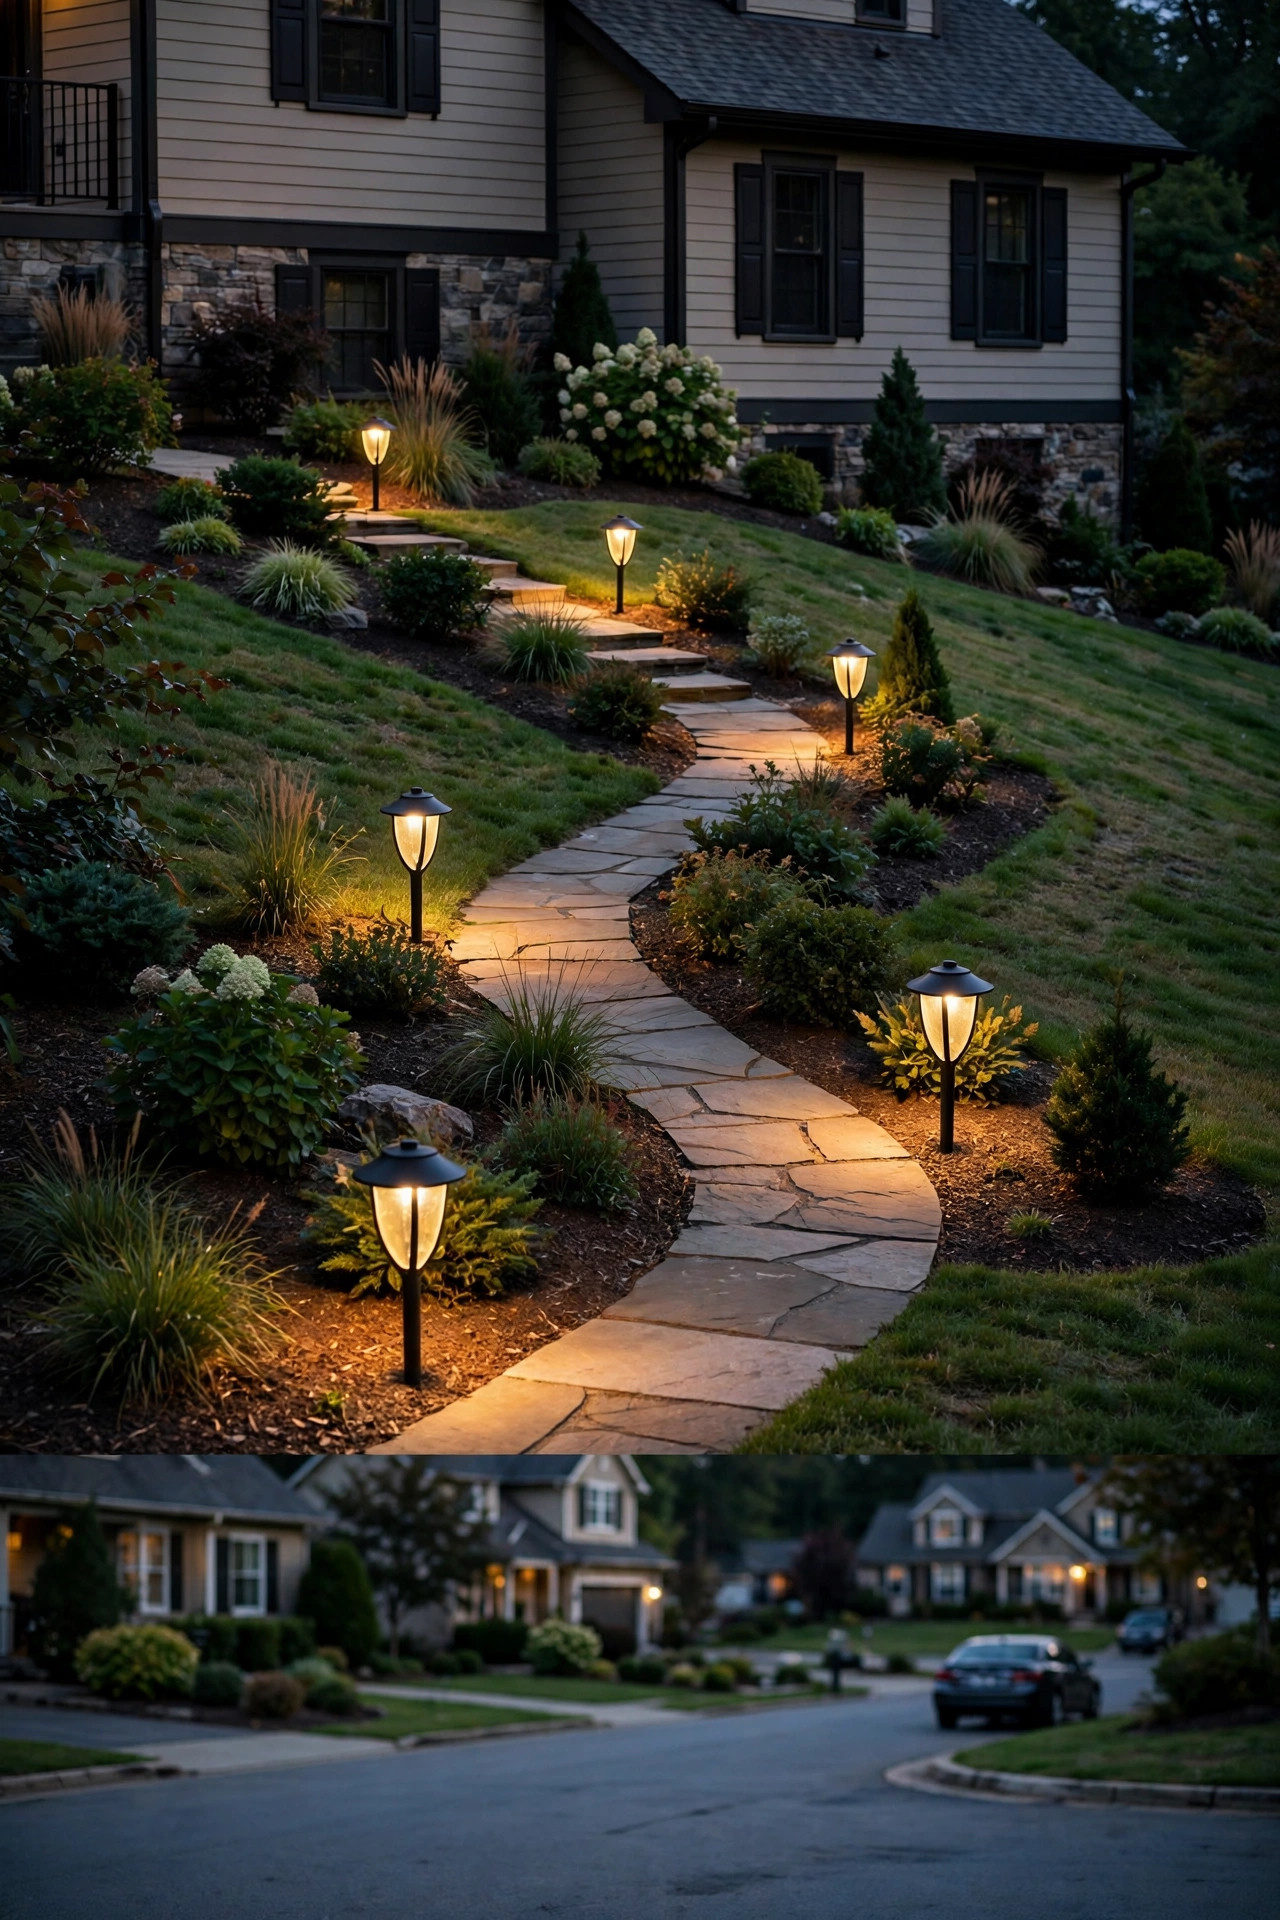
On a sloped front yard, the path rarely runs straight — it zigzags, and your lighting should zigzag with it. I run low-voltage path lights along the uphill edge of each switchback, spaced 5 to 7 feet apart and staggered so the pools of light overlap without creating that airport-runway look. Fixtures 12 to 15 inches tall with a hat-style shade throw light down onto the tread instead of into your eyes as you climb, which matters more on a grade than anywhere else. Stake them deep — hillside soil and mulch shift downhill over time, so I push stakes a good 8 inches in and re-seat them every spring. A 12-volt system is the safe, DIY-friendly choice here, and one 150-watt transformer handles most front-yard runs. If you're planning your first run, my rundown of low-voltage path lights covers fixture styles and spacing in more detail.
Suggested budget range: $120 – $350.
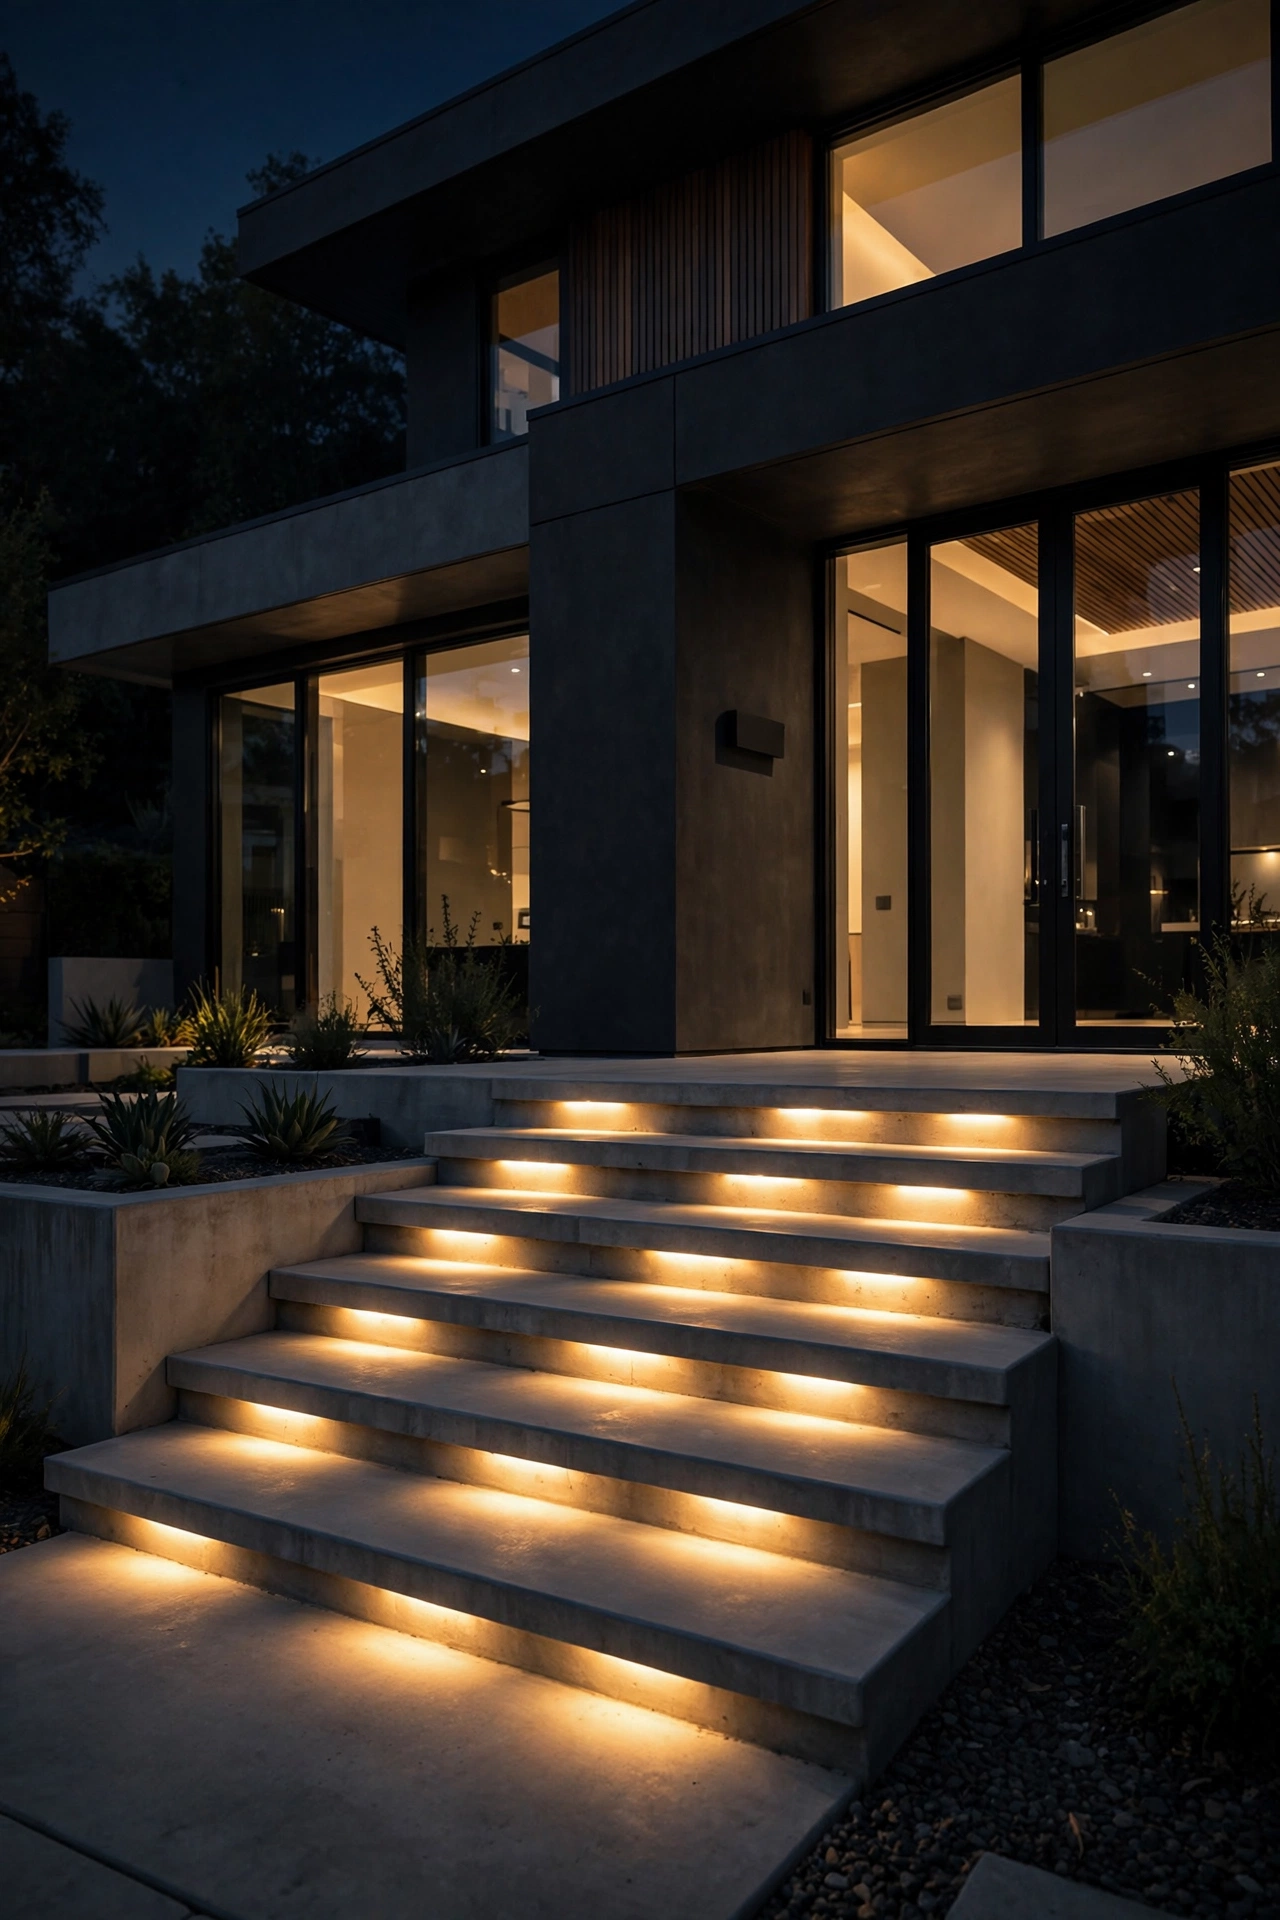
2. Recessed Step Lights Make Sloped Front Yard Stairs Safe
Outdoor stairs on a hillside are where ankles go to argue, so step lighting is the one non-negotiable on this whole list. Recessed LED step lights mount directly into the riser face or into the side wall beside each tread, washing light across the step below without any glare in your eyes as you climb. I place one light per step on long runs, or one every other step on short ones, centered or offset toward the handrail side. Each fixture sips just 1 to 3 watts, so a dozen of them barely register on the transformer load. Look for fixtures rated for wet locations and masonry or wood installation depending on your stair material, and run the wire inside conduit on exposed runs — hillside drainage is real, and a nicked cable in a wet trench is a spring repair waiting to happen. Honestly? This is the upgrade guests will thank you for, usually while carrying a casserole dish up at Thanksgiving.
Suggested budget range: $150 – $450.
3. Tuck Hardscape Lights Into the Retaining Walls
Retaining walls are the unsung heroes of hillside yards, and they're secretly the easiest place to hide beautiful lighting. Hardscape lights are slim LED bars designed to tuck right under the capstone of a retaining wall, where they wash a soft sheet of light down the wall face and onto the bed or walkway below. You see the glow, never the fixture — pure atmosphere. I space them 4 to 6 feet apart along each terrace wall, and on a multi-tier slope, lighting just the lowest and middle walls usually reads better than lighting every single one. These connect into the same low-voltage run as your path lights, and because they're sheltered under the capstone, they shrug off rain and sprinkler spray. One installation tip from experience: run the wire in the gravel drainage layer behind the wall as you build or retrofit, not through the planting bed in front, where your shovel will find it someday.
Suggested budget range: $180 – $600.

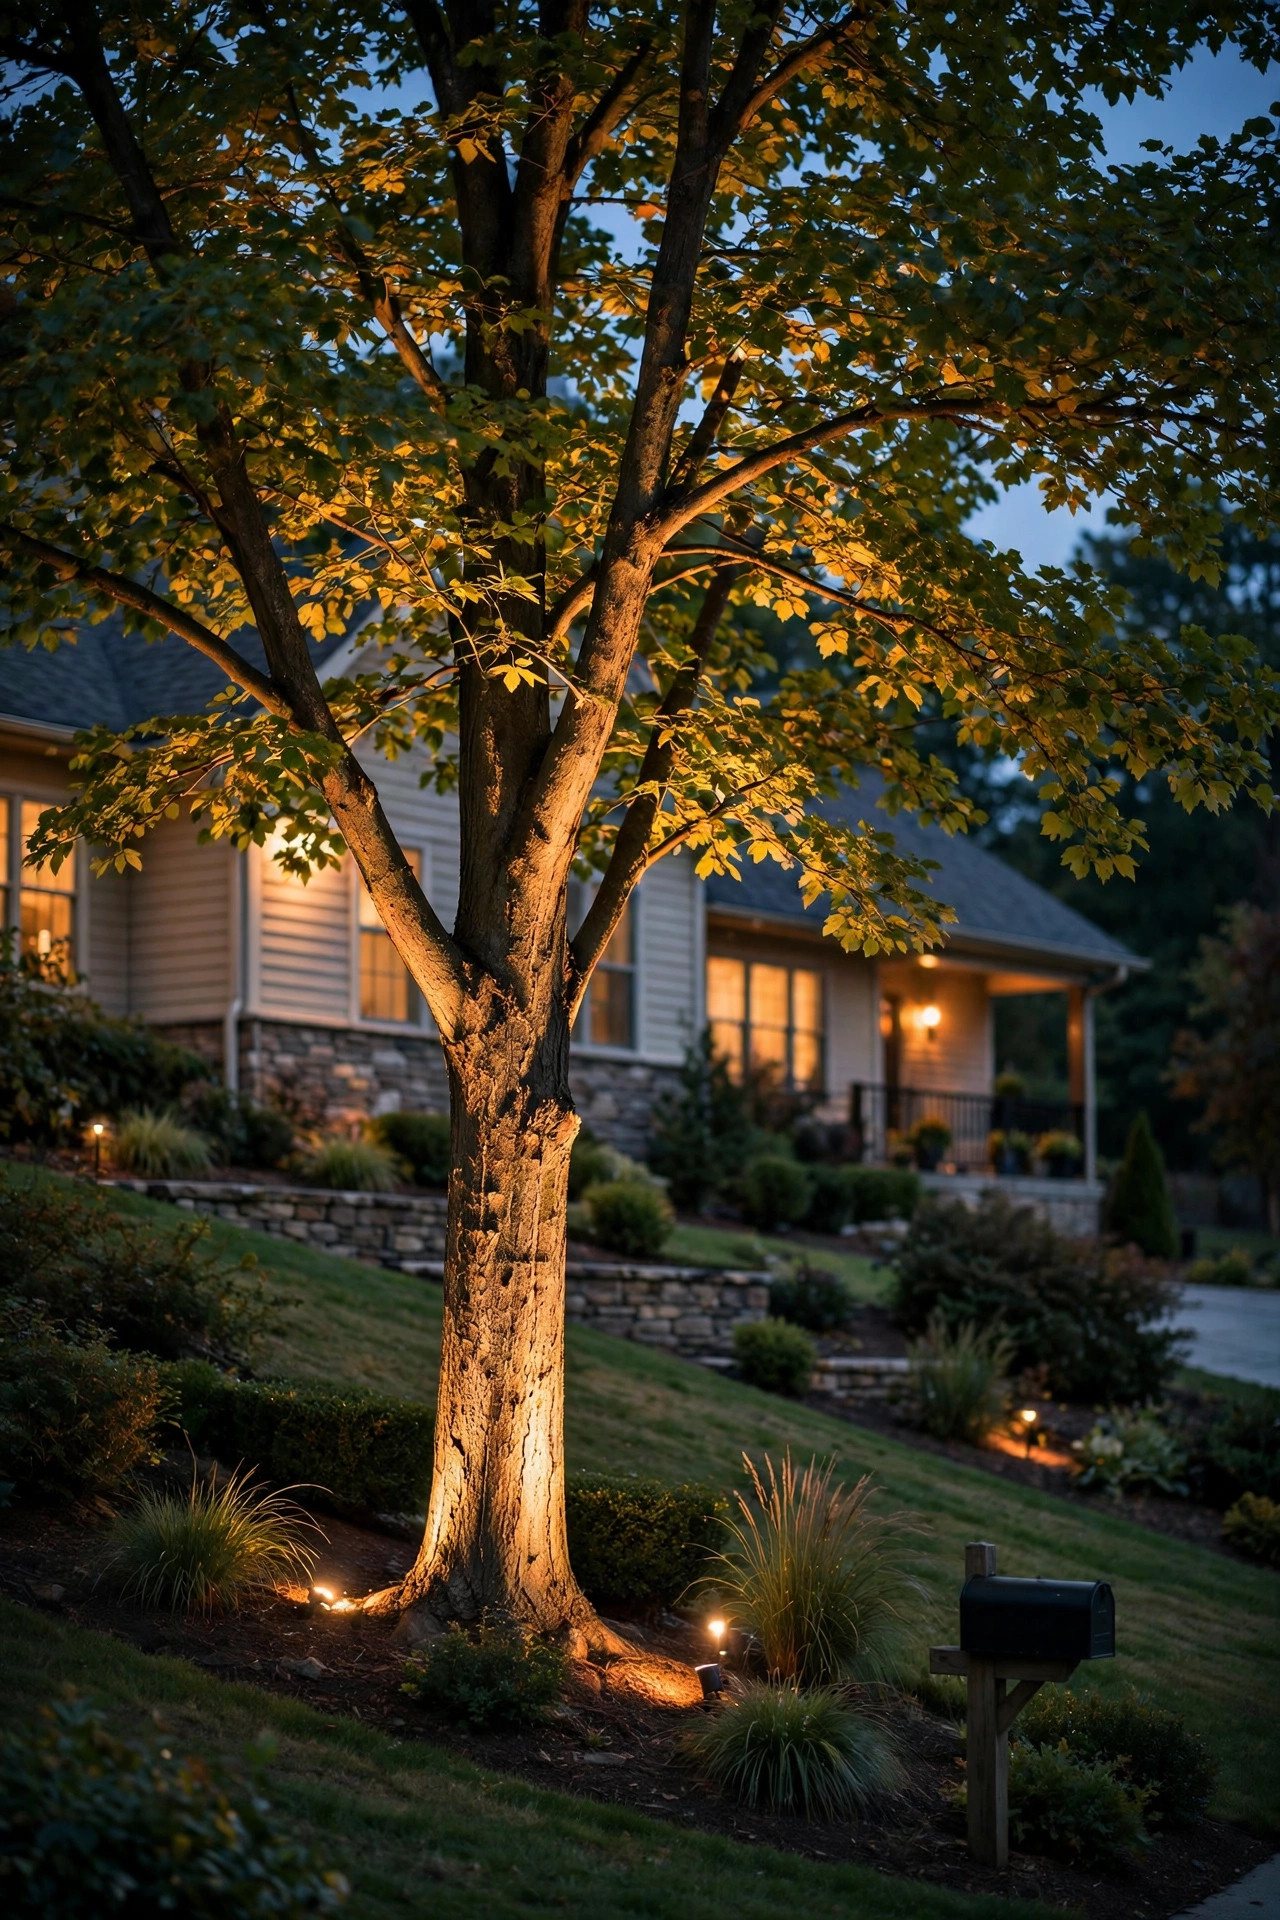
4. Uplight the Trees That Anchor the Slope
Every hillside yard has one or two trees doing the heavy visual lifting, and uplighting them turns your slope into a layered backdrop instead of a dark hillside with a house on top. Place a well light or bullet spotlight 12 to 18 inches from the trunk, aimed up through the canopy at roughly a 30-degree angle. On a slope, position the fixture on the downhill side of the tree so the beam rakes up the trunk and the light source stays hidden from the street below. A narrow 15 to 30-degree beam suits tall, columnar trees; wider canopies want a 45 to 60-degree spread. In my experience, one properly aimed 5 to 7-watt LED spotlight per tree is plenty — two is drama, three is a theme park. Warm 2700K light keeps bark texture golden and cozy rather than spooky.
Suggested budget range: $90 – $300.
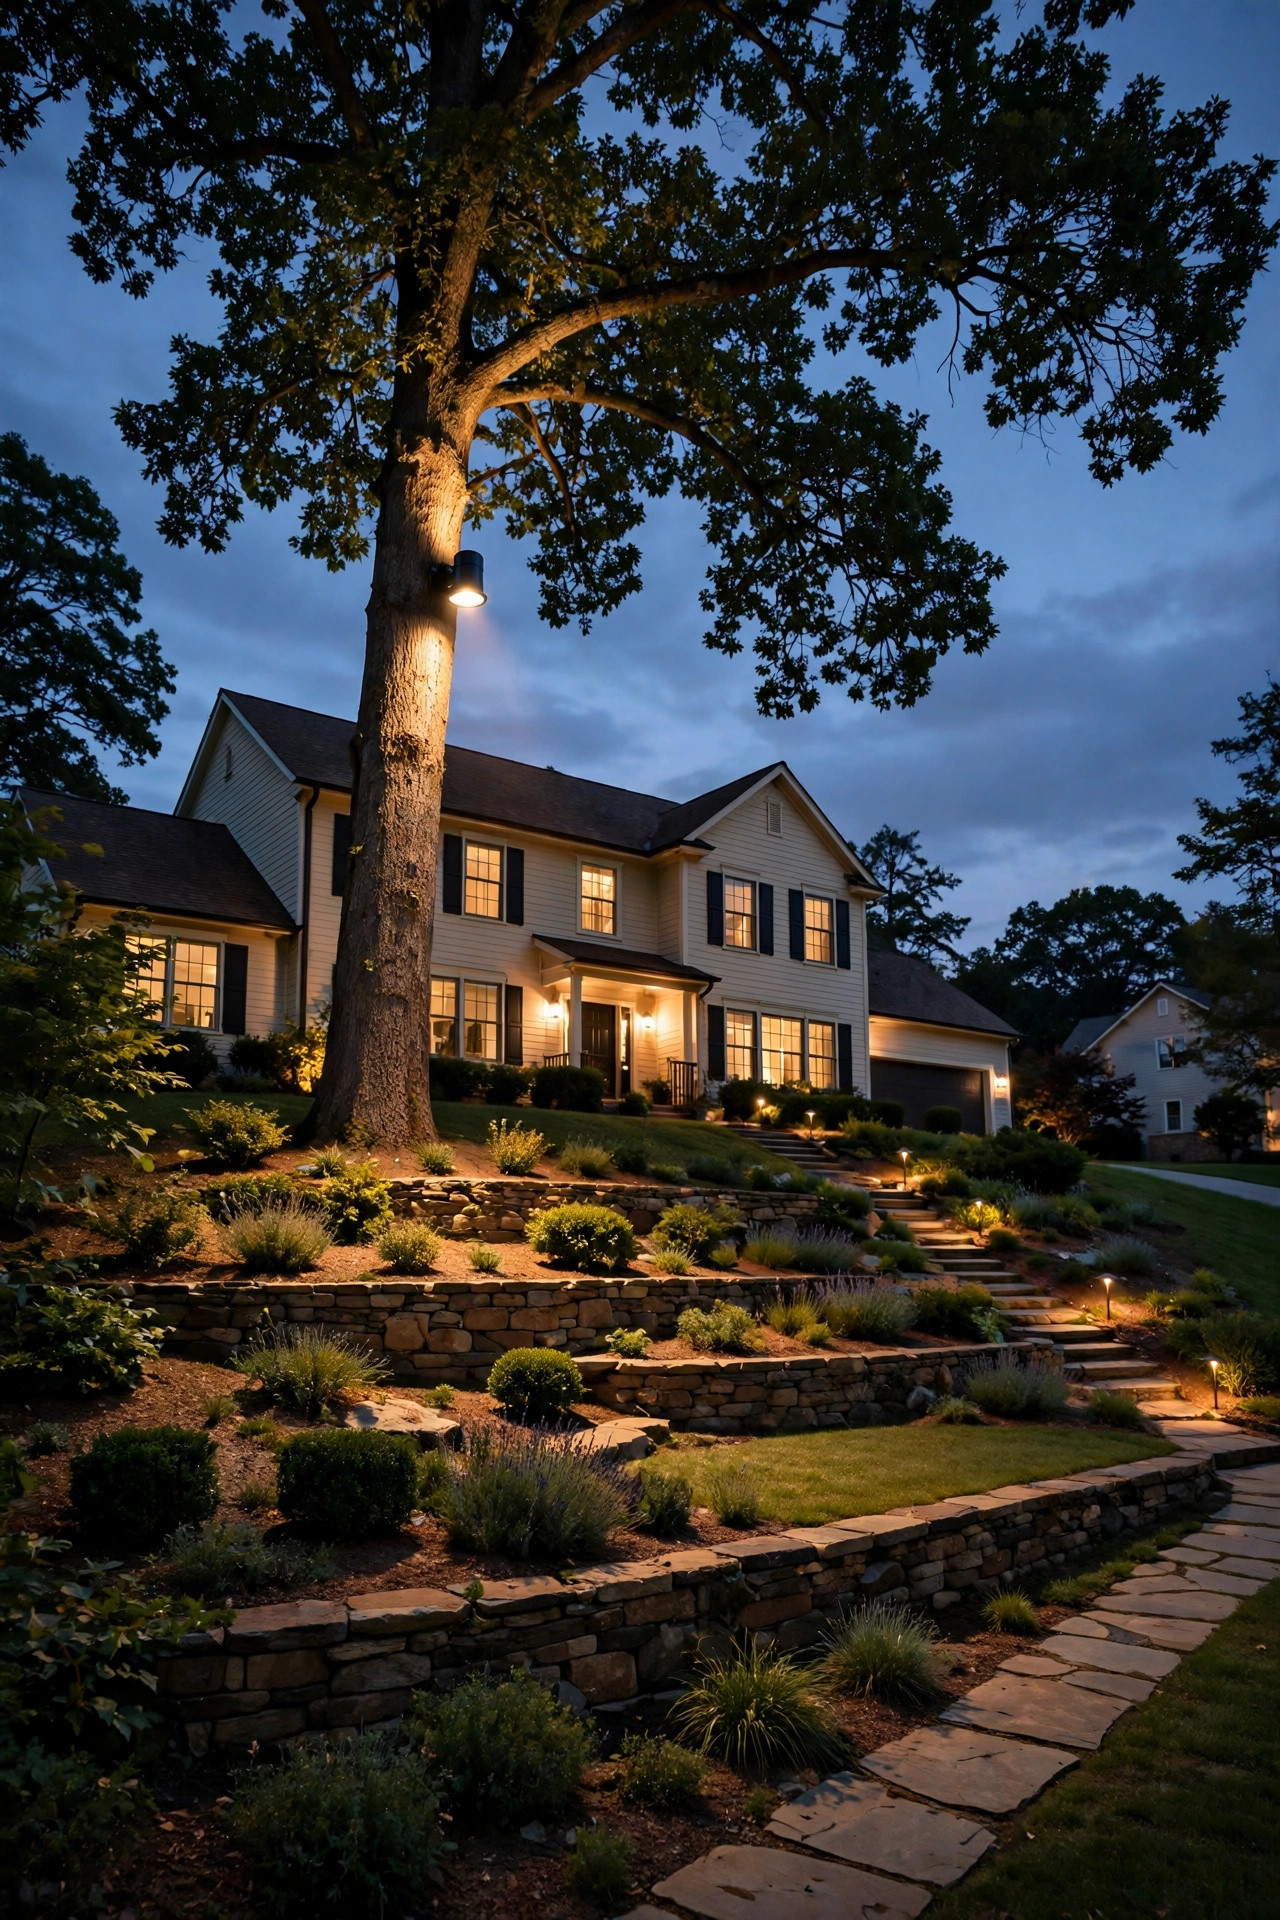
5. Moonlight the Slope From One Tall Tree
Here's the trick landscape designers charge real money for: mount a downlight high in a mature tree — 20 to 30 feet up — and let it filter down through the branches like actual moonlight. On a sloped front yard this is magic, because the light falls across multiple terrace levels at once, dappling the path, the beds, and the lawn in one soft wash, with zero glare for anyone climbing toward it. Use a shielded bullet fixture on a tree-friendly strap mount (never lag bolts screwed into the trunk — the tree grows, and straps get adjusted every couple of years). A slightly cooler 3000K reads more "moonlight" than 2700K here, though I keep it warm if it shares the view with my other fixtures. This is the one job on the list where I genuinely recommend hiring a pro with a ladder and a harness if your tree is tall and your slope is steep.
Suggested budget range: $200 – $550.
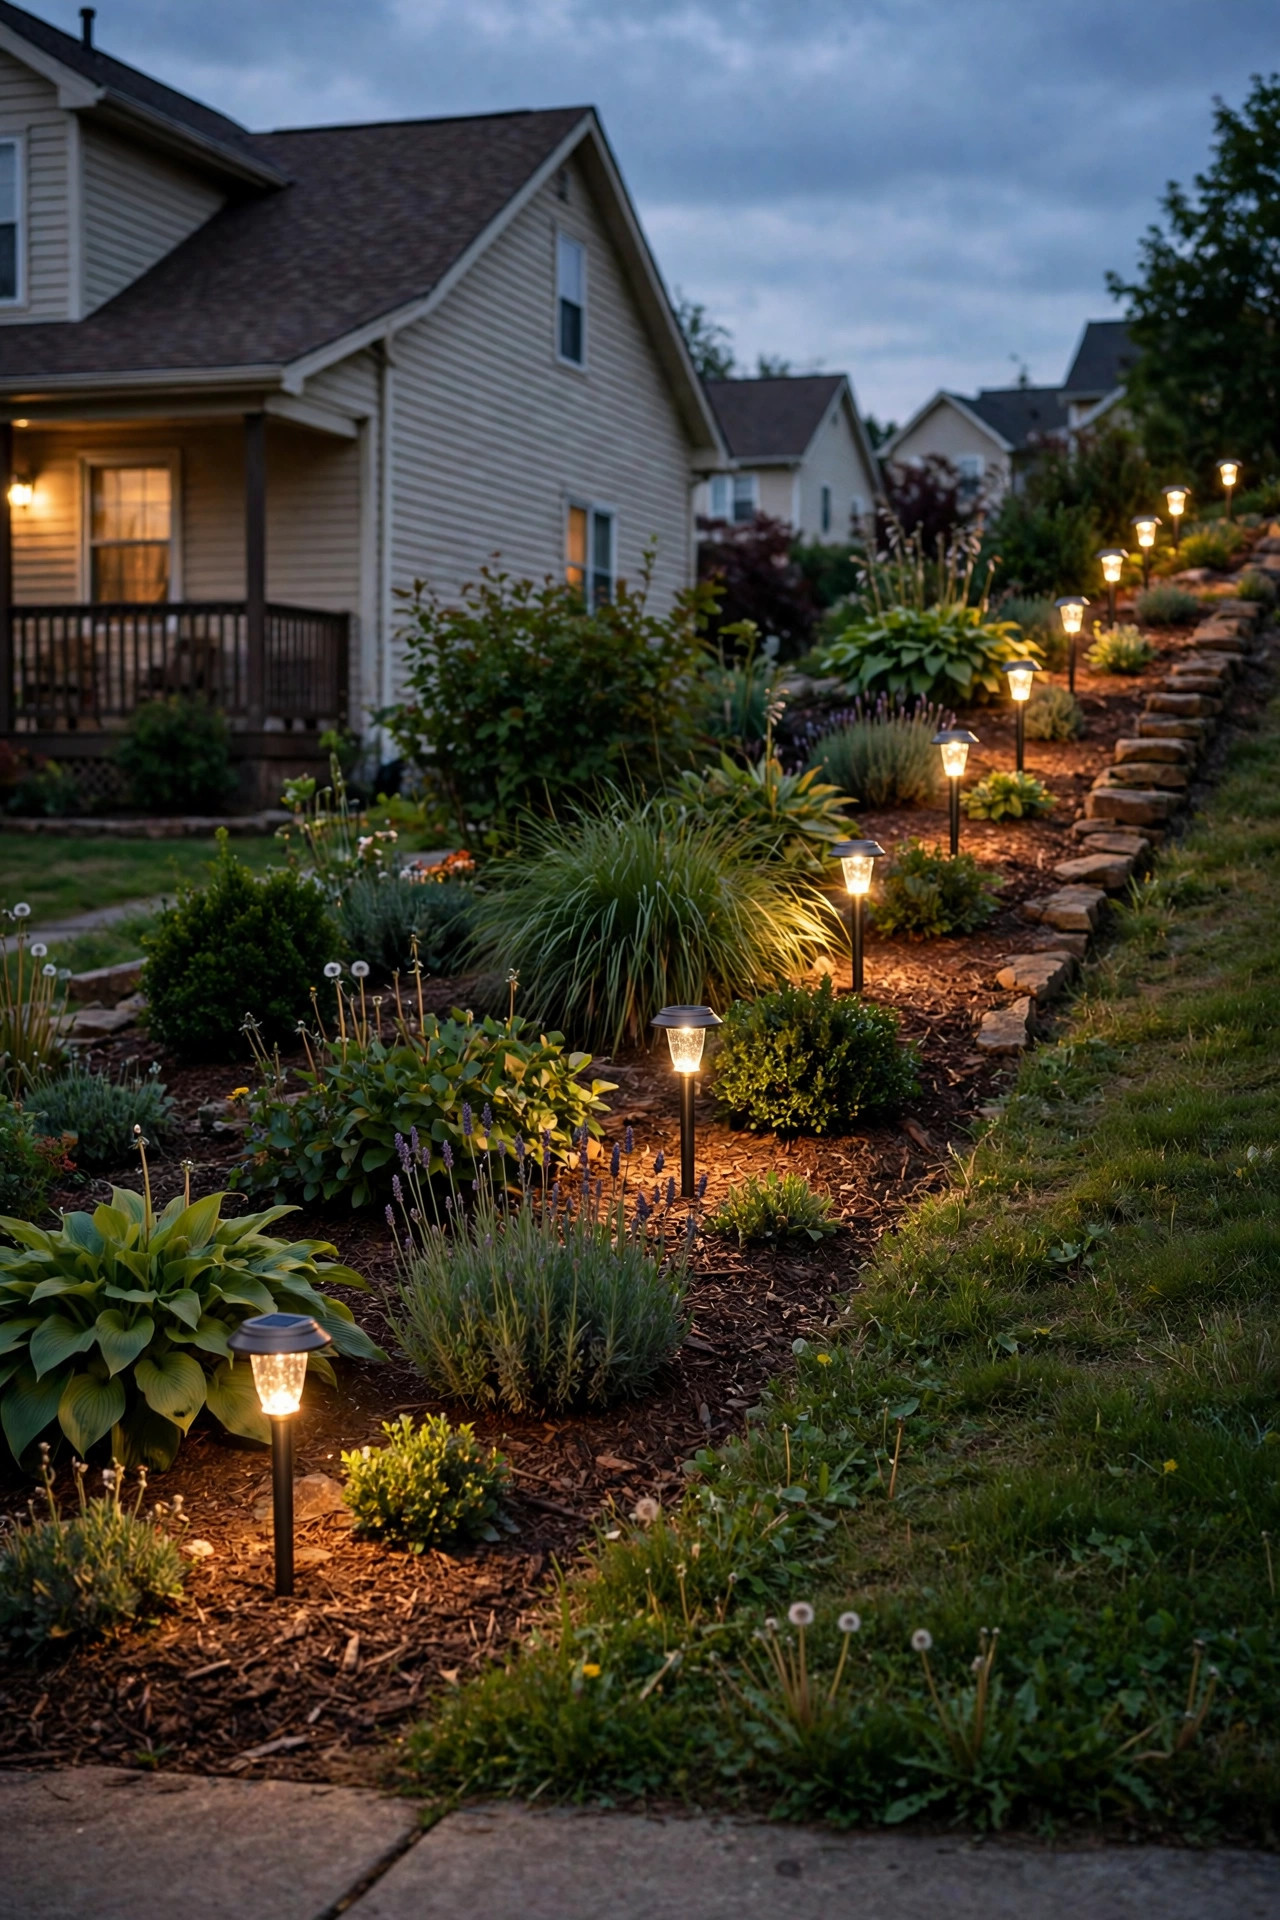
6. Solar Stakes: Sloped Front Yard Lighting With Zero Wiring
Slopes have one sneaky advantage: the uphill side of your yard often gets the best sun on the whole property, which makes it prime solar-light territory. Good solar stake lights along the top terrace edge, the sunny side of the path, or ringing a planting bed can honestly run 8 to 10 hours in summer when their panels face south with no tree shade. Look for stakes with a separate or generous-sized panel, replaceable batteries, and a real 8 to 15-lumen output — the dollar-store glow dots won't survive a hillside winter. Push them into the uphill side of beds where runoff won't bury them, and give each panel a wipe every month or so; dust is the silent killer of solar performance. For a deeper comparison of panel styles and battery sizes, I keep notes in my solar path lights guide.
Suggested budget range: $40 – $120.
7. Run Bollards Along a Sloped Driveway
A driveway climbing to a hillside home needs edge definition more than decoration — guests creeping up an unfamiliar grade at night want to know exactly where the pavement ends. Bollard lights, those short posts 18 to 30 inches tall, are built for this. I place them on the uphill edge only (the downhill edge is where car doors and mirrors swing), spaced 8 to 10 feet apart, starting at the street apron so the first bollard acts like a lighthouse for the turn-in. Choose bollards with a shielded, downward-throwing optic; unshielded ones glare straight into drivers' eyes on a grade, which is the opposite of helpful. Hardwired or low-voltage both work, and on a long driveway the low-voltage run usually wins on installation cost. Set them in small concrete footings — frost heave and slope creep will lean a merely-staked bollard by February.
Suggested budget range: $250 – $700.

8. Hide LED Strips Under Stair Treads and Handrails
For a modern hillside home, nothing beats the floating-stair effect: an outdoor LED strip tucked into a routed channel under each stair tread, or beneath the handrail, so the steps glow as if they're hovering. The light is perfectly even, there's no fixture to trip over, and every tread edge is crisply defined — beautiful and genuinely safer. Use IP65 or higher rated strip in an aluminum channel with a diffuser; raw exposed strip looks dotted and cheap up close. A strip under a handrail should sit in a downward-facing channel so you see the wash on the steps, never the diodes themselves. Keep the driver/transformer somewhere dry and reachable, ideally near the bottom landing, and remember this is close-up lighting: 2700K warm white, always. In my experience this is the single idea that makes neighbors stop on the sidewalk and stare.
Suggested budget range: $60 – $180.
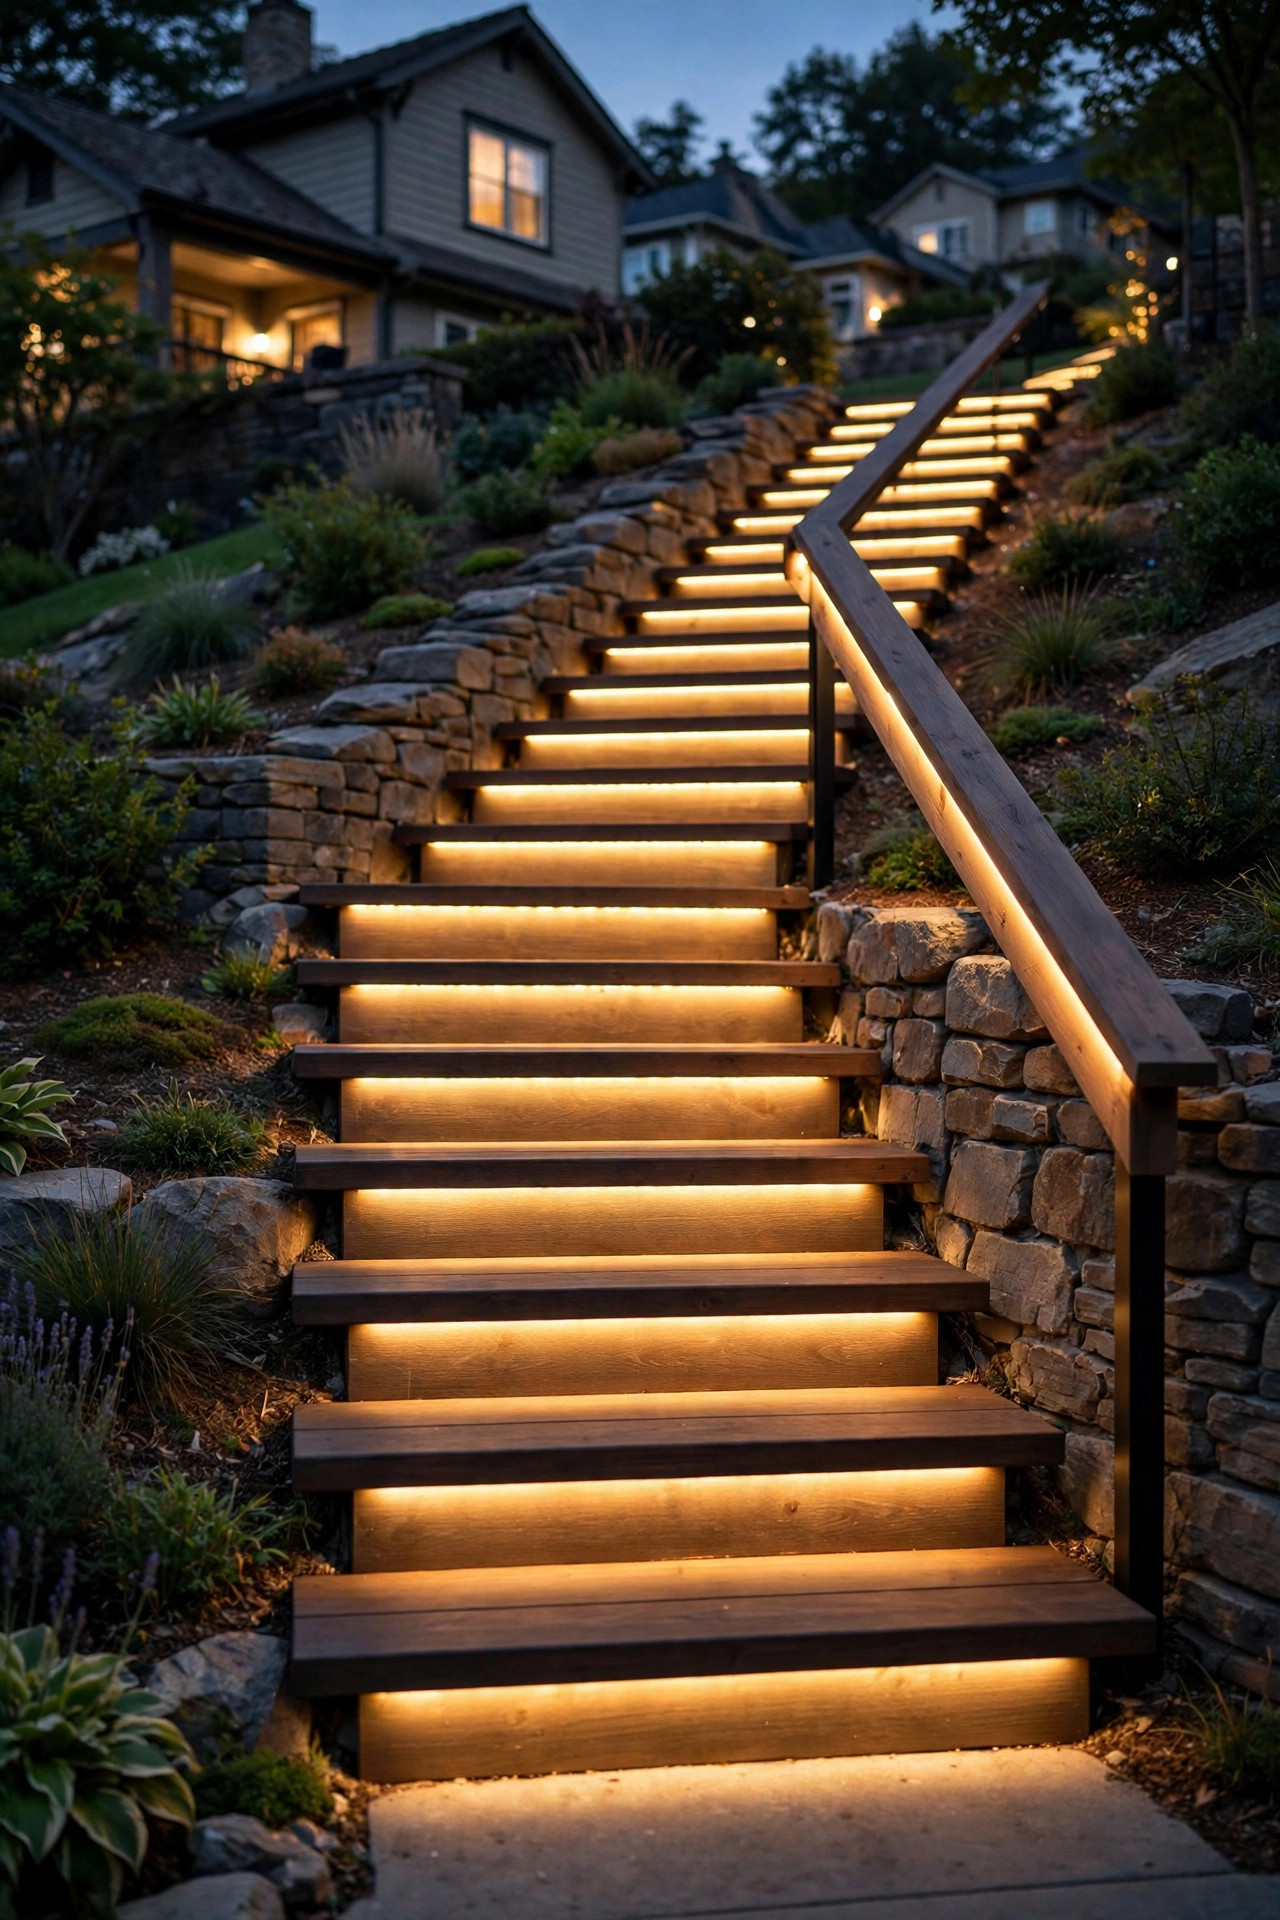
9. Graze the Plantings With In-Ground Well Lights
When light rakes sideways across a slope instead of hitting it flat, every plant shadow stretches and the whole hillside gains texture. In-ground well lights sit flush at the base of the slope or at the foot of each terrace, aiming a beam up and across the plantings above them — ornamental grasses, hostas on a shady grade, and low junipers look particularly sculptural this way. Flush mounting means the mower passes over and nobody trips. Non-negotiable on a hillside: choose fixtures with proper drainage or set them in a gravel sump pocket, because wells at the bottom of a slope collect every drop of runoff your yard produces. A honeycomb glare guard is worth the small upcharge, too, since these fixtures are aimed exactly where people below will look up. Two or three wells per terrace is plenty; think punctuation, not floodlighting.
Suggested budget range: $110 – $320.
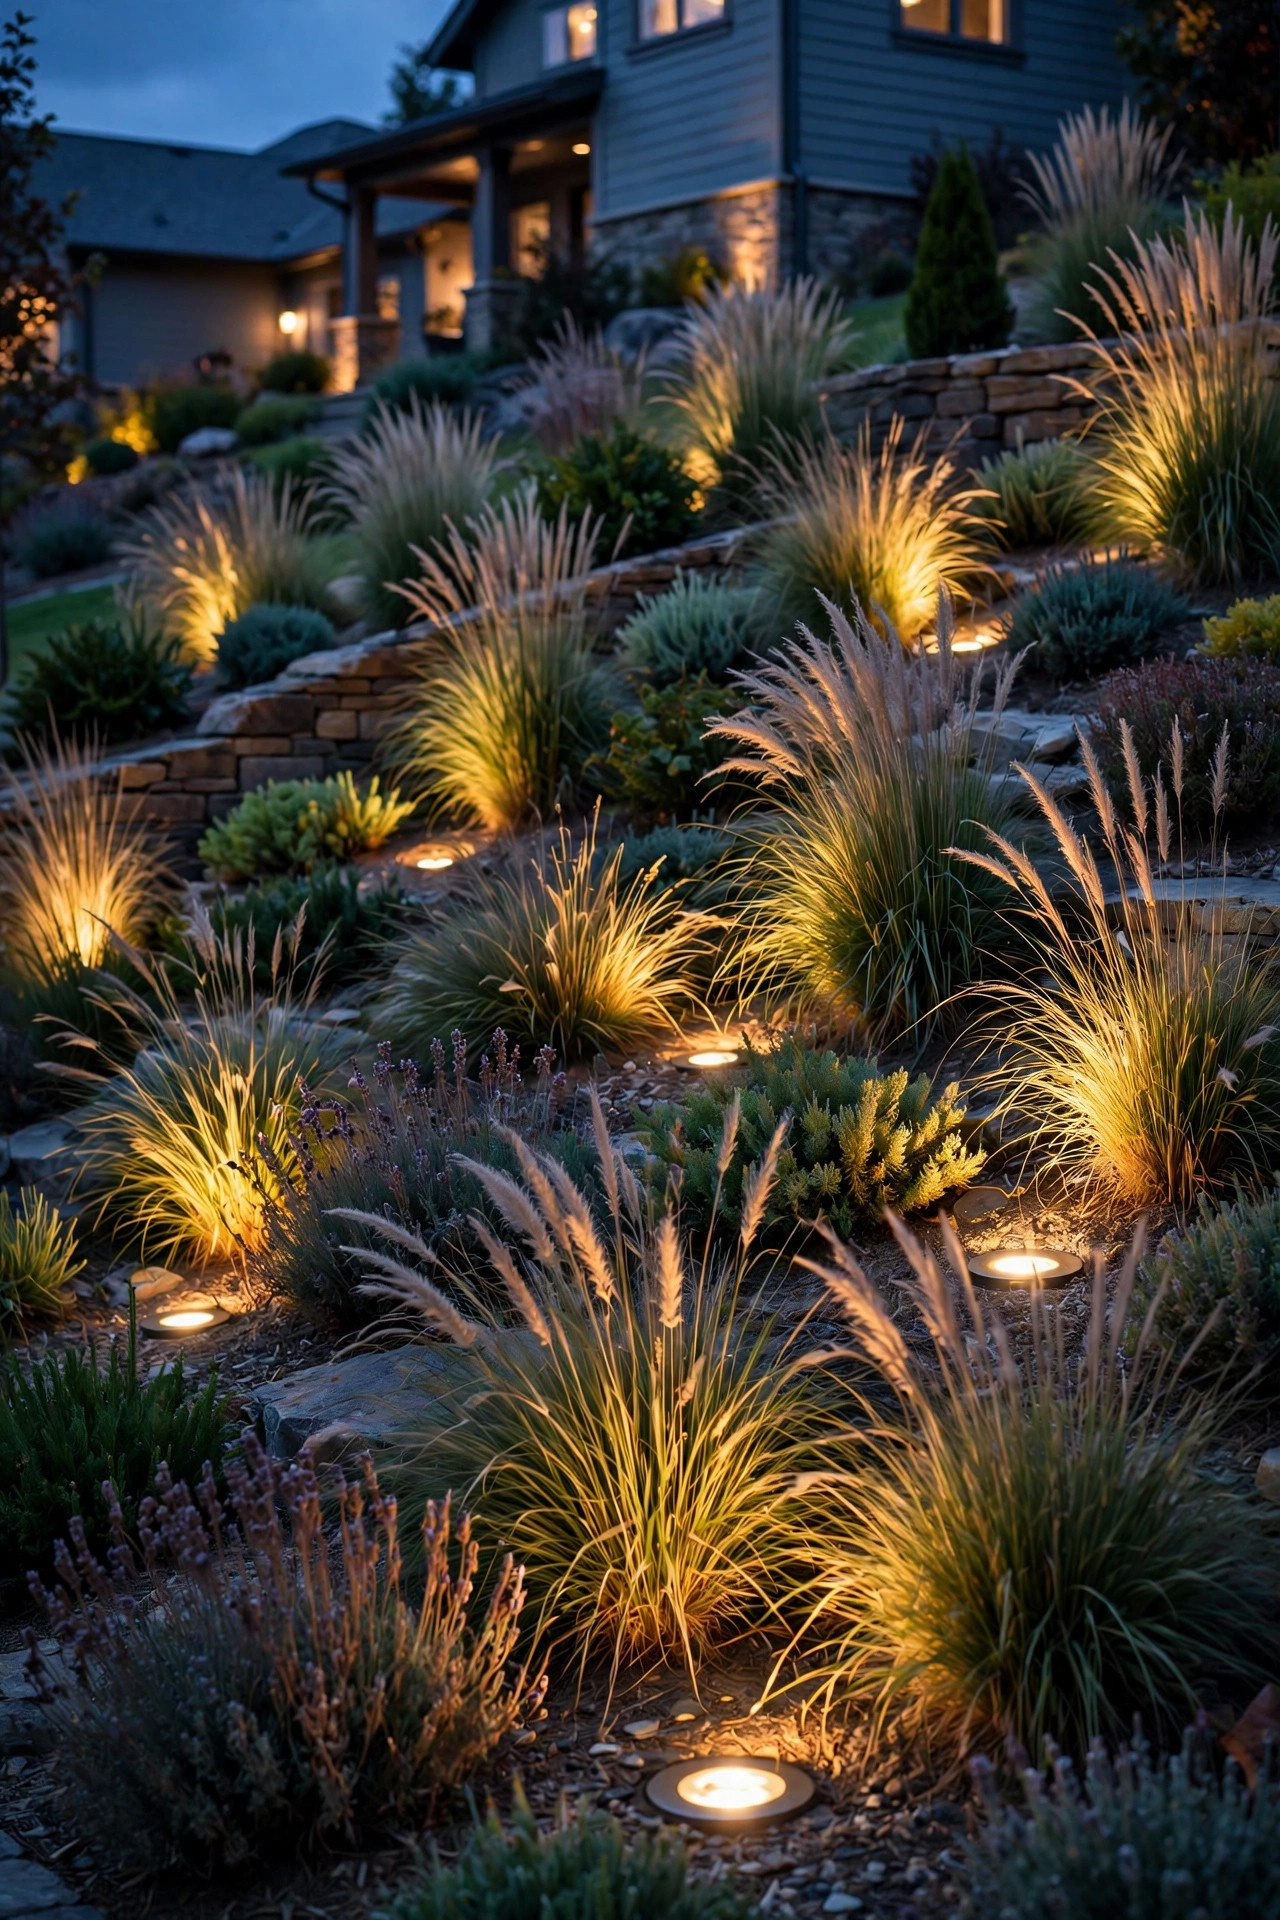
10. Give Each Terrace Level Its Own Spotlight Moment
Terraced yards fail visually when one light tries to do everything. Instead, I give each level exactly one star: a small spotlight on the birdbath at level one, a warm wash behind the bench at level two, an uplight on the Japanese maple at level three. One focused accent per terrace creates a rhythm your eye climbs, step by step, all the way to the front door — it's the layering principle from my layered landscape lighting approach, just stacked vertically. Keep each spotlight modest: 3 to 5 watts, a 30 to 45-degree beam, staked 1 to 2 feet in front of whatever it's flattering. Resist matching them all identically; a slope looks designed when the levels rhyme rather than repeat. And step back to the street to check your work — the view from below is the one that counts on a hillside.
Suggested budget range: $100 – $280.
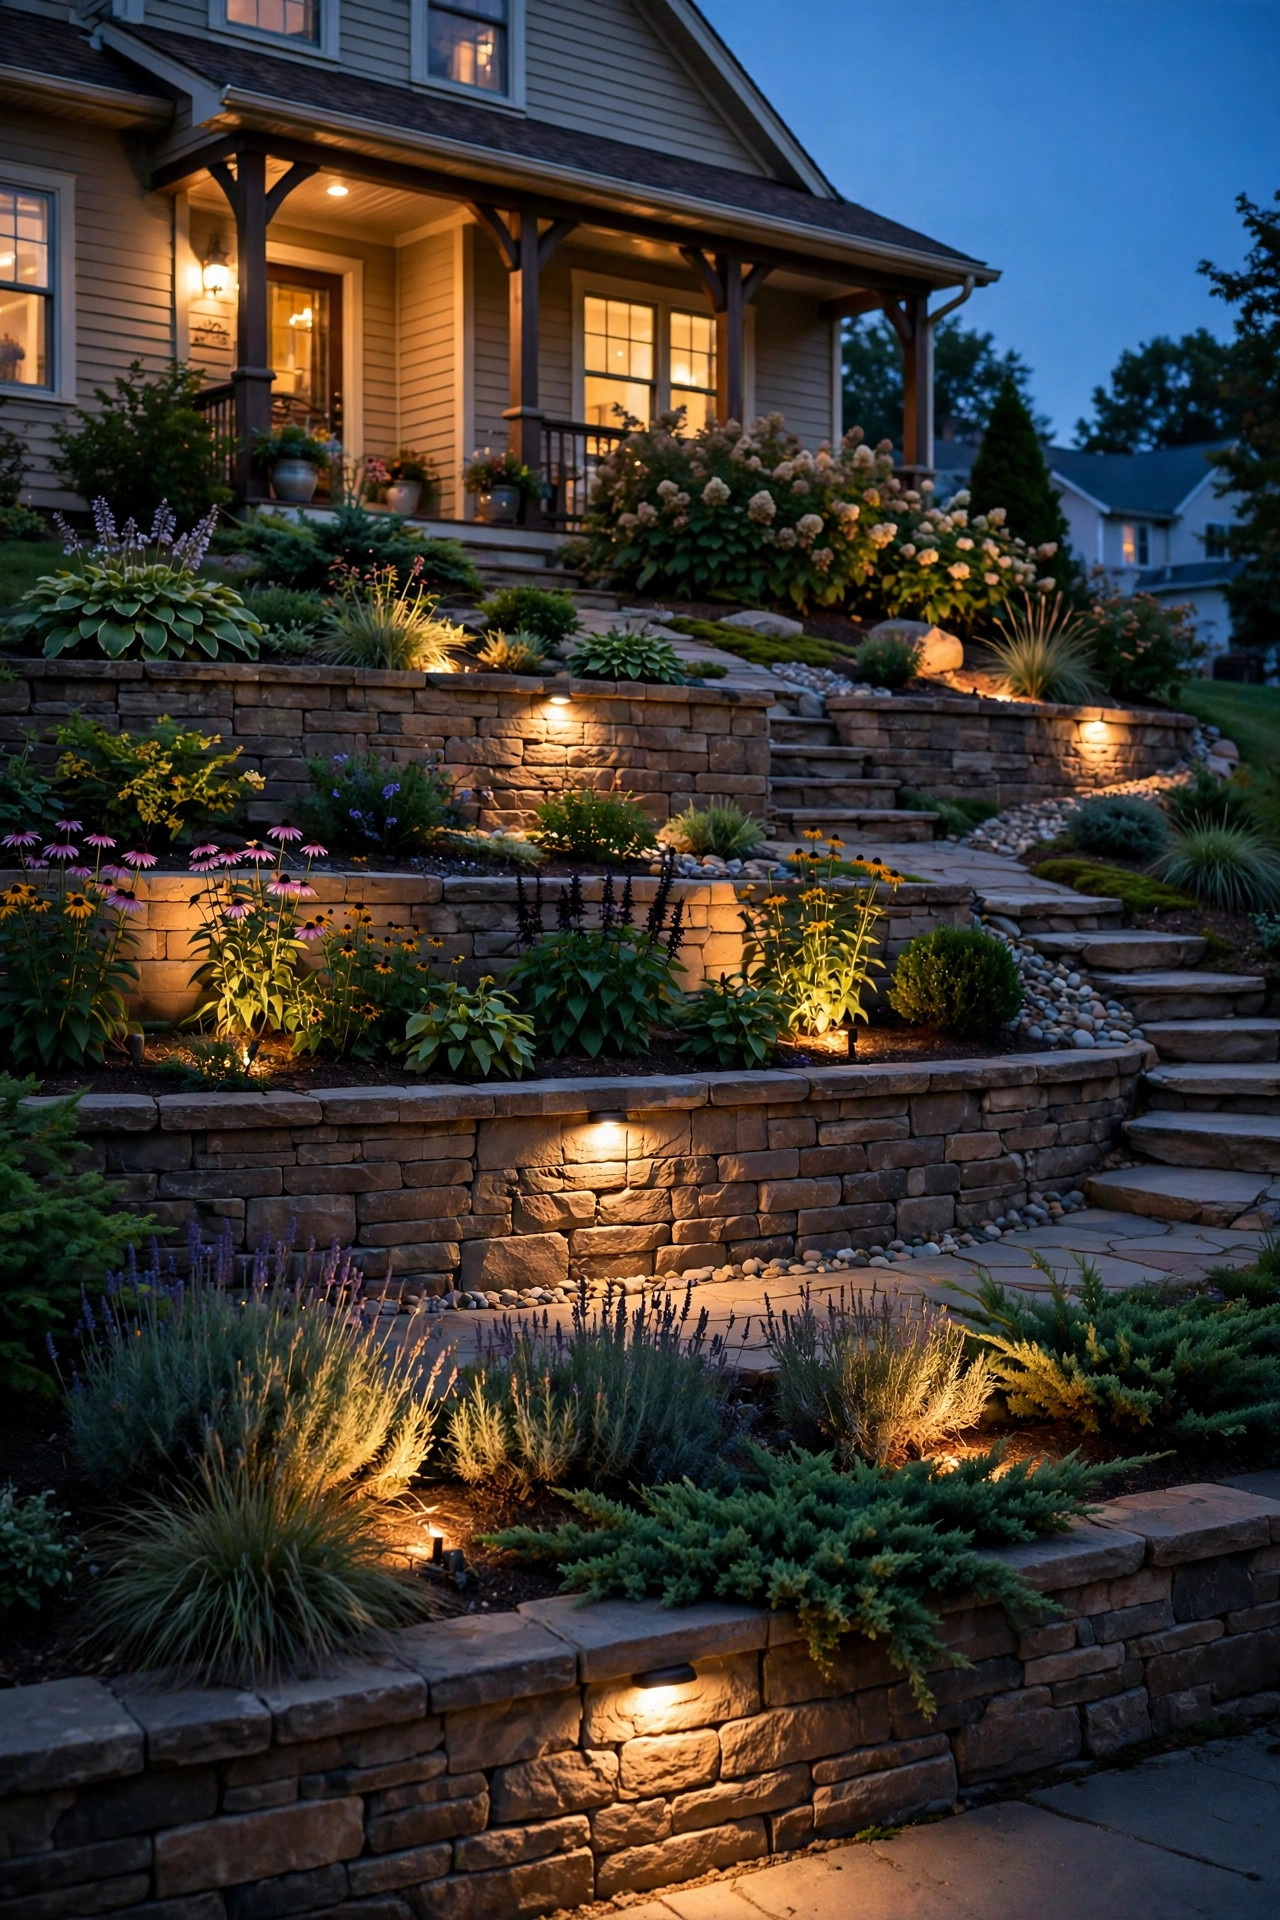
11. Cap Retaining Wall Pillars With Lantern Lights
If your retaining walls have pillars or end columns — or you can add a simple masonry or timber post at the wall's end — a lantern-style pillar light turns a structural necessity into the hillside's exclamation point. Mounted at roughly eye level for someone standing at that terrace, pillar lanterns mark the transitions between levels the way street lamps mark a road, and they throw useful light in every direction at once. I match the finish to my front door fixtures so the whole climb feels like one designed system, and I choose seeded or frosted glass to soften the bulb's glare on the grade. One pillar light per wall end is enough; symmetry matters more than quantity here. Solar pillar caps exist and are fine on a sunny top wall, but for the shaded lower walls I run low-voltage so the brightness matches from street to door.
Suggested budget range: $140 – $400.
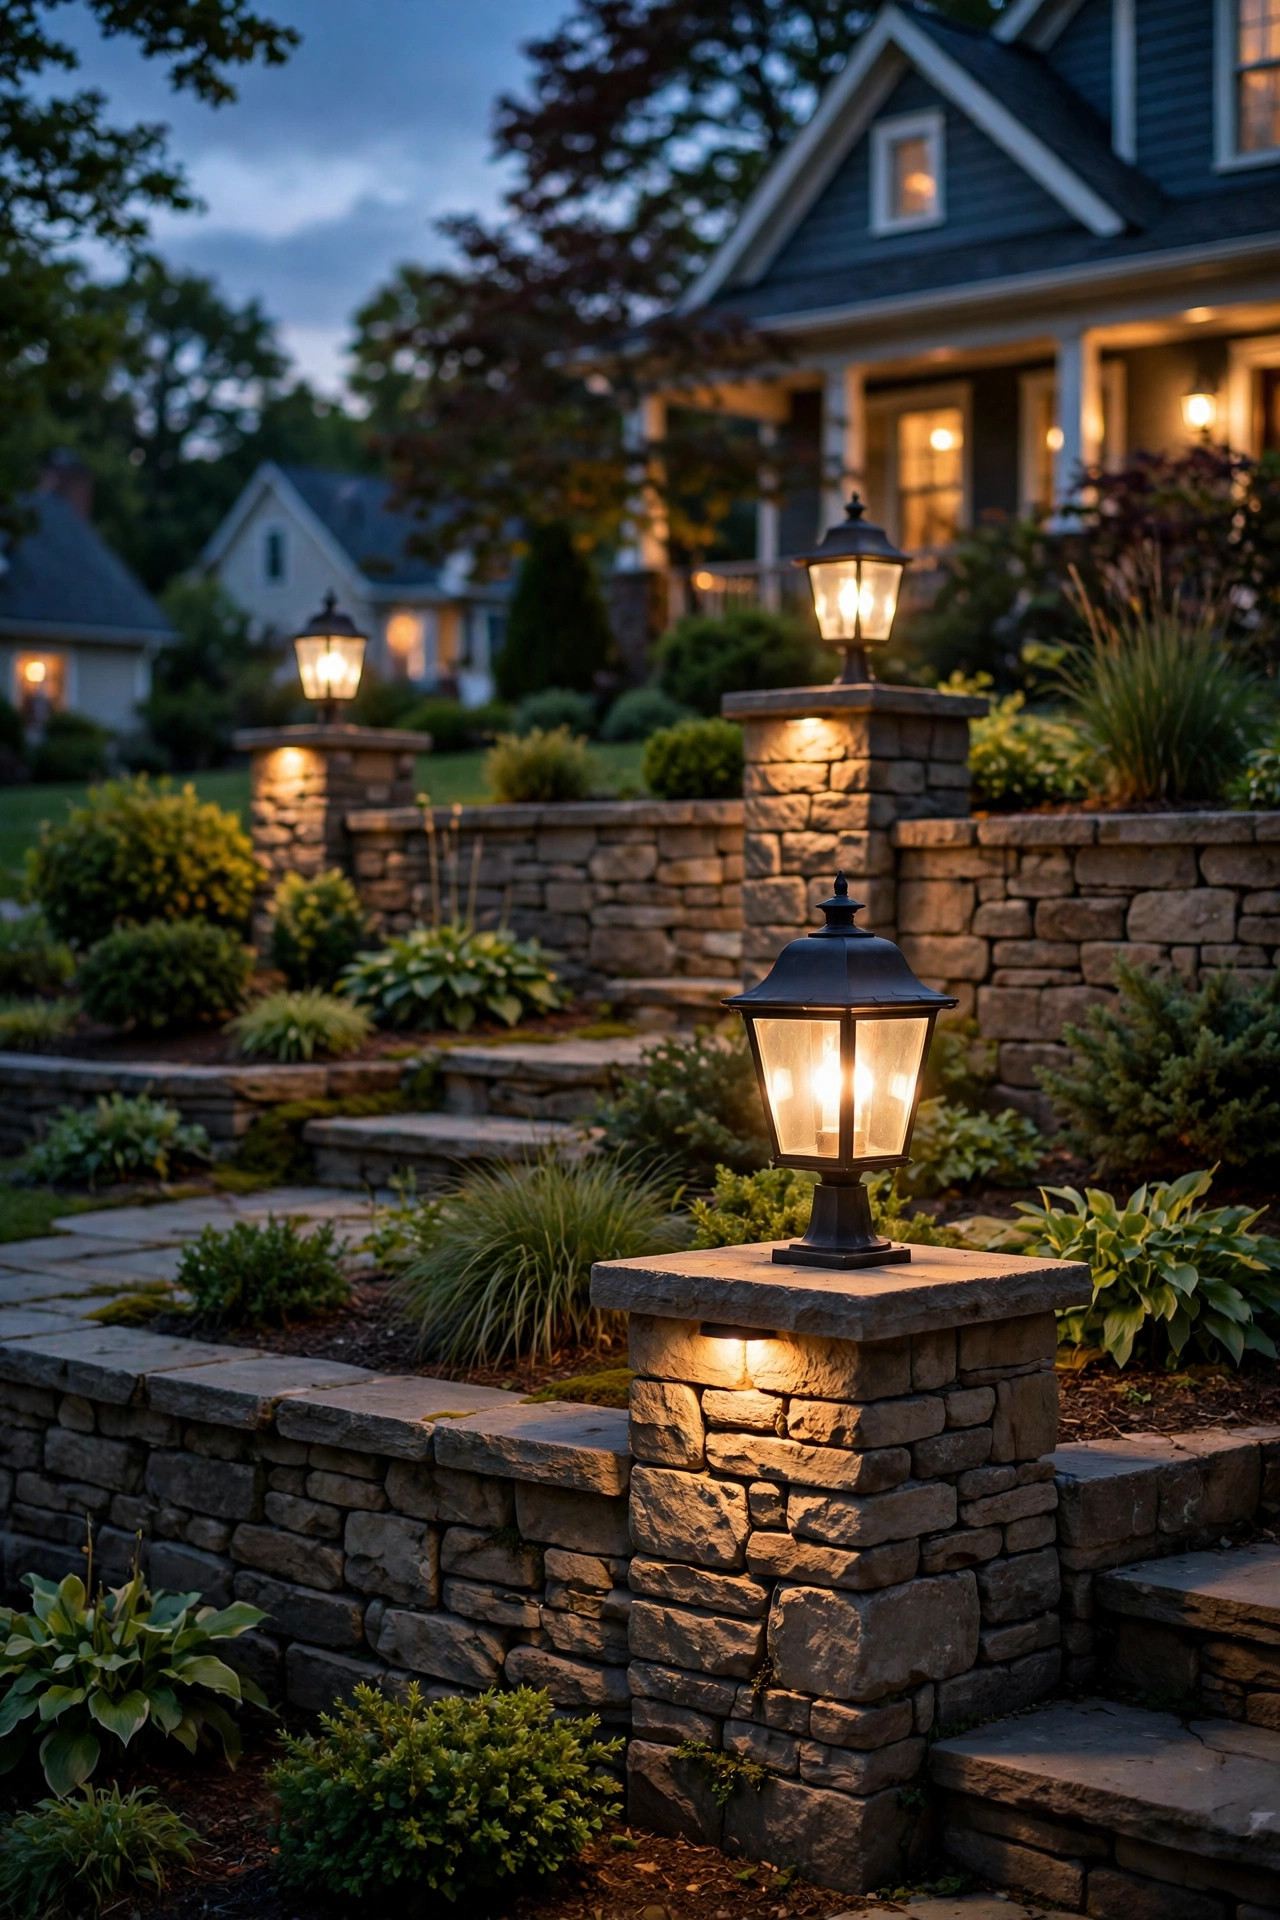
12. Zigzag String Lights Between the Levels
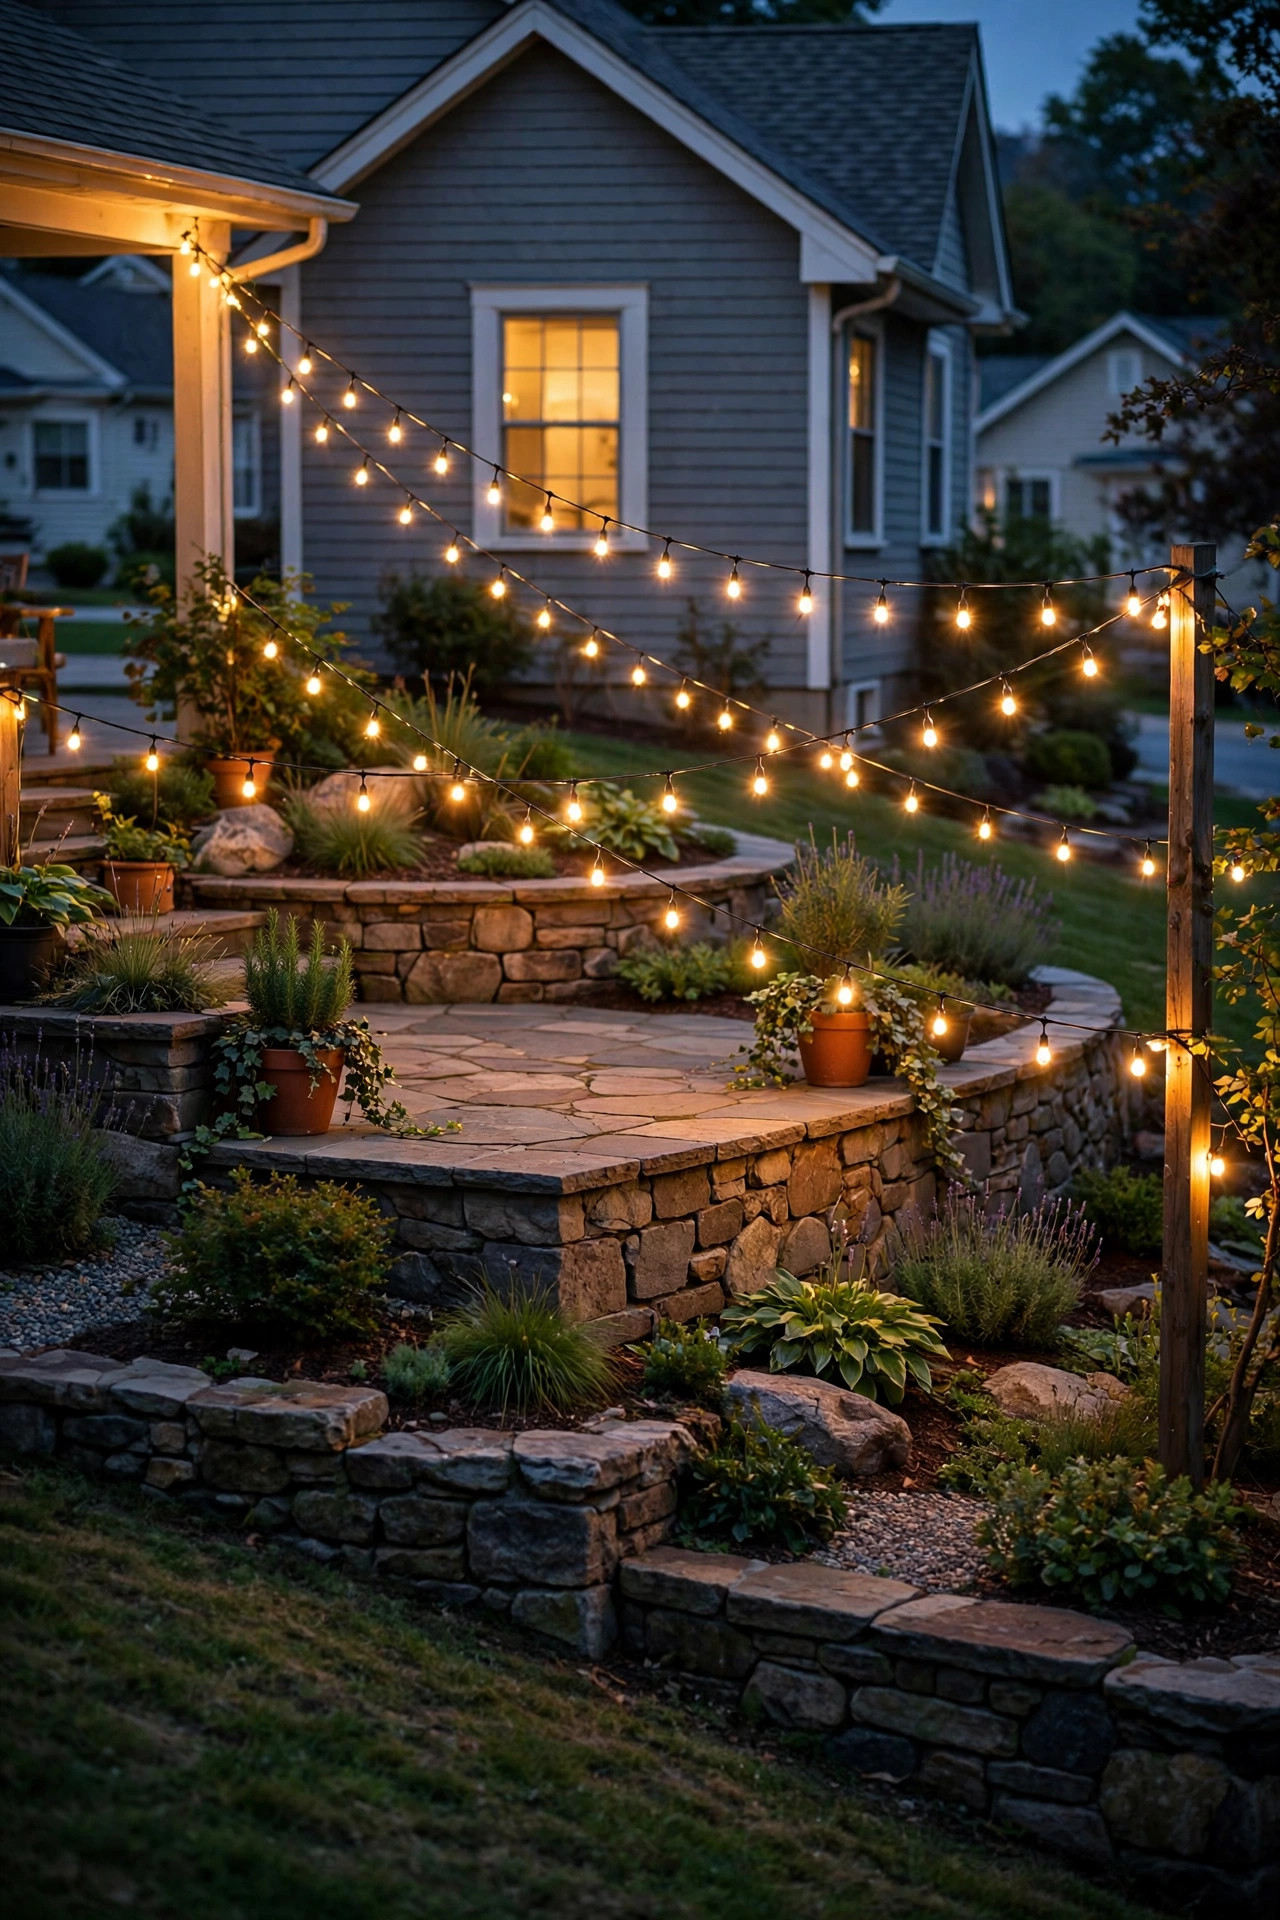
Not every hillside moment needs to be architectural. On a terraced patio level or the flat landing halfway up, a zigzag of outdoor string lights strung between two shepherd's hooks, a fence post, and the house turns the climb into a little journey with a reward in the middle. Use commercial-grade string lights with suspended sockets — the heavy-duty kind rated for permanent outdoor use — and keep spans under about 15 feet per swag so they don't sag into the walkway. On slopes, anchor the high side first and use a guy line or support cable on long runs; wind funnels up a hillside more than you'd expect. Warm white shatterproof LED bulbs only, and please, keep them well clear of any grill or fire feature on that landing. This is the cheapest layer of charm on the entire list, and in the summer it's the one everyone photographs.
Suggested budget range: $50 – $160.
13. Put Motion-Sensor Lights at the Top and Bottom Landings
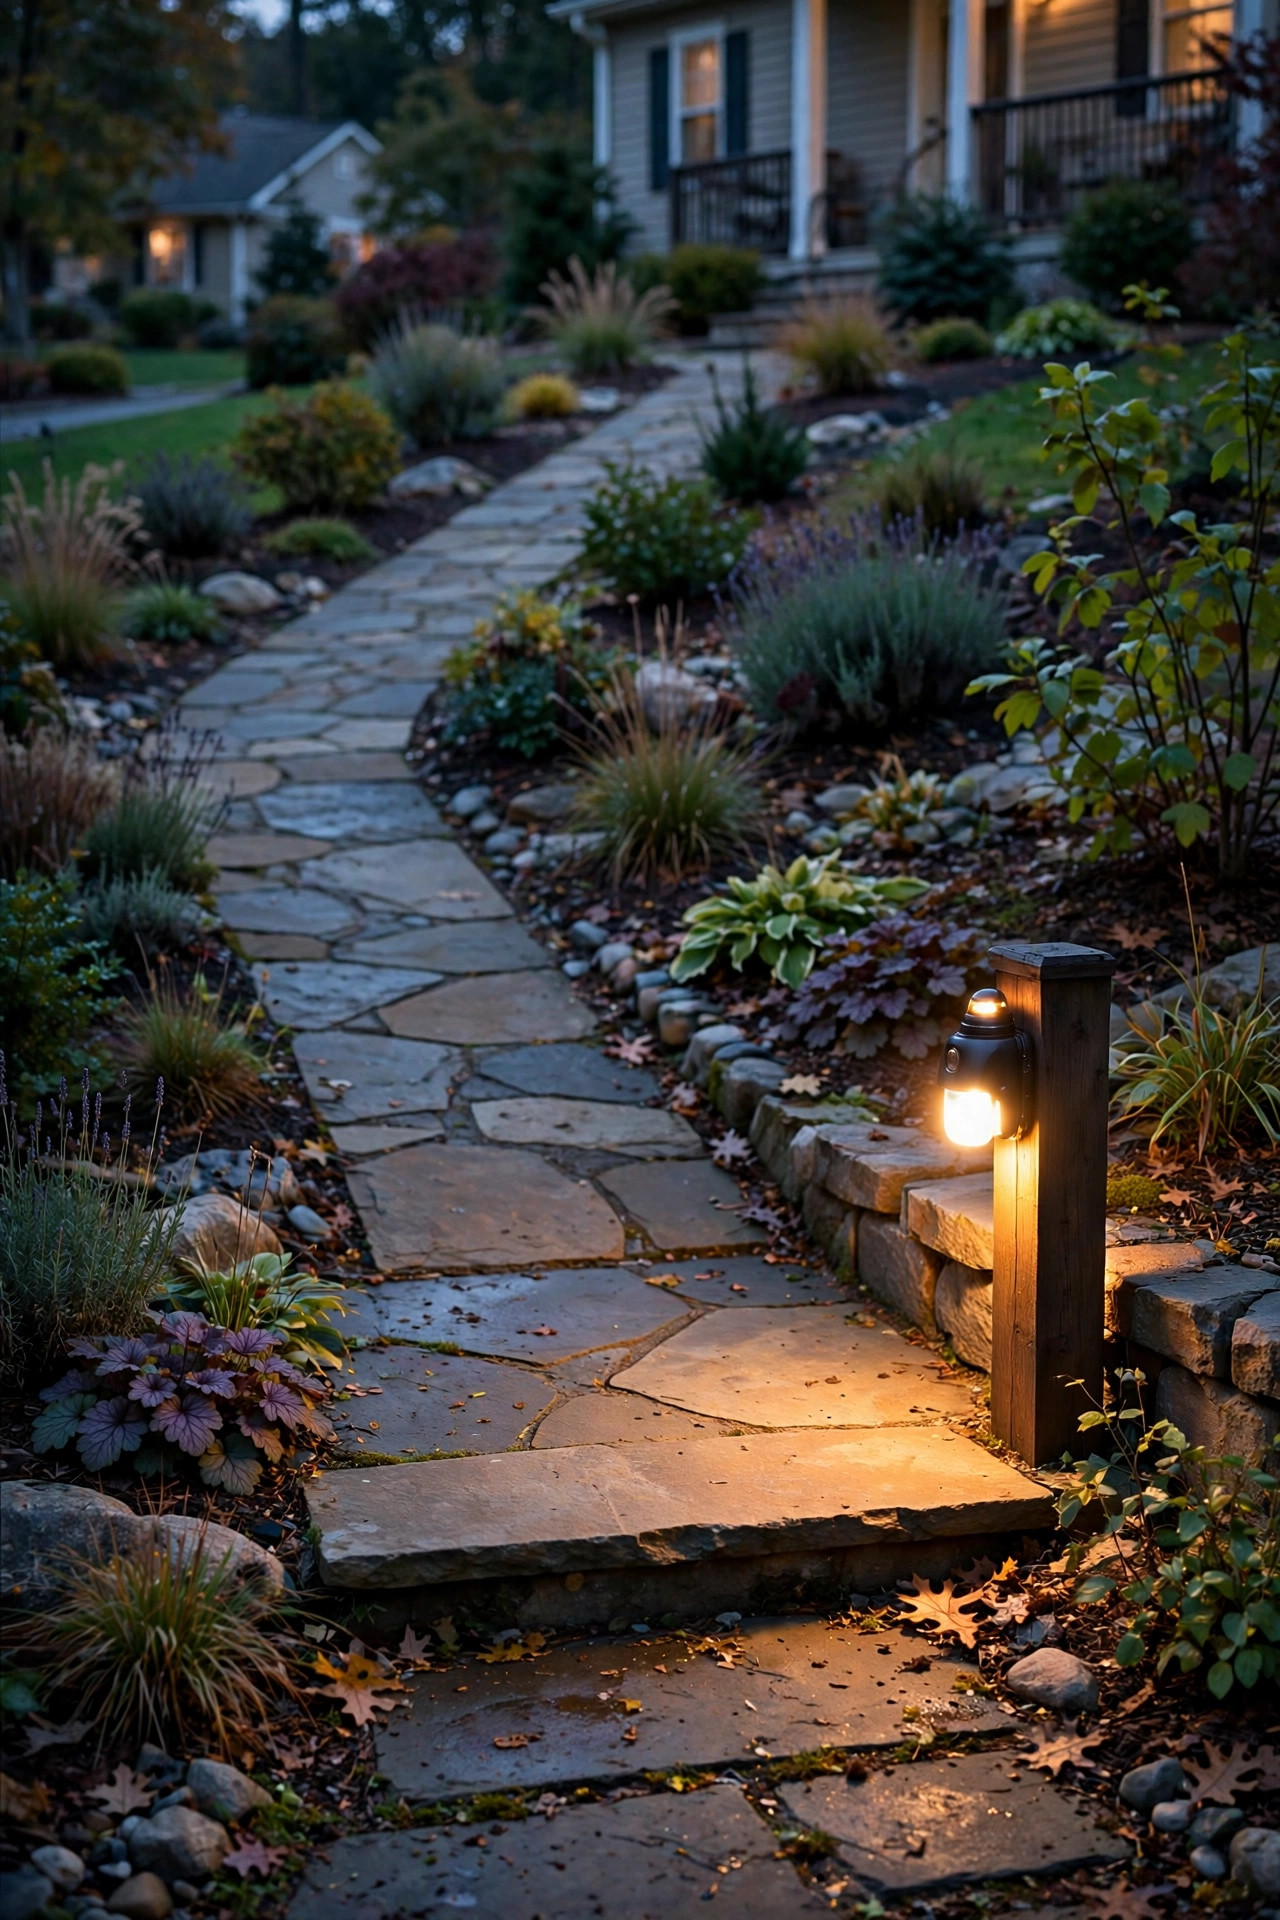
A sloped front yard has two natural thresholds — the street-level start of the climb and the front door at the top — and those are exactly where motion-sensor lighting earns its keep. A sensor fixture at the bottom landing greets guests (and delivery drivers) the moment they step onto your path, while one at the top does the same at the door and doubles as your security layer. Aim sensors across the path of travel, not straight down it, and set them at roughly 6 to 8 feet high so they read people rather than every wandering cat. I keep the sensitivity one notch below maximum on hillside installs, because warm air and moving branches on a slope love to false-trigger. Adjustable range and a 1 to 5-minute on-time are the settings that matter; LEDs only, so the instant-on is actually instant.
Suggested budget range: $60 – $200.
14. Light the Mailbox and House Numbers at the Street
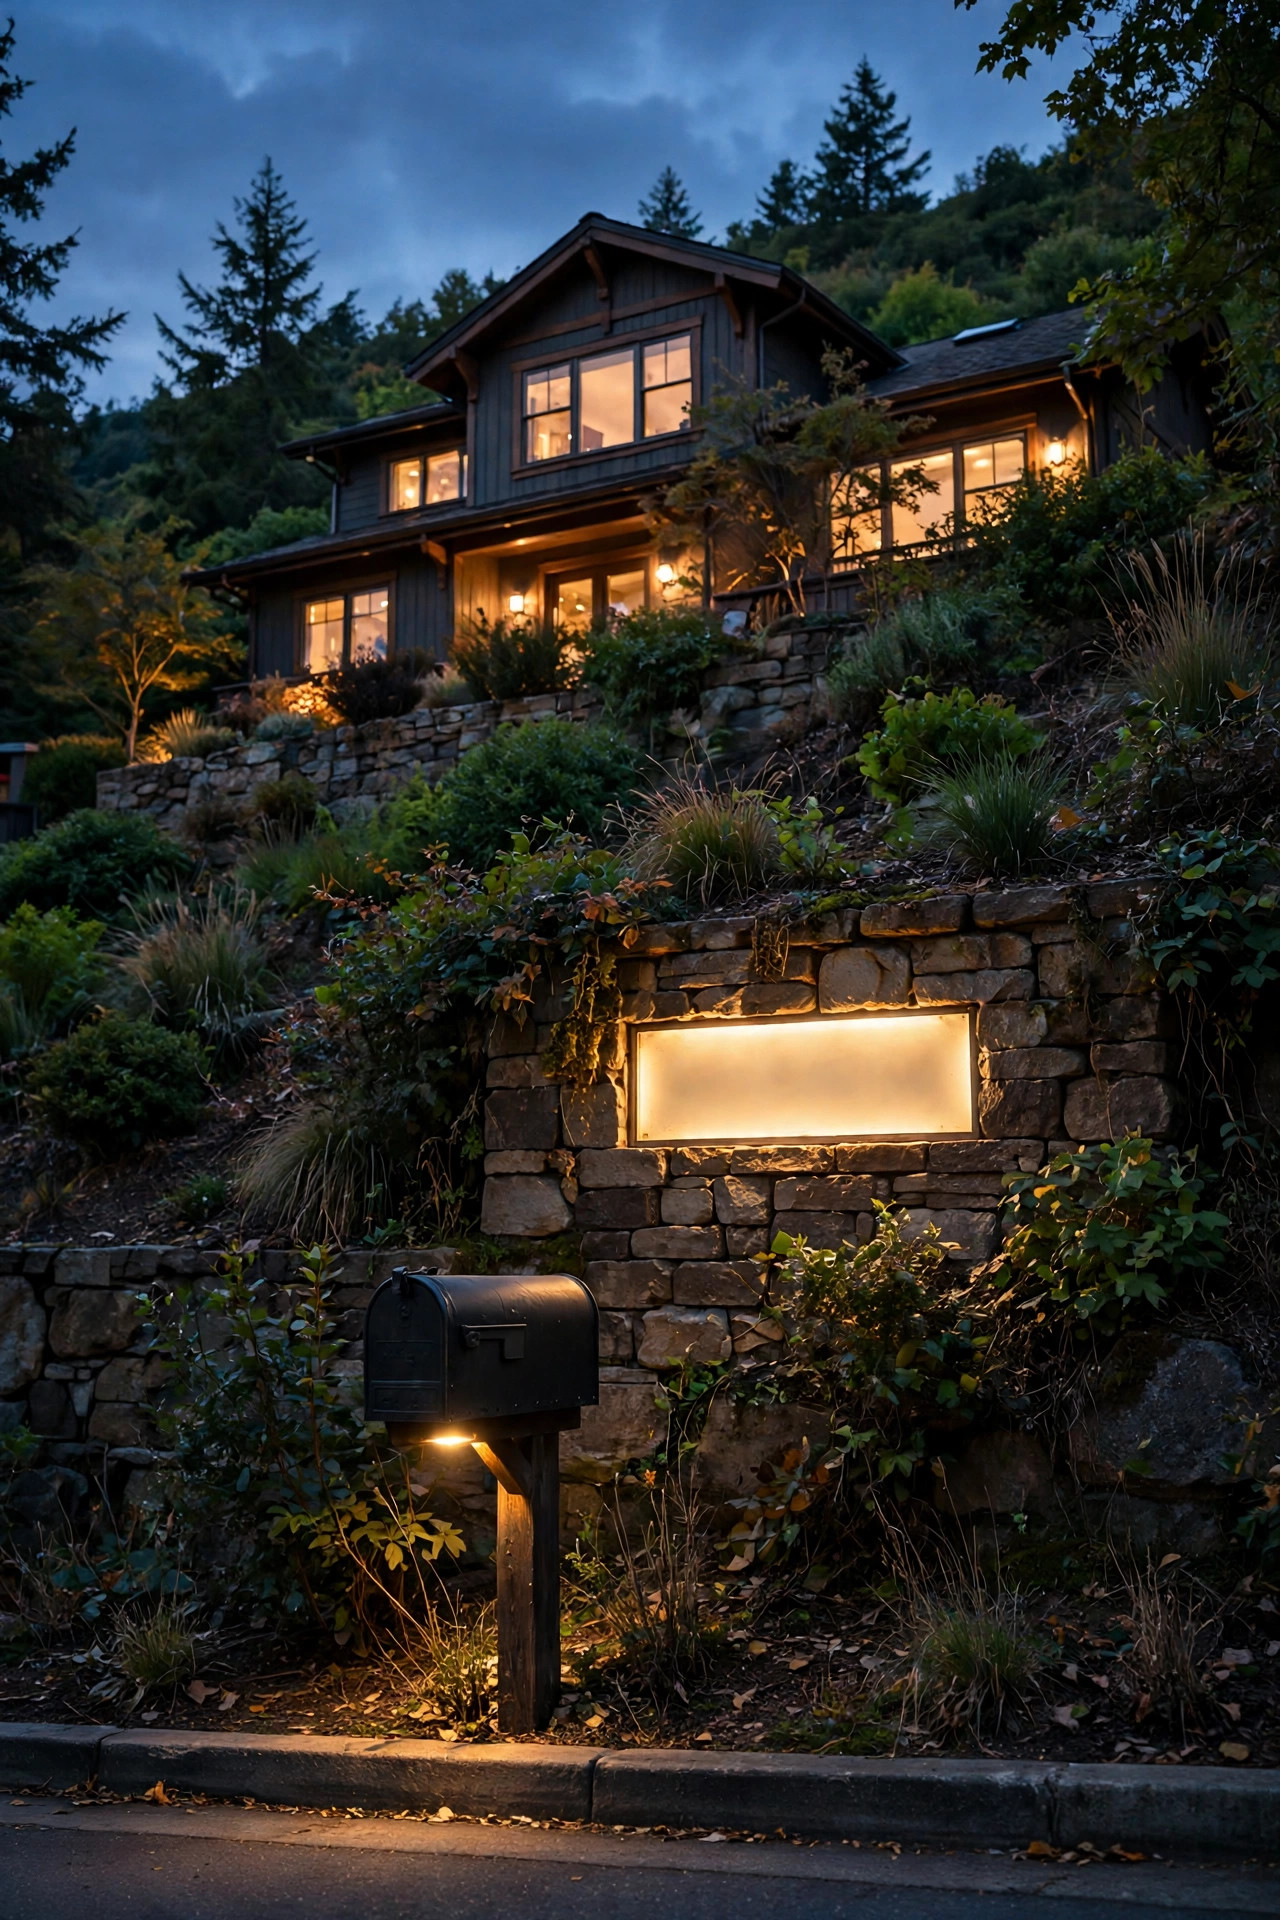
Here's the hillside problem nobody thinks about until pizza night: your house is up there, glowing beautifully, and nobody at the street can tell it's yours. House numbers at the porch are invisible from a car at the bottom of the slope, so bring the identification down to street level. A small spotlight aimed at a backlit address plaque on the mailbox post, or solar number tiles on a low pillar at the driveway entrance, solves it for very little money. Keep the light modest and warm — you're labeling, not advertising — and angle it slightly from the side so the numbers read without reflective glare. I always recommend checking from a car window at night after installing; if you can't read it at 15 feet from the driver's seat, bump the fixture a few inches closer. Emergency drivers will thank you too.
Suggested budget range: $35 – $130.
15. Accent the Rockery and Dry Creek Bed
Many hillside yards already have a rockery or a dry creek bed doing drainage duty on the slope — light it, and your erosion solution becomes the most interesting feature in the yard. I nestle two or three small, rugged spotlights among the boulders, aimed along the creek bed's curve rather than straight at it, so the stones cast long shadows and the "stream" seems to shimmer after dark. Choose fixtures with a stone or dark bronze finish that disappear in daylight, and seal every connection with waterproof gel-filled connectors, because this is the wettest real estate in your yard by design. A single warm uplight behind the largest boulder gives the whole arrangement a focal anchor. Honestly, this idea runs on restraint: three lights, thoughtfully placed, will outperform ten scattered ones every time, and the rockwork does the rest of the work for free.
Suggested budget range: $80 – $240.

16. Choose Shielded Fixtures That Spare the Street Below
Living on a hill means your yard is on stage — and your lights can easily become headlights aimed at the neighbors and drivers below. The fix is simple physics: on a slope, every fixture tilts its aim relative to the street, so choose shielded designs that throw light downward or across, never up and out. Look for path lights with louvered or hat tops, spotlights with glare guards and barn-door style shields, and aim accents from the uphill side so beams die into the hillside, not the sky. This is also the kind thing to do for the folks across the street whose bedroom window faces your slope. I do a night drive-by test after every hillside install: if any single source is visible as a bright point from the road, it gets re-aimed or re-shielded. Your yard should glow like a lantern, not glare like a billboard.
Suggested budget range: $130 – $360.
17. Finish the Climb With a Warm Porch Beacon
After all that climbing, the front door should feel like the destination it is — and on a hillside, your porch light doubles as the beacon that guides everyone up. Go a touch bolder than you would on a flat lot: a pair of sconces flanking the door at 66 to 72 inches high reads clearly from the street and frames the entry, while a single fixture on a tall two-story entry can go oversized without looking wrong. Match the color temperature to your path and terrace lighting (2700K across the board, in my house) so the whole slope reads as one composition from below. If your porch has a ceiling, a warm flush mount or a hanging lantern at the center ties the layers together. Put it all on a timer or dusk-to-dawn sensor and forget it — the house simply glows, every single night, like it was expecting you.
Suggested budget range: $90 – $300.

Frequently Asked Questions
What kind of lighting works best on a sloped front yard?
Layered low-voltage lighting, honestly. Path and step lights handle safety on the climb, hardscape lights wash your retaining walls, and a couple of uplights give the slope its drama. Low-voltage (12-volt) systems are safe to install yourself, cheap to run, and easy to extend level by level as your budget allows.
How do I keep hillside lights from shifting or washing downhill?
Bury stakes and fixtures deeper than you would on flat ground — 8 inches minimum — and set bollards and heavier fixtures in small concrete footings. After heavy rain, walk the slope once in spring and re-seat anything that's leaned. Running wire in conduit on drainage paths and giving well lights a gravel sump pocket also prevents most slope-specific headaches.
Are solar lights bright enough for a hillside yard?
For accents and sunny edges, yes — a slope often gets better sun than a flat yard, especially on the uphill side. For stairs and anywhere safety is the point, I recommend wired low-voltage instead, because brightness is consistent in December, not just in June. A hybrid — solar for the sunny accents, wired for the steps — is what I run at home.
How much does it cost to light a sloped front yard?
A starter layer of path and step lights typically runs $300 to $800 in fixtures if you install it yourself. A full layered design with wall lights, uplights, and a tree downlight can reach $1,500 to $3,000, and hiring a pro for installation generally adds 40 to 60 percent. The per-idea budget ranges above will help you phase it level by level.
Conclusion
A hillside isn't a problem to light around — it's the best canvas on the street. Start with safe footing on the path and stairs, add one accent moment per terrace, and finish with a warm welcome at the door, and your sloped front yard lighting will make flat yards look, well, flat. Pick two or three ideas from this list for this season, stand at the street after dark, and let the view tell you what to add next. For more inspiration, browse the rest of my outdoor lighting ideas here on the site — your slope's glow-up is just getting started.