If you love the look of a lit garden path but hate the idea of trenching wire or paying an electrician, solar disk lights might be the easiest win in your whole yard. These flat, round lights sit nearly flush with the ground or push in on short stakes, soak up sun all day, and switch themselves on at dusk — no transformer, no timer, no cords to trip over. In my experience, they're the perfect first layer in a layered lighting plan: a soft, low ribbon of light that outlines where to walk, where the bed ends, and where the lawn begins. The trick is choosing the right style for each spot — drive-over disks for the driveway, stakes for wiggly borders, brighter multi-LED models for dark corners. In this post I'm sharing 21 ways I use solar disk and stake lights around beds, borders, and paths, with honest notes on spacing, brightness, and what each setup actually costs. Most of these take under an hour and a Saturday-morning coffee to finish.

1. Line the Front Walkway With Flush Disks
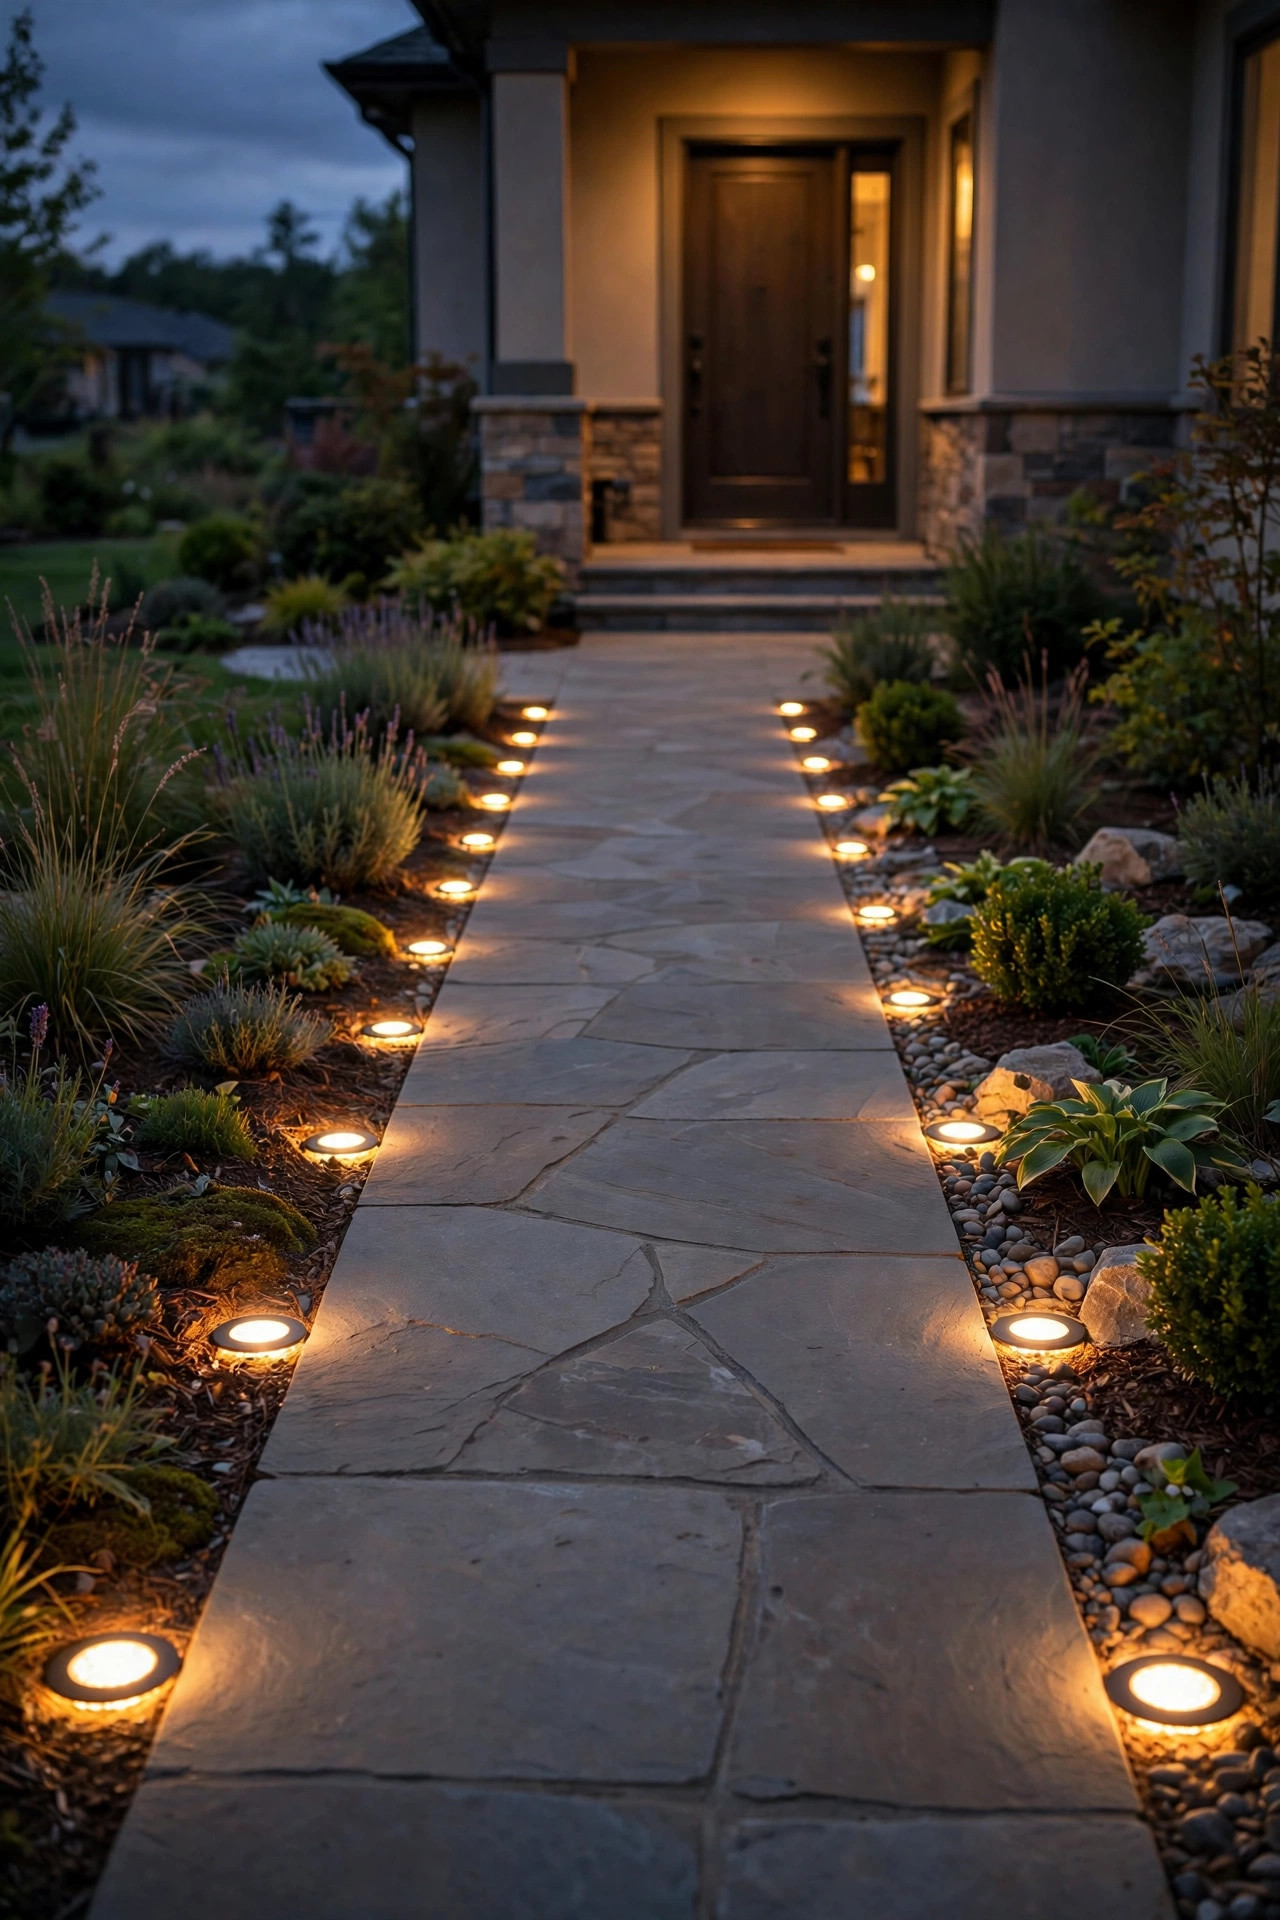
The front walk is where I'd start, because it's the path every guest, delivery driver, and trick-or-treater takes after dark. Set flush disks along one or both edges of the walk, spaced about 4 to 6 feet apart — closer spacing reads as a luxury hotel path, wider spacing feels more casual and cottage-y. I prefer a single line on the garden side with a straight, even rhythm; two lines can look like a runway if your walk is narrow. Push each disk firmly into the soil or mulch so the top sits level with the walking surface, and check that no edge rocks when you step near it. Choose warm-white light in the 2700–3000K range so the glow matches your porch fixture instead of fighting it. Before you commit to the whole run, set out half a dozen disks for one evening and walk the route yourself — you'll spot the dark gap at the curve or the step you'd forgotten within one pass. My full walkway lighting ideas post covers taller fixtures too, but honestly, for pure wayfinding, flush disks are the cleanest look there is.
Suggested budget range: $25 – $60.
2. Mark the Driveway With Drive-Over Disks
A driveway edge is the one place I'd upgrade to metal housings, no exceptions. Drive-over disks are built with cast-metal or heavy reinforced bodies and sit completely flush, so a tire rolling across one is a non-event; the thin plastic versions from bargain bins crack within a season, usually right at the screw tabs. Check the listing for an actual weight rating — you want models sold specifically as drive-over or in-ground driveway markers. I space them 6 to 8 feet apart down one or both sides, starting a foot in from the street so snowplows and street sweepers leave them alone. Keep them an inch or two outside the tire track if your driveway is narrow; the glow still reads clearly from the driver's seat. Because the panels sit flat, give them a quick brush-off when you blow leaves off the drive — a dusty panel charges noticeably slower. For wider layouts and taller fixtures, my driveway lighting ideas roundup has the full plan, but a simple disk line is the fastest curb-appeal upgrade I know.
Suggested budget range: $40 – $90.

3. Give Flower Beds a Clean Glowing Edge
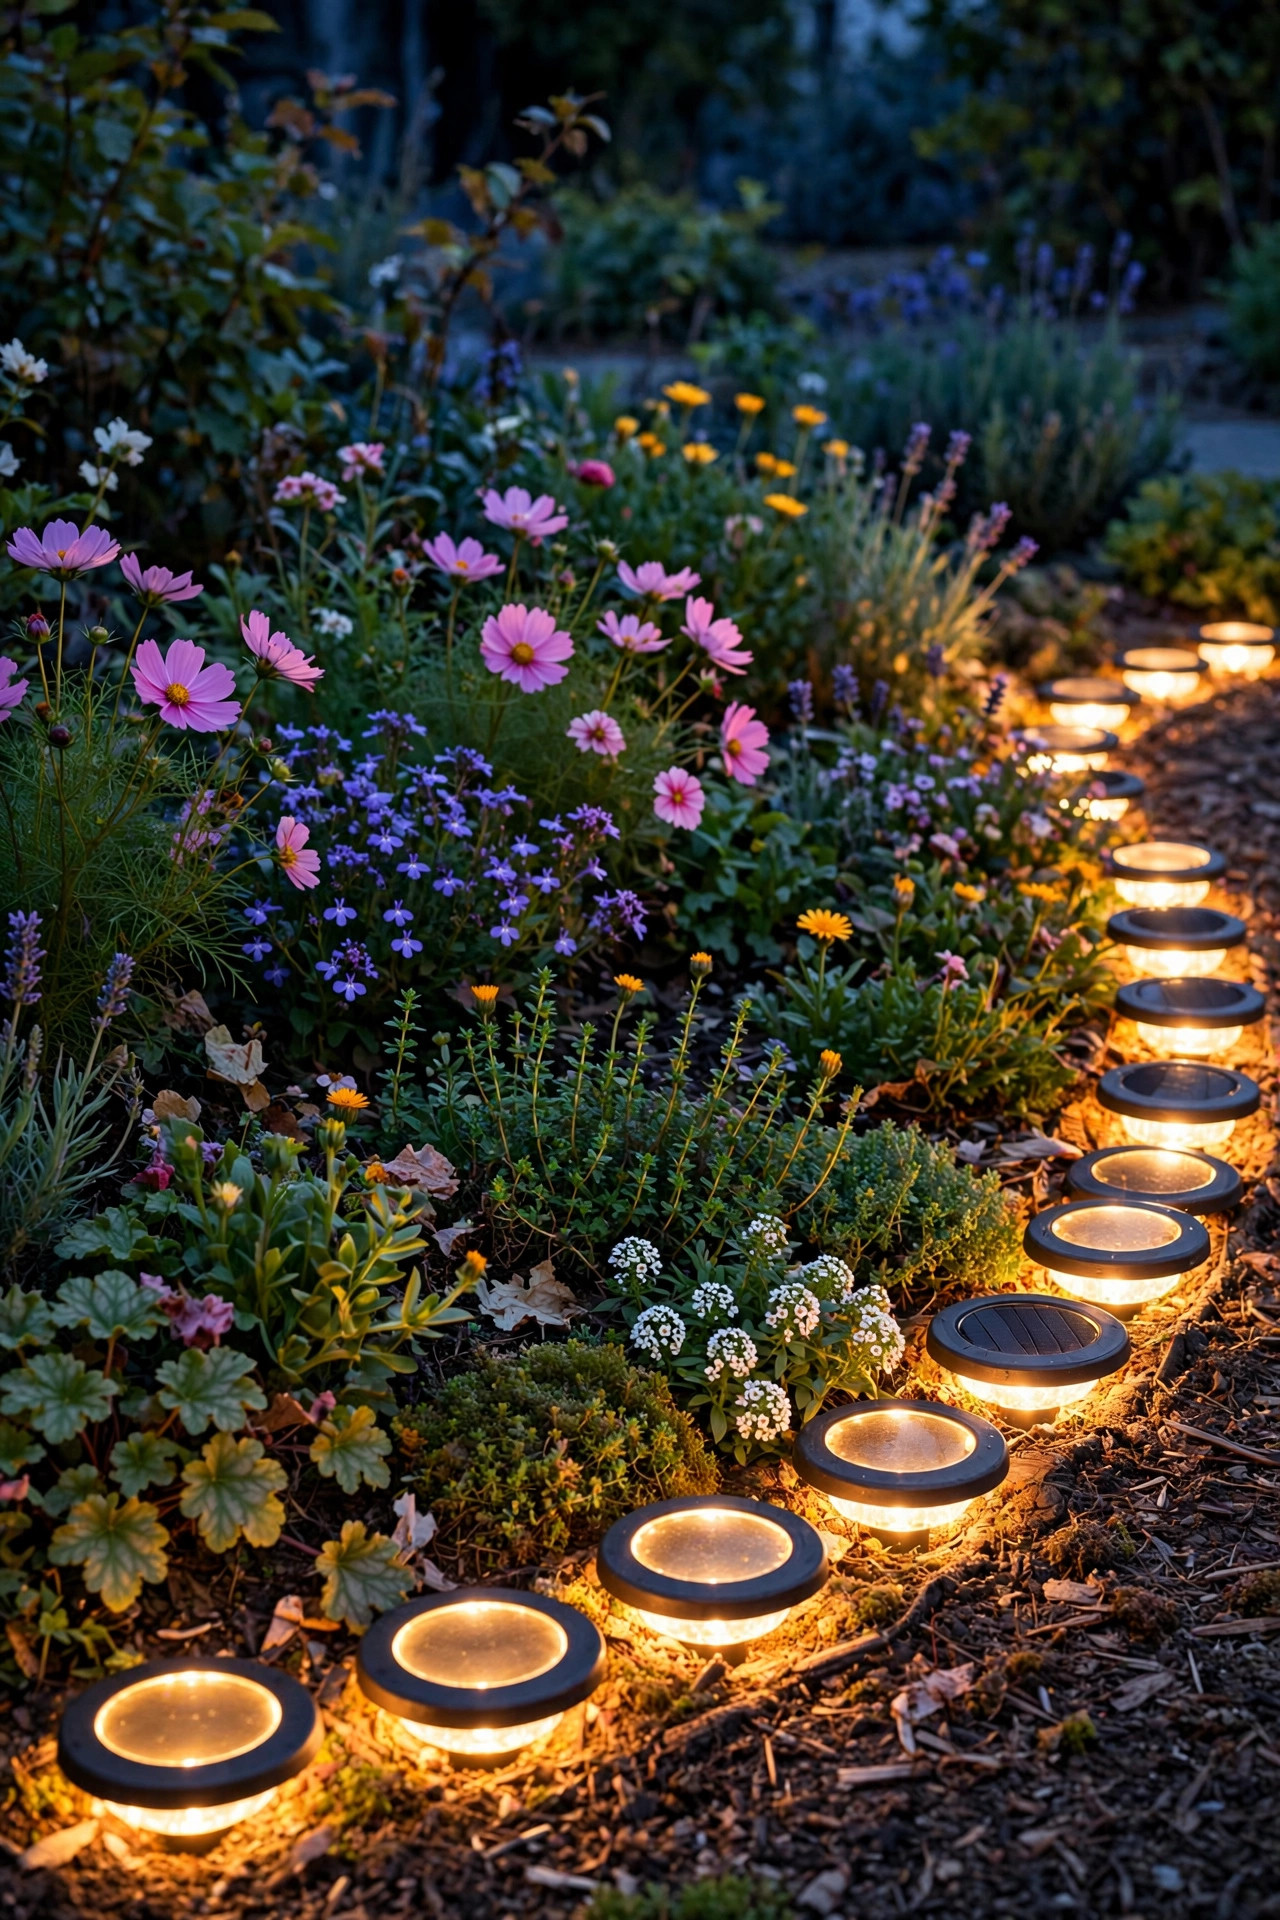
Flower beds look their best at night when the edge is defined — otherwise all that color just melts into black. I run disks along the front lip of the bed, about every 2 to 3 feet, tucked just behind the edging stone or steel strip so the light pools onto the first row of plants. Low foliage like coral bells, liriope, and creeping thyme catches the glow beautifully, and taller blooms behind them fade into pretty silhouettes. Warm-white light is flattering here; anything blue-white makes petals look grey and tired. One practical note: mulch migrates. Every few weeks, brush mulch and soil off the panels, and keep the mulch level an inch below the disk top so rain doesn't wash it straight back over. In spring, when you're re-edging the bed anyway, pop each disk out, rinse the panel, and reset it — two minutes each, and they charge like new. If a bed is deep, add a second staggered row further back among the shrubs; the layered pools of light give the planting real depth after dark instead of one flat bright line.
Suggested budget range: $20 – $50.
4. Outline Curved Borders With Short Stakes
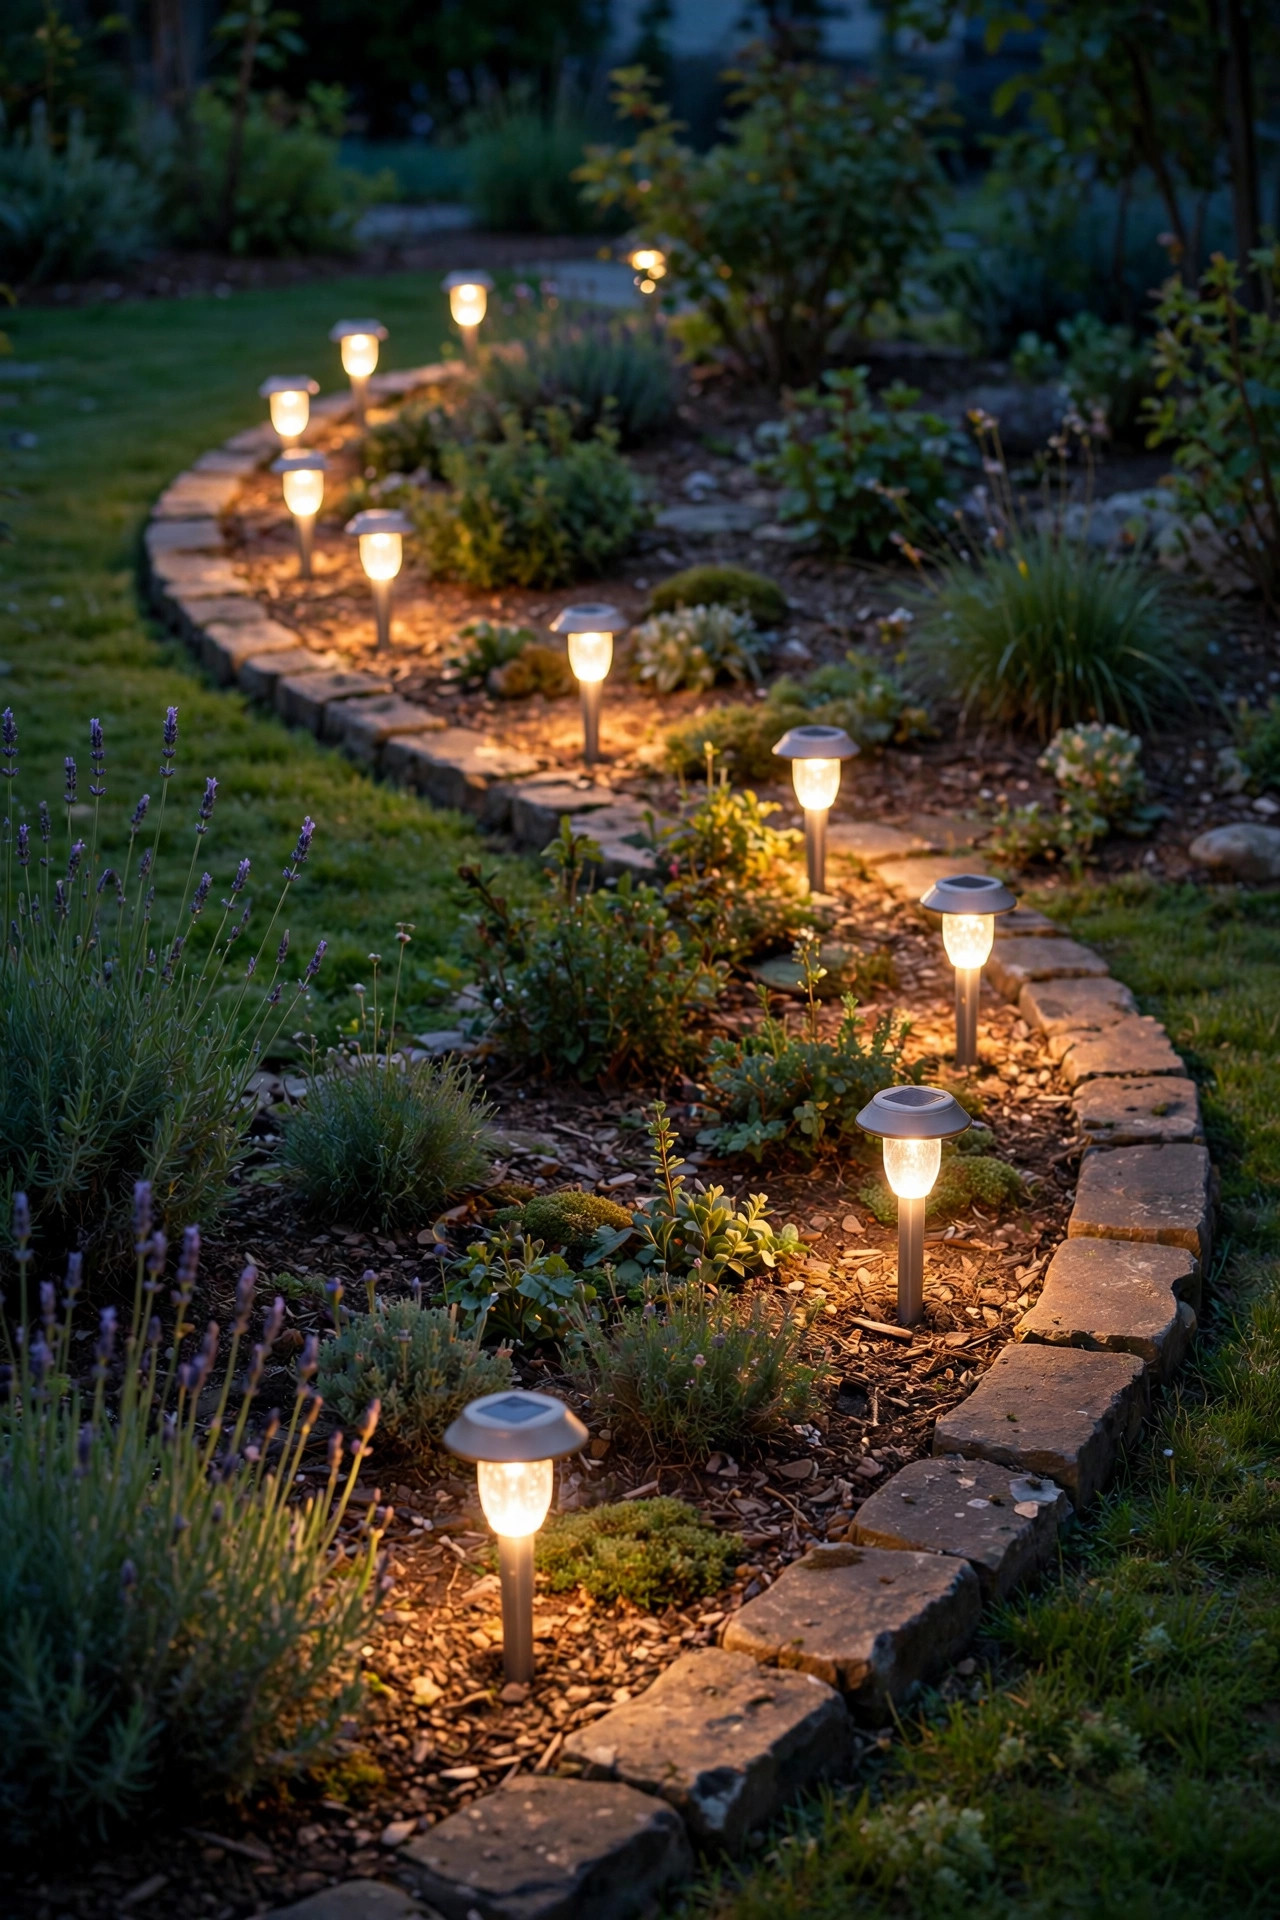
Straight flush disks fight a curvy border — the line keeps wanting to march off in chords while the bed sweeps in an arc. Short solar stakes solve it, because you can nudge each one an inch left or right until the row truly follows the curve. I space stakes 18 to 24 inches apart on bends, tighter than on straight runs, so the eye reads one continuous ribbon instead of separate dots. Push the stake in at a slight outward tilt — just a few degrees — so the head leans over the mulch and lights the plants rather than the soil behind it. Stakes also lift the little solar panel up into better sun, which matters on the shady side of a curve where the house or a big shrub steals the afternoon light. Choose stakes with warm-white LEDs and a simple, low profile; ornate shapes fight with the plants for attention. As perennials fill in over the season, walk the border monthly and lift or shift any stake that's getting swallowed — a light you can't see is just garden clutter.
Suggested budget range: $20 – $45.
5. Press Disks Into the Lawn for a Mow-Over Path
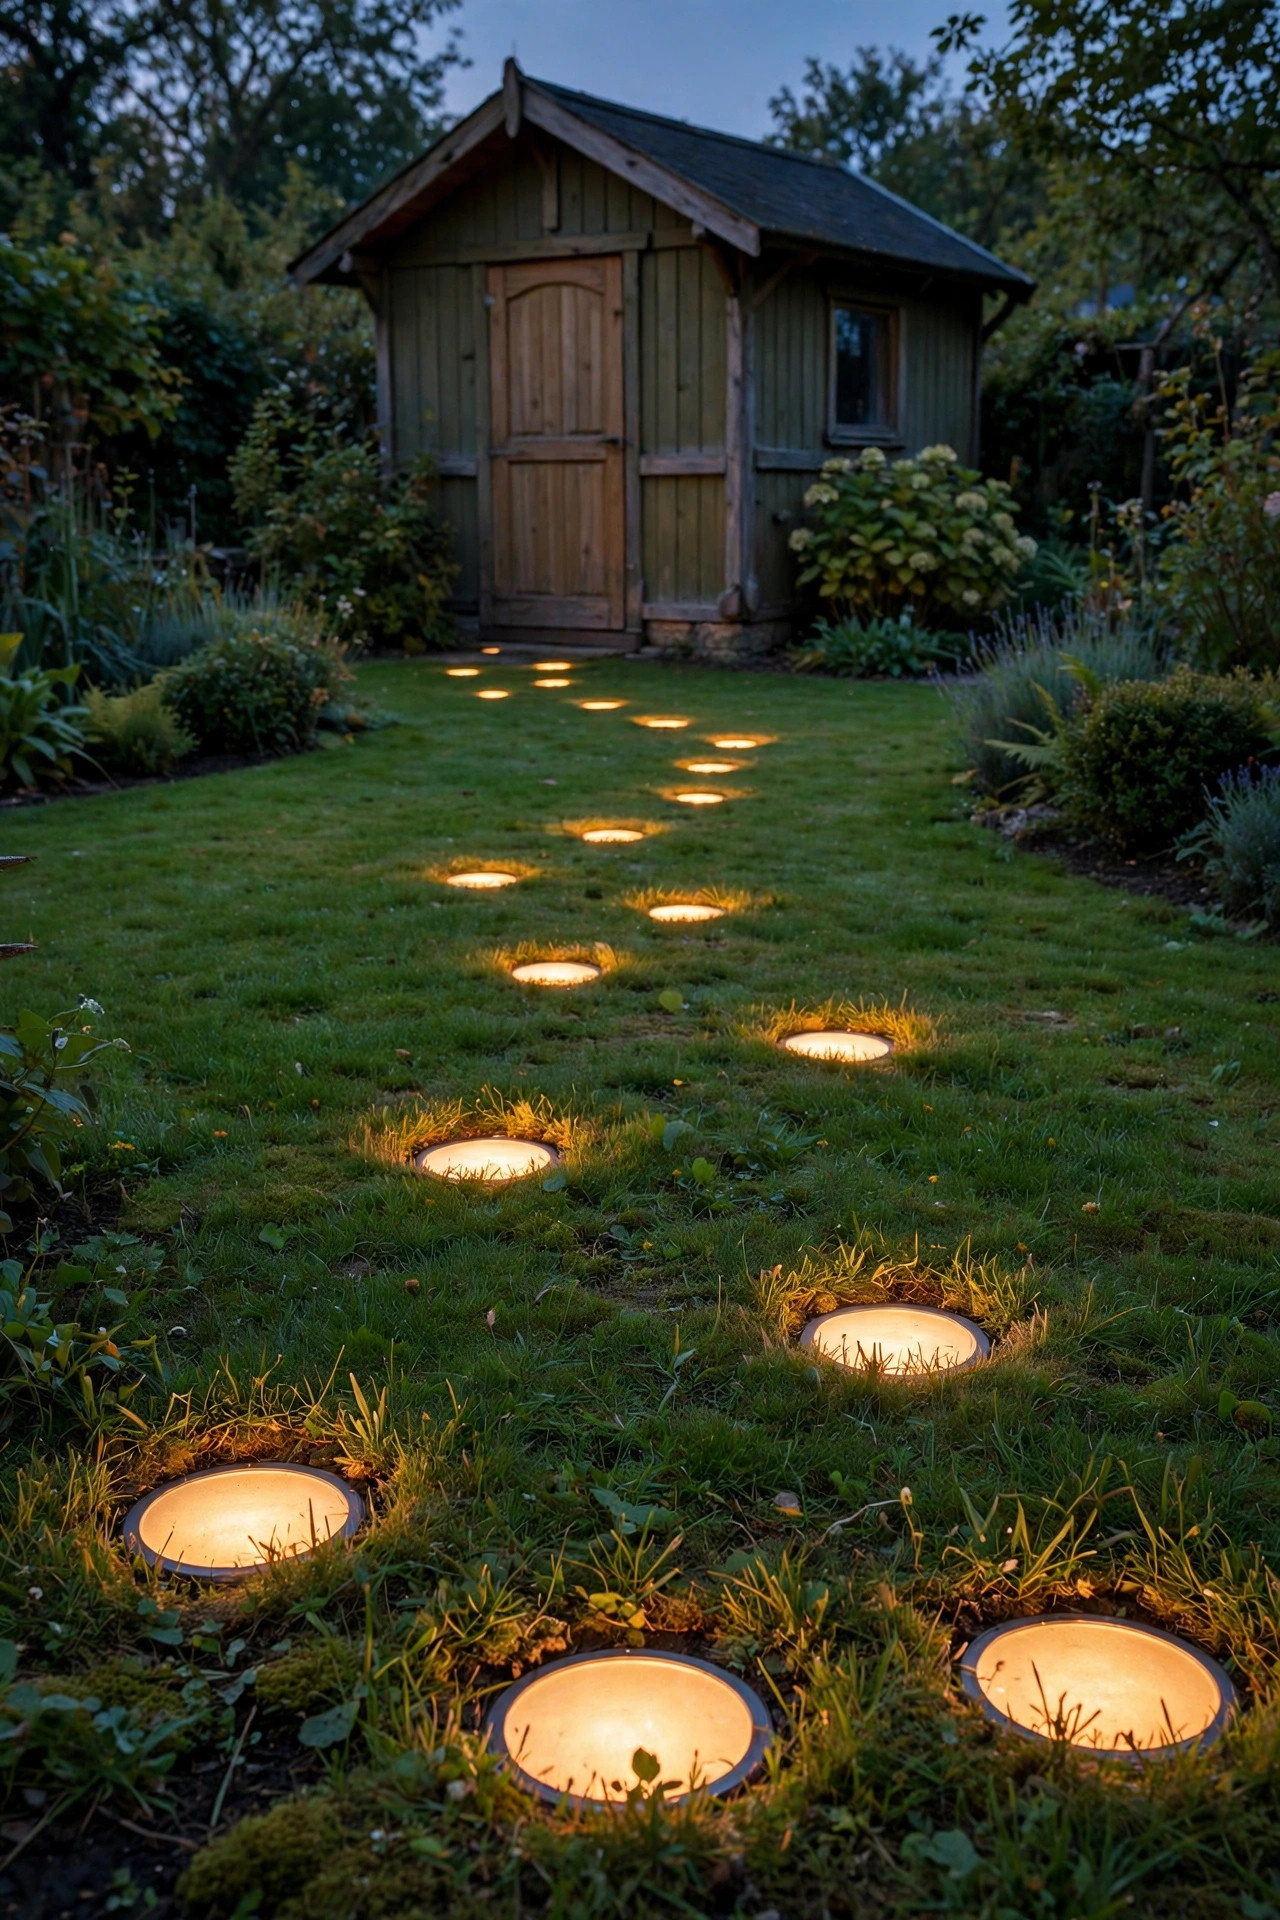
Between the patio and the garden shed, most of us wear an unofficial path through the grass — so light it like one. Flush disks pressed into the lawn, spaced 4 to 5 feet apart along your natural walking line, turn that worn track into an intentional route after dark. The key is setting the top of each disk a hair below the surrounding turf level: your mower deck then glides straight over them, no stopping, no string-trimmer gymnastics around a dozen stakes. Use a small trowel or a bulb planter to cut a neat socket in the sod so the disk sits snug and doesn't rock. Around the edges, tamp the soil well — a disk that tilts ends up with its panel shaded by grass within a month. Choose models with sturdy housings and an IP65 rating or better, since lawn disks live in sprinkler range and morning dew. After heavy rain, check that none have floated or heaved; in freeze-thaw climates, expect to re-seat a few each spring, which honestly takes ten minutes with a coffee in hand.
Suggested budget range: $25 – $55.
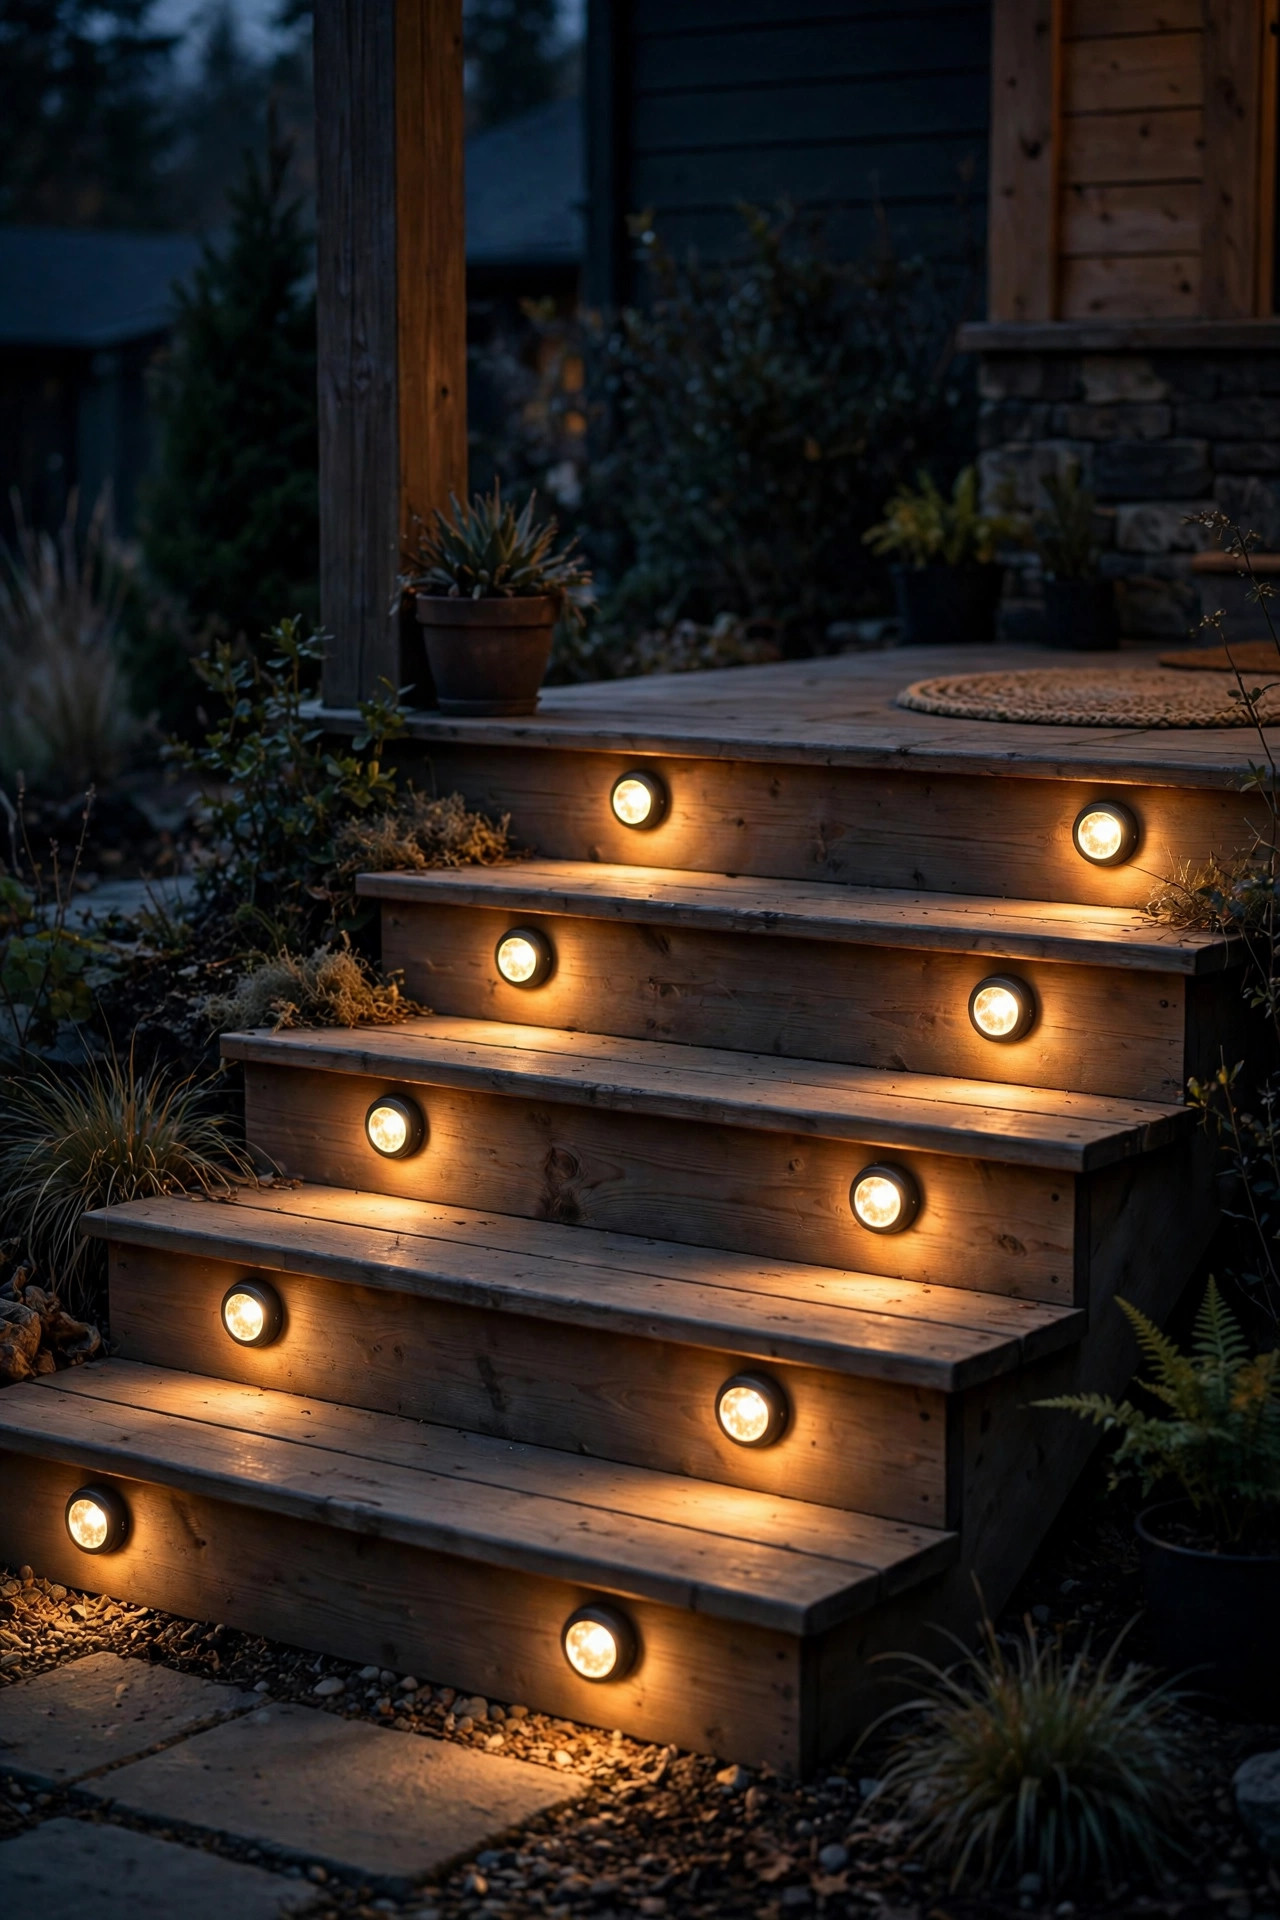
6. Add Disks to Deck and Porch Steps
Steps are where guests actually get hurt, so this might be the most valuable spot on the whole list. Surface-mount solar disks — the flat puck style with adhesive backing or two small screws — stuck on each step tread near the outer edge, or on the riser just under the nosing, turn a shadowy staircase into a clearly readable one. Light every step, not every other one; an uneven rhythm is worse than none because your eye stops trusting the pattern. The honest catch with porch and deck steps is shade: the panel needs real sun to charge, so this works best on open, sunny stairs. For a covered porch, choose disks with a separate cabled panel you can mount on the railing in full sun, or accept that a wired or battery light is the better tool there — I say that as someone who loves solar. While you're at it, check that the disk sits where heels won't land dead-center; offset toward the stringer side keeps them out of the main foot traffic and they last far longer.
Suggested budget range: $20 – $45.
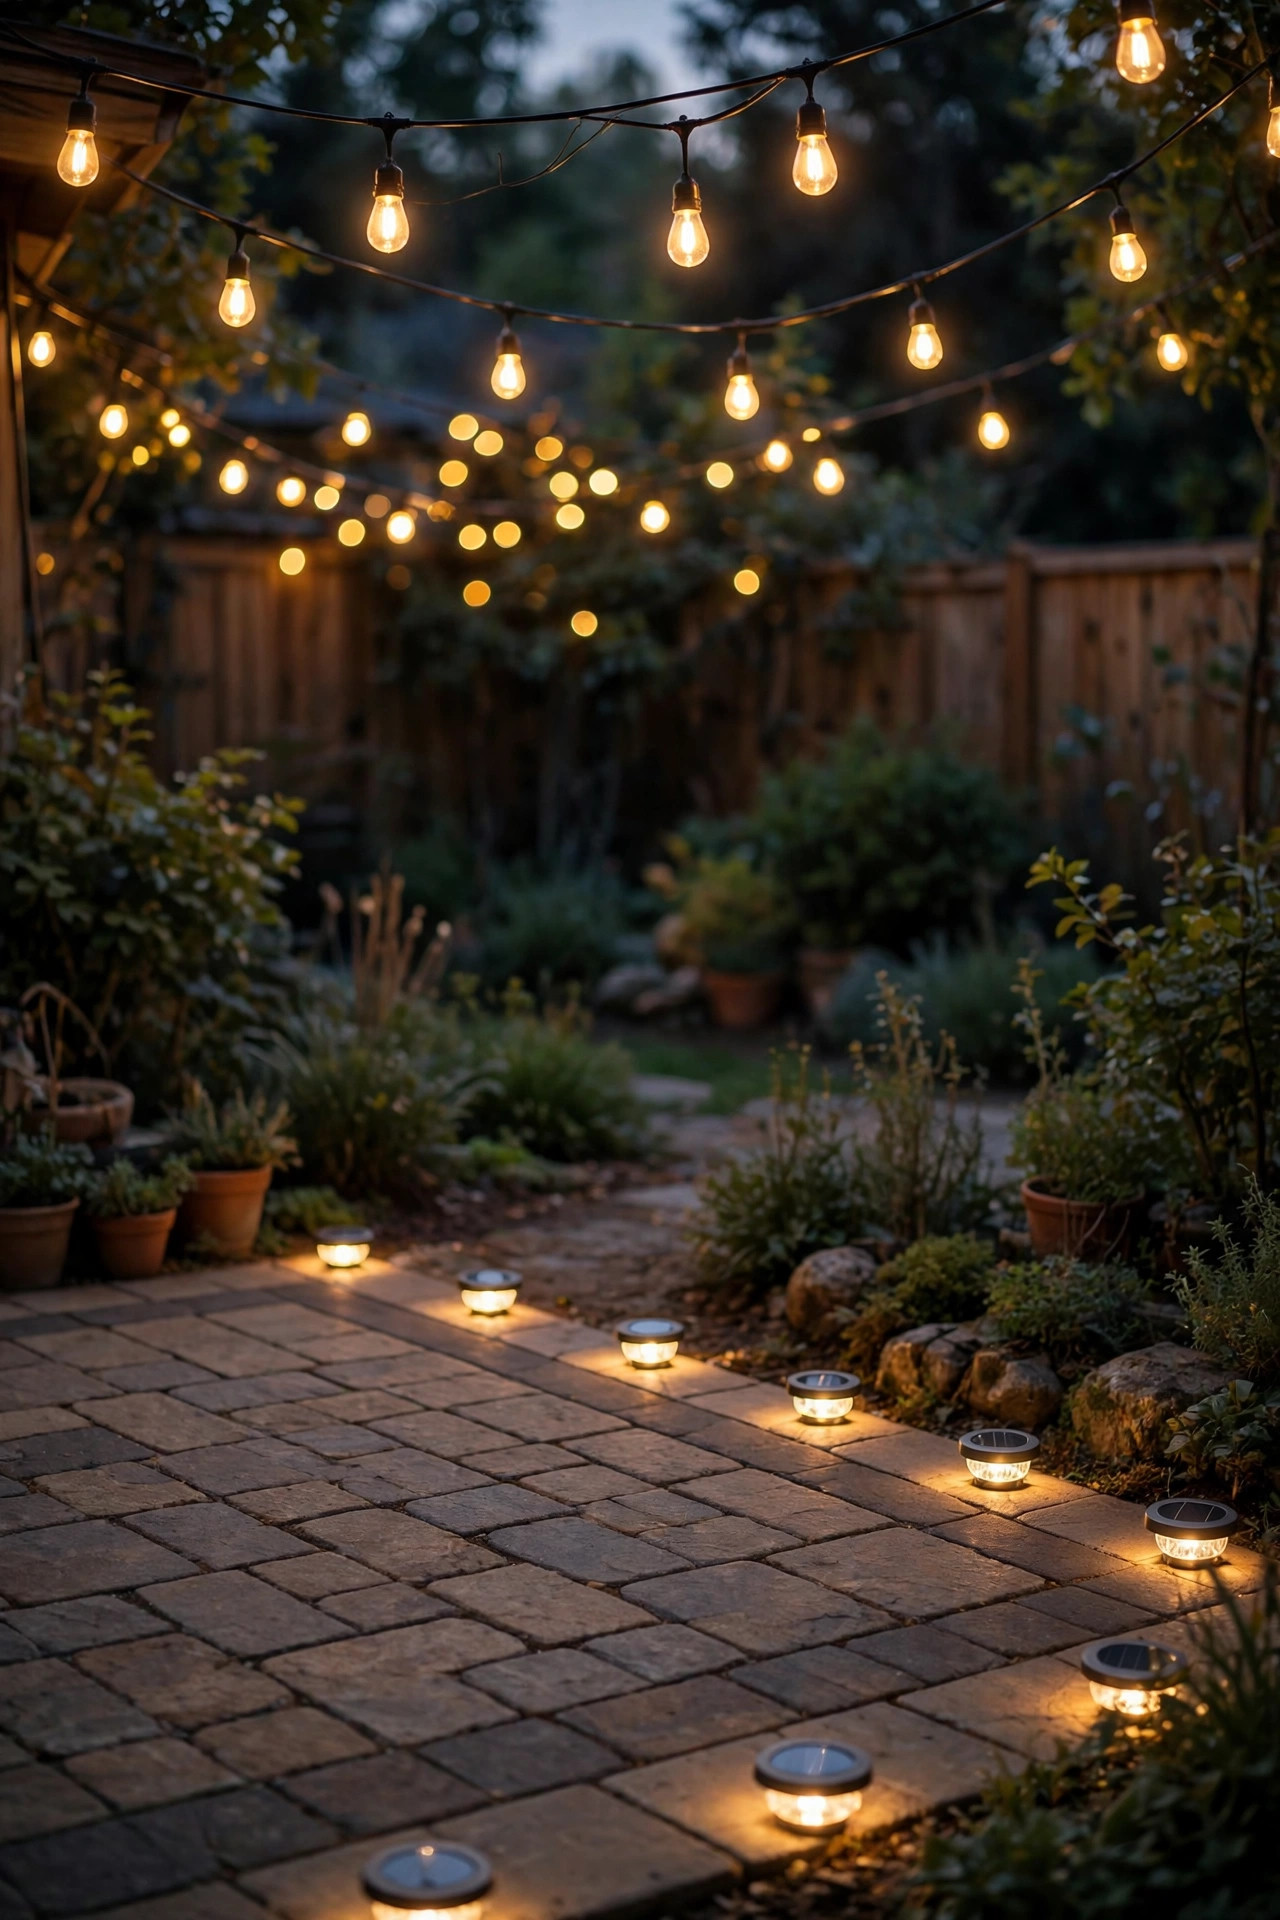
7. Ring a Patio With a Low Perimeter Glow
A patio at night feels unfinished when the edges just dissolve into dark lawn. A ring of disks set just outside the slab or paver edge, every 3 to 4 feet, draws a soft boundary line that tells everyone — especially kids mid-chase and guests carrying drinks — exactly where the patio ends. I set mine about 6 inches out from the hard edge in the surrounding bed or gravel strip, close enough that the light grazes the surface and shows texture, far enough that chair legs and fire-pit sparks stay off them. It pairs beautifully with light from above: string lights or a porch fixture give you the overhead layer, disks give you the floor plan. Choose a consistent warm-white tone all the way around, and buy one or two extras from the same batch as spares, because a single dead disk in the ring draws the eye like a missing tooth. If your patio edge is curved, switch to short stakes for that section — same trick as the garden borders — and keep the spacing rhythm identical so the two styles read as one design.
Suggested budget range: $30 – $70.
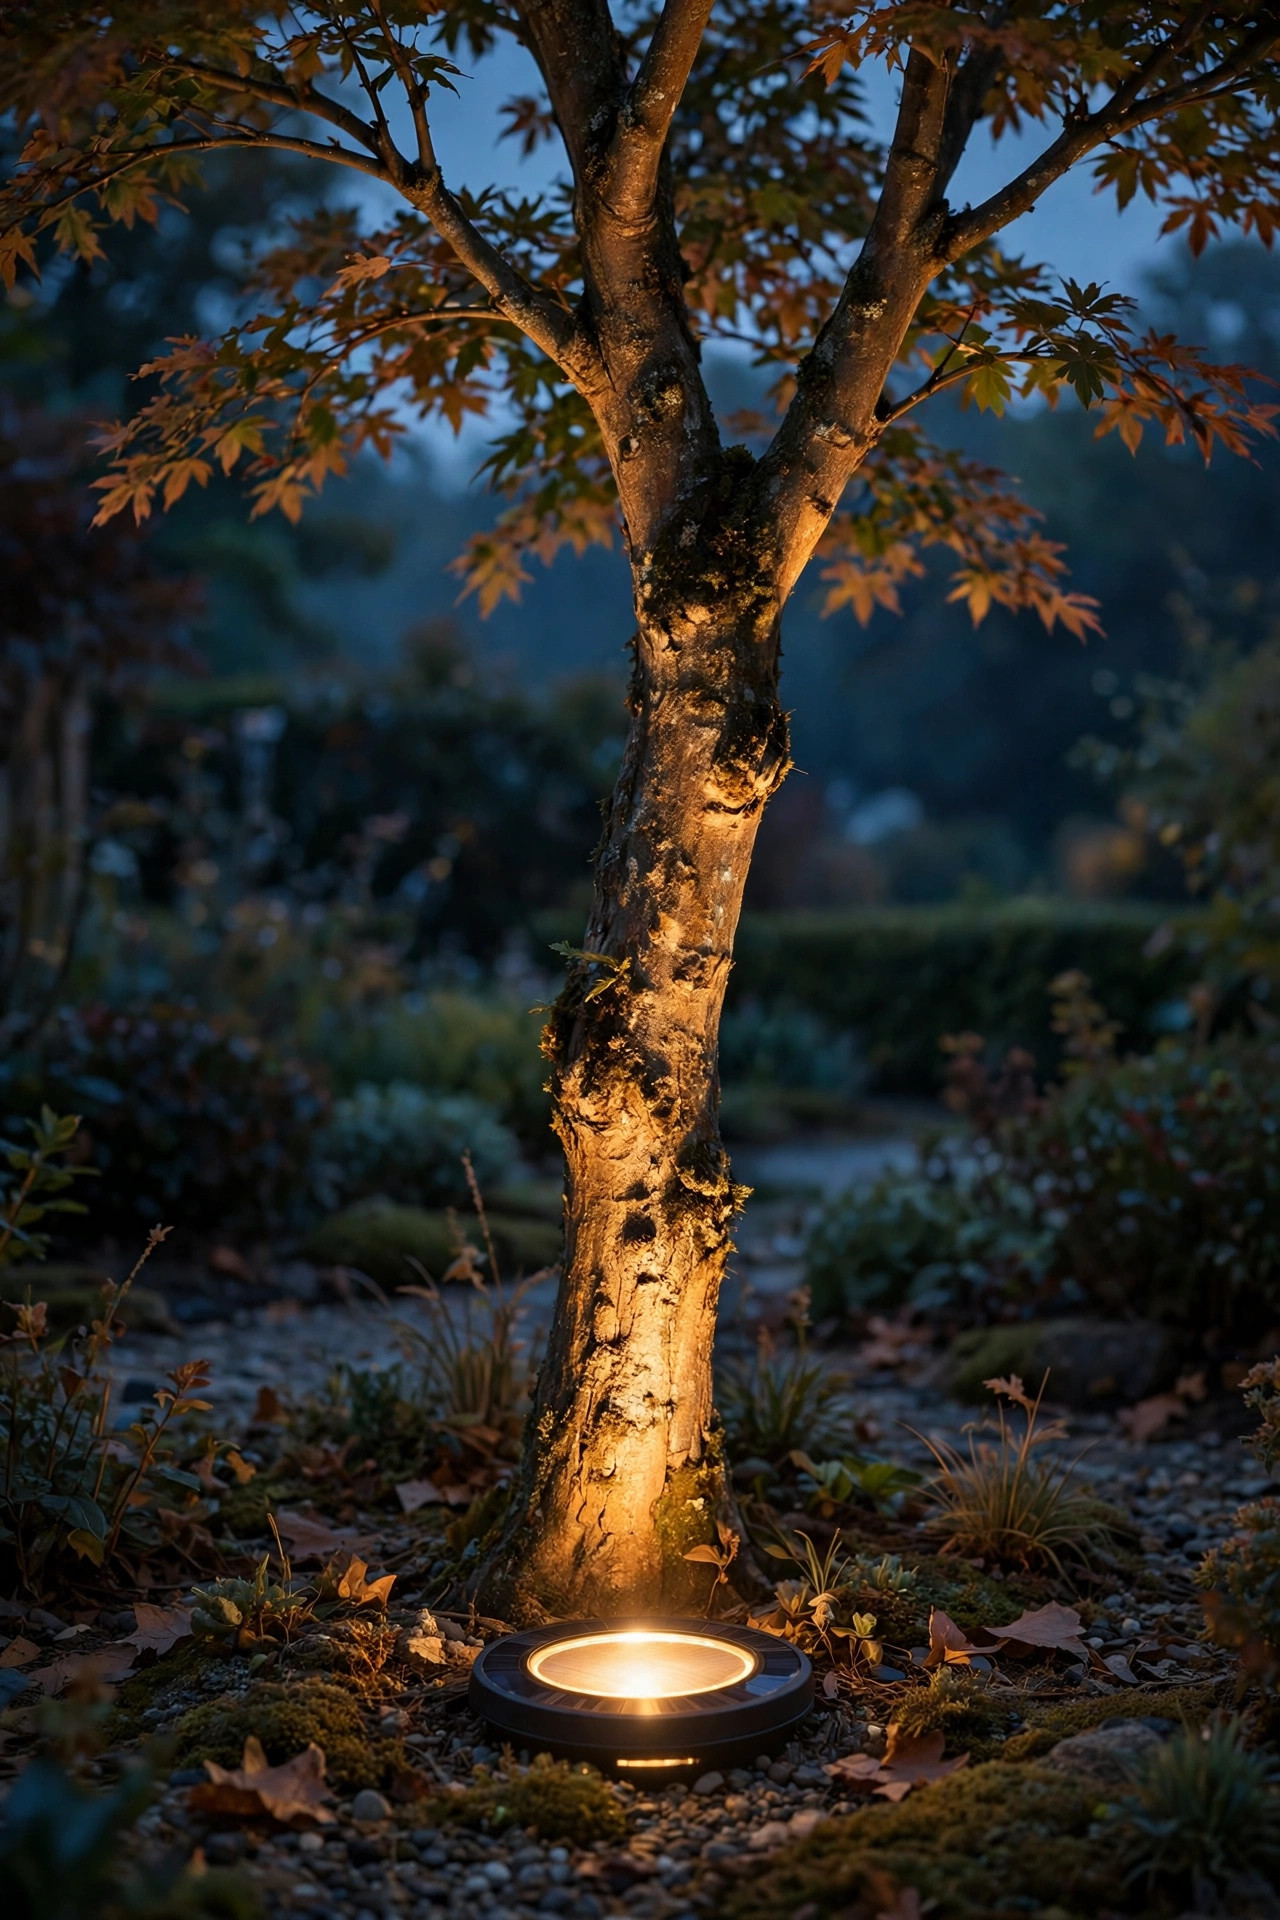
8. Graze Tree Trunks and Shrubs From Ground Level
People expect disks to only shine down, but parked at the base of a trunk they do something prettier: they spill a low pool of light that grazes bark texture and catches the first branches from below. Set one brighter disk — look for 8-LED models — about 12 to 18 inches out from the trunk, or a pair flanking a multi-stem shrub, tilted a degree or two toward the plant if the design allows. Ornamental trees with interesting bark, like river birch or crepe myrtle, look especially good. Now the honest part: a disk will never throw a dramatic beam ten feet up a trunk the way a real spotlight does. What it gives you is a gentle halo at the base and a lit anchor that holds the tree in the night garden, and for small trees and shrubs that's often exactly enough. Keep grass trimmed back from the panel — it grows over astonishingly fast in summer — and in mulched beds, nestle the disk into a shallow gravel pocket so it stays level. Use one per tree rather than a ring; restraint is what makes it look designed.
Suggested budget range: $25 – $60.
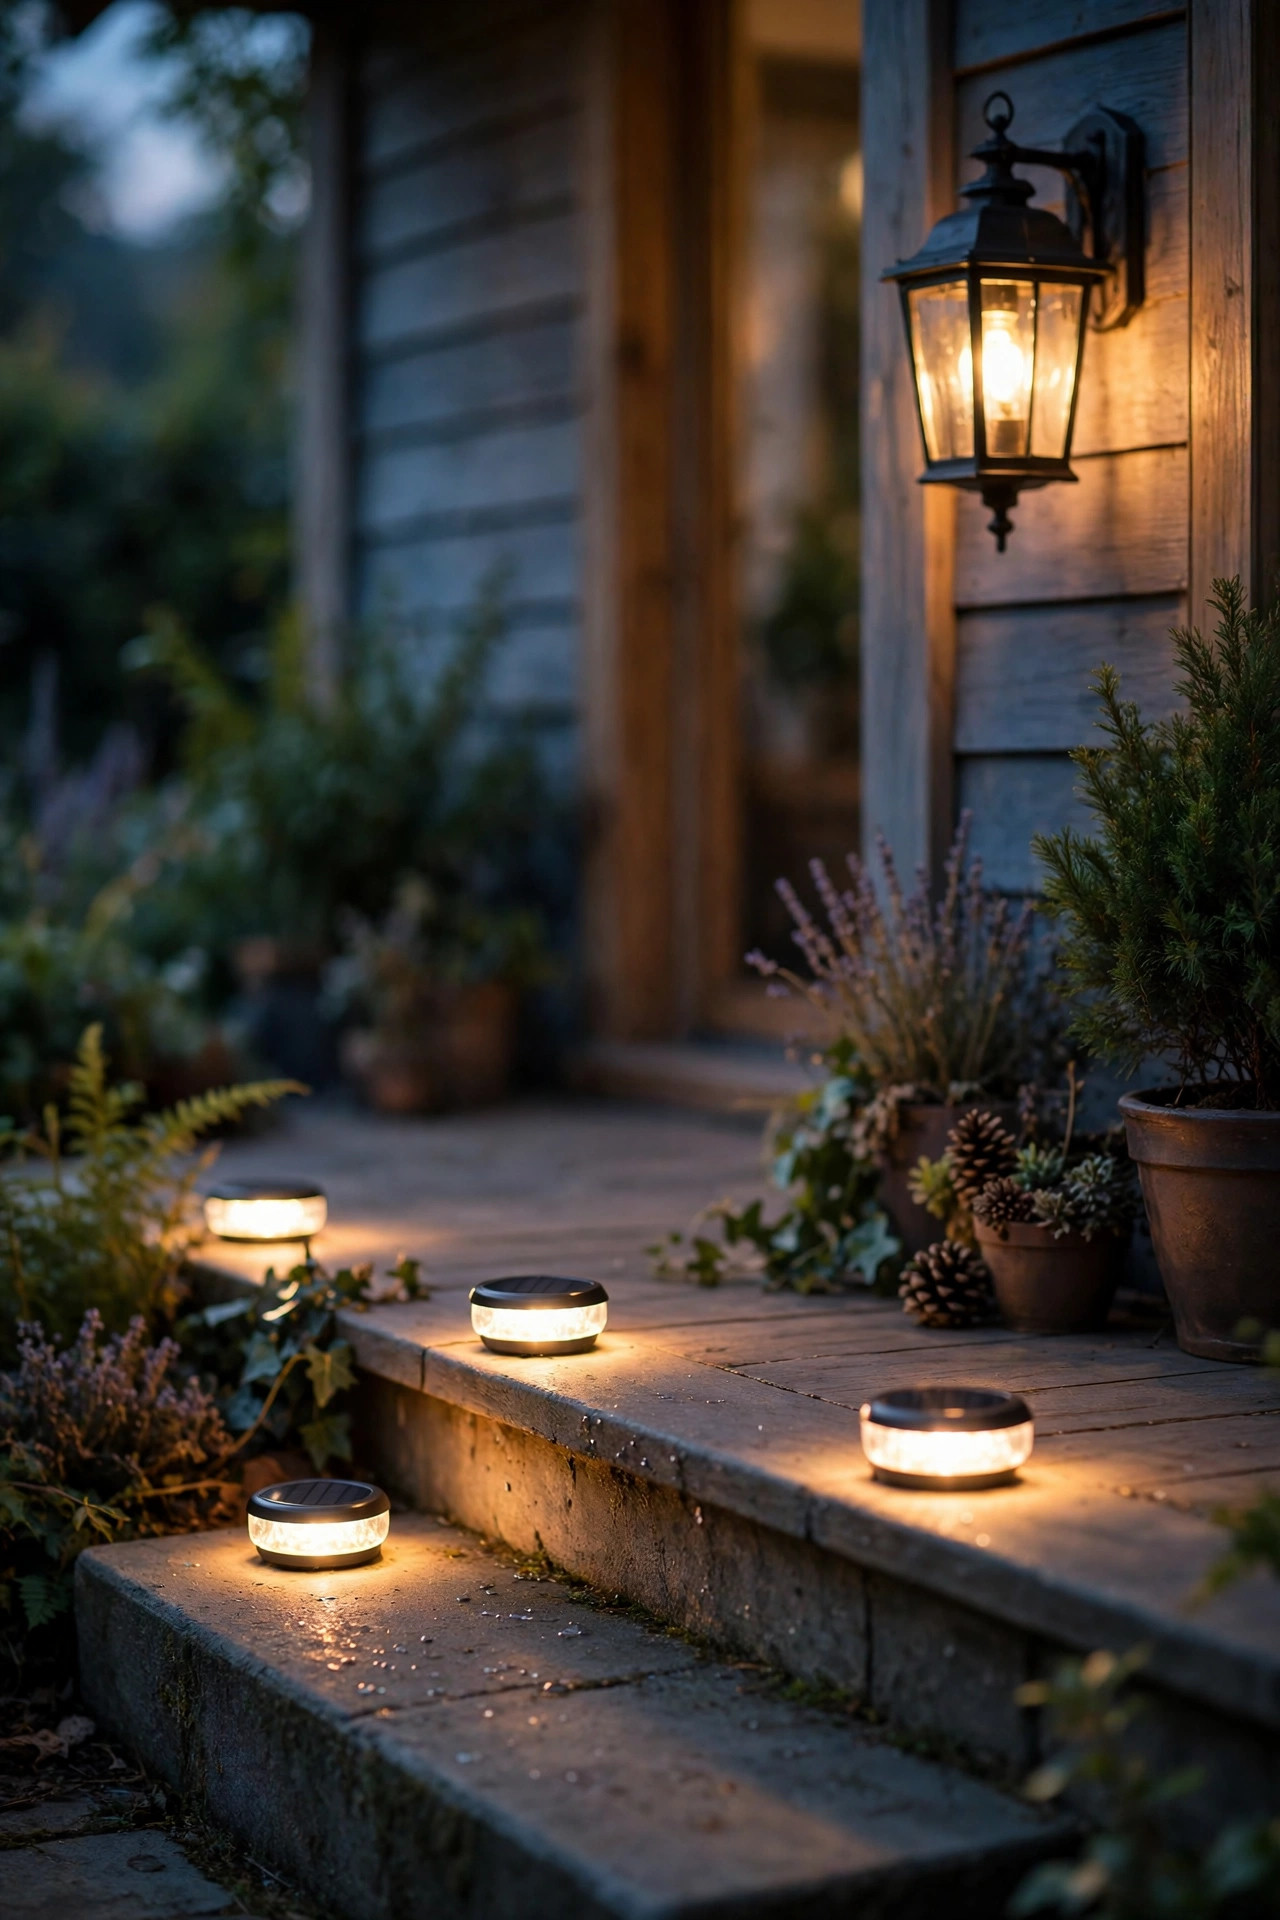
9. Match Your Porch Light With Warm-White Solar Disk Lights
Nothing cheapens a lighting scheme faster than three different colors of "white" arguing across the yard. The budget solar world is full of bluish 6000K disks that read as cold and institutional next to a warm porch light, so shop by color temperature, not just price: you want 2700K to 3000K warm white, stated on the listing. If a listing doesn't state it, that's your answer — skip it. Buy your whole scheme from one style and, if you can, one order, because bargain solar batches vary more than they should. Then do my driveway test: set one disk beside your porch step at dusk and compare it directly against your existing fixture. If the disk looks amber-gold and cozy, you're matched; if it looks like a tiny dentist's office, return the pack before you install twenty of them. Mixing warm disks in front with one leftover cool-white stake at the side gate will bother you every single night — I speak from experience. Consistency is honestly half of what makes expensive landscapes look expensive, and with solar it costs nothing extra, just a little patience up front.
Suggested budget range: $20 – $50.
10. Light the Mailbox and House Number Corner
The mailbox corner is the hardest-working few square feet of a front yard, and it's usually pitch black. Two to four disks around the mailbox post bed — or a short stake pair flanking the post — give delivery drivers, guests, and the neighbor collecting your mail in July a fighting chance of finding the box and the walkway turn. If your mailbox sits in a little planting bed, ring it loosely with disks and let the light catch the flowers; it reads as a deliberate welcome rather than a utility corner. Angle matters less here than sun exposure: mailbox posts often sit under a street tree, so nudge the disks to the sunny side of the bed, even if the spacing gets a touch asymmetrical. The glow also quietly shows drivers the edge of your driveway apron on dark, rainy nights — a small safety bonus nobody expects from a $20 upgrade. Keep the house number itself lit separately if you can; the disks mark the spot, but reflective numbers do the reading.
Suggested budget range: $15 – $35.

11. Edge a Pool Deck or Fountain Without Cords
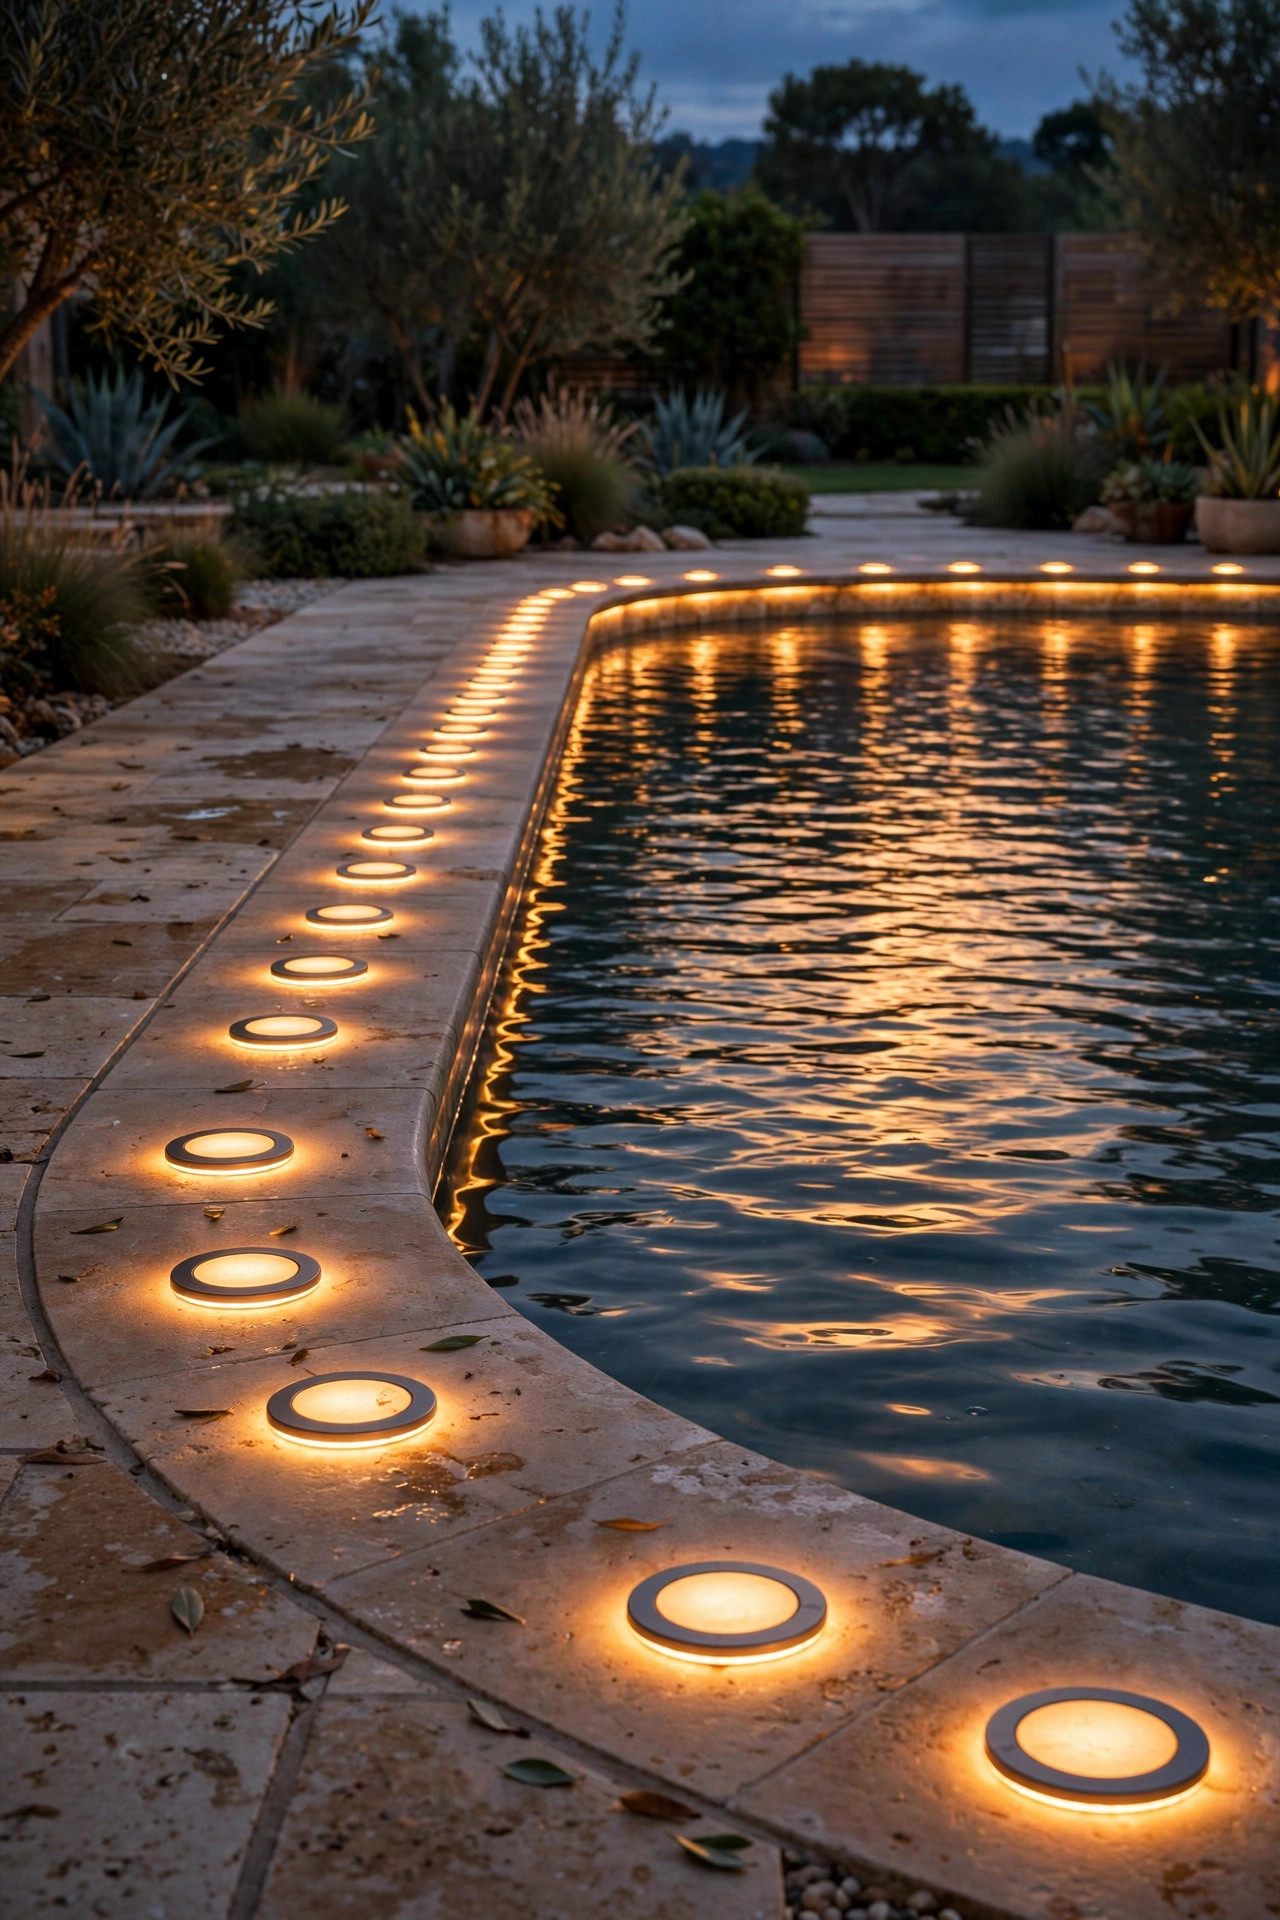
Water features and electricity are a cautious mix, which is exactly why solar disks shine around pools and fountains: there is no cord to corrode, nothing plugged in near splashing water, and a dead disk is a five-dollar problem, not an electrician visit. Set disks flush in the deck or in the surrounding bed every 4 feet or so to outline the water's edge — the reflection doubles the effect, and the lit rim keeps wet feet from straying into planting beds. Insist on IP67 if they'll live in the splash zone; IP65 handles rain fine but repeated soaking is a different life. Flat disks also mean no trip hazard on a wet deck at night, which matters more than any styling point I could make. Around a fountain in a garden bed, three disks in a loose triangle give you glow without an obvious pattern. One caution: chlorine and salt splash dull panels faster, so wipe them when you skim — it takes ten seconds — and expect a slightly shorter lifespan in pool service than in a dry flower bed.
Suggested budget range: $35 – $80.
12. Tuck Disks Into Gravel and Mulch Beds
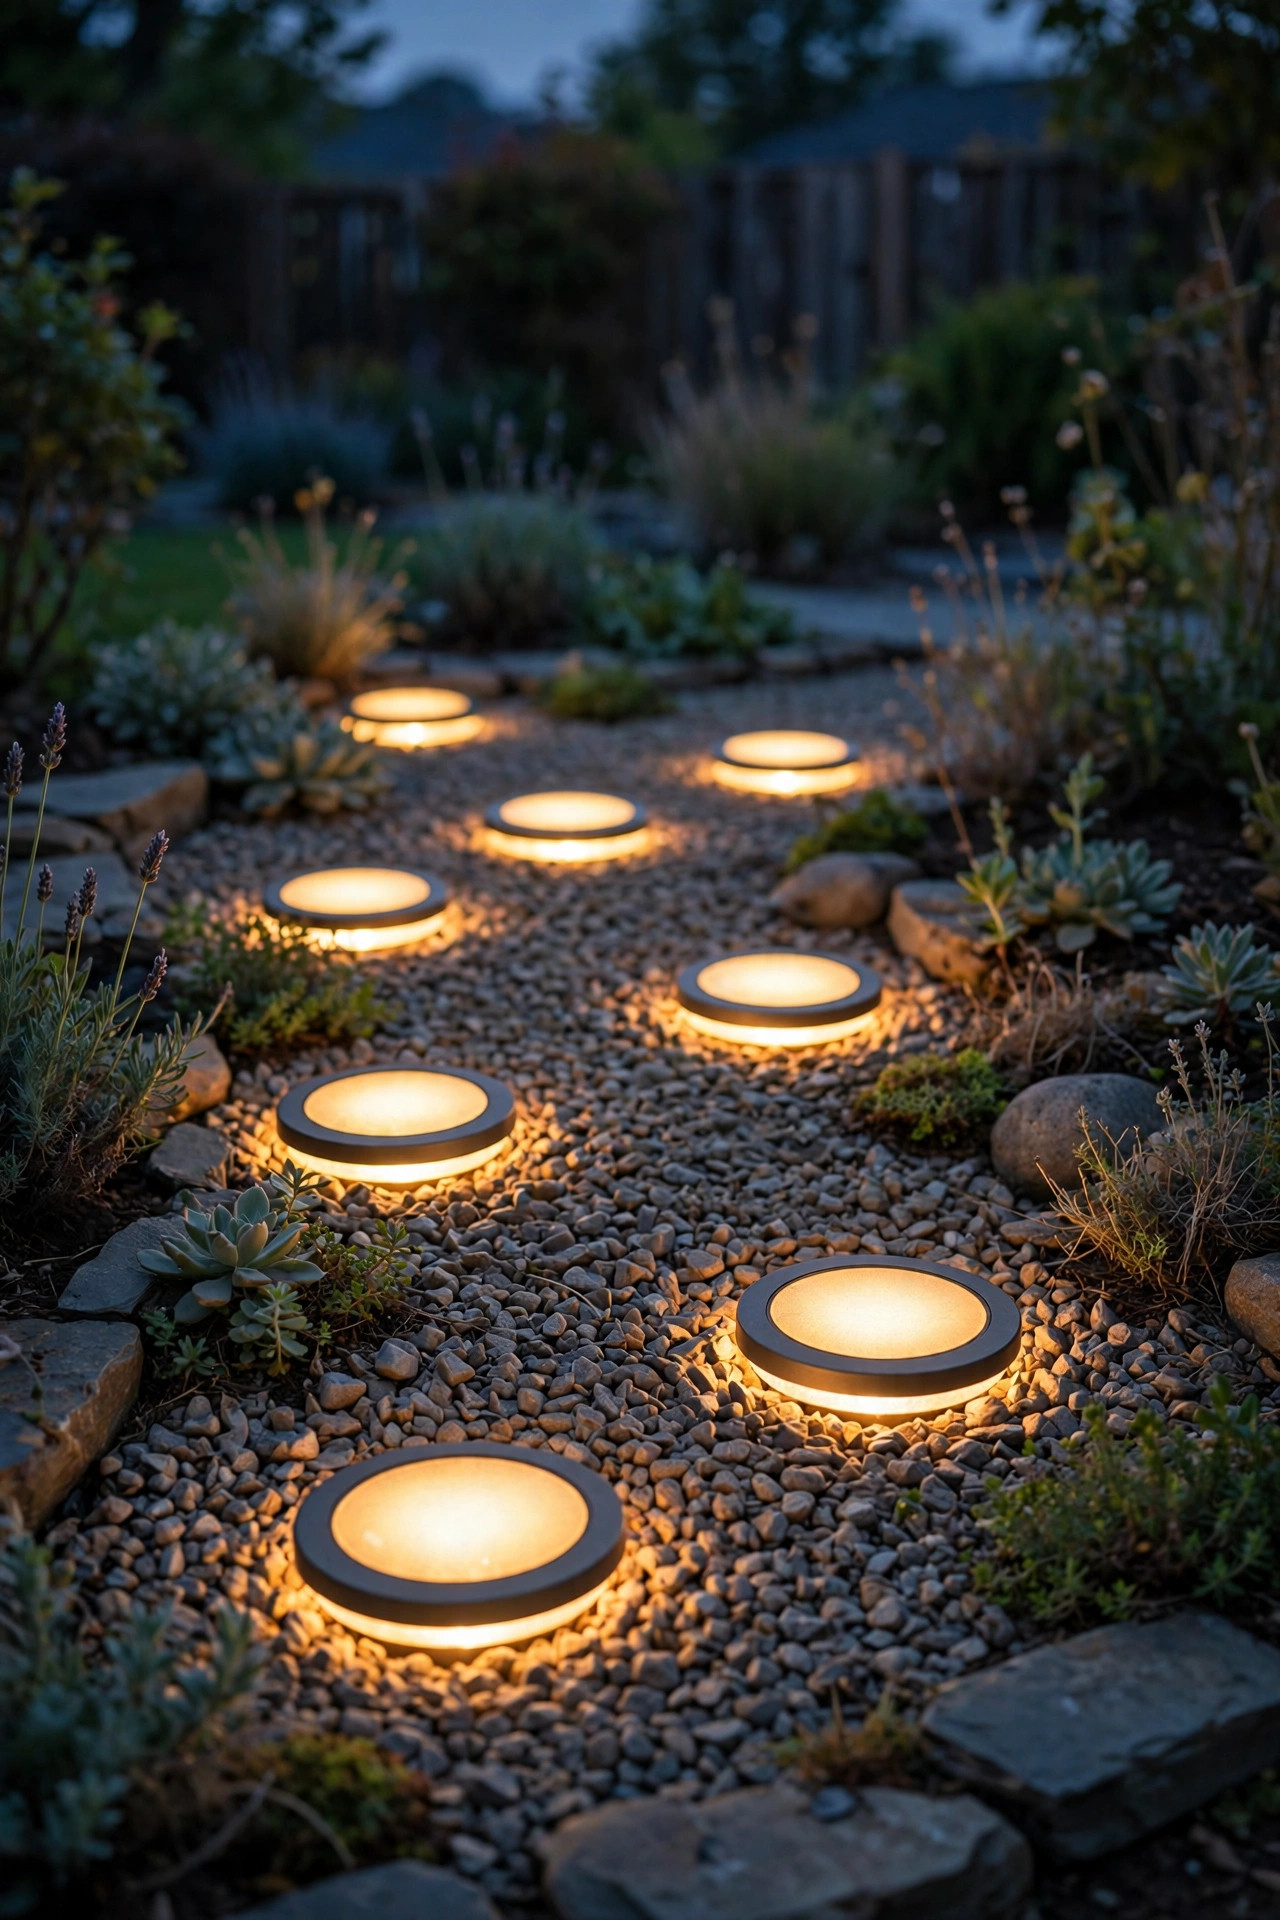
Loose surfaces are where placement technique really pays. In gravel, disks are a dream: rake a flat pocket, set the disk, and wiggle gravel back against the rim so it locks in place and the top sits perfectly level — the light skims across the stones and every texture shows. In mulch, flush disks tend to get buried by the first enthusiastic re-mulching, so I either use short stakes in deep mulch or clear a shallow "saucer" of bare soil under each disk and rim it with a few flat stones to keep the mulch honest. Brush the panels whenever you're out with a broom; dust and pollen film is the number-one silent killer of solar brightness, and gravel dust is relentless. Dark gravel and dark mulch both make warm light look richer, which is a nice bonus. Avoid setting disks in the low spot of a gravel path where puddles form — standing water over a panel all afternoon means a dim light all night, no matter how good the fixture is.
Suggested budget range: $20 – $45.
13. Build a Renter-Friendly, No-Dig Layout
If you rent, your lighting budget has one rule: everything must leave with you and leave no trace. Solar disks and stakes are perfect — the whole scheme pushes into soil or sits on the surface, no digging, no wiring, no landlord conversation required. Start with the entry path from driveway or sidewalk to your door, then the edge of your most-used bed, and skip the rest until you've lived with it a week. Photograph your layout on your phone before you start; when you move, you'll thank yourself for the map, and in the meantime you can spot a missing or failed light at a glance. Keep the original boxes if you can — a dozen disks tossed loose in a moving tote arrive scratched, while boxed ones survive fine. One renter-specific tip: choose spots you'd choose even if the lights were invisible, along real walking routes and gathering spots, because a rental yard is usually small enough that every fixture has to earn its place twice, once in daylight and once after dark.
Suggested budget range: $30 – $60.

14. Ring a Birdbath, Statue, or Fountain as a Focal Point
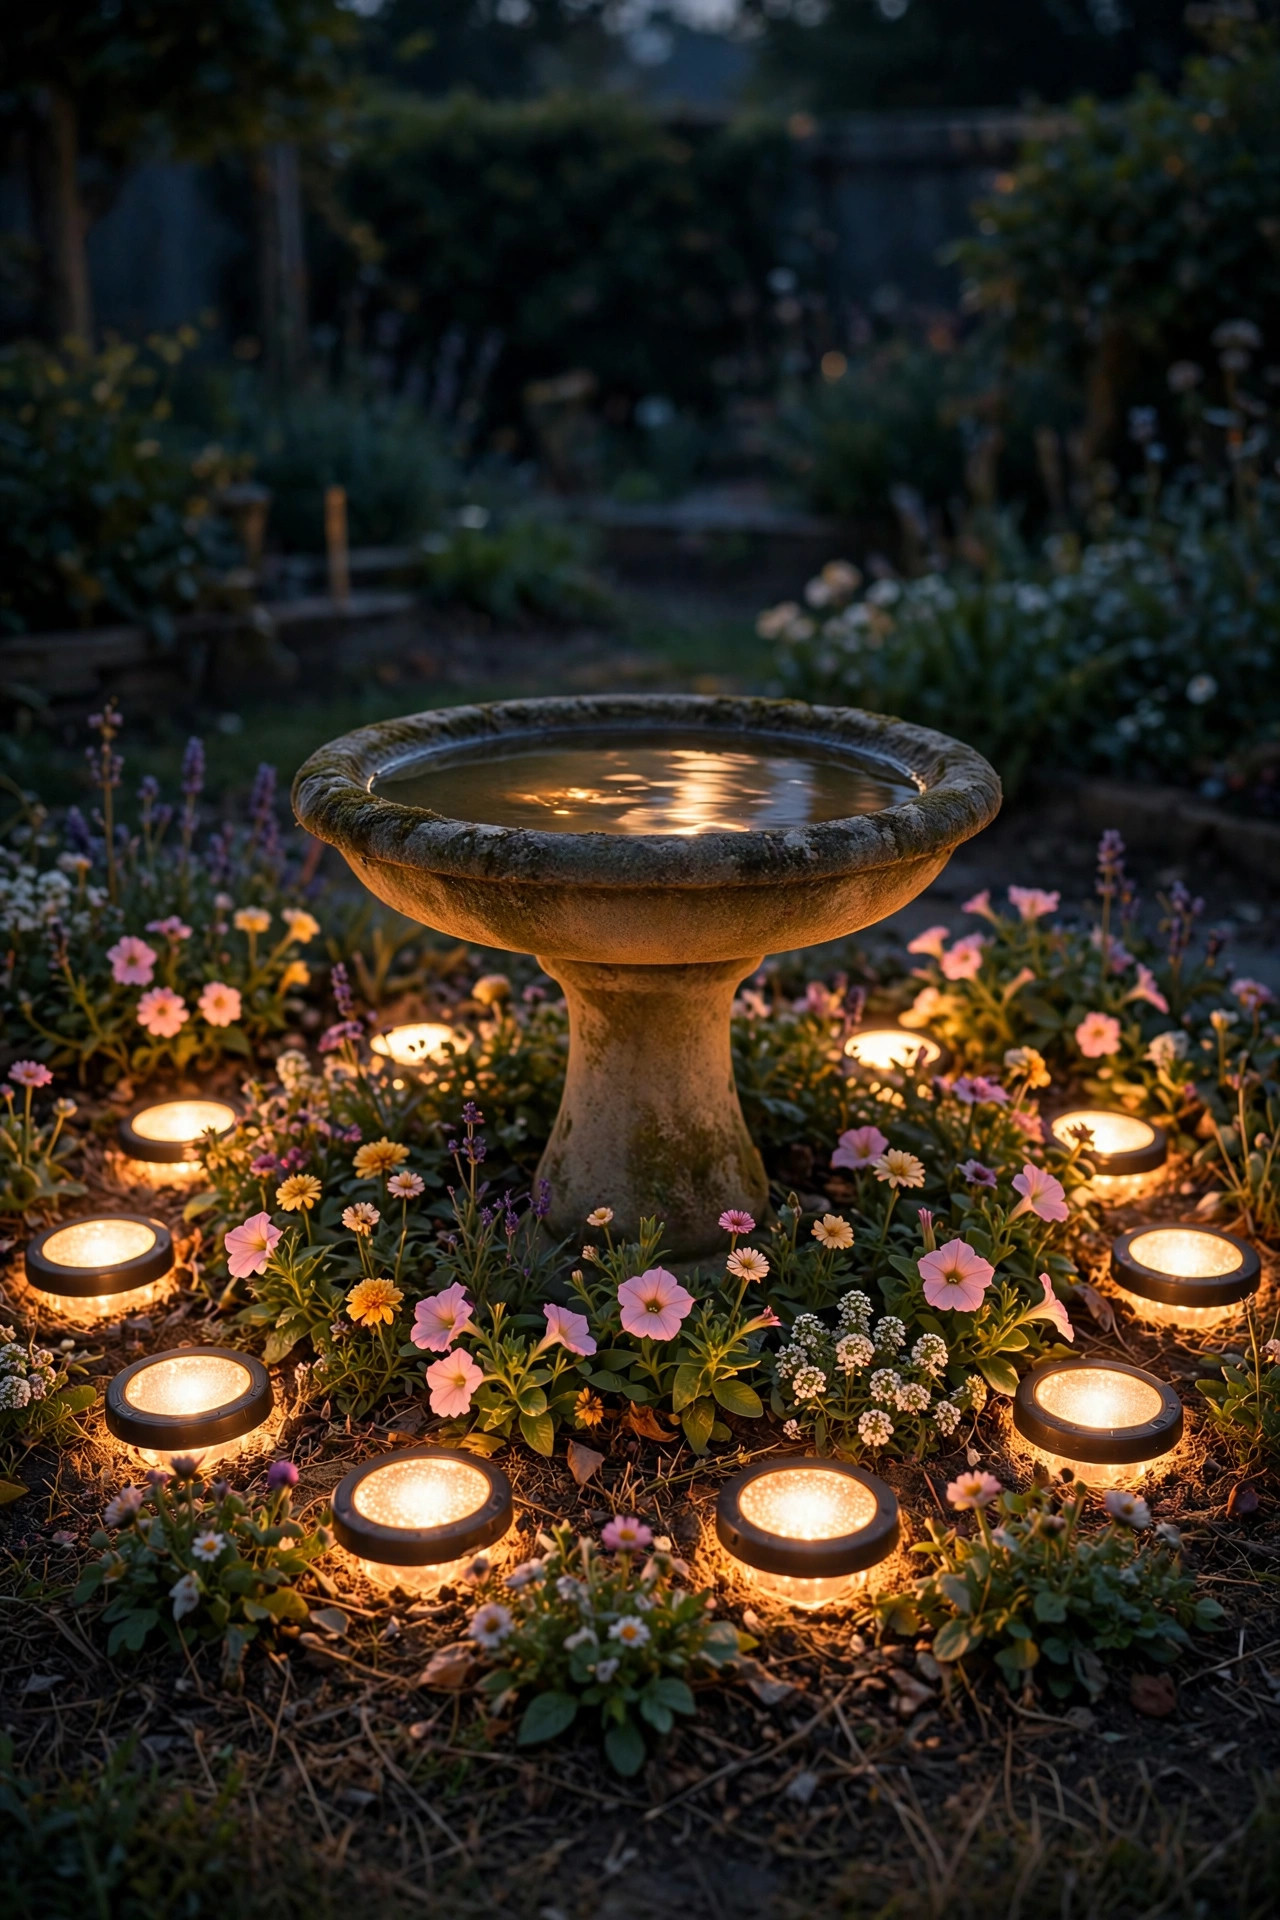
Every bed needs one moment that makes you slow down, and a loose ring of disks around a birdbath, statue, or small fountain creates exactly that. I use four to six disks — odd numbers look more natural, but even rings suit formal pieces — set about a foot out from the base, nestled into the planting so the fixtures disappear and only the glow registers. The light catches the underside of surrounding foliage and rims the piece itself, so a plain concrete birdbath suddenly looks like garden art after dark. Resist the urge to ring everything; one lit focal point per bed is the rule, two at most in a long border, or the yard starts reading as a series of crop circles. This is also my favorite trick for a specimen plant — a Japanese maple in a mulched island, a sculptural agave, a big ornamental grass in fall when its plumes catch the light from below. Because the disks are ground-level, the whole effect is glow rather than hardware, which is why it photographs so well for listing photos and garden tours alike.
Suggested budget range: $15 – $40.
15. Run a Quiet Line Along the Fence
The back fence is the largest dark surface in most yards, and a quiet line of disks along its planting bed changes the whole sense of the space — suddenly the yard has a back wall, and it feels bigger and more finished. Space disks 6 to 8 feet apart in the bed at the fence's base, tucked in front of shrubs so the light grazes trunks and lower foliage and hints at the fence boards behind. It doesn't need to be bright; this is the dimmest layer in your scheme on purpose, a boundary rather than a feature. There's a soft security benefit too: a lit perimeter simply looks occupied and tended, and dark hiding corners disappear. If one stretch of fence borders a neighbor's bedroom window, skip that gap or swap in the lowest-output disks you have — good fences make good neighbors, and glare makes the opposite. Solar is ideal here because fence beds are usually the farthest point from any outdoor outlet, the exact place nobody wants to trench a cable to.
Suggested budget range: $30 – $65.

16. Use Motion-Sensor Disks at Gates and Side Yards
Side yards and gates are pure utility — trash bins, the AC unit, the hose bib — and they're where you always end up phone-flashlighting your way through. Motion-sensor solar disks fix that without lighting the passage all night. Set one at the gate swing and one midway down the run; the first trips as you open the gate, the second as you round the corner, and both fade back off within a minute of you leaving. Look for models with a genuine motion mode rather than a photocell-only "brightens sometimes" claim, and check the detection range — 10 to 16 feet is plenty for a side yard. Because these sit at ground level, aim the sensor eye toward the walking line, not the sky; a disk at the gate post's base, angled slightly up the path, triggers far more reliably. They're also brilliant at a rarely used back gate off an alley, where the pop of light tells you — and anyone testing the latch — that the property is awake.
Suggested budget range: $25 – $55.

17. Pick High-LED Disks for Dark Corners
Standard four-LED disks are mood lighting, not task lighting — in a genuinely dark corner under a deck overhang or beside the garage, they look like fireflies and solve nothing. Step up to high-output disks with 8 to 12 LEDs and 40 lumens or more, and the corner becomes usable: you can find the faucet, read the recycling bins, see the step down. But brightness creates a charging problem, because dark corners are usually dark at noon too. The fix is placement judo: put the disk where its panel catches a shaft of midday sun — the edge of the shadow line, the sunny end of the bed — even if its light lands a few feet from where you'd ideally center it. Some brighter models come with a detached panel on a short cable; mount that panel on the fence top in full sun and the disk down in the gloom. Expect the brightest disks to run a bit shorter on winter nights, and don't judge them in December for a job you bought them to do in July.
Suggested budget range: $30 – $70.

18. Follow a Slope With Terraced Disk Rows
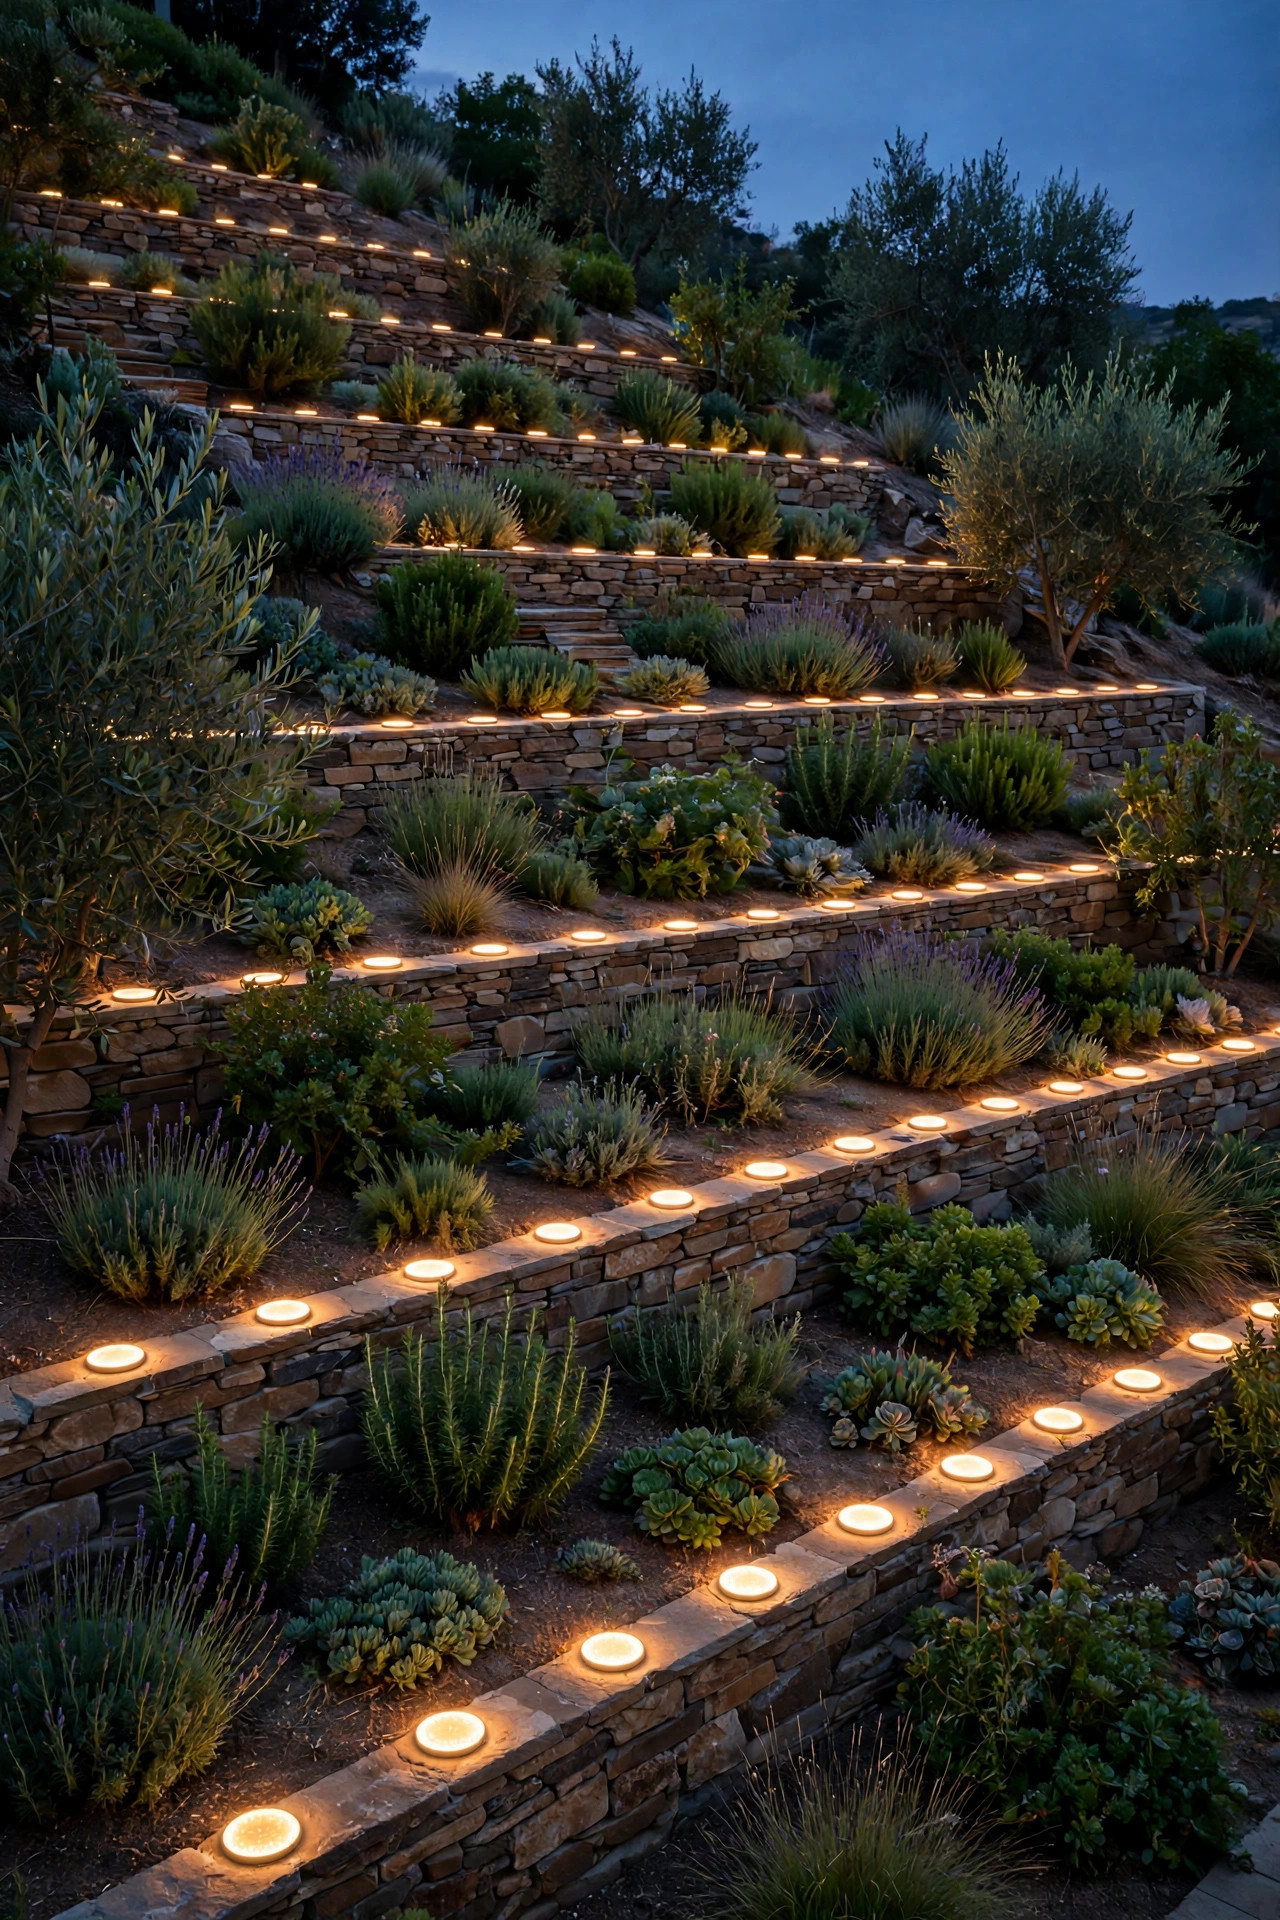
Sloped yards eat lighting schemes for breakfast, because a flat row reads as a staircase drawn by a child. Work with the levels instead: one row of disks per terrace or bed level, each row following its own contour line, so the hill reads as a series of glowing shelves after dark. On retained levels, set the disks a foot back from the retaining wall face; light pools in front of the wall and the stonework picks up a soft wash. Stakes earn their keep on slopes — a push-in stake holds on a grade where a flush disk might creep downhill over a wet season — and angle them so the head points across the slope, never straight down it, or you'll get one bright hotspot and a lot of dark. Mind the drainage: never set a disk in the swale line where stormwater runs, because a panel under muddy water charges nothing. Two short rows done well beat five sloppy ones, and from the street a terraced yard with level-by-level glow looks like the most considered garden on the block.
Suggested budget range: $35 – $75.
19. Dress Up Seasonal Displays With a Disk Outline
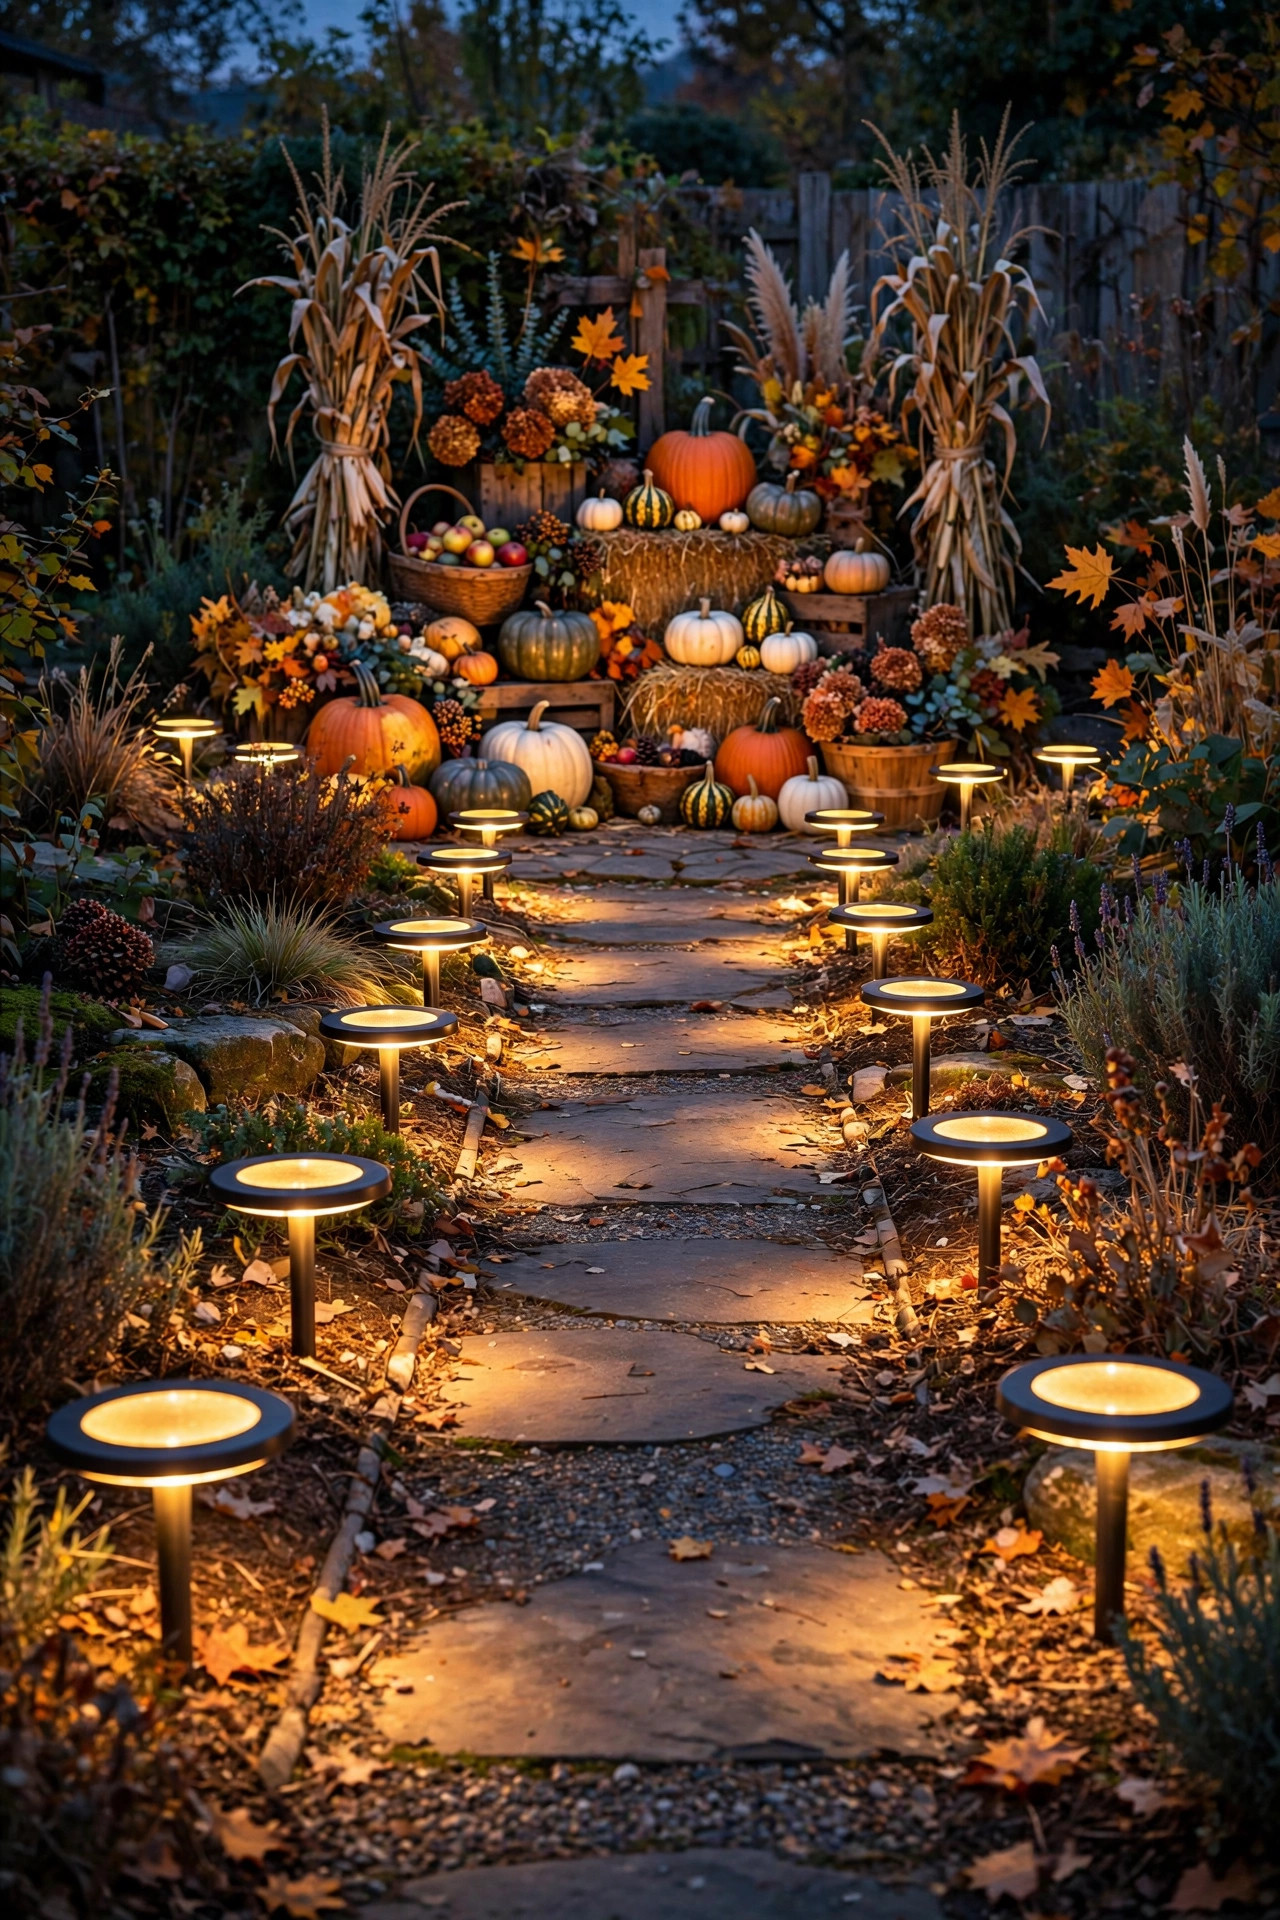
Disks are my secret base layer for seasonal decorating, because they stay neutral while everything around them changes costume. In fall, a disk path leading to the pumpkin display or the fire-pit seating keeps guests on route without a single orange fixture in sight. In December, the same line reads as a runway for your light display, and the warm-white glow flatters both evergreen garlands and the inflatable era of decorating — no judgment here. My one seasonal rule: keep disk color temperature identical to your display's main tone, because a cool-white disk row next to warm holiday lights looks like a mistake rather than a choice. When you set out seasonal pieces, check the disks haven't been shadowed by a new hay bale or planter; solar forgives a lot, but not a panel in full shade. In spring, that same outline quietly becomes your bulb-bed edge, which is the real beauty of a permanent solar base — the display changes four times a year while the lighting bones never move.
Suggested budget range: $20 – $45.
20. Layer Disks With Taller Stake Lights
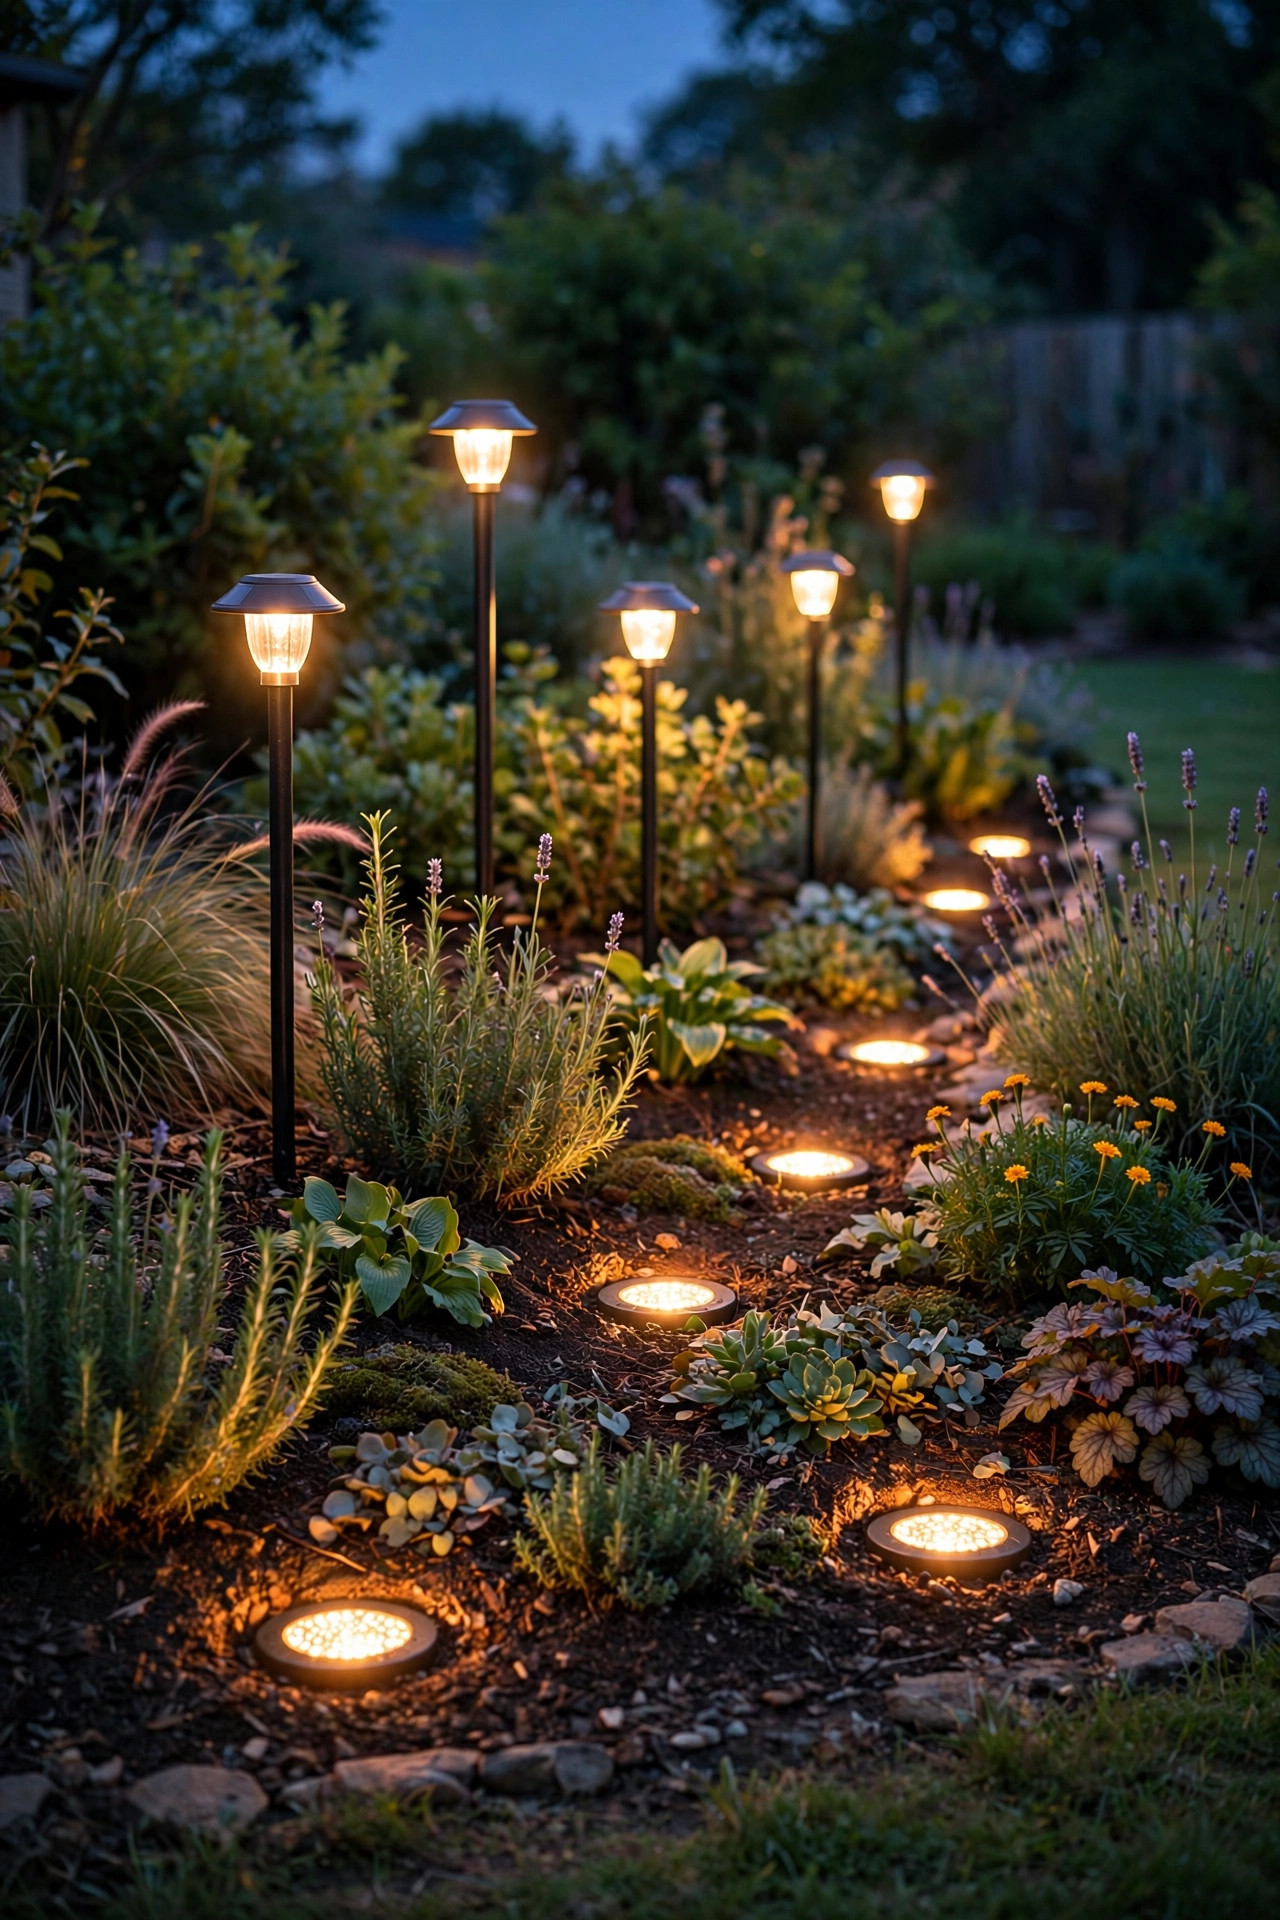
One height of light looks flat, no matter how good the fixtures are. My favorite budget combination is disks at ground level marking the path's near edge, with taller solar stakes — 12 to 18 inches — standing a foot or two behind them in the bed. The disks do the practical work of showing feet where to land; the stakes lift pools of light into the foliage and give the scene its dimension. Keep both layers the same warm-white temperature and similar brightness, or the taller layer shouts over the lower one. In my solar path lights guide I break down spacing for stake rows in detail; the short version is disks every 4 feet, stakes every 6 to 8 feet, offset so they never line up in matching pairs. This two-layer trick is straight out of professional landscape lighting, translated into a format that costs less than dinner out and installs before the coffee gets cold. If you add only one more element later, make it a single uplight on your best tree — three heights, and the yard is done.
Suggested budget range: $40 – $85.
21. Make Solar Disk Lights the Base Layer of Your Whole Front Yard
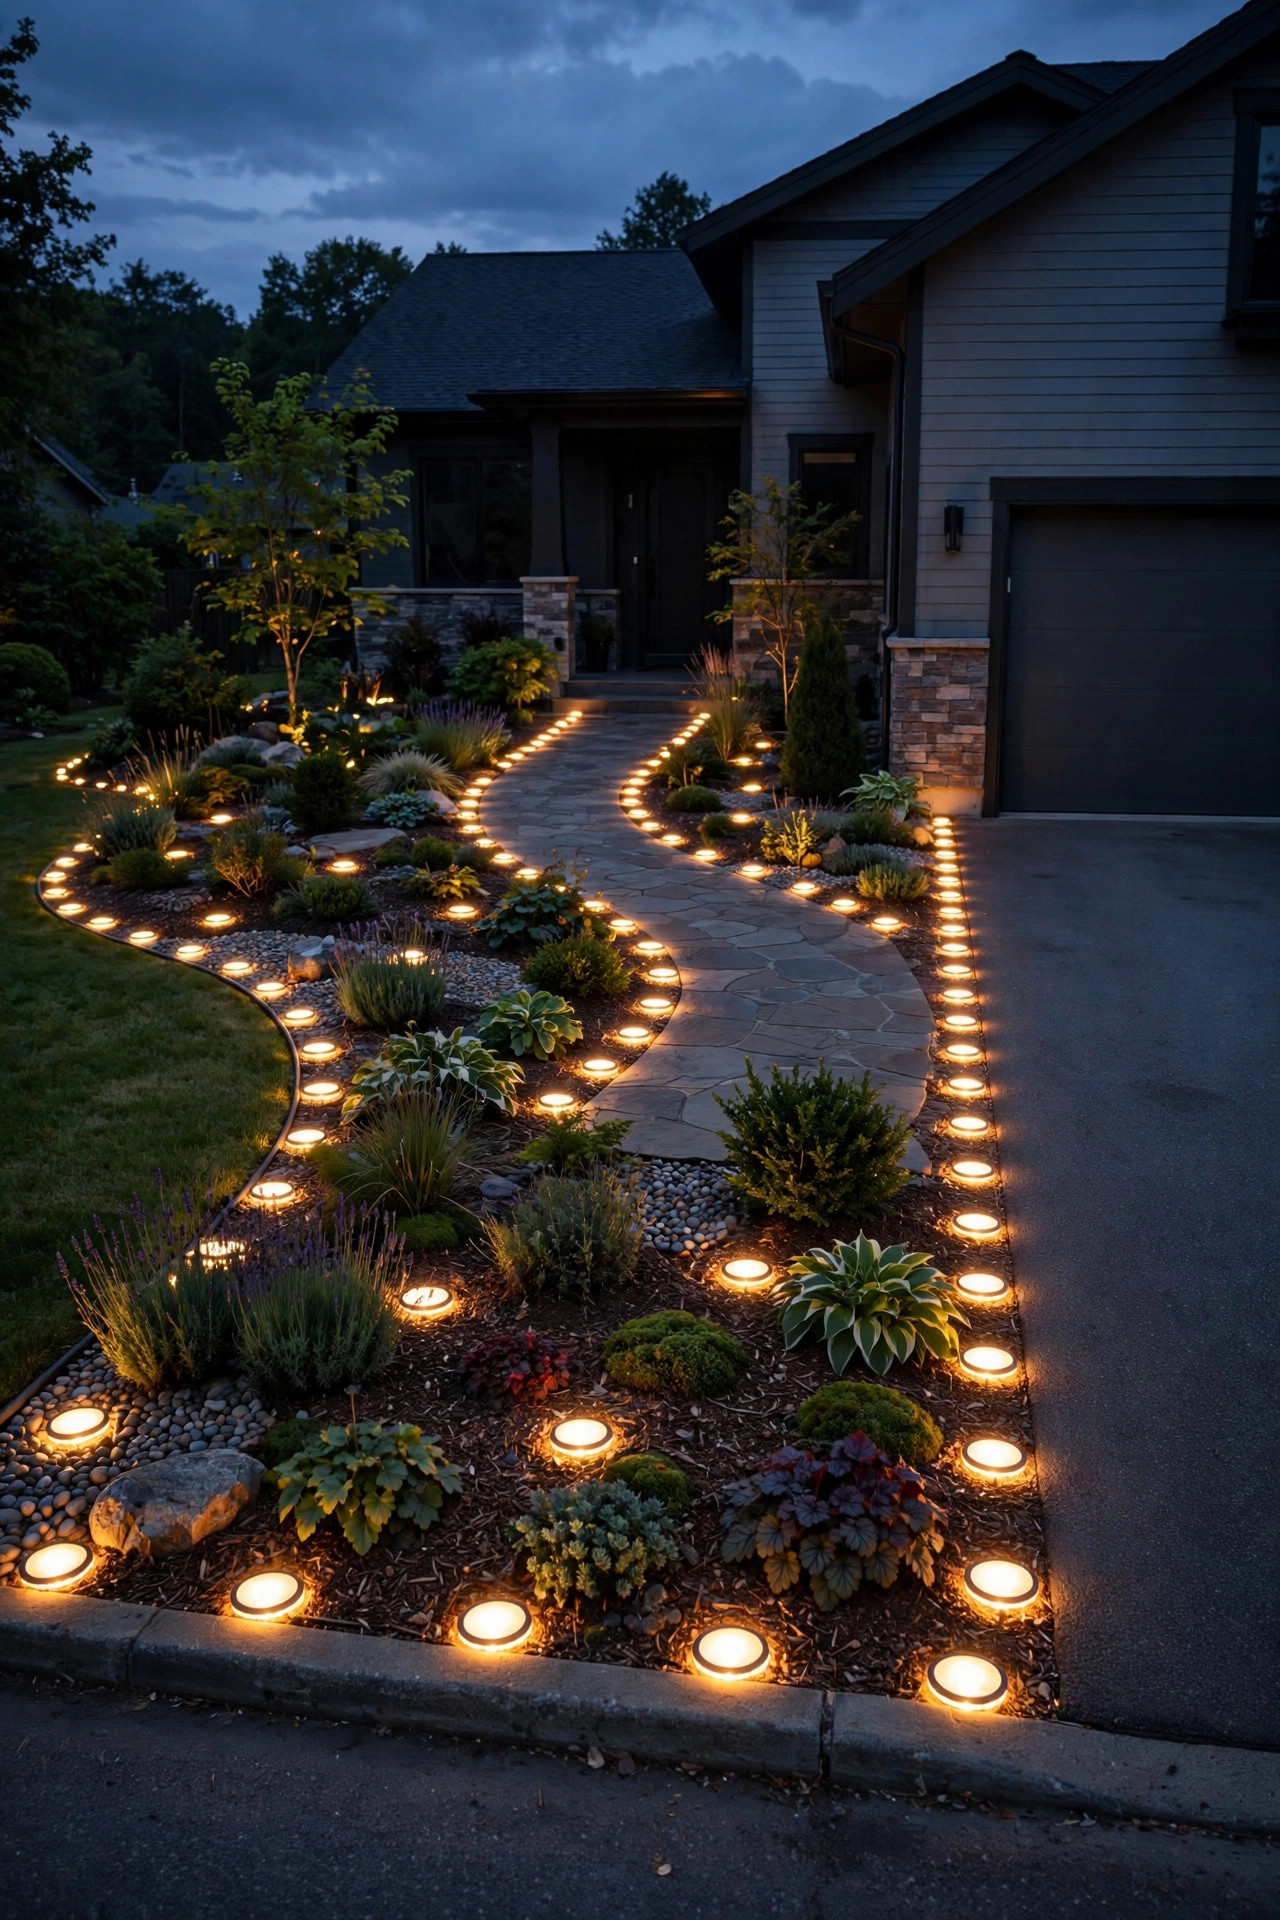
Here's the plan I'd hand a friend starting from zero: make solar disk lights the foundation of the entire front yard, then stop and live with it before buying anything fancier. Disks on the walkway, disks edging the beds, drive-over disks on the driveway, a few at the mailbox — one consistent warm-white system that outlines how the yard is organized. Live with it for a month of evenings. You'll learn exactly where the scheme is enough (usually the paths and borders) and where you genuinely crave more (usually one tree, the porch, maybe the house numbers). That patience saves real money, because most yards need two or three "hero" fixtures, not twenty, and you can't know which until the base layer shows you the gaps. When you do add, add upward — a wall fixture, an uplight — never a second competing ground system. The disks were never meant to be the whole orchestra; they're the rhythm section, steady and everywhere, and a yard with a good rhythm section already feels more expensive than its budget.
Suggested budget range: $60 – $120.
Frequently Asked Questions
How long do solar disk lights stay lit at night?
On a full charge — roughly 6 to 8 hours of direct sun on the panel — most disks run 8 to 10 hours, which covers dusk to dawn for most of the year. In winter, shorter days and a lower sun angle cut that to 4 to 6 hours, and heavily overcast stretches shorten it further. Runtime also fades as the rechargeable battery ages. If yours die before midnight in summer, the panel is usually shaded or filmed with dust; relocate the disk a foot or two toward open sky and wipe the panel before you blame the light.
Can you really drive over solar disk lights?
Yes — but only the models built and rated for it. True drive-over disks have cast-metal or heavy reinforced housings, sit completely flush, and carry an explicit weight rating in the listing. Standard plastic disks and anything on a stake will crack under a tire, often on the first pass. Even with rated disks, I keep them an inch or two outside the usual tire track when the driveway allows it, and I never place one where a turning front wheel grinds in place, like the center of a tight turnaround.
Are solar disk lights waterproof?
Look for an IP65 rating at minimum: that means sealed against dust and rain jets, fine for beds, lawns, and open paths. For pool decks, fountain splash zones, or spots that sit in puddles after storms, step up to IP67, which tolerates brief submersion. No rating is a license to install a disk at the bottom of a birdbath or in a drainage swale, though — standing water over the panel blocks charging and eventually works past any seal. A quick panel wipe every few weeks keeps both the waterproofing and the brightness honest.
Why did my solar disk lights stop working?
Work through the cheap fixes first. New lights often have a power switch that ships in the "off" position, and some have a pull-tab or protective film over the panel. On older lights, the usual culprits are a dirty panel, a shrub that grew over the light over the summer, or a worn-out rechargeable battery — most disks use a standard AA or AAA NiMH cell you can swap in a minute. Test any suspect light by covering the panel completely during the day; if it glows, the light works and it's simply not charging where it sits.
Conclusion
I won't pretend solar disk lights replace a full landscape lighting design — but as a base layer, nothing else gives you this much glow for this little money, effort, or commitment. Start with the walk and your favorite bed, keep every light the same warm-white temperature, and let one honest month of evenings tell you where the yard still wants more. Then add upward, one hero fixture at a time. If you're ready to plan the next layer, browse my other outdoor lighting ideas here on the site — the paths, porches, and garden guides all build on this same foundation.