Every spring I walk my yard at dusk with a notebook and one ruthless question: which of these lights is actually earning its place? Over the years I have pulled out novelty stakes, mismatched sconces, and a rainbow of bulb temperatures, and honestly? The yard looks better every time something leaves. That editing mindset is the heart of minimalist outdoor lighting ideas: fewer fixtures, chosen carefully, all working toward one calm, warm glow instead of a cluttered patchwork. In this post I will share the 23 moves I use to keep my own yard clean-lined and uncluttered, from hidden fixtures and single-finish rules to the one color temperature I refuse to mix. You will get spacing numbers, bulb specs, and placement tricks for paths, porches, patios, and garden beds, plus the budget range for every single idea. Whether you are starting from a bare yard or rescuing one that has collected a decade of impulse buys, these minimalist outdoor lighting ideas will help you end up with light that feels intentional, quiet, and beautiful. Let us start by taking things away, not adding them.

1. Start With a Ruthless Edit, the Foundation of Minimalist Outdoor Lighting Ideas
Before you buy a single fixture, do what I do every season: turn everything on at dusk, stand at the street, and count. Most yards I see have 30 or 40 lights doing the job of 12. Flag anything that duplicates a neighbor, lights a spot nobody uses, or exists only because it came in a multipack. Pull those fixtures, coil the extra wire, and live with the edited version for a week. In my experience, the yard almost always looks calmer immediately, because your eye finally has somewhere to rest. This edit also exposes the real gaps: the dark step, the unlit corner by the gate. Now your shopping list writes itself, and every purchase has a job. Keep a simple rule going forward: one fixture in means one fixture out, no exceptions. If a stake light is leaning, flickering, or a finish you no longer like, it goes. Minimalism is not a style you install once; it is a habit of saying no, kindly and often, so the lights that remain look deliberate.
Suggested budget range: $0 – $30.
2. Hide the Fixture, Show Only the Light
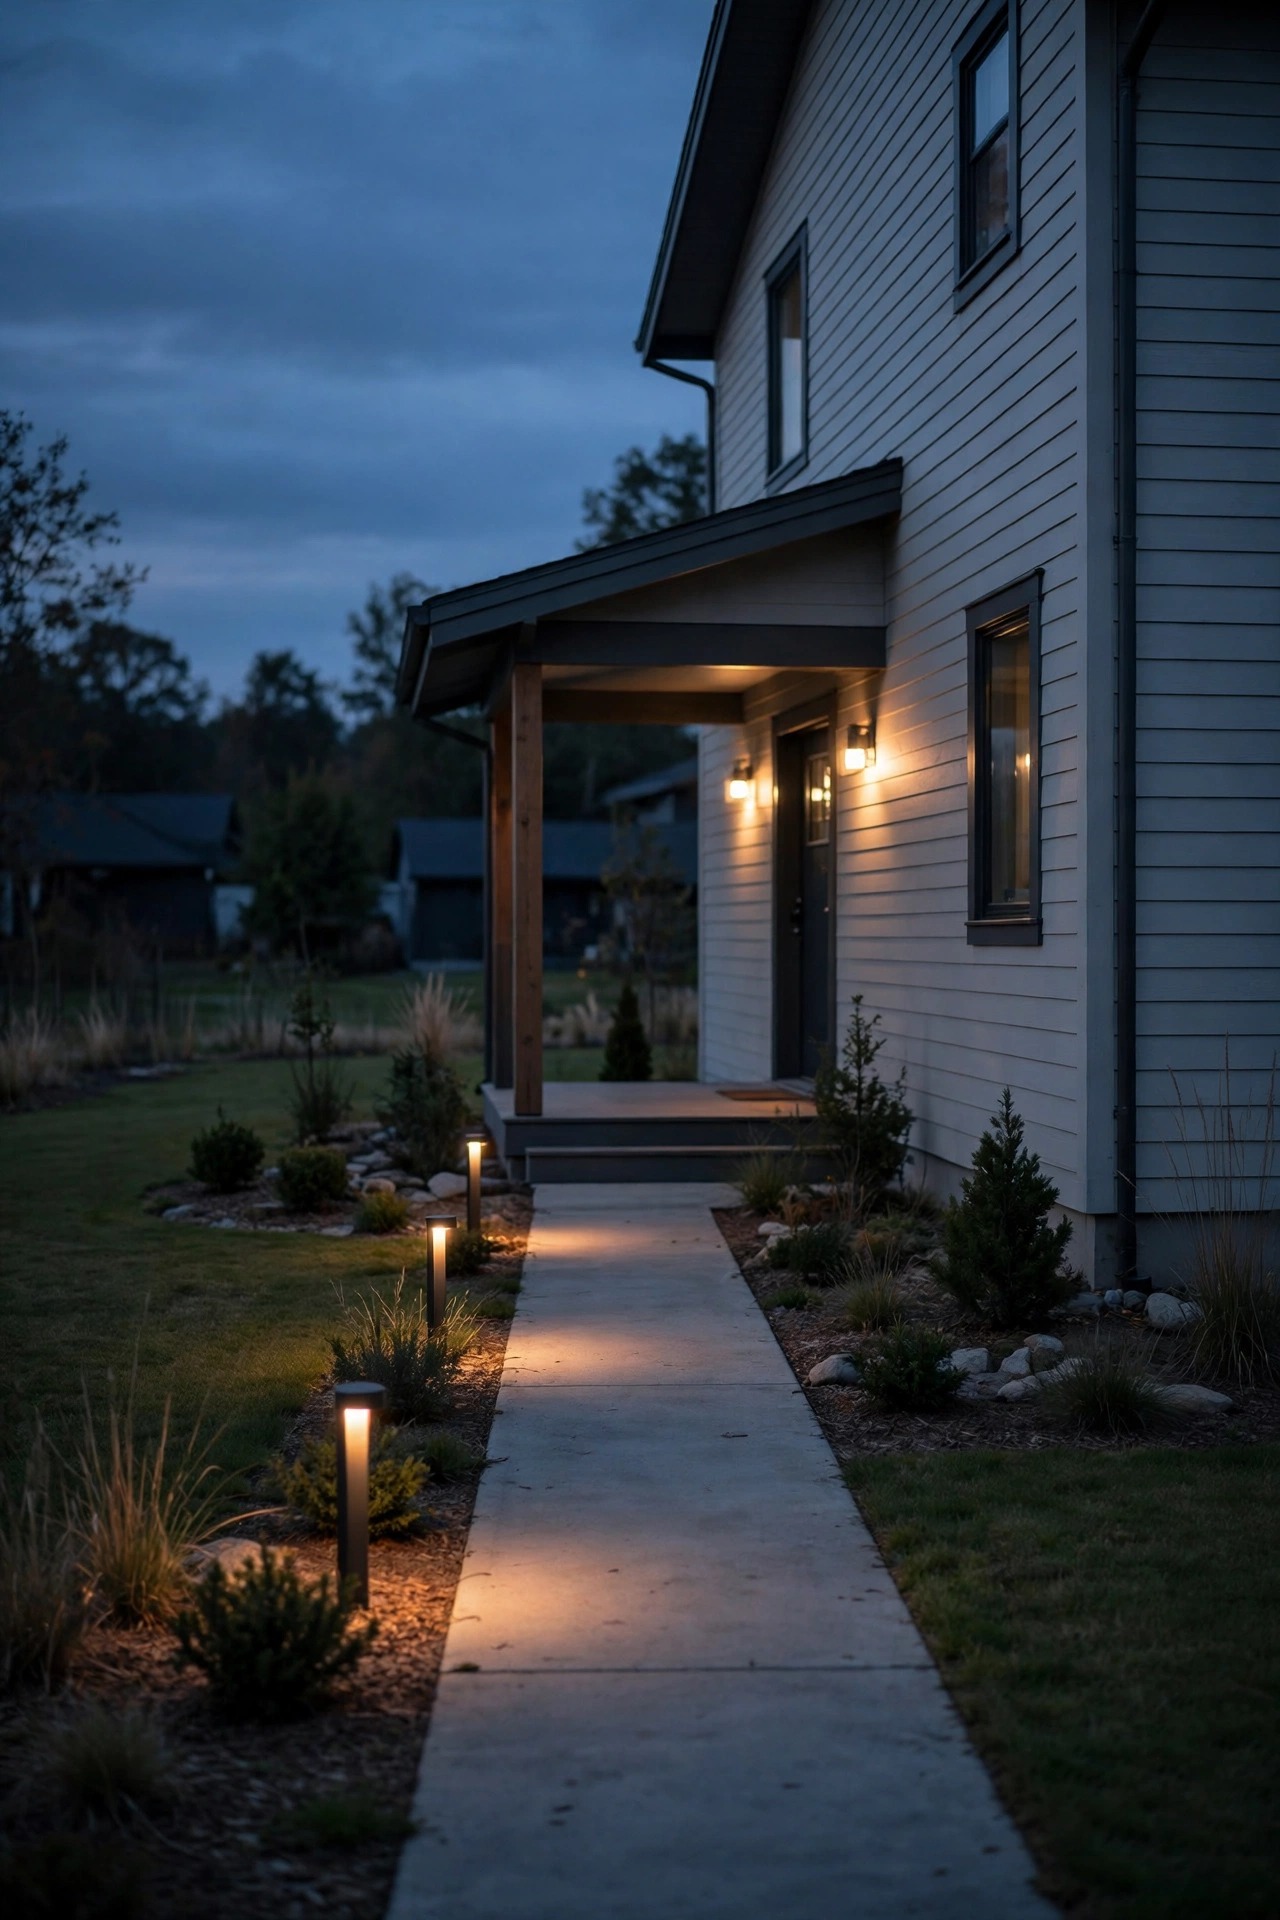
The quickest way to make a yard feel designed instead of decorated is to hide every light source you can. I tuck low-voltage spotlights behind shrubs, sink path lights into planting beds instead of lining them up on the lawn edge, and choose fixtures with deep baffles so the bulb itself is never visible from standing height. When you cannot see the hardware, all that registers is a soft pool of light on the path or a gentle wash across the foliage, and that restraint reads as expensive. A practical test I use: walk the yard at night and squint. Any point of light that glares back at you needs a shield, a lower angle, or a new home behind a plant. Look for fixtures labeled shielded or dark-sky friendly, aim the light downward at roughly 30 degrees, and keep the brightest source, the bulb, out of sight lines from the porch and the street. The garden becomes the feature, not the equipment lighting it.
Suggested budget range: $15 – $50.

3. Pick One Fixture Family and Repeat It Everywhere
Nothing creates visual clutter faster than a yard full of one-off fixtures: a lantern here, a mushroom stake there, three finishes competing by the door. I choose one fixture family, usually simple matte-black or bronze cylinders and squares, and repeat it at the path, the porch, and the patio. Repetition is what makes a space feel planned. When I redid our front walk, I took plenty of cues from these modern outdoor lighting ideas and committed to a single low cylinder bollard repeated six times; the rhythm of identical pools of light does more for curb appeal than any statement piece. Keep the finish identical too. One metal, one color, everywhere. If you fall for a second style, it has to replace the first, not join it. Hardware stores make this easy now: most lines offer a matching path light, sconce, and spotlight in the same finish, so you can build the whole scheme from one shelf.
Suggested budget range: $30 – $90.
4. Line Paths With Low, Even Bollards and Nothing Else
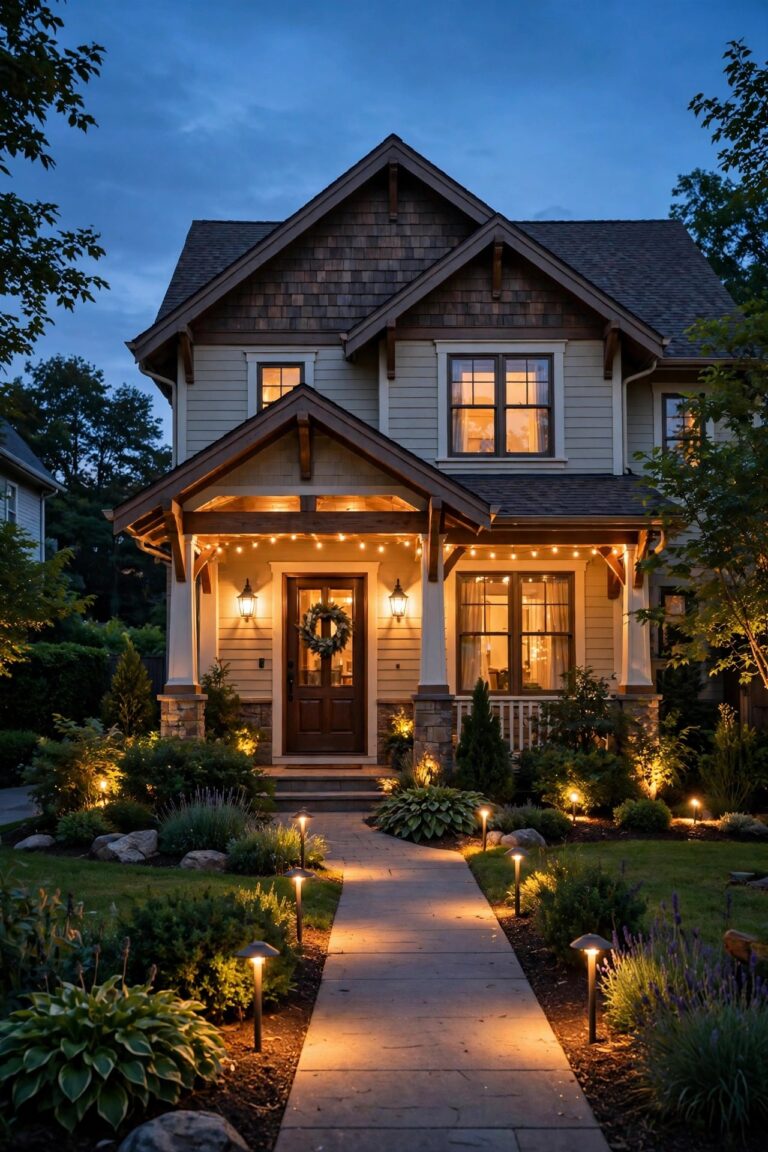
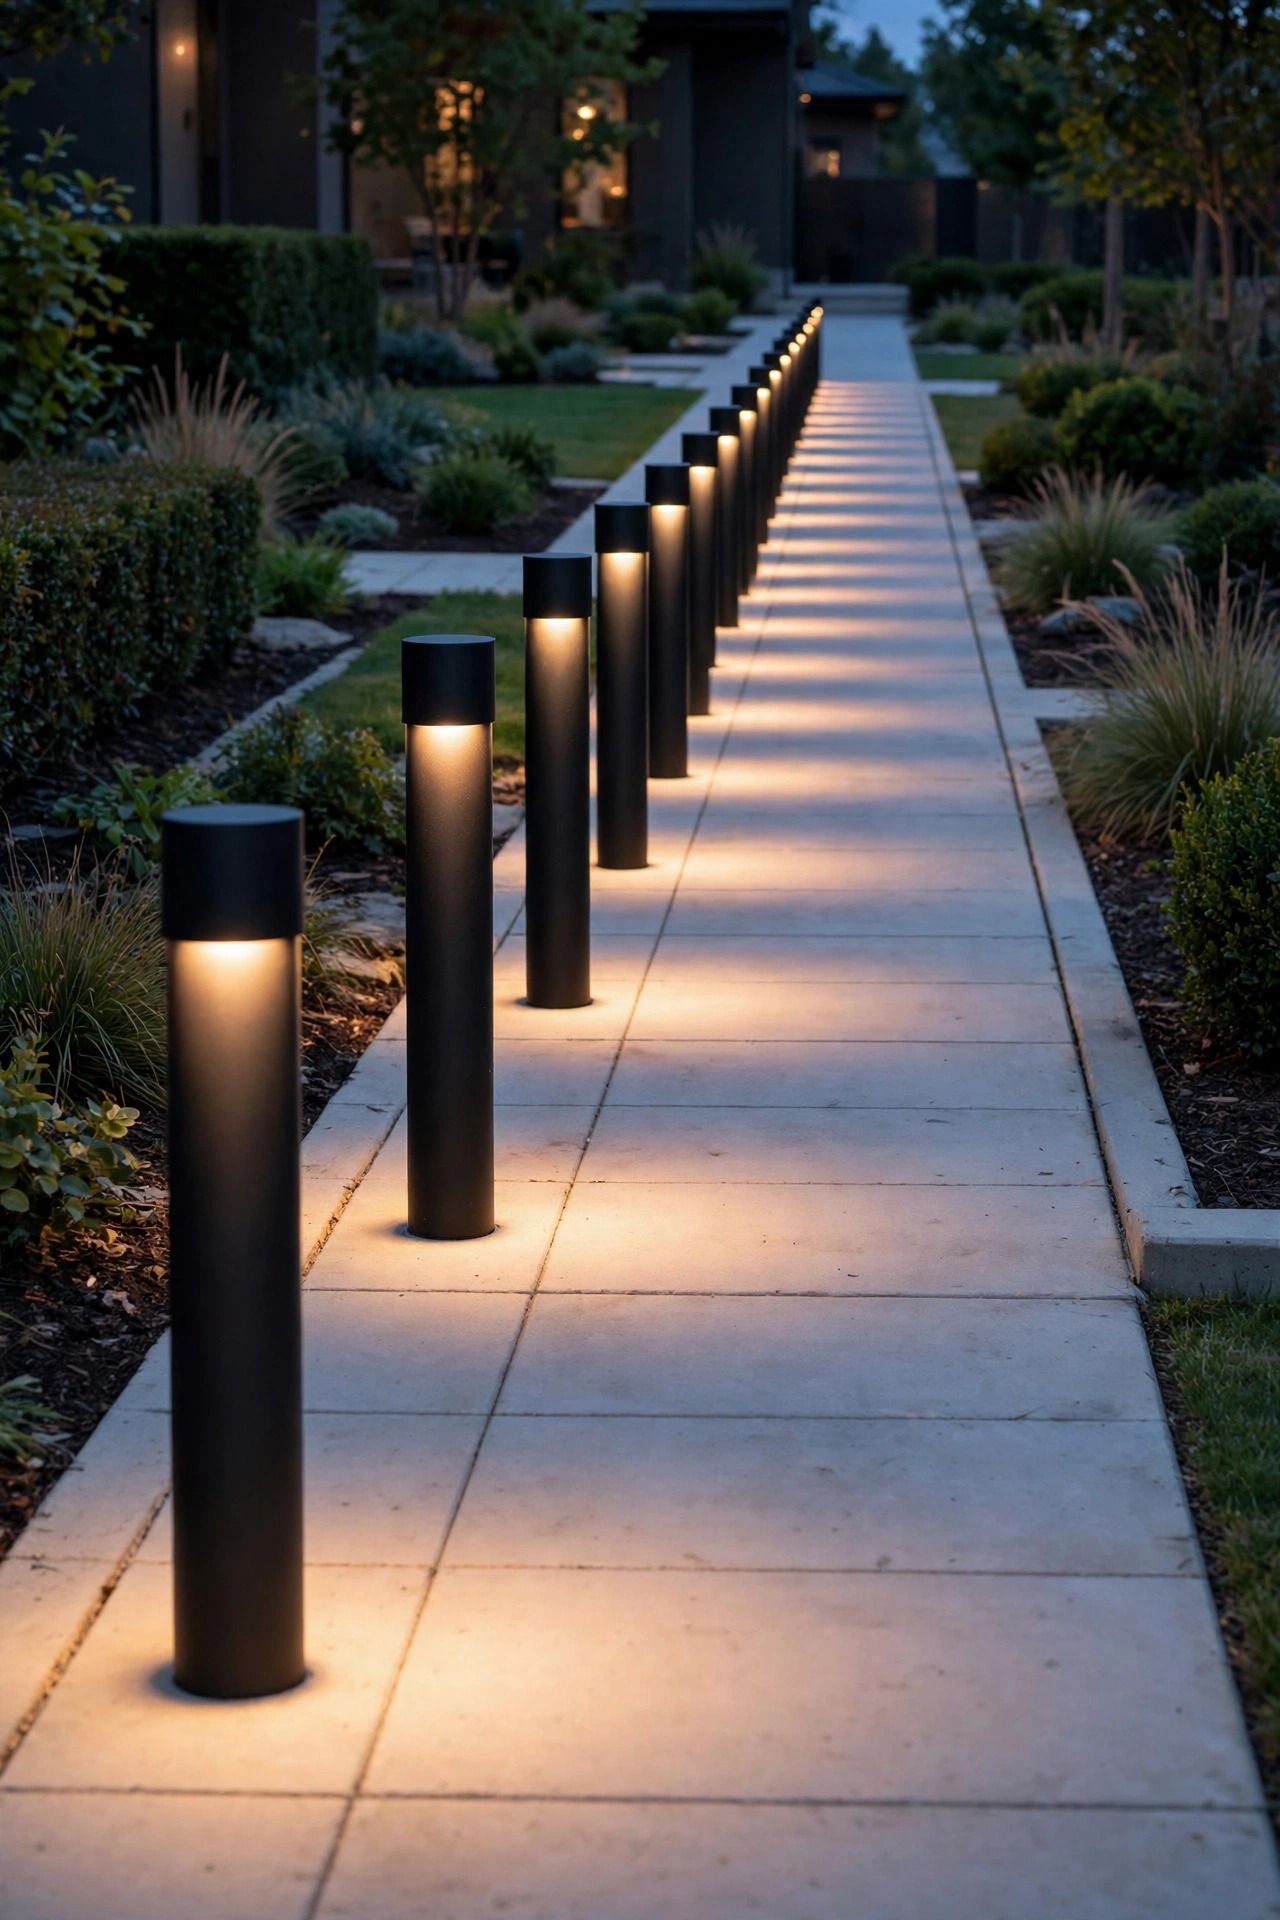
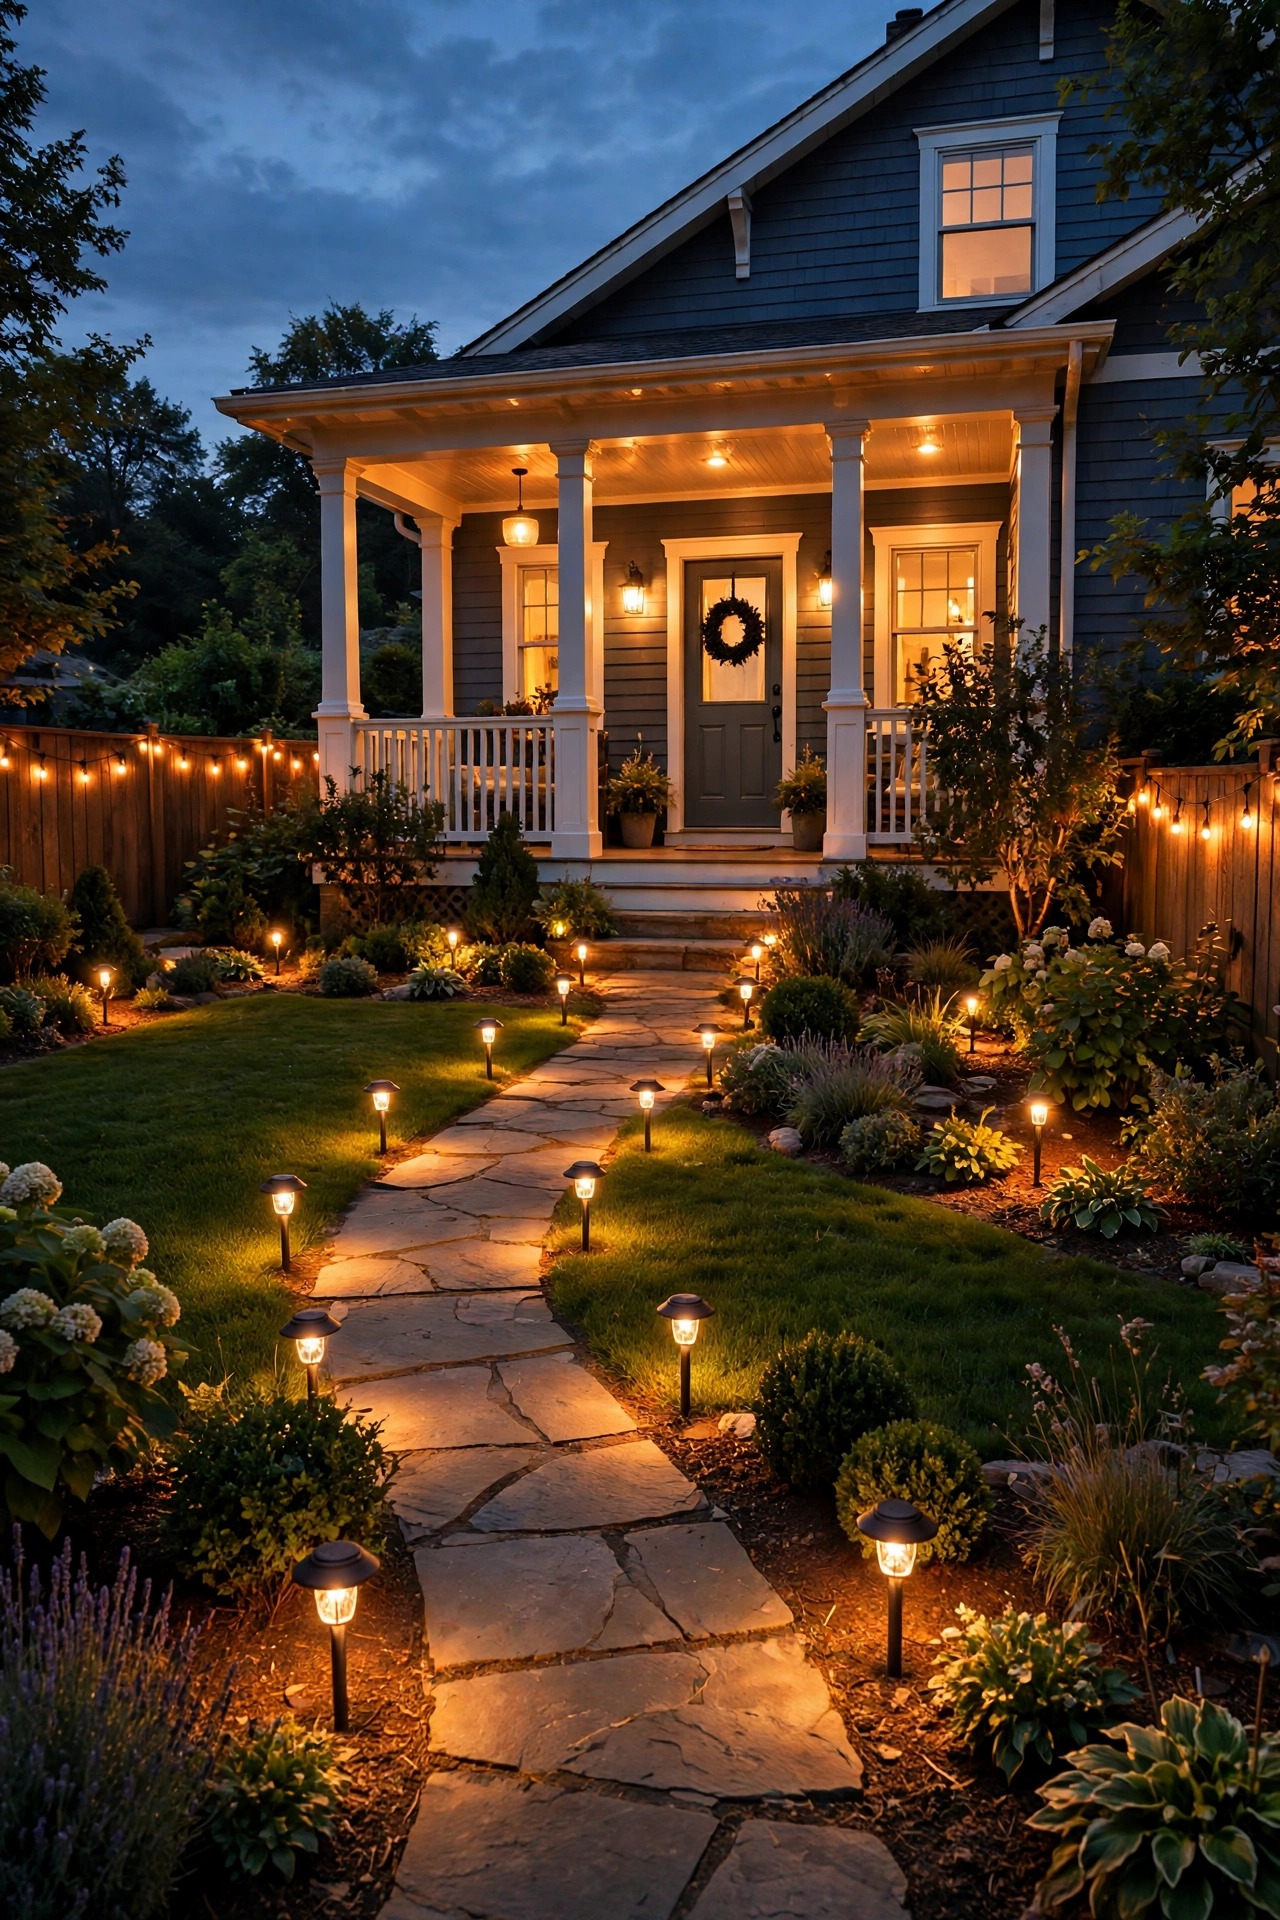
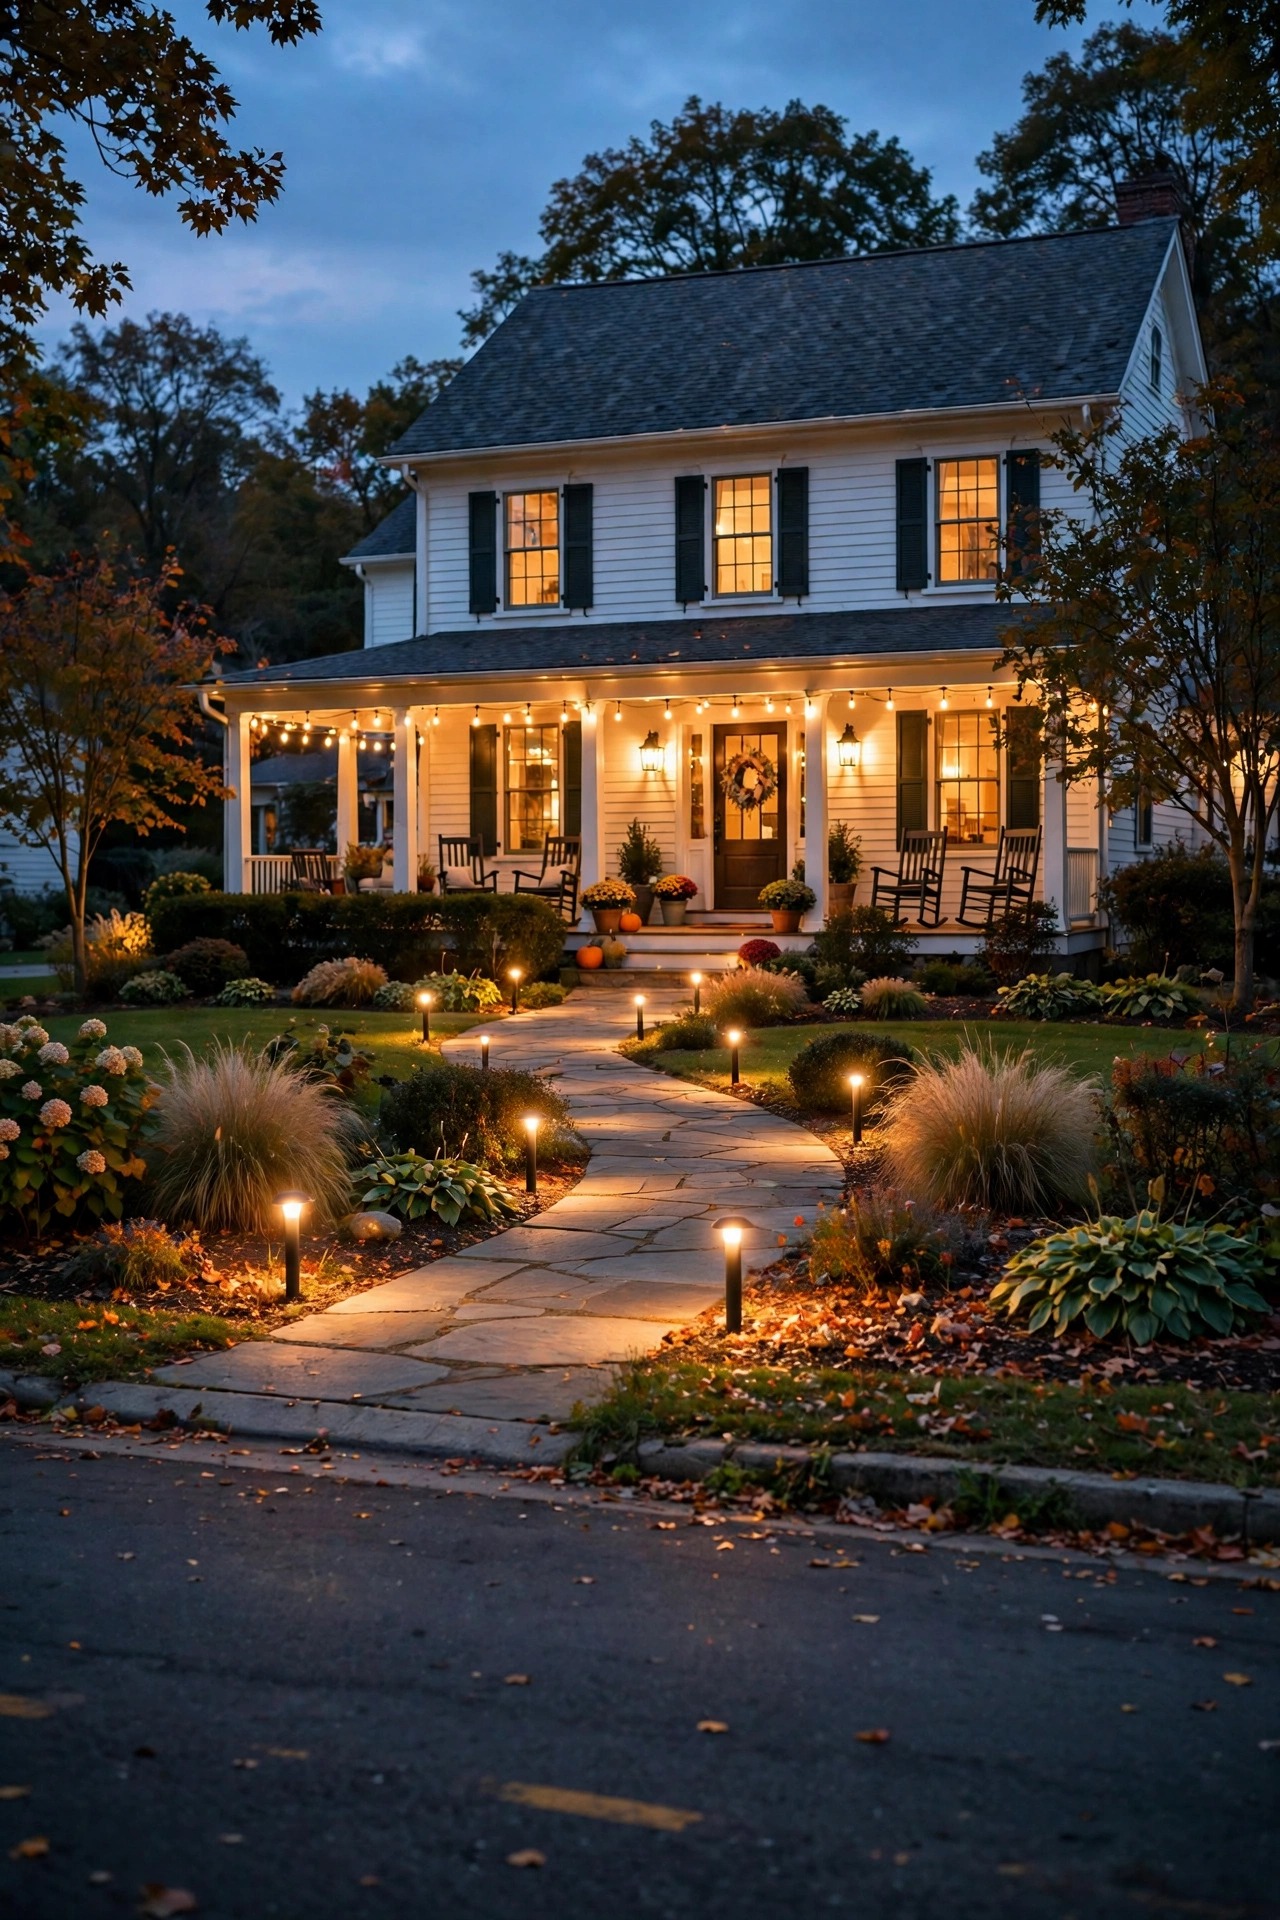
A path needs guidance, not a runway. I use low bollards or short path lights, 14 to 18 inches tall, spaced 6 to 8 feet apart on alternating sides so the pools of light just touch. One style, one height, one spacing rhythm, and the walk feels calm instead of dotted. This shortlist of modern path light ideas is where I send friends who want that clean look without the guesswork. Resist the urge to add tiny solar markers between them; the gaps of soft darkness between pools are exactly what makes the effect feel minimal. Choose fixtures that throw light downward and slightly forward, never up into faces. On curves, tighten the spacing to about 5 feet so the line stays readable. Twelve-volt wired fixtures give the most even brightness, but good solar bollards now hold their own on sunny walks. Whatever you choose, buy one extra and stash it in the garage, so a future replacement matches the set exactly.
Suggested budget range: $40 – $120.

5. Recess Step Lights So Steps Glow Without Hardware
Steps are where minimalist lighting really earns its keep, because a recessed light disappears completely by day. I mount small rectangular LED step lights into the riser of every second or third step, or under the tread nosing if the steps are wood, and the staircase reads as a soft floating cascade at night. There is no fixture to trip over, nothing to knock with the snow shovel, and no visual noise on the facade. Wire them on the same circuit as the path lights so everything follows one switch and one timer. Choose 2700K, 1 to 3 watts per step, which is plenty; steps need definition, not floodlighting. If your steps are concrete and already poured, surface-mount versions with a slim profile sit nearly flush and still keep the look quiet. Always test with a temporary light first: stand at the bottom at night and check that no bulb is visible from below, because a single glaring step light ruins the whole calm effect.
Suggested budget range: $25 – $70.

6. Give One Statement Tree a Single Uplight
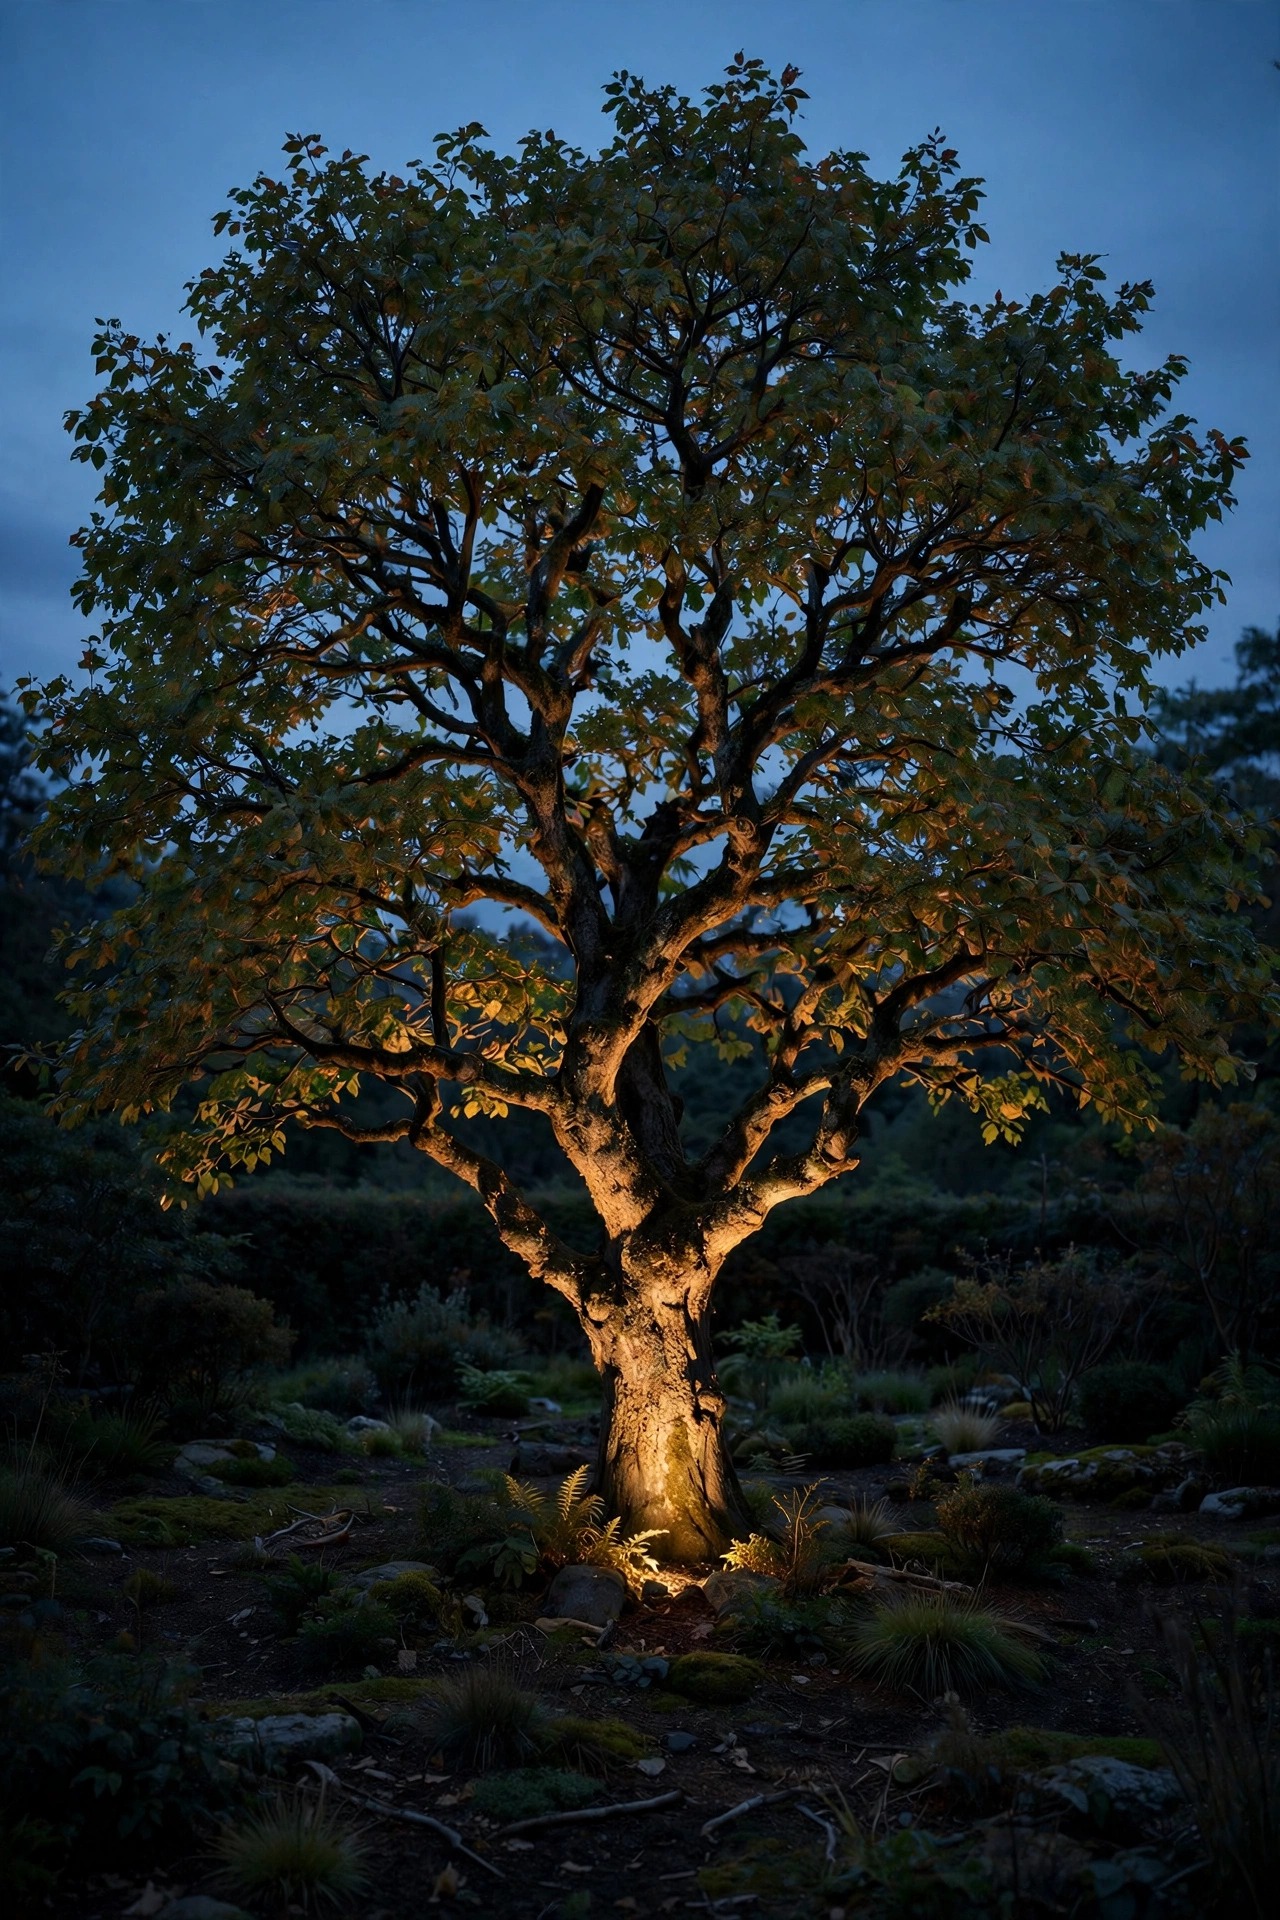
If you light every tree, none of them matter. I pick the single best tree in the yard, usually the one with interesting bark or a beautiful canopy, and give it one well-placed uplight; the rest stay dark silhouettes, and the contrast is what makes the scene feel artful. Set a 12-volt well light or bullet spotlight 12 to 18 inches from the trunk, aimed up into the canopy at about 30 degrees, with a narrow 30- to 45-degree beam. One fixture, one tree, one moment. It sounds almost too restrained, but honestly, guests always comment on that tree. A honeycomb louver keeps glare out of eyes on the patio. As the tree grows, nudge the fixture outward a few inches every couple of years so the beam keeps catching the canopy instead of drilling the trunk. Everything else in the bed stays unlit, which also keeps the electric bill and the maintenance list refreshingly small.
Suggested budget range: $35 – $90.
7. Moonlight From One High Branch Instead of Many Ground Lights
Moonlighting is my favorite minimalist trick because one fixture does the work of six. A single downlight mounted 20 to 25 feet up in a mature tree, fitted with a soft 2700K bulb and a wide 60-degree beam, casts a dappled wash over the lawn and patio that mimics a full moon. The ground stays gently lit, shadows feel natural, and there is not a single visible fixture at eye level. Hire an arborist or electrician for the mounting; heights are not a DIY place in my book. Use a fixture with a long glare shield and run the cable down the back of the trunk so the installation disappears. Because the light comes from above, it also handles security duty, lighting a broad area without the harshness of a floodlight on the wall. One gentle source overhead beats a circle of stakes every time, and the yard keeps its clean, uncluttered lines from every angle.
Suggested budget range: $150 – $400.

8. Run One Hidden LED Strip Under the Deck Rail
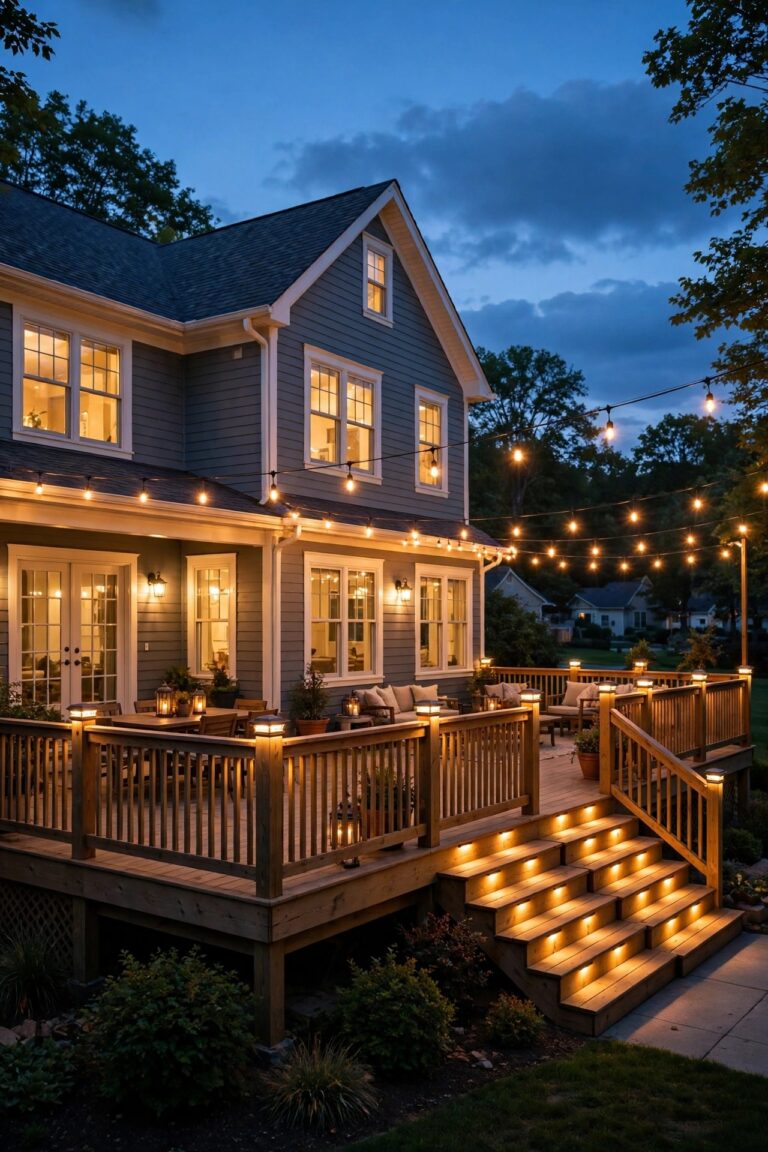
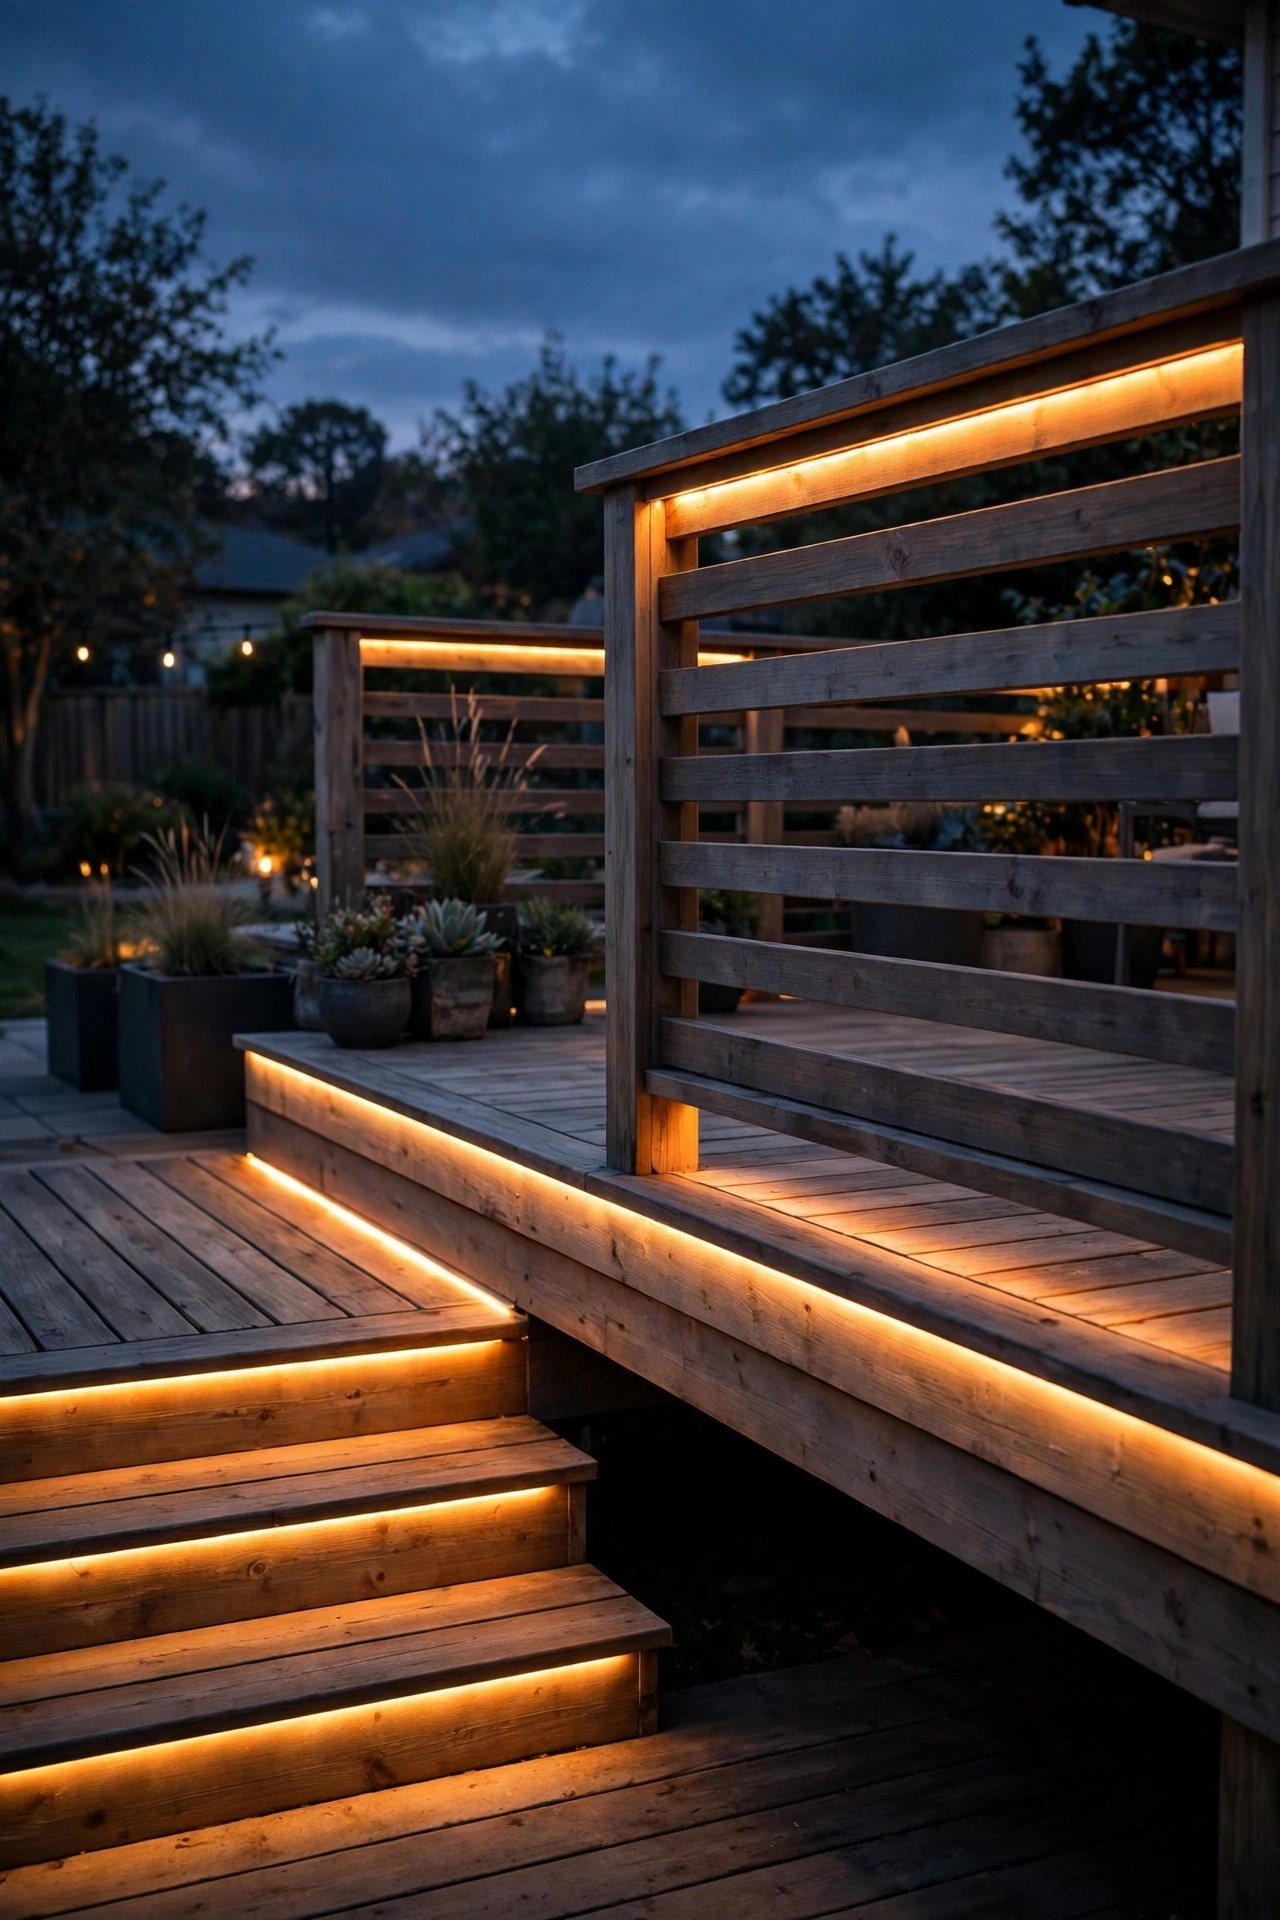
A single continuous line of light is about as minimalist as it gets. I mount a waterproof LED strip in an aluminum channel under the top rail of our deck, facing down, and the whole railing glows with a soft ribbon of light that defines the deck edge and lights the steps below. No lanterns on the table, no clutter on the posts. Choose an outdoor-rated strip, IP65 or better, at 2700K, and hide the channel on the underside so even the hardware vanishes. The aluminum channel matters: it protects the strip, diffuses the dots into one even line, and keeps the look architectural. A small dimmer lets me drop it to a whisper for late evenings. This one run replaced six deck post caps at our house, and the deck instantly looked twice as expensive. Keep the transformer tucked under the deck near the outlet, and the only thing anyone sees is the glow.
Suggested budget range: $60 – $180.
9. Graze One Beautiful Wall and Leave the Rest Dark
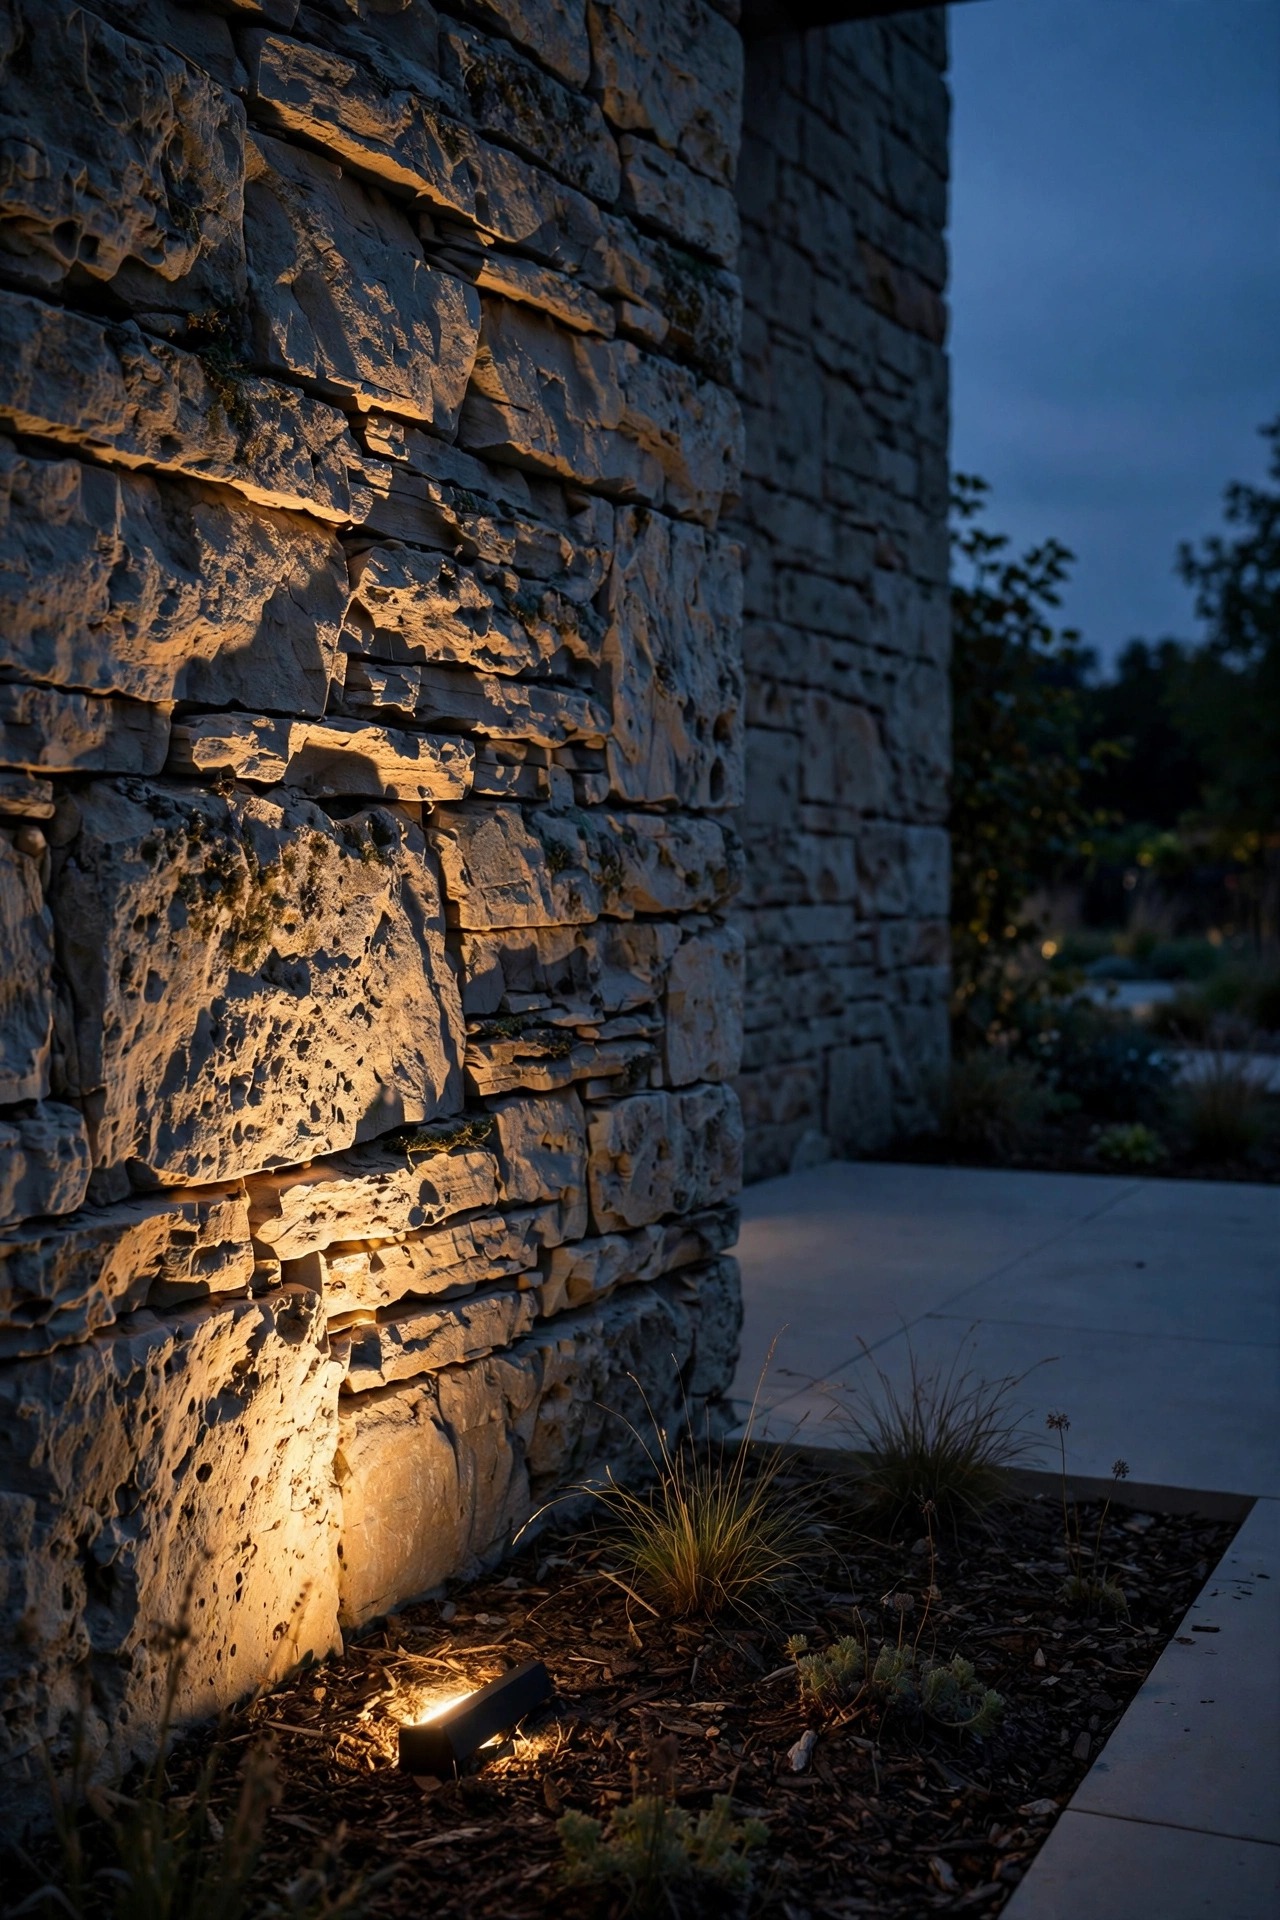
Wall grazing is the minimalist way to add drama: place a narrow-beam uplight just 6 to 12 inches from a stone, brick, or stucco wall and aim it straight up, so the light rakes across the texture and every bump casts a tiny shadow. One wall treated this way becomes a piece of art; five walls treated this way become a showroom. I graze only the chimney wall beside our patio and let the other surfaces fall off into darkness, which is what gives the lit one its power. A 15- to 30-degree beam works best, pulled close to the surface. Keep plants a few inches off the wall so the texture stays clean and uninterrupted. Because the fixture sits so close to the house, a small well light that sits flush with the mulch line keeps it invisible. Restraint is the entire point: one glowing textured plane, framed by dark, reads calm and intentional rather than busy.
Suggested budget range: $40 – $110.
10. Hang One Oversized Pendant Over the Patio Table
On a patio, minimalism means trading the cluster of lanterns, candles, and string swags for one strong gesture: a single oversized pendant centered over the table. I chose a simple 18-inch matte-black dome on a drop rod, hardwired to a dimmer, and it anchors the whole dining area like a ceiling would indoors. Under it, the table needs nothing else, no centerpieces with tea lights competing for attention. Keep the bulb warm, 2700K, and sized so diners see faces, not glare: the bottom of the shade should sit about 30 inches above the tabletop. Choose a damp- or wet-location-rated fixture even under a covered patio, because evening mist finds everything eventually. If your patio has no cover, a single pendant on a sturdy stand or a pergola beam gives the same effect. One beautiful source overhead, dimmed low, makes every dinner feel like a small restaurant courtyard, and cleanup is gloriously simple.
Suggested budget range: $120 – $350.

11. Set Solar Stakes in One Straight, Evenly Spaced Line
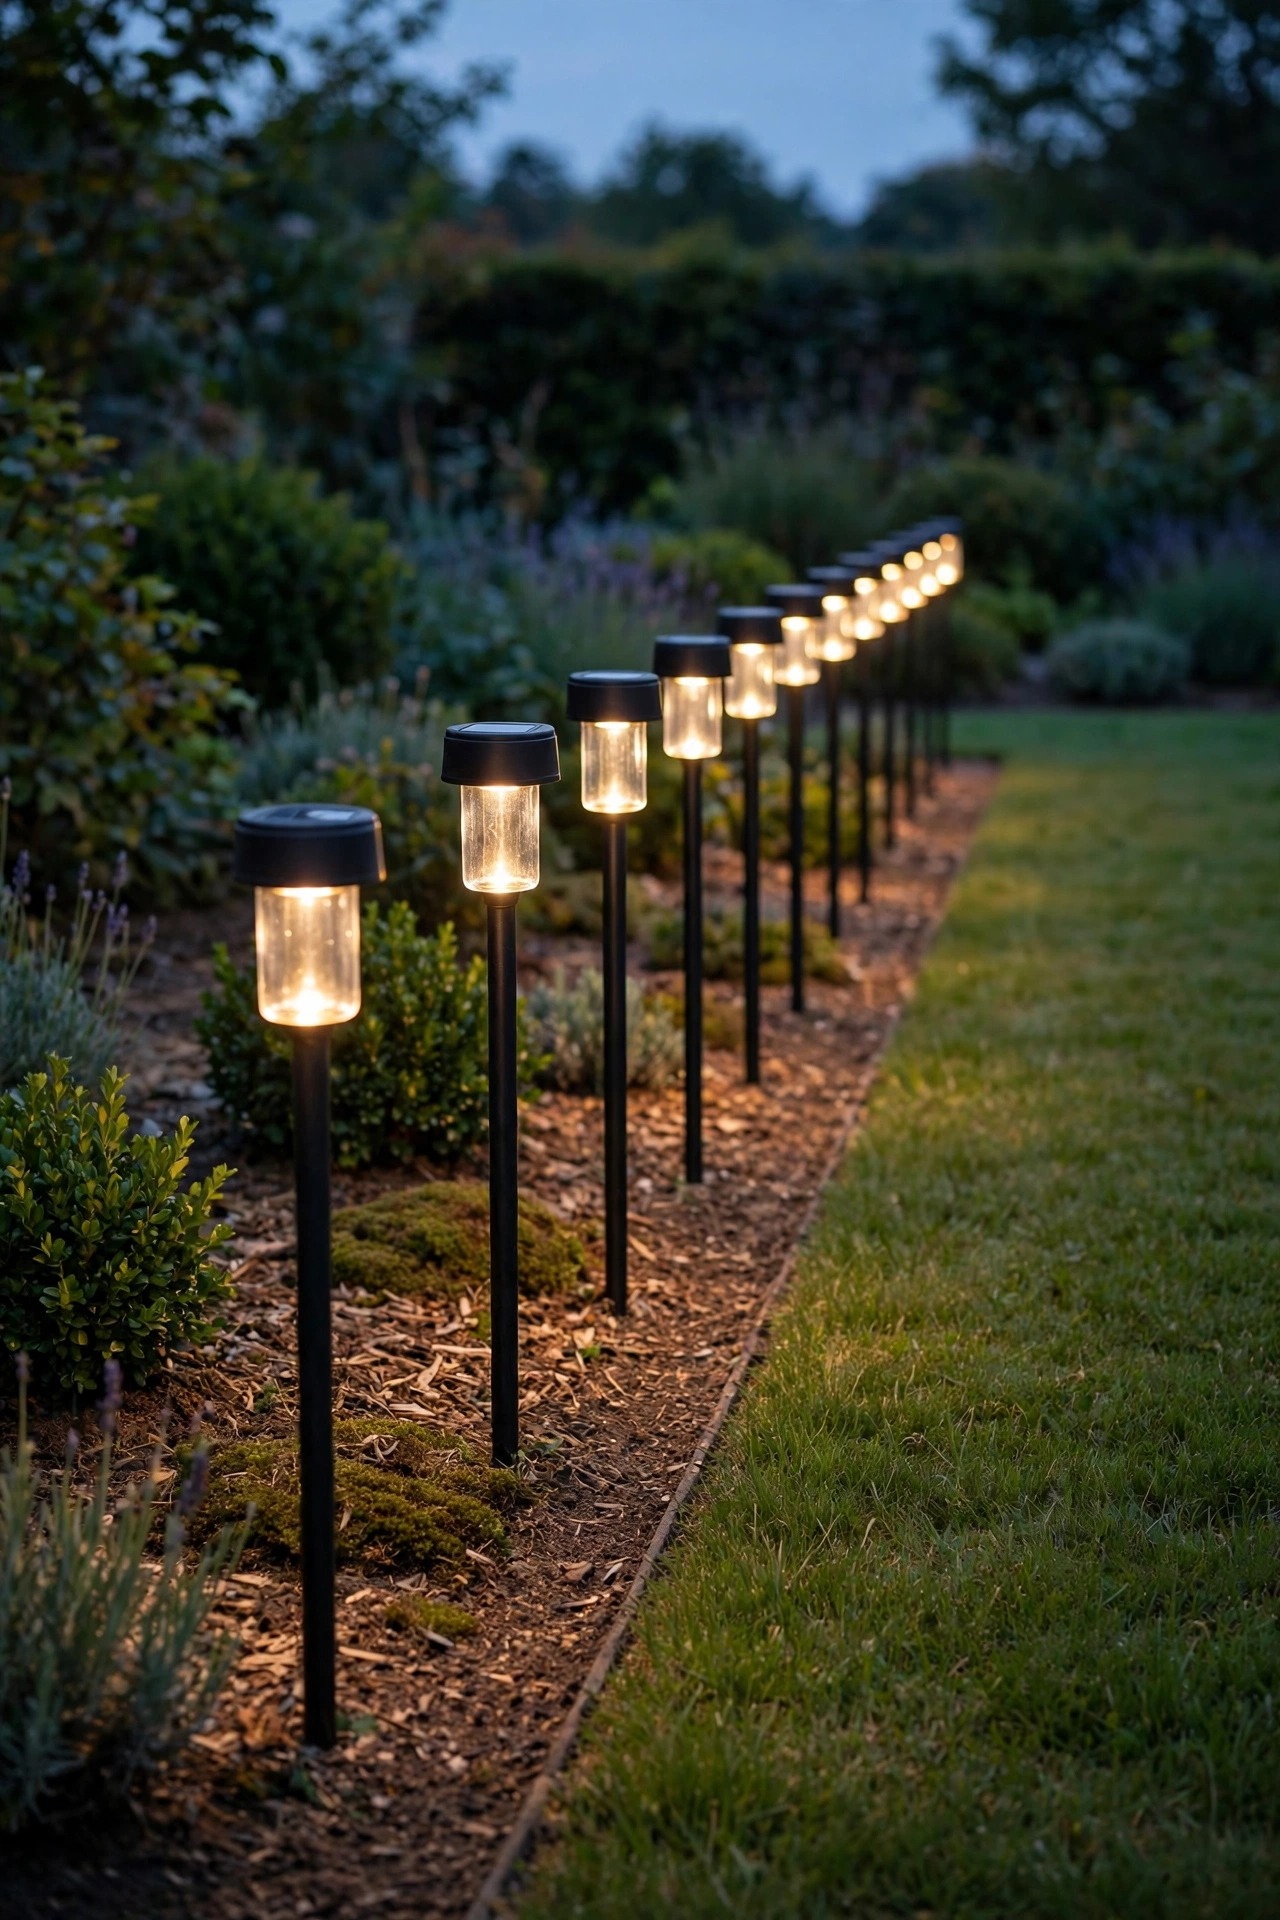
Solar lights get a bad name because they are usually scattered wherever the multipack ran out. Used with discipline, they can be perfectly minimalist: buy identical stakes, and set them in one straight line at exact 4-foot intervals along a garden edge or front walk, measuring with a tape instead of eyeballing. Uniform spacing is the difference between clutter and rhythm. I use them only where sun is reliable, six-plus hours a day, because a line with two dim members looks broken. Choose stakes with a simple cylindrical head and a warm 2700K glow rather than the blue-white default of cheap sets; that one spec changes everything. Keep the line to a single run per area. If a stake dies, replace it immediately from your spare, or pull the whole line until you can; a gap reads as neglect, not minimalism. In winter I bring ours in, clean the panels, and store them, which doubles their lifespan.
Suggested budget range: $10 – $25.
12. Lock In One Color Temperature, 2700K, Everywhere
Mixed bulb temperatures are invisible clutter you can feel. A warm porch light, a bluish path stake, and a neutral spotlight in the same view make a yard feel unsettled even when the fixtures match. I run 2700K everywhere: porch, path, patio, and garden. That single warm temperature is what makes separate areas feel like one composed scene after dark. When you shop, check the Kelvin number on every box and refuse anything that does not match, even if the fixture is perfect. For integrated LED fixtures, the temperature is fixed for life, so this decision matters most there. If you inherit mismatched bulbs, swap the odd ones first; it is the cheapest minimalist upgrade there is at a few dollars a bulb. Keep one labeled spare of each bulb type in a drawer so a midnight replacement never introduces a stranger. One temperature, one mood, zero visual static: this is the quietest rule on the list and the one guests feel without ever naming.
Suggested budget range: $5 – $15.
13. Light Only the Perimeter, a Signature Move in Minimalist Outdoor Lighting Ideas
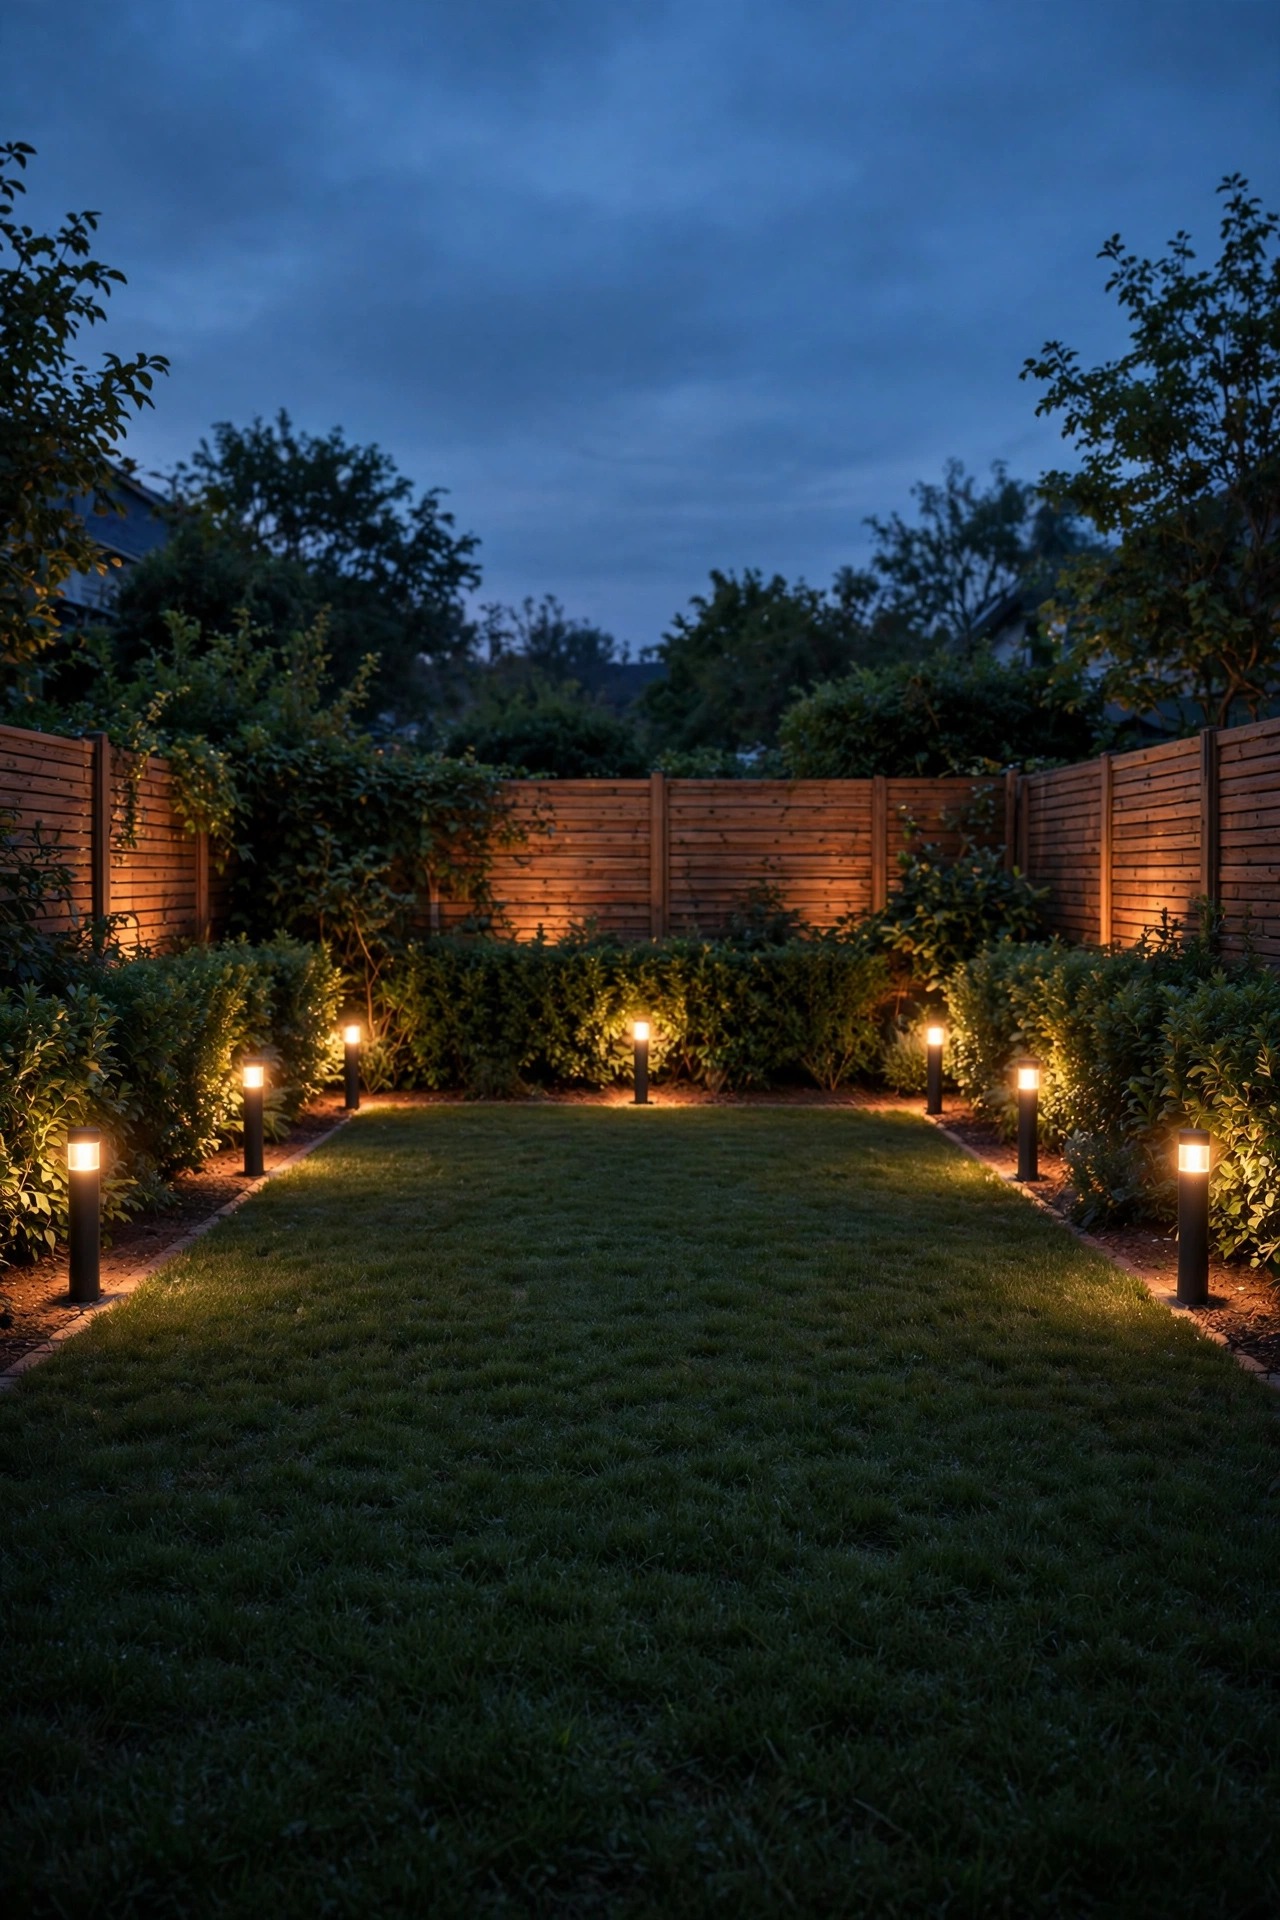
Most people light the middle of the yard and leave the edges black, which shrinks the space. I do the opposite: a few low lights along the fence line, the hedge, and the back border, and a dark, calm center. The perimeter glow makes the yard feel bigger, gives the eye a soft boundary to rest on, and keeps the lawn itself a quiet pool of darkness, like a room with the lights at its edges. Use low bollards or small shielded spots at the base of the fence every 10 to 12 feet, aimed slightly inward and down, or wash the hedge from 2 feet out with a wide beam. Because boundary lines are long, this is the one place I allow a few more fixtures, but they are all identical and evenly spaced, so the effect stays serene. Wildlife appreciates the darker middle too. From the patio, the view becomes depth and shadow instead of a lit stage, and honestly it is the most complimented layout in our yard.
Suggested budget range: $200 – $600.
14. Swap the Porch Lantern for a Flush-Mount Ceiling Light
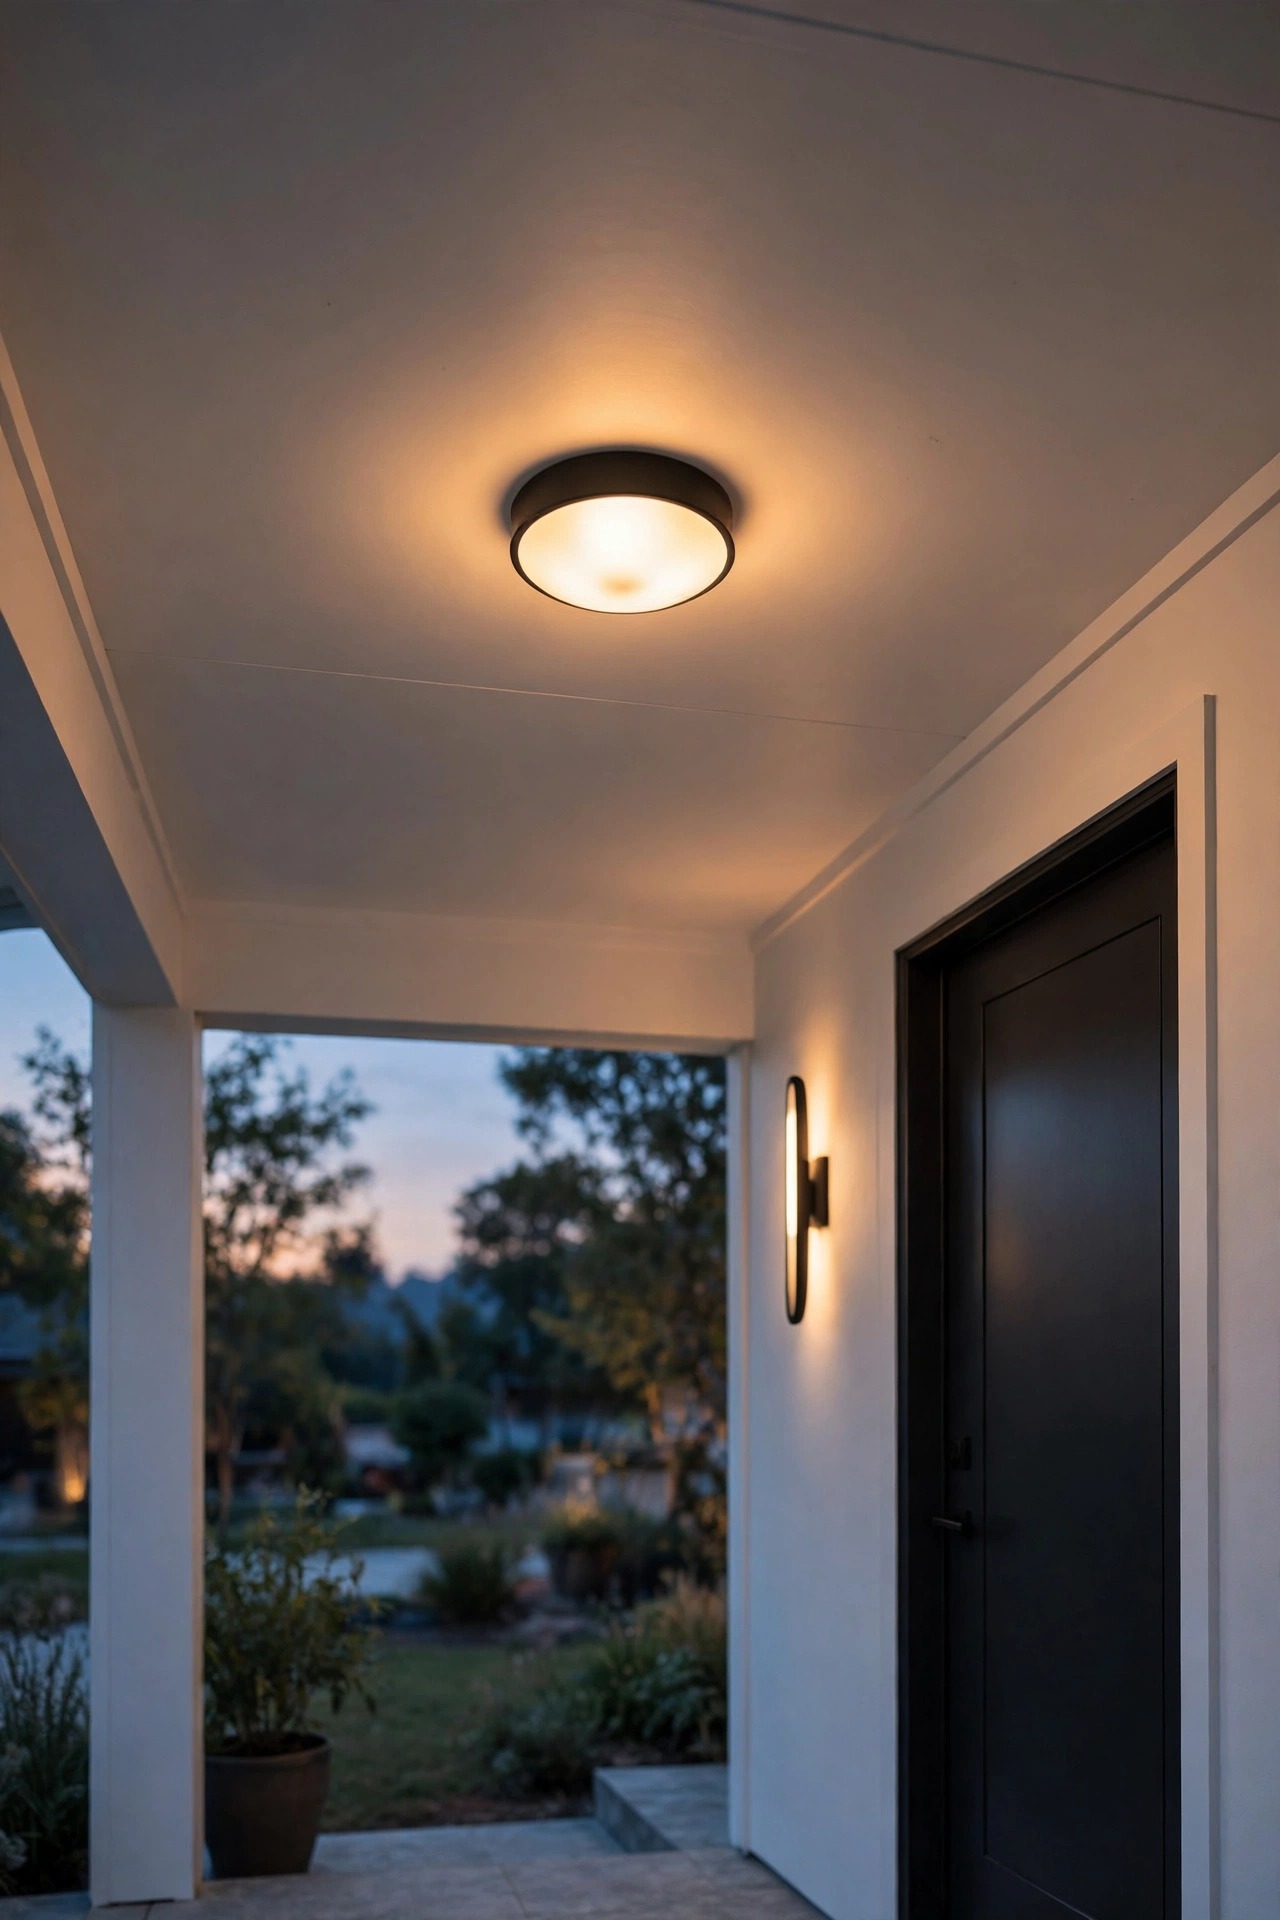
A hanging porch lantern is lovely, but if your taste runs minimal, a simple flush-mount ceiling light keeps the porch ceiling a clean flat plane with nothing dangling into the view. I chose a plain round frosted-glass mount, 12 inches across, with an integrated 2700K LED, and paired it with one slim sconce by the door; that is the entire porch scheme, and it looks crisp from the street. Flush mounts also solve the wind problem: nothing swings, rattles, or collects cobwebs on a chain. If your porch has no ceiling, a single low-profile wall sconce aimed downward does the same job. Keep the finish matched to your other fixtures for the one-family rule. Because the source sits overhead and diffused, shadows are soft and the entry feels welcoming rather than theatrical. Add a photocell or smart bulb and it handles itself every evening, which means one less thing on your mental list and a porch that always looks composed.
Suggested budget range: $45 – $130.
15. Frame the Front Door With One Slim Sconce Pair, Nothing More
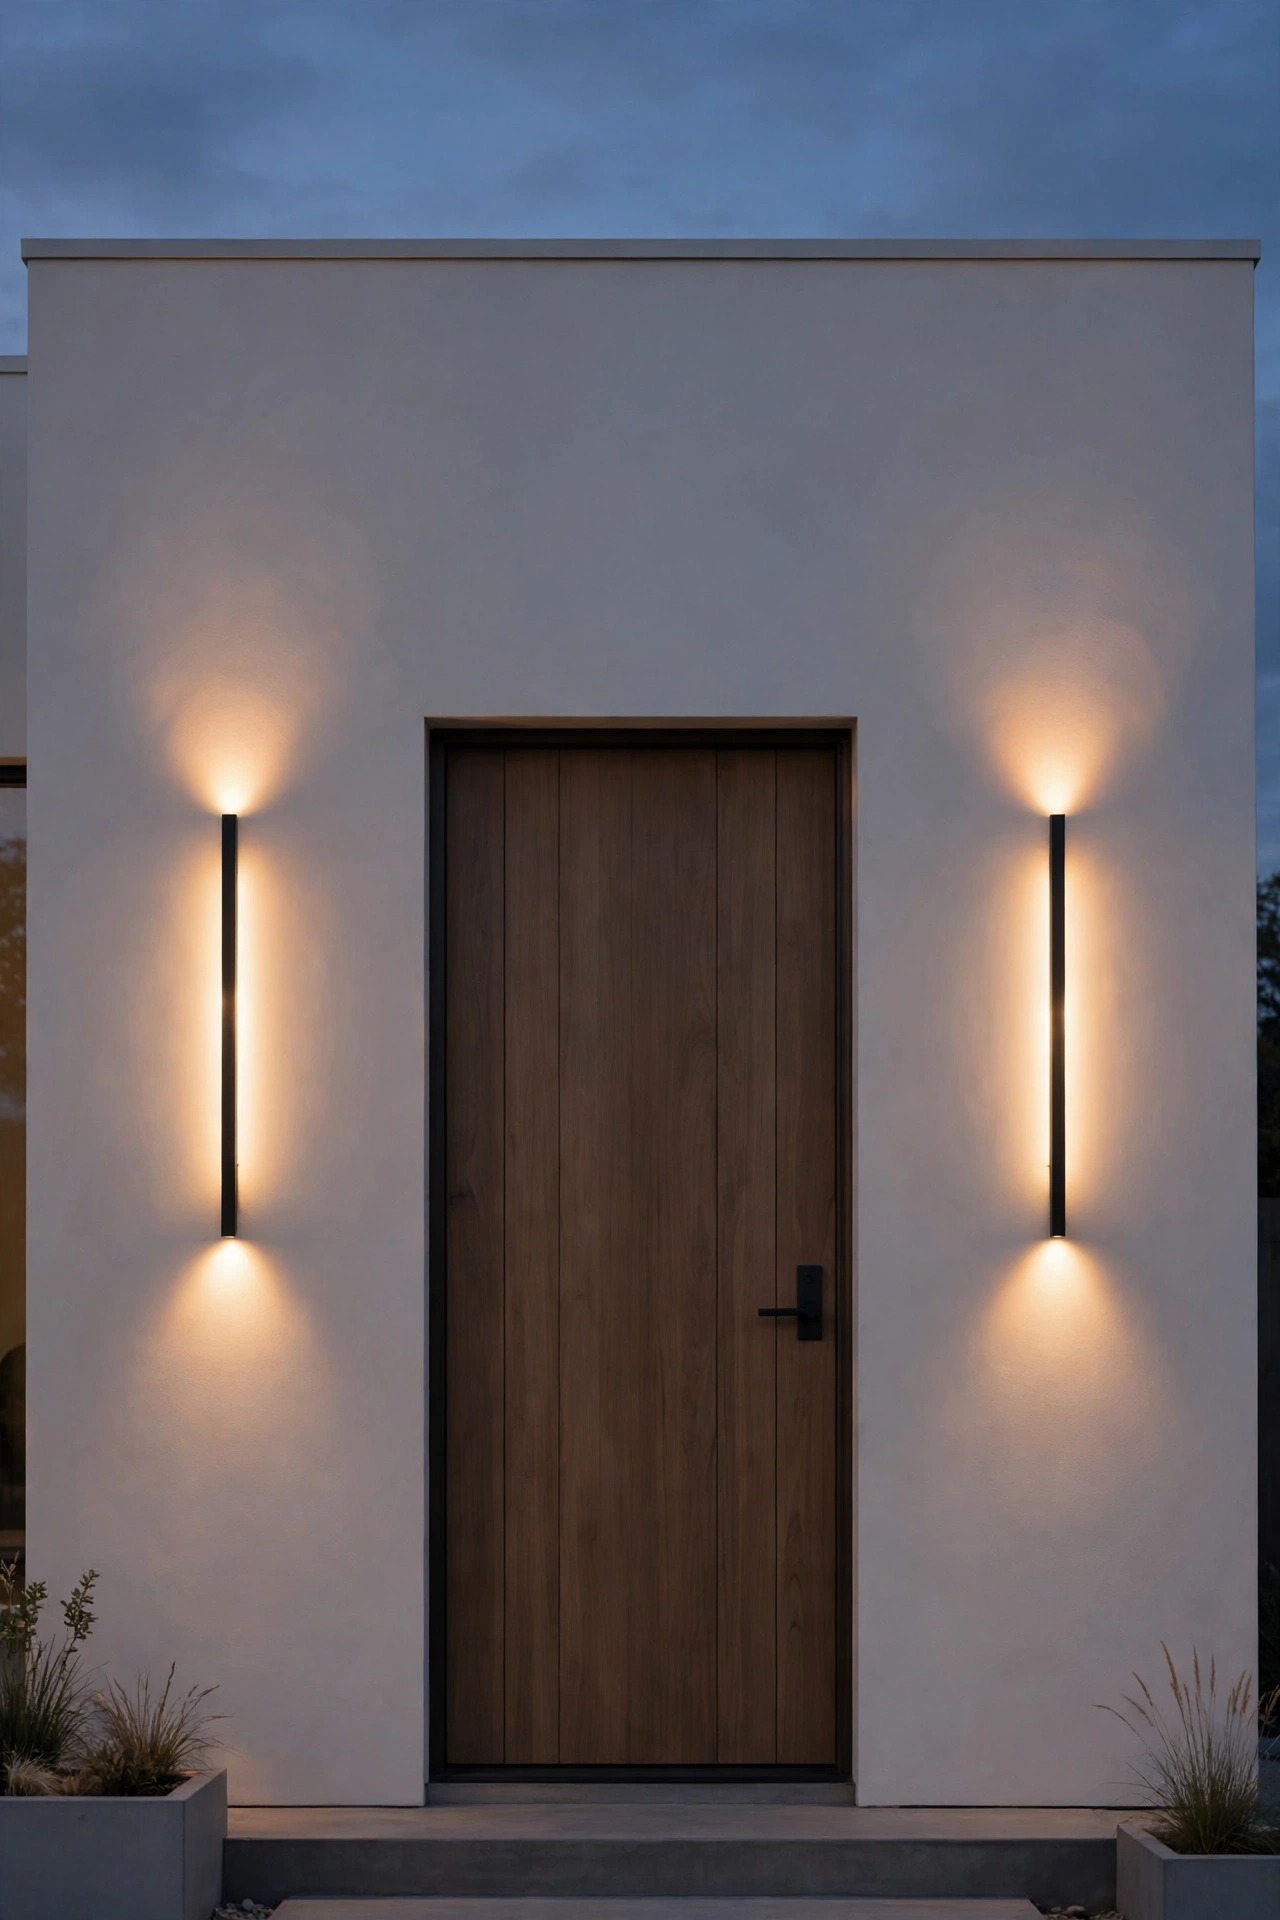
The front door is where most facades collect clutter: lanterns, wreaths with lights, lit house numbers, glowing planters. I keep ours to exactly one pair of slim vertical sconces flanking the door, mounted with their centers about 66 inches above the threshold, and nothing else on the wall. That single symmetrical gesture says welcome more clearly than a crowd of decorations. The same less-but-better thinking behind minimalist lighting indoors works out here too: one repeated shape, generous empty space around it, and warm light. Choose sconces that throw light up and down in soft fans rather than straight out, so guests are never squinting at a bulb. Size matters: the fixture should be roughly one quarter the height of the door. If your entry is off-center, one larger sconce on the handle side keeps the asymmetry intentional. With the door framed and the rest of the facade quiet, the whole front of the house looks deliberate.
Suggested budget range: $60 – $180.
16. Choose In-Ground Well Lights That Vanish by Day
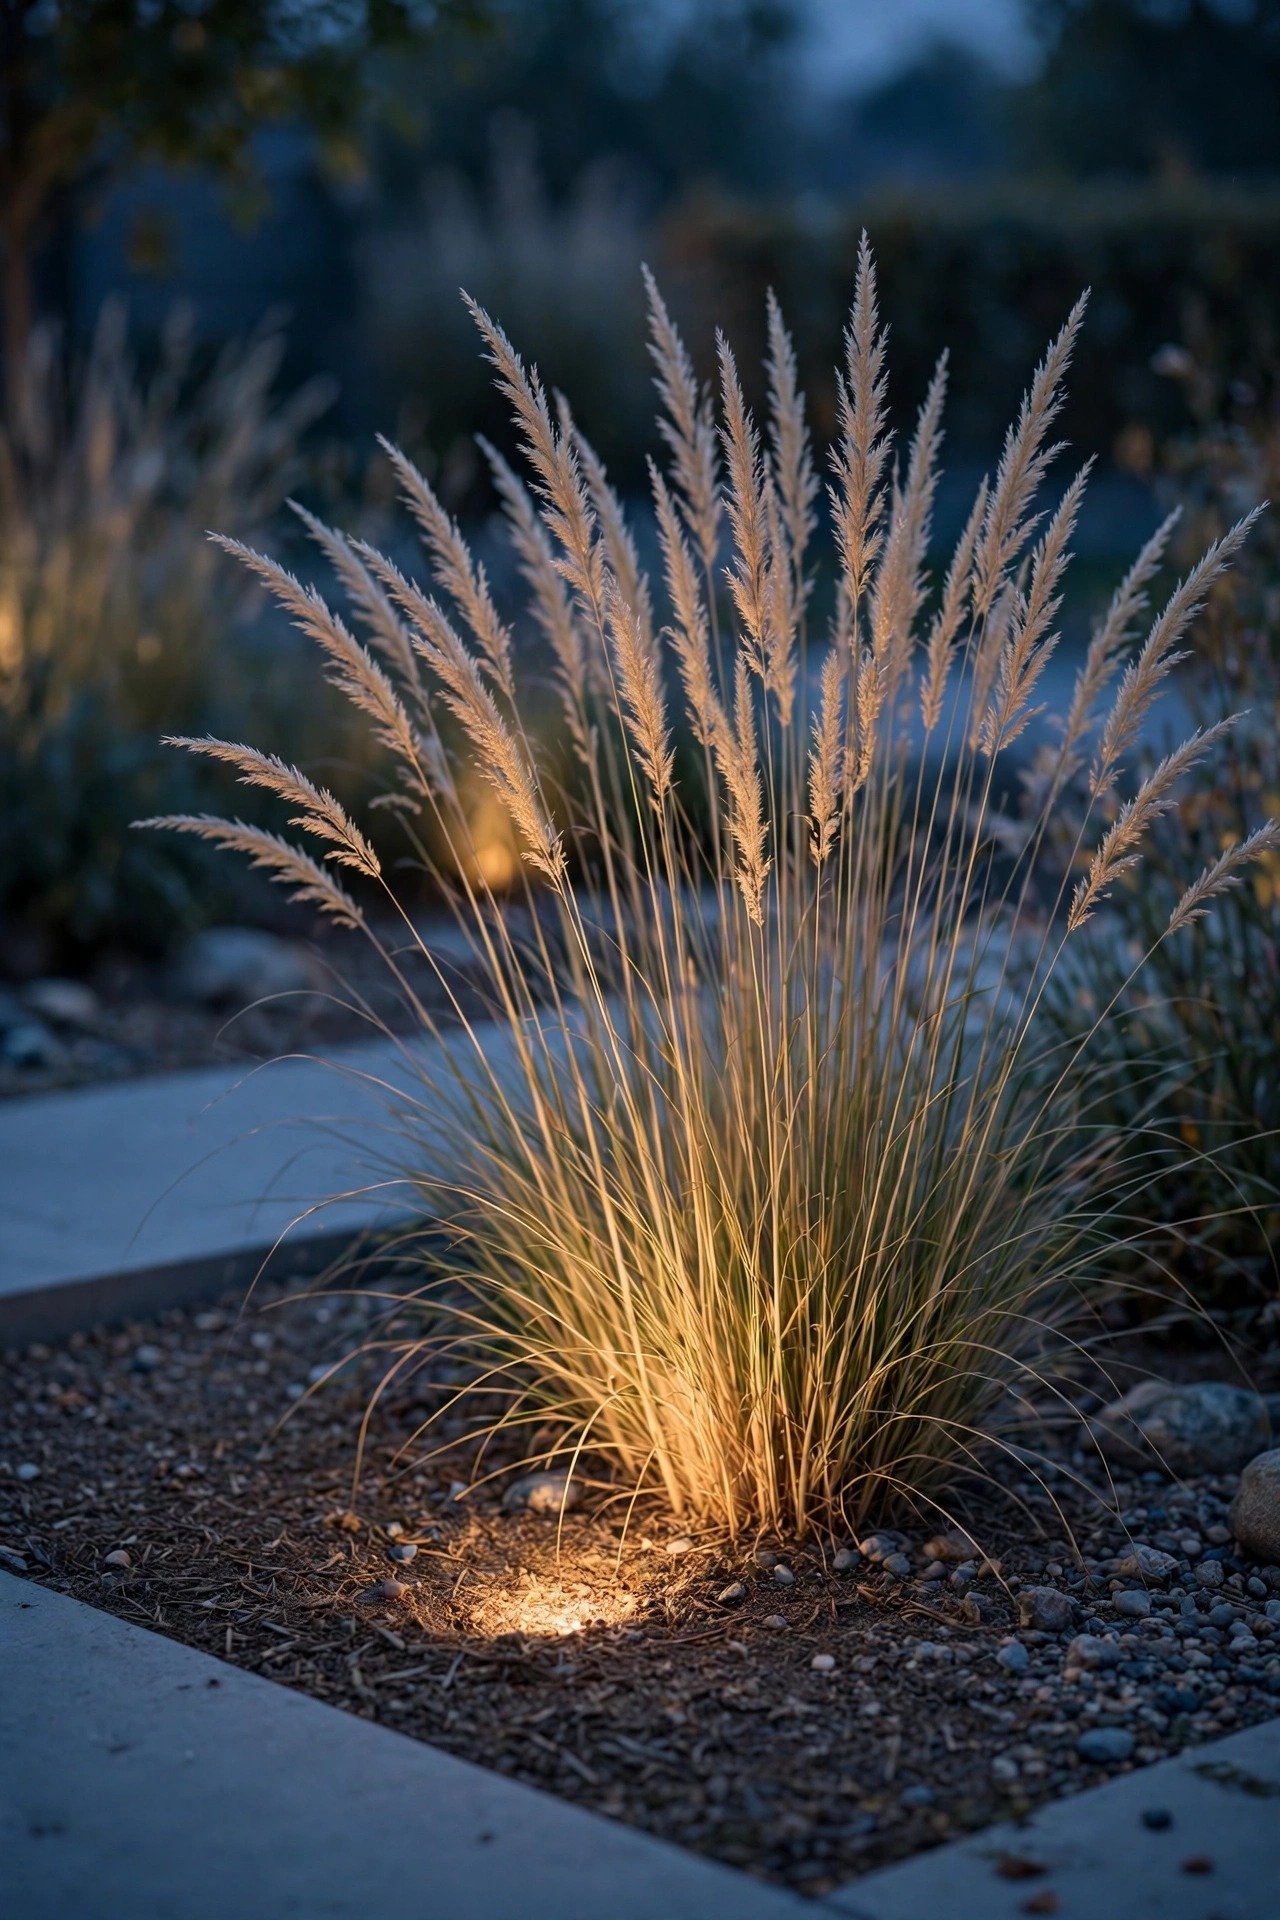
If a fixture can disappear entirely in daylight, it should. In-ground well lights sit flush with the soil or lawn, so by day there is nothing to see but garden, and by night light simply rises out of the ground as if by magic. I use them at the base of our ornamental grasses and the corner of the house where a visible spotlight would clutter the bed. Buy fixtures with a watertight housing, drive-over-rated if they sit anywhere near a driveway edge, and a lens that sheds water instead of pooling it. A grate or louver top keeps glare down and leaves out. Keep a small clear zone of gravel around each one so mulch and soil do not bury the lens, and wipe the glass twice a season. Because they sit at ground level, they are the easiest fixtures to forget, in the best way: your landscape stays the picture, and the equipment never enters it.
Suggested budget range: $50 – $140.
17. String Exactly One Strand of Café Lights
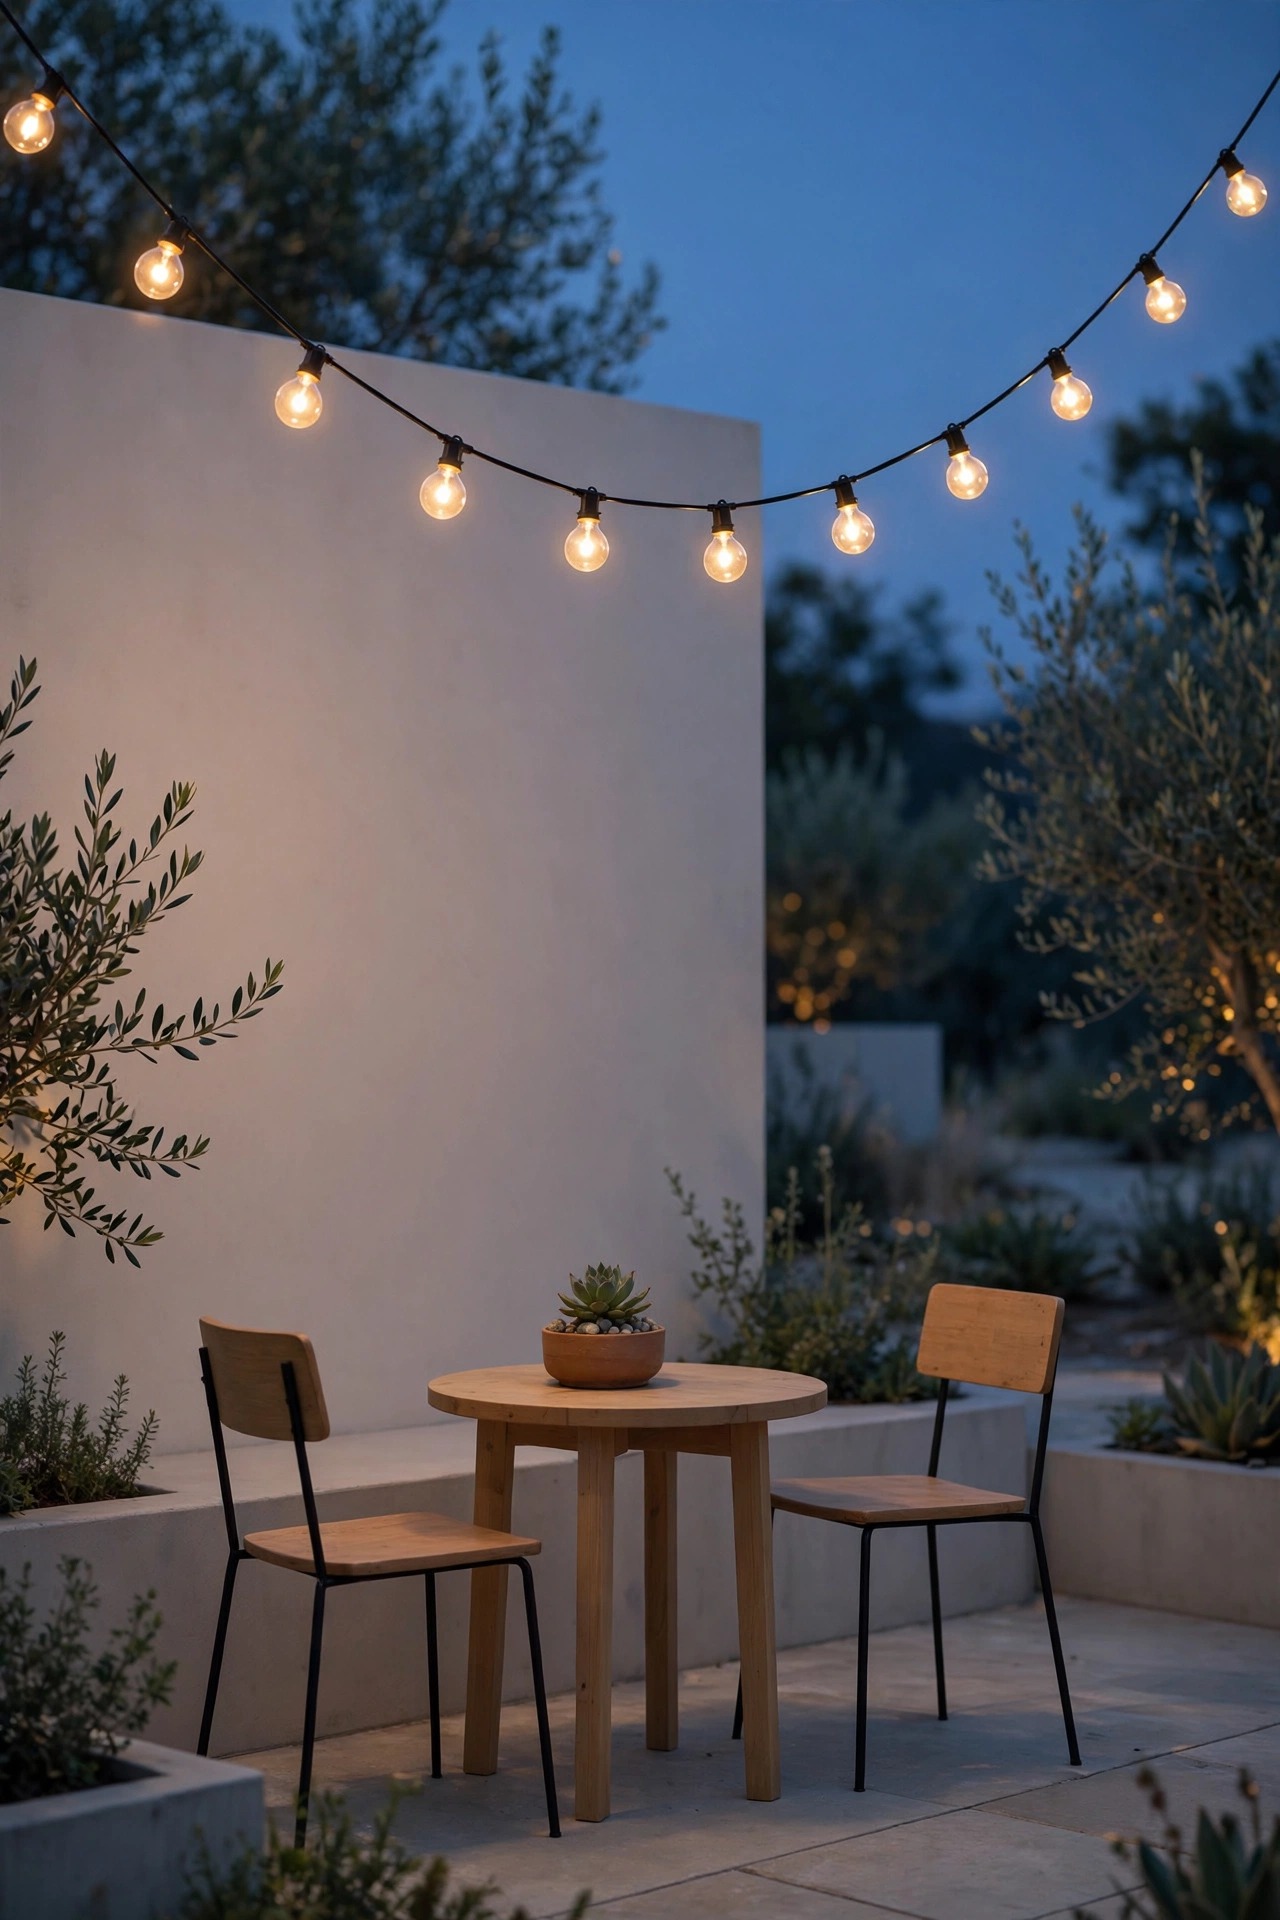
String lights are wonderful and dangerous: wonderful because the glow is gorgeous, dangerous because it is so easy to add a second and third swag until the patio looks like a festival midway. My minimalist compromise is exactly one strand, run in a single straight line or one gentle catenary curve over the seating area, with evenly spaced warm bulbs. One line reads as architecture; three lines read as decoration. Use a commercial-grade strand with suspended sockets and 2700K LED filament bulbs, hang it from proper hooks or a guide wire so the curve is clean, and put it on a dimmer. Keep the span purposeful: over the table or along the pergola edge, never zigzagged across the whole yard. When a bulb dies, replace it the same week from your spares so the rhythm never breaks. In the off season, I either leave the single strand up if it is rated for it or store it neatly in one coil; either way, the patio keeps its calm.
Suggested budget range: $40 – $100.
18. Let Motion Sensors Keep Lights Off and Invisible
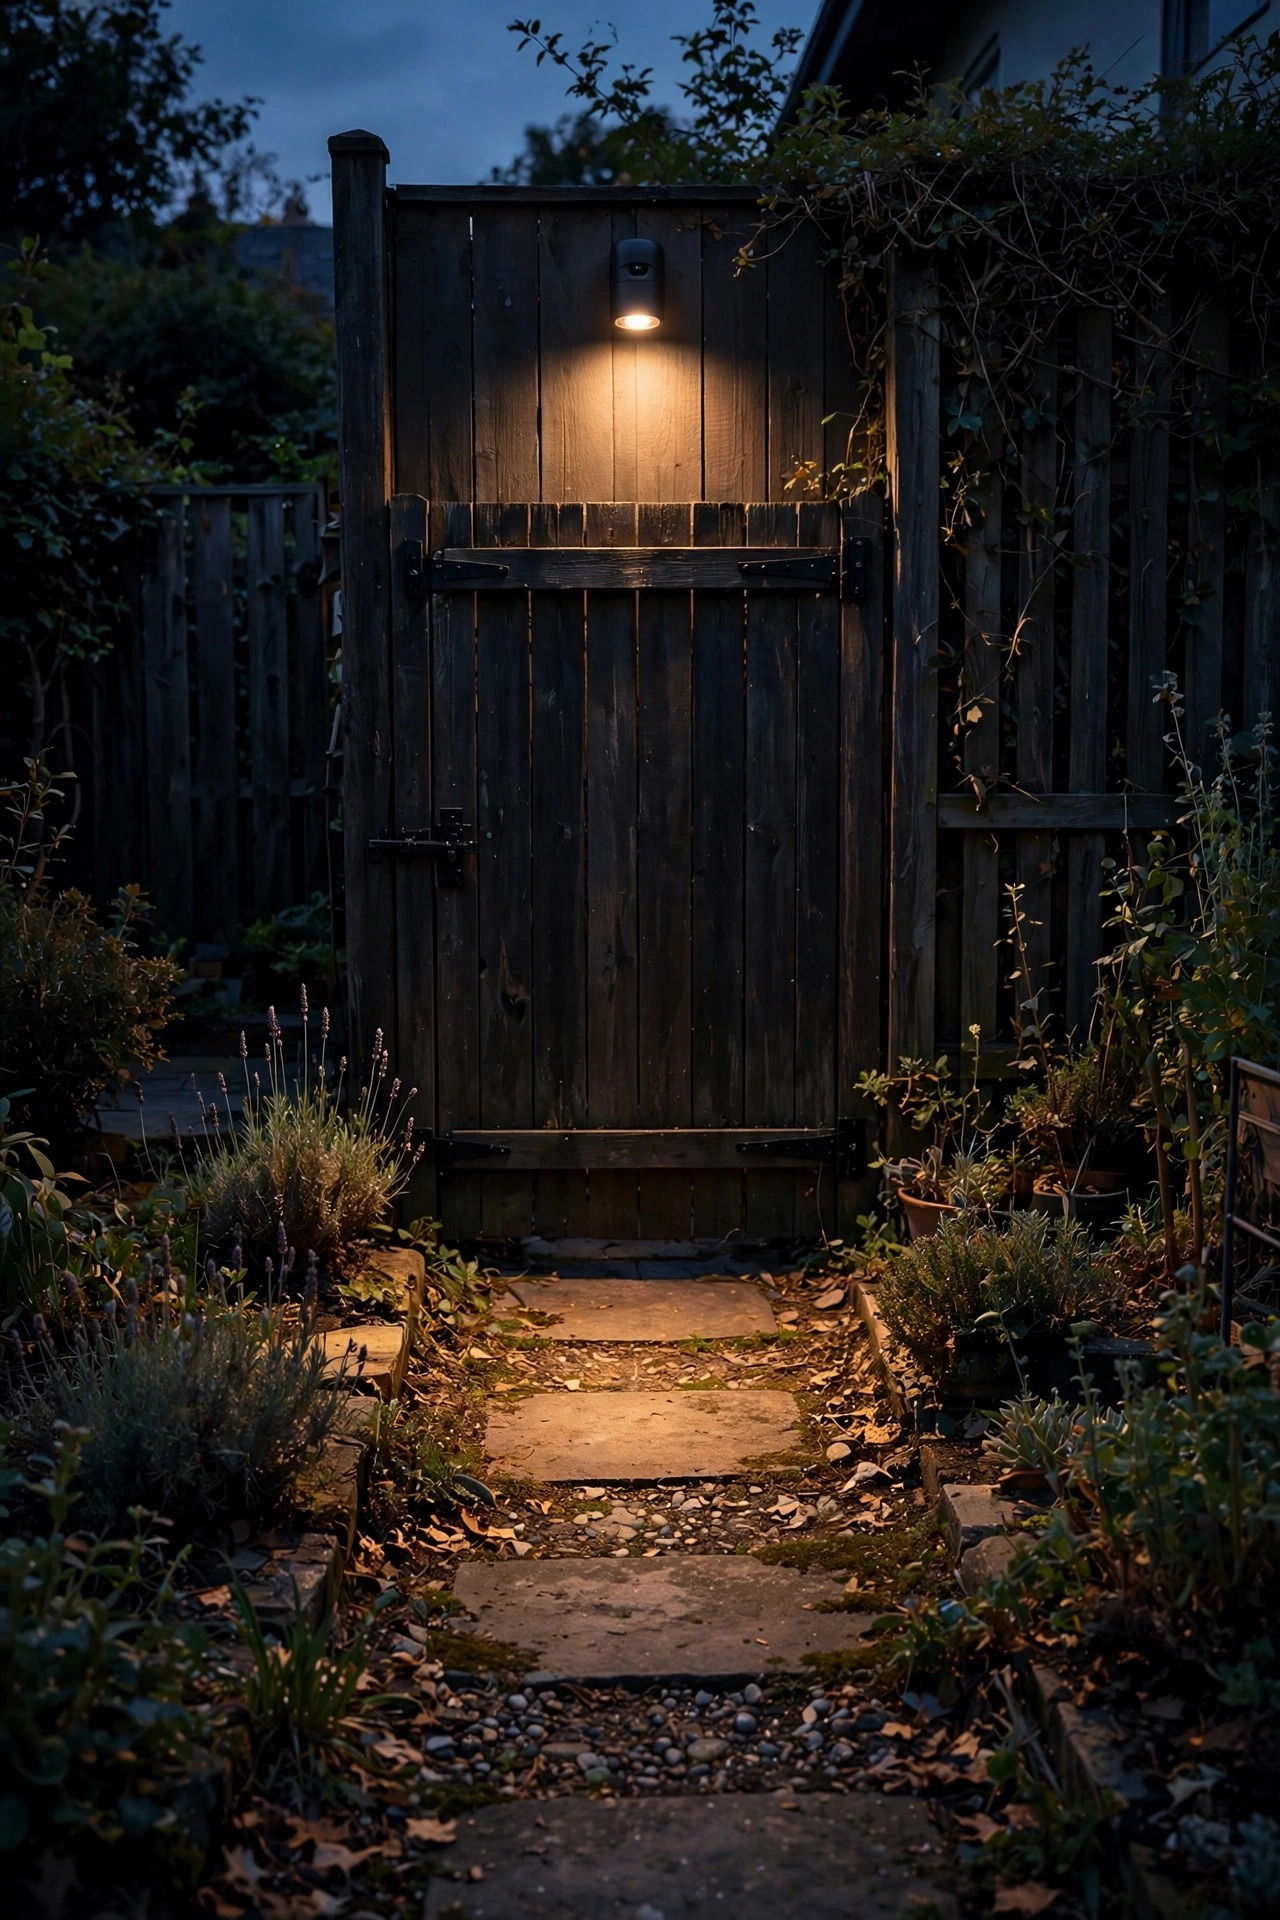
The most minimalist light is the one that is off. For the side yard, the driveway corner, and the path to the trash bins, I use small motion-sensor fixtures that stay dark and unnoticed until someone actually walks through, then fade on warm and low. No all-night glare, no contribution to the light clutter, and the yard keeps its nighttime calm. Choose sensors with an adjustable range so passing cars do not trigger them, and aim the light down at the ground plane. Integrated LED sensor sconces in matte black all but disappear against siding during the day. Set the on-time short, one to three minutes, and the brightness moderate; this is guidance light, not interrogation light. Because these fixtures work only when needed, they also sip electricity and spare the night sky. Place them where function truly demands: gates, steps, and utility corners. Everything else in the yard stays on your composed, always-beautiful scheme.
Suggested budget range: $30 – $85.
19. Put Everything on One Timer So the Scene Sets Itself
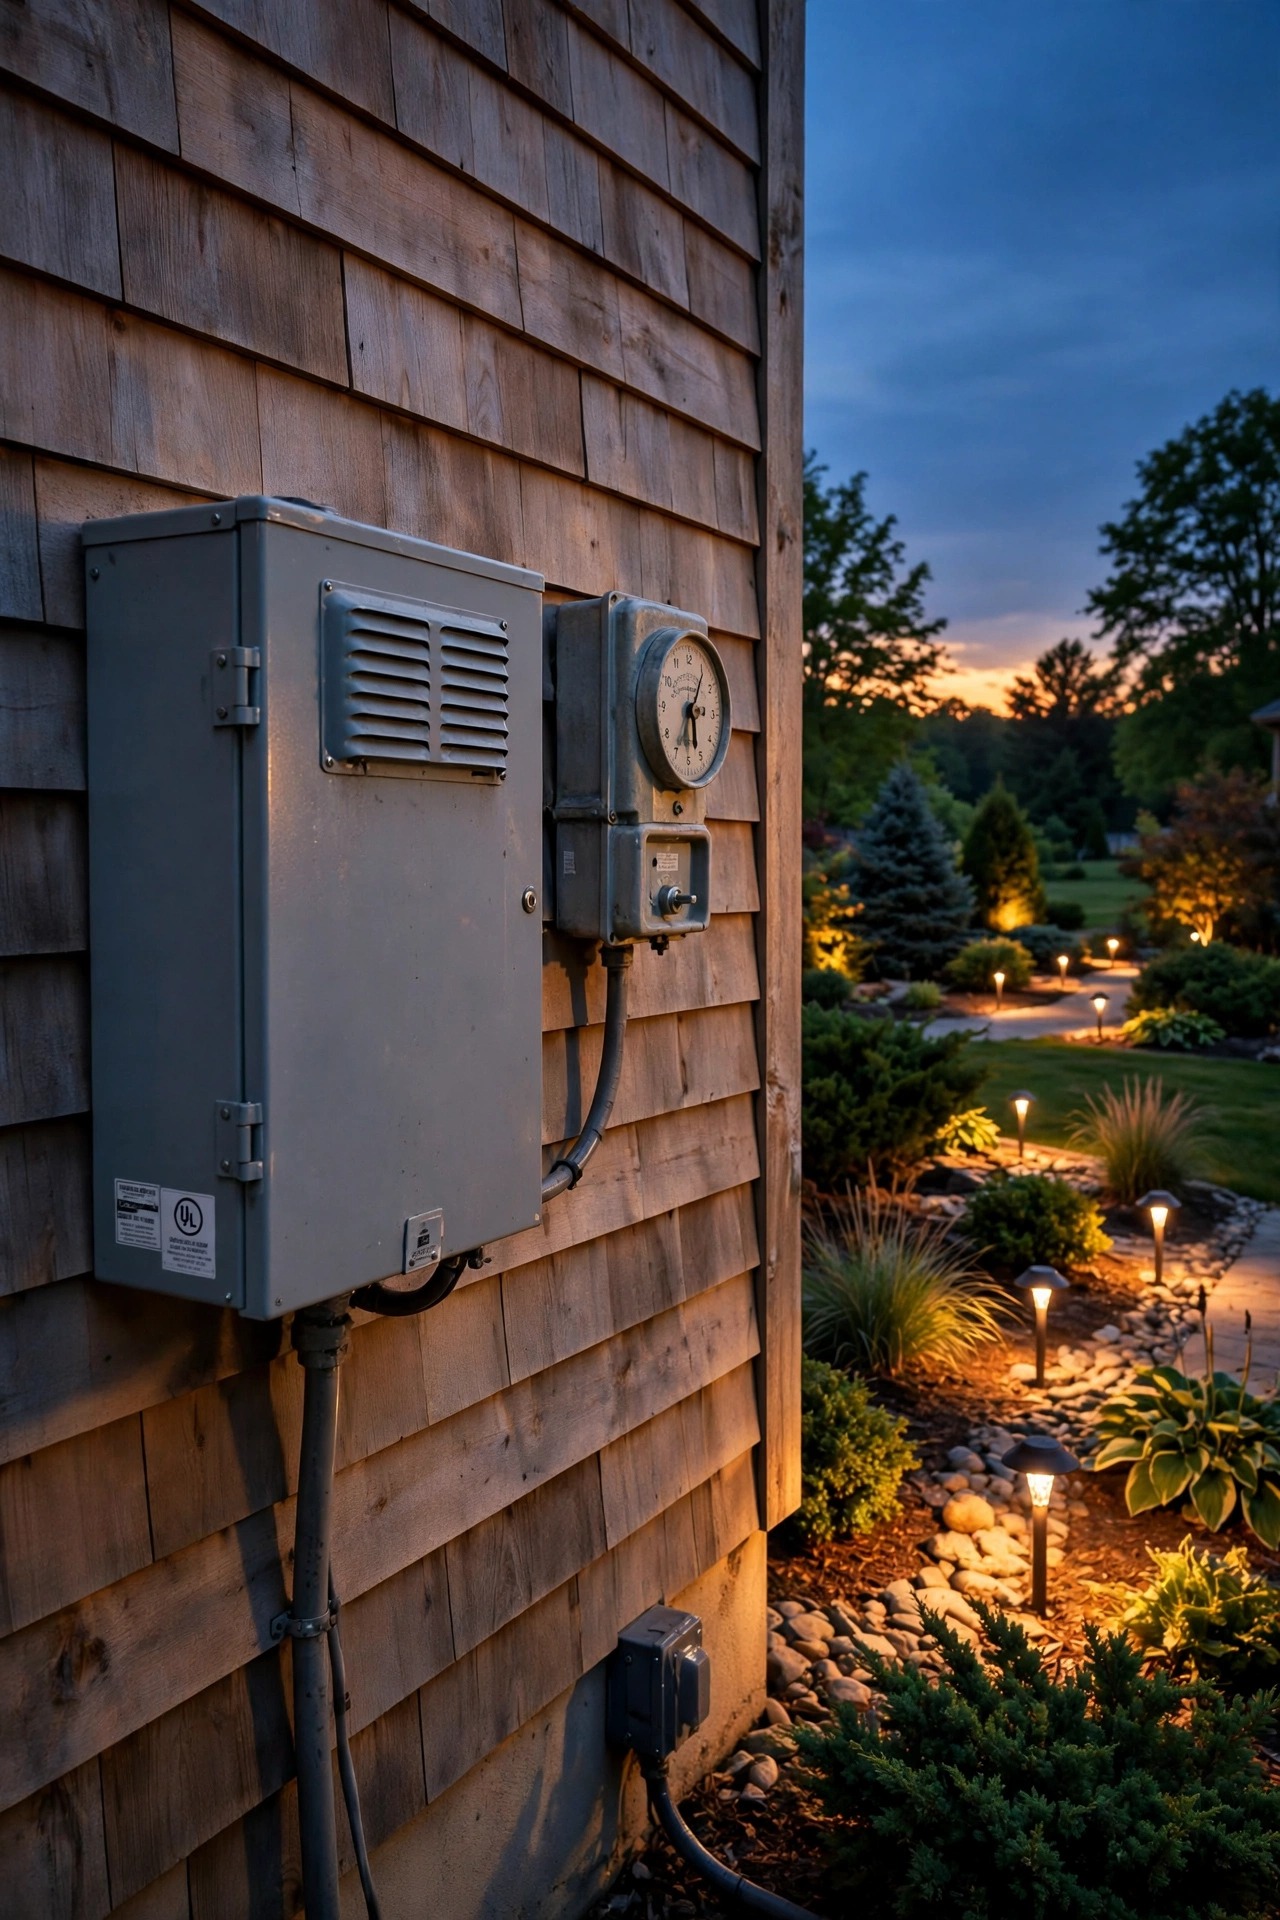
A minimalist yard should run itself. I have every transformer on a single astronomical timer that knows sunset in our area and switches the whole scene on at dusk and off at 11 p.m., because a yard glowing empty at 2 a.m. is clutter of another kind: wasted light. One schedule, one off-time, no fixtures forgotten and burning till morning. Smart plugs and app-controlled transformers make this painless now, and a photocell backup handles cloudy evenings. Group solar separately, since those run themselves. I also keep the porch light on the same schedule so the entire property agrees about when night begins and ends. If you entertain late, a single override in the app extends everything for two hours, then it resets. Automation is invisible, which is precisely why it belongs on this list. The less you fuss with switches, the more the lighting feels like a permanent, designed feature of the house rather than a collection of gadgets.
Suggested budget range: $25 – $90.
20. Tuck Fixtures Into Planting Beds, Never on Open Lawn
A spotlight sitting in the middle of open lawn or pale gravel announces itself all day. The same fixture pushed into a planting bed, nestled against a shrub or behind an ornamental grass, vanishes. I keep every ground fixture inside a bed line, with dark mulch around the base, because dark finishes against dark mulch are functionally invisible. There is also a practical bonus: fixtures in beds never meet the mower or the string trimmer, which is where most path lights go to die. Before you finalize a position, check it from your main viewpoints, the kitchen window, the patio chairs, the street, and move the fixture until it disappears from all three. Keep foliage trimmed a few inches off the lens so growth does not swallow the beam by midsummer. If a bed does not exist where you need light, that is a sign to plant one, even a narrow 18-inch strip of low shrubs. Plants hide hardware better than any camouflage finish ever will.
Suggested budget range: $15 – $60.

21. Choose One Focal Point Per View and Light Only That
Stand in each place you actually spend time, the patio, the porch swing, the kitchen window, and ask what your eye should land on. Then light that one thing: the fountain, the specimen shrub, the garden bench, and let everything else in that view fall to shadow. One lit subject per view is the rule that keeps a scene calm, because the eye is never forced to choose between competing highlights. I light our stone bench from a single low spot hidden in the bed opposite, and the bench glows like a sculpture while the surrounding garden stays a soft dark frame. Rotate the star if you like: in spring the flowering cherry gets the uplight, in summer the fountain does. The hardware stays put; only your emphasis changes. When a friend asks why the yard feels so peaceful, this is the real answer. Focus is a form of minimalism: you are editing with light instead of objects, and the darkness you keep is doing half the design work.
Suggested budget range: $35 – $95.

22. Standardize on Matte Black So Hardware Disappears at Night
Finish is a secret minimalist weapon. Glossy chrome, bright brass, and white fixtures all catch light and announce themselves after dark. Matte black, by contrast, absorbs light and melts into shadow, so the fixture reads as a silhouette at most. I standardized our whole yard on matte black years ago, and it is why so few people realize how many fixtures we actually have. The rule simplifies buying, too: if it does not come in matte black, it does not come home. Powder-coated aluminum in matte black also weathers gracefully and hides dust and water spots between cleanings. If your architecture truly calls for bronze or copper, the same principle applies: pick the darkest, quietest version and use it everywhere. What you must avoid is the mix, because a shiny fixture beside a matte one makes both look accidental. One dark, non-reflective finish turns a dozen necessary objects into near-invisible infrastructure, and the garden finally gets to be the decoration.
Suggested budget range: $10 – $60.

23. End With a Monthly Dusk Walk-Through of Your Minimalist Outdoor Lighting Ideas
Minimalism drifts if you do not maintain it: a stake leans, a shrub swallows a fixture, a well-meaning gift lantern appears by the door. So once a month I pour a coffee, wait for dusk, and walk the whole yard slowly with my phone for notes. I check for glare from the street, dead bulbs, fixtures the plants have eaten, and anything that no longer matches the plan. Ten minutes keeps the scheme as clean as the day I edited it. This is also when I make the small calls: nudge a spotlight out as the tree grows, pull the cute-but-wrong stake someone gave me, re-aim the path light the mower kissed. Treat the checklist as part of the design, because honestly, these minimalist outdoor lighting ideas only stay minimalist if someone keeps choosing them. End the walk at the curb, take in the whole composition, and enjoy the calm you built: few lights, all warm, all working, nothing extra. That quiet view is the entire reward.
Suggested budget range: $0 – $25.
Frequently Asked Questions
What color temperature looks best for minimalist outdoor lighting?
Warm white at 2700K, everywhere, with no exceptions. That single temperature is what makes porch, path, and garden feel like one composed scene instead of separate projects. Cooler 4000K and 5000K bulbs read as commercial and harsh against wood, brick, and foliage, and mixing temperatures is the fastest way to make a tidy yard feel unsettled. Check the Kelvin number on every box before you buy, and keep labeled spares so replacements always match.
How many outdoor lights does a minimalist yard actually need?
Far fewer than most people install. For a typical suburban lot, I aim for roughly 4 to 6 path lights, 1 or 2 porch fixtures, 1 to 3 accent spots for a tree or focal point, and 1 overhead source on the patio, so somewhere between 8 and 14 fixtures total. Start at the low end, live with it for a week, and add only where you find a genuine dark gap at a step, gate, or turn.
Are solar lights minimalist enough, or should I go wired?
Both can work; discipline matters more than power source. Wired 12-volt systems give the most even brightness, the best timers, and fixtures that truly disappear, so I use them for paths, steps, and accents. Solar earns its place in sunny, simple runs: identical stakes in one straight, evenly spaced line. Where solar fails minimalism is the multipack scatter and the mismatched blue-white glow, so buy matched warm 2700K sets and replace a dead unit right away.
How do I make cluttered lighting look minimalist without replacing everything?
Start with subtraction, not shopping. Pull every duplicate, broken, or mismatched fixture, then unify all bulbs to 2700K. If finishes clash, a coat of matte black outdoor spray paint on metal fixtures makes them read as one family for a few dollars each. Hide what remains behind plants, aim every beam down, and put the whole scheme on one timer. Most yards get 80 percent of the transformation from editing alone.
Conclusion
If you remember one thing, let it be this: minimalist outdoor lighting ideas are not about owning less for its own sake; they are about choosing light the way you would choose furniture, a few good pieces, all in conversation with each other, nothing shouting. Edit first, hide the hardware, repeat one fixture and one warm temperature, and protect the darkness between the lights, because that darkness is what makes the glow feel luxurious. Start with the ruthless edit this weekend, then add back only what a path, a step, or a favorite tree truly needs. Your yard will look calmer, your evenings will feel quieter, and your electric bill will thank you. When you are ready for the next project, browse the rest of my lighting ideas here on the site; I am always testing one more way to do less, better.