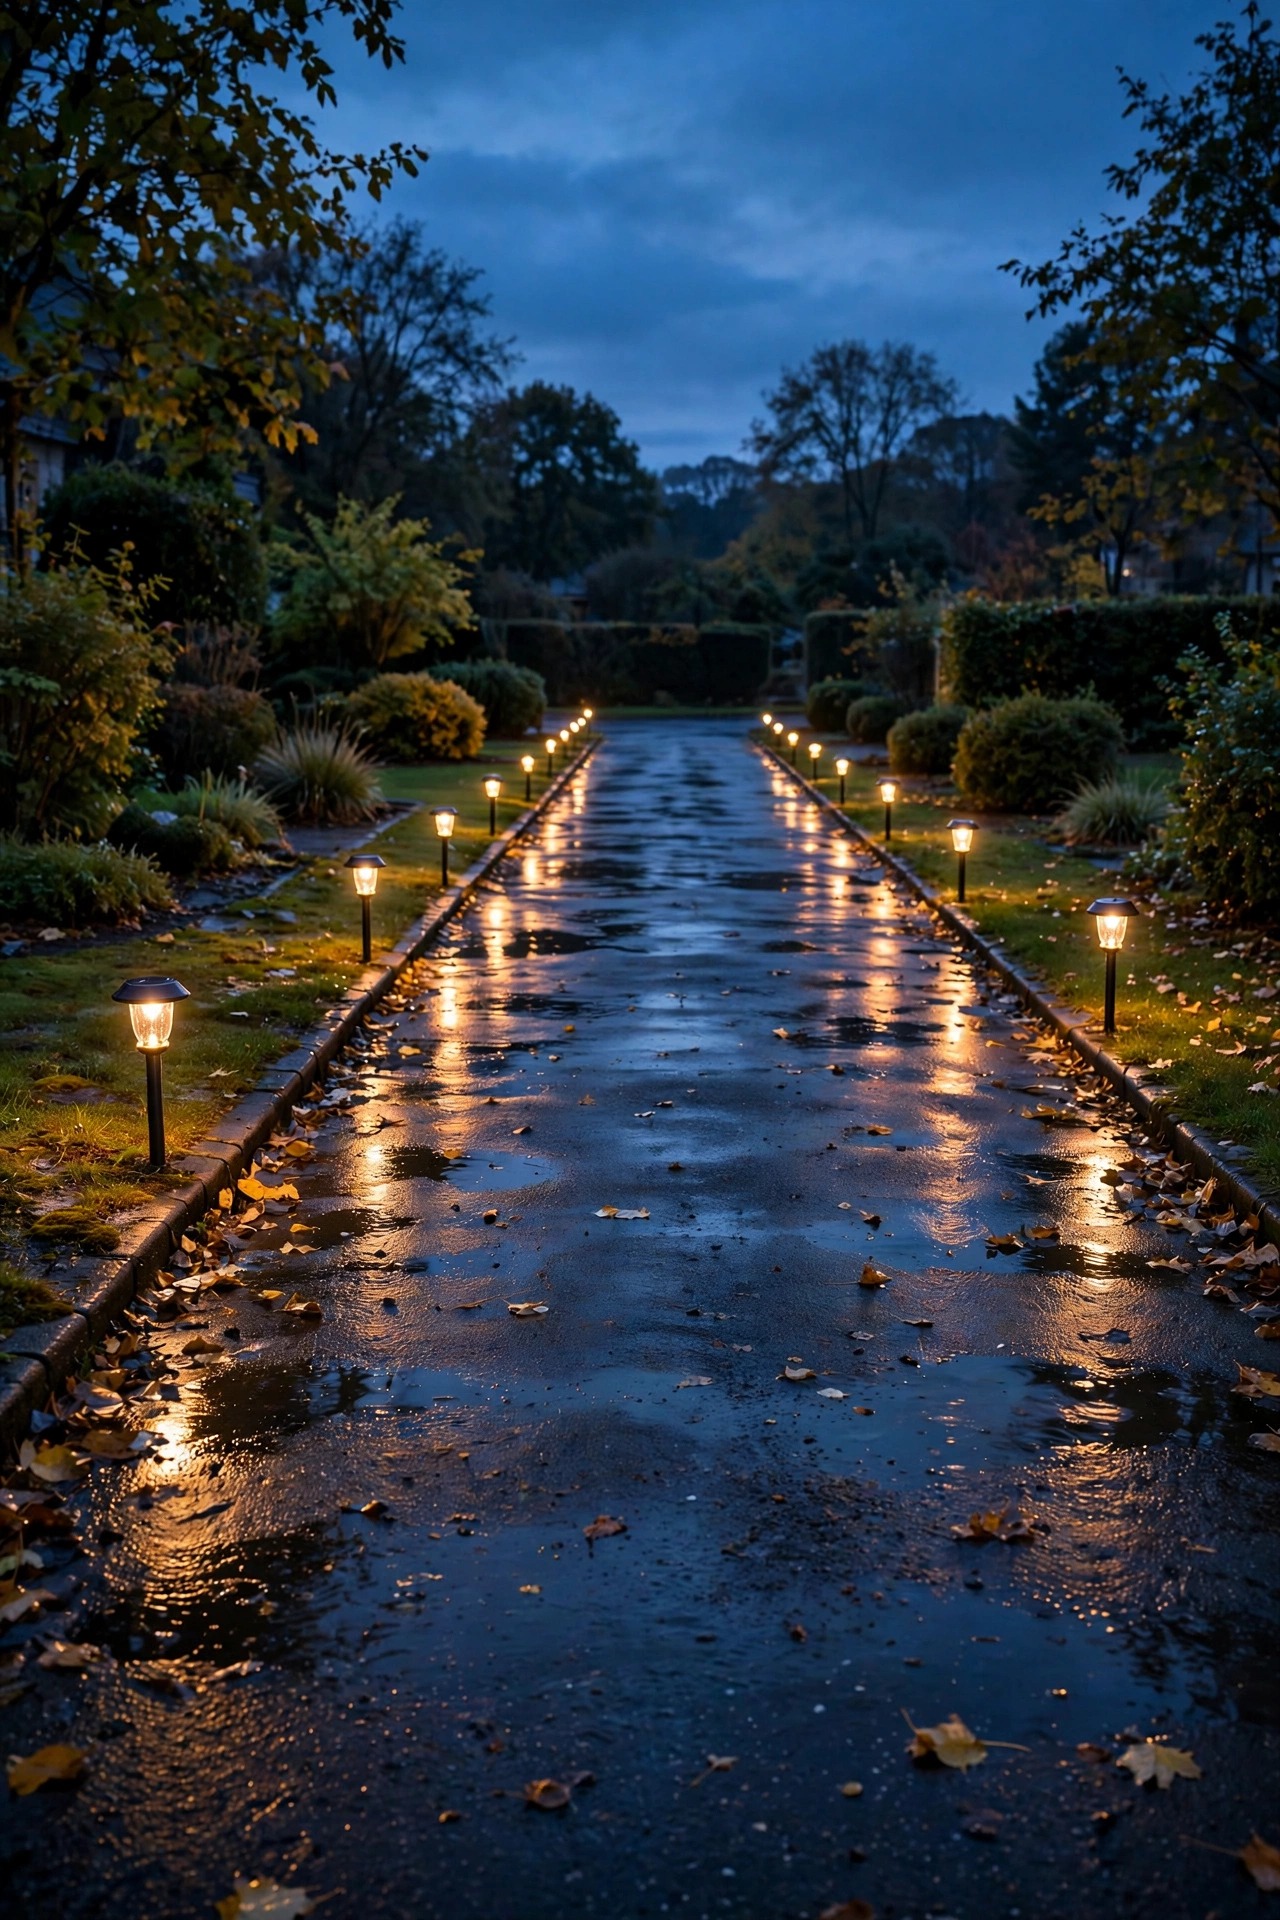
Here is the dirty little secret about driveway lighting: the weather is not the exception, it is the whole job. Your lights will bake in August sun, freeze solid in January, sit in puddles every spring, and get clipped by a snowplow at least once. After two winters of watching cheap stakes snap, flood, and fade by 8 p.m., I rebuilt my whole approach around solar driveway lights that are honestly rated for the outdoors — sealed housings, metal stakes, and batteries that still work below freezing. The good news is that weatherproof does not mean ugly or expensive. In this list I will walk you through 17 ways to light a driveway with solar power that shrugs off snow, storms, wind, and cold: what the IP ratings actually mean, where to aim panels so they keep charging in December, and the small placement tricks that keep lights standing after the plow comes through. Pick the ideas that match your climate, layer them along both edges, and your driveway will still be glowing in weather that kills lesser lights.
1. Pick Solar Driveway Lights With an IP65 Rating or Higher
Every weatherproofing conversation starts with the IP rating, and it is the single most useful number on the box. The first digit is dust protection, the second is water, and for anything living beside a driveway you want IP65 at a minimum: fully dust-tight, and sealed against water jets from any direction, which covers driving rain and sprinkler hits. If your driveway has a low spot that puddles, or your lights will sit where meltwater runs in spring, step up to IP67, which survives temporary submersion. In my experience, the rating only counts if the battery door and seams are part of the seal — look for a gasketed battery compartment with screws, not a snap lid that warps after one hot summer. Hold the fixture up and check where water would enter: seams should face down or be shielded, never open toward the sky. Honestly, this one decision eliminates most early failures. A well-sealed IP65 light shrugs off the exact conditions — slush spray, freeze-thaw cycles, a pressure washer pass — that fog up cheaper housings from the inside.
Suggested budget range: $30 – $80.
2. Set Drive-Over Disk Lights Flush Along the Edge
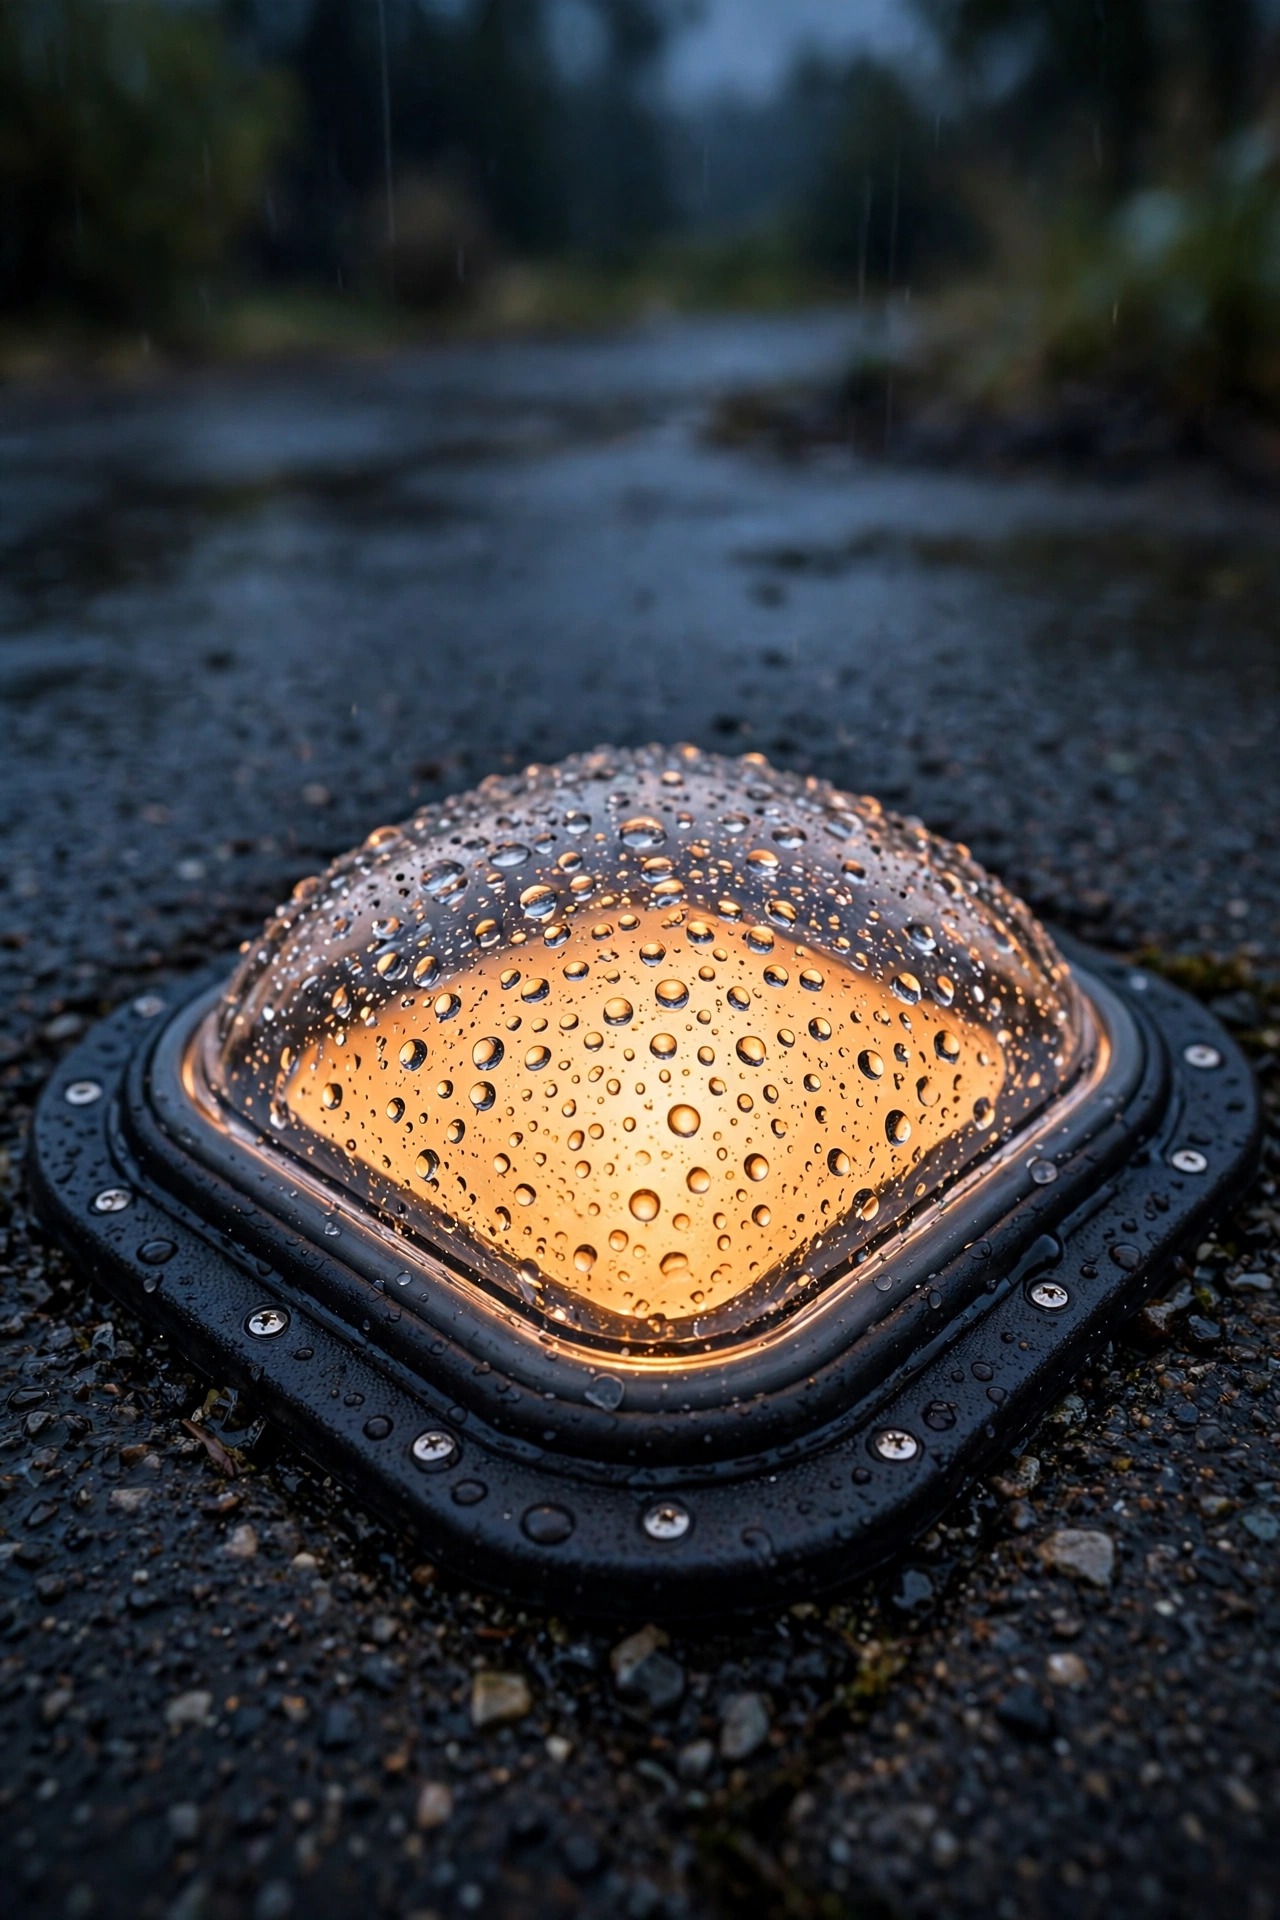
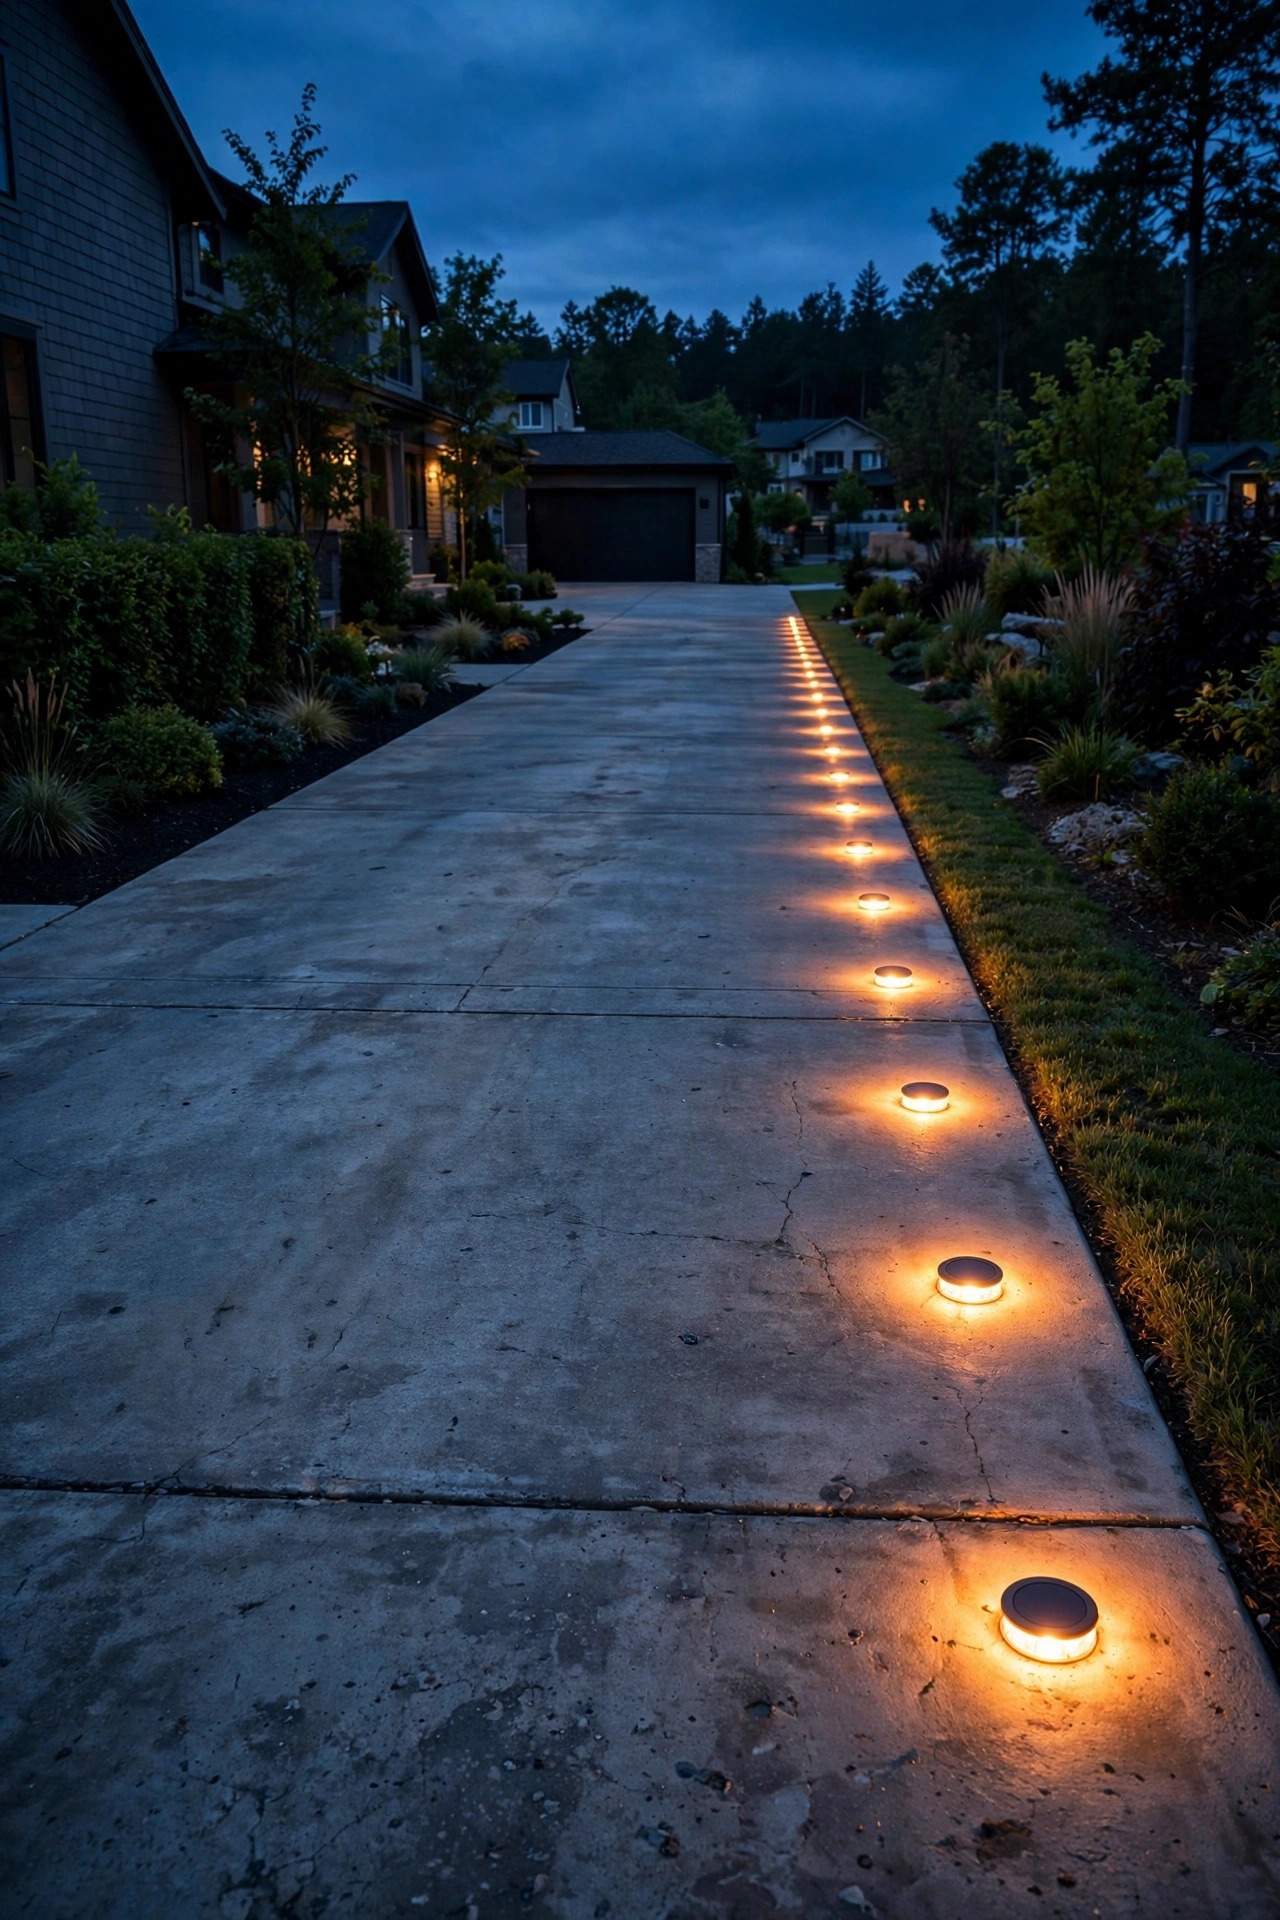
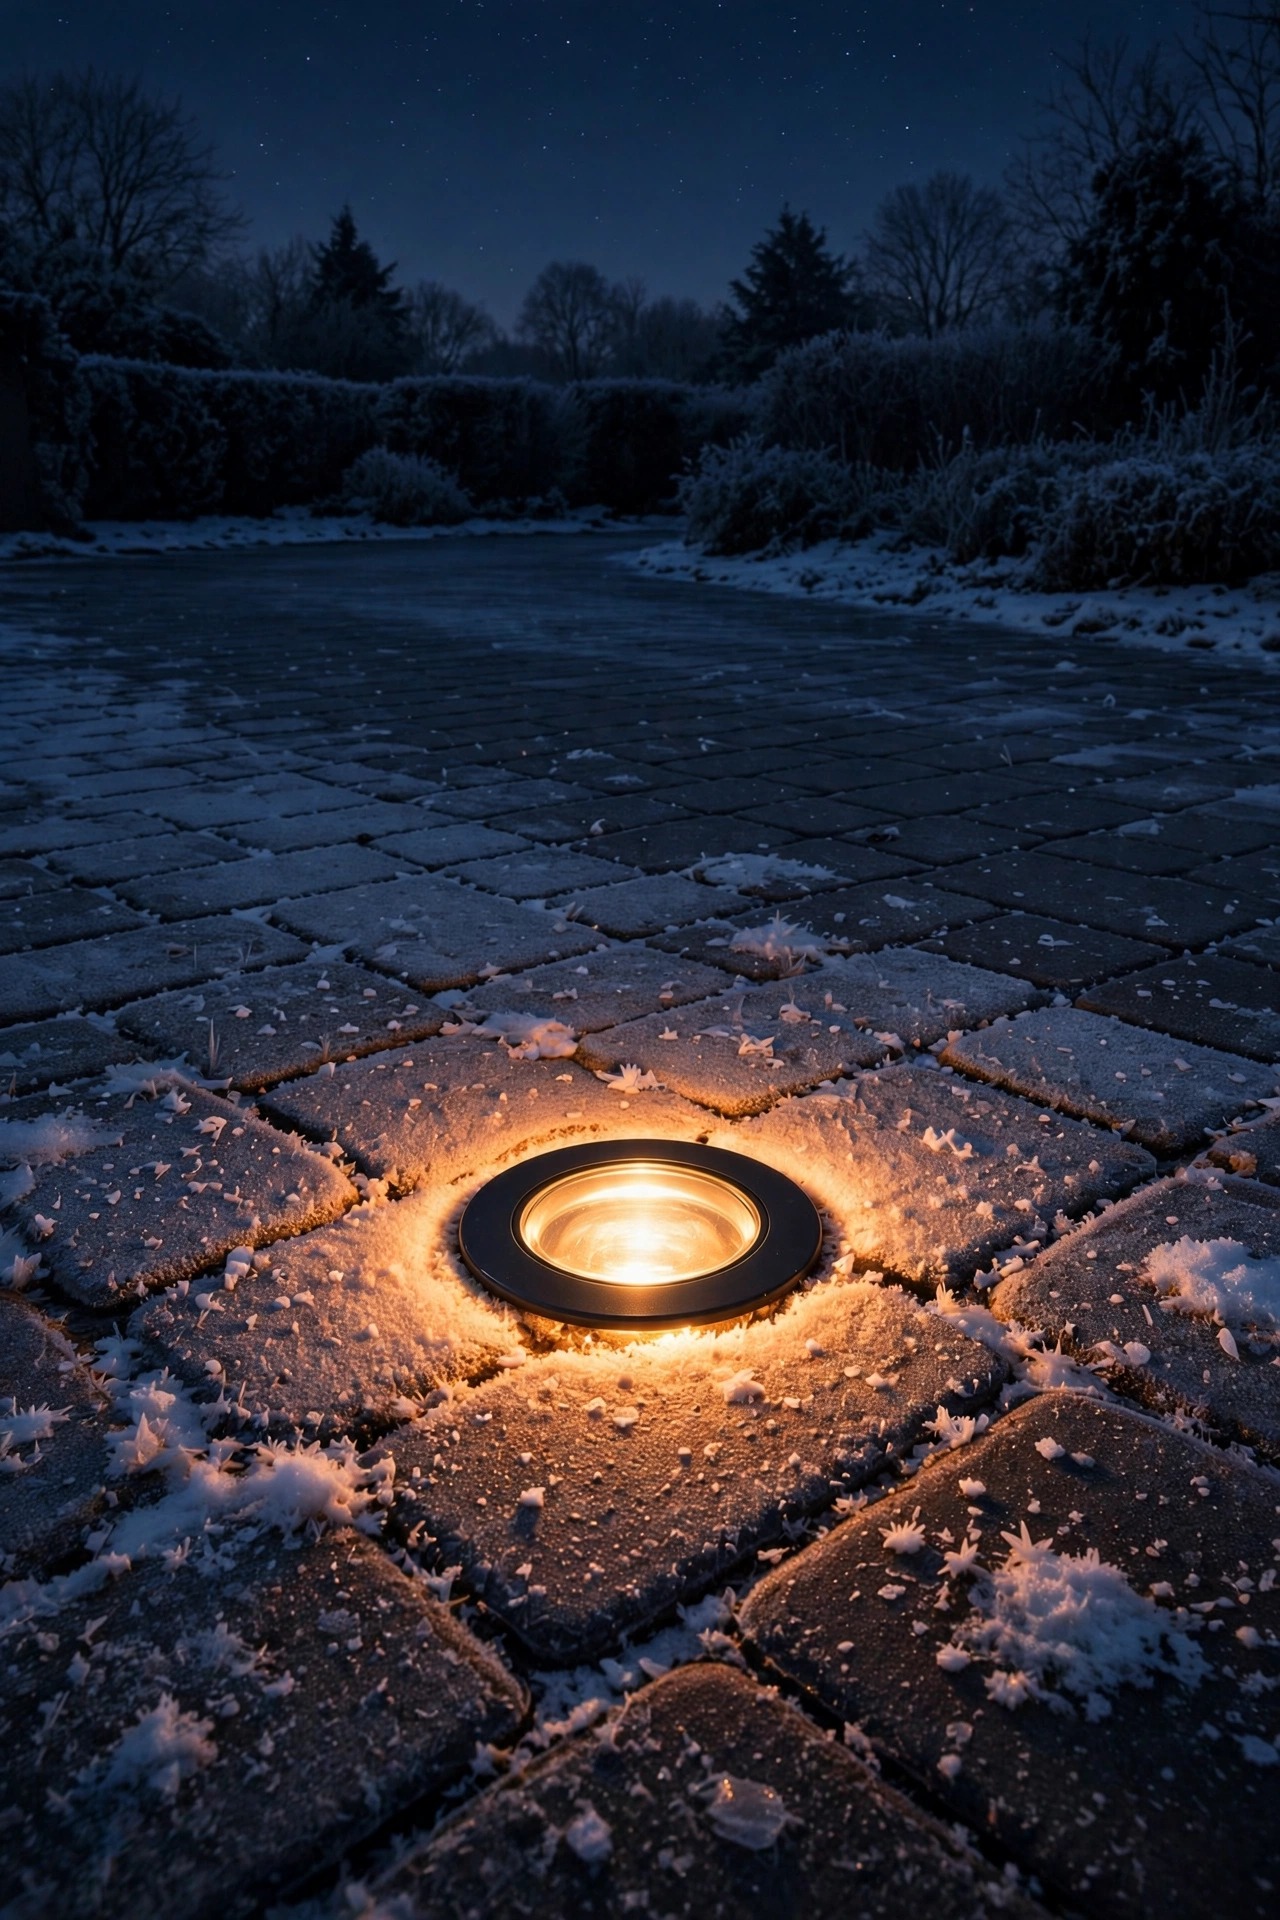
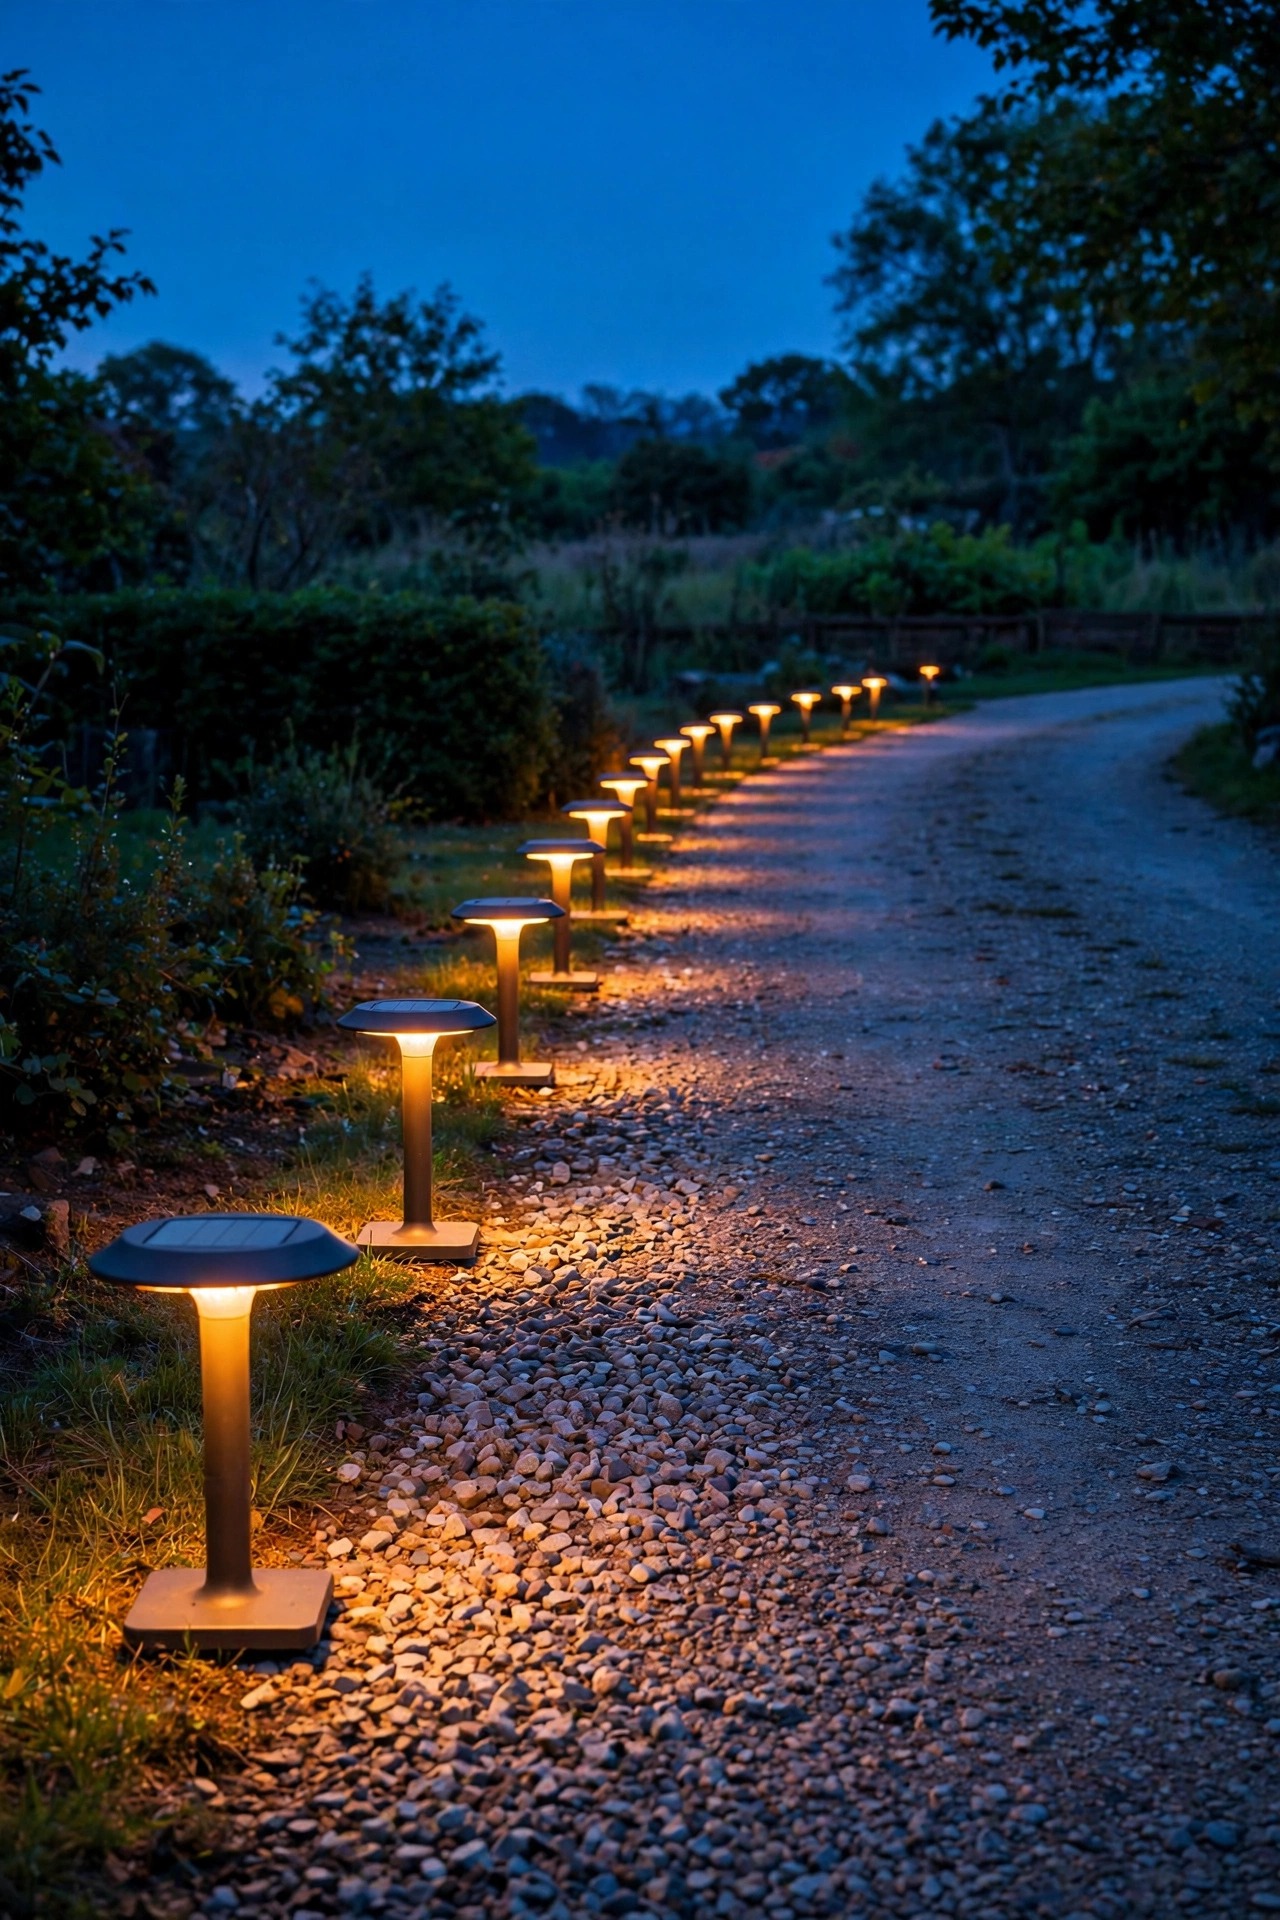
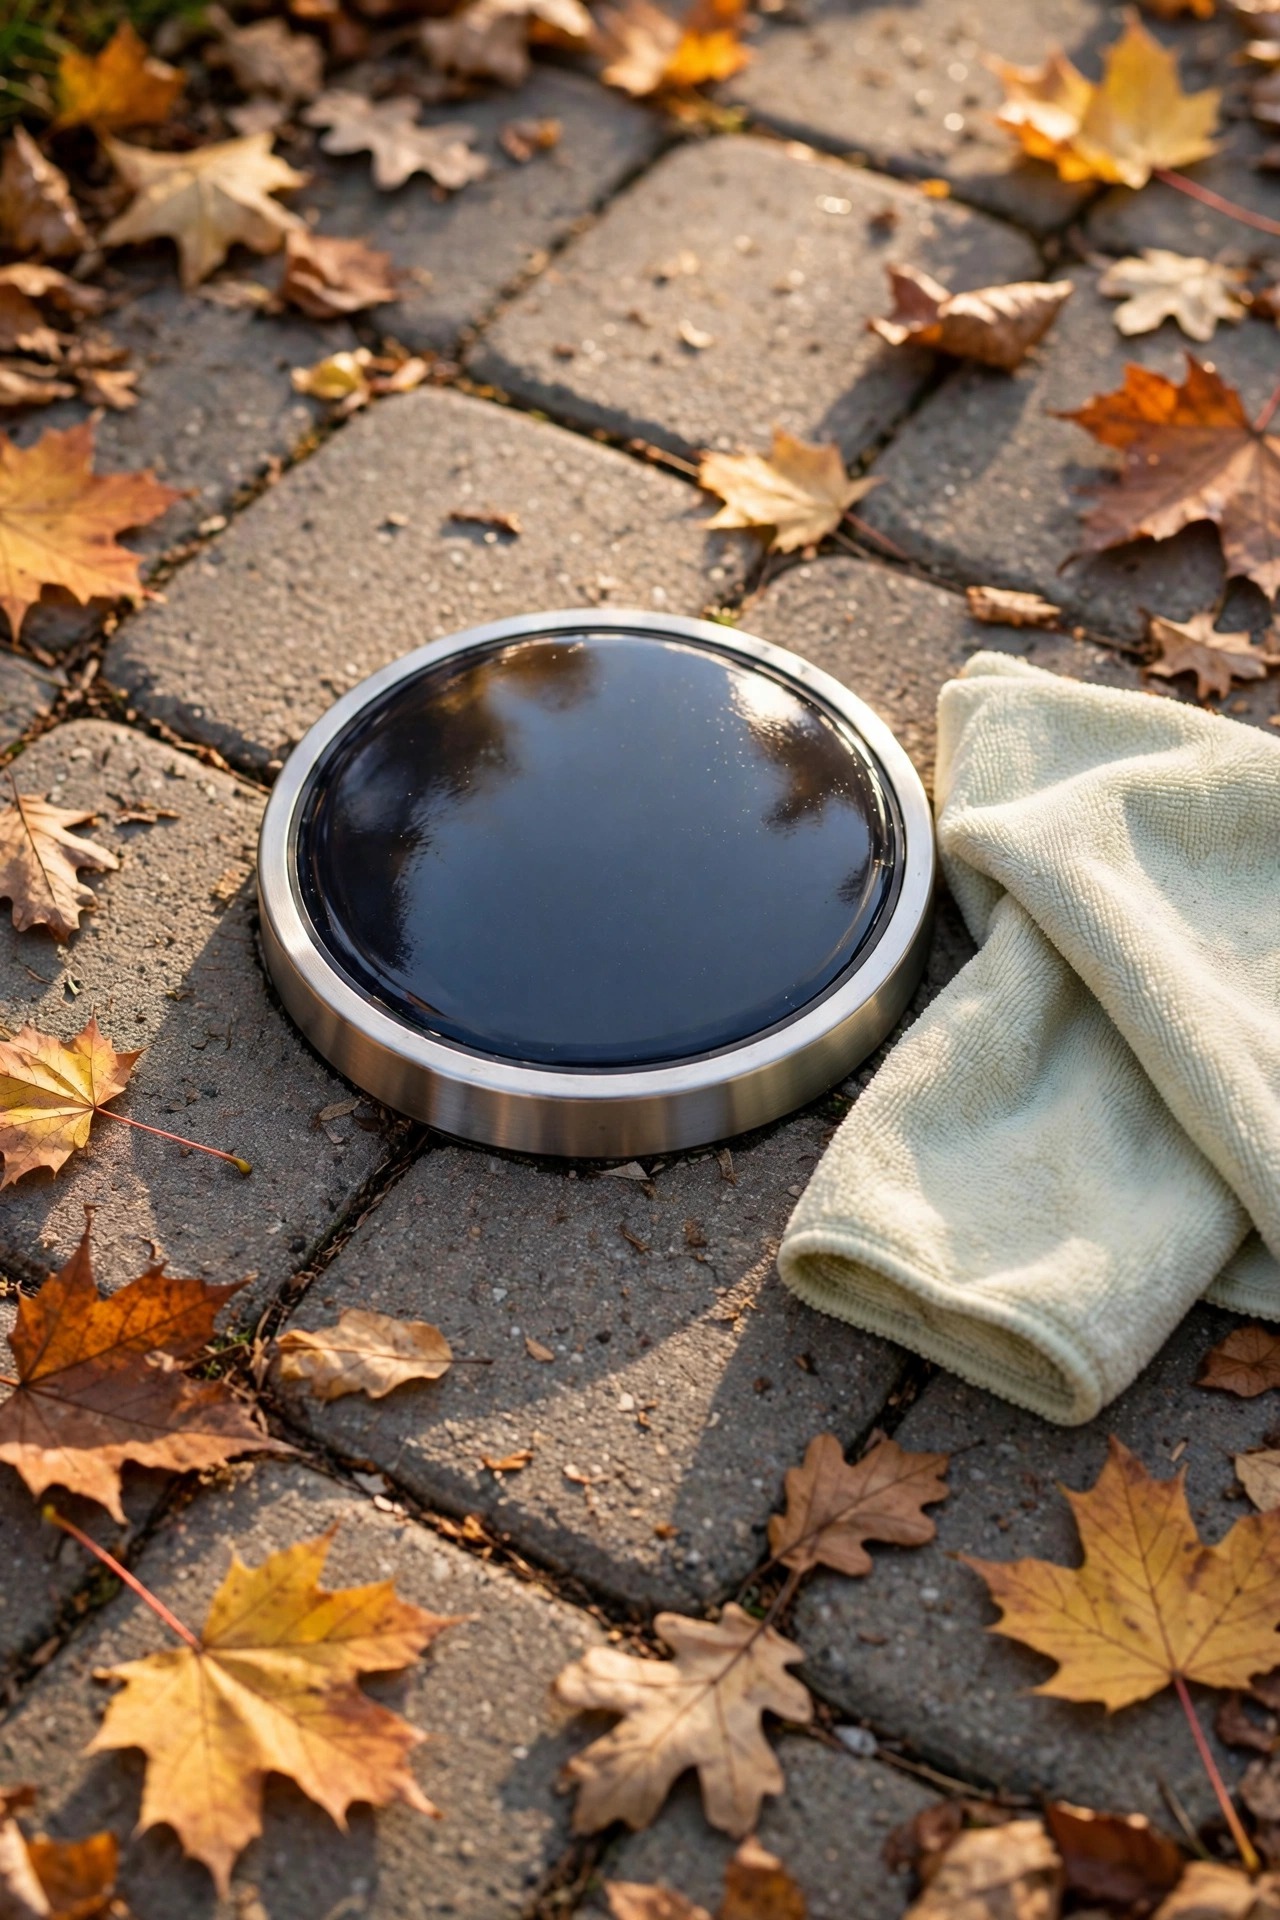
Some lights survive storms by being strong; disk lights survive by having almost nothing above ground to break. These flat, round fixtures sit flush in a shallow recess along the driveway edge — or even in the pavement itself — so snowplows, tires, and mower decks pass right over them. Look for a stated drive-over load rating, tempered glass or thick polycarbonate lenses, and a stainless or cast-aluminum rim. The panel is the top face, so placement matters: disks need honest sun, at least 5 to 6 hours, and they charge best on the sunnier side of the drive. Space them 6 to 8 feet apart for a dotted guidance line that reads clearly in rain and fog. One honest warning from my own driveway: flush disks disappear under even an inch of snow, so in snow country treat them as a three-season layer and pair them with taller markers for winter. In milder climates, though, they are close to indestructible — no stake to bend, no head to snap, nothing for the wind to grab.
Suggested budget range: $40 – $90.
3. Choose Metal Stakes Instead of Plastic Spikes
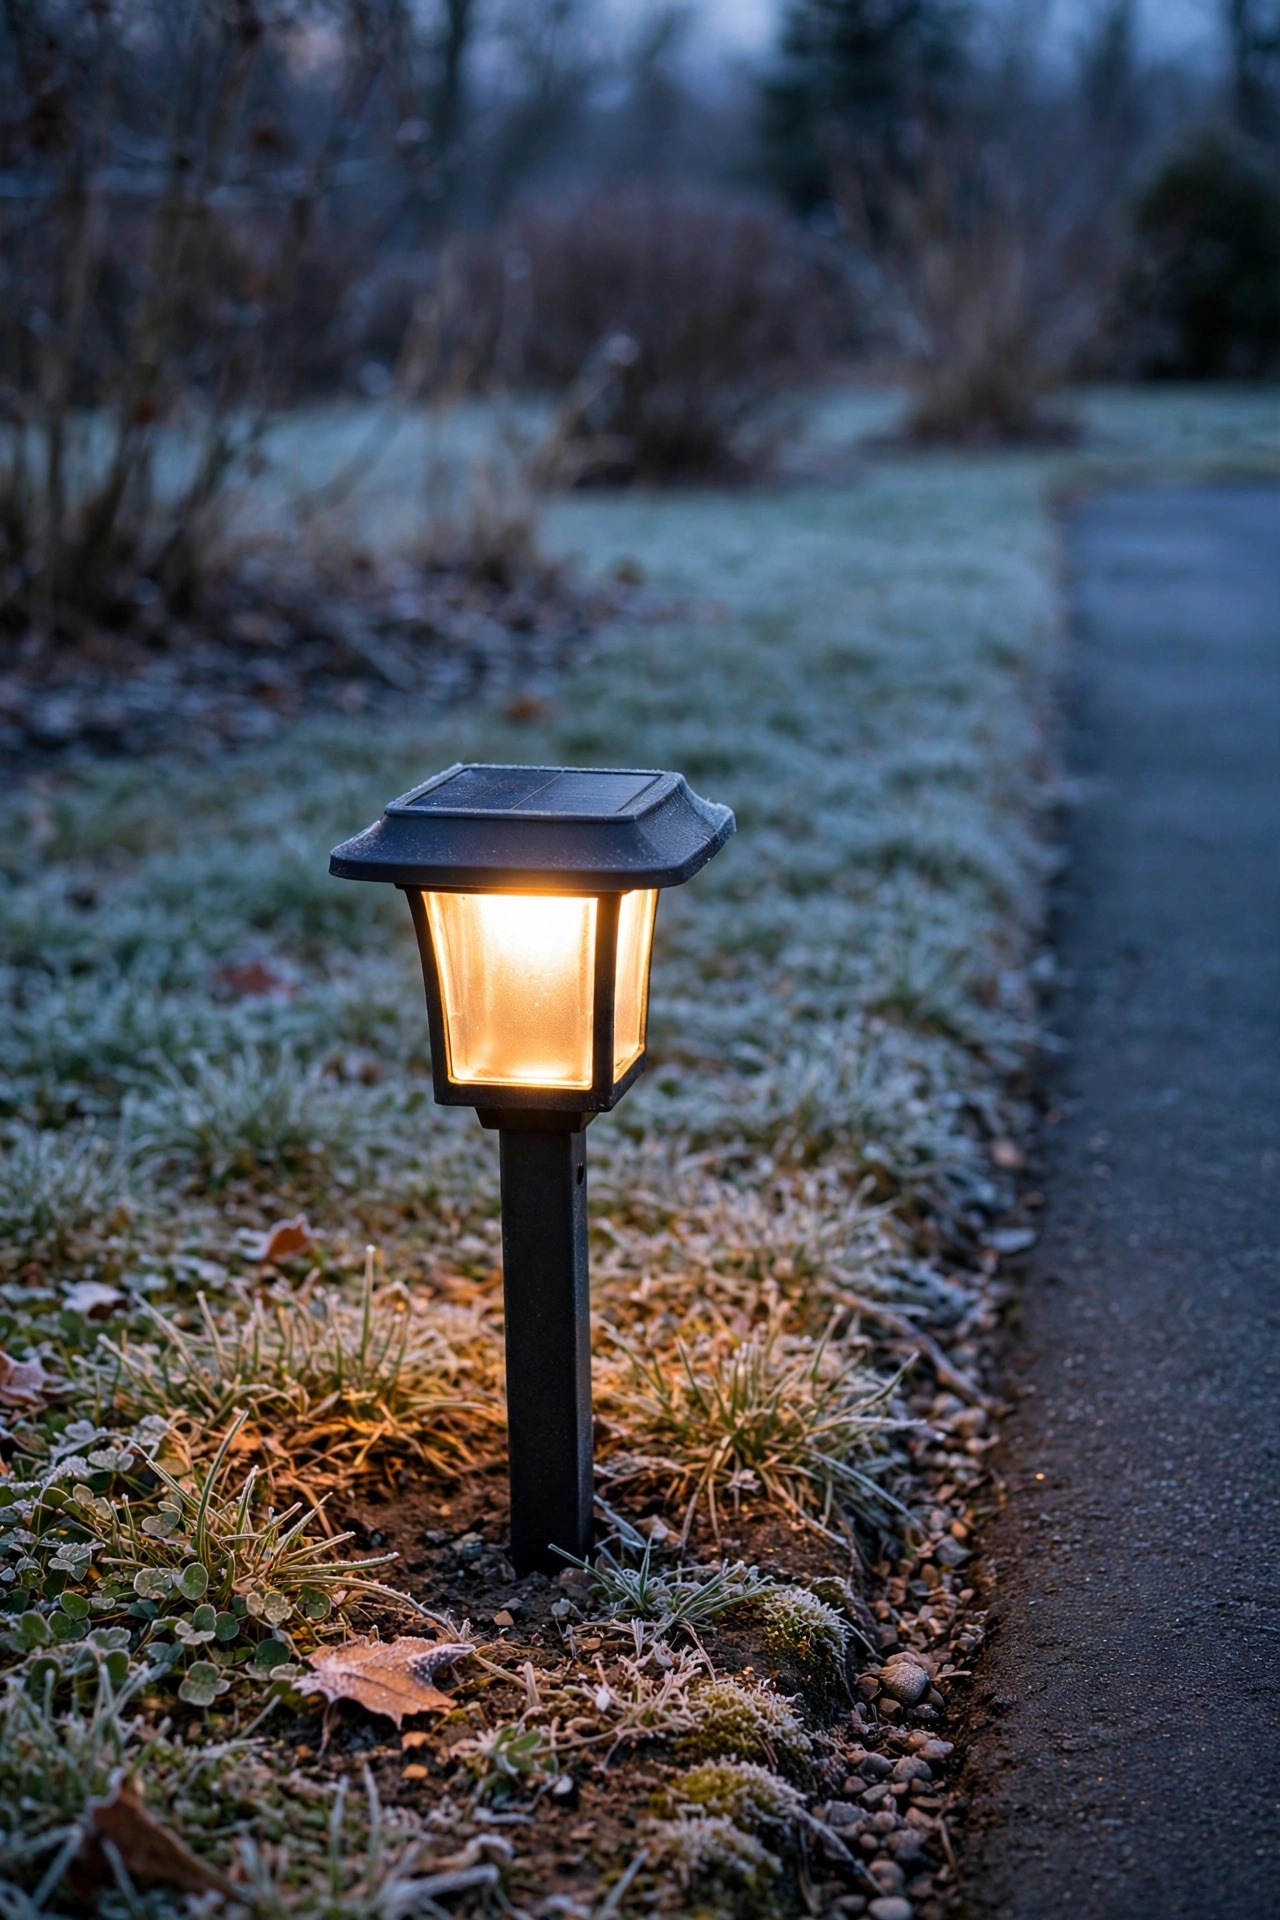
Walk any big-box aisle in spring and you will see the casualties: solar stakes with cracked plastic spikes, snapped off at ground level by frost heave or one careless boot. The fix is boring and total — buy lights with aluminum or stainless steel stakes. Metal stakes push into frozen or rocky soil without flexing, they do not get brittle in January cold the way plastic does, and they survive being pulled and re-seated season after season. I always recommend stakes with a pointed, ribbed profile at least 4 inches long; the ribs grip the soil so freeze-thaw cycles cannot slowly jack the light out of the ground. If your soil is heavy clay, pre-drill or soften the hole with water before pushing any stake home, metal included. And a placement tip that saves more lights than any rating: set driveway stakes 6 to 10 inches back from the pavement edge, out of the tire overhang and the plow spray line, where they light the edge without living in the strike zone.
Suggested budget range: $35 – $75.
4. Split the Panel From the Light With a Remote Panel
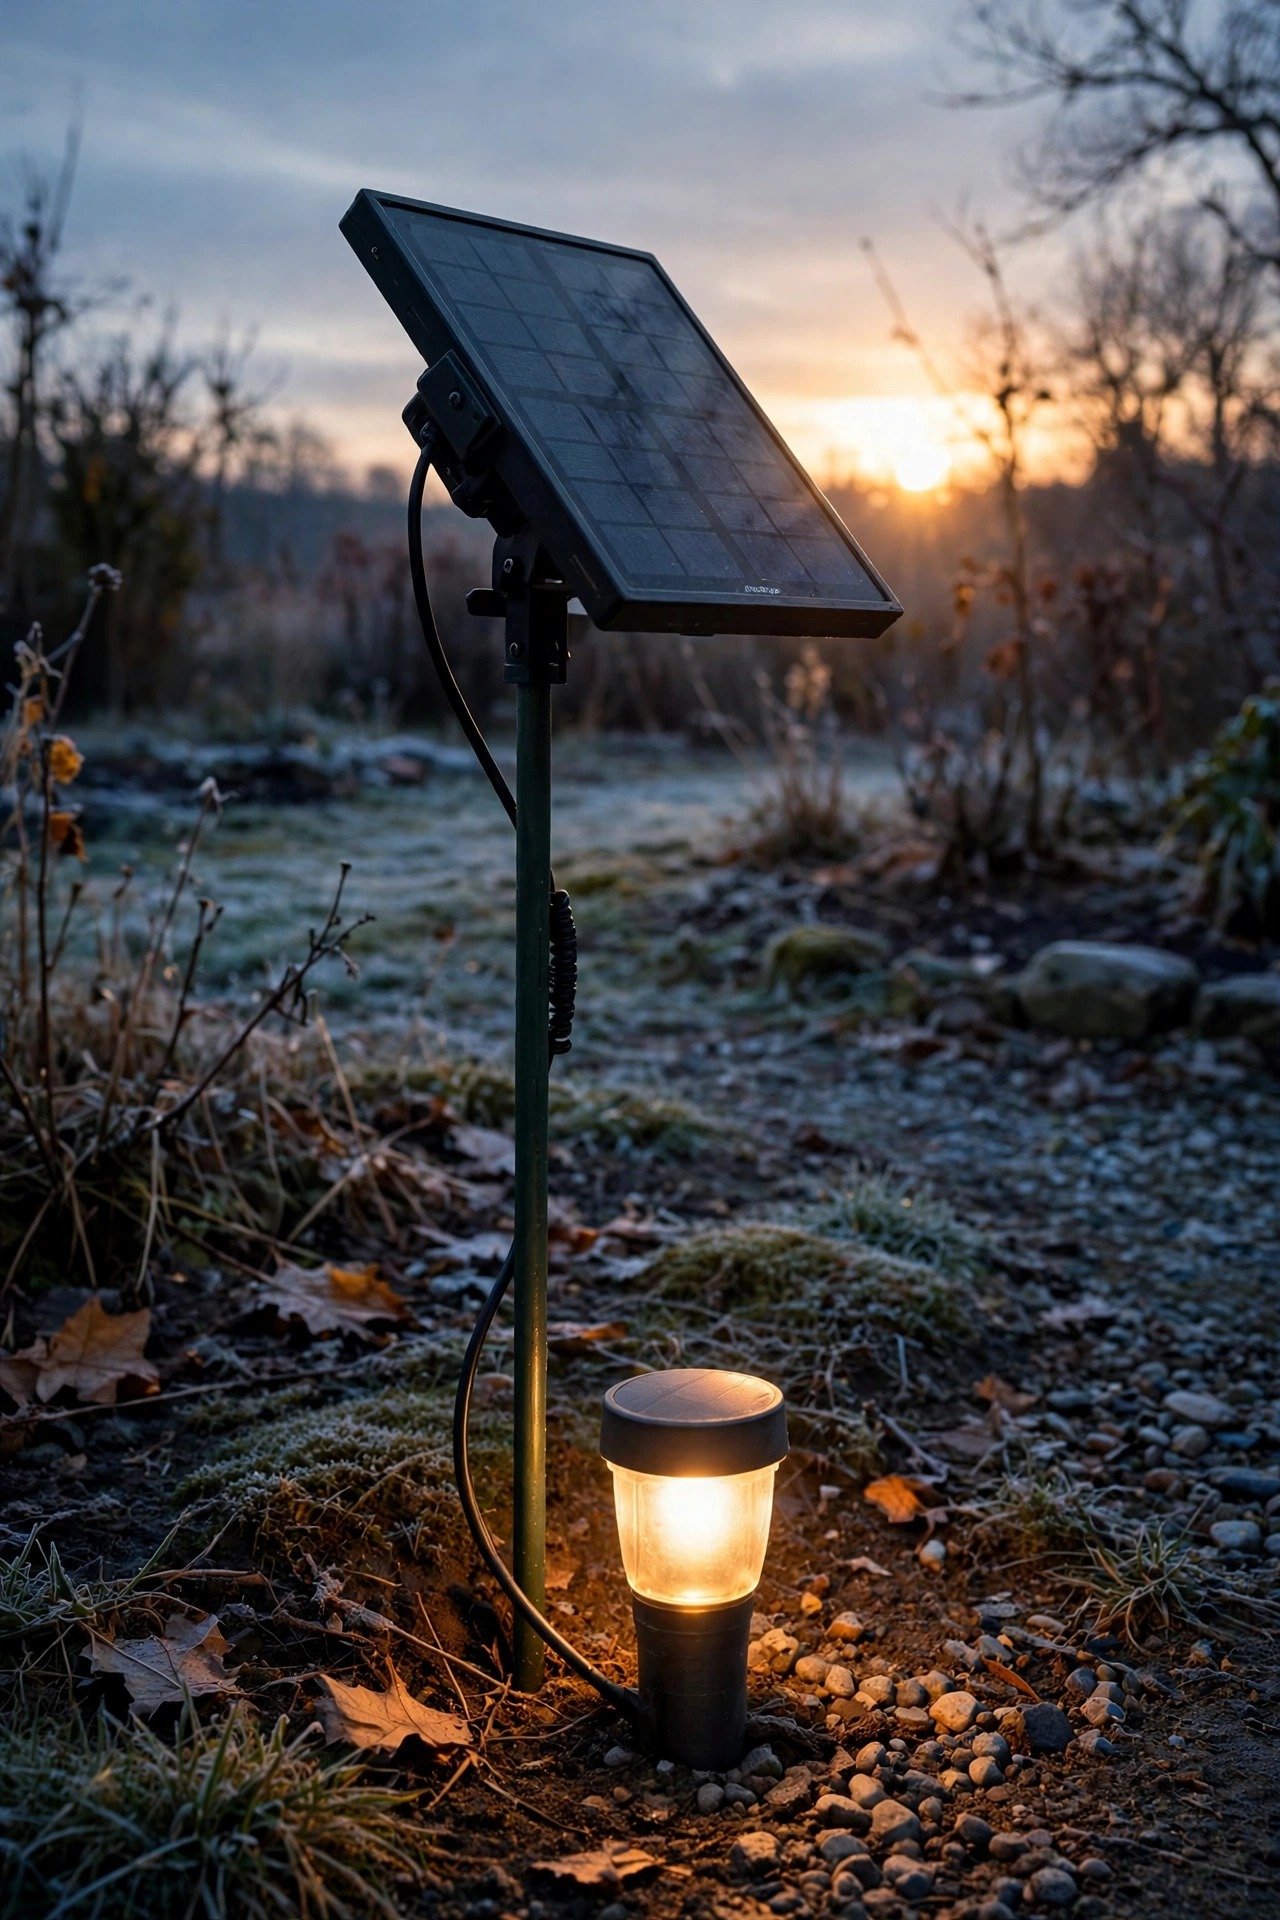
The shadiest driveway problem has a simple answer: the light and the solar panel do not have to be the same object. Remote-panel fixtures connect the lamp to a separate panel on a 9- to 15-foot cable, so the panel sits in the one sunny patch while the light works in the shade of the house or the big maple. This is also my favorite winter trick, because a panel you can reach is a panel you can brush off. Mount the panel facing as close to true south as you can, tilted 30 to 45 degrees — that steep tilt does double duty, catching low winter sun and shedding snow before it piles up. Keep the cable buried an inch or two or tucked along the edging so the mower never finds it, and put the connection inside the housing or under the panel where rain cannot sit in it. Panels are the engine of the whole system; giving the engine real sun matters more than any other spec on the box.
Suggested budget range: $45 – $100.
5. Demand Cold-Rated Batteries for Northern Driveways
Most solar light failures blamed on winter are really battery chemistry failures. Standard lithium-ion cells lose a big share of their capacity below freezing and can refuse a charge in deep cold, while nickel-metal hydride cells fade even earlier. Lithium iron phosphate — LiFePO4 — is the cold-weather champion: it keeps working down to around -4°F and tolerates thousands of charge cycles, which is why better fixtures advertise it by name. Whatever the chemistry, look for a battery you can actually replace, sized 1500 mAh or higher for a light you expect to run past midnight. In my experience, a slightly dimmer light on a healthy battery beats a bright one that dies at 9 p.m. all winter. Two habits help any battery through January: site the panel for the low southern sun arc rather than summer angles, and accept a shorter, lower winter mode if the fixture offers one. Conservation beats replacement every time.
Suggested budget range: $40 – $95.
6. Go Tall With Bollard Markers in Deep-Snow Country
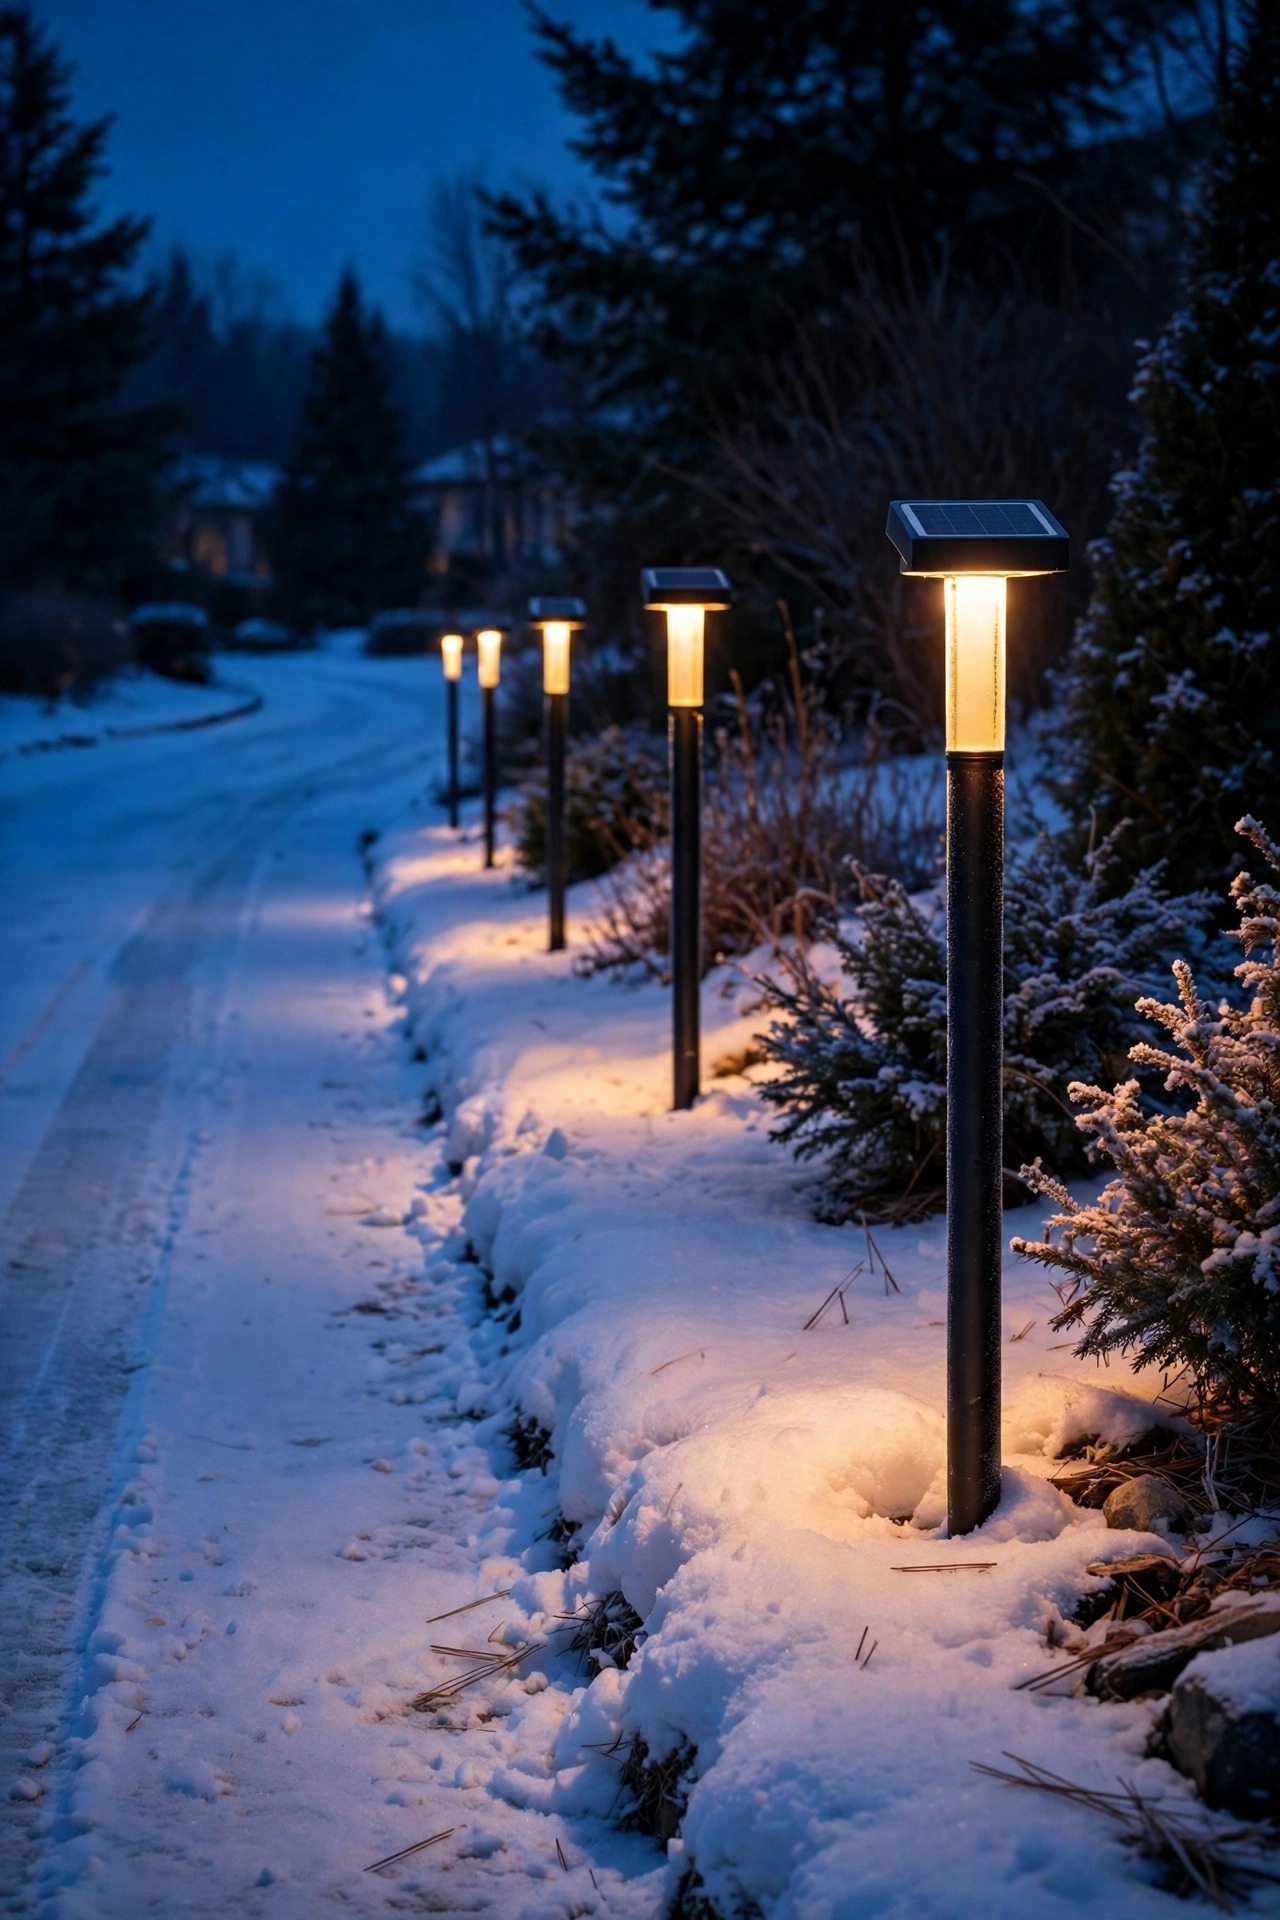
A beautiful 10-inch stake light is, in a Minnesota or Buffalo January, a light buried under a snowbank doing nobody any good. If your area regularly holds a foot or more of snow, go tall: solar bollard markers 24 to 36 inches high keep their lamp and panel above the snow line and stay visible from the street, which is the entire point of a driveway marker when the drive itself is a white field. Choose bollards with the panel on a sloped or domed top so snow slides off instead of crusting over, and anchor them deep — 8 inches or more — because tall fixtures catch wind and lean in soft spring soil. Space them wider than stake lights, 8 to 12 feet apart, since each one throws a bigger pool of light. I line mine along the plow side a few inches farther back from the edge, and I still walk out after big storms to knock the caps clear. Thirty seconds with a glove beats a dark driveway all week.
Suggested budget range: $50 – $120.
7. Add a Motion-Activated Solar Flood at the Apron
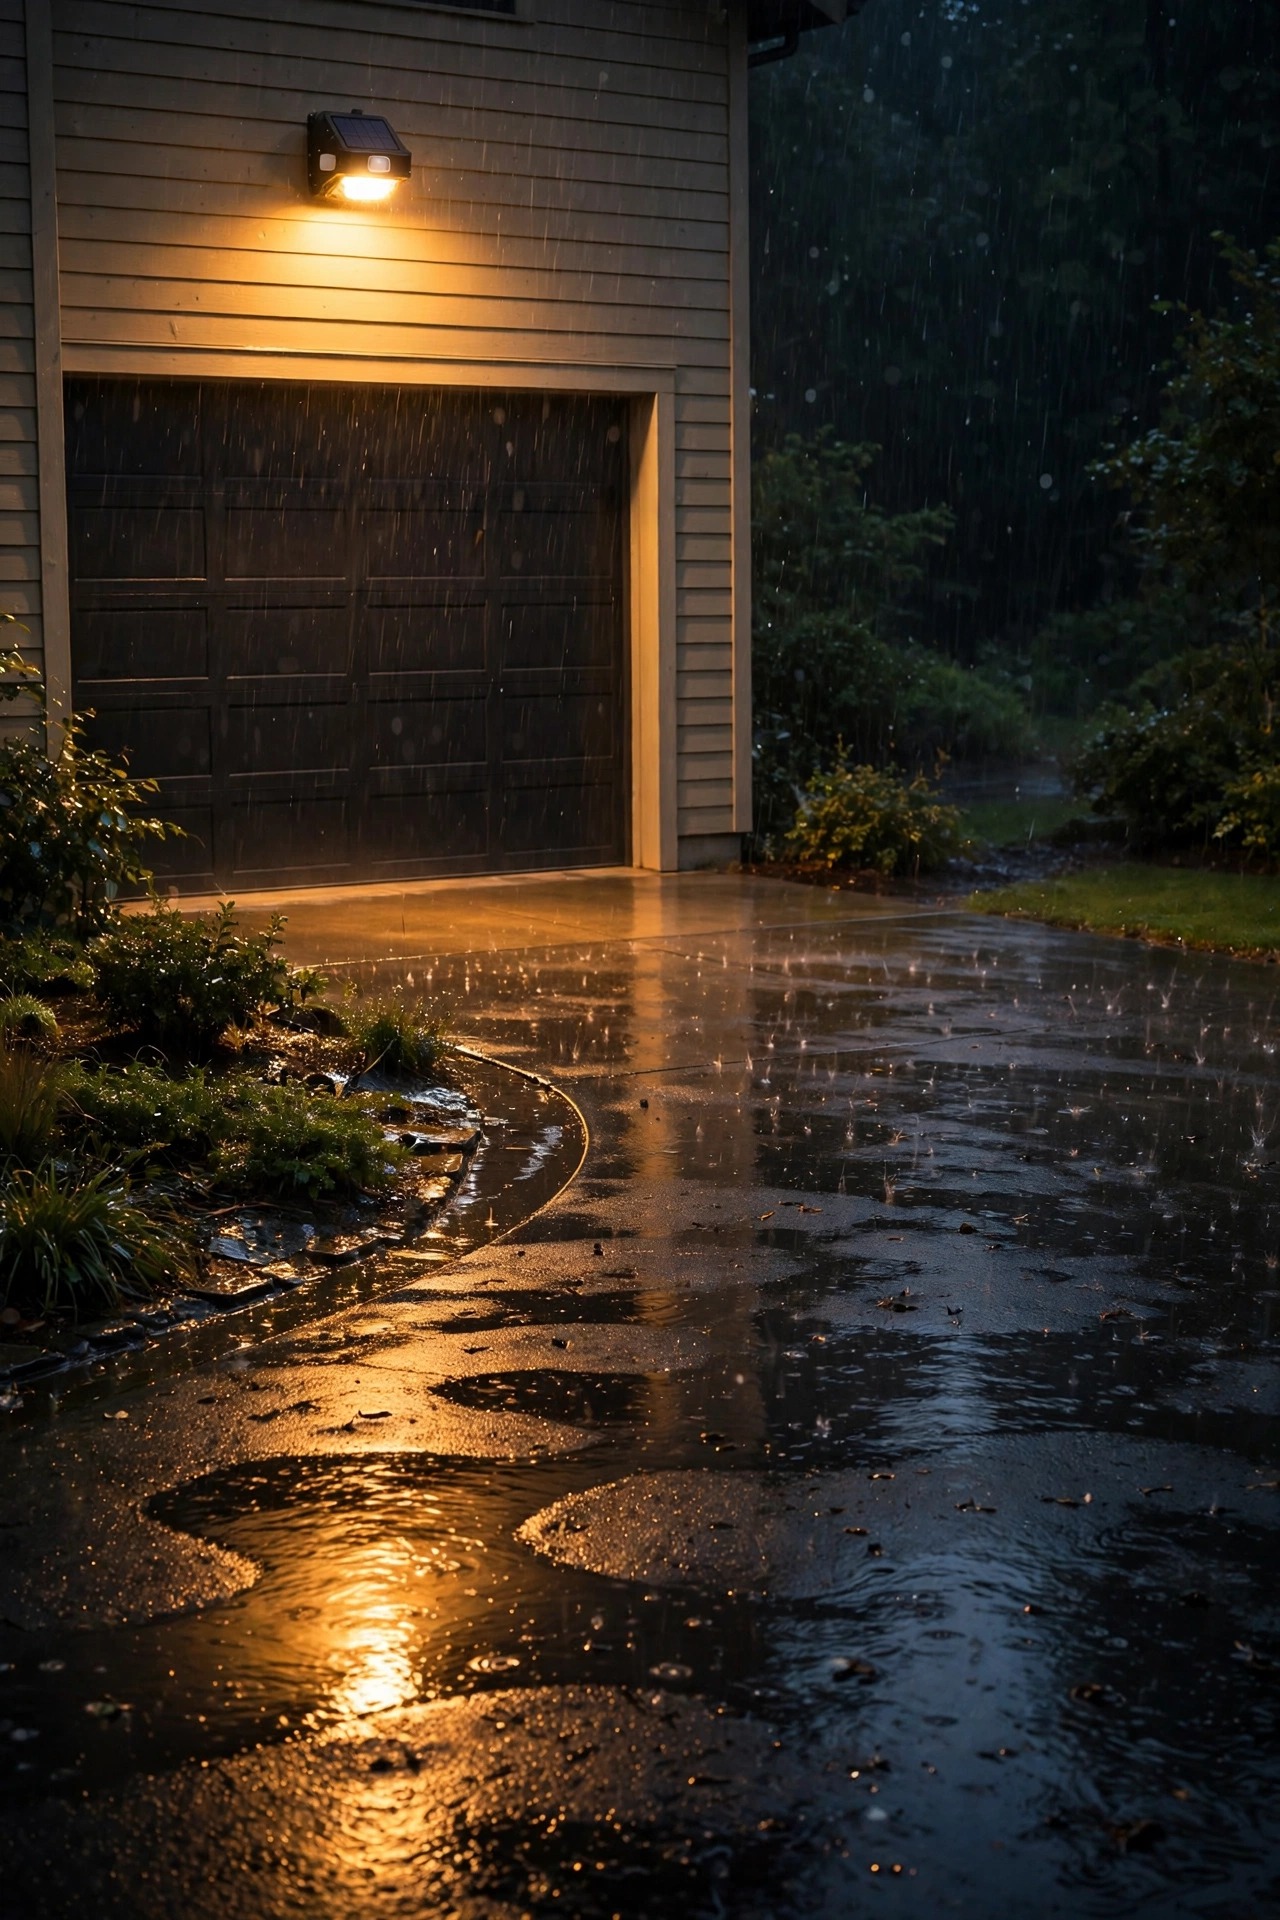
The garage apron and the top of the driveway are where you actually need real brightness — finding the keyhole, unloading groceries, checking for ice — and a motion-activated solar flood delivers it without draining a battery by midnight. Mount it 8 to 10 feet up on the garage wall where its panel clears the eave shadow, and look for a separate-panel design if your garage faces north. Weatherproofing counts here: pick an IP65 housing, aim the sensor so passing street traffic does not trigger it all night, and choose a model whose standby glow is dim but present, so the apron never goes fully black. In storms these earn their keep twice over, lighting wind-blown debris and flooded patches you would otherwise find with a tire. Set the timer to 30 or 60 seconds — long enough to get inside, short enough that a gusty, branch-waving night does not cycle the battery flat. It is the hardest-working single light on my driveway, and the one guests ask about.
Suggested budget range: $35 – $85.
8. Anchor Fixtures With Ground Screws in Windy Spots
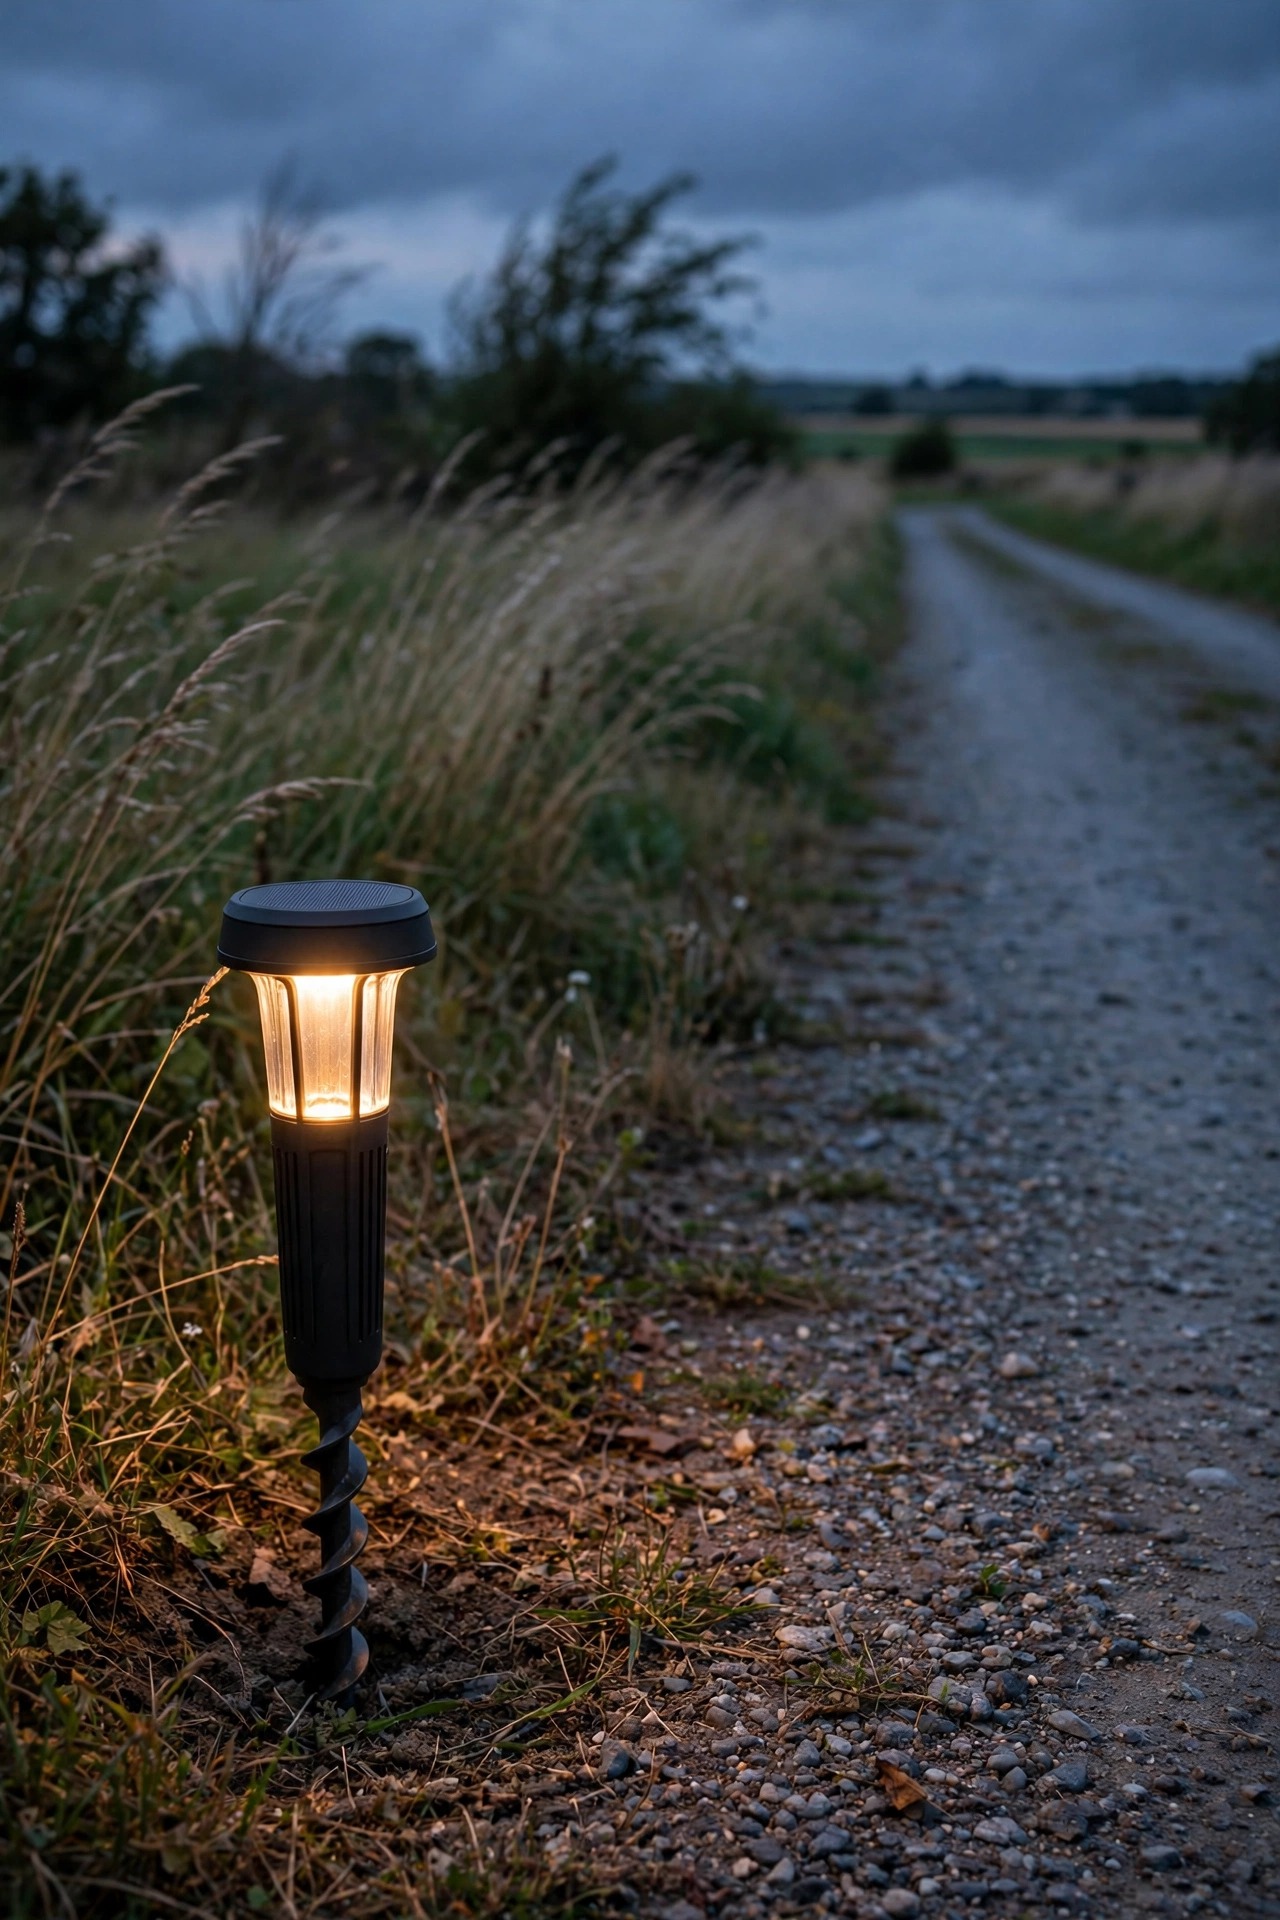
Wind kills driveway lights slowly and then all at once: a season of rocking works a push-in stake loose, and one storm night finishes the job. If your drive runs along an open field, a hilltop, or any natural wind corridor, upgrade the anchor, not just the light. Many better fixtures accept a ground-screw base — a corkscrew spike 6 to 8 inches long that twists into the soil and locks there — and aftermarket screw anchors fit plenty of standard stakes too. The difference after a freeze-thaw spring is dramatic: screwed fixtures come up straight while pushed ones lean like tiny towers of Pisa. Set every fixture plumb with a small level the day you install, because a light that starts straight and is anchored well stays straight. I also give each one a twist test in the fall, before the ground freezes, and re-seat anything that wobbles. Ten minutes of prevention in October is cheaper than a replacement set in February, when the ground is iron and nothing new can go in.
Suggested budget range: $30 – $70.
9. Use Wide Auger Bases on Gravel Driveways
Gravel is the hardest surface to light because it moves. Every tire pass shifts stone, puddles form in new places, and a skinny stake that held fine in June is lying on its side by September. The fixtures that survive gravel have wide auger or disk bases that spread the load across the surface instead of spearing into it, and they sit on a scraped-flat, tamped patch rather than loose stone. My routine: rake a flat pad a few inches wider than the base, tamp it with the back of a shovel, set the light, then pack stone firmly around the base like a little stone collar. Keep gravel lights on the edge farthest from the main tire track, and expect to re-tamp after the spring thaw and after any delivery of fresh stone. For more gravel-specific layouts, my gravel driveway lighting ideas post covers the full approach. Gravel will always need a little more attention — but with the right base, it stops needing replacement lights.
Suggested budget range: $25 – $60.
10. Set Drive-Over Solar Driveway Lights Flush Into Pavers
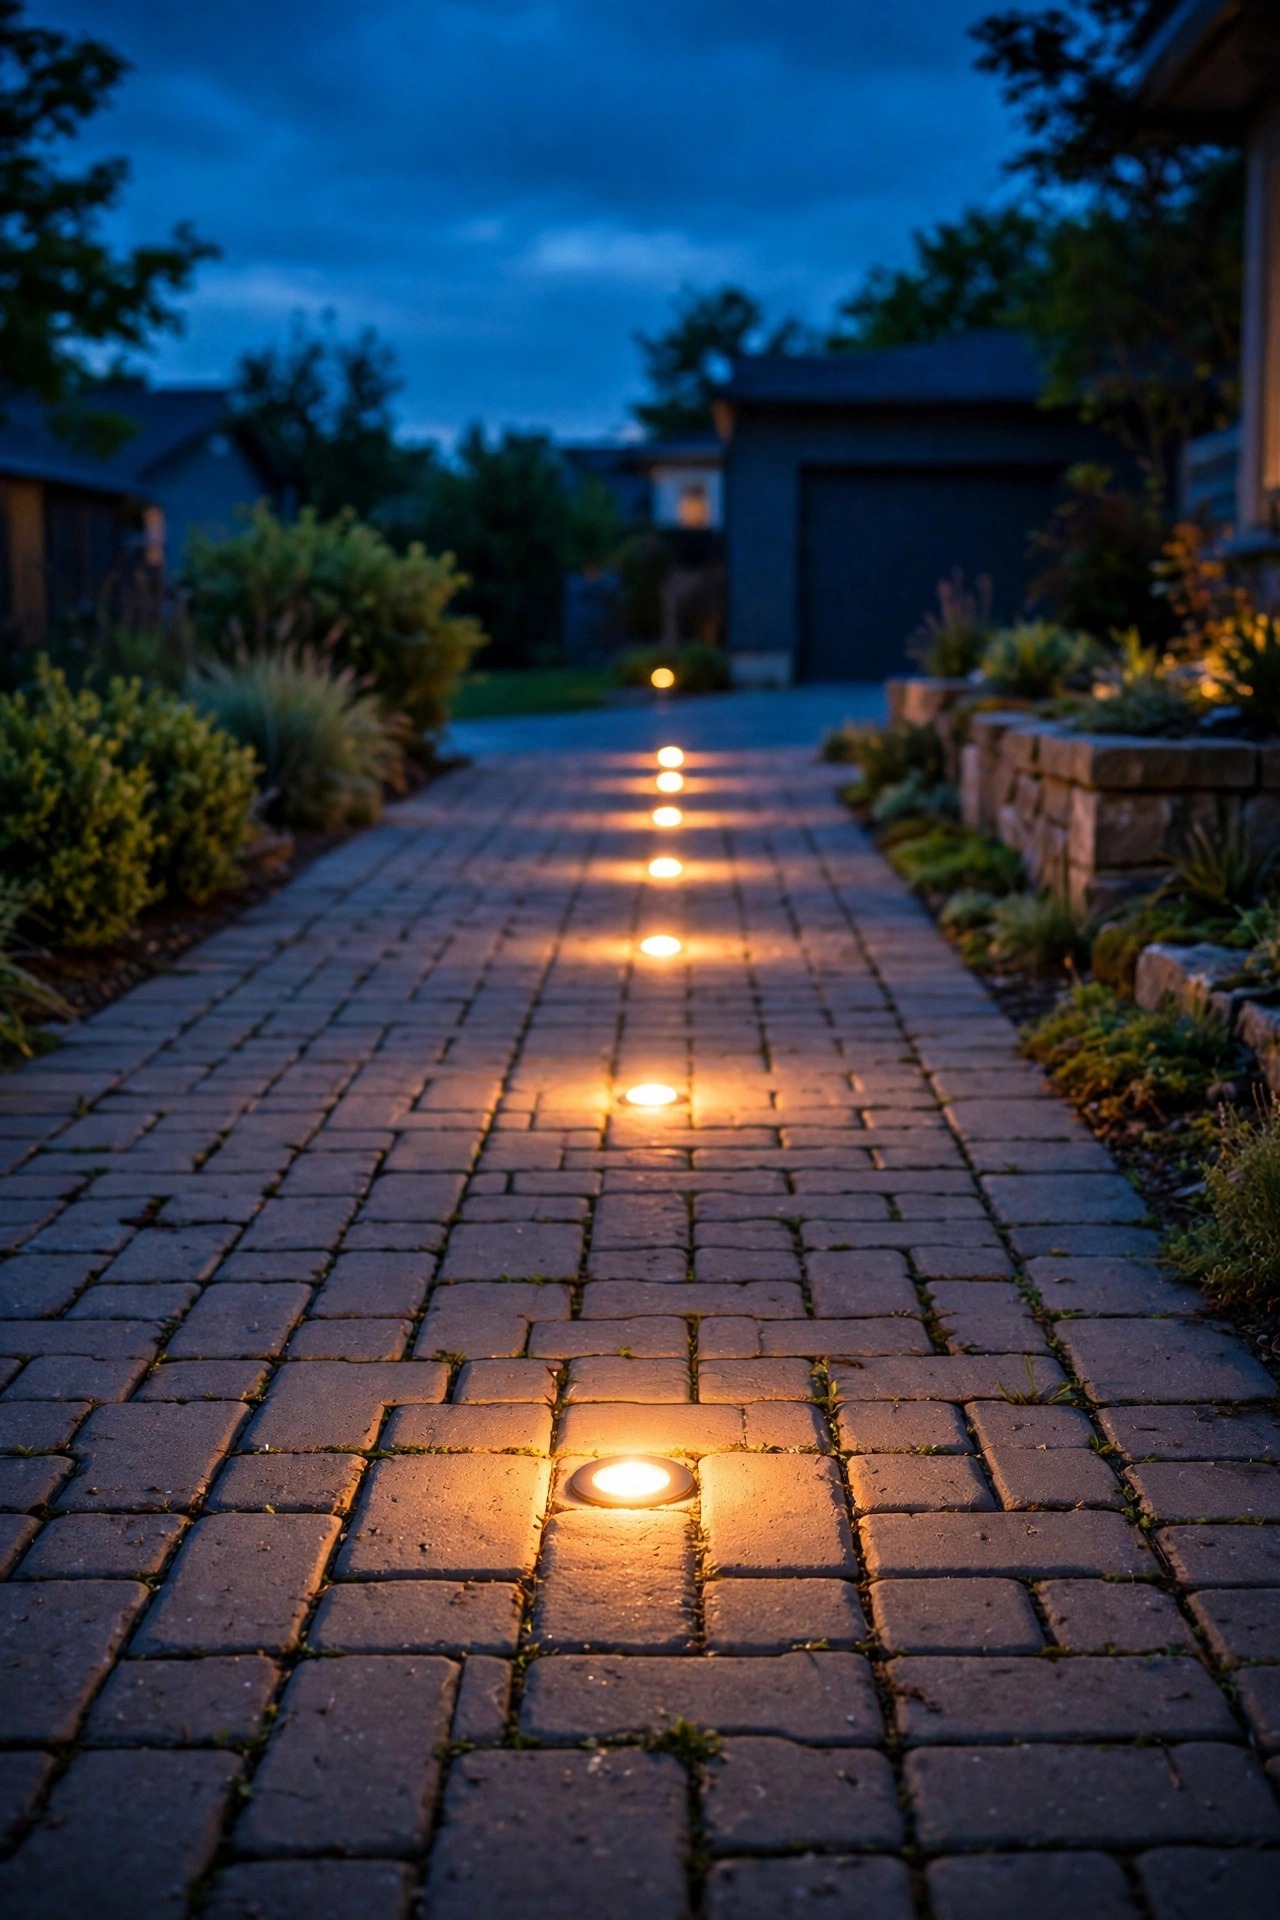
If your driveway is pavers, brick, or stamped concrete, the most elegant weatherproof move is to light it from inside the surface itself. In-ground drive-over solar driveway lights drop into a cored hole or a paver gap, sit perfectly flush, and take their chances with weather standing flat instead of standing up. Because there is nothing to knock over, nothing for the plow blade to catch, and nothing for wind to work on, these outlast every stake I have owned. Non-negotiables: a genuine drive-over load rating, a sealed IP67 or IP68 housing since the fixture lives where water pools, and a lens that drains or sheds rather than cupping meltwater. The trade-off is sun — a flush panel gets whatever light falls on the driveway, so this works best on open, unshaded drives, and panels need a quick wipe when you wash the car since road film dims them. Set them along the turning edges and the garage approach, where tires actually wander after dark.
Suggested budget range: $60 – $140.
11. Pick Warm Amber LEDs for Rain, Fog, and Snow Glare
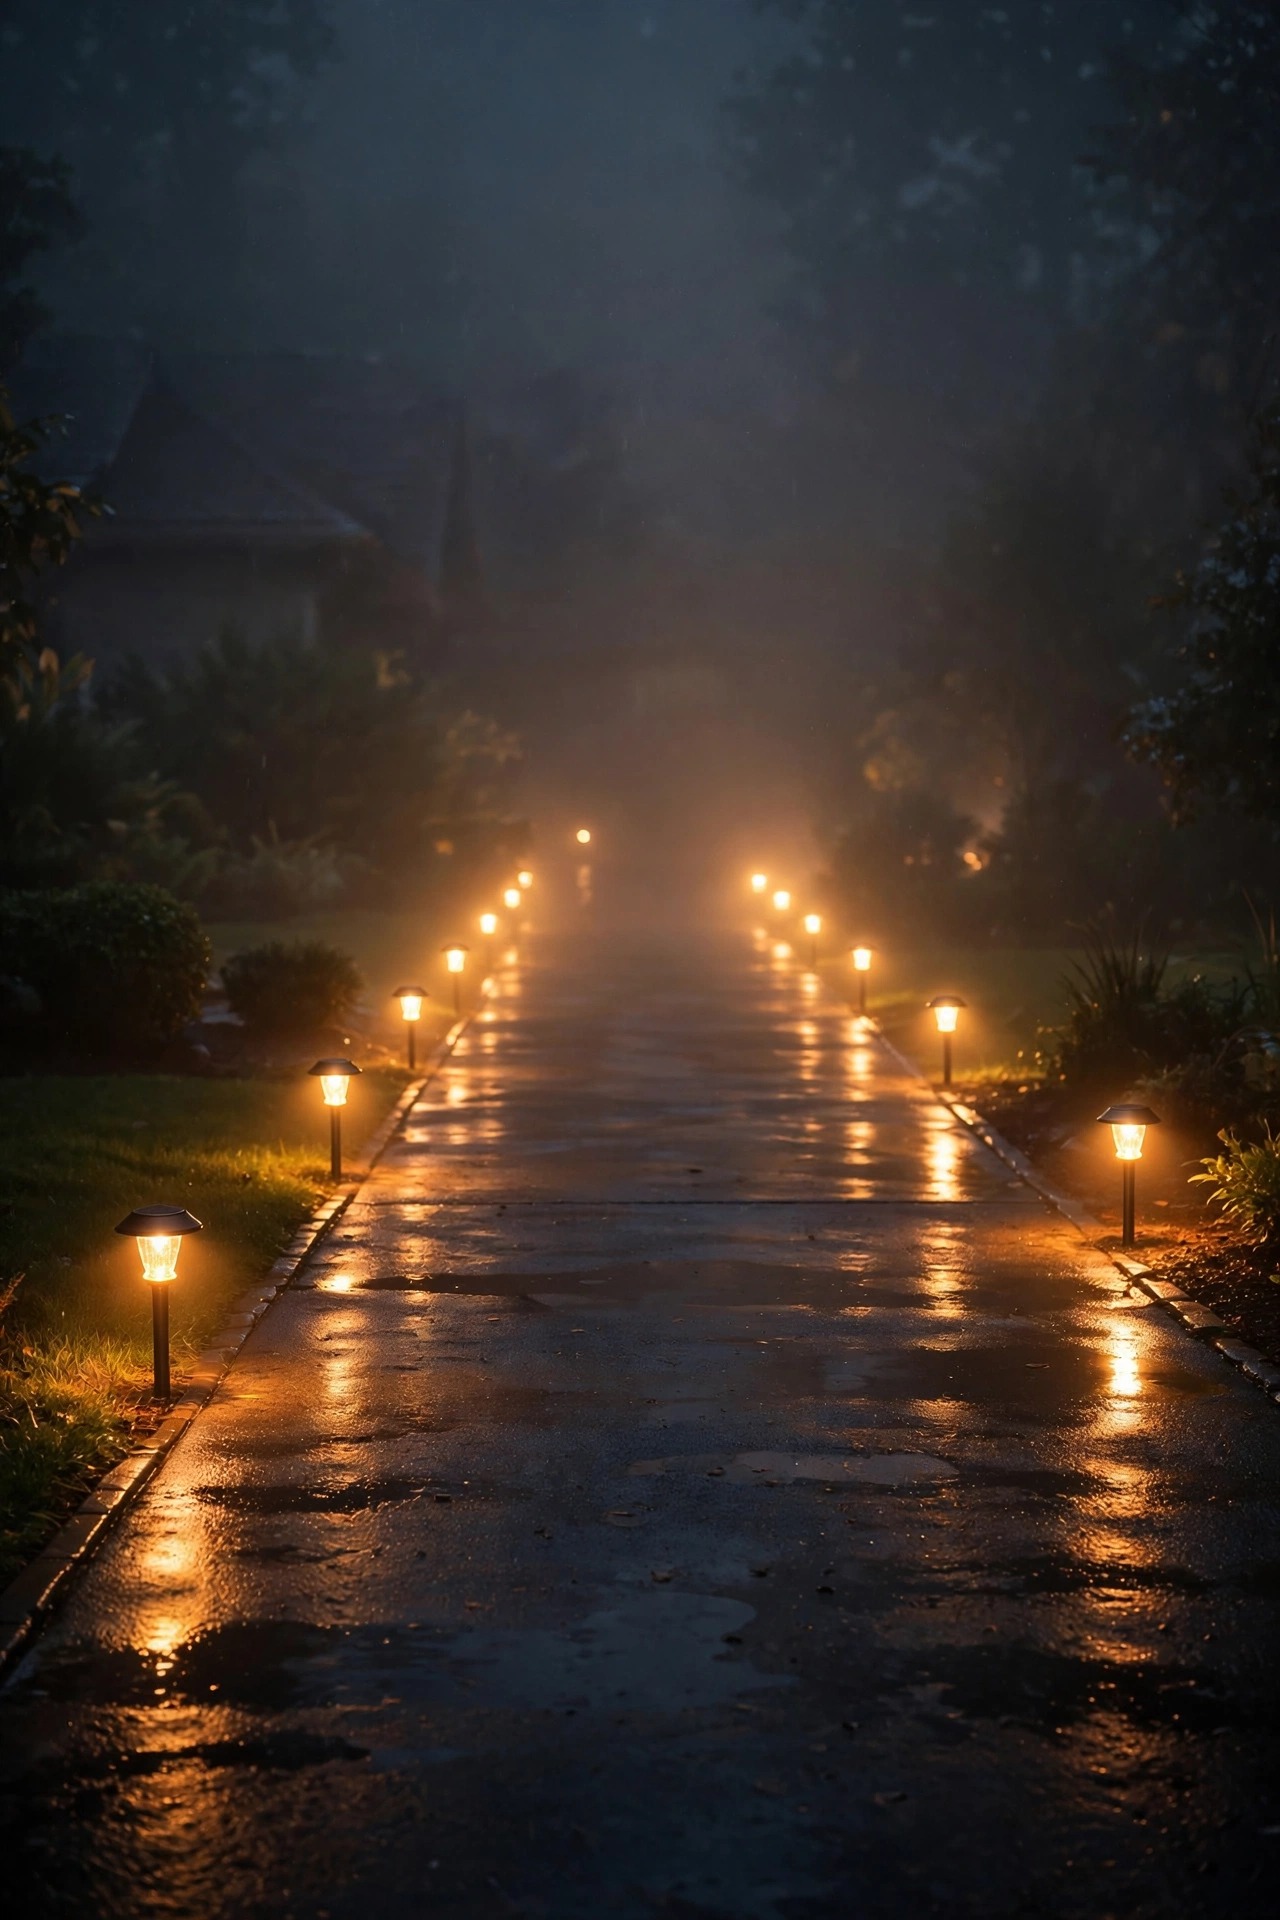
Color temperature sounds like a style choice until you have backed down a wet driveway in fog. Cool blue-white light scatters in rain and mist, glares off wet pavement and snow, and makes a stormy night feel harsher than it is. Warm white in the 2700–3000K range — and true amber tones at the warmest end — cut through precipitation with less backscatter and read clearly against white snow, which is exactly why fog lamps are amber. For driveway markers I look for warm output first and brightness second; a modest 30 to 80 lumens in a warm tone outlines an edge better in bad weather than a harsh spotlight does. Consistency matters too: one temperature along the whole drive reads as a designed line, while a mix of blue and gold looks like a yard sale. If a fixture offers switchable color temperatures, set it warm and leave it. Your eyes, your neighbors, and anyone backing in during a downpour will all notice the difference.
Suggested budget range: $30 – $70.
12. Raise Panels Above the Snow and Splash Line
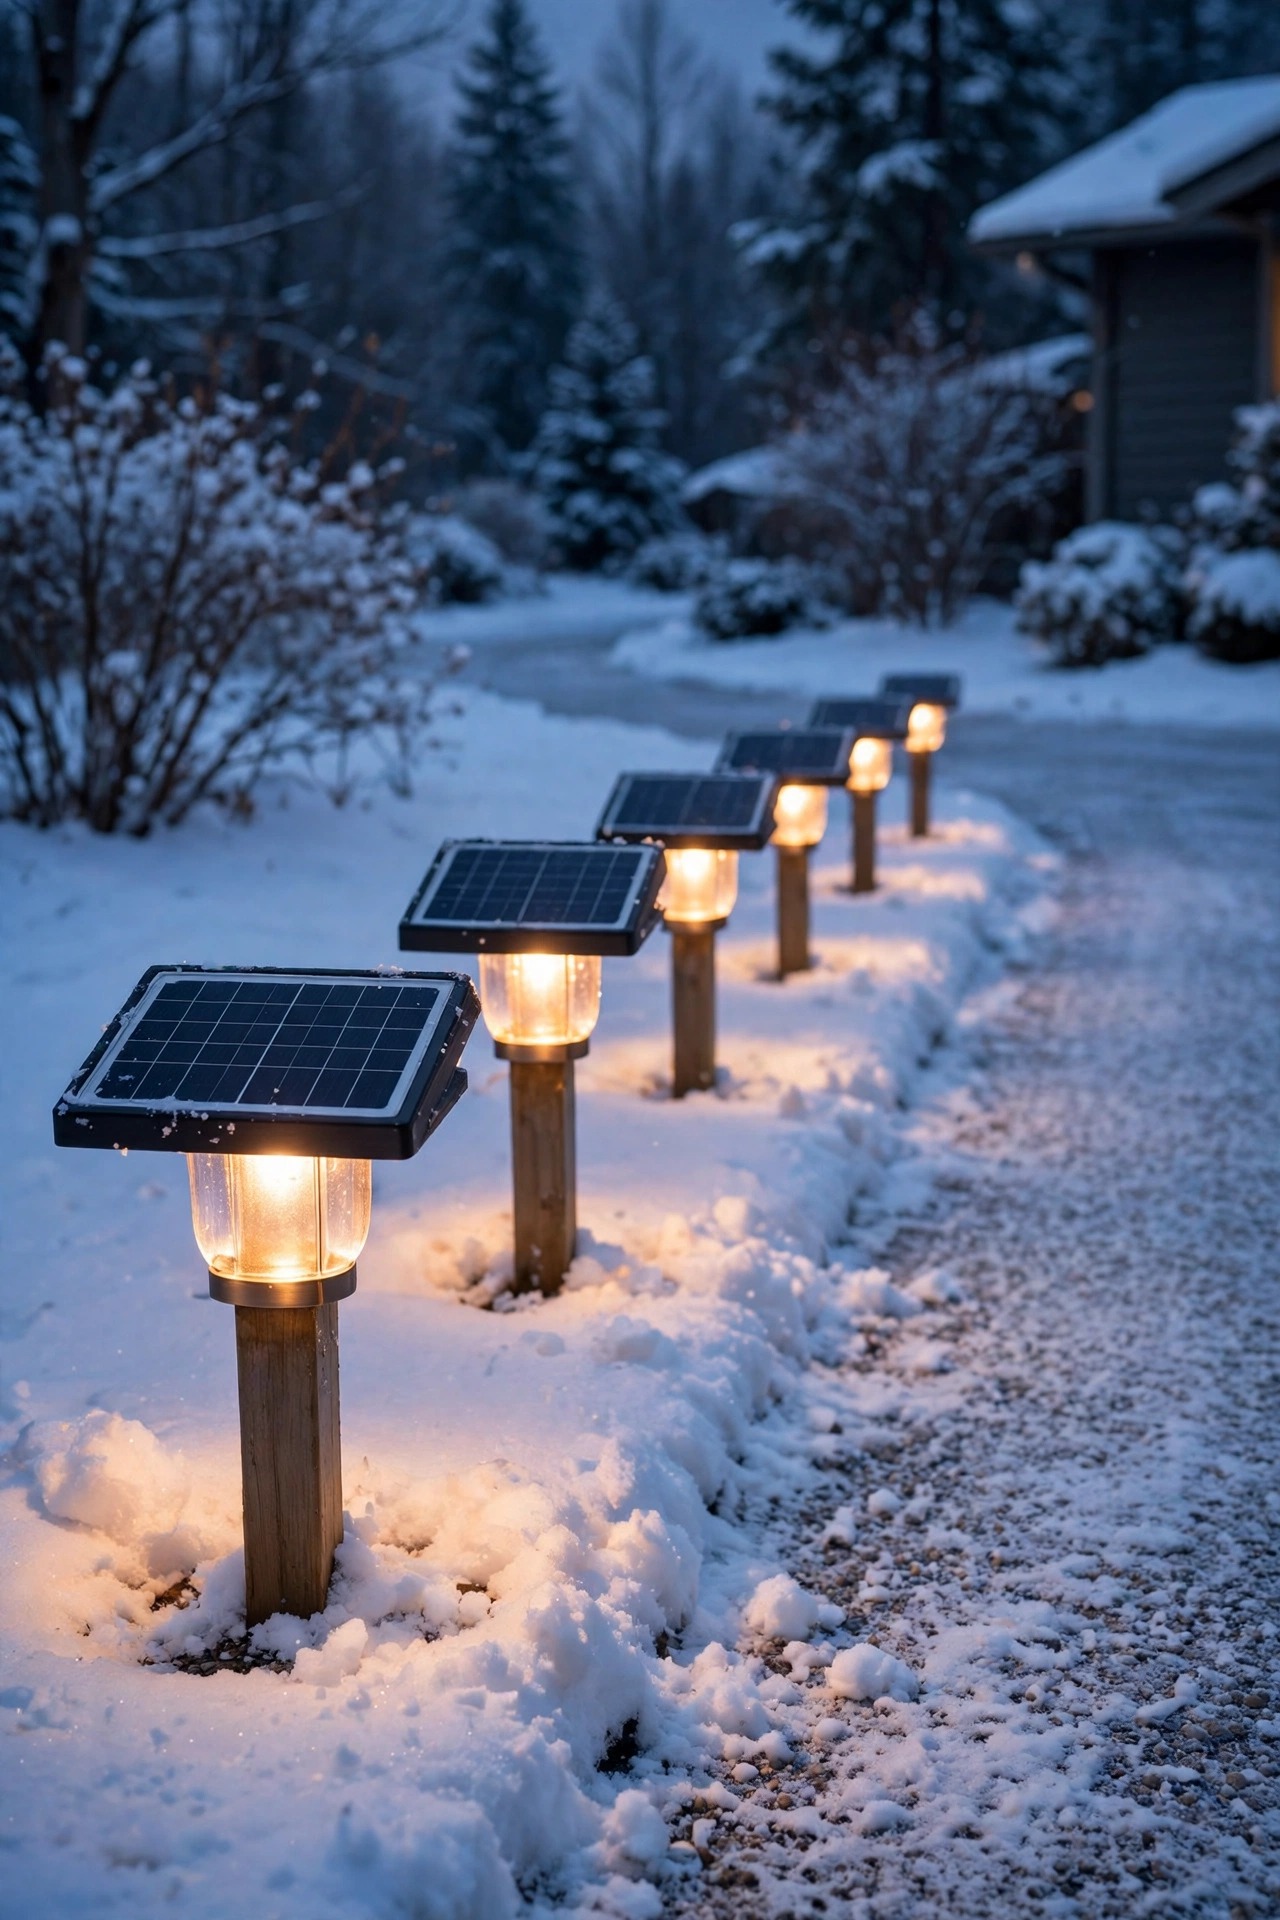
Even a great light fails when its panel spends the winter under a cap of snow or a crust of road grit. Raising fixtures on short posts, raised bed edging, or the low retaining edge many driveways already have lifts the panel into cleaner air and better sun in one move. Fifteen to twenty-four inches of height is the sweet spot in moderate snow country: above splash-back and slush spray from passing tires, below the plow blade arc, and easy to brush off from a shoveled walk. Height also keeps panels out of the meltwater stream that runs down the driveway edge every thaw, which is where grit and salt do their worst damage to cheap plastic lenses. I mount my raised lights on the uphill side where water runs away from them, tilted just enough that rain rinses dust off the panel instead of pooling on it. Think of it as giving the panel a rooftop instead of a basement apartment — same light, far better working conditions, all year.
Suggested budget range: $35 – $90.
13. Step Up to IP67 or IP68 Where Water Pools
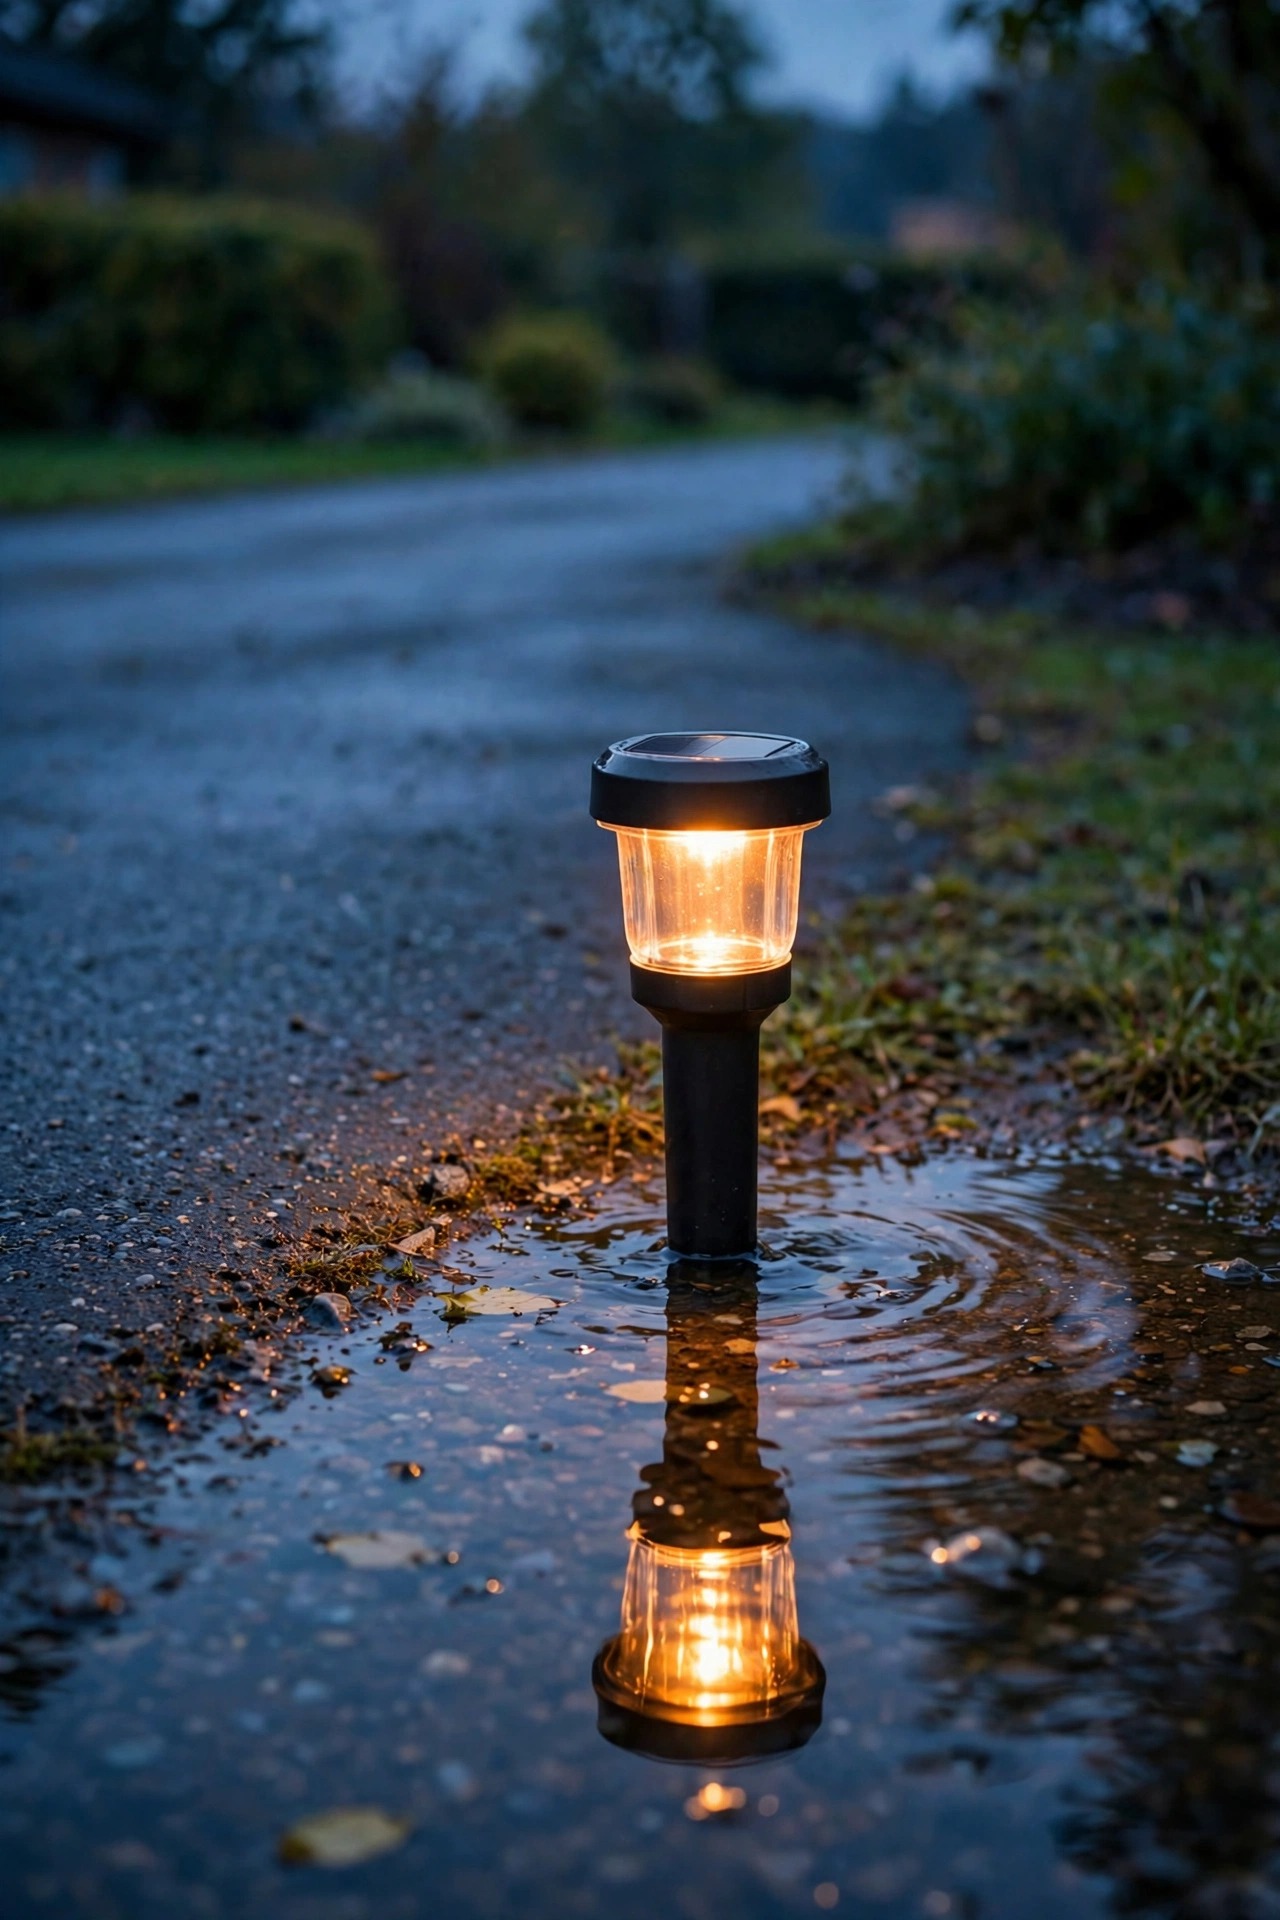
There is a difference between a light that gets rained on and a light that sits in water, and driveways with poor drainage have both. Any fixture placed in a low edge, a swale, or the flat bottom of a slope should be IP67 at minimum — rated to survive half an hour submerged about 3 feet deep — and IP68 if it will sit in standing meltwater for days. Submersible-rated fixtures also tend to be built with better gaskets everywhere, which pays off against freeze expansion: water that cannot get in cannot freeze and crack a housing from inside. Read the listing carefully, because some sellers splash an IP number across the headline that only applies to the lamp head, not the battery box at the base. I test new fixtures the honest way — I install them in the wettest spot I have and check for fog inside the lens after the first big storm. Clear lens, dry battery, still bright at 10 p.m.: that is a light that has earned its spot on the driveway.
Suggested budget range: $45 – $110.
14. Choose Replaceable Batteries, Never Sealed Throwaways
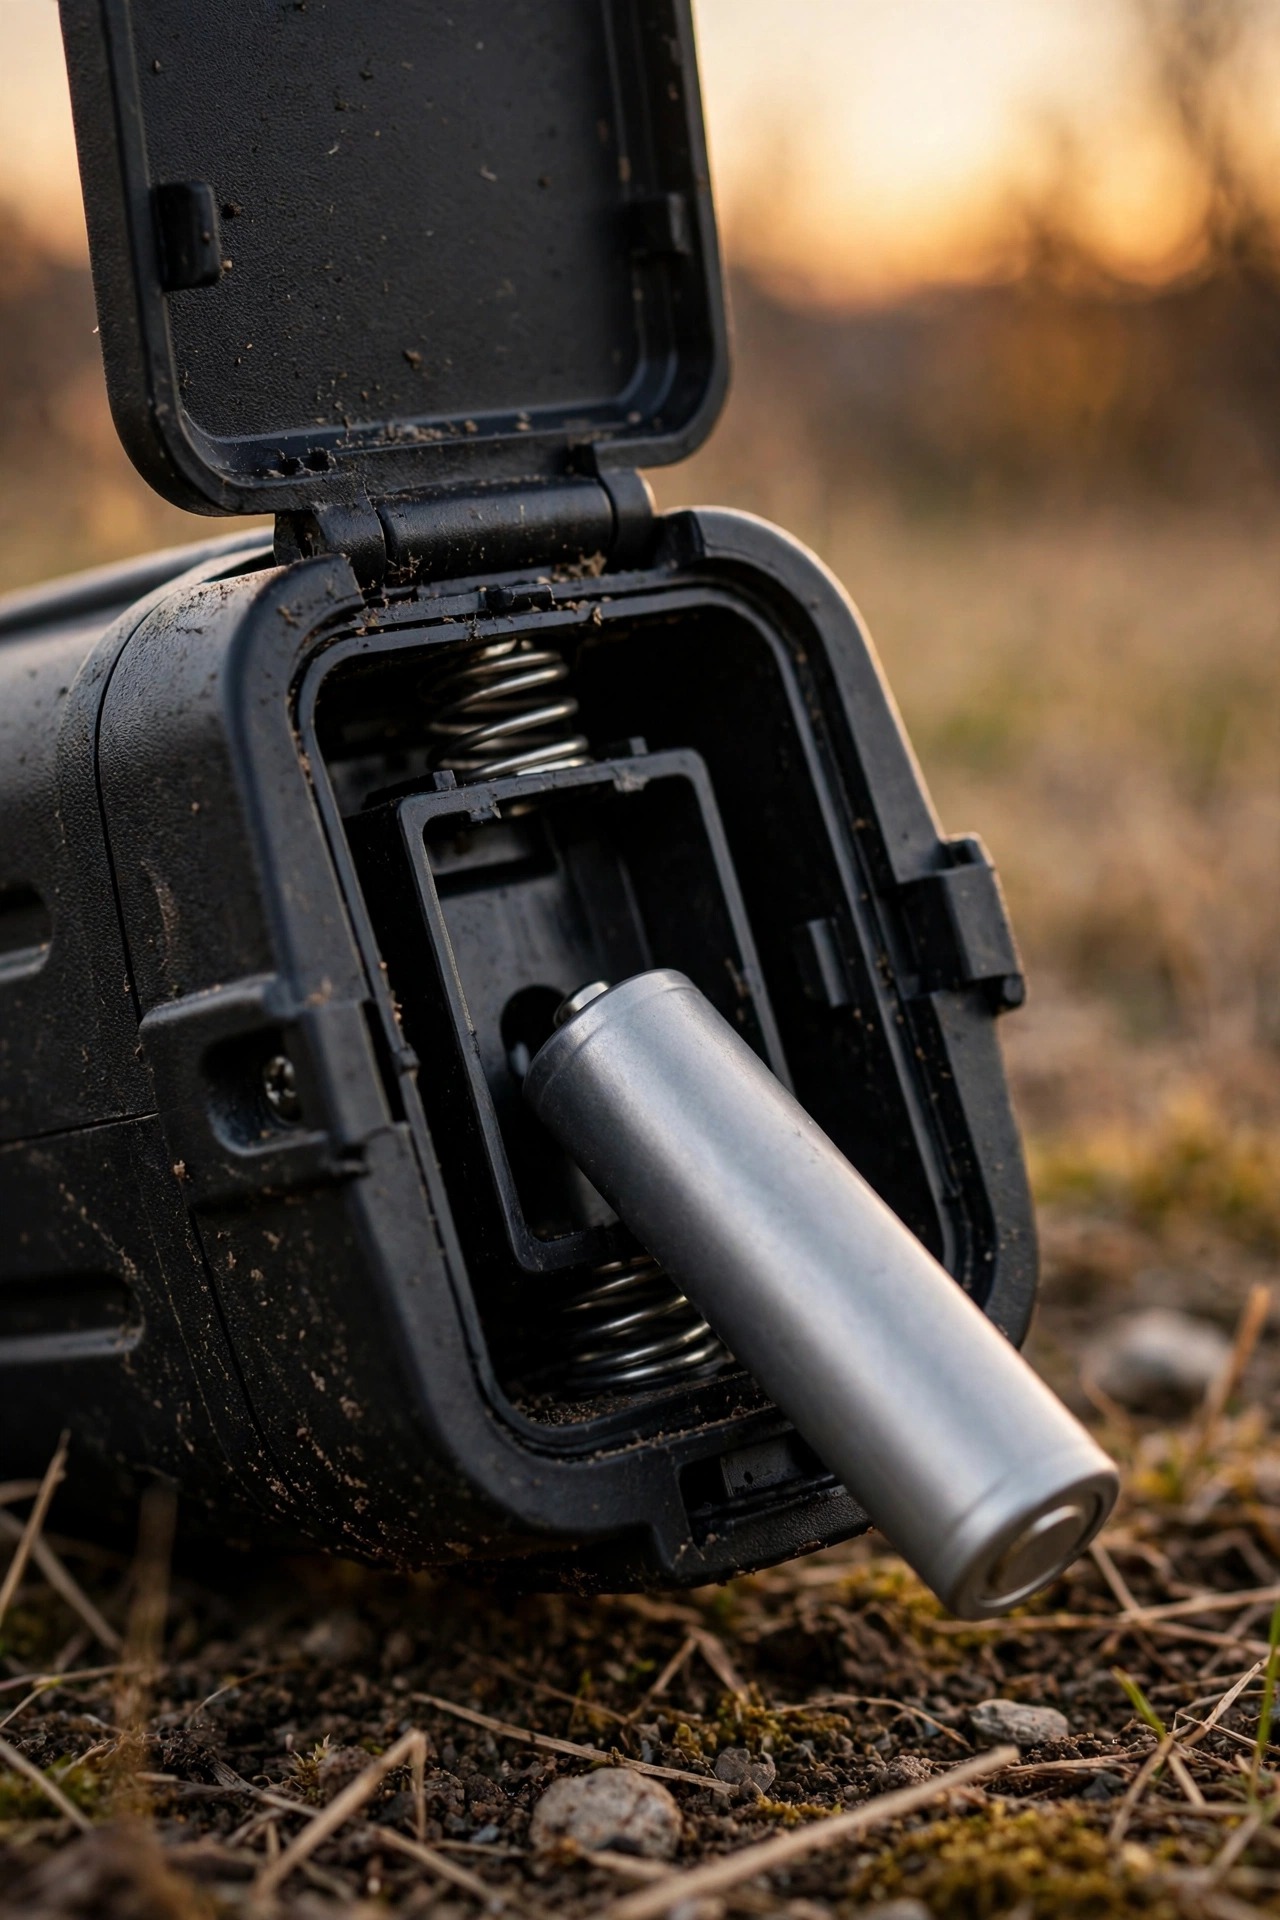
A solar light is a small system, and in almost every system the battery dies first — typically after two to three winters of charge cycles and cold. Fixtures with sealed, non-replaceable batteries are designed to become trash on that schedule, and I have thrown away too many of them. Choose lights with a screwed or latched battery door and a standard cell size, and budget for fresh cells every couple of years; it is the cheapest revival in all of outdoor lighting. Before you buy replacements, our guide to replacing solar light batteries walks through matching chemistry and capacity so you do not cook a good light with the wrong cell. Bring the weakest lights indoors for the deepest winter weeks if they are accent pieces — a garage shelf is kinder than a snowbank — but anything guiding the driveway should be a fixed, replaceable-battery fixture that stays on duty. Longevity is a feature you choose at purchase, not a surprise you discover later.
Suggested budget range: $30 – $75.
15. Stagger Spacing and Double Up at Curves and Entrances
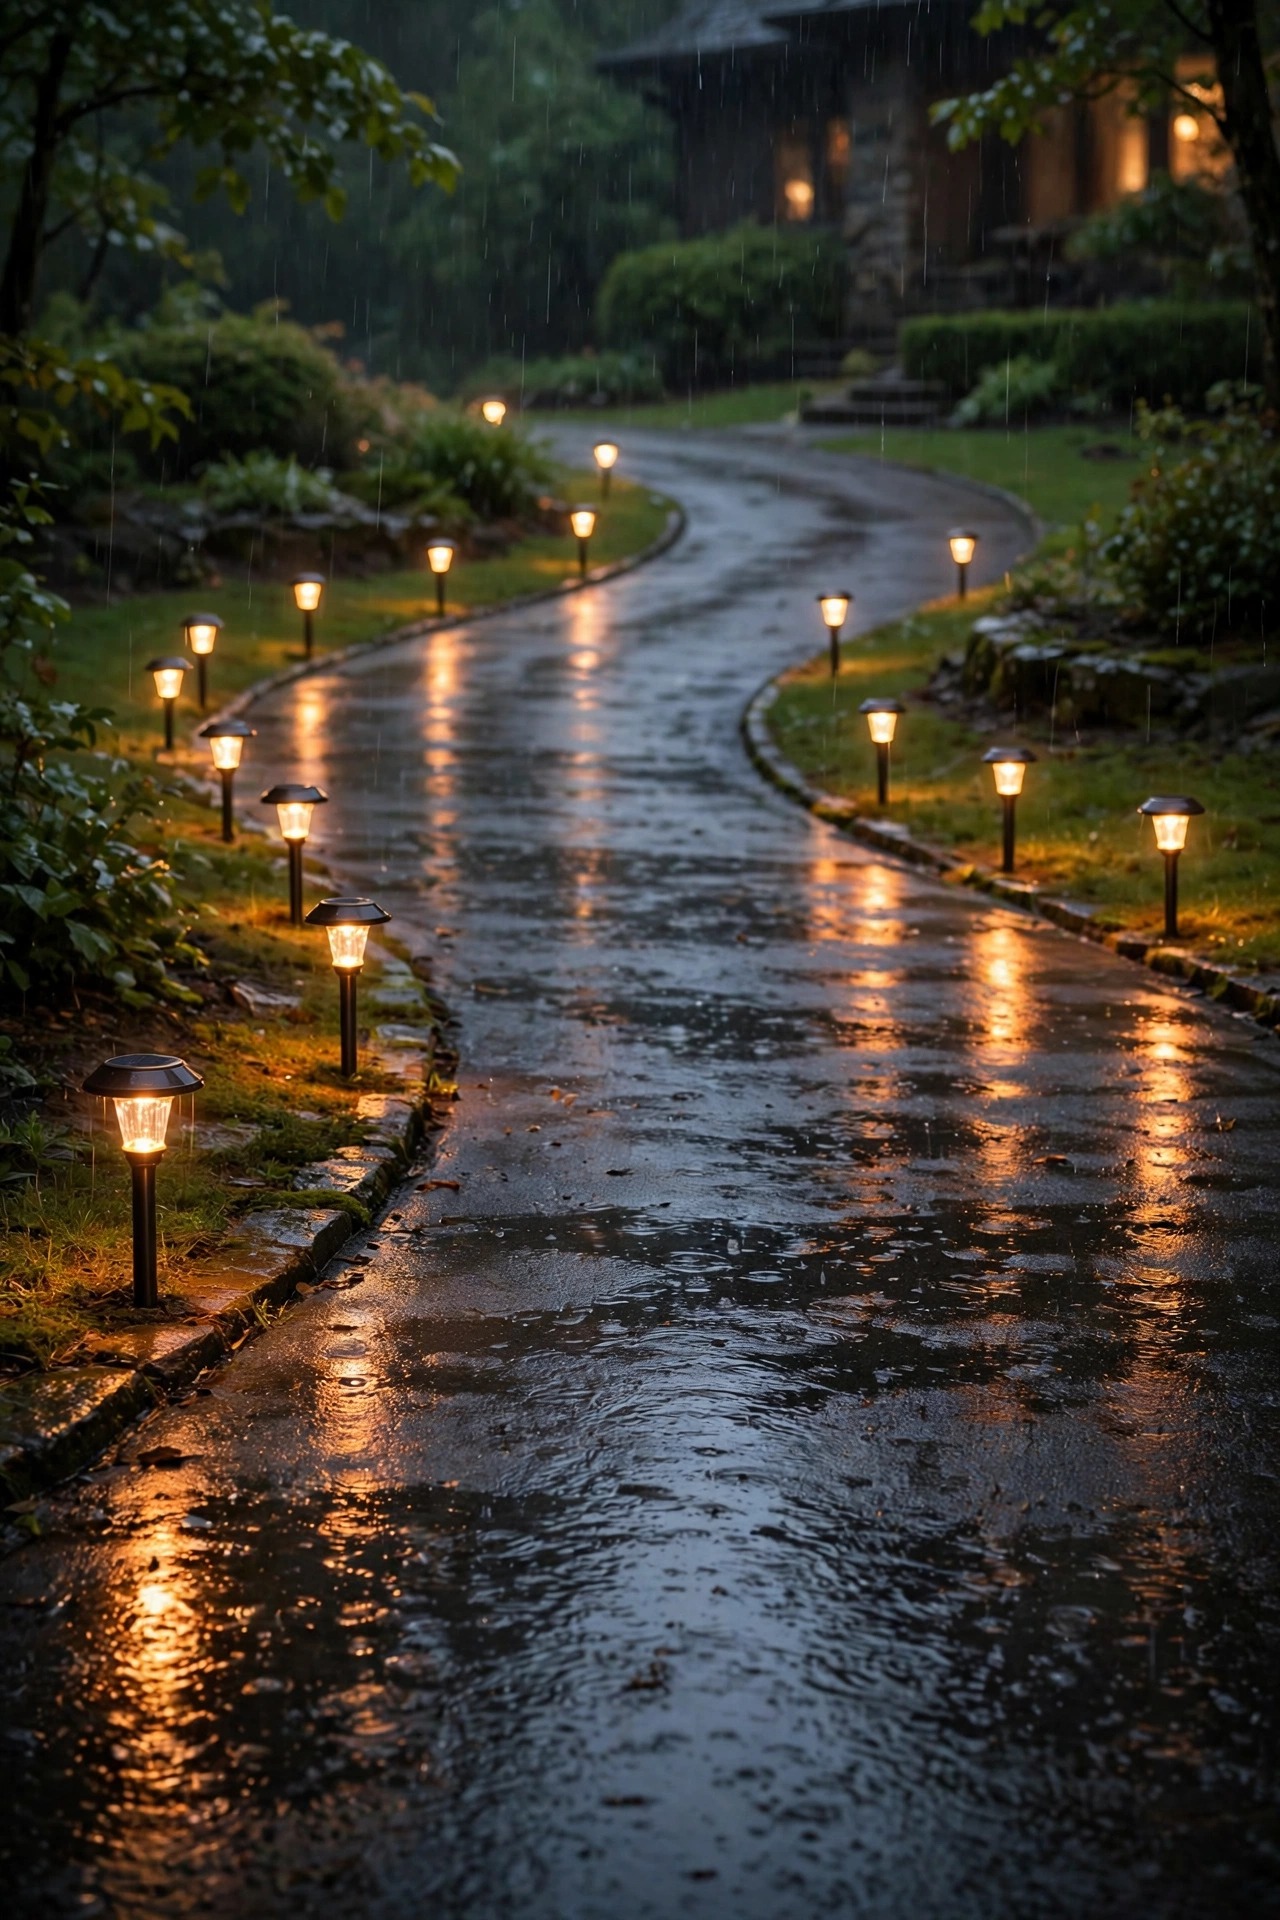
Weatherproofing is not only about the fixture — it is about what happens the night one fails during a storm anyway. Tight, deliberate spacing is your insurance. Along straight runs, solar markers every 8 to 10 feet on both sides, staggered rather than paired straight across, draw a clear lane that stays readable when one light is snow-covered, dim, or down. At curves, corners, and the street entrance, halve the spacing and double up: two lights per point means the turn stays marked even when one is having a bad night, and guests genuinely navigate by these clusters in the rain. Keep the first pair at the street end slightly wider apart than the driveway itself so headlights catch them early. I also keep two charged spares in the garage through winter. When a fixture dies in January, I swap in a spare in two minutes instead of leaving a dark gap for three frozen months — the driveway never knows the difference.
Suggested budget range: $50 – $120.
16. Crown the Entrance With a Solar Lamp Post
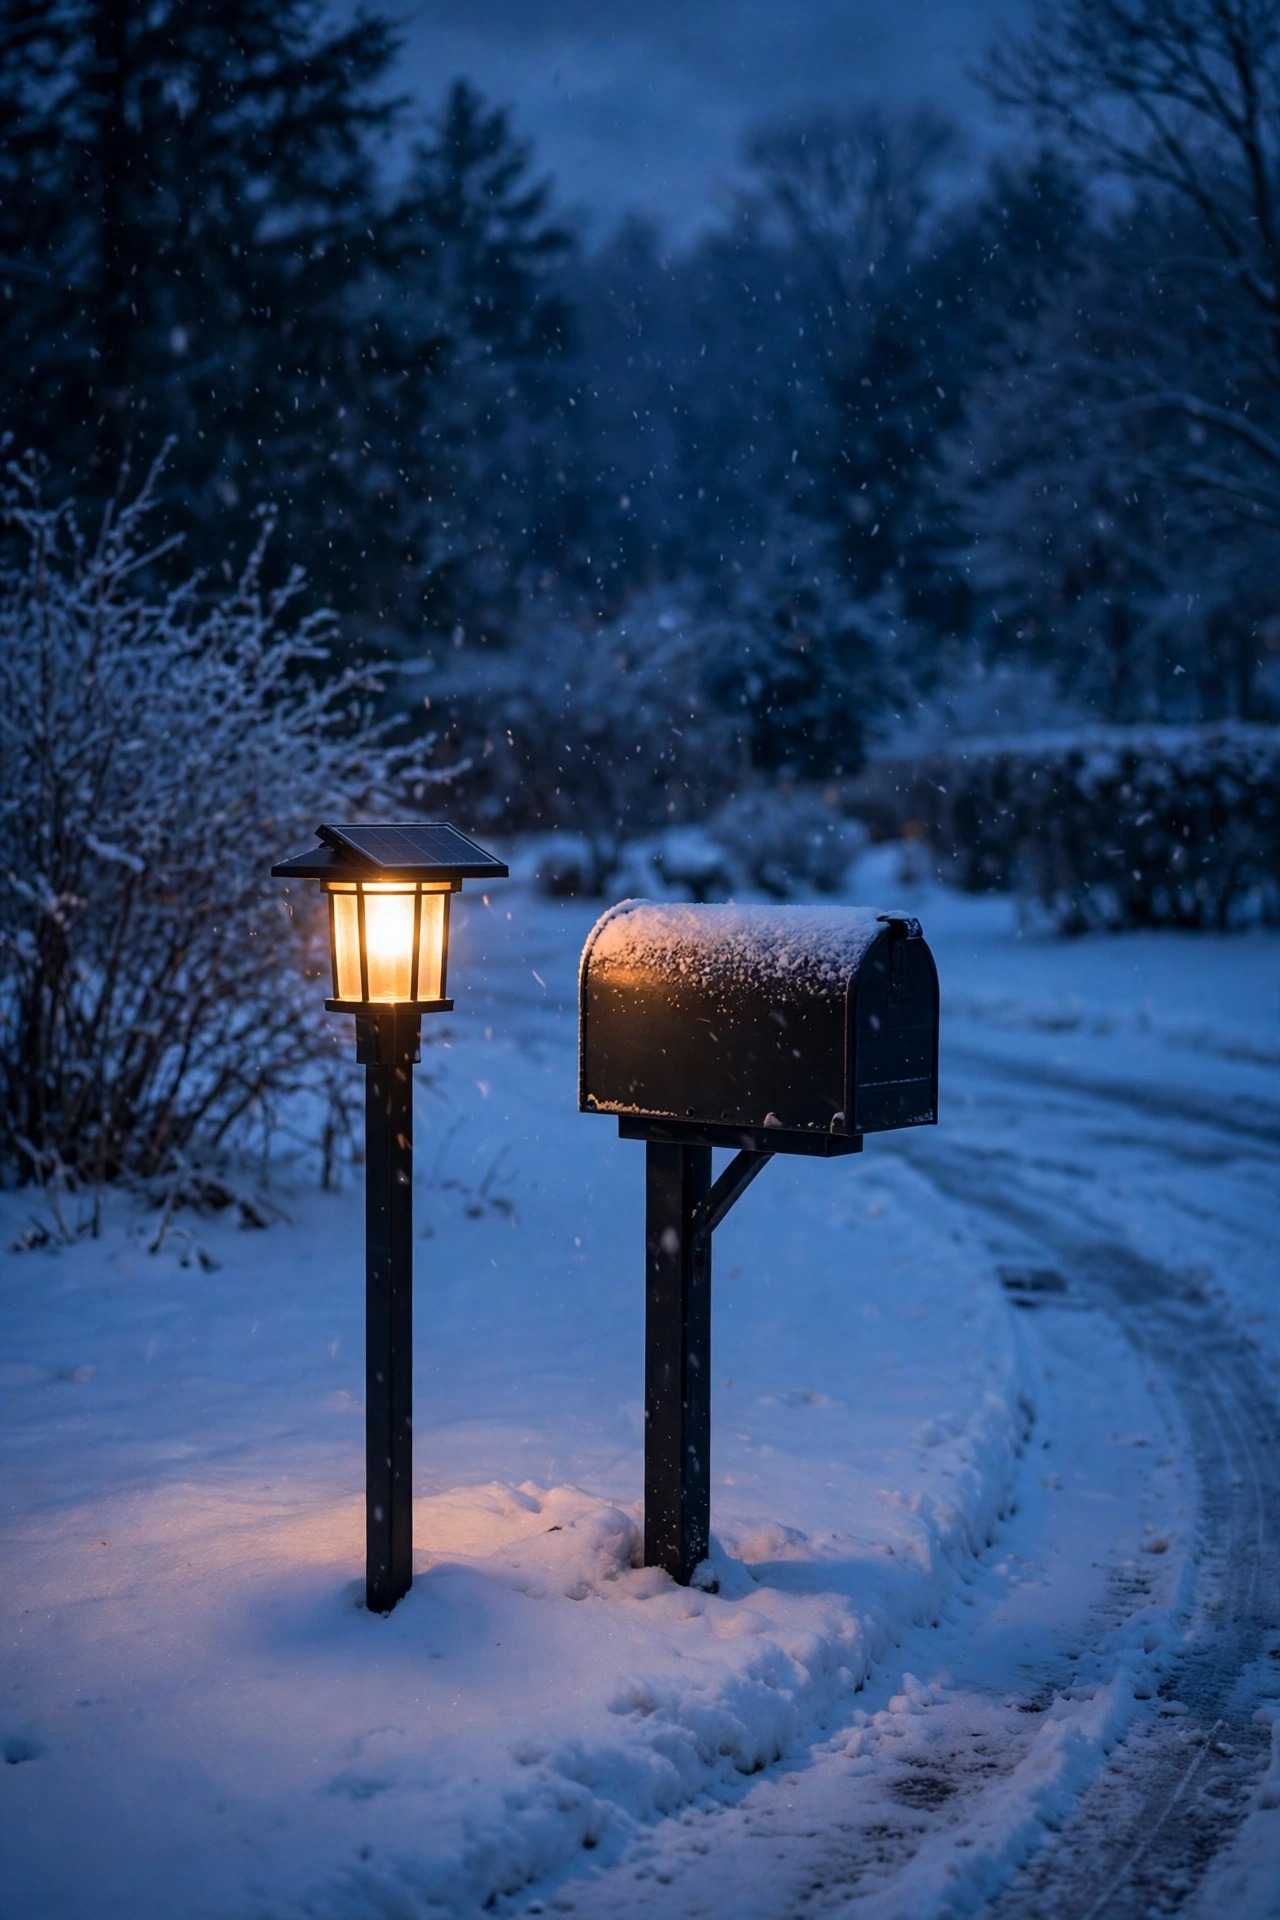
The street end of the driveway takes the worst weather and does the most important work, and it deserves the flagship fixture. A solar lamp post at the entrance — 5 to 7 feet tall, panel on top, often with a replaceable high-capacity battery — stands above snowbanks, brush lines, and splash zones, visible from down the street in conditions that hide everything smaller. Height is its armor: wind passes a slim post more easily than a broad fixture, snow slides off a sloped cap, and the panel tilts toward the sky where winter sun actually lives. Anchor it like you mean it, on a buried base or bolted flange with the soil tamped hard, because a tall light in saturated spring ground will lean if you let it. Pair one at each side of the entrance if the drive is wide, lighted like gate posts. Guests find the turn in a downpour, plow drivers see the edge, and the whole driveway reads as intentional from the curb.
Suggested budget range: $80 – $200.
17. Build a 15-Minute Seasonal Maintenance Ritual
The lights that survive five winters are not always the best-built ones — they are the ones somebody looked at four times a year. My ritual takes about fifteen minutes a season. In spring, I wipe every panel with a damp cloth, because a winter of road film can steal a third of the charge, then I re-seat any fixture the frost heaved crooked. In summer, I check that shrubs have not grown over panels and trim back anything shading them. In fall, I test batteries before the cold does, replace the tired cells, and twist-test every stake while the ground is still soft. In winter, I brush snow off panels after storms — just the panels, quickly, the way you clear a windshield. When something does quit, my troubleshooting guide for solar lights that stop working runs the fix order: panel, battery, switch, in that order. Maintenance is the cheapest weatherproofing there is, and honestly, the walk down the driveway with a coffee is half the pleasure.
Suggested budget range: $10 – $40.
Frequently Asked Questions
What IP rating do driveway solar lights actually need?
IP65 is the working minimum for beside-driveway use: dust-tight and sealed against water jets, which covers driving rain and slush spray. If a light will sit where water pools or meltwater runs, choose IP67 or IP68 so brief submersion does not kill it. Just as important, make sure the rating covers the whole fixture including the battery door, not just the lamp head, and favor gaskets with screws over snap lids that warp.
How do I keep solar lights charging through winter?
Aim panels toward the low southern sun and tilt them 30 to 45 degrees so snow slides off, then brush them clear after storms. Cold-rated lithium iron phosphate batteries keep working far below freezing where standard cells fade. Expect shorter winter run times regardless — December offers a fraction of June daylight — so choose higher-capacity batteries and use any low-power winter mode the fixture offers to stretch the charge to bedtime.
How long do weatherproof solar driveway lights last?
The fixture itself, in metal and properly sealed, should last five years or more. The battery is the consumable: plan on fresh rechargeable cells every two to three winters, which is why replaceable batteries count for so much. LEDs themselves are rarely the failure point. A light that dims is almost always asking for a clean panel or a new battery, not a full replacement.
Can snowplows and cars really run over solar lights?
Flush disk and in-ground fixtures with a stated drive-over load rating, yes — they are built with tempered glass or thick polycarbonate lenses and metal rims, and they sit level with the surface so blades and tires pass over. Standard stake and bollard lights, no: keep them 6 to 10 inches back from the pavement edge and out of the plow line, which is where smart placement does the protecting.
Conclusion
A driveway asks a lot of its lights, and the weather always collects. But solar driveway lights built with honest IP ratings, metal stakes, cold-rated replaceable batteries, and panels placed for real sun will keep glowing through storms and winters that flatten the cheap stuff. Start with the layer your climate demands most — tall markers for snow country, sealed IP67 fixtures for wet driveways, flush disks where plows rule — and add the rest as budget allows. Fifteen minutes of care each season keeps the whole line honest. For more ways to light every edge and entrance of your home, browse the other driveway and outdoor lighting ideas here on the site.