A deck is at its absolute best after sunset — that's when it stops being a platform and starts being a room. But most decks go dark the moment the sun dips, because the overhead floodlight from the back door is either blinding or burned out. Honestly? These deck lighting ideas changed everything about how my family uses our backyard. The secret isn't one big light; it's layering. I always recommend thinking in three layers: a little downlight for safety on steps and rails, a little uplight or wash for drama on posts and plants, and a little sparkle — string lights, lanterns, candles — for atmosphere. In this post, I'm sharing 25 of my favorite deck lighting ideas, from five-minute add-ons like solar post lanterns to weekend projects like recessed stair lights and under-rail LED strips. Every idea includes a realistic budget range and the practical details — spacing, color temperature, timers, weatherproofing — that make the difference between "meh" and magic. Whether your deck is a tiny apartment-balcony-sized landing or a sprawling multi-level entertaining space, there's something here that will make you want to stay out long after dinner. Pour something cold, grab a notebook, and let's make your deck glow.
1. Classic Post Cap Lights
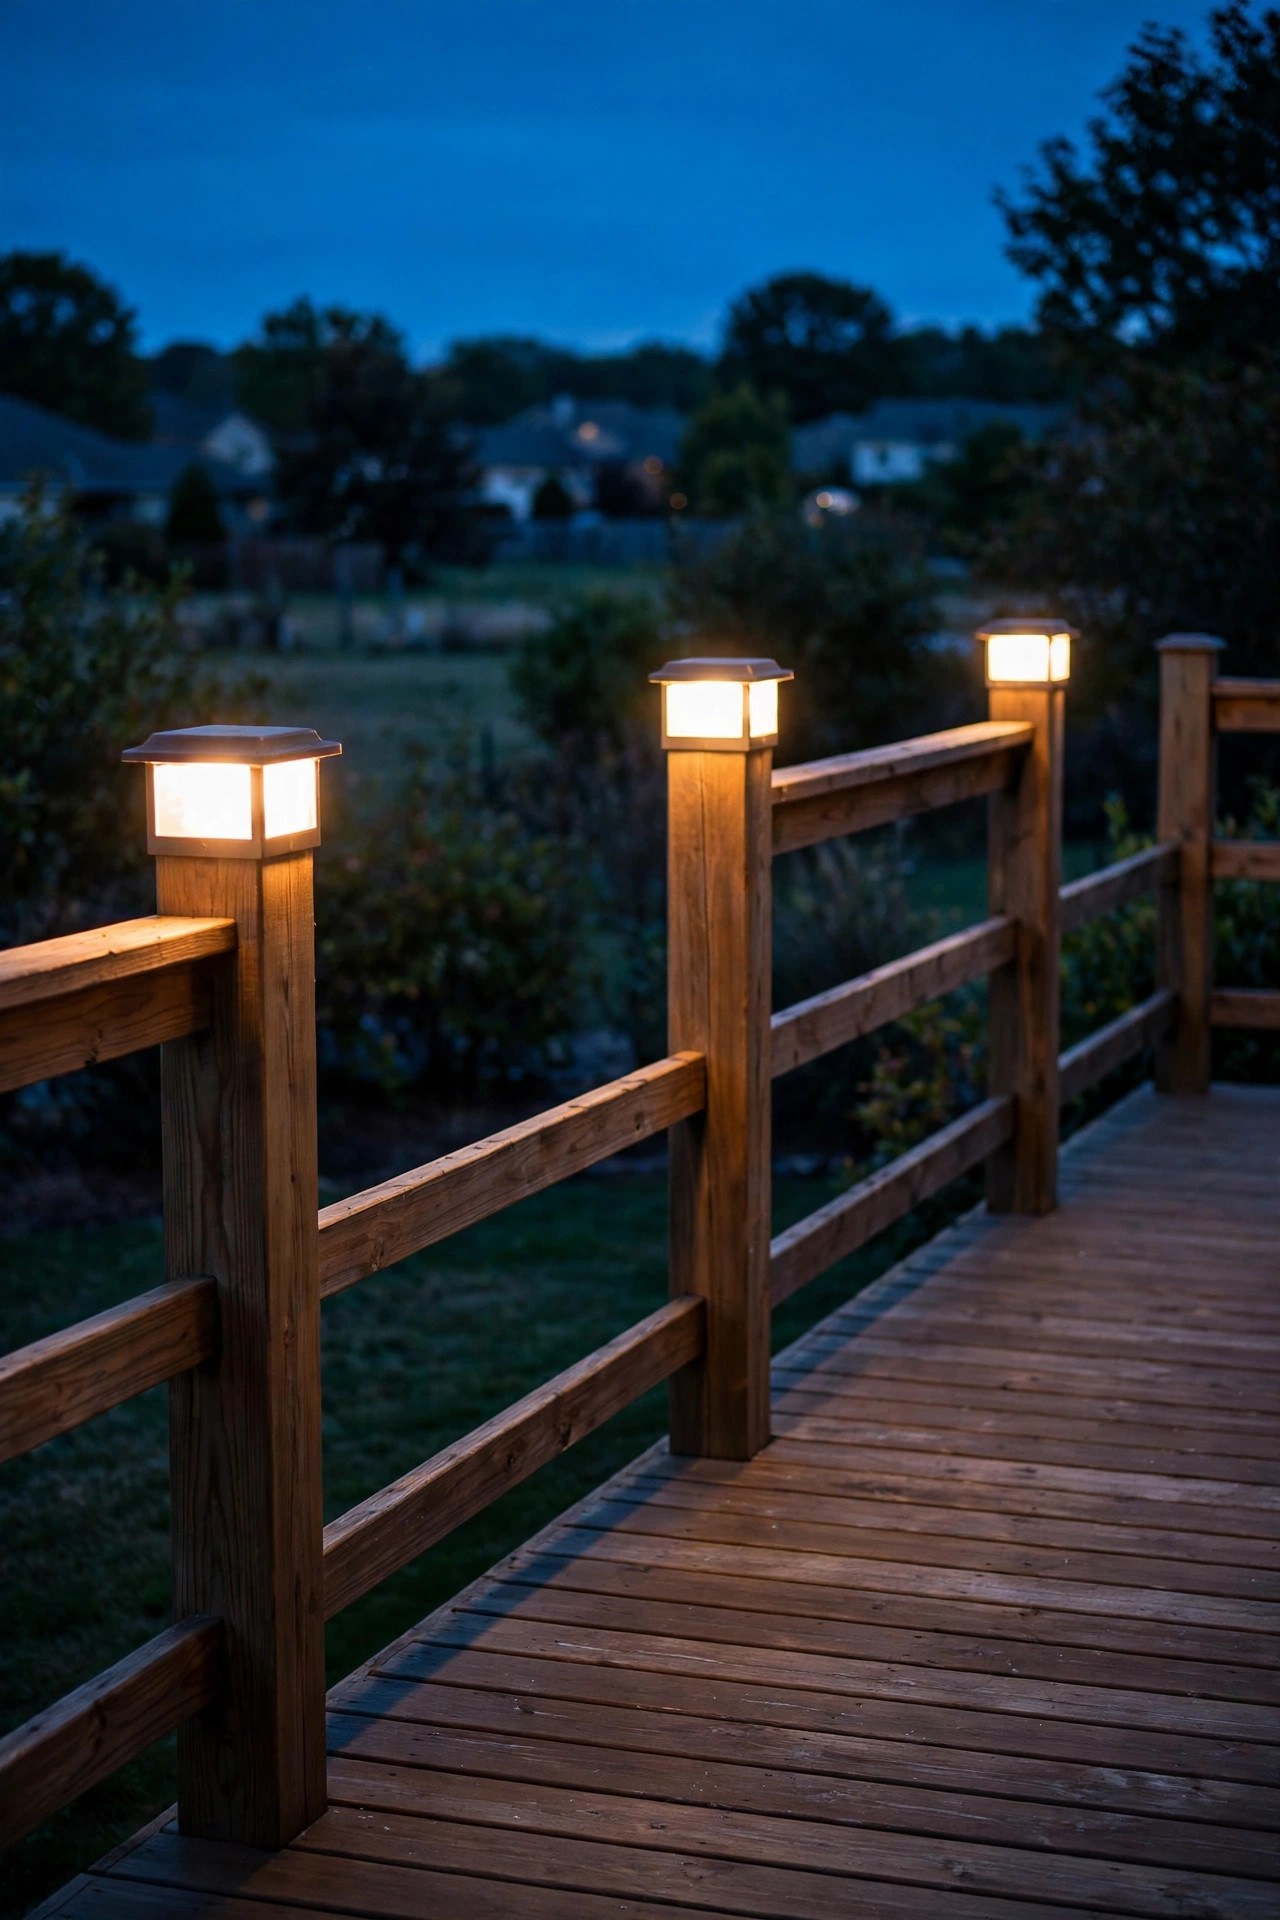
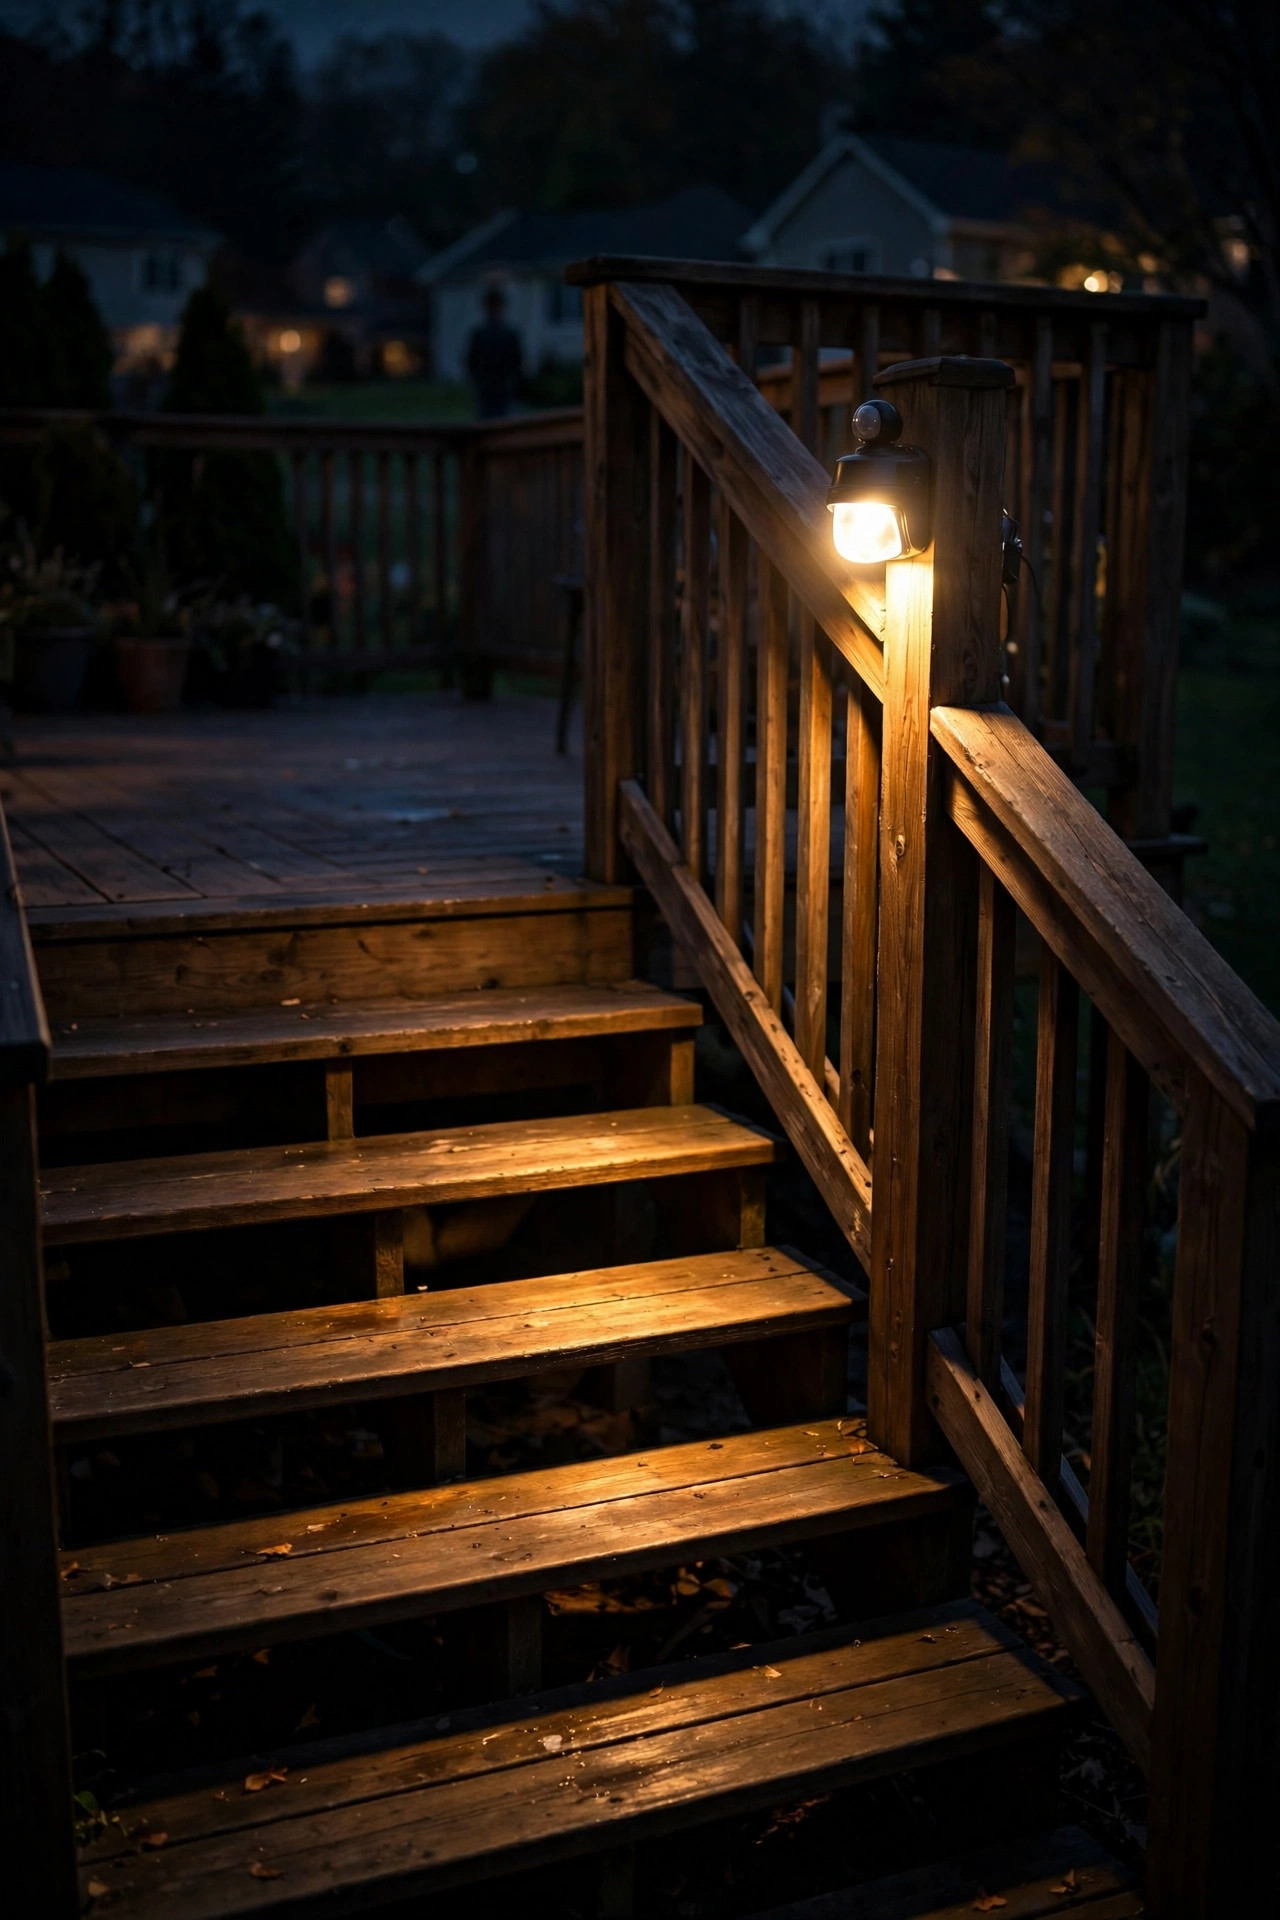
If you only do one thing on this list, make it this one. Post cap lights sit right on top of your railing posts, casting a soft pool of warm light downward along the railing line. In my experience, they're the single highest-impact upgrade for any deck because they outline the whole perimeter at night — your deck reads as finished and intentional from the yard. Measure your post width before you shop; most caps fit 4×4 or 5.5-inch posts (remember, a "4×4" post actually measures 3.5 inches square, so buy caps labeled for true 4×4 posts, not nominal lumber size). Solar versions are the easiest — no wiring at all, just place and go — but in shady spots they fade by midnight. For reliability, I prefer low-voltage wired caps, which run off a 12-volt transformer and give a consistent glow all evening. Stick with warm white (2700K) for that candlelit feel, and space them on every post or every other post depending on how bright you like it. Give solar caps a full day of sun before judging their brightness, and wipe the tiny panels monthly — pollen and dust quietly kill their runtime.
Suggested budget range: $40 – $160.
2. Recessed In-Deck Floor Lights
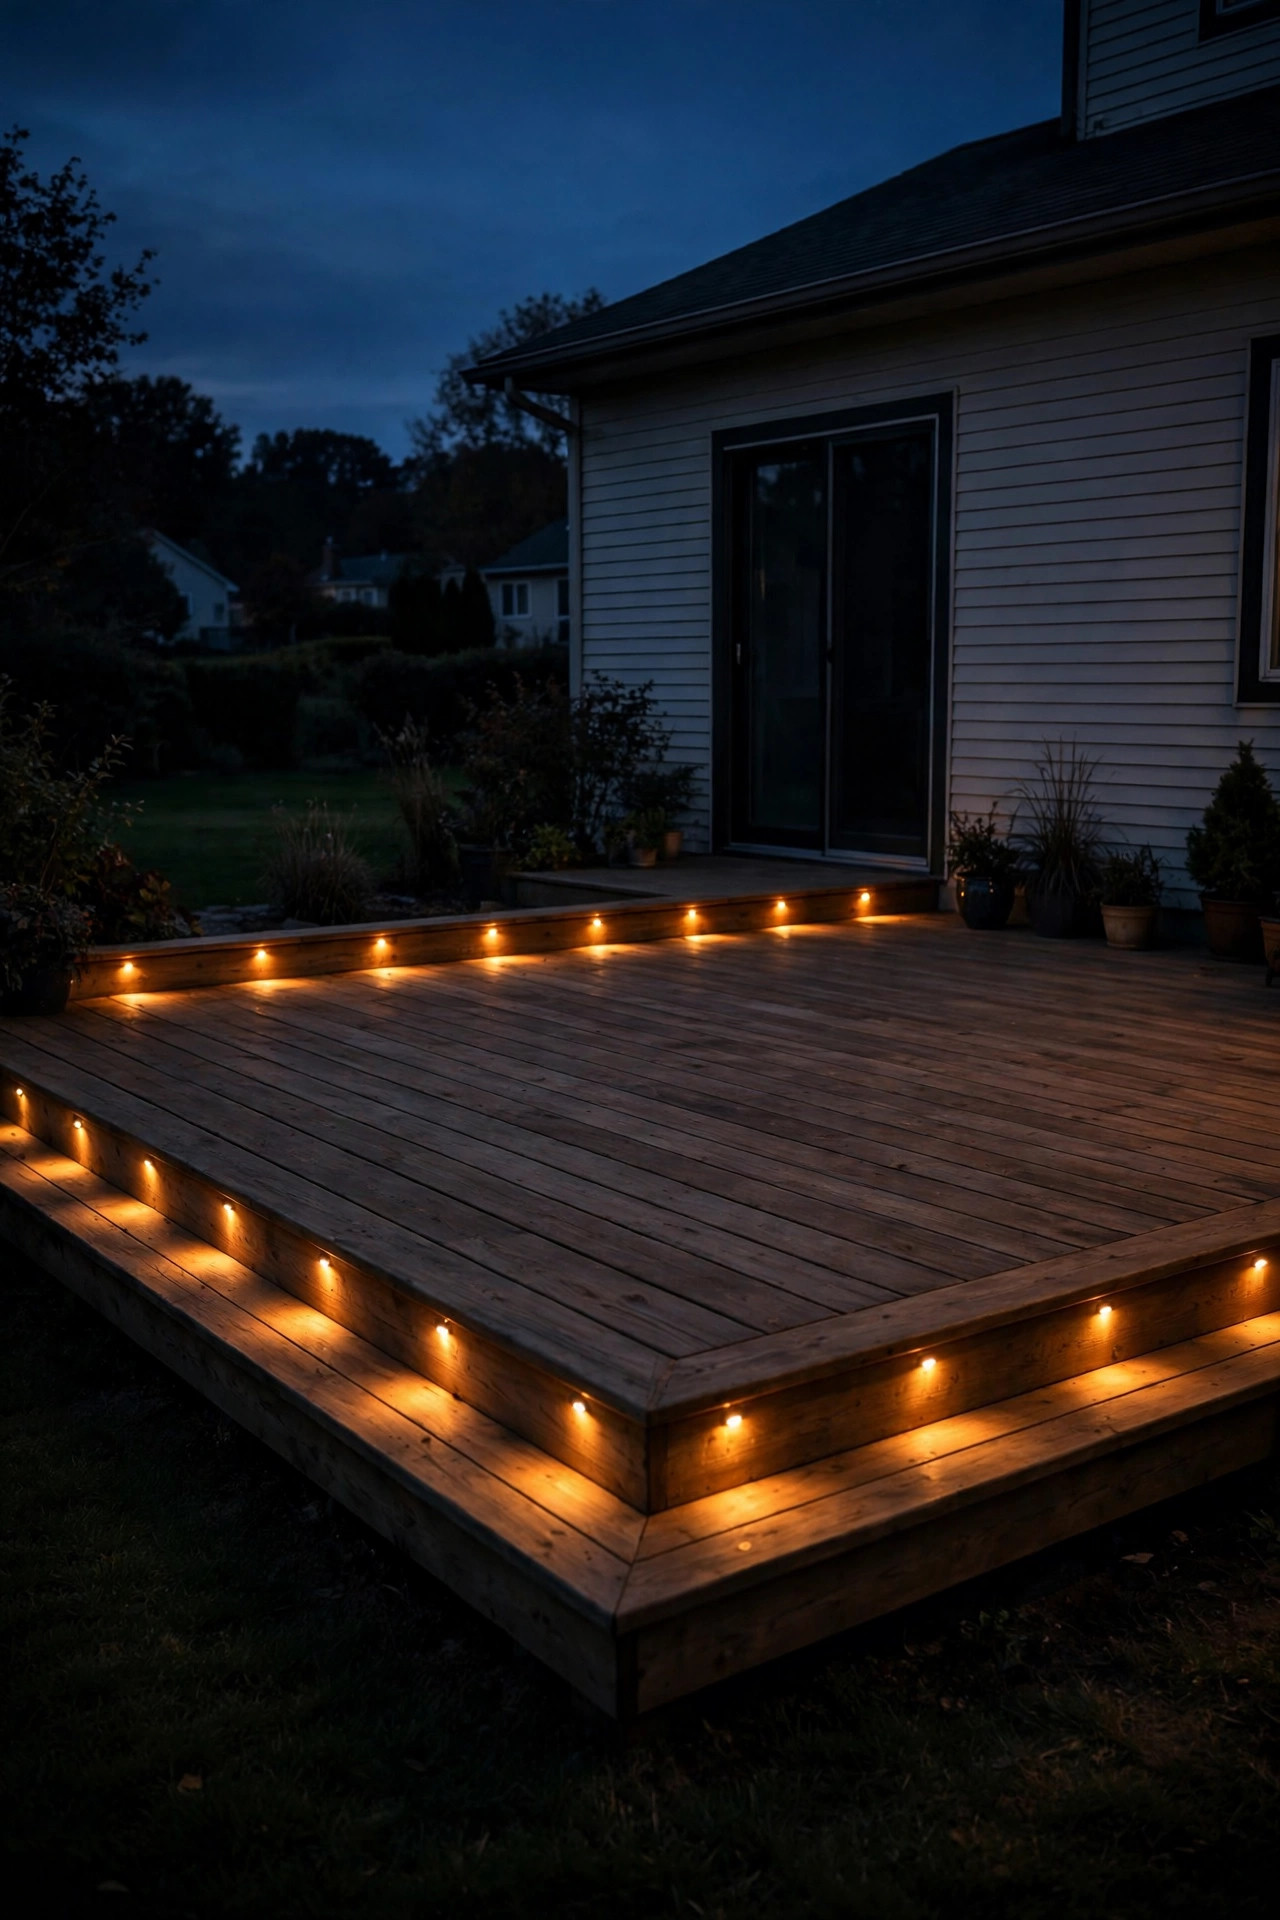
Recessed deck lights are the "how did they DO that?" effect — tiny dots of light sitting flush in the deck boards themselves, like the deck is glowing from within. They're most striking along the outer edge of the deck floor or framing a stair landing. These are a commit-once-do-it-right project: you core-drill a hole (usually 2 to 3 inches) through the decking, drop in a low-voltage LED fixture rated for foot traffic, and wire them on a 12-volt line. The fixtures are rated to be walked on, but keep them out of the main walking path anyway so nobody's stepping directly on them every trip — edges, corners, and borders look better and last longer. Plan your layout before drilling: I space mine 3 to 4 feet apart in a straight line, which gives an elegant dotted rhythm rather than a runway strip. Warm white 2700K keeps them cozy; cool white reads clinical on wood. If your deck is already built, hire an electrician or low-voltage pro for the wiring run underneath — crawling under a finished deck to fish cable is honestly nobody's idea of a fun Saturday.
Suggested budget range: $150 – $500.
3. Stair Step Lights
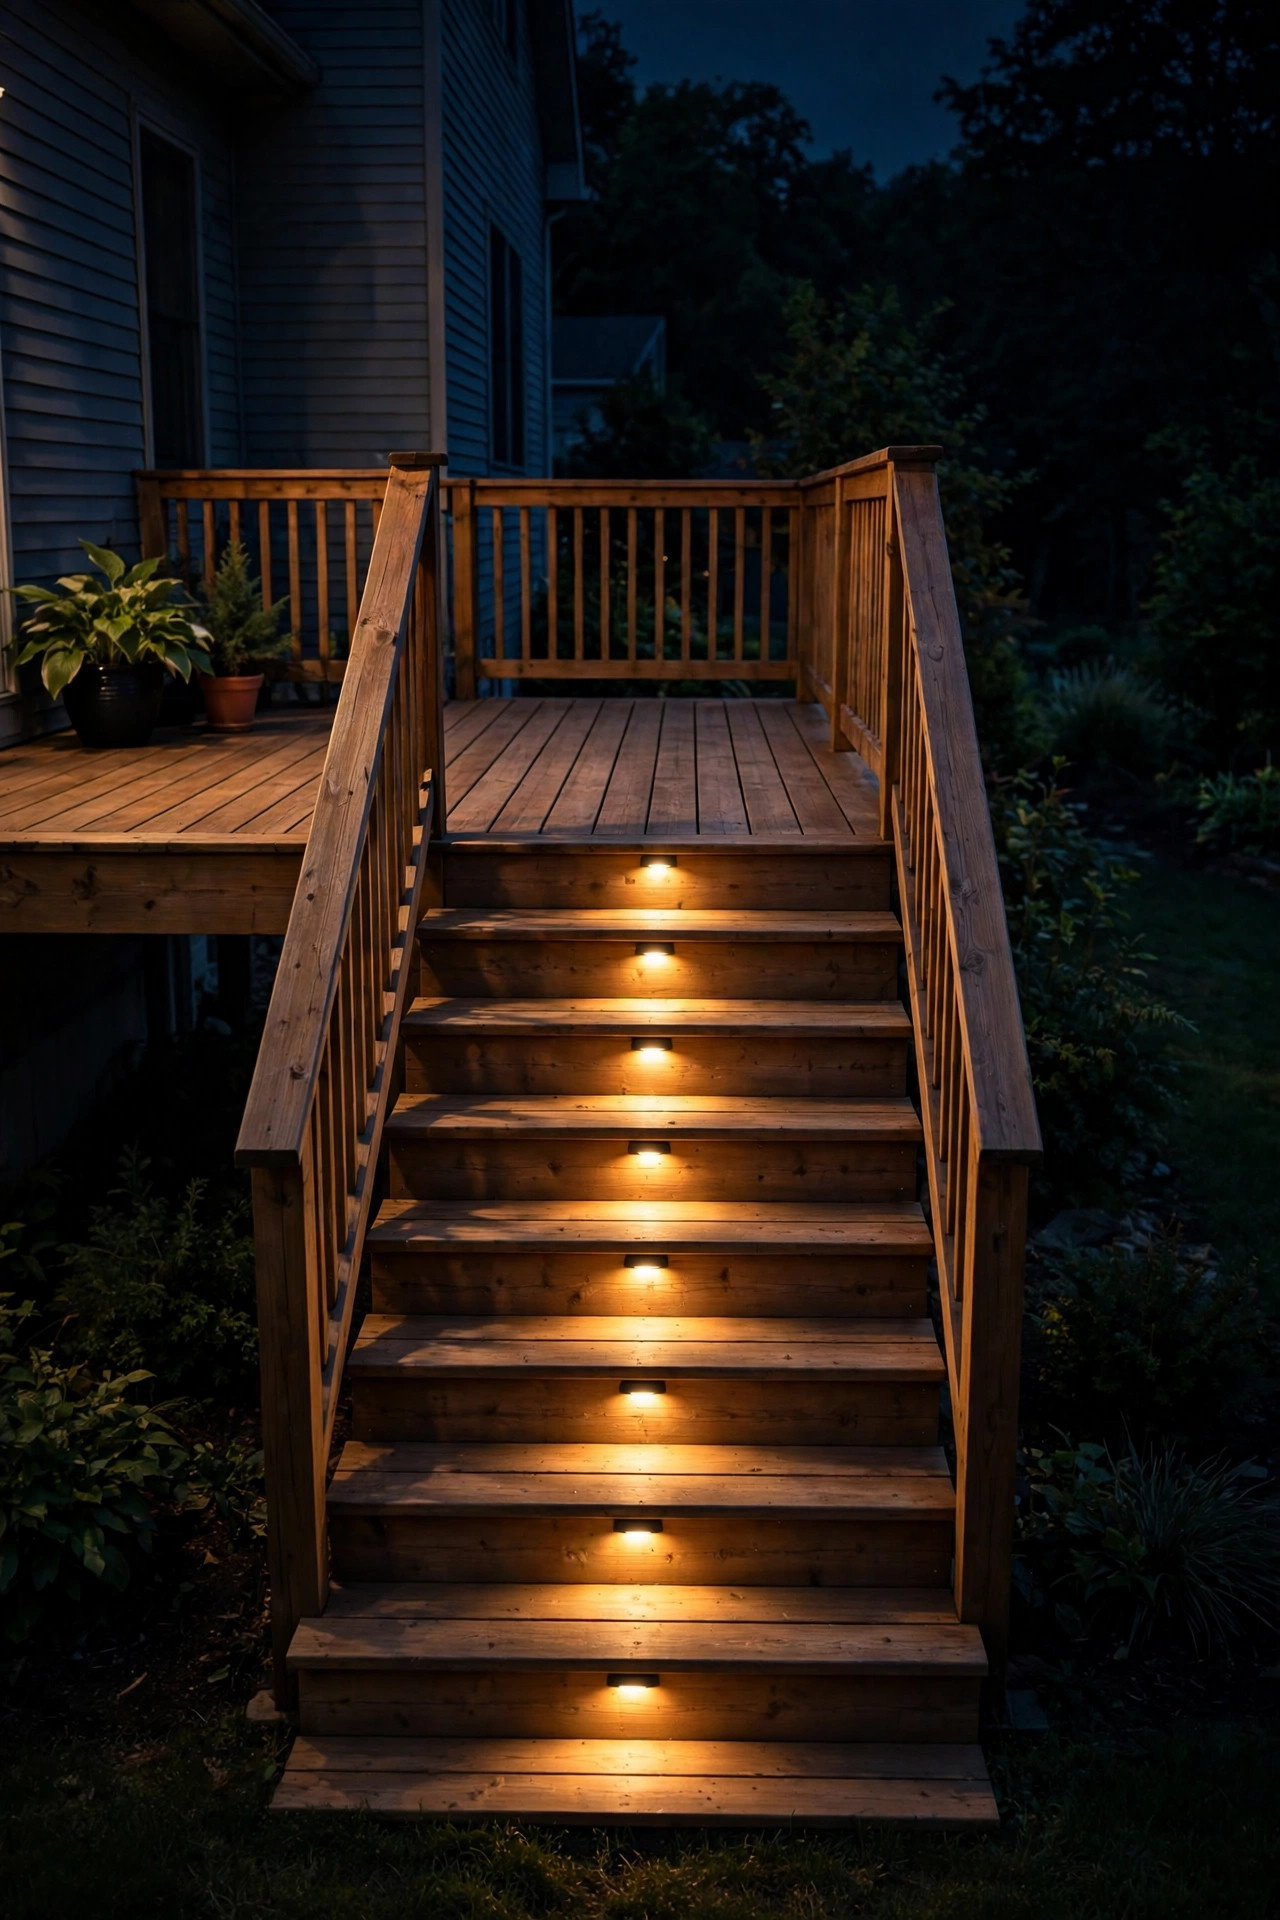
Stairs are where deck lighting stops being decorative and starts being genuinely important. Step lights mounted on the side of each tread or riser give you exactly enough glow to see where your foot lands — critical when you're carrying a tray of burgers and iced tea up from the grill. The most common style is a small rectangular fixture that mounts into the riser or the side stringer, washing light downward across the tread. I put them on every other step for a 4-step flight, and every step for anything taller — consistency matters more than brightness here, because a dark step in the middle of a lit flight is the dangerous one. Low-voltage LED step lights tie into the same 12-volt transformer as your post caps, so plan both zones on one layout. Choose fixtures with a louvered or hooded face so the bulb isn't glaring into your eyes as you climb; the light should hit the tread, not your face. And always pick fixtures rated for wet locations, since steps catch every rain splash.
Suggested budget range: $80 – $300.
4. Stair Nosing LED Strips
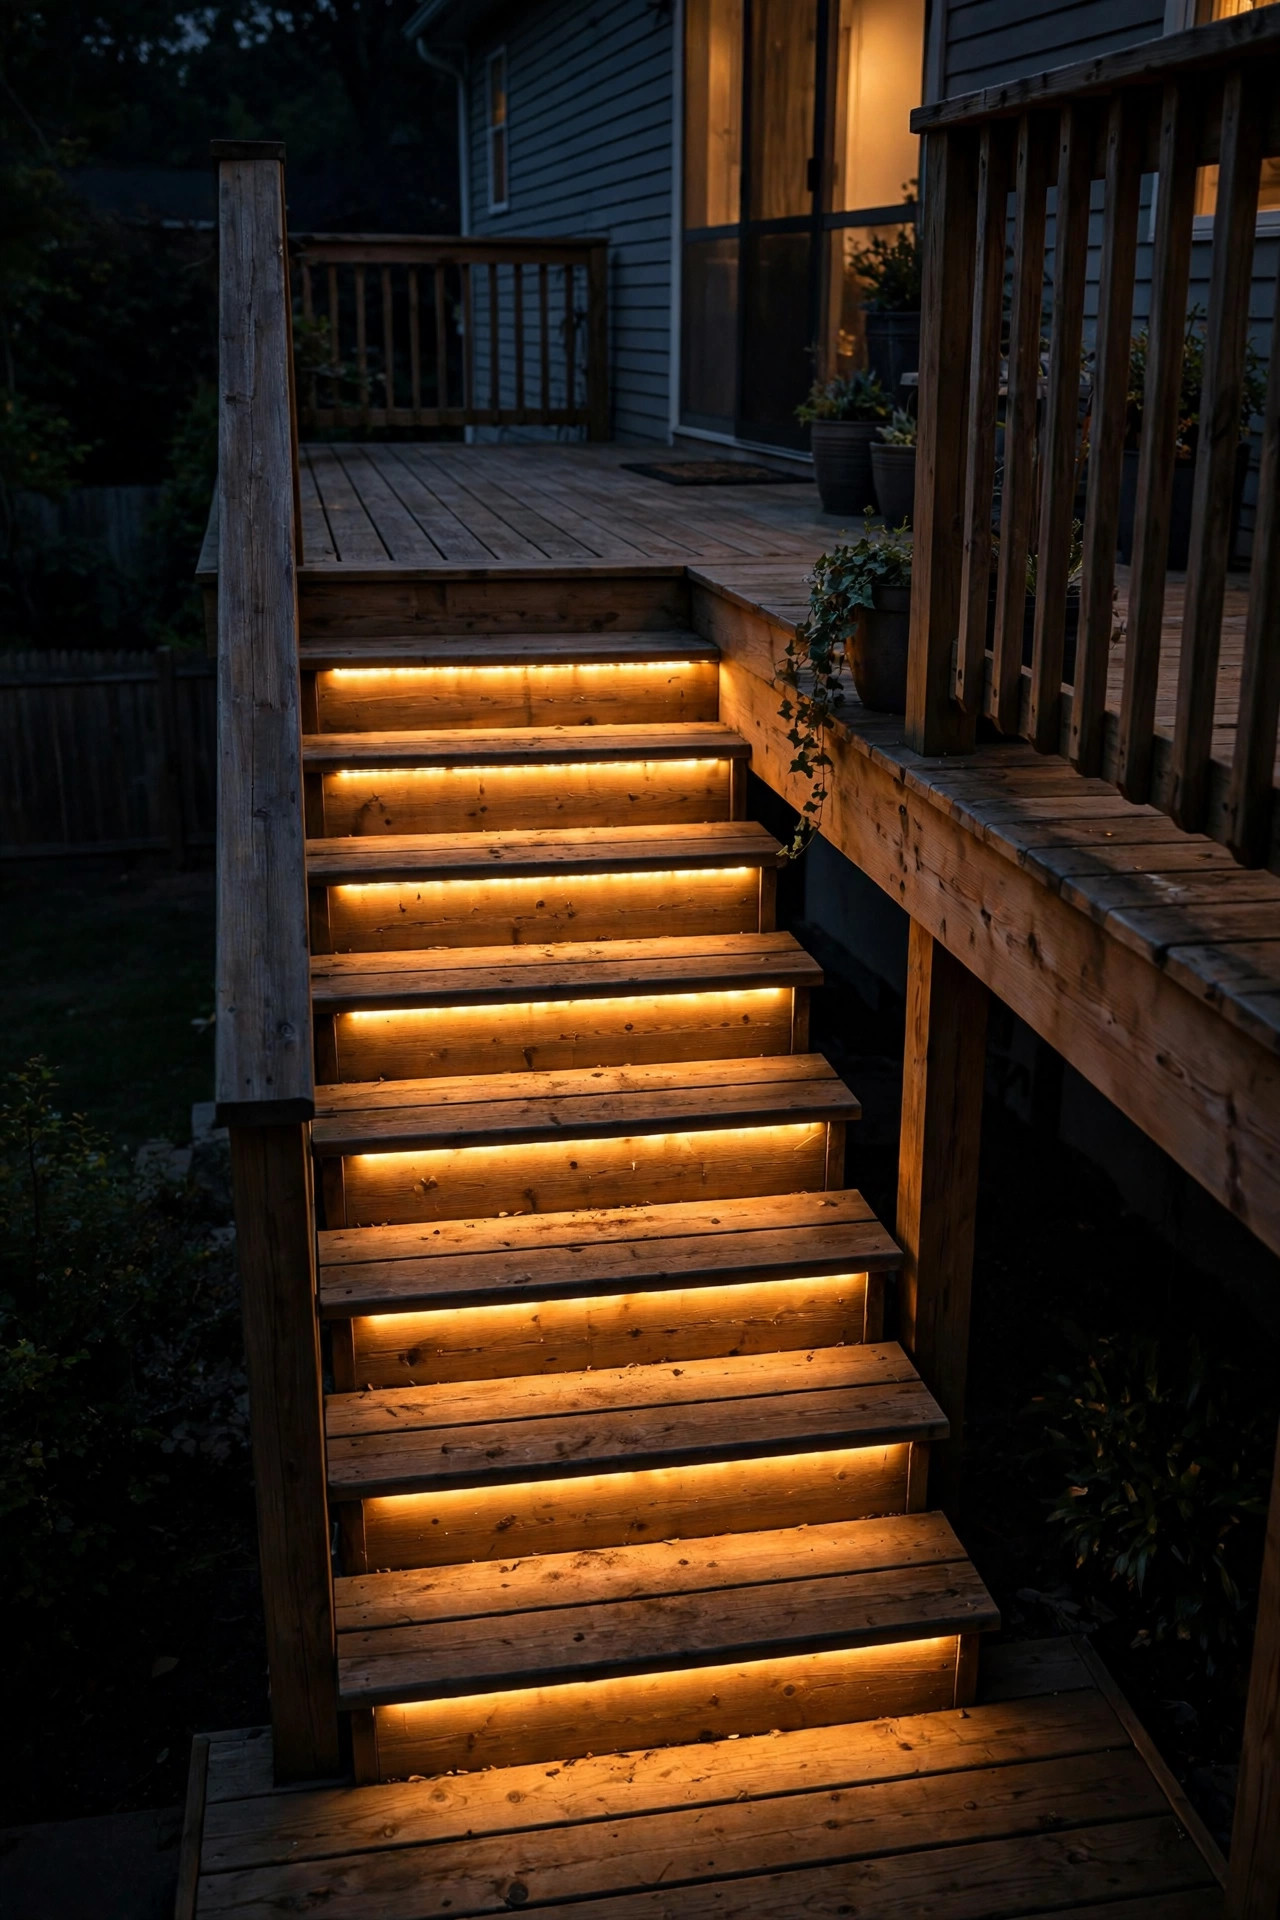
Stair nosing strips are step lights' sleeker cousin: a slim LED strip tucked under the lip (the nosing) of each stair tread, so every step gets a crisp line of light floating in the dark. The effect is honestly a little cinematic — I've had guests stop mid-step just to look. The trick is the mounting channel: don't stick the bare strip to the wood. Mount it in an aluminum channel with a frosted diffuser cover, which protects the strip from kicks and weather and turns harsh dots into one smooth line of light. Cut strips to the tread width minus an inch on each side, and run the wiring through a small chase along the stringer. Waterproof strips rated IP65 or better are non-negotiable here — stairs sit in puddles. Warm white (2700K–3000K) is my pick for wood stairs; go brighter (4000K) only on light-gray composite where warm tones look dingy. Set them on the same timer as the rest of the deck so they come on at dusk automatically. One safety note: keep the strip recessed enough that the nosing still overhangs it, so toes can't catch the channel.
Suggested budget range: $60 – $220.
5. Under-Rail LED Strip Lighting
This is my favorite "wow, your deck feels expensive" trick, and it's invisible in daylight. Run a waterproof LED strip along the underside of the top handrail so it washes light straight down the balusters. From across the yard, the whole railing glows like a lantern. Mount the strip in a shallow aluminum channel with a diffuser, screwed to the underside of the rail — the channel keeps the light smooth and dot-free and shields it from rain. Space the channel continuously around the perimeter; one spool of strip (usually 16 feet) covers a typical rail run, and you can daisy-chain more. Use the same 12-volt transformer system as your other low-voltage fixtures, or a dedicated LED driver with a plug-in timer. I always recommend 2700K here — it makes wood grain glow and skin tones look flattering, which matters when people are gathered around. The one maintenance chore: spiders love the warm underside of rails, so sweep the channel with a soft brush in spring and fall. Nobody talks about that, but your diffuser will stay clear if you do.
Suggested budget range: $70 – $250.
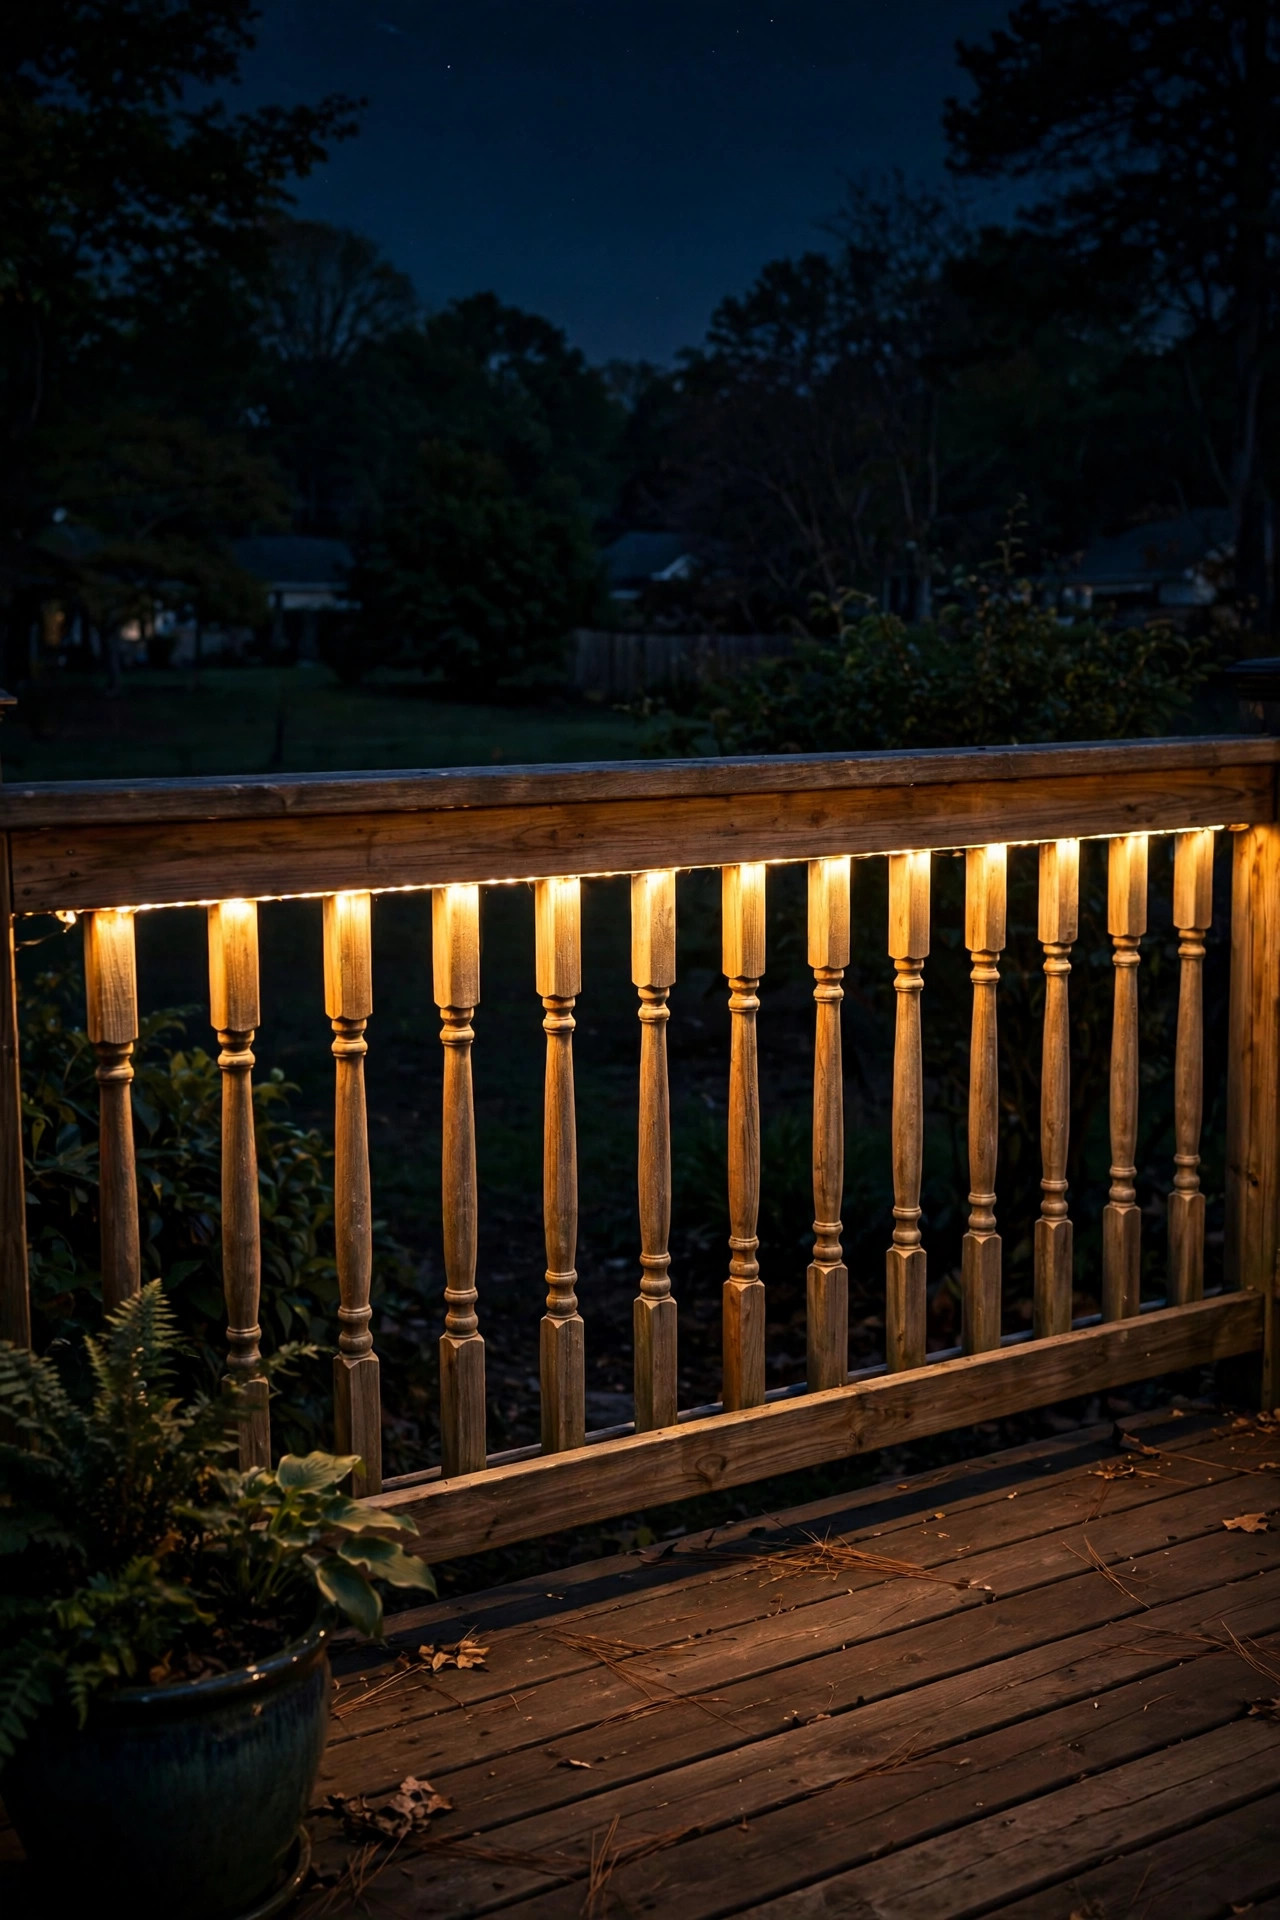
6. Railing Post Spotlights
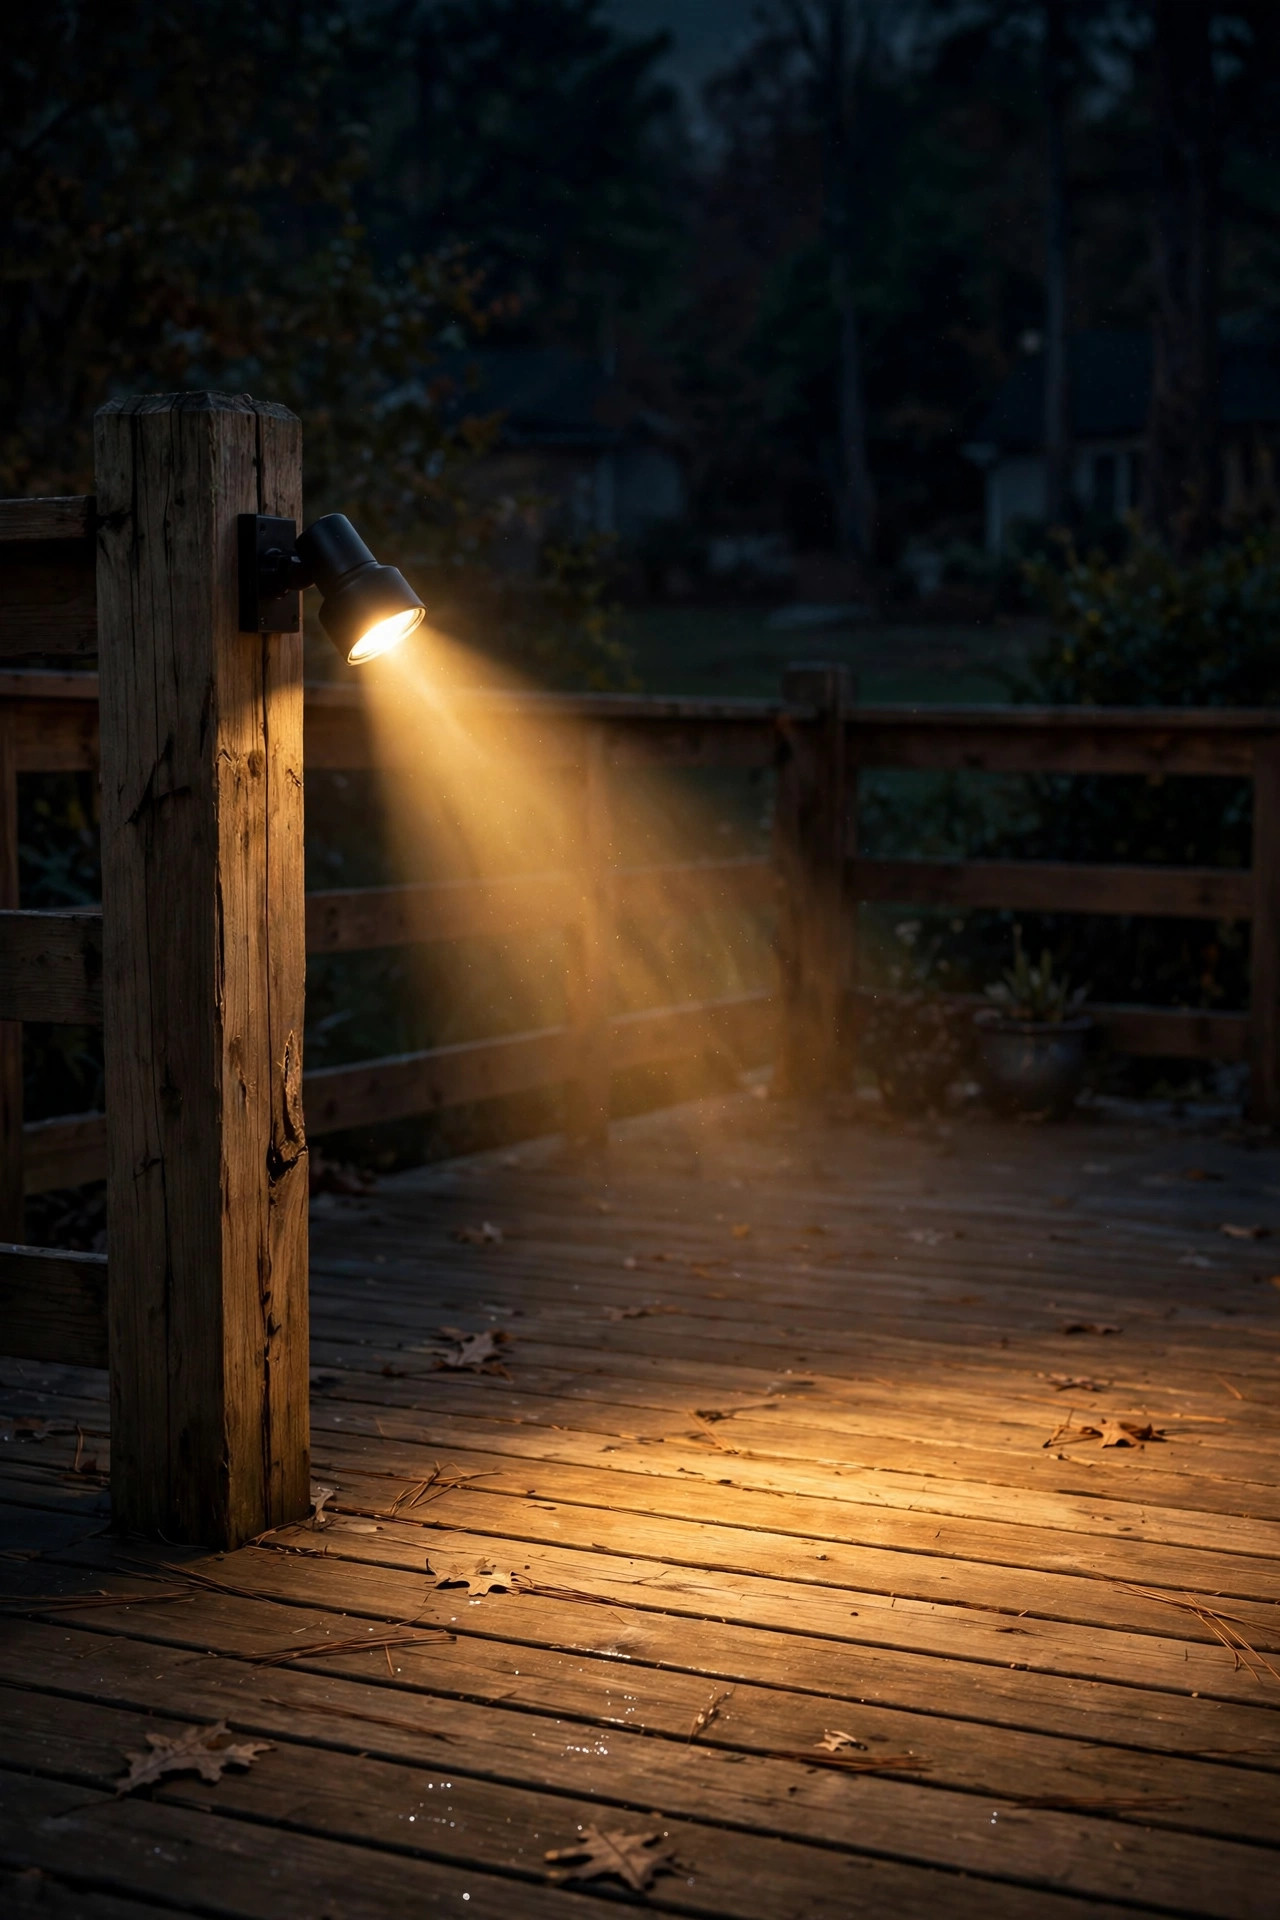
While under-rail strips wash light downward, small adjustable spotlights mounted on railing posts throw light exactly where you aim it — across a planter bed, up into an ornamental tree, or onto the deck surface around the dining table. I love these because they add a layer of drama that flat ambient light can't give. Mount a compact 12-volt LED spotlight near the top of a corner post, aimed outward, and you've got instant landscape lighting without running wire across the yard. Angle them so the beam grazes rather than stares: a light that washes across the deck boards at a low angle reveals wood texture and looks three times more expensive than it is. Choose fixtures with adjustable heads so you can re-aim when you rearrange furniture or plantings. Keep beams out of neighbors' windows — a little courtesy goes a long way, and most towns have dark-sky guidance worth respecting. Two to four of these, carefully aimed, do more for a deck's night presence than a dozen random fixtures.
Suggested budget range: $90 – $320.
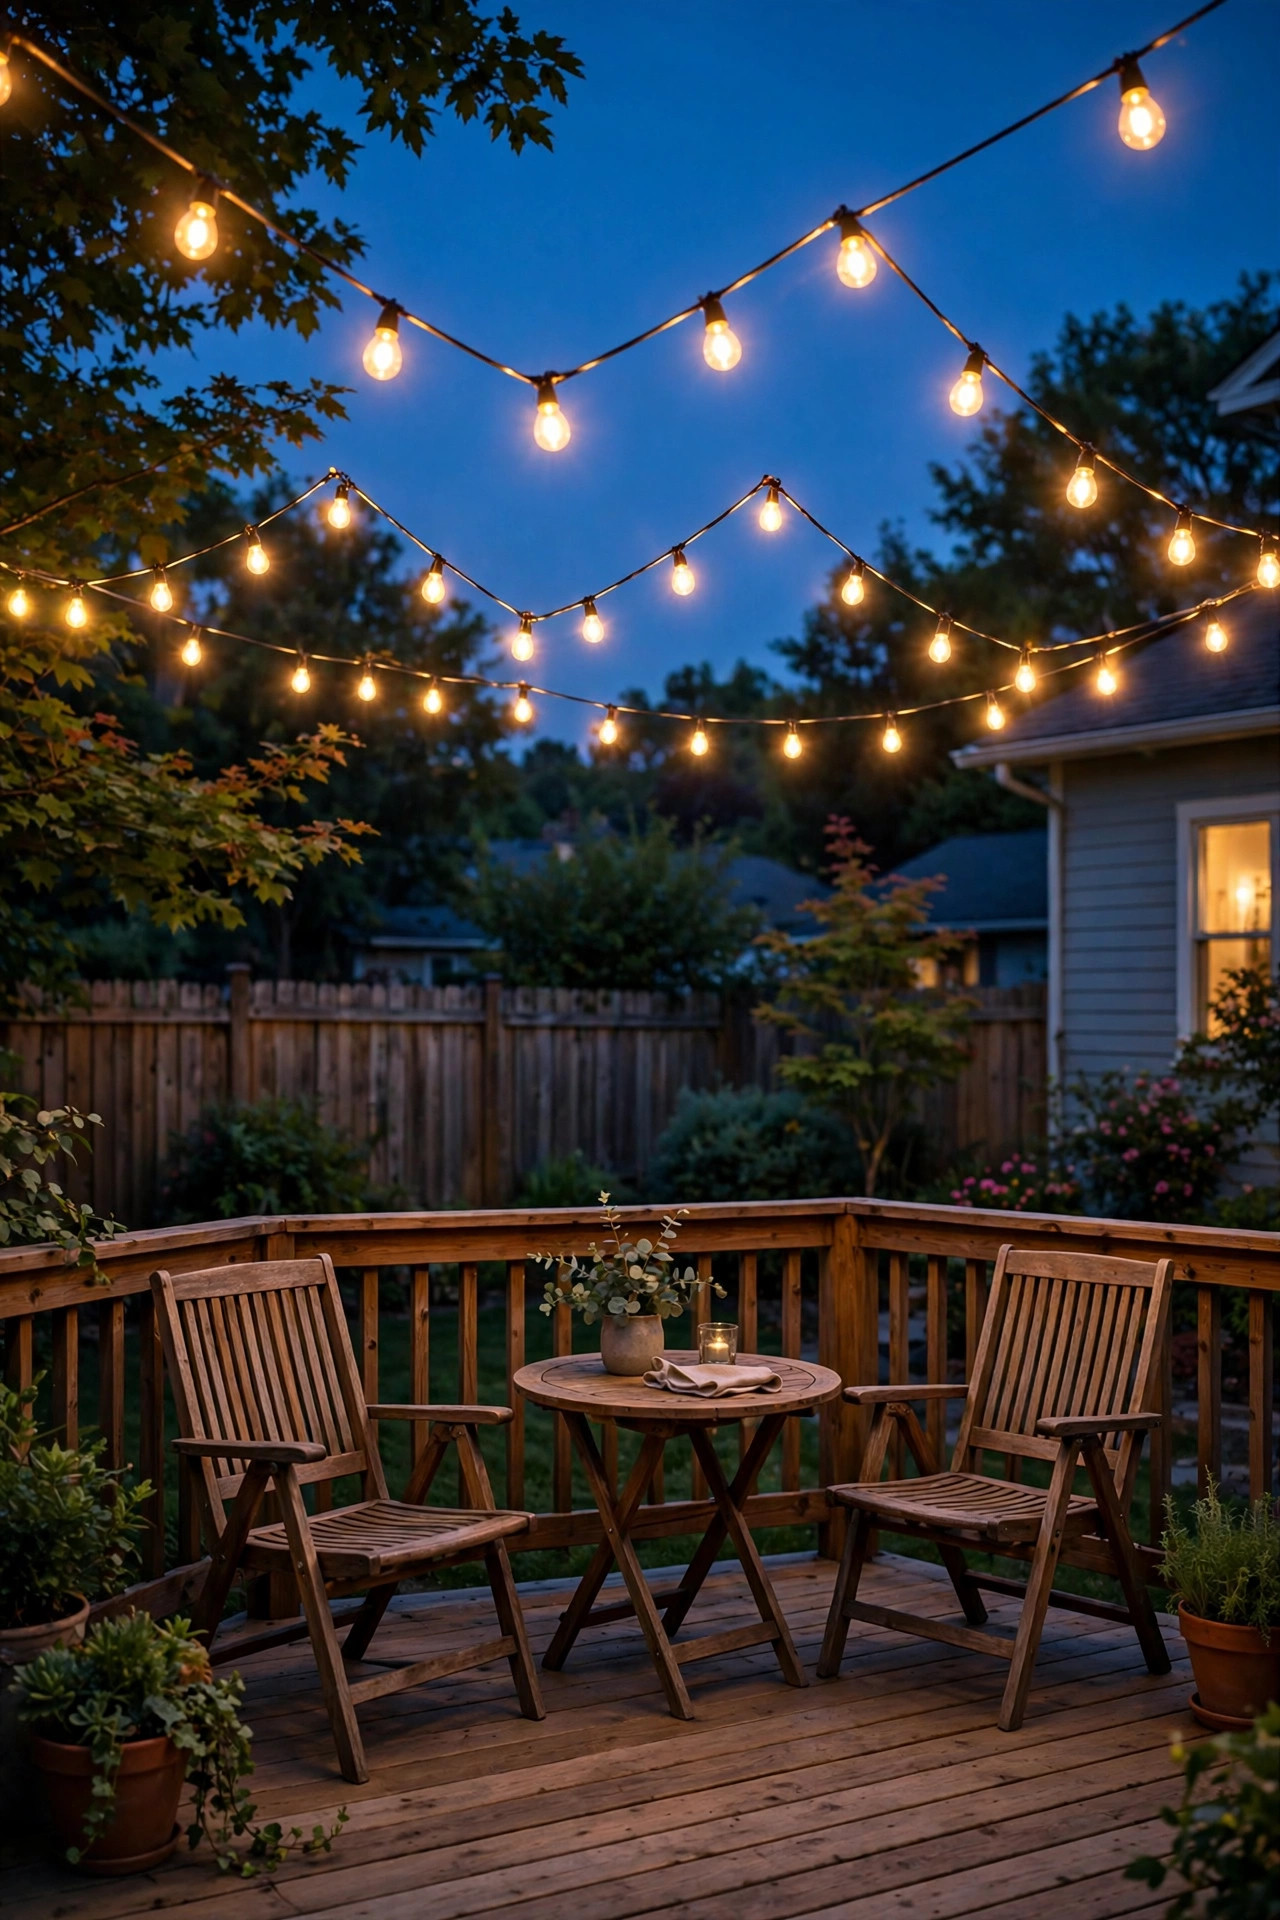
7. String Light Canopy Across the Deck
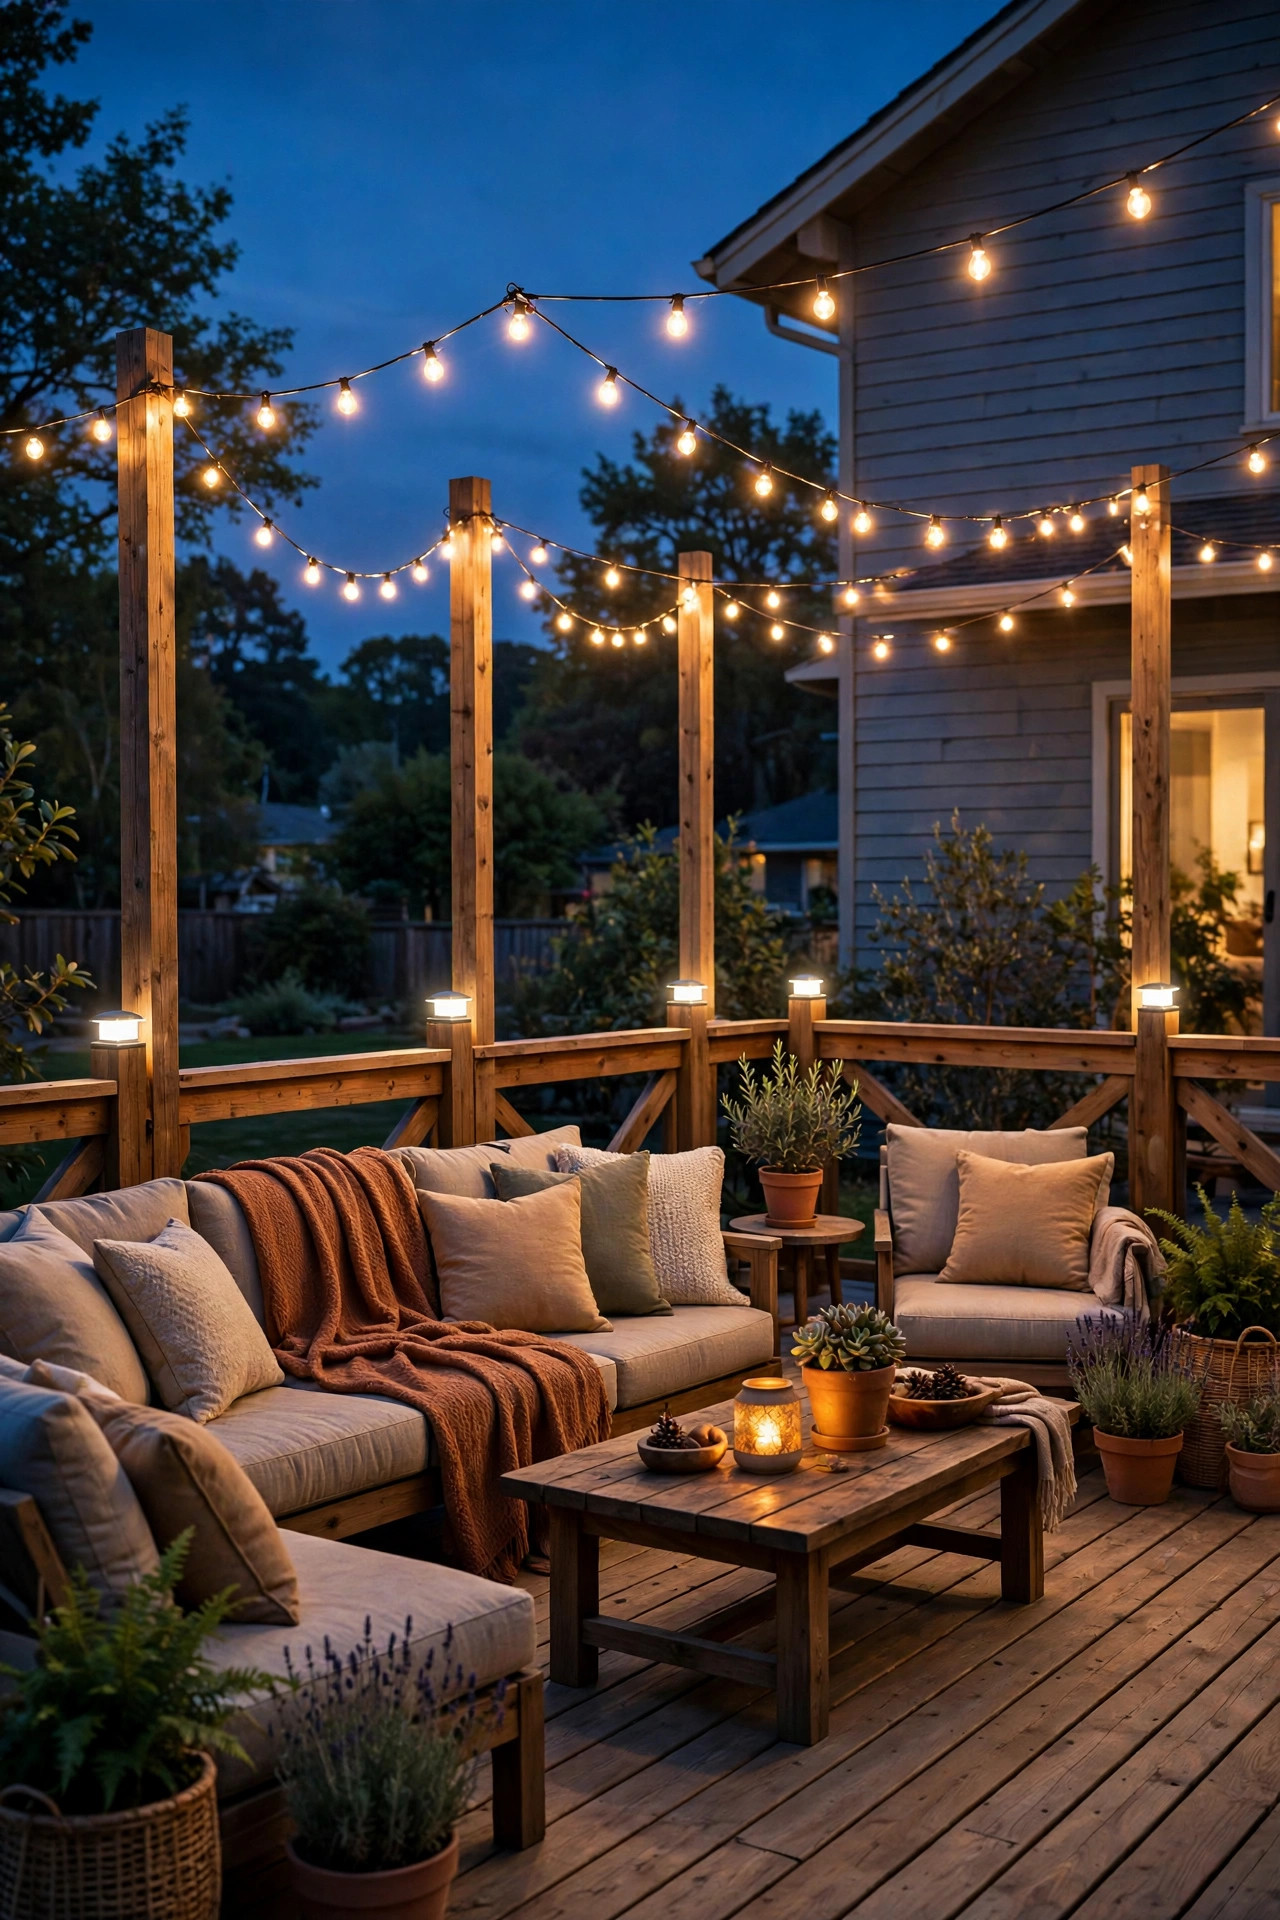
Nothing says "stay awhile" like a canopy of string lights. The classic move: zigzag café-style strands from the house wall across to the far railing or a pair of tall posts, creating a ceiling of warm bulbs over the seating area. In my experience, the magic number is catenary drape — let each strand sag 6 to 12 inches between anchor points so the bulbs hang like a smile rather than a tightrope. Anchor with screw-eye hooks into solid framing (not fascia board alone), and use a guide wire for spans over 20 feet so wind doesn't turn the strands into a sail. Outdoor-rated strands with shatterproof LED bulbs are the way to go; incandescent bulbs look dreamy but run hot and eat electricity. Space bulbs 12 inches apart for a dense glow or 24 inches for a breezier look. Plug into an outdoor smart plug with a dusk-to-dawn schedule so they come on by themselves. Pro tip from years of redoing mine: hang the canopy 8 to 10 feet high if you can — low enough to feel intimate, high enough that tall guests don't duck.
Suggested budget range: $50 – $200.
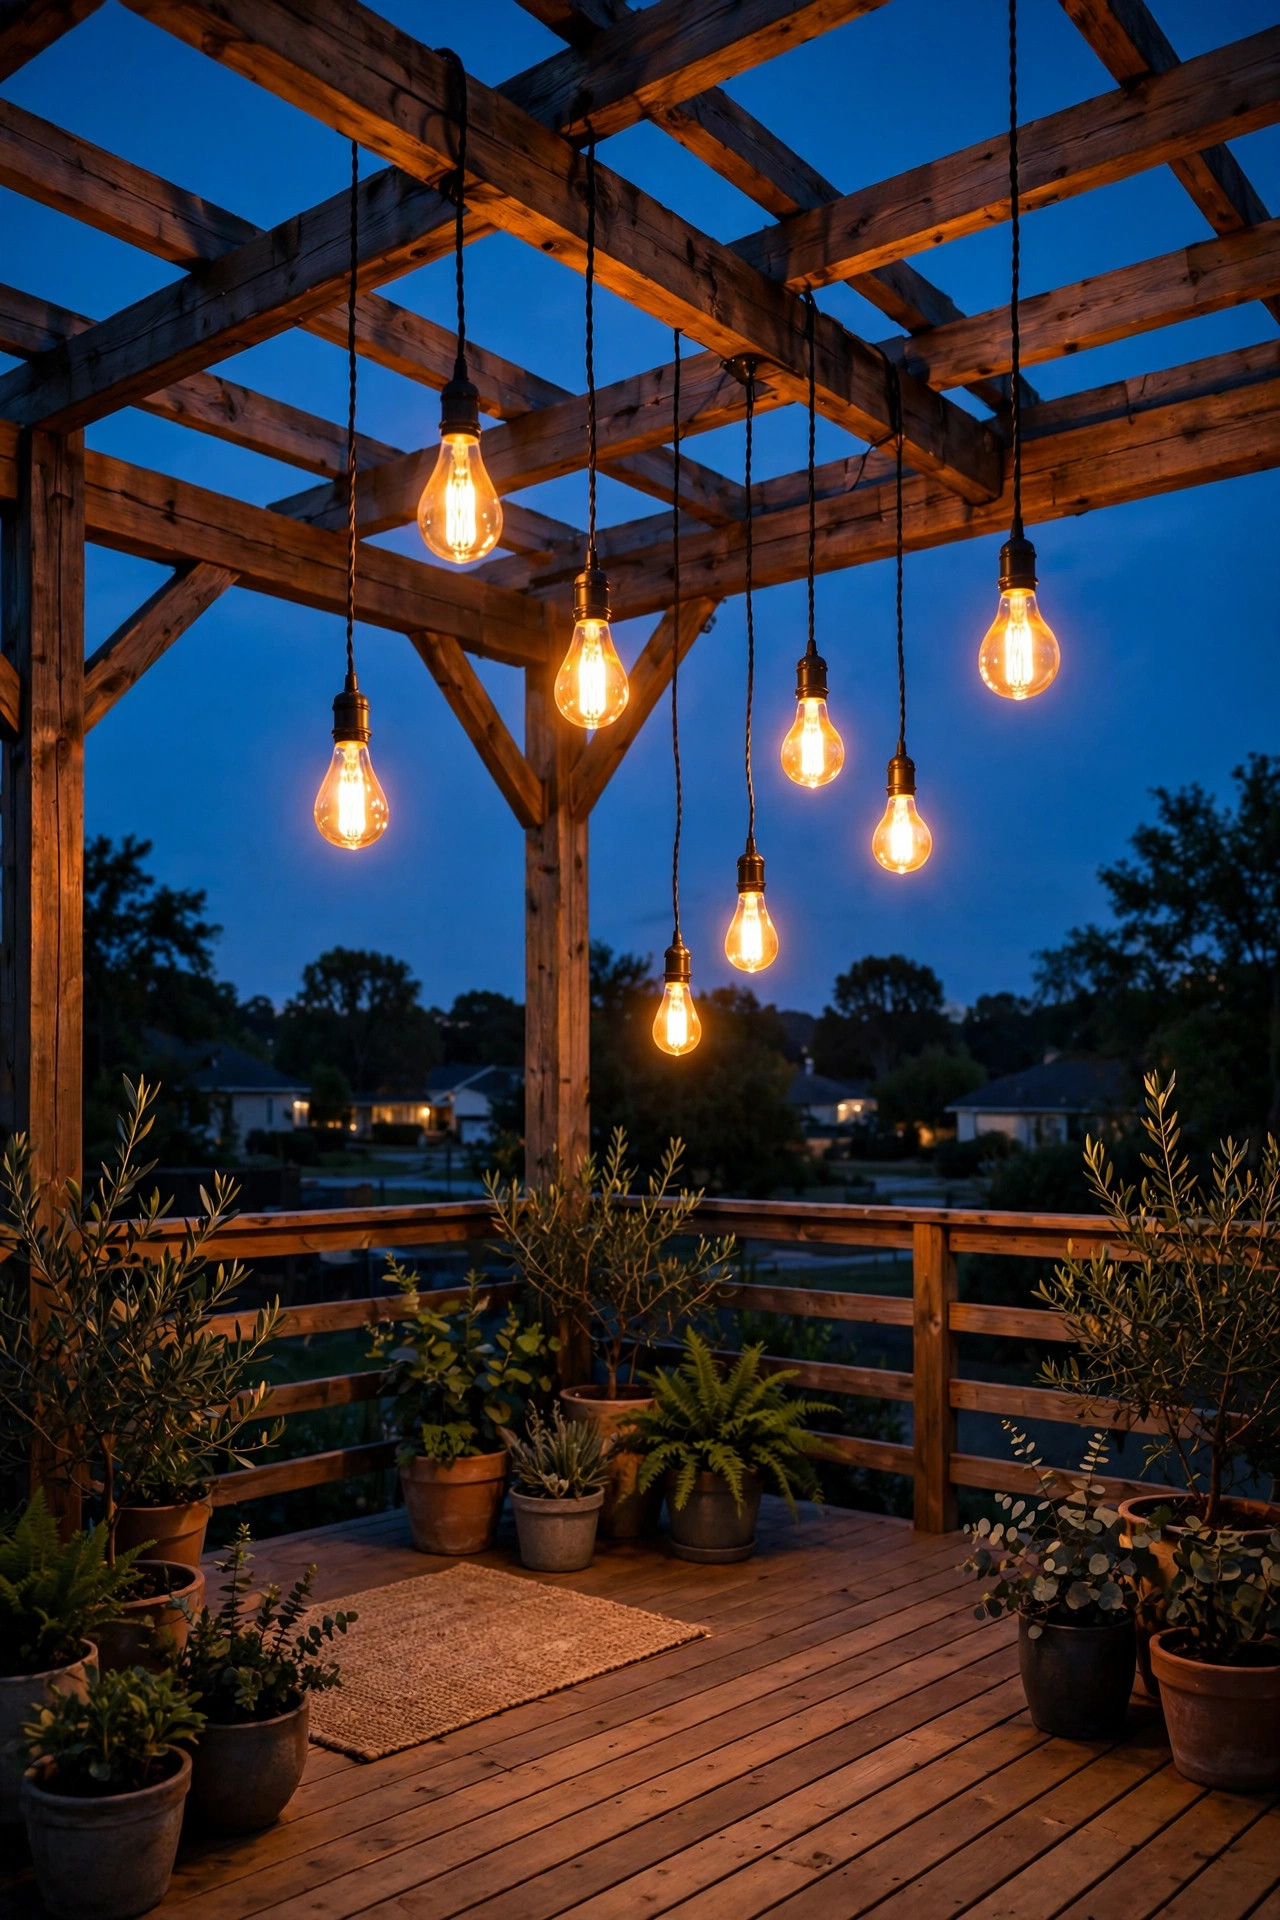
8. Pergola Pendant Bulbs
If your deck has a pergola, you already own the perfect frame for pendant lighting — you just need to hang the jewels. Drop oversized Edison-style LED filament bulbs from the pergola beams on simple cords at staggered heights (I hang mine between 7 and 8 feet, varying by a few inches for a relaxed rhythm). Space them 2 to 3 feet apart over the dining or lounge zone so each seat gets its own warm pool of light. Use outdoor-rated sockets and cords, and make sure the cord lengths are identical in weight distribution — heavy pendants on long drops will swing in a breeze, so keep drops under 3 feet in windy spots or add a discreet anchor cord. The 2200K "amber" filament LEDs are my forever pick here: they're dimmer than standard warm white, with a golden, almost candlelight tone that makes food look gorgeous and faces look flattering. Put them on a dimmer (outdoor-rated smart dimmer plugs exist and are worth every penny) so you can dial from dinner brightness to late-night ember glow.
Suggested budget range: $90 – $350.
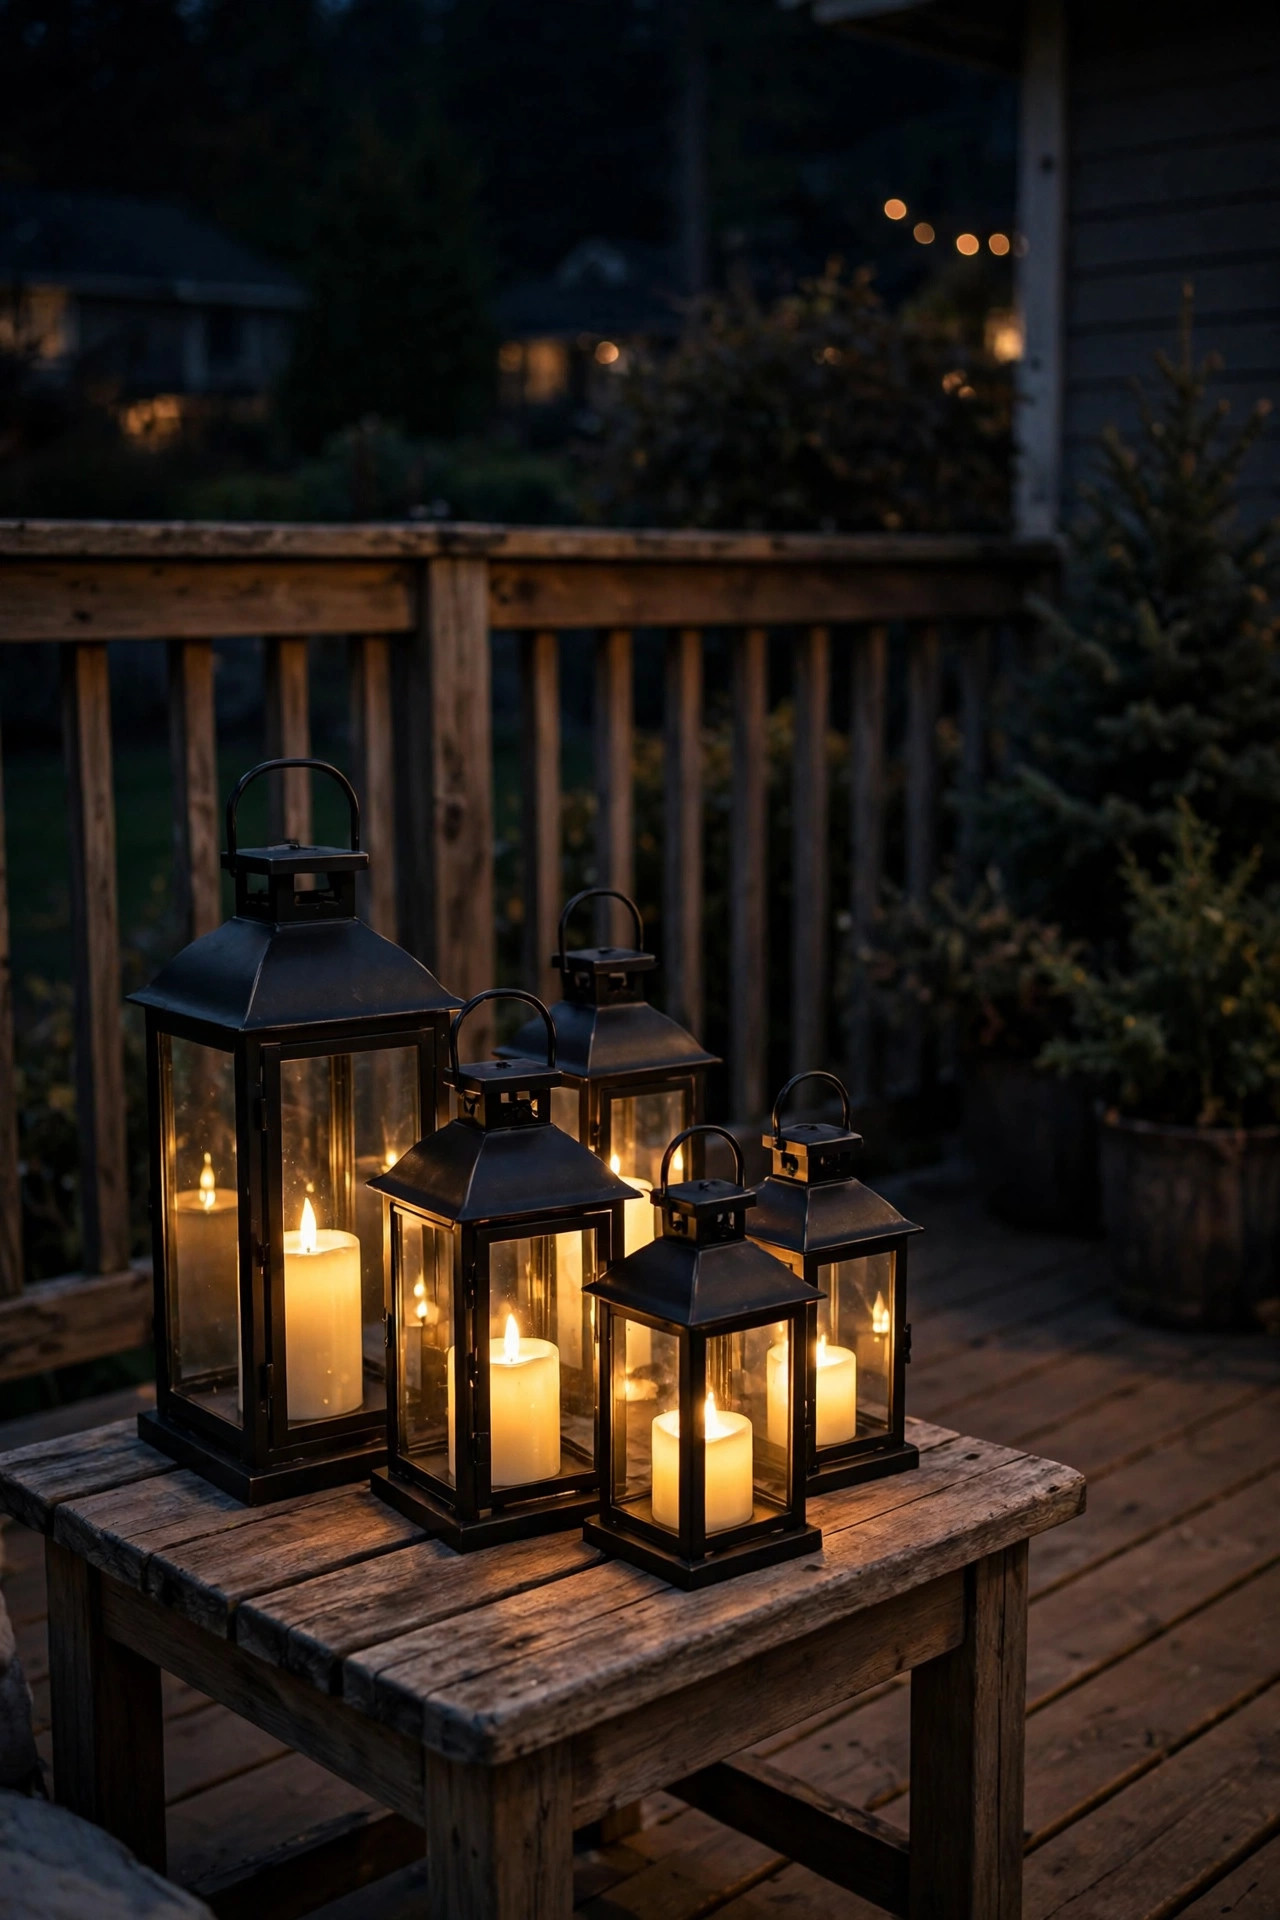
9. Flameless Lantern Clusters
Lanterns are the jewelry of deck lighting — they move around, they group up, they set the mood for a table. Skip the real flames (wind + dry wood deck + open flame is a combination no insurance adjuster wants to hear about) and go with LED flameless lanterns that flicker like real candles. The styling trick is clustering: group lanterns in odd numbers — threes and fives — mixing heights. A 12-inch lantern flanked by two 8-inch ones on a side table looks effortlessly designed. Place clusters at different heights around the deck: one on the coffee table, one on the stairs landing, one tucked beside a planter. Battery-powered LED candles inside each lantern last for months on a timer setting (most have a built-in 5-hours-on timer, so they light themselves at your usual hangout time). Choose lanterns with glass panels rated for outdoor use and metal — not plastic — frames, which age far better. Honestly, I swap mine seasonally: copper-toned for fall, matte black for summer. Same candles, totally different vibe.
Suggested budget range: $45 – $180.
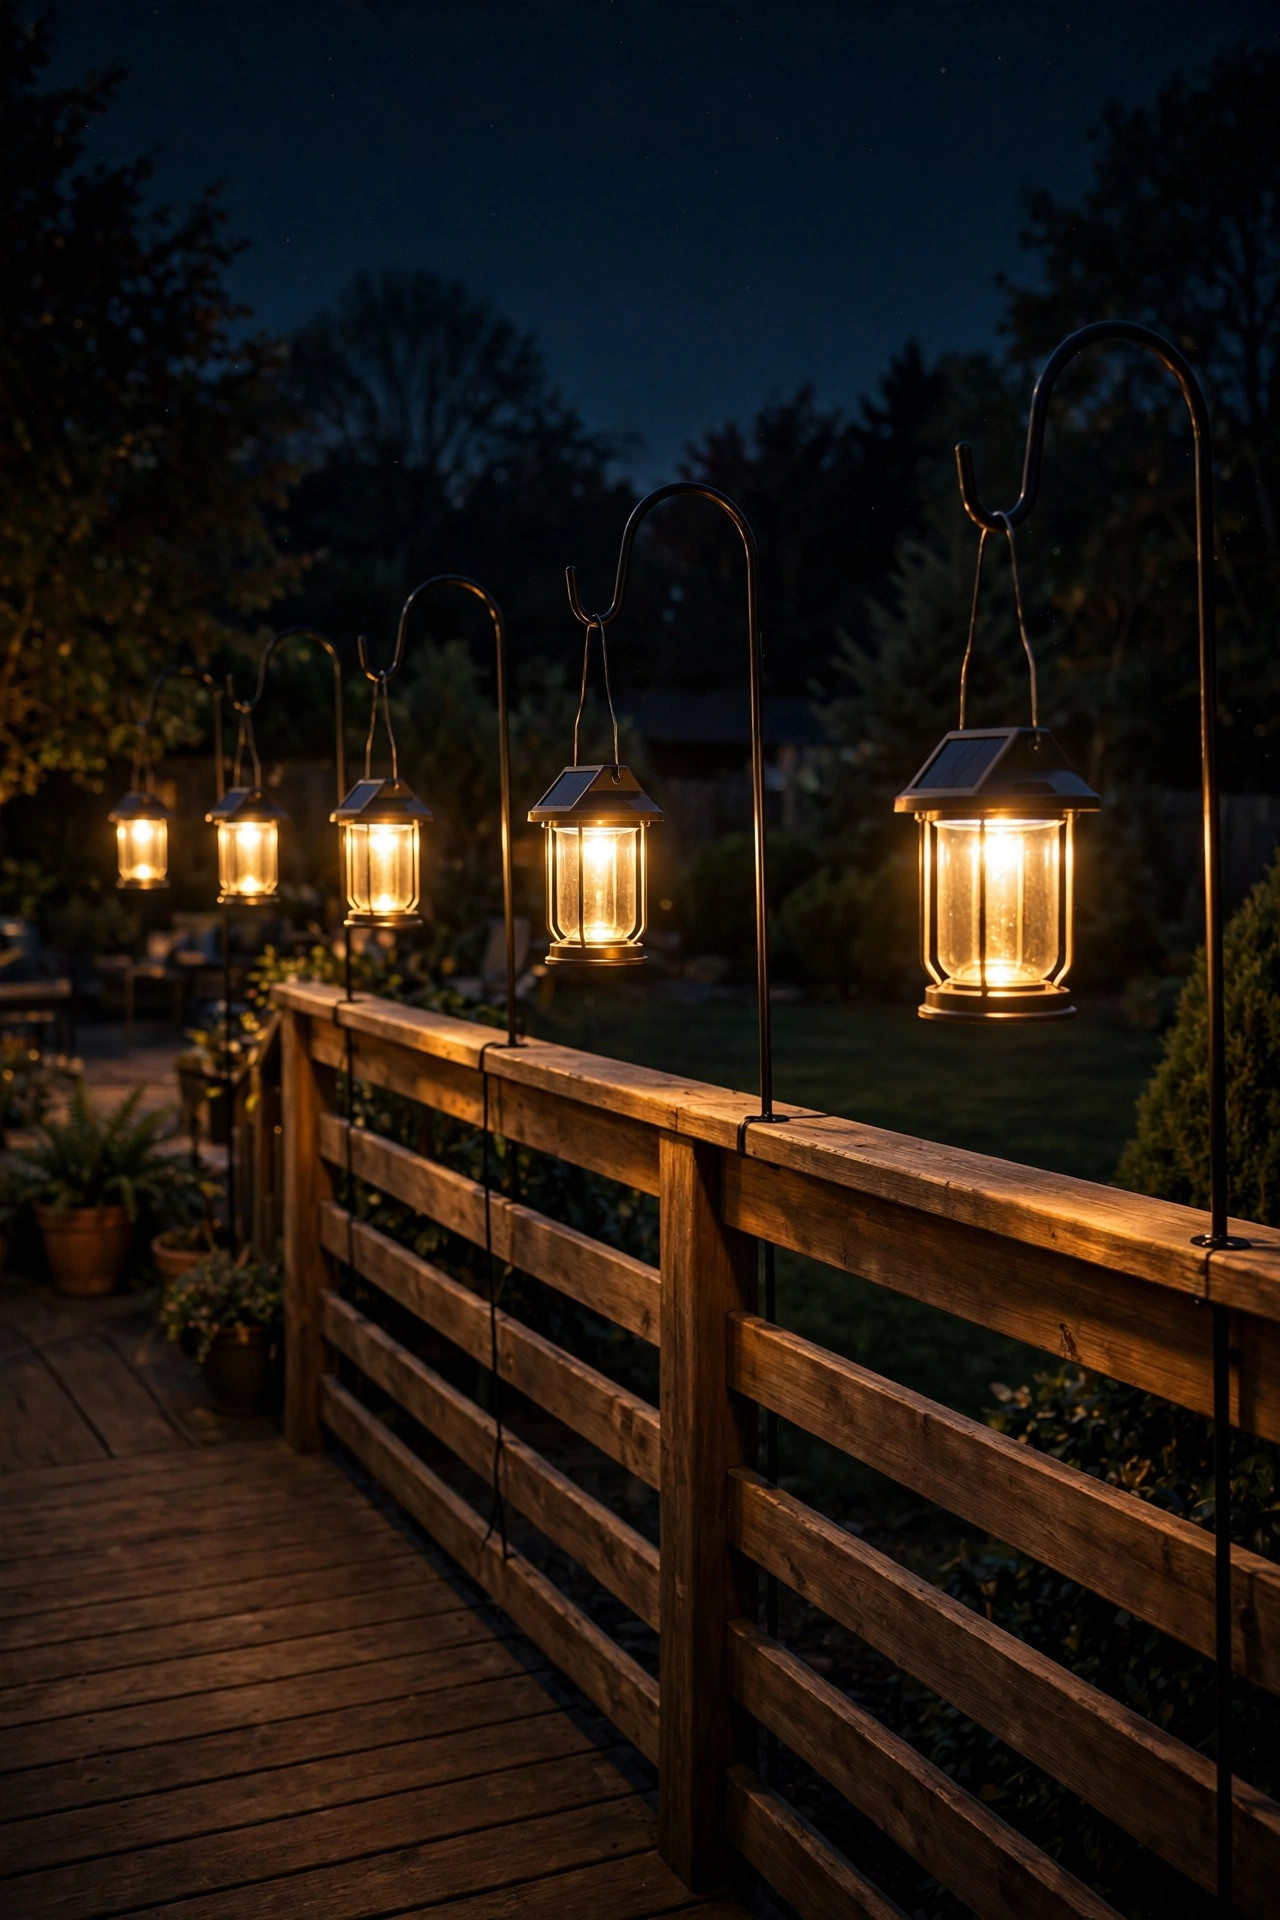
10. Solar Post Lanterns
Solar lanterns are the no-commitment version of post cap lights — they hang from shepherd's hooks, sit on stair landings, or perch on the railing itself, and they charge by day and glow by night with zero wiring. They're perfect for renters, for testing a layout before you commit to wired fixtures, and for lighting corners that are a pain to wire. The honest catch: solar brightness and runtime depend entirely on sun exposure. A lantern in full sun will glow strongly till midnight; the same lantern in a shaded corner may quit by 10 p.m. So place solar lanterns where they get at least 6 hours of direct sun — stair landings and the sun-facing rail edge, not under the eaves. Look for models with replaceable batteries (they'll last years; sealed units die when the battery does) and a manual on/off switch so you're not fighting a sensor. If you want to go deeper on what solar can and can't do outdoors, my guide to solar exterior house lights breaks down realistic runtimes by fixture type. Mix solar lanterns with your wired lighting so the deck never depends on one power source.
Suggested budget range: $35 – $140.
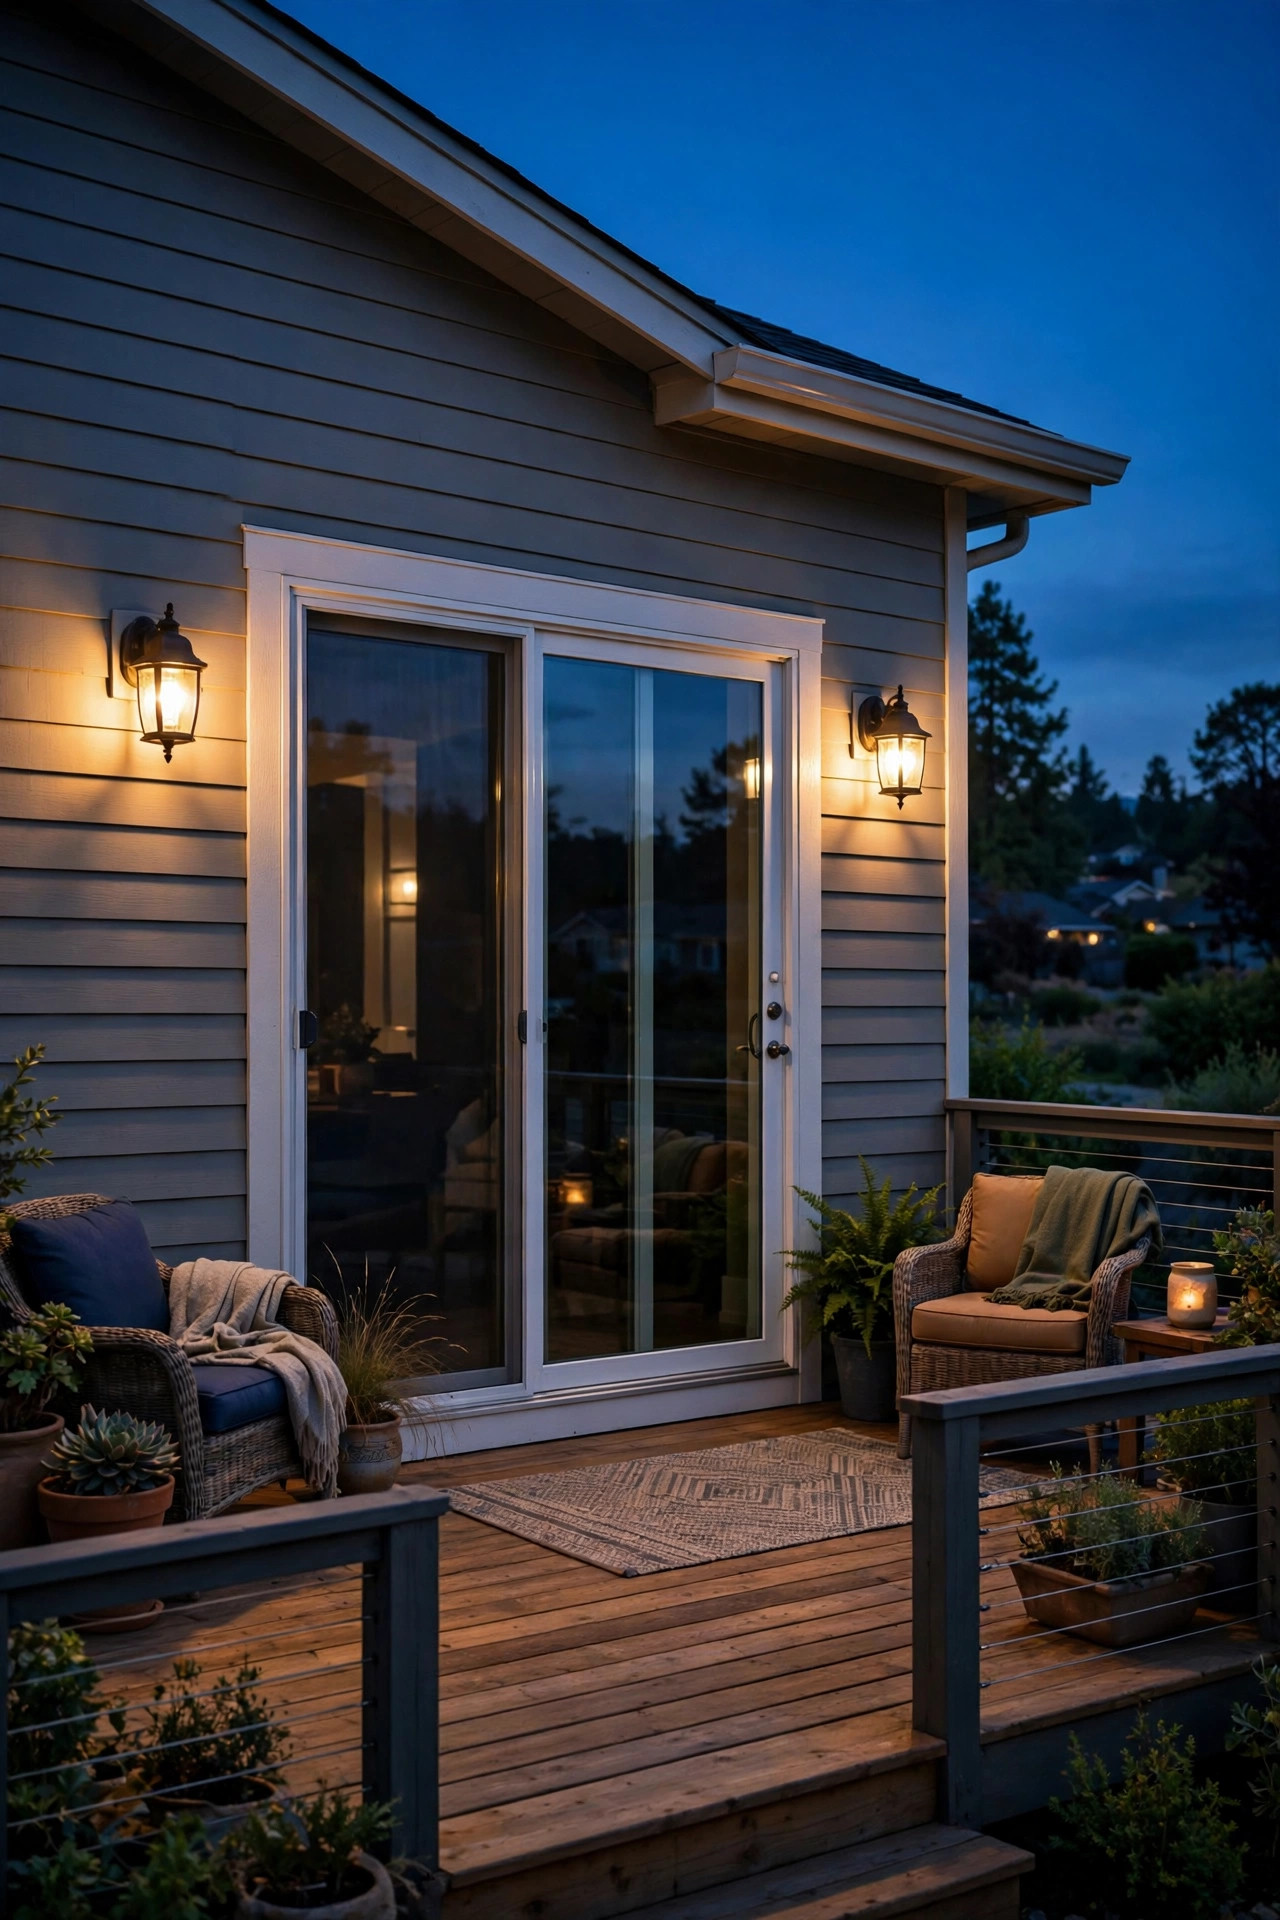
11. House-Wall Sconces
Don't forget the wall the deck attaches to — sconces mounted on the house above or beside the deck add a layer of downlight that makes the whole space feel sheltered and intentional. Flanking a sliding door with a pair of sconces is the classic move: it frames the transition from indoors to out and gives you enough light to find your keys. Mount them 6 to 8 feet high (roughly door-head height), and choose fixtures that throw light both up and down for the richest effect. If you have an existing back-door floodlight, consider swapping it for a dimmable sconce — harsh white floods flatten everything and attract every moth in the county, while a warm sconce at half brightness is infinitely cozier. Make sure any fixture on the wall is rated for wet locations (not just damp), since walls catch wind-driven rain. And if you're renting or can't hardwire, outdoor-rated plug-in sconces on a smart plug give you 90% of the effect with zero electrician bill. Either way, put them on a timer with the rest of the deck so the whole scene comes on together.
Suggested budget range: $70 – $300.
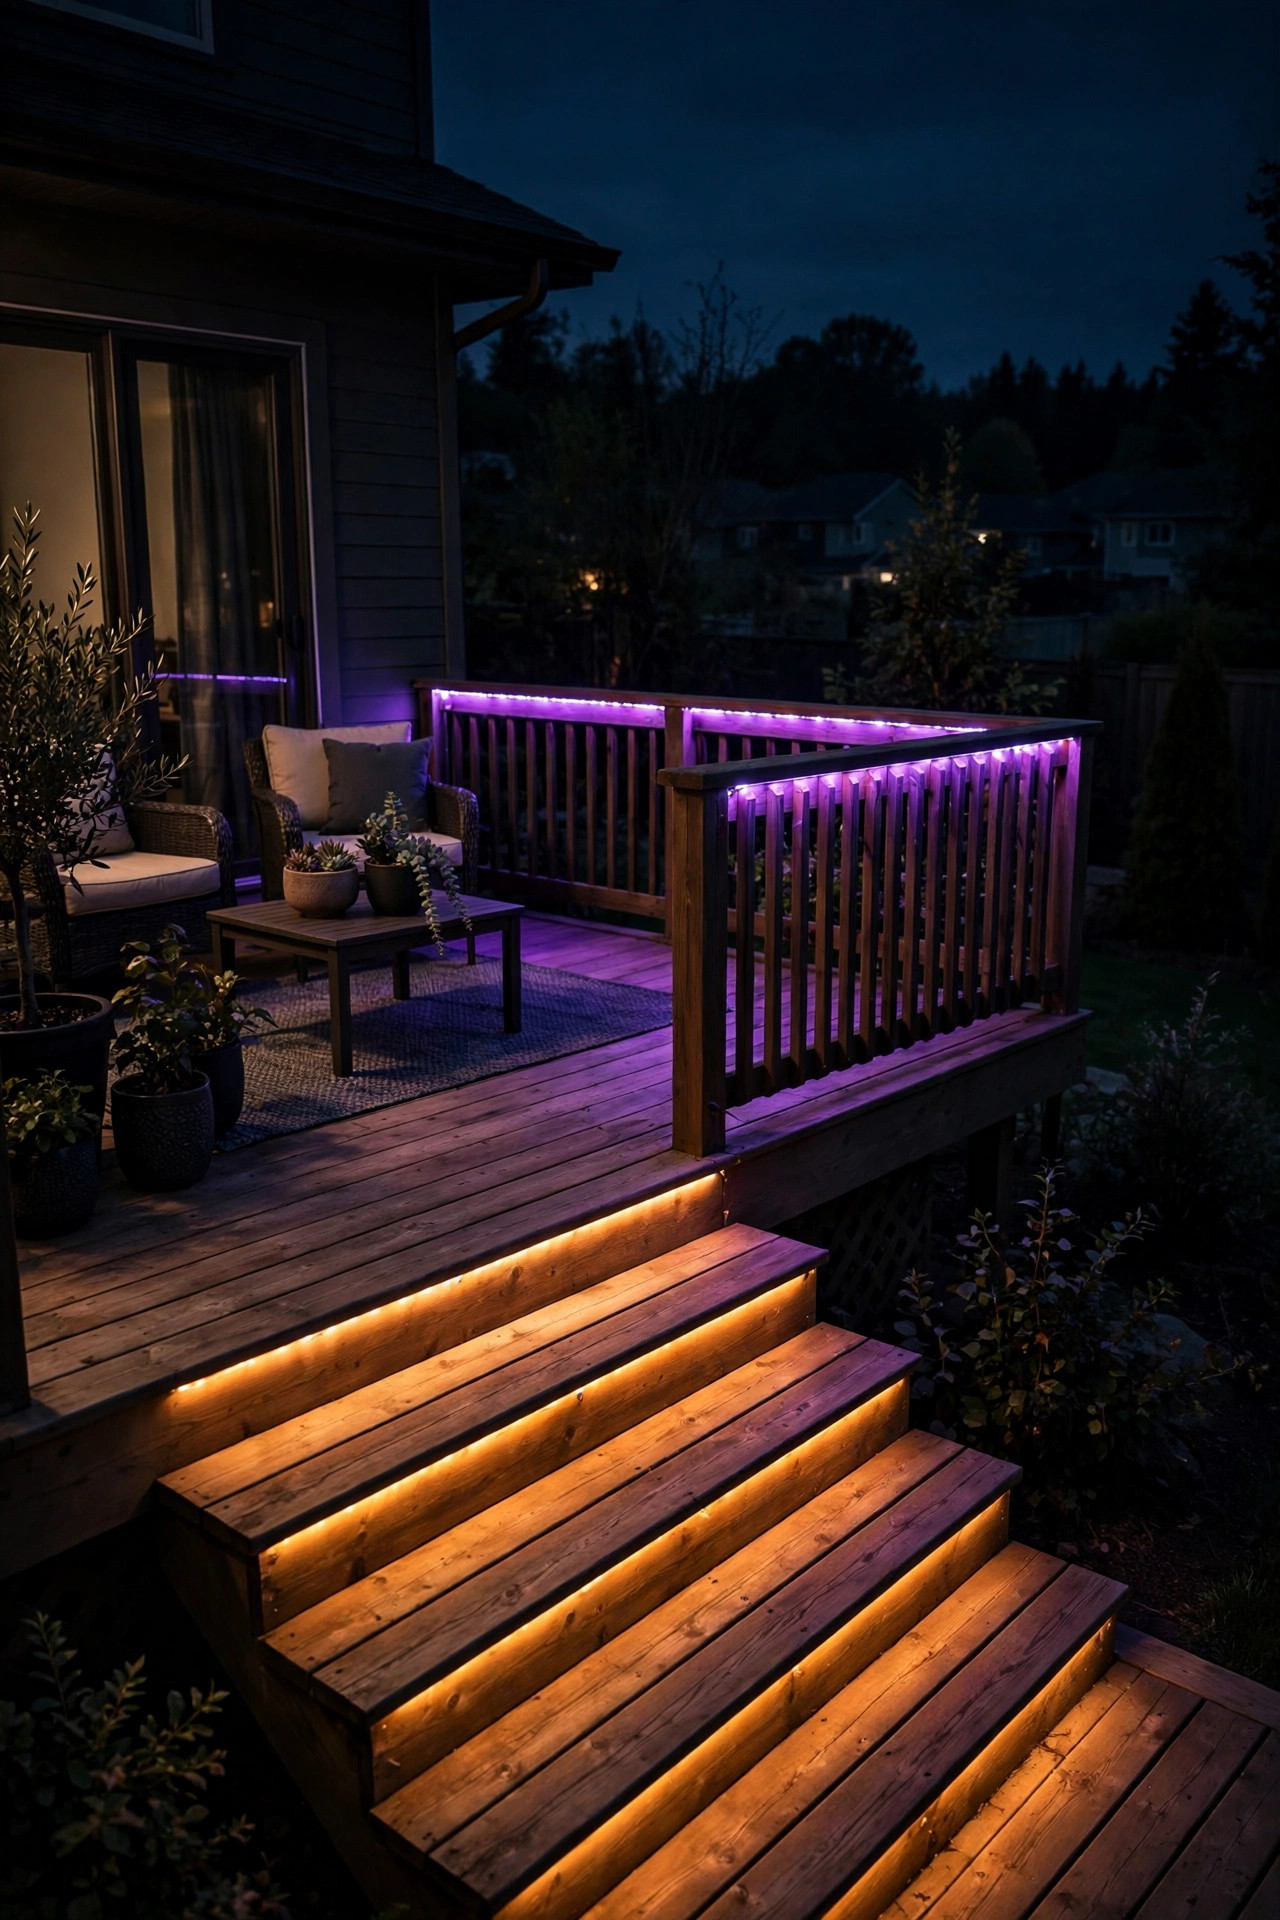
12. Smart Deck Lighting Ideas You Control From the Couch
Here's where modern deck lighting ideas get genuinely fun: smart color-changing fixtures let you repaint your deck with light from your phone. Imagine Fourth of July red-white-and-blue, Halloween amber and purple, or a calm deep-warm glow for a dinner party — all without swapping a single bulb. The practical approach is zoning: put the smart RGBW fixtures (color + true warm white) on the features where color shows best — under-rail strips, stair nosing, planter uplights — and keep safety lighting like step lights and sconces fixed warm white. That way the deck always reads as safe and cozy, and color is a party trick layered on top. Look for fixtures with a good "warm white" default mode, because some color-capable bulbs produce a sad, greenish white. Set schedules in the app — "sunset to 11 p.m. warm white, then dim to 30%" — and you'll never touch a switch. One caution: smart fixtures need solid Wi-Fi at the far end of the yard. Test your phone's signal at the deck's farthest corner before buying a dozen bulbs.
Suggested budget range: $120 – $450.
13. Motion-Sensor Step and Path Lights
Motion sensors are the unsung heroes of deck lighting: lights that wake up when you arrive and nap when you leave. They're perfect for the "side trip" zones — the steps down to the yard, the path to the grill, the dark corner by the trash bins — places you need light sometimes but don't want glowing all evening. Battery-powered motion-sensor fixtures are the easiest install: stick them under a rail or on a post, and they'll run for months on a set of batteries. I set mine to the lowest brightness that still lights the tread clearly, so they assist rather than startle. Place the sensor so it catches movement approaching the steps but doesn't trigger every time a cat walks the fence — most have a sensitivity dial, and dialing it down is the first thing to try. For the main entertaining deck itself, I actually don't love motion sensors (lights popping on and off mid-conversation is distracting) — reserve them for stairs, paths, and utility corners, and keep the party zones on a steady dusk timer.
Suggested budget range: $40 – $150.
14. Planter Uplights
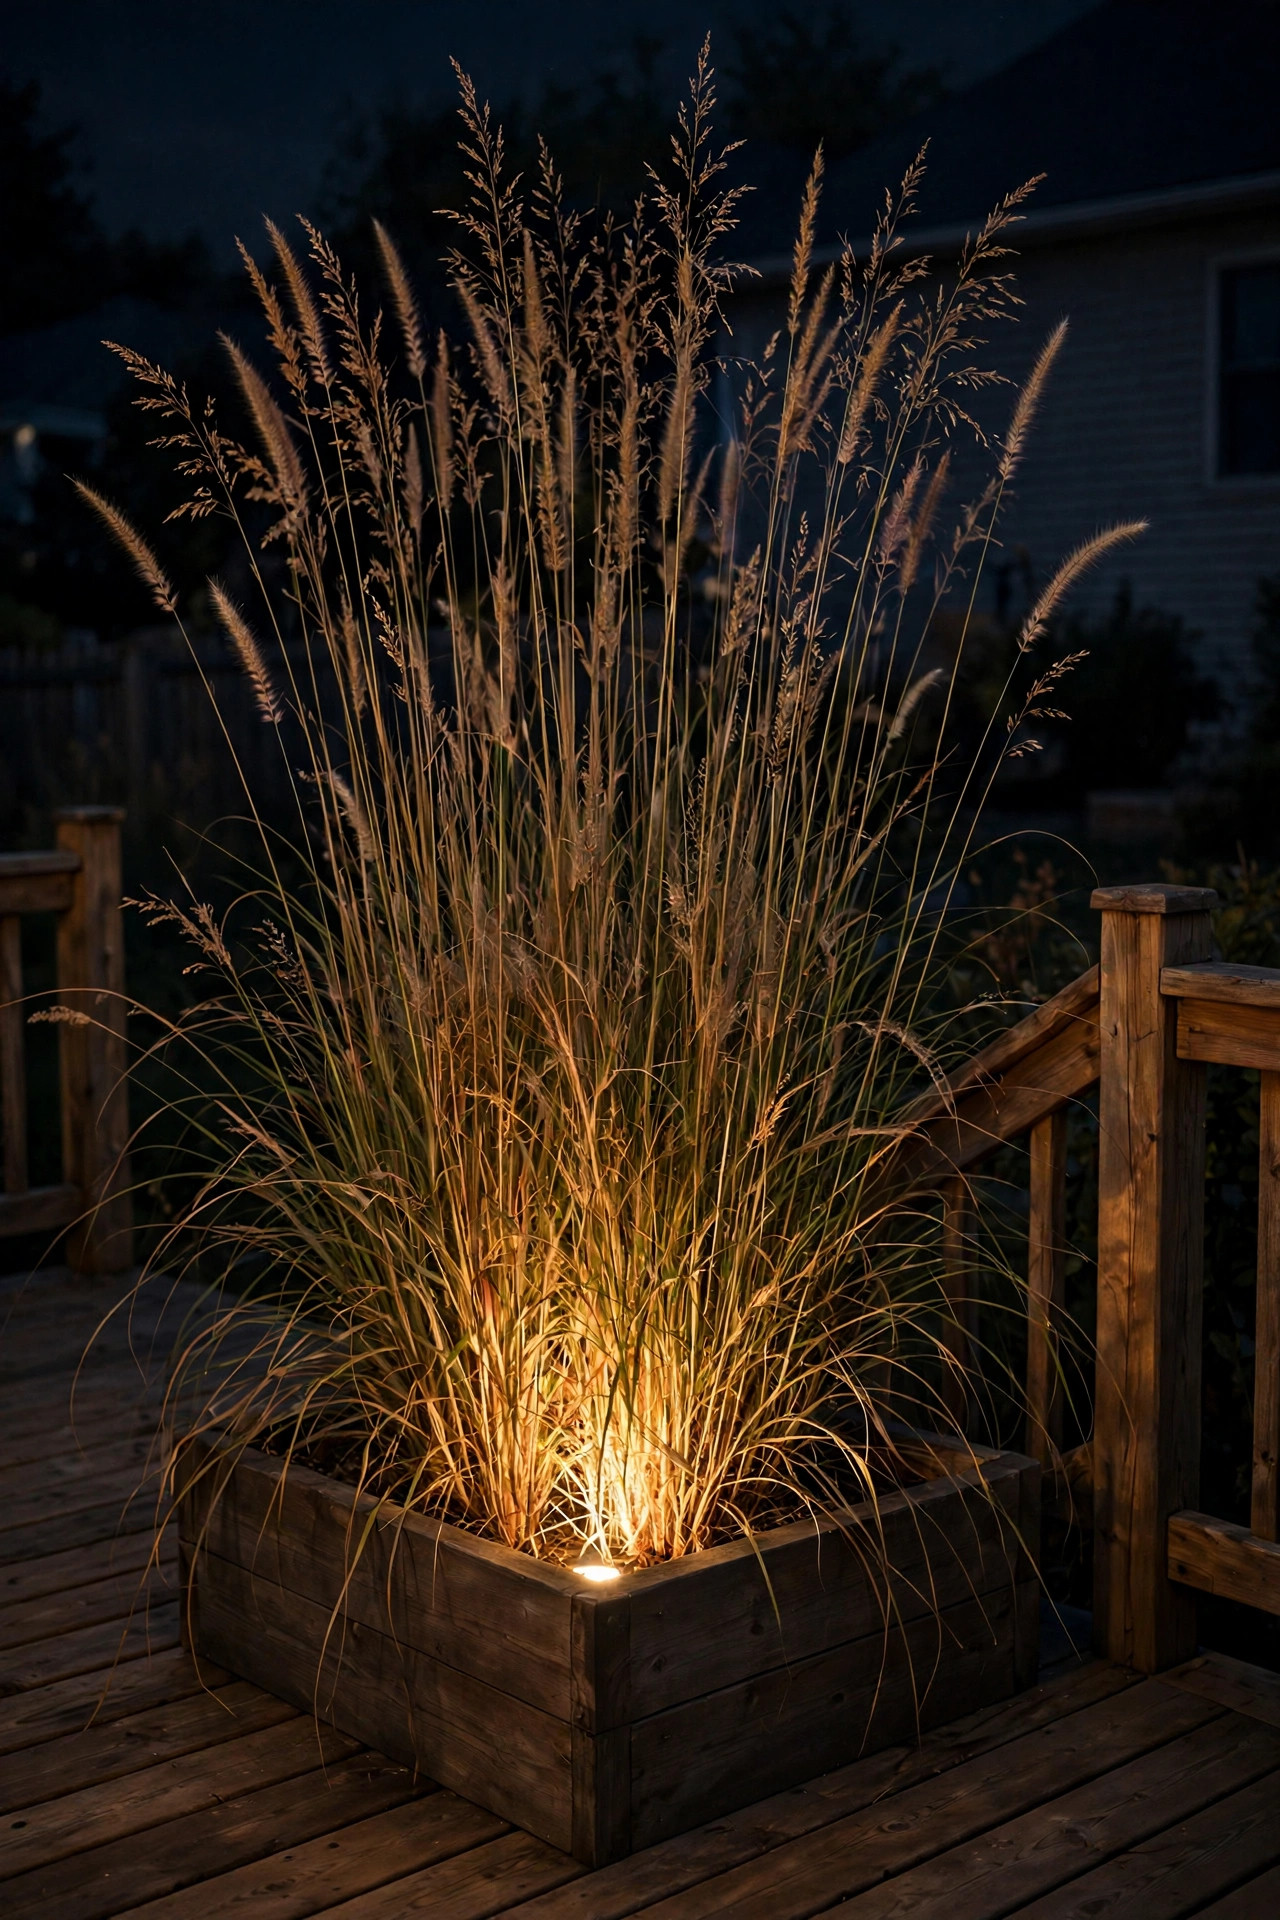
Uplighting is the oldest trick in landscape lighting, and it works beautifully on a deck: tuck a small spotlight at the base of a planter, aim it up through the foliage, and your plants become glowing sculptures after dark. I keep two big planters flanking the deck stairs specifically for this — ornamental grasses and Japanese maples look absolutely magical backlit. Use compact low-voltage well lights or puck fixtures that sit inside the planter on top of the soil (wrap the fixture in landscape fabric to keep soil out), with the beam aimed straight up into the canopy. Warm white 2700K makes green foliage glow gold; it flatters flowers too. In my experience, one uplight per planter is plenty — two creates hotspots and washes out the shape. Wire them into your low-voltage system with a quick-disconnect plug so you can lift the whole fixture when it's time to replant in spring. And resist the urge to uplight every planter: pick the two or three most shapely plants and let the rest stay in soft shadow. Contrast is what makes lighting look designed.
Suggested budget range: $60 – $240.
15. Under-Bench Seating Glow
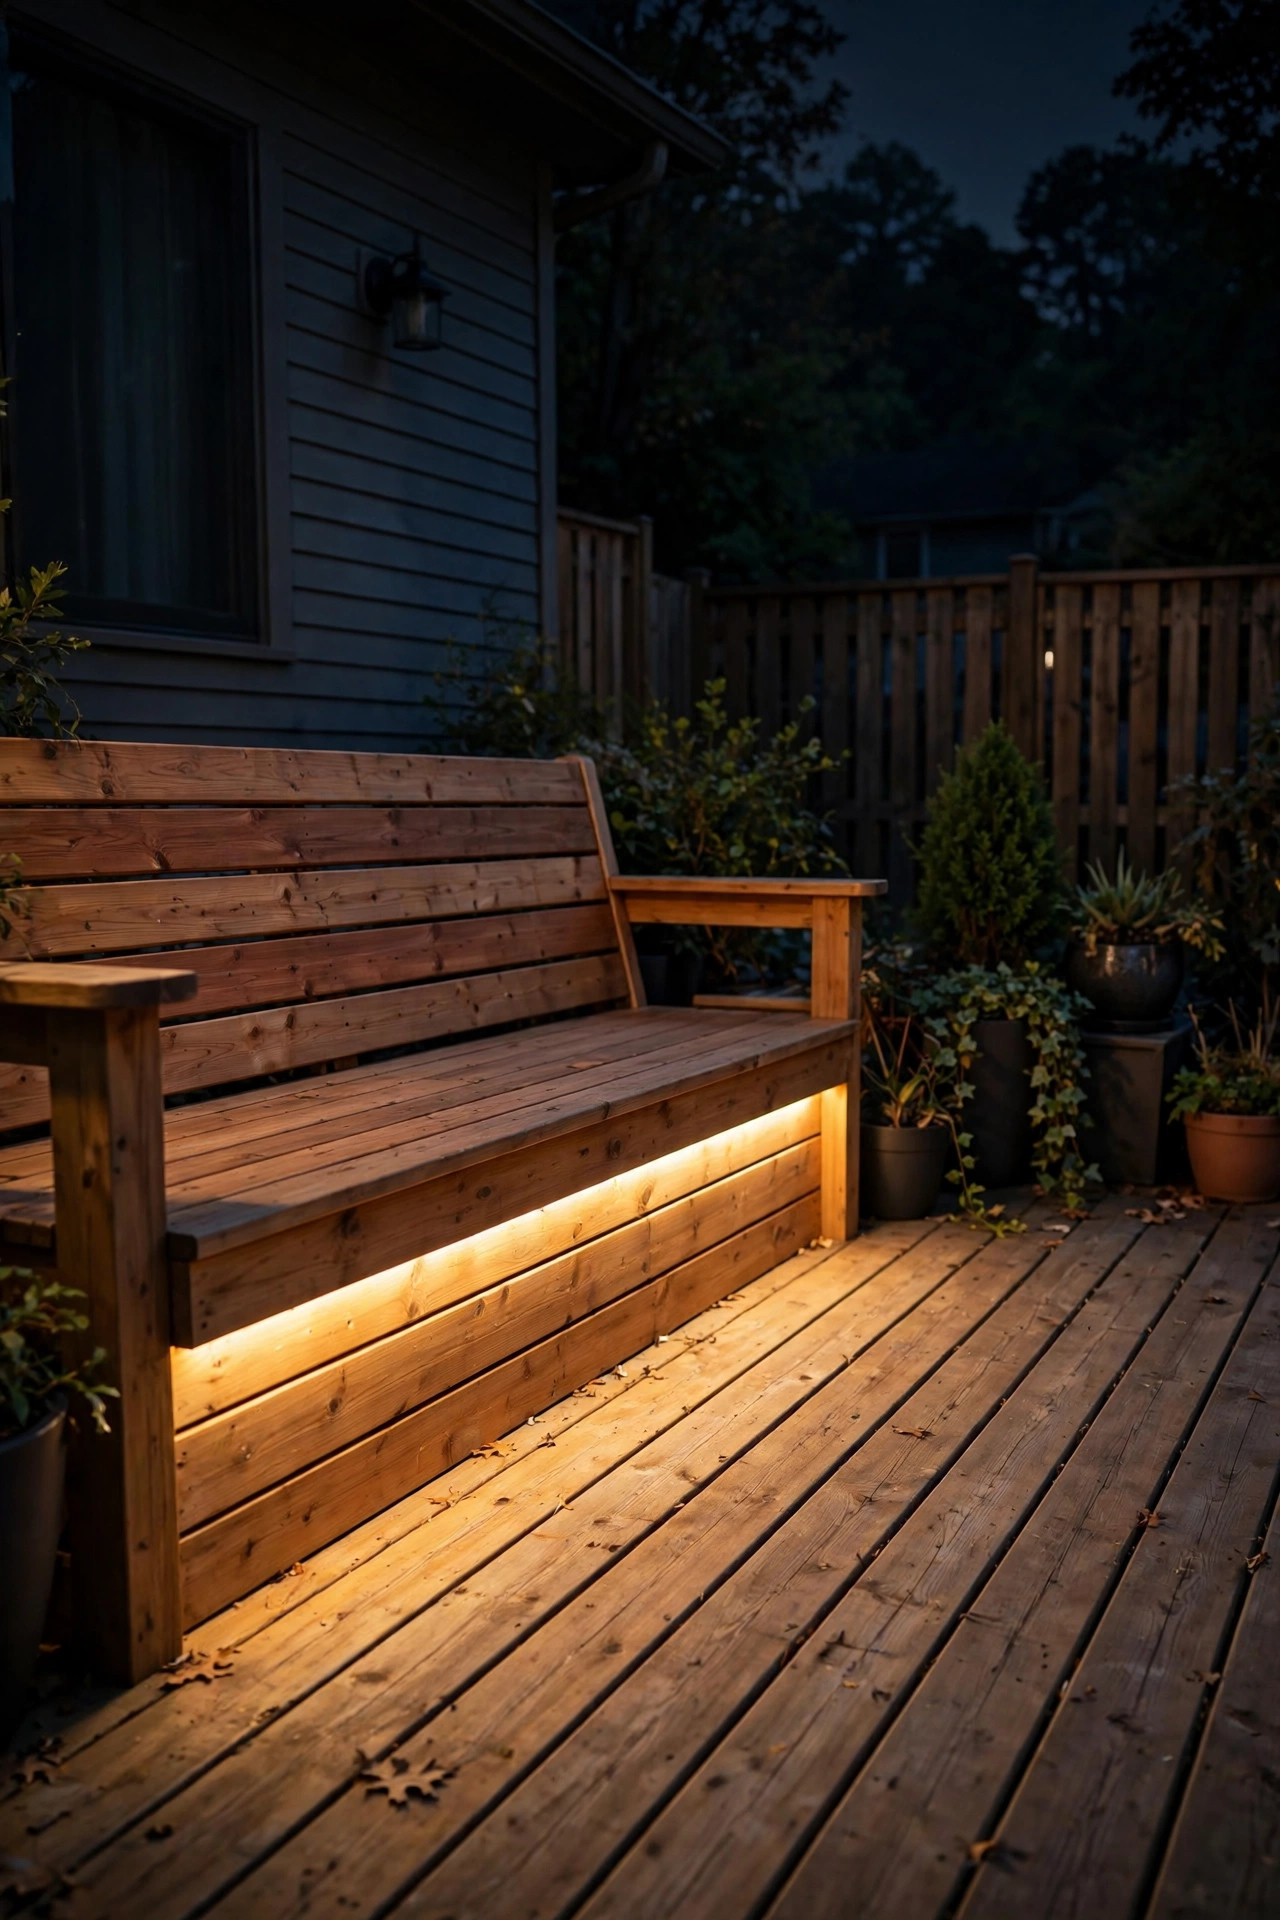
Built-in deck benches are wonderful in daylight and invisible at night — unless you light them. Run a short waterproof LED strip under the seat overhang of a built-in bench, washing light down onto the deck boards. The bench appears to float, and the soft pool of light marks the seating zone without a single glaring bulb. The install is the same technique as under-rail strips: aluminum channel with a diffuser, screwed to the underside of the seat board, warm white 2700K. For freestanding benches, battery-powered motion strips work — they light when someone approaches and fade after a minute. I also love this for storage benches and deck boxes: light under the lid line and you'll never fumble for the outdoor pillows in the dark again. Keep the brightness modest — this is an accent, not a floodlight; you want guests' eyes drawn to the seating, not squinting at it. If your bench runs along the deck edge, this doubles as subtle edge lighting that helps guests sense the deck boundary without a bright rail line.
Suggested budget range: $40 – $160.
16. Hot Tub Edge Glow
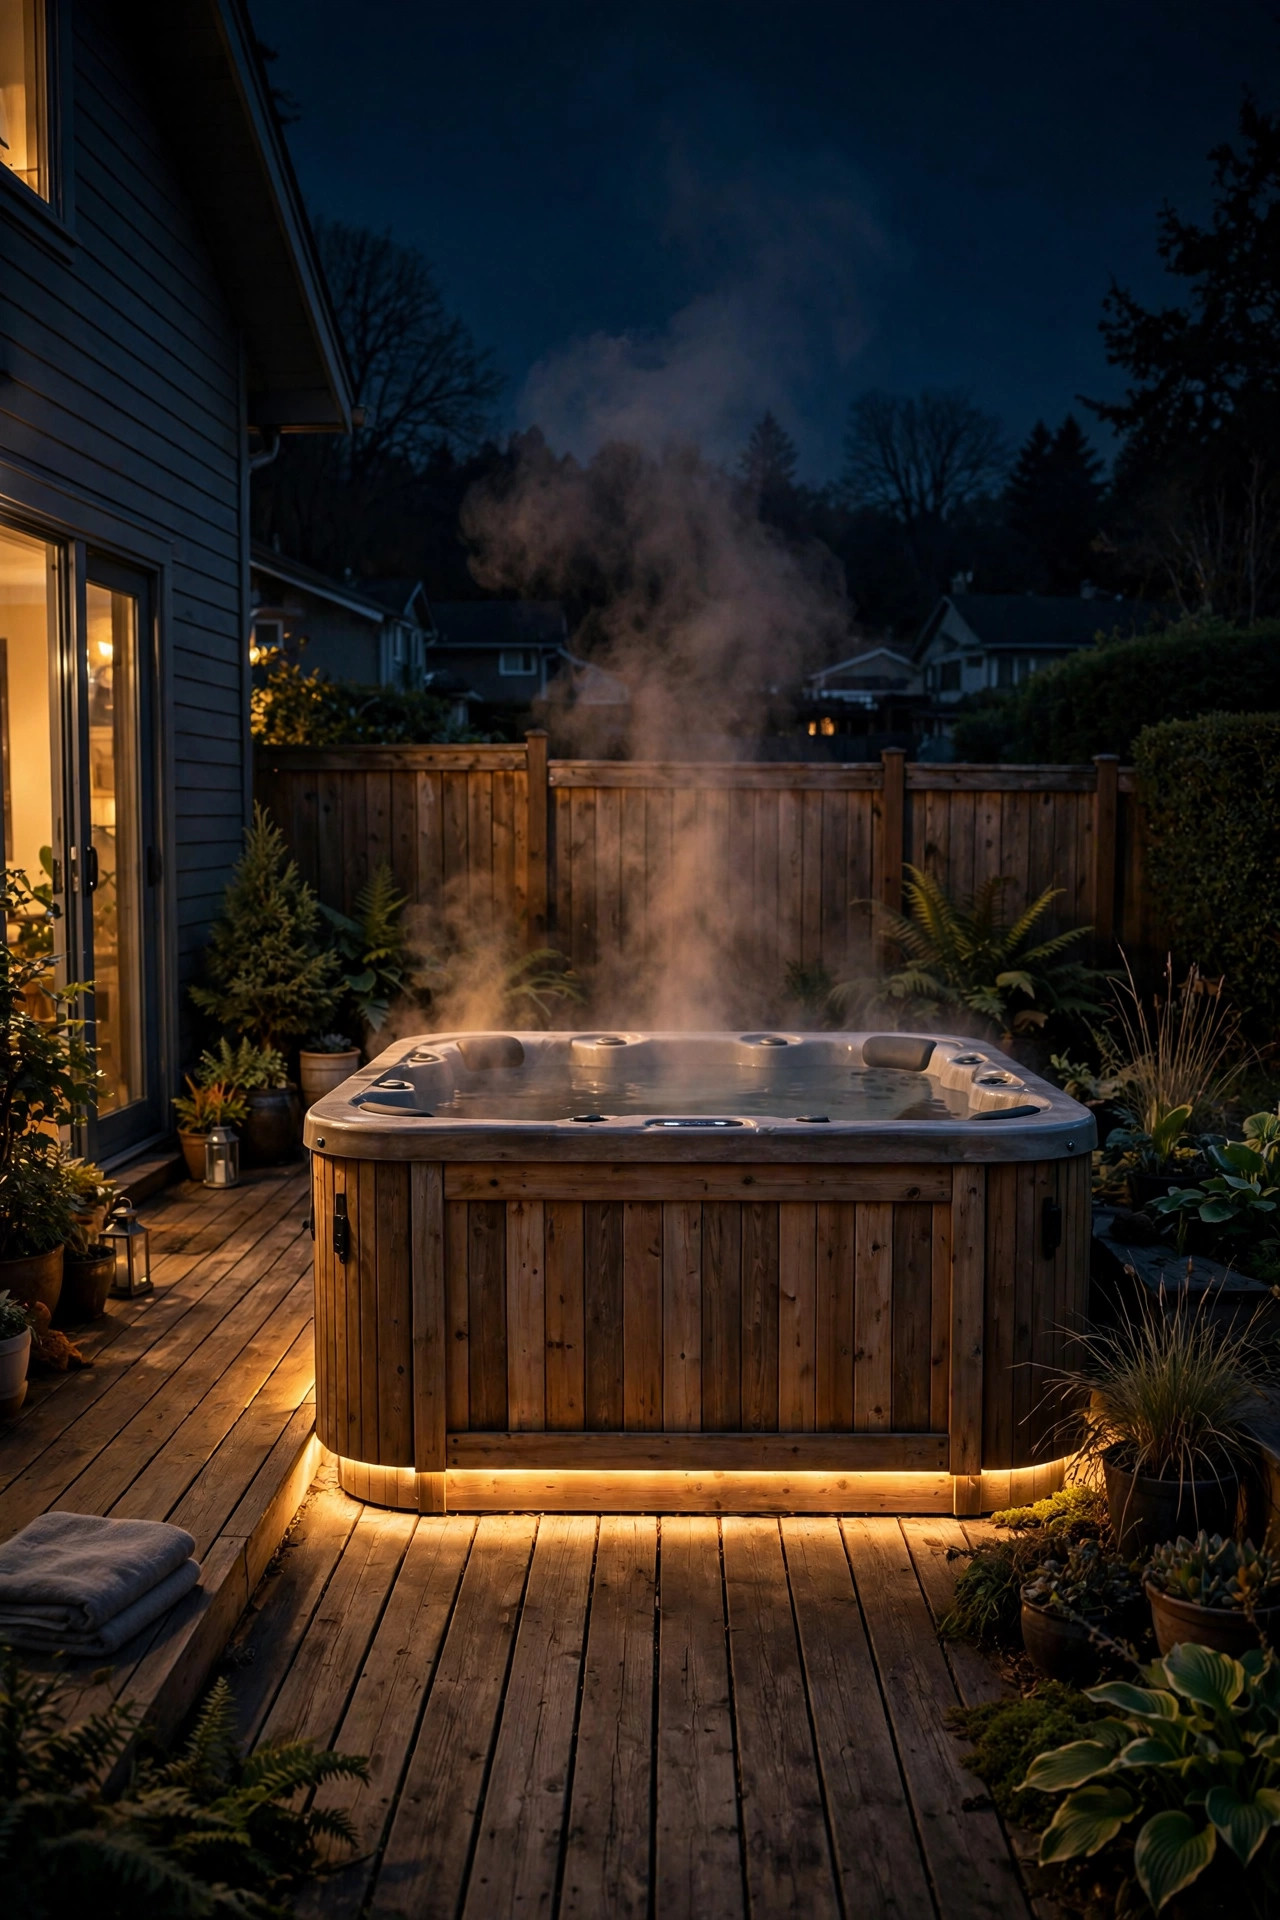
If your deck hosts a hot tub, the tub itself is the lighting opportunity — and safety matters double when water, wet feet, and darkness mix. Skip anything that sits at water level (splashes kill fixtures) and instead light the perimeter: a soft LED strip under the tub's cabinet lip, a few low path lights around the decking, and a dimmable lantern or two on the far rail for atmosphere. The goal is enough light to see the steps, the handrail, and the controls — no more. Red or deep amber is the classic hot tub mood light because it preserves your night vision; many tubs have built-in LED modes, and if yours does, use it rather than adding fixtures. Keep all added lighting low-voltage (12-volt) around the tub, and never run 120-volt extension cords across a wet deck to power it — that's a genuine shock hazard, not just a code technicality. Put the perimeter lighting on the same timer as the rest of the deck so the tub area never sits in a dark hole when the main deck is glowing.
Suggested budget range: $80 – $300.
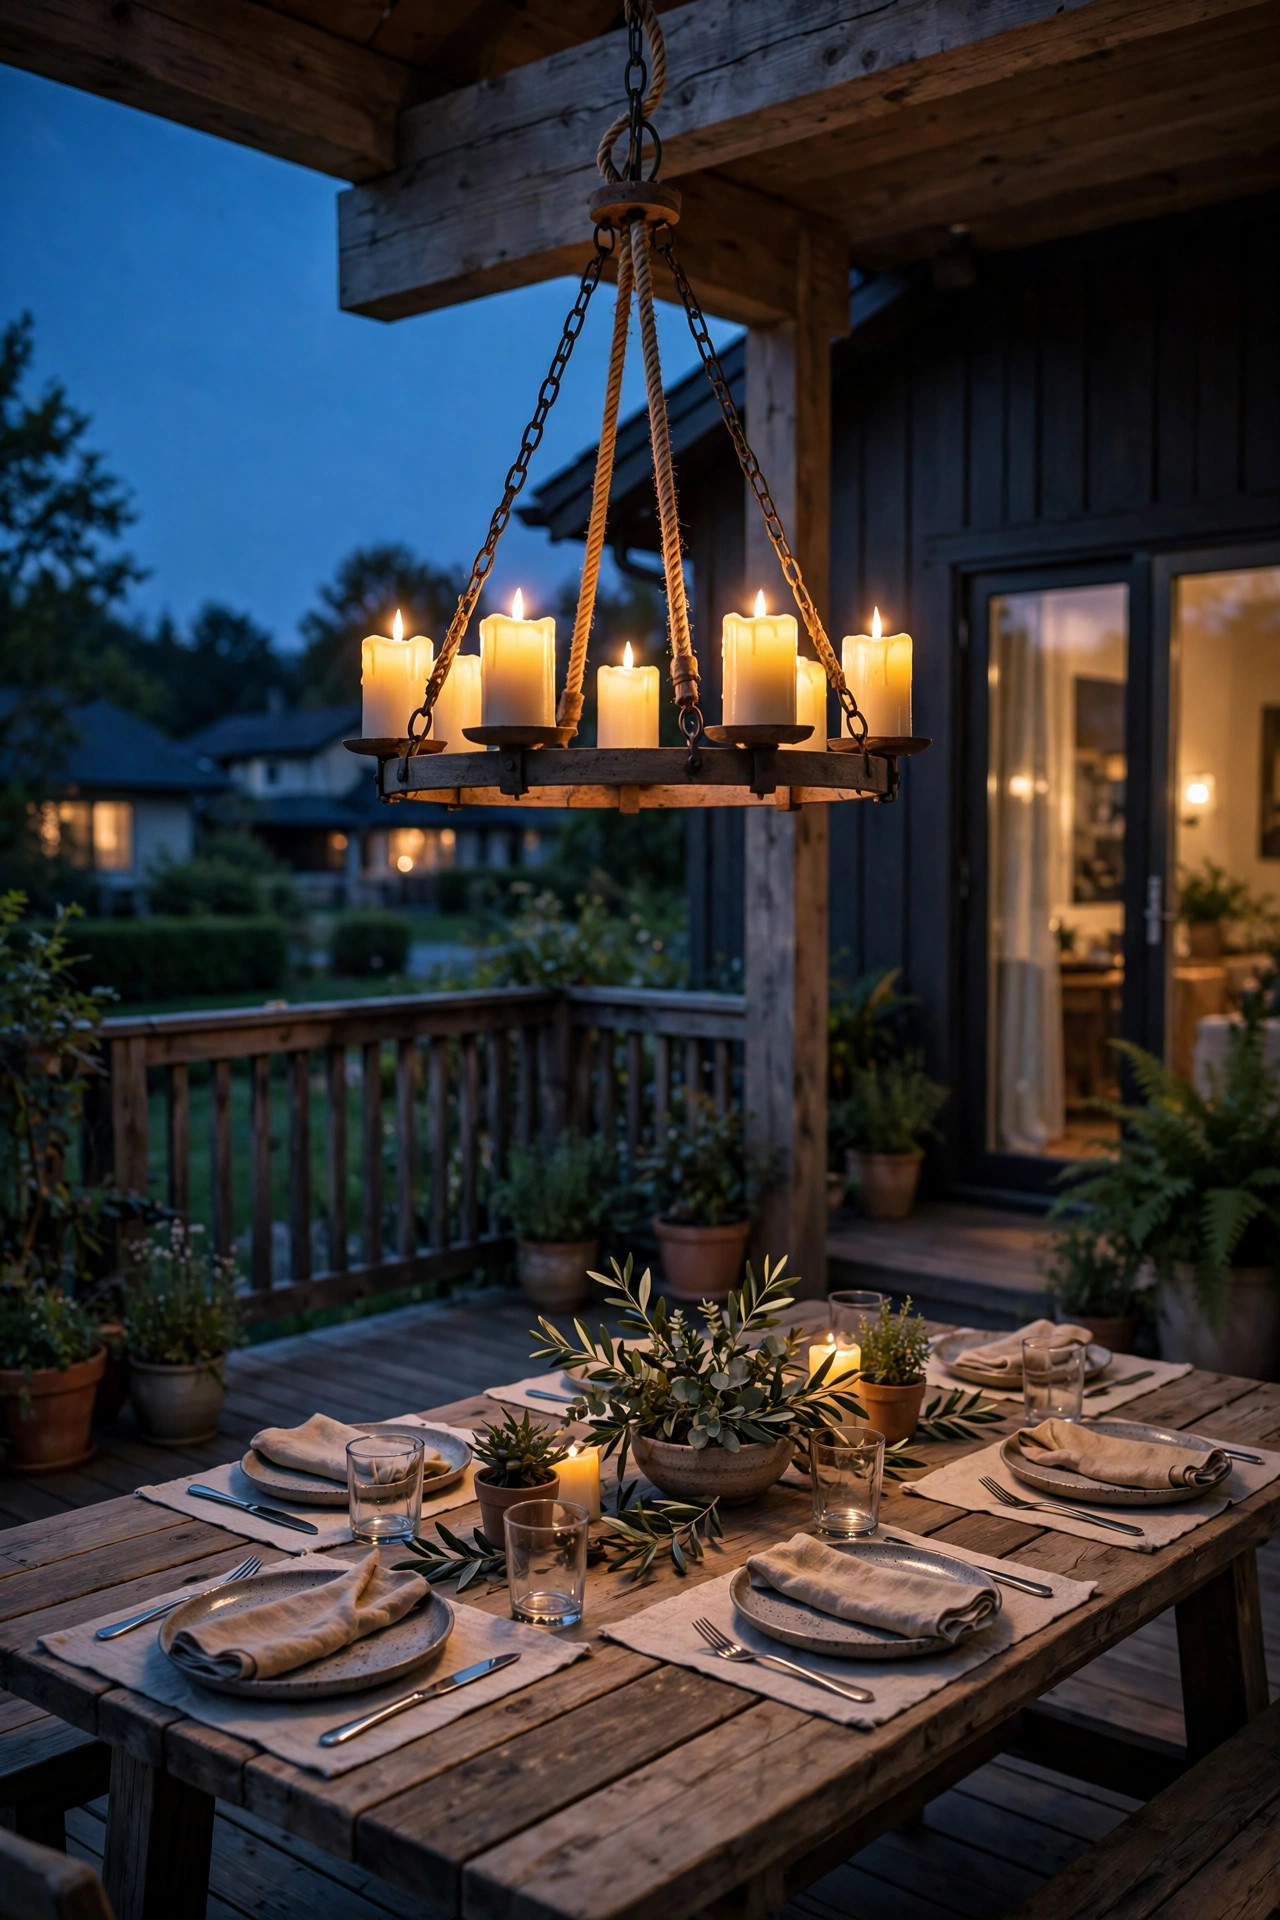
17. Outdoor Chandelier Over the Table
A chandelier over the deck dining table is pure romance — it says this table is for lingering, not just eating. You don't need a wired ceiling: hang a candle-style outdoor chandelier from a pergola beam, a sturdy shepherd's-hook arm, or a deck umbrella hub. Flameless LED candle sleeves give you the dripping-candle look with zero wax and zero fire risk; most run on batteries with built-in timers. Hang it so the bottom of the fixture sits about 30 inches above the tabletop — high enough to see over, low enough to pool light on the plates. For windy decks, look for fixtures with a center stabilizing cord or choose a compact "wagon wheel" style that doesn't swing much. I dim mine (or choose a low-lumen version) because a chandelier should flatter faces, not interrogate them. Scale matters: a chandelier about one-third to one-half the table's length looks right; too small reads like a lost pendant, too big overwhelms. This is the one fixture guests always ask about — it photographs beautifully.
Suggested budget range: $80 – $350.
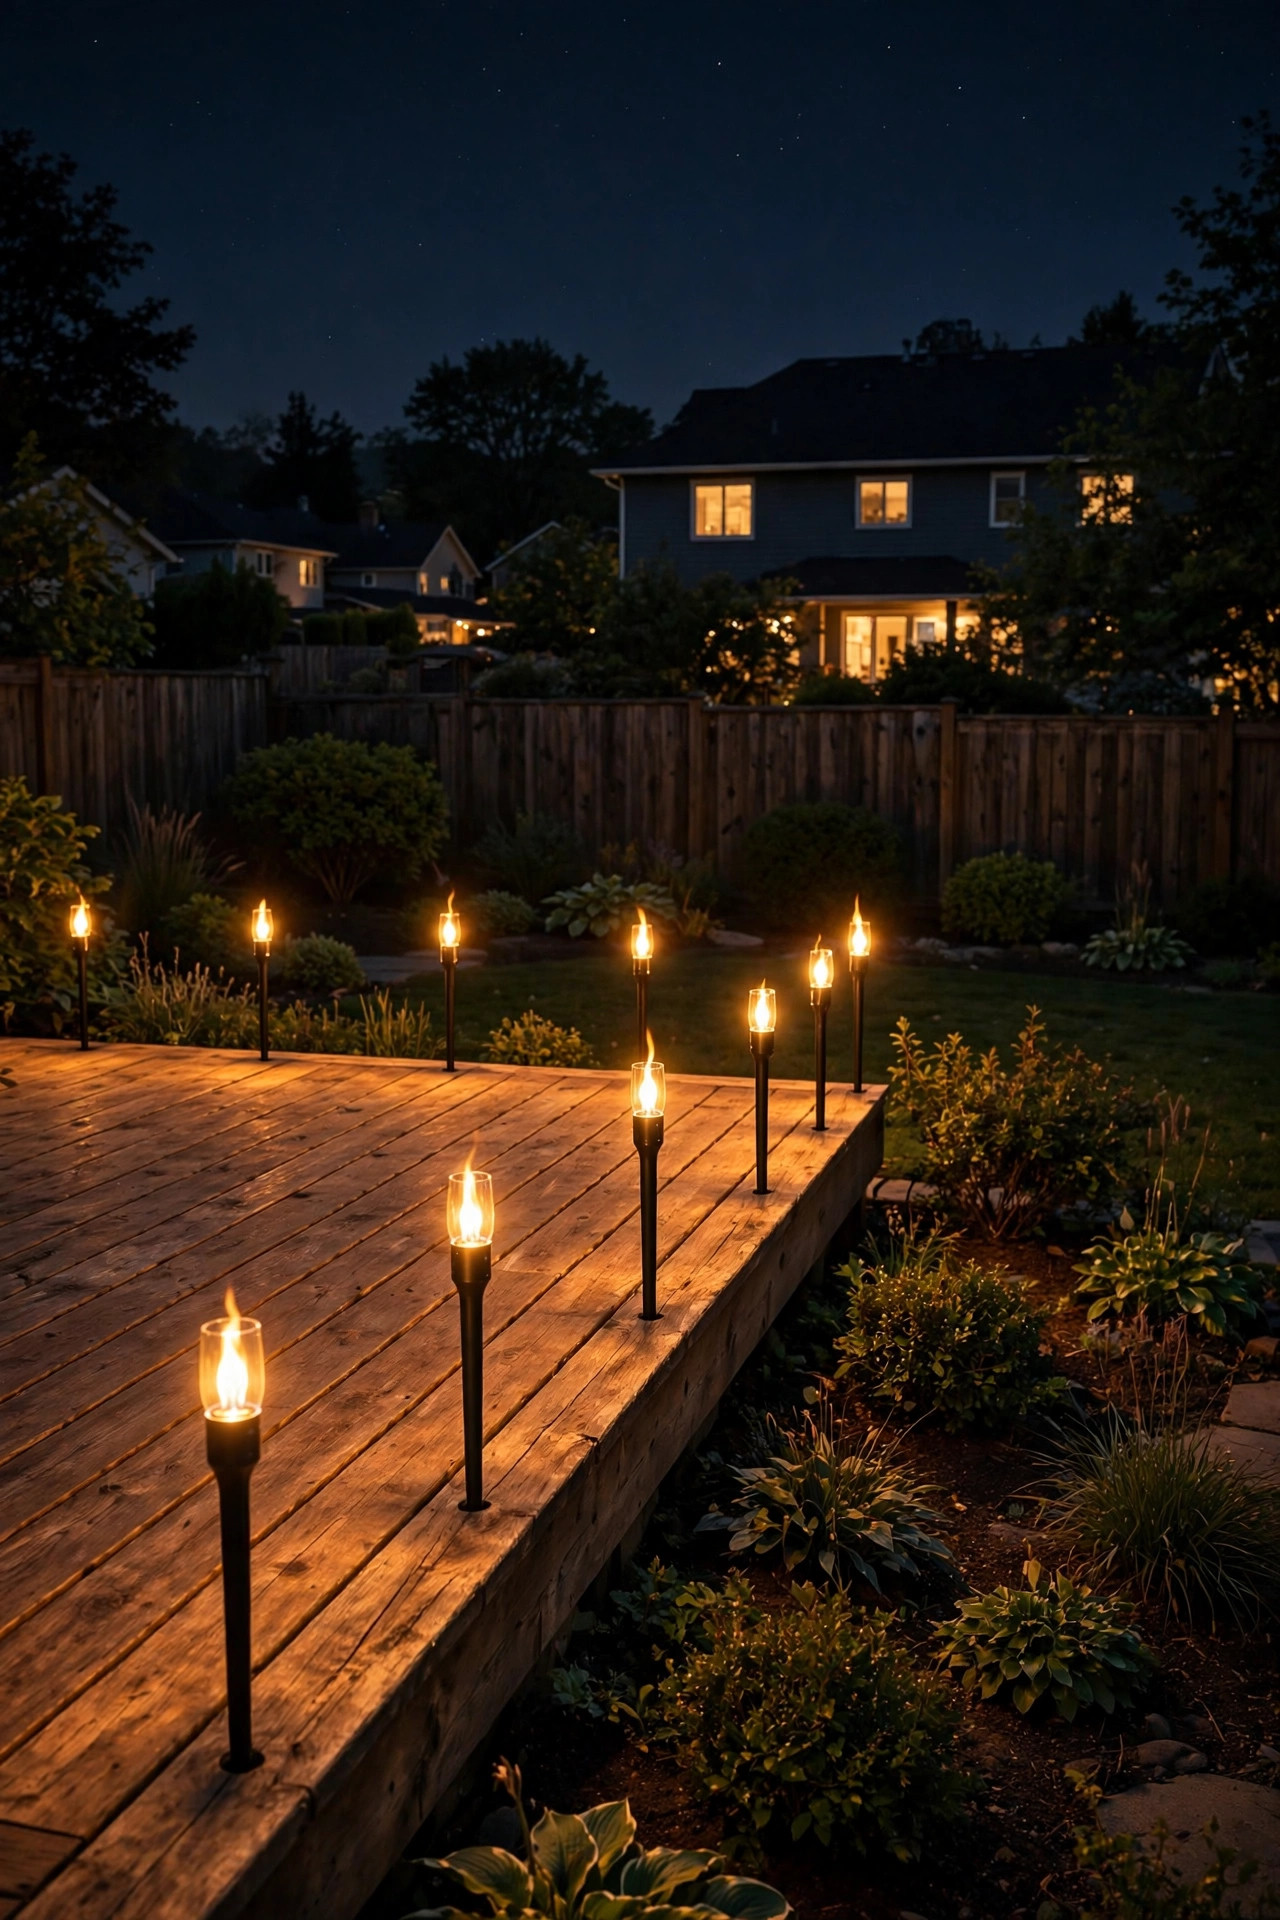
18. LED Torch Stakes
Real tiki torches are a vibe — right up until the wind tips one onto a composite deck or the fuel runs out mid-party. LED torch stakes give you the same flickering flame silhouette with none of the risk: a solar or battery stake with an amber flicker LED under a flame-shaped diffuser. Line them along the deck's outer edge or cluster three at a corner to anchor a seating zone. Space stakes 4 to 6 feet apart for a continuous rhythm; closer than that and they compete, farther apart and they read as random dots. Height matters too — most are 2 to 3 feet tall, which puts the "flame" right at seated eye level from a low chair, a lovely effect. Solar versions work fine here since stakes sit in open sun along the rail edge; just remember they double as path markers, so don't aim the flame at a walking line where the flicker could distract. Honestly, my real torches now live in storage and the LED ones live on the deck. Nobody's noticed. Everyone's complimented.
Suggested budget range: $45 – $160.
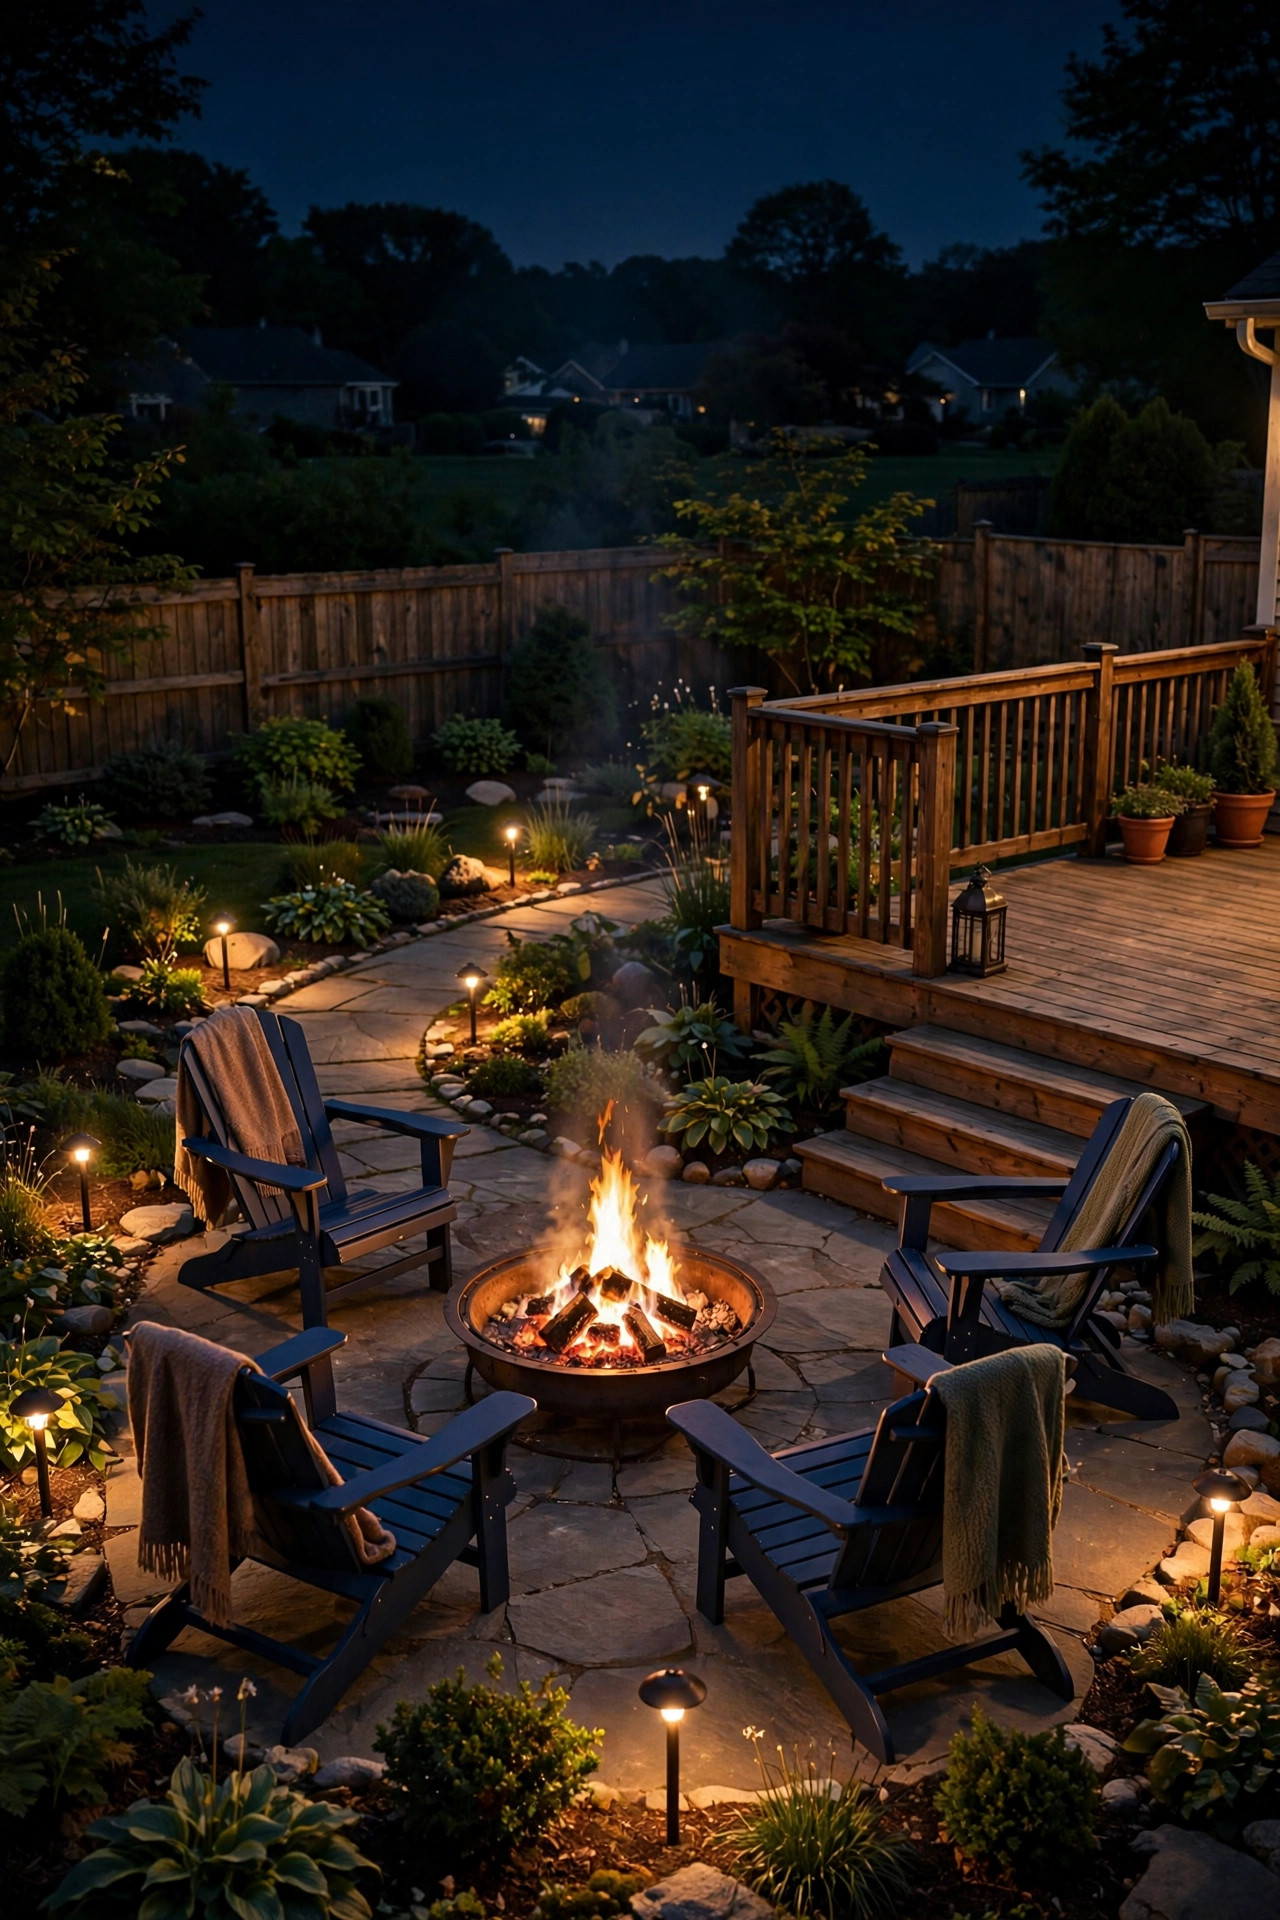
19. Fire Pit Corner Lighting
A fire pit on or beside the deck is the ultimate evening magnet — and it deserves its own lighting layer. The trick is lighting everything AROUND the fire, not the fire itself: the fire makes its own light. Add low, warm fixtures that define the seating ring — a few small path lights behind the chairs, under-rail glow on the nearest railing, maybe two uplights in the flanking planters — so guests can see their drinks, their friends' faces, and the ground they're walking on, without competing with the flames. Keep all fixtures at least 3 feet from the fire pit's edge (heat warps plastic housings and melts cheap wiring), and stick with low-voltage or solar fixtures in the fire zone. A warm 2200K–2700K palette blends seamlessly with firelight; cool white nearby will clash and make the fire look orange and artificial by comparison. If your fire pit sits on a lower patio off the deck, run step lights down the connecting stairs — the two spaces should feel connected, not like separate planets. For more on arranging the whole scene, see my fire pit landscaping ideas for layouts that glow from every angle.
Suggested budget range: $100 – $350.
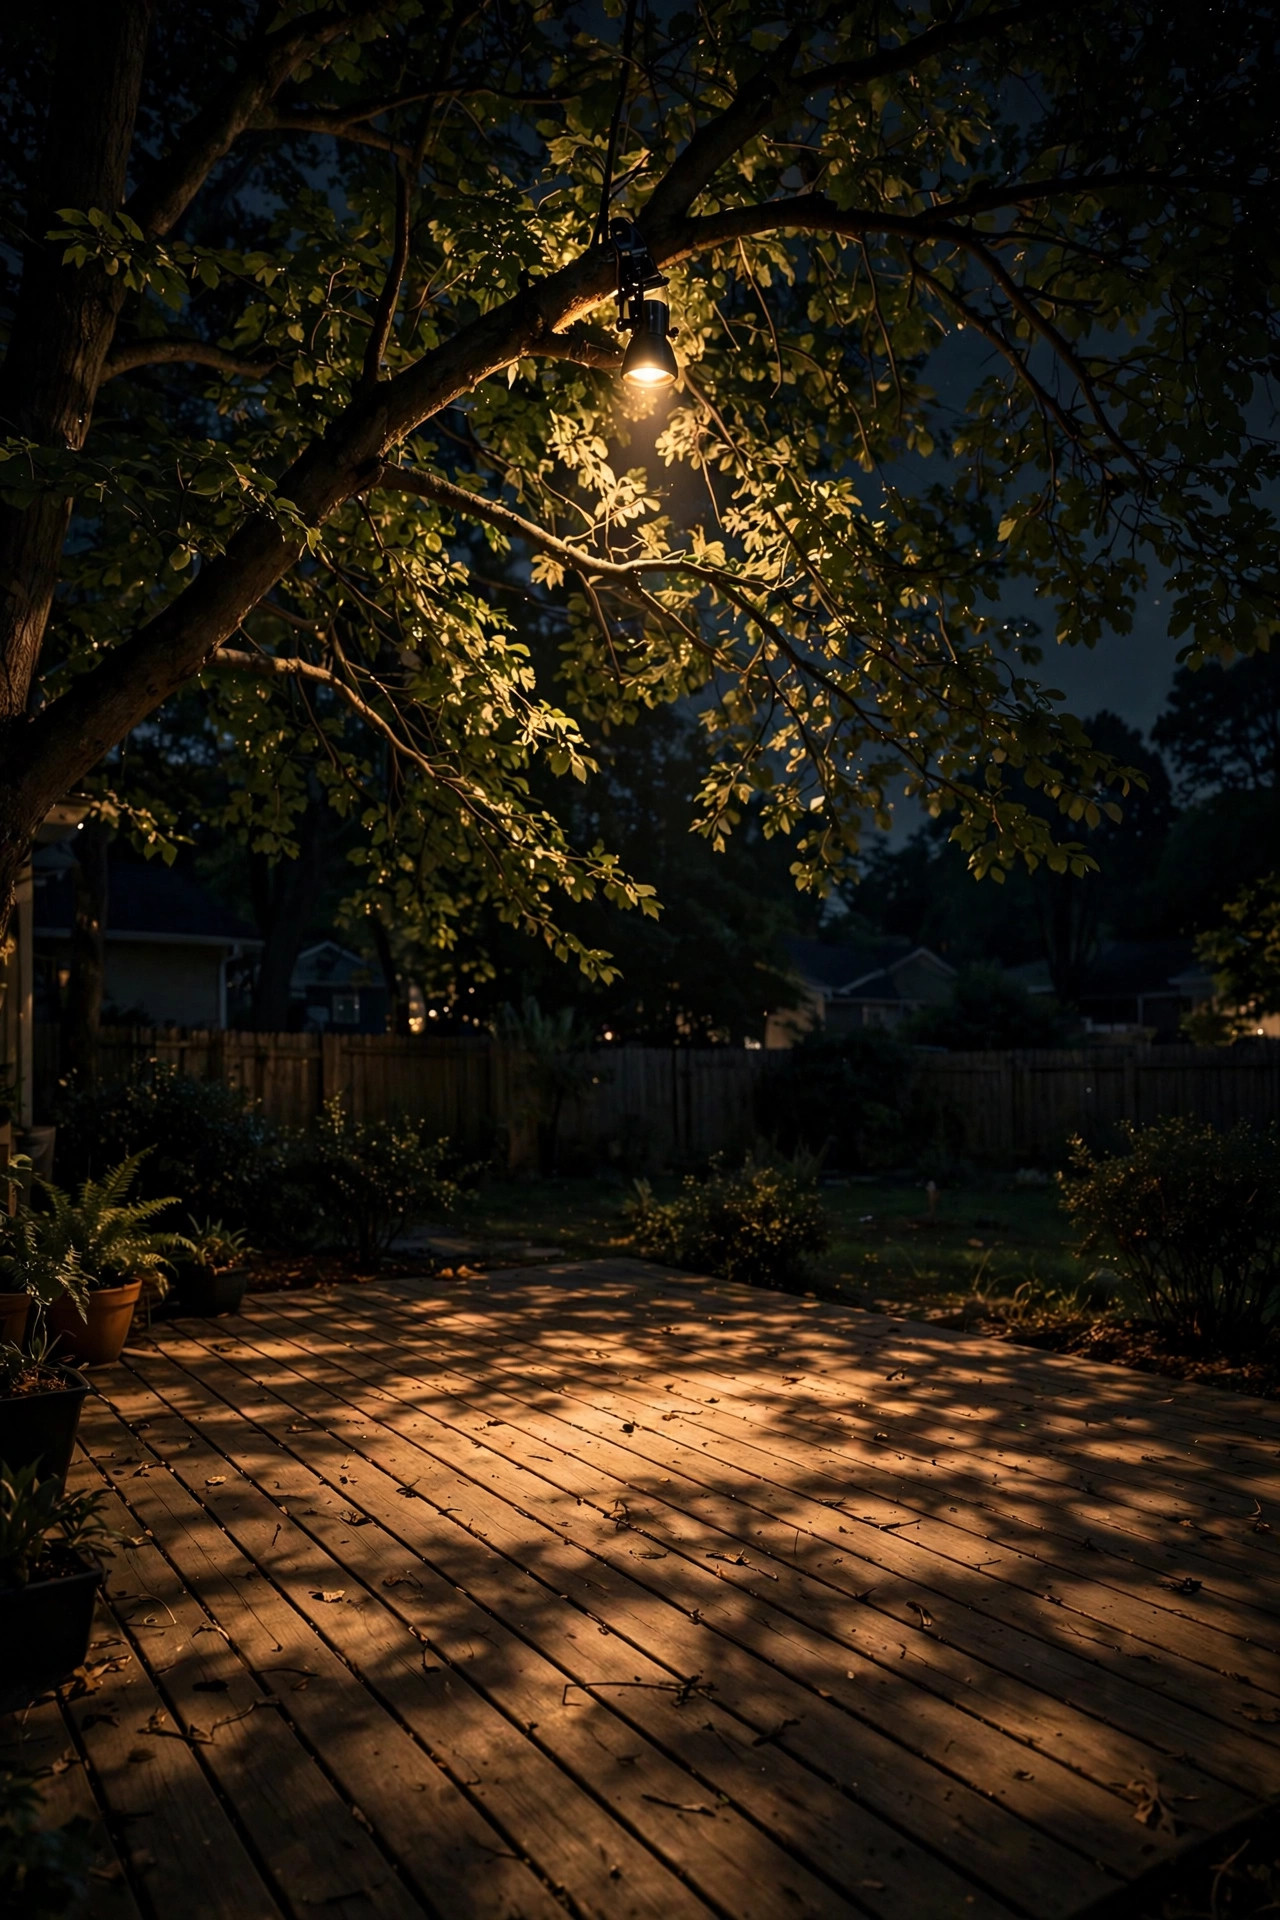
20. Moonlighting From Overhead Trees
Moonlighting is the most natural-looking deck lighting idea there is: mount a spotlight high in a tree above the deck and aim it DOWN through the branches, so light filters through the leaves and dapples the deck like real moonlight. The effect is soft, moving, and a little bit magical — nothing like the flat glare of a floodlight. Mount the fixture 15 to 20 feet up (higher than you think; the height is what softens it), aimed at the deck's center, and use a warm white LED rather than cool — real moonlight looks blue, but blue light on a deck feels cold and unwelcoming. One fixture lights a surprisingly large area; I start with one and only add a second if there's a dead zone. Use a tree-mount strap rather than screws where possible, and run the cable down the back side of the trunk in a discreet conduit. This pairs beautifully with all the small-scale deck lighting in this post — the tree gives you a soft overall wash, and the post caps, strips, and lanterns add the intimate detail. It's the landscape-lighting equivalent of a dimmer switch for the whole yard.
Suggested budget range: $120 – $400.
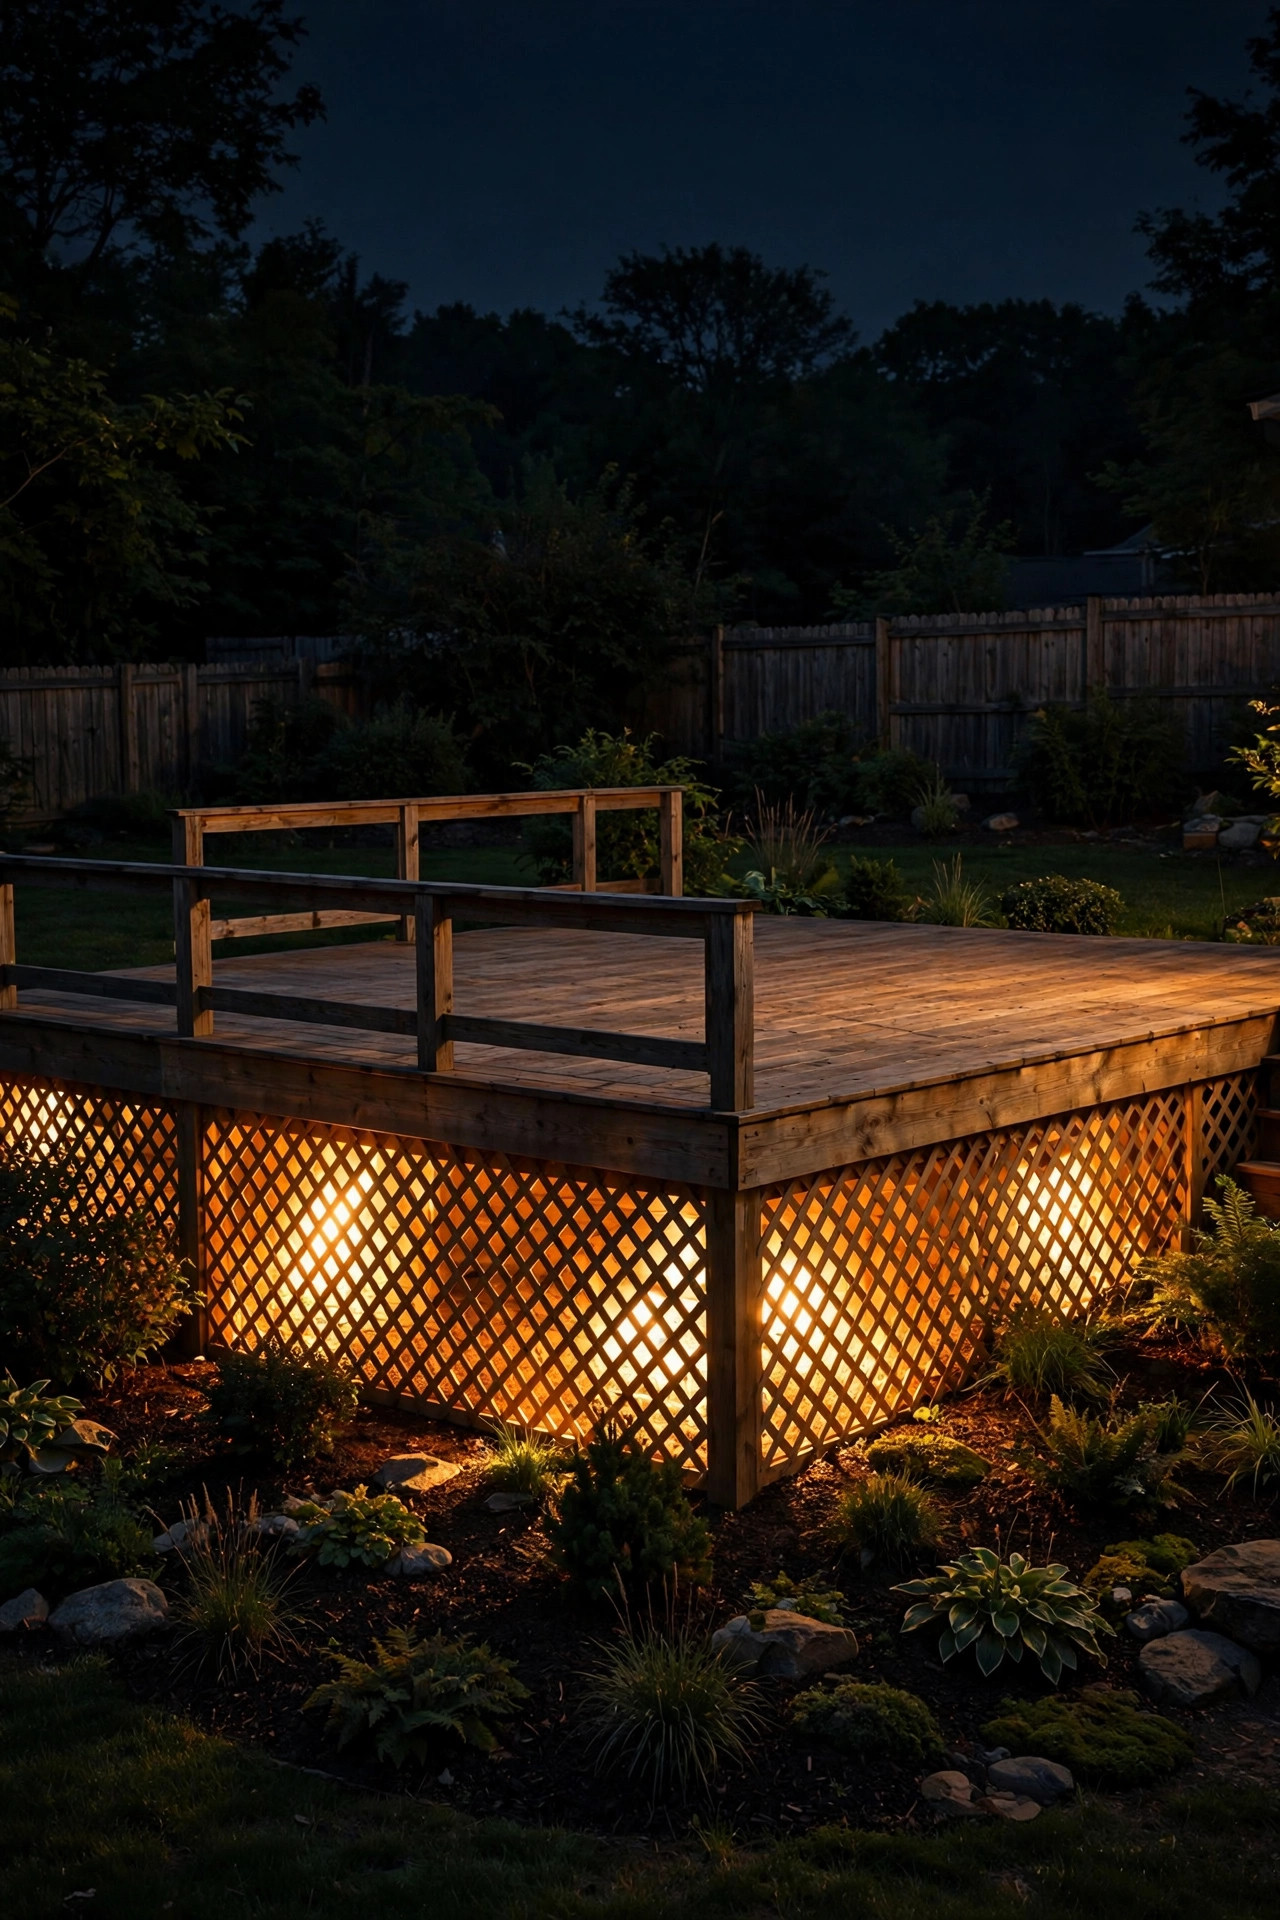
21. Under-Deck Skirt Wash
Got a raised deck with a skirt or lattice underneath? Don't let that whole underside go black. A skirt wash — low-voltage fixtures mounted at ground level aimed up at the skirting — turns the dead zone under your deck into a glowing base that anchors the whole structure at night. It also has a practical payoff: a lit underside means fewer critters treating it as a dark, cozy hotel (skunks and raccoons prefer their entry points unlit). Use wide-beam well lights set 2 to 3 feet back from the skirting, aimed straight up; space them 4 to 6 feet apart for an even glow. This is a great place for slightly cooler light (3000K) since it reads as architectural, not intimate — though honestly 2700K works fine too if you want everything to match. If the under-deck area stores equipment, keep the beams aimed at the skirting, not into the storage void, or you'll just be advertising your clutter. And check that your fixtures won't sit in puddles — a bed of gravel under each one solves drainage cheaply.
Suggested budget range: $90 – $320.
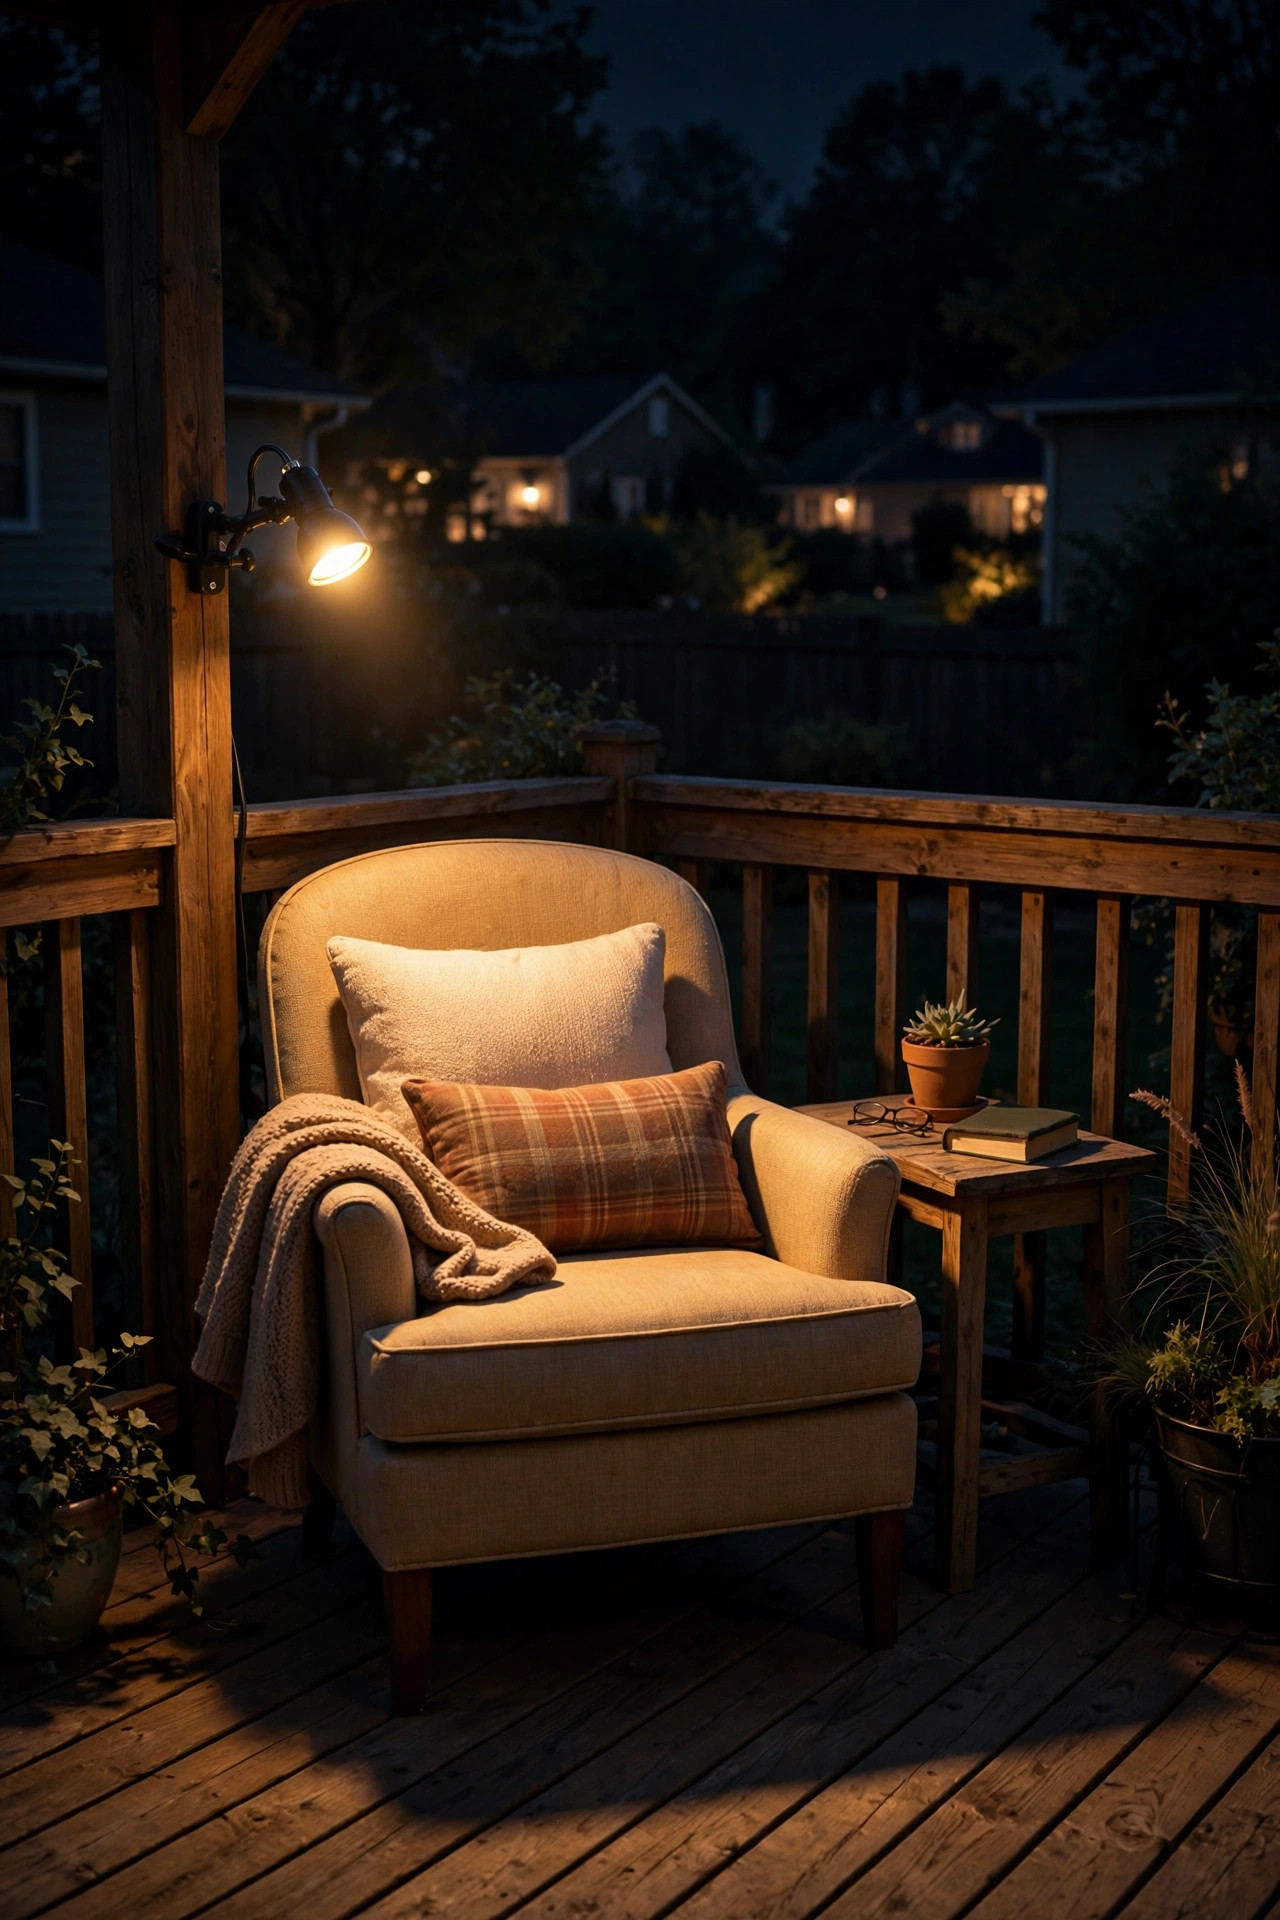
22. Reading Spots at Seating Nooks
Big ambient glow is lovely, but sometimes you just want to READ on the deck — and that's a different lighting job. A small adjustable spotlight or clip-on deck light aimed at your favorite reading chair gives you task light without lighting up the whole neighborhood. I use a compact 12-volt spot on a short stake behind my reading chair, aimed down at book level — it creates a little cone of usable light that feels like a personal bubble. The key spec is adjustability: chairs move, seasons change the layout, and a fixed fixture will be aimed at last year's furniture arrangement. Aim the beam to hit the page, not the eyes — about 18 inches above and slightly behind the reader's shoulder is the sweet spot. Pair the reading spot with dimmer ambient light around it so the contrast isn't jarring; a single bright spot in a dark corner feels interrogative, but the same spot in a softly lit nook feels like a library corner. Bonus: a reading-grade spot also works beautifully aimed at a chess board, a puzzle table, or your knitting.
Suggested budget range: $50 – $180.
23. Deck-Edge Rope Light Accent
Rope lights have a bad reputation from the 2000s — those brittle, unevenly glowing tubes outlining everything in sight. Modern flat LED rope (sometimes called neon-flex) is a completely different animal: a smooth, continuous line of light in a flexible silicone sleeve that looks like a neon tube. Run it along the outer edge of the deck fascia, tucked just under the top board, and you get a crisp glowing outline that defines the deck's silhouette from the yard. It's also the cleanest way to light a deck edge for safety without any visible fixture. Warm white 2700K is the safe, timeless pick; the silicone diffuses it into one unbroken line with no dots. Mount with the channel or clips made for the product — improvised staples puncture the sleeve and void the waterproofing. One honest caveat: cheap rope light fades unevenly after a couple of seasons, so buy from the middle of the price range with a real warranty, not the cheapest spool on the shelf. Connect it to your dusk timer with everything else.
Suggested budget range: $60 – $220.

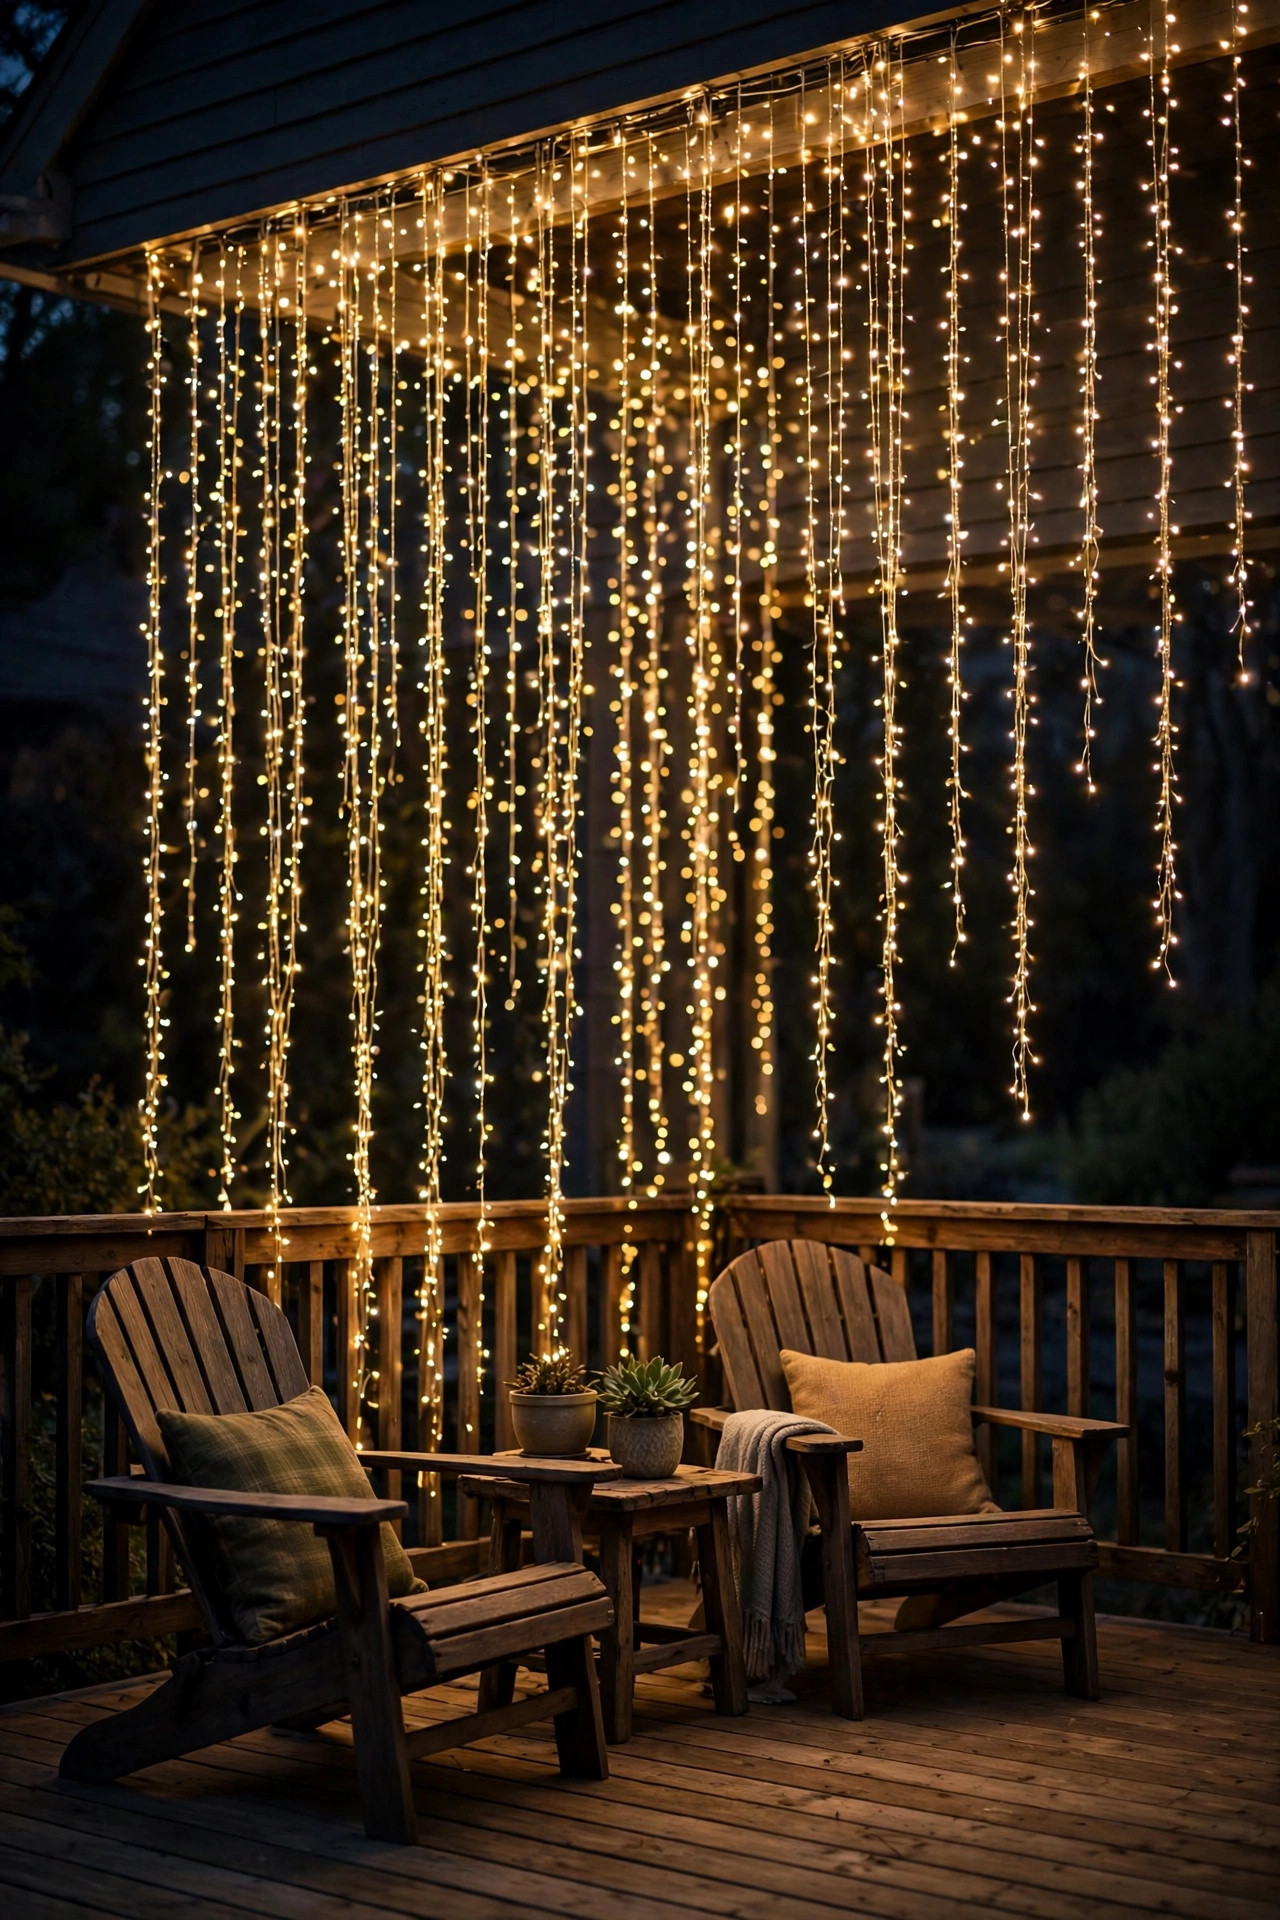
24. Twinkle Light Curtain Behind Seating
A curtain of fairy lights behind the main seating area is the easiest "special occasion" backdrop on this list — and it looks expensive in photos. Hang a few strands of fine copper-wire fairy lights vertically from the top rail or pergola beam, letting them fall 4 to 6 feet like a glowing waterfall. The fine wire disappears at night; all you see is a shimmering wall of tiny lights. Space the drops 6 to 8 inches apart for a full curtain, or farther apart for a sparser, starrier look. Battery-powered strands with built-in timers are the low-effort route — most run 6 hours and shut themselves off, and a strand of 100 lights on a small battery box lasts weeks. For a permanent install, plug-in strands on a smart plug are better. Twinkle mode (where individual bulbs fade in and out) is lovely for parties; steady mode is better for everyday, since twinkle can feel busy in peripheral vision. I keep mine up year-round behind the loveseat — in winter it reads as festive, in summer as fireflies. One strand per guest is the vibe goal.
Suggested budget range: $30 – $120.
25. Deck Lighting Ideas for a Starry-Night Pergola Ceiling
For the true showstopper, install a fiber-optic starlight kit in the ceiling of your pergola or covered deck — hundreds of tiny points of light twinkling overhead like a private night sky. The kit is simpler than it sounds: a single light engine box (which houses the LED and the twinkle wheel) feeds hair-thin fiber strands that poke through small holes drilled in the ceiling boards. Each fiber tip glows as a pinpoint star; the twinkle wheel makes them shimmer at random. Most kits ship with 200 to 400 strands in mixed lengths, and you trim them flush with the ceiling surface. The light engine mounts in a dry spot — inside a post base box or under the deck — and runs cool and quiet. This is a weekend project with a "wow" payoff far beyond its cost, especially over a hot tub or dining area. Keep the rest of the deck lighting dim when the stars are on — they need darkness around them to read as stars rather than static. Run the engine on the same dusk timer as everything else, and you get a night sky that never clouds over.
Suggested budget range: $150 – $500.

Frequently Asked Questions
What color temperature is best for deck lighting?
Warm white — 2700K to 3000K — is the sweet spot for decks, and it's what I recommend for about 90% of fixtures. Warm light flatters wood tones, makes skin look good, and reads as cozy and inviting, which is the whole point of evening deck time. Cooler temperatures (4000K and up) look stark and security-flood-like on wood, though a slightly neutral 3000K can work on light-gray composite decking where very warm light can look dingy. If you're mixing fixtures, keep them all within the same 300K band or the mismatch will be noticeable. My rule of thumb: match your kitchen's evening lighting, and the transition from inside to deck will feel seamless.
Are solar deck lights bright enough, or should I go wired?
Solar deck lights are genuinely useful for accents — lanterns, small path markers, torches along the rail — but they're not a substitute for wired lighting on the essentials. The difference is consistency: a wired 12-volt system gives the same brightness at 9 p.m. as at midnight, rain or shine, while solar output depends on that day's sun. My recommendation: wire the safety-critical and mood-defining layers (steps, post caps, under-rail strips) and use solar for the flexible, movable accents. That hybrid approach also means your deck still glows during a cloudy stretch, and you never have to think about it. If you're deciding between systems for a whole-deck install, low-voltage wired wins on reliability every time — solar wins on "I can do this in an afternoon."
Do I need an electrician to install deck lighting?
For low-voltage (12-volt) systems, usually not — most homeowners can handle post caps, step lights, and LED strips themselves, since 12-volt wiring is forgiving and doesn't require conduit in most jurisdictions. You'll need a plug-in transformer on an outdoor GFCI outlet, and that's the bulk of the "electrical" work. But call a licensed electrician for anything 120-volt: new sconce boxes on the house wall, running a new circuit, or any wiring that ties into your home's panel. Also check local code before mounting fixtures to the house — some areas require permits for exterior electrical work. When in doubt, a one-hour electrician visit to review your plan costs far less than fixing a mistake, and it's worth it for peace of mind around water and wood.
How do I keep deck lights working through rain and winter?
Buy the right ratings up front and the weather takes care of itself: look for IP65 or higher (dust-tight and rain-proof) for anything exposed, and fixtures specifically rated for wet locations on stairs and rail edges. After that, maintenance is minimal — wipe solar panels and fixture lenses once a season (pollen and road film cut output noticeably), check that drainage holes in step lights aren't clogged with debris, and bring battery-powered and flameless-candle fixtures indoors for deep winter in freezing climates, since cold kills battery chemistry. LED strips in aluminum channels survive weather well; bare adhesive strips do not — that's the number one premature failure I see. A five-minute seasonal check beats replacing fixtures every spring.
Conclusion
The best deck lighting ideas all share one principle: layers. Post caps and step lights keep things safe, under-rail strips and uplights add the drama, and string lights, lanterns, and fairy curtains bring the atmosphere that makes people linger. You don't need all 25 — start with one layer, live with it for a week, and add the next. Before you know it, your deck will be the room everyone migrates to after dinner. If this sparked ideas, browse my backyard lighting roundup next for even more ways to keep the whole yard glowing long after sunset.