There is a moment at every good dinner party when the plates get pushed back, somebody tops up the glasses, and nobody reaches for their keys. That moment is not an accident. In my experience, it is the light. Harsh light sends people home early; soft, layered light makes them settle in for one more story. The best outdoor dinner party lighting works in layers: a gentle canopy overhead, a warm glow right on the table, and a low wash around the edges so the whole yard feels held. Nothing needs to be bright. Honestly, dimmer almost always wins, because faces look better and the evening stretches. Below are the 21 setups I rotate through all season, from five-minute fixes to weekend projects. Mix three or four of them and you have a formula that works for birthdays, holidays, and plain old Tuesday tacos. Every idea lists what it costs, and most need nothing more than an outdoor outlet, a timer, and one free hour before your guests arrive.
1. Start With a Layered Outdoor Dinner Party Lighting Plan
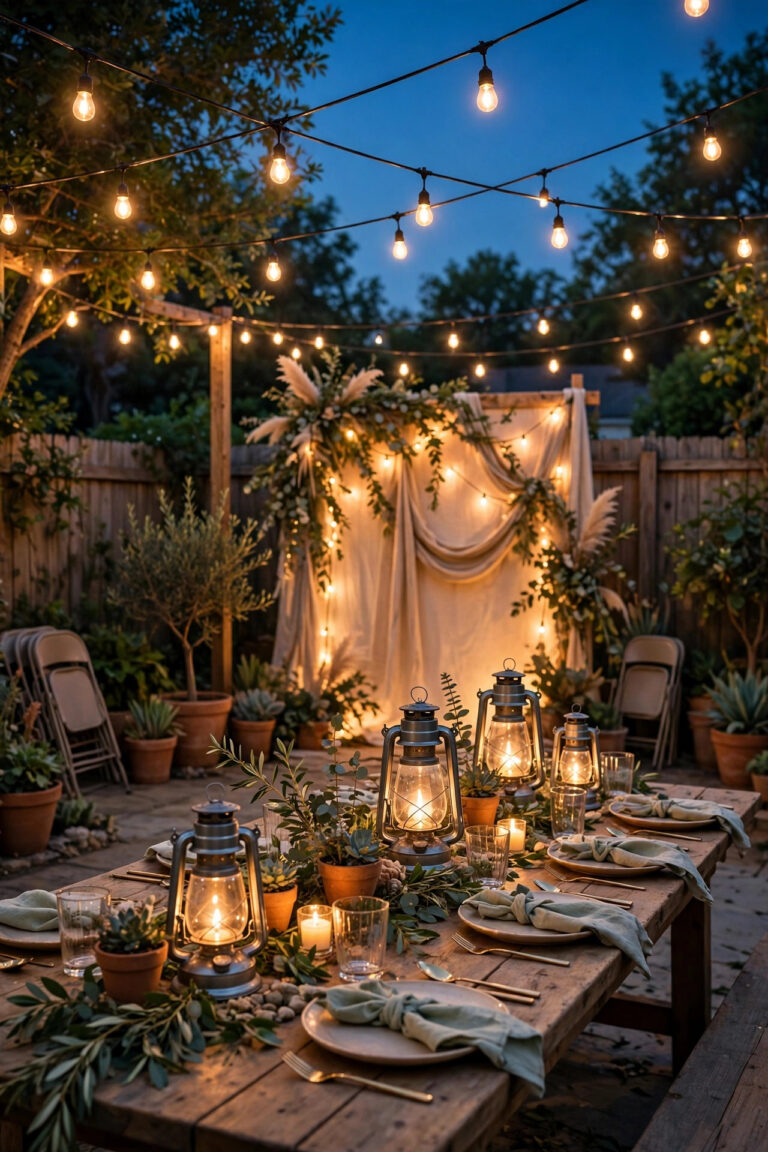
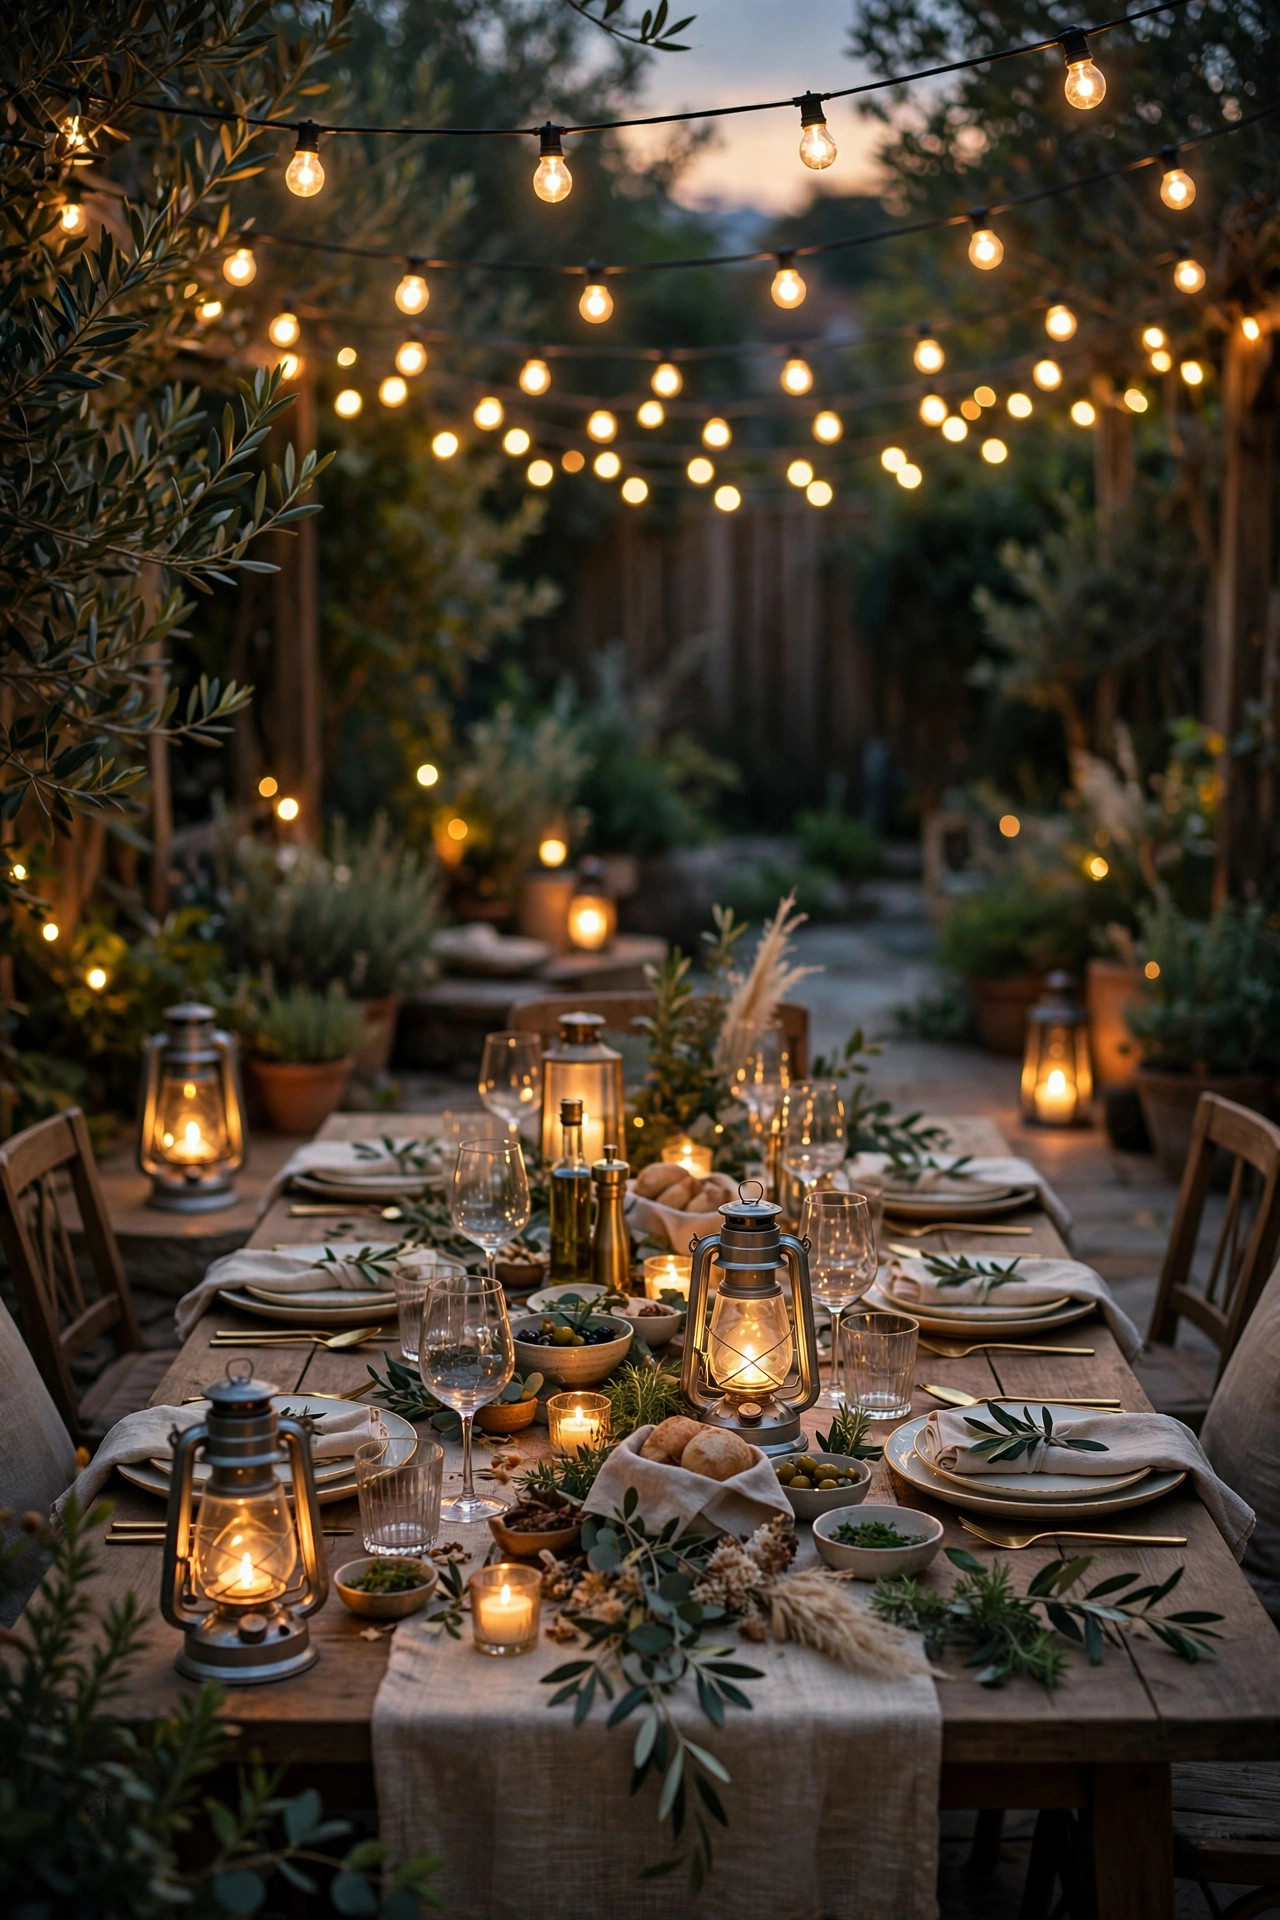
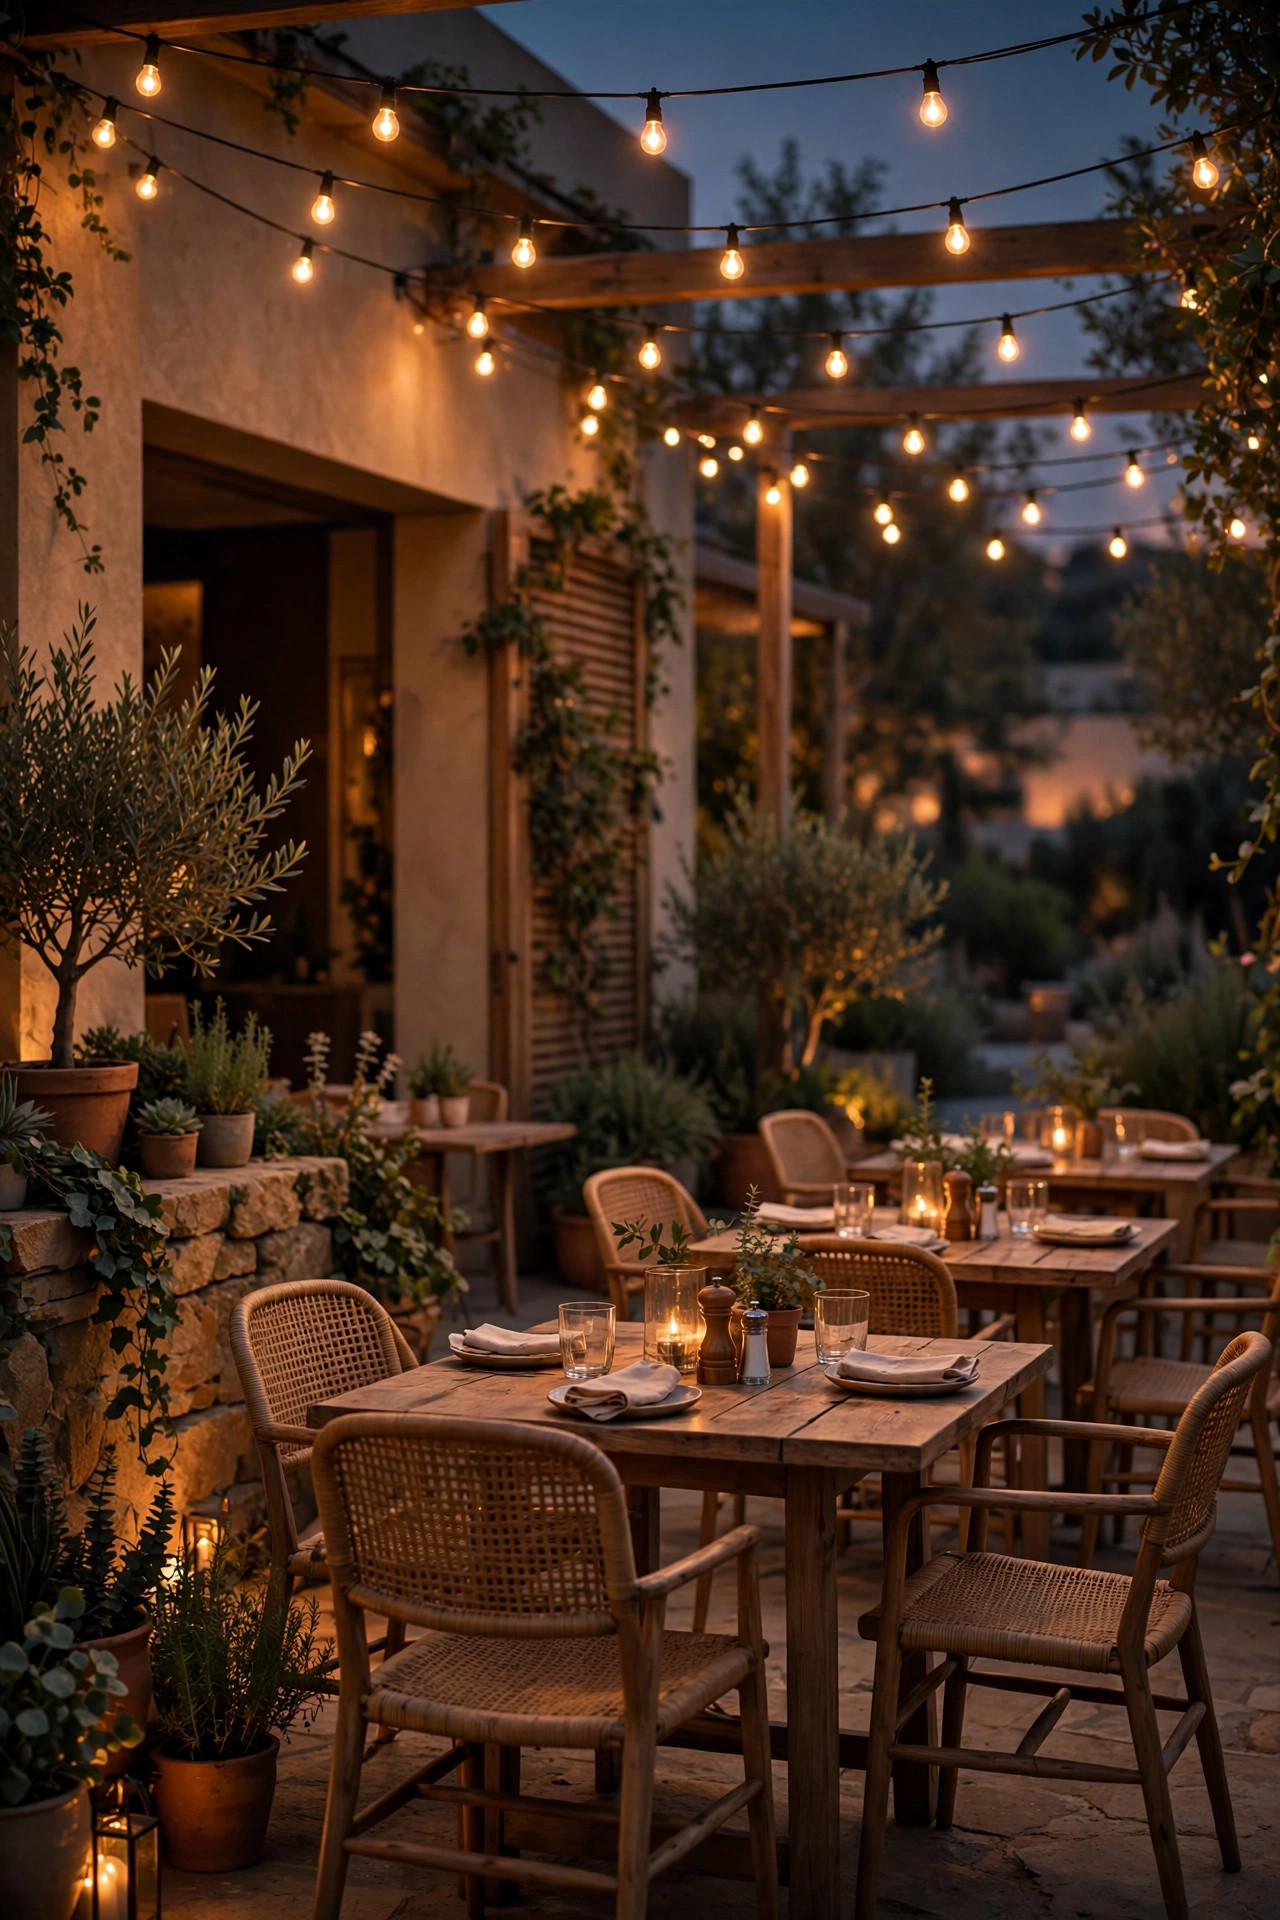
Before you buy a single bulb, decide on your layers, because a plan is what separates a magical evening from a yard that just happens to have lights in it. I think in three heights. Overhead, something soft and wide, like string lights or pendants, sets the ceiling of the room. At table height, lanterns or candles light faces and food, which is where your guests actually look. Down low, path lights and step lights wash the ground so nobody trips carrying a plate. Pick one idea from each height and you already have a complete scheme. Keep every bulb in the same warm family, 2700K to 3000K, so the layers blend instead of fighting. Put the overhead layer on a timer and the table layer on a dimmer if you can, and you gain control as the night deepens. I sketch this on paper before every season, and it takes ten minutes. The plan also stops impulse buys, because you know exactly which layer each new light has to earn its place in.
Suggested budget range: $80 – $250.

2. A String Light Canopy, the Heart of Outdoor Dinner Party Lighting
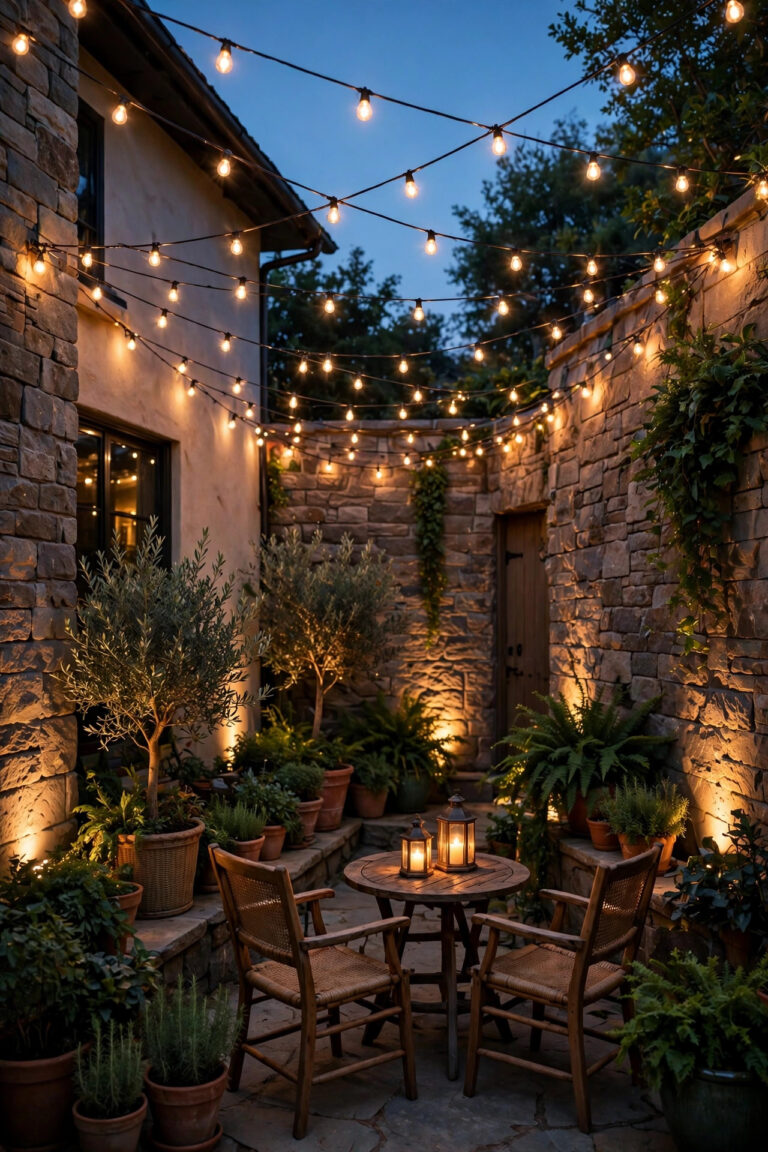
If I could keep only one idea on this list, it would be the string light canopy. Zigzag two or three commercial-grade strands over the table, crossing in a loose grid about 8 to 9 feet up, and the space instantly feels like a little restaurant courtyard. Use shatterproof LED bulbs with a warm 2700K glow, and keep the swags shallow, around 6 to 10 inches of dip, so the lines look calm rather than chaotic. Anchor to the house, a pergola, or sturdy poles, and support long runs with a guide wire so the weight never hangs on the cord itself. Space the crossings so the light pools overlap; you want an even wash, not bright spots and dark gaps. Plug everything into a GFCI-protected outlet and add a plug-in dimmer, because canopy lights at 60 percent are flattering, while full blast can feel like a stadium. In my experience, this single layer is the one guests photograph before they even sit down.
Suggested budget range: $60 – $180.

3. Pendant Lights Over a Pergola Dining Table
A pergola gives you a ceiling, and a ceiling begs for pendants. I hang two or three outdoor-rated pendant lights over the table, spaced evenly along its length, with the shades sitting 30 to 36 inches above the tabletop. That height lights the food without shining in anyone's eyes. Woven rattan-look shades and black metal cages both work beautifully; just confirm the fixture is rated for wet locations, since pergola roofs let in more weather than you expect. Wire them to a dimmer switch if they are hardwired, or choose plug-in pendants with inline dimmers for a renter-friendly version. Matching pendants make the pergola feel like a true dining room, and pairing them with a few candles covers you if the power ever flickers mid-toast. One placement tip from my own table: center the pendants on the table itself rather than on the pergola frame, because the two rarely line up perfectly, and light belongs over the food. If your pergola setup is still coming together, my guide to pergola dining lighting ideas walks through layouts, heights, and spacing in more detail.
Suggested budget range: $150 – $450.

4. Flameless Candle Lanterns as the Centerpiece
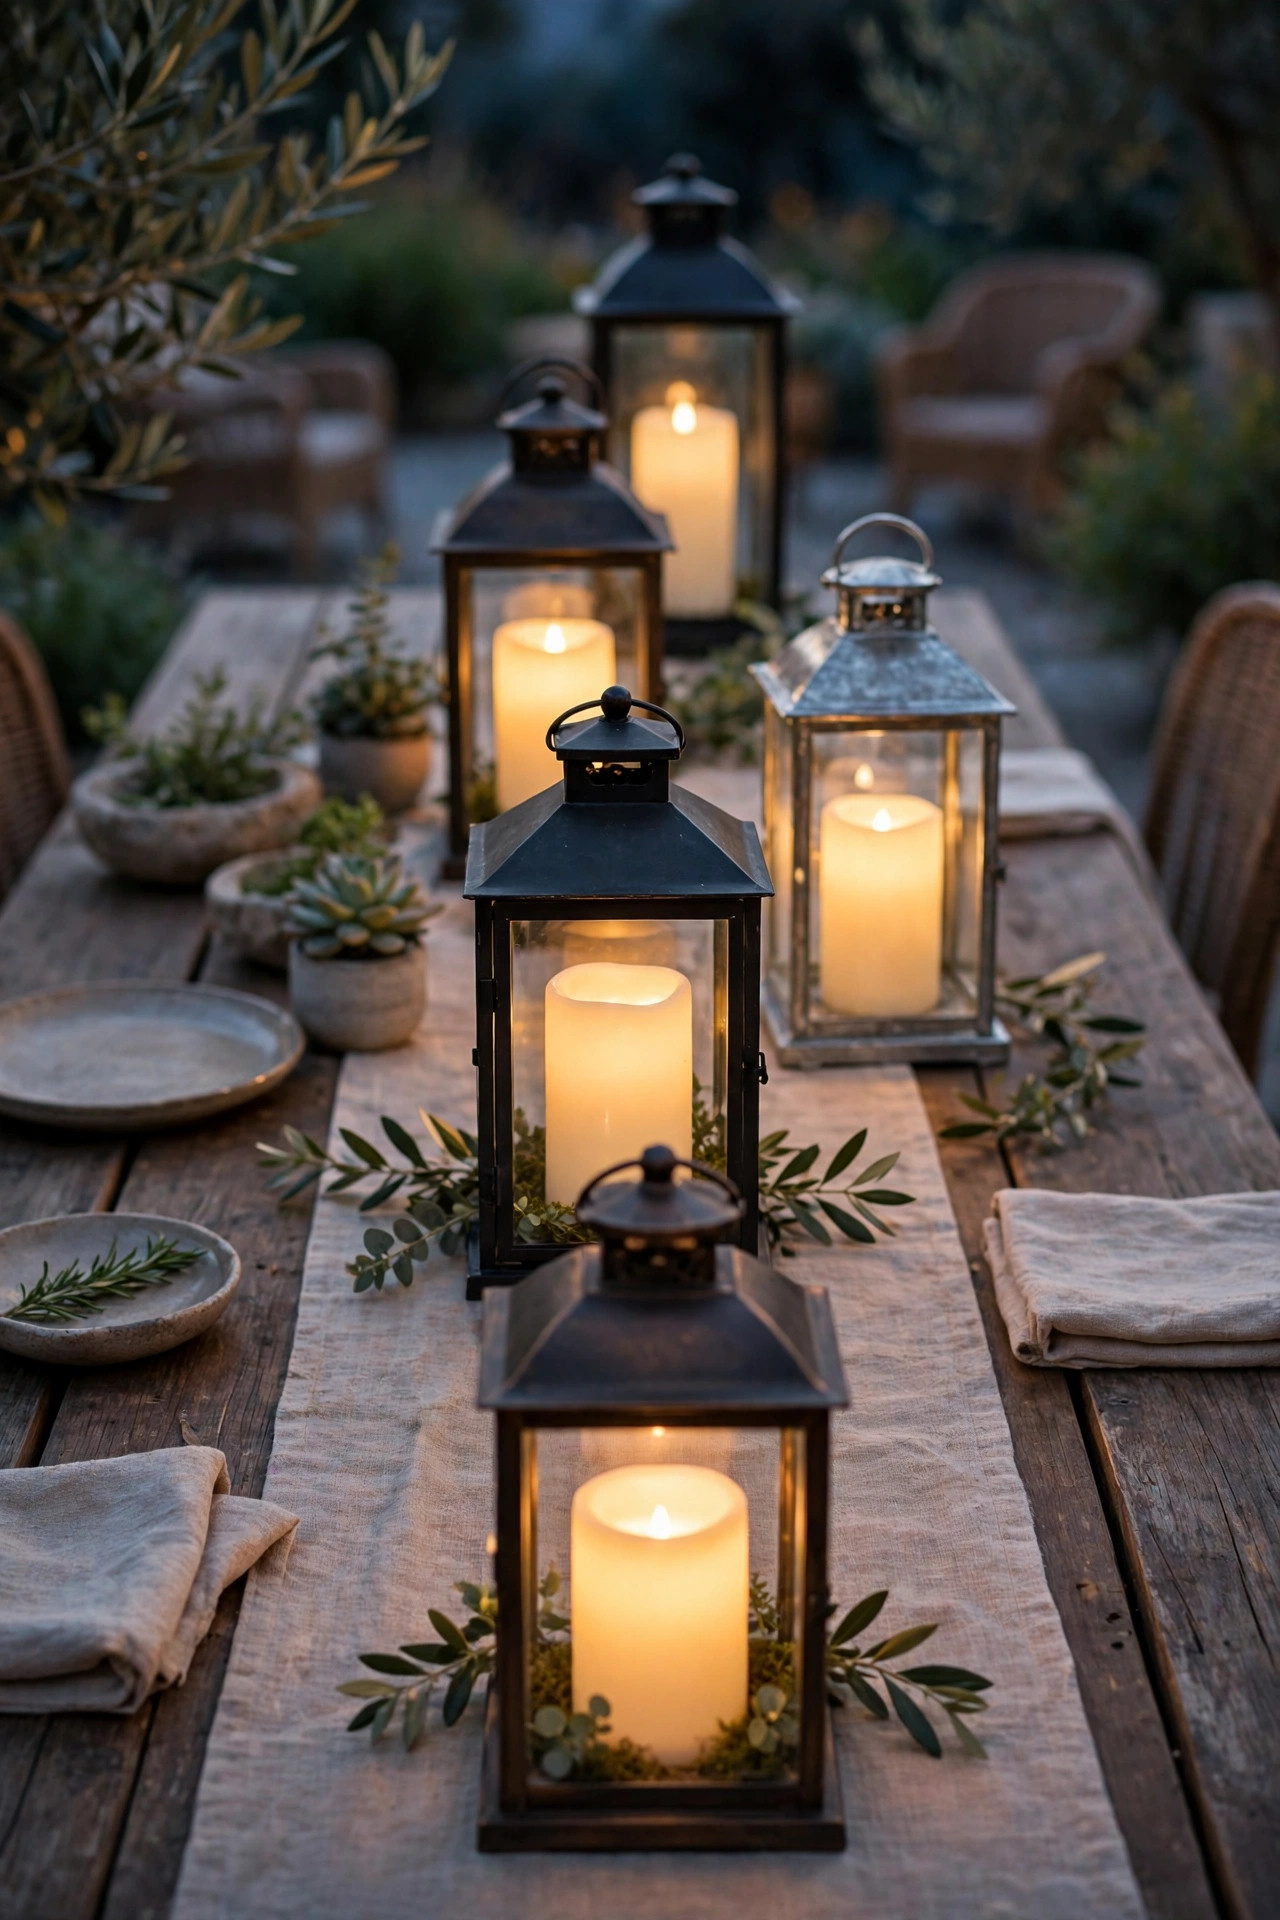
Candles on the table are non-negotiable for me, but real flames next to napkins, sleeves, and a table runner make me nervous, so I use flameless candles inside lanterns. The flicker setting on good LED candles is convincing enough that guests lean in to blow them out. Group three lanterns of different heights down the center of the table, or run a row of small ones along a runner, keeping everything low enough to see faces over. Choose warm white flicker, never the orange Halloween setting. Most run 200-plus hours on a set of batteries, and a little remote means you can switch the whole table on from the kitchen door. Metal, wood, and glass lanterns all mix happily if the candle color matches. One safety note I never skip: even flameless candles should sit on a stable surface away from trailing greenery, because a knocked-over lantern can still spill a drink and ruin a dinner faster than darkness ever could.
Suggested budget range: $35 – $120.
5. Fairy Lights Woven Through the Table Greenery
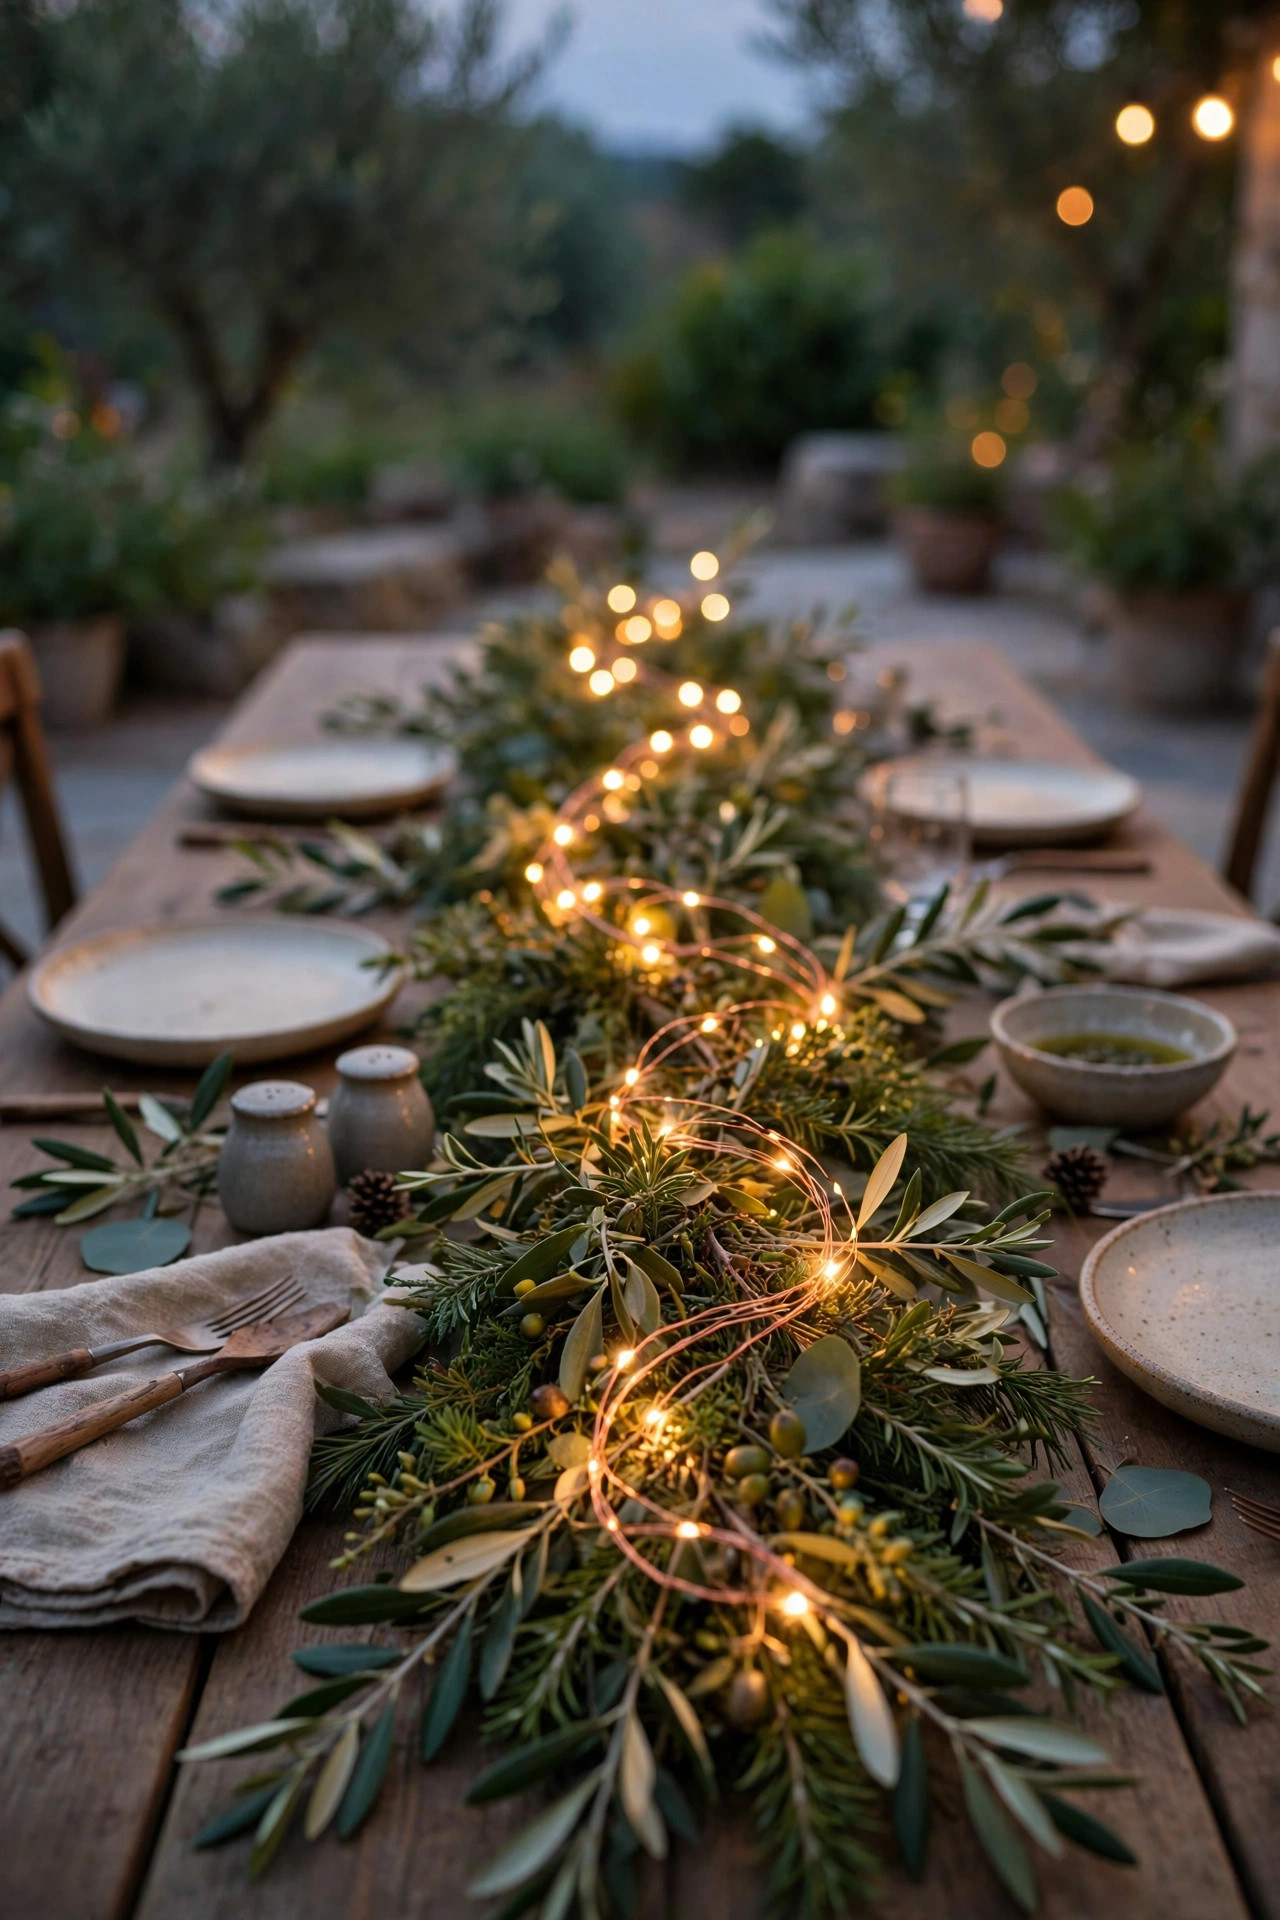
For the softest table glow I know, weave a strand of copper-wire fairy lights through a simple garland of eucalyptus or faux greenery laid down the center of the table. The tiny warm pinpoints sparkle through the leaves and make even plain white plates look styled. Battery packs hide easily under the garland or inside a napkin fold, so there are no cords crossing the table. One 10-foot strand covers a six-person table; run two for a longer farmhouse setup. Because the lights sit at plate level, they light faces from slightly below, which is surprisingly flattering and very forgiving. Keep the strand on the warmest setting if yours has options, and match it to your canopy color temperature so nothing clashes. Only use LED fairy lights near foliage, and tuck the battery pack where a spilled drink cannot reach it. Cleanup is easy: gather the garland with the lights still woven in and store the whole arrangement together for next time.
Suggested budget range: $15 – $45.
6. Dimmable Battery Table Lanterns at Every Setting
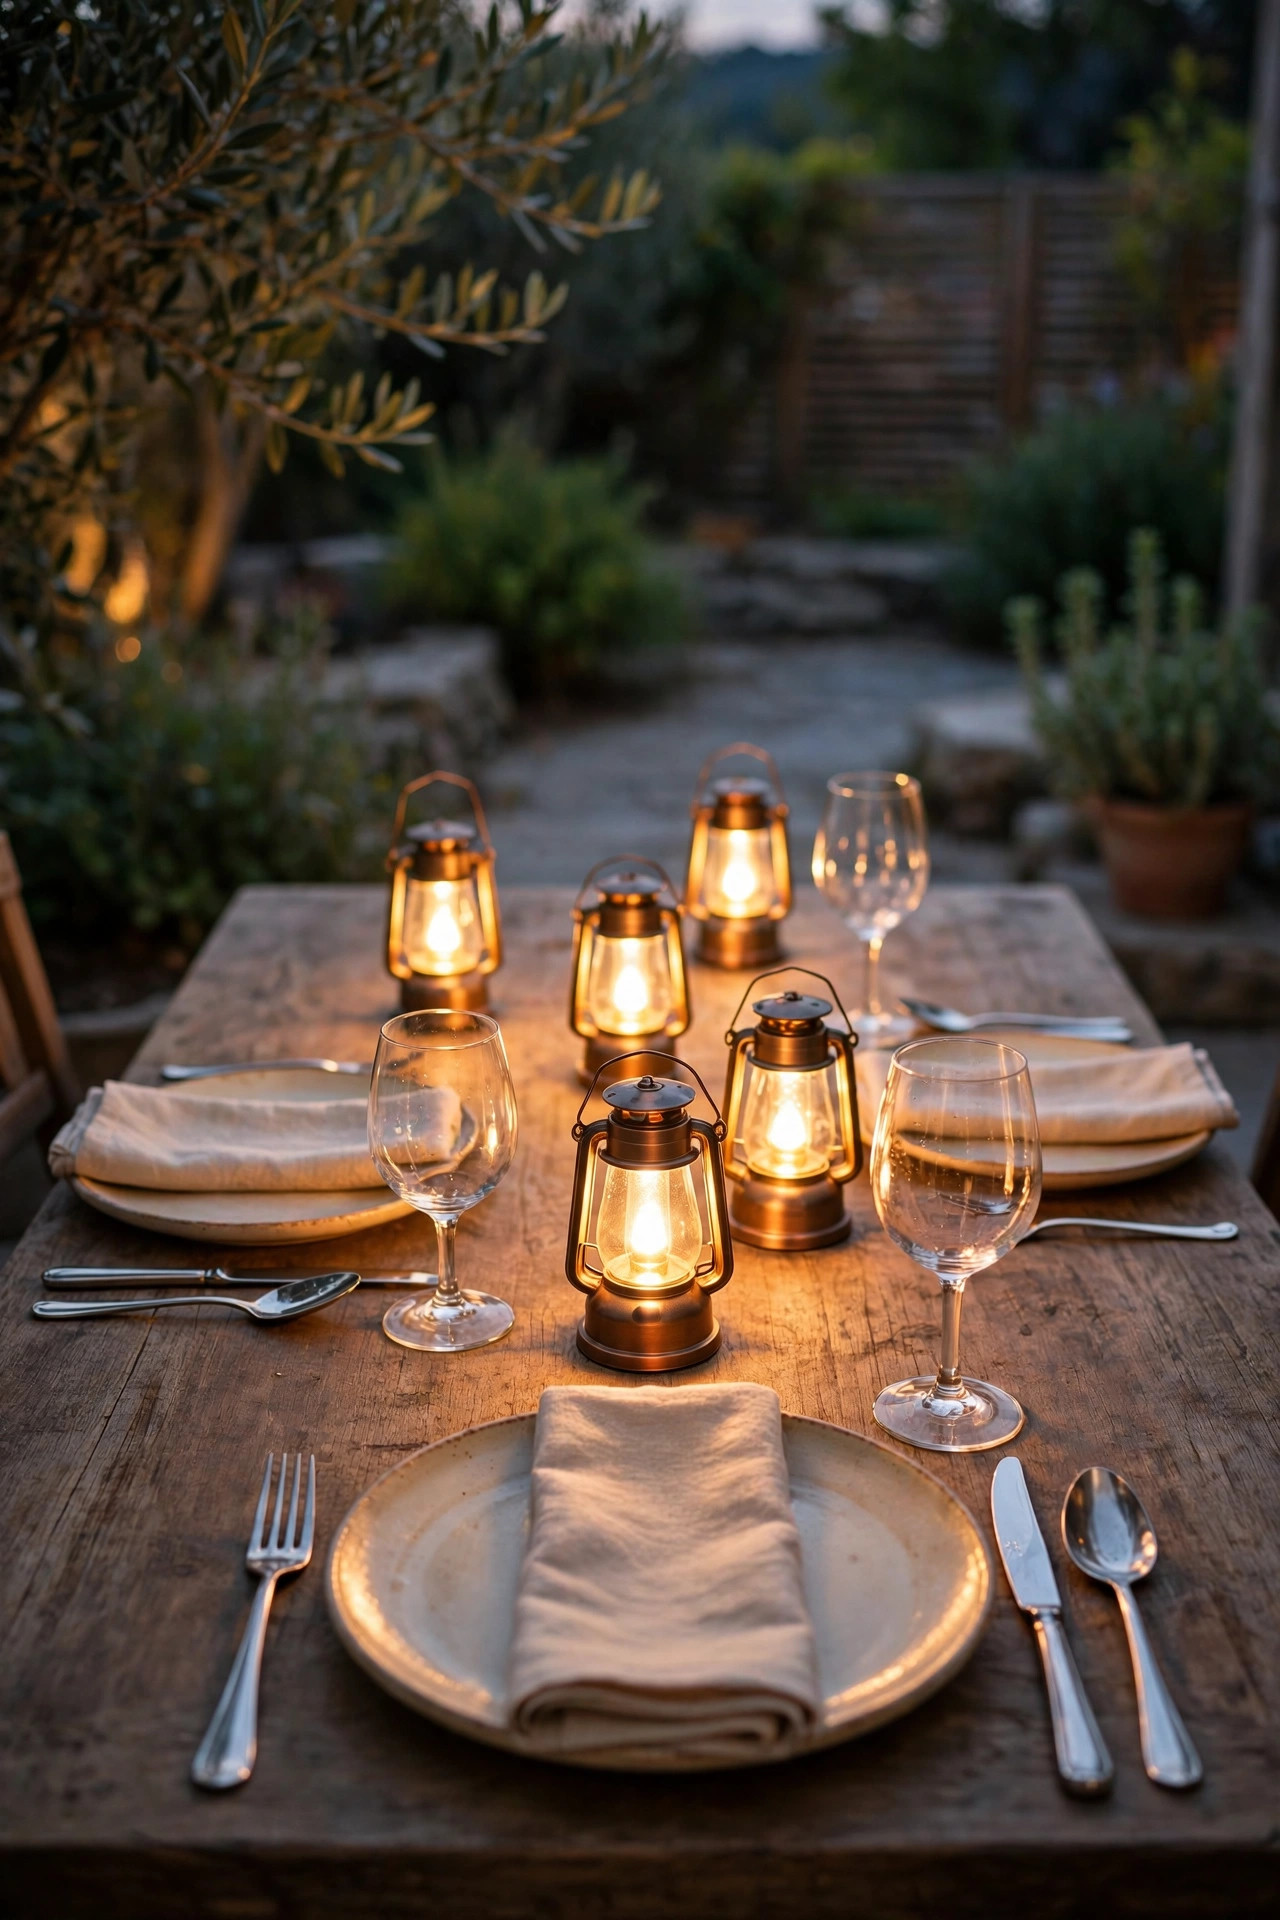
Small rechargeable table lanterns are my secret weapon for long tables, because they put light exactly where the conversation is. I place one between every two place settings, about 12 to 16 inches tall at most, so sightlines stay open. Look for lanterns with a warm 2700K setting and a real dimmer, not just on and off; at half brightness they glow like candlelight without any flicker. Charge them the afternoon of the party and they will run a full evening with hours to spare. They are also the lights I hand to guests heading inside, so nobody navigates a dark yard with a phone flashlight. Mix them with taller lanterns at the table ends for variety, but keep the finish family consistent, all black metal or all natural wood, so it reads intentional. Store them together on one shelf with their charging cable, and this layer becomes a two-minute setup instead of a treasure hunt.
Suggested budget range: $40 – $130.
7. Paper Lantern Clusters for a Festival Feel
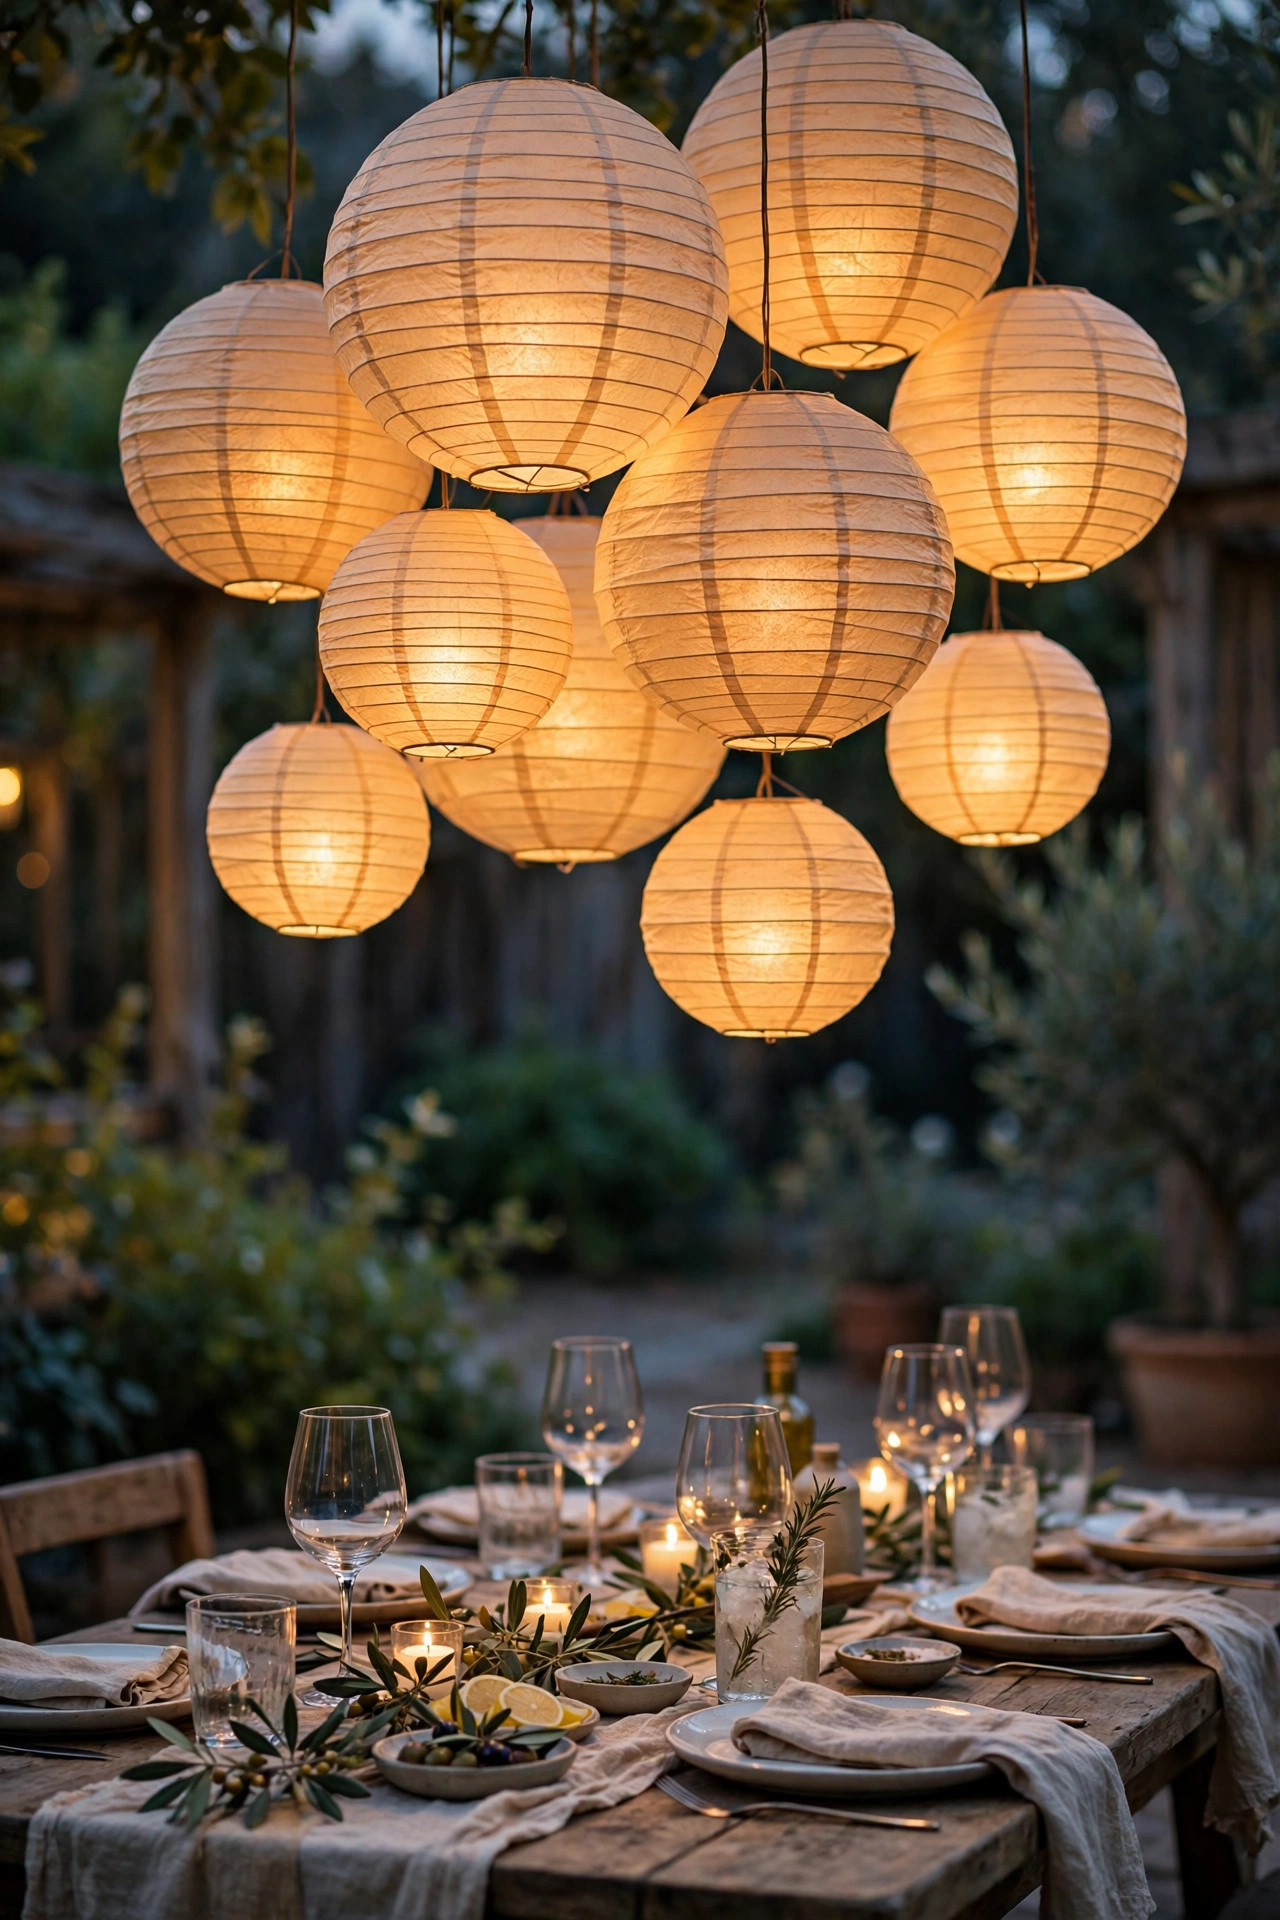
Paper lanterns turn a plain patio into a celebration for almost no money. I cluster them in odd numbers, three or five, hung at slightly different heights over the table or a lounge corner, mixing 10, 12, and 14-inch sizes. Slip a battery LED puck or a single-bulb cord inside each one for an even, shadowless glow, and never use a real candle or an incandescent bulb inside paper, ever. White lanterns read elegant; soft cream or blush feels warmer in photos. Hang them with clear fishing line so they seem to float, and cluster them lower over the table, around 7 feet, to make the space feel intimate. They are not weatherproof, so treat them as fair-weather decor and bring them in the same night. I keep a storage bin of them because one bag of lanterns has dressed up birthdays, anniversaries, and one very memorable taco night. Cheap, cheerful, and done in twenty minutes.
Suggested budget range: $25 – $80.
8. Fairy Lights Under the Patio Umbrella
If your table sits under a big patio umbrella, you already own the perfect fixture. Run battery fairy lights along the ribs of the umbrella, spiraling a second strand around the pole, and the canopy becomes a glowing dome that lights the whole table evenly. Eight ribs take about two 10-foot strands. The downward glow is soft and shadow-free, which makes food look wonderful and faces even better. Because everything is battery powered, the table can sit anywhere in the yard, far from outlets. Clip the strands with small binder clips so nothing sags onto anyone's head, and check that the umbrella still tilts and closes without pinching a wire. This is my go-to for weeknight dinners when I want the magic without hauling out the big setup. When the umbrella closes at the end of the night, the lights stay in place, ready for tomorrow. Two minutes to beautiful is a trade I will make every single time.
Suggested budget range: $15 – $40.

9. Solar Path Lights to Guide Guests In
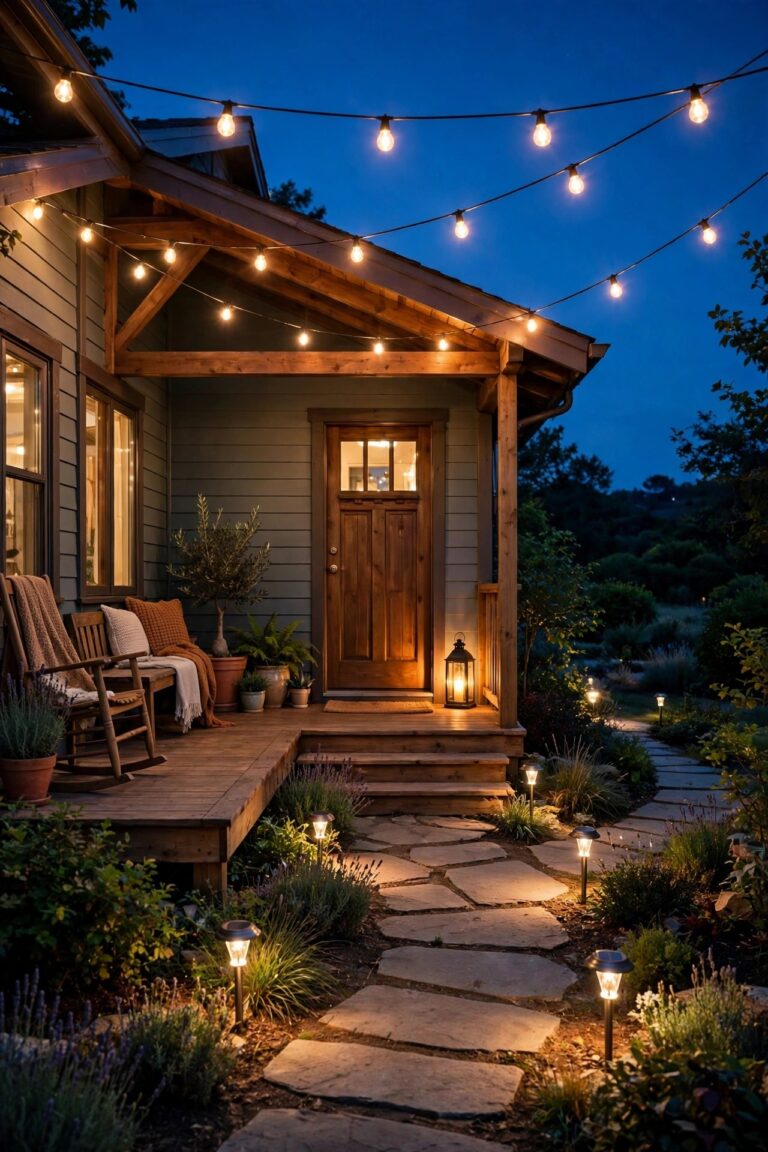
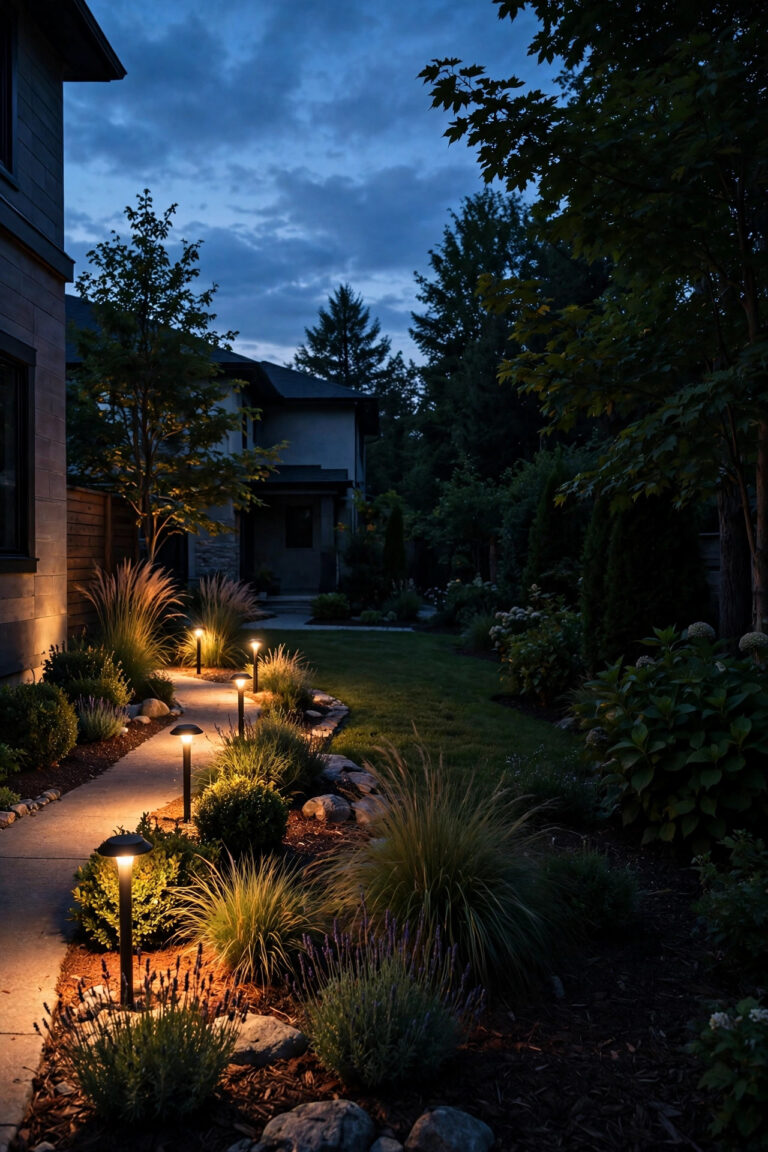
A dinner party starts before anyone sits down, and a softly lit path from the gate or back door tells guests the evening is going to be special. I line the route with solar path lights spaced 4 to 6 feet apart, close enough that the pools of light nearly touch. Choose warm white stakes around 2700K to 3000K; the cool blue solar lights from the bargain bin will fight with everything else on this list. Set them out two days before the party so they bank two full charges, and wipe the little panels clean, because pollen film quietly steals brightness. Keep the path lights low and shielded so they wash the ground instead of glaring at ankle height. Where the path meets steps or a grade change, add one brighter fixture so nobody misjudges a footing while carrying a glass. This layer costs little, needs no wiring, and quietly does the safety work that lets everyone relax once they reach the table.
Suggested budget range: $30 – $100.
10. Deck Rail and Step Lights for Safe Mingling
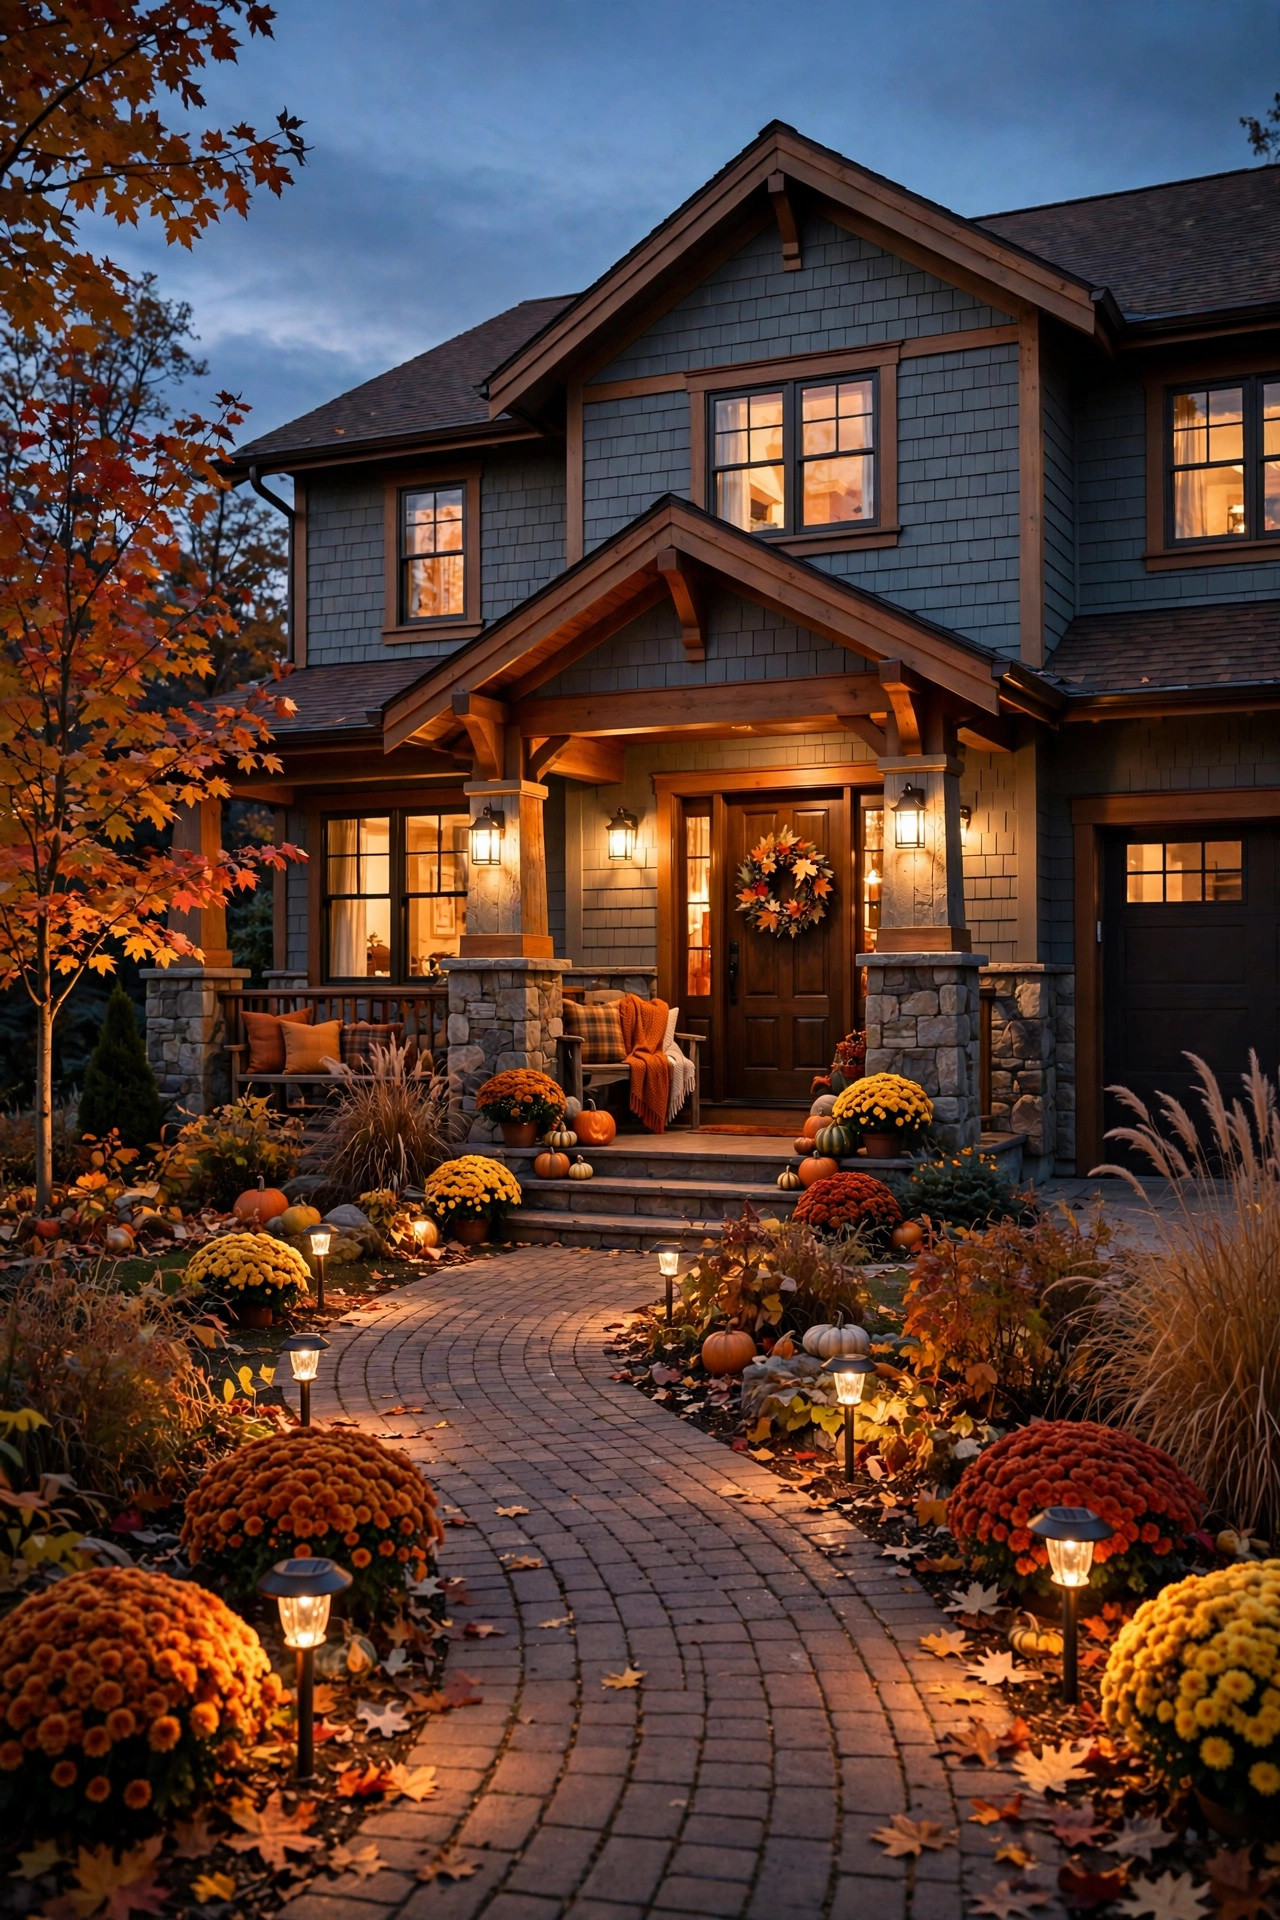
On a deck, the prettiest light is the kind you barely notice. Recessed step lights and slim rail lights keep guests safe on the stairs while everyone drifts between the table, the grill, and the drink cooler. I install low-voltage LED step lights on every other riser, aimed down so the tread glows without any glare, and add a soft strip or small fixtures under the top rail to wash the deck boards. Keep this layer on its own timer so it runs all evening even when the table lights dim down for dessert. Match the color temperature to your canopy, 2700K, or the deck will look like a different party. Hardwired low-voltage systems are the reliable route here, and the wiring hides neatly under the deck edge. For layouts, fixture counts, and placement rules, my roundup of deck dining lighting ideas covers the dining-specific details. Safe footing plus a warm wash equals guests who linger instead of hovering near the door.
Suggested budget range: $120 – $350.
11. String Light Poles When There Is No Structure
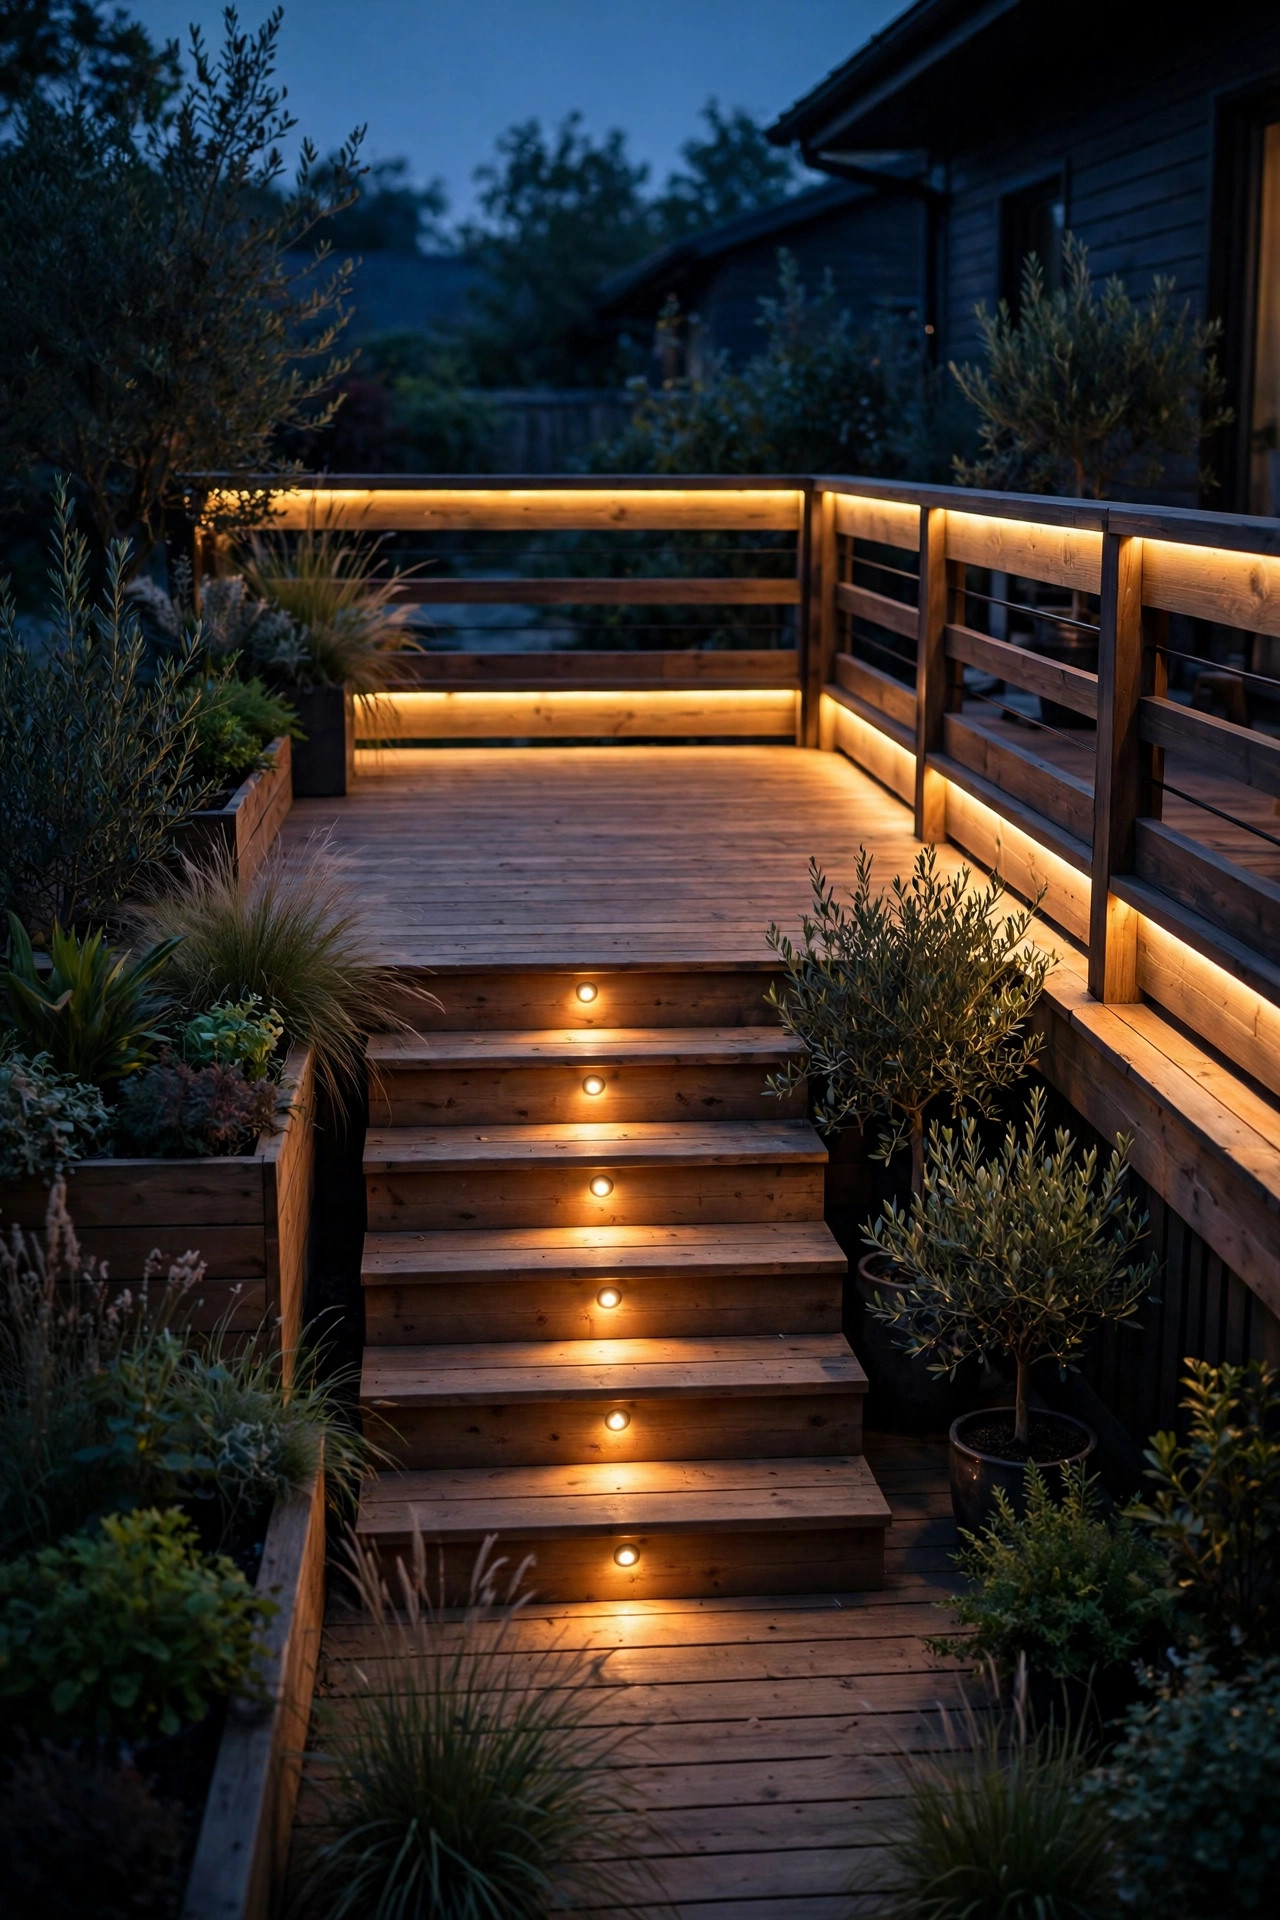
No pergola, no tree, no problem. String light poles give you anchor points anywhere, and they are how I light dinners on open lawn. Use sturdy poles, either the kind that stake into the ground, screw to a deck, or drop into heavy planter pots filled with gravel or concrete. Set poles 10 to 12 feet apart for a gentle swag, and plant them about 9 feet tall so the lowest dip of the strand stays above head height. A planter-pot base doubles as decor: tuck a small shrub or flowers around the pole and it disappears into the garden. Run one continuous canopy over the table, or cross two lines in an X for a tent effect. Renters, this is your idea, because nothing attaches to the house. I have a full breakdown of pole types, heights, and base options in my guide to patio string light pole ideas, and once the poles are up, every party after takes ten minutes to light.
Suggested budget range: $70 – $220.
12. Uplight the Trees for a Glowing Backdrop
Every dinner table needs a backdrop, and yours is probably already growing. I place one or two low-voltage uplights at the base of the nearest tree, 12 to 18 inches from the trunk, angled up into the canopy. The leaves catch the warm light and the whole tree becomes a soft golden ceiling beyond the table. A medium beam, around 45 degrees, spreads nicely without a harsh hotspot on the trunk. This layer does something subtle and wonderful: it makes the yard feel big and deep instead of black and empty at the edges. Keep the fixture brightness modest, because the tree is background, not the star. A flowering shrub or an ornamental grass clump works the same trick at smaller scale. Stake-mounted fixtures let you experiment before committing, and honestly, moving one light three feet can change the whole mood. Try it at dusk with a drink in hand and adjust until the view from your seat looks like a painting.
Suggested budget range: $60 – $180.
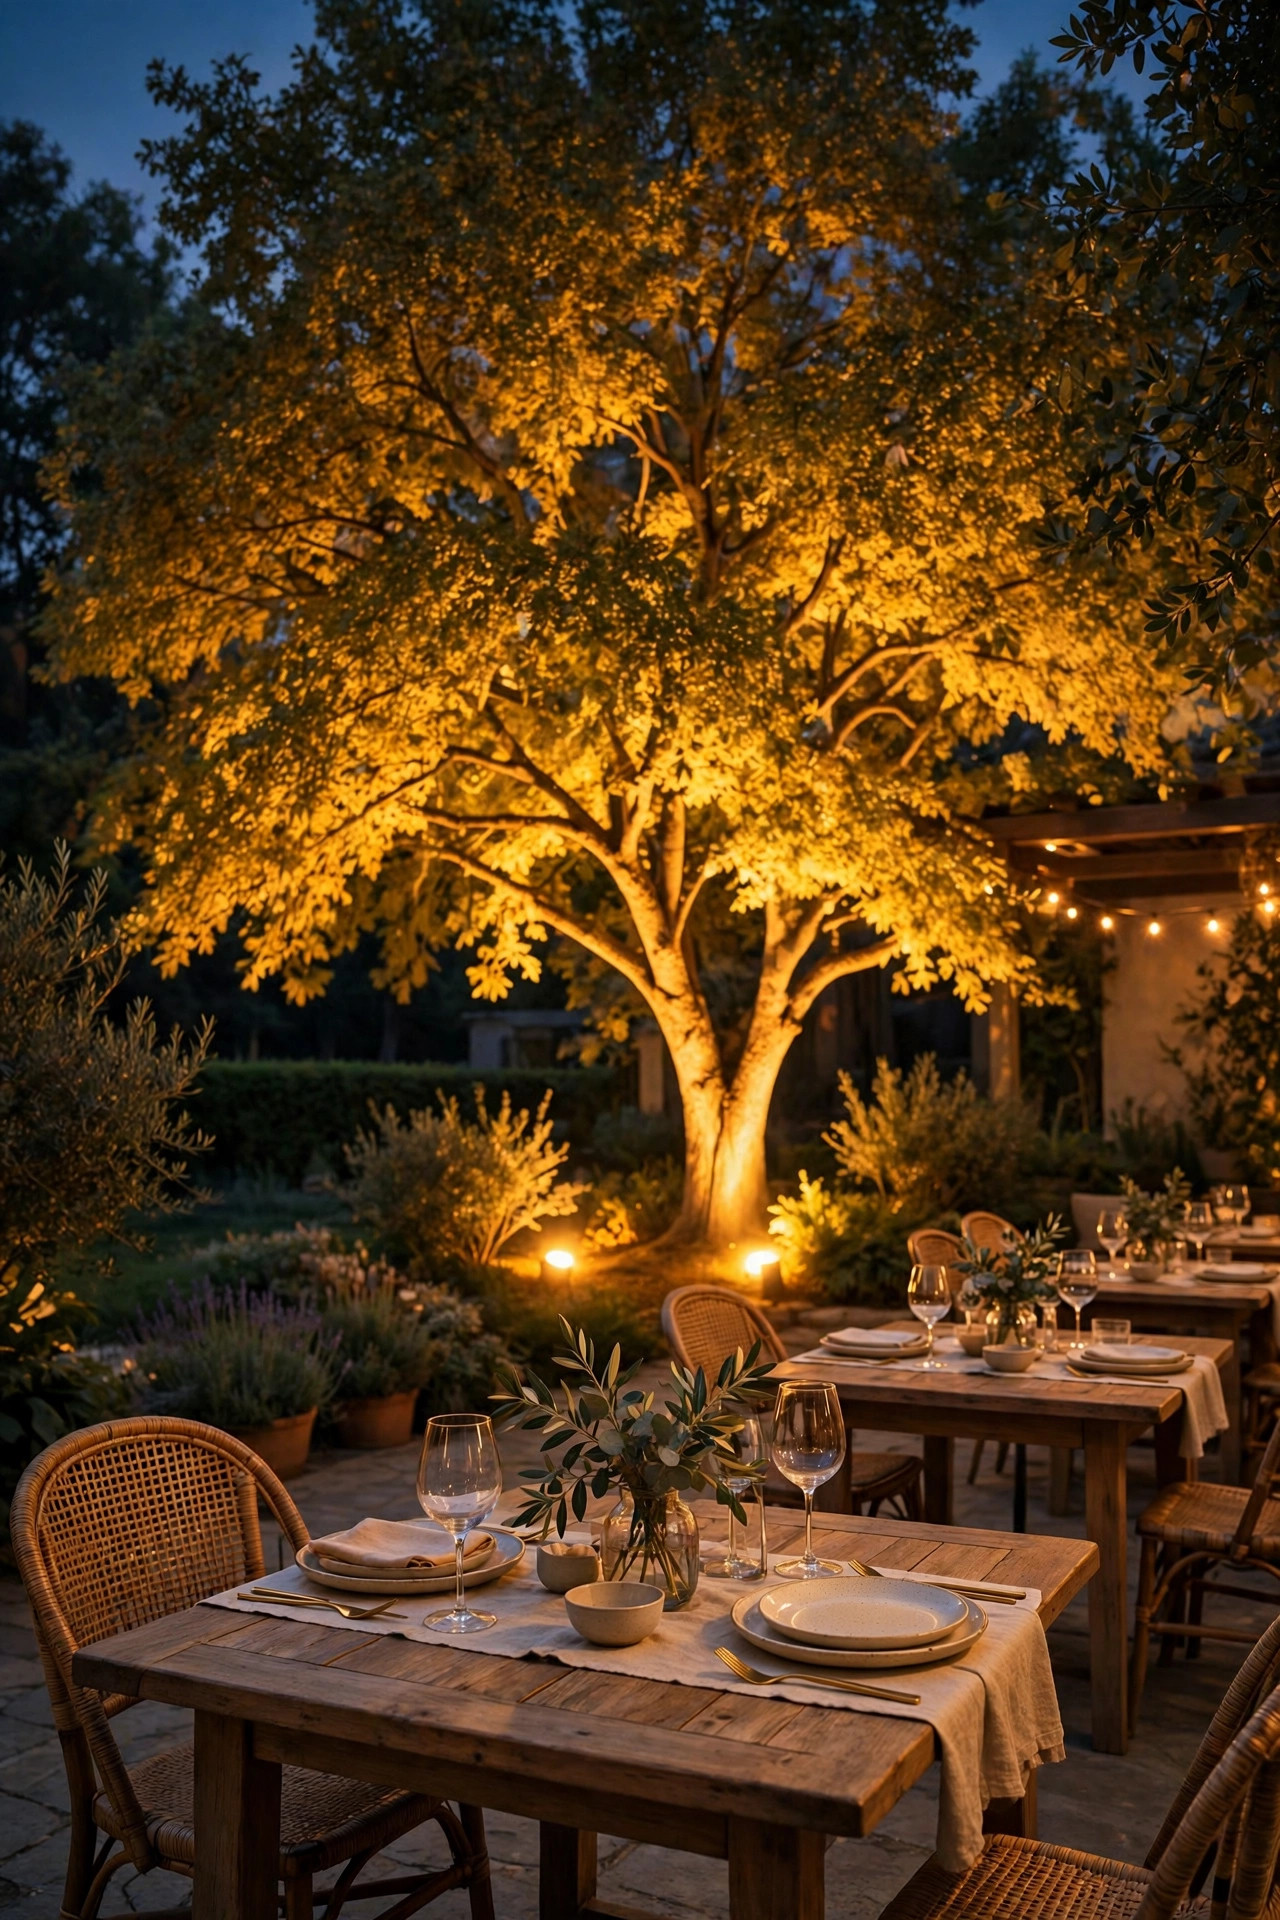
13. Flame-Effect Torches Without the Open Flame
Real torches near a table full of paper napkins and flowing sleeves make me twitchy, so I use solar flame-effect torches instead. The flickering LED flame looks remarkably real from a few feet away, and there is no fuel, no smoke, and no fire risk near the table linens. I stake them in pairs flanking the dining area, or line four along a garden edge to mark the boundary of the party. Most charge all day and flicker for 8 to 10 hours, well past the last guest. Their light is pure ambience, so pair them with real illumination from your canopy or lanterns rather than relying on them alone. Push the stakes in a day early to confirm the spots get enough sun, and wipe the panels when you set the table. Grouped at different heights in planters, they read like little fire bowls. It is the drama of firelight with none of the hovering, and for a host who wants to actually sit down, that matters.
Suggested budget range: $35 – $110.
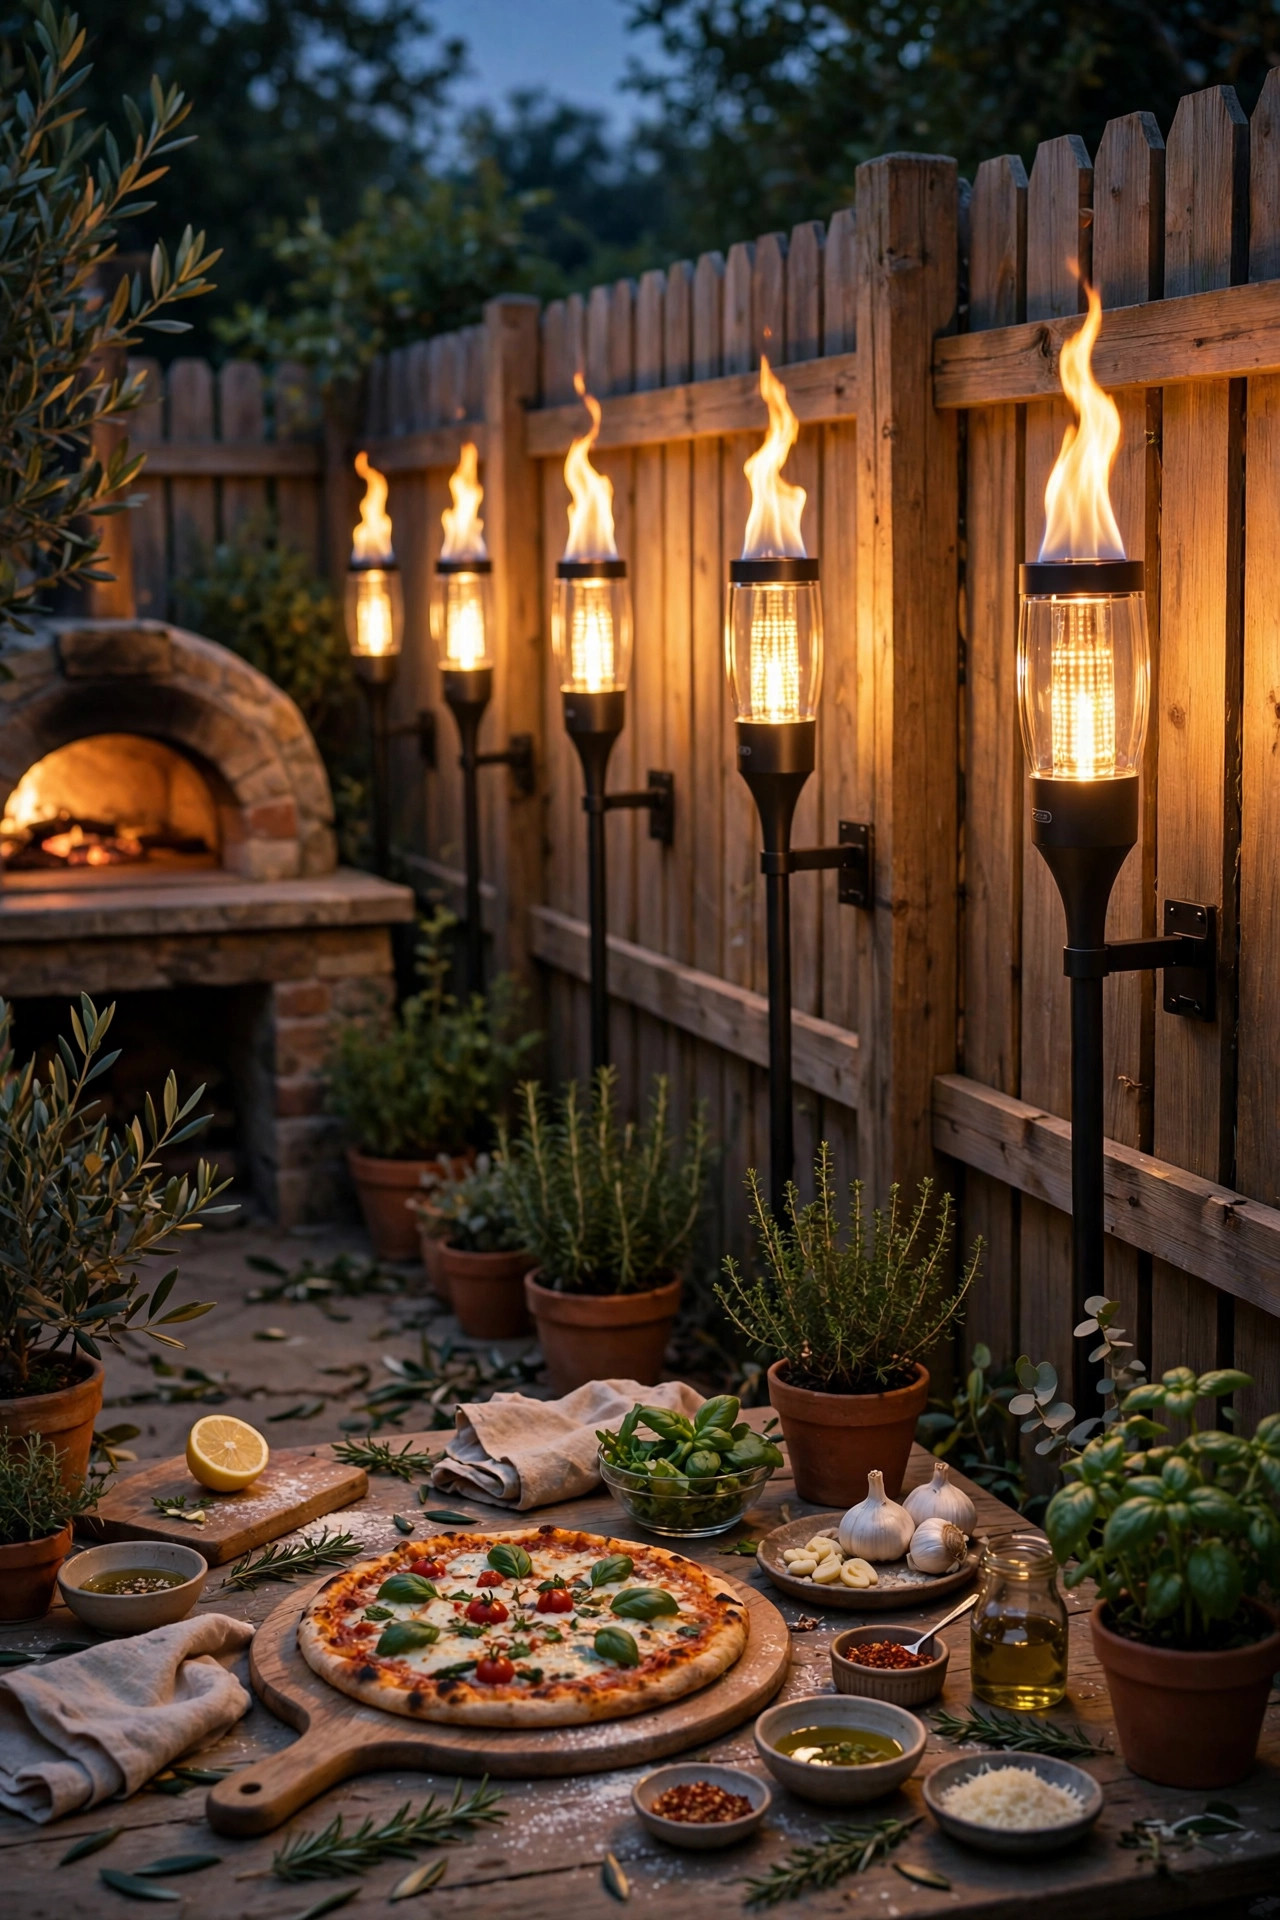
14. Light the Drink Station Like Its Own Little Bar
The drink station is where guests gather between courses, so give it its own moment of light instead of leaving it in the dark corner. I clip a short battery LED strip under the shelf or table edge where the bottles and glasses sit, aimed down so the glassware sparkles and nobody fumbles a pour. A single small lantern on the table corner adds height, and a flameless candle inside the ice bucket rim is a party trick guests always comment on. Keep this light slightly dimmer than the table so it glows like a destination rather than competing with dinner. A waterproof strip and battery power mean the station can live anywhere, by the fence, on a potting bench, or on a rolling cart. Label-free is fine, but good light is not optional here, because people read bottles and judge pours. When the station looks intentional, guests happily serve themselves, and the host gets to stay seated. That alone earns this idea its spot.
Suggested budget range: $25 – $90.
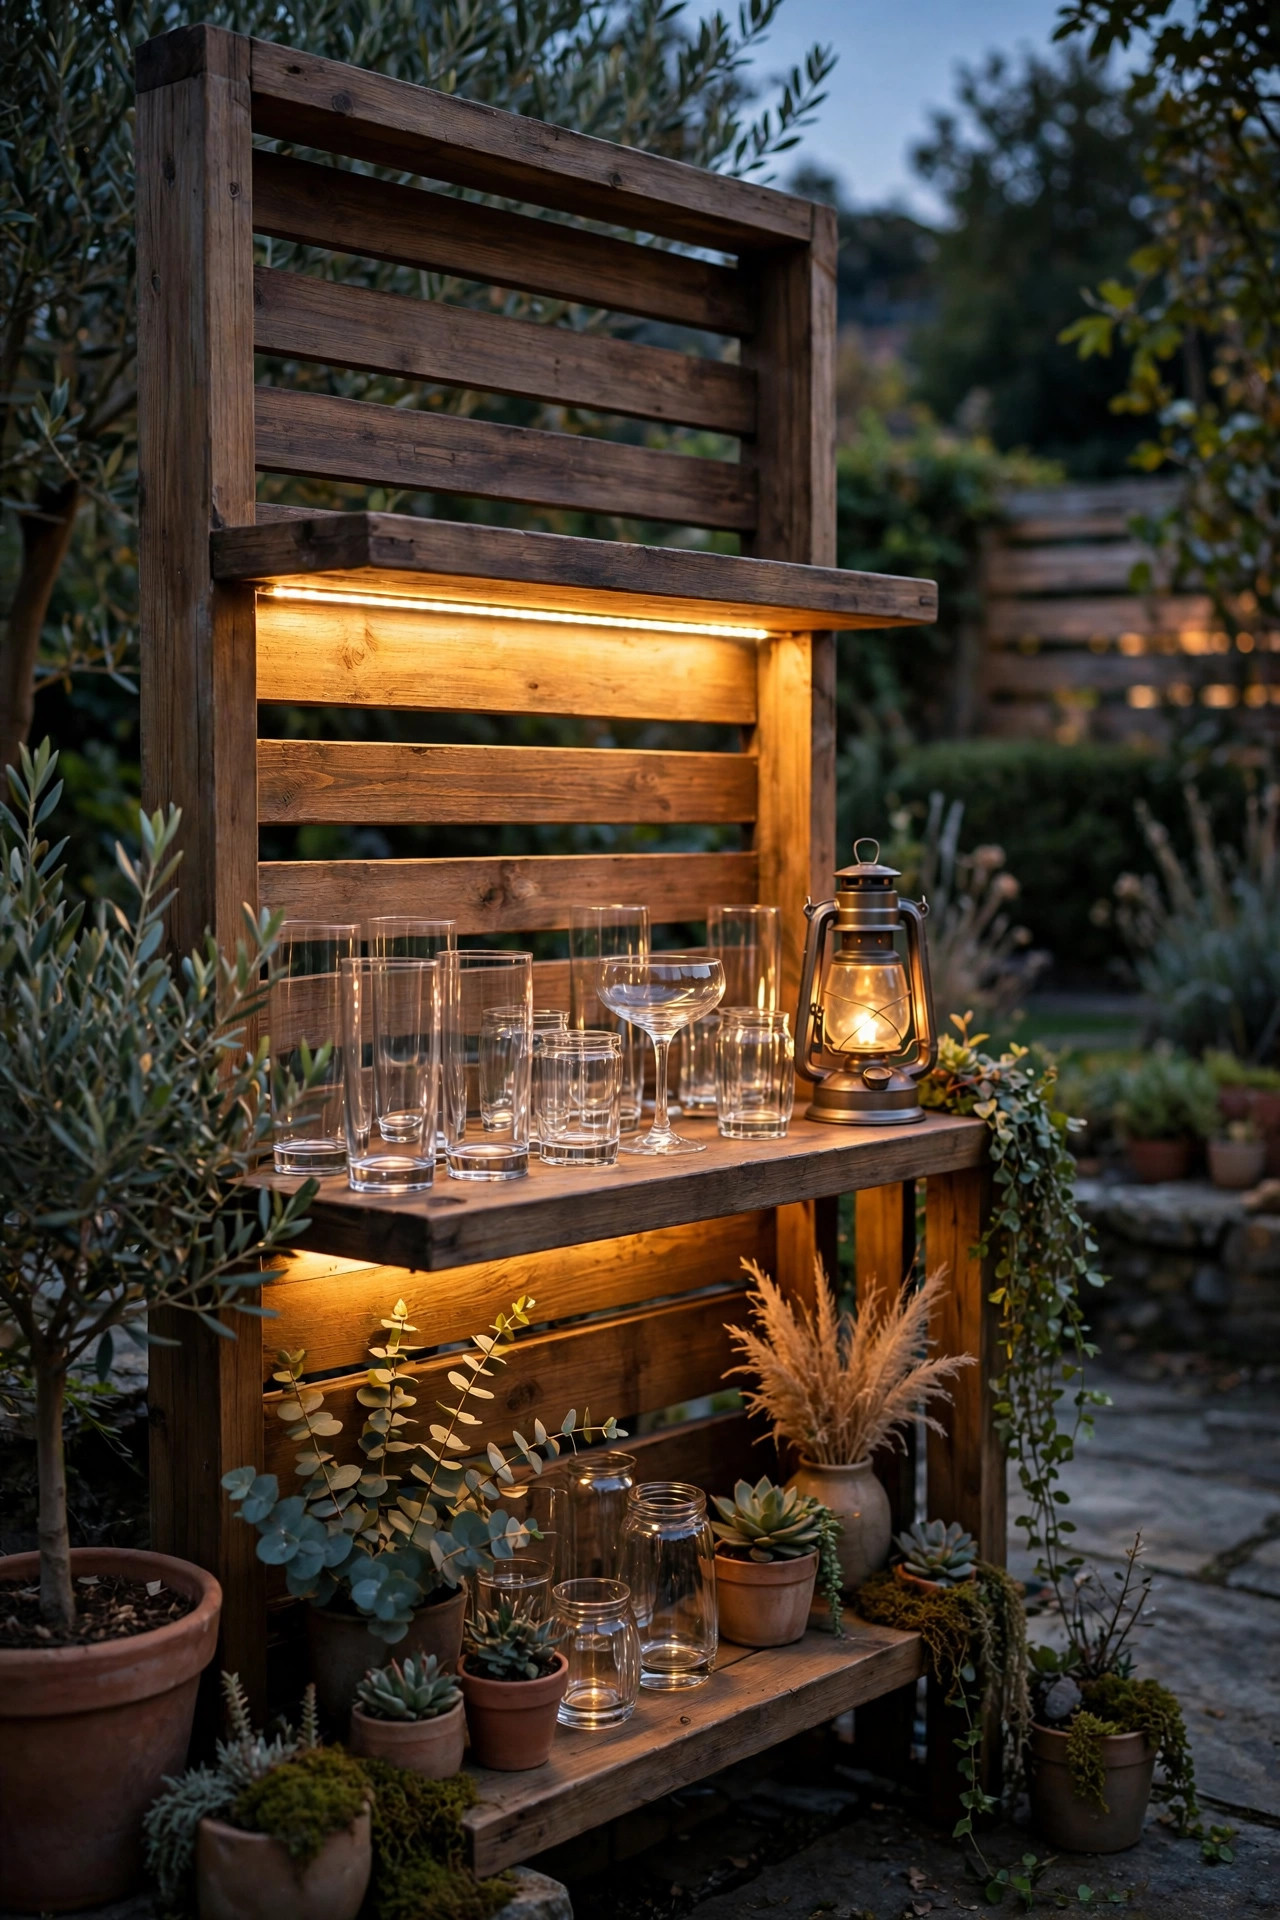
15. Mason Jar Lights Hung From Hooks and Branches
Mason jars are the hardest-working decor in my garage. Fill each with a short strand of battery fairy lights, twist the lid on, and hang them from shepherd's hooks, low branches, or the edge of the pergola with a loop of twine or wire. The glass softens the points of light into little glowing lanterns, and a cluster of five or seven over a side table or dessert spot looks genuinely enchanting. Solar-lid inserts exist too, and they are even easier: charge all day, glow all night, no battery packs to hide. Space hangers so the jars sit at slightly different heights, and keep them clear of walkways at head level. This is a wonderful job to hand an early-arriving guest or a kid who wants to help. Everything is LED and cool to the touch, so jars can nestle into a wreath or sit among flowers on the table as well. Store them filled and they are ready in minutes next time.
Suggested budget range: $20 – $60.
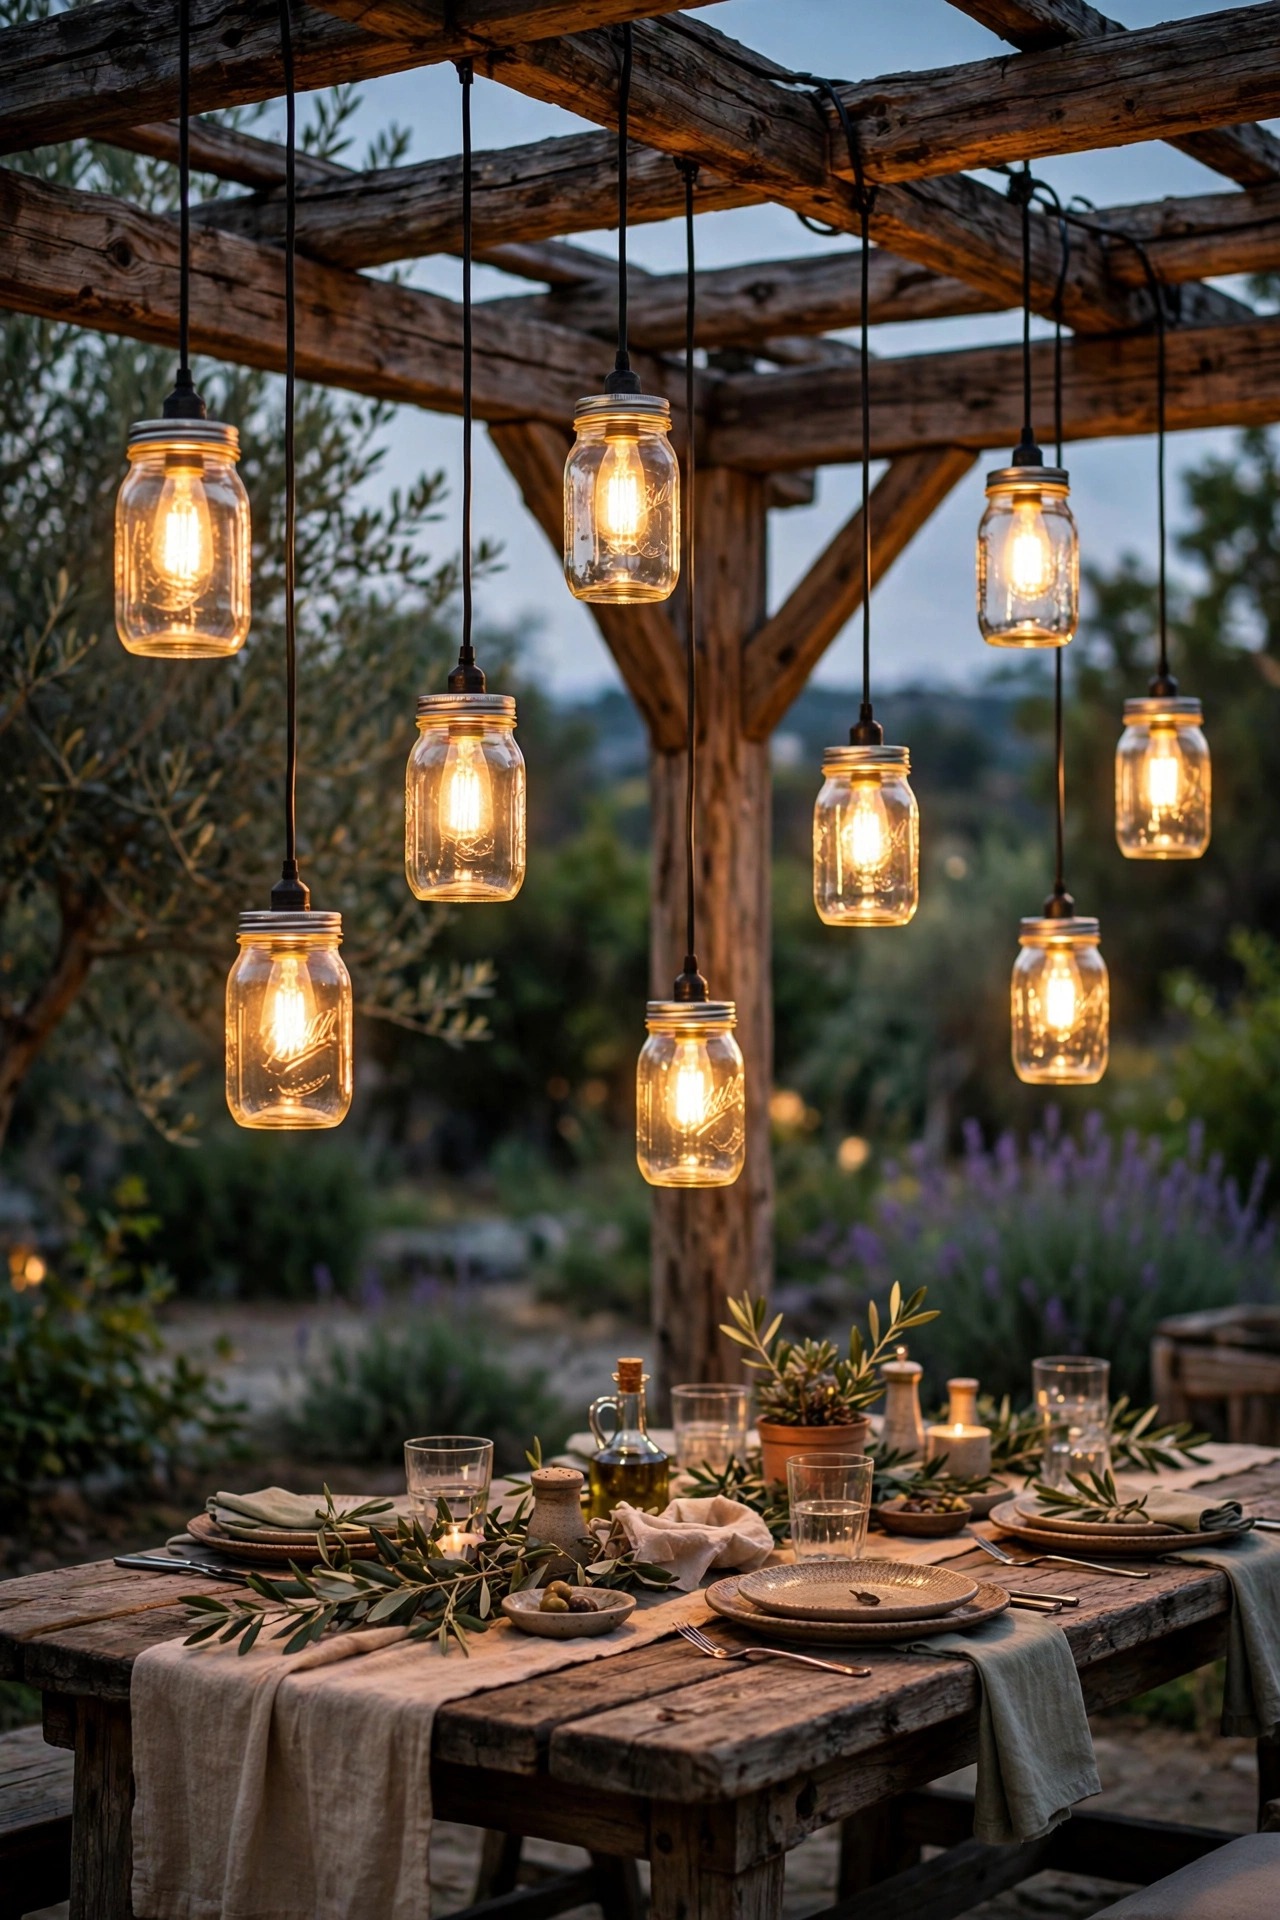
16. A Hidden Rope Light Under the Bench and Table Edge
Some of my favorite party light is light you cannot source with your eyes. A warm LED rope light or strip tucked under a bench seat, a deck step edge, or the rim of a built-in planter casts a floating glow that makes furniture look suspended and the whole area feel designed. Use outdoor-rated strip with a diffuser channel if you can, because the channel turns dotted LEDs into one smooth line. Run it on the same timer as your other low layers so the effect appears like magic at dusk. Keep the color at 2700K and the brightness low; this is seasoning, not the main course. It also quietly marks edges, so guests see where the bench ends and the garden begins. Under a serving table, it lights the ground where people stand without a fixture anyone can kick. Simple, cheap, and oddly luxurious, this is the layer guests describe as "I do not know why it looks so good in here."
Suggested budget range: $30 – $85.

17. Match Every Bulb to One Warm Color Temperature
Here is the unglamorous idea that makes all the others work: discipline your color temperature. Parties feel off when a cool blue-white porch bulb crashes into warm string lights, and the fix is simply choosing one temperature, 2700K for cozy or 3000K for a touch crisper, and buying every layer to match. Flip the boxes over and check the Kelvin number before anything goes in the cart. If your house floodlight is daylight white, either swap that bulb for a warm one or simply leave it off for the evening and let your party layers run the show. Mixed bulbs among the string lights themselves matter too; replace a dead bulb with the same temperature or the odd one will wink at you all night. Take a phone photo of your setup once it is lit. Your eye adjusts and forgives, but the camera shows clashes honestly, and you can fix them before guests arrive. This ten-dollar habit is the difference between a yard with lights and a scene.
Suggested budget range: $10 – $60.

18. Smart Bulbs and Dimming Scenes for After Dinner
The party has chapters, and the light should change with them. I use smart bulbs or smart plugs on my main layers so I can shift scenes from my phone without leaving the table. Dinner starts bright enough to see the food clearly, then one tap dims the canopy to a glow and brings the table lanterns forward as dessert lands. Later, a warm amber scene at low brightness keeps the conversation going while the yard settles around it. Set the scenes up in the afternoon so the evening is one tap per chapter, not a fiddling session. Keep the colors tasteful: warm whites and ambers flatter everyone, while saturated party colors belong at the kids' table. A voice command works too, if your setup lives outside with you. The real luxury here is never breaking the moment to get up and adjust a switch. Hosting feels effortless when the light quietly does what the evening needs, exactly when it needs it.
Suggested budget range: $45 – $160.
19. Amber, Bug-Smart Light Near the Table
Nothing shortens a dinner party like a swarm at face level. Insects navigate toward blue and ultraviolet light, so warm amber bulbs around 2000K to 2200K near the table draw far fewer of them than bright white ones. I swap the nearest fixtures to amber for the season, or use yellow bug bulbs in the porch light and the lanterns closest to where people sit. Then I place one brighter white light well away from the table, near the far fence, because it pulls the curious bugs to the wrong end of the yard. Citronella candles can join the team at the perimeter, kept off the table itself so the scent never fights with the food, and always in stable holders away from anything flammable. A small fan under or near the table helps more than any gadget, since weak fliers cannot hold course in moving air. None of this makes a yard bug-proof, but together it keeps dinner comfortable long after dark, which is the entire point.
Suggested budget range: $20 – $75.

20. A Fire Feature as the Ambient Anchor
If you have a fire pit, a tabletop fire bowl, or an outdoor fireplace, treat it as a lighting layer, not just a heat source. Firelight is the original dinner party light: it flickers, it draws people in, and it gives the eye a warm anchor at the edge of the scene. Position seating so the fire sits to one side of the table rather than behind anyone's back, and keep a clear, well-lit path between the table and the fire so guests migrate safely with drinks in hand. Respect clearances religiously: no string light swags low over open flame, no paper lanterns anywhere near it, and a stable, non-flammable surface under any tabletop bowl. Keep the electric layers dimmer on the fire side, because the flames are doing that work for free. As the night cools, the party naturally contracts toward the fire, and a party that ends around a fire pit ends well. Just have water or an extinguisher within reach, every time, no exceptions.
Suggested budget range: $90 – $400.

21. Pull It Together: My Full Outdoor Dinner Party Lighting Recipe
Here is the exact recipe I run for a table of eight. The canopy goes on a timer at dusk, dimmed to about 70 percent. The table gets its fairy light garland and three flameless lanterns, switched on an hour before guests arrive. Path lights and step lights run on their own timer from sunset to midnight, so arrivals and departures are always safe. The tree uplight and the hidden bench strip share a smart plug, one tap in the app. The drink station strip comes on when the first bottle opens. Total setup time, once everything is installed, is under fifteen minutes, and most of it is placing lanterns. My advice: install one layer per weekend across a month, live with each, and adjust before adding the next. Great outdoor dinner party lighting is never one big purchase; it is a handful of warm layers that each earn their place. Start with the canopy and the table, and I promise the evenings will start lingering all on their own.
Suggested budget range: $250 – $700.

Frequently Asked Questions
What color temperature is best for outdoor dinner party lighting?
Warm white, between 2700K and 3000K, is the sweet spot for dinner parties. At 2700K the light feels like candlelight and flatters skin and food; at 3000K it is a little crisper while still warm. Anything above 4000K reads blue and clinical outdoors and will make a beautiful table feel like a parking lot. Whatever you choose, match every layer to the same temperature, canopy, lanterns, and path lights alike, so the whole scene blends. If you are mixing old and new bulbs, check the Kelvin number printed on each box or bulb base before the party, not during it.
How bright should the light over a dining table be?
Think in layers rather than one bright source. You want enough light to see the food clearly, roughly the feel of a dim restaurant, with faces lit softly from the table itself. A practical rule: the table surface should be the brightest area in the scene, the overhead layer a step dimmer, and the yard edges dimmest of all. If guests are squinting or reaching for sunglasses jokes, dim the canopy. If they are holding plates up to see, raise the table lanterns. Put at least one layer on a dimmer and you can fine-tune all evening as the sky darkens.
Are solar lights enough for a dinner party, or do I need wired and plug-in lights?
Solar lights are excellent for the supporting layers: path lights, flame torches, post caps, and accent lanterns. They are less reliable as your main event, because a cloudy day or a shady yard can leave them dim by nine o'clock. For the canopy over the table, I recommend plug-in or hardwired lights you can count on and dim. A hybrid setup is what most of my yard runs: wired or plug-in for overhead and step lights, solar for paths and accents. Charge solar pieces in full sun for two days before a party and they will happily play their supporting role all evening.
How do I keep bugs away from the lights over the table?
Start with color: amber bulbs around 2000K to 2200K attract far fewer insects than bright white light, so use them in the fixtures nearest the table. Then give bugs somewhere else to go by placing one brighter white light far from the dining area. Keep citronella at the perimeter rather than on the table so the scent stays away from the food, and run a small fan near the table, because most flying insects are weak fliers and avoid moving air. Finally, dim the overhead lights once dinner is served; less brightness near faces means fewer uninvited guests joining the meal.
Conclusion
Every lingering evening I have ever hosted came down to the same simple recipe: warm light overhead, a glow on the table, and safe, soft light at the edges. Build your outdoor dinner party lighting one layer at a time, keep every bulb in the same warm family, and let the light get a little dimmer as the night gets a little deeper. Your guests will not be able to name why they stayed so late, but you will know. If you are ready to add another layer, browse the rest of my outdoor lighting ideas here on the site, and start with whichever corner of your yard goes dark first. The table is set. The light is warm. The evening can take it from here.