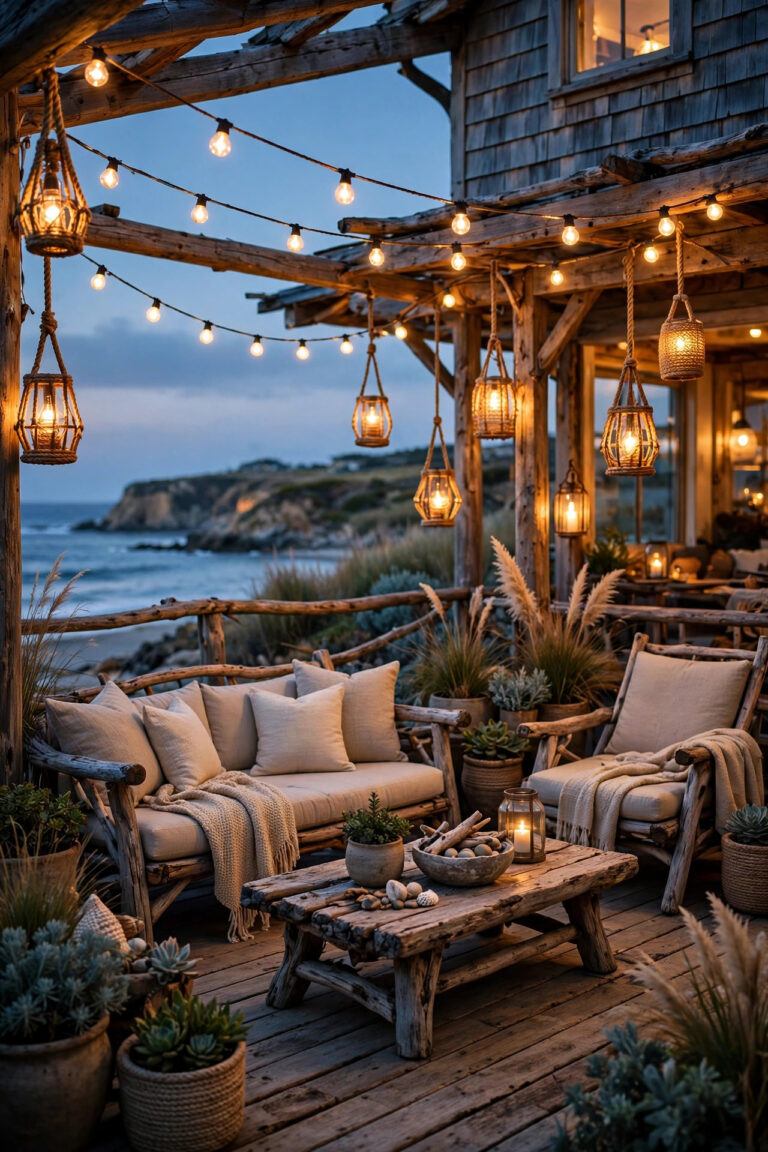
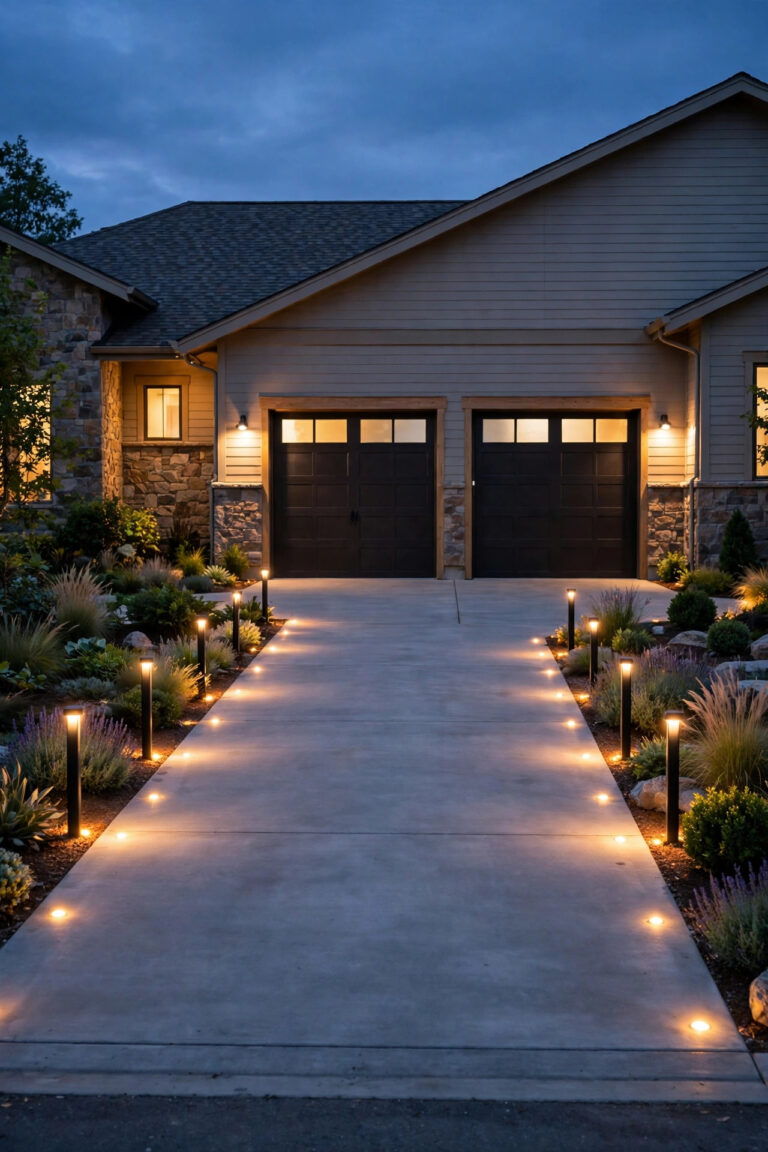
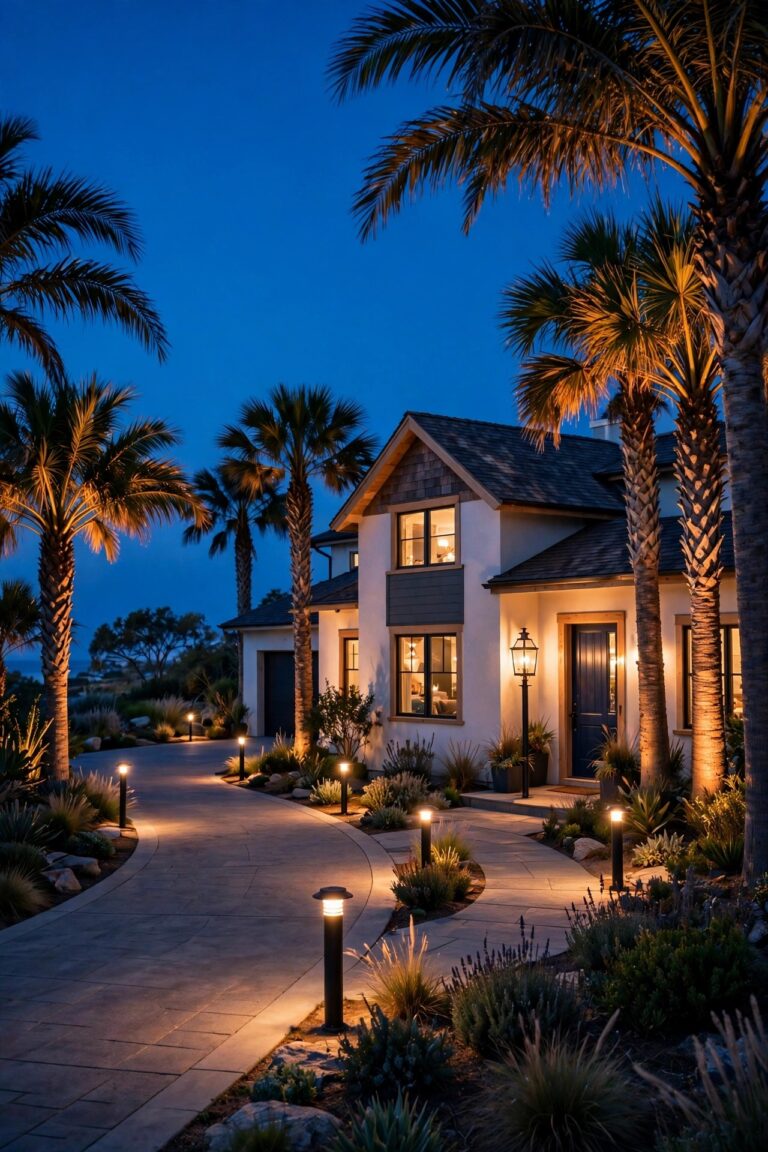
There is a particular kind of heartbreak in grilling by phone flashlight while your guests sit in the dark, and I have lived it exactly once too often. The best backyard bbq lighting ideas fix both ends of that problem at once: bright, honest light where the cook works, and warm, flattering glow everywhere everyone else lingers. My rule for cookout nights is the same layering I use everywhere outdoors. Task light first, then overhead ambience, then low glows that mark paths, steps, and table edges. Build those three layers and the yard does the hosting for you, long past sunset. Summer is when my yard earns its keep, and most of our cookouts start in bright daylight and end whenever the last story does. Good light is the difference between guests drifting inside at nine and everyone still laughing around the table at eleven. Here are the 19 ideas I reach for every grilling season.

1. Backyard BBQ Lighting Ideas Start With Serious Grill Task Lighting
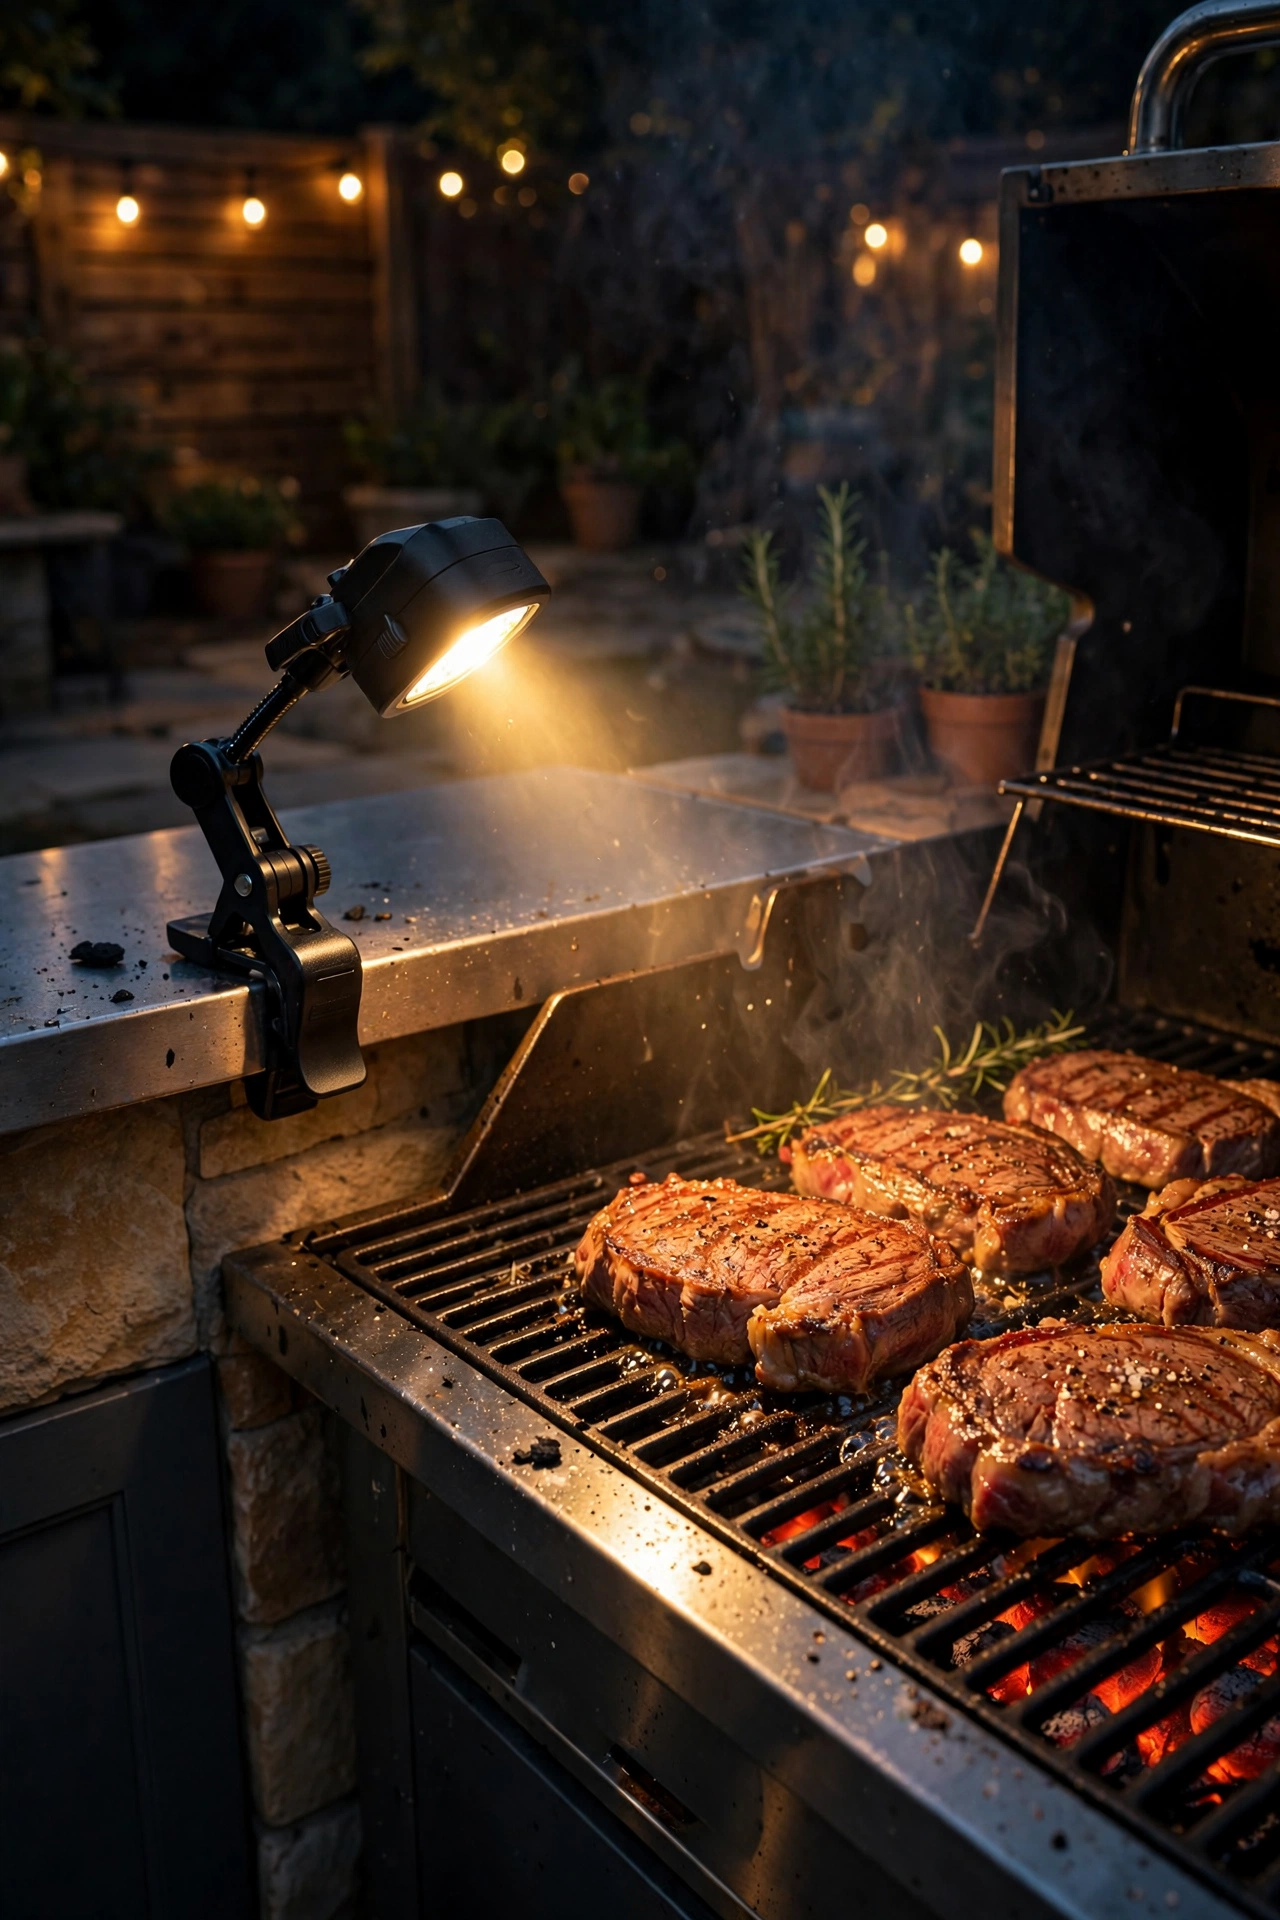
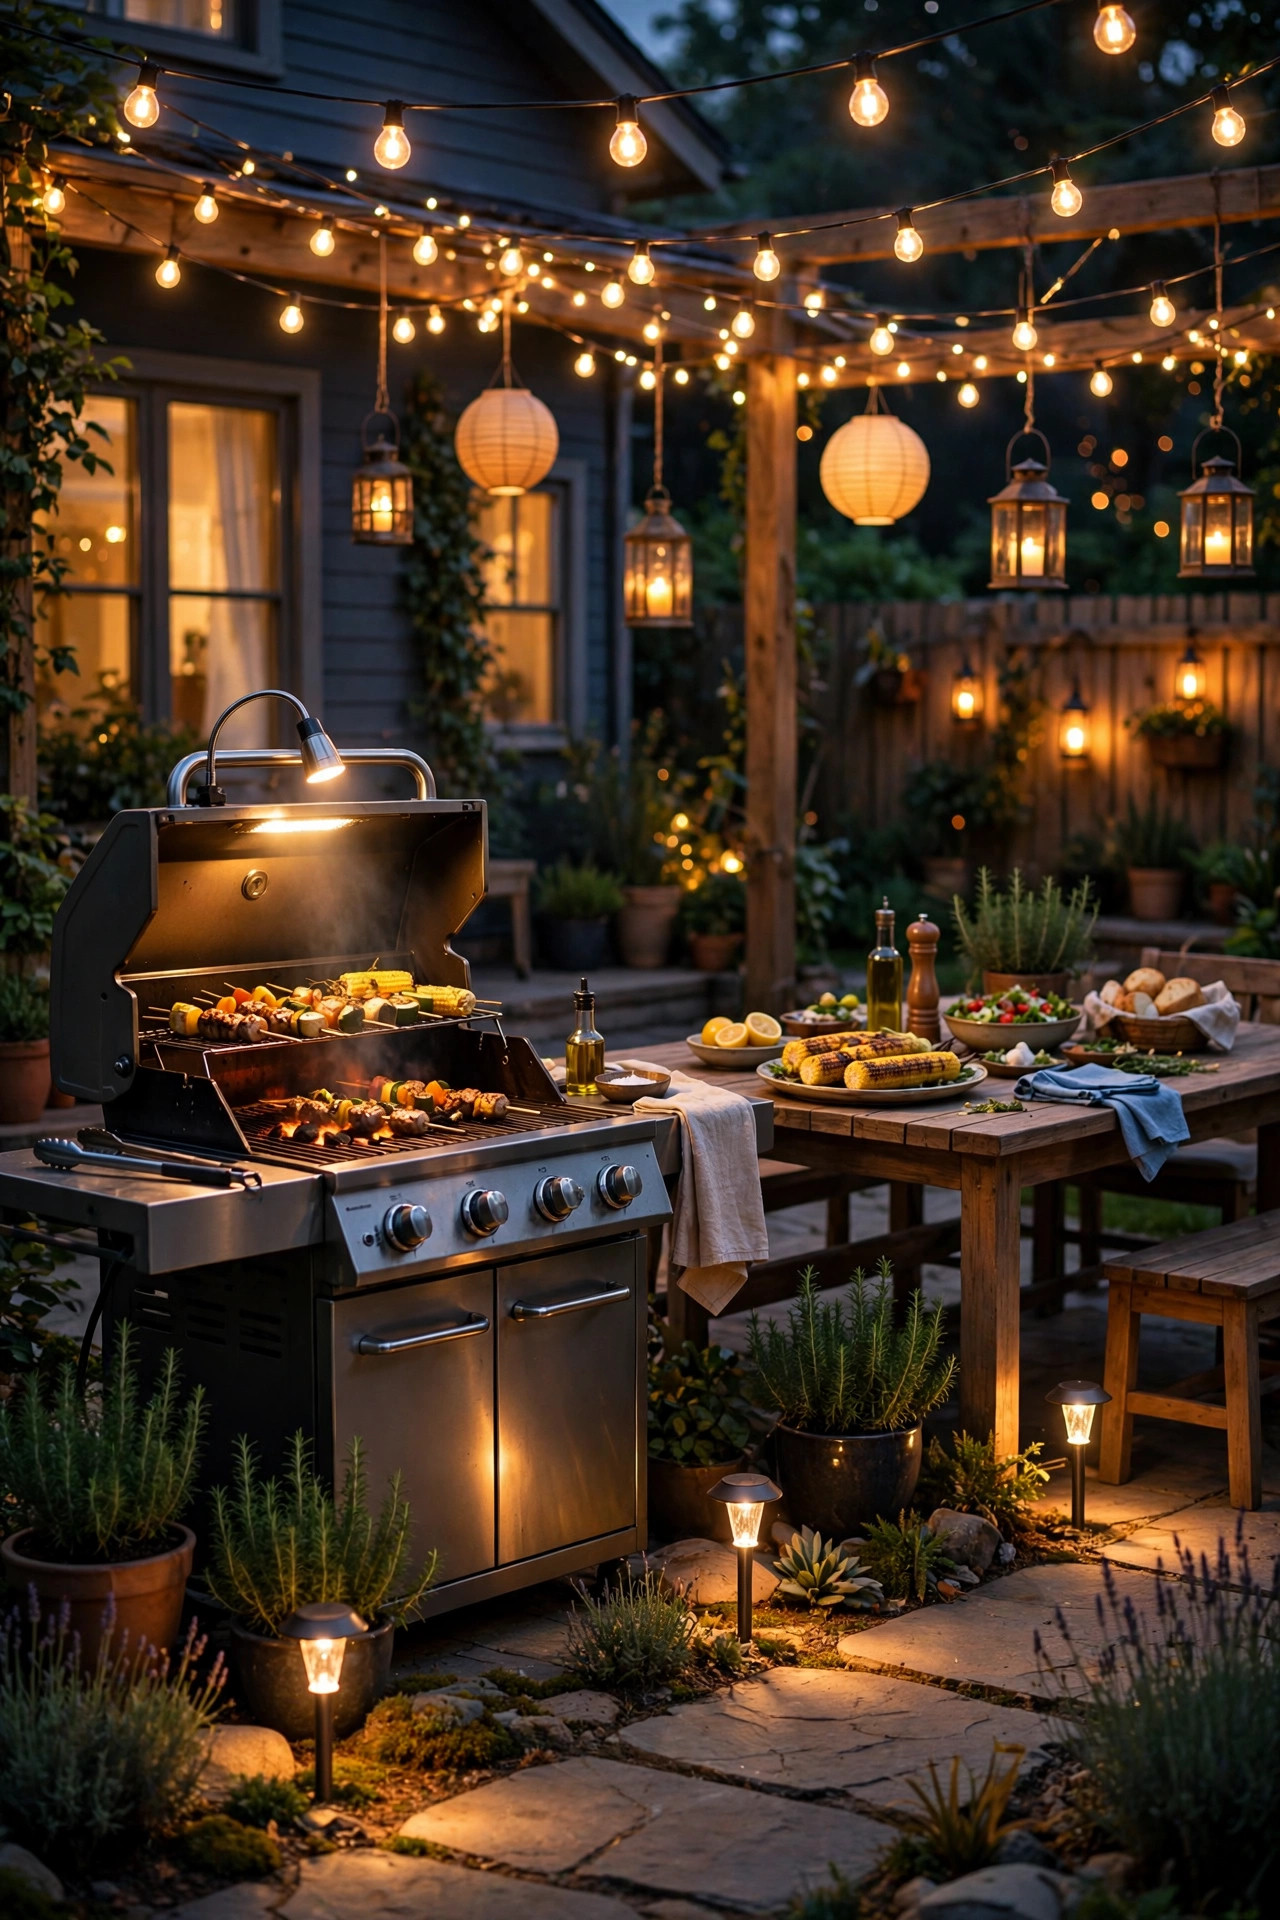
Everything starts at the grill, because undercooked chicken helps nobody. When I plan backyard bbq lighting ideas for a real cook, this is layer one. Mount a weatherproof LED fixture on the wall or pergola post behind the grill, aimed down at the grates from about 3 feet above, or clip a heat-rated grill light to the handle so it lifts with the lid. Aim for 300 lumens or more in a focused beam, and pick a cooler 4000K bulb here even if the rest of the yard runs warm. That crisper light shows true meat color, which matters more than mood at the grate. Keep cords clear of the firebox, and use fixtures rated for damp locations at minimum. For a deeper dive into this exact setup, my guide to grill station lighting walks through placement angles in detail. Before the party, do one test burn after dark and stand where your guests will sit, checking that the beam lights the grates without shining in anyone's eyes. A strip of gaffer tape on the patio marking the fixture angle saves you re-aiming it every single weekend all summer long.
Suggested budget range: $25 – $90.
2. Swag String Lights Over the Dining Area
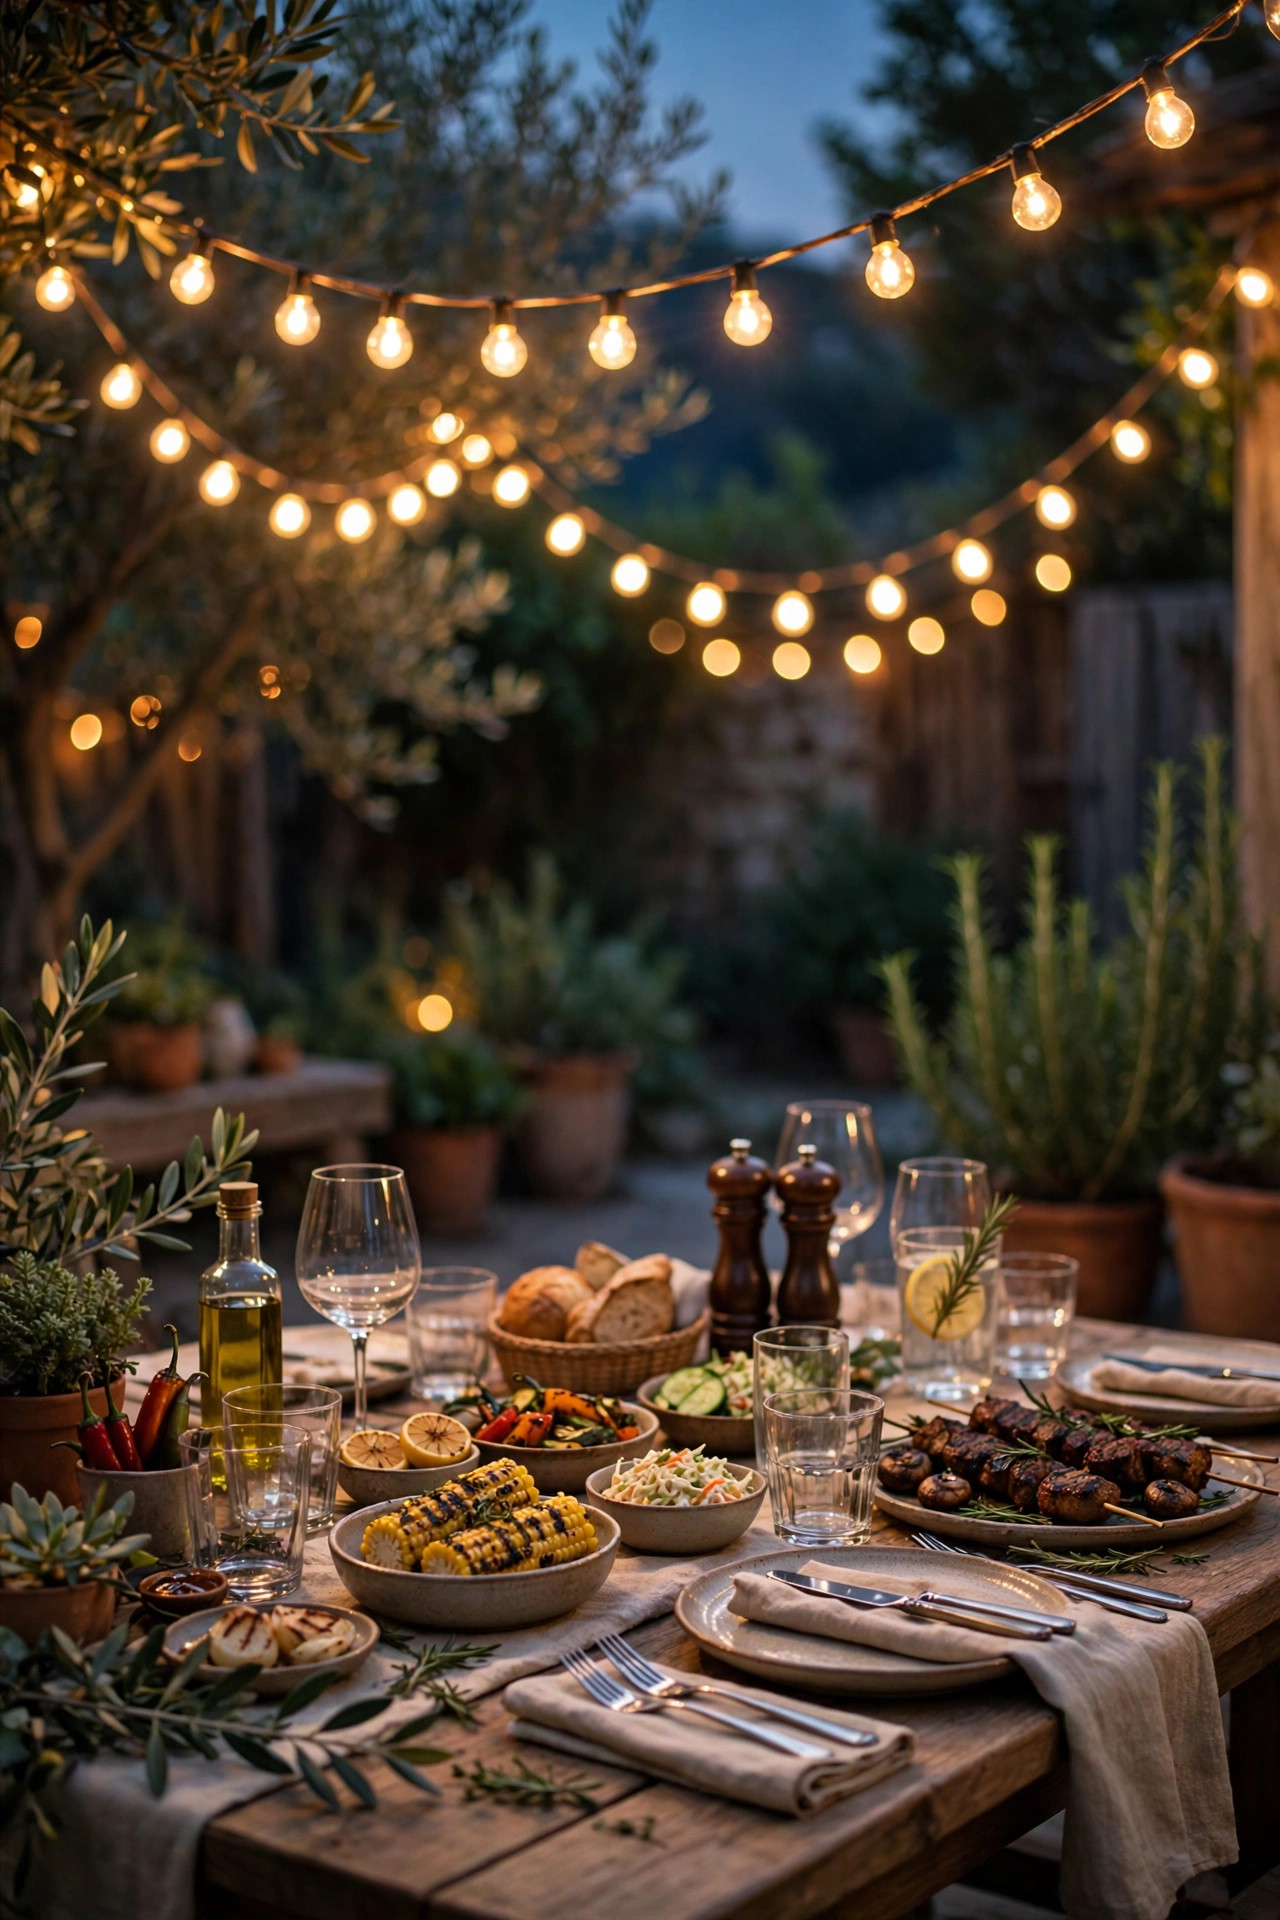
If the grill light is the workhorse, string lights are the atmosphere, and no cookout setup of mine skips them. Run two or three swagged strands over the dining table at 8 to 9 feet high, anchored to the house, a pergola, or steel poles set in planters. Outdoor-rated LED filament bulbs give that warm 2700K cafe glow without the heat or fragility of glass incandescents. Space bulbs about 12 inches apart for an even wash, and keep strands at least 10 feet away from the grill so grease and smoke do not coat them. A dimmer on the circuit lets you drop the brightness once plates are cleared. My full roundup of backyard string lights covers strand lengths and hanging hardware if you want options. Guide wires or simple swag kits keep long runs tidy and stop strands from sagging onto tall guests. If your run crosses open lawn, two poles with a strand between them beat one drooping line every time, and the bulbs stay high enough to clear a serving tray carried underneath.
Suggested budget range: $40 – $150.
3. Add a Dimmer for True Cookout Control
Honestly, the single upgrade that makes every other light work harder is a dimmer. Bright light wins during prep and grilling, but once everyone sits down with a plate, full brightness feels like a stadium. An outdoor-rated plug-in dimmer or a smart dimmer switch lets you slide from 100 percent for cooking to about 40 percent for eating without touching a single fixture. In my experience, dimming also flatters food and faces, which is why restaurant patios never run full blast. Look for dimmers rated for LED loads and outdoor use, and keep the receiver box sheltered under an eave or in a weatherproof cover. One dimmer on the string-light circuit is the budget sweet spot if you only add one. Set the dimmer where the cook can reach it without crossing the yard, ideally on the post nearest the grill. During cleanup, full brightness comes back with one twist, which makes finding the dropped tongs and the missing spatula far less of an archeological dig than it used to be here.
Suggested budget range: $20 – $75.

4. Light the Prep Counter Like a Kitchen
The side table next to the grill is where raw burgers, marinades, and finished platters all collide, so it deserves its own light. A small waterproof LED bar mounted under a shelf, or a battery lantern with a focused downward beam, gives you a clean work zone without blinding the cook. I like about 200 lumens here in warm white, positioned so your own shadow does not fall across the cutting board. Magnetic rechargeable bars are brilliant for renters because they pop off for charging and leave no holes. Whatever you choose, keep it wipeable. Sauce happens, and a fixture you can clean in ten seconds is one you will actually keep using all season. A small cutting board with a raised lip keeps round things like cherry tomatoes from rolling into the dark. Add a headlamp in the prep drawer as backup, because the one night the bar batteries die will absolutely be the night twelve people are waiting on burgers at once.
Suggested budget range: $15 – $60.
5. Mark the Cooler and Drink Station
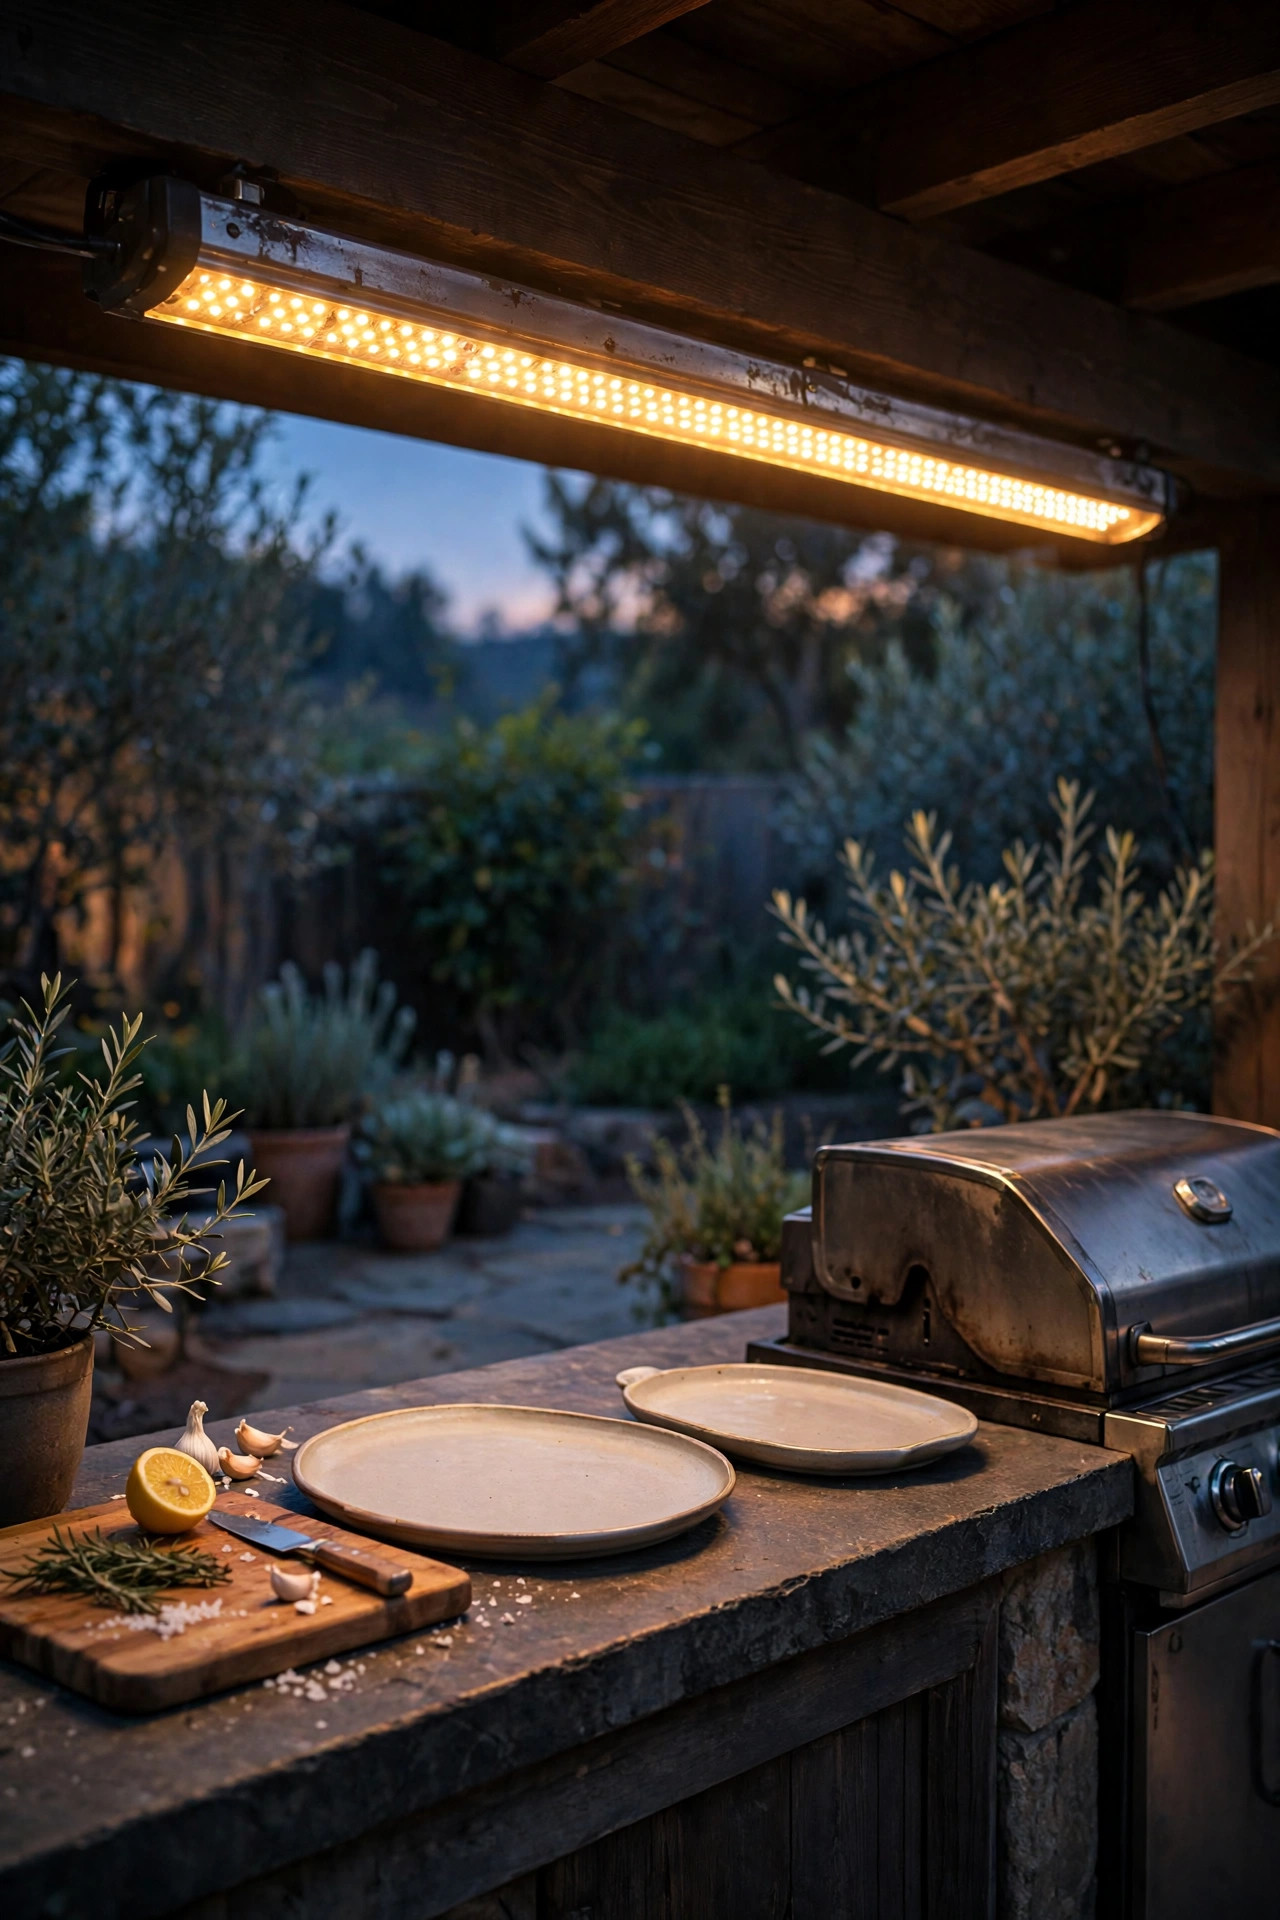
Every cookout has that one guest orbiting the yard asking where the drinks are, and a little light ends the question. Set a lantern or a small cluster of flameless candles right on the cooler or drink tub so the station reads as a destination. I tuck a battery puck light inside the lid of my beverage cooler too, which sounds fussy until you are fishing for a soda in the dark and it just works. Keep the glow warm and low, around knee to waist height, so it guides without glaring. If your drink station sits on grass, a solar stake light beside it keeps the spot marked even after the lantern batteries fade. Label the cooler lids with painter's tape if you run separate tubs for kids and grown-ups, and the lantern light makes those labels readable at a glance. Restock ice at dusk while you can still see, and the station basically runs itself for the rest of the evening.
Suggested budget range: $10 – $45.
6. Run Solar Path Lights From Patio to Lawn
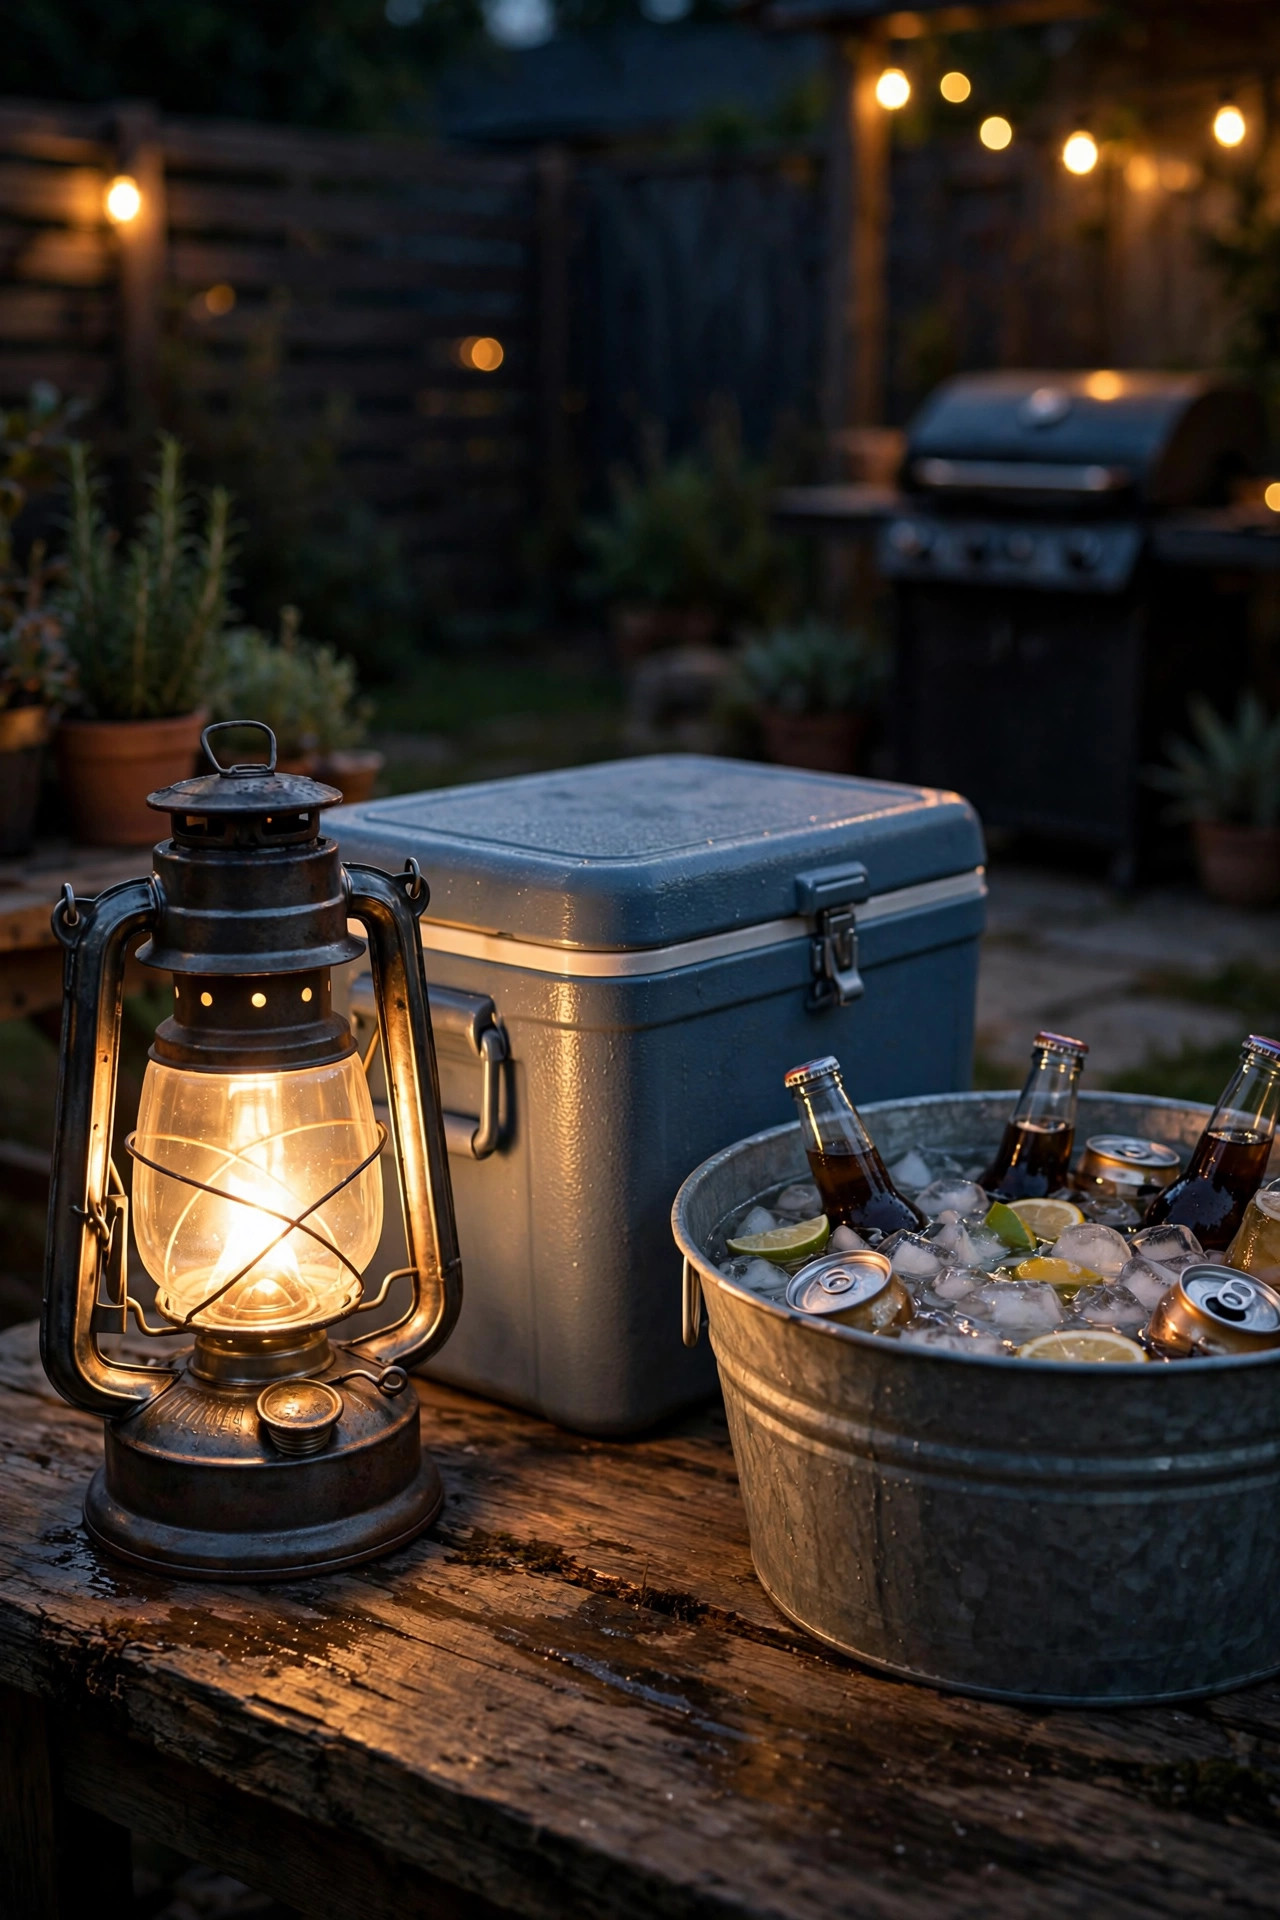
Guests carrying full plates should never have to guess where the patio ends. A simple row of solar path lights along the walking route, from the back door to the grill to the seating lawn, solves it quietly. Space them 6 to 8 feet apart and stagger them slightly rather than lining them up like a runway. Choose warm white stakes that push at least 8 inches into the soil so a bumped shin does not topple them mid-party. Solar means zero wiring and zero extension cords across the grass, which is also a trip-hazard win. Give the panels a full sunny day before a big cookout so they run strong until the last guest leaves. Mix heights by alternating standard stakes with a few taller shepherd-hook lanterns along the same route, which keeps the path readable without looking like an airport. If a section of lawn gets muddy after rain, shift the lights to flag the dry route and guests will follow it instinctively.
Suggested budget range: $25 – $80.
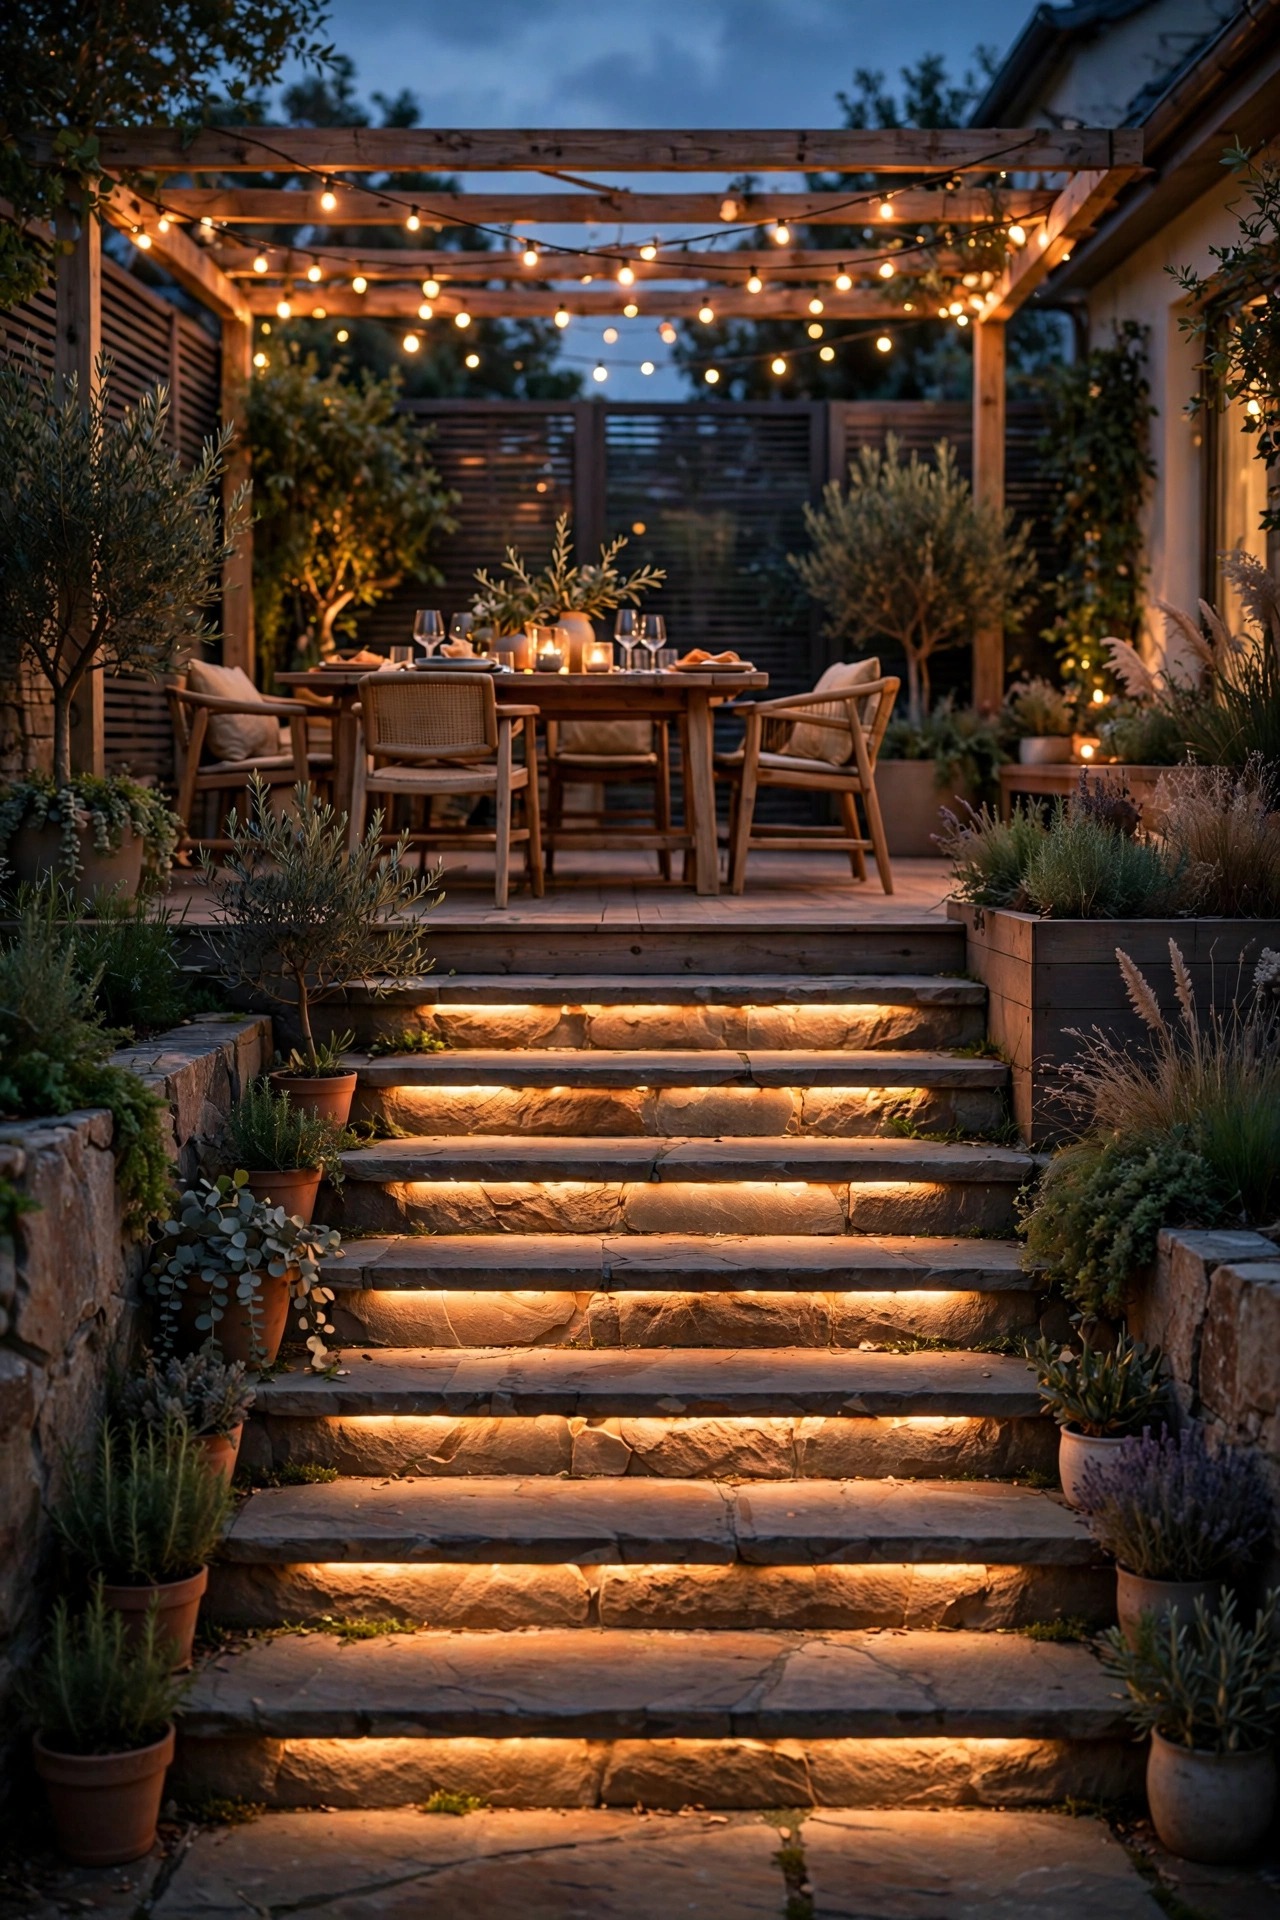
7. Put Step Lights Anywhere the Grade Changes
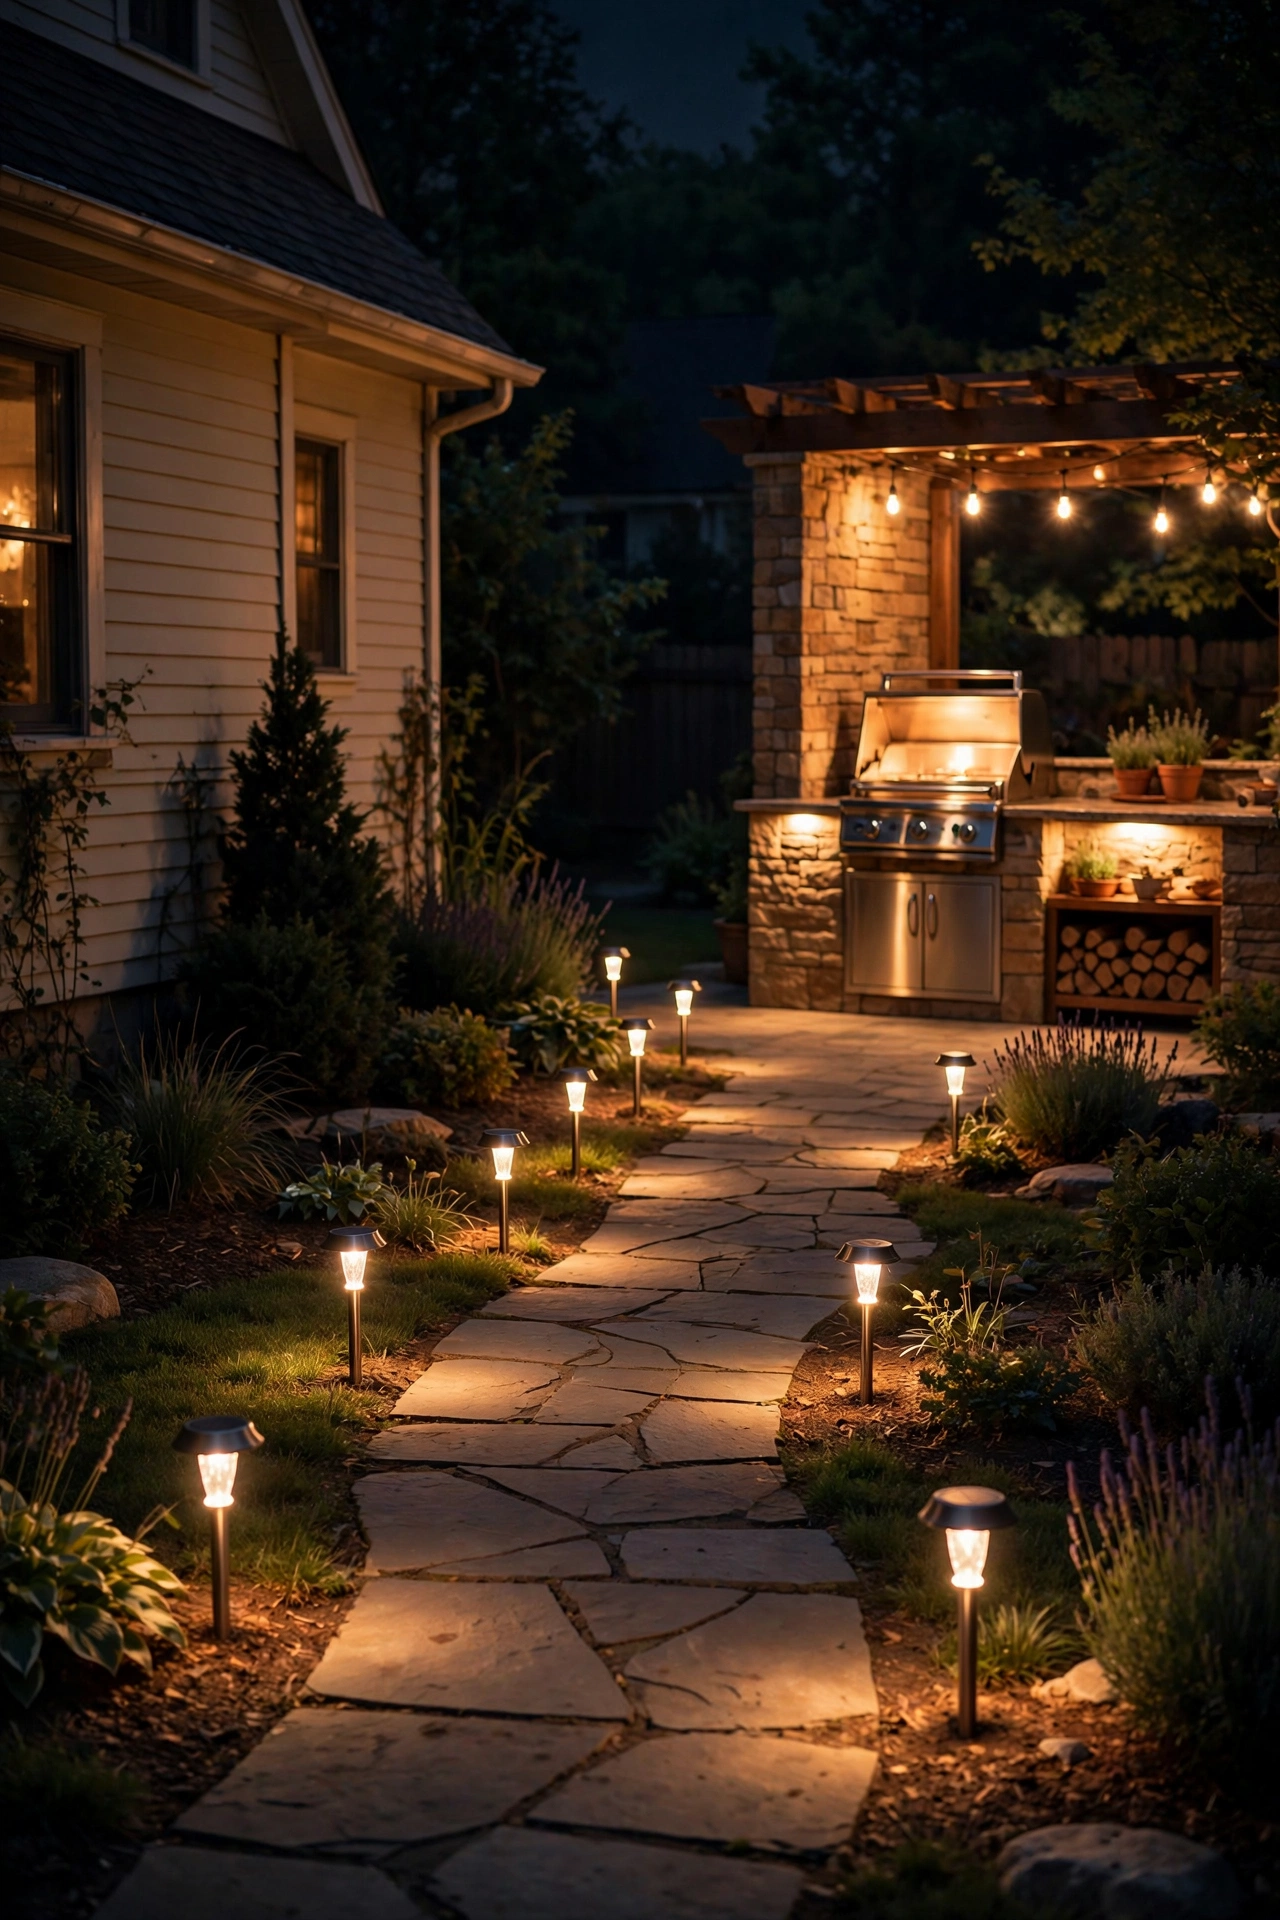
Deck steps, patio edges, and that one sneaky sunken paver are where cookout injuries actually happen, so I light every level change without exception. Recessed LED step lights or small surface-mount fixtures on the riser wash each tread in a soft pool of light that reads clearly even with a drink in hand. Two lights per wide step is plenty, wired low-voltage or solar depending on your setup. Keep the color warm, around 2700K, so the steps feel like part of the party rather than a construction zone. If your deck has a single step down to the lawn, even one well-placed fixture transforms it. Guests will never notice, which is exactly the point of good safety lighting. Solar step lights exist for exactly this job if wiring feels like too much, though wired low-voltage versions stay brighter late into the night. Test the route yourself carrying two plates, because that loaded walk is the real exam every step light in your yard has to pass.
Suggested budget range: $30 – $120.
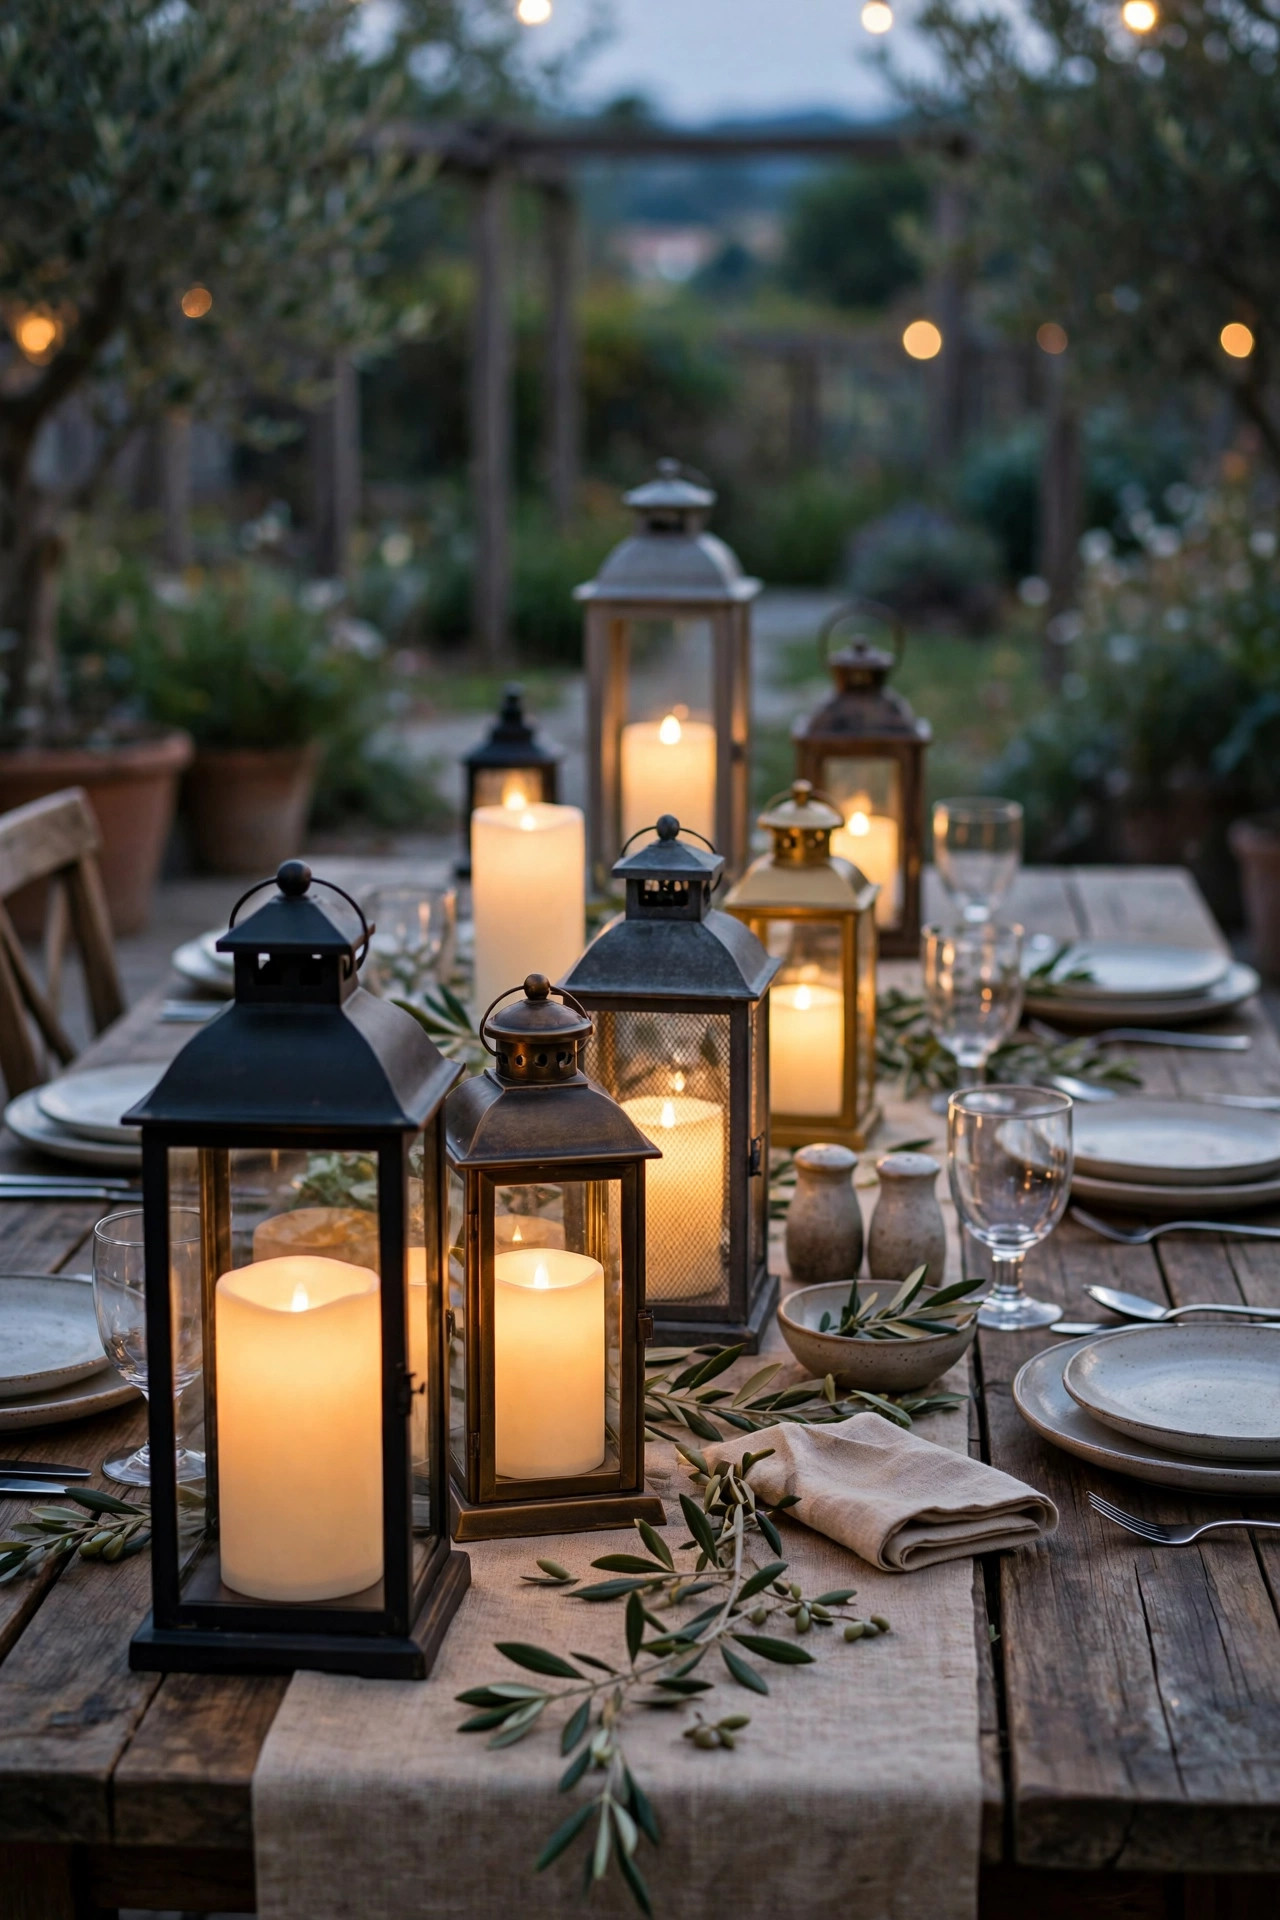
8. Hang Lanterns Down the Center of the Table
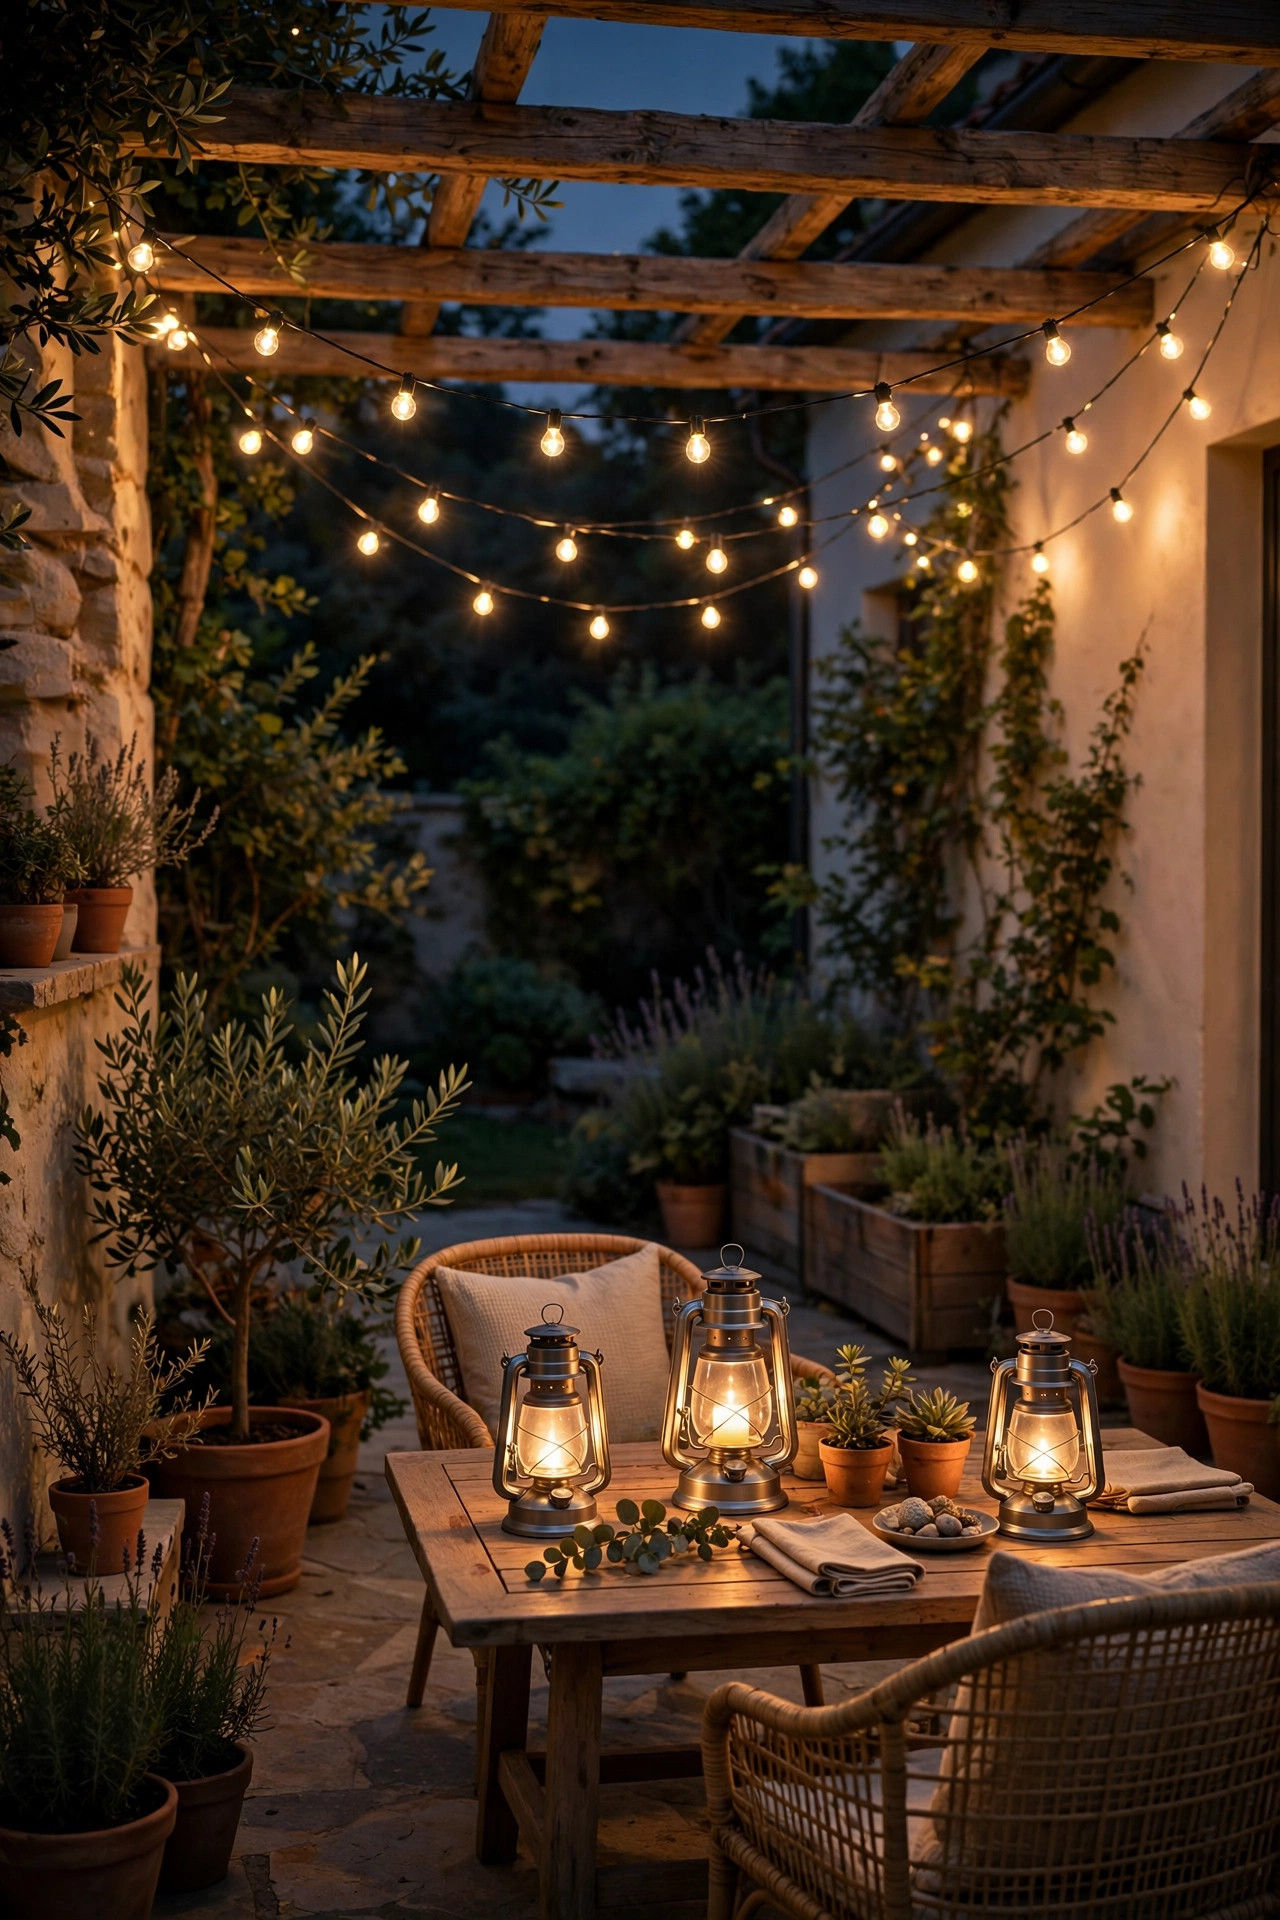
A long dining table under string lights still benefits from its own low layer, and lanterns are my favorite way to build it. Run three to five battery lanterns or flameless candle lanterns down the center of the table between the serving dishes. The light sits below eye level, so faces glow instead of squinting, and the table itself becomes the warmest spot in the yard. Real candles near paper plates, napkins, and reaching arms make me nervous at a barbecue, so flameless pillars with a realistic flicker are my standing choice. Mix heights, a tall lantern flanked by two short ones, for that collected look. Battery timers mean they switch on at dusk without you remembering a thing. Group lanterns in odd numbers and vary the candle heights inside them for a collected, unstudied look. If wind is in the forecast, flameless candles earn their keep twice over, since there is no flame to blow out and no wax migrating across your table runner at the worst moment.
Suggested budget range: $20 – $70.
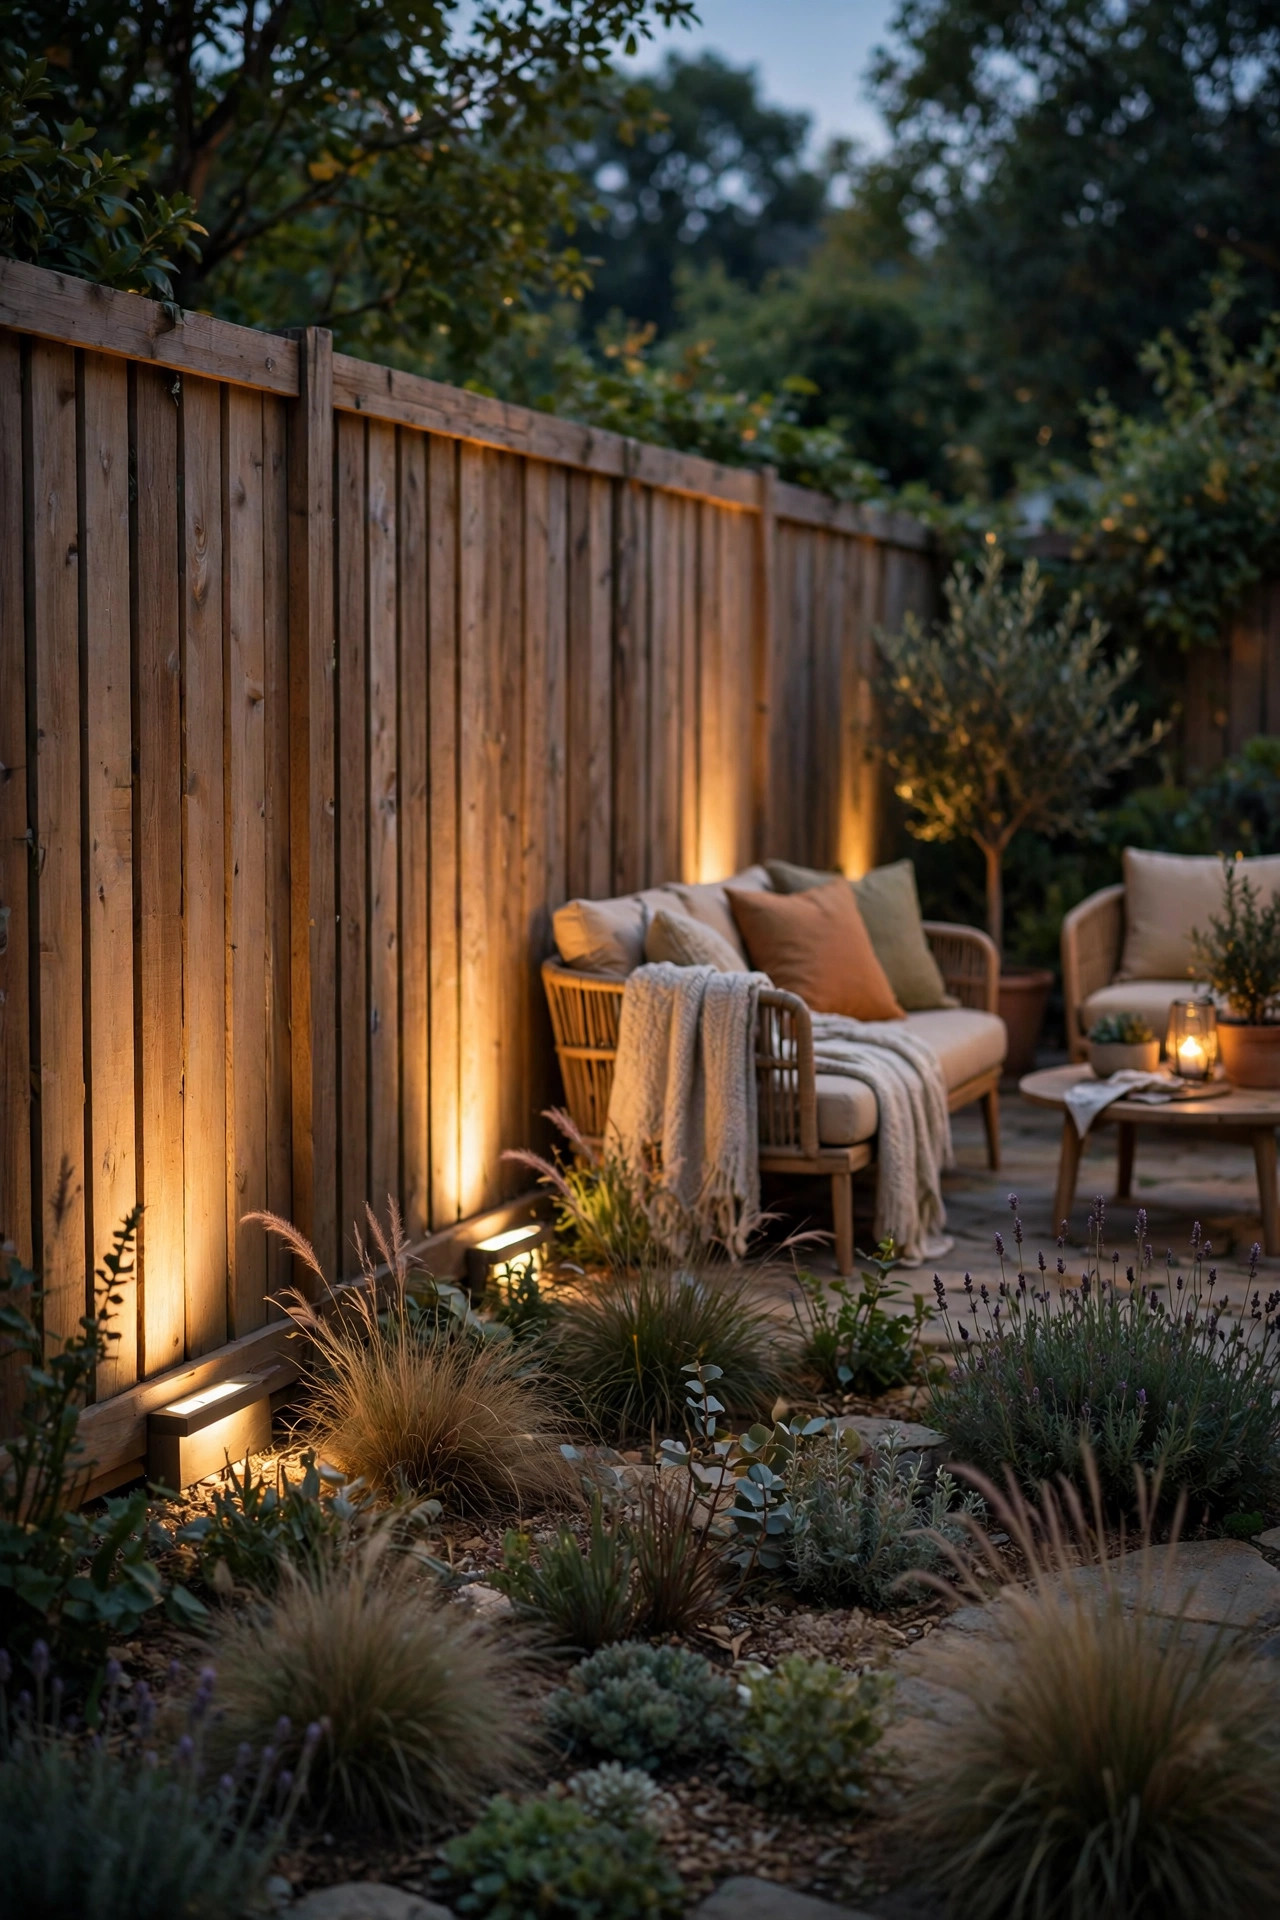
9. Wash the Fence With Soft Uplights
A fence line left dark makes even a big yard feel like it ends at the table edge. Two or three low-voltage uplights tucked into the planting bed, aimed up at the fence boards or a favorite tree, push the boundary back and give the whole cookout depth. Keep the beams narrow and the brightness modest, around 150 to 250 lumens each, so the wash reads as a backdrop rather than a spotlight show. Warm 2700K light on wood fencing looks especially rich. This is the layer guests describe as the yard feeling finished, even though they cannot name why. Position fixtures a foot or two off the fence so the light grazes texture instead of blowing out one hot spot. Angle each uplight slightly across the boards rather than straight on, and the grain of the wood throws long, handsome shadows. Keep fixtures clear of mulch volcanoes and sprinkler arcs, and wipe the lenses once a month, because a dusty lens quietly steals half the glow you paid for.
Suggested budget range: $45 – $140.
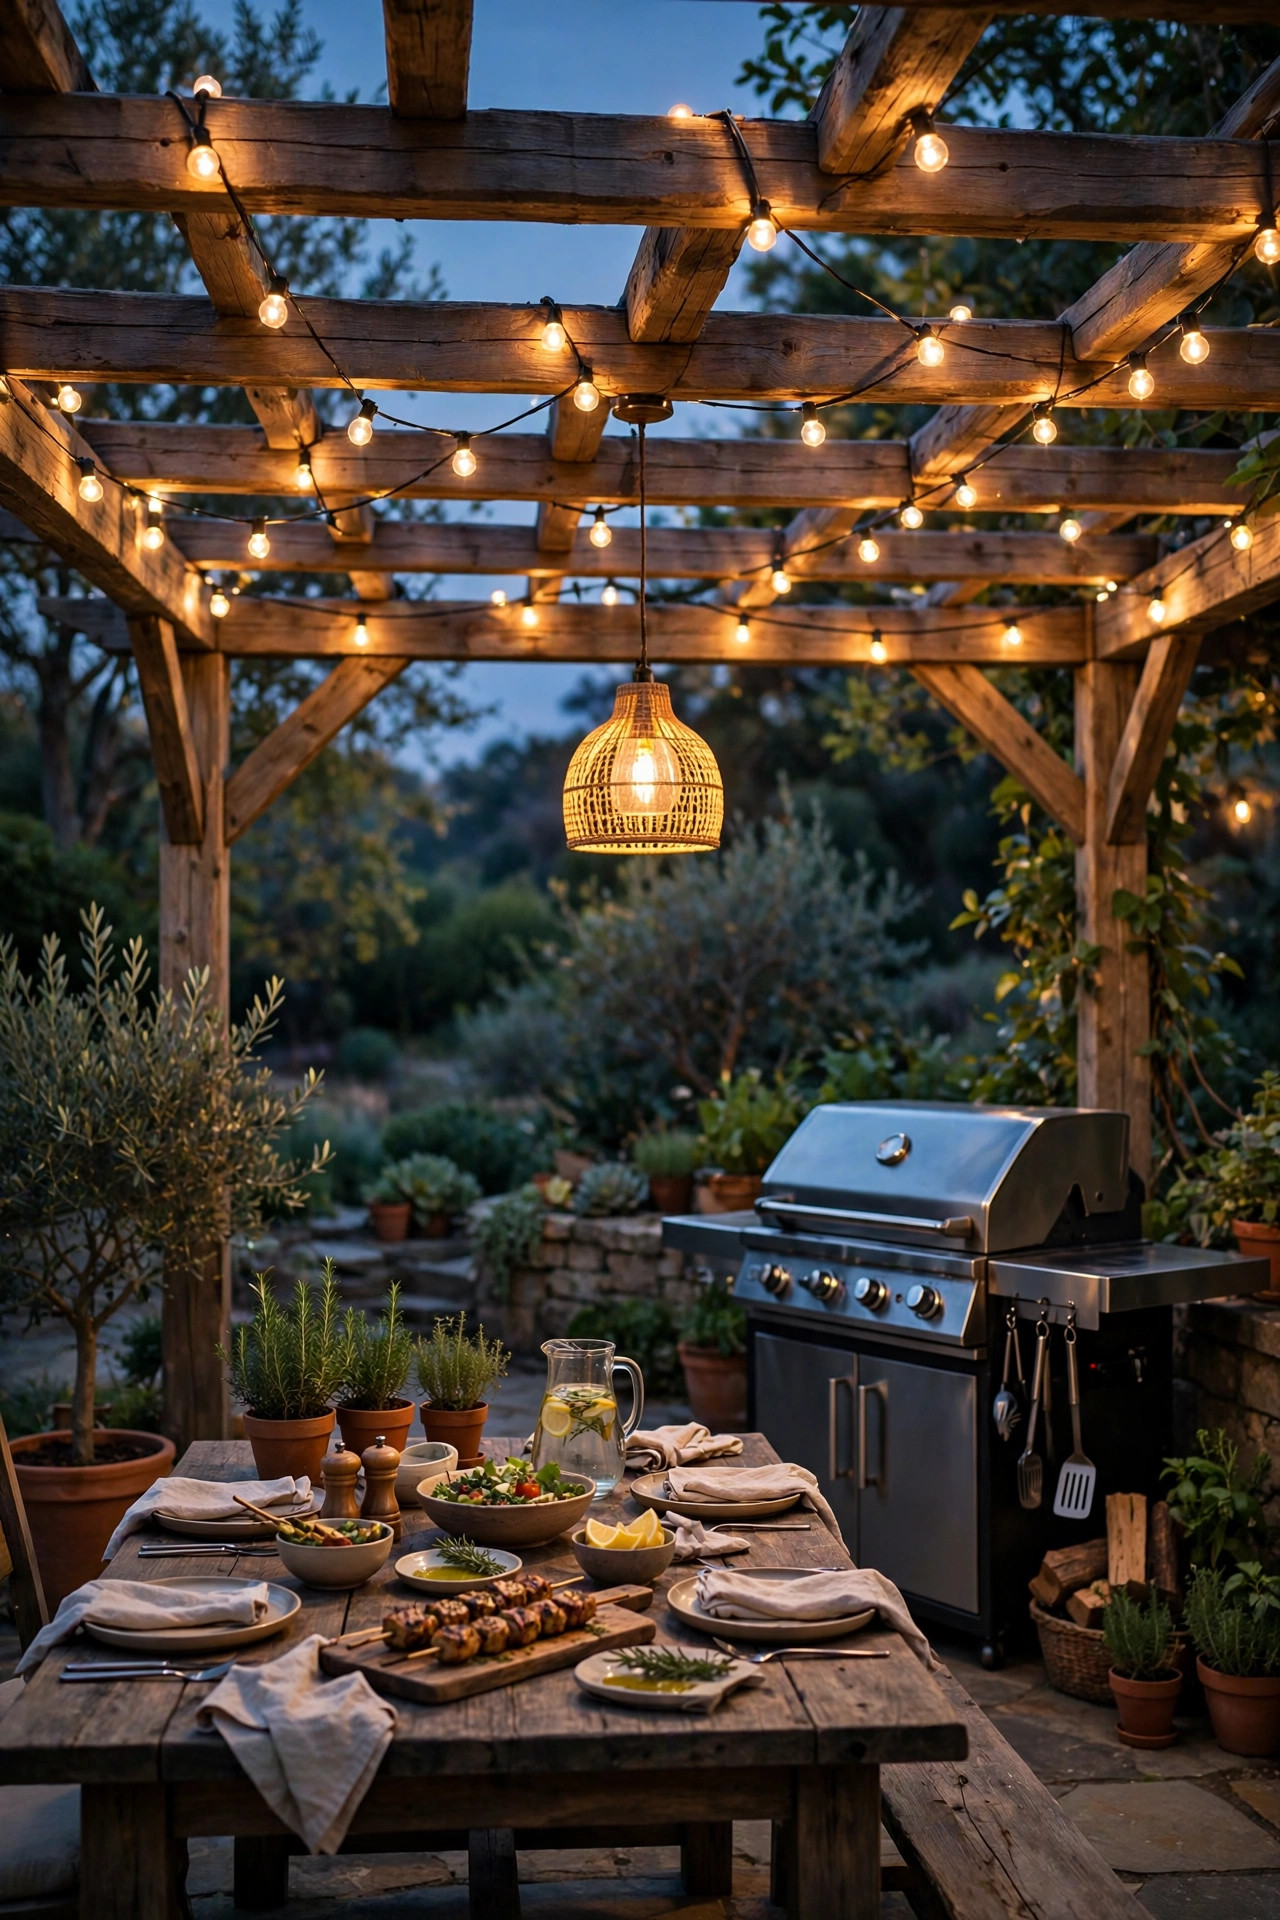
10. Use a Pergola or Umbrella as a Light Anchor
If your cookout zone has a pergola or a big patio umbrella, you already own the best light fixture in the yard. Wrap the pergola beams with string lights, or mount a small outdoor pendant at the center beam for a true dining-room feel over the grill-side table. Umbrella lights that clamp to the pole and aim down at the table are inexpensive and surprisingly effective. The structure gives you height, and height is what turns a bulb into ambience instead of glare. Just keep every fixture and cord rated for outdoor use and well clear of grill heat, which rises fast under a canopy. A covered anchor also shelters your dimmer and connections from a passing sprinkle. For an umbrella setup, a string of small globe lights spiraling the pole adds a soft column of light that flatters the whole table. Under a pergola, one strand run along each rafter, rather than one big swag, gives even light with no dark stripe down the middle.
Suggested budget range: $35 – $160.
11. Try Flame-Effect Torches for the Perimeter
For pure cookout theater, flame-effect LED torches along the fence or around the seating circle are hard to beat. The better solar versions flicker in a genuinely convincing orange dance, and they stake in minutes with no fuel, no open flame, and no citronella puddles. I run them at the perimeter rather than near the table, where the movement catches the eye without competing with faces and food. Solar models need decent sun, so place them along the south or west edge of the yard where they charge all afternoon. Expect four to six hours of flicker on a full charge, which covers most cookouts. Near the actual grill, keep them a respectful distance away so the real flame stays the only flame. Group torches in pairs at corners rather than spacing them evenly, which reads as intentional design instead of leftover stock. On cloudy weeks, a few hours of direct sun matters more than a full day of shade, so nudge them a foot or two toward the sunny side.
Suggested budget range: $30 – $95.

12. Add Color-Changing Bulbs for Game Day
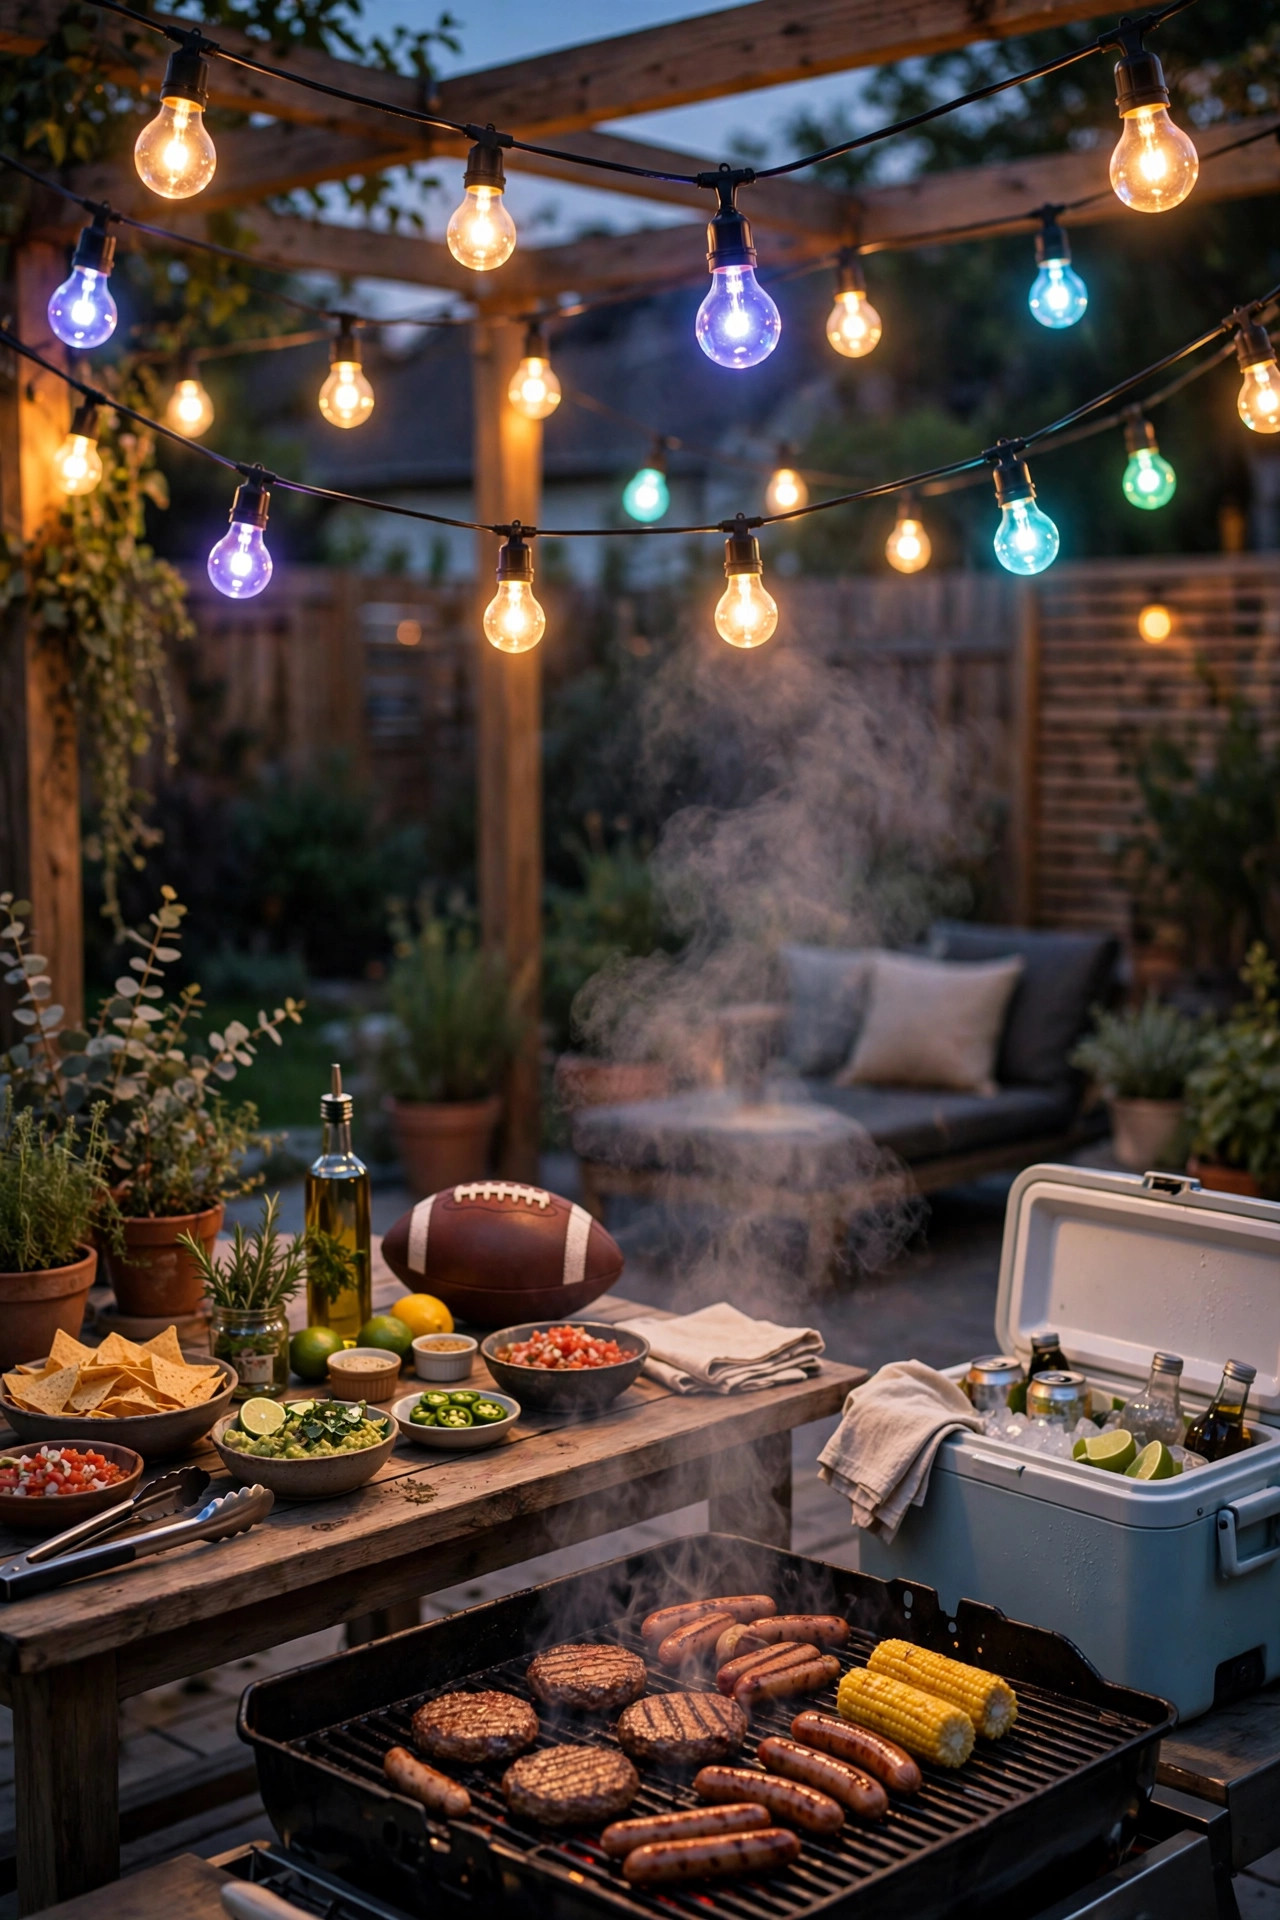
Most nights I am firmly team warm white, but a rivalry game cookout earns a little team color. Smart color-changing bulbs in your string lights or a couple of fixtures let you wash the patio in your colors for kickoff, then slide back to 2700K for dinner so the food still looks appetizing. App control means no ladder work, and scenes can be saved for the next matchup. Keep the saturated colors on accent fixtures rather than over the table itself. In my experience this one delights kids and superfans wildly out of proportion to its cost. Just confirm the bulbs are rated for enclosed or outdoor fixtures before they live outside full time. Keep one set of ordinary warm bulbs in the storage bin for non-game nights, because swapping scenes should never mean swapping fixtures. If your strand uses replaceable bulbs, color bulbs in every third socket over warm white gives team spirit without turning the burgers an alarming shade of blue.
Suggested budget range: $25 – $85.
13. Keep Bugs in Mind With Amber Light
Here is a cookout truth nobody loves: bright white light over the food is a dinner bell for every moth in the county. Shifting your table and serving-area bulbs to warm amber, around 2000K to 2200K or bulbs sold as bug-friendly yellow, noticeably reduces the swarm because insects see that end of the spectrum poorly. The trade-off is a cozier, candlelit look, which most of us wanted anyway. Save your brighter, cooler light for the grill task fixture, which sits away from the plates. Position any unavoidable white light off to the side rather than directly over the dining table. It will not make the yard bug-proof, but paired with a fan on the patio, the difference is honestly dramatic. A small fan does double duty here, moving air for guests while confusing the flight paths of mosquitoes near the table. Yellow-toned bulbs also keep the serving area calmer, which matters most at that sugary dessert hour when every flying thing in the neighborhood arrives looking for cake.
Suggested budget range: $15 – $50.

14. Light the Serving Buffet Separately
The buffet line is its own little workstation and deserves light that is not borrowed from the table. A pair of clamp lights on a nearby shelf, or a battery light bar under a serving-table canopy, lets guests actually see the difference between the mild and spicy trays. I aim for bright but warm, roughly 300 lumens across the spread, angled down so nothing glares off foil pans and serving lids. Label-reading light sounds unglamorous until someone with an allergy is squinting at a dish. If your buffet sits on a folding table away from the house, two rechargeable lanterns on either end do the job beautifully. Keep cords taped or routed behind the table legs, always. Set the buffet so guests approach from the lit side, with the light in front of the food rather than behind it, which would silhouette every tray. A small sign or menu card, readable in that light, quietly speeds the whole line along and cuts the what-is-this questions in half.
Suggested budget range: $18 – $65.

15. Tuck Fairy Lights Into Planters and Trees
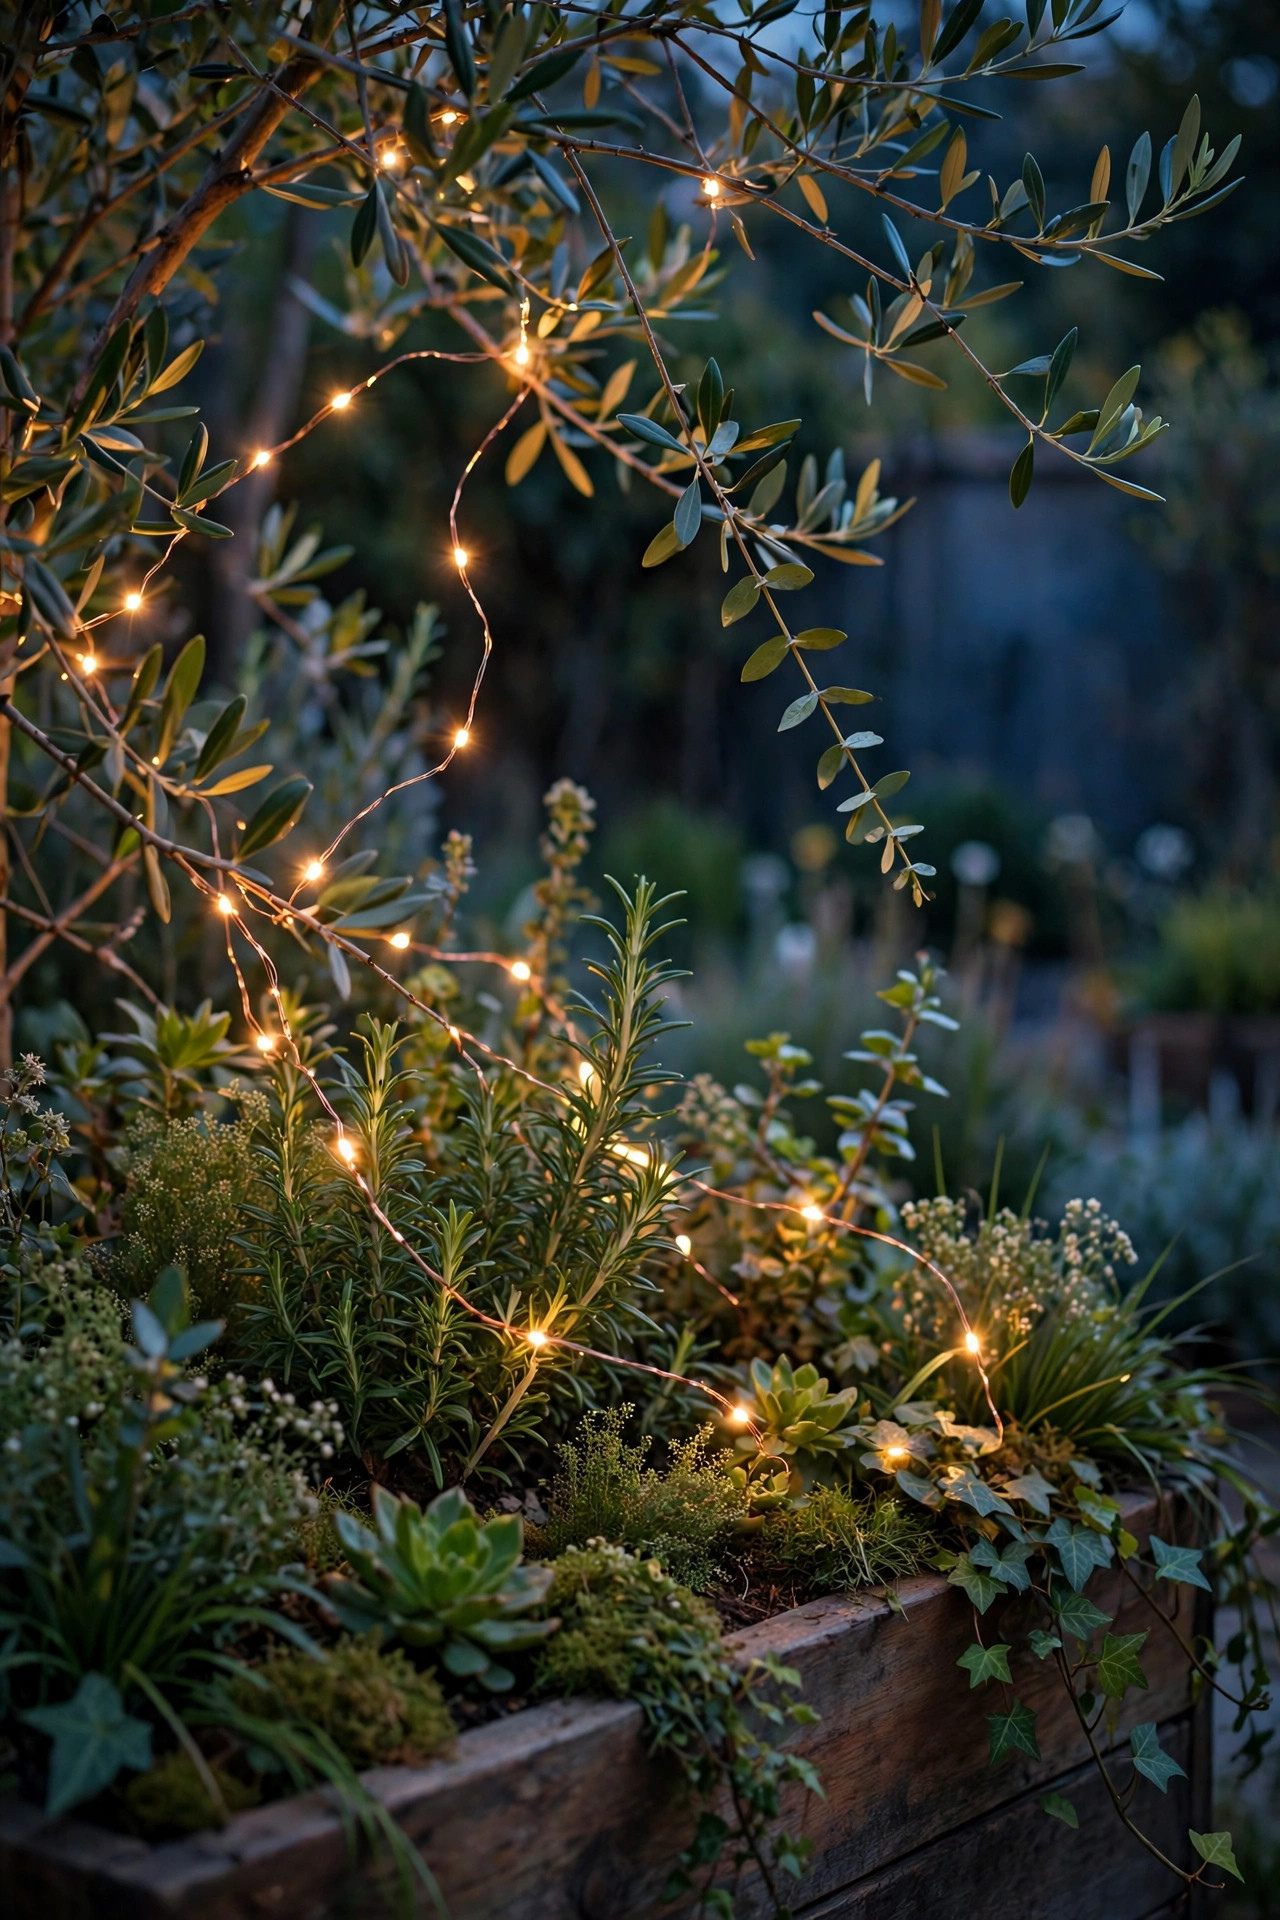
Once the main layers are handled, copper-wire fairy lights are where the yard gets its sparkle. I wind them through planter greenery, along a fence-top vine, or loosely into the branches of the tree over the seating corner. Because the wire nearly disappears, the effect reads as floating points of light rather than another fixture. Battery packs tuck behind a pot, and solar versions handle themselves entirely. Keep them out of the grill zone and off any plant you will be pruning soon, since the wire tangles happily into new growth. This is the cheapest layer I own and the one guests photograph most. A single 30-foot strand transforms a plain corner planter into a little moment. In trees, drape rather than wrap tightly, leaving slack for growth and wind, and the strands will survive the season without snapping. A strand outlining the rim of a big planter echoes the shape of the plant after dark, which looks far more designed than the two minutes it takes.
Suggested budget range: $12 – $40.
16. Give the Fire Pit Its Own Soft Glow
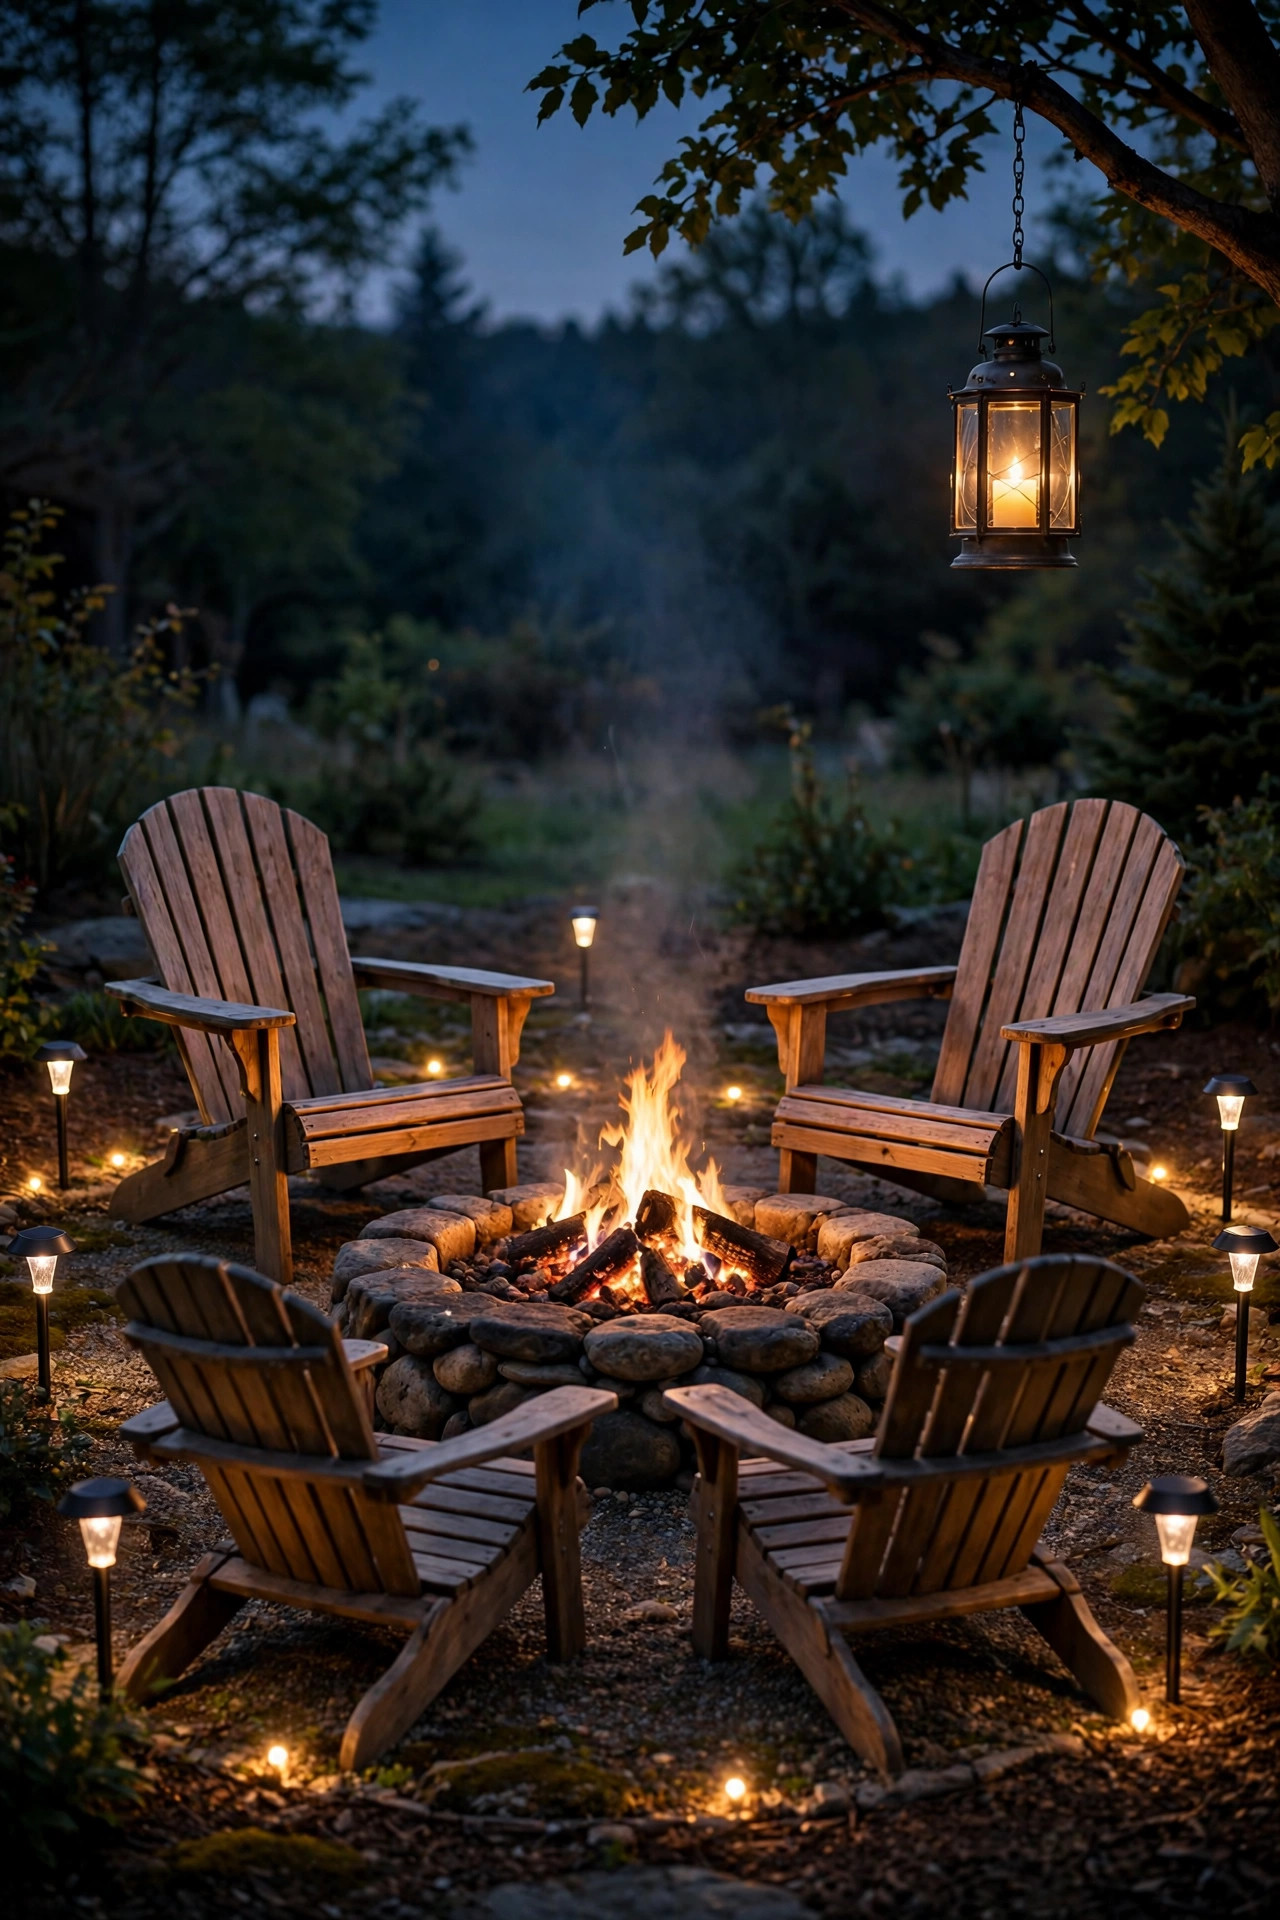
Plenty of my cookouts end with everyone drifting to the fire pit, and the lighting there should stay low and ember-friendly. A ring of small solar stakes set a few feet back from the chairs, or lanterns hung from a nearby shepherd hook, gives just enough light to navigate seats and s'mores supplies without competing with the flames. Too much brightness kills the fire's whole job, so think candle-level, not patio-level. If you are planning this corner from scratch, my notes on fire pit lighting cover seating distances and fixture placement. Keep all fixtures and cords well outside the spark zone, and let the fire itself stay the star of that circle. Two low lanterns flanking the wood pile keep the log run safe without flooding the circle. As the fire dies down, those same lanterns quietly take over, so the walk back to the house at midnight never happens in a sudden, total, post-fire darkness that strands your guests.
Suggested budget range: $25 – $90.
17. Set Everything on Timers or Smart Plugs
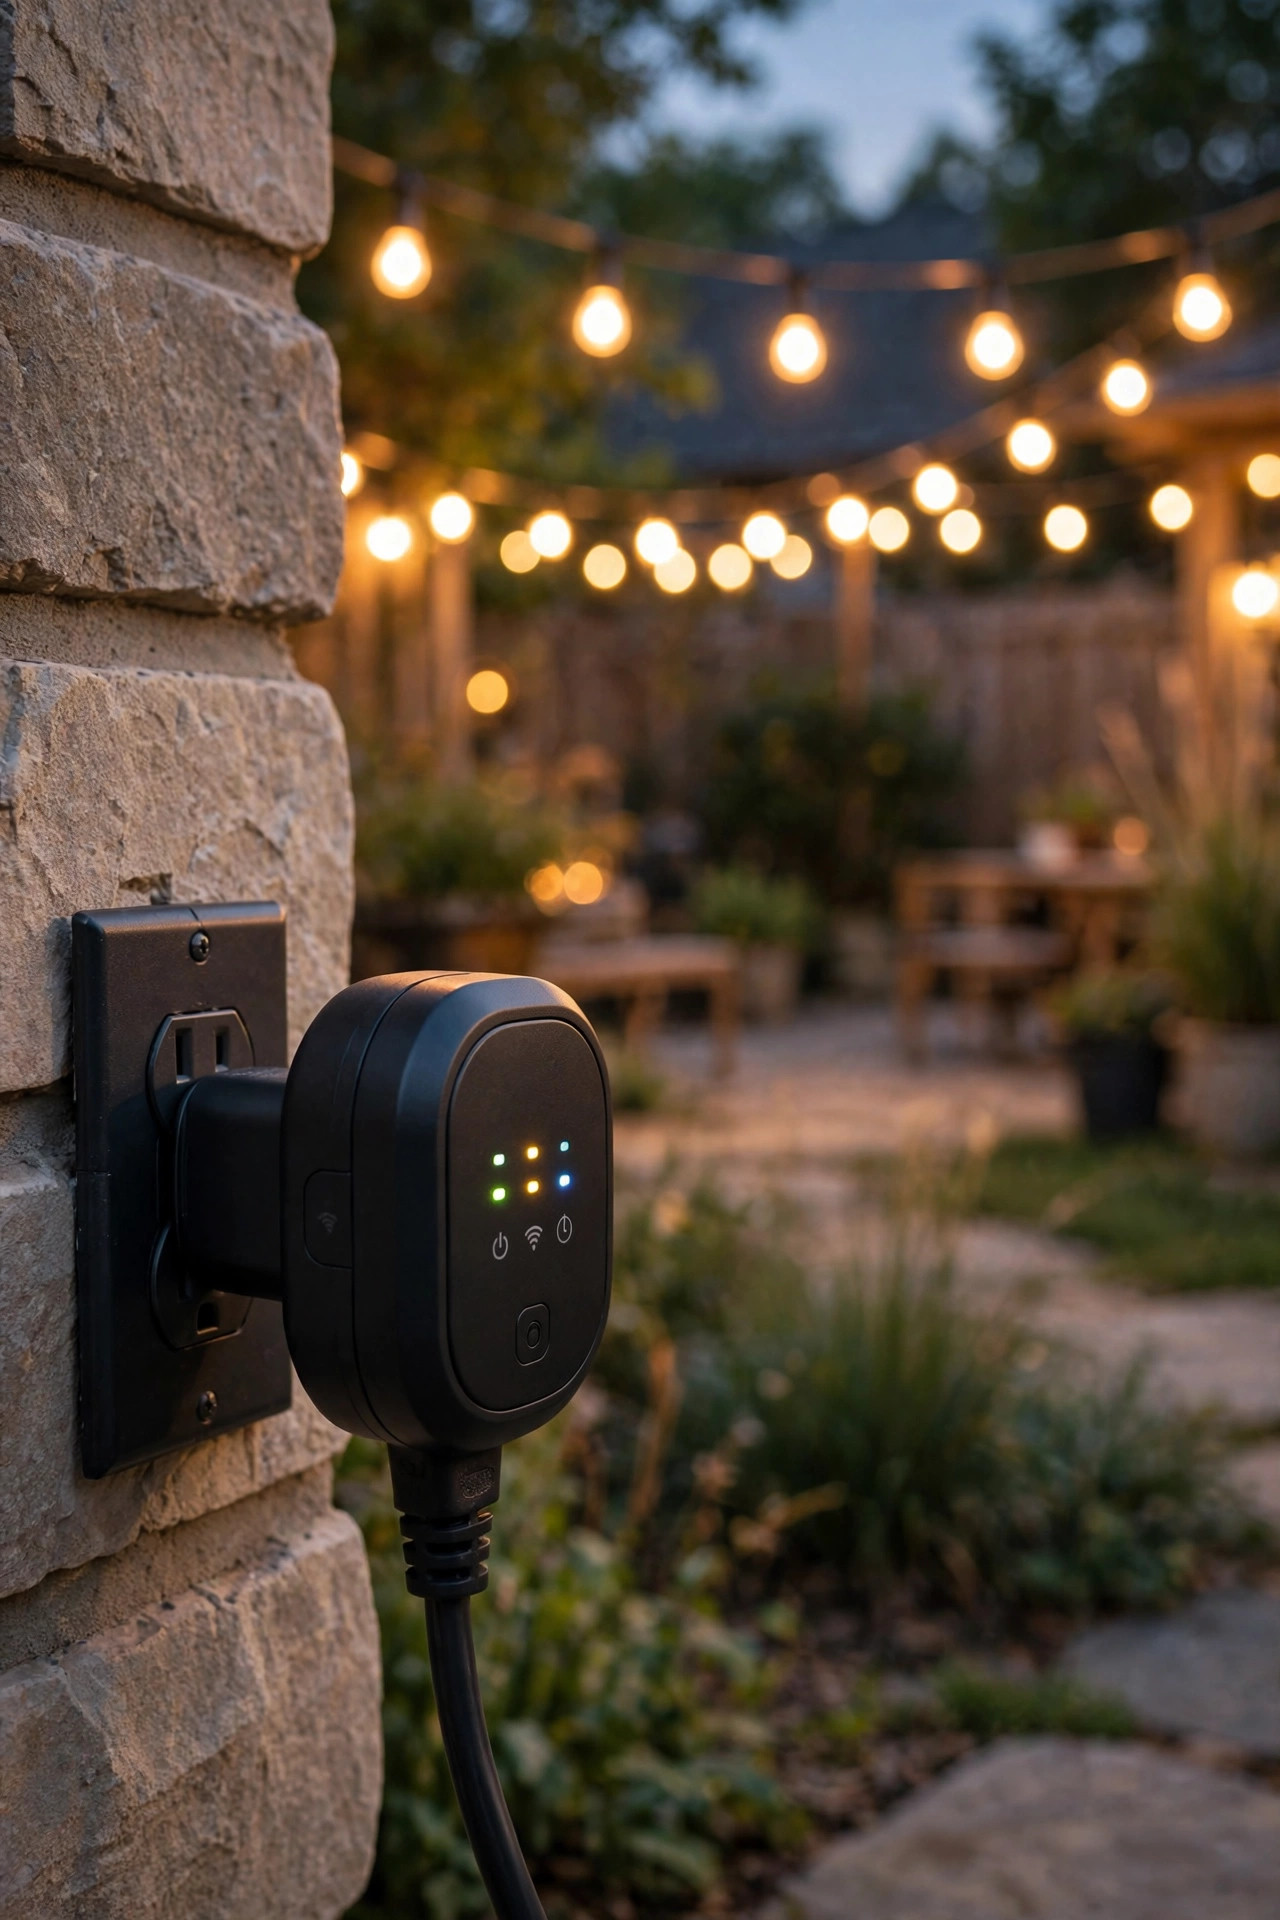
The best cookout host is not outside at dusk flipping switches, so put the whole scene on autopilot. Outdoor smart plugs or simple photocell timers can bring the string lights, fence wash, and path lights on at sunset and off at midnight without you lifting a finger. I group the ambience on one plug and keep the grill task light on its own switch, since the cook wants manual control there. Set the schedule once in spring and it quietly serves every cookout until fall. Smart plugs also let you kill the yard lights from the couch when the last guest leaves. Choose plugs rated for outdoor use and keep them plugged into GFCI-protected outlets, always. Name your scenes in the app, cookout, dinner, and cleanup, and anyone in the family can run the yard from their phone. If Wi-Fi is spotty at the fence line, a simple photocell timer is the humble backup that has honestly never once let me down mid-party.
Suggested budget range: $20 – $70.
18. Build a No-Outlet Plan With Solar and Batteries
No outdoor outlet near the patio used to mean no party lighting, and that is simply not true anymore. A fully solar-and-battery setup, path stakes, string lights with a remote solar panel, lantern clusters, and a rechargeable grill light, can run a whole cookout with zero cords. The trick is panel placement: remote panels on a short cable let you park the collector in full sun while the lights live in the shade where you need them. Charge every battery piece the day before a big night. In my experience, guests cannot tell a well-planned solar setup from a wired one. It is also the renter-friendly route, since nothing mounts permanently and everything leaves with you. Store panels and lanterns in one labeled bin between parties and setup drops to fifteen minutes. Rotate which lanterns live outdoors full time, because even weatherproof gear lasts longer with a week off now and then, and your whole system quietly outlives the warranty by years.
Suggested budget range: $60 – $200.
19. Layer Your Backyard BBQ Lighting Ideas Into One Cookout Scene
Here is where it comes together, and it is the version of backyard bbq lighting ideas I would hand a friend starting from zero. Begin with the grill task light so the cook can see. Add the dimmed string-light canopy over the table, lanterns down its center, and amber bulbs where the food sits. Ring the yard with fence uplights and flame torches, mark the paths and steps so nobody trips, and let fairy lights finish the corners. Put the ambient layers on a timer and keep the task light manual. Walk the yard once at dusk from a guest's seat and adjust anything that glares. That fifteen-minute check is the difference between a lit yard and a designed one. Do not buy everything at once. Live with the first layers for two cookouts and the yard will tell you exactly where the dark corners still hide. My own setup took three summers to finish, and honestly, tweaking it each season is half the fun of owning it.
Suggested budget range: $150 – $450.
Frequently Asked Questions
What color temperature is best for barbecue lighting?
Warm white between 2700K and 3000K flatters food and people for most of the yard. At the grill itself, a slightly cooler 4000K task light shows meat color more honestly, so many cooks mix one cool work light with a warm scene.
How bright should the light over the grill be?
Aim for at least 300 focused lumens on the grates, mounted above and slightly behind the cook so the light falls on the food, not in your eyes. A clip-on handle light or a fixture about 3 feet above the cooking surface both work well.
Can solar lights really handle a whole cookout?
Yes, with a sunny day of charging and realistic placement. Solar string lights, path stakes, and torches typically run four to eight hours after a full charge. For a big night, top up battery lanterns and the grill light from an indoor charger as backup.
How do I keep lights from attracting bugs to the food?
Use warm amber bulbs around 2000K to 2200K over dining and serving areas, keep any bright white light away from the table, and run a patio fan if you can. Insects are drawn far less to amber light than to cool white or UV-heavy sources.
Conclusion
Great cookouts are remembered for the food and the company, but the light is what lets both run long past sunset. Start with honest task light at the grill, layer in a warm canopy and low glows for paths and tables, and your backyard bbq lighting ideas become a scene guests never want to leave. Pick two or three ideas this weekend, then build from there. For more ways to light your evenings, browse the rest of the ideas here on the site and find the layers your yard is missing.