Few things are more frustrating than stepping outside at dusk, coffee in hand, and finding your landscape lights not working — again. The walkway is dark, the big oak you love so much has vanished into the night, and you're standing there wondering whether you're facing a dead bulb or a dead wallet. I've been there more times than I can count, both in my own yard and kneeling in neighbors' flower beds with a flashlight between my teeth. Here's what I've learned: landscape lighting almost never fails all at once for one mysterious reason. It fails in zones, in patterns, and those patterns tell you exactly where the problem lives — if you know how to read them. This walkthrough is the exact order I diagnose in: power source first, controls second, then zone by zone down the wire until the fault shows itself. No guessing, and no ripping up buried cable on a hunch. By the end, you'll know how to test a transformer, read a multimeter, spot a corroded connector from six feet away, and decide — honestly — when a repair is a ten-dollar fix and when it's time to call a pro.
The Short Answer
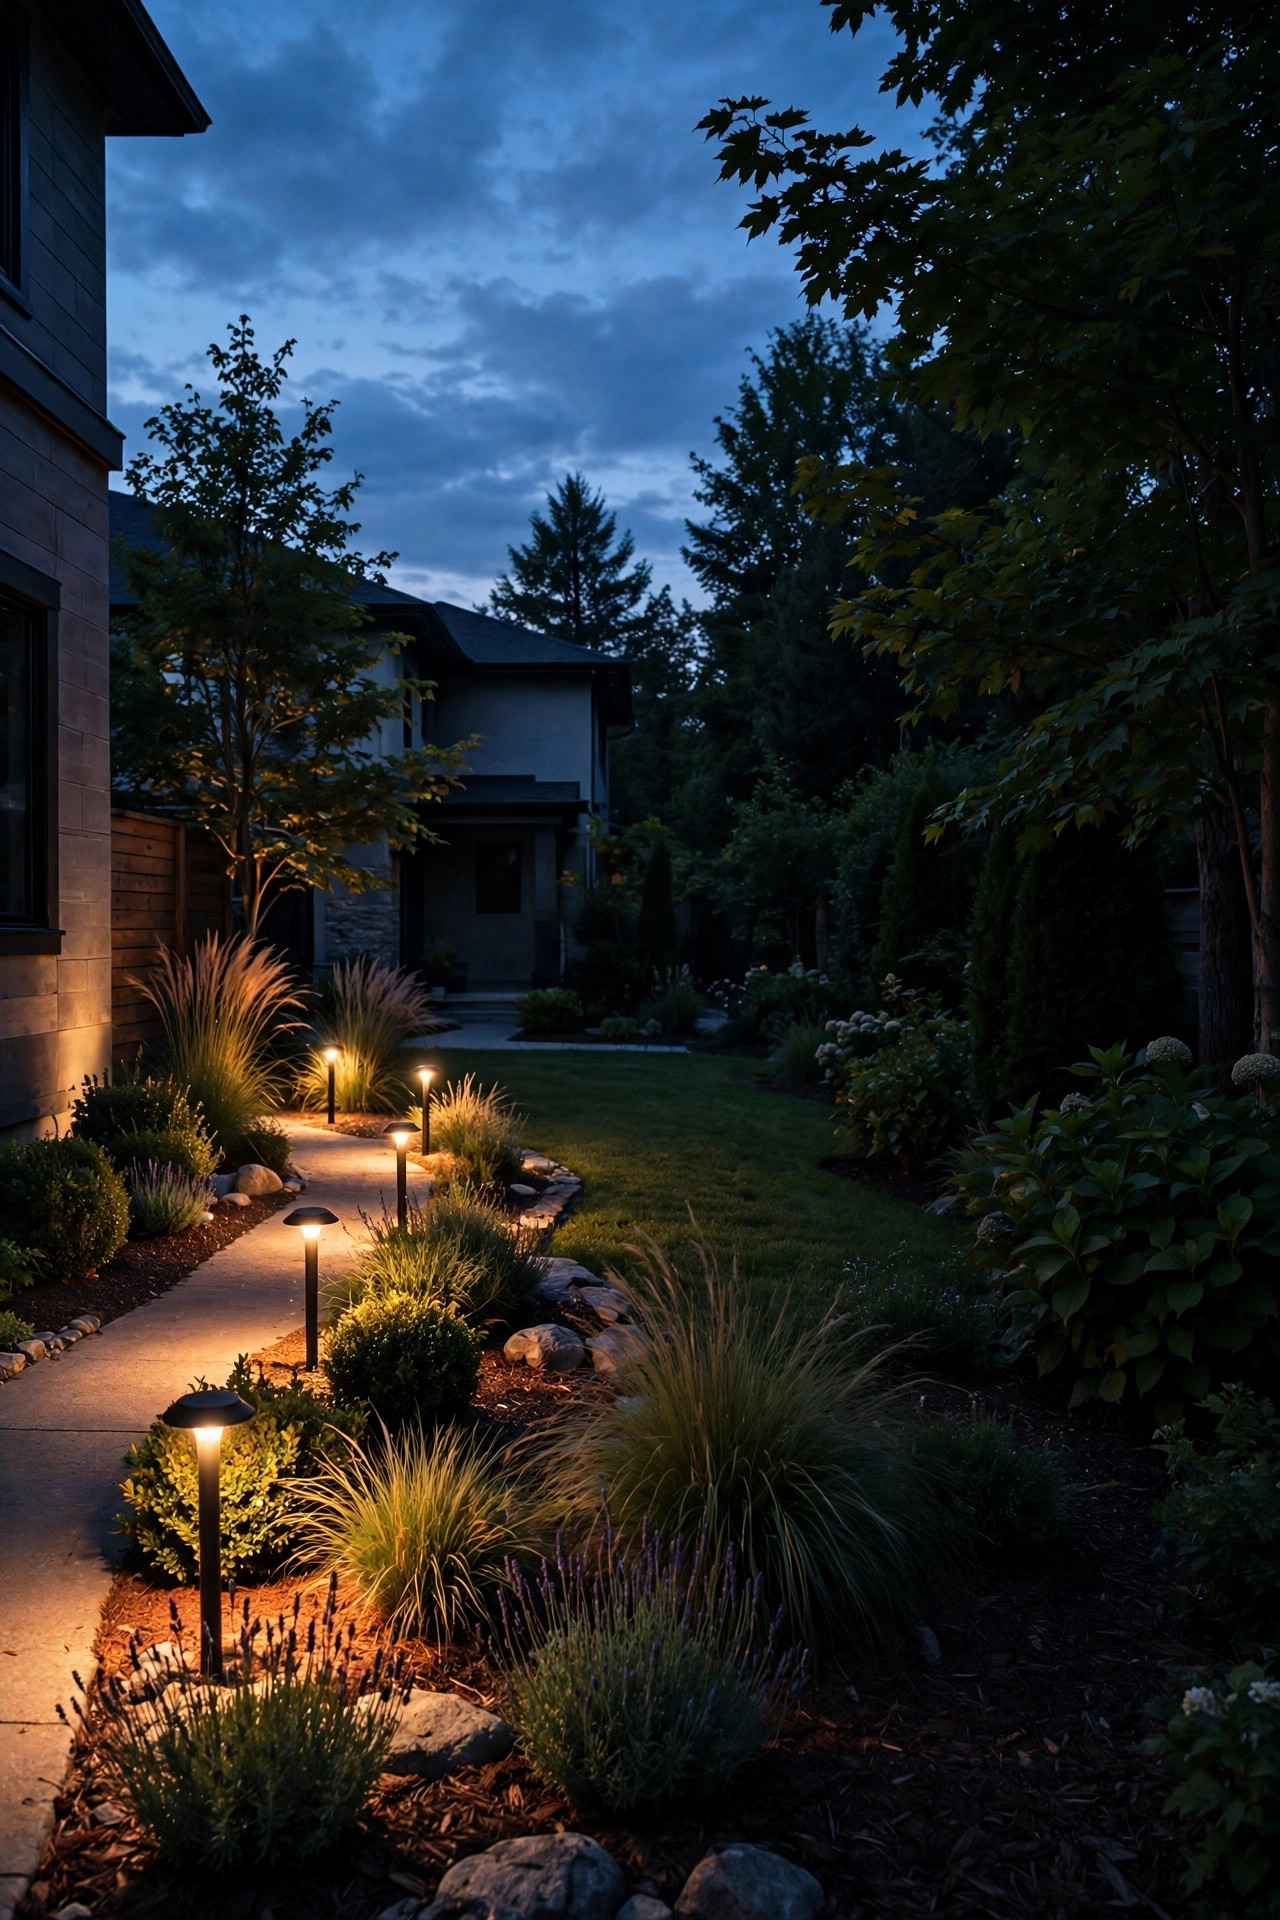
If your landscape lights are not working, don't start by replacing bulbs. Start at the transformer: confirm the outlet has power, the breaker and GFCI haven't tripped, and the timer or photocell is actually calling for light. Then look at the pattern. Everything dark usually means power or controls. One whole zone dark usually means a cut cable or a failed hub connection. Lights that fade toward the end of a run mean voltage drop. A single dark fixture almost always means a bulb or its connector. Work from the source outward, one zone at a time, and you'll find the fault in under an hour in most yards.
Think in Zones: How Your System Is Actually Wired
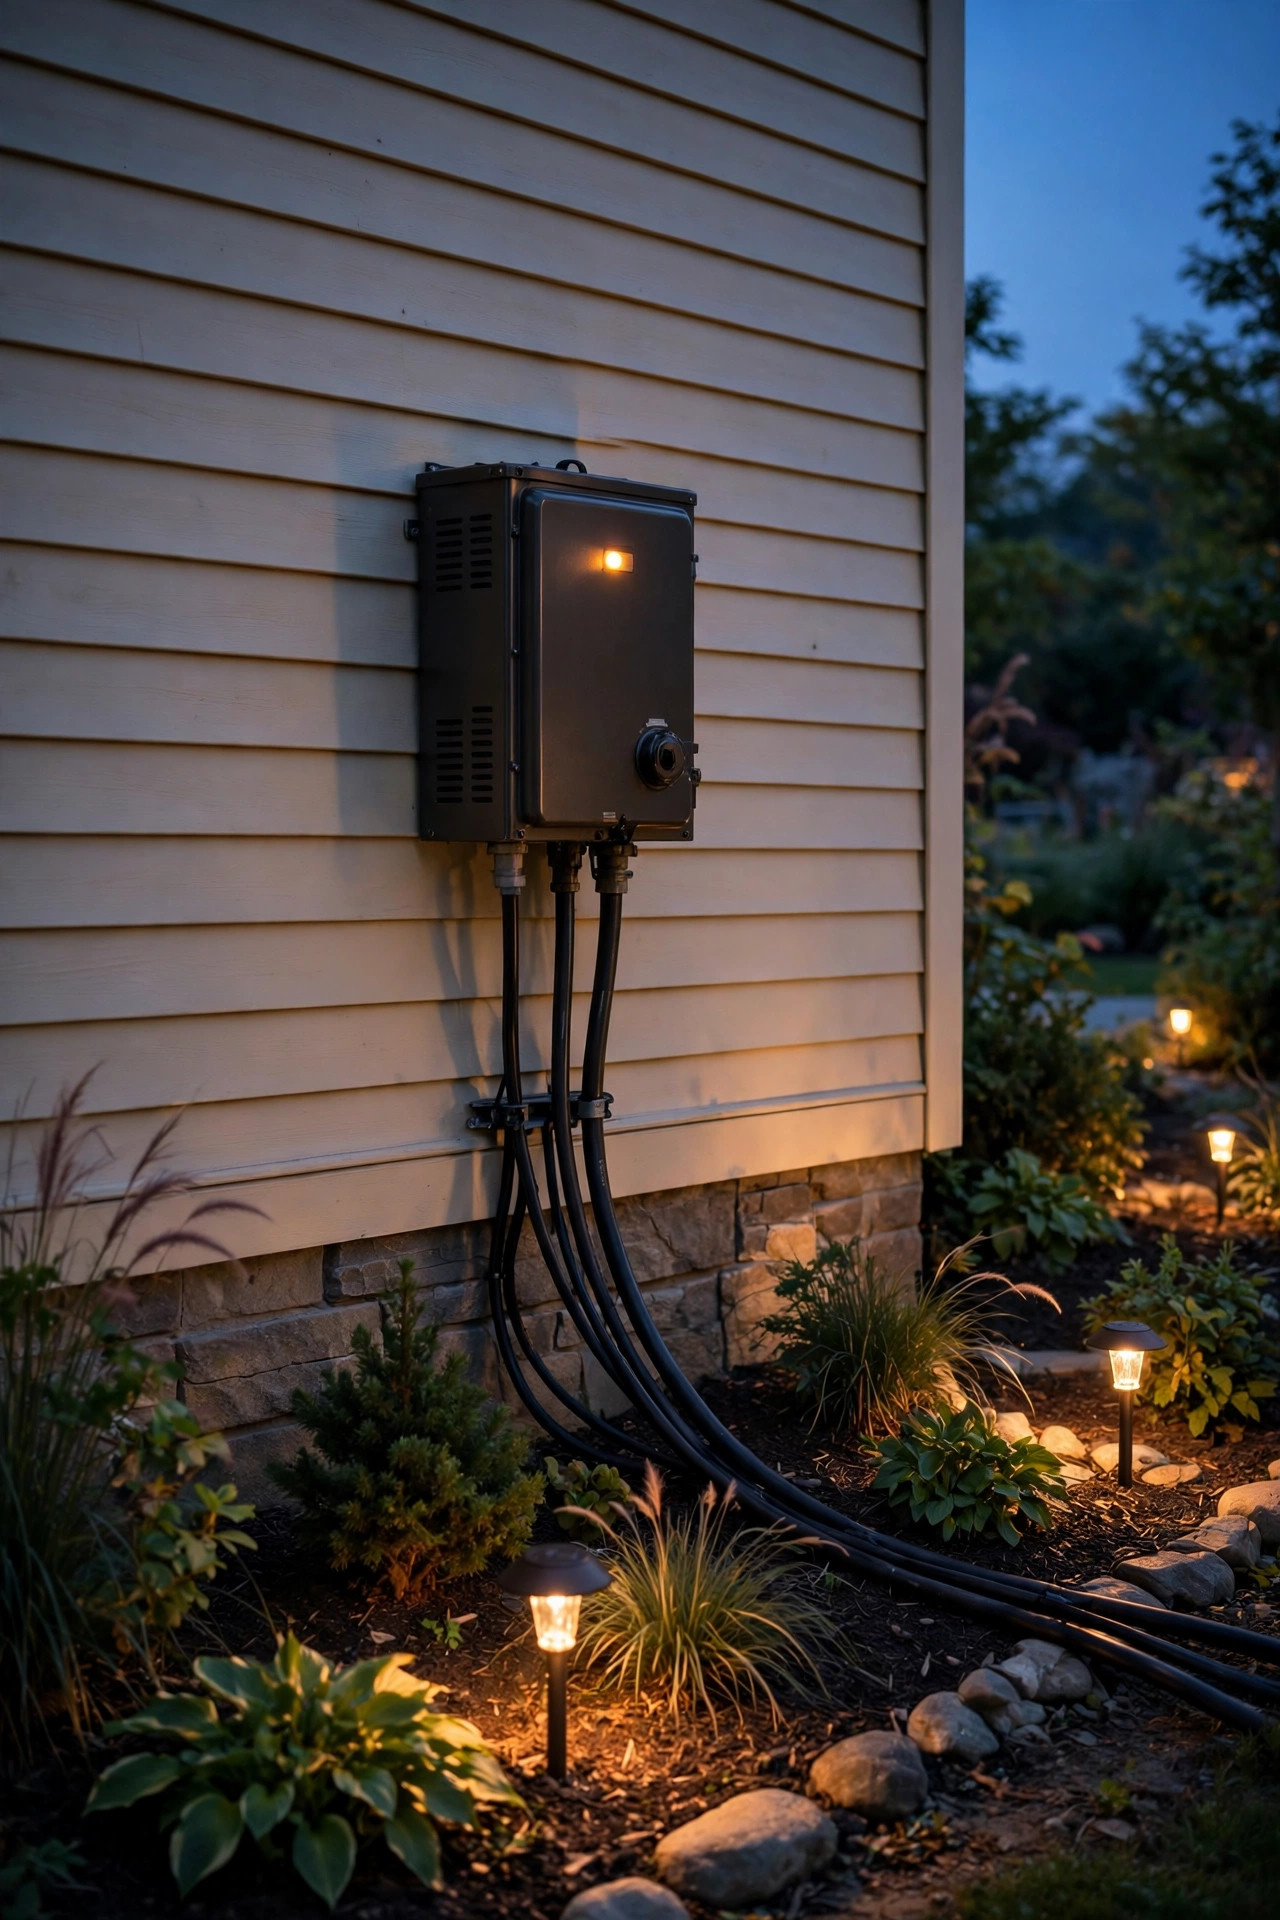
Before you touch a single fixture, it helps to picture how your system is put together, because every diagnosis in this walkthrough depends on it. A low-voltage landscape system has four parts: the transformer, the main cable runs, the connections along those runs, and the fixtures. The transformer plugs into a household outlet and steps 120 volts down to a safe 12 to 15 volts. From there, one or more thick cables — usually 12-gauge or 14-gauge — leave the transformer and snake through your beds. Each of those cables is what I call a zone: a branch of lights that share one wire back to the source. Individual fixtures tap into the main cable with their own short lead wires and a connector. Some systems add a hub, a central junction where several fixture leads meet one main cable. Why does this matter? Because a fault always knocks out everything downstream of it — everything on the far side of the break, the loose connector, or the dead hub. A single dead bulb kills one light. A failed hub kills a flower bed. A dead transformer kills the whole yard. Once you start thinking in zones instead of individual lights, the pattern of what's dark becomes a map pointing straight at the problem. Most yards I work on have one transformer feeding two or three cable runs, and once you sketch that layout on paper — even roughly — you have the only map this whole walkthrough needs.
…[truncated 13805 chars]
Step 1: Rule Out the Power Source
Always start at the wall. In my experience, a third of "dead system" calls turn out to be a power problem that has nothing to do with the lights themselves. First, confirm the outlet works: unplug the transformer and plug in a phone charger or a lamp. No power? Check the GFCI — that little outlet with the Test and Reset buttons. Outdoor outlets are often wired through a GFCI in the garage, a bathroom, or the kitchen, and one trip kills them all. Press Reset and try again. Next, check your breaker panel for a tripped breaker sitting halfway between on and off. If the outlet is live, plug the transformer back in and listen. Most units hum softly and feel faintly warm when they're working. Many have their own reset button or a small circuit breaker on the bottom or side — press it. Older transformers use a replaceable fuse. Also check the obvious: some transformers have a simple on/off switch that gets bumped by a rake handle or a curious grandkid. Finally, look at the plug and the first foot of cord. Chewed insulation, green corrosion on the prongs, or a cord pinched under a stepping stone can all stop a system cold. Only move on to the controls once you're certain power is reaching the transformer and the transformer is awake.

Step 2: Check the Timer, Photocell, and Controls
A transformer that's powered but never told to turn on looks exactly like a dead one. The usual suspects are the timer and the photocell. Photocells — the little eye that senses darkness — fail in sneaky ways. A shrub grows over it, mulch gets piled against it, or a new fixture gets aimed right at it, and suddenly the system thinks it's daytime forever. Find the photocell, wipe it clean, and test it: during the day, wrap it completely in black electrical tape or cover it with your hand for a full minute. The lights should come on. With timers, the classic failure happens after any power outage — the clock stops, and now your lights are set to run from 2 p.m. to 6 p.m. instead of dusk to midnight. Reset the current time, and check that the on/off pins or digital program survived. If your transformer has a manual override or an "on" setting, switch to it during diagnosis; you want the system trying to run while you test. Smart transformers add one more layer: an app schedule, a firmware hiccup, or a Wi-Fi dropout that froze a program. Toggle the zone on in the app and watch the yard. If the lights blaze to life on manual but never on automatic, your problem is controls, not wiring — and that's a cheap, happy answer.

Step 3: Read the Pattern — What the Darkness Is Telling You
Now step back — literally, stand at the street — and study what's dark. The pattern is your diagnosis, and it falls into a handful of shapes I've learned to read like weather. Everything out, all at once: that's power, controls, or the transformer itself, and you've already checked two of the three. One entire zone out while others glow: the fault is at that zone's start — its terminal connection at the transformer, its hub, or a cut in the first few feet of its cable. Everything past a certain point is dark, but the lights before it work: there's a break or a failed connection at exactly that point; the last working light and the first dead one bracket your problem within a few feet. Lights that start bright and fade to a dim amber down the line: that's voltage drop, a slow squeeze rather than a break, and Step 6 covers it. Flickering that comes and goes, especially on breezy nights or after rain: think loose or corroded connections that make contact only sometimes. Lights on during the day: a stuck photocell or a timer that's lost its mind. Random single fixtures out here and there: those are individual bulbs and connectors, the most tedious but least serious pattern. Write down which shape you have before you touch anything — it decides which step below deserves your Saturday morning.
Step 4: Test at the Transformer With a Multimeter
This is the test that separates guessing from knowing, and it takes five minutes. Set a basic multimeter to AC voltage — the V with the wavy line — and touch the probes to the transformer's output terminals while the system is switched on. You should read somewhere between 12 and 15 volts depending on which tap the zone wire uses. A healthy reading here with a dark yard means the transformer is fine and the fault is out in the cable somewhere. No reading at all, with a live outlet and the controls calling for light, points at the transformer itself — check its internal fuse or breaker once more before condemning it. If your system has several zones, test each pair of terminals separately; one dead zone often shows zero volts on its own tap while the others read fine, which tells you the problem lives in that branch alone. One warning from experience: always test under load, with the zone's lights connected. A transformer can show a comforting voltage with nothing attached and then sag badly when real fixtures draw current, and that sag looks exactly like a wiring fault. If you don't own a meter yet, my walkthrough on testing landscape lighting with a multimeter covers probe placement and what each reading means, step by step. A twenty-dollar meter will pay for itself the first time it talks you out of digging up a healthy cable.

Step 5: Walk the Run — Hubs, Splices, and Cut Cables
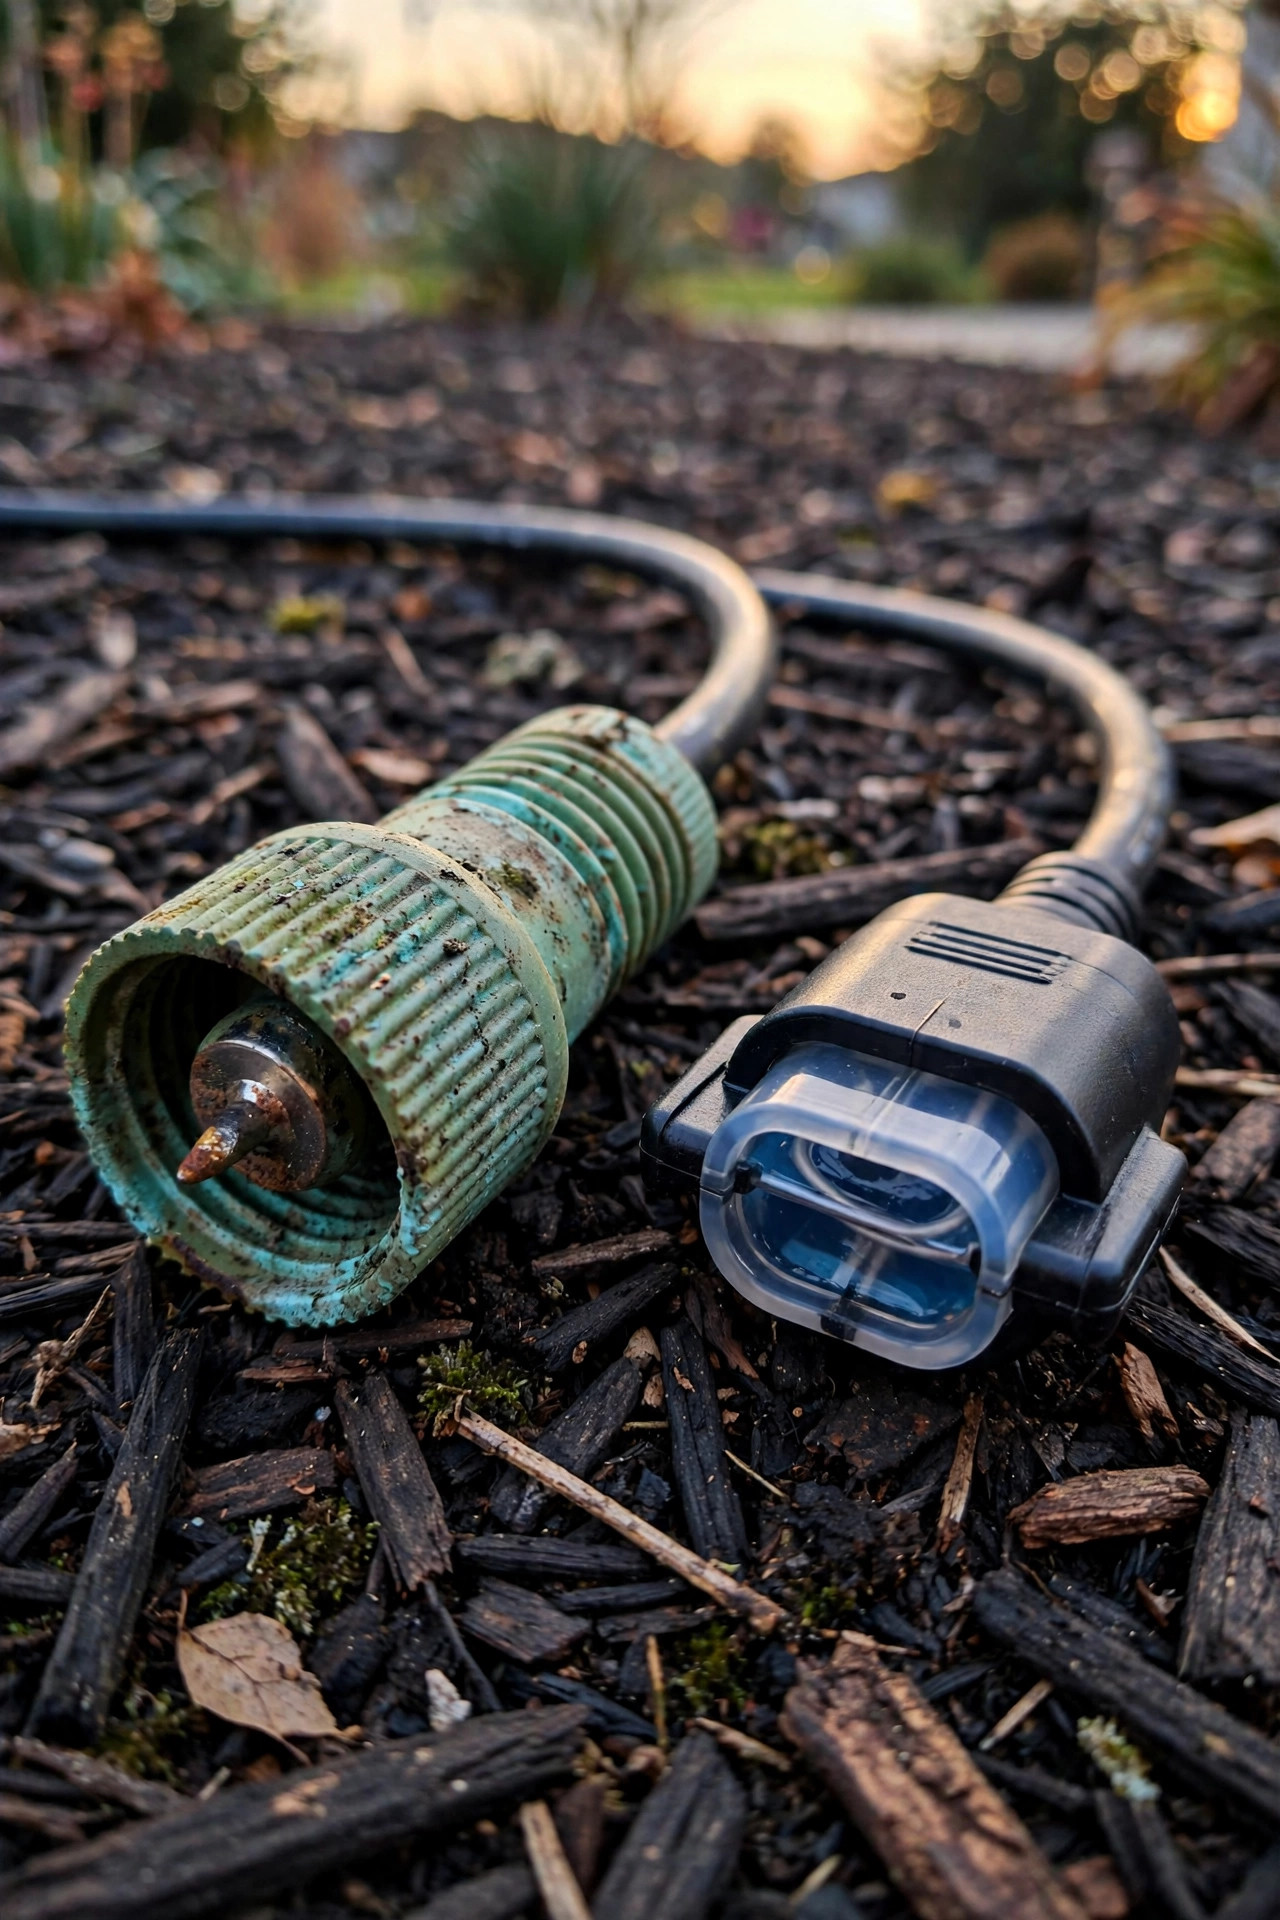
With power confirmed at the source, walk the dark zone slowly with the system switched on, at dusk if you can. Start where the cable leaves the transformer and physically follow it. At every hub and junction, open the connection and look. Healthy connectors are tight and clean; failing ones show green or white corrosion, melted plastic, or wires that pull free with a gentle tug. Pierce-point connectors — the kind that bite through insulation — are the single most common failure I find, especially after three or four seasons underground. Next, think like a detective about recent yard work. Edging, aerating, dividing perennials, planting a shrub, even driving a tent stake: a nicked cable is almost always within a foot or two of fresh digging, and the damage usually sits right after the last light that still works. Run your fingers along any exposed cable for cuts and chew marks — squirrels and rabbits genuinely do gnaw low-voltage wiring. If everything past one fixture is dead, disconnect that fixture's lead and see if the rest of the zone wakes up; a shorted fixture can drag a whole branch down. When you find a cut, don't just twist the wires together and bury them. Use a proper waterproof splice — I walk through the options in my guide to splicing landscape lighting wire — because a lazy repair is just next spring's troubleshooting session, scheduled in advance.
Step 6: When Lights Fade Down the Line — Voltage Drop
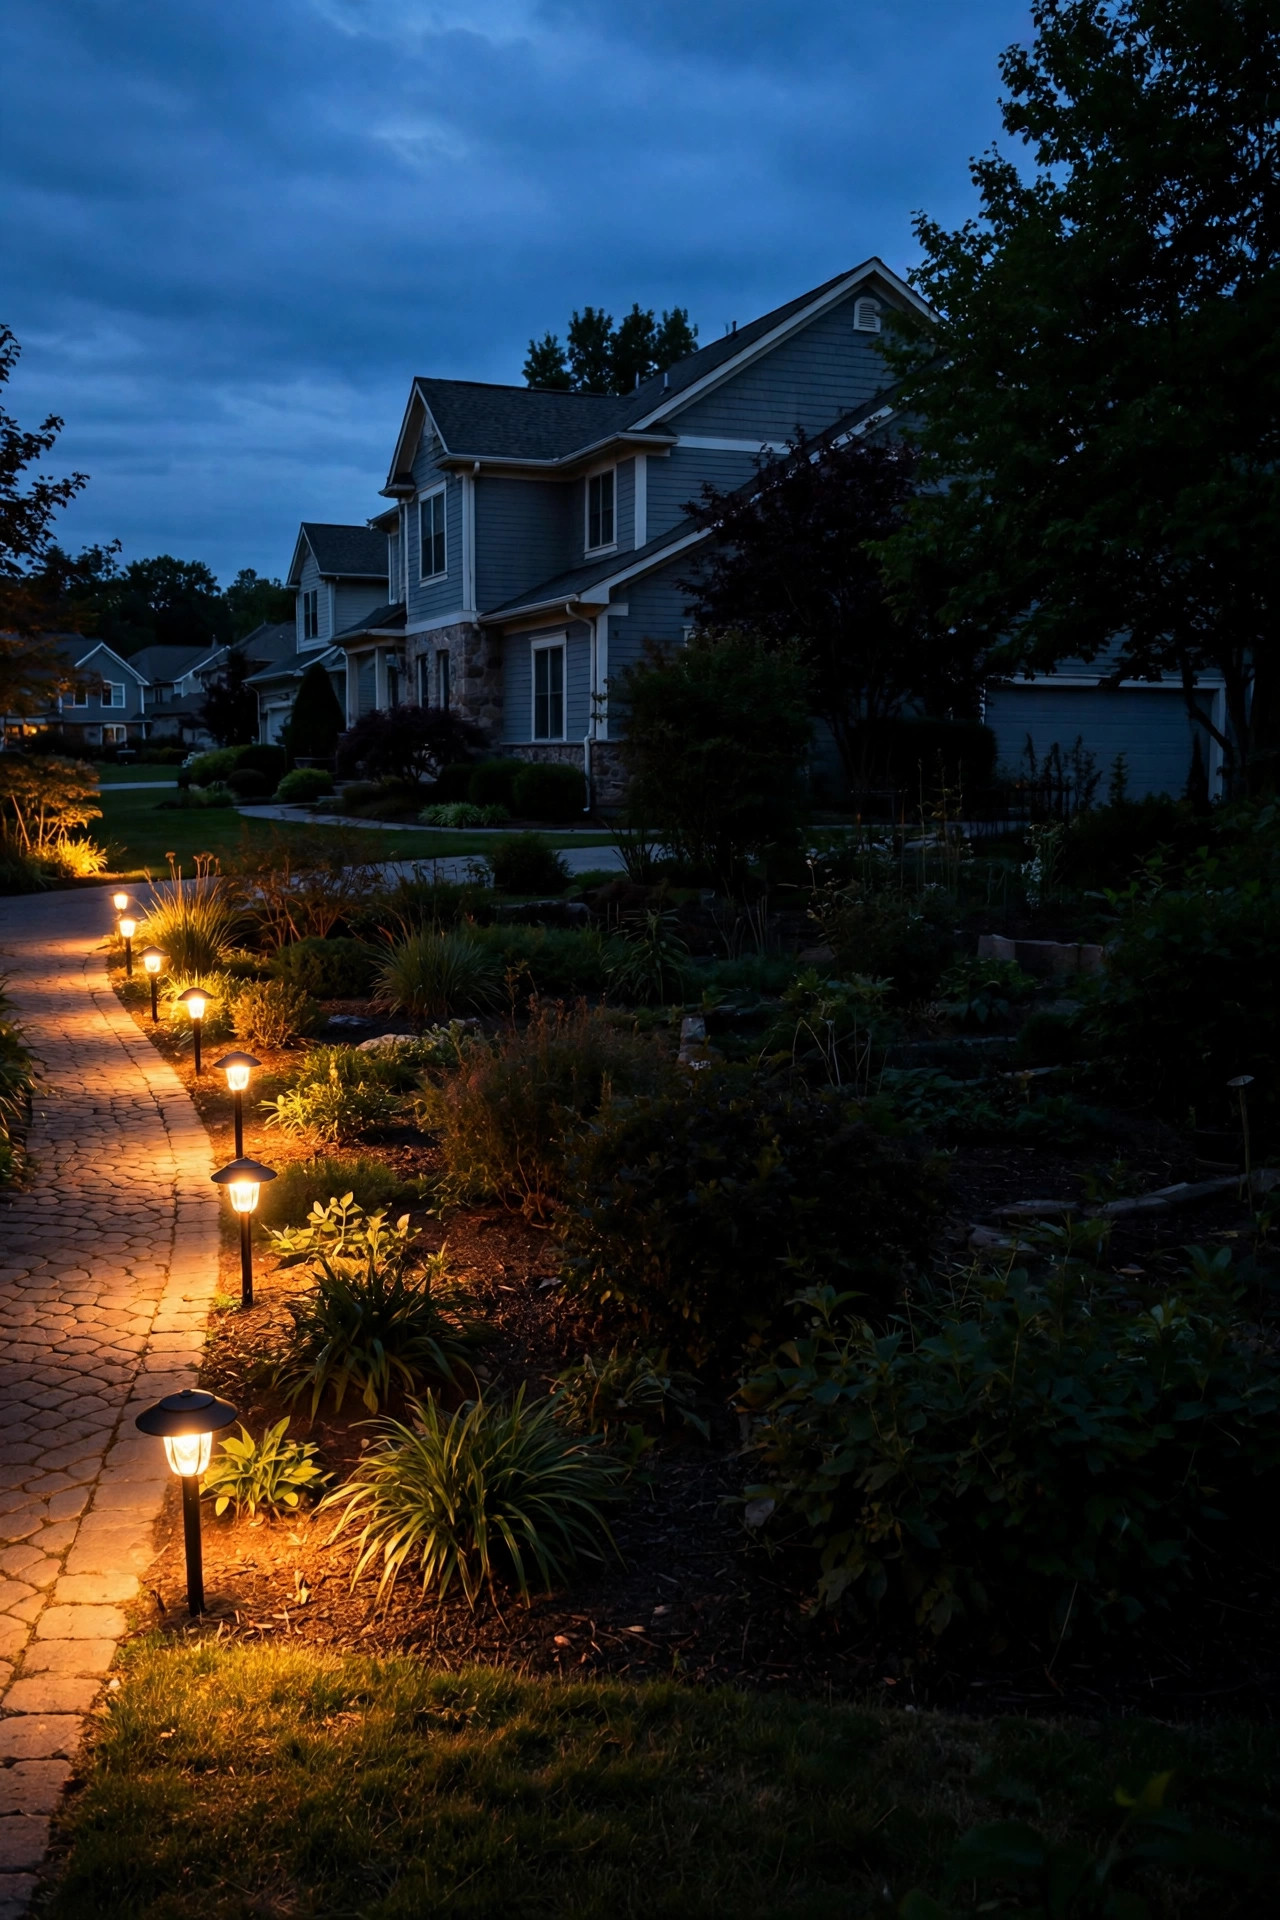
Some systems don't fail — they fade. The lights near the transformer look fine, but each one down the line is a little dimmer, until the last fixtures glow a weak orange that barely shows the path. That's voltage drop: as electricity travels a long cable feeding many fixtures, the voltage quietly bleeds away, and lights at the far end are running on leftovers. Halogen bulbs show it cruelly; anything under about 10.5 volts looks tired. LEDs forgive more, but they'll tell you eventually. Confirm it with your meter at the last fixture on the run — test the connector while the lights are on. If you're reading two or more volts less than at the transformer, you've found your culprit. The causes are predictable: too many watts on one run, cable that's too thin for the distance, or a transformer parked at one end of a very long yard. The fixes follow the same logic. Move the transformer toward the middle of the layout, split one long run into two shorter ones, step up to a thicker cable, or move the zone to a higher-voltage tap on the transformer — that last one takes ten minutes and surprises people every time. My deeper dive on landscape lighting voltage drop has the math and a worked example if your run is borderline.

Step 7: The Fixtures Themselves — Bulbs, Sockets, and Lenses
When the zone has power and the cable is sound, the fault is in the fixtures themselves — and here, swapping is your best tool. Take a bulb you know works and move it down the line of dead fixtures. If the good bulb lights, the old bulb was simply done; if it doesn't, the problem is the fixture or its connector. Look inside sockets for the tell-tale green fuzz of corrosion and clean it with a pencil eraser or a small wire brush. Two-pin bulbs bend their pins if they're forced, and a pin that isn't seated feels exactly like a dead bulb. Integrated LED fixtures — the kind with no replaceable bulb — fail as a whole unit, and water is usually the reason: check the lens seal for cracks and look for condensation fogging the inside of the glass. A fixture that fills with water after every rain will keep eating bulbs until you reseat or replace the gasket. Don't overlook the humble stuff, either. Ants build in warm fixtures. Spider webs and leaf litter block more light than you'd believe. And a fixture knocked sideways by a mower throws its beam into the mulch, which from the street reads as "that light is out" when it's really just embarrassed. Straighten, clean, reseat — then judge.

Solar Landscape Lights Not Working? Run This Separate Checklist
Solar fixtures live outside the wired system entirely, so none of the transformer tests apply — but they fail for a much shorter list of reasons, and the top one is batteries. The rechargeable cells inside most solar lights last one to two seasons, and a light that glows weakly for an hour after dusk before dying is almost always asking for a fresh battery, not a replacement light. Swap in a known-good rechargeable of the same size and chemistry, and give it a full sunny day before judging. Second: the panel itself. A cloudy, yellowed, or leaf-stained panel can't harvest enough light, and peeling protective film or tree growth that's shaded the spot since spring will starve a healthy light. Clean the panel with a damp cloth and honestly assess whether the sun still reaches it for six hours. Third, the silly stuff that gets everyone once: the switch under the cap still set to off, the plastic pull-tab never removed on a new light, or the light installed where a porch light or streetlight shines on its sensor all night — solar lights refuse to turn on when they think it's daytime. In northern winters, short days and low sun mean weak charges no matter what you do; bringing cherished solar accents indoors for January isn't failure, it's strategy. If a light has a new battery, a clean panel, real sun, and darkness to sense — then, and only then, has it actually died.

What It Costs in 2026
The good news first: most landscape lighting failures are cheap, because the parts that fail most — connectors and bulbs — cost the least. A basic digital multimeter runs $20 to $40 and pays for itself in one diagnosis. Waterproof gel-filled connectors come in packs for $10 to $15. Replacement LED bulbs are $5 to $12 each, a photocell is $10 to $20, and a new timer module is $25 to $60. If the transformer itself has died, a quality replacement sized for most yards runs $120 to $350, and that's a swap most homeowners can do in half an hour with the power off. A full cable replacement for one zone — cable plus connectors — typically lands between $60 and $150 in materials. Calling a pro changes the math but buys certainty: expect $75 to $150 for a diagnostic visit, $150 to $300 for a located-and-repaired cable fault, and $500 and up if several runs need rewiring or the transformer and controls are replaced together. One honest rule of thumb from my own yard: if your system is more than ten years old and needs a transformer, cable, and half its fixtures, price a fresh install before you repair in circles — the per-light cost of a modern LED system is often lower than the third year of patching the old one.
Landscape Lights Not Working: 7 Mistakes That Hide the Real Fault
1. Starting with the bulbs. Swapping bulbs first scrambles your evidence — now you don't know which fixtures were actually dead. Diagnose the pattern first, then touch parts. 2. Forgetting the GFCI in the garage. Outdoor outlets are routinely wired through an indoor GFCI; people replace whole transformers over a tripped reset button. 3. Testing voltage with nothing connected. An unloaded reading can look perfect while the loaded system sags; always test with the lights on. 4. Burying a twist-and-tape splice. It works for a month, corrodes for a season, and fails on the wettest night of the year. Waterproof connectors or don't bury it. 5. Reusing pierce-point connectors. Once pulled apart, their teeth never bite the same way twice; intermittent faults are born here. 6. Condemning the transformer early. Transformers are the most replaced and least guilty part in the whole system; prove it's dead at the terminals before you buy one. 7. Digging before testing. A shovel finds cable the hard way. Every hour with a multimeter saves three with a spade — and keeps a healthy buried cable healthy. I've made at least four of these myself over the years, which is exactly how I learned them — the slow and expensive way.
When It's Time to Call a Pro
I'm a devoted DIYer, but some findings end the troubleshooting session, and I'd rather tell you now than have you learn it with a tingle in your fingers. If the outlet is live, the controls are calling, and you still read zero volts at the transformer terminals after checking its fuse and reset, the transformer has likely failed internally — replacement is DIY-able, but any burning smell, scorch marks, or a breaker that trips again the moment you plug in means hands off and call an electrician. Anything on the 120-volt side of the system — the outlet itself, hardwired fixtures, a lamp post on household current — is licensed-electrician territory in most jurisdictions, full stop. Also call in help if the damage is extensive: a cable chewed in five places, a yard where three zones failed the same week, or a system so old its wire insulation crumbles when you bend it. When you do call, your notes from this walkthrough are gold. Tell the pro the pattern — "zone two is dead past the third fixture, transformer reads 13 volts, it started after aeration" — and you'll cut the diagnostic bill dramatically, because you've already done the thinking. A good pro respects a homeowner who arrives with a map.
A 20-Minute Seasonal Check That Prevents Most Failures
Most of the failures in this guide announce themselves months early, and a twice-a-year walk catches them while they're still ten-dollar problems. Mine takes twenty minutes each spring and fall, flashlight in hand, after dark. I start at the transformer: test the GFCI, wipe the photocell, confirm the timer matches the season. Then I walk every zone slowly, looking for the dim fixture that means a corroding connector, the lens gone cloudy with moisture, the path light leaning after winter heave. I reseat any connector that's above ground, trim back the plants swallowing fixtures and shading solar panels, and pull mulch away from anything electrical. Once a year I take a phone photo of the whole yard lit up from the street; comparing it to last year's photo shows me the slow fades my eyes adjusted to and missed. After any landscape work — aeration, edging, a new planting — I make a point of checking the lights that same evening, because a nicked cable found in week one is a splice, while a nicked cable found in month six is a corroded mystery. Prevention isn't glamorous, but neither is kneeling in a wet flower bed in November, and only one of them comes with hot cocoa afterward.

Frequently Asked Questions
Why are all my landscape lights out at once?
When everything goes dark together, the cause almost always sits at the start of the system: a tripped GFCI or breaker, a dead outlet, a timer or photocell that stopped calling for light, or — least often — a failed transformer. Work through Steps 1 and 2 before anything else. In my experience, the humble GFCI reset fixes this more often than every other repair combined, so check the garage and bathroom outlets before you spend a cent.
Why are my landscape lights so dim at the far end of the yard?
That gradient — bright near the house, dim at the fence — is the signature of voltage drop. The run is too long, the cable too thin, or the total wattage too high for the wire. Measure the voltage at the last fixture while the lights are on; if it's two or more volts below the transformer reading, Step 6 has your fixes, starting with the free one: moving the zone to a higher tap.
Can I troubleshoot landscape lights without a multimeter?
You can get surprisingly far: the outlet test, GFCI reset, photocell tape test, and a known-good bulb swap will solve a large share of failures. What you can't do without a meter is prove where voltage stops, which is the difference between a five-minute answer and an afternoon of digging. A basic meter costs less than one replacement fixture, so if your system has more than a dozen lights, I consider it essential kit.
Why do my landscape lights keep going out after it rains?
Water finds the weakest connection. Moisture wicks into pierce-point connectors and unprotected splices, corrodes the contact, and the zone misbehaves until things dry out — then it "fixes itself" and drives you mad. The permanent cure is finding the suspect connections (start with anything buried without a waterproof connector) and replacing them with gel-filled, sealed connectors. A fixture that fogs inside after rain needs its gasket reseated or replaced for the same reason.
Conclusion
A dark yard feels like a disaster at 9 p.m., but it almost never is. When you find your landscape lights not working, resist the urge to start buying parts. Read the pattern instead: everything out means power or controls, one zone out means a connection or a cut, a fading line means voltage drop, and one dark fixture means a bulb with a story to tell. Test at the transformer, then walk the wire, and the system will confess — usually within the hour, usually for less than the cost of a pizza. That's the whole secret, and it's why I troubleshoot in zones rather than in circles. Fix the fault you found, seal the connection properly, and take that seasonal photo so next year's you has a baseline. Then pour something warm, step out onto the porch, and enjoy the glow you earned — you've got this. For more projects and fixes, browse the rest of my lighting guides here on the site; the yard's only going to get prettier from here.