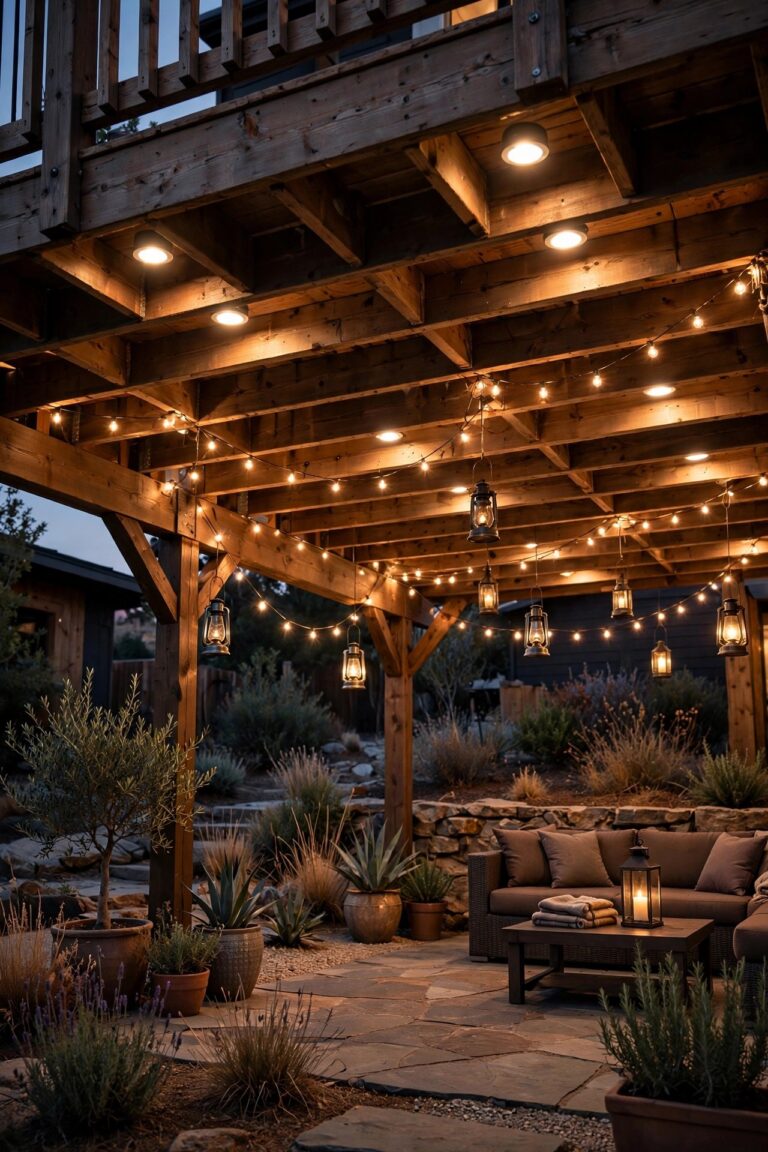
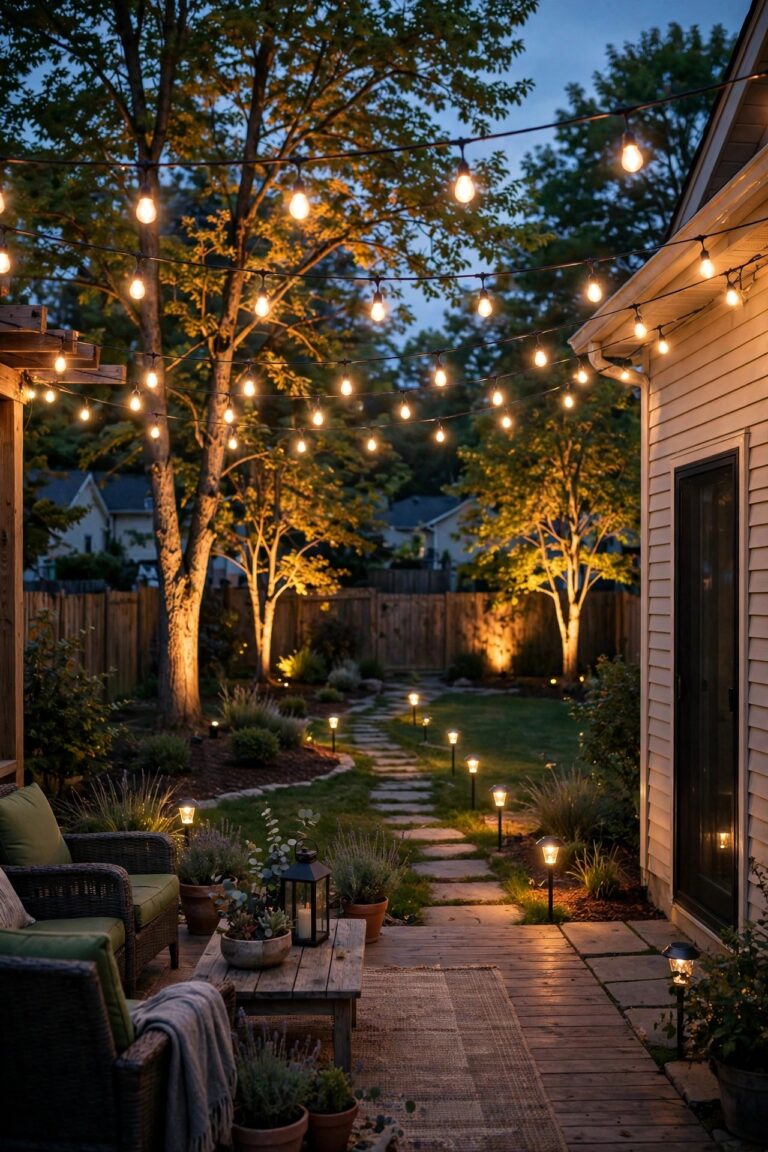
A steep driveway is a blessing for views and privacy — and a small nightly adventure nobody asked for. Backing down a 12 percent grade in the rain, easing up an icy slope before sunrise, guiding guests who have never seen your hill before: the pavement itself changes character after dark. That's exactly why steep driveway lighting ideas deserve their own playbook instead of borrowing rules from flat-driveway advice. On a slope, light has three jobs at once: trace the edges so drivers can judge the grade, kill the glare that blinds you on the climb, and mark the spots where the hill tries to trick you — bends, drop-offs, the crest where the world disappears. My philosophy is the same layering I use everywhere: low guide lights for the edges, honest task light at the top and bottom, and a little warmth so the hill feels welcoming instead of treacherous. Below are 21 ideas built specifically for sloped and steep drives, each with real placement advice and a budget range, so you can make your hill the safest — and prettiest — drive on the street.
1. Low-Voltage Bollards: The Backbone of Steep Driveway Lighting
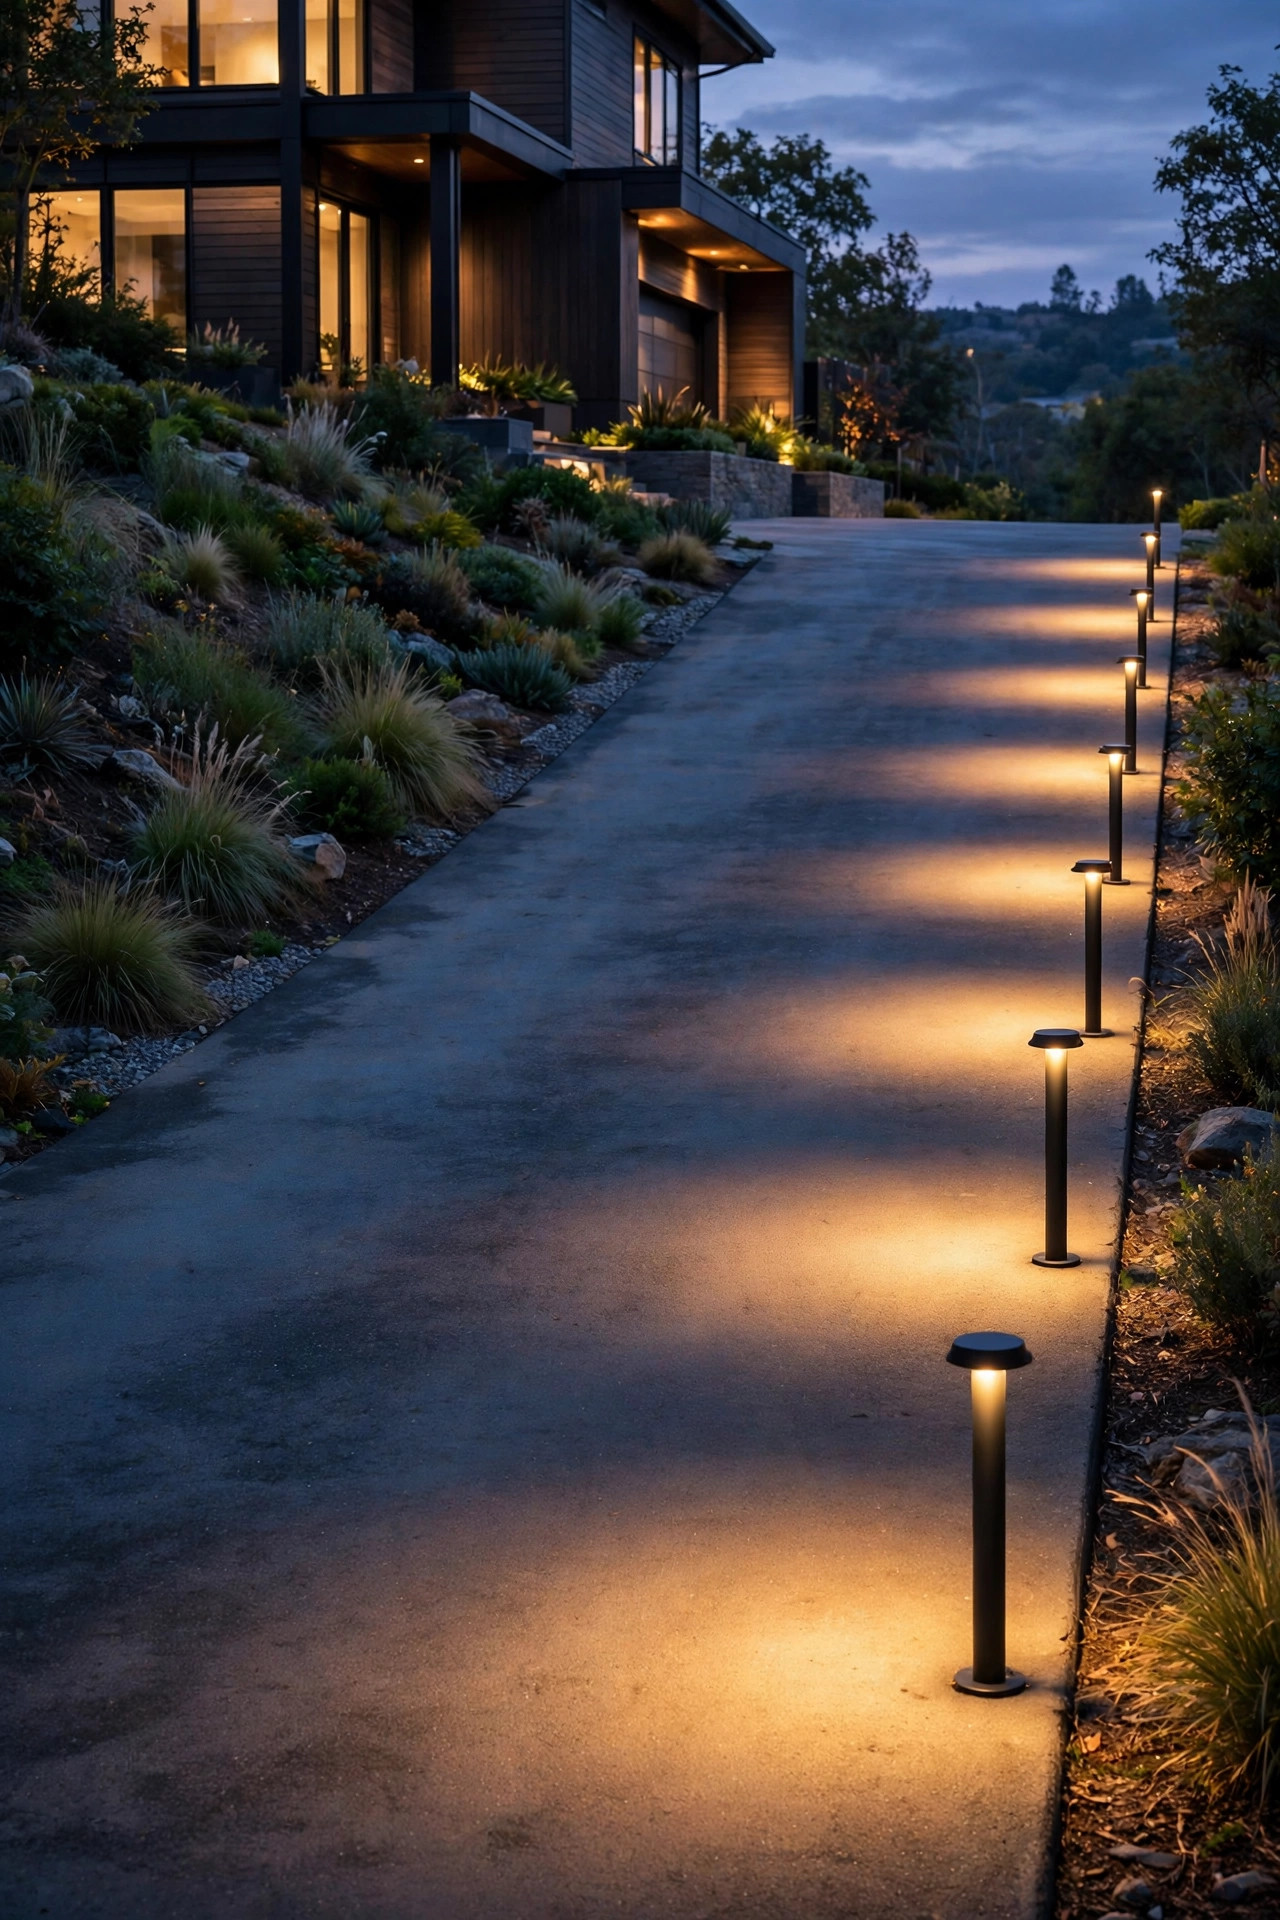
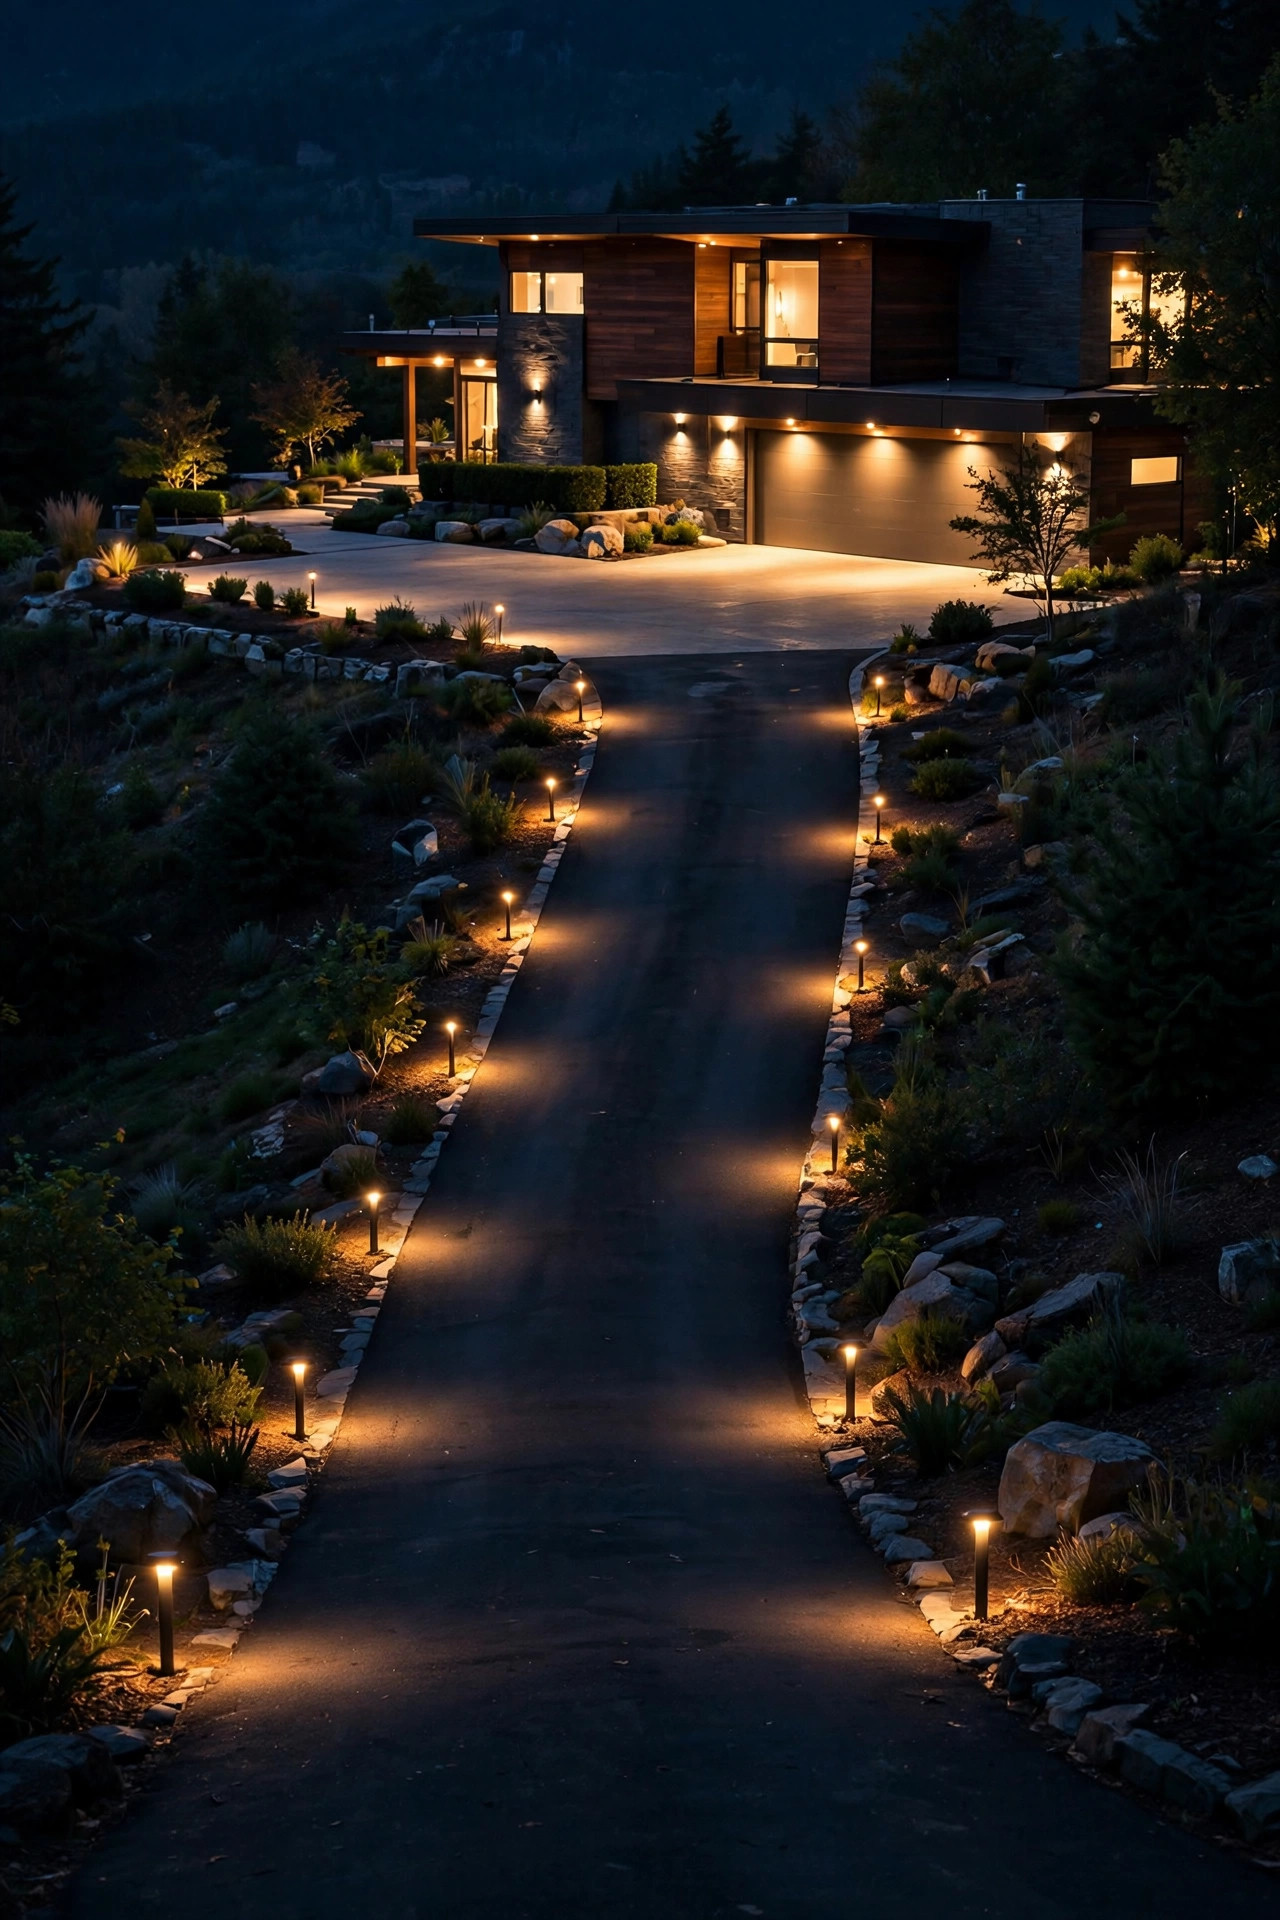
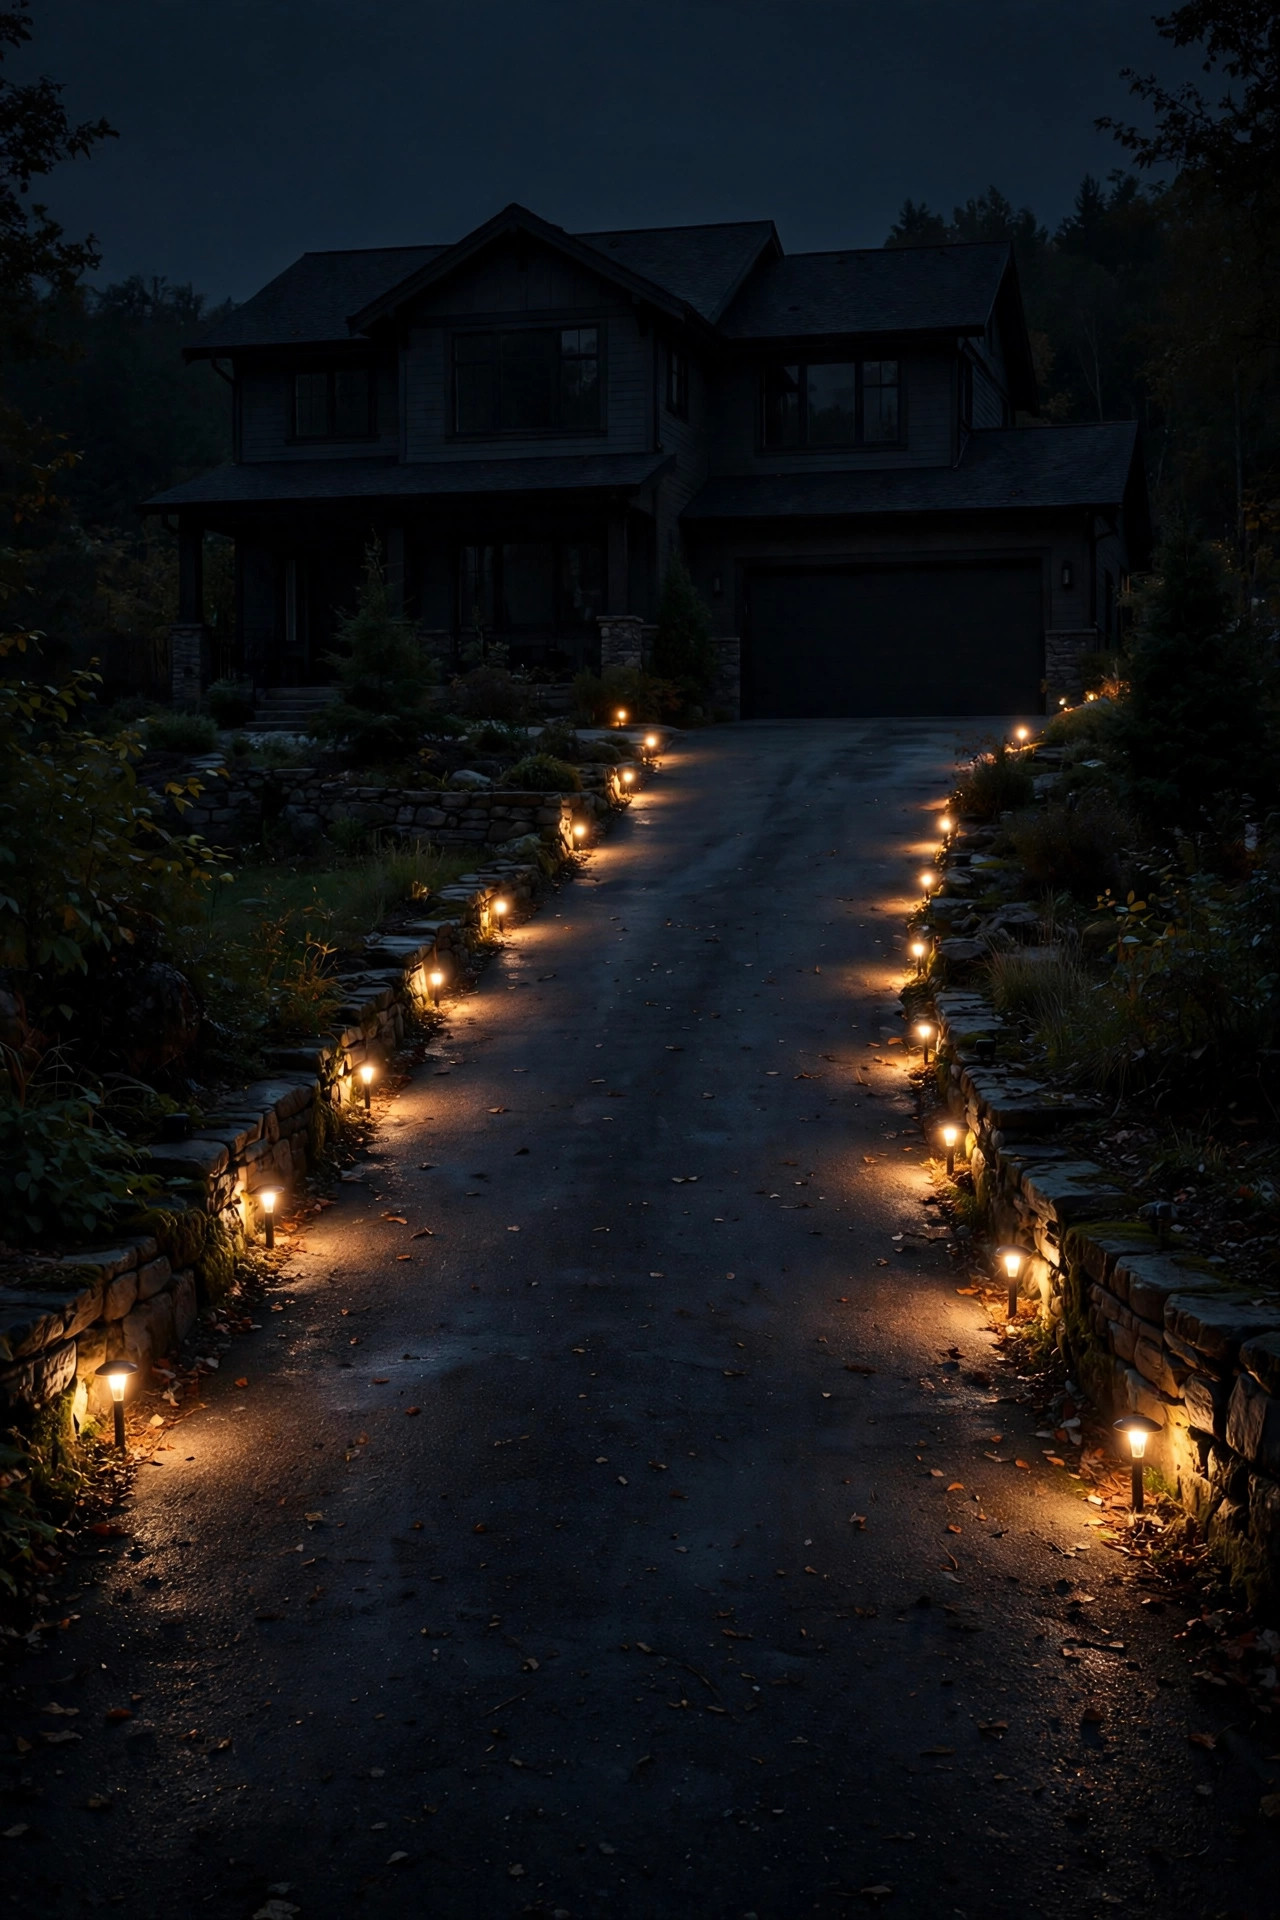
If a steep driveway gets only one layer of light, make it bollards. These short, sturdy posts (usually 18 to 24 inches tall) throw a wide, low pool of light across the pavement without shining into a climbing driver's eyes, and on a grade that low, wide pattern is everything — it reveals the slope's angle instead of flattening it the way a tall lamp can. I space bollards 8 to 10 feet apart on steep sections, closer than the 12 to 15 feet I'd use on flat ground, because the uphill sightline is shorter. Stagger them on both sides on gentle grades, but on a truly steep drive I often run them down one side only and let smaller markers handle the other edge, so the light reads like a runway rather than a tunnel. Choose heavy cast-metal or thick composite bollards with shielded, downward-aimed LEDs; a car nudging a cheap hollow stake on a slope doesn't bend it, it launches it. Low-voltage (12V) wiring is the practical choice here — safe to bury shallow along the uphill edge where the soil is deeper. For a deeper dive on styles and spacing, my guide to driveway bollard lights covers the flat-ground basics that still apply.
Suggested budget range: $45 – $120.
2. Flush In-Ground Edge Markers for Tight, Narrow Slopes
Some steep driveways are barely a car wide, with a bank on one side and a drop on the other — nowhere to stand a bollard without stealing inches you can't spare. That's where flush in-ground marker lights earn their keep. These small round or rectangular fixtures sit level with the pavement edge (or just inside the gravel shoulder), so tires, snowplows, and delivery vans pass right over the space they occupy, while a soft LED dot traces the drive's outline from top to bottom. On a grade, I place them 6 to 8 feet apart and always on both edges through any curve, because a single line of dots on a bend can trick a driver into straightening the curve. Look for drive-over rated fixtures — the spec sheet should list a vehicle load rating — with sealed IP67 or better housings, since water runs downhill and pools exactly where these sit. Wired low-voltage versions outlast solar ones here; a flush solar puck on a shaded slope often fades by midnight. Honestly, markers alone won't light the pavement, but paired with one or two real fixtures they make the edges unmissable.
Suggested budget range: $25 – $60.

3. Retaining Wall Lights That Wash the Slope in Light
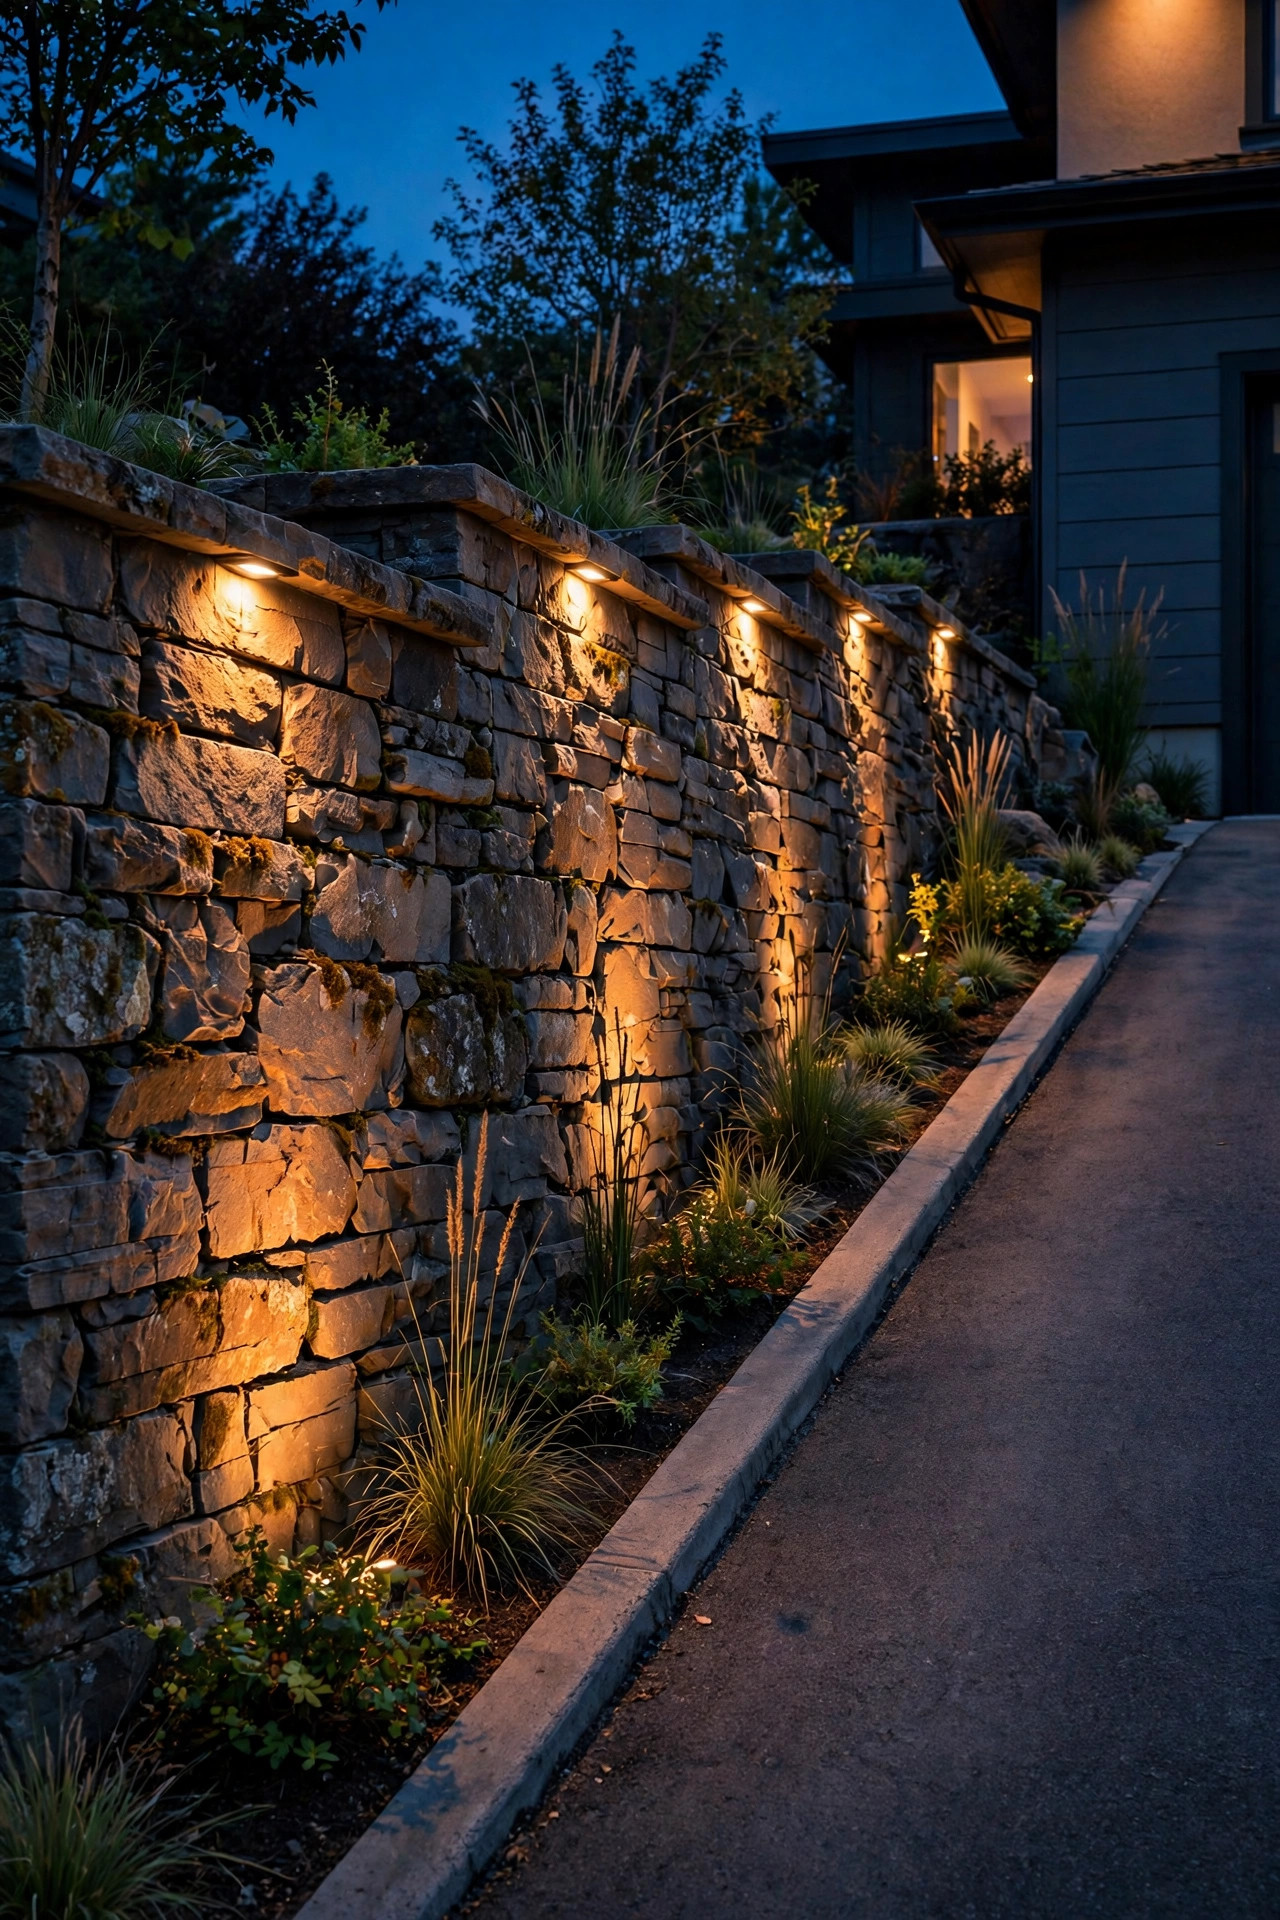
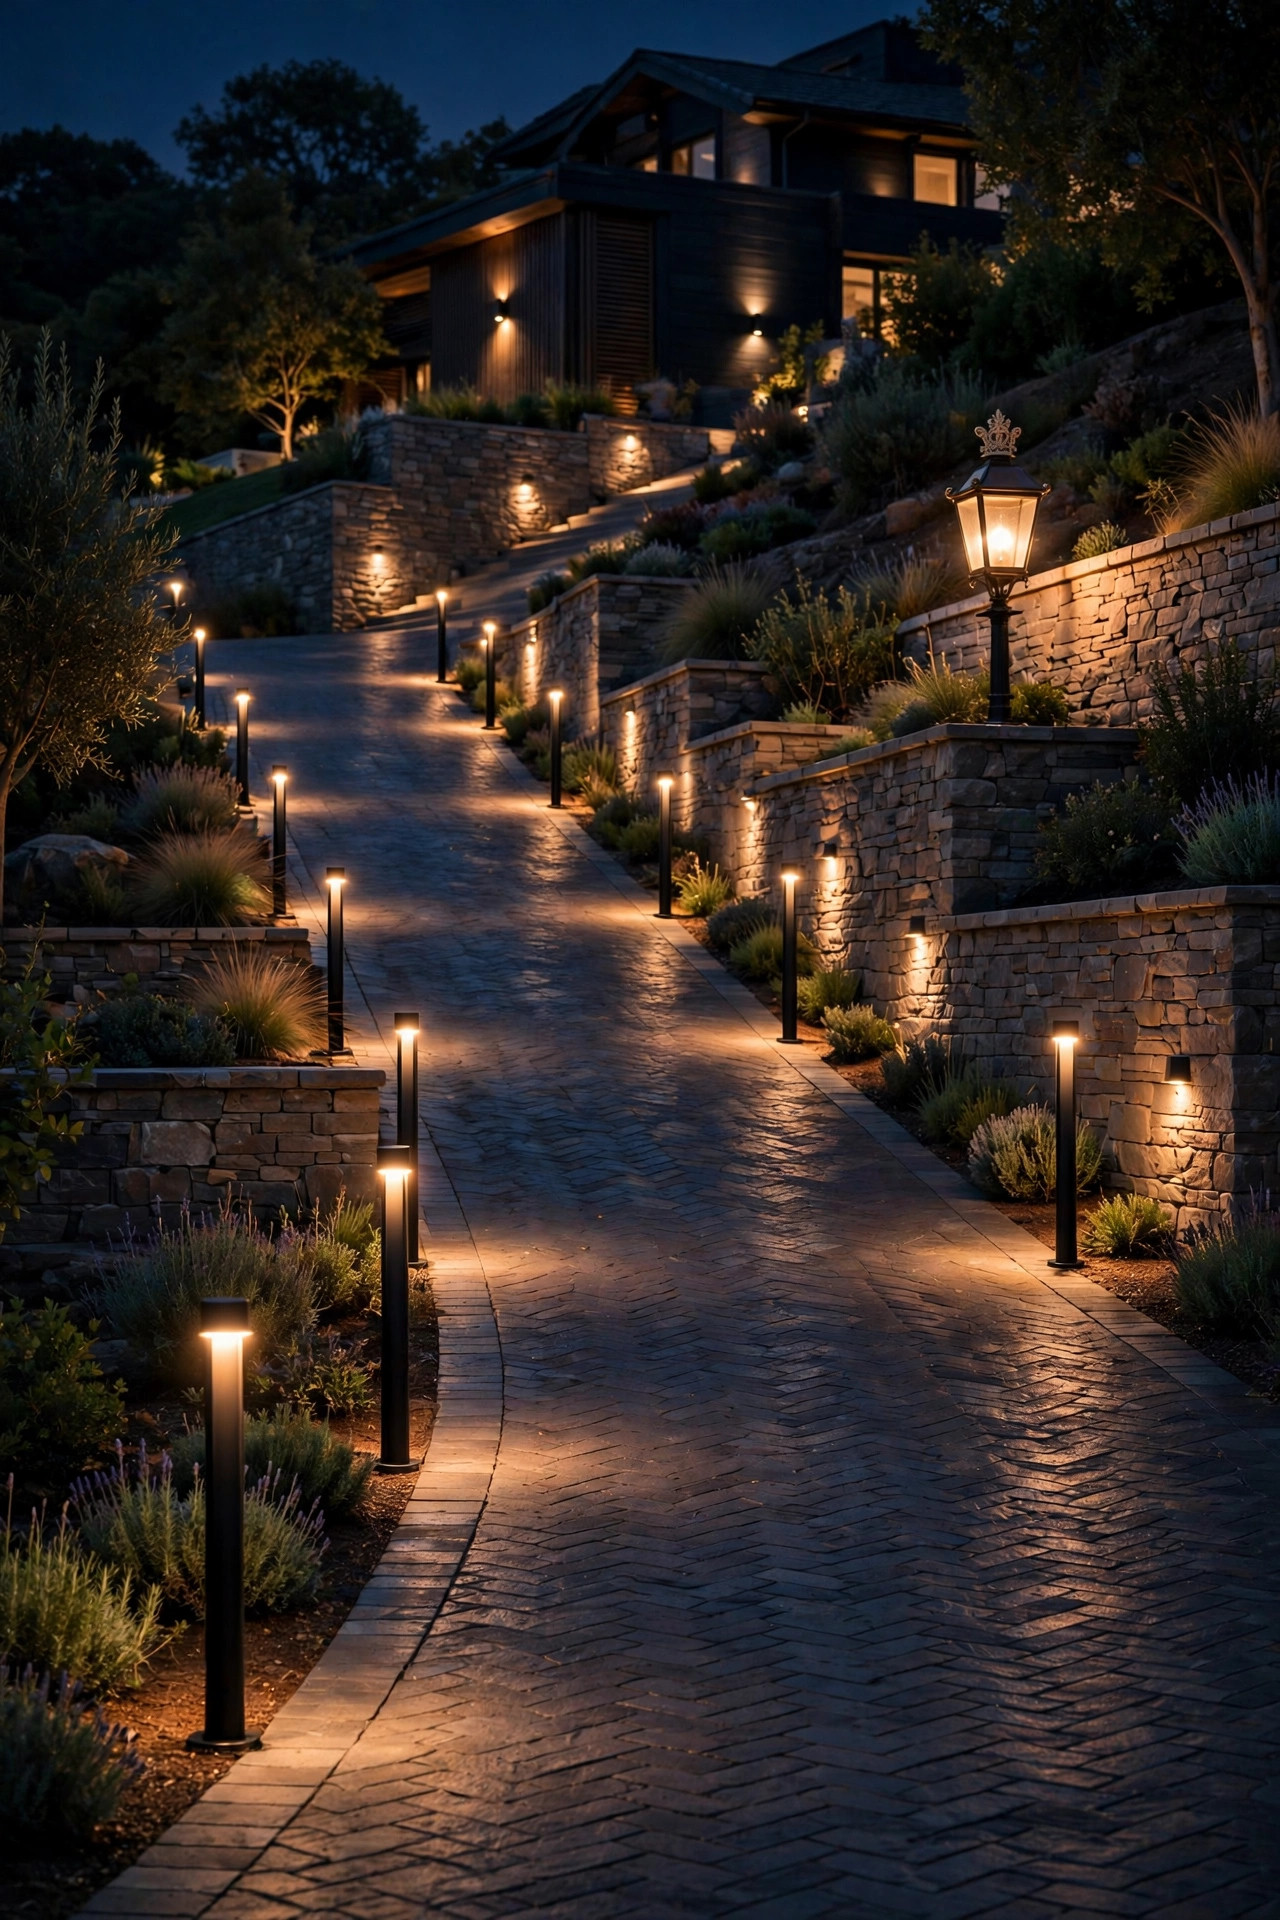
Most steep driveways come with a retaining wall on the uphill side, and that wall is a lighting gift. Hardscape lights — slim LED bars that tuck under the capstones — wash a soft sheet of light down the wall face and across the pavement edge, which does two things flat-driveway lighting can't: it shows drivers exactly where the wall is (the thing they most fear clipping) and it reveals the wall's texture, so the slope itself becomes visible instead of a black void. Space the bars every 4 to 6 feet along the wall, wired into your low-voltage system, and choose fixtures with a wide beam meant for wall washing rather than spot beams that leave zebra stripes. If your wall has steps or tiers, repeat the treatment on each level; the stacked glow honestly looks like a resort entrance. One caution from experience: mount the bars at least a few inches back from the capstone's front edge so meltwater and runoff drip clear of the lens, and seal every wire penetration — water follows wire runs downhill with real determination on a slope.
Suggested budget range: $30 – $75.
4. Extra Light Exactly Where the Drive Bends
Ask anyone who drives a steep driveway nightly where the scary moment is, and it's never the straight climb — it's the bend, where the headlights point into the trees while the pavement turns away, or the switchback where the downhill edge vanishes. So light the bends like they matter most, because they do. I place one slightly brighter fixture at the outside of every curve — a taller bollard, a shielded spotlight aimed across the pavement, or a wall light if the bend hugs the retaining wall — spaced so a driver entering the turn can already see the fixture that marks its exit. On switchbacks, a pair of markers on the outer edge plus one accent light on the inner bank gives the eye a full picture of the turn's shape. Resist the urge to light bends from the inside only; a bright inner bank with a dark outer edge is how guests end up on the grass, or worse, over it. Think of bend lighting as punctuation: everything else is the sentence, but these are the commas that keep drivers from running on.
Suggested budget range: $60 – $180.
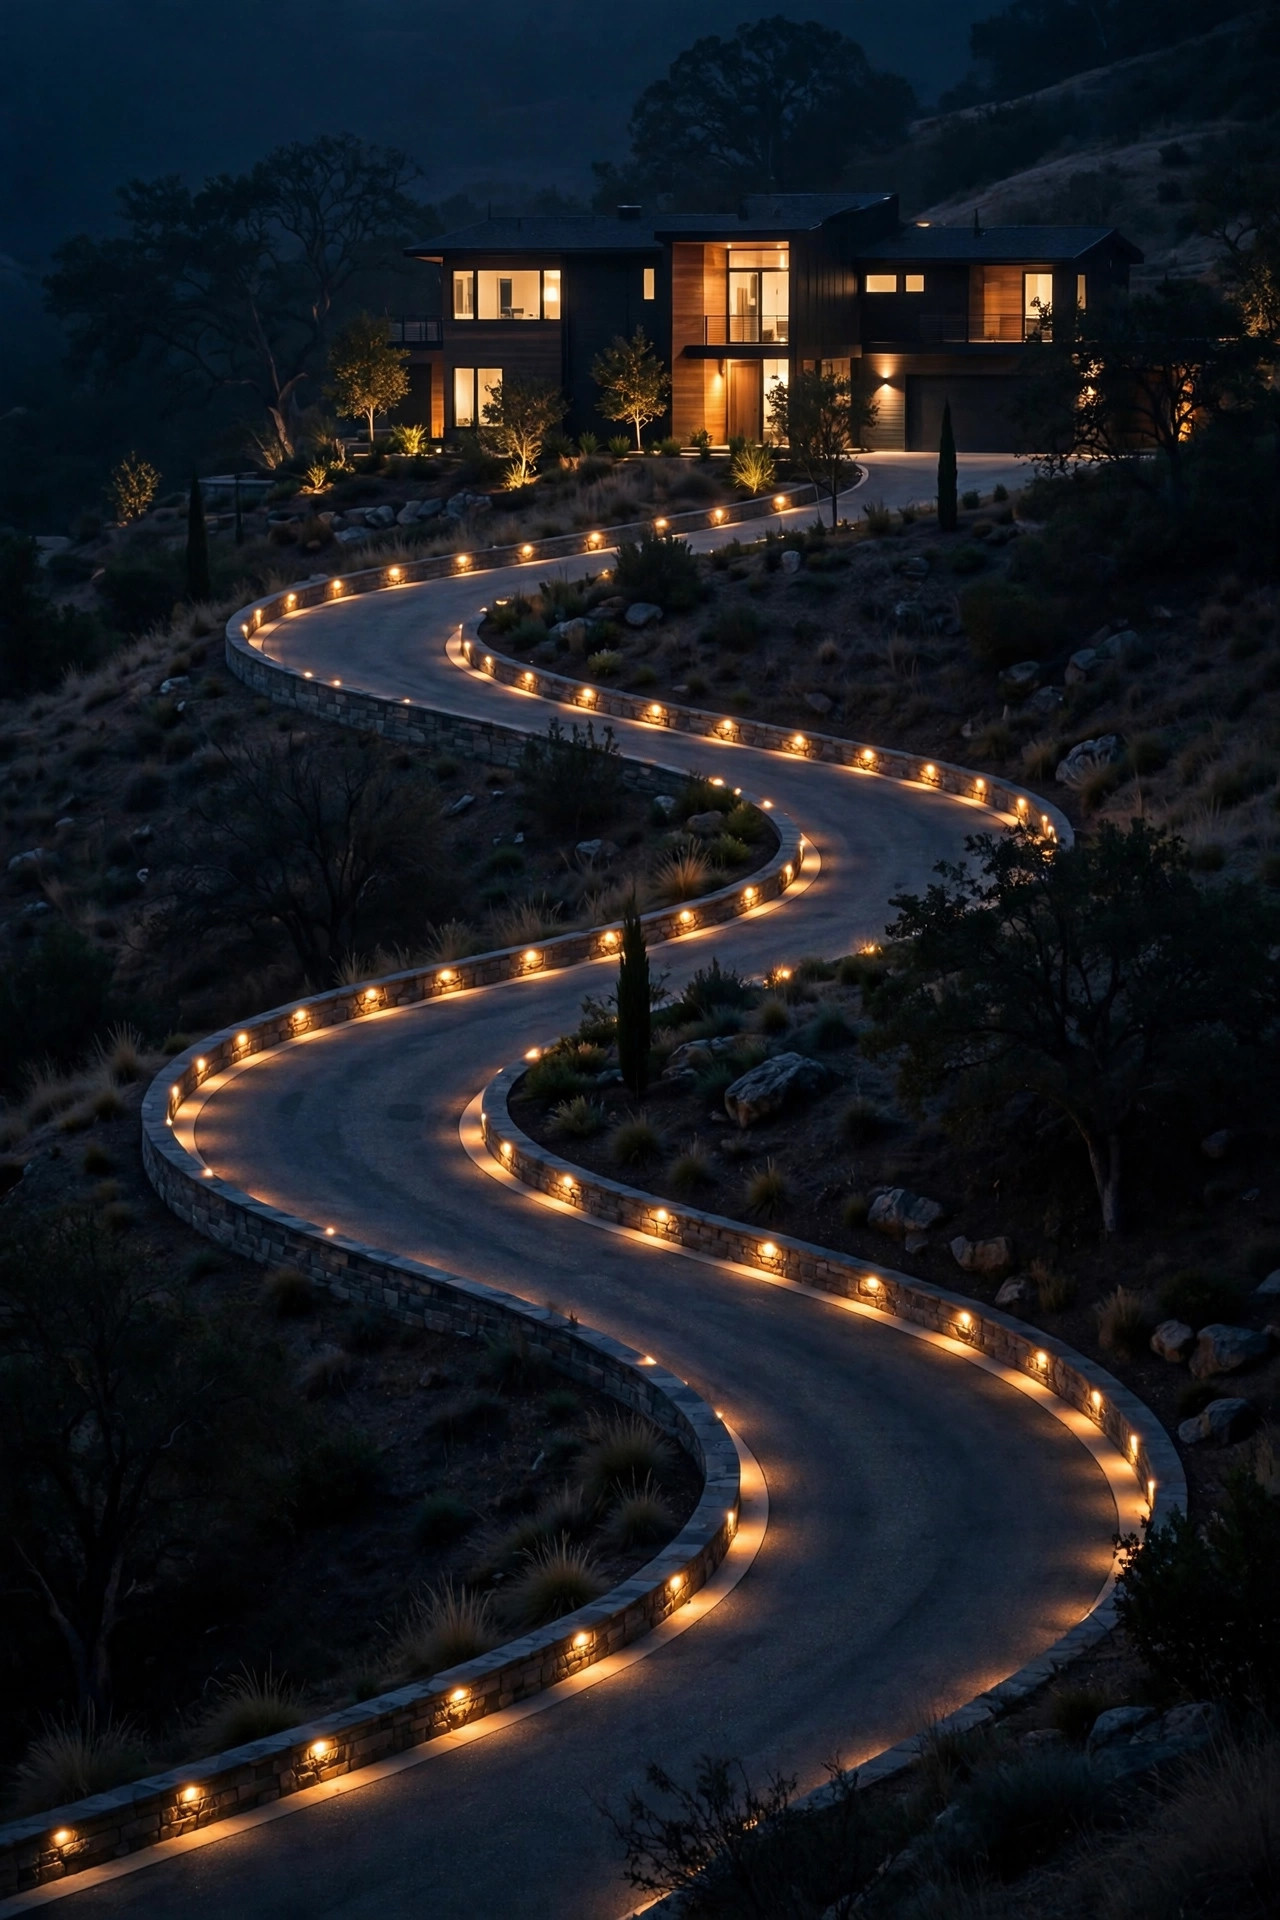
5. Motion-Sensor Floods at the Top and Bottom of the Grade
A steep driveway has two front doors: the street at the bottom and the garage or parking pad at the top. Motion-sensor floodlights guard both. At the bottom, a sensor flood on a post or the mailbox structure tells you (and a would-be prowler) that someone has entered the drive — genuinely useful when your house sits 100 feet up a hill and you can't hear a car arrive. At the top, a wide flood over the parking apron lights the moment that matters most: passengers stepping out onto a slope, often with groceries, often in the dark. Aim the top flood across the apron, never down the drive, or you'll blind every arriving driver at the worst moment. Set sensitivity so it triggers on cars and people but not on the deer that treat your hill as a highway — in my experience, mounting the sensor 8 to 10 feet up and angling it slightly down does most of that work. Dual-head LED floods with adjustable aim are the practical pick, and wiring them to the house panel (with a GFCI-protected circuit) beats solar at this size.
Suggested budget range: $50 – $150.
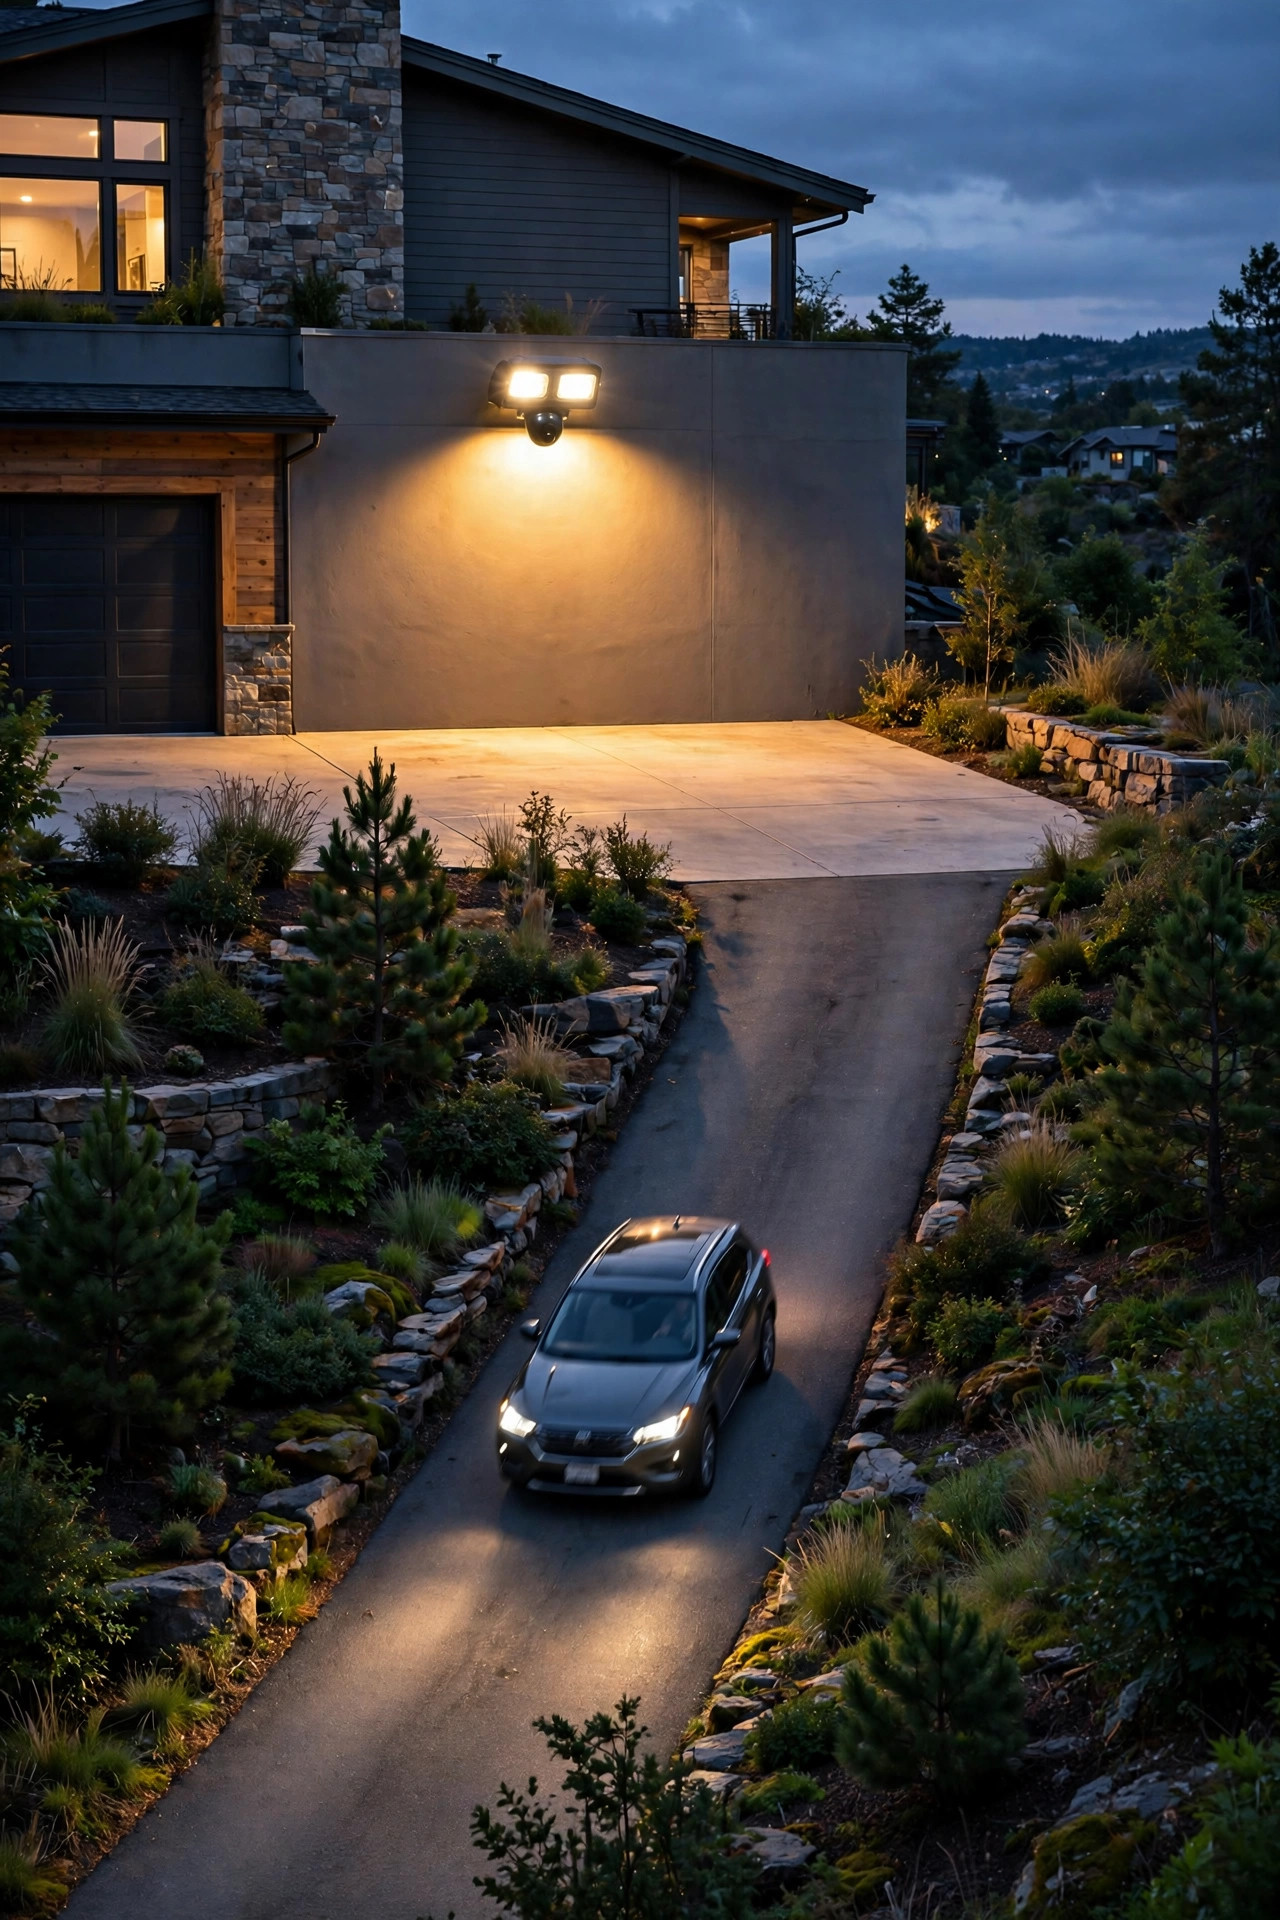
6. A Lamp Post at the Crest Where the Drive Levels Out
Every steep driveway has a crest — the spot where the climb ends, the nose of the car points at the sky, and for one blind second you can't see the parking area, the kids' bikes, or the guest car that parked exactly wrong. A single handsome lamp post at the crest fixes that moment. It marks the destination the whole way up (drivers steer toward light instinctively), and once you're over the top it lights the turnaround where doors open and people mill around. Keep the post modest — 6 to 8 feet is plenty — and set it 3 to 4 feet back from the pavement edge so mirrors and plows pass safely. A warm 2700K LED in a lantern-style head matches most homes and avoids the interrogation-room feel of a tall security pole. If your crest is also where the drive forks to a garage and a front walk, this one post can anchor both paths visually. Wire it on the same timer as your edge lighting so the whole system wakes together at dusk. It's the single fixture guests will remember, so this is the place to spend a little more on looks.
Suggested budget range: $150 – $450.
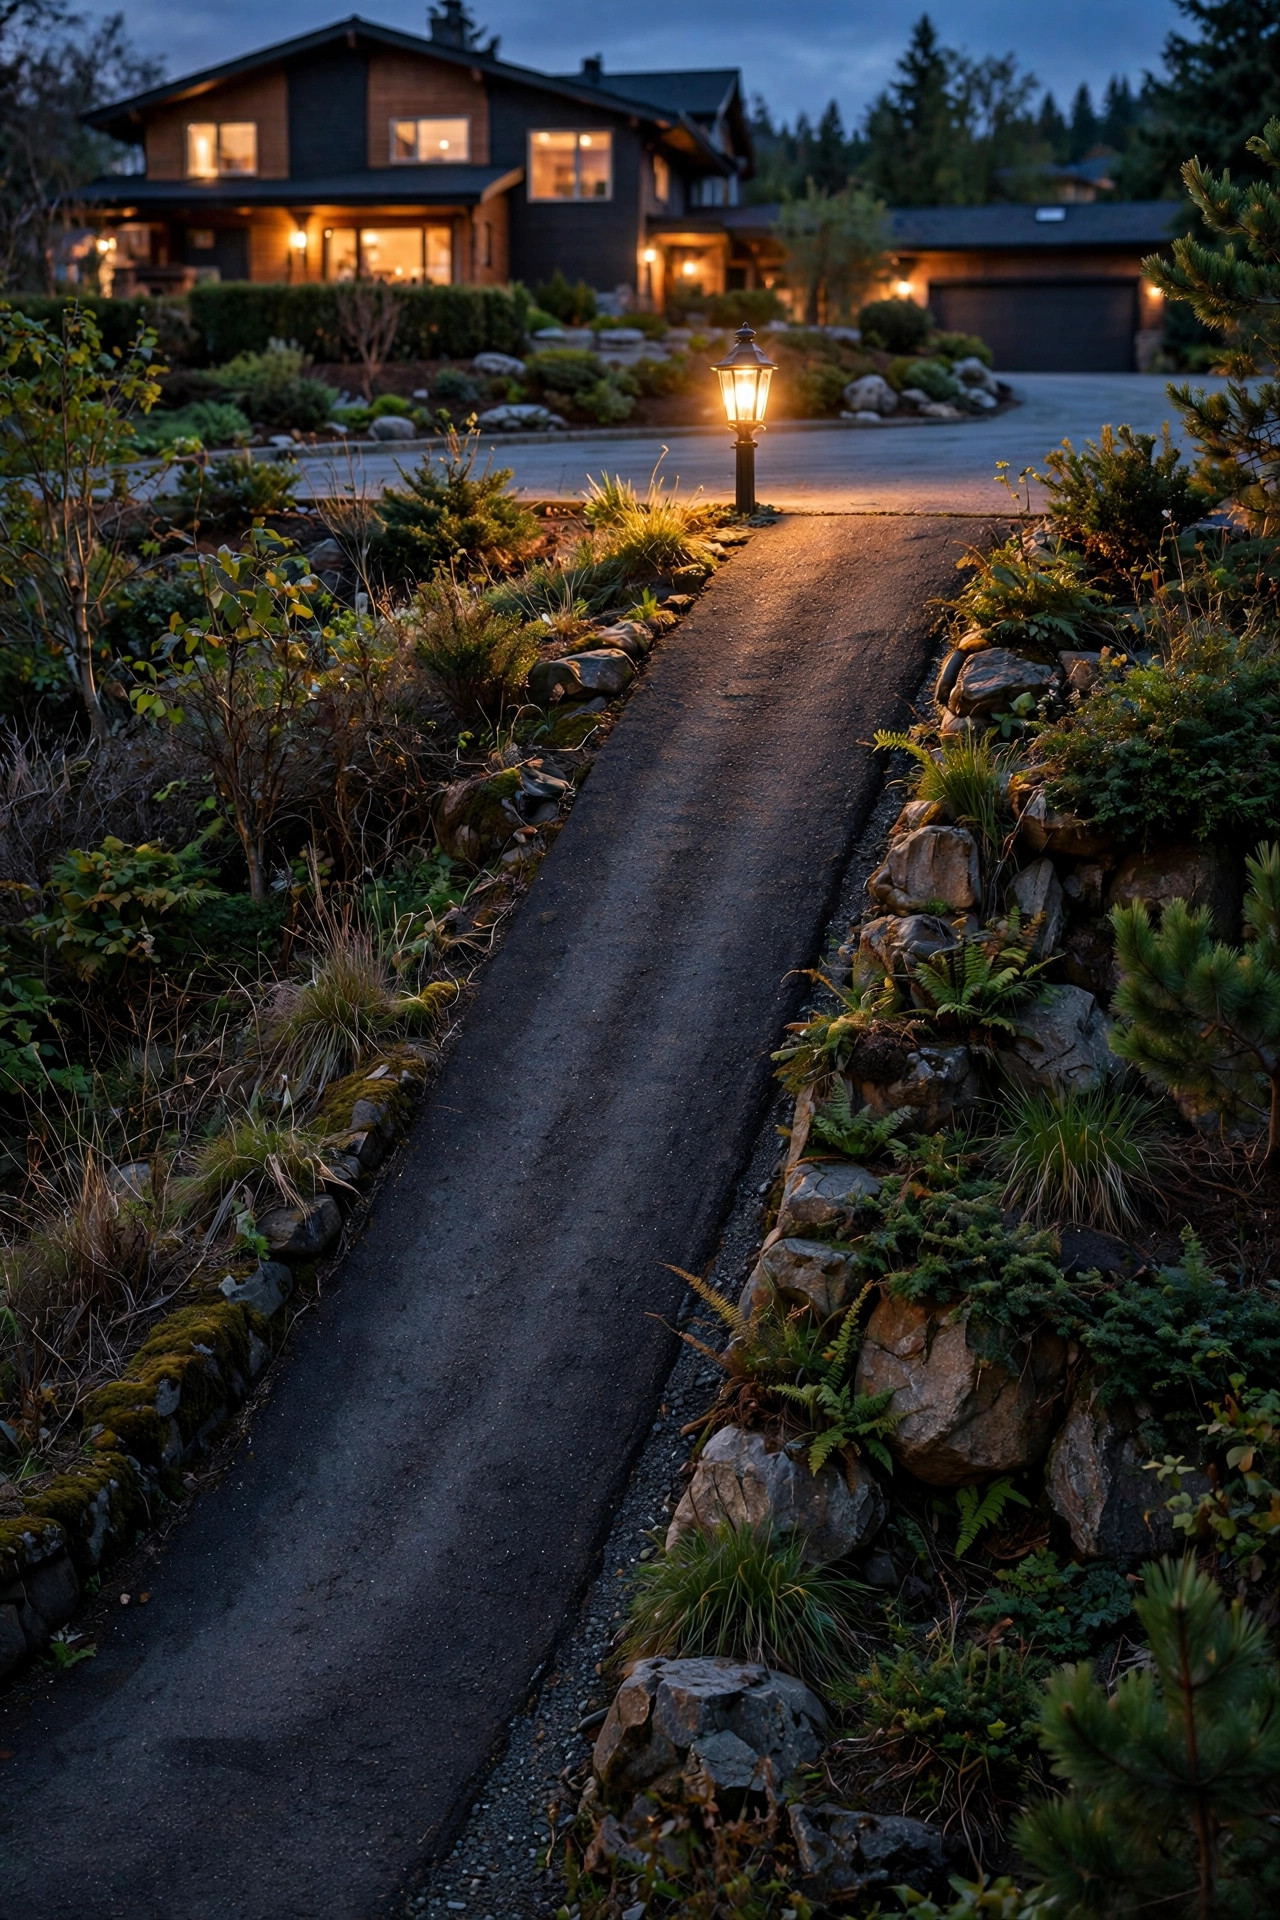
7. Shielded, Downward-Aimed Fixtures That Never Blind the Climb
Here's the physics nobody warns you about: on a steep driveway, a fixture that's perfectly polite on flat ground aims straight into a driver's windshield, because the car is tilted and the light is not. Glare on a grade isn't just annoying — a blinded driver on a 15 percent slope is a genuine hazard. So every fixture on a steep drive should be shielded (the bulb hidden behind a cap, louver, or deep housing) and aimed downward, ideally 30 to 45 degrees below horizontal for any spot or accent light. Bollards with louvered or reflected-light designs are ideal because the light source itself is never visible from the driver's seat. When you test the system — and you should, from the driver's seat, at night, going both directions — any fixture you can see as a bright point is a fixture to re-aim or re-shield. This is also where I part ways with cheap unshielded path stakes: their exposed bulbs sparkle prettily in photos and genuinely hurt to drive toward uphill. Spend the small premium for shielded fixtures; your future self, climbing in the rain at midnight, will be grateful.
Suggested budget range: $35 – $90.
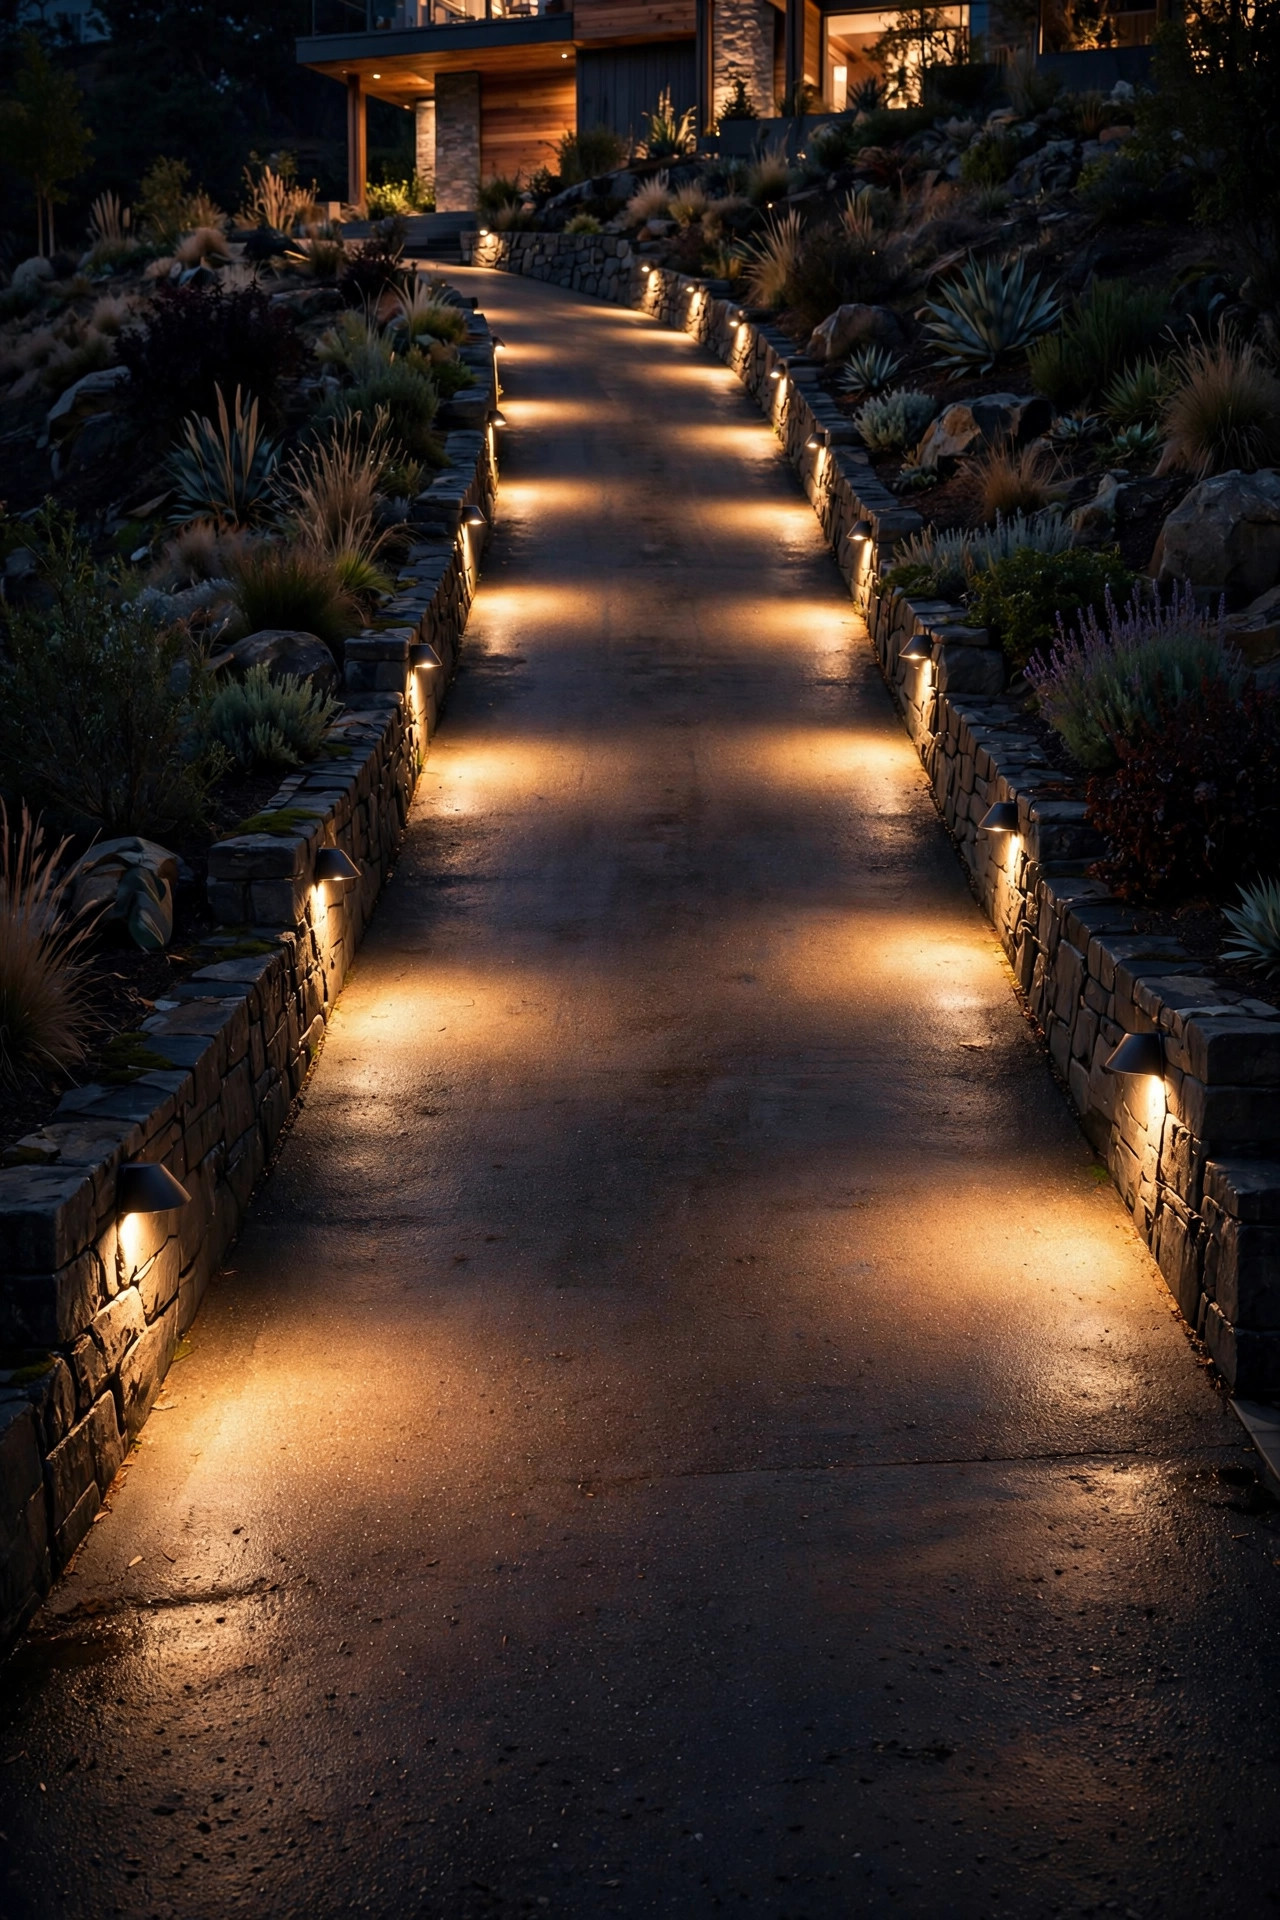
8. Step Lights for the Footpath Beside the Drive
On a lot of hillside homes, the driveway does double duty as the walkway — and walking a steep, dark slope in heels, with luggage, or with a flashlight app is how ankles get rolled. If there's any pedestrian route beside or across your drive, it deserves its own small lights. Recessed step lights set into the retaining wall or a timber edge every 4 to 5 feet give walkers a readable ribbon of light at foot level, exactly where depth perception fails on a grade. Where the path is a gravel strip, short 12-inch path lights angled across the walking surface work better than tall stakes that wobble in soft slope soil. Keep the pedestrian lights on the same low-voltage run as the driveway edges for simplicity, but consider a separate switch or smart zone — guests walking up from street parking at 10 p.m. need the path lit even if you've dimmed the drive. And a practical note: light the top and bottom landings a touch brighter. Slopes deceive the eye about where they end, and that last unlit step is the one that gets people.
Suggested budget range: $20 – $55.

9. An LED Strip Running the Curb Line
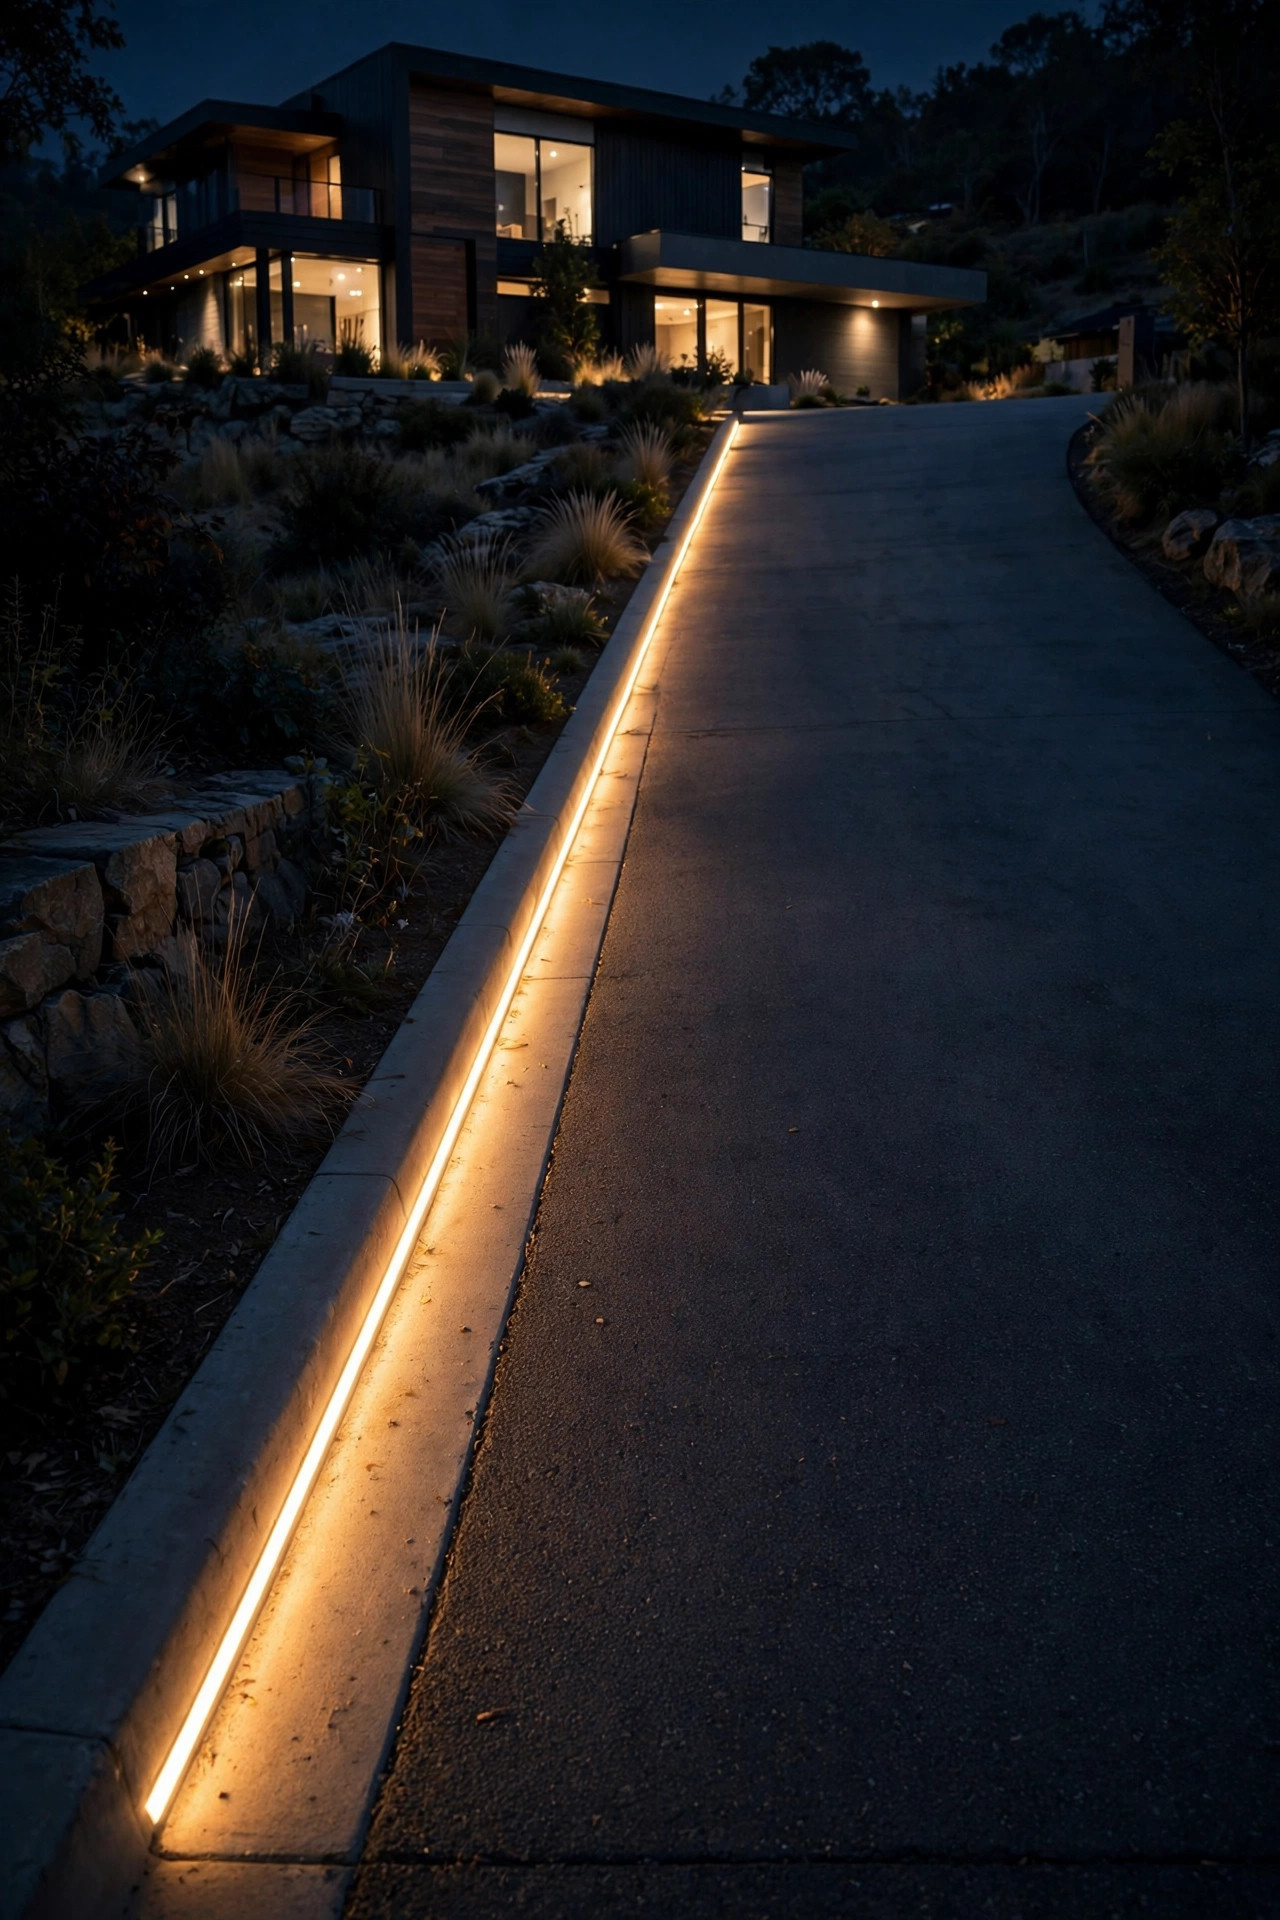
For a clean, modern line of guidance light, it's hard to beat a waterproof LED strip tucked along the curb or the base of the retaining wall where it meets the pavement. The continuous line reads beautifully on a slope — from the street, your whole driveway draws itself in one warm stroke — and because the light is continuous rather than dotted, drivers judge the curve of the grade more accurately. Use outdoor-rated, silicone-encased strip (the kind sold for landscape and marine use), mounted in an aluminum channel with a diffuser so frost, gravel spray, and the occasional tire kiss don't kill individual diodes. Keep it on the uphill curb where tires rarely ride, and protect the low-voltage feed by running it through conduit at any point it crosses the drive. Strips are dimmable, which is a quiet superpower on a steep drive: full brightness for a stormy night, a low glow for everyday evenings. One honest caveat — strip is a guide light, not a work light. It outlines the drive; it won't show a patch of black ice. Pair it with at least one real fixture at the top.
Suggested budget range: $60 – $200.
10. Solar Stakes Only Where the Sun Actually Reaches
I love solar lights, and I still talk half my hillside readers out of them — because a steep driveway usually means a shaded driveway, carved into a bank or threading through trees, and a solar stake that gets two hours of dappled light will die by 9 p.m. in December. The honest rule: solar works on steep drives only where the fixture's panel sees direct sun for at least 6 hours, typically the sunny lower stretch near the street or an open south-facing bank. Test with your phone's sun-tracker app before buying a case of stakes. Where solar does qualify, it has one real advantage on slopes — no trenching wire into a hillside that erodes a little more every time you dig. Choose stakes with replaceable batteries and remote panels if the light position is shadier than the charging position. Everything in permanent shade — which on most steep drives is most of the run — should be wired low-voltage. My fuller comparison of driveway lighting ideas for every slope and budget goes deeper on the solar-versus-wired math.
Suggested budget range: $10 – $35.

11. Uplighting the Slope's Trees to Reveal the Grade
Here's a trick I borrowed from landscape designers: to make a slope readable at night, light the slope itself, not just the pavement. One or two well lights or spotlights uplighting a tree, a rock outcrop, or a planted bank beside the drive gives drivers a three-dimensional picture of the hill — how steep it is, which way it falls, where the drive sits within it. A completely black bank beside a lit ribbon of pavement, by contrast, makes the drop-off side feel closer and the whole drive feel narrower than it is. Aim uplights into canopies from 3 to 5 feet out from the trunk, keep the beams off the driving sightline (this is accent light, aimed at foliage, never across the pavement), and stay with warm 2700K so the hillside feels like a garden rather than a stadium. Two or three accents are plenty for most drives — this layer is seasoning, not the meal. Bonus: from the house, a gently lit hillside is the prettiest view on the property, and it makes the climb home feel like arriving somewhere.
Suggested budget range: $40 – $110.

12. Guardrail and Fence Lighting on the Drop-Off Side
If one side of your driveway falls away — a bank, a ravine, a retaining drop of more than a couple of feet — that edge deserves the most visible lighting on the whole drive, and a rail to carry it. A simple timber guardrail, split-rail fence, or even a low stone edge along the drop-off side gives nervous drivers a physical and visual boundary, and mounting small lights on it makes the boundary glow. I like downward puck or strip lights under a timber rail's top board every 5 to 6 feet: the rail reads as one continuous lit line, the light pools softly at the edge, and nothing shines outward into the void (or into drivers' eyes). On an existing fence, solar cap lights are tempting but usually too dim and too patchy for a safety edge — wire it if the drop is real. This is also the one place I'll suggest a slightly brighter output than elsewhere on the drive. Depth perception at a drop-off is the whole ballgame, and a shy little glow won't convince a guest's brain that the edge is where you say it is.
Suggested budget range: $80 – $250.

13. A Lit Address Marker at the Bottom of the Hill
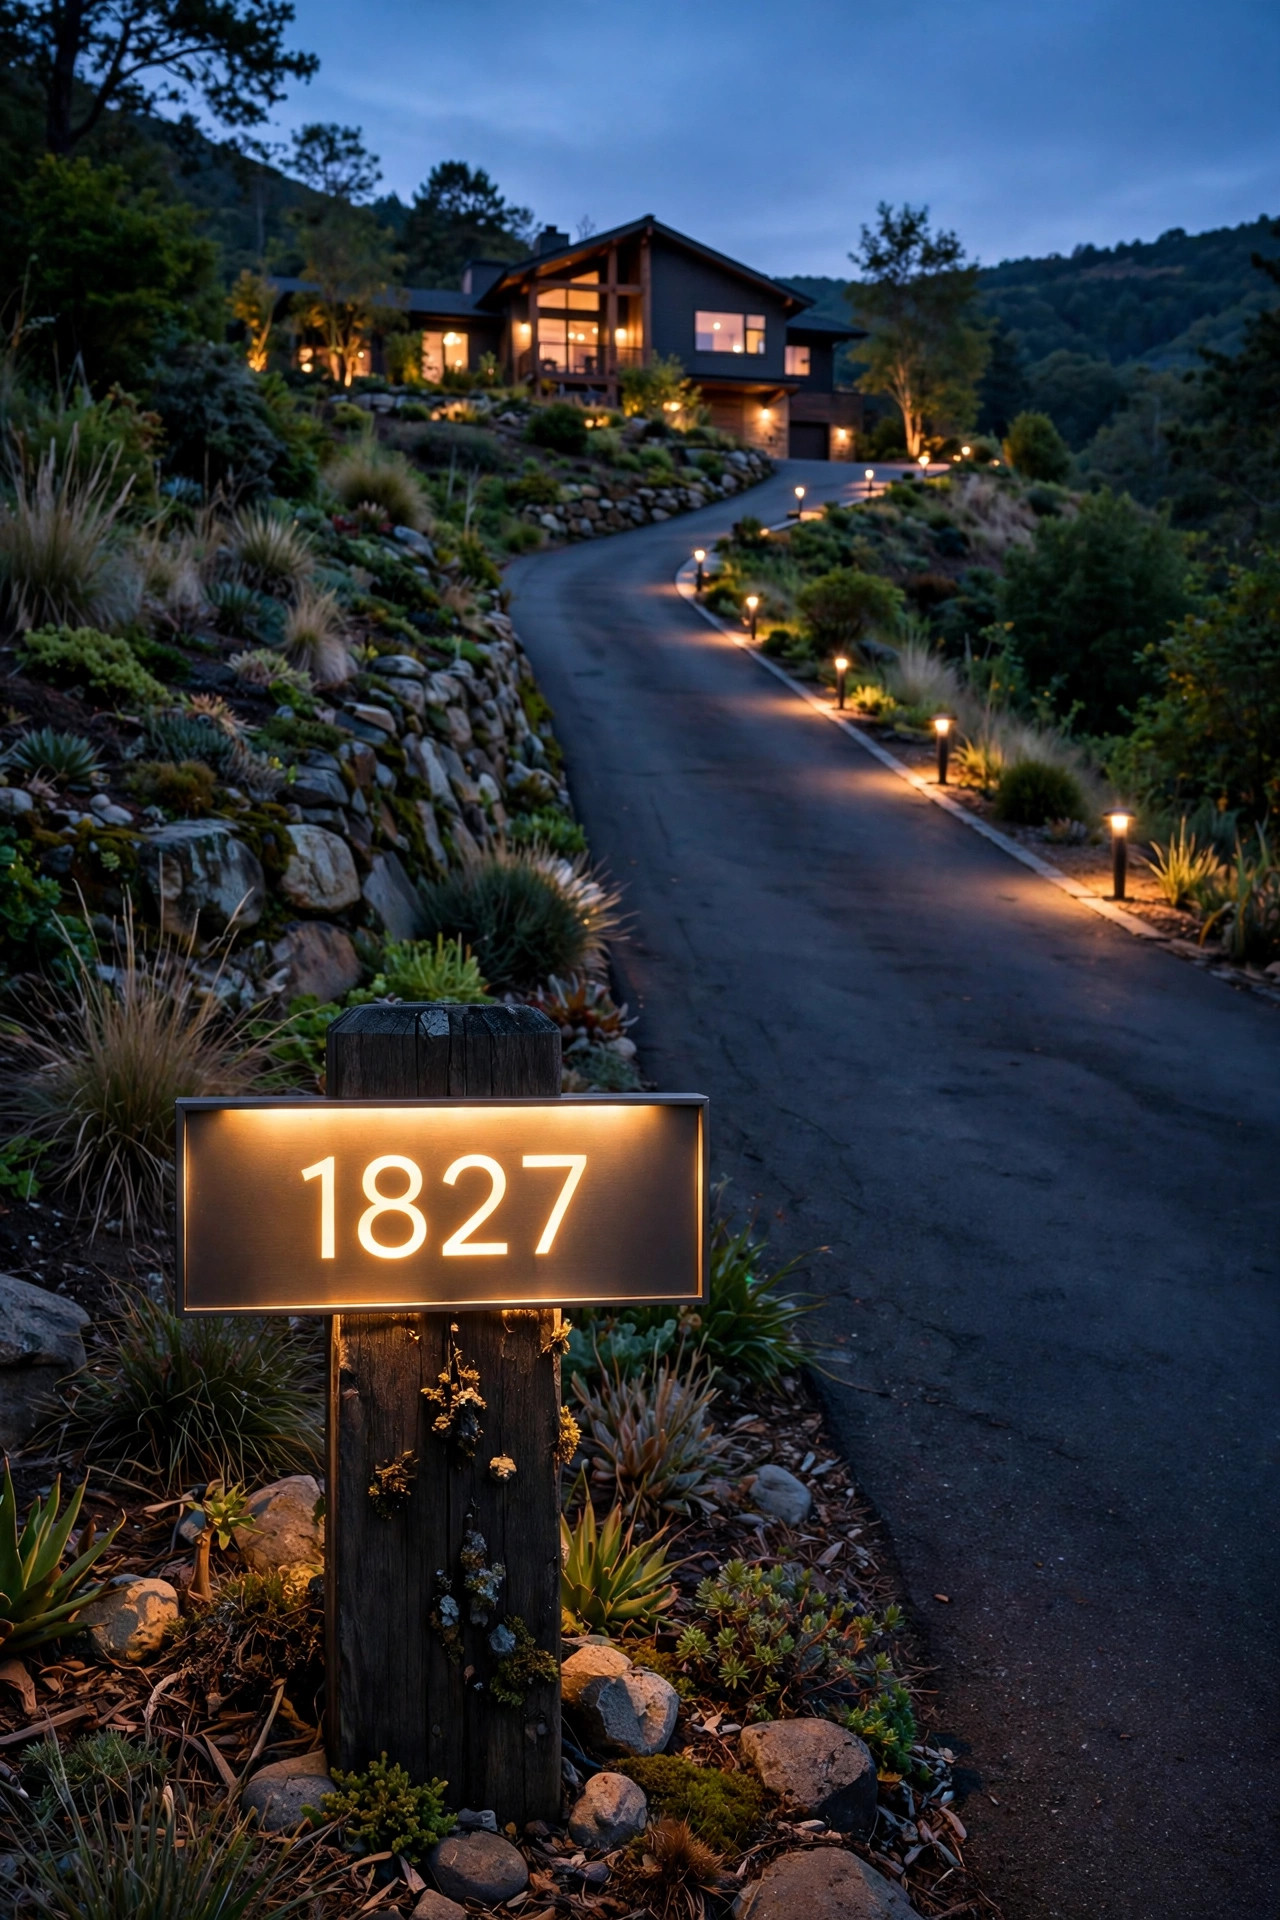
Steep-driveway homes share a quiet problem: the house hides. Set back and up a hill, invisible from the street, often with a mailbox cluster at the bottom that may or may not carry your number. A lit address marker at the foot of the drive — a small illuminated plaque, a solar or wired post with reflective numbers, or a lantern on the entry post with the number beneath — solves three problems at once. Delivery drivers stop guessing which hill is yours. Guests get a "turn here" beacon they can spot from half a block away. And in the emergency you never want, first responders find the right driveway the first time, at speed, in the dark. Keep numbers at least 4 inches tall, high-contrast (light numbers on dark, or backlit), and lit from dusk to dawn rather than motion-only, since the whole point is that it's findable by people who've never been there. If your drive shares an entrance with a neighbor's, this marker matters twice as much. It's the cheapest idea on this list and quite possibly the most valuable.
Suggested budget range: $25 – $90.
14. Timers and Photocells Keep Steep Driveway Lighting Hands-Free
Nobody should have to remember to switch on the driveway before a guest climbs it in the dark — and on a steep drive, "oops, forgot" isn't a shrug, it's a hazard. Automate the whole system. A photocell on the transformer turns low-voltage runs on at dusk and off at dawn with zero thought; an astronomical timer does the same job with an off-time you choose (mine runs to 1 a.m., then a single low guide zone stays on till dawn). Smart transformers and plugs add the genuinely useful tricks: a "guest arriving" scene you trigger from your phone that brings the drive to full brightness for ten minutes, or schedules that change with the seasons automatically. One slope-specific tip: put the photocell where it sees true sky darkness. A sensor tucked under the eaves at the top of the hill reads the house's own light spill and can cycle the system off and on; a sensor near the street end of the run, or a timer instead of a sensor, behaves better. However you do it, the goal is a driveway that is simply always lit when it needs to be.
Suggested budget range: $25 – $120.

15. Two Zones: Light the Climb and the Apron Separately
Flat driveways get away with one circuit and one switch. Steep driveways behave better with two zones — the climb (edge markers, bollards, bend lights) and the top (apron, crest post, garage lights) — on separate runs or a multi-zone transformer. The practical reasons stack up fast. Voltage drop is real at the end of a long uphill wire run, and splitting the load keeps the far fixtures as bright as the near ones. You can run the climb at a low, always-on guide level while the apron's brighter lights sit on motion or a timer. When a fixture fails mid-hill, the other zone still works — a dark apron with a lit climb is an inconvenience, but a lit apron above a pitch-black climb is a trap for arriving guests. Zoning also phases the budget kindly: wire and light the climb first (safety), add the apron's prettier layer when the wallet recovers. If you're planning the whole front slope at once, my notes on sloped front yard lighting ideas show how the driveway zones tie into the rest of the yard.
Suggested budget range: $100 – $300.
16. Warm 2700K–3000K Light for Judging the Slope
Color temperature sounds like decorator trivia until you try to judge a wet, leaf-strewn grade under icy blue-white light. Harsh 5000K "daylight" fixtures flatten contrast, bleach the pavement's texture into one gray sheet, and make the downhill edge genuinely harder to read — plus they give a hillside home all the charm of a loading dock. Warm white in the 2700K to 3000K range keeps the pavement's cracks, edges, and gravel texture visible, which is the raw information a driver's eyes use to judge a slope, and it reads as welcoming from the street. Whatever temperature you choose, choose it once: mismatched bulbs — warm bollards, blue apron flood — make the distance between fixtures hard to judge, because the brain reads the color change as a change in the surface itself. If a fixture's bulb isn't replaceable, check its rated temperature before it goes in the ground, and buy a spare or two of anything you love, since manufacturers quietly change LEDs between production runs. On a steep drive, consistent warm light isn't a style preference. It's depth perception.
Suggested budget range: $8 – $20.

17. Apron and Garage Lighting Angled Away From Arriving Drivers
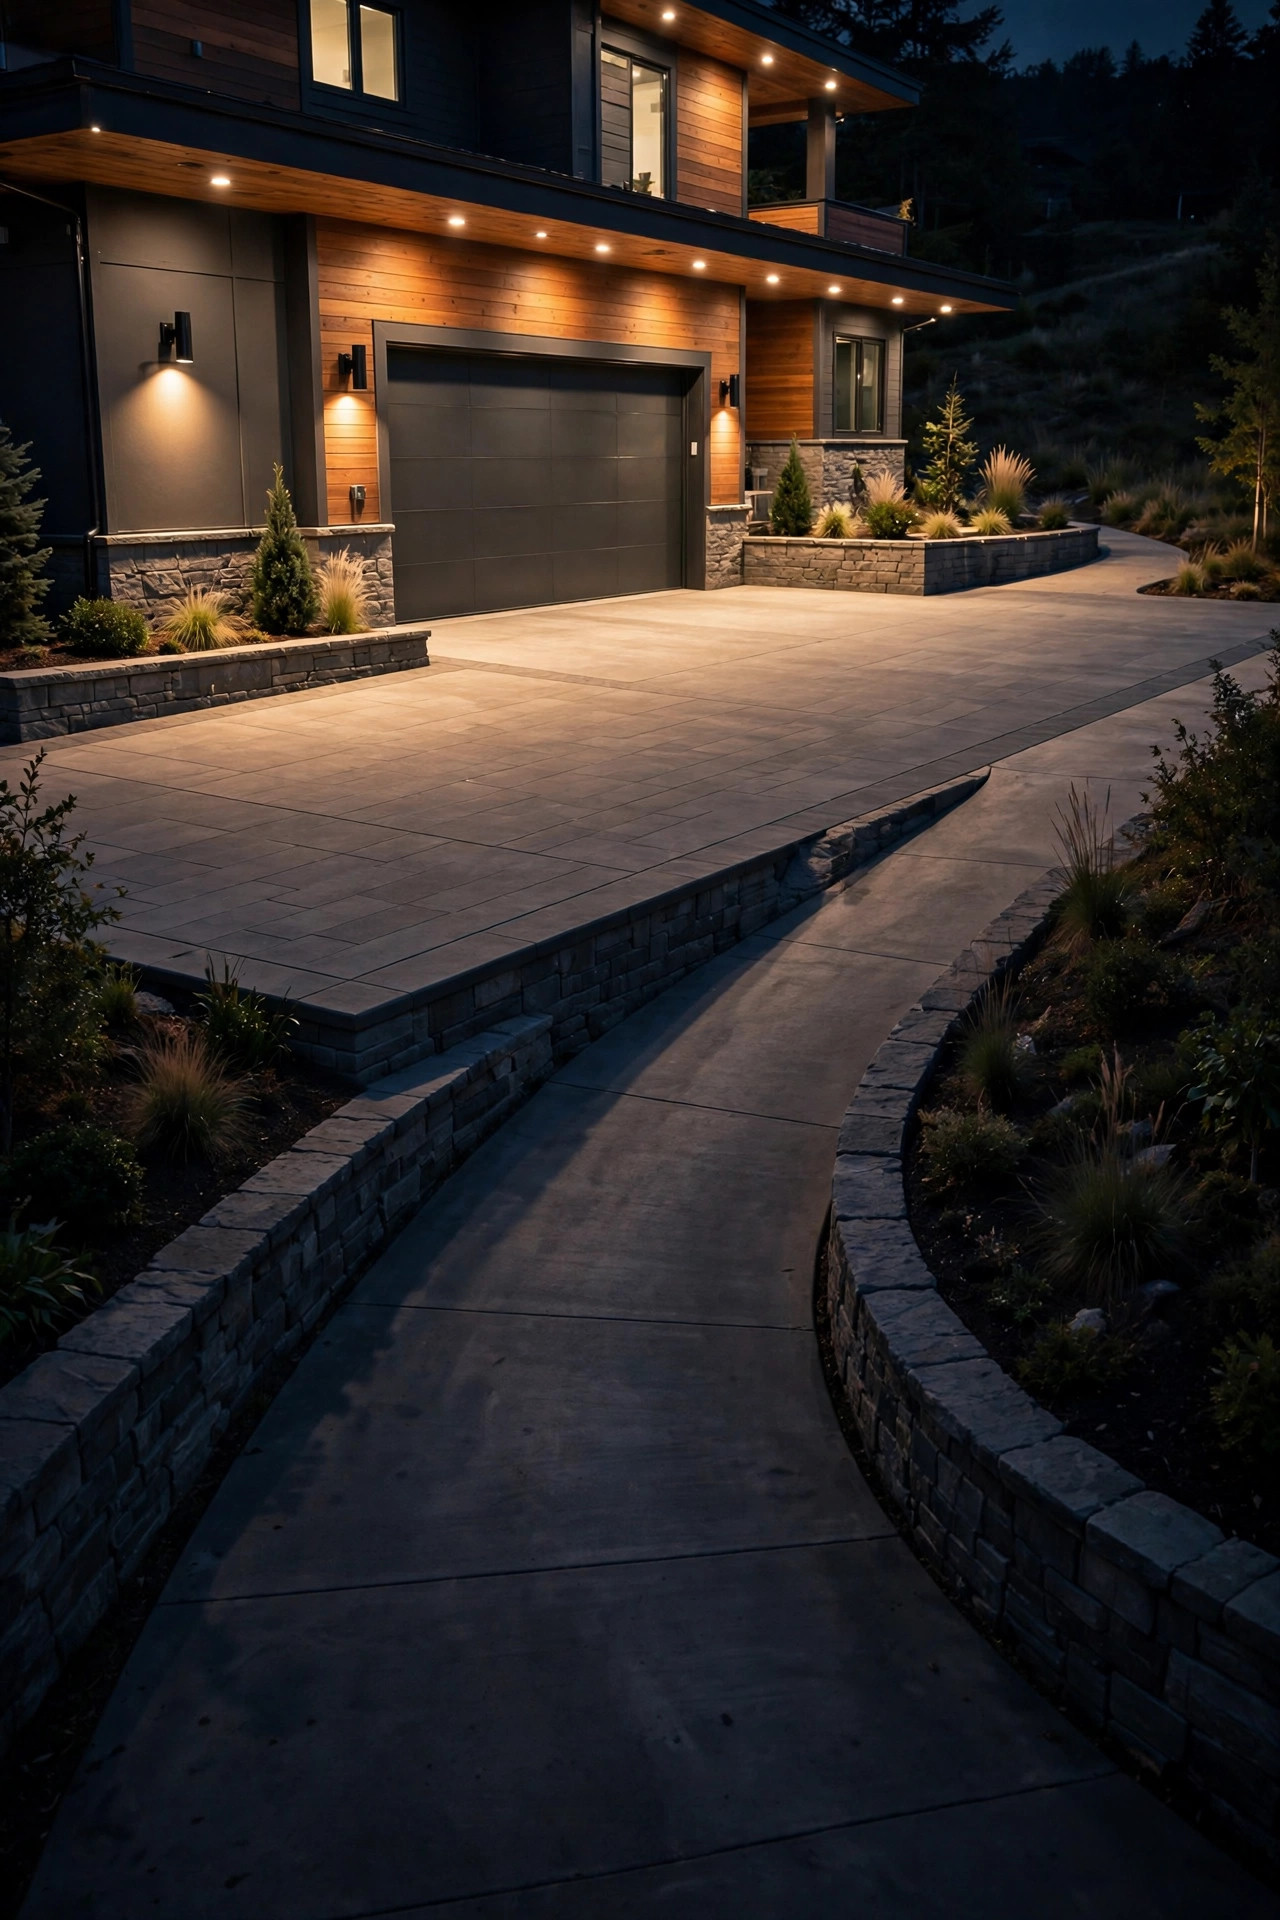
The top of a steep driveway is where lighting most often goes wrong, because the instinct is to flood the parking apron with as much light as possible — usually from a bright fixture over the garage door, aimed outward. But that fixture is exactly at eye height for a driver cresting the hill, tired, in the rain, and it erases the apron it was meant to reveal. Angle changes everything. Mount apron lights high and aim them down at 45 degrees or more so the light lands on pavement, not windshields; or light the apron from the sides with wall packs on the garage's side walls, crossing beams so no single source sits in the driver's line of sight. Recessed soffit lights over the apron are the elegant solution where the roofline allows — bright, even, and impossible to glare into because the source hides above. Whatever the fixture, stand at the crest at night, in the driver's seat, and check: if you can see a bare bulb, arriving guests can too. The apron should look like a lit stage, not a sunrise.
Suggested budget range: $60 – $200.
18. Reflective Markers Paired With Lights for Snow and Fog
Lights alone have two natural enemies on a hill: fog, which turns every fixture into a fuzzy halo, and snow, which buries low fixtures completely and brightly lies about where the pavement ends. The old-school fix — reflective driveway markers, the kind on flexible fiberglass rods — turns out to be the perfect partner for a lighting system, because headlights make reflectors blaze precisely when your buried bollards have gone under. Run a line of reflectors 12 to 18 inches outside the pavement edge on the drop-off side and through bends, tall enough (36 to 48 inches) to stay above your typical snow depth. In fog, drop your expectations of the floods and accents; the low edge lights and reflectors close to the pavement are what still read. A few regions also see success with a hybrid fixture — a short marker post with a small solar LED top and a reflective band — which gives you a glowing point in clear weather and a reflective one in a storm. Belt and suspenders, yes. On a steep drive in January, that's the correct amount of caution.
Suggested budget range: $3 – $12.

19. Battery-Backup and Hybrid Lights for Outage-Prone Hills
Hillside and rural homes lose power more often than the neighborhood below — the same trees and exposure that make the view make the outages. And a steep driveway in a blackout, with ice on the way, is the worst version of itself. A small backup layer keeps the essential outline lit when the grid goes down: solar fixtures with honest battery capacity at the bends and the crest, or a low-voltage system on a small battery/inverter backup sized to run the edge lights for a few hours. You don't need the whole show — just the climb's guide lights and the address marker, the fixtures that turn "impossible" into "careful but fine." Place the solar backups where the sun actually reaches (see idea 10) and test them twice a year, because a backup that died quietly in June is worse than none in January. If your home already has a generator, ask your electrician about tying the driveway transformer circuit into it; the load is tiny and the peace of mind is not.
Suggested budget range: $40 – $150.
20. In-Grade Well Lights for the Steepest Stretches
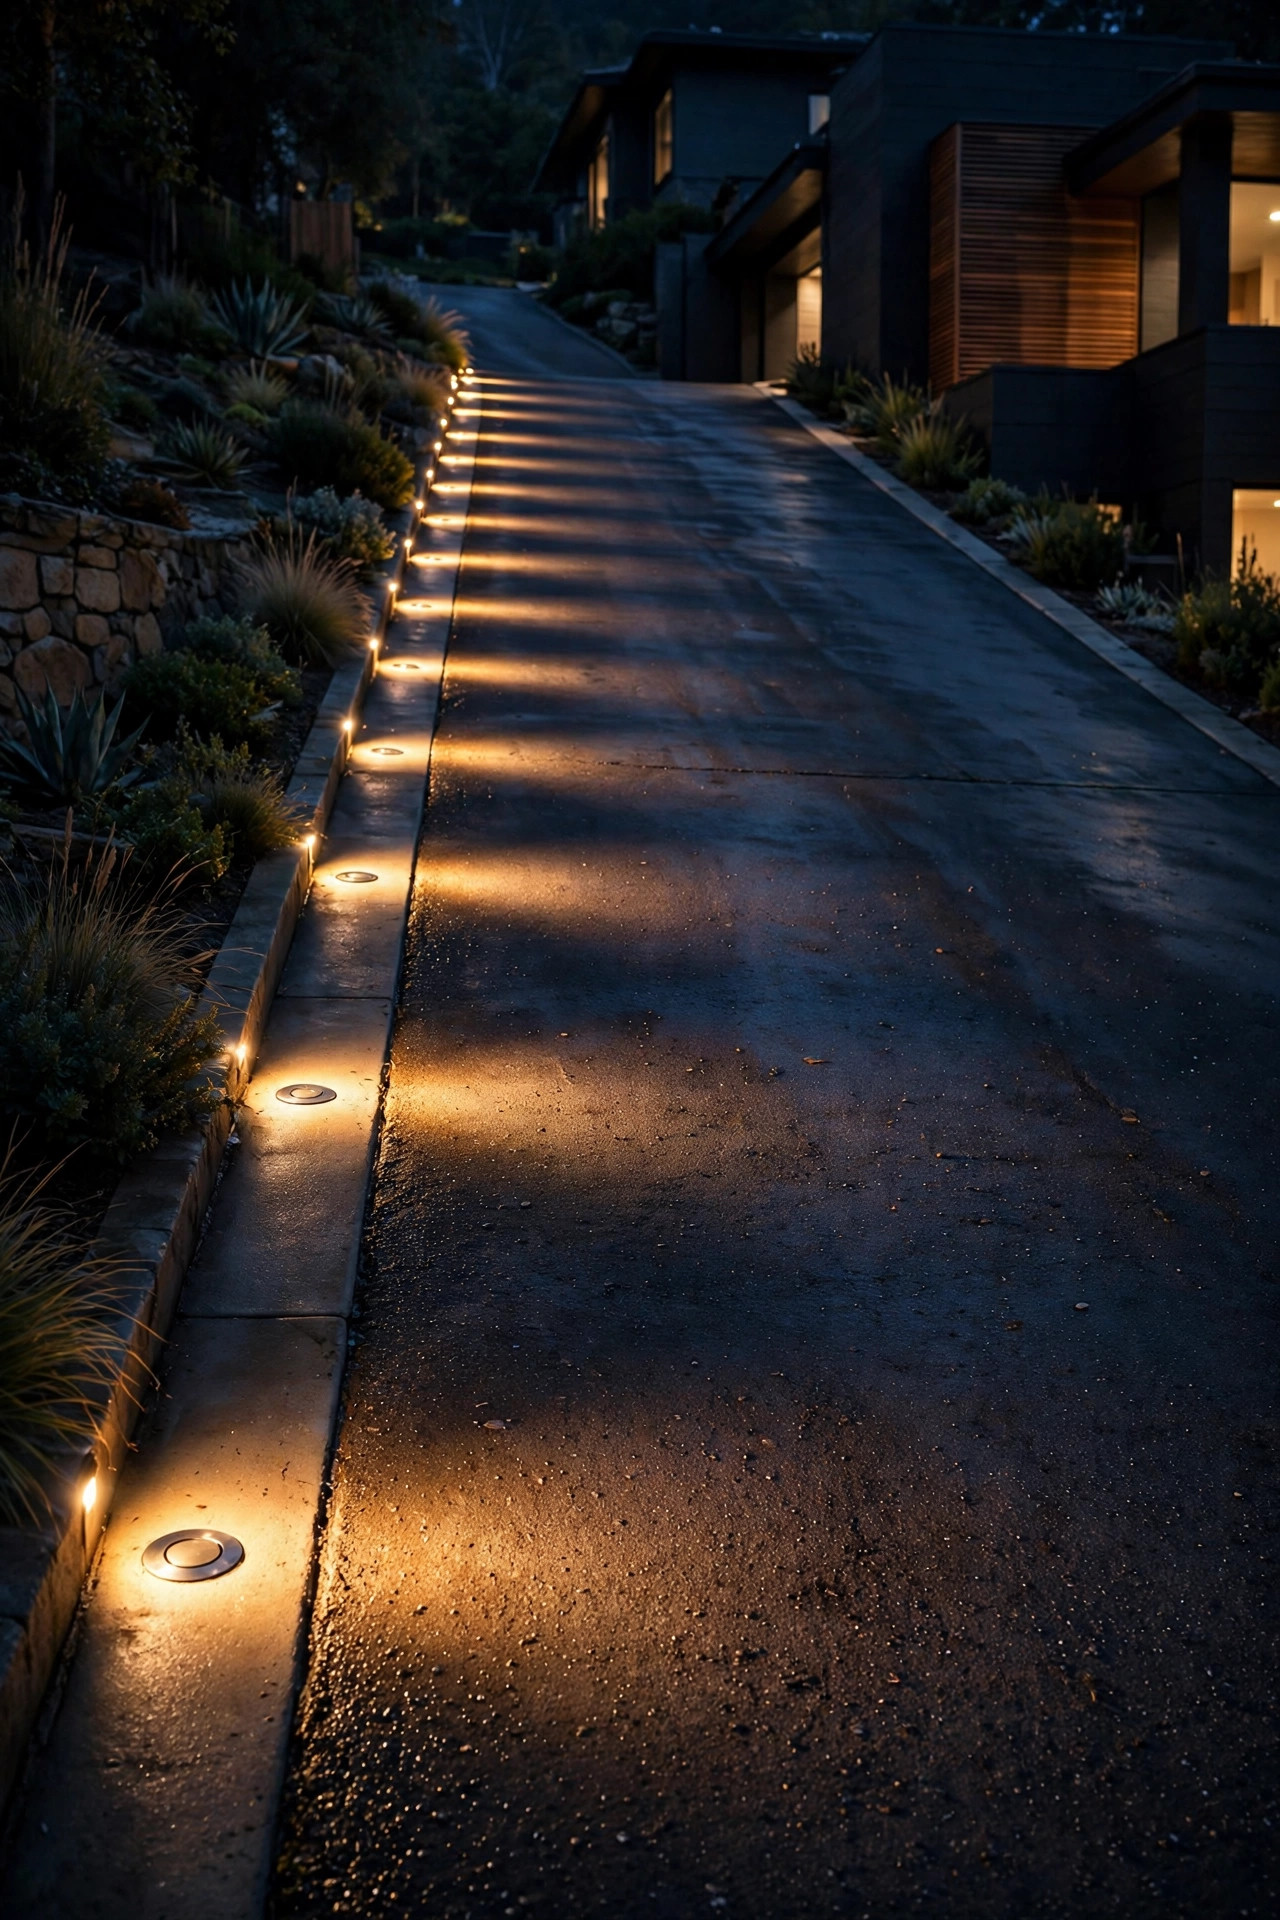
When a section of drive is steep enough — think 15 percent and up — even bollards start to feel like obstacles, and plows, trailers, and wide vehicles need every inch. In-grade well lights answer by disappearing entirely into the pavement edge or the adjacent soil, throwing their light up and across from ground level. The effect on a steep stretch is dramatic: a clean ribbon of light with zero visible hardware, and a beam that rakes across the pavement at a low angle, which is precisely the angle that reveals ice, gravel washouts, and the lip where the grade changes. Demand the real specs here — drive-over load ratings, IP68 sealing, and a housing that drains, because a well light on a slope sits in the path of every rainstorm's runoff, and a flooded fixture is a dead fixture by spring. Space them 6 to 8 feet apart on the steep section, and keep the lens clean; a mud-filmed well light is just a rumor of light. They cost more to install than bollards, mostly in labor, but on the steepest ground they're the fixture that never gets clipped, buried, or backed into.
Suggested budget range: $60 – $140.
21. Know When the Grade Deserves a Professional Design
Most of this list is genuinely DIY-able with a weekend and a shovel. But some driveways earn a professional: grades over 15 percent, drives longer than 150 feet with multiple bends, retaining walls you'd have to core-drill, or any run that crosses drainage, gas, or septic lines. A lighting designer or a good landscape-lighting contractor brings two things a homeowner can't easily fake — a voltage-drop calculation that keeps the top-of-hill fixtures as bright as the bottom ones, and an eye that's already made the glare mistakes on someone else's hill. Line-voltage work (apron floods, garage circuits) legally needs a licensed electrician and a GFCI-protected circuit in most jurisdictions anyway. Get two or three quotes, ask specifically about their plan for drainage around fixtures on the slope, and insist on a night demo or at least a dark-site walkthrough before you sign — anyone who designs steep-driveway light without standing on it at night is guessing with your money. A pro design for the bones, with DIY fixtures phased in later, is the hybrid I recommend most often.
Suggested budget range: $300 – $900.
Frequently Asked Questions
How far apart should lights be spaced on a steep driveway?
Closer than on flat ground. I space bollards and edge markers 6 to 10 feet apart on steep sections, compared with 12 to 15 feet on a flat drive, because a climbing driver's sightline is shorter and the grade hides the pavement ahead. Through bends and switchbacks, tighten it further — a driver should always be able to see the next two fixtures from any point on the climb.
Are solar lights bright enough for a steep driveway?
Only in the sunny spots. A solar fixture needs roughly 6 hours of direct sun to charge fully, and steep driveways are usually carved into shaded banks or tree cover, so most of the run won't qualify. Use solar selectively — near the street, on open banks, as backup markers — and wire the main edge and bend lighting with low-voltage cable for light you can count on in December.
How do I stop driveway lights from blinding drivers on the hill?
Shield everything and aim down. Choose bollards and fixtures where the bulb itself is hidden behind a cap or louver, aim spots 30 to 45 degrees below horizontal, and never aim an apron or garage flood down the drive. Then test it the honest way: sit in the driver's seat at night, drive up and down, and re-aim anything you can see as a bright point.
What does it cost to light a steep driveway?
A basic DIY low-voltage setup — a transformer, cable, and 10 to 14 edge and bollard fixtures for a typical 60- to 100-foot hill — usually lands between $600 and $1,500 in materials. Longer drives, in-grade fixtures, retaining-wall work, and professional installation push that to $3,000–$8,000 or more. Phasing helps: light the climb first, then the bends, then the pretty layers.
Conclusion
Steep driveway lighting ideas succeed or fail on one principle: make the hill legible. Trace both edges so the grade reads at a glance, light the bends and the crest where the pavement tries to surprise you, shield every bulb so the climb never blinds, and keep the whole system warm, consistent, and automatic. Start with the safety bones — edge lights, bend lights, a lit address marker — and let the uplights and pretty layers follow when the budget does. A steep driveway will always demand a little respect after dark, but with the right light it stops feeling like a risk and starts feeling like what it is: a grand entrance. Browse my other driveway and landscape lighting guides here on the site for transformer sizing, spacing charts, and more ideas for every slope you've got.