The first time I saw a house with lights tucked up into its eaves, I drove past it twice. Nothing flashed or sparkled — the whole facade just glowed, soft and even, like the house was lit from within. That's the magic of good soffit downlight ideas: the fixtures disappear into the architecture, and all anyone notices is the light itself. No stakes to mow around, no fixtures cluttering your flower beds, nothing to knock over with a ladder. In my experience, downlighting from the eave is also the most forgiving layer to add, because it gives you the broad ambient wash that every other layer — path lights, sconces, uplights — builds on. Whether your soffits are wide and welcoming or barely a foot deep, there's a version here that works. I'll walk you through spacing, beam angles, color temperature, and the smart controls that make it all effortless, with honest budgets for every single idea.
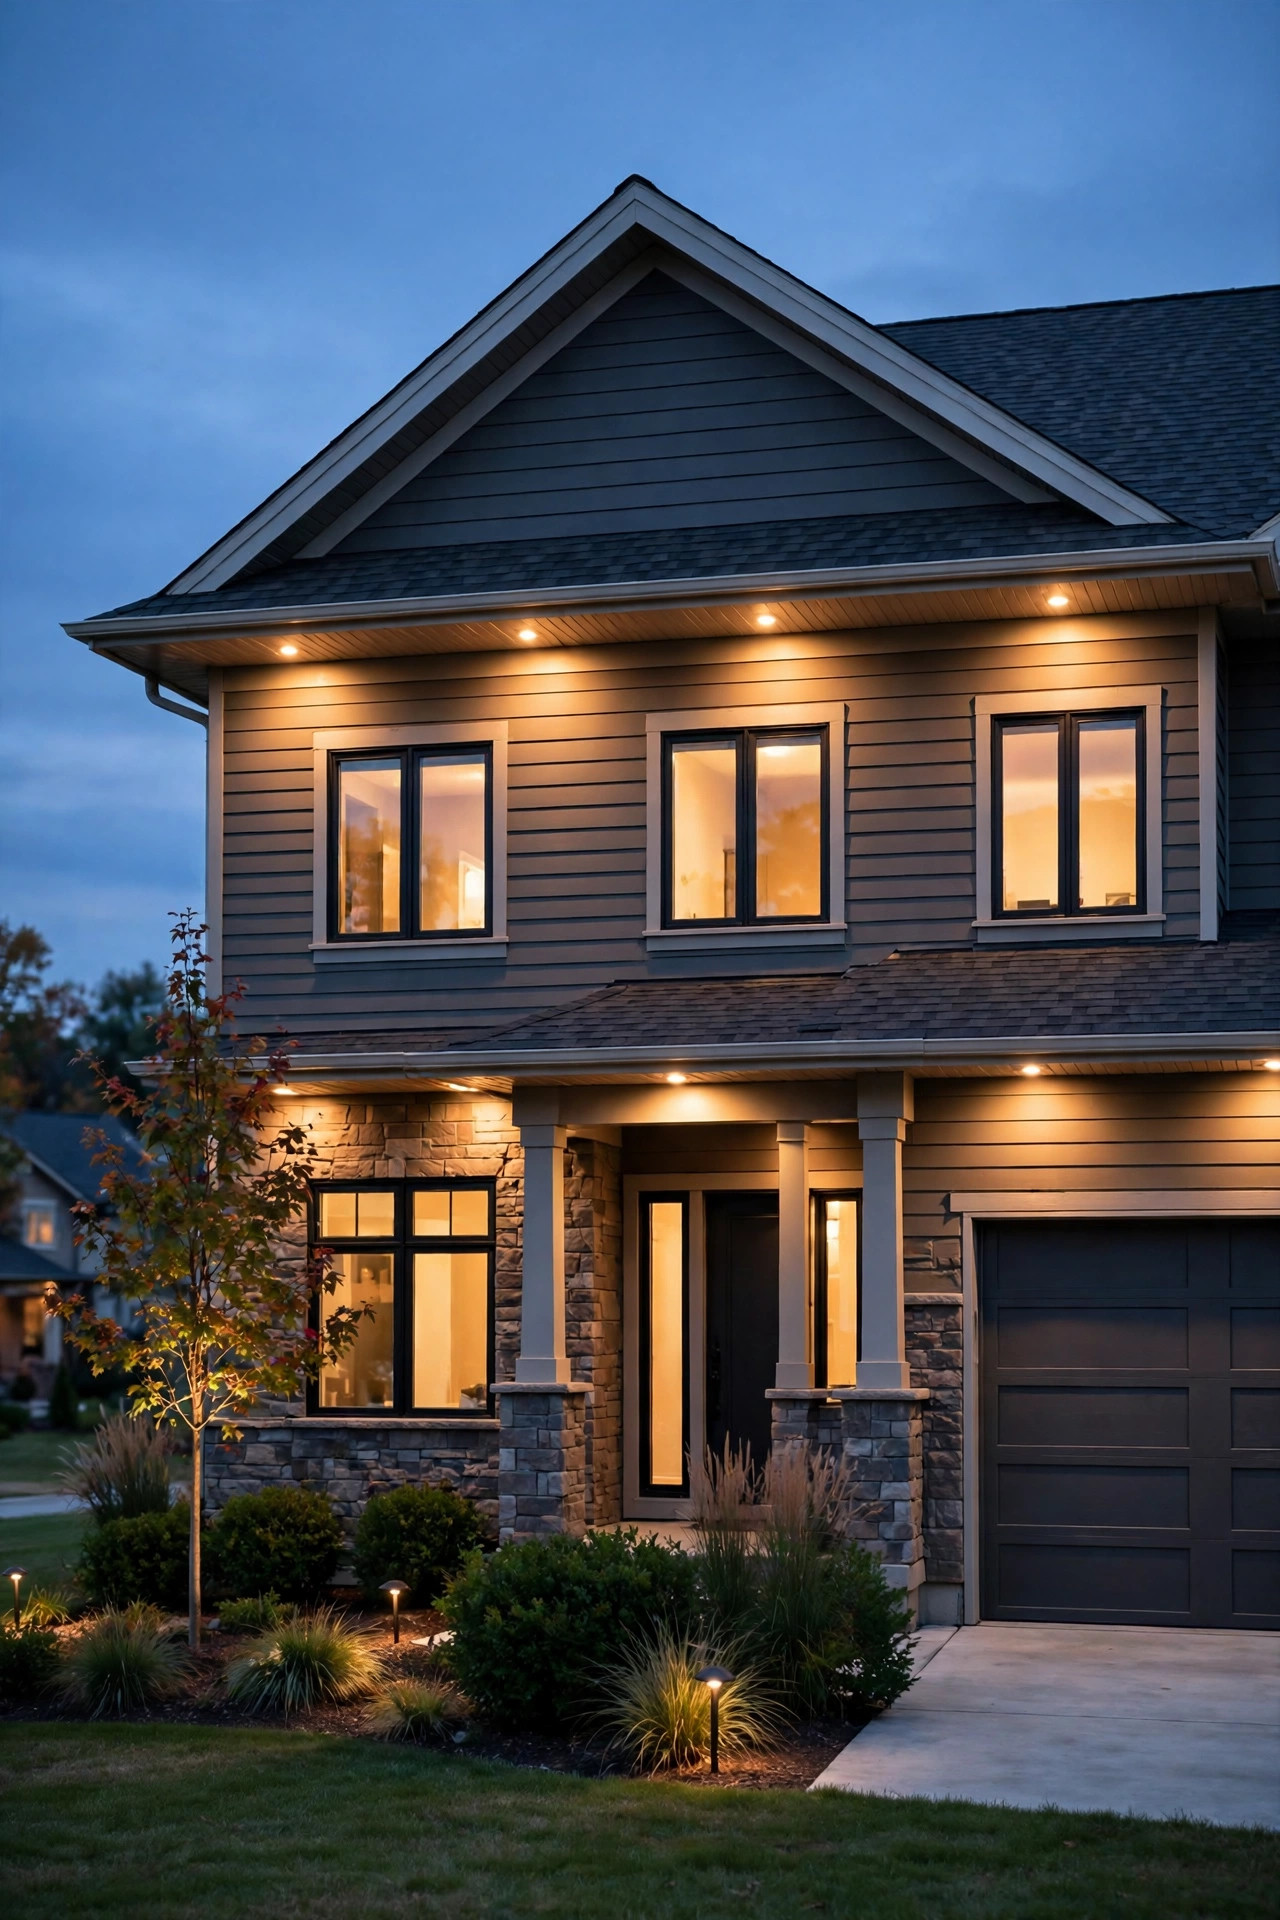
1. Classic Soffit Downlight Ideas: Evenly Spaced Recessed Cans
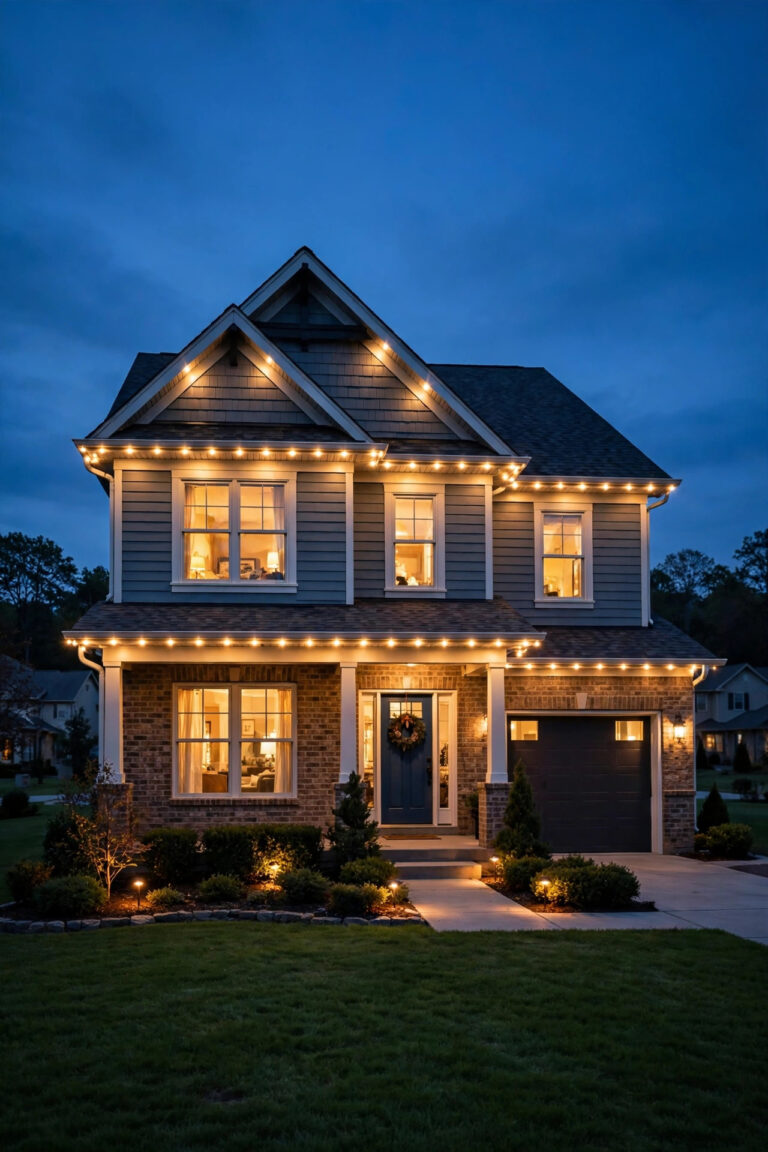
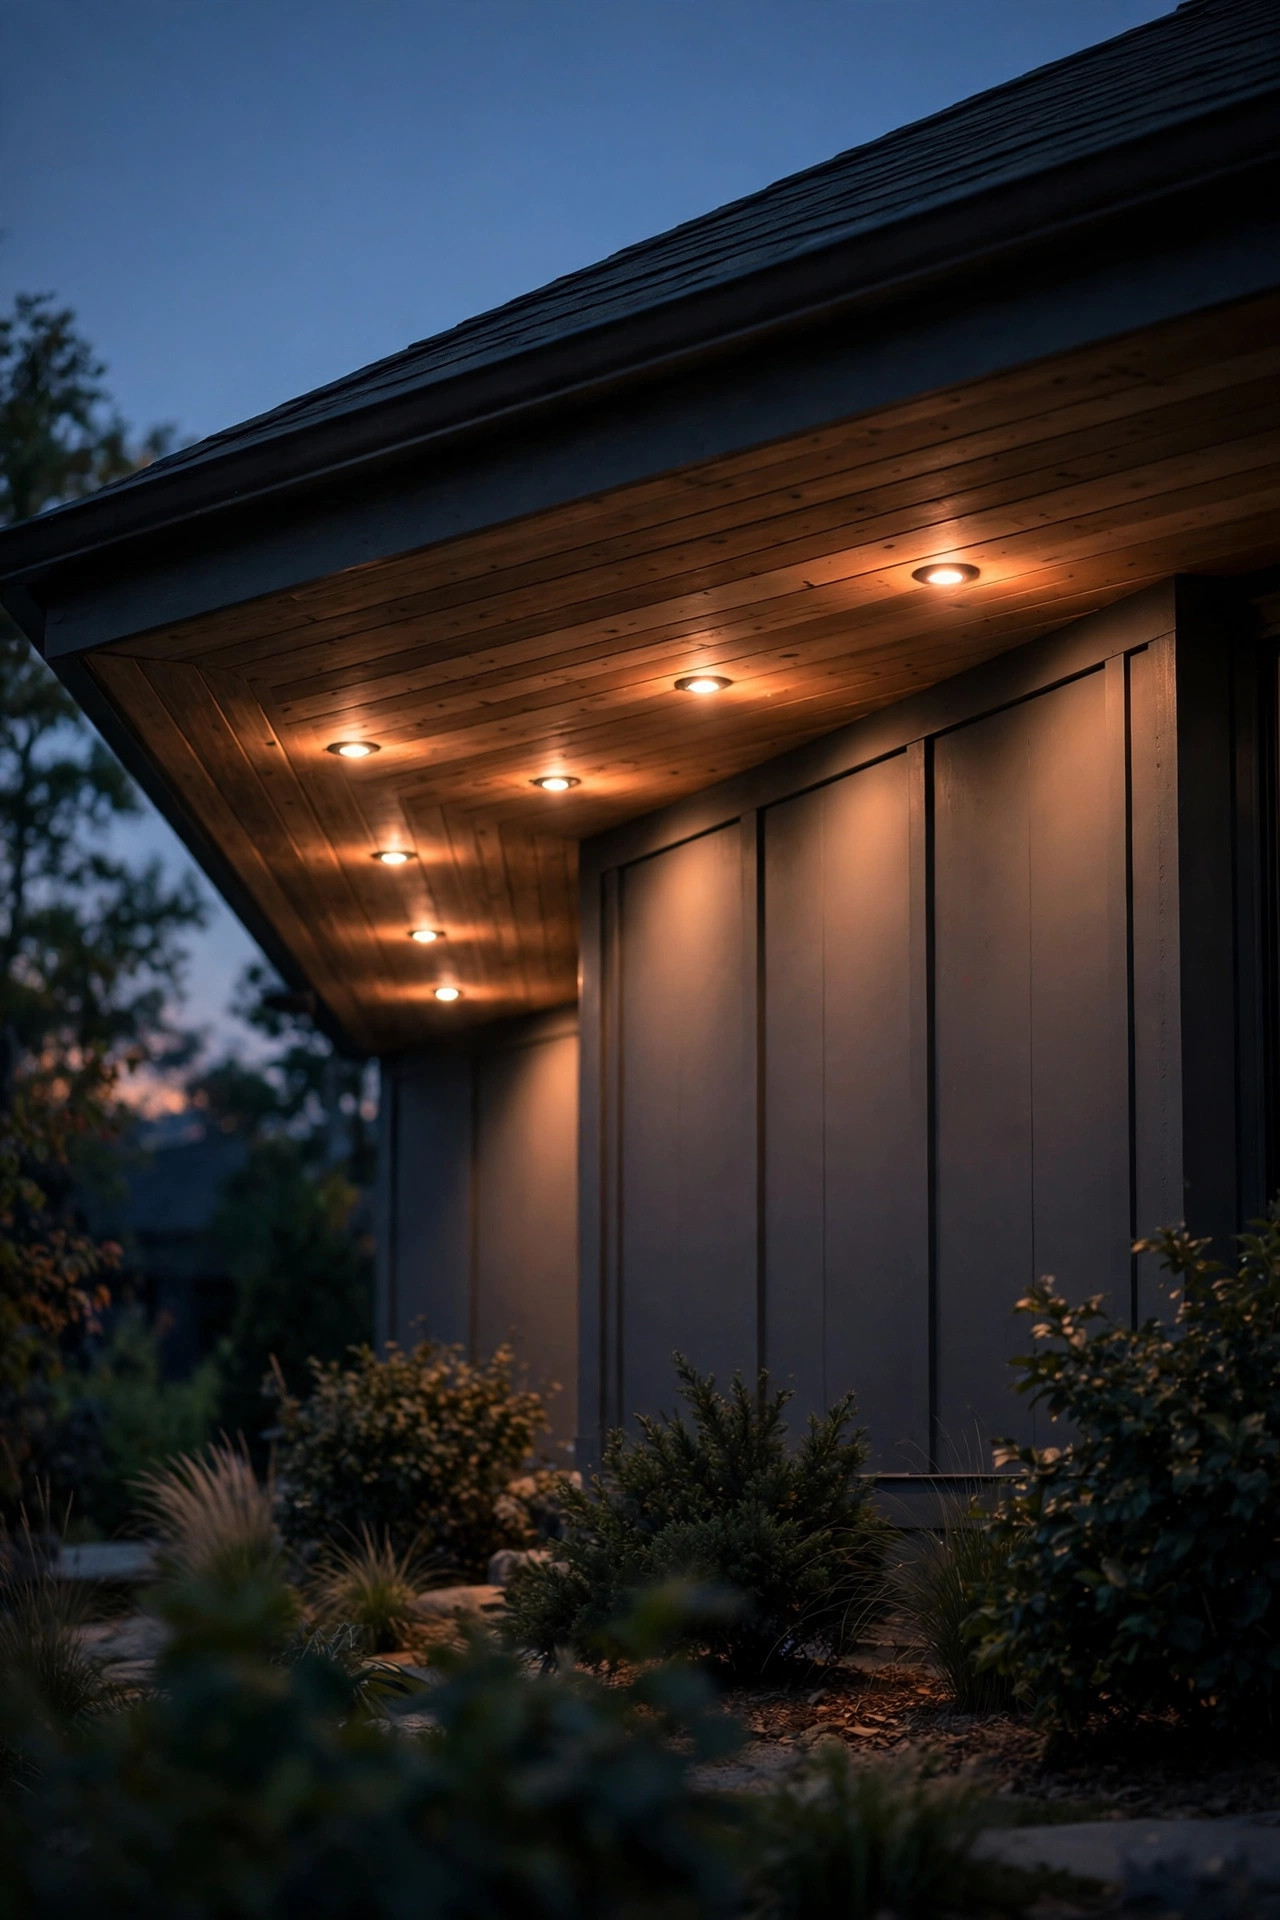
If you do nothing else on this list, do this one. A straight, evenly spaced row of recessed downlights along the front eave is the look that made me fall for soffit lighting in the first place, and it's the version builders reach for again and again. Use 4-inch or 6-inch recessed housings with integrated LED trims rated for wet locations — soffits live outdoors, even if they're sheltered. Space the lights 4 to 6 feet apart, and here's the detail that matters: align them with the architecture below. Center a light over each window bay or between columns instead of measuring blindly from one end, and the whole facade reads as intentional. Center the fixtures front-to-back in the soffit, which on most homes means 8 to 14 inches out from the wall. Aim for 600 to 800 lumens per fixture at 2700K for that warm, welcoming wash. One-story eaves with attic access are a very doable weekend project; if insulation sits above the soffit, choose IC-rated housings so nothing overheats. Simple, symmetrical, done.
Suggested budget range: $180 – $450.
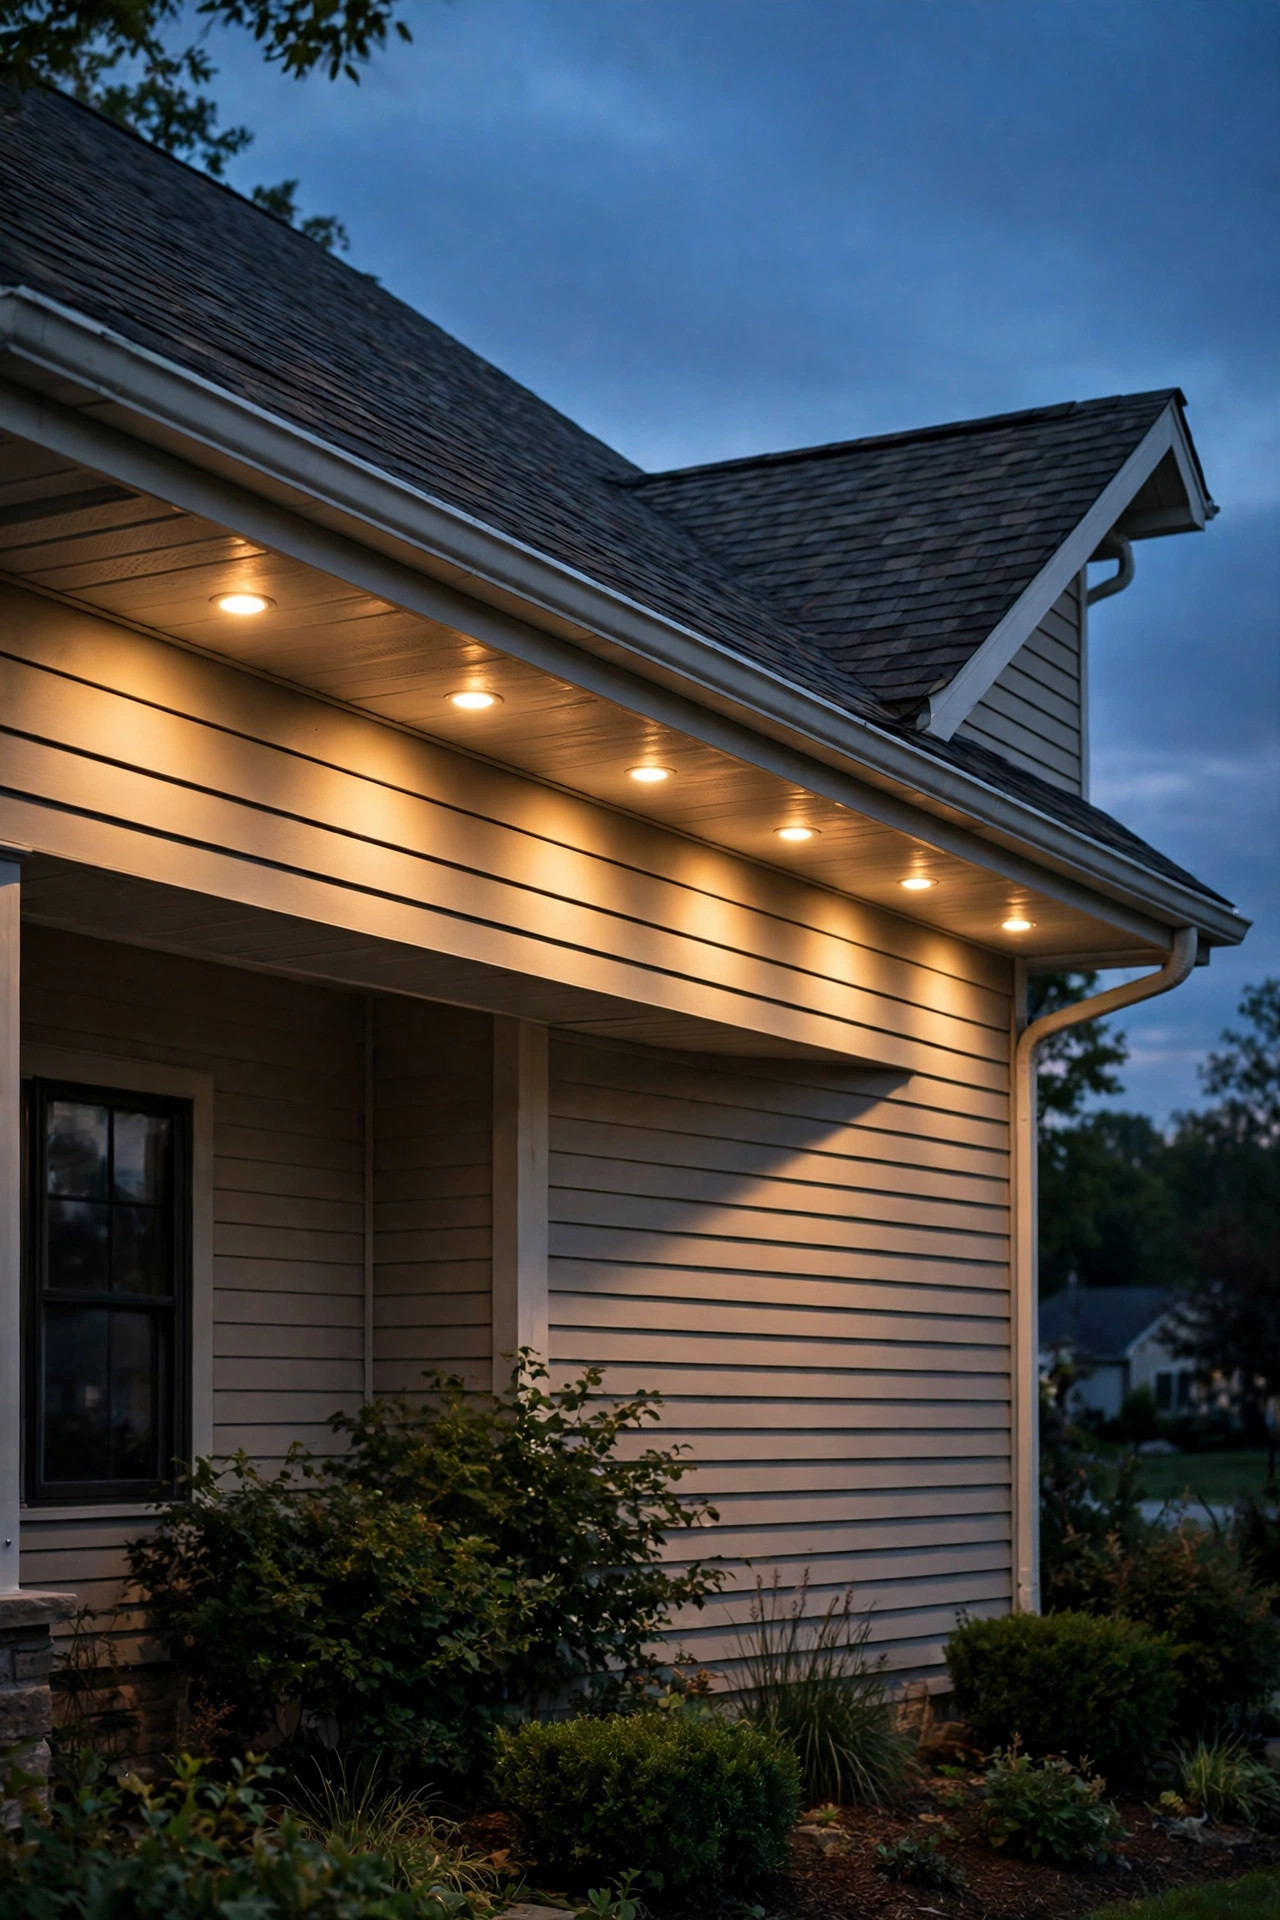
2. Wide-Beam Washers for a Smooth, Even Facade
Some facades want drama, but smooth siding — vinyl, fiber cement, painted stucco — looks best under a soft, seamless sheet of light, and that's exactly what wide-beam trims deliver. Look for downlights with a beam angle around 110 to 120 degrees, sometimes sold as flood or wall-wash trims. Because the light spreads so broadly, the pools overlap and the scalloped edges you get from narrow beams disappear. Space them a touch closer than standard, about every 4 feet, and keep the output moderate — 500 to 700 lumens each — so the overlap builds a gentle gradient instead of a bright band under the eave with darkness below. I always recommend standing at the street after dark before you commit to final spacing; wide beams are forgiving, but a test run with two fixtures tells you more than any chart. If you're torn between washing light down from above and bouncing it up from the ground, my honest comparison of uplighting vs. downlighting walks through which surfaces each one flatters. For most smooth-sided homes, the wash from above wins.
Suggested budget range: $200 – $500.

3. Narrow-Beam Grazing Lights for Brick and Stone Texture
Now the opposite trick, and honestly? It's my favorite for masonry. Grazing means placing a narrow-beam light — think 25 to 35 degrees — close to the wall so the light rakes downward at a steep angle, catching every bump, mortar joint, and rough edge in relief. Brick that looks flat at noon turns rich and sculptural at night, and real stone practically glows. Because the beams are narrow, space them closer together, every 3 to 4 feet, and keep them in the outer third of the soffit, as near the wall plane as your soffit depth allows. One warning from experience: grazing light is brutally honest. It will showcase beautiful brickwork, but it will also spotlight every wavy seam and sloppy repair on smooth siding, so save it for genuinely textured surfaces. Lower output works better here too — 400 to 600 lumens — because the drama comes from shadow, not brightness. Pair a grazed brick front with plain wide-beam lights around the sides if your home mixes materials, and each surface gets the treatment it deserves.
Suggested budget range: $220 – $520.

4. A Dedicated Pair Flanking the Front Door
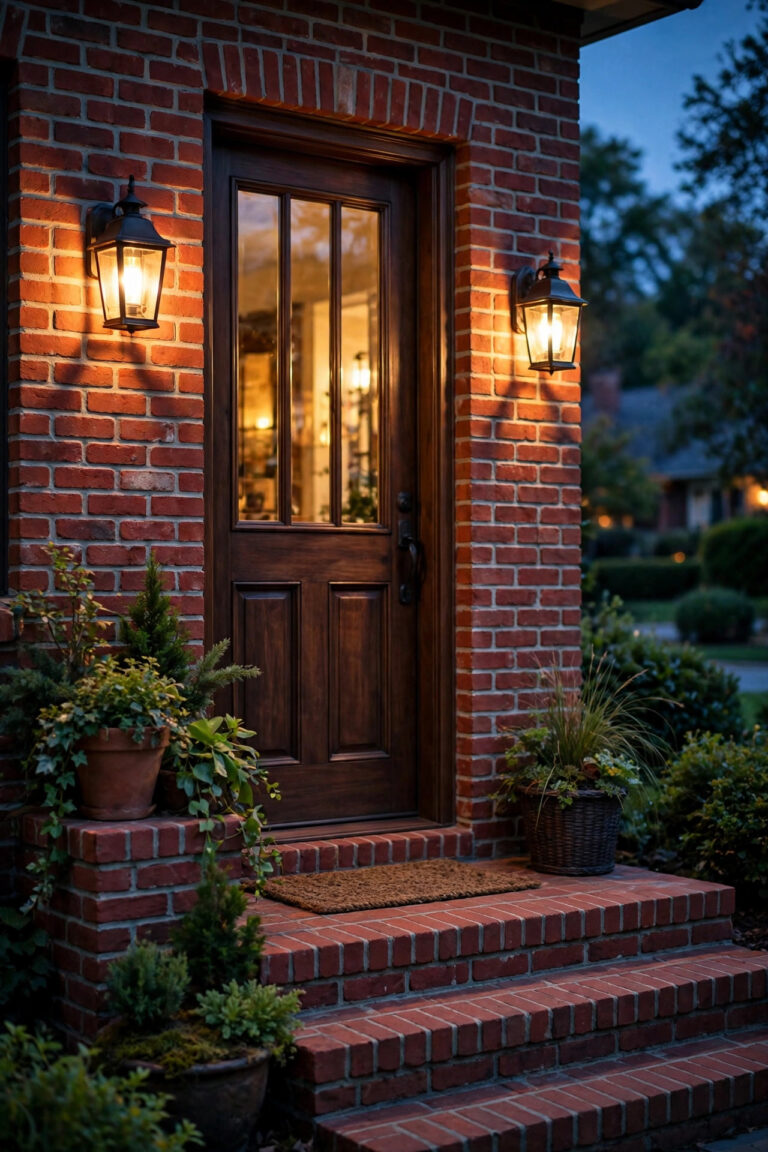
Your entry deserves its own moment. Two downlights in the porch or portico soffit, placed to flank the front door, create a pool of welcome exactly where guests arrive — and honestly, where you fumble for your keys every single night. Position them roughly 18 to 24 inches out from the door face and spaced a bit wider than the door frame, so the light frames the entry instead of landing on top of visitors' heads. This is a wonderful place to go warmer and slightly dimmer than the rest of the facade: 2700K, 400 to 600 lumens, on its own switch or dimmer so the entry can glow softly while the rest of the house stays dark. The downlights also do quiet security work, washing the stoop evenly with none of the harsh shadows a single bright sconce throws. If your entry already has sconces, keep them — just let the downlights carry the real illumination and treat the sconces as jewelry. Everything at the door should also light your house numbers, which delivery drivers will silently thank you for.
Suggested budget range: $90 – $260.

5. One Light Centered Over Each Garage Door Bay
The garage is usually the biggest blank wall on the front of the house, and a row of soffit downlights — one centered over each door bay — turns it from a dead zone into part of the composition. The alignment is the whole game here: center each fixture precisely over its door, and on a three-car garage that means three lights in a perfect rhythm with your front-eave row. These earn their keep functionally, too. They wash the driveway apron where you unload groceries, check the mail in winter darkness, and watch kids shoot hoops past sunset. I like these on a dusk-to-dawn photocell or a timer so the driveway is always lit when you pull in, without you thinking about it. Output can run a little brighter than decorative sections, around 700 to 900 lumens, since this is a working area — but stay at 2700K or 3000K so the driveway doesn't feel like a parking lot. Match the trim color to your soffit paint and the fixtures vanish by day.
Suggested budget range: $150 – $420.

6. Corner Bookends That Frame the Whole House
Here's a designer trick that costs almost nothing extra: make sure there's a downlight near each front corner of the house. Corners define the silhouette. When the outermost lights sit within about 12 to 18 inches of each corner, the facade reads as a complete, framed picture from the street, and the house looks wider and more grounded. Let the corners slip, and the lit center floats while the edges of your home dissolve into the dark — I see this on my street constantly, and it always looks unfinished. When you lay out your spacing, work from both corners toward the middle and let the center gap absorb any odd remainder; nobody notices a slightly wider center span, but everybody notices a missing corner. On L-shaped or bumped-out facades, treat each plane change like its own little facade with its own bookends. This is also the easiest idea to fold into any other layout on this list — it's less a fixture choice than a layout rule. Corners first, then fill the middle. Your curb appeal will quietly jump a level.
Suggested budget range: $120 – $300.
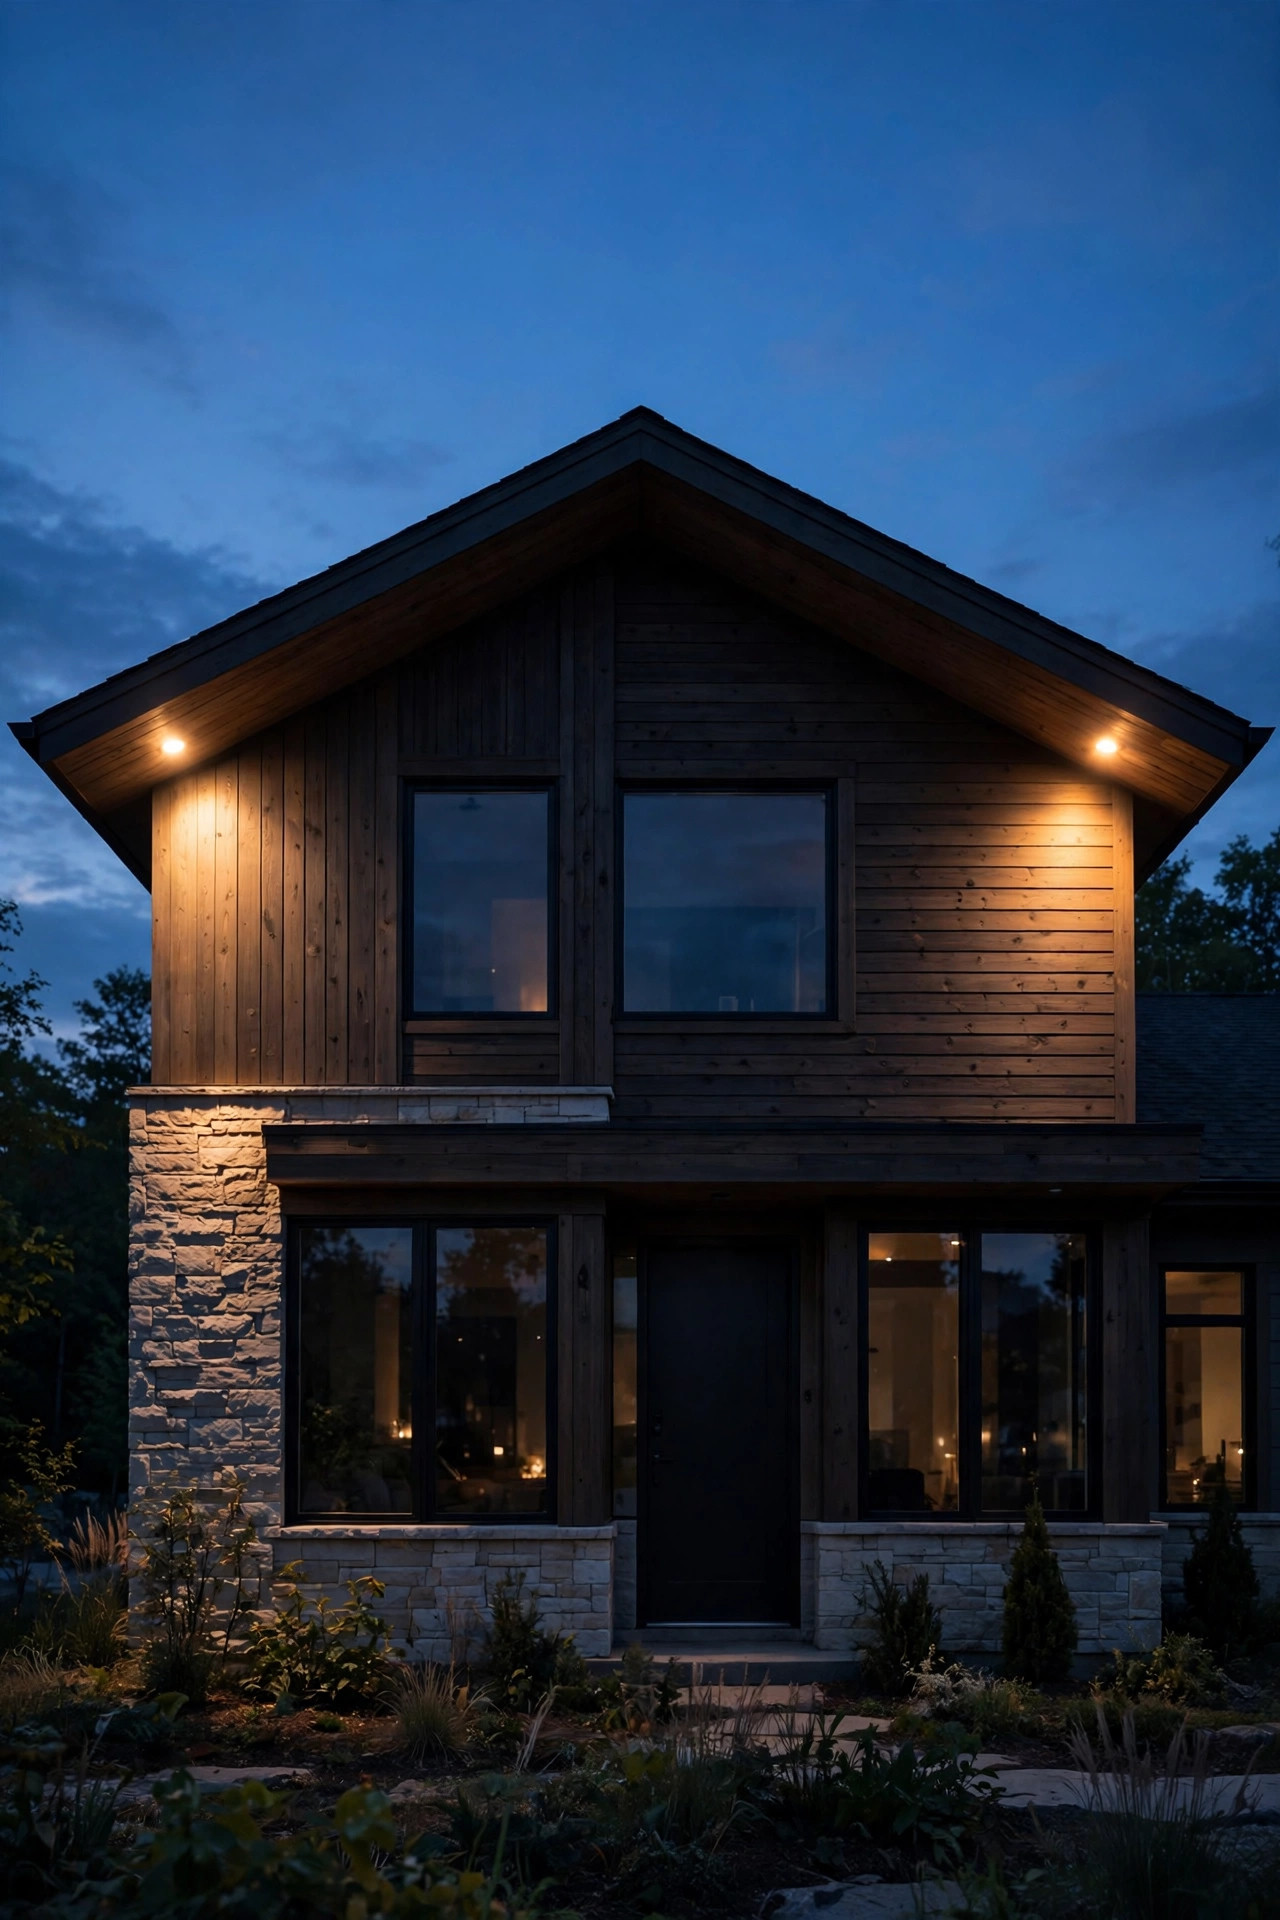
7. Low-Glare Shielded Trims for Dark-Sky-Friendly Light
Downlights are naturally the politest outdoor lights — they aim at your own walls and ground instead of the sky — but cheap trims can still glare sideways into neighbors' windows and drivers' eyes. The fix is regressed, baffled, or deep-reflector trims that tuck the LED source up inside the housing, so you see the light's effect, never the bulb itself. Gimbal or "eyeball" trims go a step further, letting you angle the beam straight down or slightly toward the wall where soffits are shallow. Keep the output gentle, 400 to 600 lumens, and the color warm at 2700K, which scatters less and feels softer to every creature in the neighborhood, human or otherwise. This is the setup I recommend most for homes on smaller lots, bedroom-facing side streets, and anywhere near a neighbor's second-story windows. You'll still get the full architectural wash — shielding costs you glare, not beauty. As a bonus, baffled trims hide the harsh reflections that make LED downlights look cheap in photos. Good light should be felt, not stared at.
Suggested budget range: $200 – $480.
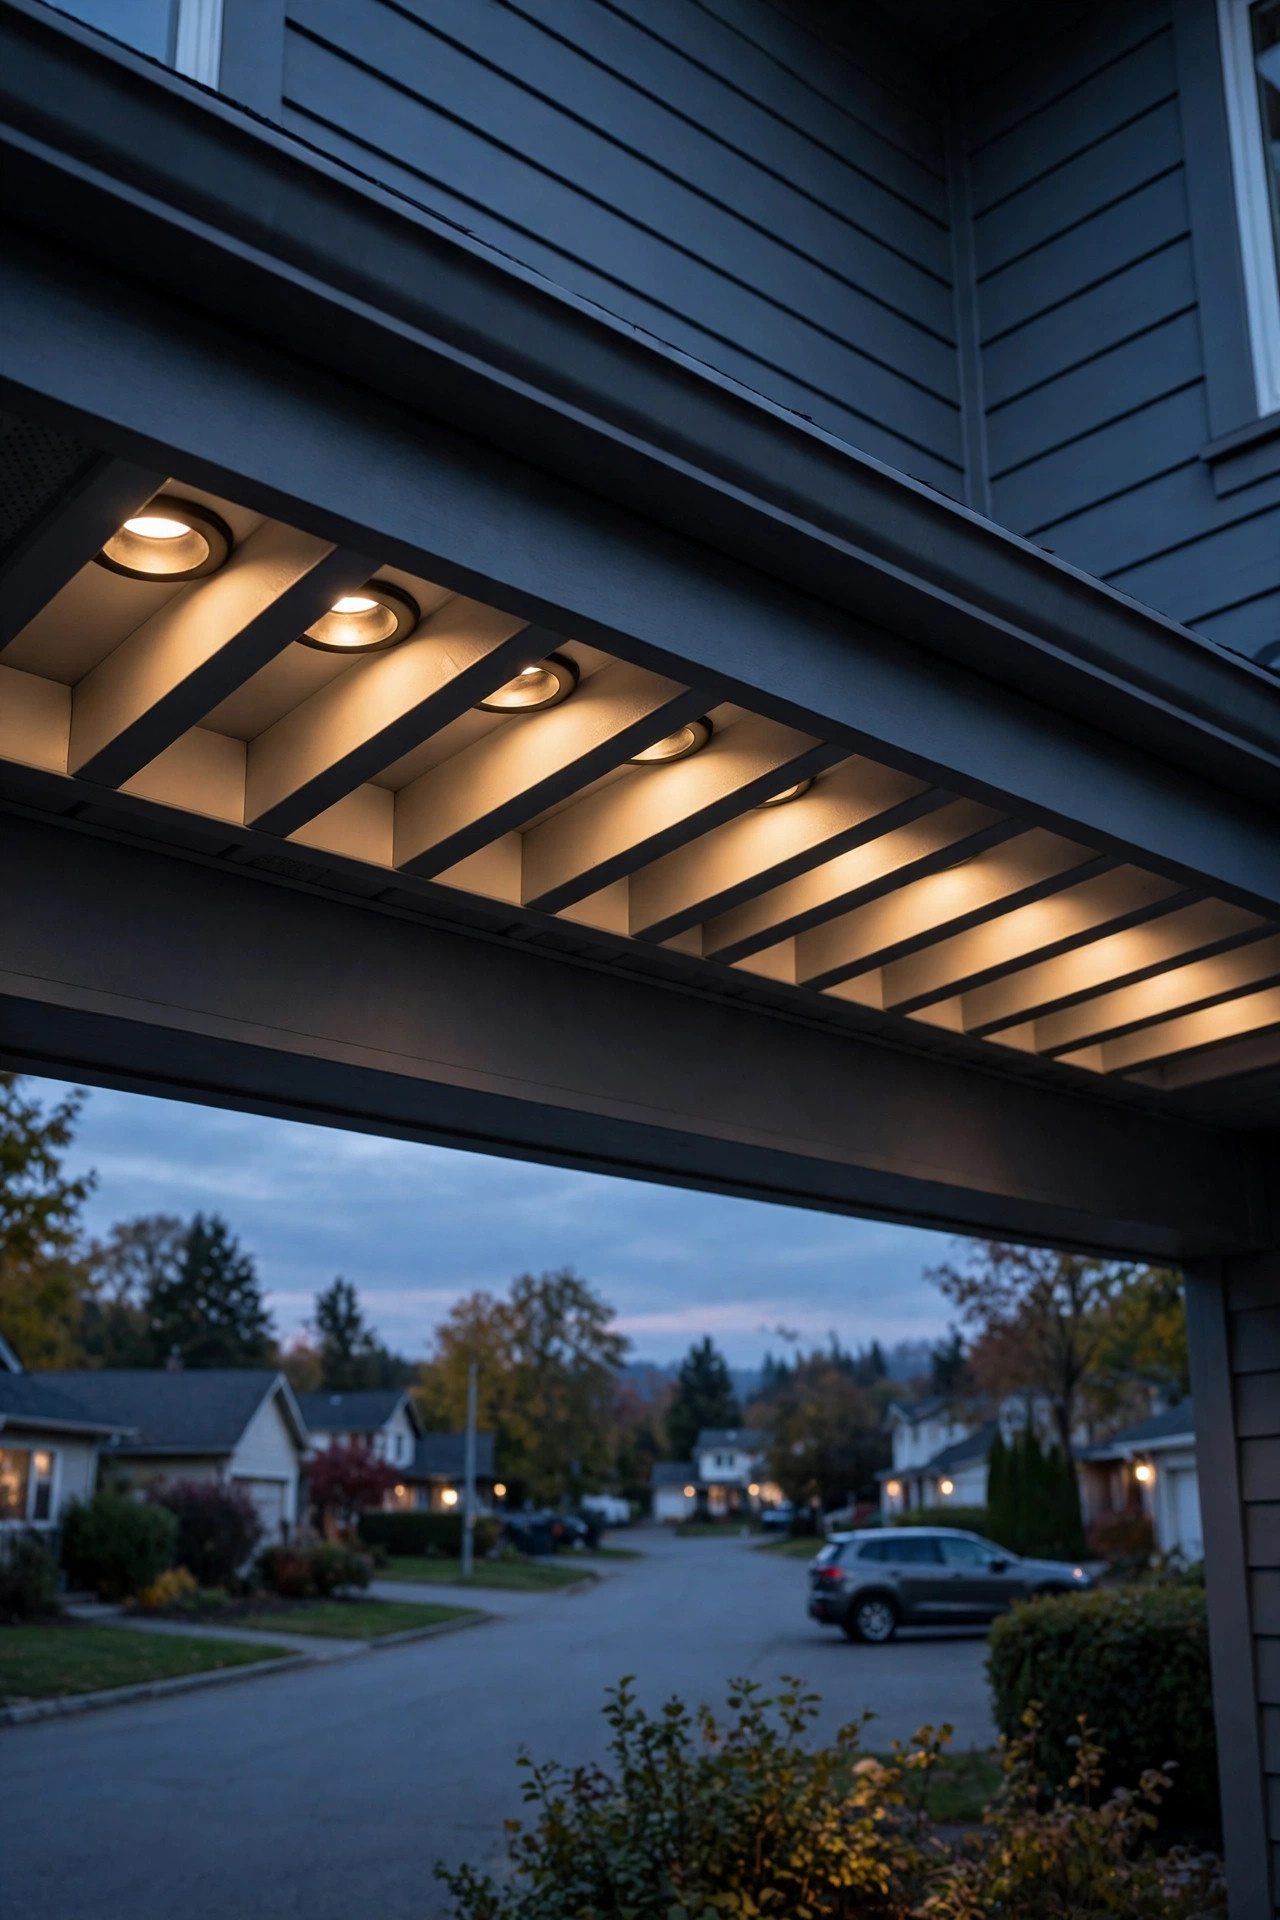
8. Second-Story Eave Lights for Two-Story Homes
Two-story homes get double the canvas — and double the ladder work. A row of downlights in the second-story eave washes the entire tall facade, which keeps a big house from looming dark over the street. Physics changes the recipe up there: light travels 18 to 22 feet to reach the ground, so step up to 800 to 1,100 lumens per fixture and widen the spacing to 6 to 8 feet, since each beam spreads more on its long trip down. Many two-story homes have both a main roof eave and a lower porch or garage roofline — lighting both levels creates the layered, expensive look, with the lower row doing the close-up work and the upper row setting the silhouette. Now the honest safety note: second-story soffit work means tall ladders or scaffolding, and cutting into eaves near roof edges is where I stop calling this a DIY project. Hire the electrician for the high row, do the ground-level layers yourself if you like, and sleep well. The result is genuinely grand.
Suggested budget range: $600 – $1,400.

9. A Single Downlight at the Gable Peak
Every house has one architectural feature worth a spotlight moment, and on gabled homes it's the peak itself. A single downlight tucked into the soffit or frieze right at the front-facing gable throws a soft triangle of light that echoes the roofline and gives the whole facade a focal point. It works beautifully over a gable that sits above the garage or a projecting front bedroom — the kind of bump-out that otherwise reads as a flat blank triangle after dark. Use a medium beam, around 40 to 60 degrees, and moderate output; the goal is a gentle emphasis, not a stage light. On homes with decorative gable trim, vents, or a shake-shingle accent, this might be the highest-impact single fixture on the entire house. I always recommend wiring gable lights with the main eave row so the effect layers in automatically each evening. And if your gable faces the street at an angle, that's fine — the wash follows the wall, and the geometry still reads clearly from the road.
Suggested budget range: $80 – $220.

10. Recessed Lights in the Covered Porch Ceiling
A covered porch has a ceiling begging for real light, and slim recessed downlights are so much better than the single builder-grade flush mount most porches suffer with. Use 4-inch low-profile LED downlights — the wafer style needs barely any ceiling depth, which matters in porch ceilings with no attic above. Space two to four fixtures over the seating area rather than dead-center over the door swing, about 3 to 4 feet apart, and put them on a dimmer, full stop. Porch light needs two moods: bright enough to find the keyhole and read a package label, then dim and golden for rocking-chair evenings with a glass of sweet tea. At 2700K and dimmed to about 30 percent, recessed porch lights feel like candlelight with none of the fuss. Do check that your fixtures are rated for damp locations at minimum — porch ceilings catch wind-blown rain and humidity even when they look protected. This is the idea guests will ask you about, because the porch simply feels finished.
Suggested budget range: $140 – $380.

11. Back-Eave Downlights Over the Patio Doors
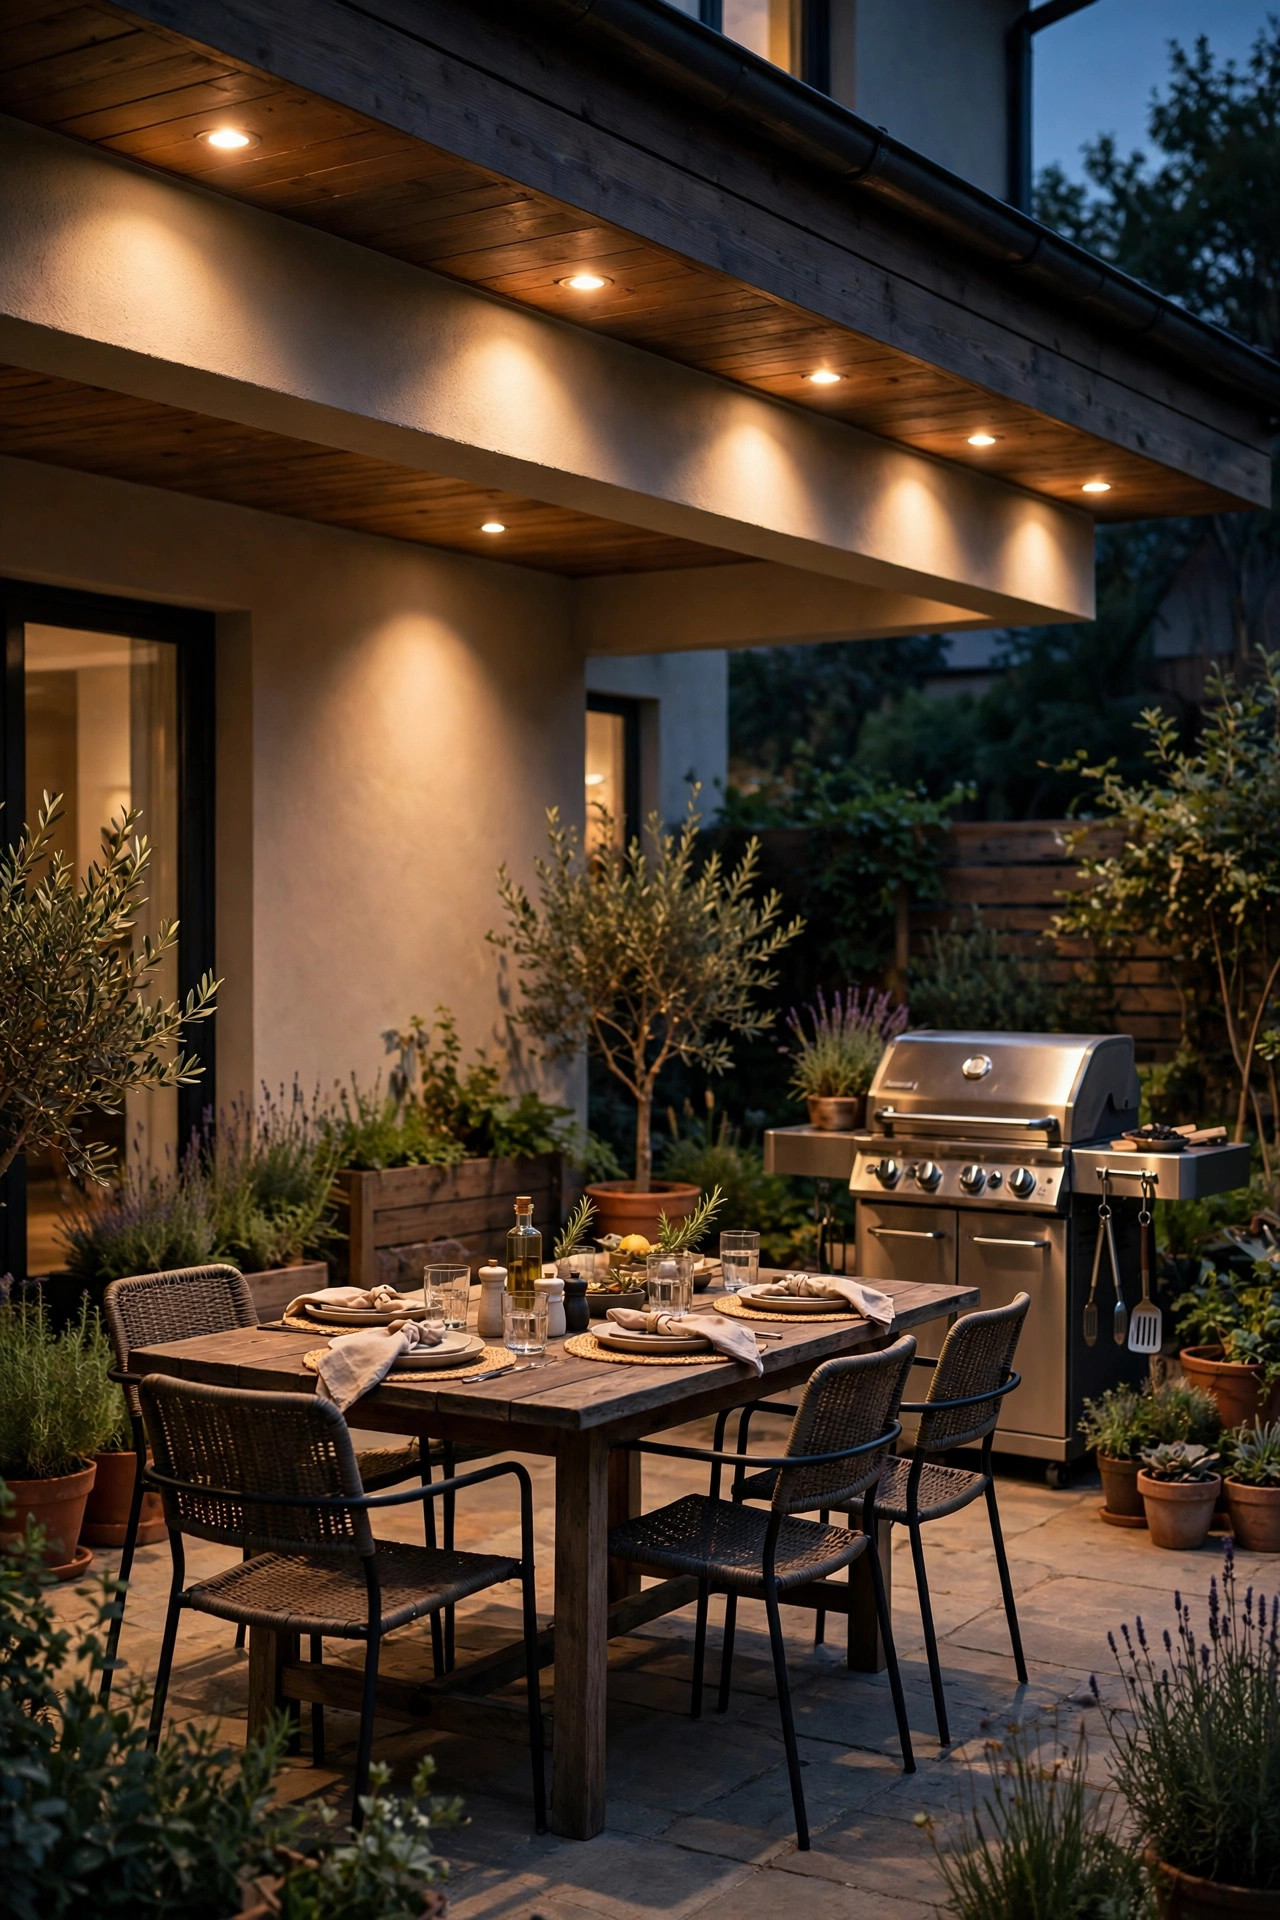
Don't let the front of the house have all the fun. The rear eave over your patio doors is prime downlight territory: a row of three to five fixtures washes the patio where you actually live all summer. Place them to light zones, not just space — one over the dining table area, one near the grill, one washing the door itself so you're never silhouetted opening it at night. Here's a practical tip I learned the hard way: keep fixtures a few feet away from the door swing and the main walking path, because lights directly overhead attract insects exactly where you pass through. Slightly outboard placement lights the patio while the bug convention gathers away from your doorway. Put the back row on its own switch or smart control, separate from the front, since you'll use it on a completely different schedule — nightly in summer, rarely in January. Combined with string lights over the seating, eave downlights give a backyard the layered, resort-like depth that one fixture type alone never achieves.
Suggested budget range: $200 – $520.
12. Dimmable Downlights for Two Moods in One Fixture
If I could add one word to every soffit lighting plan, it would be "dimmable." Full brightness is for arriving home, taking out the trash, and finding the dog's ball under the hedge. Thirty percent is for everything else — the soft, expensive-looking glow that makes neighbors slow down. Most modern LED downlights dim happily, but the marriage between fixture and dimmer matters: choose a dimmer switch rated for LED loads and check the fixture's compatibility notes to avoid flicker or buzz at low levels. In my experience, dimming also solves the most common soffit-lighting regret, which is "we made it too bright." Install generous output, then dial it back — you can always dim down, but you can't brighten a too-weak fixture. Dimming to half also roughly halves the already tiny running cost and extends LED life, though the real win is atmosphere. Set the evening scene around 40 percent, bump to full only when you need to work, and your house will look like the calmest one on the block.
Suggested budget range: $230 – $560.
13. Smart Soffit Downlights on Timers and Schedules
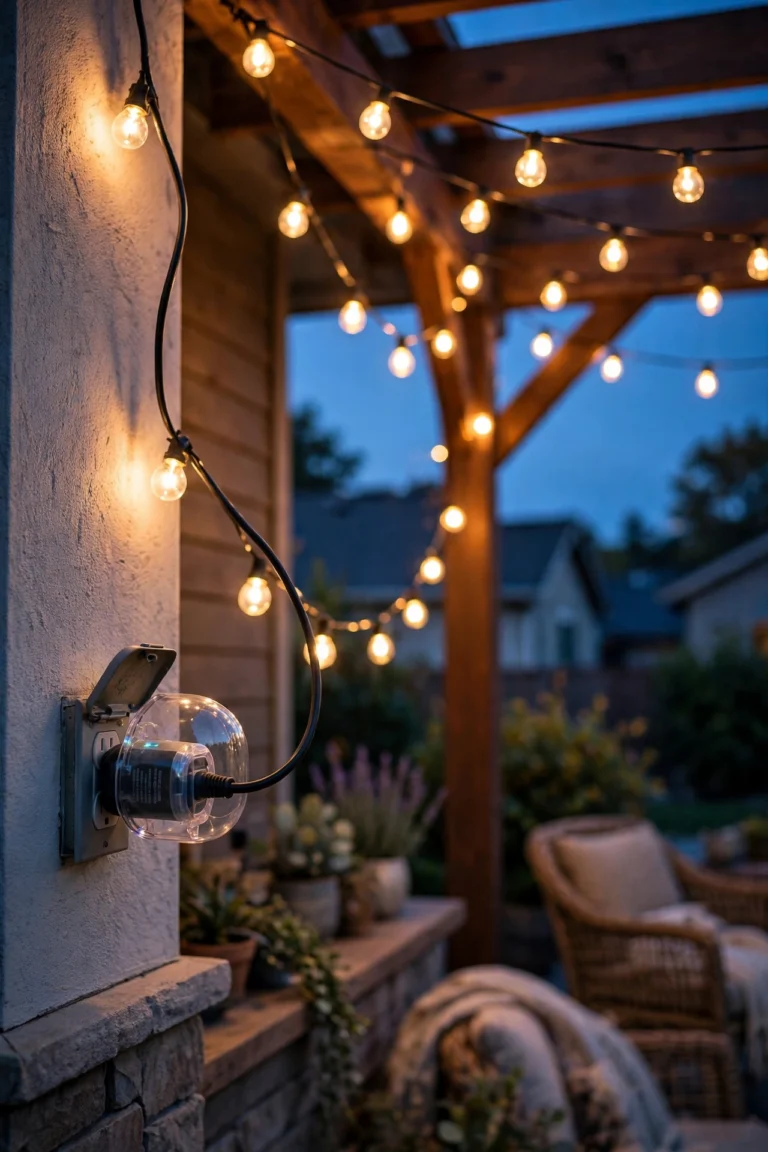
The best outdoor light is the one you never have to think about, and this is the idea that makes soffit lighting truly set-and-forget. You have two routes: smart bulbs or modules in each fixture, or — my strong preference — one smart switch or timer controlling the whole circuit. The switch route costs less, survives bulb changes, and lets every fixture behave as one. Program a dusk-to-dawn schedule with an astronomical timer that tracks your local sunset year-round, add a vacation mode that varies the on-times while you travel, and use the app to bring the house to full brightness when you're backing down the driveway after dark. My full rundown of smart plugs, switches and schedules that actually work covers the options in detail. One shopping note: if your soffit lights share a circuit with a dimmer from idea 12, choose a smart dimmer rather than a plain smart switch so you keep both tricks. Automation plus dimming is the combination that makes a lighting plan feel professionally designed.
Suggested budget range: $180 – $460.
14. Motion-Activated Eave Lights for Side Yards and Security
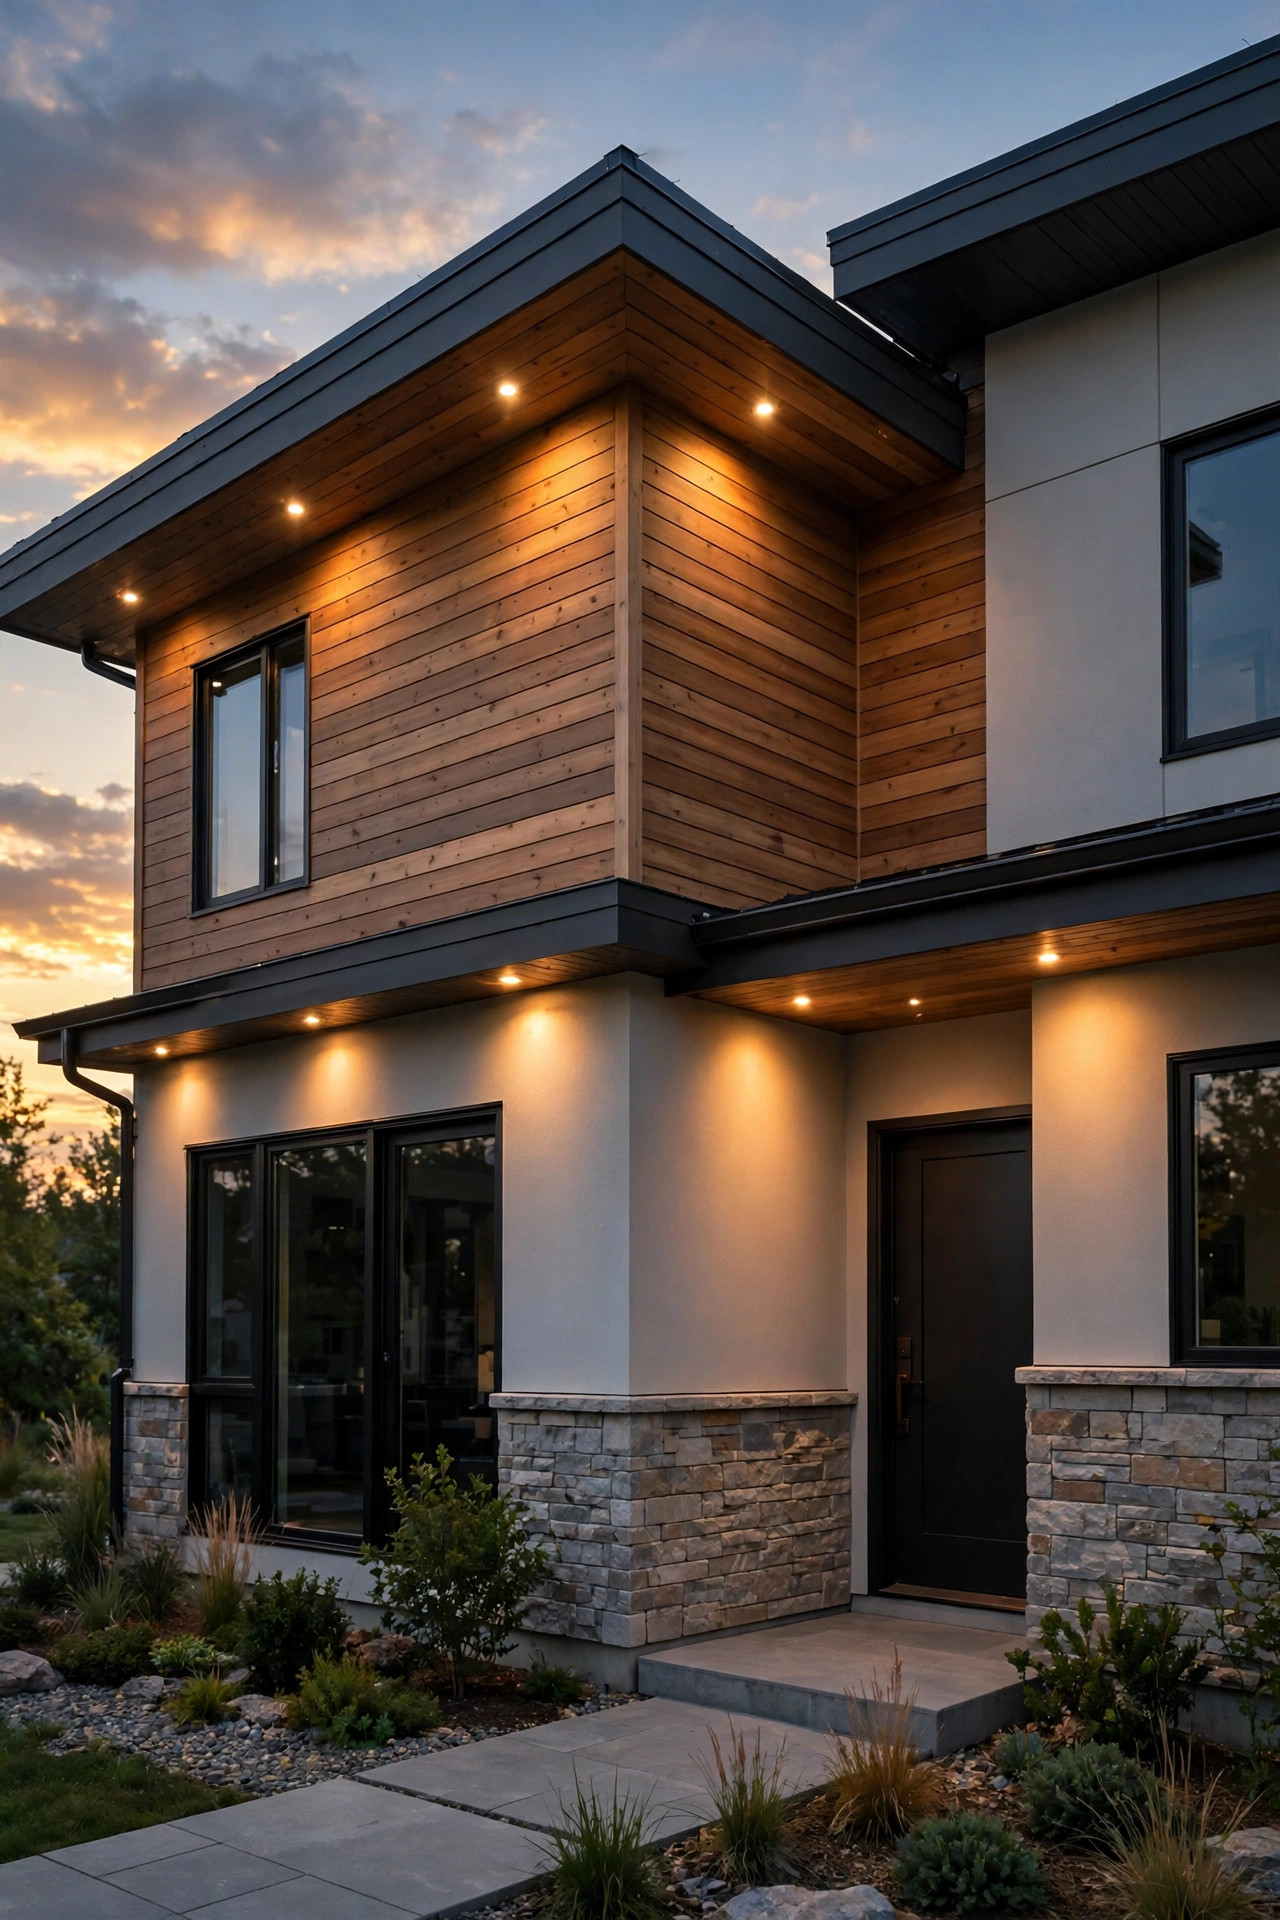
Every house has a dark side — literally. The side yard where the trash bins live, the stretch along the driveway, the corner by the AC unit. Soffit downlights with motion sensors turn those dead zones into covered territory without lighting them all night. My favorite configuration is dual-brightness: the fixture idles at a soft 20 to 30 percent glow, then steps up to full output when it senses movement, which gives you both the finished look and the security response. Aim sensor coverage along the path someone would actually walk, and keep sensitivity moderate so passing cars and roaming cats don't trigger a light show every twenty minutes. Because these mount up in the eave, they're far harder to tamper with than a low fixture, and the downward light washes faces and walkways evenly for cameras. Match the sensor fixtures' trim and color temperature to your main eave row so the security layer disappears into the design by day — and most of the night, too.
Suggested budget range: $160 – $400.

15. Retrofit LED Trims: Upgrade the Cans You Already Have
Maybe your home already has soffit cans from a builder's package, glowing that tired orange from aging bulbs. Good news: this is the cheapest transformation on the whole list. LED retrofit trim kits drop into existing 5-inch and 6-inch housings — the trim, lens, and LED come as one piece that screws into the bulb socket and clips into the can, sealing the gap with a gasket as it goes. Twenty minutes per fixture, no rewiring. The upgrade is dramatic: a 65-watt incandescent flood becomes roughly 10 watts of LED at the same brightness, the color jumps to a clean 2700K, and you stop changing bulbs on a ladder every year. Before you buy, peek inside one can: confirm the housing size, check whether insulation touches it (choose retrofits rated for that), and make sure the housing is in sound shape. If your cans are 4-inch or odd-sized, measure twice — retrofit kits are size-specific. This is where I'd start any soffit lighting project on an existing home, honestly. Refresh first, expand later.
Suggested budget range: $60 – $180.

16. Matching Color Temperature to Your Siding and Trim
Here's the invisible detail that separates "nice lights" from "that house looks professionally done": one consistent color temperature across the whole facade, chosen to flatter your materials. Warm 2700K is my default for brick, stone, wood tones, and traditional architecture — it deepens reds and makes everything feel like golden hour. A slightly crisper 3000K suits white, gray, and blue siding and modern architecture, keeping whites clean without the blue edge of daylight bulbs. Please, learn from my early mistake: never mix. A 2700K fixture beside a 4000K fixture reads as a mistake from the street, like one tooth a different color. Replace in matched sets, and buy one spare fixture from the same batch for future repairs, since LED color drifts slightly between production runs. If you're still torn between the two temperatures, my outdoor color temperature guide shows how each one behaves on common house colors. Get this one choice right, and even a modest row of fixtures looks intentional and expensive.
Suggested budget range: $150 – $420.

17. The Layered Whole-House Plan: Soffit Downlight Ideas as the Base Layer
Let me put it all together the way I'd plan it for my own home, because soffit downlights are the base layer of a complete design, not the whole design. Start with the eave row from ideas 1 and 6 — corners bookended, spacing aligned with your windows — running at 2700K on a smart dimmer. That's your ambient wash, the layer that's on every evening. Add the entry pair from idea 4 and the garage row from idea 5 for the functional highlights. Then layer in the other families: path lights to lead the eye up the walk, one or two sconces as jewelry at the door, and a grazed section of brick from idea 3 if you have the texture for it. Each layer on its own control means the house can shift from "everyday glow" to "guests arriving" to "all security, full bright" without touching a ladder. Phase it over two seasons if budget matters — base layer first, accents later. When the layers agree in color temperature and rhythm, the whole property looks quietly luxurious, and it all started with holes in the soffit.
Suggested budget range: $700 – $1,800.

Frequently Asked Questions
How far apart should soffit downlights be spaced?
For most single-story eaves, 4 to 6 feet apart is the sweet spot, with the fixtures centered front-to-back in the soffit. Align them with windows, columns, or garage bays below rather than measuring from one end, and always place a light near each corner. Taller eaves can stretch to 6–8 feet with brighter fixtures, while narrow grazing beams need tighter 3–4 foot spacing.
What color temperature is best for soffit downlight ideas around the house?
2700K warm white flatters brick, stone, and traditional homes and gives that golden-hour glow most of us want. 3000K works better on white, gray, and modern exteriors where 2700K can look slightly yellow. The real rule is consistency: pick one temperature for the entire facade and buy a spare fixture from the same batch.
Can I install soffit downlights myself, or do I need an electrician?
Swapping in LED retrofit trims or replacing fixtures on an existing circuit is a comfortable DIY job for most homeowners — just kill the breaker and verify power is off. Running new circuits, cutting into second-story eaves, or adding switches usually calls for a licensed electrician, and many areas require a permit for new wiring. When in doubt, hire the high work out.
How much do LED soffit lights cost to run?
Very little. A typical LED soffit downlight draws about 10 watts, so a row of eight running five hours a night uses roughly 0.4 kilowatt-hours — often just a couple of dollars a month depending on your rates. Dimming and timer schedules cut that further. Compared with the old 65-watt floods they replace, the savings pay back a retrofit quickly.
Conclusion
If there's one principle to carry away, it's this: the cleanest outdoor lighting is the kind you never see — just the glow it leaves behind. These soffit downlight ideas give your home that built-in, architectural wash from the eaves down, with no fixtures cluttering the yard and nothing to trip over or mow around. Start with the classic spaced row and corner bookends, add dimming and a timer, and layer from there as your budget allows. Once your base layer is glowing, browse the rest of my lighting ideas here on the site and build the next layer — your house, and honestly your whole street, will look better for it.