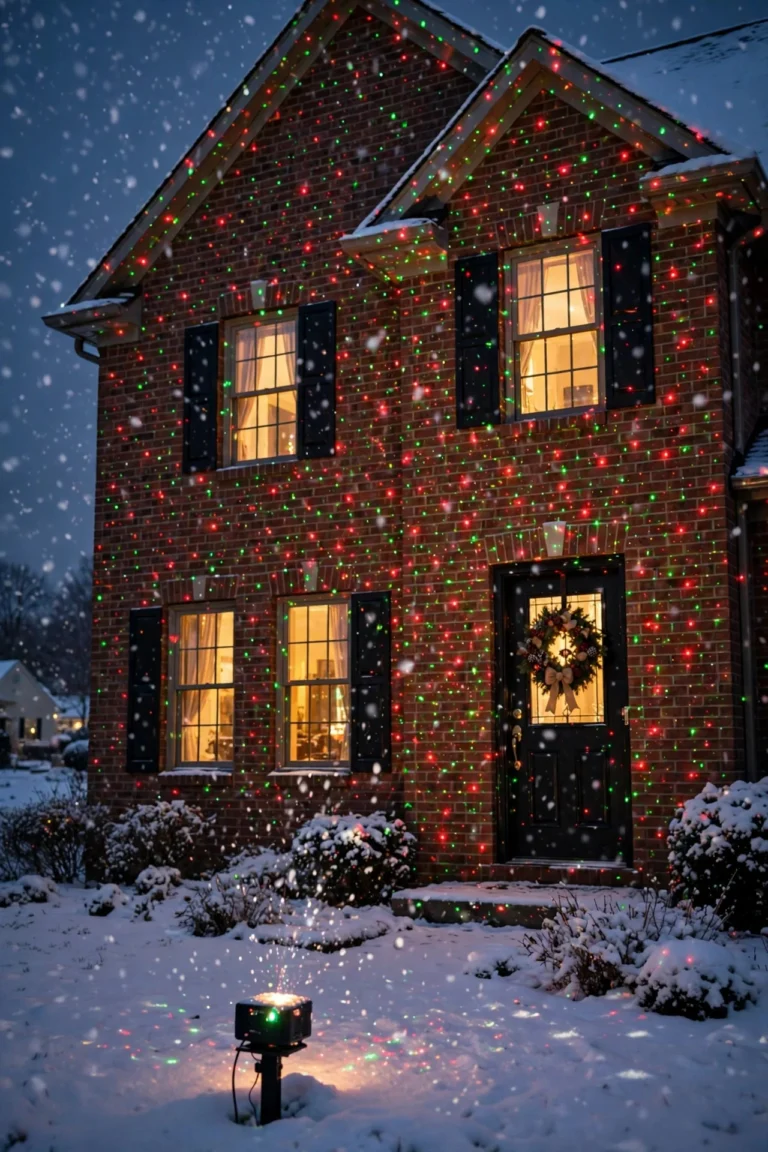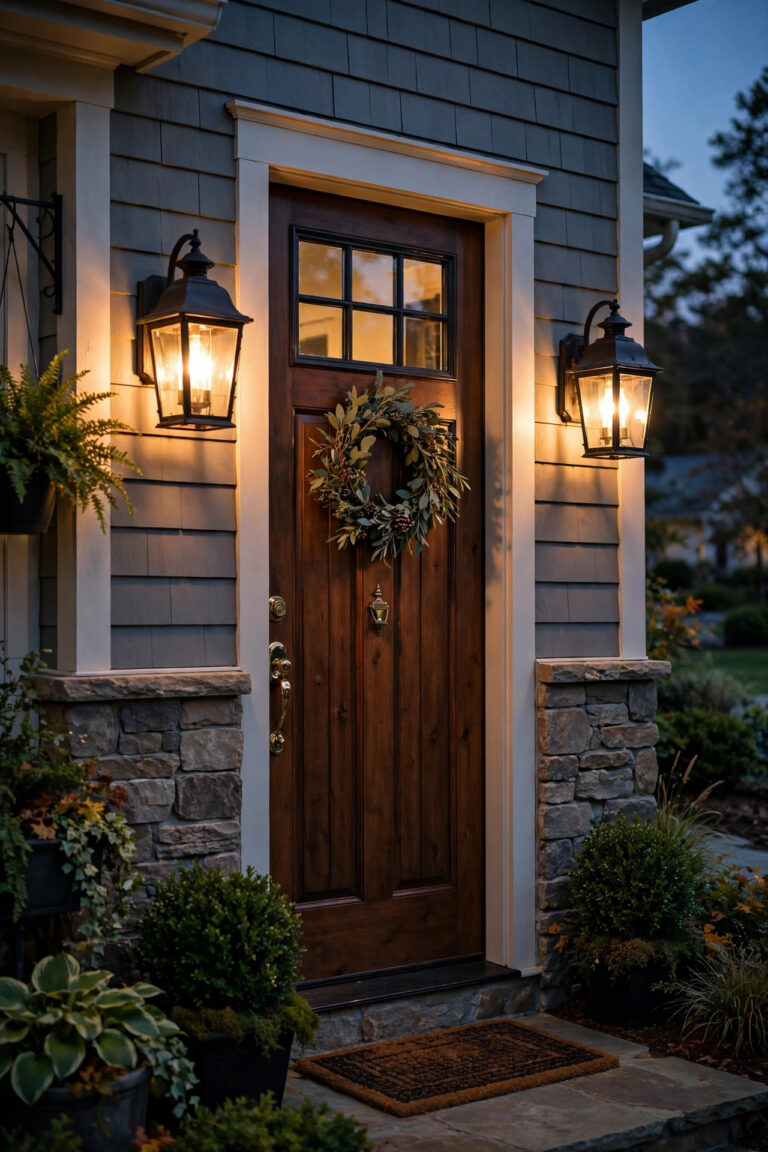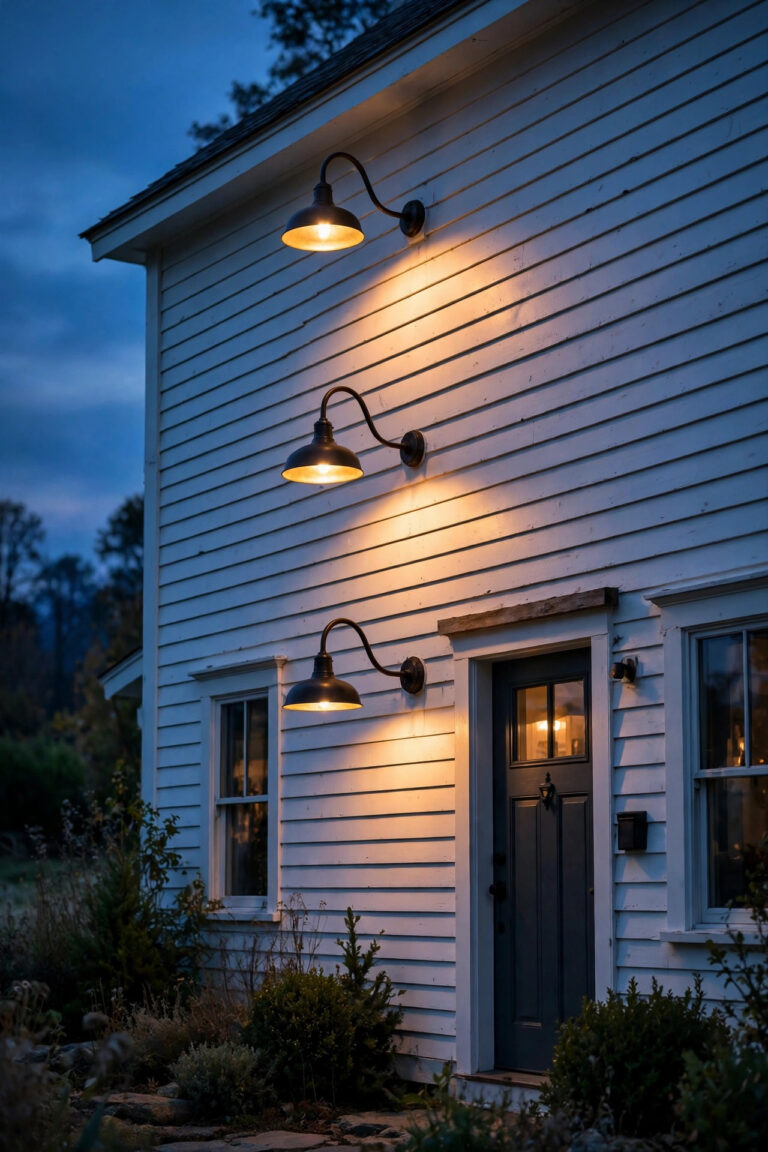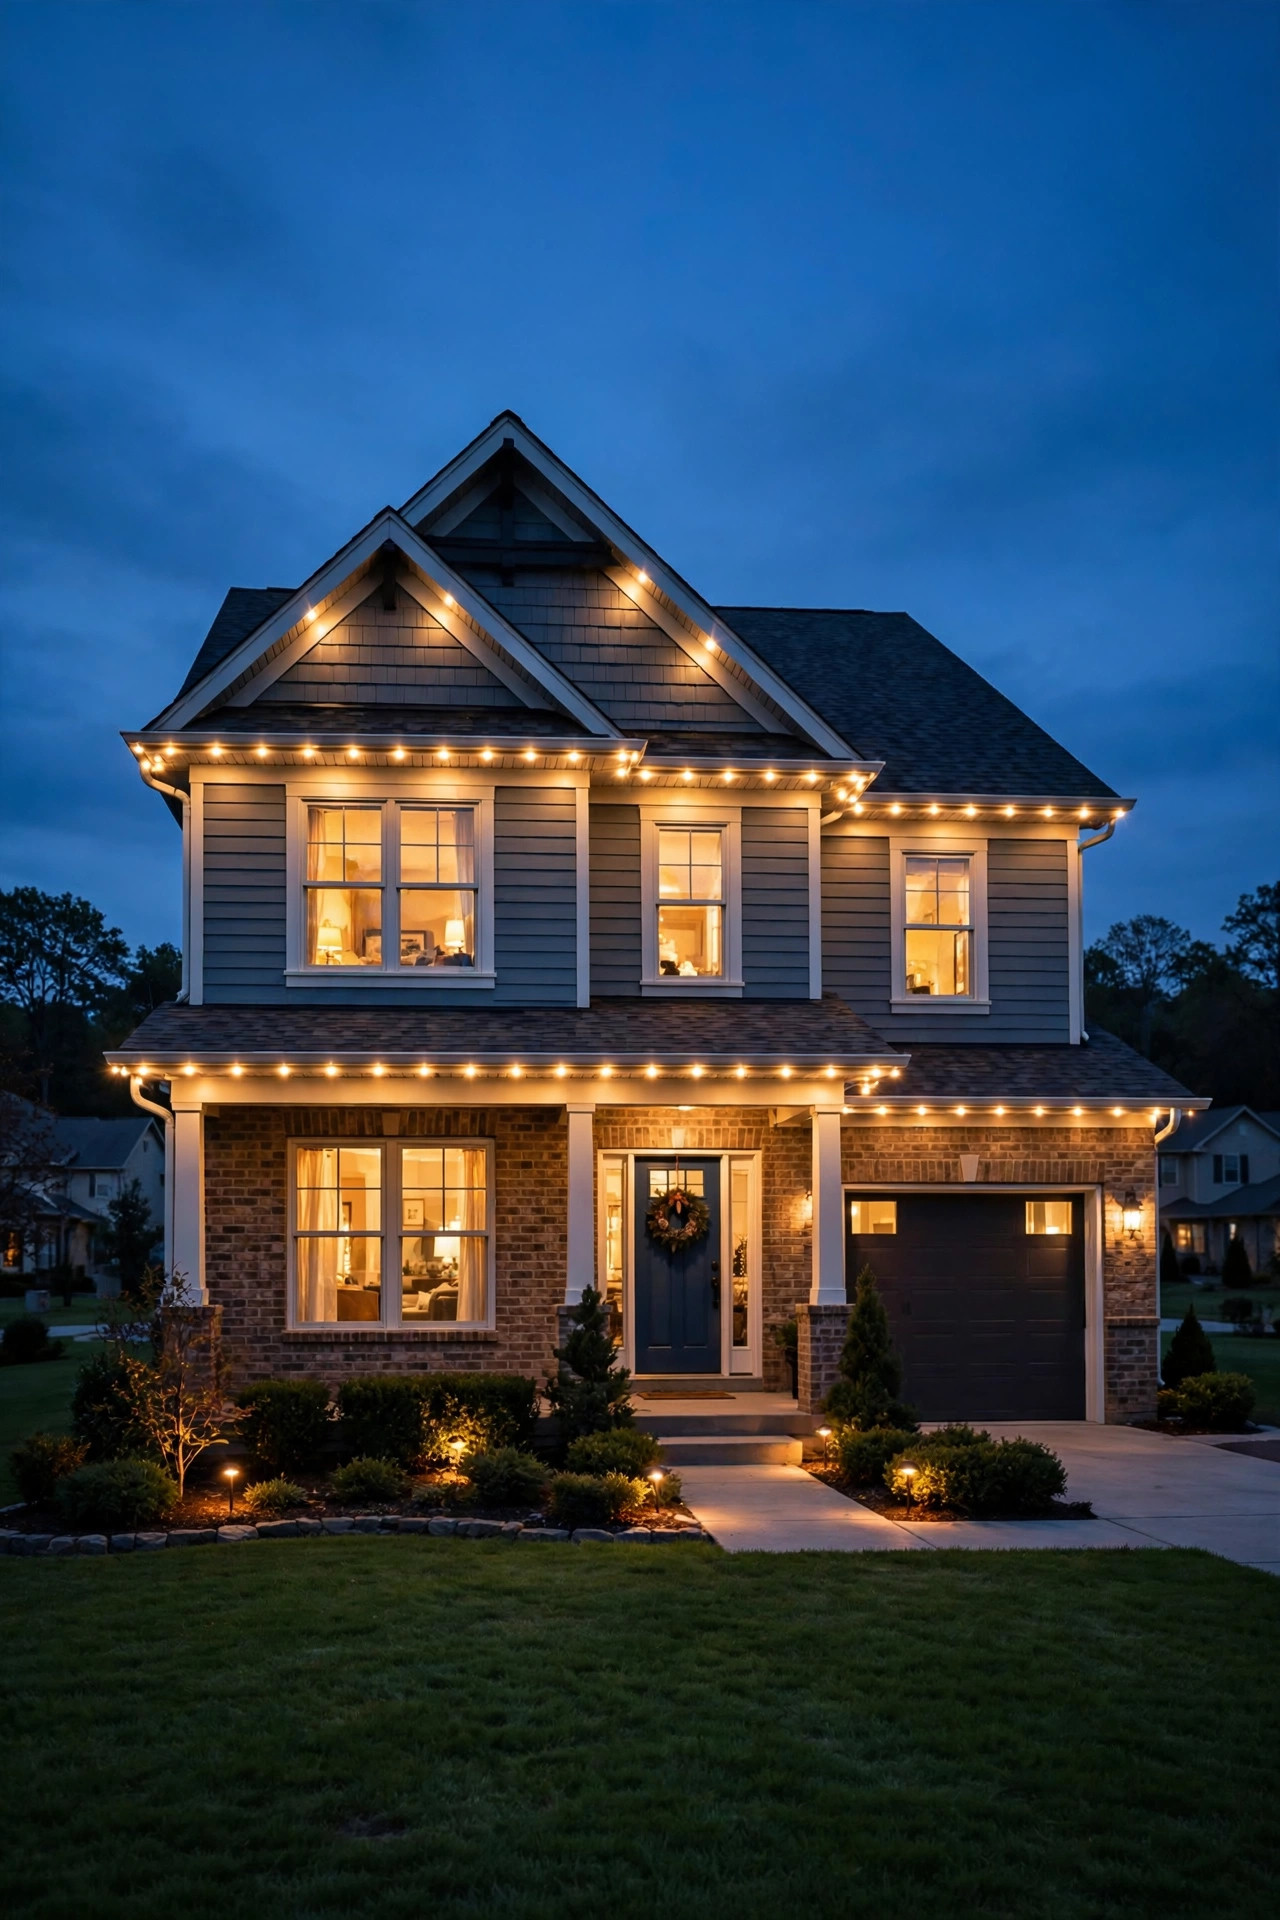
Every October, like clockwork, I watch my neighbors drag out the ladders, untangle last year's strands, and spend an entire freezing Saturday hanging Christmas lights — and then do the whole thing in reverse in January. Meanwhile, there's always one house on the block that seems to glow beautifully with zero ladder activity whatsoever. That, my friends, is the house with permanent outdoor Christmas lights: a one-time installation that stays on your home year-round and turns on with a tap on your phone whenever you want it.
Are permanent outdoor Christmas lights actually worth the money in 2026? I've spent the last few seasons researching the systems, talking to installers, crunching the costs, and watching how they hold up in real winter weather. The short version: for a lot of homeowners, the math works out surprisingly well — but not for everyone. By the end of this guide, you'll know exactly how these systems work, what they really cost (including the sneaky ongoing expenses), whether DIY or a pro is right for you, and the mistakes that can turn an expensive upgrade into an eyesore.
The Short Answer
Permanent outdoor Christmas lights are worth it if you hang holiday lights every year and plan to stay in your home at least 3–5 years. Installed by a pro, they typically cost $8–$14 per linear foot — so a 150-foot roofline runs roughly $1,200–$2,100 — while DIY kits land in the $400–$900 range. High-quality LED systems last 50,000+ hours (a decade or more of seasonal use), cost pennies a day to run, and double as year-round accent lighting. If you dread the ladder ritual or want security and ambiance lighting year-round, they're one of the best upgrades you can make.
How Permanent Outdoor Christmas Lights Actually Work
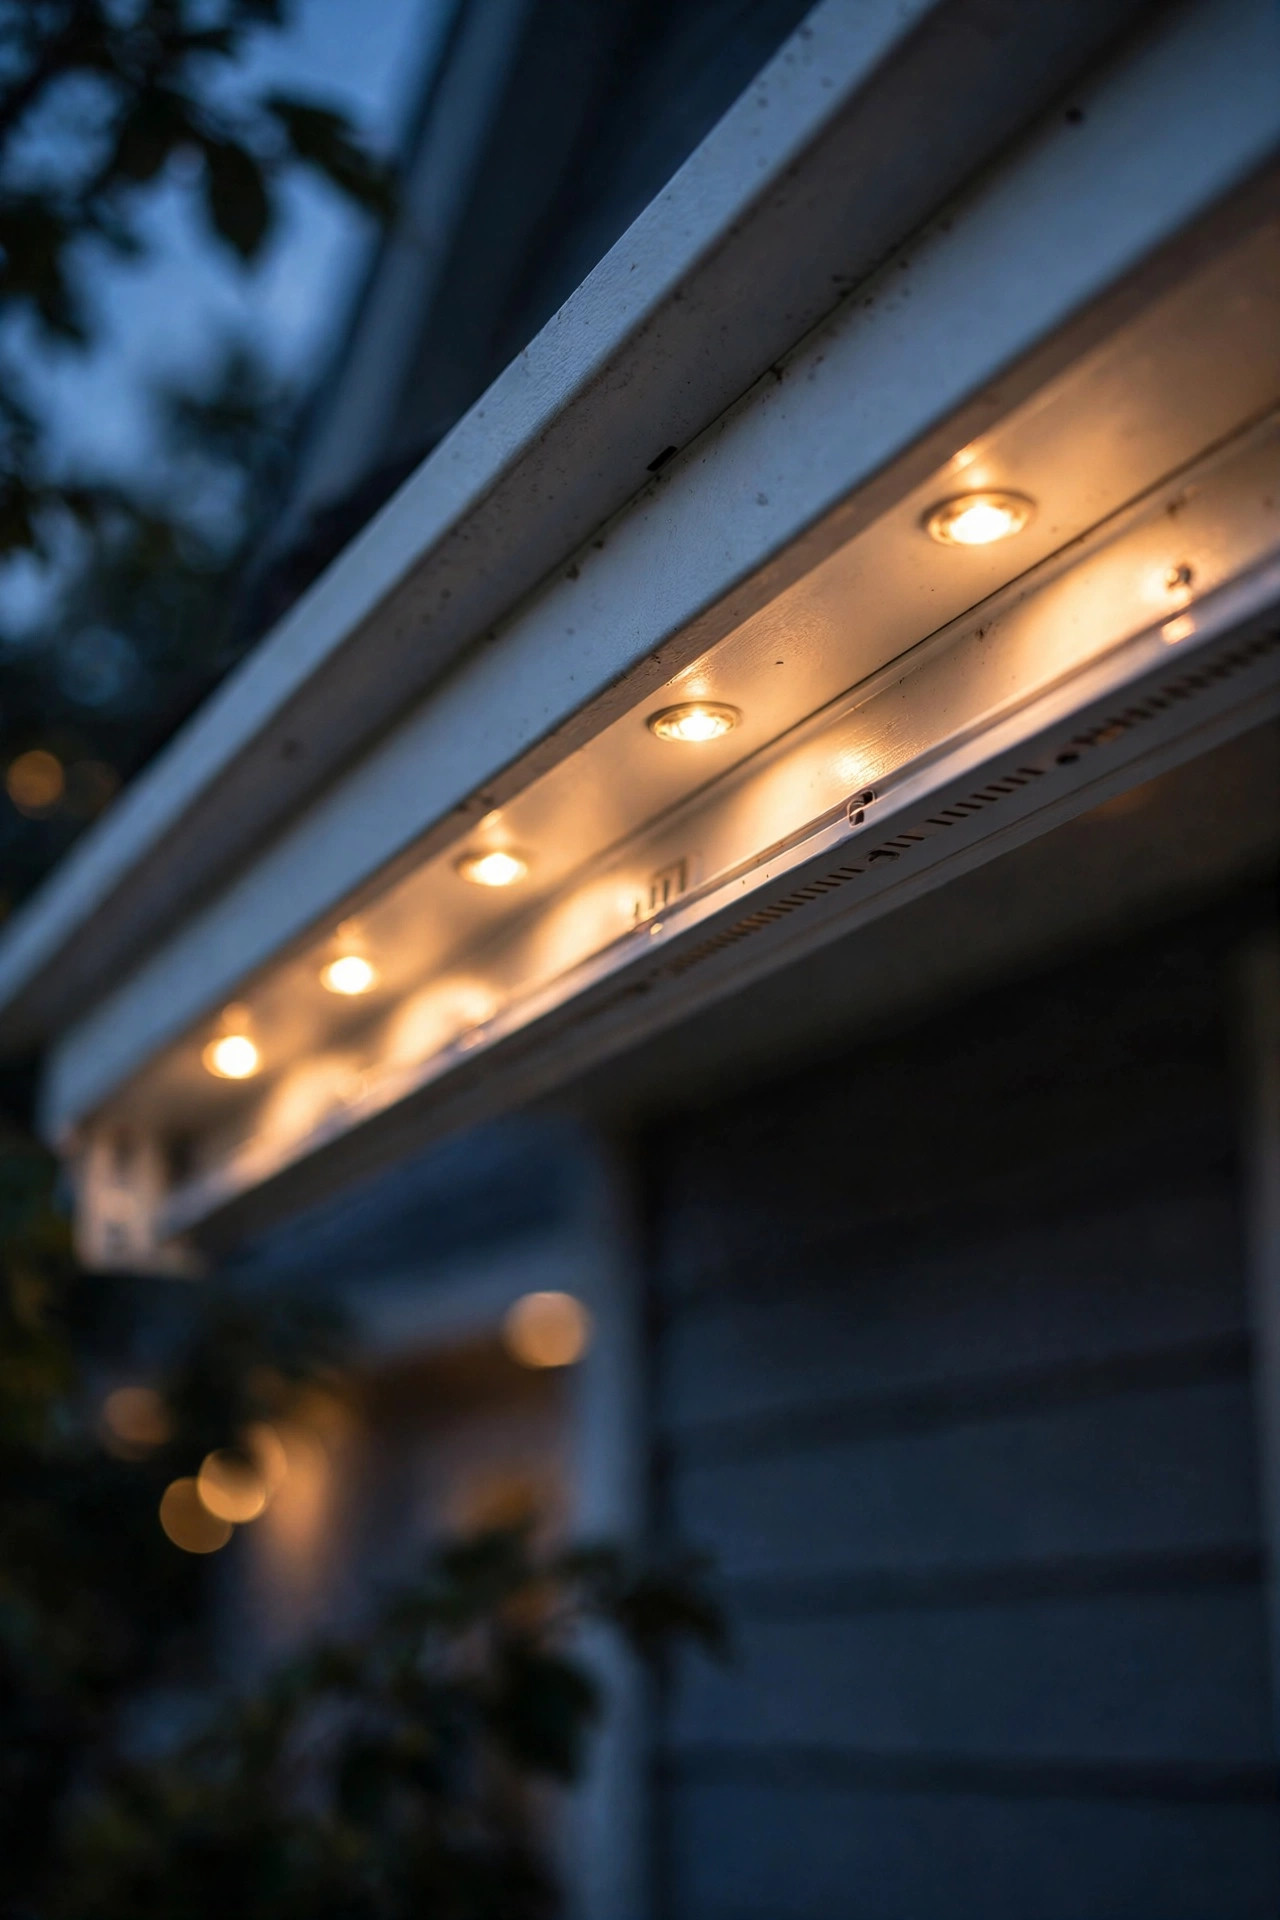
Let's demystify this first, because the name is slightly misleading — there's nothing "Christmas" about how these lights function. A permanent lighting system is a string of low-voltage LED nodes (either in a slim track/channel or as individual pucks) mounted to your soffits, fascia, or eaves with color-matched hardware. Once installed, they're virtually invisible during the day.
The brains of the system is a small controller box — usually mounted near an outdoor outlet or inside your garage — that connects to your Wi-Fi and an app on your phone. From the app, you choose colors, patterns, brightness, and schedules for every single light node. Want classic warm white along the roofline for Thanksgiving? Done. Red and green chasing patterns for Christmas? Done. University colors for game day, pastels for Easter, subtle white accent lighting for a summer dinner party? All done, without touching a ladder.
Power runs through a low-voltage transformer (12V or 24V), so you're not dealing with dangerous high voltage along the roofline. Most systems draw very little power — a full 150-foot run of LEDs typically uses about as much electricity as a couple of old incandescent porch bulbs. Honestly, the "permanent" part just means the hardware lives on your house full-time. Whether it's Christmas or July, it's the same lights doing different jobs.
The Main Types, Compared Honestly
You'll run into three main system styles, and choosing between them is the single biggest decision in this project. Here's how they stack up:
| System type | Upfront cost | DIY effort | Best for |
|---|---|---|---|
| Track/channel systems | $8–$14/ft installed; $3–$6/ft DIY kits | Moderate — cutting and alignment take patience | Polished, nearly-invisible-by-day look; long-term homeowners |
| Bulb-and-socket (individual soffit) lights | Similar to track systems installed | Moderate to high — each bulb needs secure mounting | Modern homes; year-round architectural accent lighting |
| Flexible LED strip systems | $1–$4/ft materials, often under $400 DIY for a whole house | Low — a weekend project | Renters and first-time triers testing the permanent-light lifestyle |
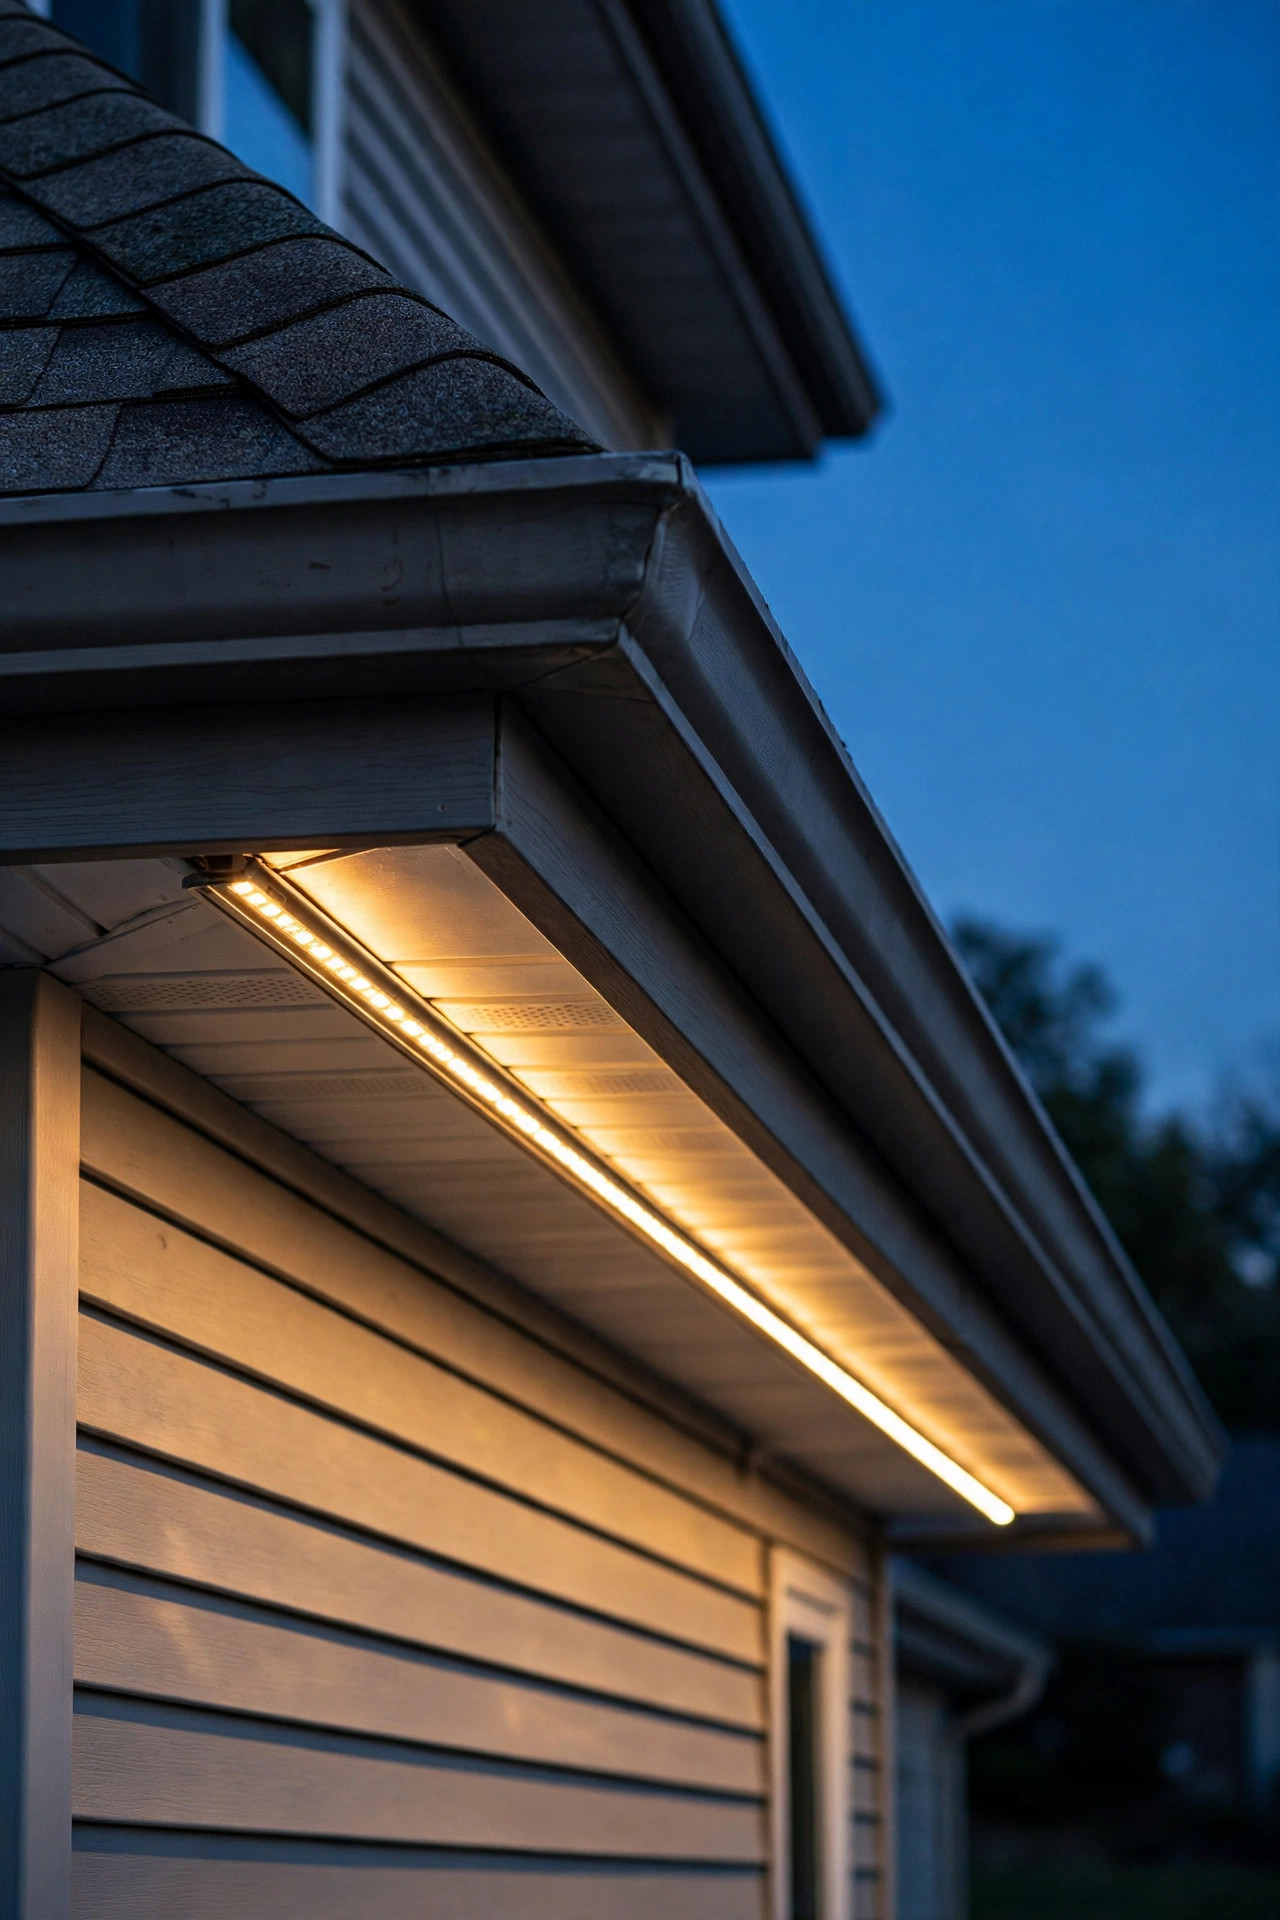
Track/channel systems. Individual LED nodes snap into a slim, color-matched aluminum or plastic channel mounted under your soffit or along the fascia. The channel protects the wiring and gives the cleanest, most professional look — the lights appear to float under your eaves. Upfront cost: typically $8–$14 per linear foot installed, or $3–$6 per foot for DIY kits. Effort: moderate for DIY; the cutting and channel alignment take patience. Best for: homeowners who want the most polished, nearly-invisible-by-day look and plan to stay long-term.
Bulb-and-socket (individual soffit) lights. These are larger individual LED bulbs set into your soffit or mounted directly, spaced evenly like recessed can lights. They read more like architectural lighting than Christmas lights. Upfront cost: similar to track systems installed, sometimes slightly less. Effort: moderate to high for DIY, since each bulb needs secure mounting. Best for: modern homes and anyone who cares most about year-round architectural accent lighting.
Flexible LED strip systems. The budget-friendly option — adhesive or clip-mounted strips along eaves and gutters. Upfront cost: $1–$4 per foot for materials, often under $400 for a whole house in DIY form. Effort: low — this is a weekend project. Best for: renters, first-time triers, and anyone testing whether they like the permanent-light lifestyle before committing real money.
My honest take: strips are a great experiment but age the fastest in harsh weather. If you're going to commit, the track/channel style is what makes neighbors ask "who did your lights?" In my experience, that's the system people stay happiest with five years later.
How Many You Need and Where to Put Them
Here's where people either save or waste hundreds of dollars: measuring. Permanent lights are priced by the linear foot, so you only want to cover the architectural lines that actually look good lit — more is not always better.
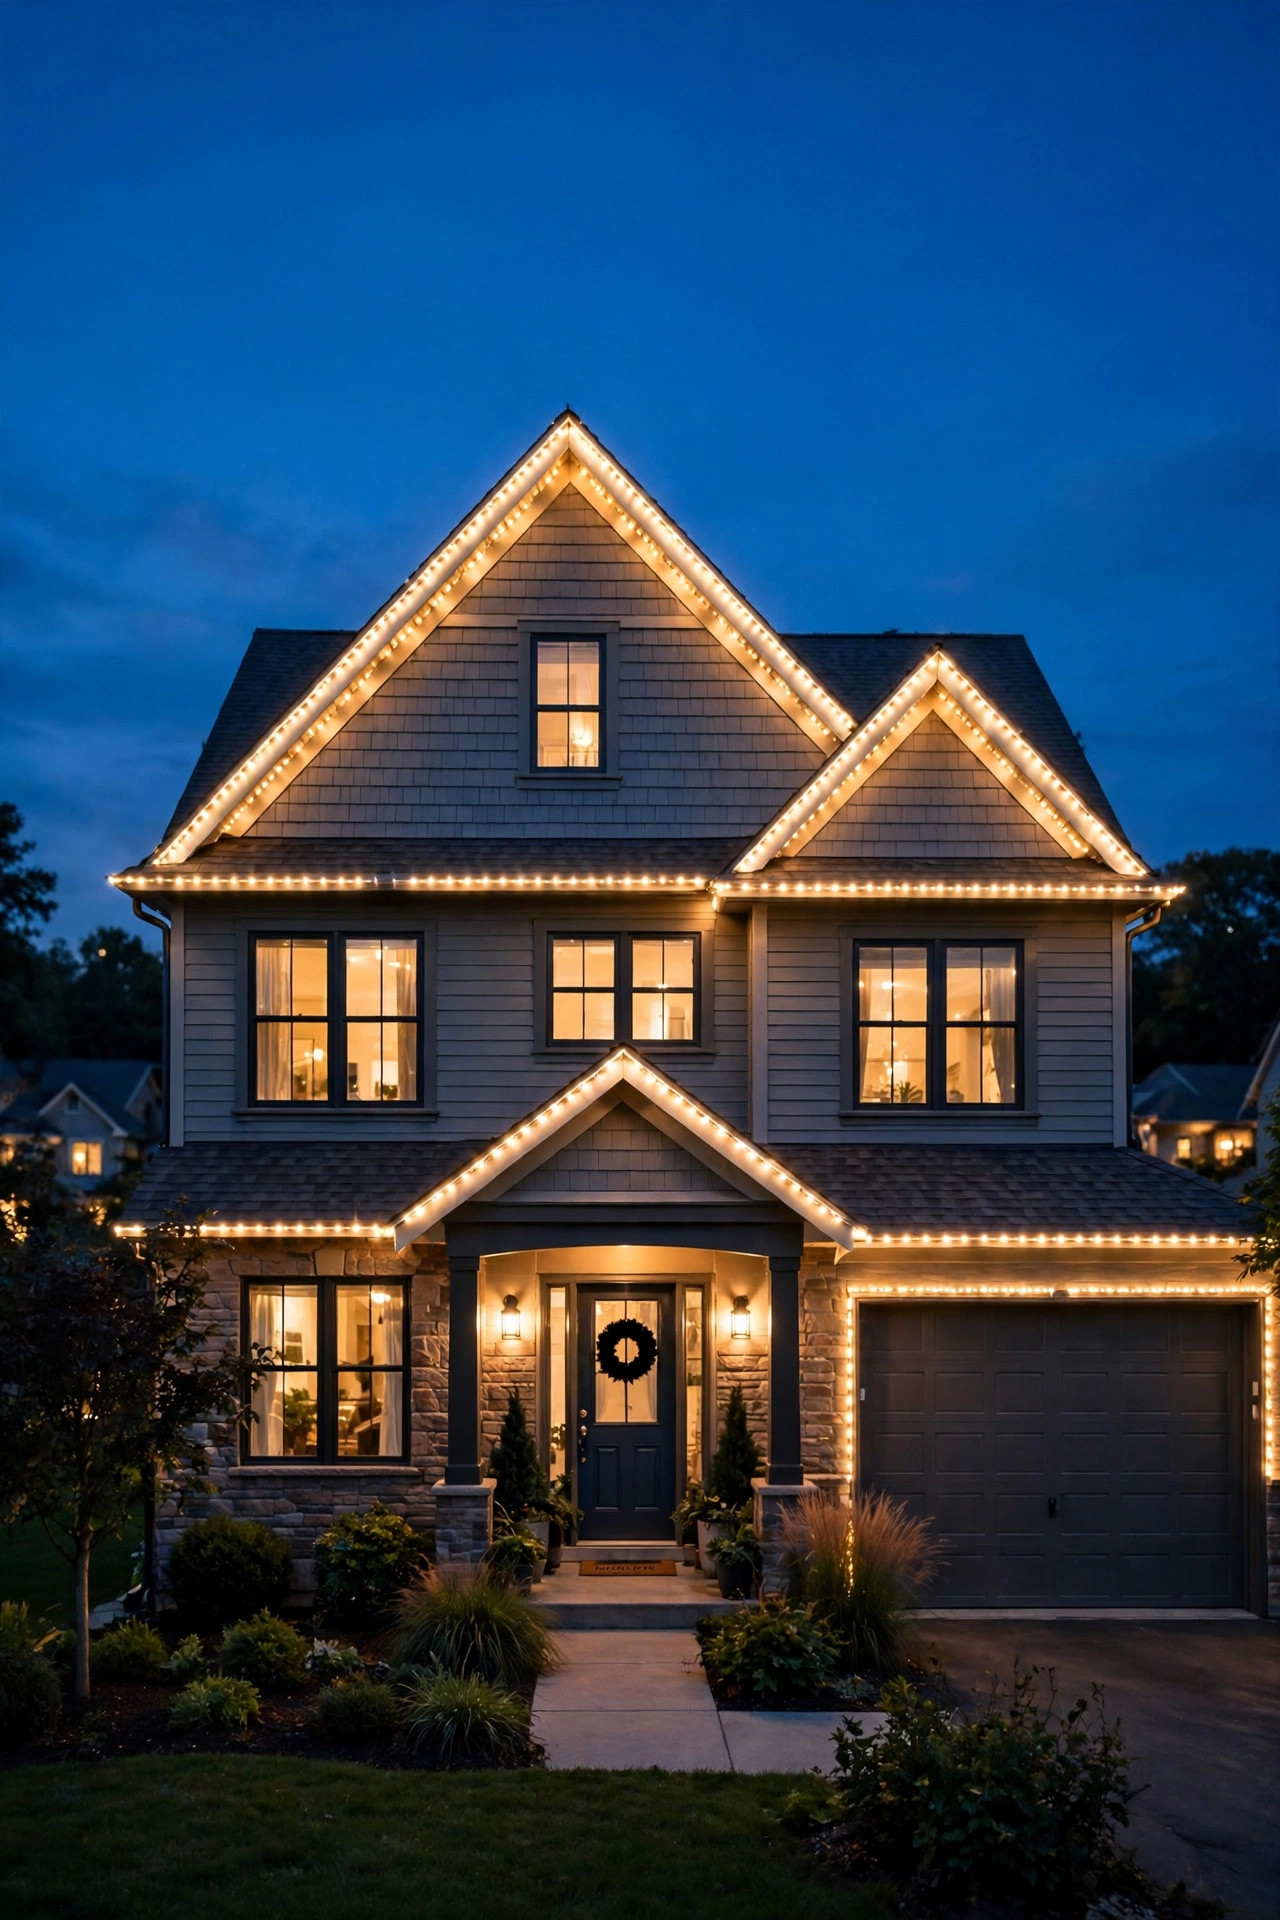
Start with your front roofline — the eaves and fascia facing the street. That's the money shot and where roughly 70–80% of your footage will go. On a typical two-story suburban home, that's 120–180 linear feet. Next, consider gables and peaks: tracing a gable or two adds beautiful dimension and usually accounts for 30–50 feet. Then think about accent zones: porch columns, a dormer, or the garage door header (each 15–25 feet) can elevate the whole display.
What I skip: side and back rooflines (nobody sees them, and you're paying per foot), and over-lighting every window trim — it gets busy fast. A good rule of thumb I always recommend: walk across the street at dusk, squint, and notice which lines of your house actually define its shape. That's your lighting map.
Spacing is handled for you with most kits — nodes are pre-spaced every 4–12 inches along the strand. You don't calculate bulb spacing the way you would with traditional string lights; you calculate footage of architecture. Measure twice, order 10% extra for peaks and returns, and remember: a controller can typically run 150–300 feet before you need a second power injection or controller.
Step-by-Step: Installing Permanent Lights Yourself
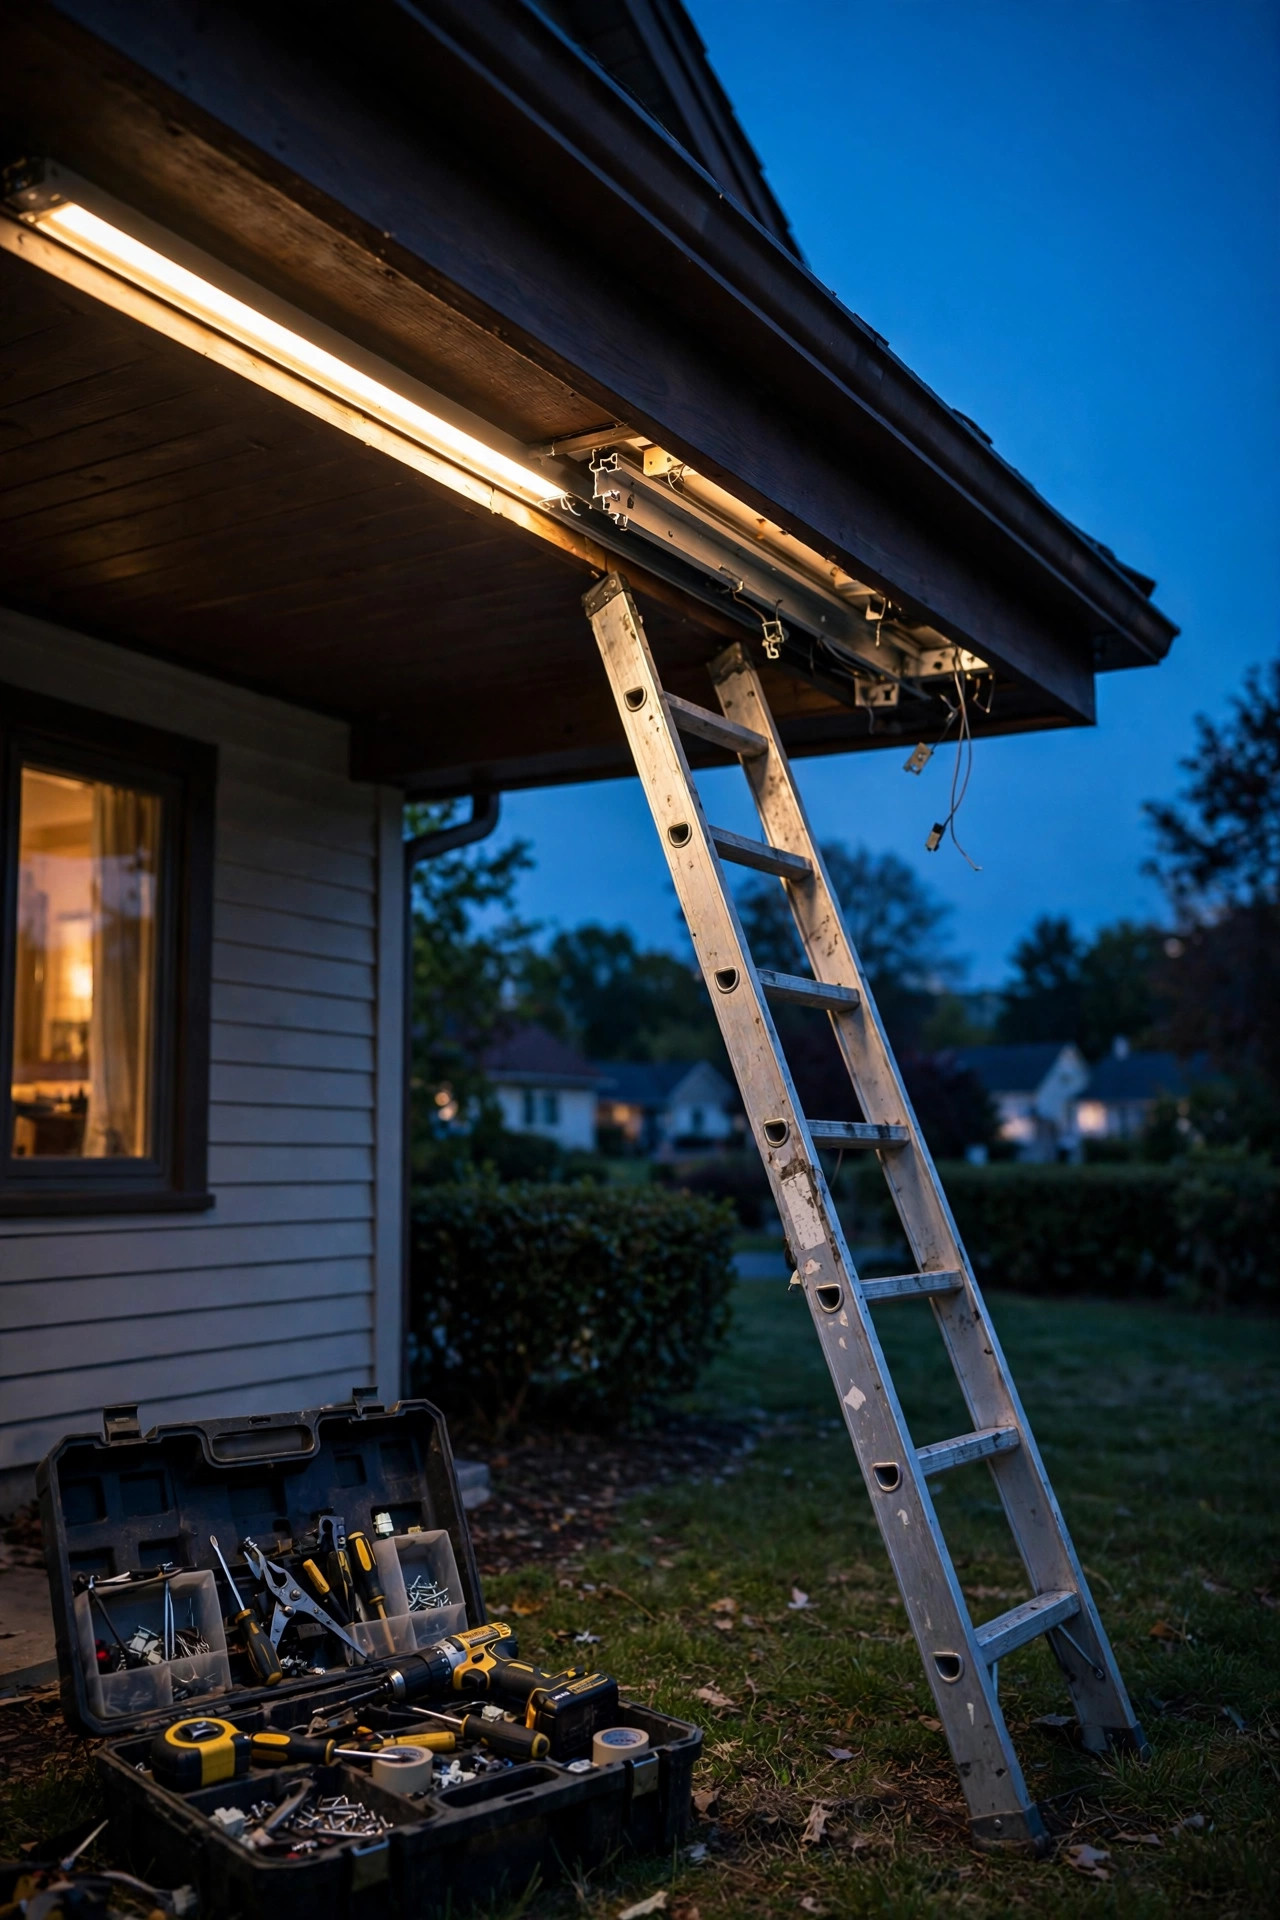
If you go the DIY route (most realistic with track kits and strips), here's the honest playbook. This is a one-to-two-day project for a typical front roofline, and you'll need a sturdy ladder, a helper, a drill, and comfortable weather — do this in October, not mid-December.
1. Map and measure. Sketch your roofline, mark where the controller and power will live (garage outlet or exterior GFCI), and order your kit with 10% extra footage plus spare clips.
2. Test everything on the ground first. Uncoil the full run, plug in the controller, and run every color and pattern through the app. Catching a dead node in your driveway beats discovering it 25 feet up. Trust me on this one.
3. Install the mounting hardware. For track systems, mount the channel sections along the soffit or fascia with screws every 16–24 inches, following the roofline. For strips, clip them to the gutter edge or under the eave. Keep runs level — a wavy channel is visible forever.
4. Snap in or thread the lights. Lay the LED strand into the channel, keeping nodes evenly seated and wire slack tucked away. Work from the controller outward so you know your runs reach.
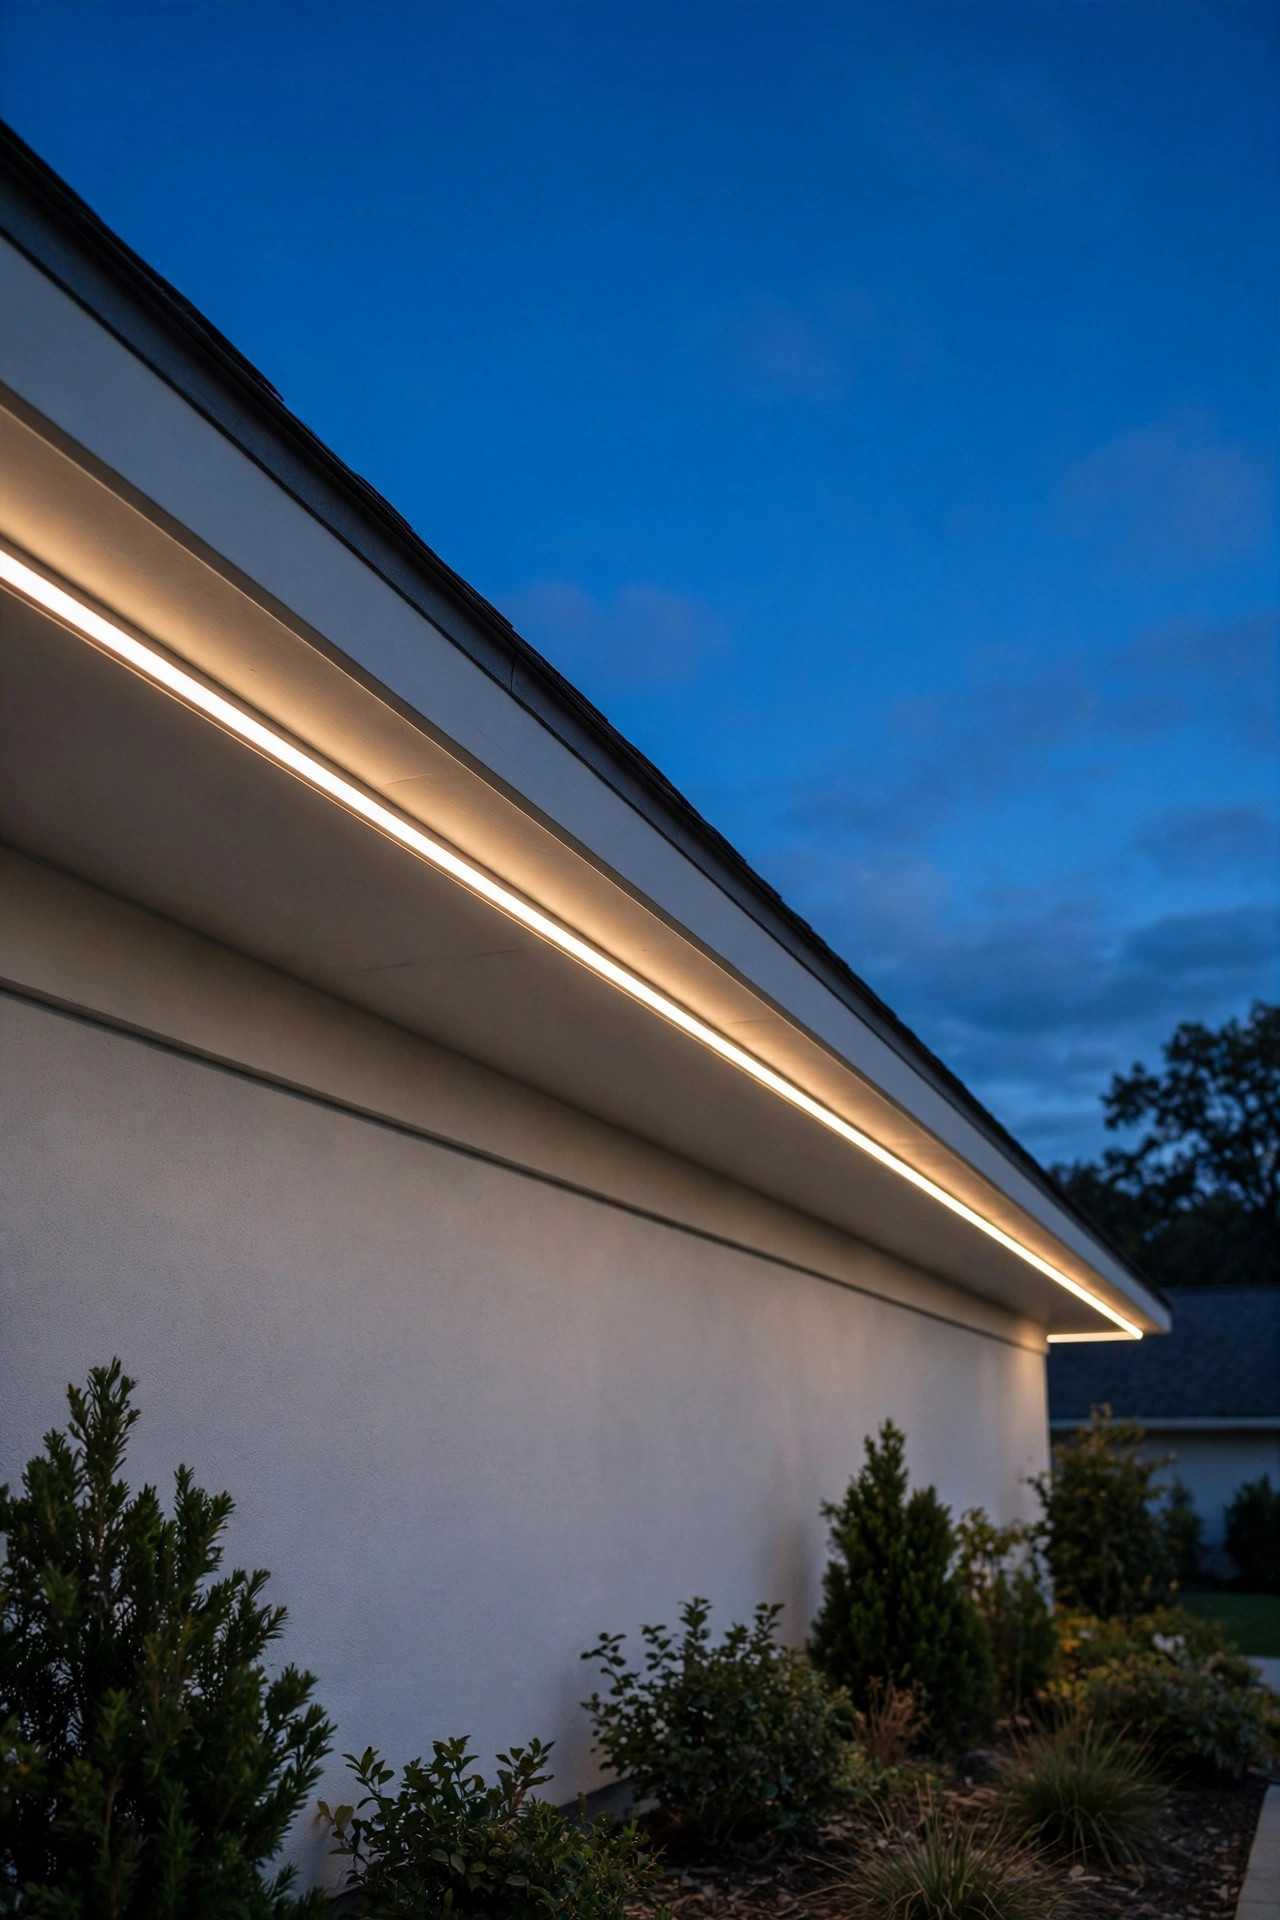
5. Wire power and the controller. Mount the controller in a weatherproof spot, connect the low-voltage transformer, and plug into your outdoor outlet. Cable routing should be neat and secured — floppy wires are the number one giveaway of a rushed job.
6. Program your scenes. Set your Christmas scene, your everyday warm-white accent scene, and any holiday presets. Schedule dusk-to-11pm timers so you never think about it again.
The golden rule: never work on a wet roof, always have a spotter for the ladder, and if anything about your electrical setup feels sketchy, that's your sign to call a pro.
What Permanent Outdoor Christmas Lights Cost in 2026
Let's talk real numbers, because this is the section that matters most for the "worth it?" question. Prices below are current 2026 ranges I've compiled from installer quotes and kit listings.
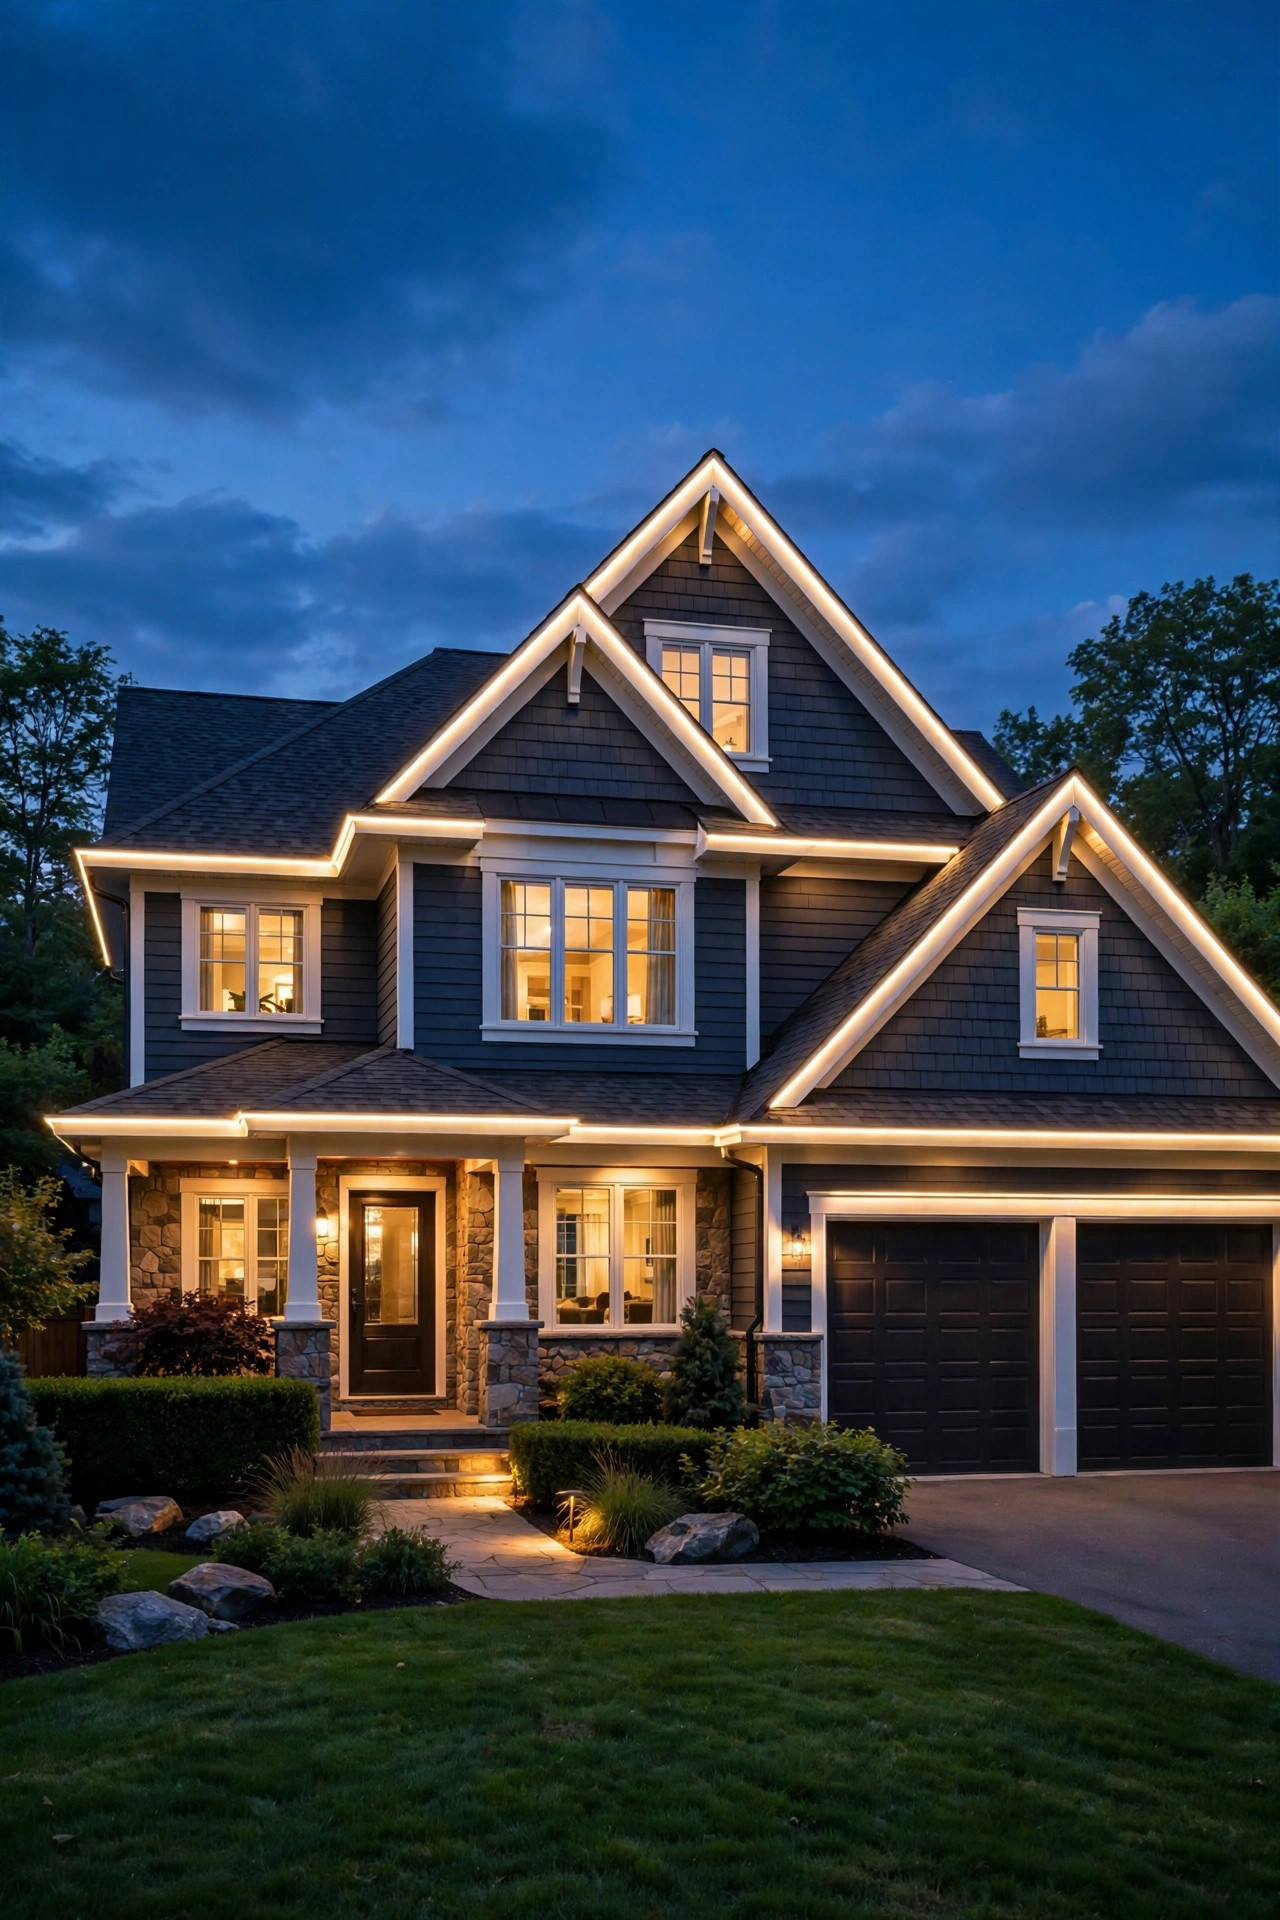
Professional installation: $8–$14 per linear foot all-in (hardware, labor, controller, programming). A 150-foot front roofline lands around $1,200–$2,100. A full-wrap house (250–350 feet) can run $2,500–$4,500. Get three quotes — pricing varies wildly by region and roof complexity.
DIY kits: $300–$900 for 150 feet depending on system type (strips at the low end, track systems at the high end), plus the controller if it's not bundled. Add $50–$100 for extra clips, weatherproof boxes, and the inevitable "one more thing" hardware store run.
Running costs — the pleasant surprise: a full LED roofline typically draws 60–120 watts. Run it 6 hours a night through December at the US average electricity rate (around $0.17/kWh), and you're looking at roughly $0.06–$0.12 per day — about $2–$4 for the entire holiday season. Even year-round nightly use usually costs under $30 a year. Your porch light probably costs more.
Maintenance and replacement: quality nodes last 50,000+ hours. Individual node failures are rare but happen; replacement nodes usually cost $5–$15 each and swap in by hand. Budget maybe $0–$50 a year.
Compare that to the hidden cost of traditional lights: $100–$300 in replacement strands every few years, plus either your own ladder time or $300–$600 per year to hire a hanging service. Over five years, a DIY permanent system often breaks even with doing it the old-fashioned way — and the pro system isn't far behind.
DIY or Hire a Pro? How to Decide
This is the fork in the road, and there's no shame in either path. Here's how I help friends decide:
Go DIY if: you're comfortable on a ladder, your roofline is straightforward (single-story or easy eave access), you enjoy a weekend project, and you want the $400–$900 route. LED strips and simpler track kits are genuinely doable — plenty of first-timers finish a front roofline in a day.
Hire a pro if: you have a steep or high roof, complex gables and dormers, no comfortable outdoor power source near the controller location, or you simply value your weekends more than the savings. Pros also handle the invisible details — clean wire routing, weatherproofing, and programming — that separate a good install from a great one. And frankly, if you hate the ladder ritual enough to buy permanent lights, paying someone else to do the one-time install is philosophically consistent.
One caution: get quotes from companies that specialize in permanent lighting, not general handymen. Ask to see photos of their daytime installs — you want to see how invisible the hardware is when the lights are off. A reputable installer will also warranty their workmanship for at least a couple of years. If they can't show you daytime photos, keep shopping.
7 Mistakes That Ruin the Effect
I've seen enough installs — good and tragic — to know exactly where this project goes sideways. Avoid these and you'll be ahead of 90% of installations.
1. Lighting the wrong architecture. Covering every inch of roofline, including the sides nobody sees, wastes money and can look flat. Curate: front roofline, gables, key accents. Restraint reads as expensive.
2. Wrong color temperature for "normal" mode. Cool blue-white everyday lighting makes a home look like a convenience store. Set your default accent scene to warm white (2700–3000K feel) and save the rainbow effects for holidays.
3. Skimping on the controller location. Mounting the controller where it's exposed to direct rain or hard to reach means future-you will curse present-you. Sheltered, accessible, near power. Non-negotiable.
4. Buying the cheapest kit on the internet. Bargain systems have dimmer LEDs, flimsy connectors, and apps that get abandoned. In my experience, mid-range and up is where the longevity lives.
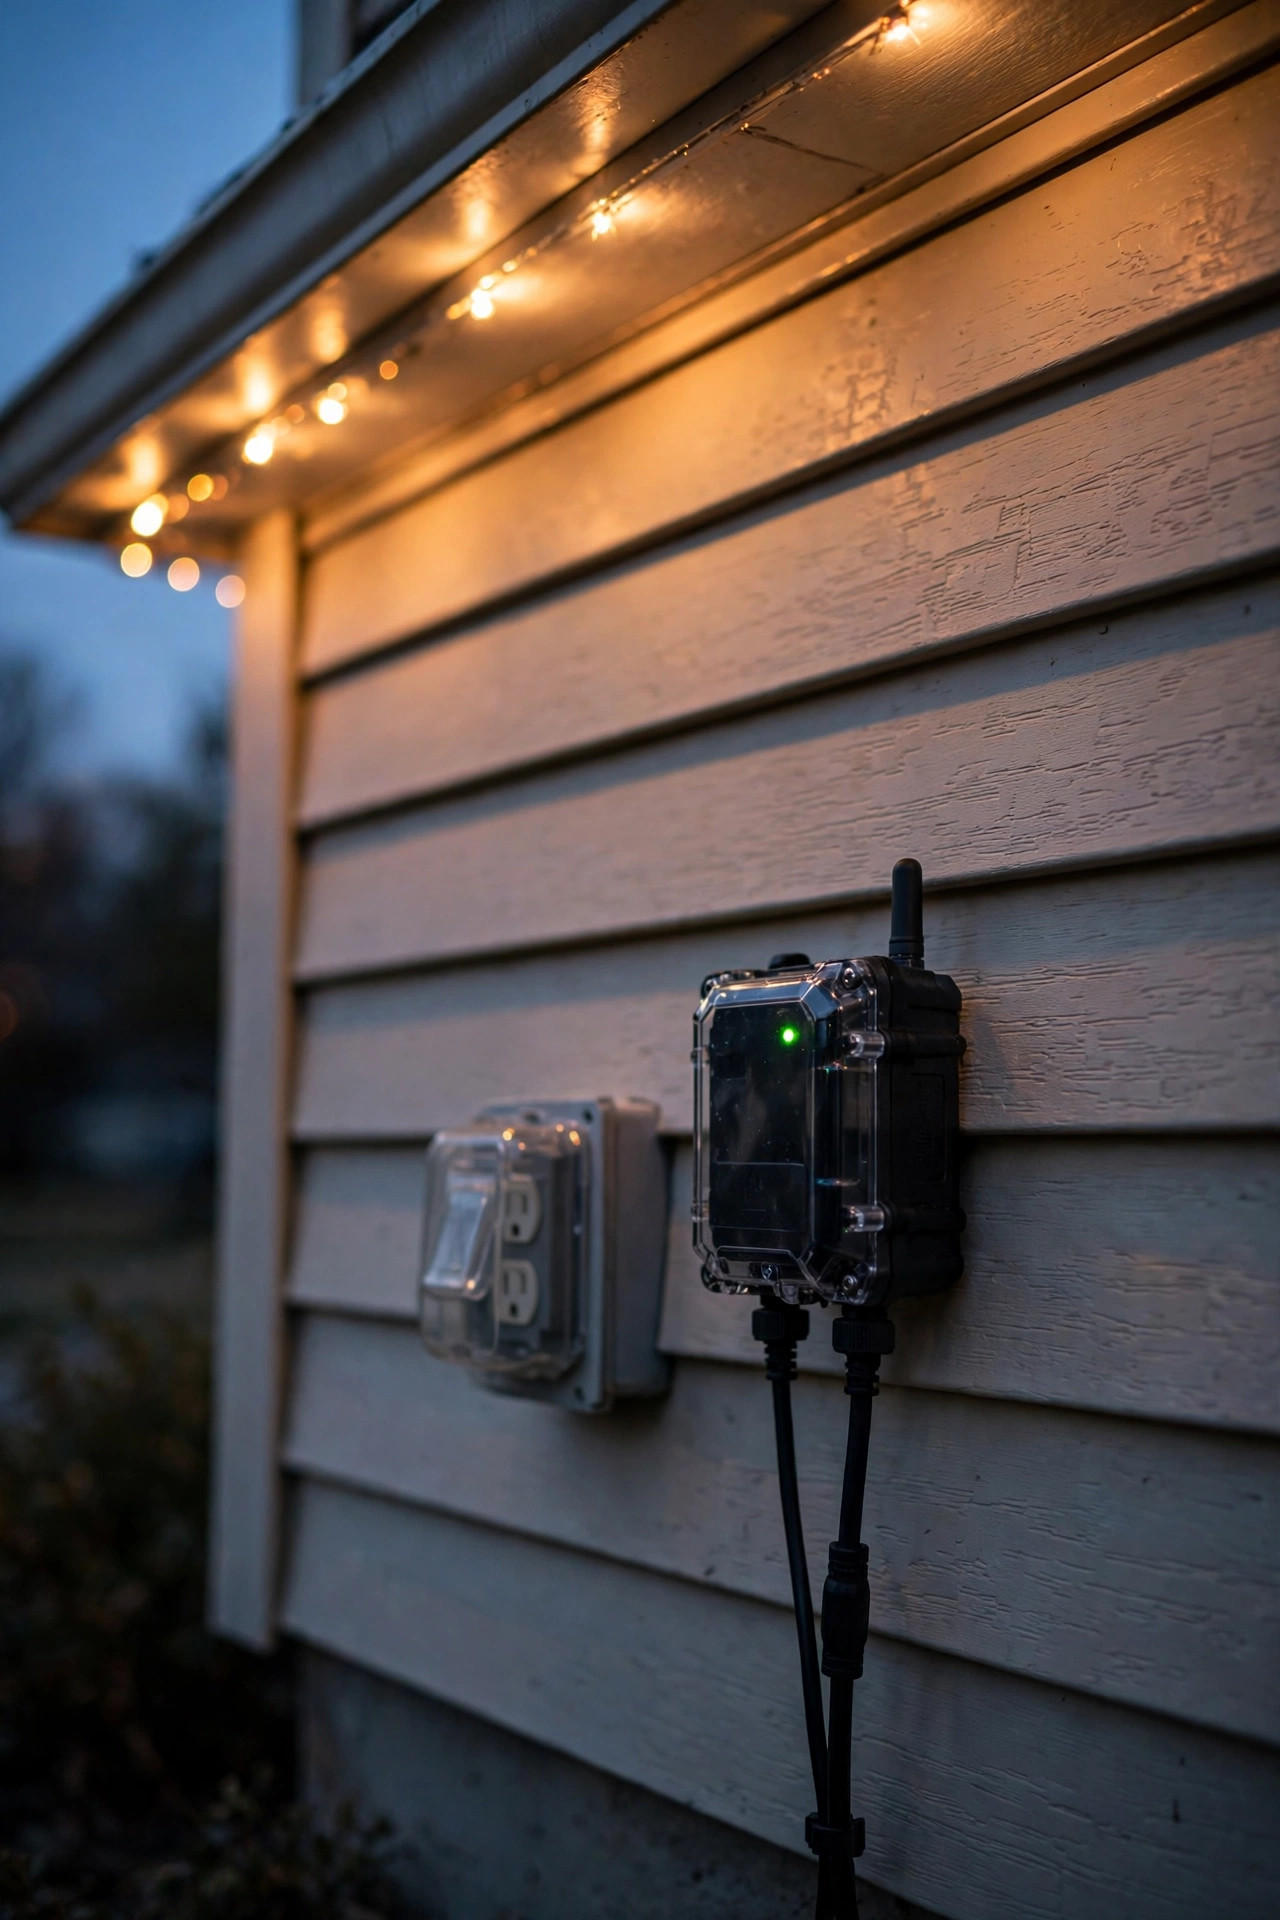
5. Ignoring daytime appearance. Those white or silver tracks that glow beautifully at night? They can look like plumbing during the day if you buy the wrong color. Match the channel color to your soffit or fascia — most good kits offer color options.
6. No plan for power. A controller 40 feet from the nearest outlet means extension cords draped across your landscaping. Map power first, buy lights second.
7. Overdoing the effects. Chasing rainbows and strobing patterns are fun for exactly one evening. For Christmas, a calm, steady display with one tasteful animated moment beats a seizure-inducing light show every time. Your neighbors will thank you.
Safety and Electrical Basics
Permanent lights are low-voltage, which makes them inherently safer than old-school incandescent strings — but "low voltage" doesn't mean "no rules." Here's what matters:
Outdoor ratings are everything. Every component — lights, controller, transformer, connectors — should be rated for outdoor use (look for IP65 or higher on the nodes). Indoor-rated gear will fail, and failed gear near your roofline is a fire concern, not just an inconvenience.
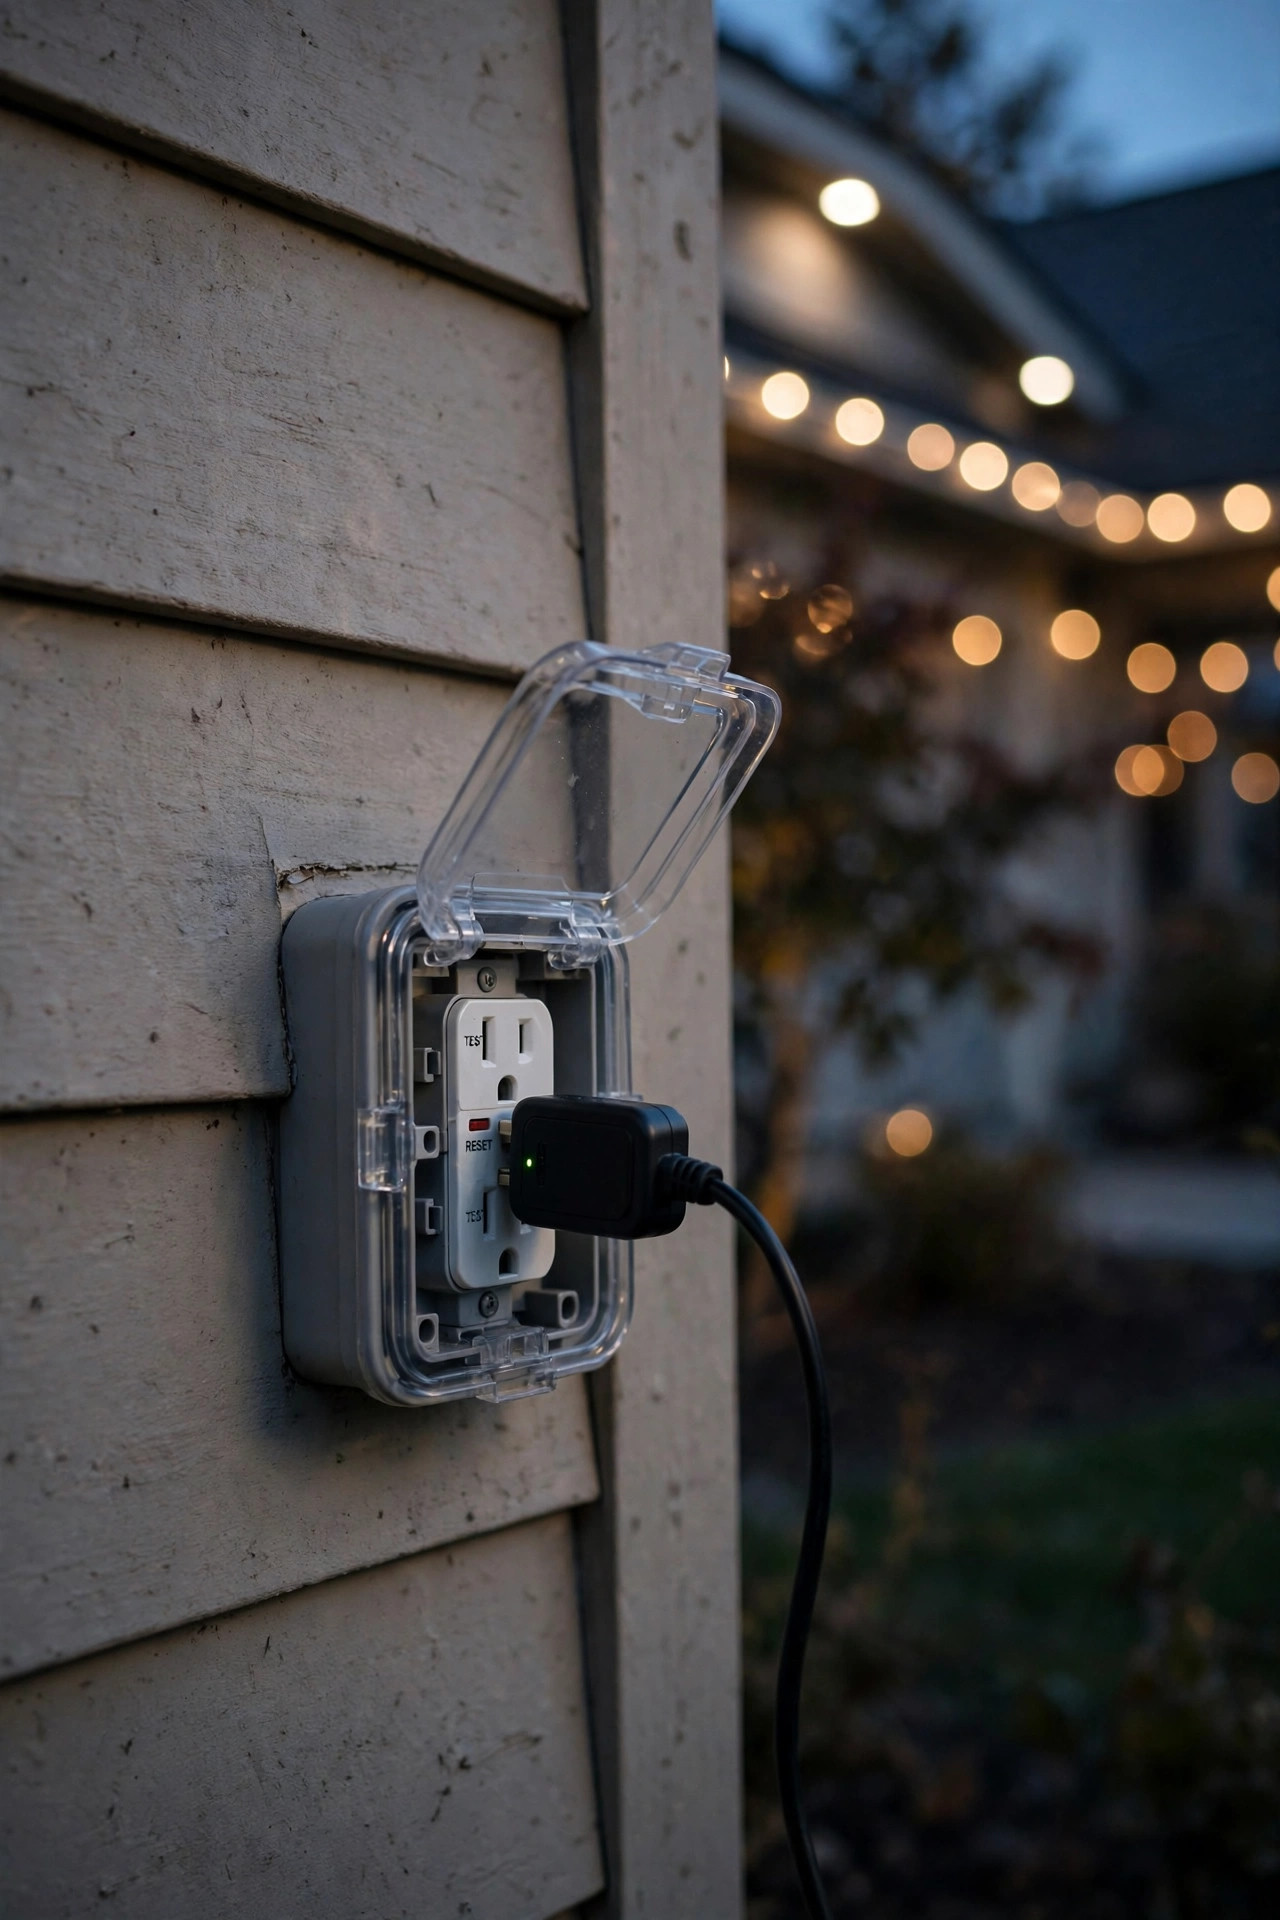
Plug into GFCI-protected outlets. Your outdoor outlets should be GFCI-protected (they almost always are in modern homes). If your outlet isn't GFCI, have an electrician sort that out before you plug in a permanent system — this is the single most important electrical safety step.
Keep it low-voltage on the roofline. The transformer steps household current down to 12V or 24V before it reaches your lights. Never run standard 120V wiring along your eaves for this purpose, and never splice low-voltage wire with household wiring methods — use the waterproof connectors the kit provides.
LED-only near flammables. This one's easy since permanent systems are LED by nature, but it's worth stating: LEDs run cool, which is exactly why they're the only sensible choice near dry garlands, wreaths, and eave vents. If you're pairing your permanent roofline with a [prelit outdoor Christmas garland and wreath](https://exteriorhouselighting.com/prelit-outdoor-christmas-garland-wreath/) on the porch, make sure that's LED too.
Check local rules. Some HOAs and municipalities have rules about permanent exterior modifications or year-round lighting colors. A quick check of your HOA guidelines before you drill saves an expensive removal order later.
Year-Round Magic: Using Them Beyond December
Here's the part nobody talks about enough, and honestly it's the strongest argument for permanent lights: December is maybe 10% of what these lights do for you.
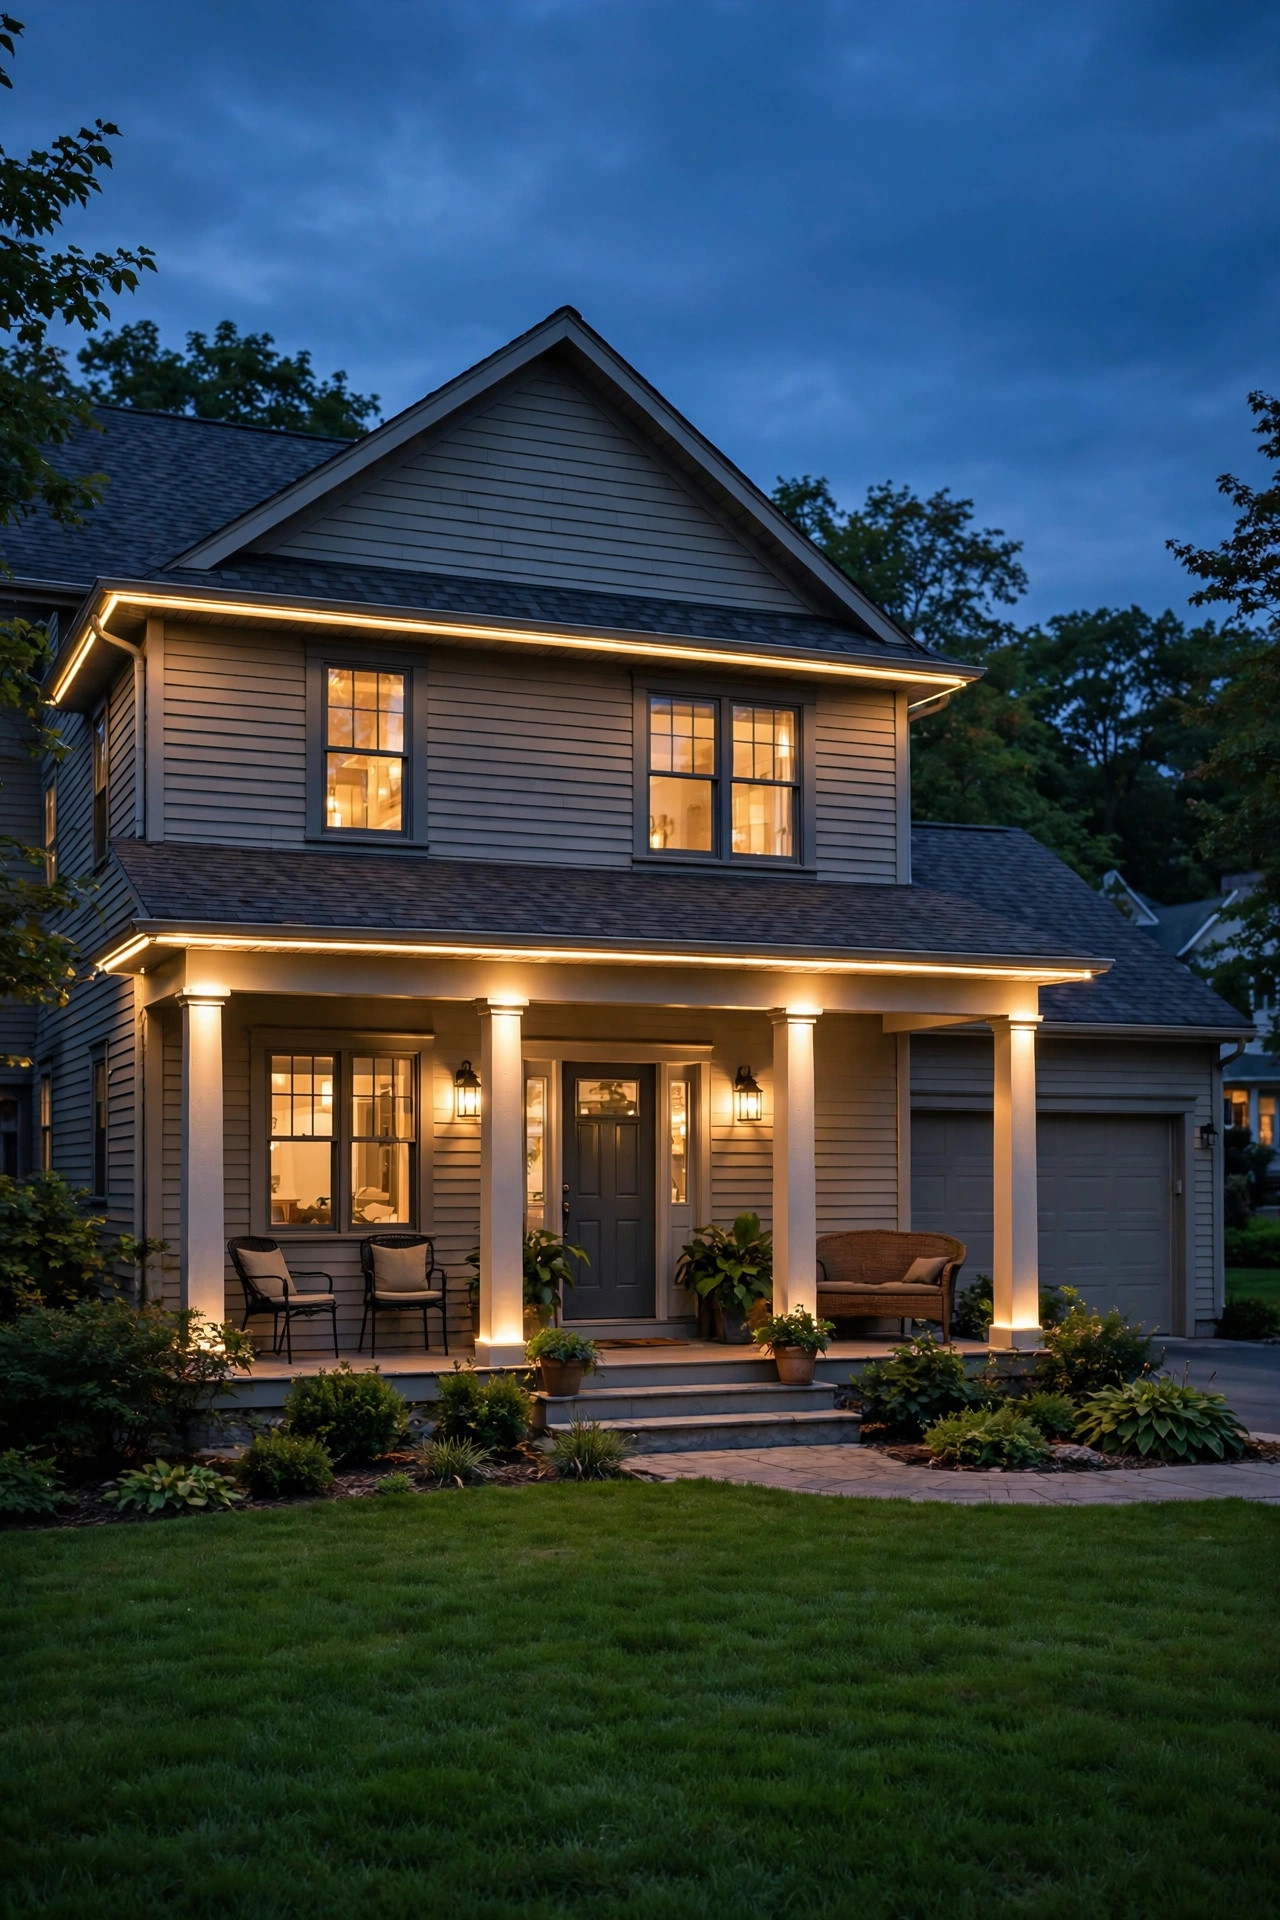
Think about it — the same warm-white roofline glow that frames your Christmas display becomes gorgeous everyday landscape lighting. I love a soft warm-white accent scene for summer evenings on the patio; it makes the whole house feel welcoming without a single decoration. Game days get team colors. The Fourth of July gets red, white, and blue. Halloween gets orange and purple. A birthday gets the birthday person's favorite color. It takes thirty seconds in the app.
There's a practical side too: a well-lit home exterior is a genuine security upgrade. Timed lighting that comes on at dusk every single night — no remembering, no timers to reset after power outages — makes your home look occupied and cared for, which is exactly what you want.
And if you still love traditional decorating, permanent lights don't replace your yard display — they elevate it. A lit tree in the yard framed by a glowing roofline looks professionally designed. For ideas on layering your yard display, my guide to [outdoor Christmas tree lighting](https://exteriorhouselighting.com/outdoor-christmas-tree-lighting/) pairs beautifully with a permanent roofline, and if you want maximum drama with minimum effort, [outdoor Christmas light ideas](https://exteriorhouselighting.com/outdoor-christmas-light-ideas/) has plenty of yard scenes that sit perfectly under a permanent eave glow.
Maintenance and Seasonal Tips
The beautiful thing about a well-installed system is how little it asks of you. But "permanent" doesn't mean "ignore forever" — a tiny bit of seasonal attention keeps everything glowing for a decade.
Spring: After winter, do a quick visual check from the ground — look for any sections that look dim or any channel that shifted in ice and wind. Reseat anything loose. This is also the perfect time to update your app and firmware; manufacturers push improvements in the off-season.
Summer: If a storm knocked a branch into your eaves, check that section. Otherwise, enjoy your accent lighting. If you're going on vacation, set a simple dusk-to-dawn schedule — it's free security.
Fall (October): Your pre-season check. Run every color and pattern from the app, walk the property line, and replace any dead nodes now — replacements take five minutes when you're not freezing. This is also when I program my holiday scenes so December is pure enjoyment.
Winter: Honestly? Do nothing. Quality LED nodes are rated well below freezing, and the low-voltage system doesn't care about snow. Just enjoy the show.
One last tip: keep your kit's spare nodes and a few extra clips in a labeled bag in the garage. When a node eventually fails in year six, you'll thank yourself — hunting down a matching replacement for a discontinued kit is nobody's idea of fun.
Frequently Asked Questions
How much do permanent outdoor Christmas lights cost?
For a typical home in 2026, professional installation runs $8–$14 per linear foot — so a 150-foot front roofline costs roughly $1,200–$2,100. DIY kits cost $300–$900 for the same footage. Running costs are tiny: a full LED roofline costs about $2–$4 in electricity for the entire holiday season, and under $30 a year even with nightly year-round use.
Can I install permanent Christmas lights myself?
Yes, if you're comfortable on a ladder and your roofline is straightforward. LED strip systems and many track kits are designed as weekend DIY projects. Hire a pro for steep or high roofs, complex gables, or if you'd rather not deal with electrical work and wire routing. Either way, test everything on the ground before it goes up.
How long do permanent Christmas lights last?
Quality LED nodes are rated for 50,000+ hours. Used seasonally (a few hours a night for a couple of months), that's well over a decade. Even with year-round nightly use, expect 8–12 years from a good system. The controller and transformer may need replacement sooner — typically 5–8 years.
Will permanent lights look bad during the day?
Not if you buy a good system and install it well. Quality track/channel systems are color-matched to your soffit or fascia and sit tucked under the eave, making them nearly invisible in daylight. This is the main difference between a $3-per-foot kit and a $10-per-foot install — the daytime appearance. Always ask installers for daytime photos of their work.
My lights stopped working — what do I check first?
Start simple: check that the outdoor outlet has power (GFCI outlets trip more than you'd think — press the reset button). Then check the app connection and power-cycle the controller. If one section is dark, it's usually a single failed node or a loose connector in that section — both are cheap, quick fixes. If the whole system is dead and the outlet is fine, the transformer or controller is the likely culprit.
The Verdict: Are Permanent Outdoor Christmas Lights Worth It?
So, are permanent outdoor Christmas lights worth it in 2026? Here's my honest verdict: if you decorate every year, hate the ladder ritual, and plan to stay in your home for at least a few more years, they're one of the smartest exterior upgrades you can make. The math breaks even against traditional lights within about five years, the running costs are negligible, and the year-round ambiance and security lighting are benefits you simply can't get from strands in a box.
They're NOT worth it if you're renting, planning to move within a year or two, or someone who genuinely enjoys the annual decorating ritual (no judgment — for some of us, that's the whole point of the season). And if budget is tight, a well-planned traditional display still looks wonderful — permanent lights are a luxury, not a necessity.
But if you're on the fence? Do what I'd do: start with your front roofline, go with a quality track system, and set that warm-white everyday scene first. I have a feeling that by next October, you'll wonder why you ever spent a Saturday on a ladder.
If you're ready to plan your display, browse my [outdoor Christmas light ideas](https://exteriorhouselighting.com/outdoor-christmas-light-ideas/) for yard scenes that pair perfectly with a permanent roofline — and happy lighting, friends!