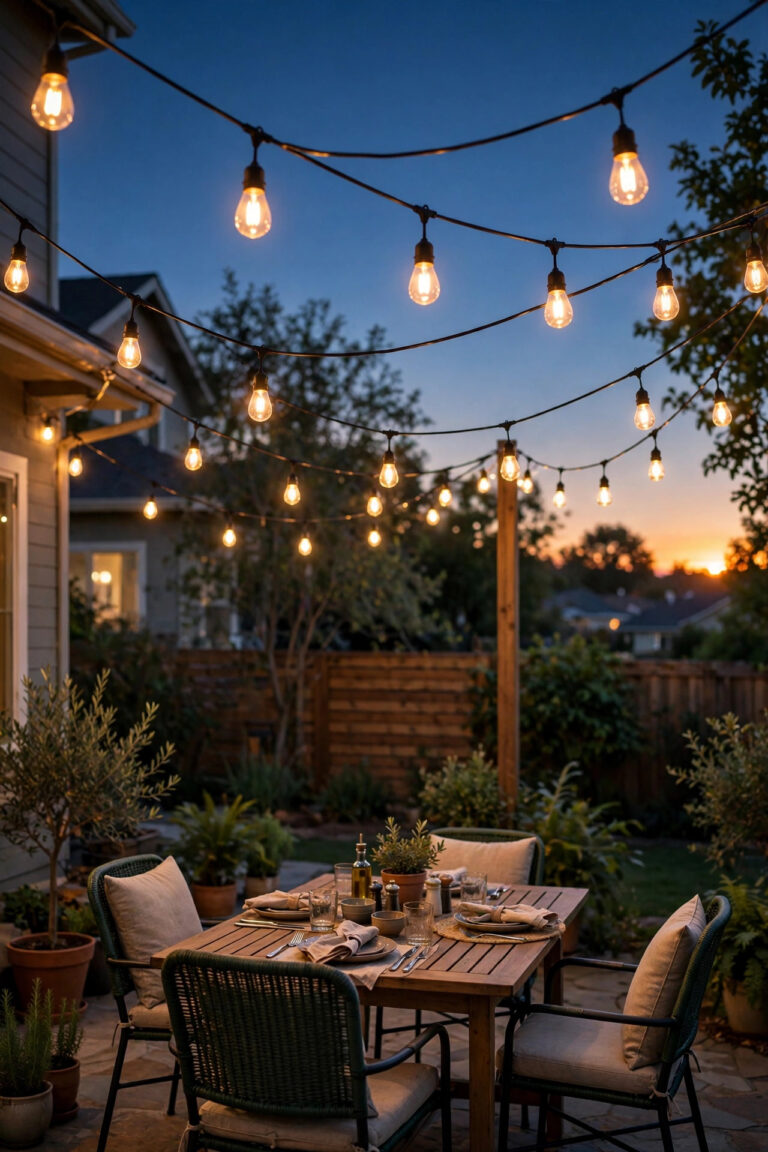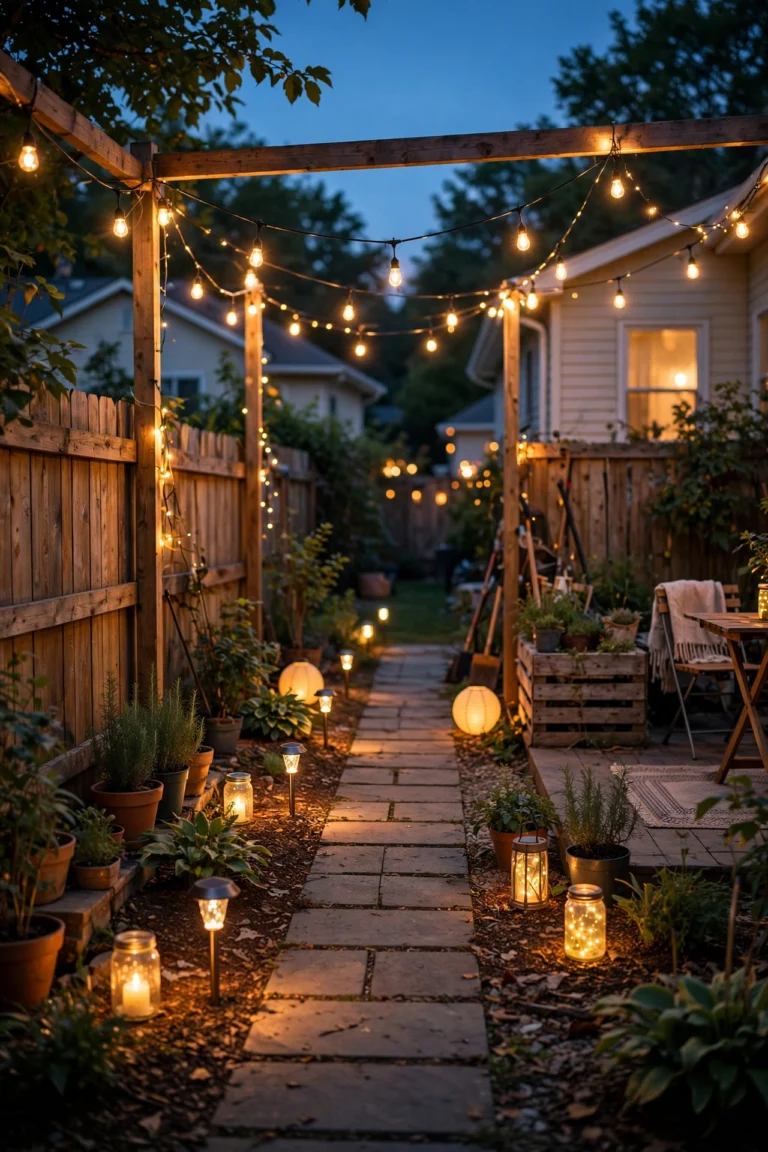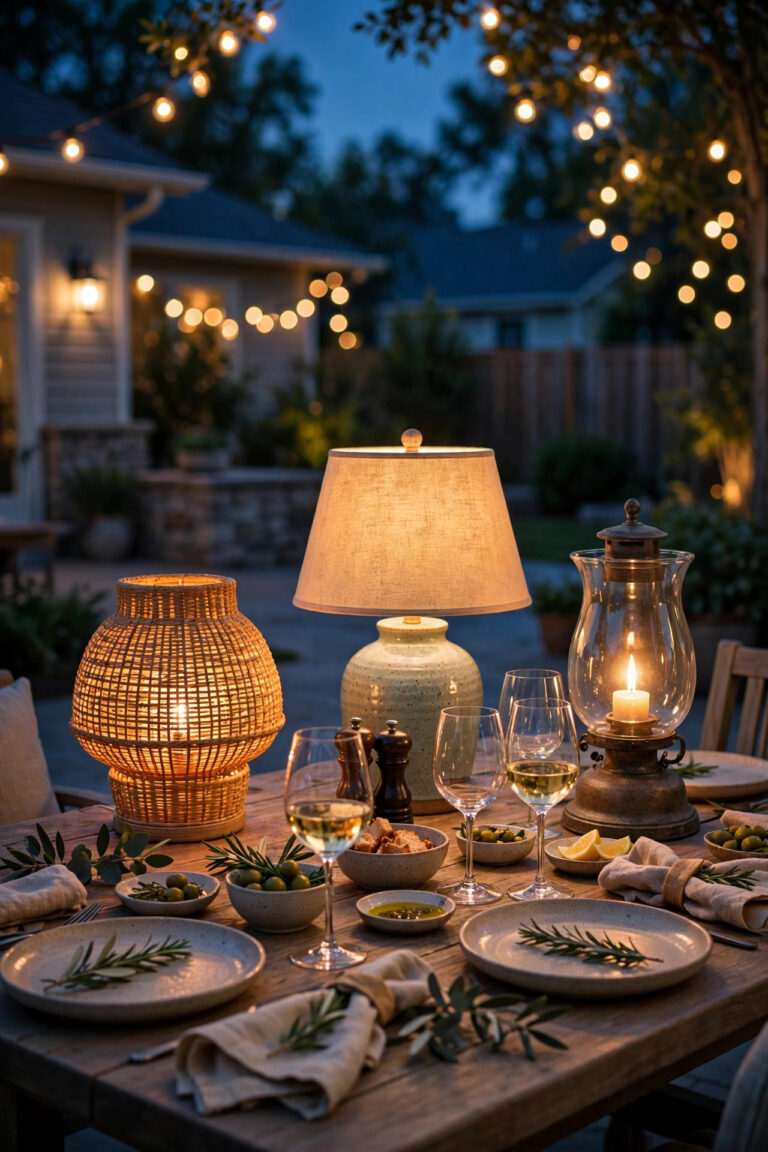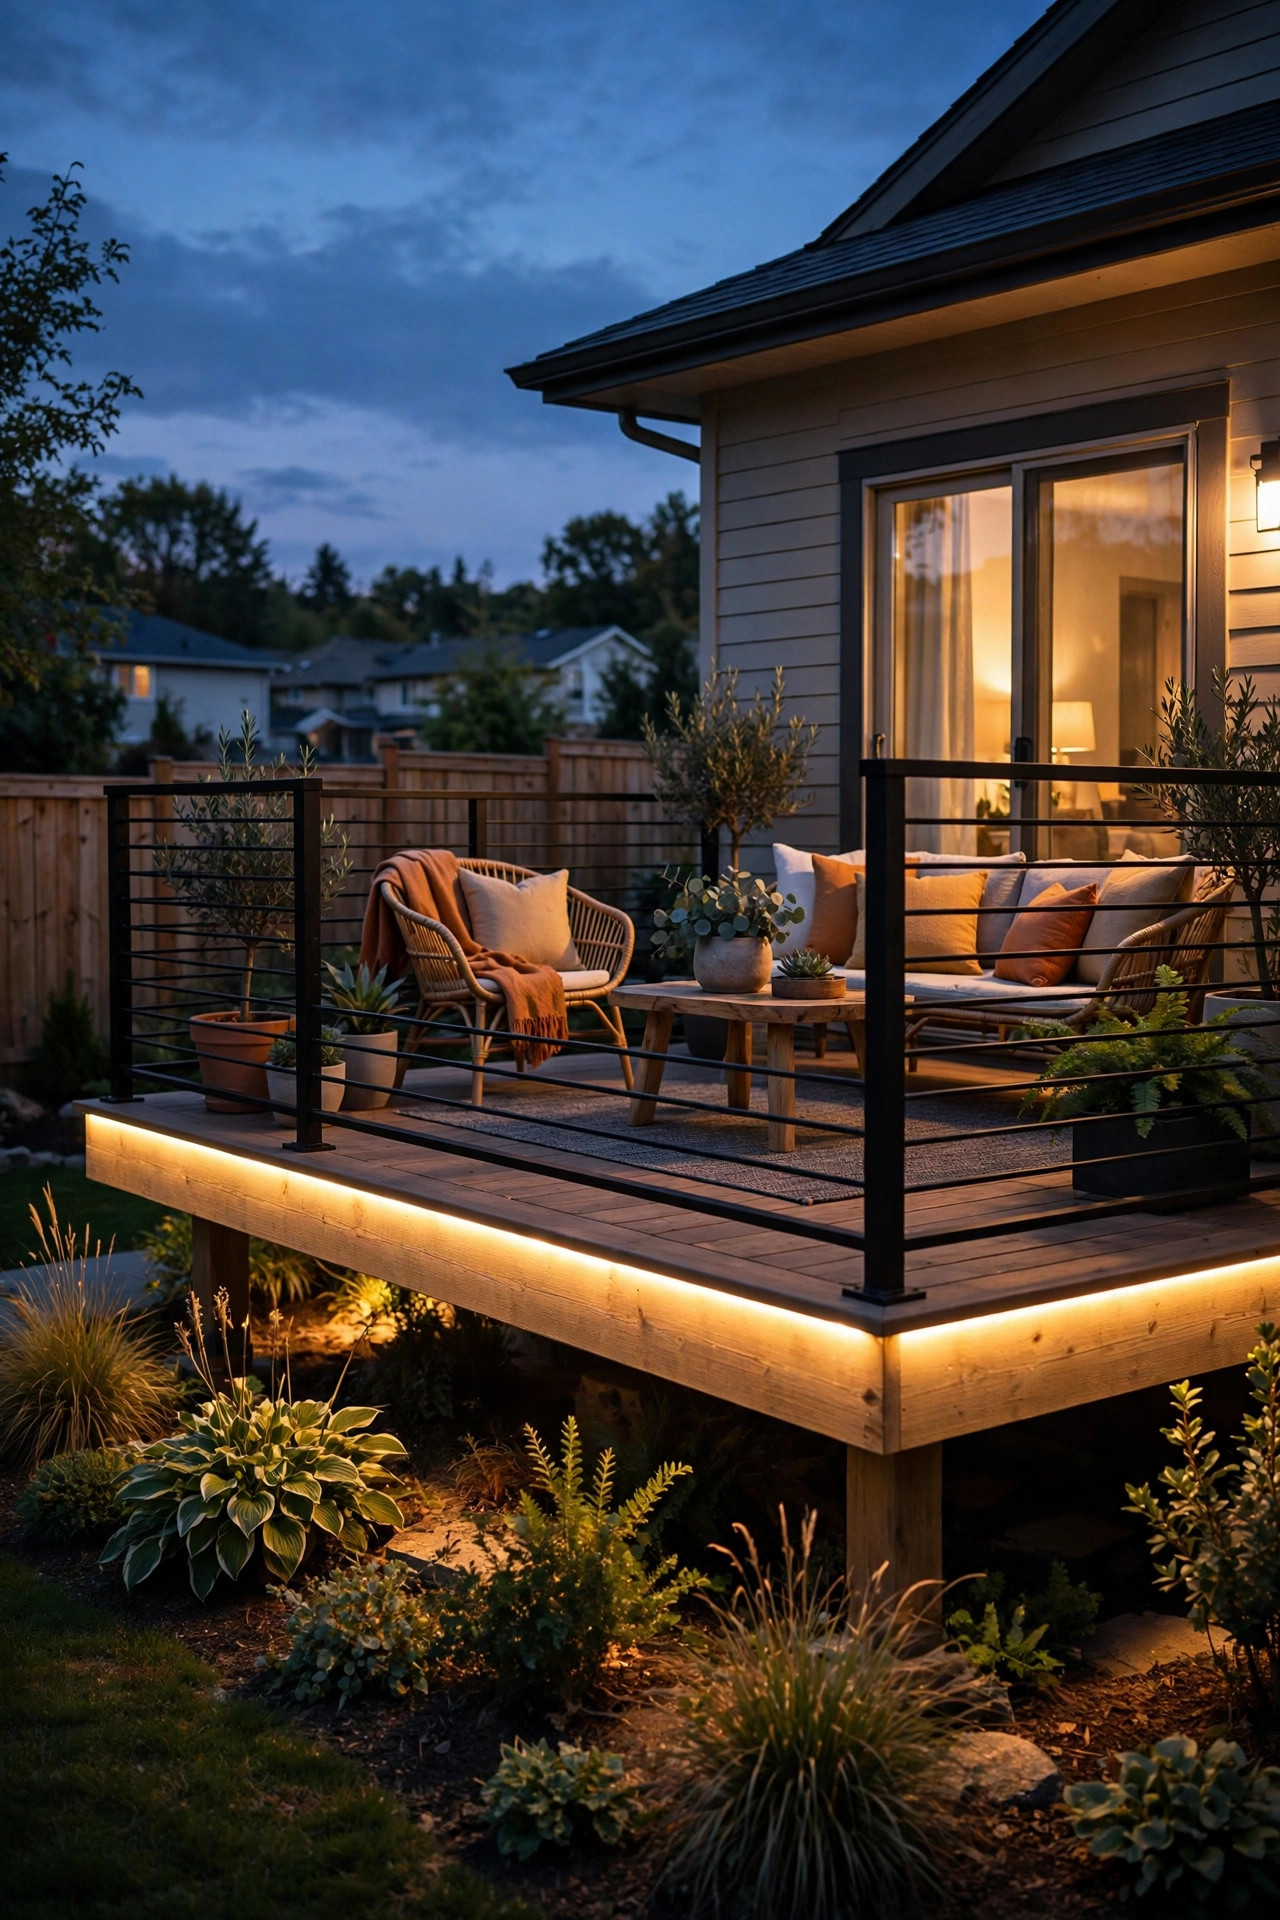
Have you ever walked past a house at dusk and stopped dead because the deck looked like it was hovering above the ground? That floating-deck effect is almost always one simple trick: under rail LED strip deck lighting, tucked invisibly beneath the top rail so the light washes down the deck skirt and pools softly below. In my experience, it's the single highest-impact, lowest-cost upgrade you can give an outdoor space — no new furniture, no rebuild, just a ribbon of warm light that makes a plain rectangular deck look like a boutique hotel terrace.
I always recommend under-rail strips as the first layer in my lighting-layering philosophy: hidden functional light first (rail strips, step lights), then task light where you grill and eat, then decorative sparkle like lanterns or string lights. That way every layer has a job and the deck never looks flat.
This post gives you 17 concrete ways to use under-rail LED strips — warm-white washes, stair lighting, color-changing zones, solar options, smart-home setups — each with real measurements, install tips, and an honest budget range. Grab a cup of coffee, and let's make your deck glow.
1. The Classic Warm-White Wash
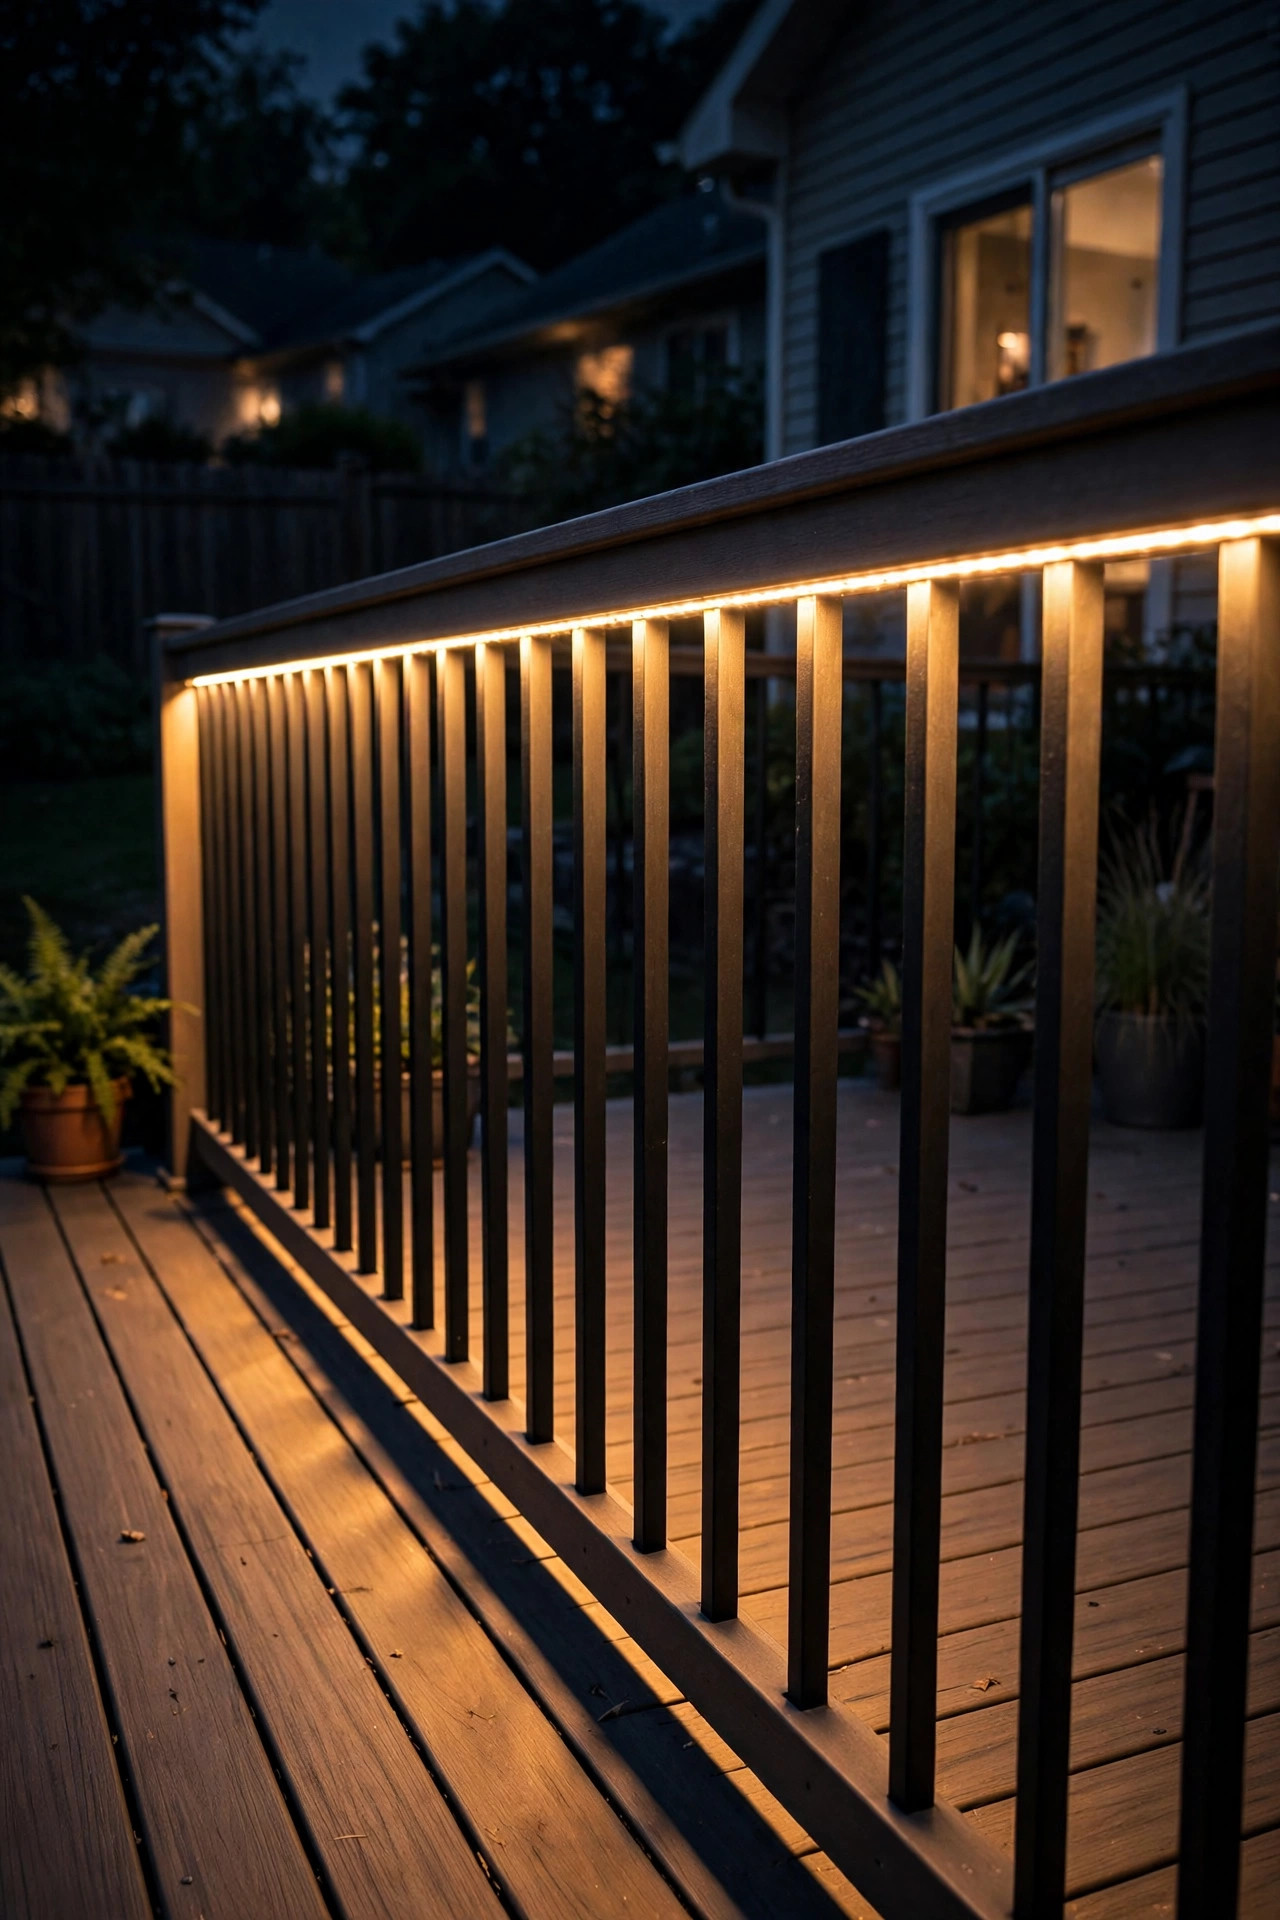
If you only do one thing, do this one. Mount a warm-white (2700K) LED strip to the underside of your top rail, set back about 1 to 2 inches from the edge so the diodes stay hidden from every viewing angle. The light washes down the balusters or deck skirt and spills onto the boards below, and from across the yard the whole deck reads as a glowing, floating platform. In my experience, 2700K is the sweet spot — it reads as candlelight-warm, not that chilly blue-white that makes a patio feel like a parking lot.
Use a 12-volt low-voltage strip rated IP65 or higher (IP67 if your rail gets blasted by sprinklers or sideways rain), and run it in an aluminum channel with a frosted diffuser. The channel does three jobs: it hides the individual dots of light so you get a smooth ribbon instead of a dotted line, it protects the strip from UV and bumps, and it acts as a heat sink that can add years to the LEDs' life. Mount the channel with the included clips every 12 to 18 inches, and keep all your wiring in the channel or in small conduit under the rail. Plug the 12V driver into a GFCI-protected outdoor outlet, add a dusk-to-dawn timer or photocell so it runs itself, and you're done — a one-afternoon project with a resort-level payoff.
Suggested budget range: $45 – $130.
2. Recessed Aluminum Channel Install
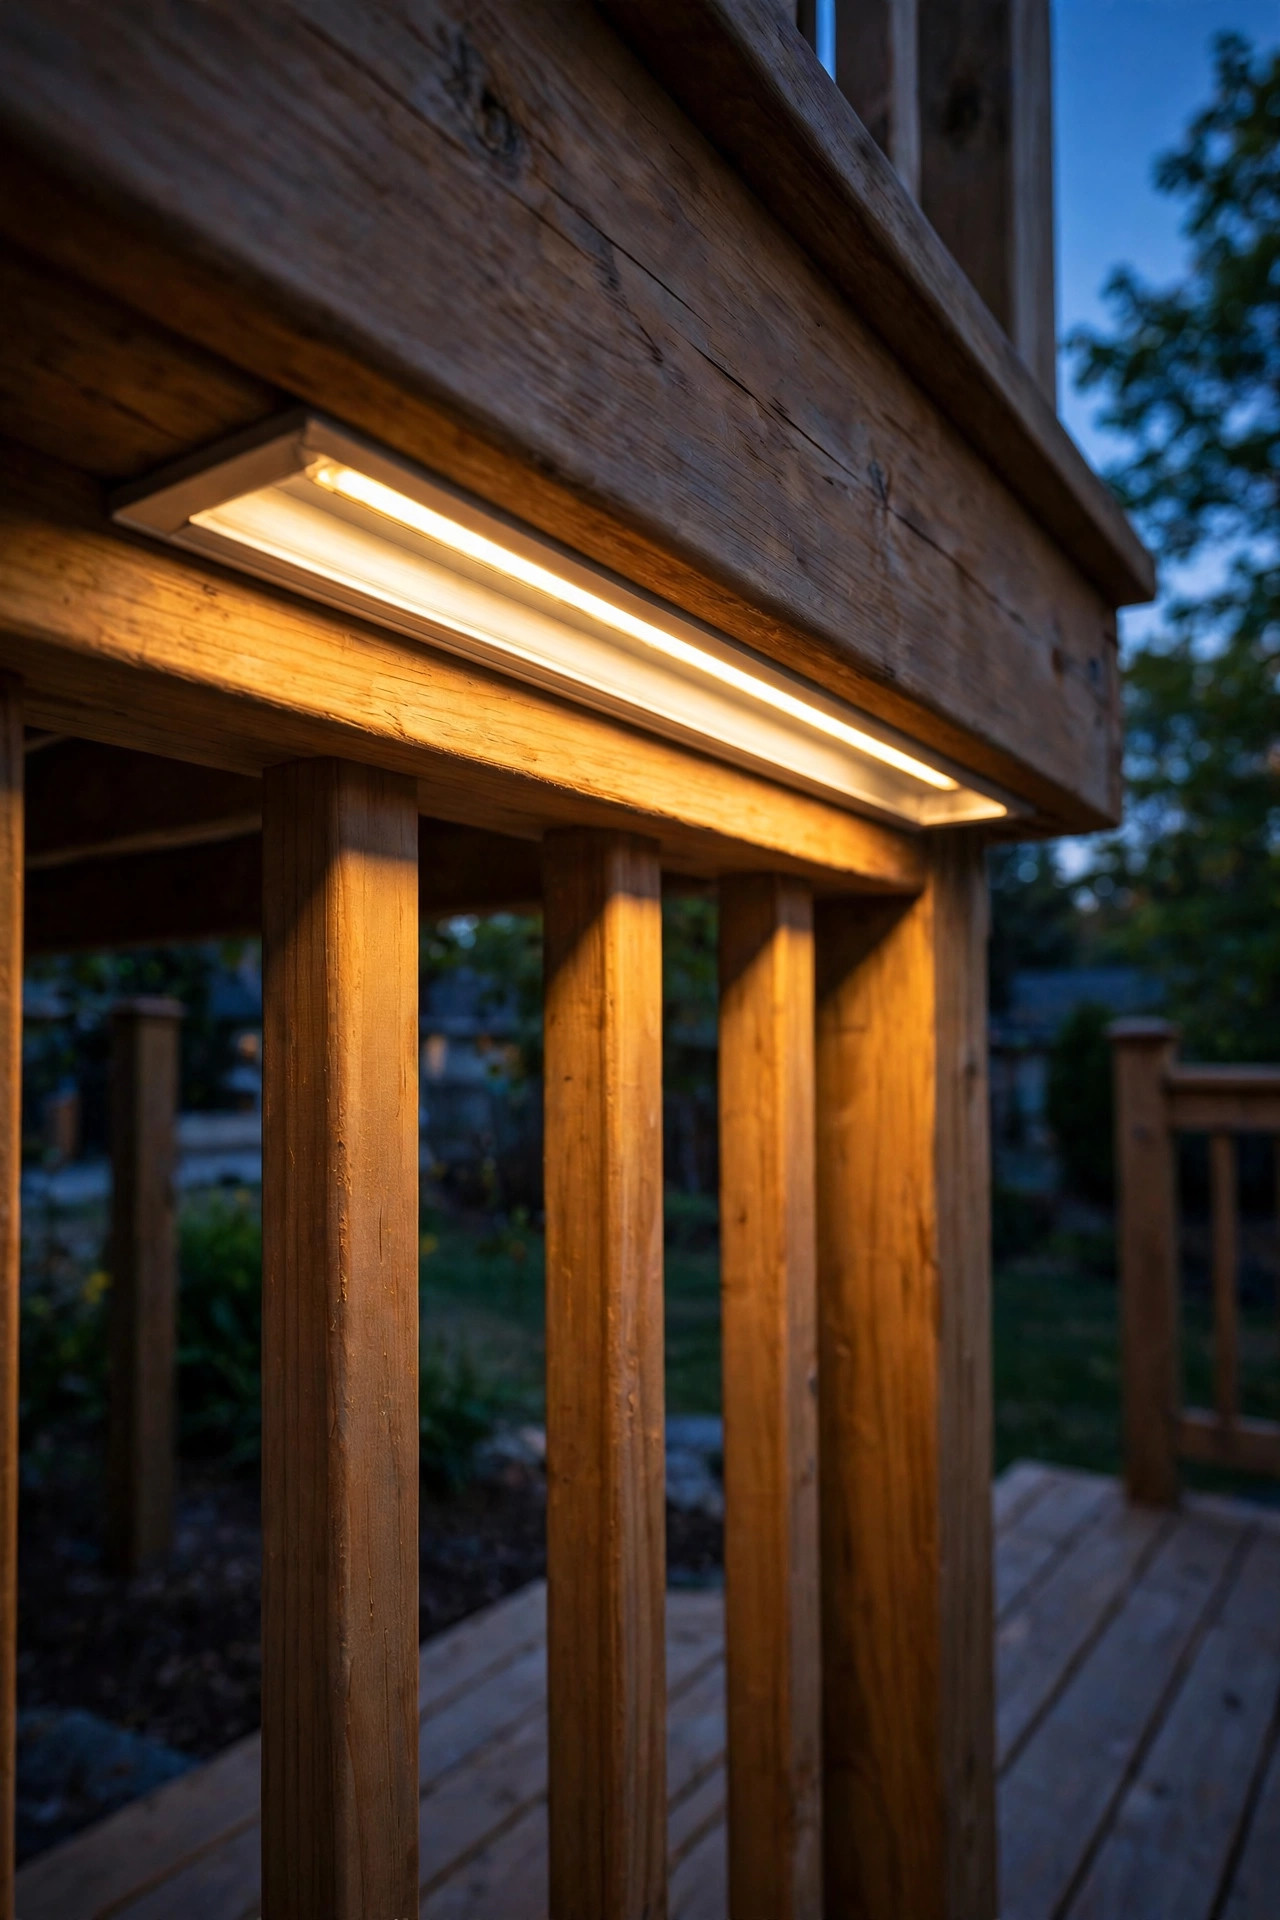
Want the glow with zero visible hardware? Recess the strip into a routed groove. If your top rail is a 2×6 or wider, you can rout a shallow channel (about half an inch wide and a quarter inch deep) along the underside of the rail, press an aluminum LED channel into it, and snap on a frosted cover. From any normal viewing angle, the source completely disappears — all you see is light. Honestly, this is the install I recommend most for stained or premium wood decks, because surface-mounted channels can look fussy against beautiful cedar or redwood.
A palm router with a straight bit makes quick work of a 16-foot rail; just clamp a straightedge as a guide so your groove runs true. Go slow, wear a mask, and test-fit the channel before you glue or screw anything. Keep the groove at least 1 inch from the rail's outer edge so water sheeting off the top doesn't pool in it, and seal any exposed end grain with exterior wood sealer. Because the diffuser sits flush, choose a high-density strip (at least 60 LEDs per foot) so the light stays perfectly even with no hotspots. If routing sounds like too much, surface-mount channels in a dark bronze finish disappear surprisingly well against stained wood too.
Suggested budget range: $60 – $160.
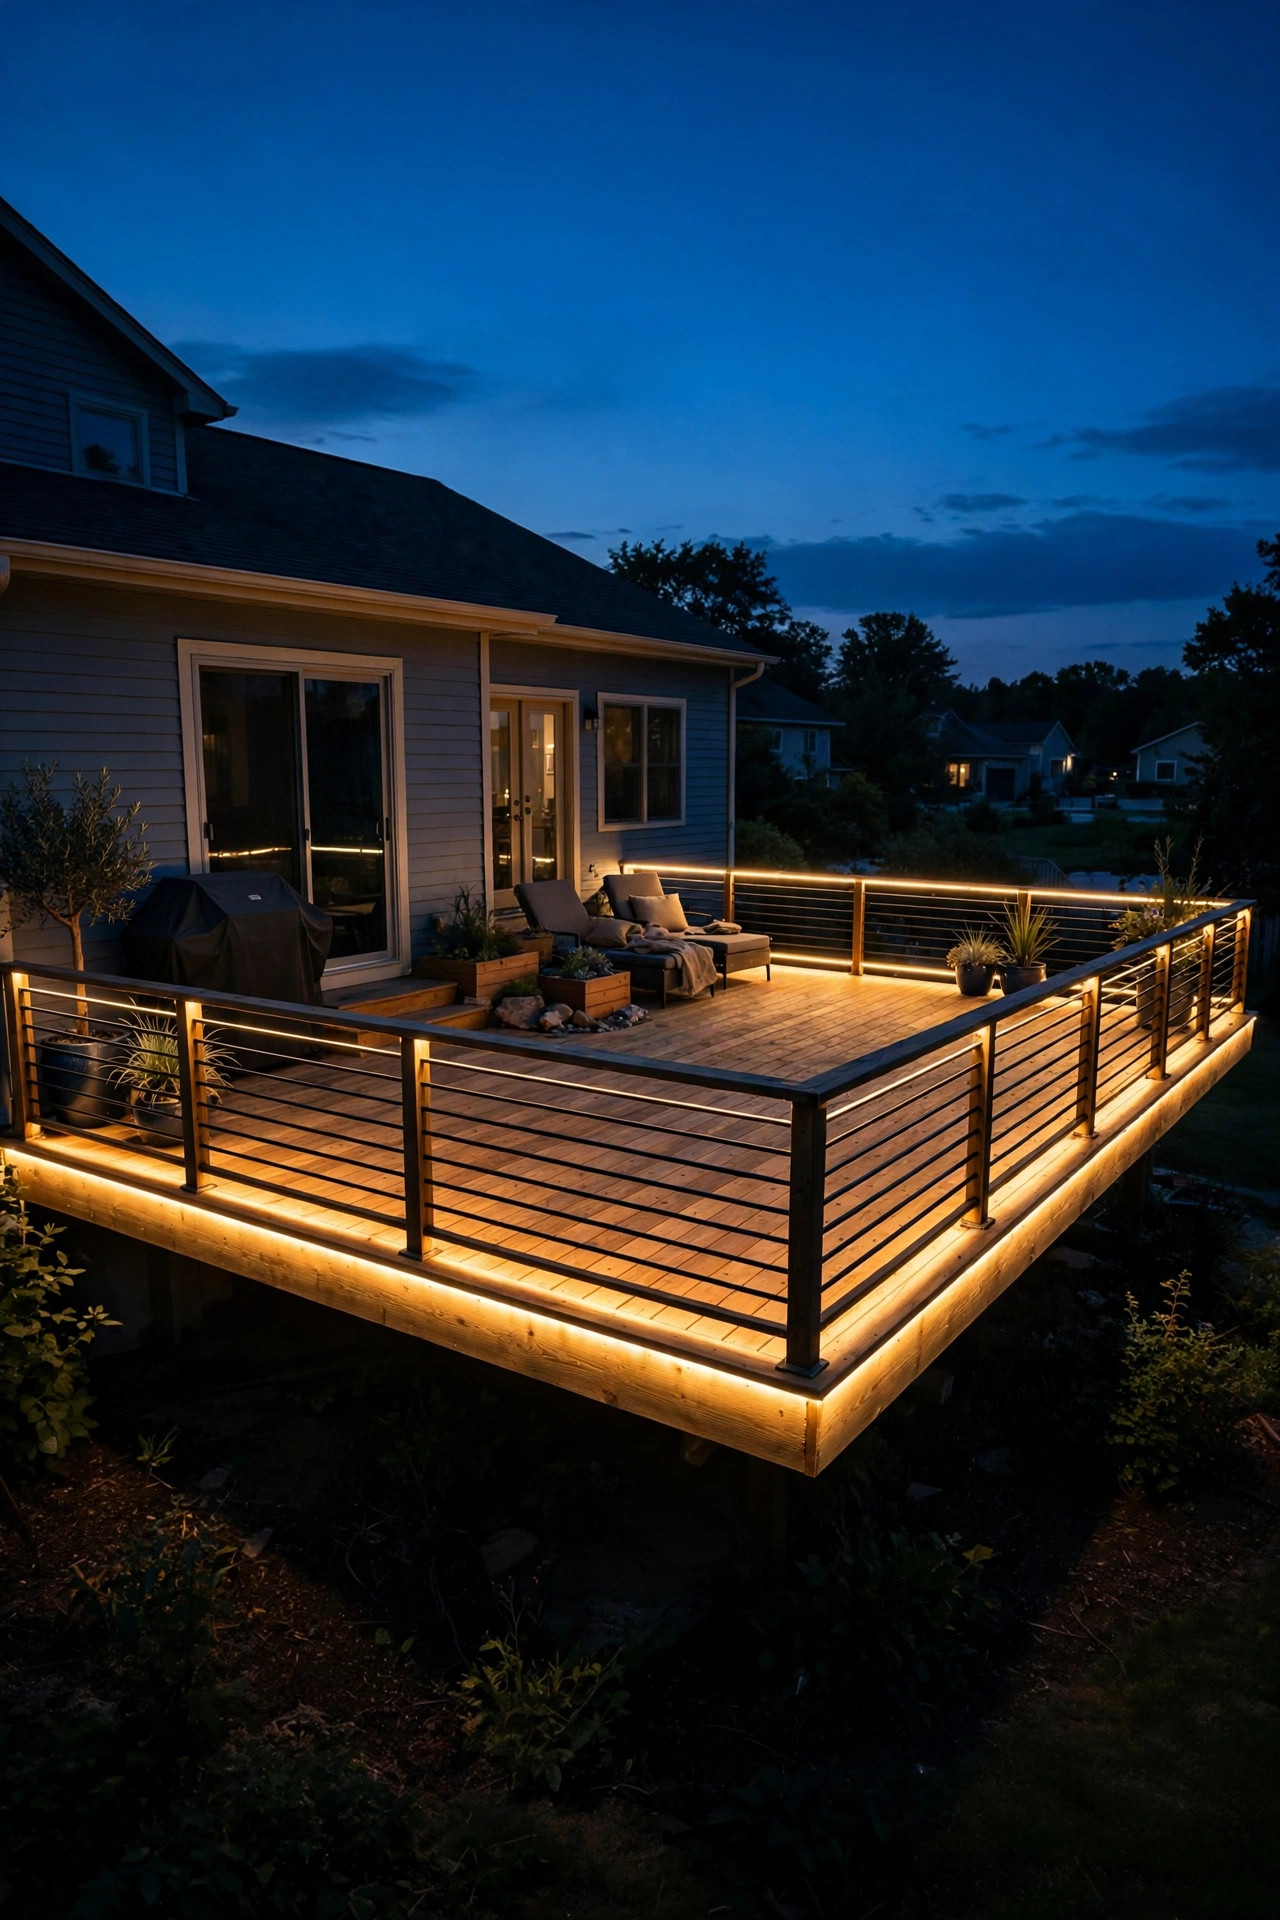
3. The Full-Perimeter Floating Effect
The true floating-deck look comes from lighting the entire perimeter, not just one rail. Run strips under every top rail — and if your deck skirt or fascia board is visible from the yard, add a second run tucked under the deck's edge banding too. When every side glows downward onto the ground or landscaping below, the deck visually detaches from the earth. I've seen this trick make a builder-grade 12×16 rectangle look custom-built and twice as expensive.
Plan your wiring before you buy anything. Most 12V strips come in 16.4-foot reels; measure each rail run separately and note where the reels join. Use waterproof solderless connectors rated for outdoor use, and home-run each long side back toward the transformer location rather than daisy-chaining end to end — voltage drop over long runs makes the far end noticeably dimmer, and on a perimeter run that unevenness ruins the illusion. Keep the transformer in a dry, ventilated spot (inside a deck box or mounted under the deck on a joist works), plugged into a GFCI outlet. Test the whole loop at dusk before you clip everything down permanently, walking the perimeter to check for dark gaps at the joints.
Suggested budget range: $120 – $320.
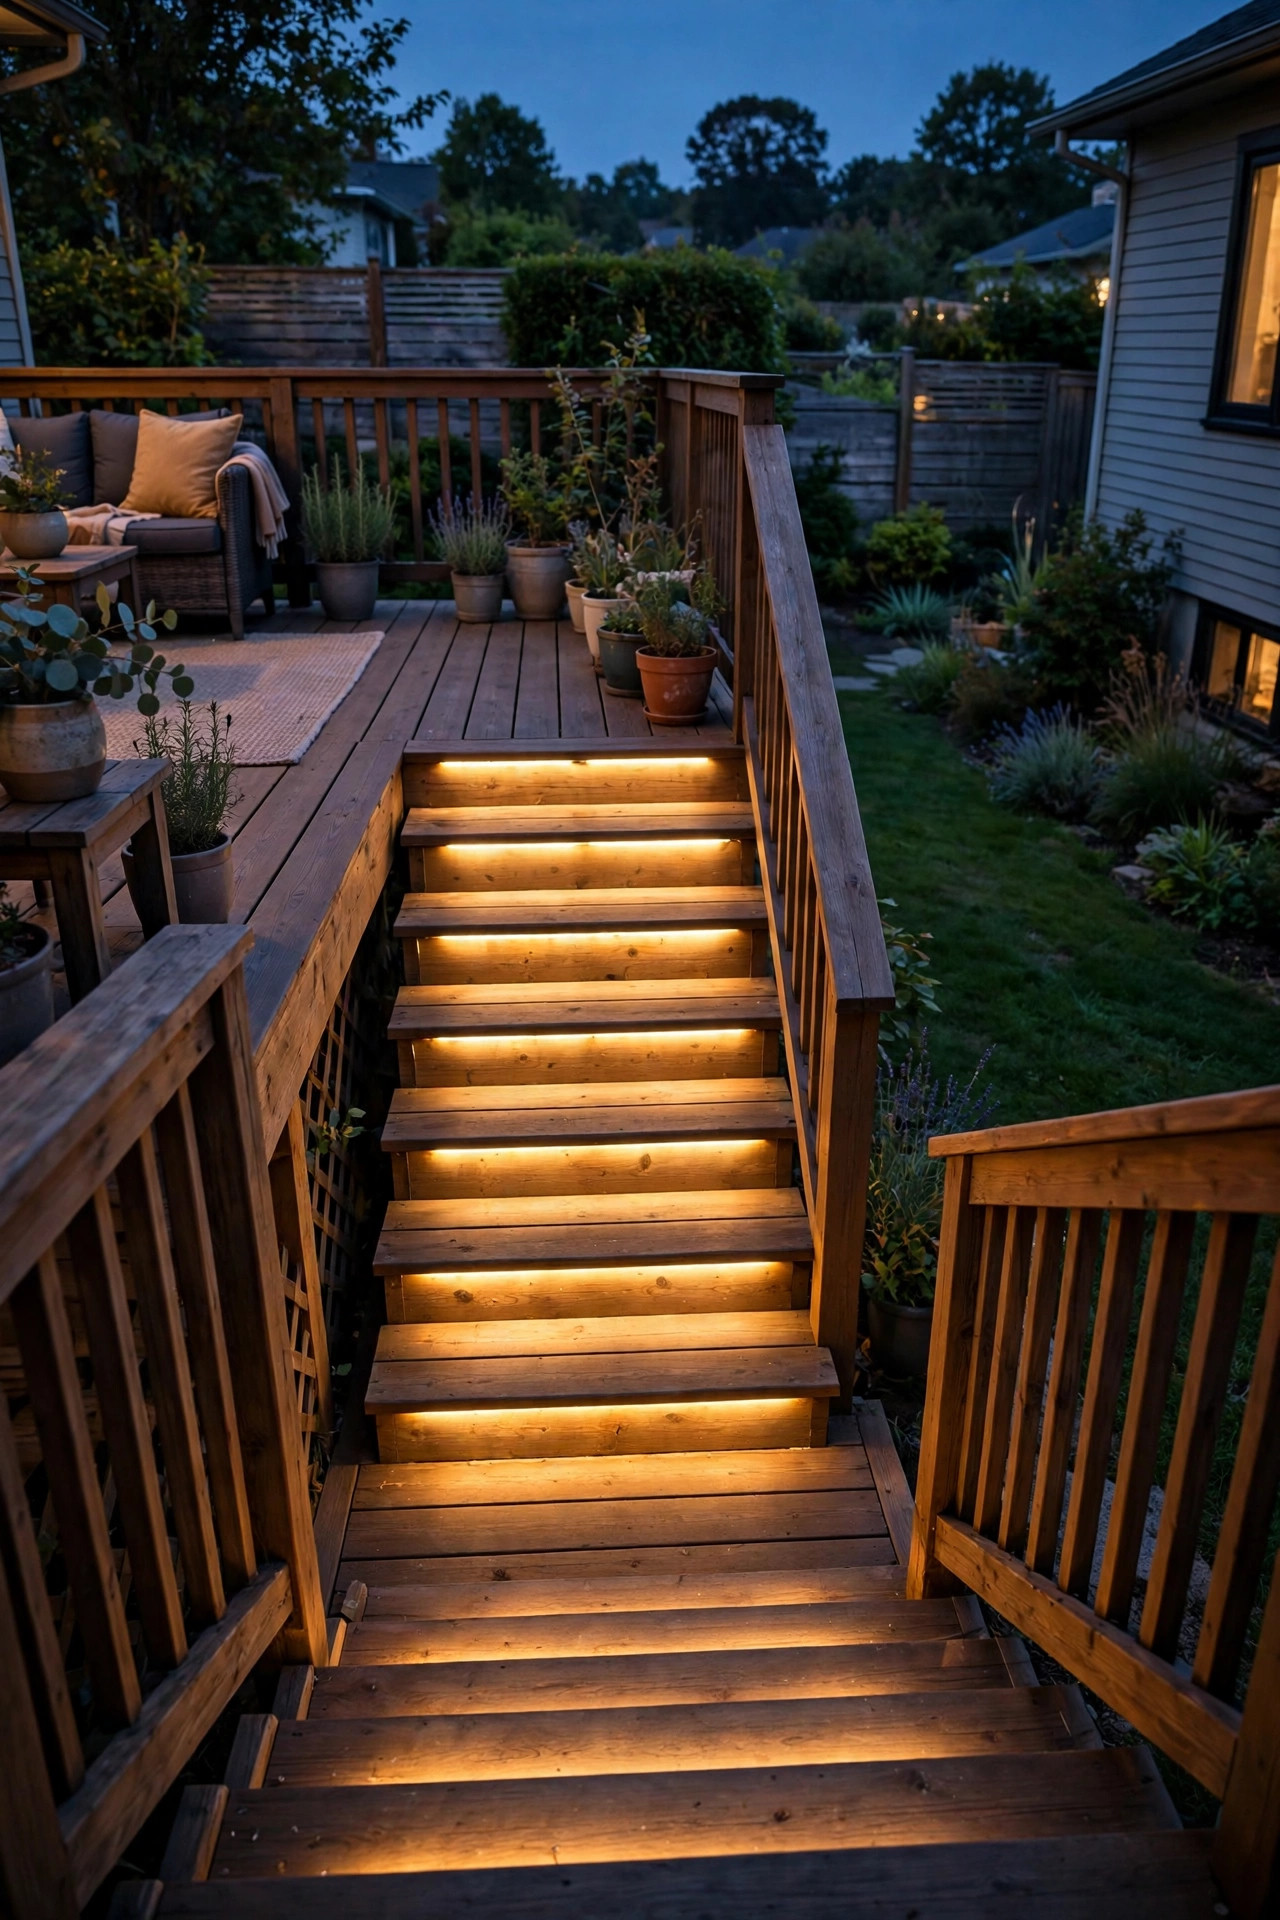
4. Stair Riser Lighting
Under rail led strip deck lighting isn't just for railings — stairs are where it earns its safety stripes. Tuck a short strip under each stair tread nosing or beneath the stair rail so every riser glows softly. Not only does it look gorgeous cascading down to the yard, it eliminates the most common trip hazard on any deck: dark stairs. Building codes in many areas now encourage (and some require) stair illumination, so this is both pretty and practical.
For stairs, measure each tread and cut the strip to match, leaving the connection point at the side where you can run a thin wire up inside the stringer. Choose a strip with an adhesive backing plus mounting clips — stair treads flex and vibrate underfoot, and adhesive alone will let go within a season. Keep the strip recessed at least half an inch behind the tread nose so shoes never kick it, and use a diffuser to prevent glare when you're looking down the stairs. Wire all the risers on a single run to one low-voltage driver, and if your stairs face the yard, aim for 2700K to match your rail lighting so the whole deck reads as one cohesive glow. A four-step stair typically needs about 12 feet of strip total.
Suggested budget range: $50 – $150.
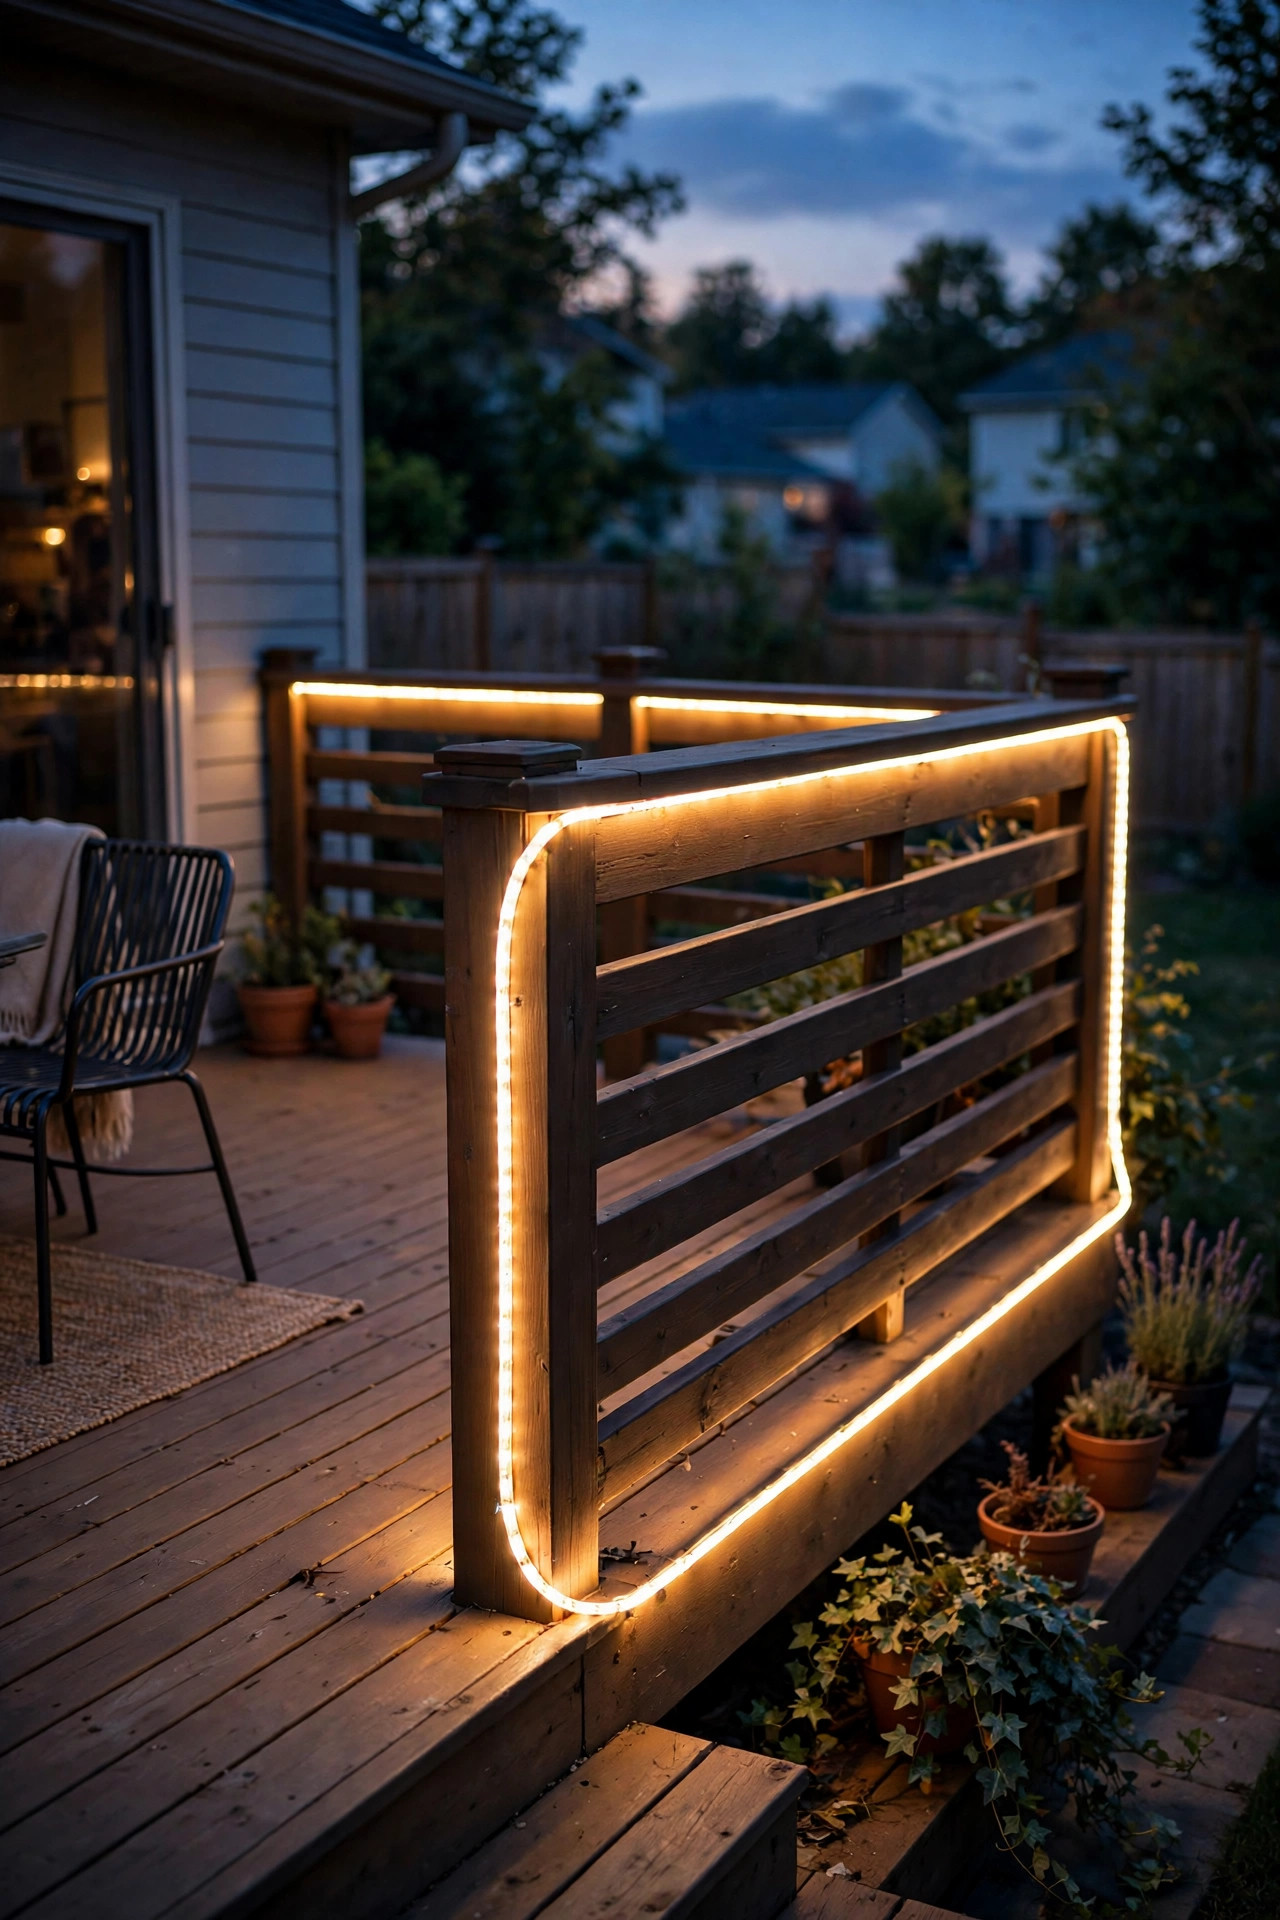
5. Post-to-Post Runs with Clean Corners
Long rails are made of multiple spans between posts, and the corners are where amateur installs fall apart. The trick: cut your strip at the marked cut lines (usually every 2 inches on 12V strips) and bridge each post with an L-shaped waterproof connector or a short jumper wire tucked behind the post. That way the glow continues unbroken around the corner instead of dying at every post and restarting — continuous light is what sells the floating effect.
Before you cut, mark your layout with painter's tape along the underside of each rail span so you can see exactly where each reel starts and ends. Leave 2 to 3 inches of slack at each post for the connector, and test every joint with the power on before you seal it — a dead joint discovered after you've closed up the channel is maddening. For inside corners (like an L-shaped deck), mount the jumper on the house side of the post where it's invisible; for outside corners, route the jumper wire through a small hole drilled in the post itself for the cleanest look. Honestly? Spending an extra 20 minutes on corner details is the difference between "nice lights" and "who did your deck, it's stunning?"
Suggested budget range: $55 – $145.
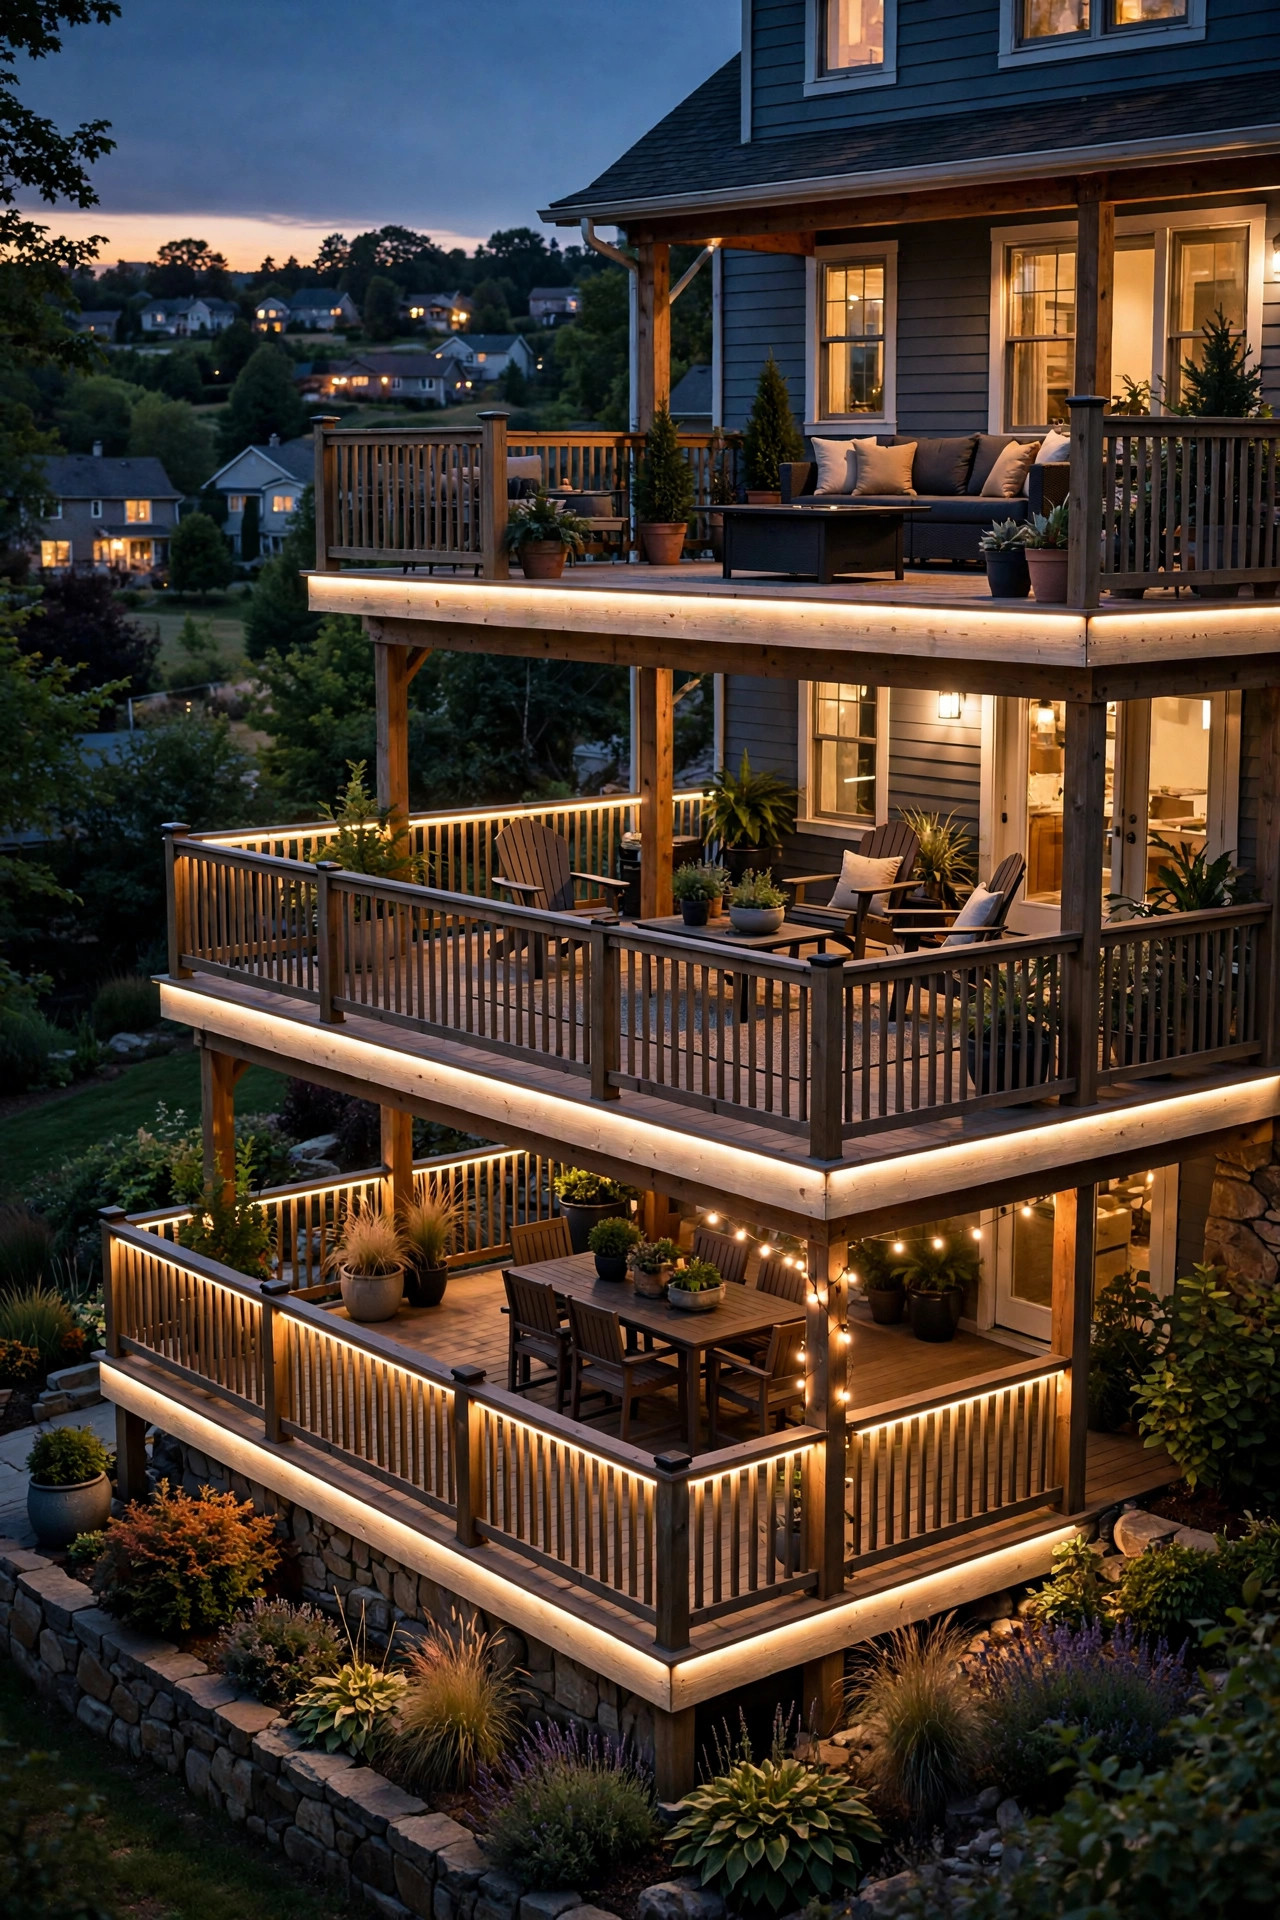
6. Multi-Level Deck Zones
Multi-level decks are made for zone lighting. Run a separate under-rail strip on each level's railing, and each tier gets its own glowing outline — the whole structure reads as a stack of floating platforms. It's dramatic, it defines each level's edge for safety, and it lets you light only the zones you're using. Dining level on, upper lounge level off? Done.
The practical key is wiring each level as its own zone with its own run back to the transformer area, even if they share one power supply. Use a multi-channel low-voltage driver or a simple RF remote with zone control so you can dim or switch each level independently. Label every wire at both ends with a marker and tape — six months from now, future-you will be so grateful. Keep color temperature consistent across all levels (all 2700K, for example); mixing warm and cool whites on different tiers looks accidental rather than designed. And run the wire for the lower level inside the rim joist or through conduit under the deck so it stays hidden and protected from moisture.
Suggested budget range: $140 – $380.
7. Under-Cap Rail Lighting
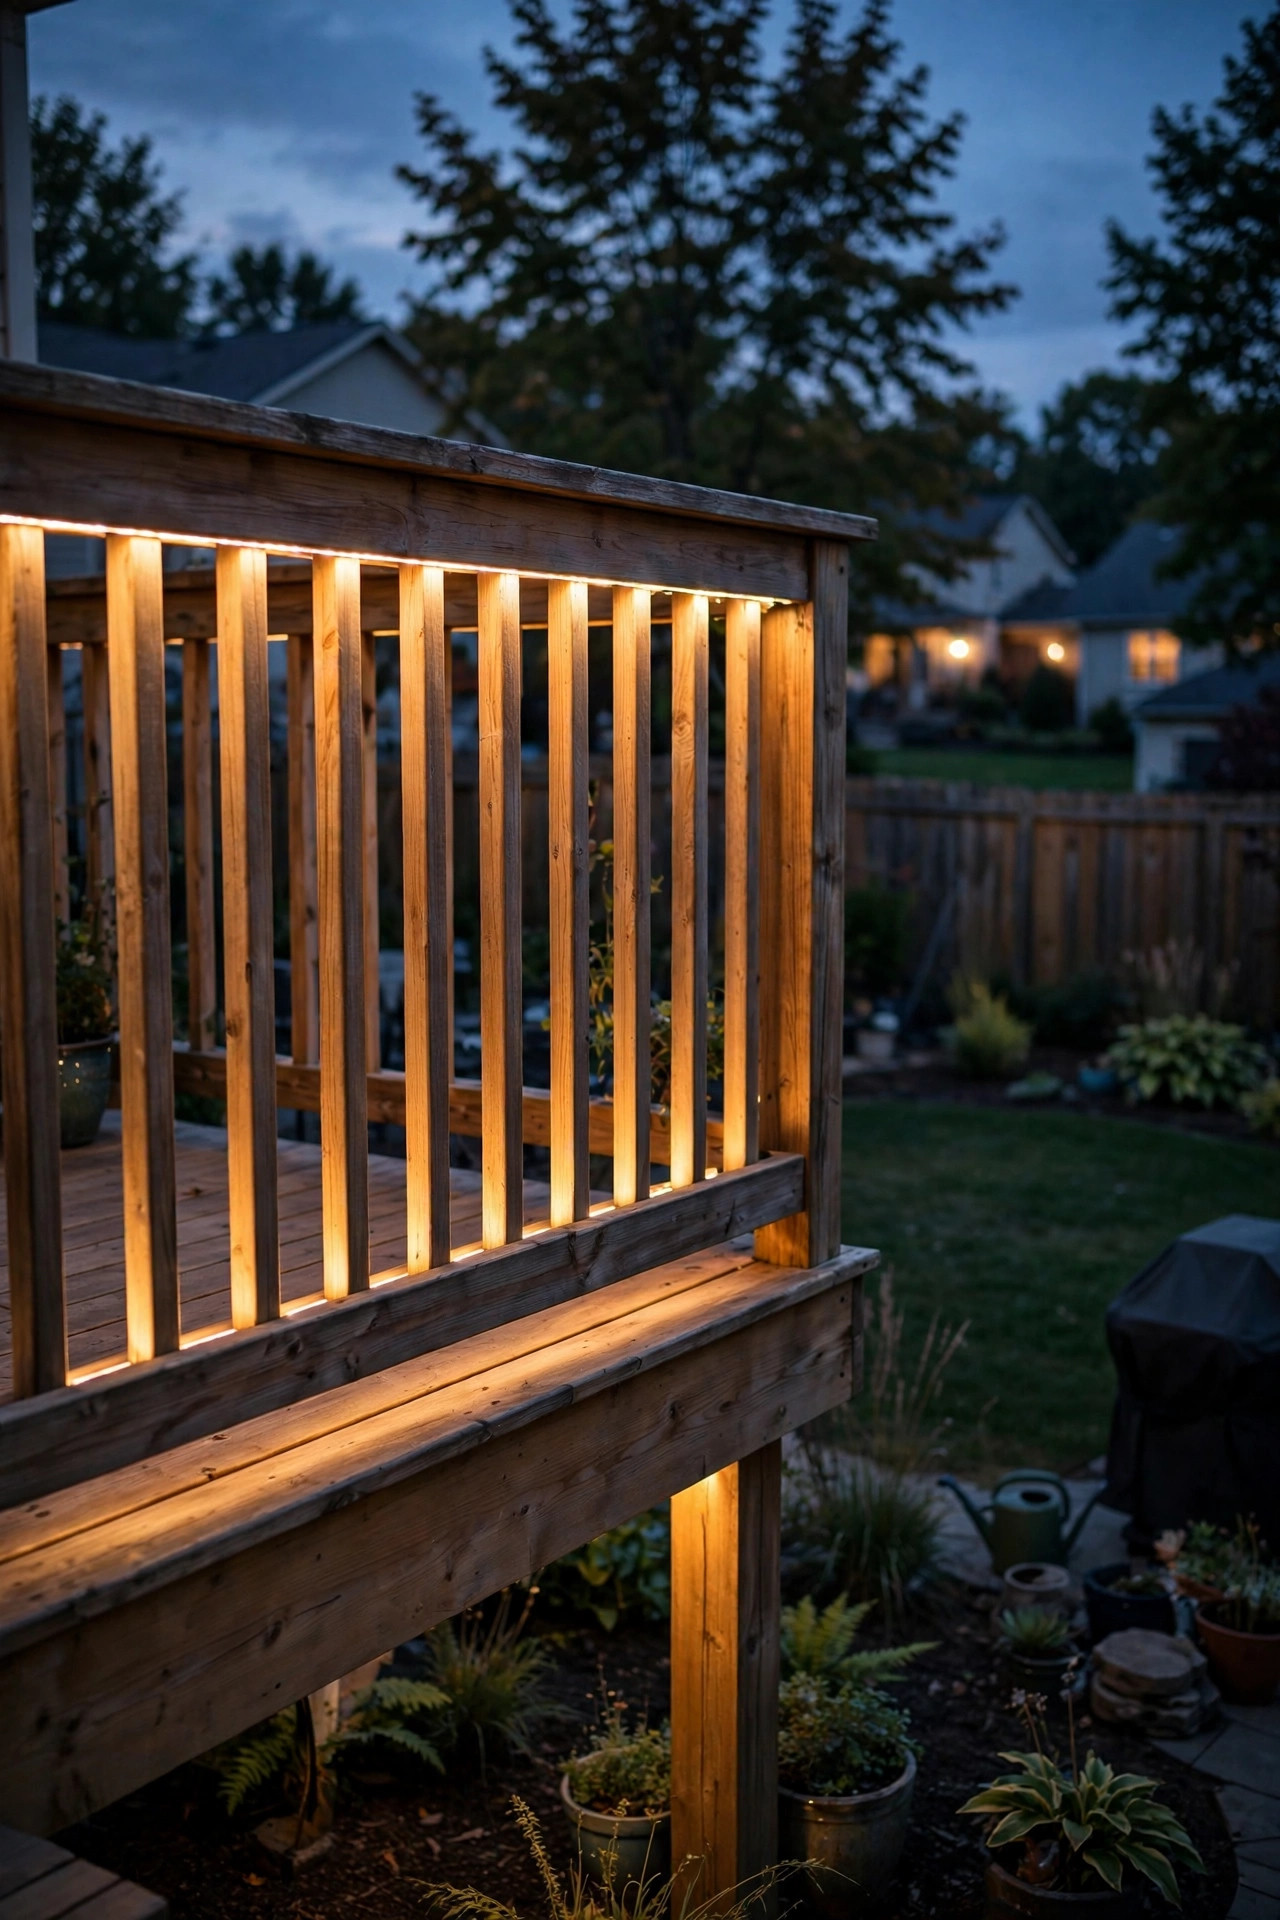
Many composite and wood railings have a flat cap rail on top — and the underside of that cap is prime real estate. Mounting your strip directly under the cap rail (rather than under a separate handrail) puts the light source exactly where it grazes down the balusters, creating beautiful long shadows and a lantern-like glow through picket or cable railings. Cable railings especially benefit, since the thin cables catch the light in the most elegant way.
Because the cap overhangs the balusters by an inch or two, you get natural shielding — the strip hides in the cap's shadow line and you never see the diodes from standing height. Use a slim-profile strip (8 to 10 millimeters wide) with an adhesive backing rated for the cap's material; composite caps can get hot in afternoon sun, so check that your adhesive is rated to at least 150°F or use screw-mounted clips instead. For extra polish, run the strip in a shallow silicone-sleeved channel rather than bare — it handles the expansion and contraction of composite material better and keeps the IP rating intact through freeze-thaw cycles. This is one of the cleanest-looking installs in the whole list.
Suggested budget range: $50 – $140.
8. Color-Changing RGB Strips for Parties
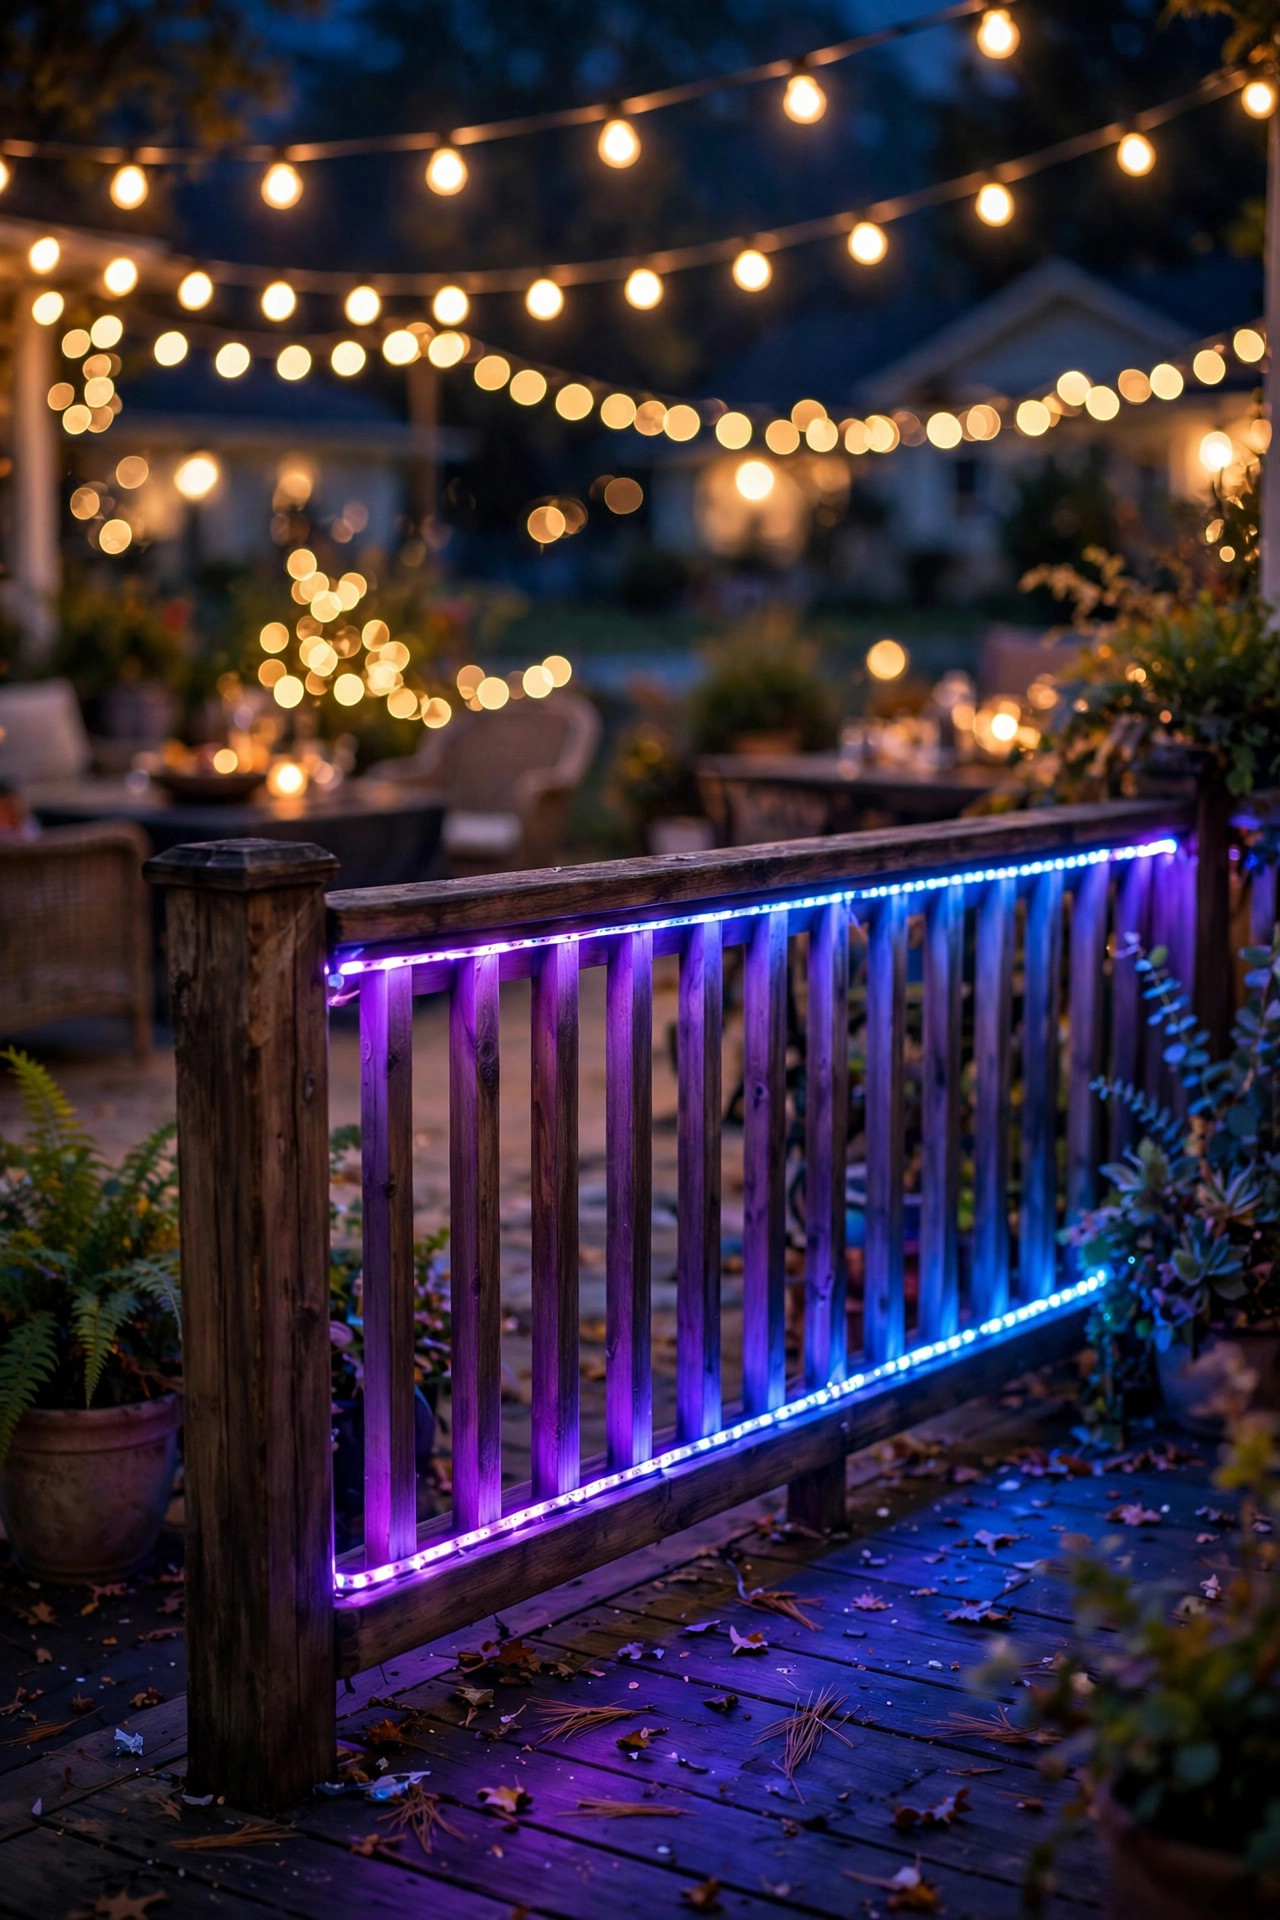
Warm white is the everyday look, but sometimes you want the deck to celebrate. RGB (color-changing) strips under the rail let you wash the whole deck in team colors for game night, orange and purple for Halloween, red and green for the holidays, or a slow-fading rainbow for a summer party. The strip lives in the same hidden channel as a warm-white install, so the hardware disappears and only the mood changes.
Here's my honest take: buy an RGBW strip (red-green-blue plus a dedicated warm-white diode) rather than plain RGB. Plain RGB makes white by mixing all three colors, which looks pinkish and sickly — terrible as your everyday lighting. RGBW gives you a true warm white for the other 350 days of the year plus full color when you want it. Pair it with a Wi-Fi or RF controller with a phone app so you can change scenes from the grill, and set a default that always powers on to warm white (your guests shouldn't have to troubleshoot your deck). For more on making your yard party-ready, see my roundup of outdoor lighting ideas that pair beautifully with color scenes.
Suggested budget range: $80 – $220.
9. Solar-Powered Rail Strips
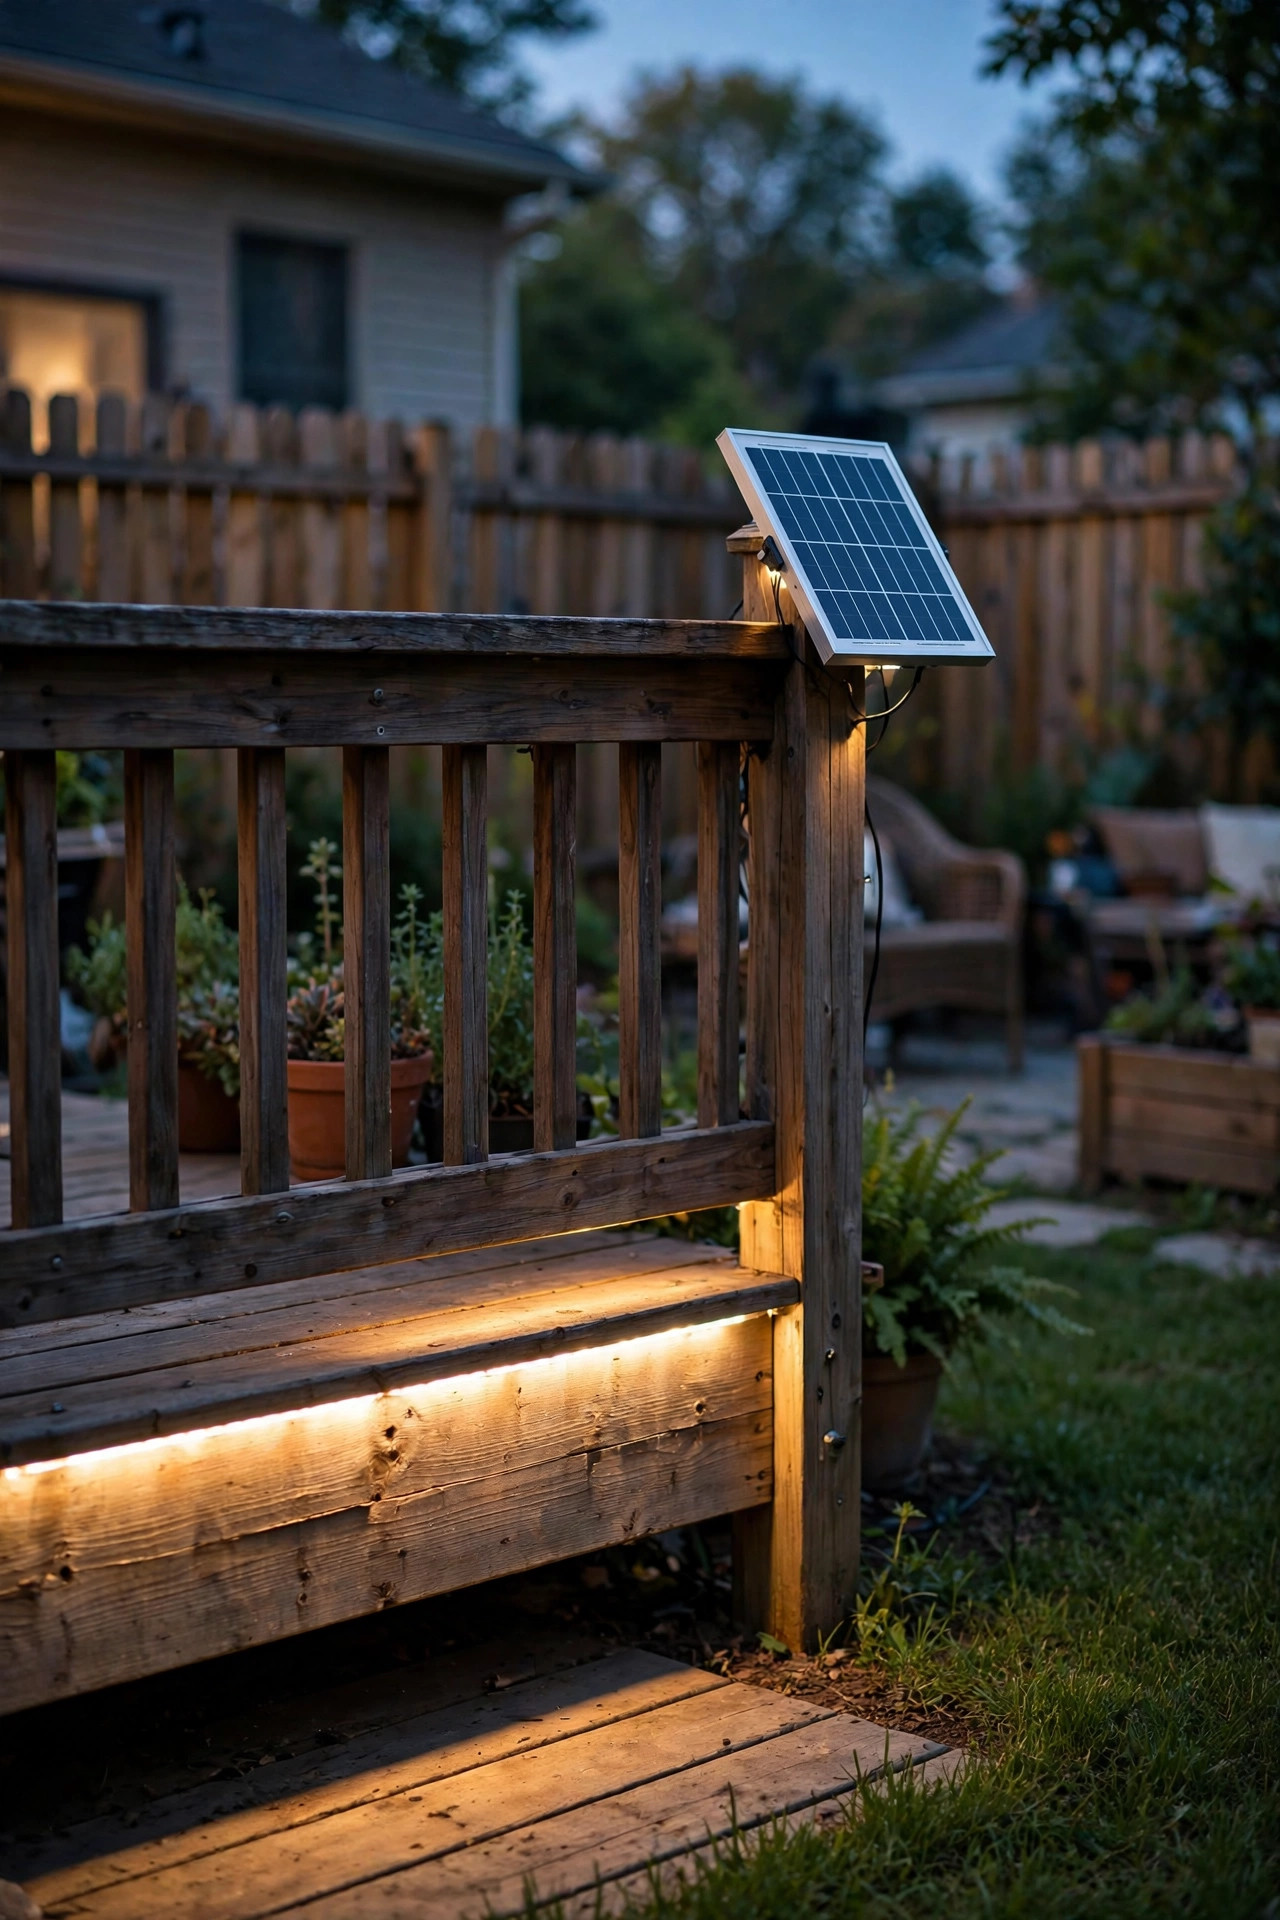
No outdoor outlet near the deck? Solar strips have gotten genuinely good. Modern solar rail strips mount under the top rail with a small separate solar panel you place in the sunniest nearby spot (a fence cap, a post top, or a garden stake within the 10-foot cord reach). During the day the panel charges an internal battery; at dusk the strip switches on automatically. No wiring, no transformer, no electrician — it's the fastest path to the floating look.
Set your expectations correctly: solar strips are accent light, not task light. They're perfect for the glow effect and edge definition, but they won't light your grill area. Look for strips with at least 2,000 mAh of battery capacity and an auto dusk sensor; in my experience, quality ones run 6 to 8 hours on a full charge in summer, closer to 3 or 4 in short winter days. Keep the solar panel clean (a quick wipe monthly) and angled toward true south if you can. One more tip: buy strips with replaceable rechargeable batteries rather than sealed units, so a tired battery in year three is a $10 fix instead of a whole new strip. Solar is also a great fit alongside dedicated solar exterior house lights elsewhere in the yard.
Suggested budget range: $35 – $110.
10. Under-Rail Plus Step-Light Combo
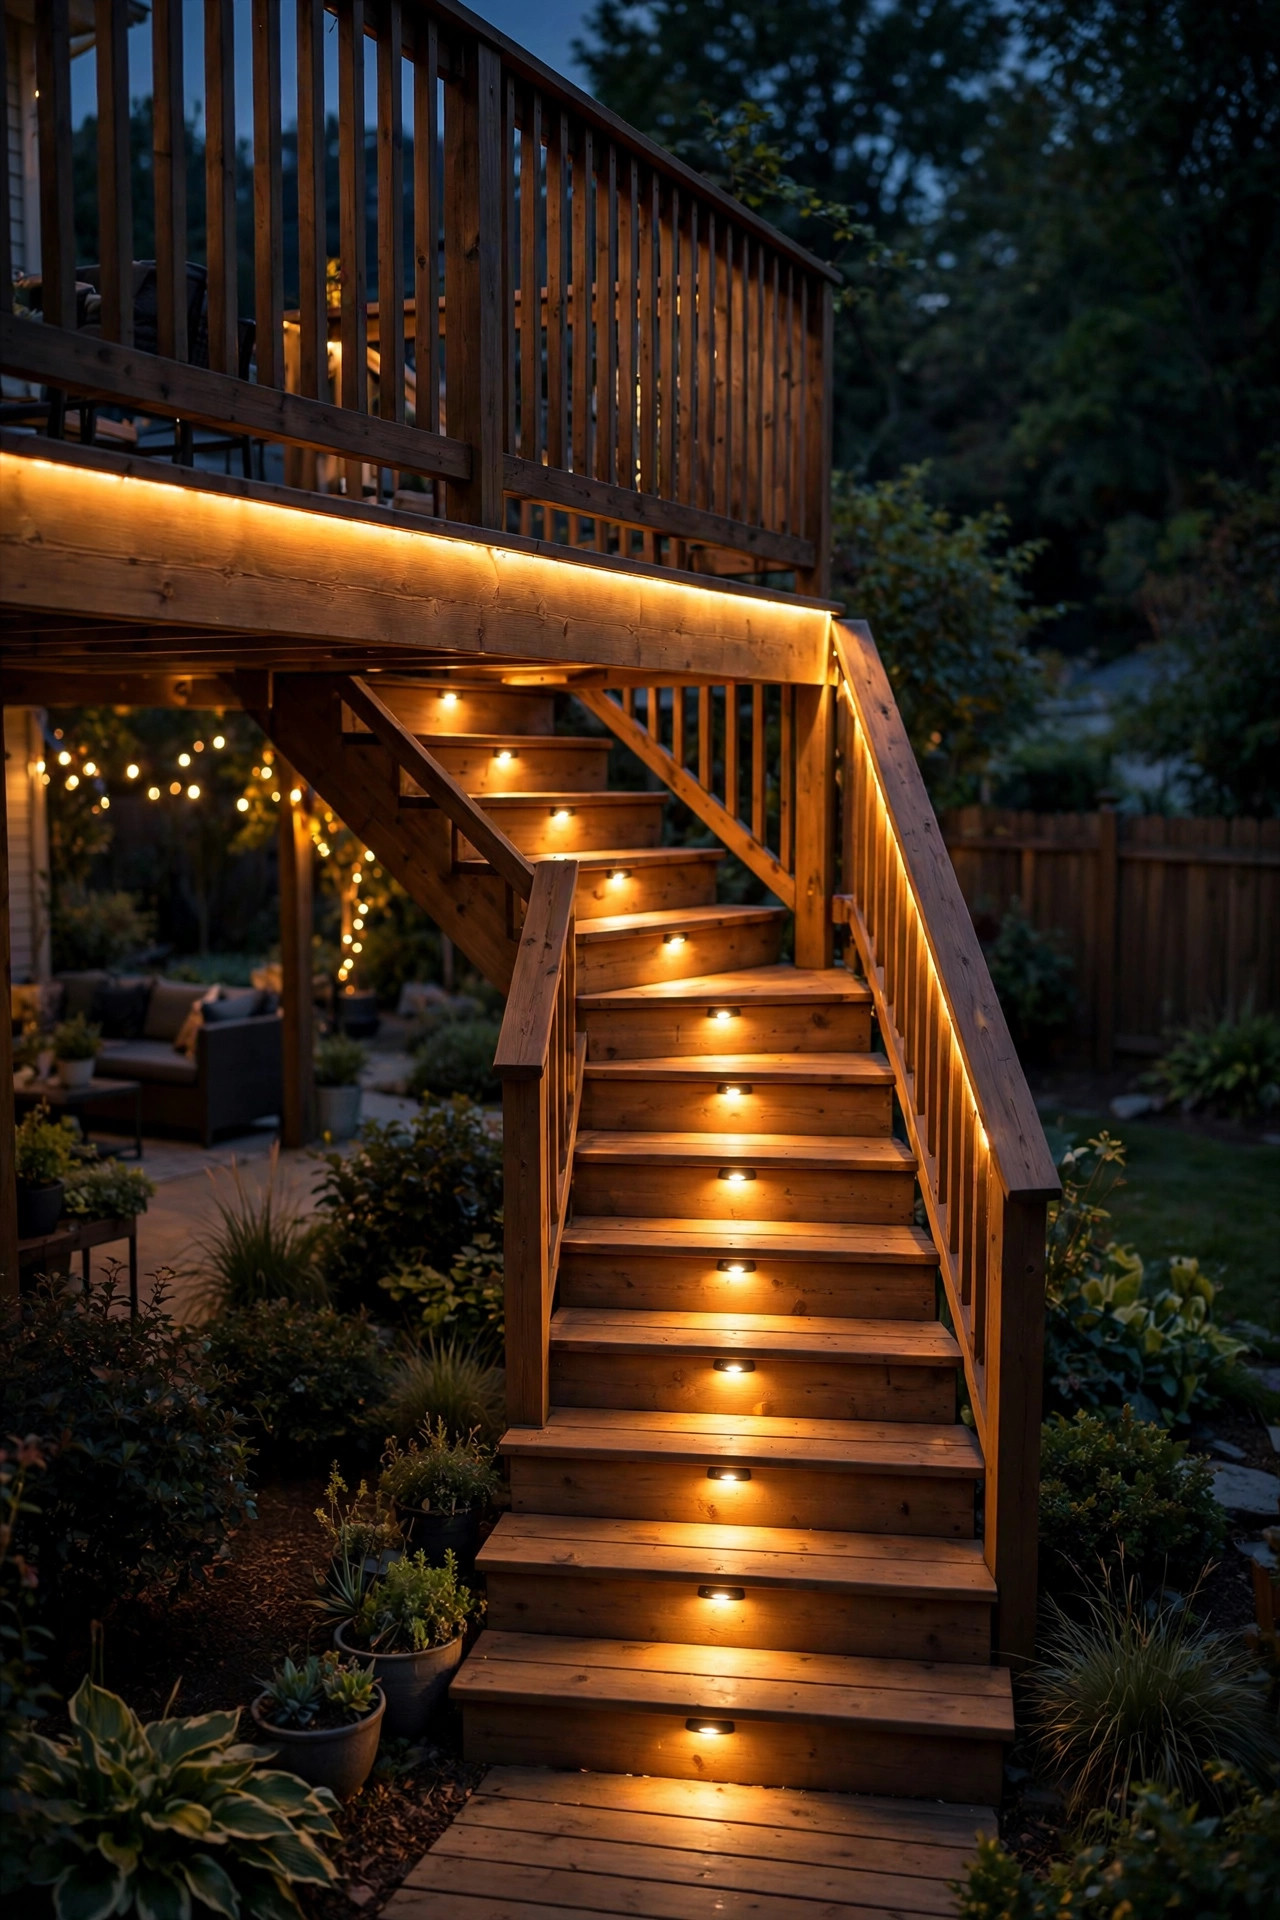
The floating effect gets even better when the under-rail glow is echoed by recessed step lights on the stairs and risers. Think of it as one continuous language of light: the rail strips draw the horizontal lines, and small round or square LED step lights (about 1 to 2 inches across) dot the risers in the same 2700K temperature. The two systems together make the deck readable at night from anywhere in the yard — edges, stairs, and levels all defined.
Coordinate the color temperature obsessively here, because mismatched whites between strips and step lights will look sloppy. Buy both from similar product lines and check the Kelvin rating printed on the packaging — "warm white" varies wildly between manufacturers, anywhere from 2700K to 3500K. Wire the step lights on the same low-voltage transformer as the rail strips so everything turns on together with one timer, and consider putting the stairs on a motion-sensor override: steps that brighten slightly when someone approaches are a genuinely lovely touch and a real safety upgrade. Recessed step lights install into a 1-inch hole drilled in the riser — measure twice, because there's no un-drilling.
Suggested budget range: $130 – $350.
11. Curved and Angled Rail Layouts
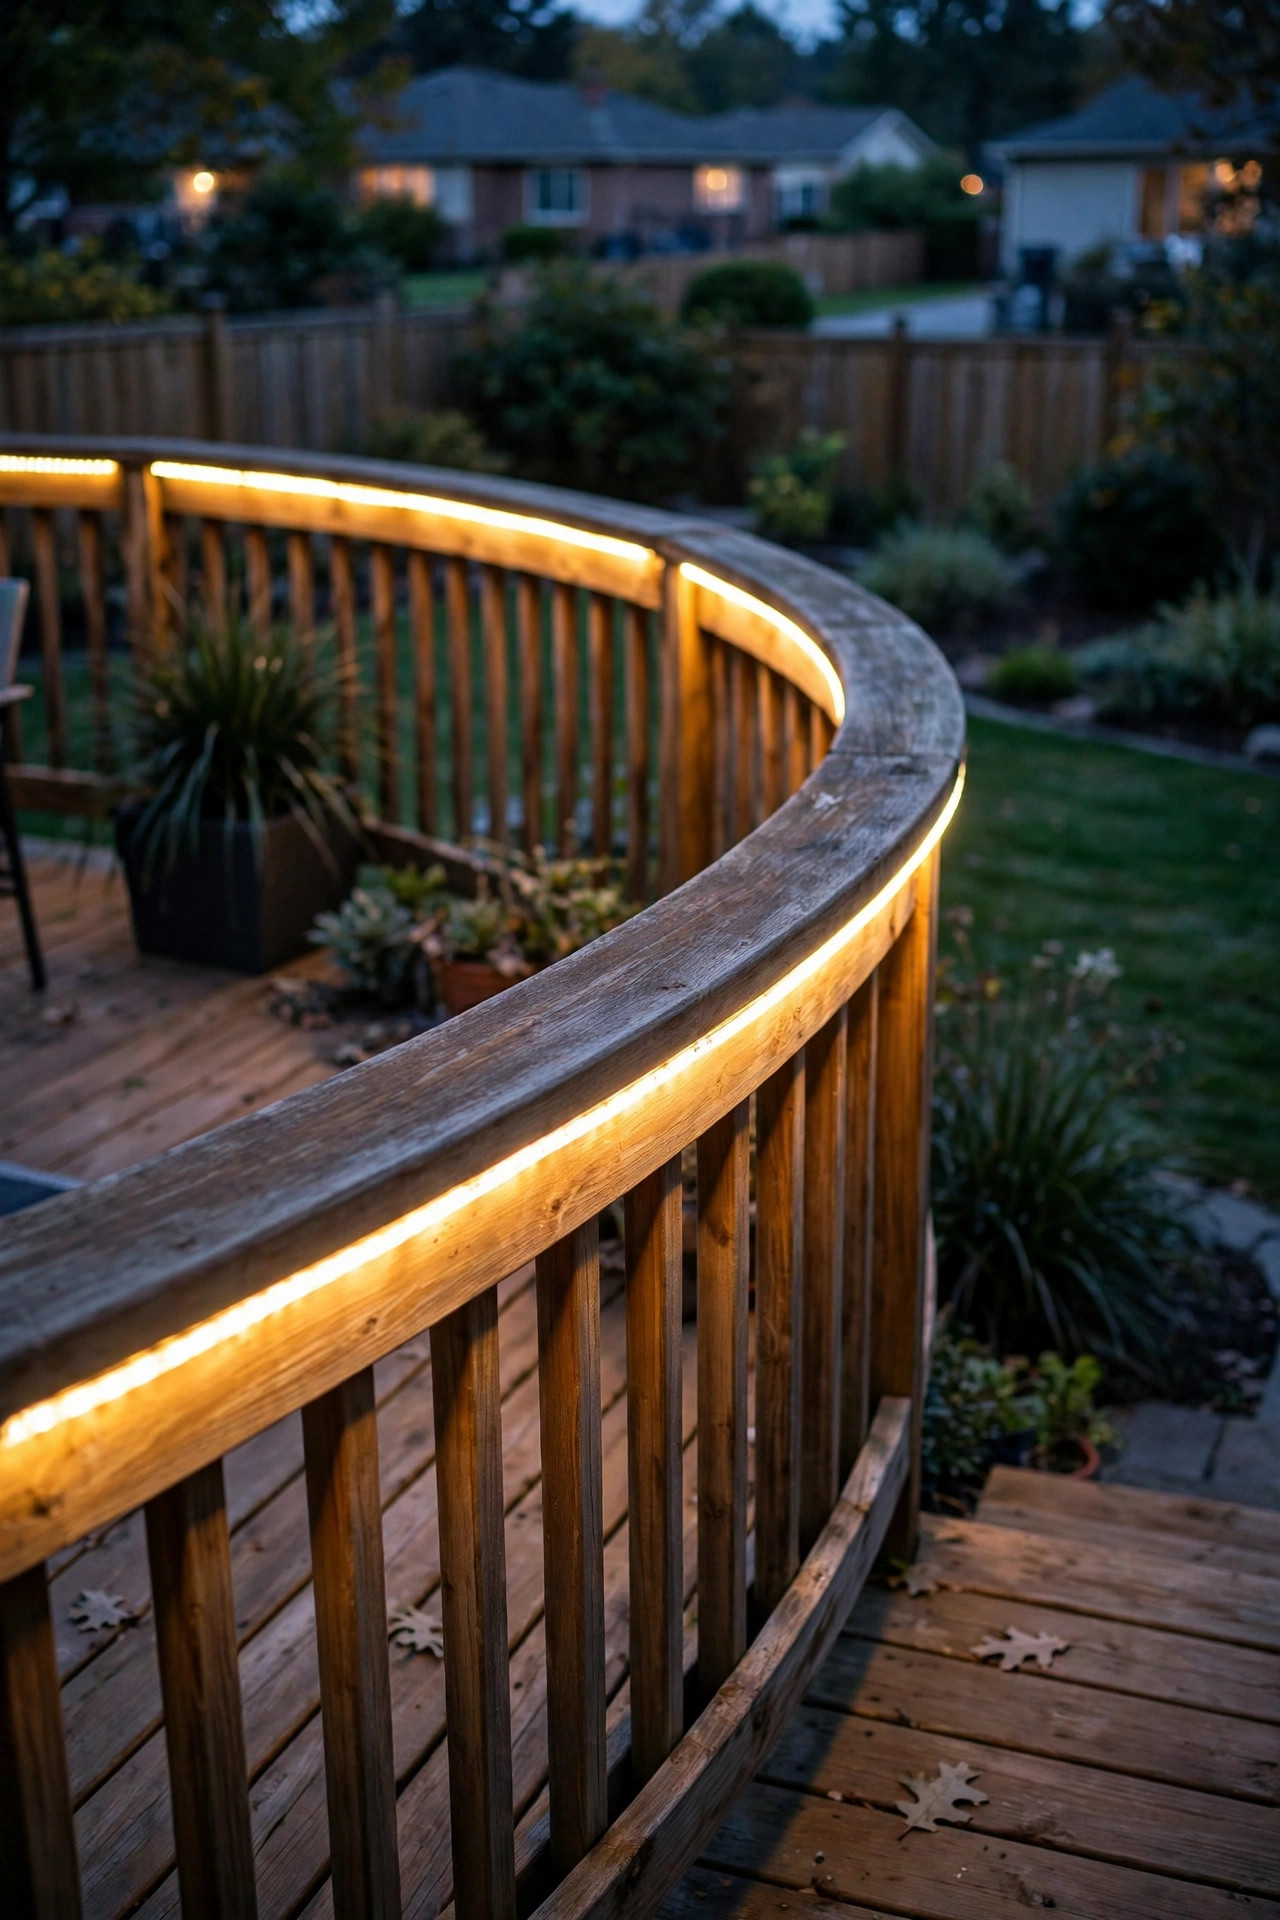
Octagonal decks, curved railings, and angled bump-outs don't have to miss out — flexible LED strips bend with the rail. Standard 12V strips can handle gentle curves easily; for tighter radii, look for S-shaped or "bendable" strips designed to curve sideways, and mount them in a flexible silicone channel rather than rigid aluminum. The channel keeps the bend smooth and even, which matters because a kinked strip shows a bright hotspot and a dark gap right where the eye goes.
For segmented angles (like an octagon), treat each straight segment as its own mini-run with the joints tucked behind posts, exactly like idea #5. For true curves, dry-fit the whole strip in the channel first and power it on before you permanently mount anything — curved runs are where voltage drop and uneven brightness love to hide. Secure the channel with clips every 8 to 10 inches on curves (closer than on straight runs) so the channel can't lift or wave. And leave a little extra strip length at the start of the curve; it's much easier to trim a few inches off than to splice more on. The payoff is huge: a curved glowing rail is the most sculptural, high-end look on this entire list.
Suggested budget range: $70 – $200.
12. Motion-Sensor and Smart-Home Integration
Under-rail strips are low-voltage, which makes them perfect for smart control. A simple inline motion sensor on the stair run means the steps brighten as you approach and dim back down after — wonderful for late-night trips to the grill or letting the dog out. A smart plug or smart low-voltage controller on the whole system ties the deck into your evening routine: lights on at sunset, off at midnight, all automatic.
Start simple even if you love gadgets. A dusk-to-dawn photocell timer ($15 to $25) handles 90 percent of what most people want, and it's dead reliable. Add motion sensing just on the stairs and the path from the door — that's where the safety benefit lives. If you go full smart-home, use a controller rated for outdoor or at least weather-protected locations, keep it in a sealed enclosure under the deck, and make sure your Wi-Fi actually reaches the deck before you commit (a weak signal makes smart lights dumb). And always keep a manual override: a simple switch or the controller's physical button, because the night your app updates itself is the night you're hosting dinner.
Suggested budget range: $70 – $210.
13. Under-Bench Seating Glow
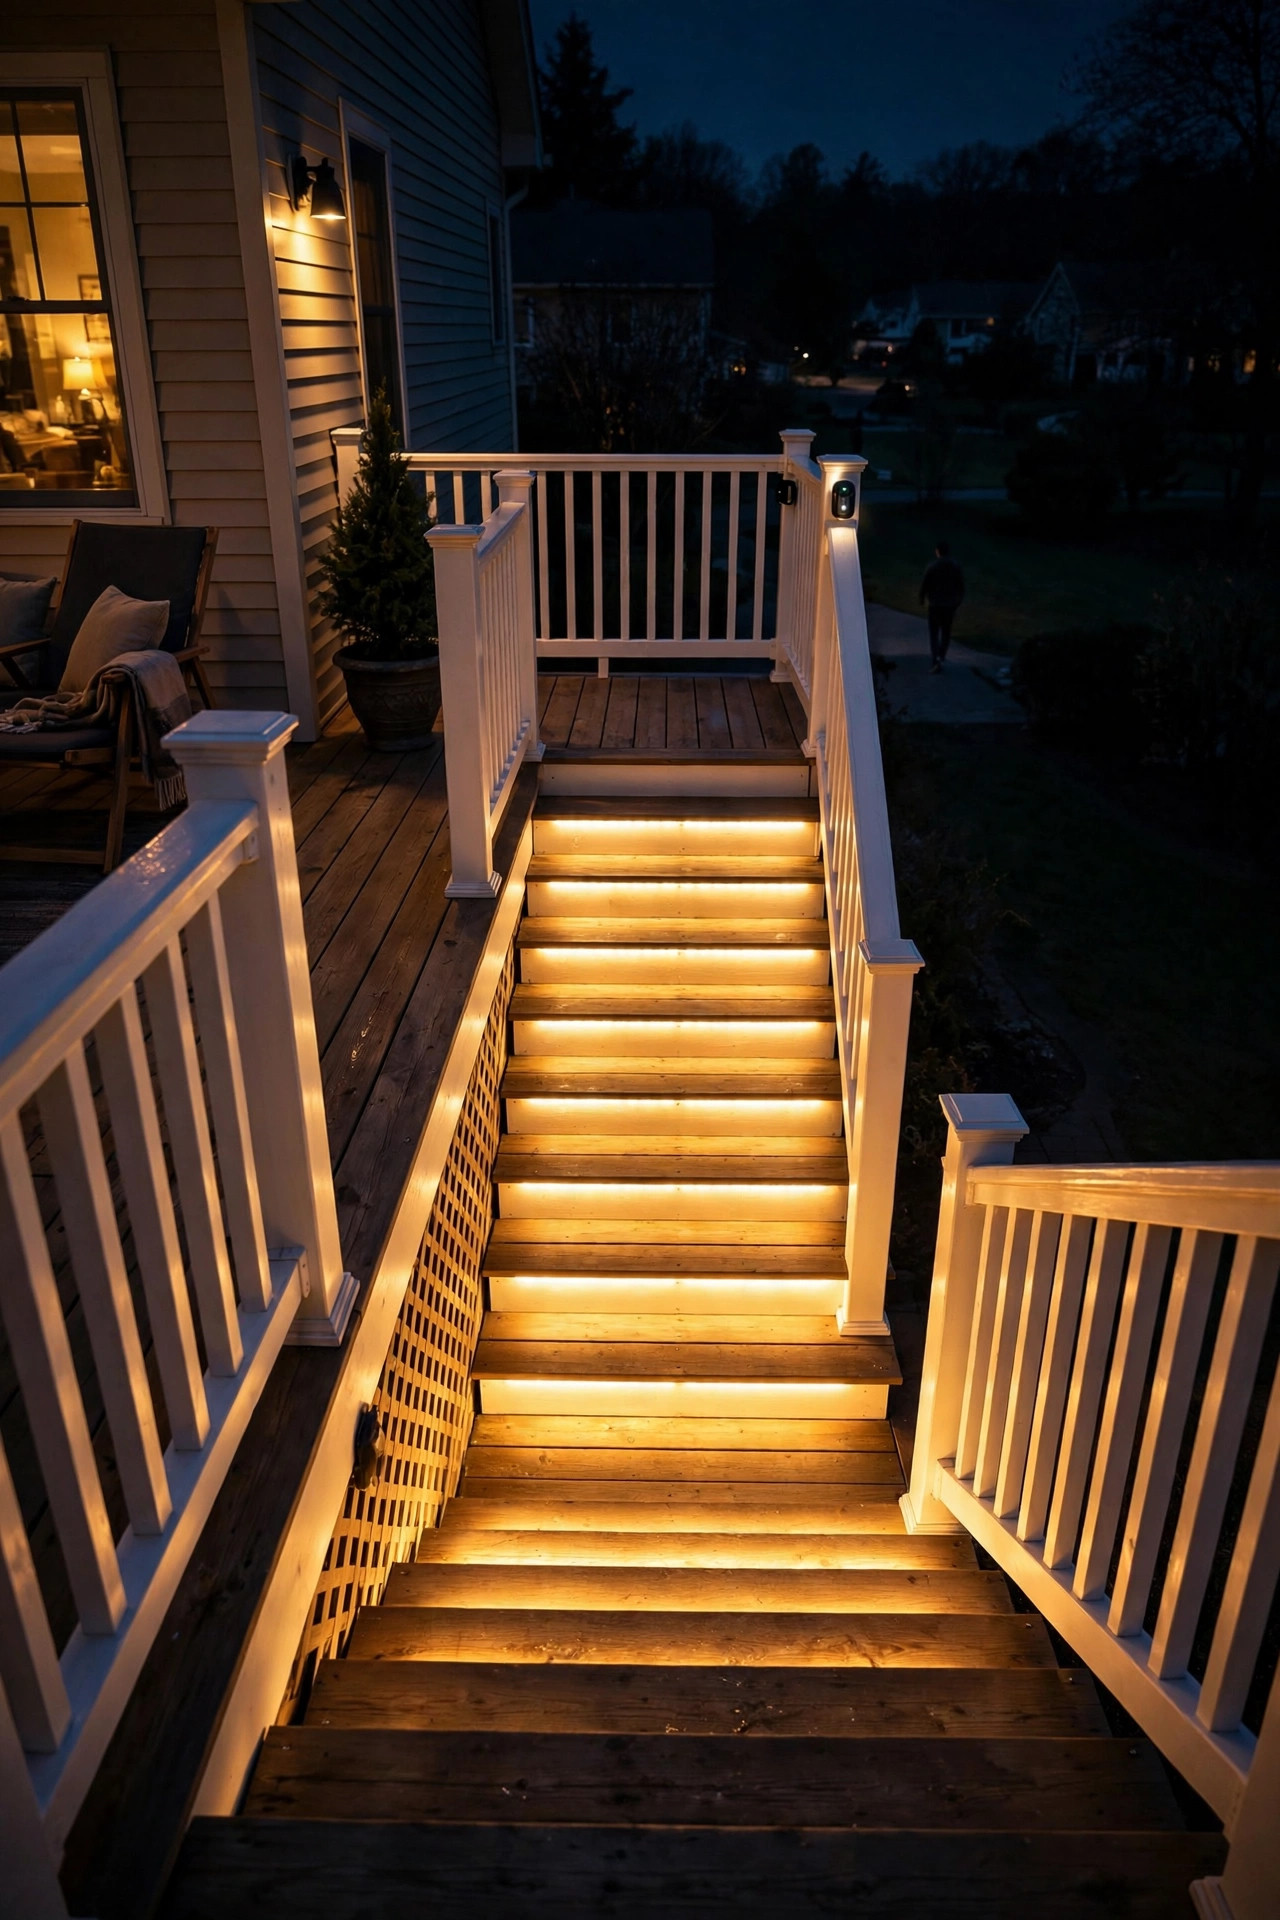
Built-in deck benches are begging for the same treatment. Run a short strip under the front edge of a built-in bench, and the bench appears to float above the deck boards — echoing the rail glow at a lower height and adding a second horizontal line of light that makes the whole deck feel layered and designed. It's especially lovely around a fire pit seating area or along a dining bench.
Mount the strip 1 to 2 inches back from the bench's front edge, in a diffuser channel, so seated guests never see the diodes — only the wash of light on the deck below. Because benches take weight and vibration, use screw-mounted channels rather than adhesive strips here; benches flex when people sit, and anything stuck on with tape will peel within a year. Wire the bench run back to the same transformer as the rail lighting so the color temperature and timing match, and consider putting benches on a separate dimmer zone — sometimes you want the seating area softer than the perimeter while you're lingering after dinner. For a standard 8-foot bench, you'll need about 8 feet of strip and an hour of install time.
Suggested budget range: $40 – $120.
14. Poolside Deck Rail Lighting
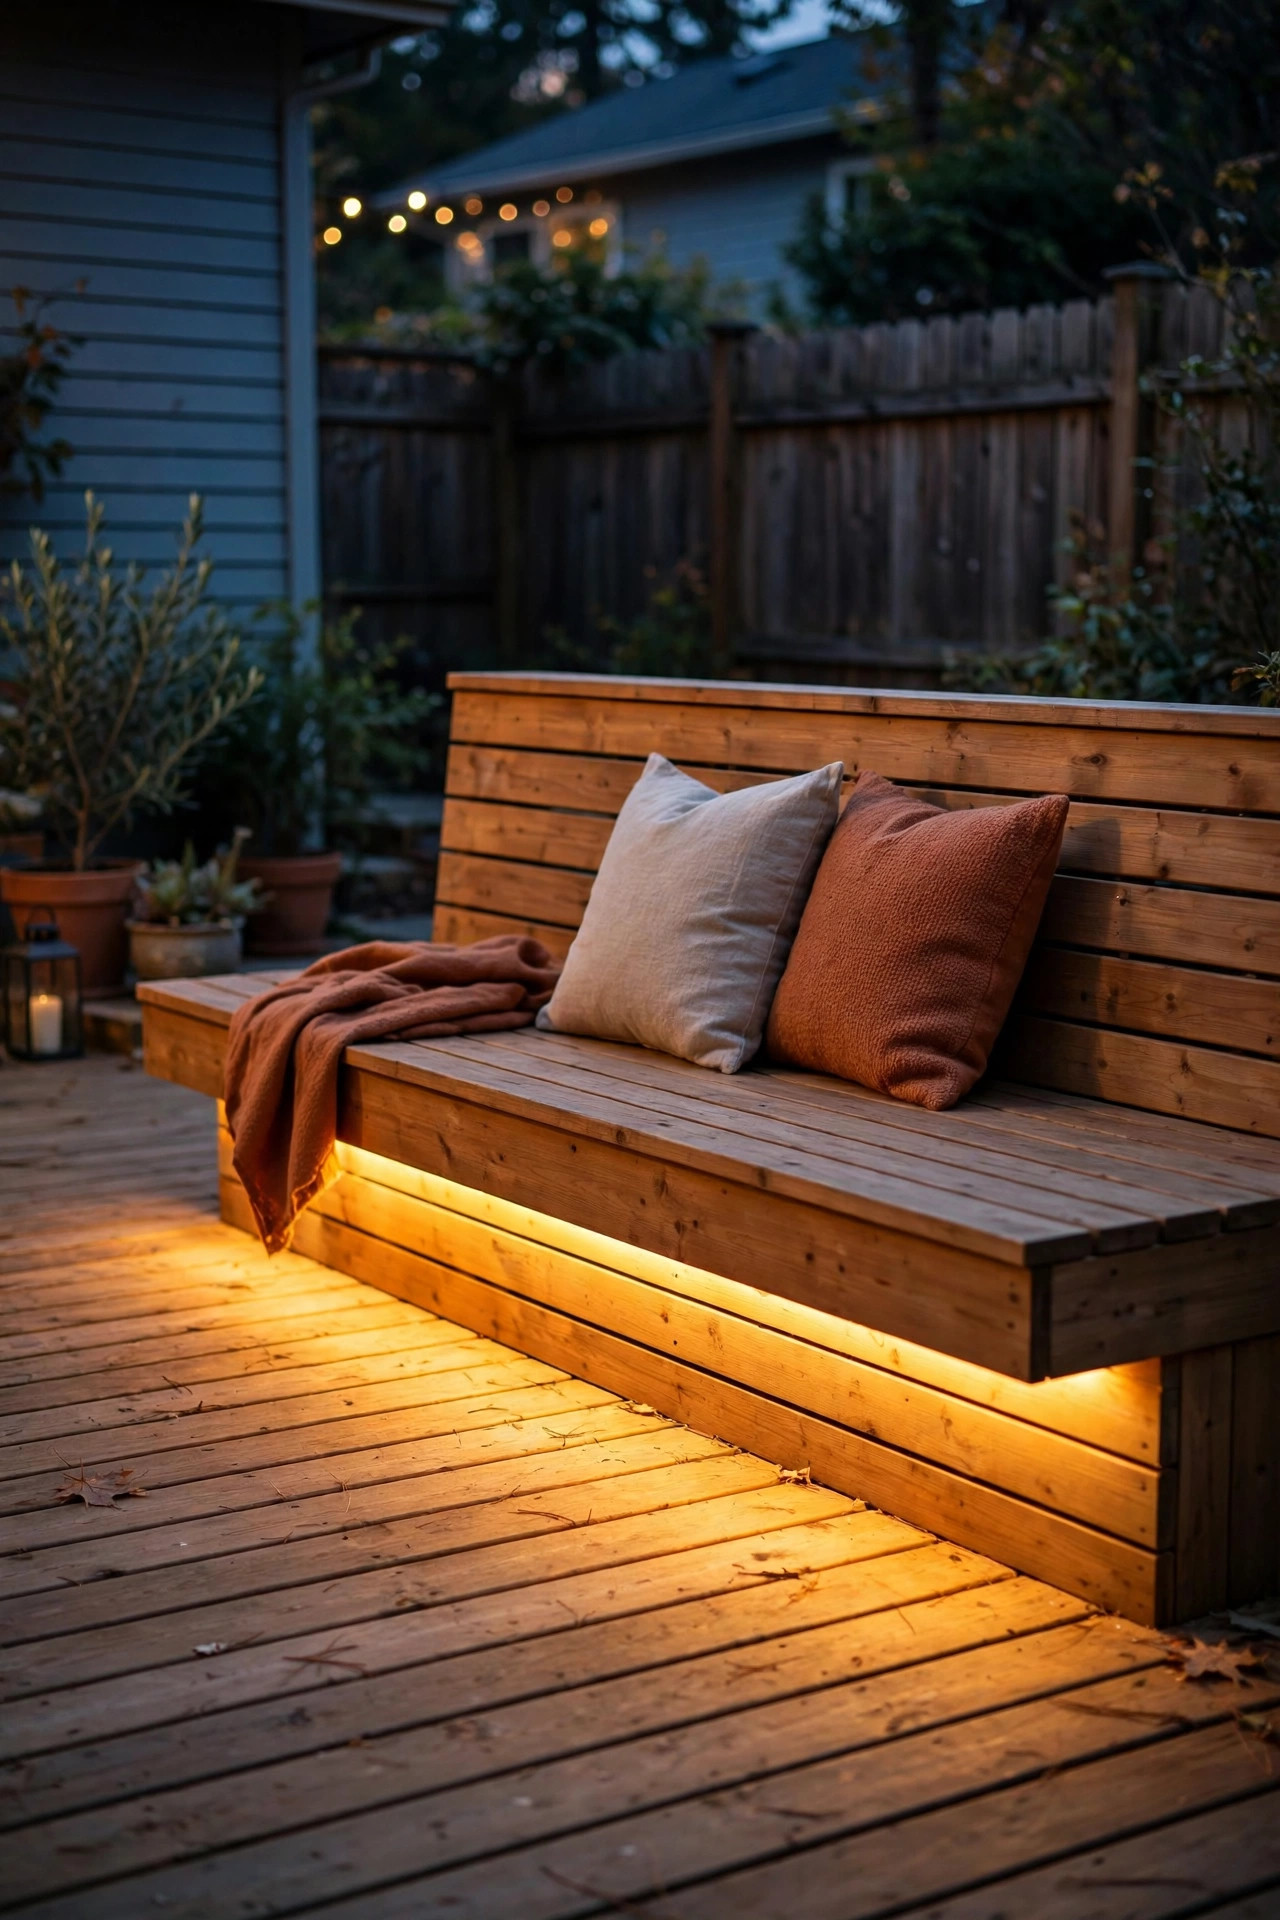
A deck around a pool doubles the magic — the under-rail glow reflects off the water and the whole backyard shimmers. But poolside installs have stricter rules, and I want you to get this right. Use only strips rated IP67 or IP68 (fully submersible-rated is fine even though they won't be underwater), keep all transformers and connections at least 10 feet from the water's edge, and plug everything into GFCI-protected circuits. Water plus electricity demands respect, and the IP rating on the strip is non-negotiable.
Warm white (2700K to 3000K) looks best around pools — it flatters skin tones and doesn't fight the blue of the water the way cool white does. Run the strip in a sealed silicone channel rather than aluminum, because pool chemicals and salt air corrode aluminum over time. Mount it under the rail on the pool-facing side so the light grazes the deck surface and reflects into the water, creating that resort glow. Avoid RGB strobe or fast color-chase effects around pools; slow fades are fine, but flashing lights near water are disorienting and, honestly, just not the vibe. Check your local electrical code too — some municipalities have specific requirements for low-voltage lighting near pools.
Suggested budget range: $90 – $260.
15. Pergola-to-Deck Rail Continuity
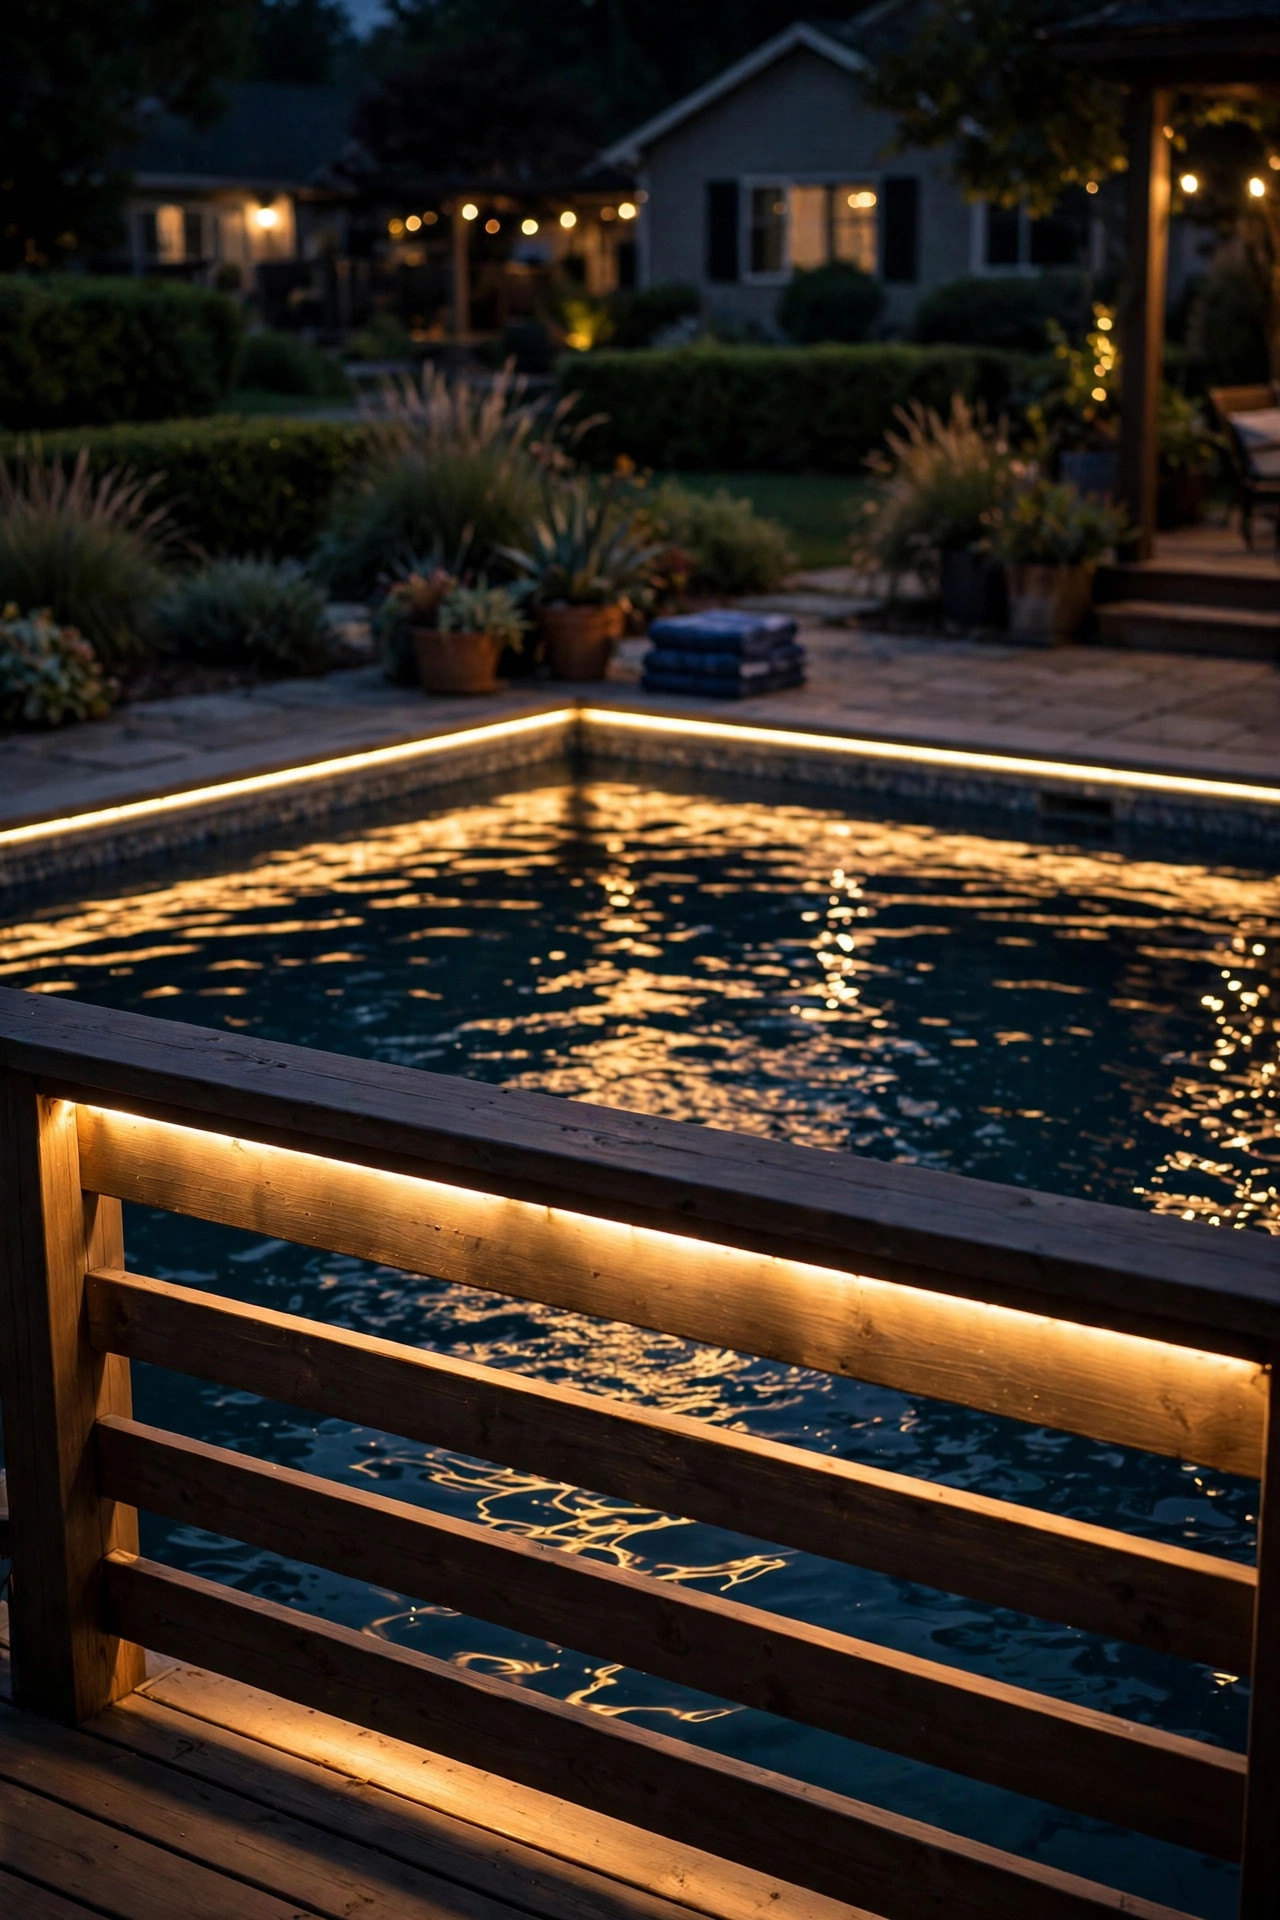
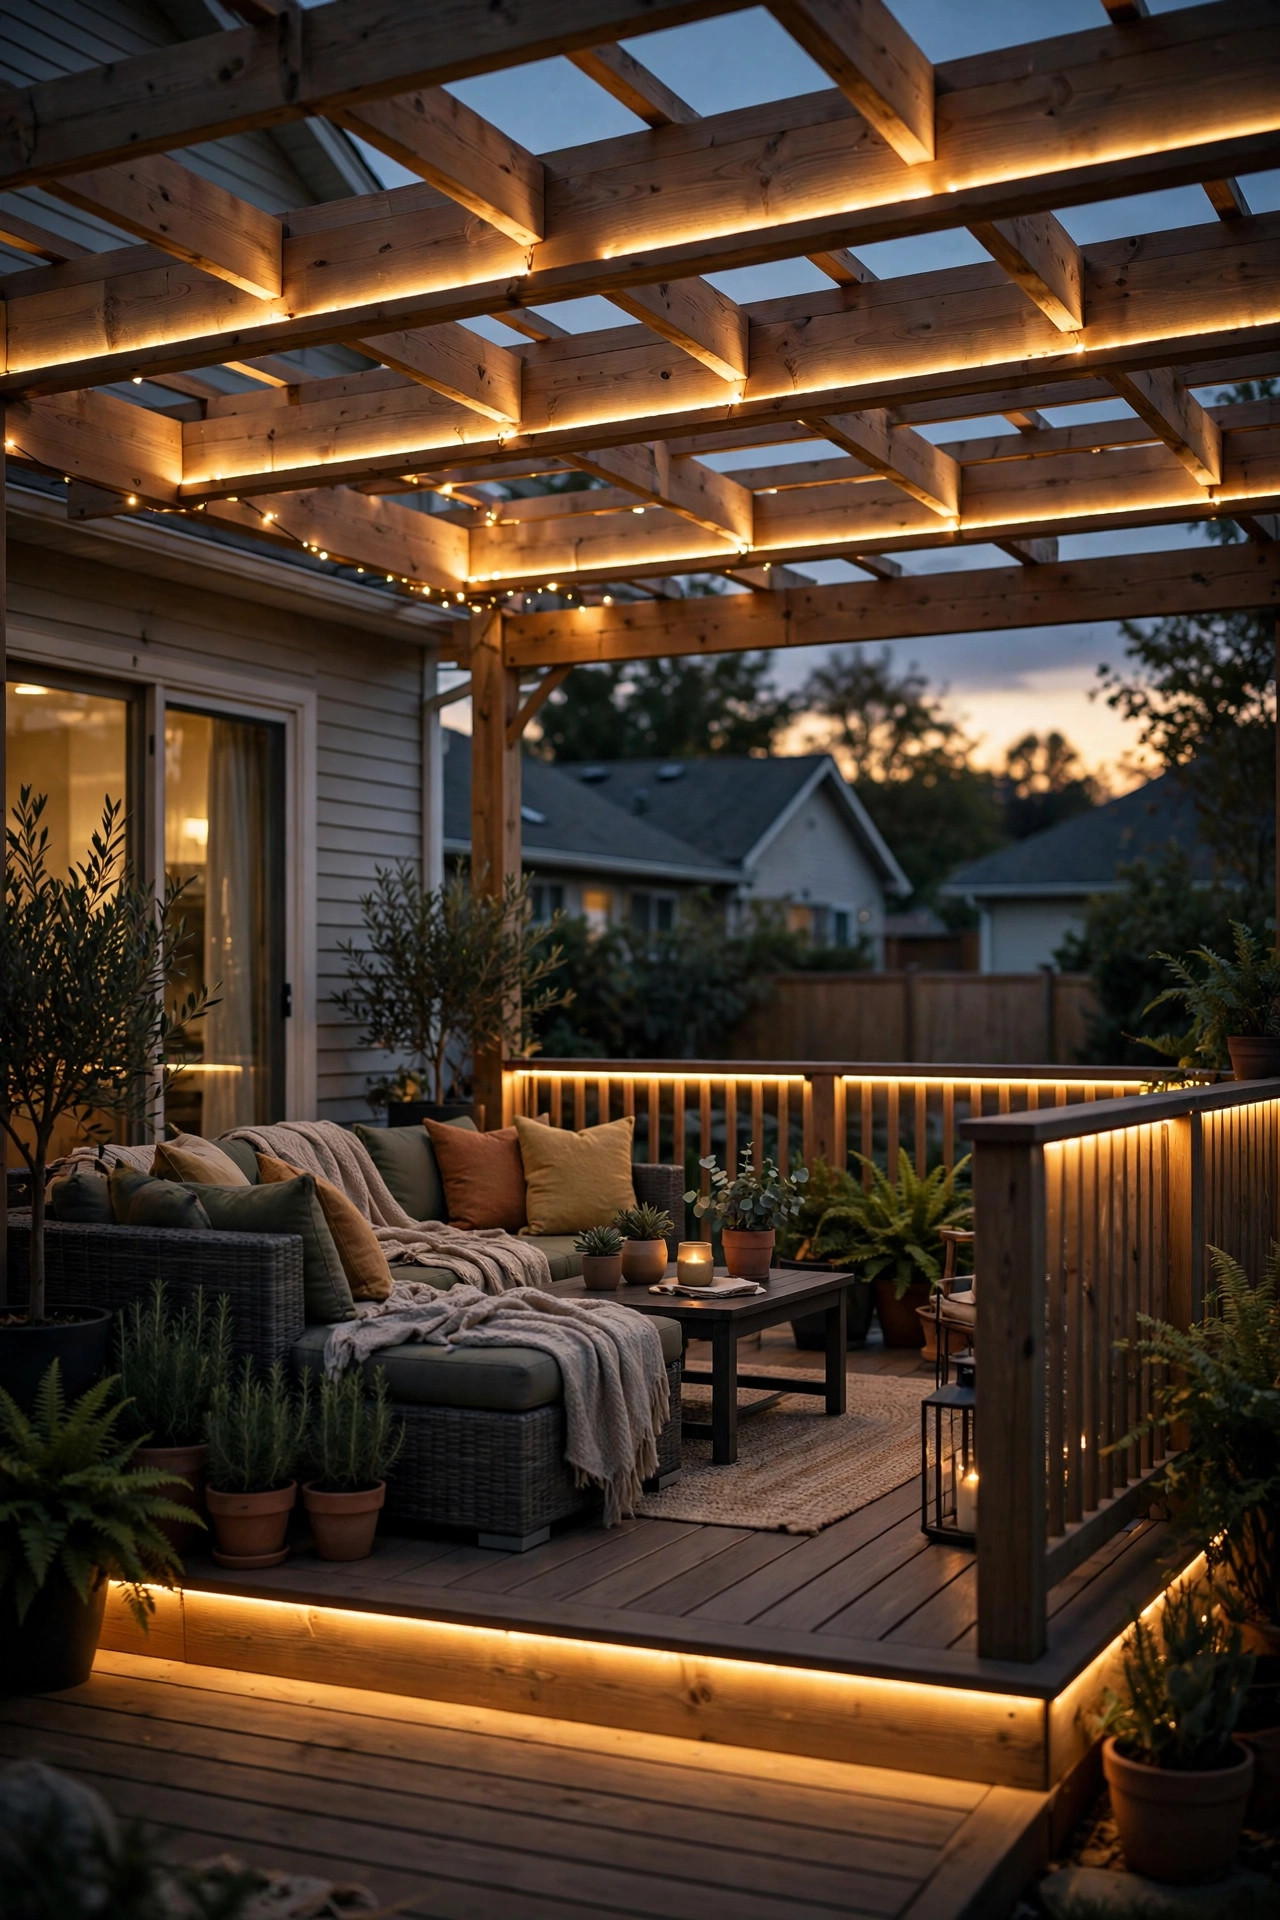
If your deck has a pergola, extend the lighting story upward. Run strips along the underside of the pergola beams or rafters in the same 2700K temperature as your under-rail strips, and the deck gets a ceiling of light to match its glowing edges. The two layers — rail glow below, pergola glow above — sandwich the space in warm light and make the deck feel like a true outdoor room after dark.
Keep the pergola strips in the same diffuser channels as the rail install so the light quality matches, and wire them to the same timer so everything breathes together. Mount pergola strips on the underside of beams (not the sides) so the light washes down onto the dining or lounge area below rather than glaring into eyes. Because pergola beams are fully exposed to weather, IP65 minimum here, and route wiring along the top of beams where it's hidden and stays drier. If your pergola has a fabric shade or roof panels, the reflected light off the underside is gorgeous — it's like a giant softbox. This pairs beautifully with the layered approach I talk about in my backyard lighting ideas for making outdoor rooms feel intentional.
Suggested budget range: $110 – $300.
16. All-Weather Proofing and Maintenance
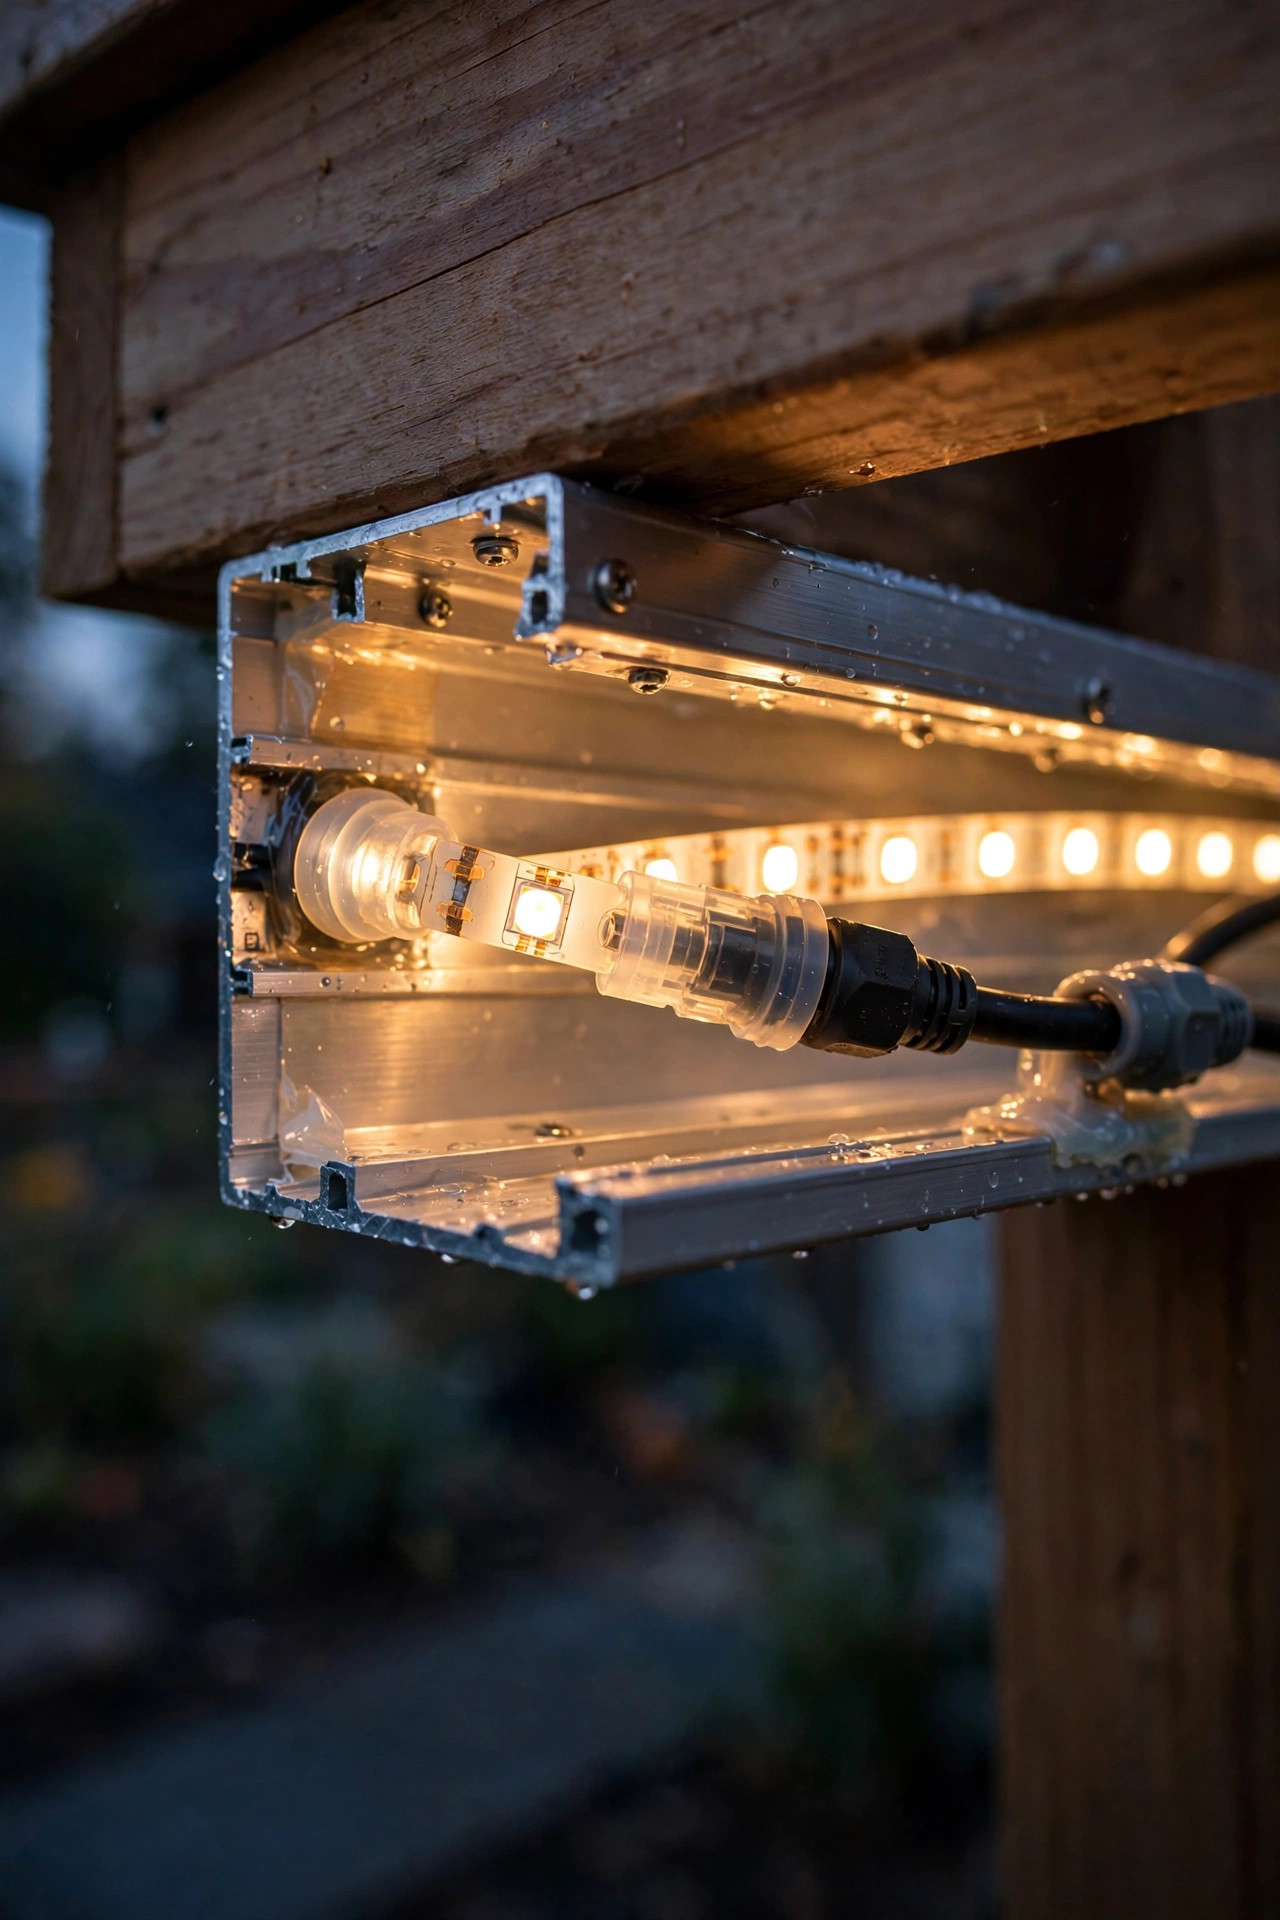
The difference between strips that last three years and strips that last ten is weatherproofing and a tiny bit of maintenance. Start with the right rating: IP65 (dust-tight, rain-proof) is the minimum for under-rail use; IP67 (survives brief submersion) is better for rails near sprinklers, pools, or heavy snow country. Every connection — every single one — gets a waterproof connector plus a dab of dielectric grease, then sits inside the channel or a sealed junction box. Water wicks into the tiniest opening and corrodes copper fast, so treat connections like the weak link they are.
Twice a year, give the system a five-minute checkup. In spring, wipe the diffusers clean (pollen and dust can dim output by 20 percent or more), check that clips are tight after winter's freeze-thaw, and look for any green corrosion at connectors. In fall, clear leaves and debris from the channels, make sure the transformer's ventilation isn't blocked, and check the timer's sunset schedule — days are getting shorter and an outdated timer leaves you dark at 6 p.m. If a section goes dim, it's almost always one bad connection, not a dead strip; re-seat the connector before you buy anything new. A little care keeps the floating glow looking brand new for years.
Suggested budget range: $25 – $75.
17. Tunable White: Warm to Cool on Demand
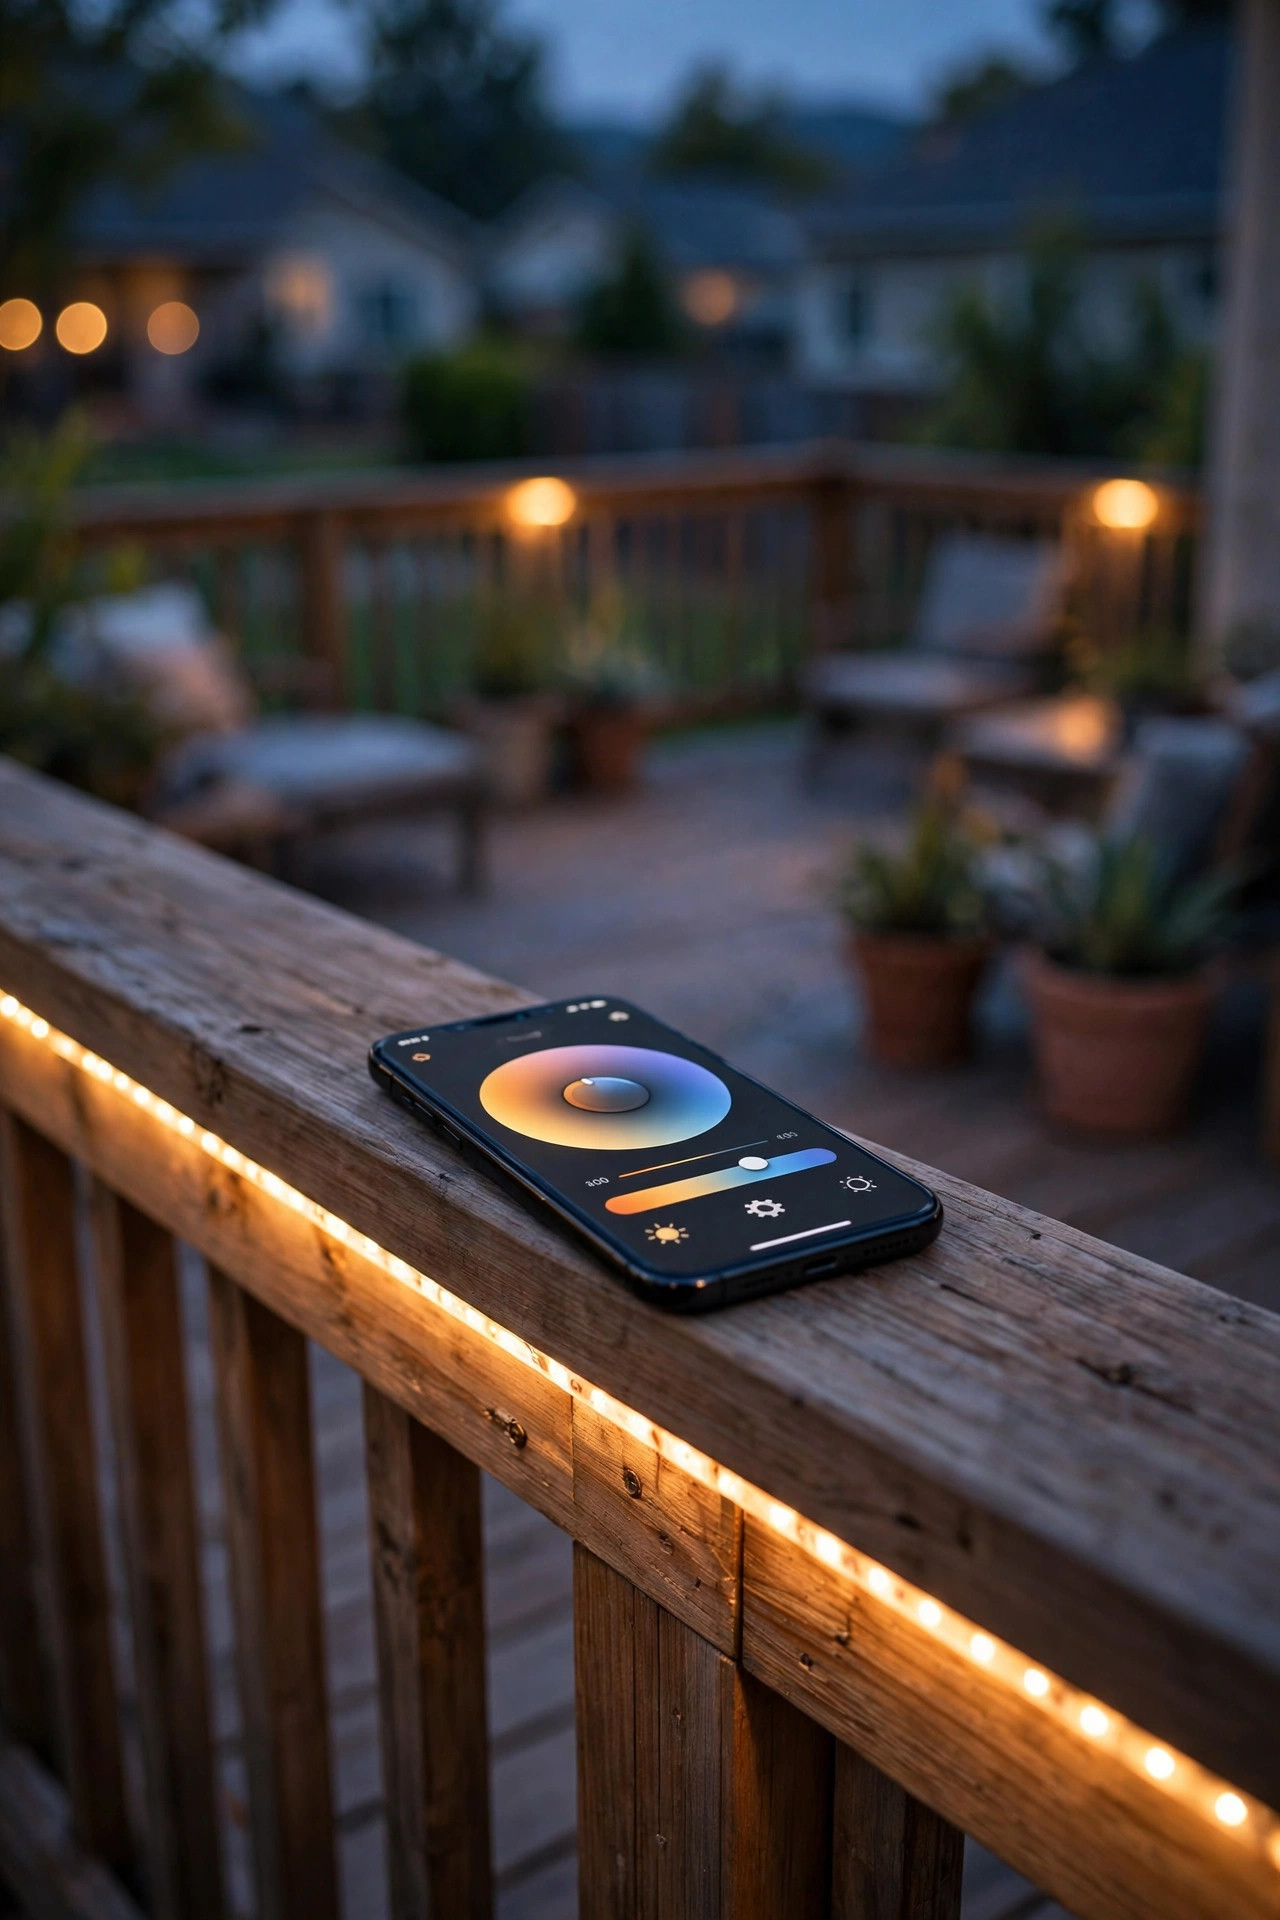
Here's the power move for lighting nerds: tunable-white strips let you slide the color temperature from a candlelit 2700K to a crisp 5000K (or anywhere between) from your phone. Dinner party? Drop to warm. Cleaning the grill or finding a lost earring? Crank to cool daylight. Holiday photos? Set it to a perfect neutral 3500K. One strip, every mood — and it still hides invisibly under the rail like all the others.
Tunable strips need a compatible controller (a standard single-color dimmer won't do it), so buy the strip and controller as a matched set or verify compatibility carefully. They cost more per foot than fixed-white strips, and they draw slightly more power, so size your transformer with 20 percent headroom above the strip's rated wattage. In my experience, most families end up parking the setting at 2700K about 95 percent of the time and only reaching for the slider for parties or chores — which is fine, because the option is the luxury. Just make sure the app or remote has a "favorite" preset so one tap returns you to your perfect everyday warm. Set that preset on day one and you'll never fumble for it mid-dinner-party.
Suggested budget range: $100 – $280.
Frequently Asked Questions
Are LED strip lights waterproof enough for deck railings?
Yes, as long as you buy the right rating. Look for IP65 (protected against rain and dust) as the absolute minimum for under-rail use, and IP67 if your rails face sprinklers, pool splash, or heavy snow. The strip itself is only half the story — every connection point needs a waterproof connector, and the whole run should live in an aluminum or silicone diffuser channel that shields it from direct weather. Installed this way, quality strips routinely last 5 to 10 years outdoors.
What color temperature is best for under-rail deck lighting?
2700K warm white, almost always. It reads as candlelight-warm, flatters skin tones, and blends beautifully with fire pits, lanterns, and string lights. 3000K is a fine slightly-crisp alternative if your home's interior lighting runs that way and you want continuity. Avoid 4000K and above outdoors — cool white makes a deck feel like a commercial parking lot and kills the cozy floating effect entirely.
Do I need an electrician to install under-rail LED strips?
For 12-volt low-voltage strips plugged into an existing outdoor outlet, no — it's a true DIY project, roughly on par with hanging string lights. The low voltage is safe to handle, and plug-in transformers need no hardwiring. You'd want an electrician if you're adding a new outdoor outlet, hardwiring a transformer into your home's electrical panel, or installing lighting within the specific clearance zones around a pool, where local code may require professional work.
How long do outdoor LED strip lights last?
Quality outdoor-rated LED strips are typically rated for 30,000 to 50,000 hours — at 5 hours a night, that's 16 to 27 years of diode life, though in practice weather and connections are the limiting factors. Real-world, expect 5 to 10 years from a well-installed IP65+ strip in a diffuser channel with sealed connections. The two things that kill strips early are water intrusion at connections and heat buildup, which is exactly why channels and waterproof connectors matter so much.
Conclusion
That floating-deck glow everyone admires isn't magic and it isn't expensive — it's just under rail led strip deck lighting done thoughtfully: the right color temperature, hidden in a diffuser channel, with sealed connections and a timer that runs it all for you. Start with one warm-white rail run, add stairs and zones as you fall in love with the effect, and remember the layering principle — hidden functional light first, then task light, then decorative sparkle. Your deck will look bigger, safer, and honestly a little bit enchanted after dark. If you're hungry for more ways to light your outdoor spaces, browse the rest of our lighting ideas on the site — your perfect evening glow is waiting.