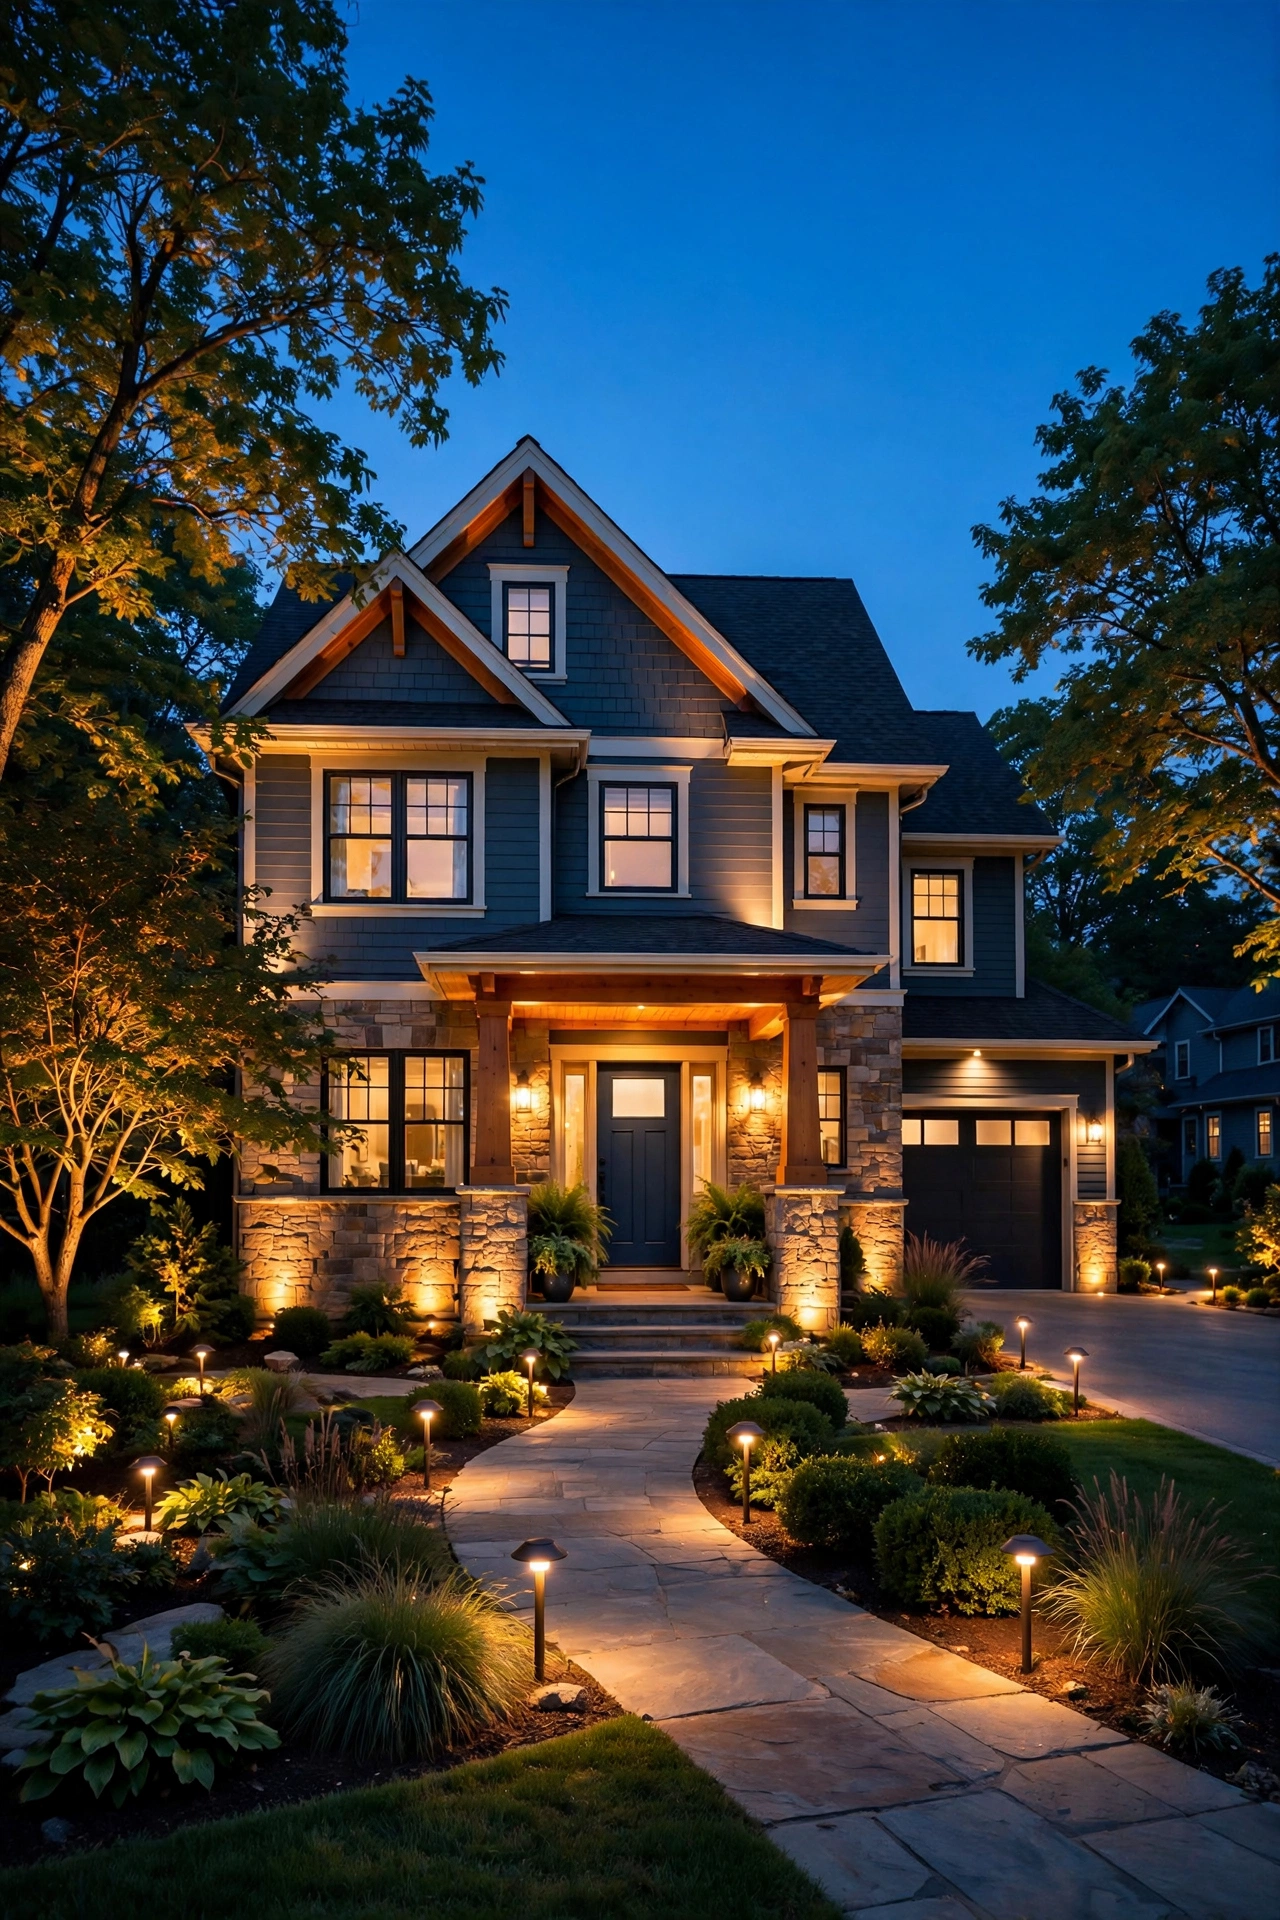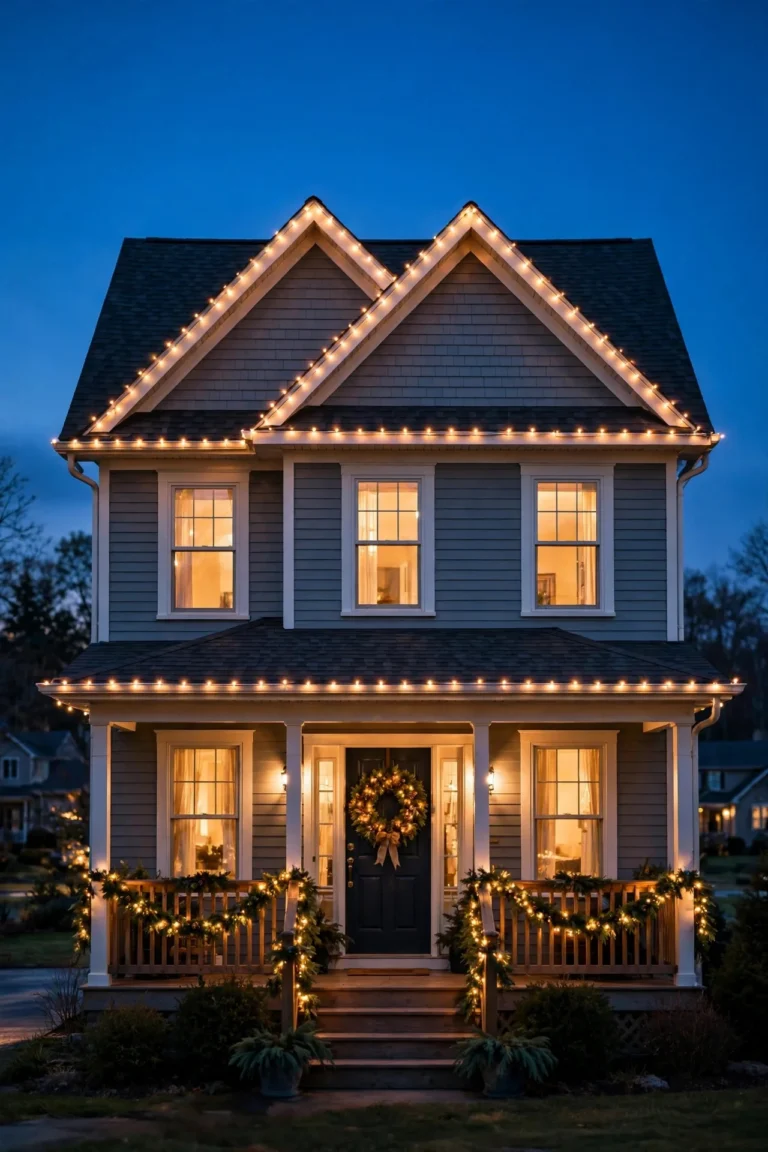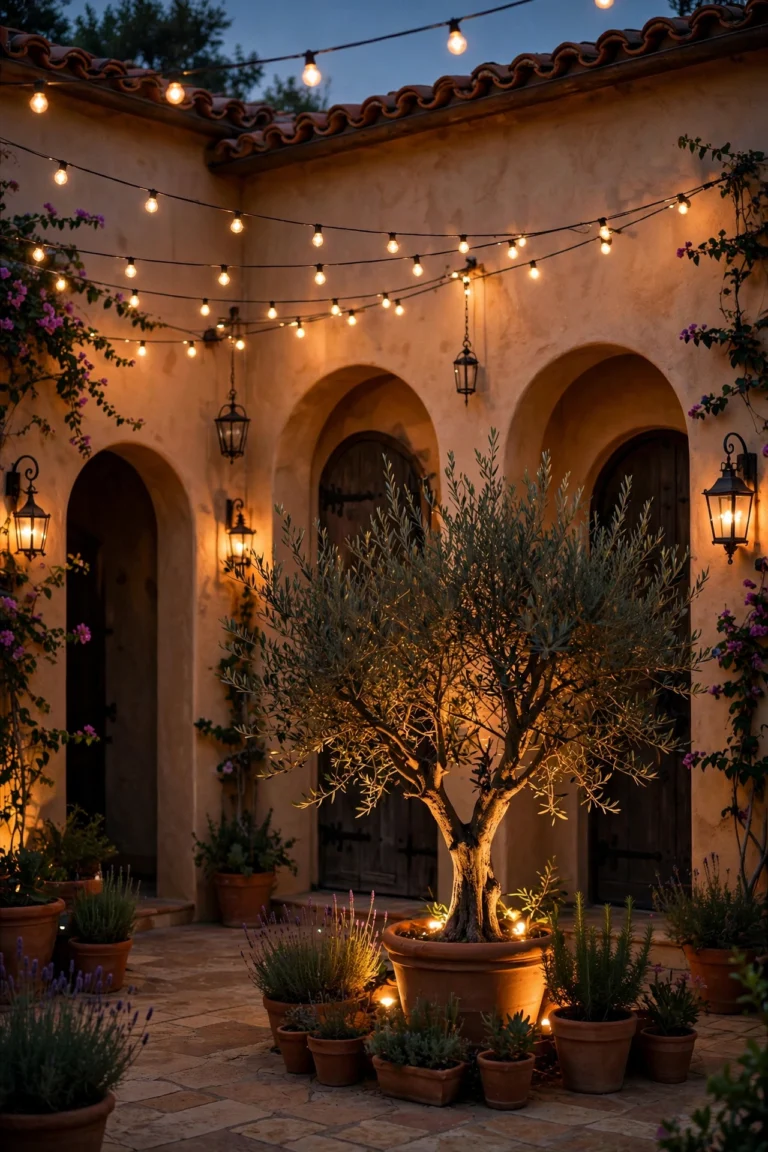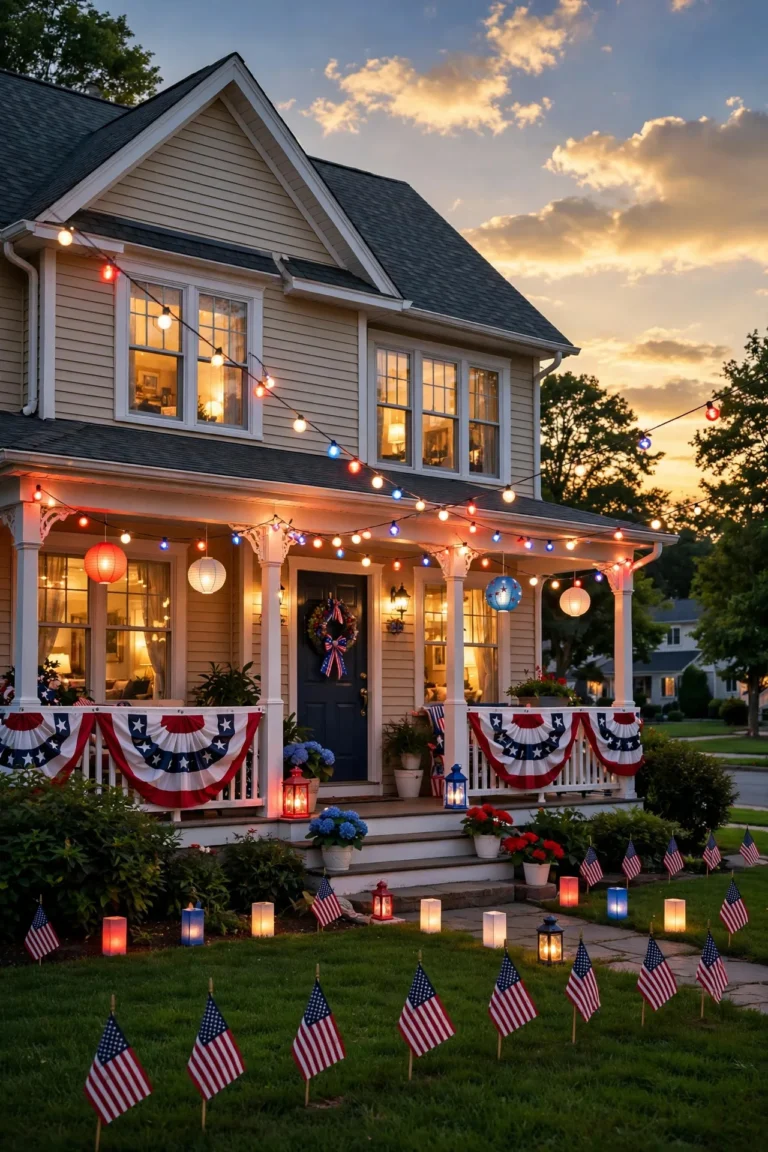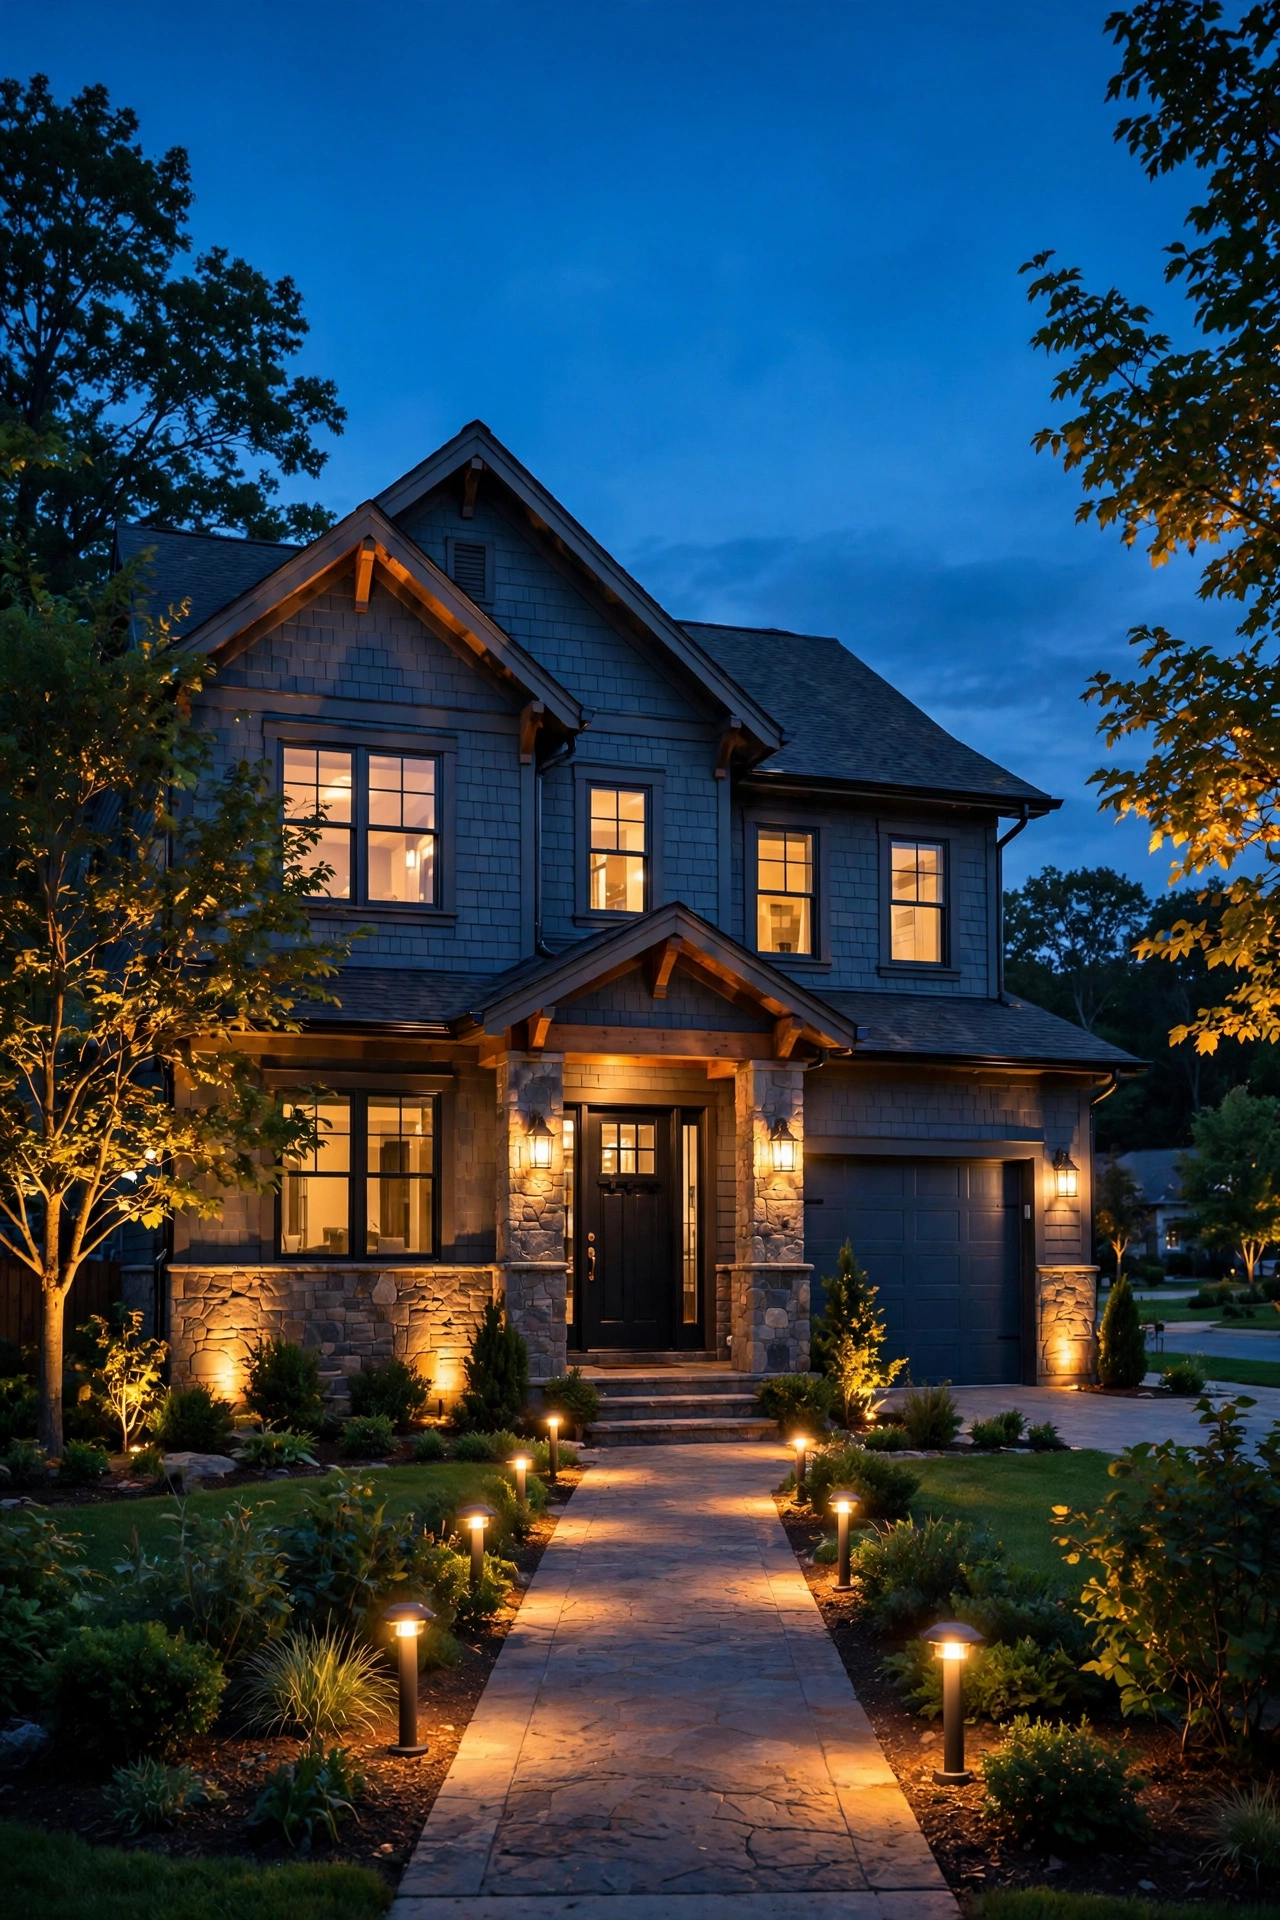
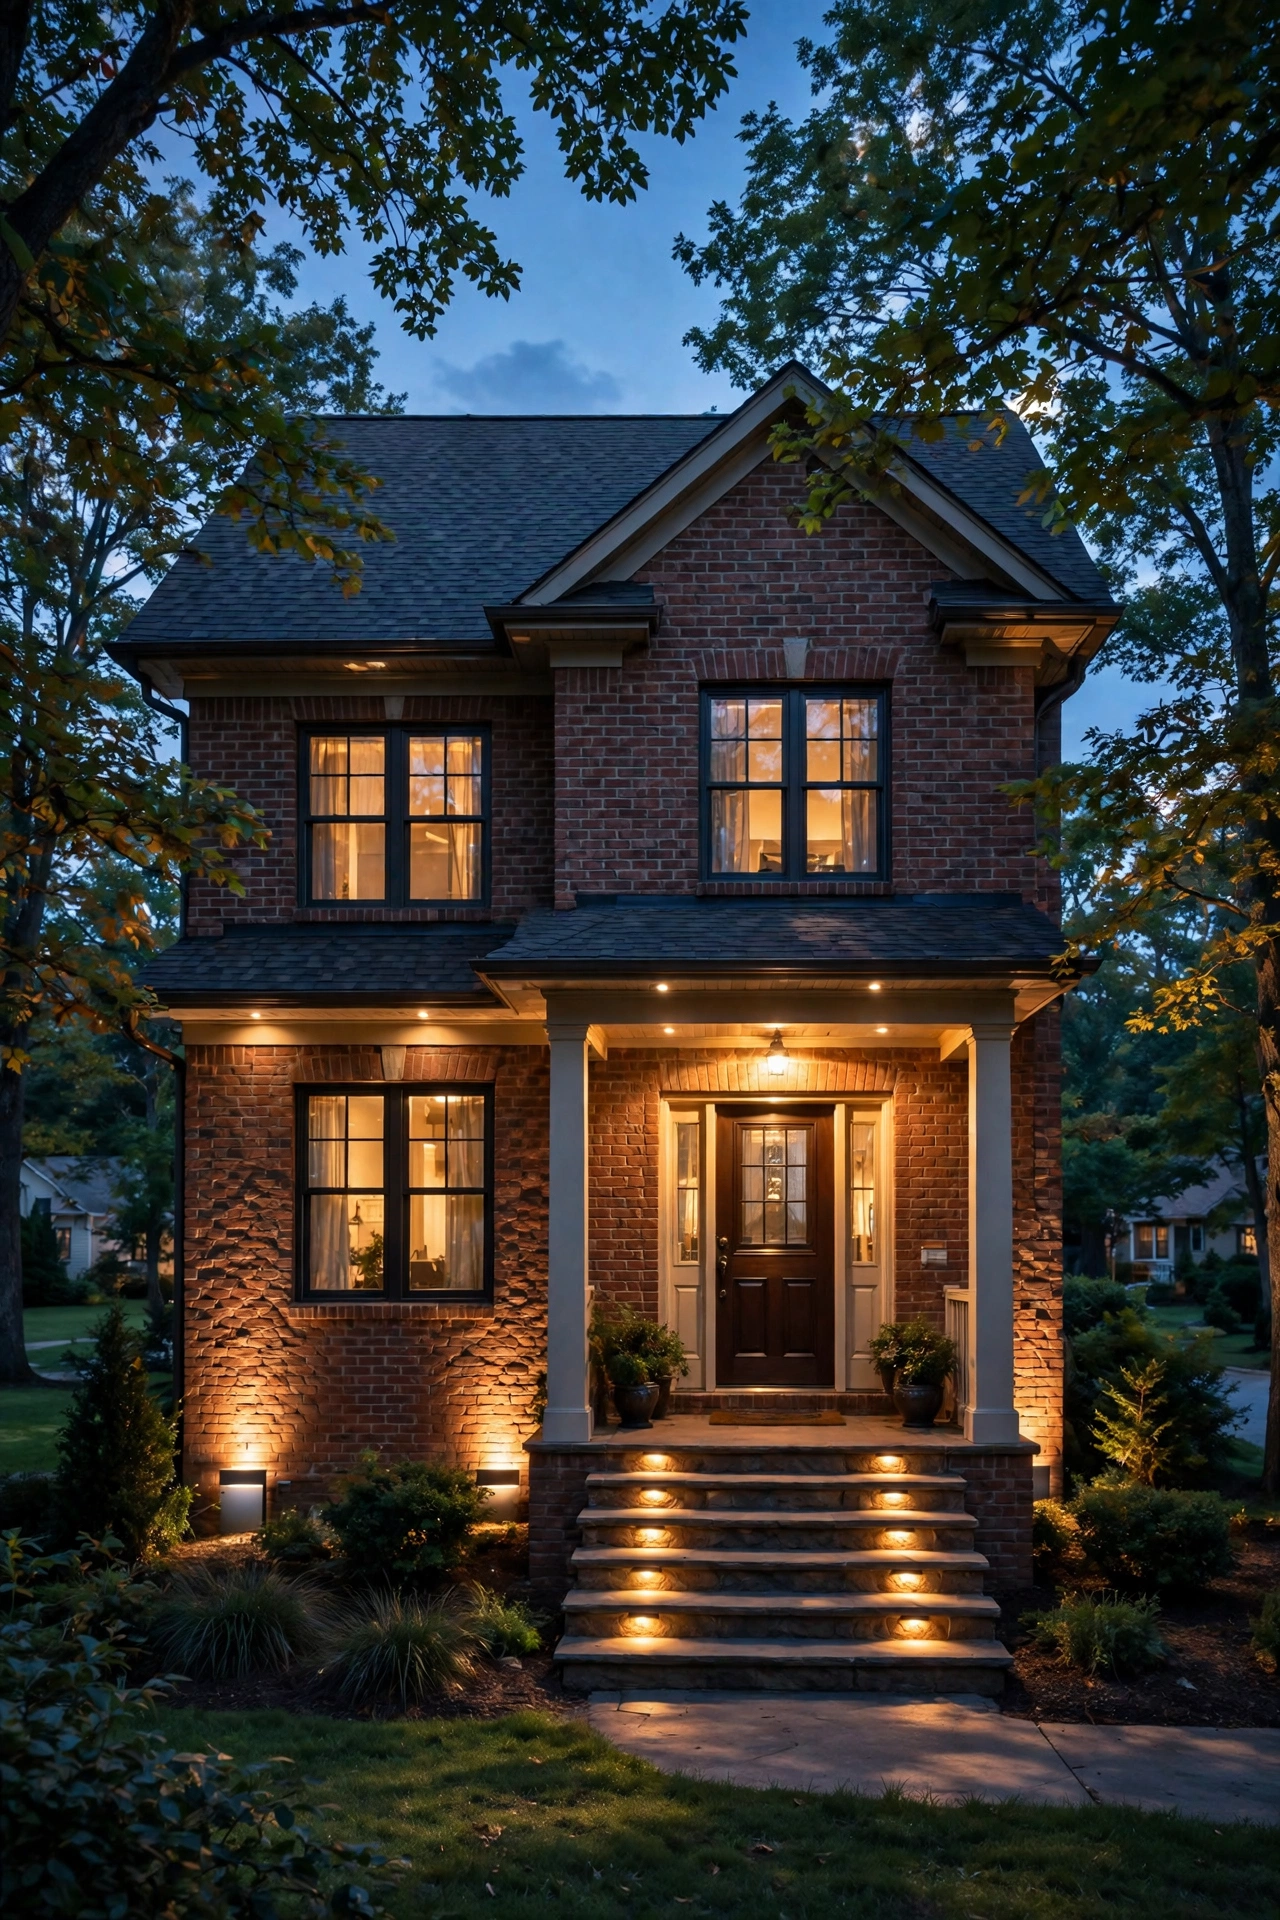
I've stood in front of enough houses at dusk to tell you this with confidence: a well-lit home feels more expensive than a dark one. That golden glow on the brick, the soft line of path lights guiding the eye to the front door, the way the trees look like they were placed there by a designer — it all adds up to a feeling. And in real estate, feelings close deals.
So here's the question I get asked constantly — the same one behind every "outdoor lighting curb appeal" search: does it actually add value to your home, or is it just pretty? The short answer is that it genuinely works — but only when it's done well. Badly done lighting (blinding floodlights, mismatched color temperatures, a lone solar stake light flickering by the mailbox) can actually make your home look cheaper than no lighting at all.
By the end of this guide, you'll know exactly why lighting affects buyers psychologically, which fixture types give you the best bang for your buck, where to place every light down to the inch, what a good system costs in 2026, and the seven mistakes that ruin the whole effect. No fluff, no sales pitch — just what I've learned from years of doing this and talking to realtors who sell houses for a living.
The Short Answer
Yes — quality outdoor lighting for curb appeal adds real perceived value to a home. Realtors consistently say it improves first impressions, makes evening showings possible and pleasant, and can help a listing photograph better at dusk, which is when most buyers scroll listings. It rarely raises an appraiser's number on its own, since appraisals lean on comps and square footage, but it absolutely improves how buyers *feel* about the asking price — and in a competitive market, that feeling turns into offers. Expect a modest DIY setup to run $300–$800, a professional low-voltage design to run $2,500–$8,000, and the visual impact to rival projects costing ten times more.
The Psychology Behind Outdoor Lighting Curb Appeal
Here's the psychology, and honestly, it's fascinating. Humans are wired to read light as safety and warmth. A dark house triggers a quiet, almost primal caution — *what's hiding over there?* A well-lit one triggers the opposite: *someone cares for this place.* When a buyer pulls up at 7 p.m. after work to drive by a listing, that split-second emotional read happens before they've even processed the square footage.
There's also a pure scale effect. Light reveals architecture that darkness swallows. Your porch columns, the texture of stone veneer, the canopy of that maple tree — these features cost real money, but after sunset they're invisible unless you light them. A few well-aimed fixtures effectively extend your home's "showing hours" by giving you a second, glowing version of the house that exists only at night. In my experience, this is the real value-add: you're not just lighting the house, you're doubling the number of hours it looks its best.
The perceived-maintenance effect matters too. Buyers associate dim, broken, or mismatched exterior lighting with deferred maintenance everywhere else. If the porch light is flickering and the path lights are dead, the buyer's brain quietly wonders what the roof looks like. Conversely, a cohesive lighting design signals a homeowner who maintains things — and that's the buyer psychology that supports a stronger offer.
One more thing: twilight real estate photography has become a standard for premium listings, and those shots only work if the lighting is there. Realtors will sometimes schedule "dusk shoots" specifically because a glowing home stands out in a sea of daytime listing photos. Your lighting investment shows up right in the listing itself.
The Fixture Types, Compared Honestly
Every curb appeal lighting plan is built from the same handful of fixture types. Each one does a different job, and each has real tradeoffs. Here's the honest breakdown:
| Fixture type | What it does | Typical cost each | Best for |
|---|---|---|---|
| Path/bollard lights | Soft pools of light along walkways | $25–$80 | Guiding eyes and feet to the door |
| Uplights (well or spot) | Beams aimed up at trees, walls, architecture | $30–$120 | Drama on facades and mature trees |
| Downlights (soffit/eave) | Mounted high, wash light downward | $40–$150 | Porches, patios, wide even coverage |
| Step/deck lights | Low recessed glow on stairs and edges | $20–$60 | Safety plus a finished look |
| Wall sconces | Flanking fixtures by doors and garage | $50–$200 | Entry symmetry and welcoming glow |
| Floodlights | Wide, bright wash (motion or constant) | $30–$100 | Security — curb appeal only if dimmed well |
My honest take: path lights and uplights are the curb appeal workhorses. Path lights create the guiding line from the street to your door, and a couple of uplights on the facade or a statement tree give you that high-end "designed" look for very little money. Sconces are the jewelry — they frame your entry and they're the first thing buyers see up close, so they're worth spending a little more on.
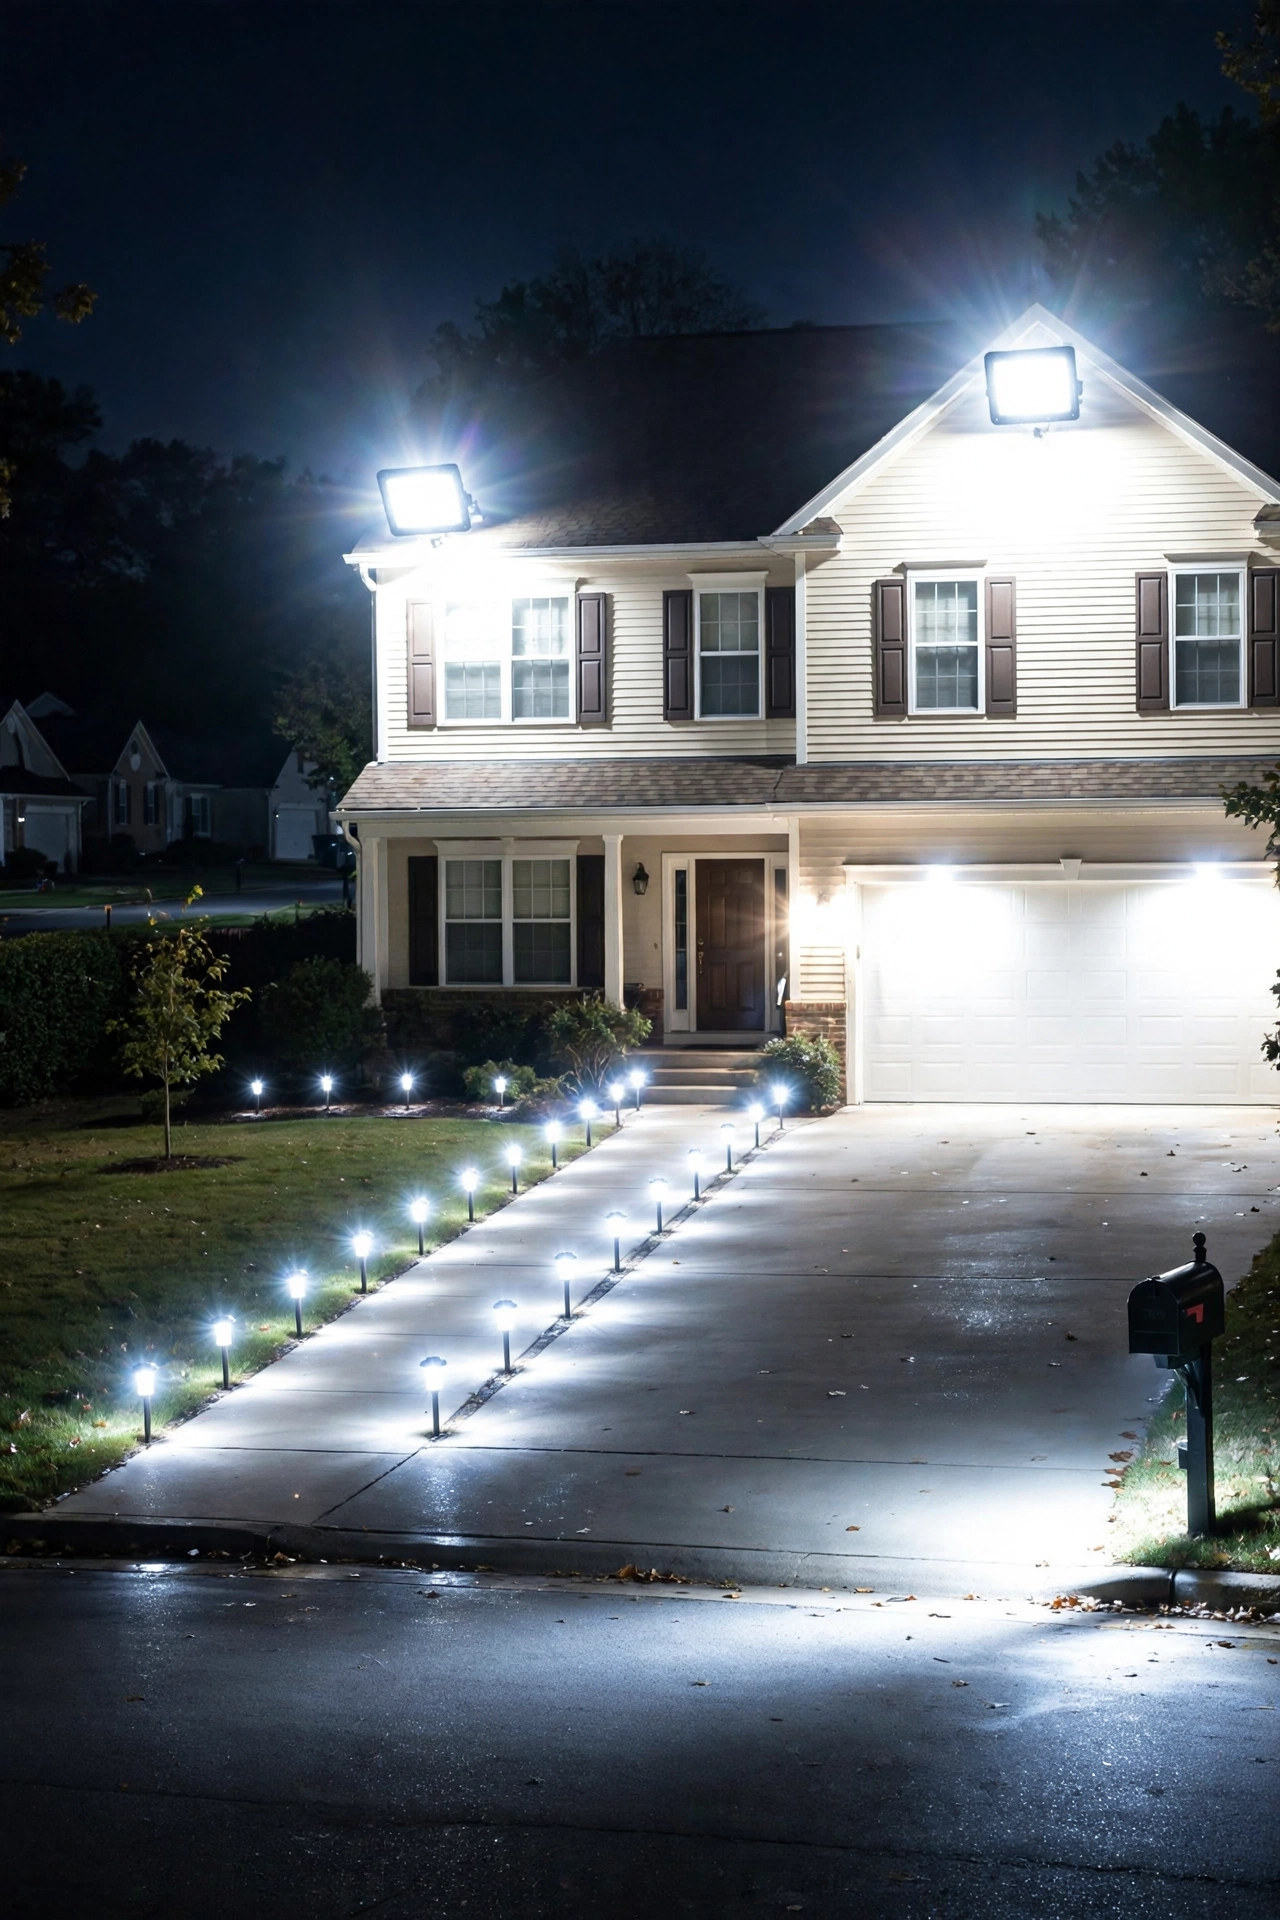
Floodlights are where I see the most regret. People install them for security (fair), but a harsh bright-white flood washing your whole house looks institutional, not inviting. If you need them, choose warm color temperature and the lowest brightness that does the job, or put them on motion sensors so they stay off most of the time.
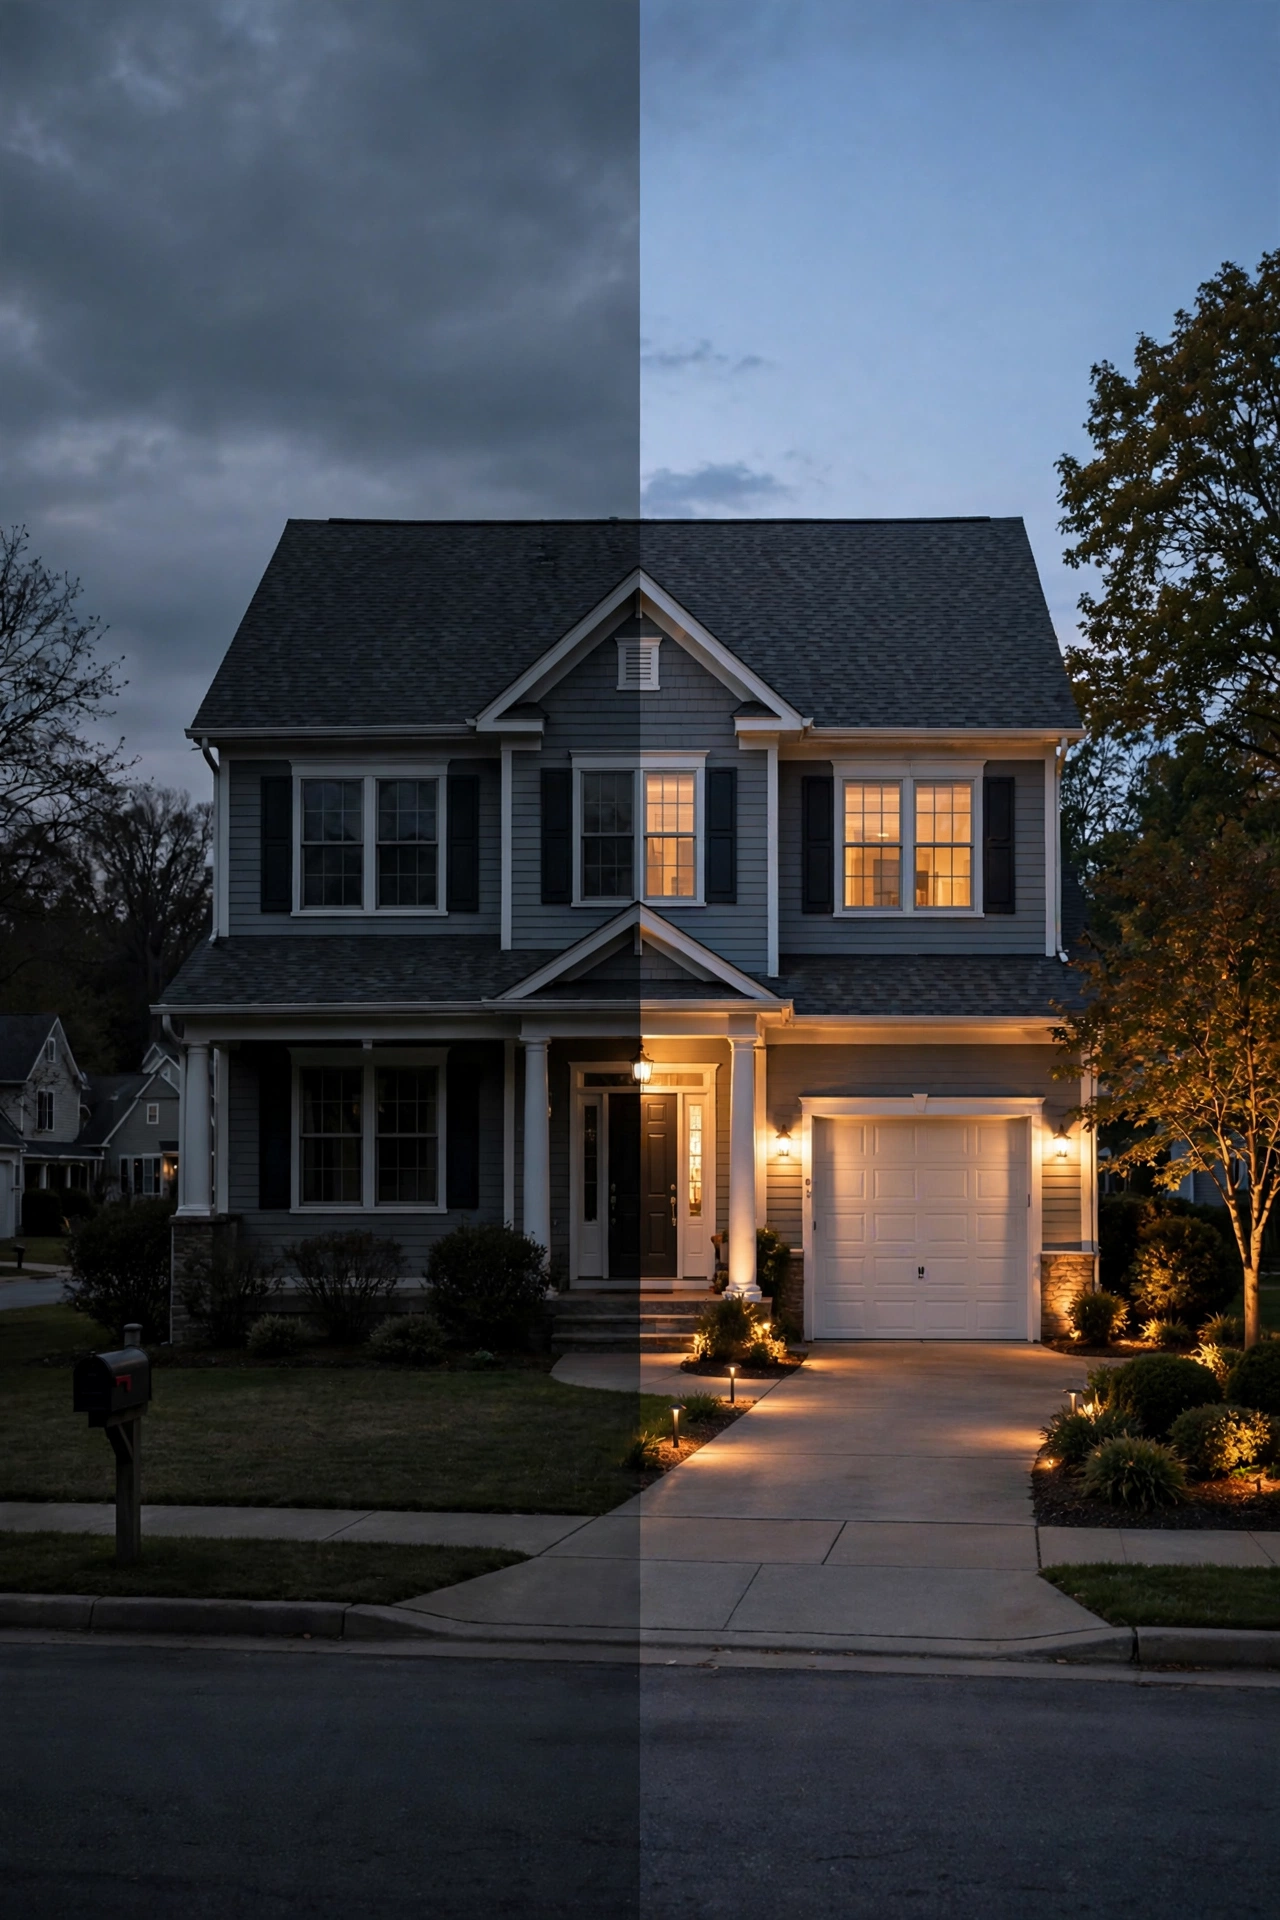
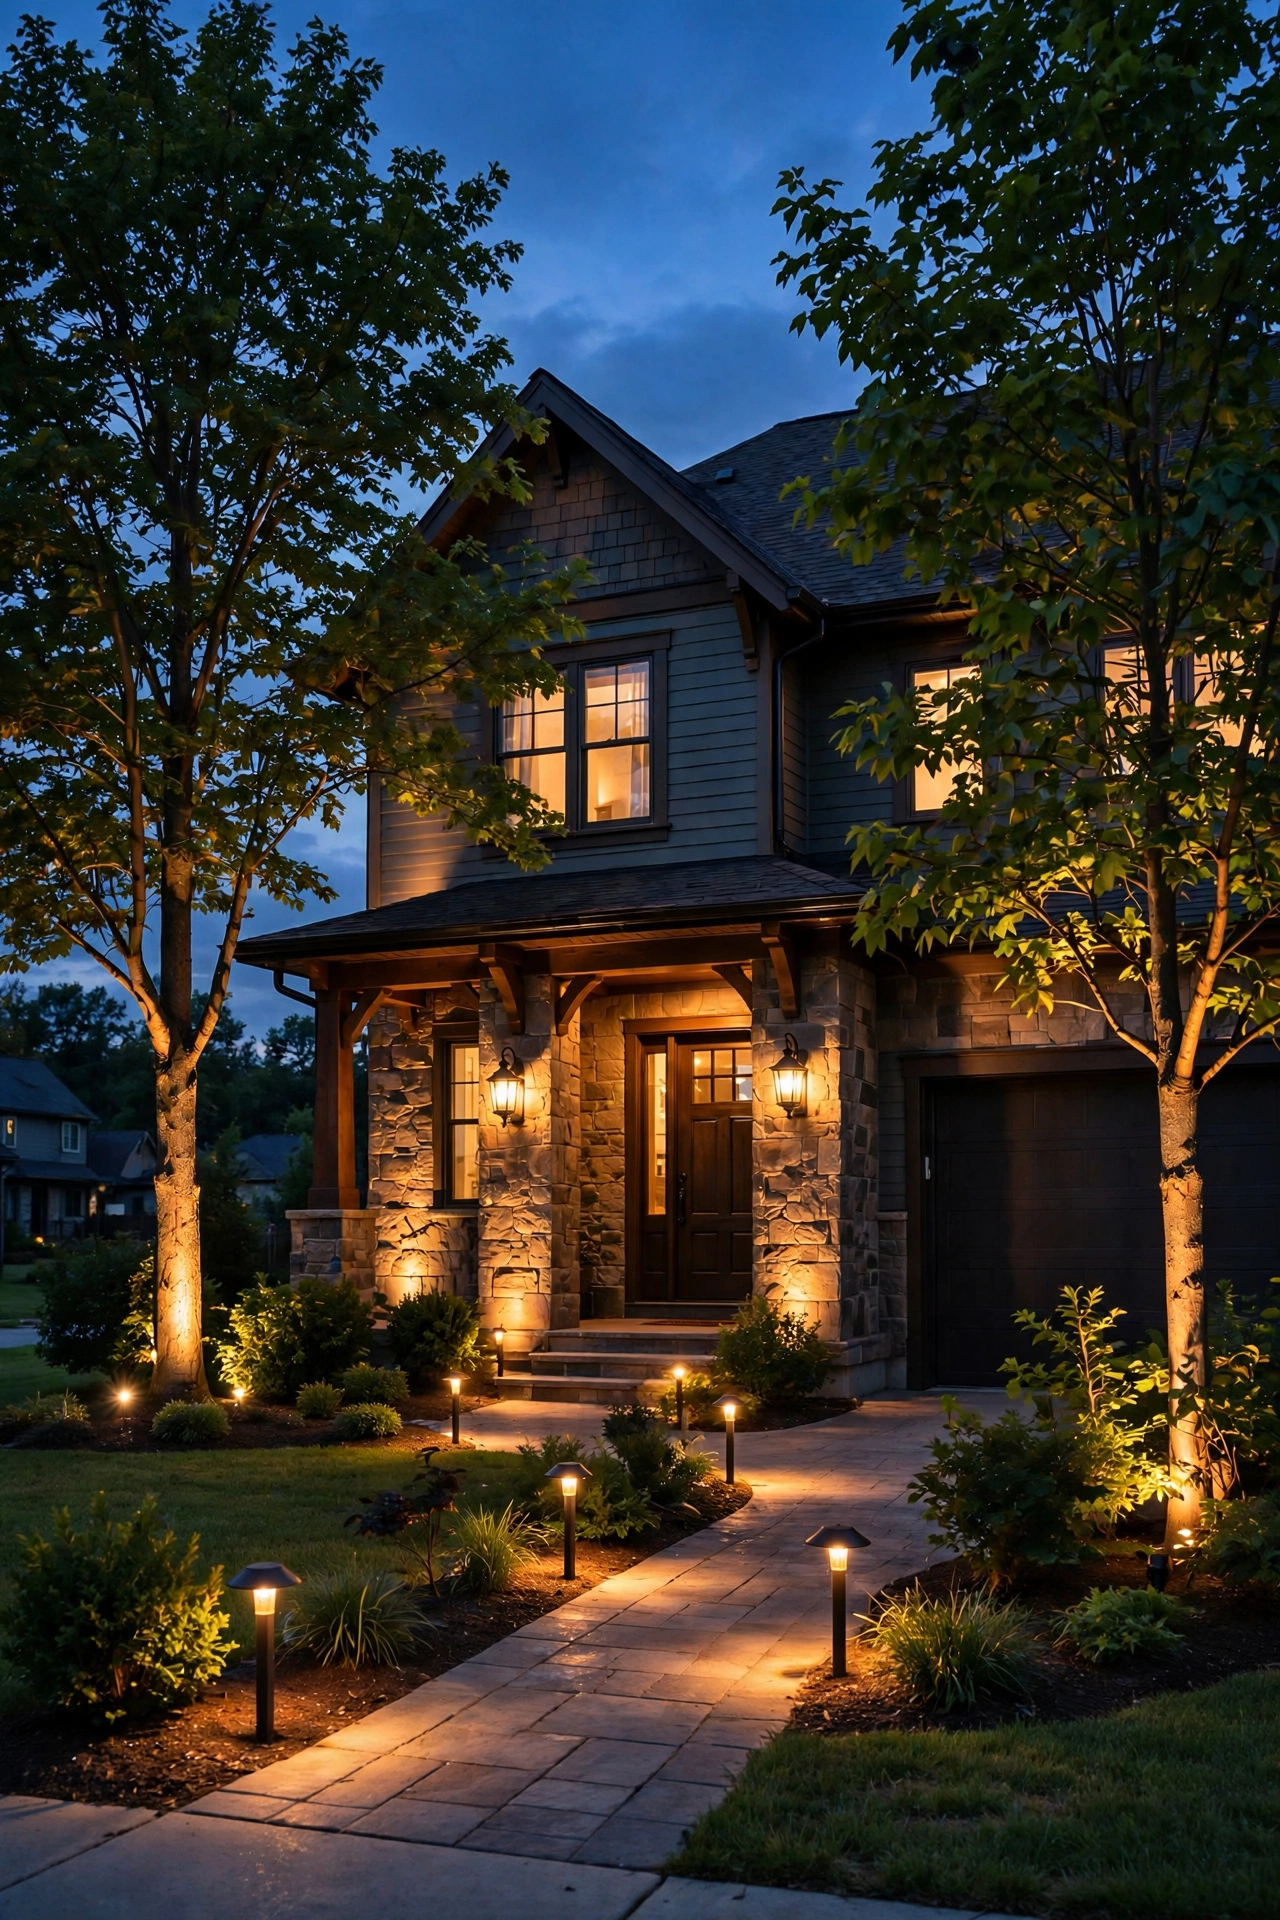
For most homes, a balanced mix works like this: sconces at the front door, path lights along the walkway, two to four uplights on the facade or landscaping, and maybe step lights if you have stairs. That combination covers entry, guidance, and drama — the three layers every curb appeal design needs.
Where to Put the Light: Placement Rules That Actually Work
Placement is where good lighting is made, and it's simpler than most people think. The guiding principle: light the things worth looking at, and light the path people actually walk. Everything else is decoration.
Start at the front door, because that's your focal point. Flank the door with a pair of sconces, centered roughly at eye level (about 66 inches from the ground to the center of the fixture). If you have a single sconce, place it on the latch side of the door. Oversized doors can handle oversized fixtures — a common mistake is choosing sconces that look like afterthoughts. In my experience, going one size bigger than you think reads as confident and premium.
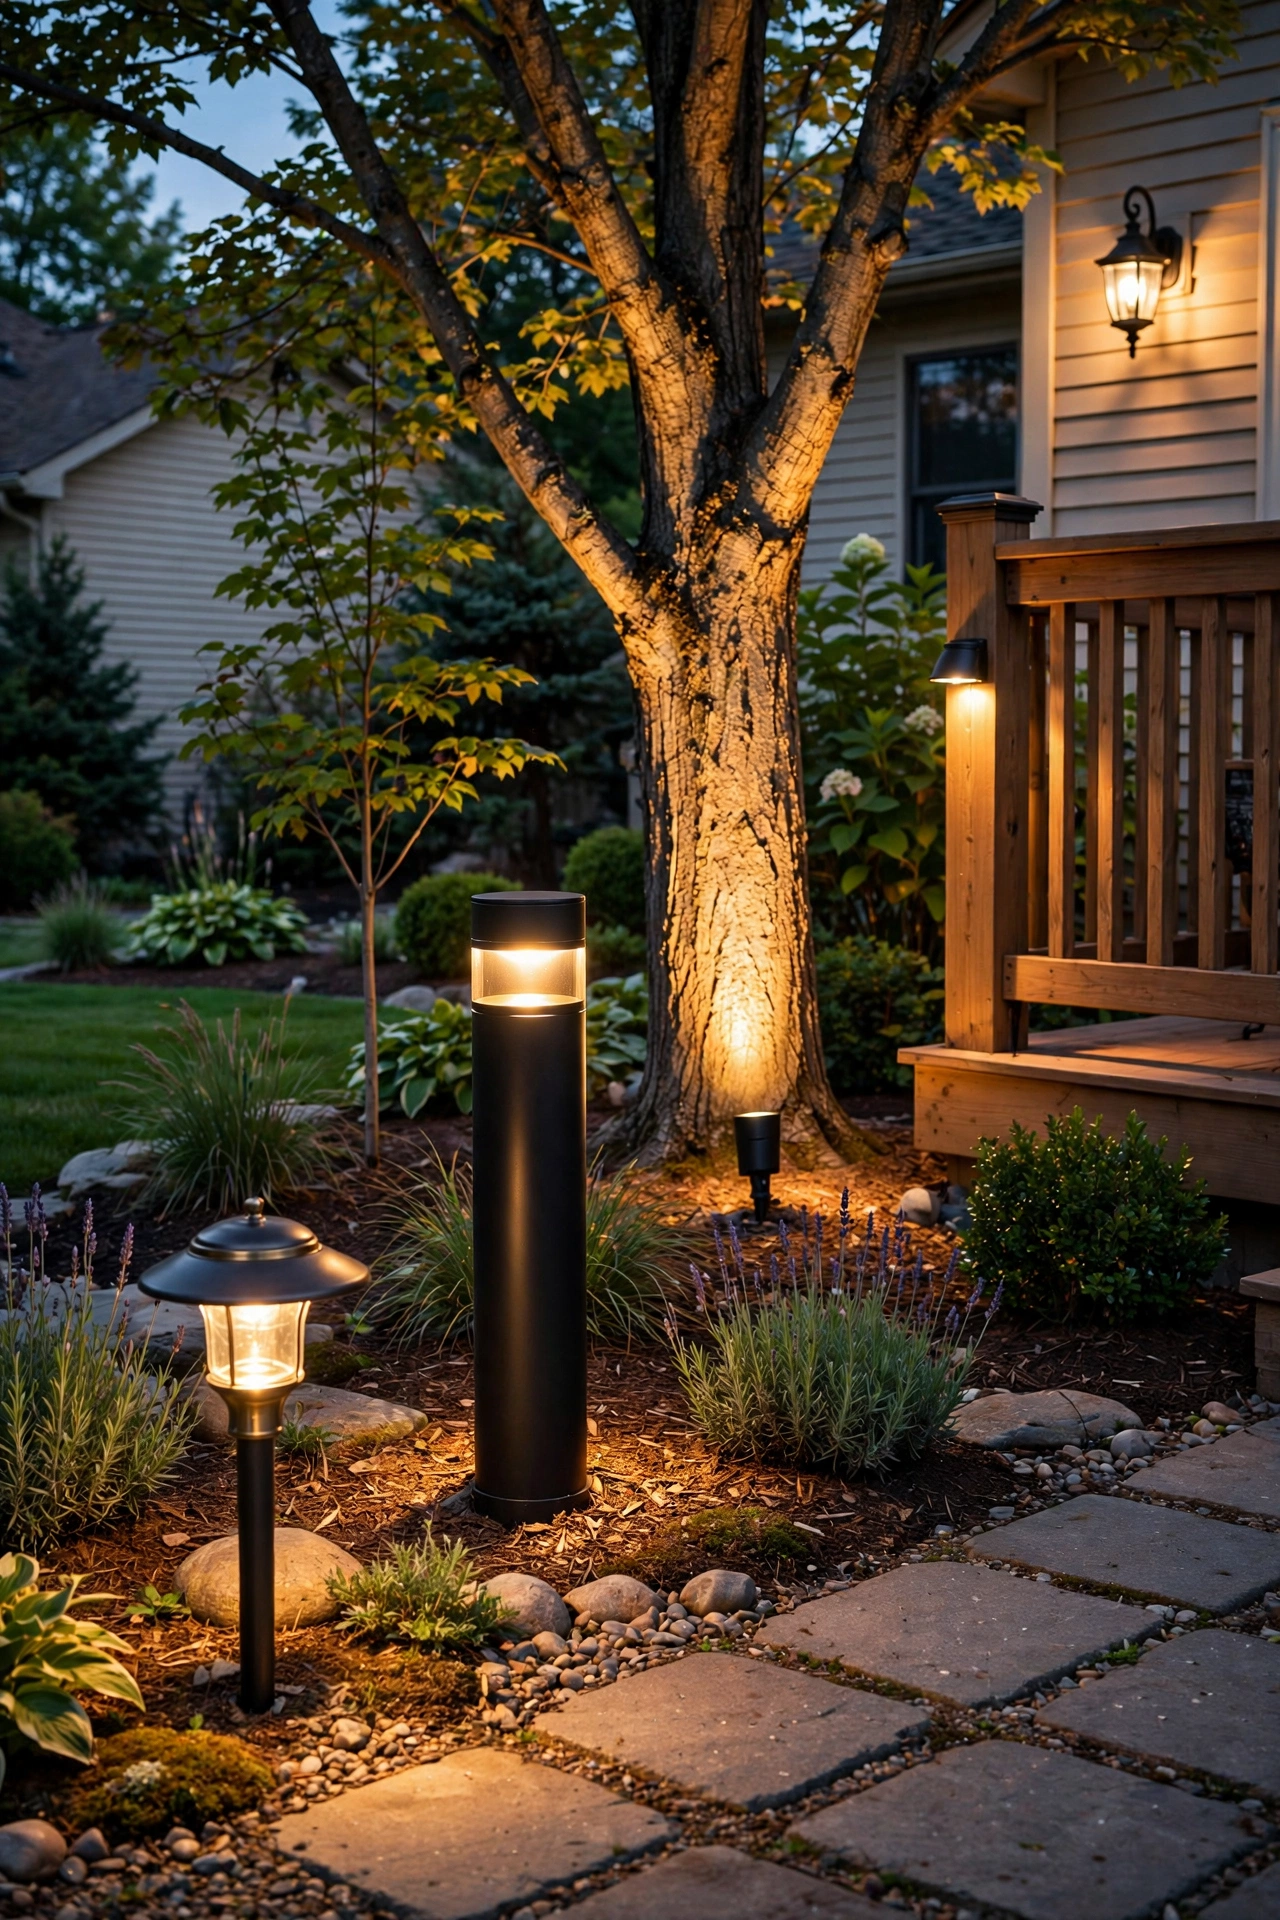
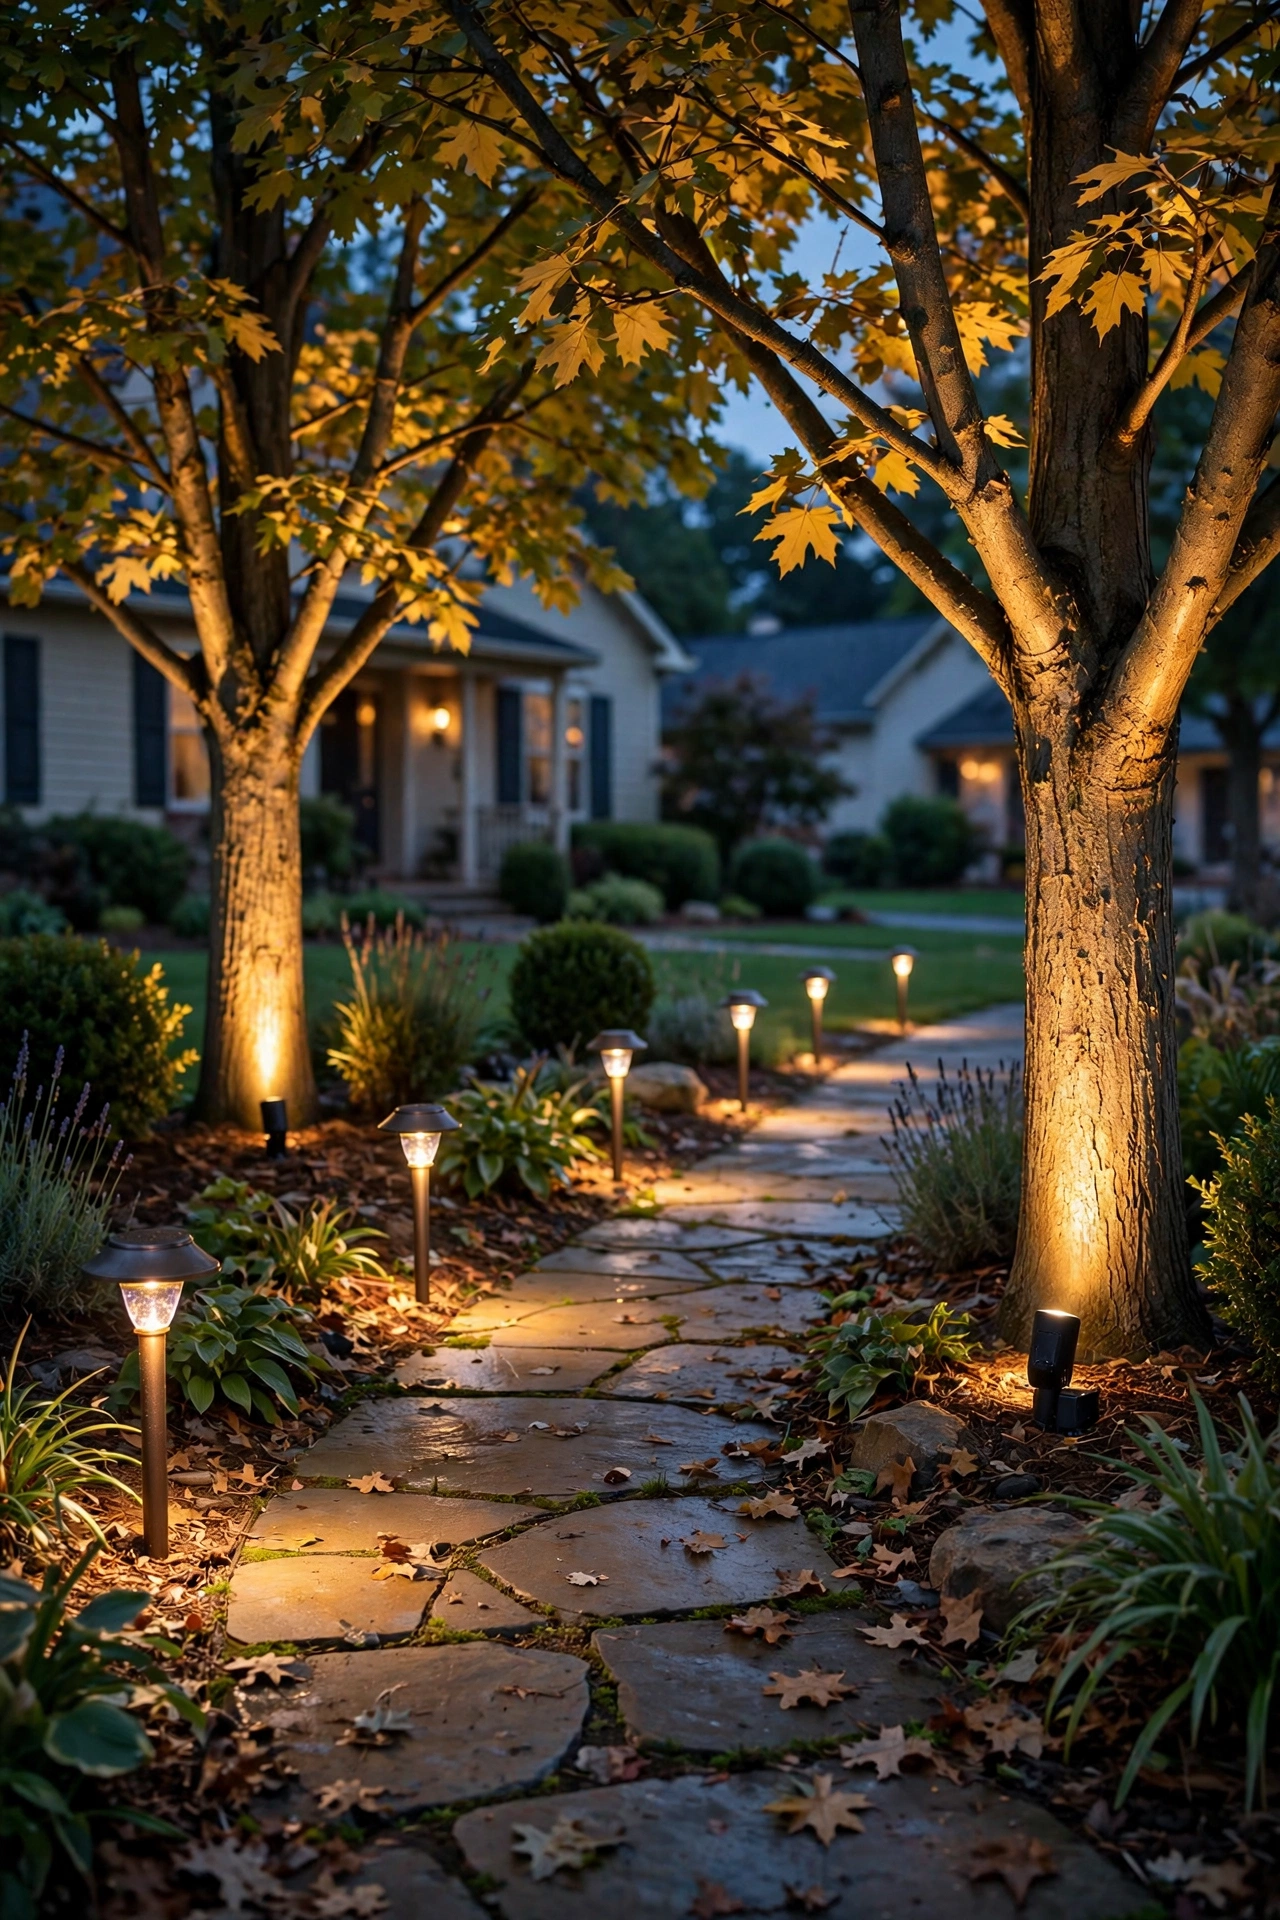
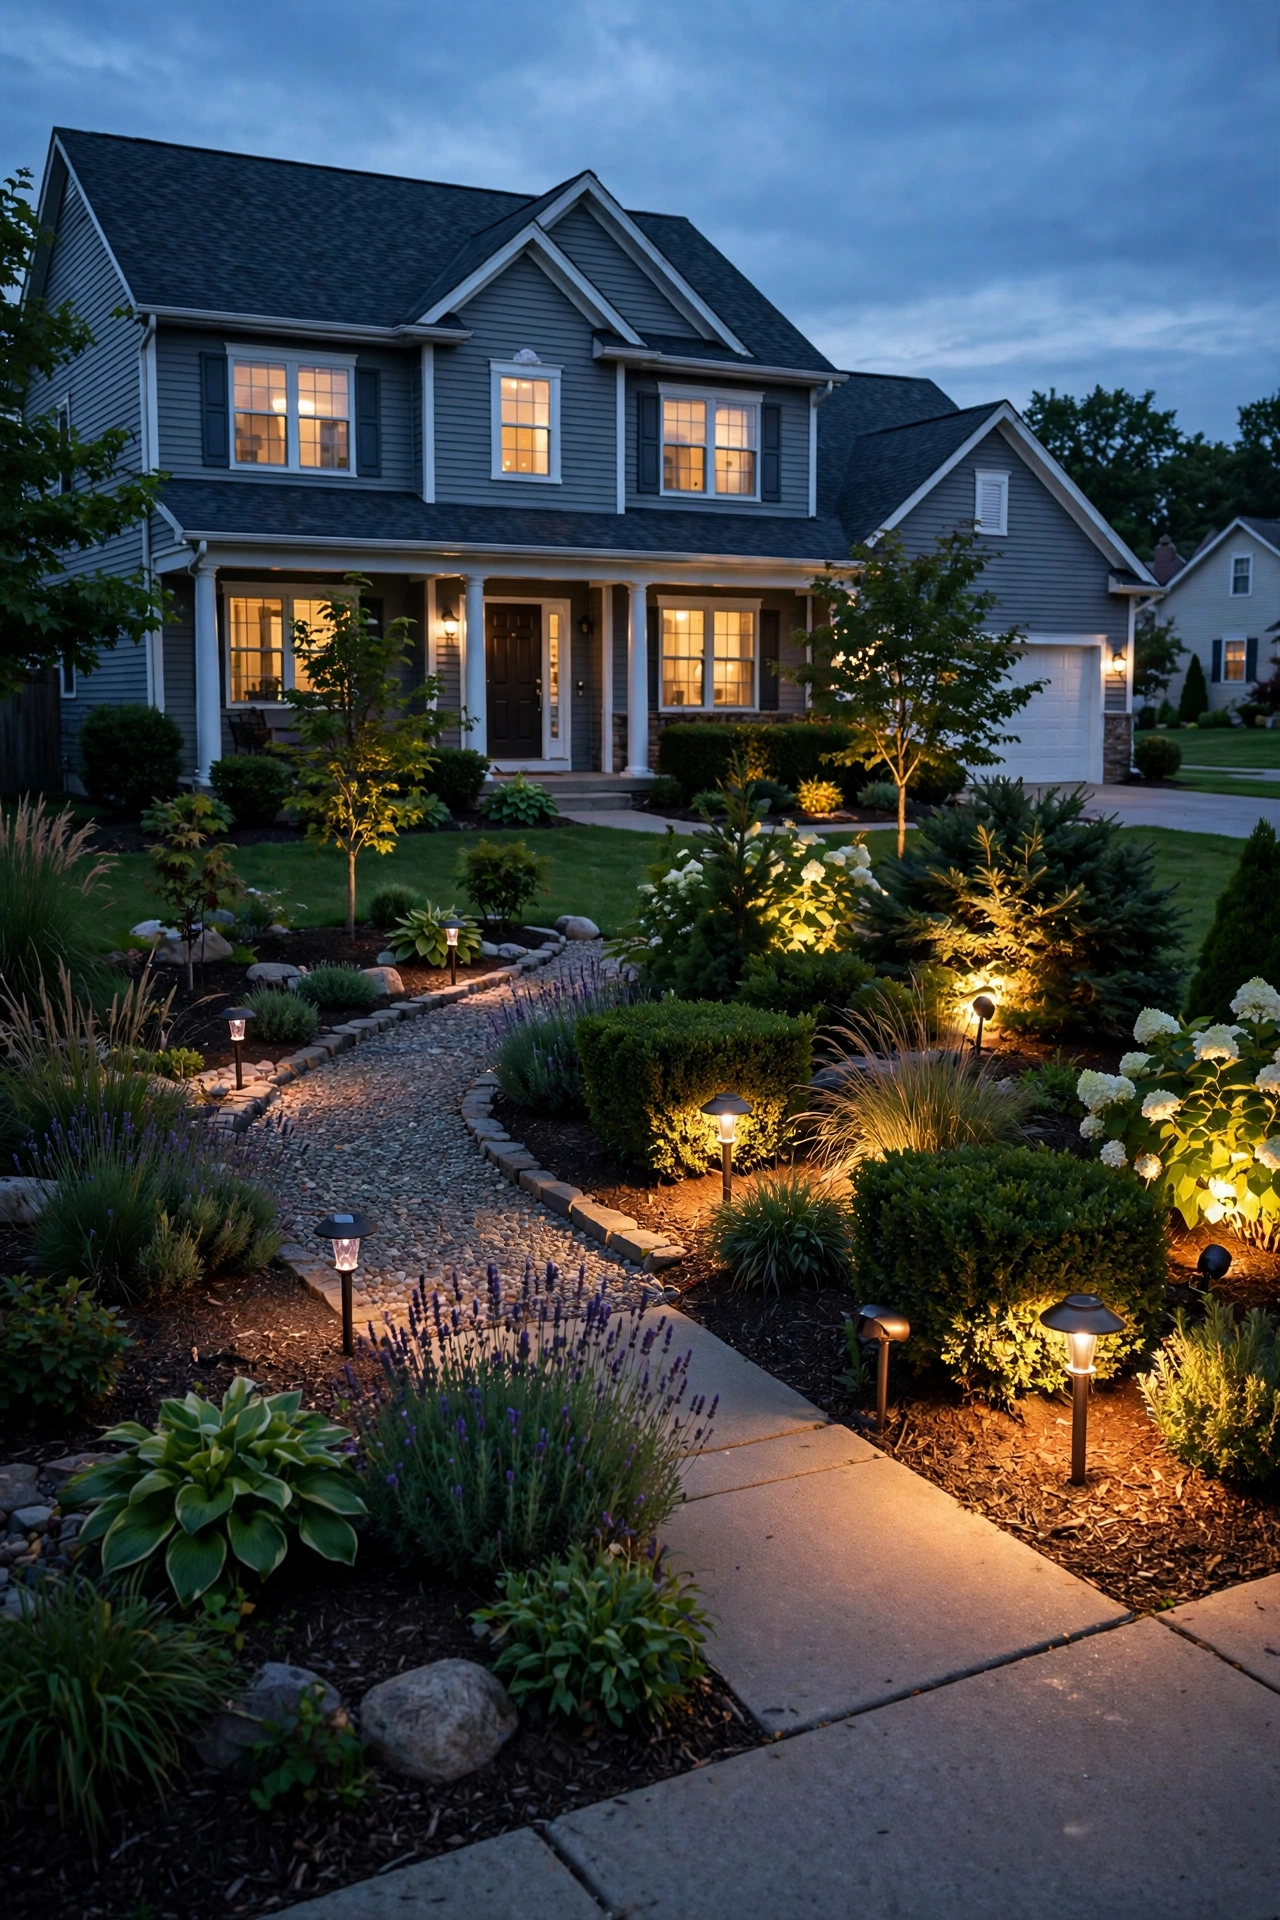
Next, the walkway. Stagger path lights on alternating sides, roughly 6 to 8 feet apart, set back about 12 inches from the edge of the path. Don't line them up like a runway — symmetrical rows look stiff and commercial. The goal is a soft guiding rhythm that pulls the eye (and the feet) toward the door.
Now the architecture. Pick one or two features to celebrate with uplights: a stone chimney, a gabled peak, a pair of columns, or a mature tree. Place the fixture about 12 to 18 inches from the base of the feature and aim the beam so it washes evenly without harsh hotspots. A tree's trunk and lower canopy is my favorite target — it turns landscaping into sculpture after dark.
Don't forget the garage face and the house number. A garage door that swallows the right third of your house in darkness makes the whole facade feel lopsided. A soft wash over it balances the composition. And backlit or spotlit house numbers are a small touch that reads as thoughtful — plus, honestly, they help delivery drivers and first responders find you.
Finally, layer in depth. Lighting only the house gives you a bright island floating in blackness. A couple of fixtures on trees or garden beds farther out push the visual boundary of your property outward, which makes the lot feel bigger. That's pure perception, and it works.
Spacing, Angles, and Brightness Numbers to Memorize
This is the part people skip, and it's the part that separates amateur results from professional ones. Here are the numbers I actually use:
Path lights: 6–8 feet apart, staggered, 12 inches off the walkway edge. Any closer and you get the airport-runway look; any farther and you get dark gaps that feel unsafe.
Uplights on a facade: place the fixture 12–18 inches from the wall and aim for the beam to wash upward with no harsh spot at the base. For a two-story facade, you'll want a fixture with enough throw (look for a 35–60 degree beam spread), positioned slightly farther out.
Uplights on trees: set the fixture 12–24 inches from the trunk, aimed up into the canopy. A moonlighting effect (fixture high in the tree aimed down) is gorgeous but trickier to install — for most DIYers, uplighting the trunk and lower branches is the move.
Brightness (lumens): curb appeal lighting should be gentle. Path lights: 50–150 lumens. Uplights: 200–400 lumens. Sconces: 300–600 lumens per fixture. The total effect should never compete with your neighbors' floodlights — it should glow, not glare. When in doubt, dimmer is more elegant.
Color temperature: this is non-negotiable in my book — stick to 2700K–3000K (warm white) for all curb appeal fixtures. A single 5000K "daylight" fixture mixed in with warm lights looks like a mistake every single time. Consistency is what makes a design feel intentional. If you're comparing simple curb appeal upgrades alongside lighting, remember that warm, consistent light is what ties everything together.
Glare control: every fixture should shield the bulb from direct line of sight. If you can see the bare LED or bulb from the street, the fixture is either poorly designed or poorly aimed. The magic of great lighting is that you see the *effect*, not the source.
What It Costs in 2026
Let's talk real numbers, because this is where a lot of advice gets vague. I've priced enough of these systems to give you honest ranges.
DIY solar setup: $200–$600 for a full front yard — a dozen solar path lights, a few solar spotlights, maybe solar sconces. No wiring, no electrician. The catch: output is modest and inconsistent, batteries fade in 2–3 years, and shaded yards underperform badly.
DIY low-voltage wired system: $500–$1,500 for 8–15 fixtures including a transformer, cable, and connectors. This is the sweet spot for homeowners who are handy. Low-voltage (12V) systems are genuinely DIY-friendly, and the results look dramatically better than solar. A basic low-voltage path light system kit plus a few uplights gets most front yards most of the way there.
Professional design and installation: $2,500–$8,000 for a complete front-yard design — layered fixtures, a proper transformer, timers or smart controls, clean cable burial. High-end or large properties can push past $10,000. You're paying for design eye, correct load calculations, and fixtures that last 15+ years.
Running costs (the part people forget): this is where LEDs changed everything. A typical 12-fixture LED system draws about 60–90 watts total. Run it 6 hours a night at $0.17/kWh and you're looking at roughly $2–$3 per month. Over a year, that's under $40 — less than most people spend on holiday decorations. Even before you factor in curb appeal value, the electricity cost of a modern LED system is essentially a rounding error.
My honest verdict on cost: if you're selling soon, a $500–$1,500 DIY low-voltage system is one of the highest-impact-per-dollar improvements you can make to a home's exterior. Paint costs more. Landscaping overhauls cost far more. Almost nothing else transforms the evening appearance of a house for this little money.
Outdoor Lighting Curb Appeal and ROI: Will It Raise Your Sale Price?
Let me be straight with you, because there's a lot of hype here. Outdoor lighting will almost never show up as a line item on an appraisal. Appraisers work from comparable sales, square footage, bedrooms, bathrooms, and condition — they don't add $5,000 because your uplights look fantastic. If anyone tells you lighting directly increases appraised value, they're guessing.
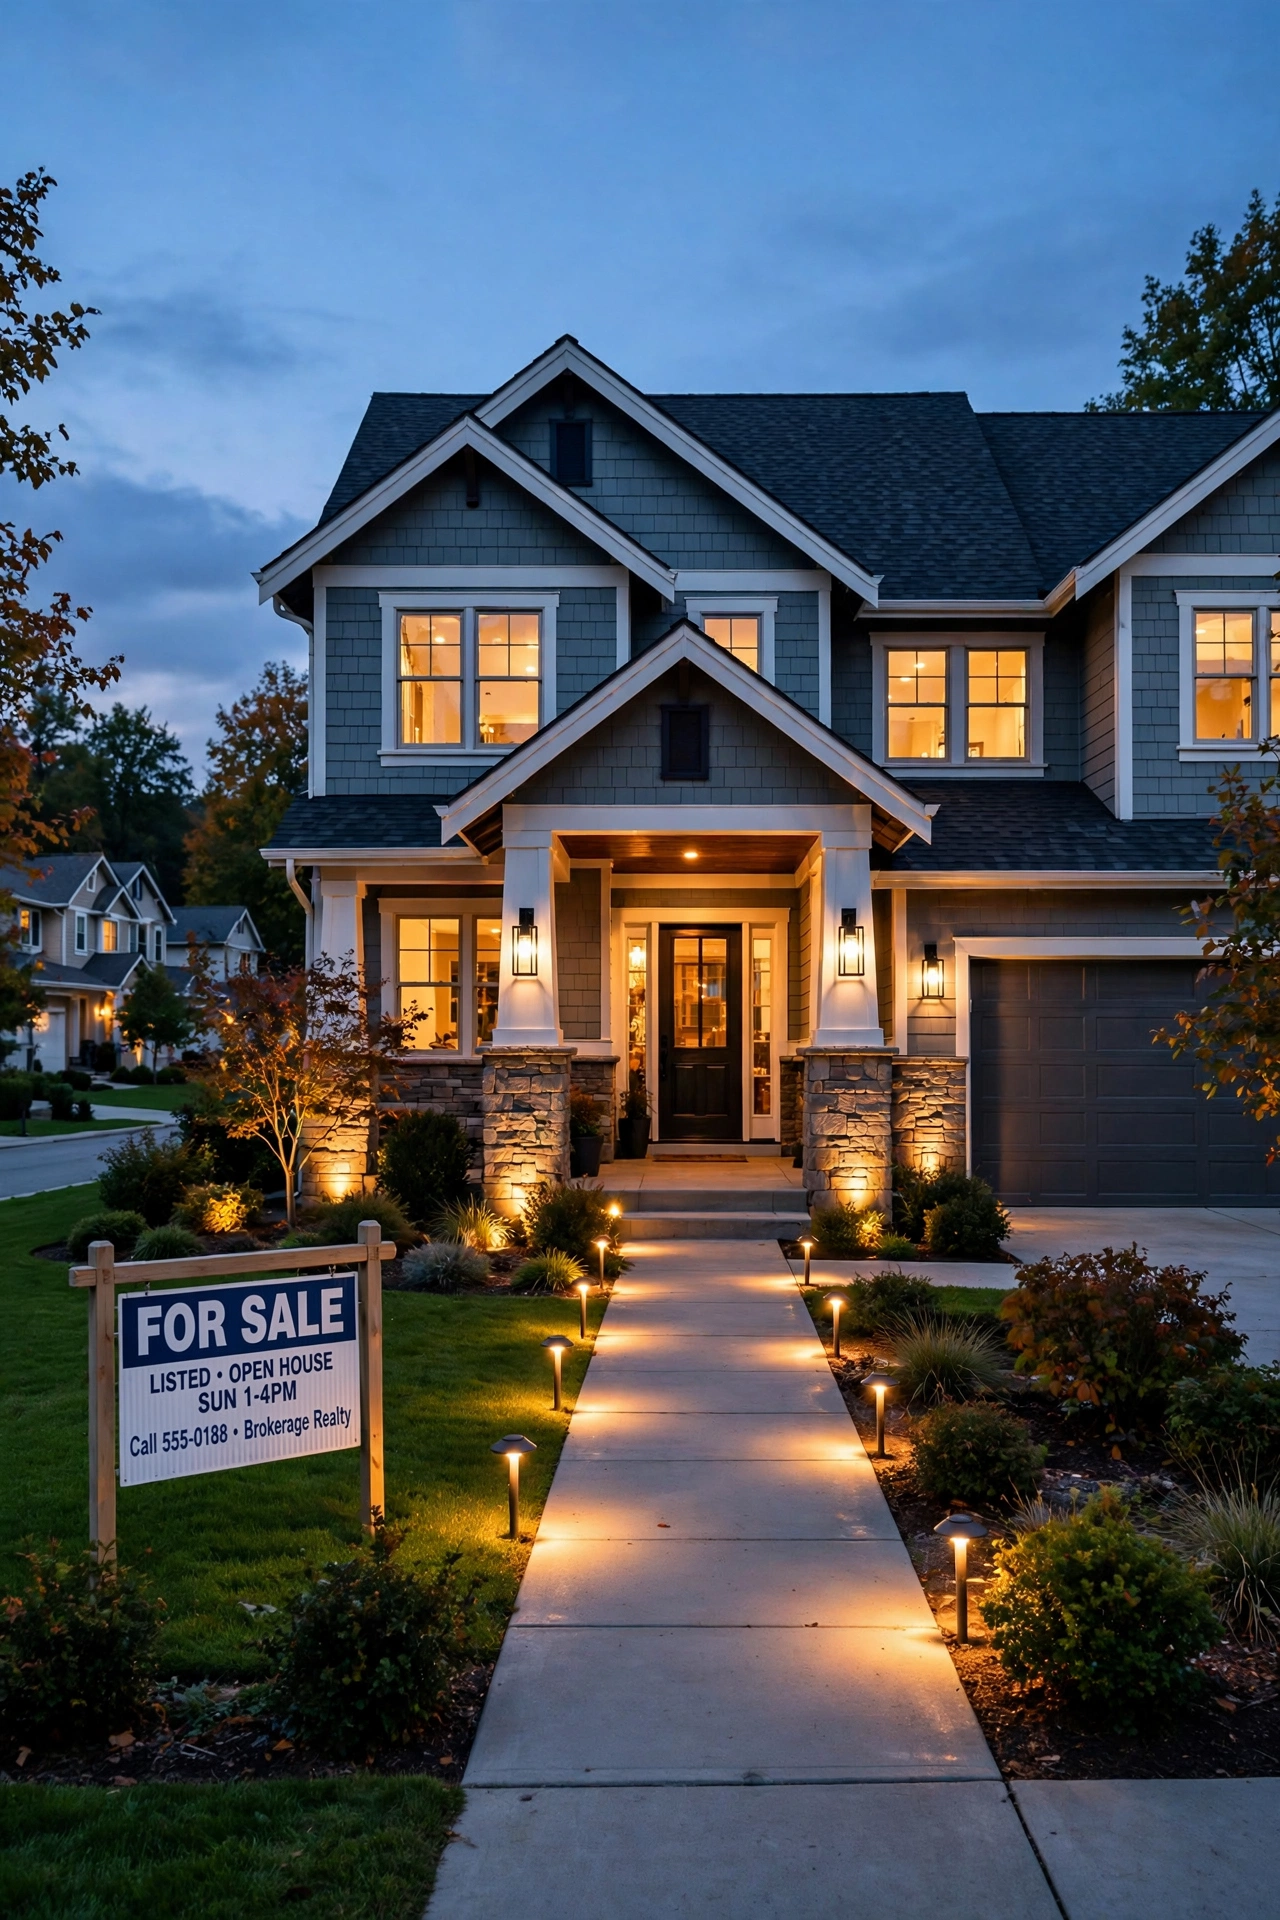
What it *does* do is influence the offer side of the equation, and that's where the real money is. A home with strong curb appeal gets more showings, more drive-bys that turn into appointments, and — this is the part realtors keep telling me — it photographs better in twilight listing shots. Since the vast majority of buyers scroll listings in the evening, a glowing dusk photo in the gallery can genuinely change click-through behavior on your listing.
There's also the "emotional premium" effect. When a buyer has seen five similar houses and yours is the one that felt warm and cared-for at the evening drive-by, that feeling attaches to the asking price. Realtors describe it as buyers "talking themselves into" the price instead of talking themselves out of it. You can't spreadsheet that, but it shows up in faster sales and stronger offers.
So here's my verdict on ROI: think of curb appeal lighting as marketing spend, not renovation spend. A $1,000 system that helps your home sell two weeks faster and pulls one extra competing offer has paid for itself many times over. Don't install it expecting the appraiser to notice. Install it expecting the *buyers* to notice — because they will.
7 Mistakes That Ruin the Effect
I've seen every one of these in real neighborhoods, and each one quietly drags a home's perceived value down instead of lifting it.
1. Mixing color temperatures. A 2700K sconce next to a 5000K floodlight looks broken. Pick one temperature — warm white, 2700K–3000K — and commit everywhere.
2. The runway effect. Path lights lined up in perfect parallel rows look like an airport taxiway. Stagger them, vary the spacing slightly, and remember that fewer, well-placed lights beat a dozen evenly spaced ones.
3. Lighting everything equally. When the house, the trees, the fence, and the shed are all equally bright, nothing is a focal point. Curb appeal needs hierarchy: brightest at the entry, softer as you move outward. Darkness between features is fine — it's what makes the lit parts glow.
4. Glare bombs. Any fixture where you can see the bare bulb from the street is doing it wrong. Glare reads as cheap and harsh. Shield it, aim it down or away, or replace the fixture.
5. Dead and dying fixtures. Three working path lights and two dead ones are worse than no path lights at all. Before a showing or listing photos, walk the yard at dusk and replace every dead bulb and dead solar battery. Inconsistent lighting screams deferred maintenance.
6. Over-lighting the facade. Blasting the entire front of the house with high-lumen floods flattens the architecture and annoys the neighbors. Facade lighting should be selective — wash a feature, graze a texture, leave some shadow. Shadow is what creates depth.
7. Ignoring the view from inside. Buyers tour homes at night too, and they'll see your front yard through the windows. Step inside after dark and look out. If all you see is glare spots or black holes where the landscaping should be, adjust. The best designs look good from the curb *and* from the couch.
Fix these seven and you're ahead of roughly 90% of the homes on the market. Honestly, most of them cost nothing to correct — they're about attention, not money.
Electrical Safety Basics Every Homeowner Should Know
I want you to have a gorgeous yard, but I also want your house to still be standing. Outdoor electricity and weather are a combination that demands respect, so here are the non-negotiables.
Use outdoor-rated everything. Fixtures, cable, connectors, and extension cords must be rated for outdoor or wet locations. Indoor-rated anything outside is a fire and shock risk, full stop. Look for the UL or ETL listing mark and a wet-location rating on the box.
GFCI protection is mandatory. Every outdoor outlet feeding your lighting must be GFCI-protected — that's the outlet with the test/reset buttons. If your outdoor outlets predate GFCI, an electrician can swap them in under an hour. This is the single most important safety device in your whole setup.
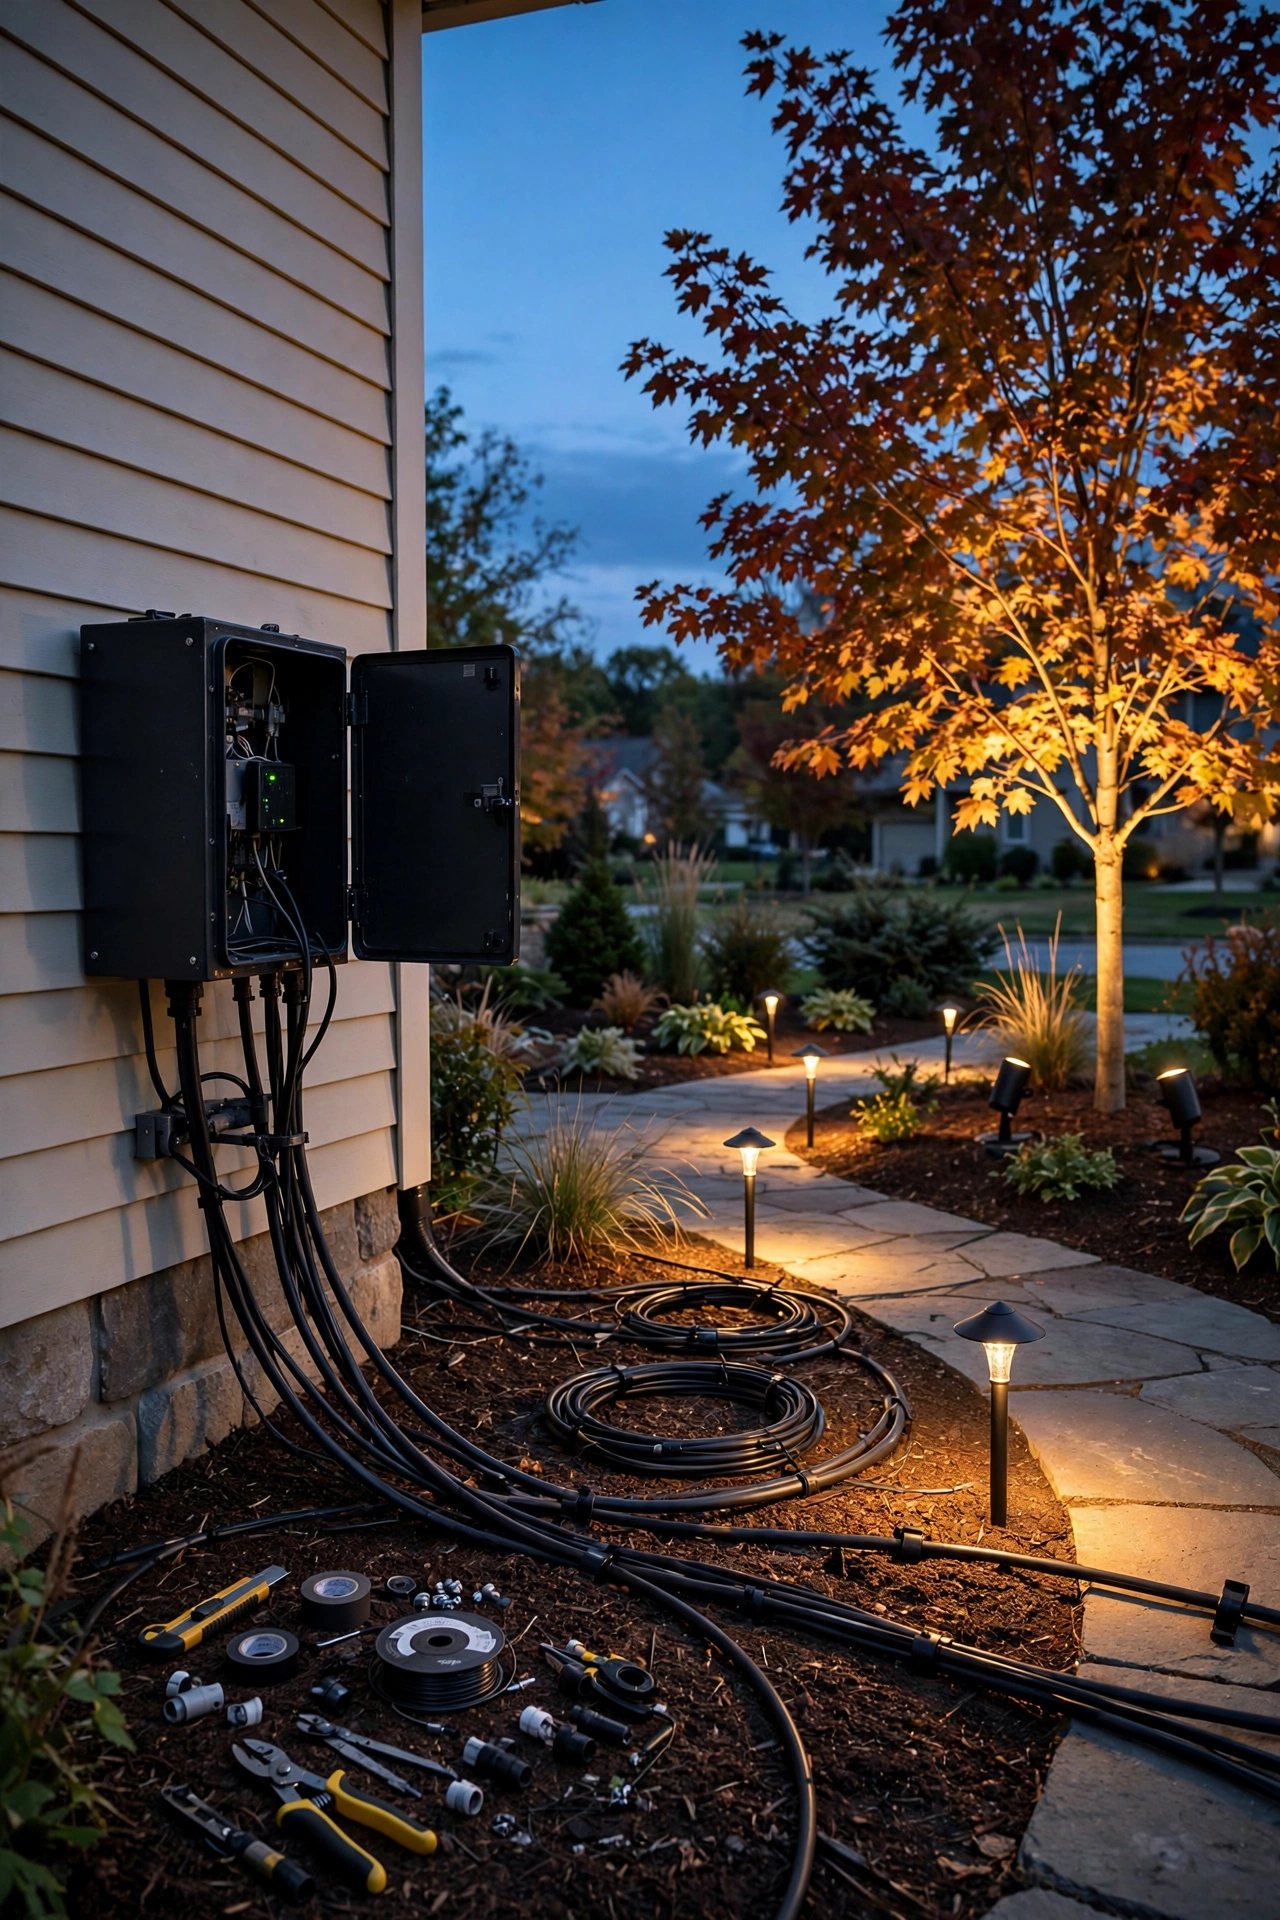
Low-voltage is the DIY sweet spot. Standard 12-volt landscape lighting systems are safe for homeowners to install — the voltage is too low to shock you. But the *transformer* plugs into a regular 120-volt outlet, and that side of the system deserves the same respect as any household circuit. Keep transformers dry, mounted off the ground, and away from sprinkler heads.
Keep fixtures away from flammables. LED-only near mulch, dried leaves, wooden structures, and fabric decor. LEDs run cool, which is why they're the right choice outdoors — but a halogen uplight buried in mulch is a genuine fire hazard. If you're replacing old halogen fixtures, this alone is worth the upgrade.
Bury cable properly. Direct-burial low-voltage cable should sit 6 inches under soil or mulch — deep enough that a garden trowel won't find it. Where cable crosses walkways or driveways, run it through conduit. And call 811 before you dig anywhere, even shallowly. It's free, and hitting a gas or fiber line with a shovel will ruin your week.
Water and connections don't mix. Use waterproof wire connectors (the gel-filled kind) for every outdoor splice, and keep connections elevated out of spots where water pools. A connection sitting in a puddle will corrode, and corroded connections are how systems slowly die.
When in doubt, call a licensed electrician — especially for anything involving 120-volt circuits, new outlets, or hardwired fixtures. A one-hour service call is cheap insurance.

Solar vs. Wired: Which Makes Sense for Curb Appeal
This is the question I hear most from budget-conscious homeowners, so let's settle it plainly.
Solar is cheap, wireless, and installs in minutes. For renters, for temporary setups, or for filling one dark corner, it's genuinely useful. But for serious curb appeal, solar has real limits: brightness is modest (most solar path lights put out 10–50 lumens — a fraction of a wired fixture), output fades as batteries age, and anything in shade underperforms. A yard full of dim, mismatched solar lights can actually hurt the premium look you're going for. In my experience, solar works best as an accent — a few lights in a sunny bed — not as the backbone of a design.
Low-voltage wired (12V) is the homeowner sweet spot. Fixtures are 3–5x brighter than solar, output is consistent every night, and you get real design control — dimmers, zones, timers. Installation means burying cable, which is a weekend project, but it's straightforward. This is what I'd recommend for anyone who owns their home and cares about curb appeal.
Line-voltage (120V) — hardwired sconces, post lights, and anything tied into your home's electrical system — is the permanent, premium option. It's what you want for entry sconces and architectural fixtures. It requires an electrician for new circuits, but the results are the most polished and the fixtures last decades.
Here's my practical advice: if you're selling within a year and want maximum impact for minimum money, go low-voltage wired for the yard and make sure your existing 120V entry fixtures are clean, working, and warm-toned. If you're staying put and building your forever look, invest in proper hardwired entry lighting and a professionally designed low-voltage landscape system. Either way, don't try to carry a whole curb appeal design on solar alone — you'll see the difference in the photos.
Seasonal Maintenance: Keeping the Glow All Year
A lighting system is only an asset if it works. The good news: maintenance is about 30 minutes, twice a year.
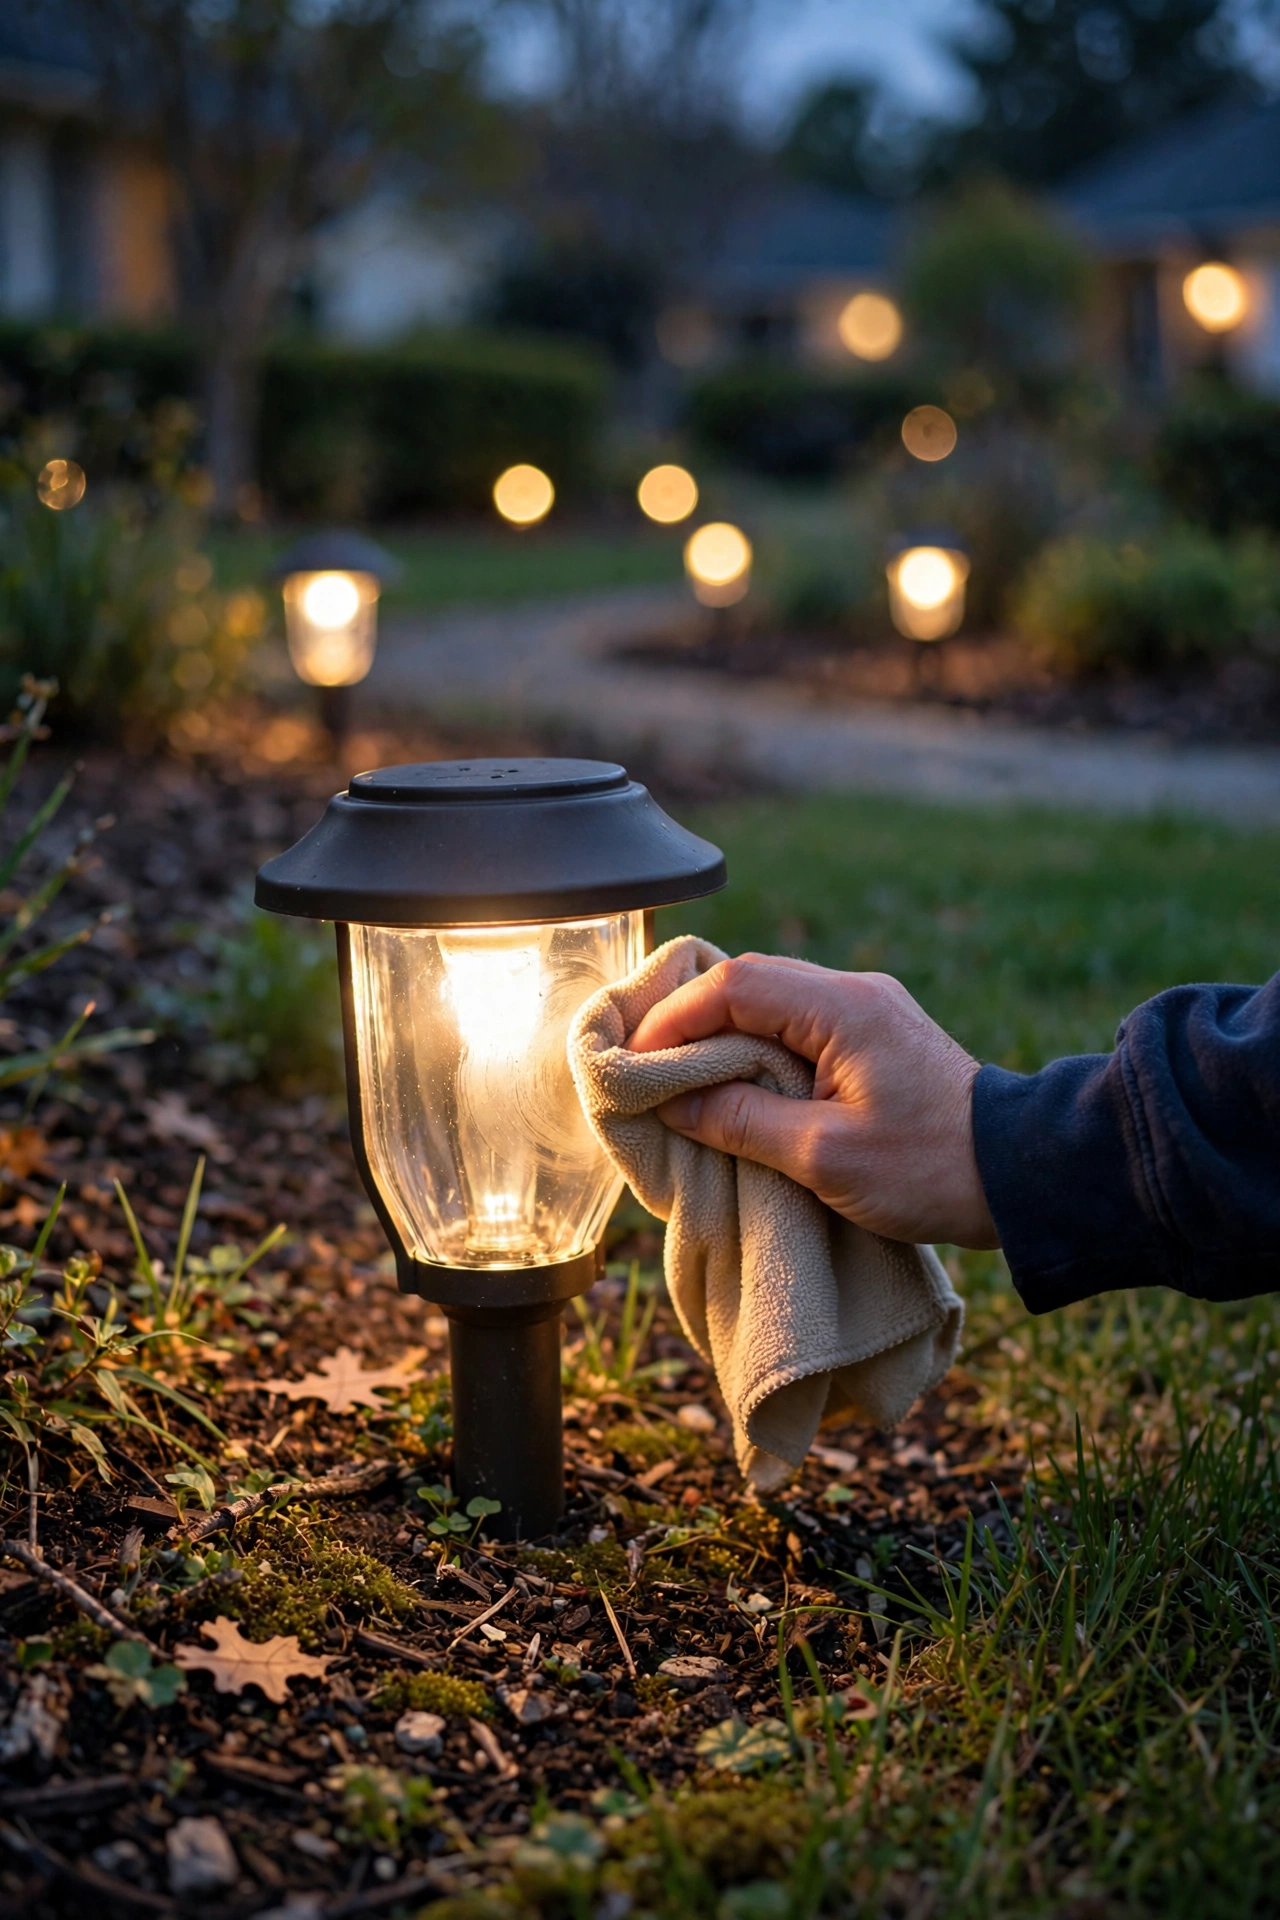
Spring checkup: after winter, walk the system at dusk. Re-aim any fixtures that frost heave or snowplows knocked crooked. Clean lenses — winter grime can cut light output by a third, and a damp cloth fixes it in seconds. Trim back anything that's grown into the beam path; that shrub that was cute in October is now swallowing your uplight. Test timers and photocells, because the days are getting longer and your on/off schedule needs adjusting. If you're refreshing the yard anyway, a spring front-yard lighting tune-up pairs naturally with new plantings.
Summer: mostly hands-off, but watch for sprinkler overspray hitting fixtures — mineral deposits fog lenses over time. If you have smart controls, check that sunset times updated automatically. And enjoy it: summer is when you actually live in the glow.
Fall: this is the big one. Clear fallen leaves away from fixtures (wet leaves smother light and trap moisture against housings). Check that earlier sunsets are reflected in your timer settings. Replace any bulbs that dimmed over summer. Fall is also listing season in many markets, so a pre-listing dusk walkthrough is worth its weight in gold.
Winter: make sure fixtures aren't buried under snowbanks — a buried path light is a wasted path light. In freeze-thaw climates, check ground stakes haven't heaved loose. Solar fixtures struggle most now (short days, low sun angle), which is worth remembering when you evaluate whether your solar accents are pulling their weight.
The twice-a-year habit is the whole secret. Systems that get a spring and fall walkthrough look intentional for a decade. Systems that get installed and forgotten look tired in three years.
Frequently Asked Questions
How much does outdoor lighting for curb appeal cost?
A DIY solar setup runs $200–$600, a DIY low-voltage wired system runs $500–$1,500 for a typical front yard, and professional design plus installation runs $2,500–$8,000. Running costs are tiny — a 12-fixture LED system costs roughly $2–$3 per month in electricity. For most homeowners, the DIY low-voltage route delivers the best ratio of visual impact to dollars spent.
Can I install curb appeal lighting myself, or do I need a pro?
Low-voltage (12V) landscape lighting is genuinely DIY-friendly — no special license needed, no shock risk from the low-voltage side, and kits include everything. Most homeowners can do a front yard in a weekend. Hire a licensed electrician for anything involving 120-volt circuits, new outdoor outlets, or hardwired fixtures. And hire a lighting designer if you want a truly polished, layered look for a high-end listing — the design eye is what you're paying for.
Does outdoor lighting increase my home's appraisal value?
Almost certainly not directly — appraisers base value on comparable sales, square footage, and condition, not on lighting fixtures. But it can absolutely increase what buyers are willing to pay by improving first impressions, enabling attractive evening showings, and making your listing photos stand out at dusk. Think of it as marketing that supports your asking price, not as an appraised improvement.
Will my HOA restrict outdoor lighting?
Quite possibly. Many HOAs regulate fixture styles, brightness, light trespass onto neighbors' properties, and hours of operation. Some prohibit uplighting entirely or require fixtures to match a community standard. Check your HOA's architectural guidelines before buying anything — getting a violation letter after installation is an expensive lesson. Dark-sky-friendly fixtures (fully shielded, aimed downward) satisfy the strictest rules and look better anyway.
How long do outdoor lighting fixtures last?
Quality LED fixtures last 15–25 years, and integrated LED modules are typically rated for 25,000–50,000 hours — at 6 hours a night, that's 11–22 years. The weak points are usually the finishes (cheap powder-coat corrodes in 3–5 years in harsh climates) and solar batteries (2–3 years). Buy solid brass, copper, or marine-grade aluminum housings if you want fixtures that age gracefully instead of rusting.
The Bottom Line on Outdoor Lighting Curb Appeal
So, does outdoor lighting curb appeal actually add value? After years of doing this and watching what happens when houses hit the market — yes, in the way that matters most. It won't move your appraisal, but it moves buyers: their feelings at the drive-by, their behavior on the listing page, and ultimately their willingness to pay your asking price. For a few hundred to a couple thousand dollars, almost nothing else transforms a home's evening presence this dramatically.
Start simple: warm light, consistent color temperature, sconces at the door, path lights guiding the way, and one or two uplights celebrating your best feature. Walk the yard at dusk, fix what you see, and keep up the twice-a-year maintenance. Do that, and your house won't just be lit — it'll be the one buyers remember.
If you're ready to keep going, browse more outdoor lighting ideas on the site — your evenings are about to get a whole lot glowier.