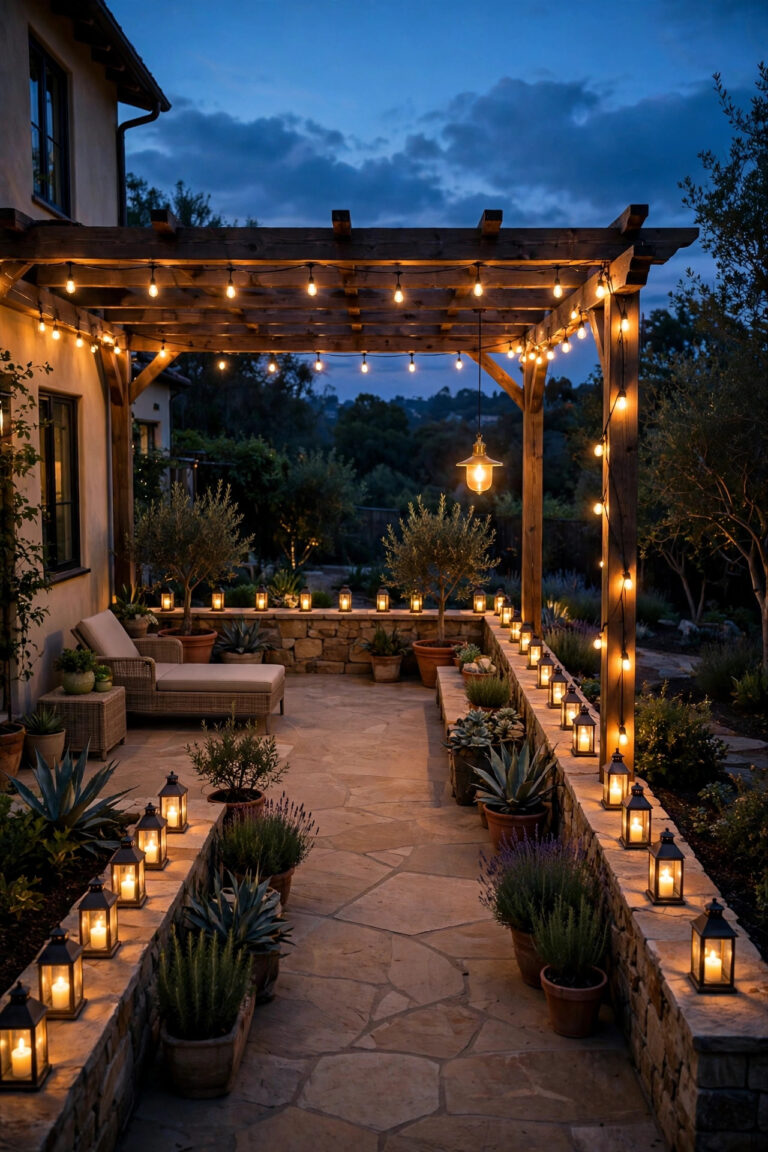
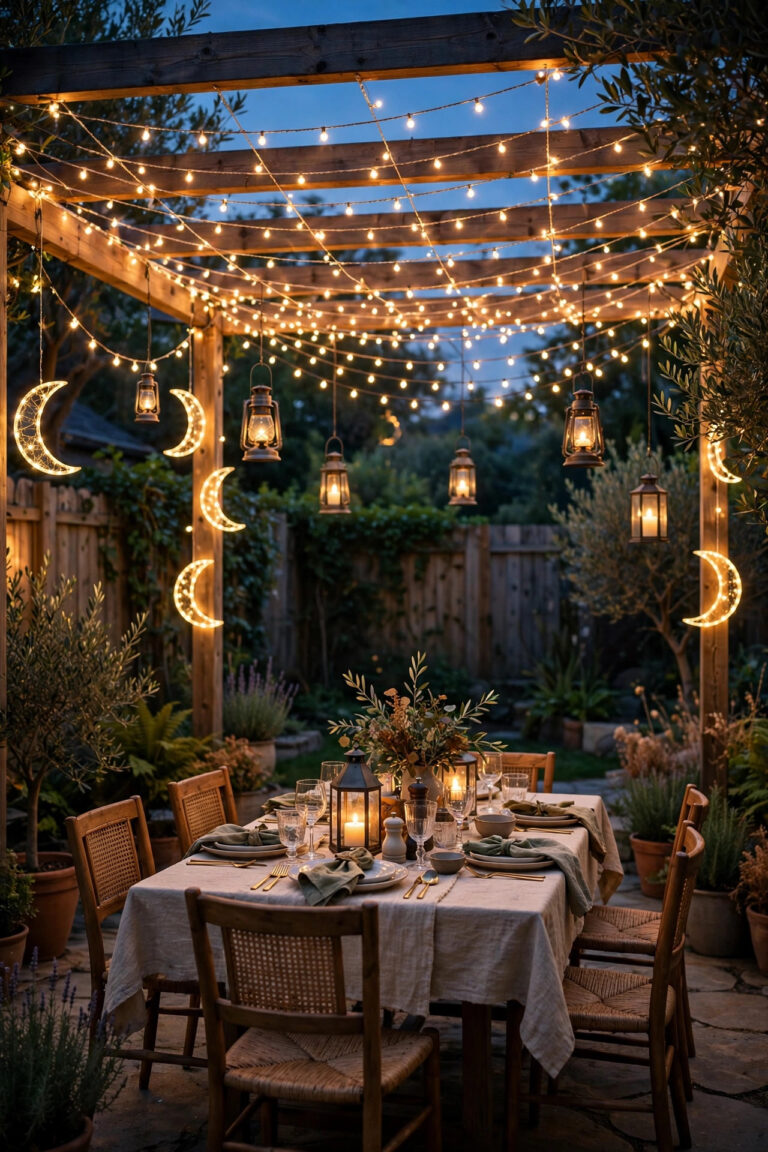
Some houses refuse to pick a side. The architecture is classic, brick, columns, a proper front door, but the people inside love clean lines and uncluttered rooms. If that sounds like your place, transitional outdoor lighting ideas were made for you. Transitional style takes the shapes you already trust, lanterns, coach lights, and path lights, and quietly edits out the fussy scrollwork, then pairs what is left with simple modern forms and warm, layered light. In my experience, every good outdoor scheme works in three layers anyway: guidance light running low along walks and steps, welcome light at eye level by the door, and accent light aimed at the tree, the stonework, or the fountain. Transitional design simply asks each layer to speak both languages at once, a traditional silhouette with modern restraint. Below are the 19 moves I use to blend the two styles without replacing everything you own, each with honest budgets, real placement numbers, and the safety notes that keep the glow pretty and the wiring sound.
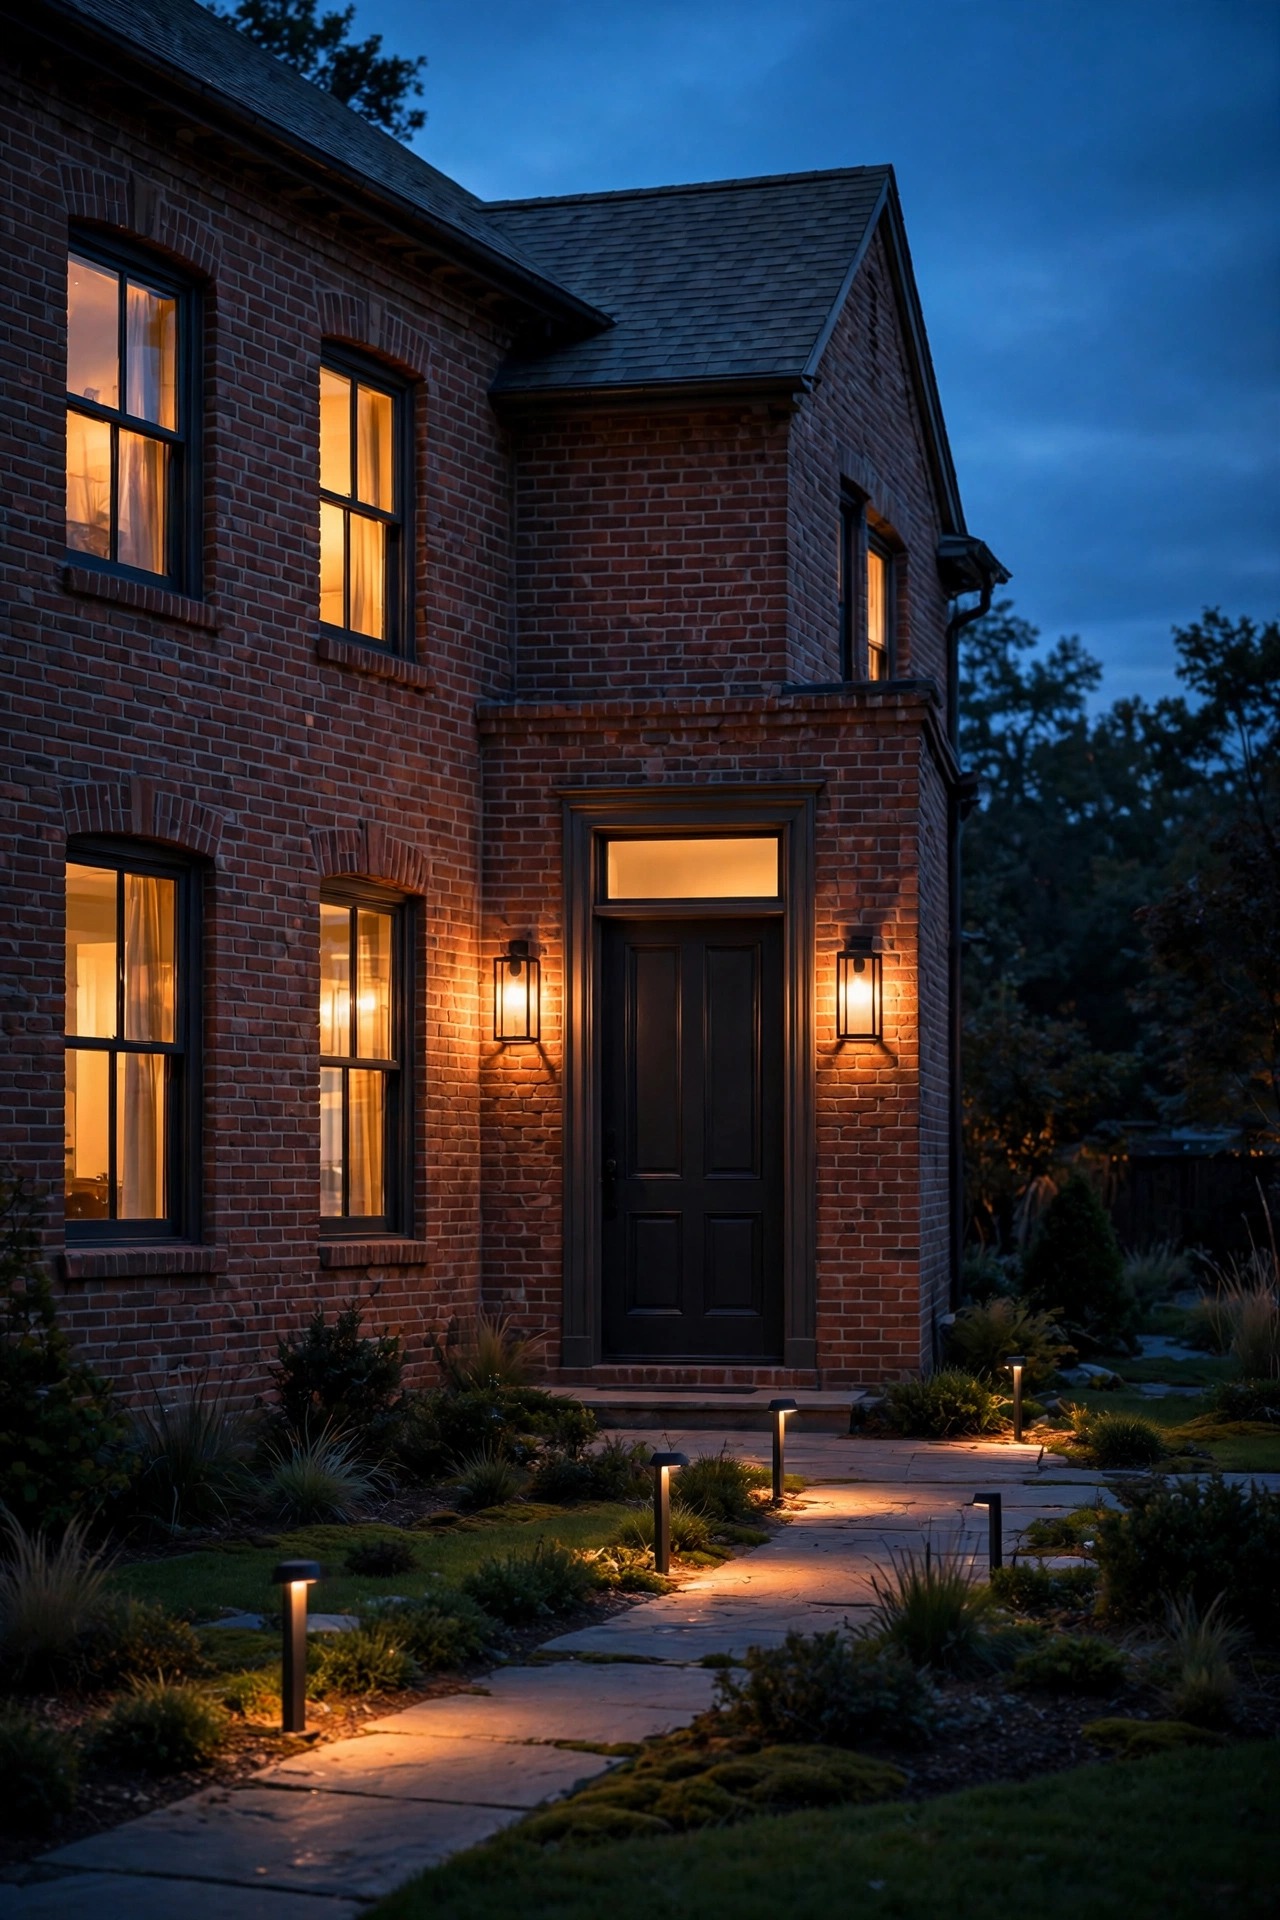
1. Transitional Outdoor Lighting Ideas Start With a Three-Layer Plan
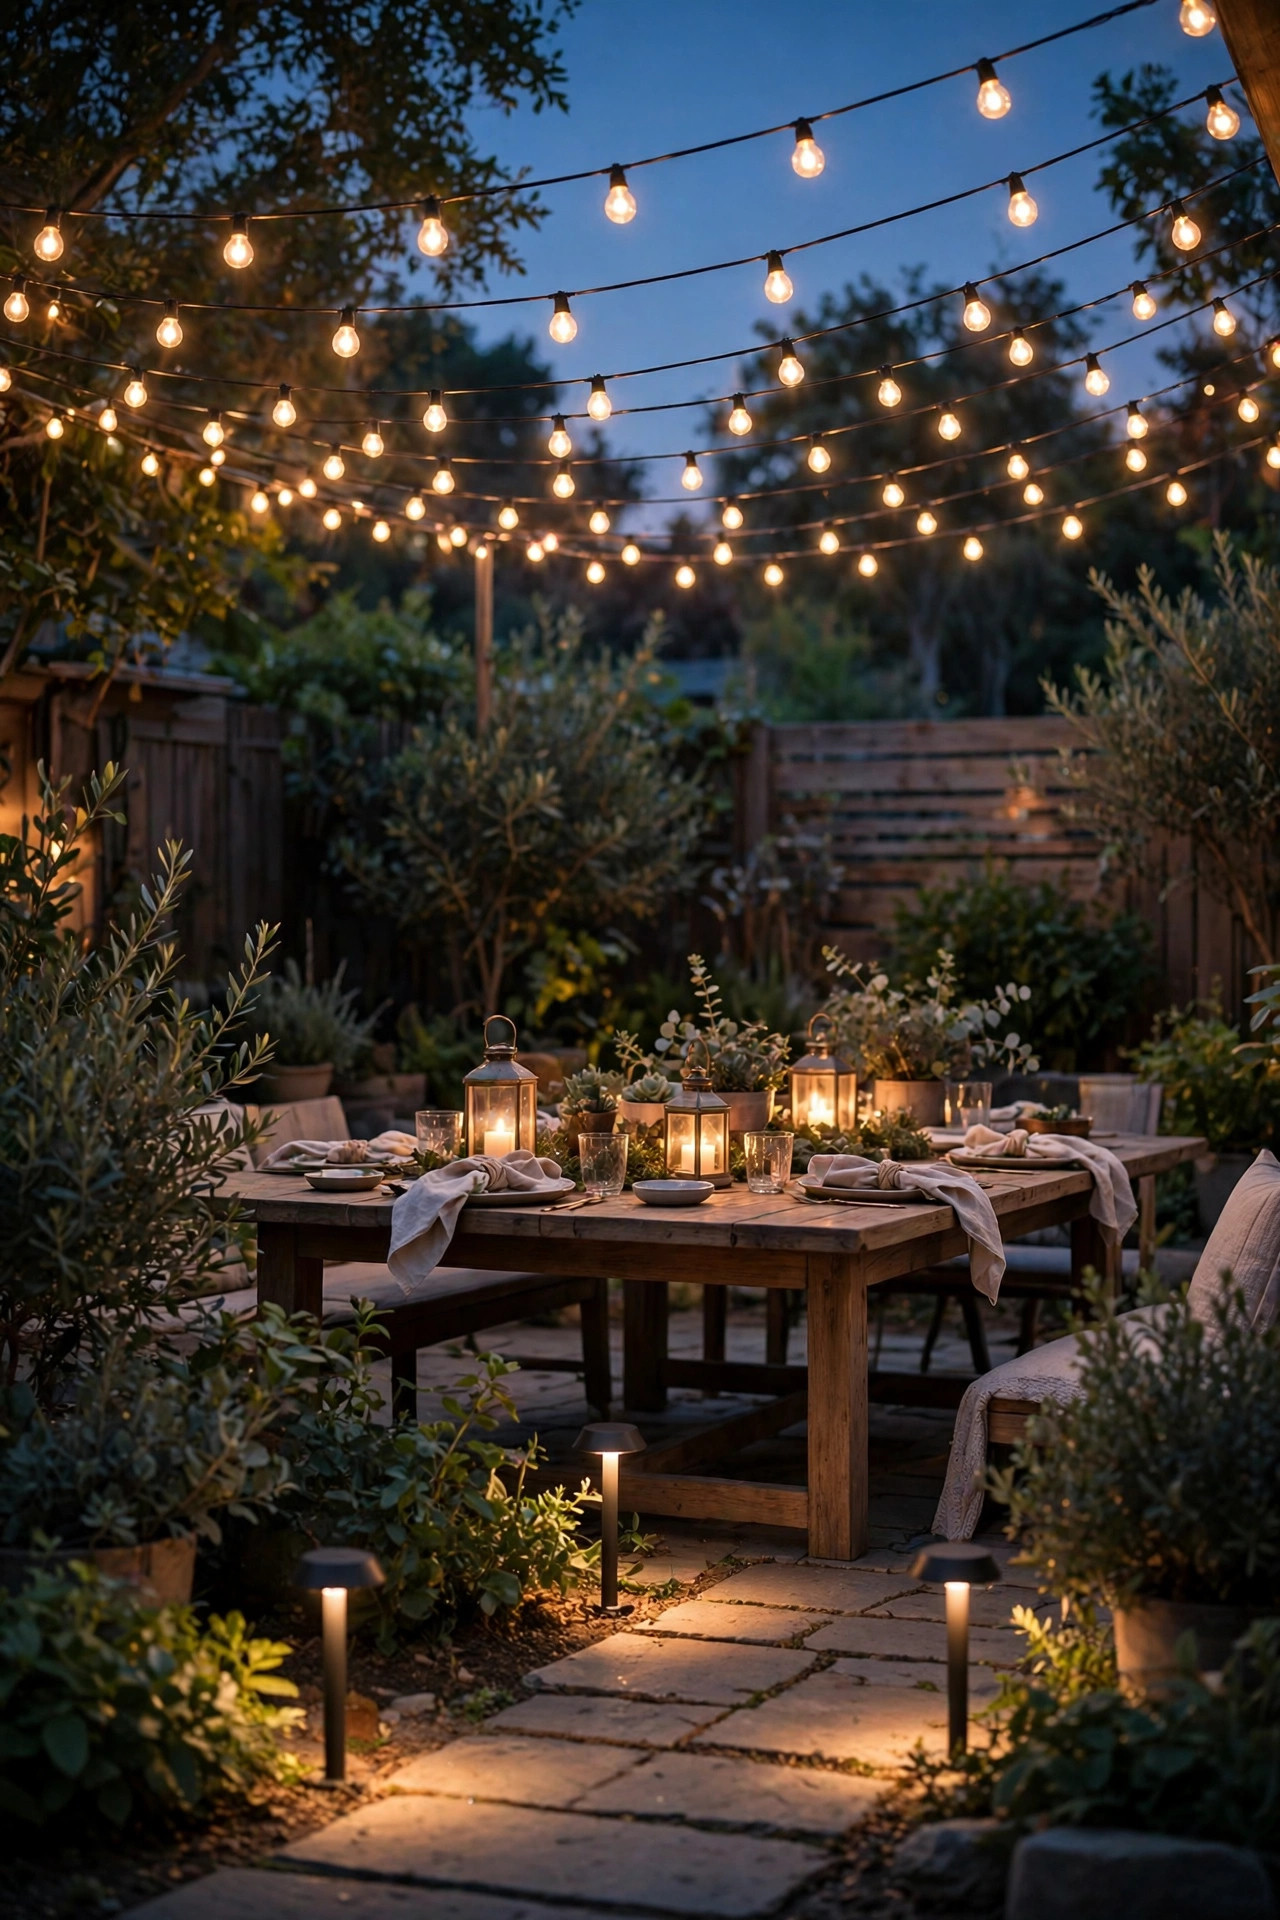
Before you buy a single fixture, stand at the curb at dusk and sort every light you own, or want, into three layers. Guidance light stays low: path lights, step lights, and driveway markers that show feet where to go. Welcome light sits at eye level: sconces by the door, a pendant over the porch, coach lights at the garage. Accent light does the storytelling, washing a stone wall or crowning one good tree. I lay out the full method in my guide to layered landscape lighting, and the transitional twist is simple: within each layer, let one fixture lean traditional and the next lean modern, but keep the finish and bulb color identical across all three. Sketch the plan on paper, assign each fixture a layer and a zone, and count what you truly need before shopping. Most front yards land between twelve and twenty fixtures total. A drawn plan also phases the spending kindly, entry first, garden accents last, and it keeps a colonial brick front and a minimalist side garden from fighting each other after dark.
Suggested budget range: $0 – $150.
2. Pick Lantern Sconces With the Ornament Edited Out
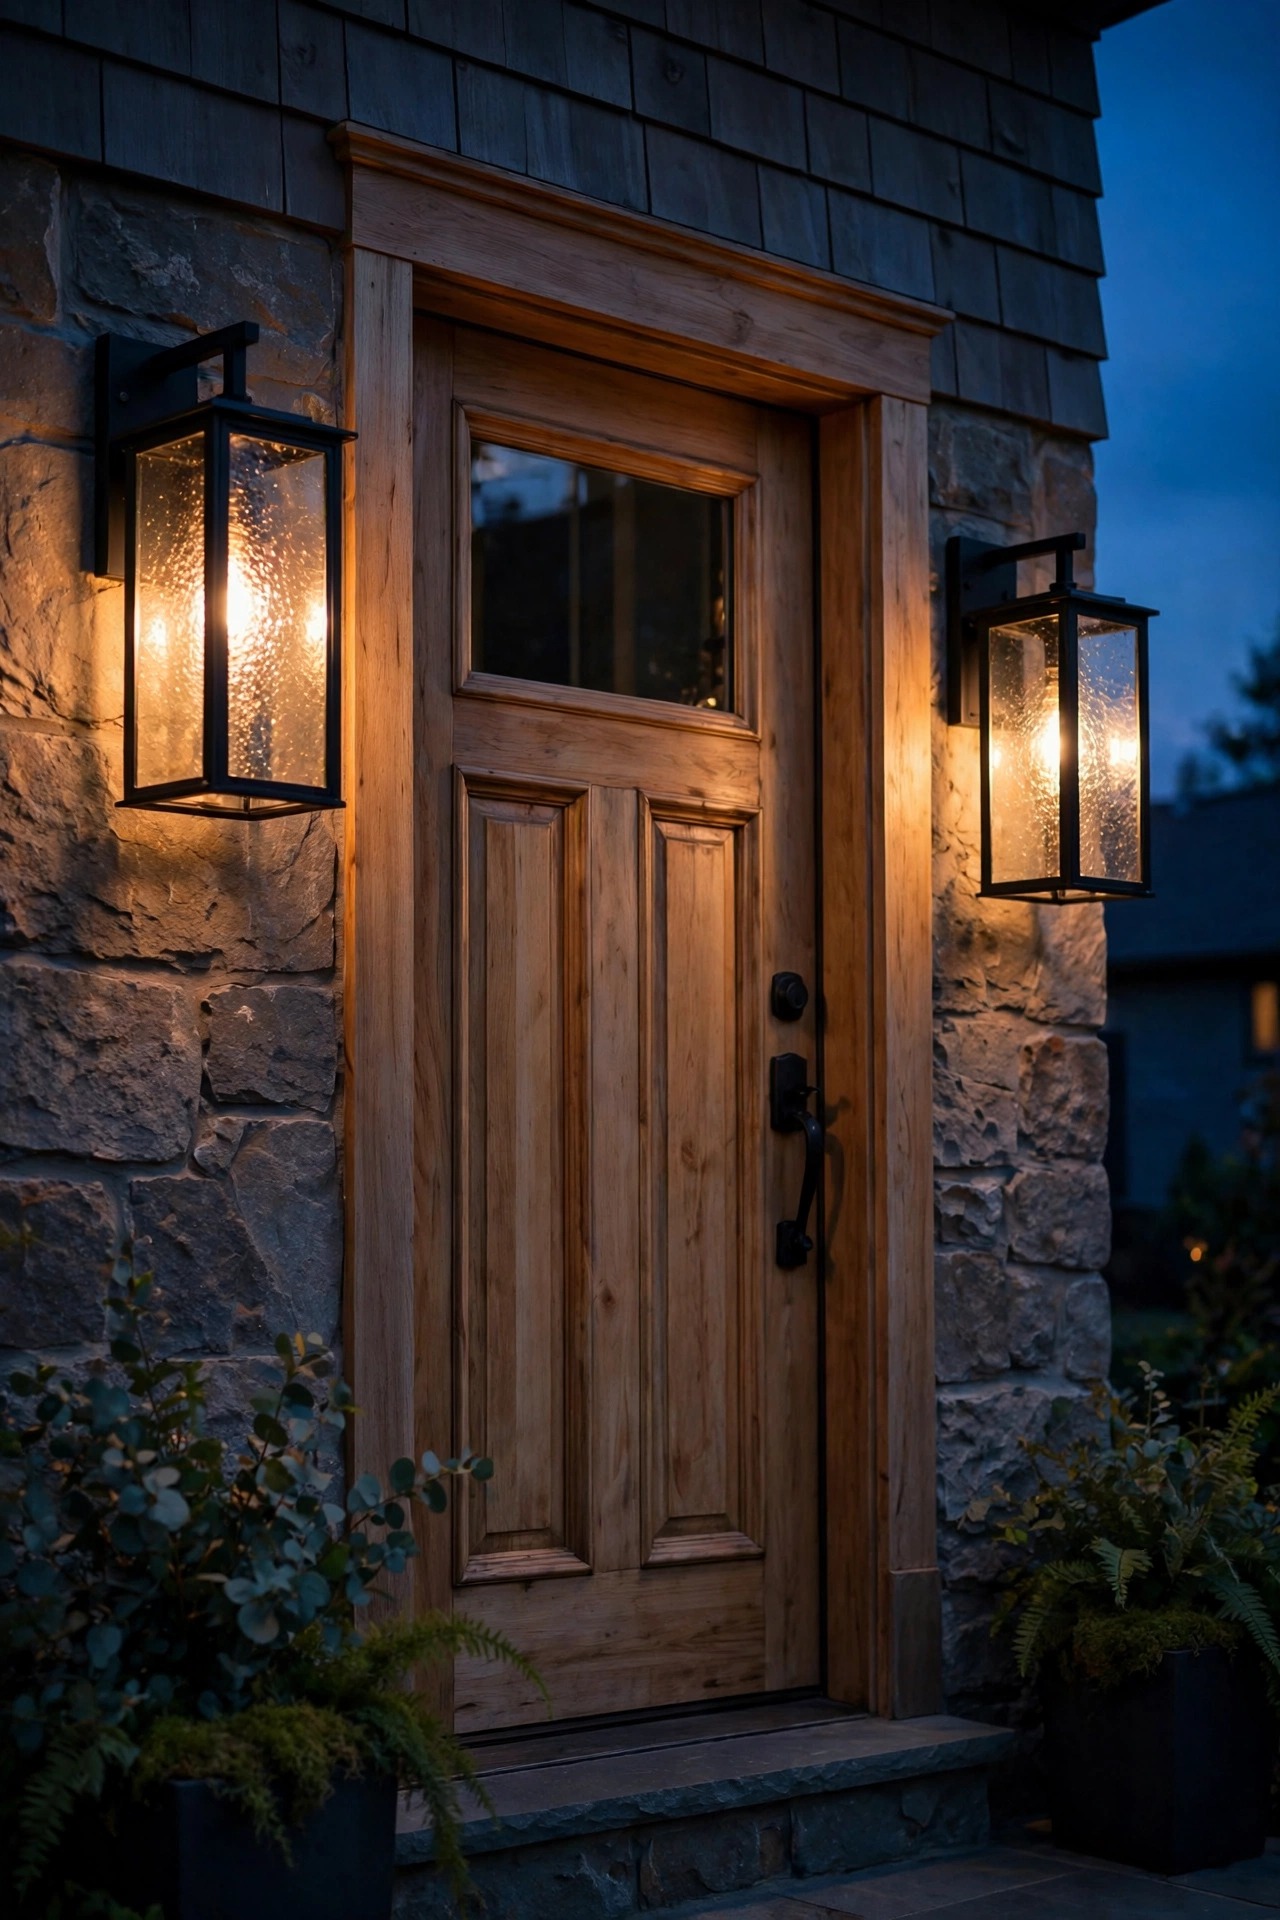
The lantern is the most traditional shape in outdoor lighting, and the fastest way to make it transitional is subtraction. Look for straight or gently tapered frames, flat or softly peaked roofs, and clear or seeded glass, and skip the curled arms, finials, and faux rivets. A simple four-sided lantern in matte black or aged bronze reads classic from the street and modern up close, which is exactly the double life you want. Size matters more than decoration: the fixture should measure roughly one-quarter to one-third the height of your front door, and mount it so the bulb sits at eye level, about five and a half to six feet up, centered beside the door. I cover the cleaner end of this spectrum in my roundup of modern outdoor lighting ideas, and honestly, the pairs that work best borrow one detail from each world. Choose wet-location rated fixtures for exposed walls, and put a warm filament-style LED inside so the glass glows like candlelight instead of interrogation light.
Suggested budget range: $120 – $450.
3. Hang a Classic Pendant, but on a Clean Stem
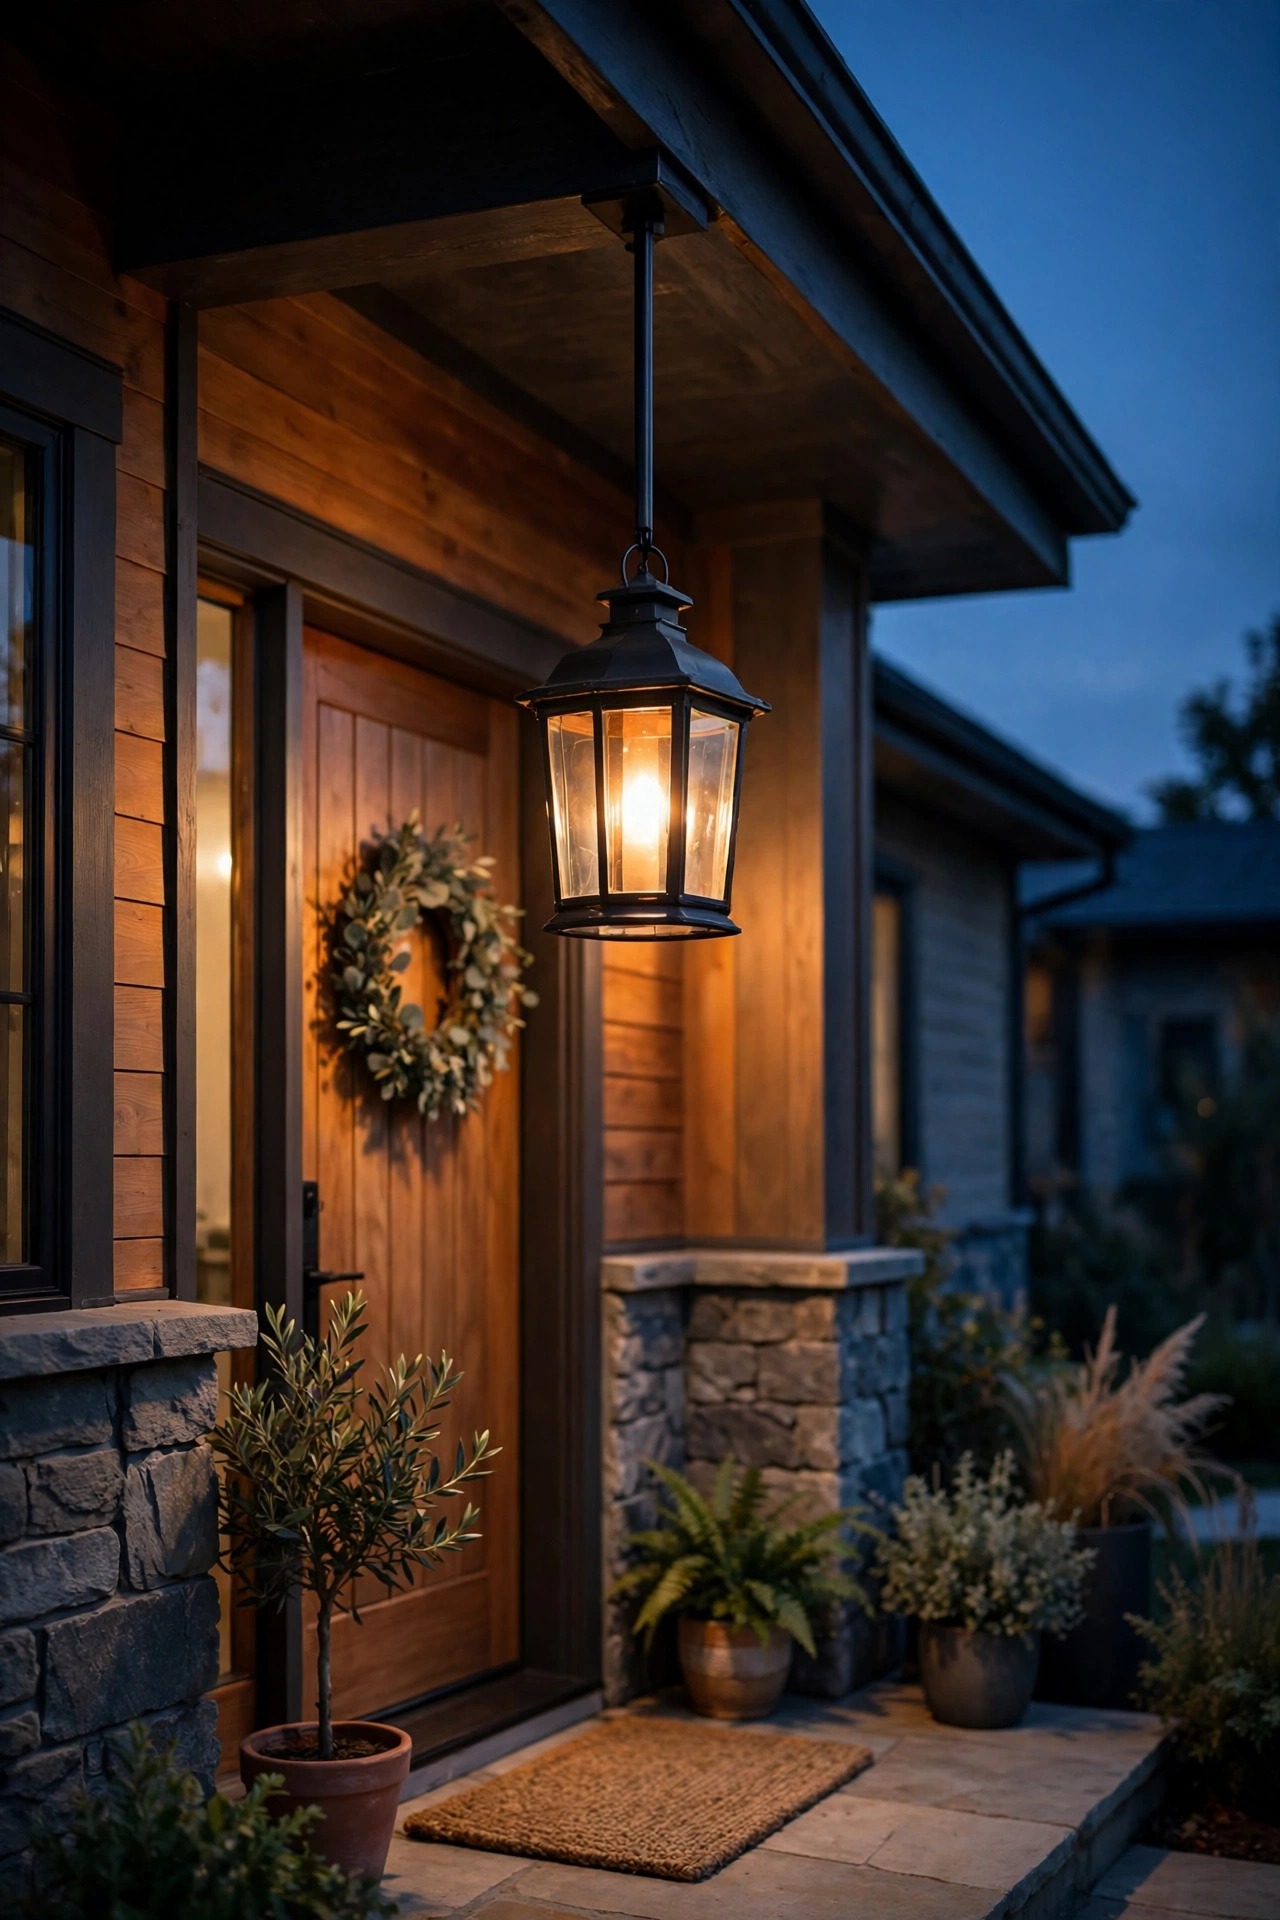
A hanging lantern over the porch is pure tradition, but the chain it dangles from is where the fuss hides. Swap the scrolled chain for a straight downrod or a slim cable and the whole fixture suddenly looks current. If your porch ceiling is eight feet or lower, choose a flush or semi-flush mount instead so guests never duck; on taller ceilings, hang the pendant so its bottom clears the door swing and sits about seven feet above the floor. Match the metal to your sconces, but feel free to change the glass: clear glass feels modern, seeded glass feels storied, and opal glass splits the difference beautifully. One pendant centered on the door is the classic move; a pair over a long porch reads more designed. Keep the bulb warm, 2700K, and dimmable if the porch is your evening sitting room. Any hardwired swap means power off at the breaker and a ceiling box rated for the fixture weight, and heavy pieces deserve a licensed electrician, full stop.
Suggested budget range: $90 – $400.
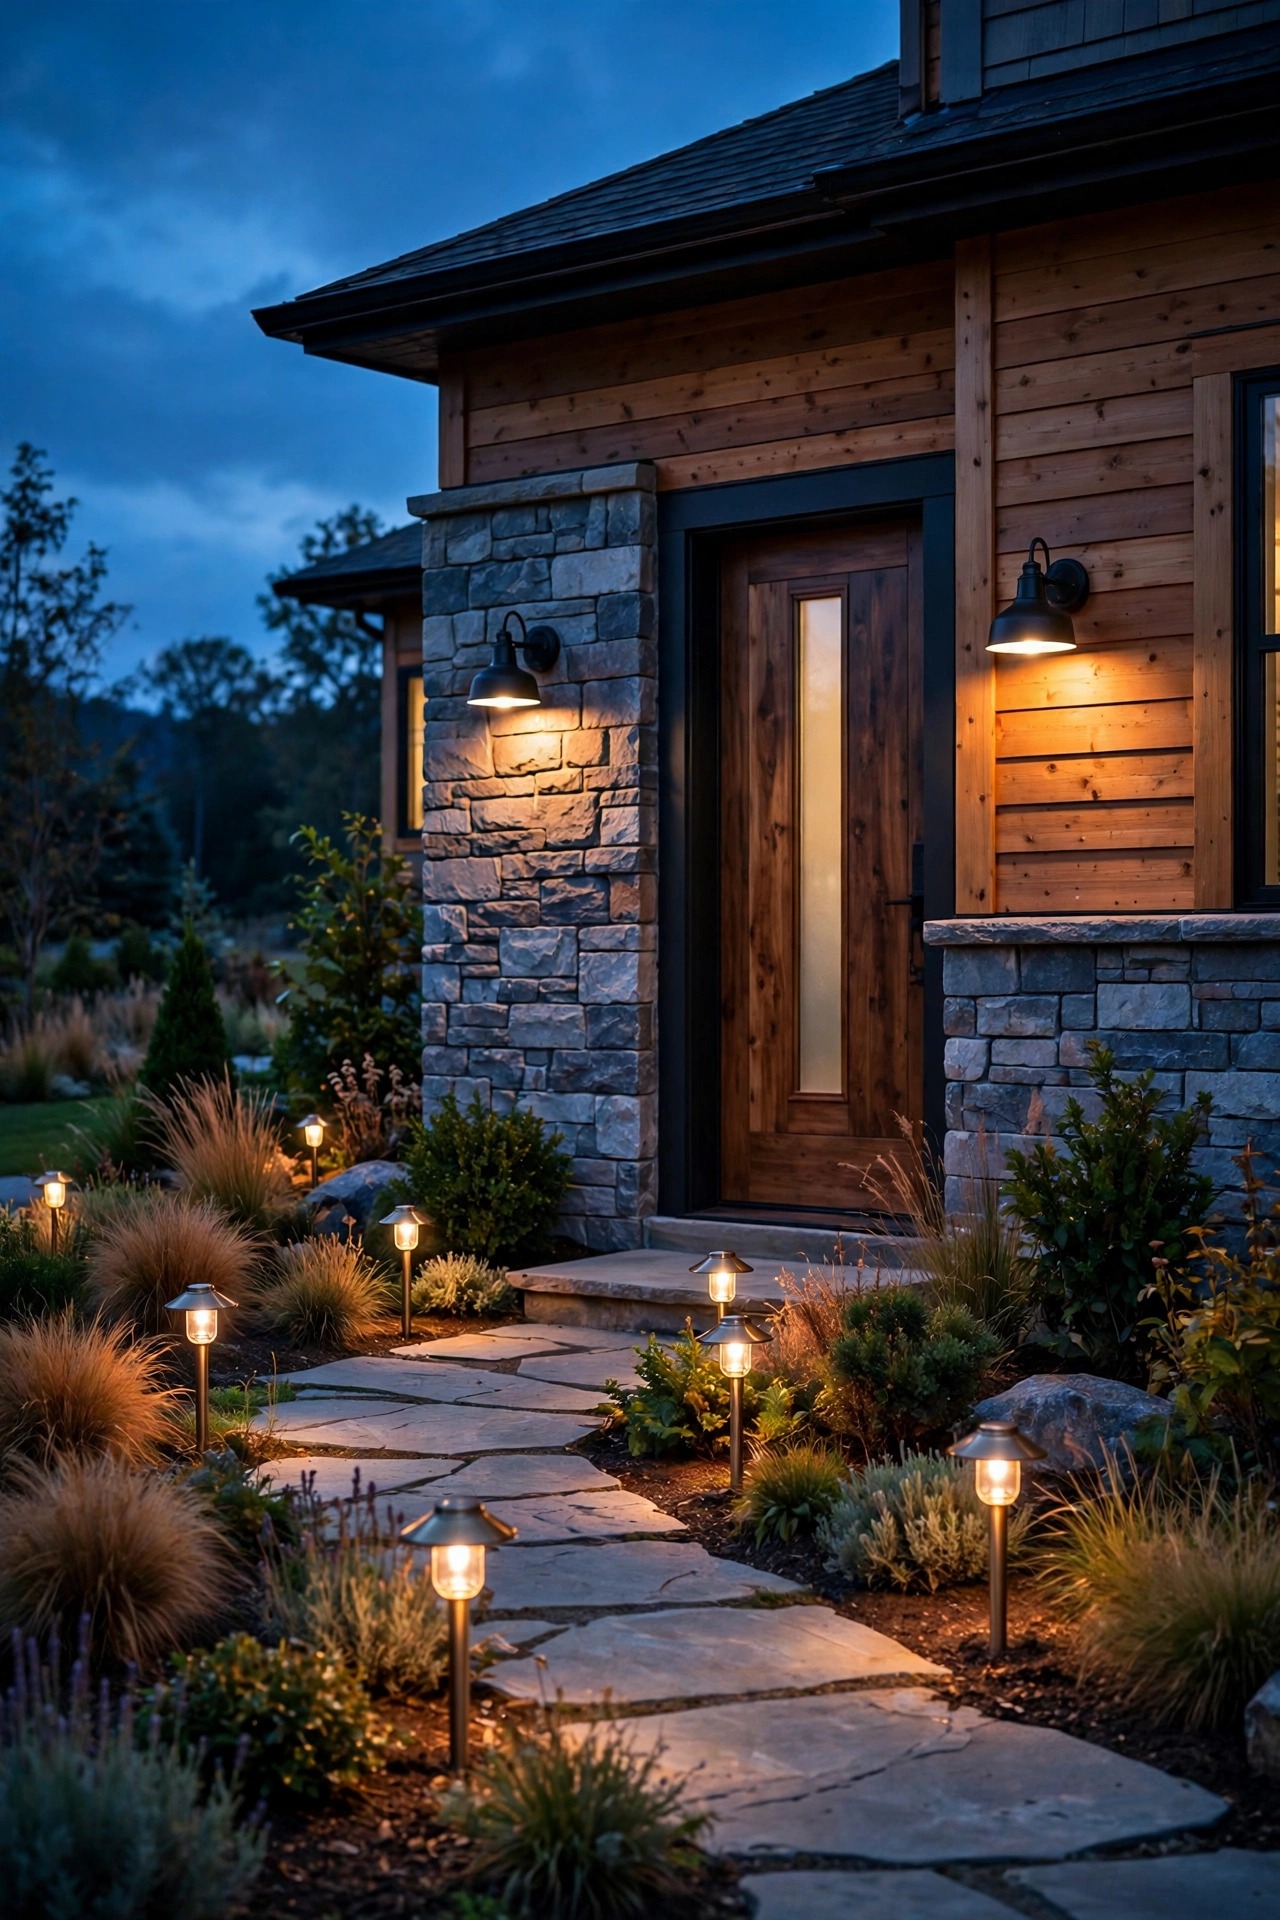
4. Line the Walk With Simple, Low-Profile Path Lights
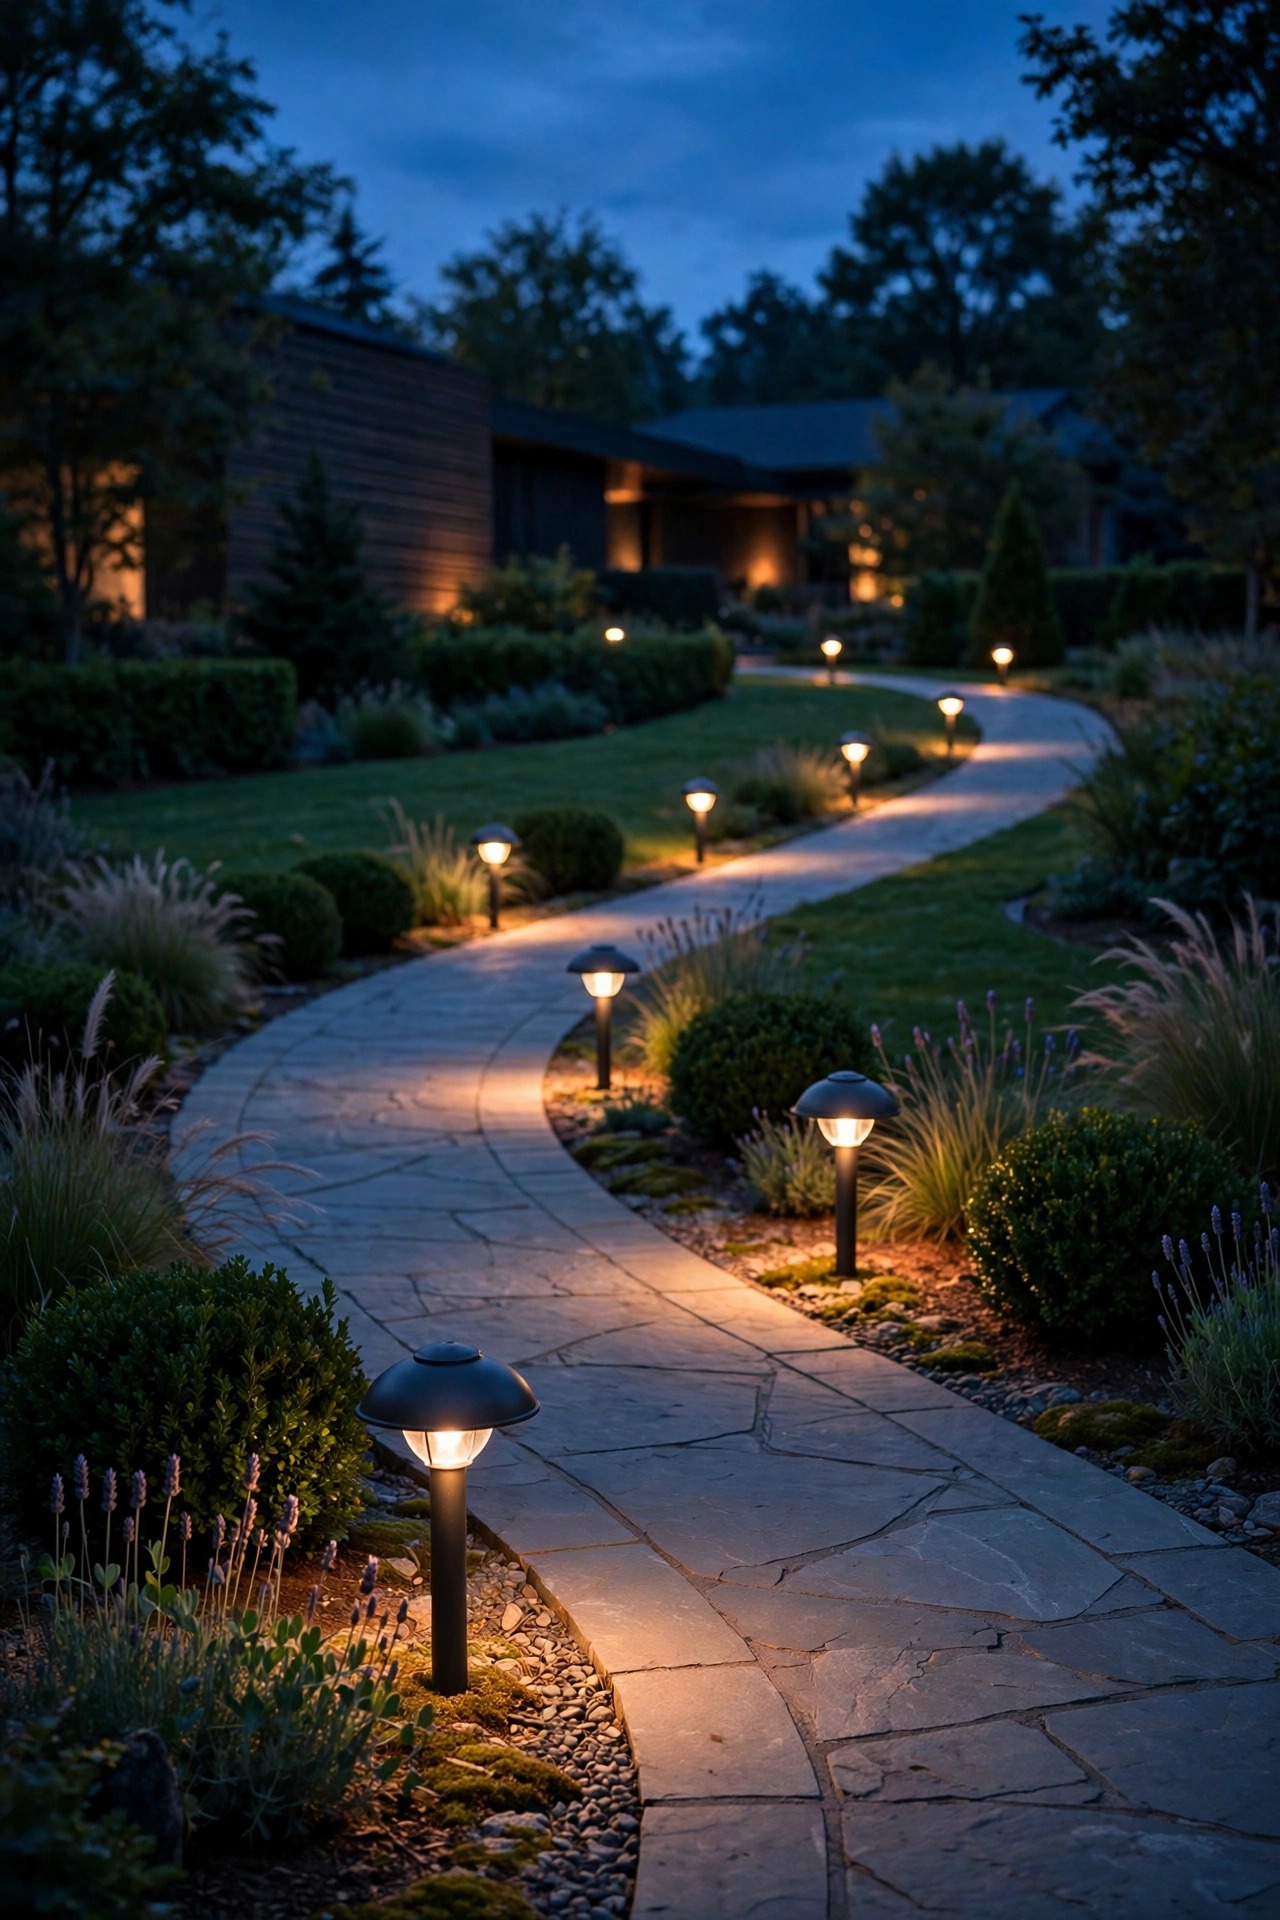
Path lights are where transitional style earns its keep, because the traditional tiered pagoda shape and the stark modern bollard are both a little much. The middle ground is a low dome, a simple cylinder, or a soft-edged lantern stake standing twelve to eighteen inches tall, with the light source hidden under a cap so you see the pool of light, never the bulb. Space them six to eight feet apart on alternating sides of a curving walk, or directly opposite each other on a formal straight walk, and set them twelve inches back from the pavement edge so mower wheels and snow shovels pass safely. Stagger the brightness, not the style: one finish, one shape, one bulb temperature, repeated calmly. In my experience, five to seven fixtures light most front walks generously; more than that starts to read as a runway. Choose fixtures with replaceable LED modules or standard bulbs rather than sealed throwaway units, and push the stakes into softened soil so they stand plumb instead of leaning by July.
Suggested budget range: $150 – $600.
5. Mix Warm Brass and Matte Black on Purpose
Nothing says transitional like two finishes sharing one yard with confidence. The trick is a ratio, not a free-for-all: pick one dominant finish, say matte black for the door, porch, and garage fixtures, and one accent finish, warm brass or aged bronze, for the garden layer of path lights and spotlights. Repeat each finish at least three times so the mix looks chosen rather than accidental. Brass warms up beautifully against brick, stone, and cedar, while black disappears against dark shutters, painted trim, and night itself. Living finishes like unlacquered brass will patina over a season or two, which traditionalists love and minimalists tolerate because the change is gradual and even. Keep the glass and bulb temperature identical across both finishes; that consistency is the thread that stitches the two metals into one scheme. If you are phasing purchases, buy the eye-level fixtures first in your dominant finish, then repeat the accent finish low in the beds. Honestly, this one decision does more for the blended look than any single fixture splurge.
Suggested budget range: $100 – $500.
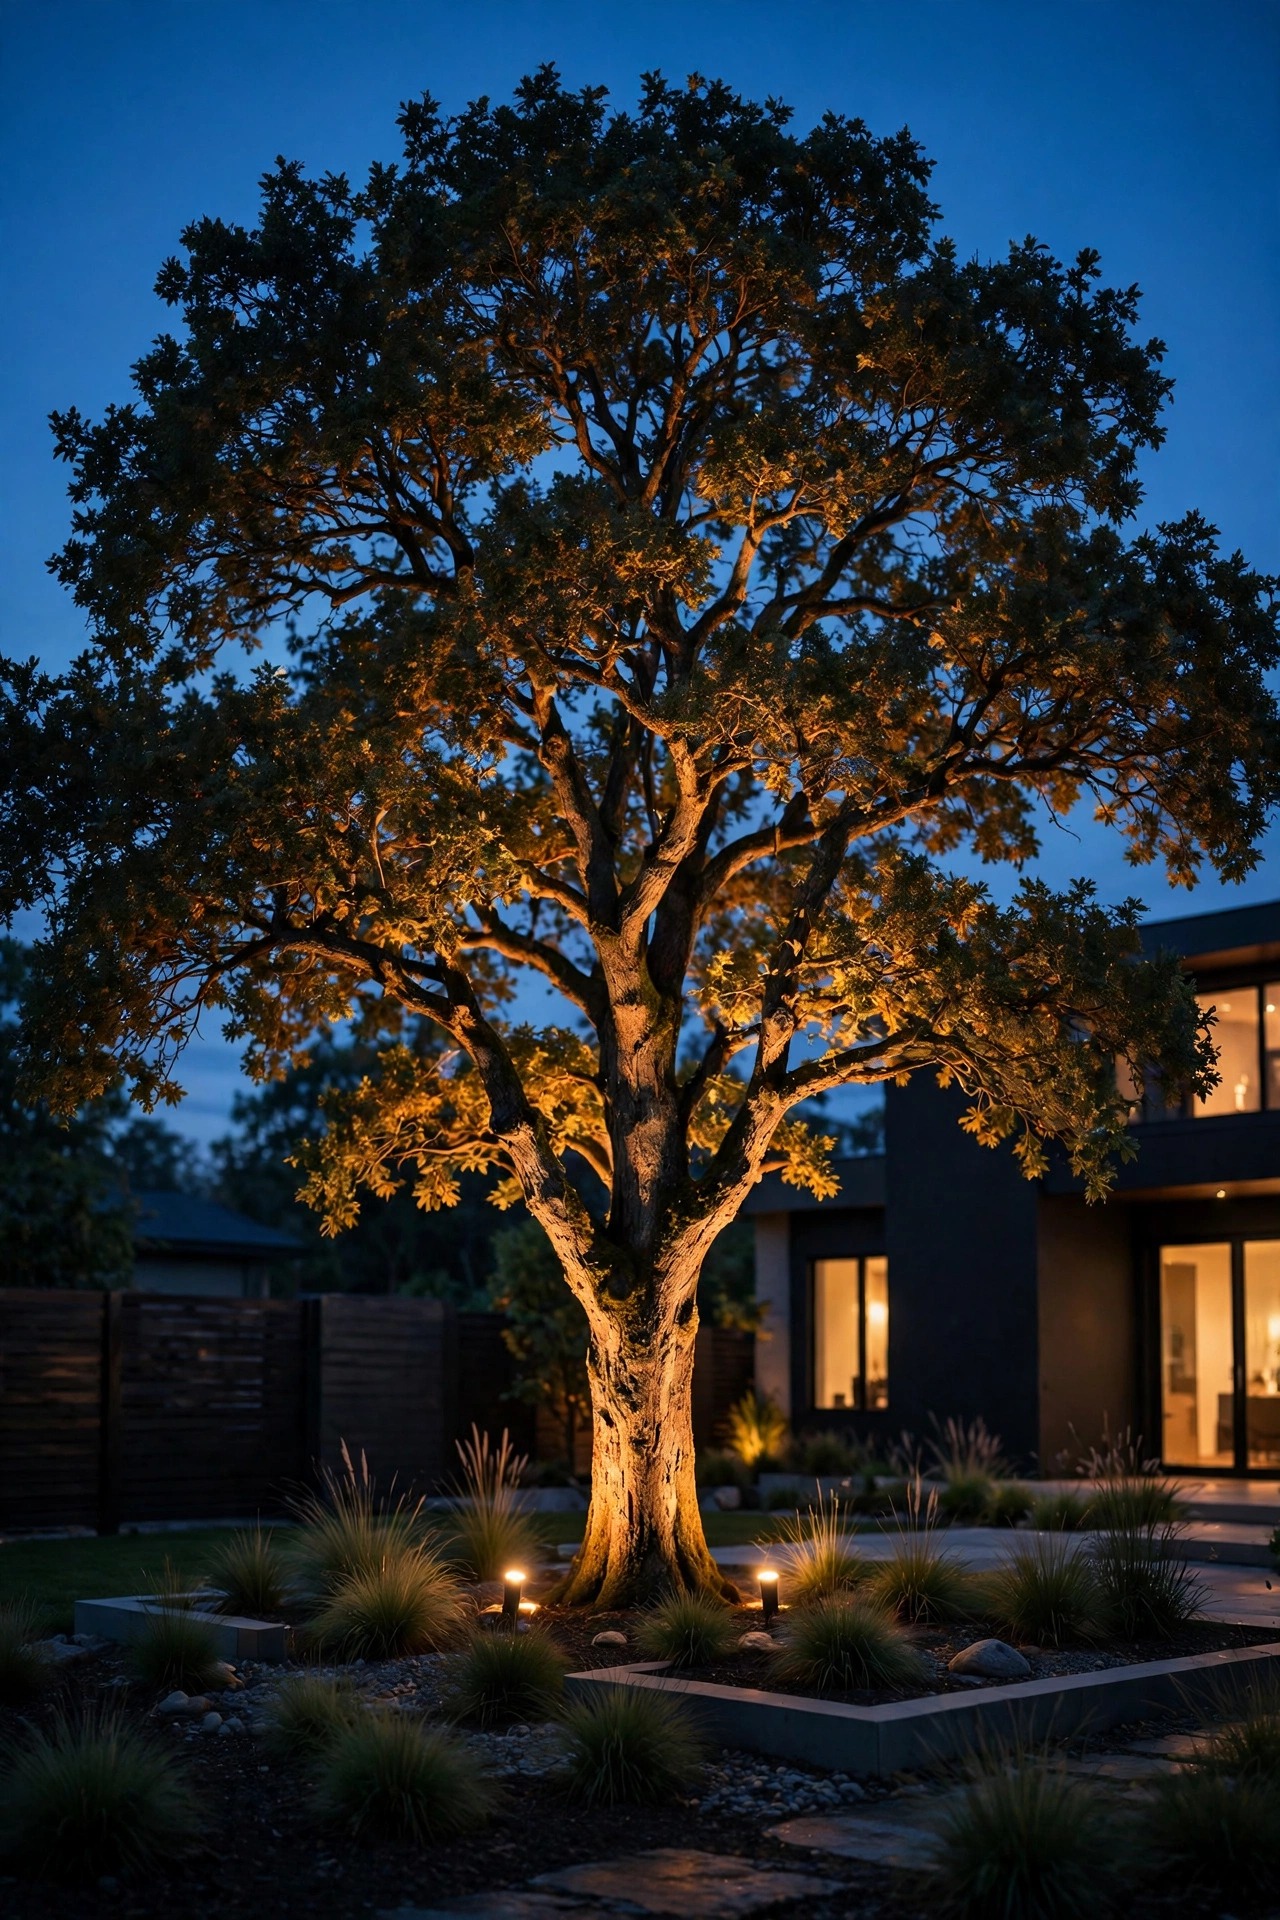
6. Uplight One Hero Tree, and Only One
Every traditional garden has a specimen tree, and every modern scheme knows restraint, so give exactly one tree the full treatment. A single mature oak, magnolia, or sculptural Japanese maple lit from below becomes the exclamation point of the whole property. Use two or three adjustable spotlights or in-ground well lights placed at the drip line, aimed up through the branching structure rather than straight at the trunk, and cross the beams slightly so the canopy glows evenly. Keep the fixtures a foot or more from the bark, mount nothing into the tree itself if you can avoid it, and leave slack in the wire for growth. Warm 2700K light flatters green foliage; anything cooler turns leaves an odd blue-gray. This is accent light, so it should be the brightest note in the yard but never brighter than the welcome light at your door. On a dimmer or its own zone, the tree can fade down late in the evening while the path lights carry on. One hero, honestly, always beats five mediocre trees lit halfway.
Suggested budget range: $75 – $350.
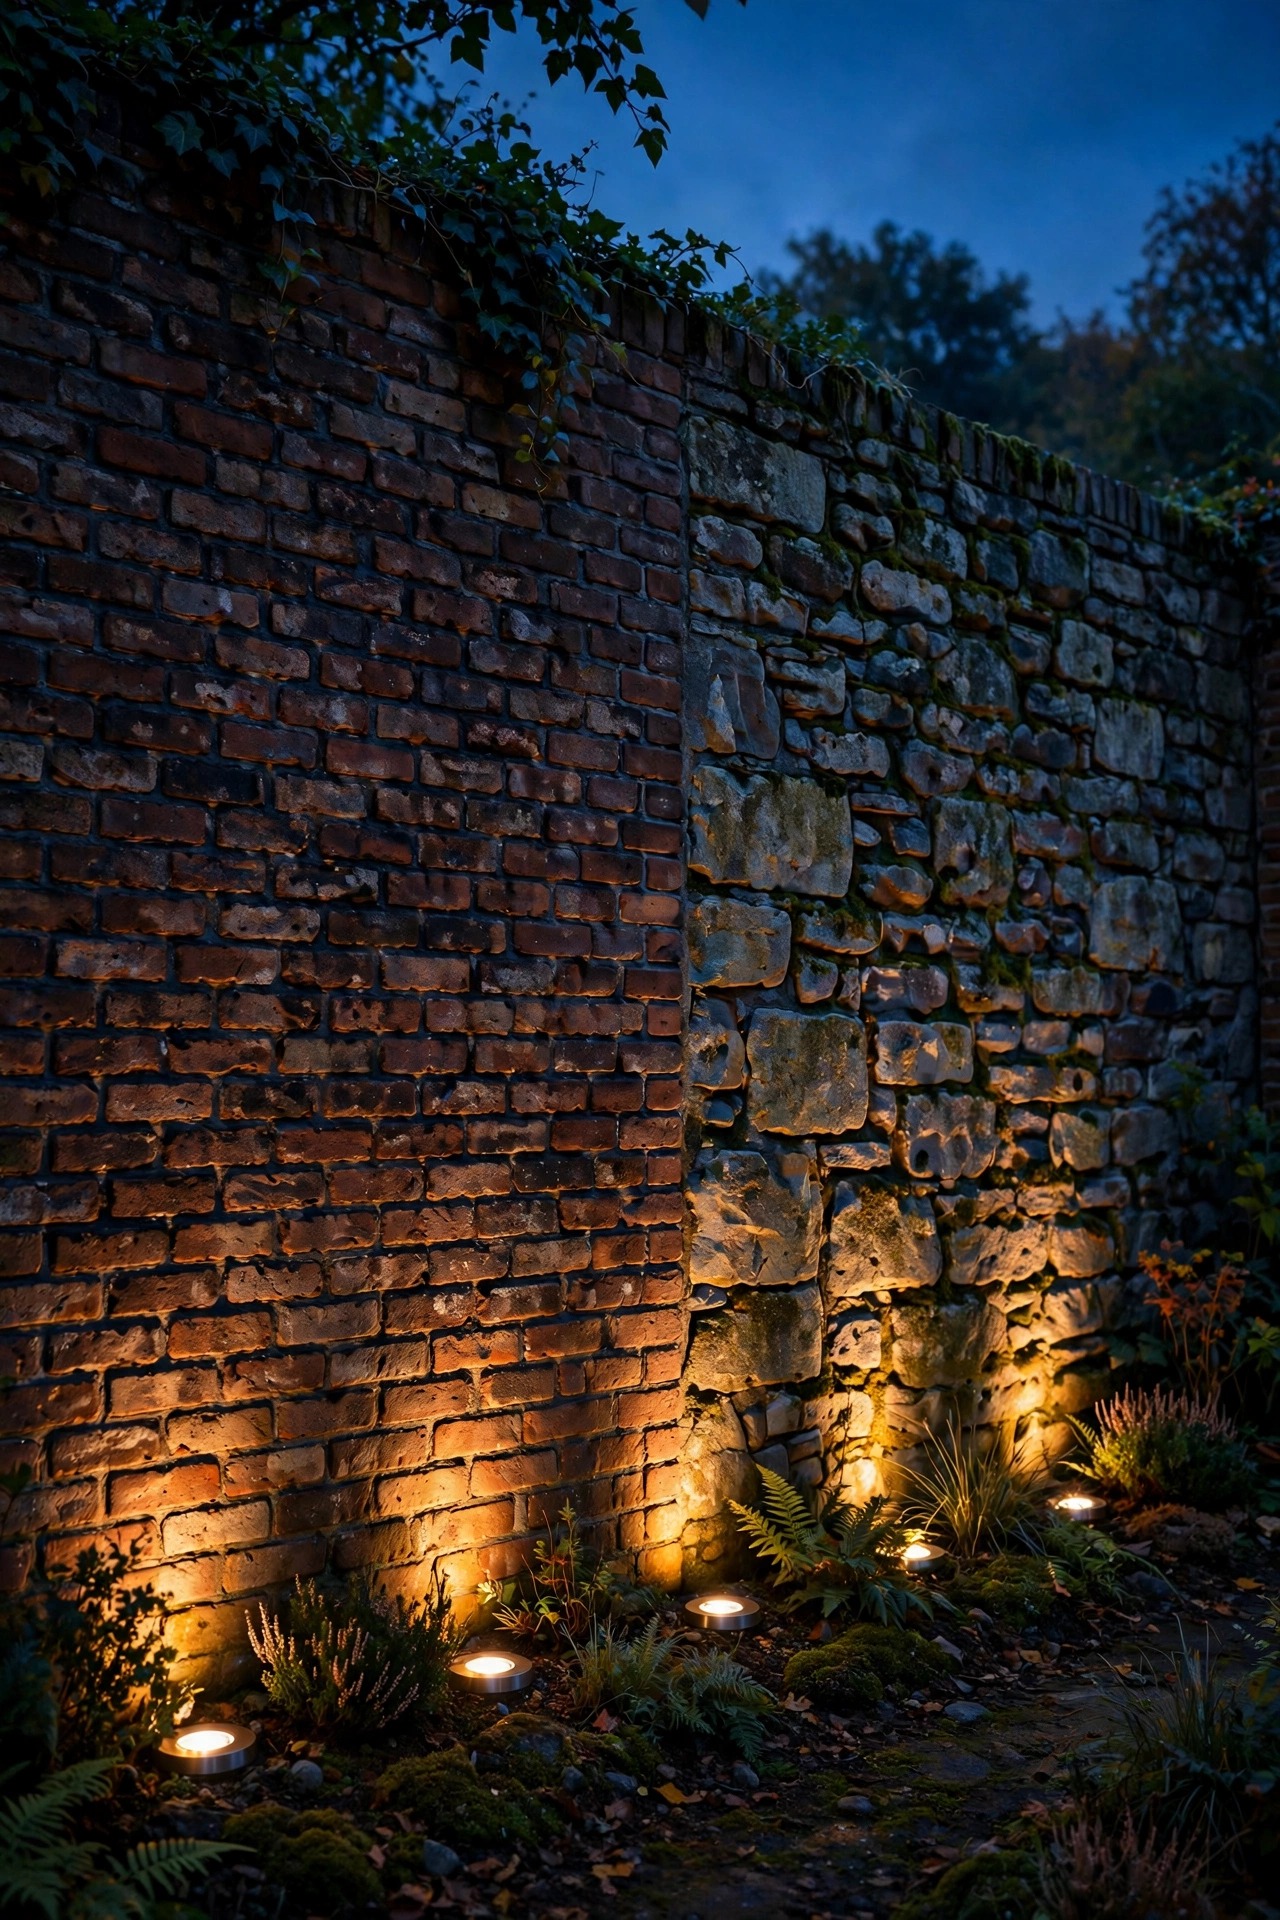
7. Graze Brick and Stone With Hidden Well Lights
Traditional homes usually have masonry worth showing, and modern lighting knows the source should never upstage the surface. In-ground well lights sit flush with the soil or lawn, invisible by day, and throw a narrow beam straight up a brick or stone wall so every bit of texture casts a tiny shadow. Place them six to twelve inches out from the foundation, spaced four to six feet apart, and aim for the seams and ledges where the texture lives. This grazing trick makes a plain brick ranch look tailored and a stone facade look like a boutique hotel. Choose drive-over rated, gasketed fixtures with drainage gravel beneath each one, because a well light that holds water is a well light that fails. Keep the beam narrow, ten to fifteen degrees, so light hugs the wall instead of spilling into windows. If your home is painted siding instead of masonry, skip grazing and wash the wall softly from a few feet further back; glancing light on flat siding only exaggerates every ripple and nail pop.
Suggested budget range: $200 – $800.
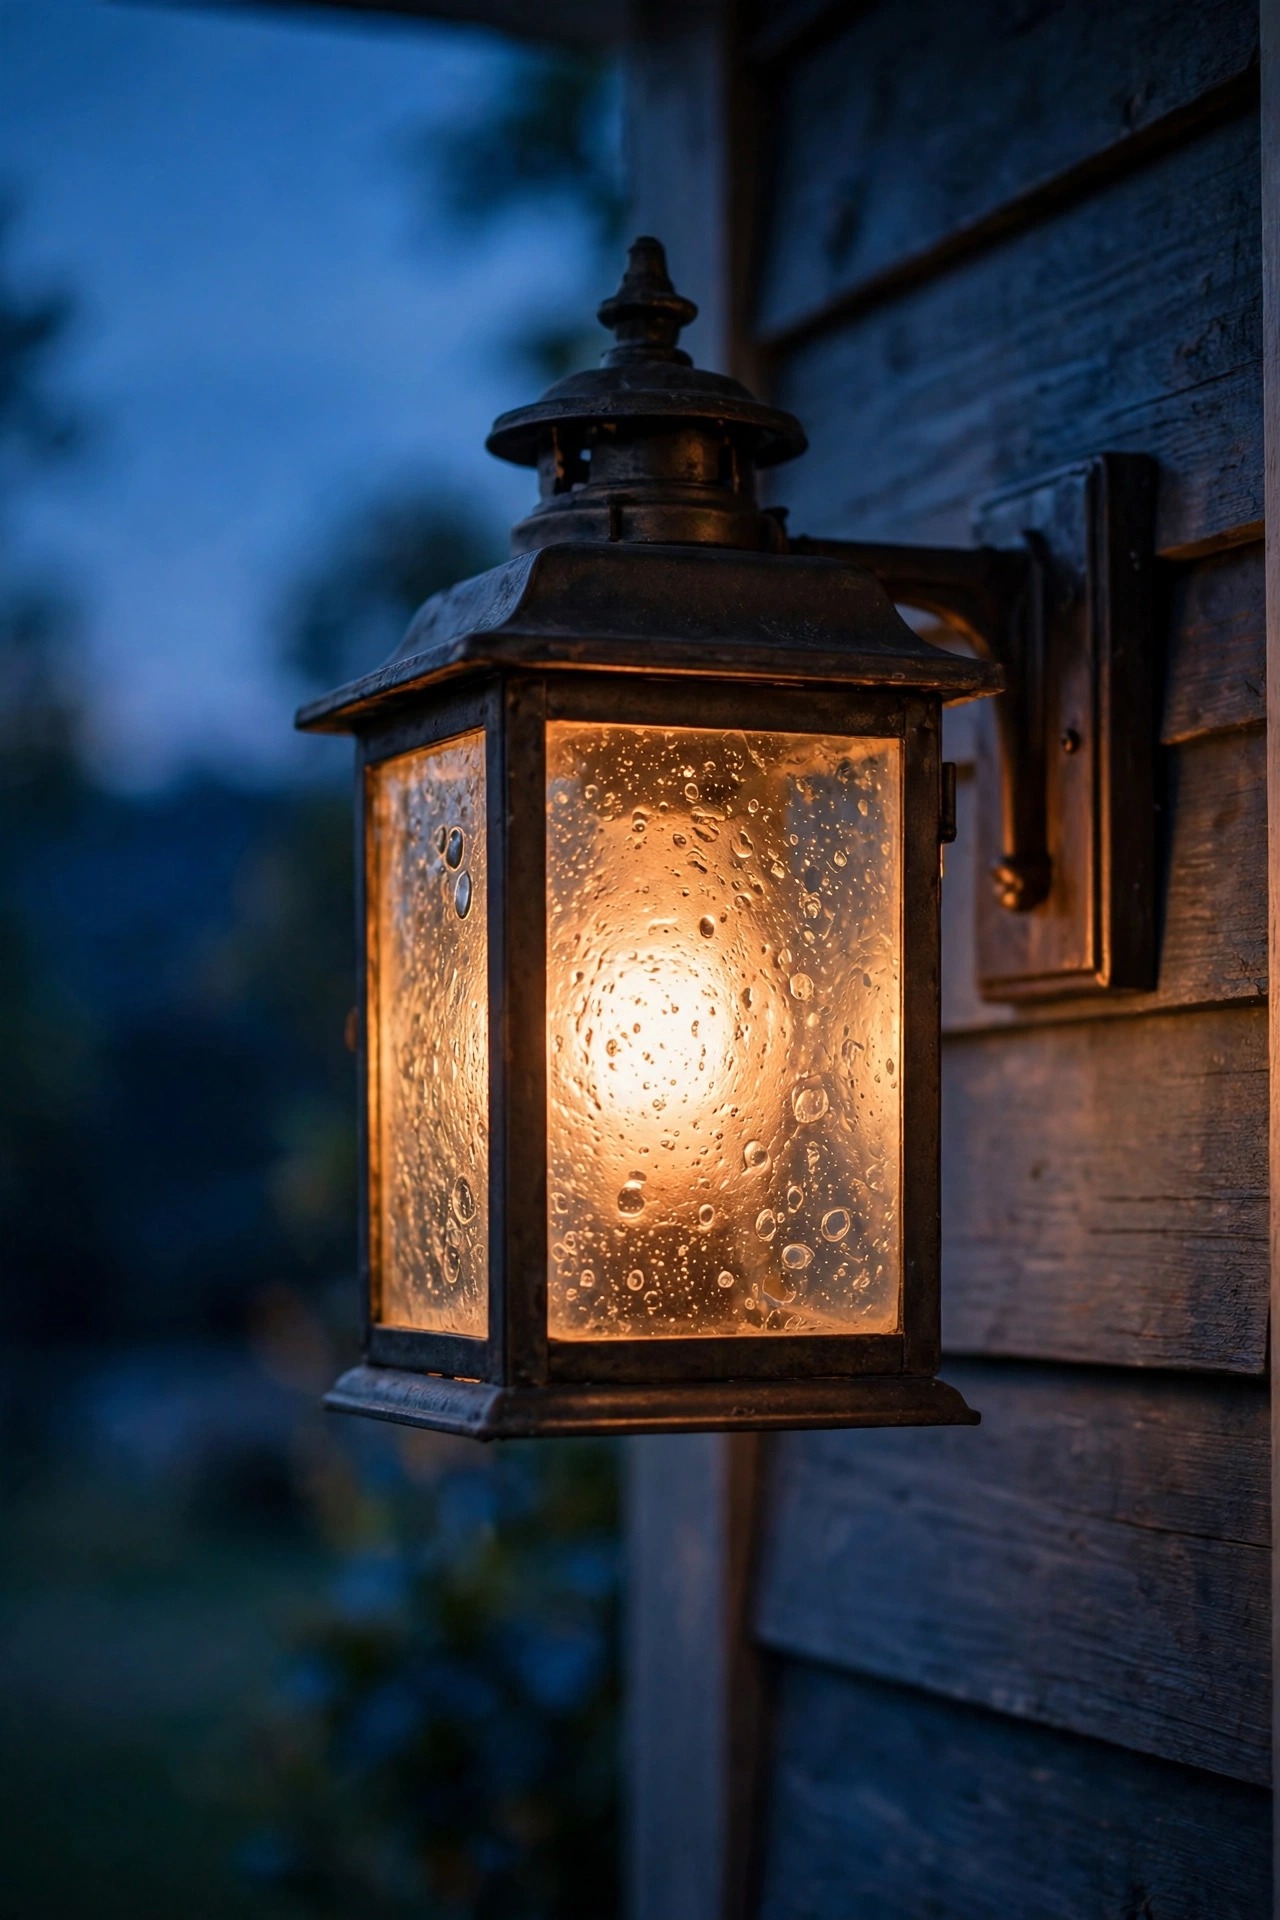
8. Choose Seeded Glass When You Want Softer Light
Glass is the quiet translator between the two styles. Clear glass shows off a filament bulb, which looks sharp, modern, and a little exposed. Seeded glass, the kind full of tiny bubbles, is the traditional favorite because it blurs the bulb into a soft candle-like glow and hides dust and water spots between cleanings. In a transitional scheme, I use seeded or lightly frosted glass on every eye-level fixture, the sconces, pendant, and coach lights, where guests stand close enough to see the bulb, and save clear glass for one deliberate statement piece, maybe the porch pendant. Opal or milk glass is the third option, the most modern of the three, glowing as an even white shape with no visible bulb at all. Whichever you choose, commit: mismatched glass across matching fixtures is the detail that makes a yard look assembled from clearance shelves. Replacement glass panels are cheap, so if your existing lanterns are sound but the glass is cracked or dated amber, a glass swap alone can move the whole entry five years younger in an afternoon.
Suggested budget range: $60 – $250.
9. Tuck Recessed Lights Into Steps and Retaining Walls
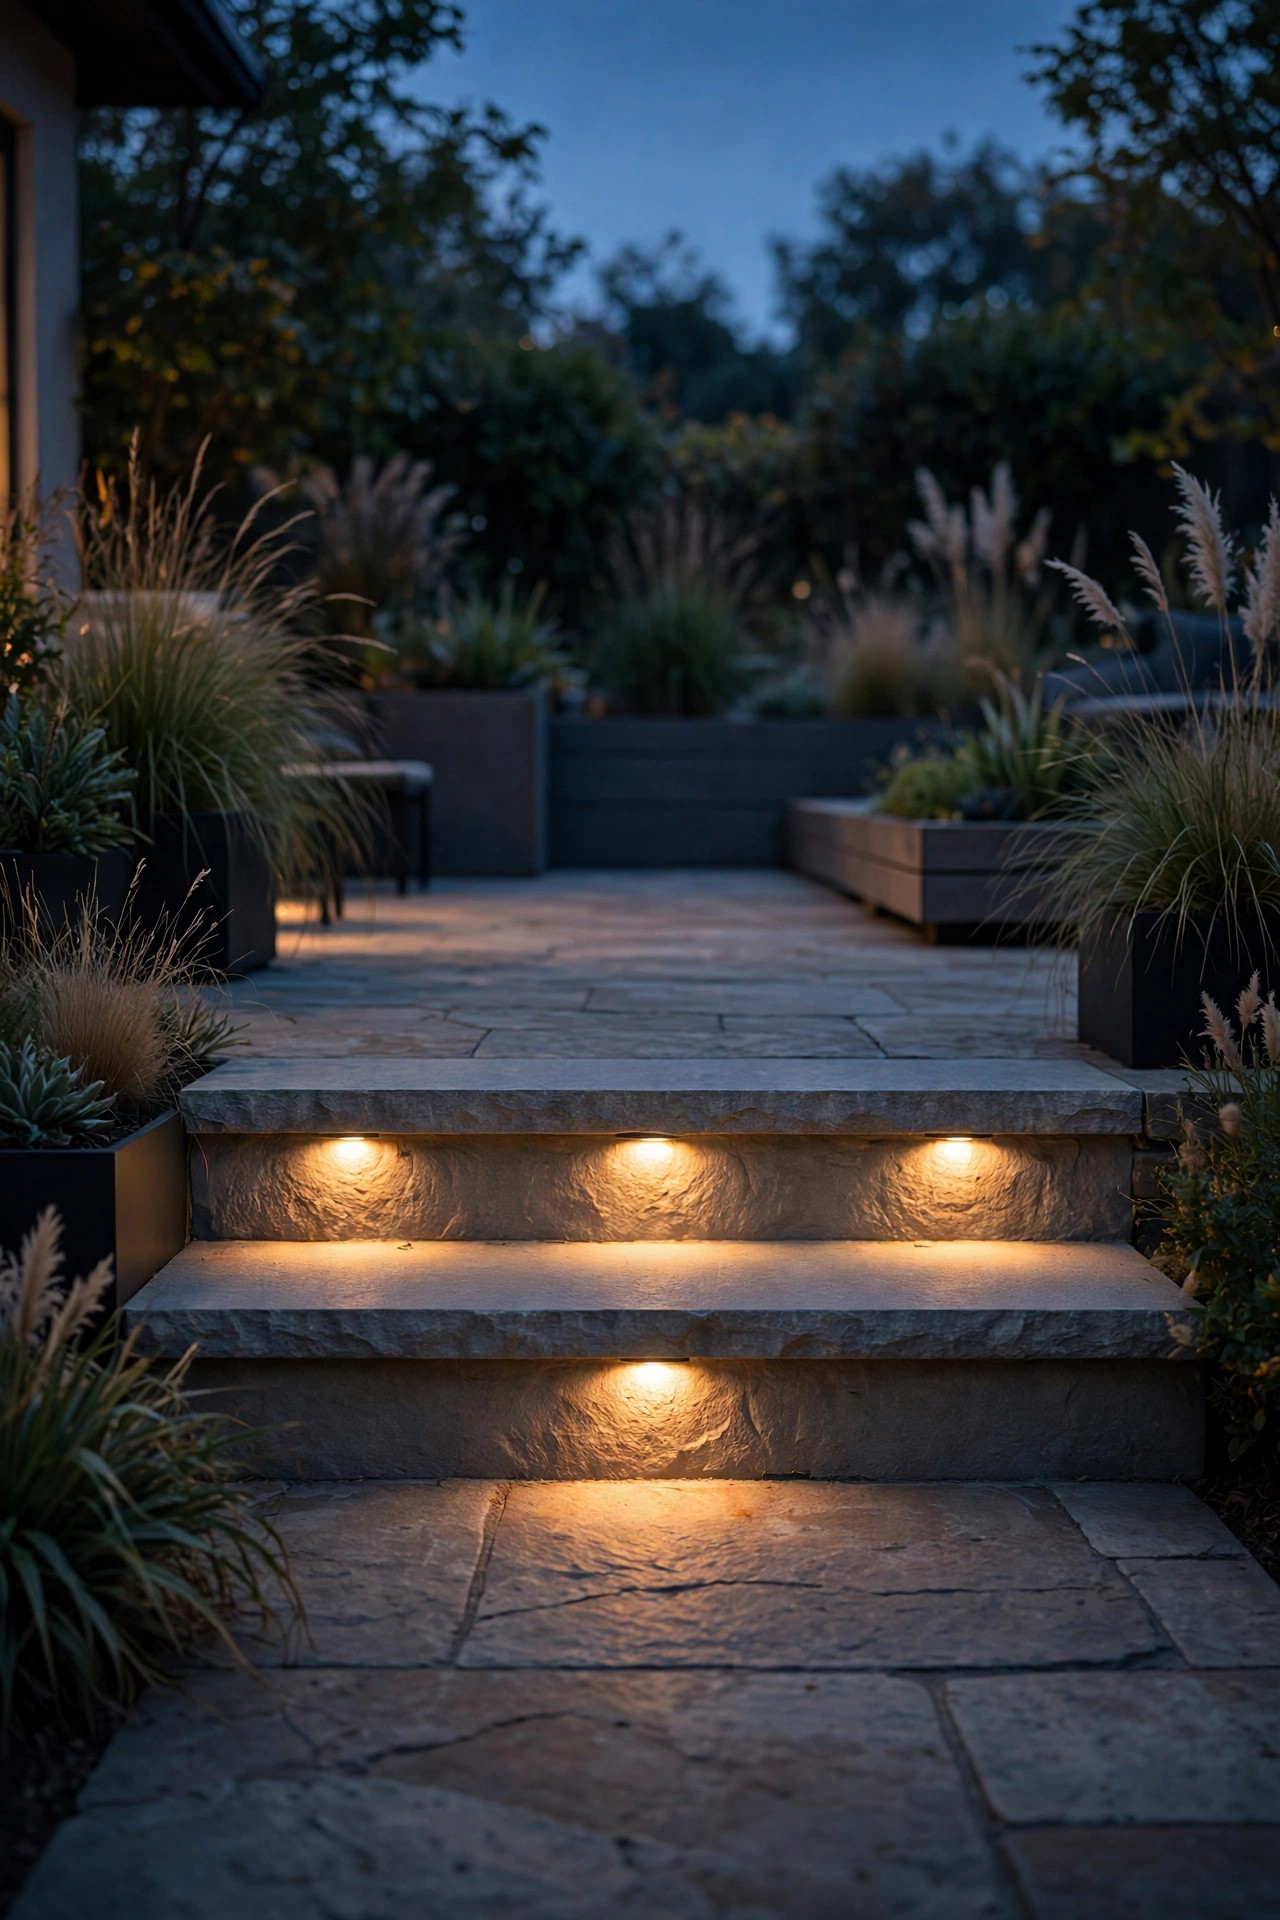
Nothing modernizes a traditional entry faster than light that appears from architecture instead of fixtures. Recessed step lights set into stair risers, and small louvered or eyelid fixtures mortared into retaining walls, wash each tread with a quiet band of light and vanish completely by day. Plan them during any hardscape work, because the wire runs inside the masonry; retrofitting means chiseling, which nobody enjoys pricing. On steps, one fixture per tread on alternating sides, or a single centered light on every other step, keeps feet sure without a dotted glare line. Aim the light down and shield the lens so climbers see the tread, not the source. Everything here must be rated for wet locations and masonry embedment, and the low-voltage runs should be planned with the transformer before the wall caps go on. If your steps are wood rather than stone, surface-mount strip or small deck lights under each tread nosing for the same floating effect at half the labor.
Suggested budget range: $150 – $700.
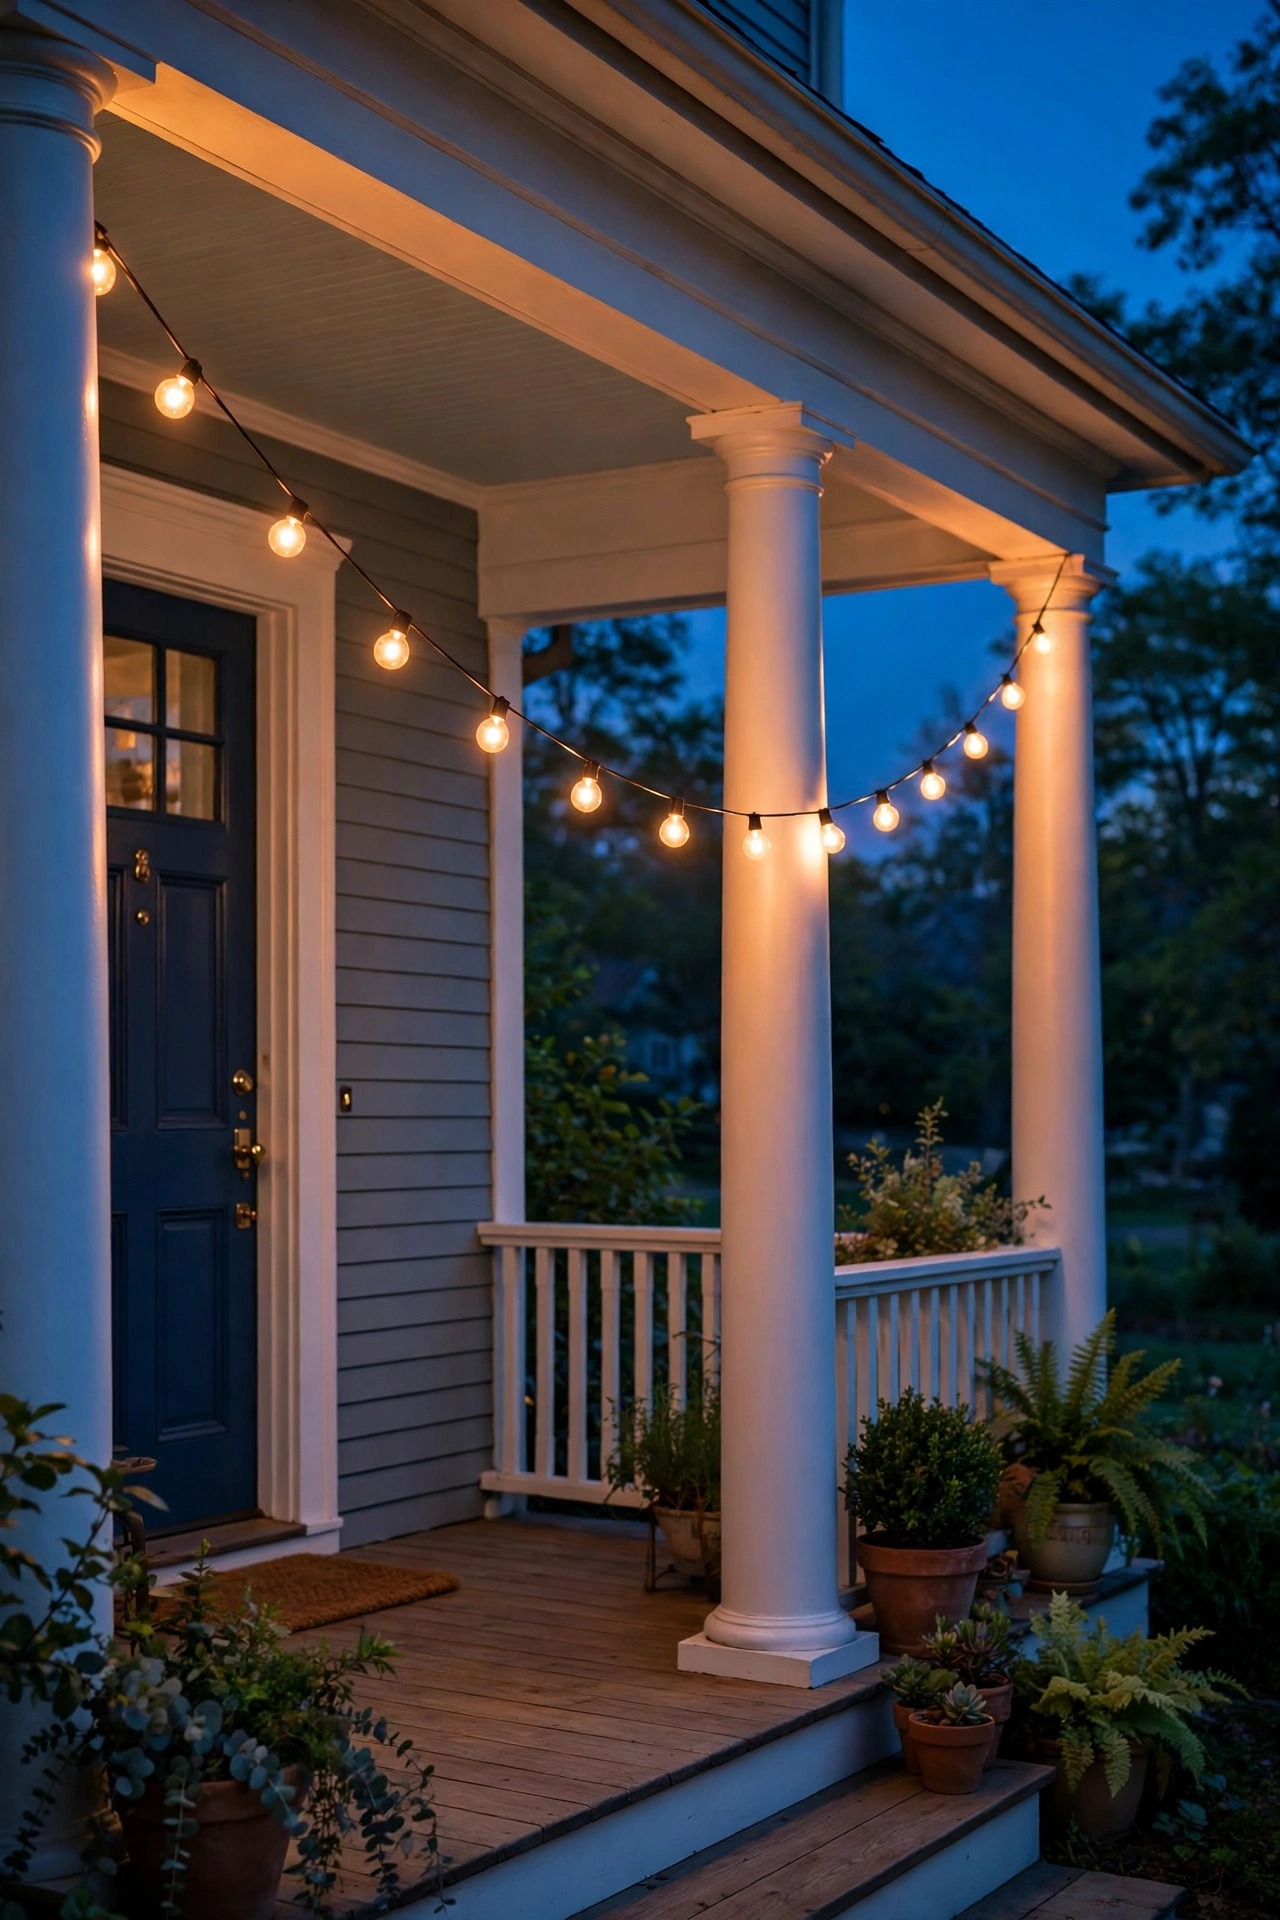
10. Hang a Single Strand of Globe Lights, Then Stop
String lights are the friendliest bridge between eras: the globe shape nods to old café courtyards, while a single disciplined strand reads clean and current. The transitional rule is one strand, one swag line, warm white globes, and nothing else competing overhead. Run it across the porch ceiling, along the pergola edge, or from the house corner to one tree, with a gentle catenary dip of about a foot over a twelve-foot span. Use commercial-grade cord with suspended sockets rather than flimsy indoor-style wire, hang it from proper hooks or a guide cable, and never staple through the cord. Shatterproof LED globes in 2700K keep the look warm and the replacement cycle long, and a plug-in dimmer lets the strand drop to a candlelight whisper after dinner. Keep strands at least ten feet from any pool and plugged into a GFCI outlet, always. Where a strand crosses a seating area, check head clearance at the lowest dip: six feet eight inches minimum, more if your family runs tall.
Suggested budget range: $40 – $150.
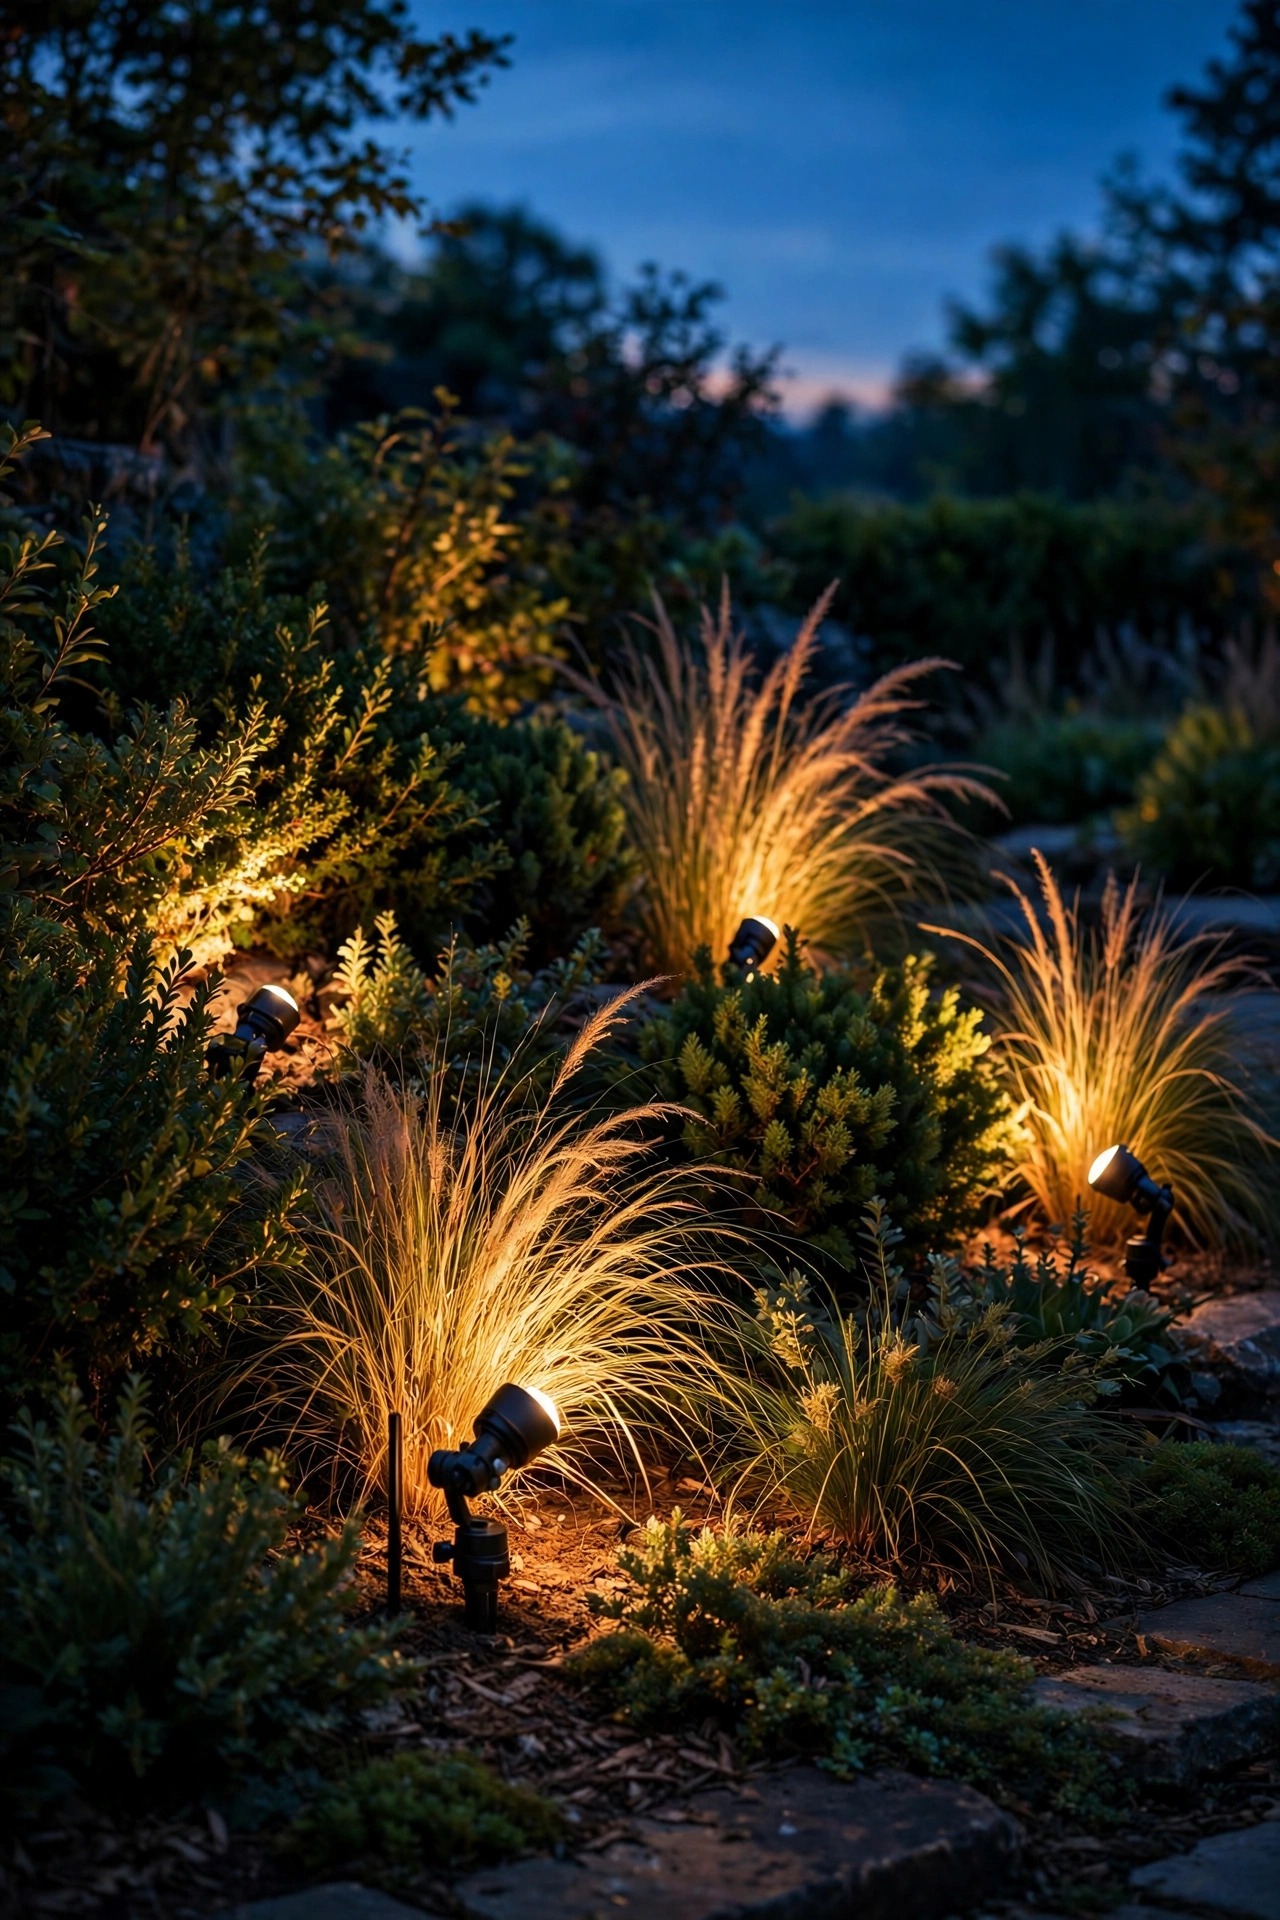
11. Aim Adjustable Spotlights Into the Planting Beds
Traditional planting beds are lush and layered, and they swallow light whole if you only light the paths. A few adjustable spotlights on short stakes, tucked behind shrubs and aimed across the bed rather than down at the mulch, give the garden depth after dark. Cross-light a small ornamental tree, backlight an ornamental grass so it glows like a fountain, or skim light across a bed of hostas so the leaf texture shows. Keep fixtures hidden behind foliage from the street view, nine to twelve inches of stake height is plenty, and use shields or hex louvers on any fixture a passerby might catch at eye level. This is the layer where modern adjustability wins: gimball heads you can re-aim as plants grow beat fixed traditional bullets every season. Space accent spots by feature, not by footage; three well-aimed fixtures outperform eight hopeful ones. Bury the cable a few inches under the mulch and leave a service loop at each fixture so re-aiming and seasonal plant swaps never mean re-wiring.
Suggested budget range: $120 – $500.
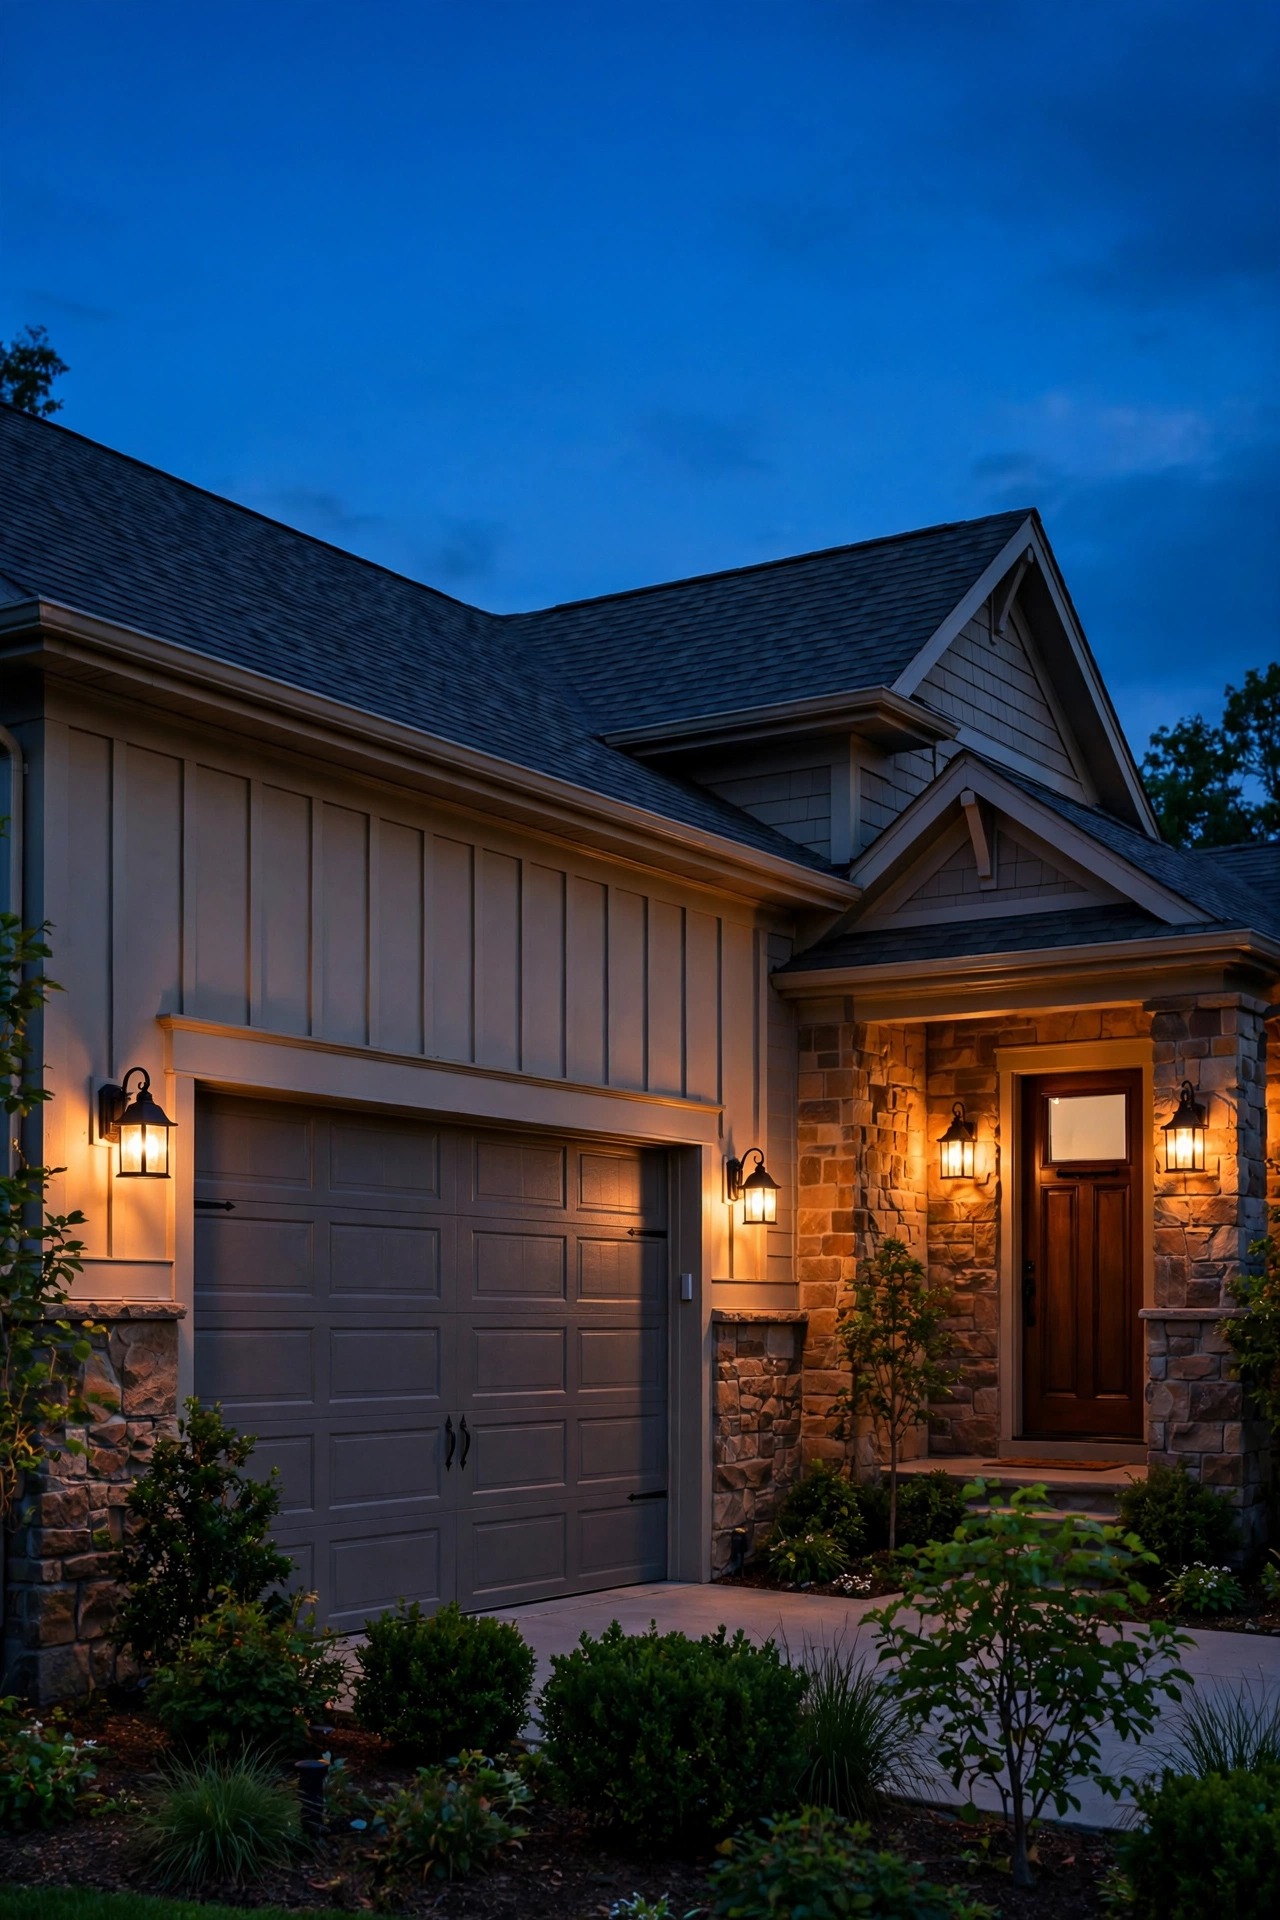
12. Echo the Entry With Coach Lights at the Garage
The garage door is the biggest blank wall most homes show the street, and traditional coach lights are its oldest friend. The transitional move is to keep the coach light shape, tall, tapered, gently crowned, but choose the simplified version with straight lines and clear or seeded glass, in the same finish as your front door sconces. One fixture centered above the door works for a single bay; a pair flanking a wide door looks intentional and lights the driveway apron where guests actually park and unload. Match the bulb temperature to the entry, 2700K, and put the garage fixtures on the same photocell or timer zone as the porch so the whole facade wakes and sleeps together. Scale generously: a fixture that looks right beside a front door looks lost over a sixteen-foot garage door, so go one size up. If the garage wall is wired for only one box, a licensed electrician can usually split a run; surface conduit painted to match the siding is the budget alternative and looks tidy when done carefully.
Suggested budget range: $150 – $600.
13. Hold Every Bulb to One Temperature: 2700K
If transitional style has a single commandment, this is it. Traditional warmth and modern cleanliness meet at 2700K, the color of candlelight and old incandescent bulbs, and every fixture in the yard should match it exactly. A 4000K path light beside a 2700K porch lantern will clash more loudly than any style mismatch, because the eye reads color disagreement as disorder. When you shop, buy all your bulbs and integrated fixtures in one order where you can, and check the printed Kelvin rating on every box; soft white and warm white labels vary by maker, but the number does not lie. Integrated LED fixtures cannot change bulbs later, so confirm the temperature before they go up, and keep one spare of each integrated type in the garage. Filament-style LEDs give the traditional glass fixtures their period glow without the heat or the appetite for electricity. Dimming helps too: most warm LEDs dim toward an even warmer amber, which suits evening use. Honestly, unify the temperature and half your style blend is already done.
Suggested budget range: $50 – $200.
14. Put the Whole Scheme on Timers and Dimmers
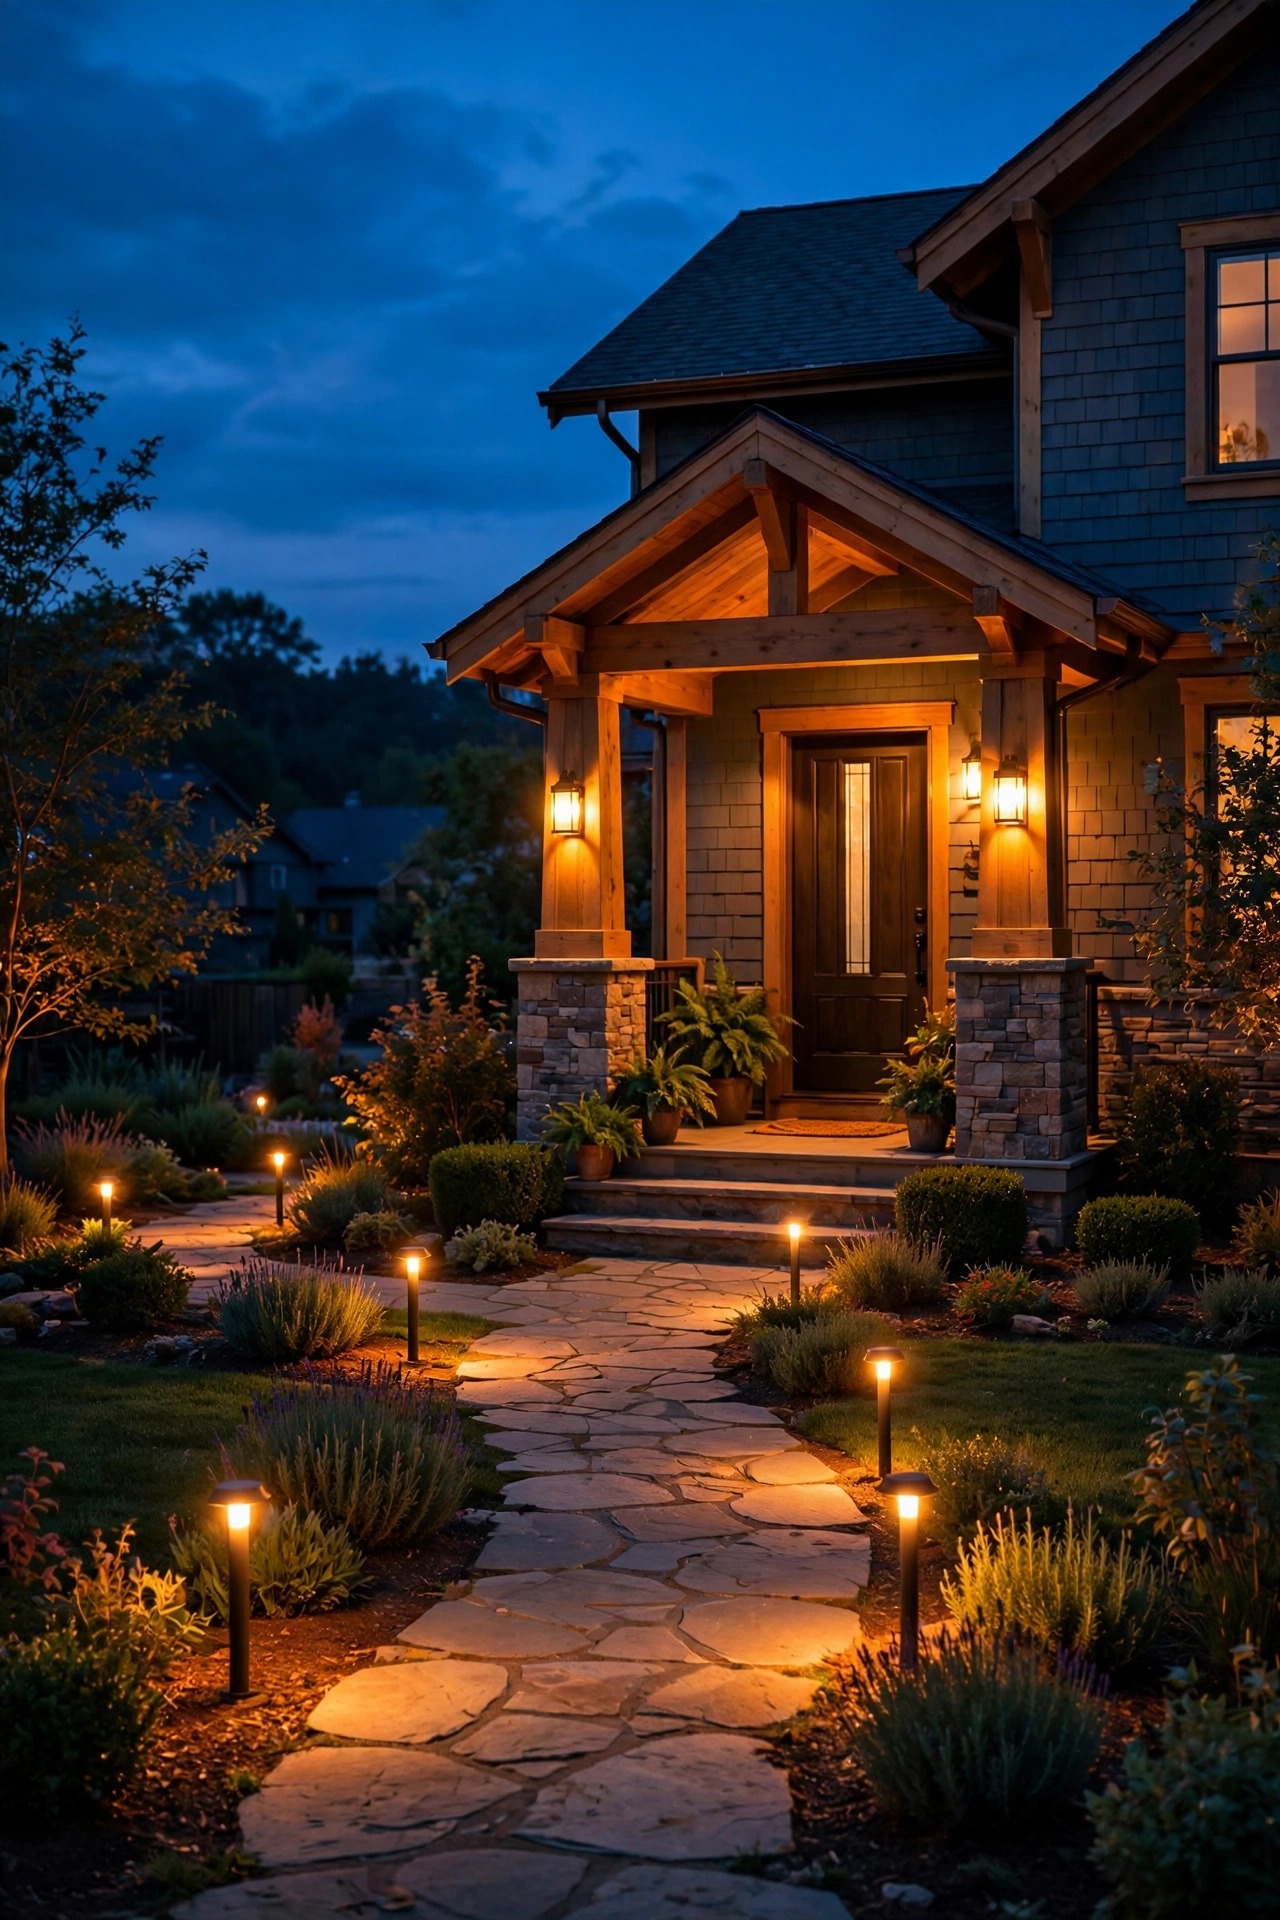
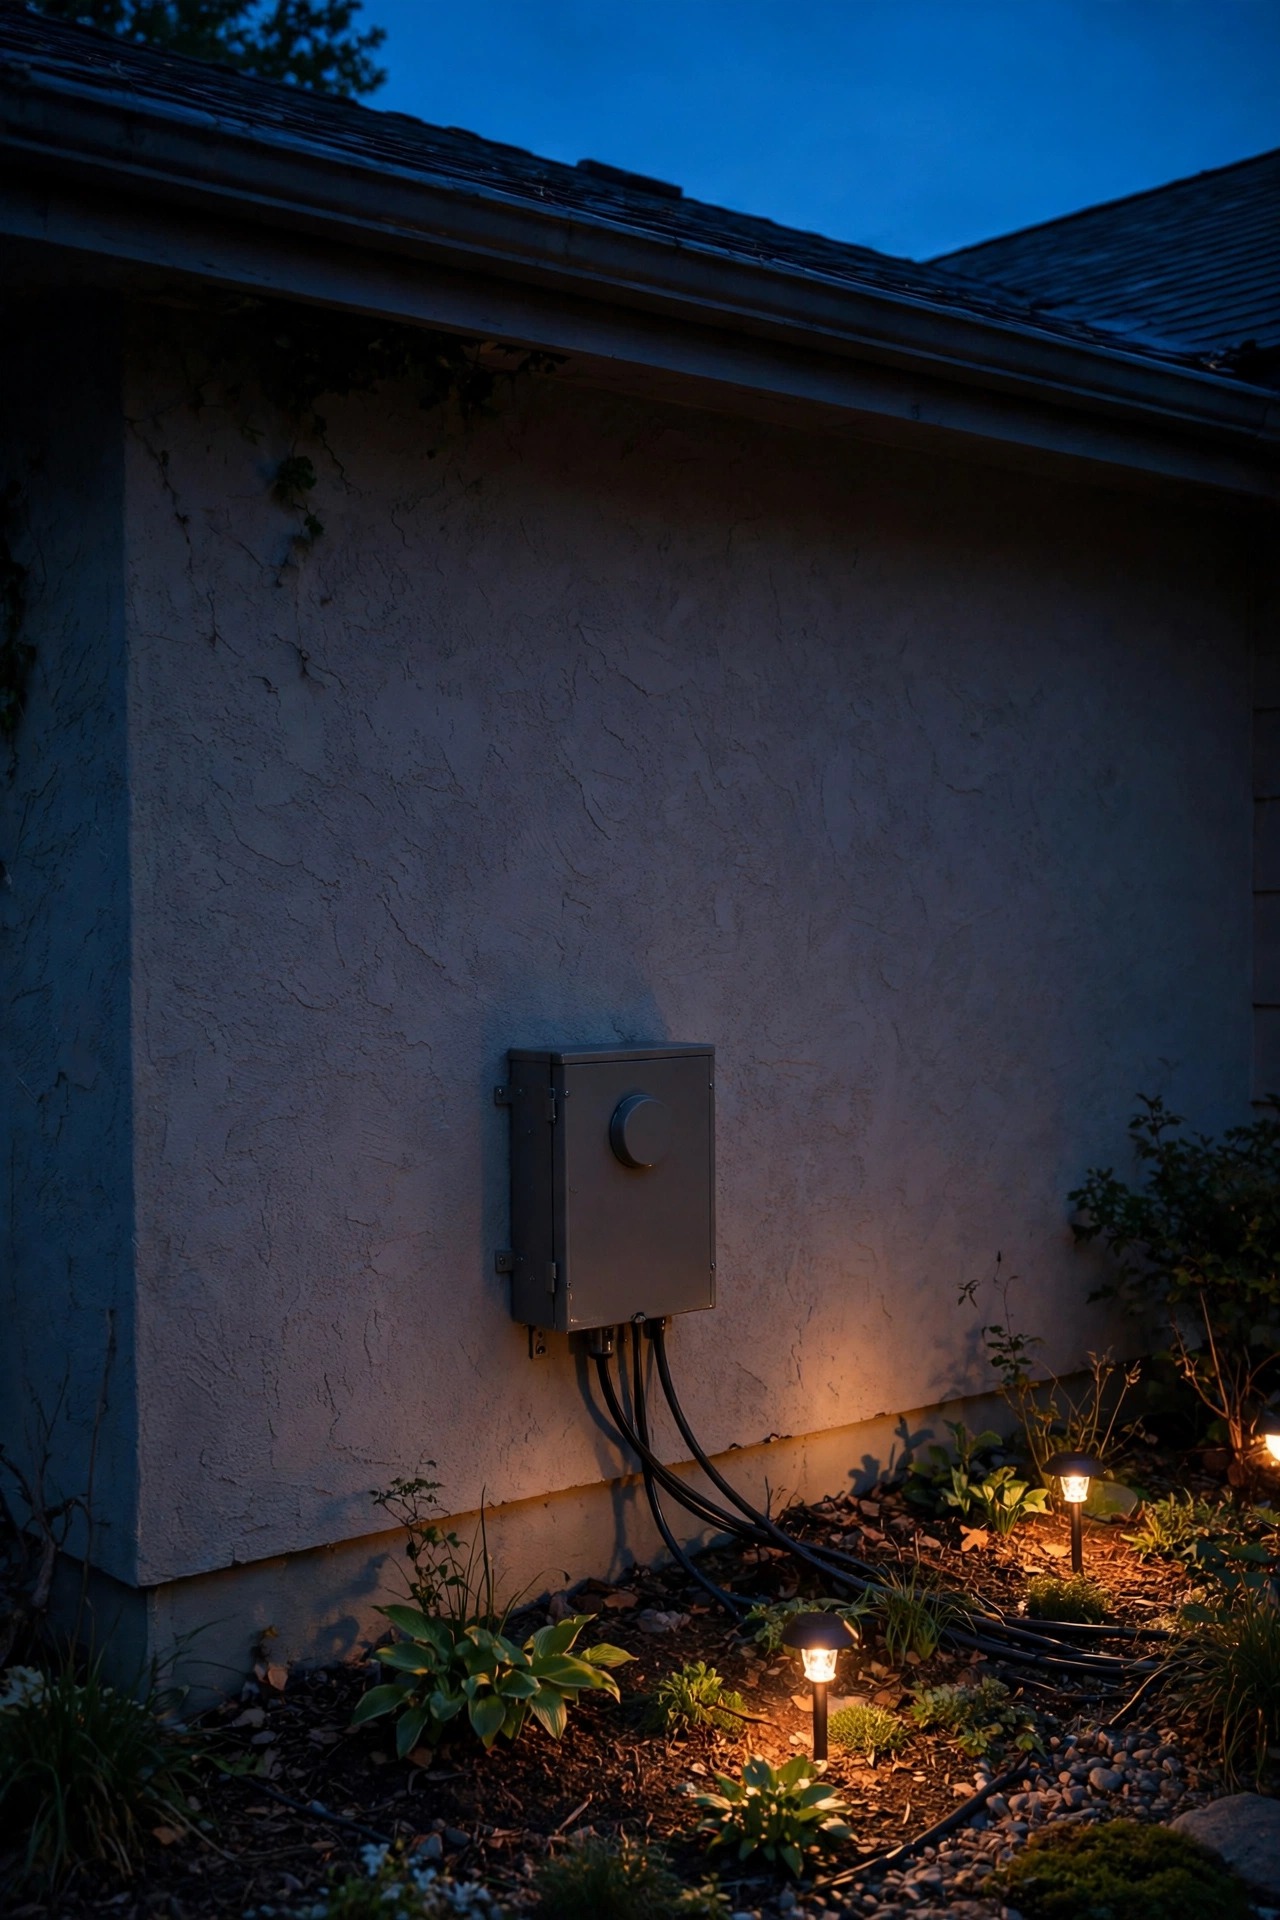
A blended scheme only blends when it behaves as one system, and controls are how you get there. Start simple: a transformer with a built-in photocell and timer runs the low-voltage layers from dusk to a set hour, say eleven, so the yard glows for evening arrivals and goes dark for sleep. Add plug-in smart timers or app-controlled plugs for the porch pendant and string lights, and you can call up a welcome scene from the driveway. Dimmers matter as much as schedules, because transitional light is moody light: entry fixtures at full for arrivals, accents at sixty percent for the long evening, the hero tree fading last. Group fixtures into zones that mirror the three layers, guidance, welcome, accent, and you will find yourself adjusting scenes instead of walking the yard with a switch. Keep one manual override you can reach in the dark, and label the transformer zones with a paint pen. Set it once, then let the house perform the same graceful routine every night without you thinking about it.
Suggested budget range: $60 – $350.
15. Add a Motion Light That Welcomes Instead of Blasting
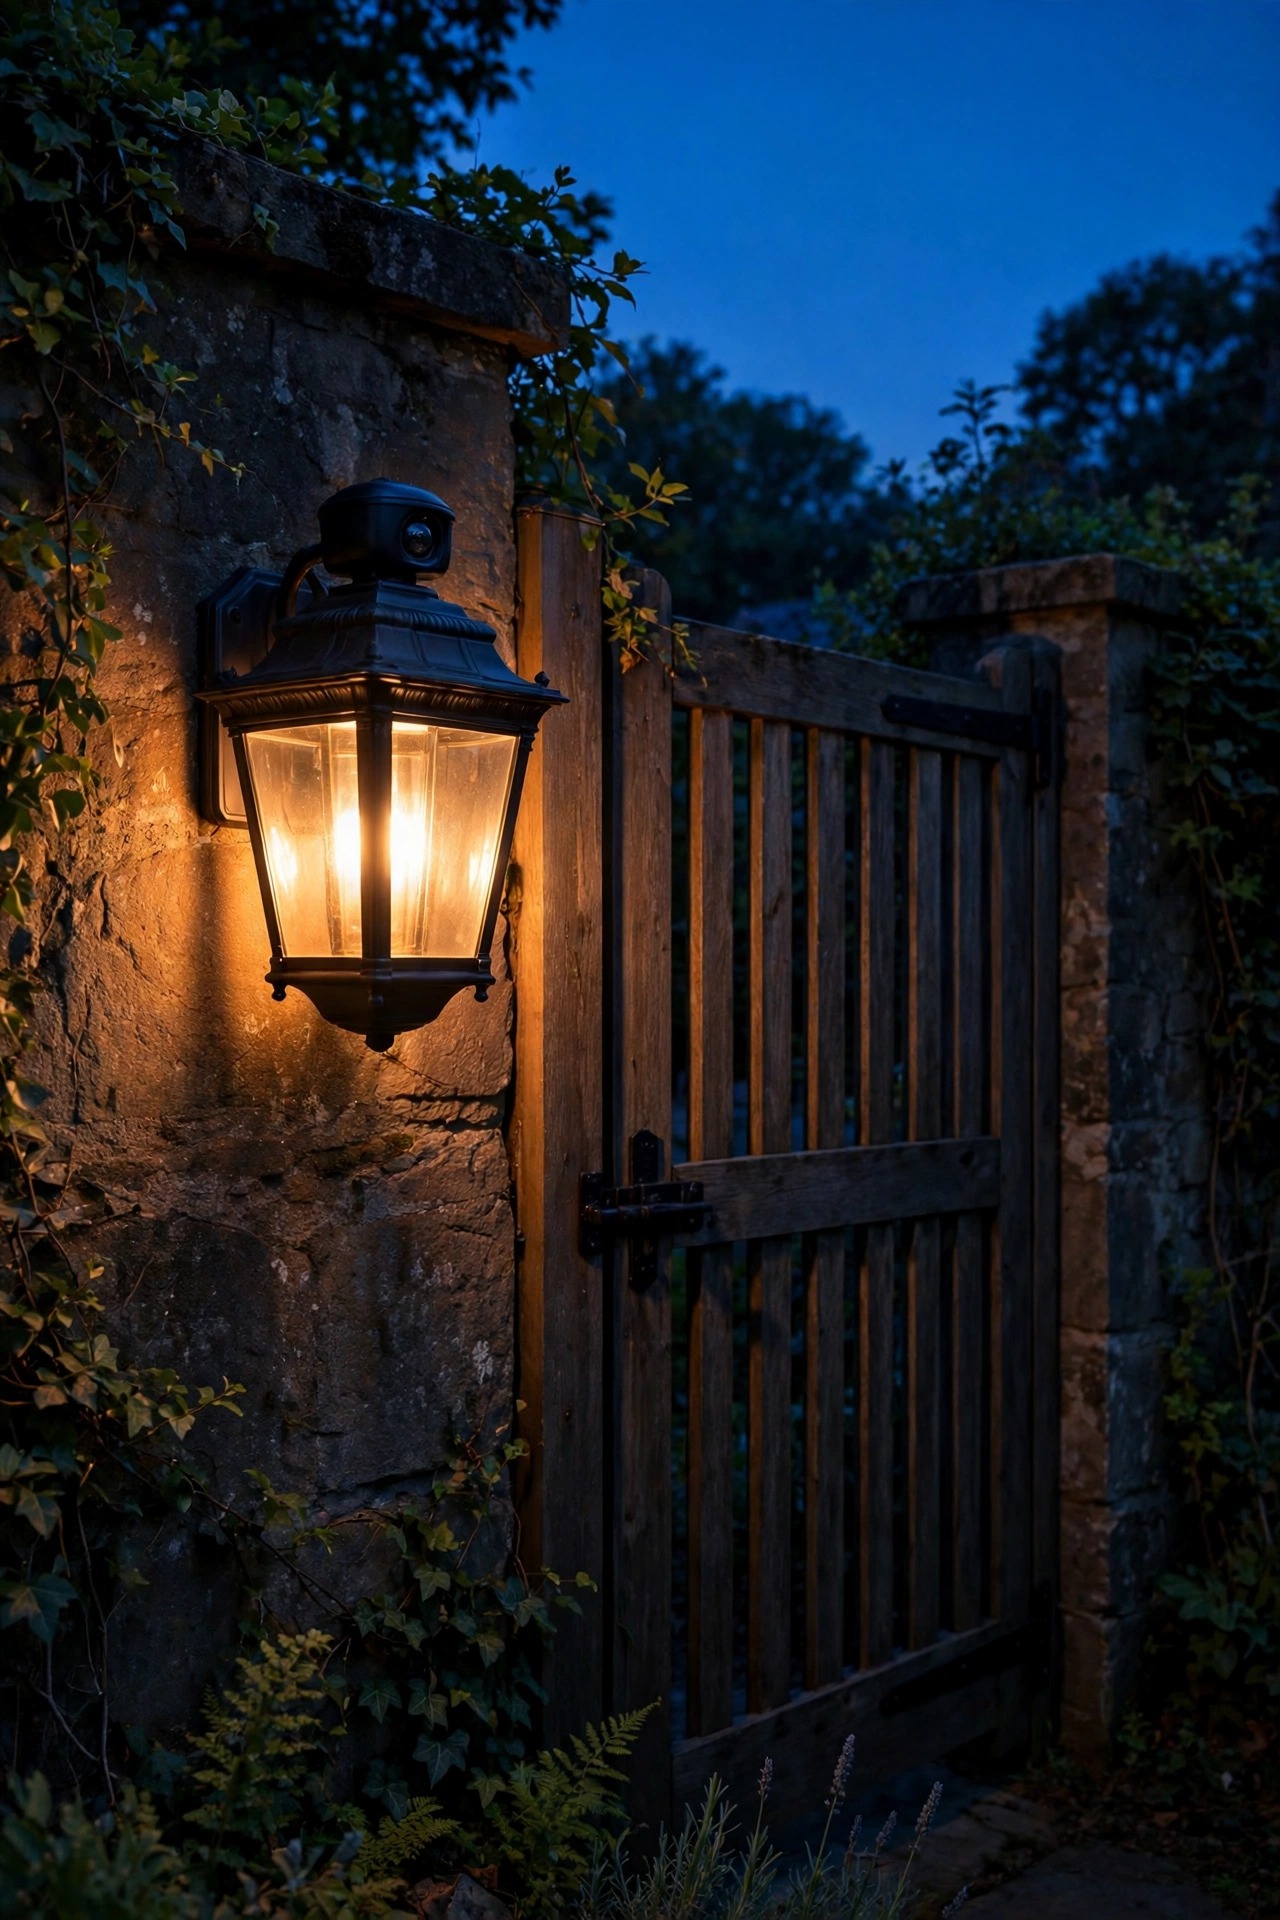
Security lighting is where traditional homes often break character, with a twin-head flood glaring over the driveway like a loading dock. The transitional answer is a motion-sensor lantern that matches your sconces: same finish, same glass, same warm bulb, simply wired to brighten when someone approaches the side gate, garage walkway, or back steps. Modern sensor fixtures let you set the sensitivity, the distance, and how long the light stays on, and the better ones idle at a low glow and rise to full only when triggered, which feels like hospitality rather than surveillance. Aim sensors along the path of travel, not across the street, and keep the detection zone inside your own lot to avoid headlight false alarms. Warm 2700K output preserves the mood of the rest of the scheme even at full brightness. Place the fixture seven to eight feet up, out of casual reach, and test the walk pattern at night before final tightening. One well-mannered sensor light quietly replaces the floodlight and keeps the whole facade in character.
Suggested budget range: $60 – $250.
16. Wash the Porch Columns With Slim Uplights
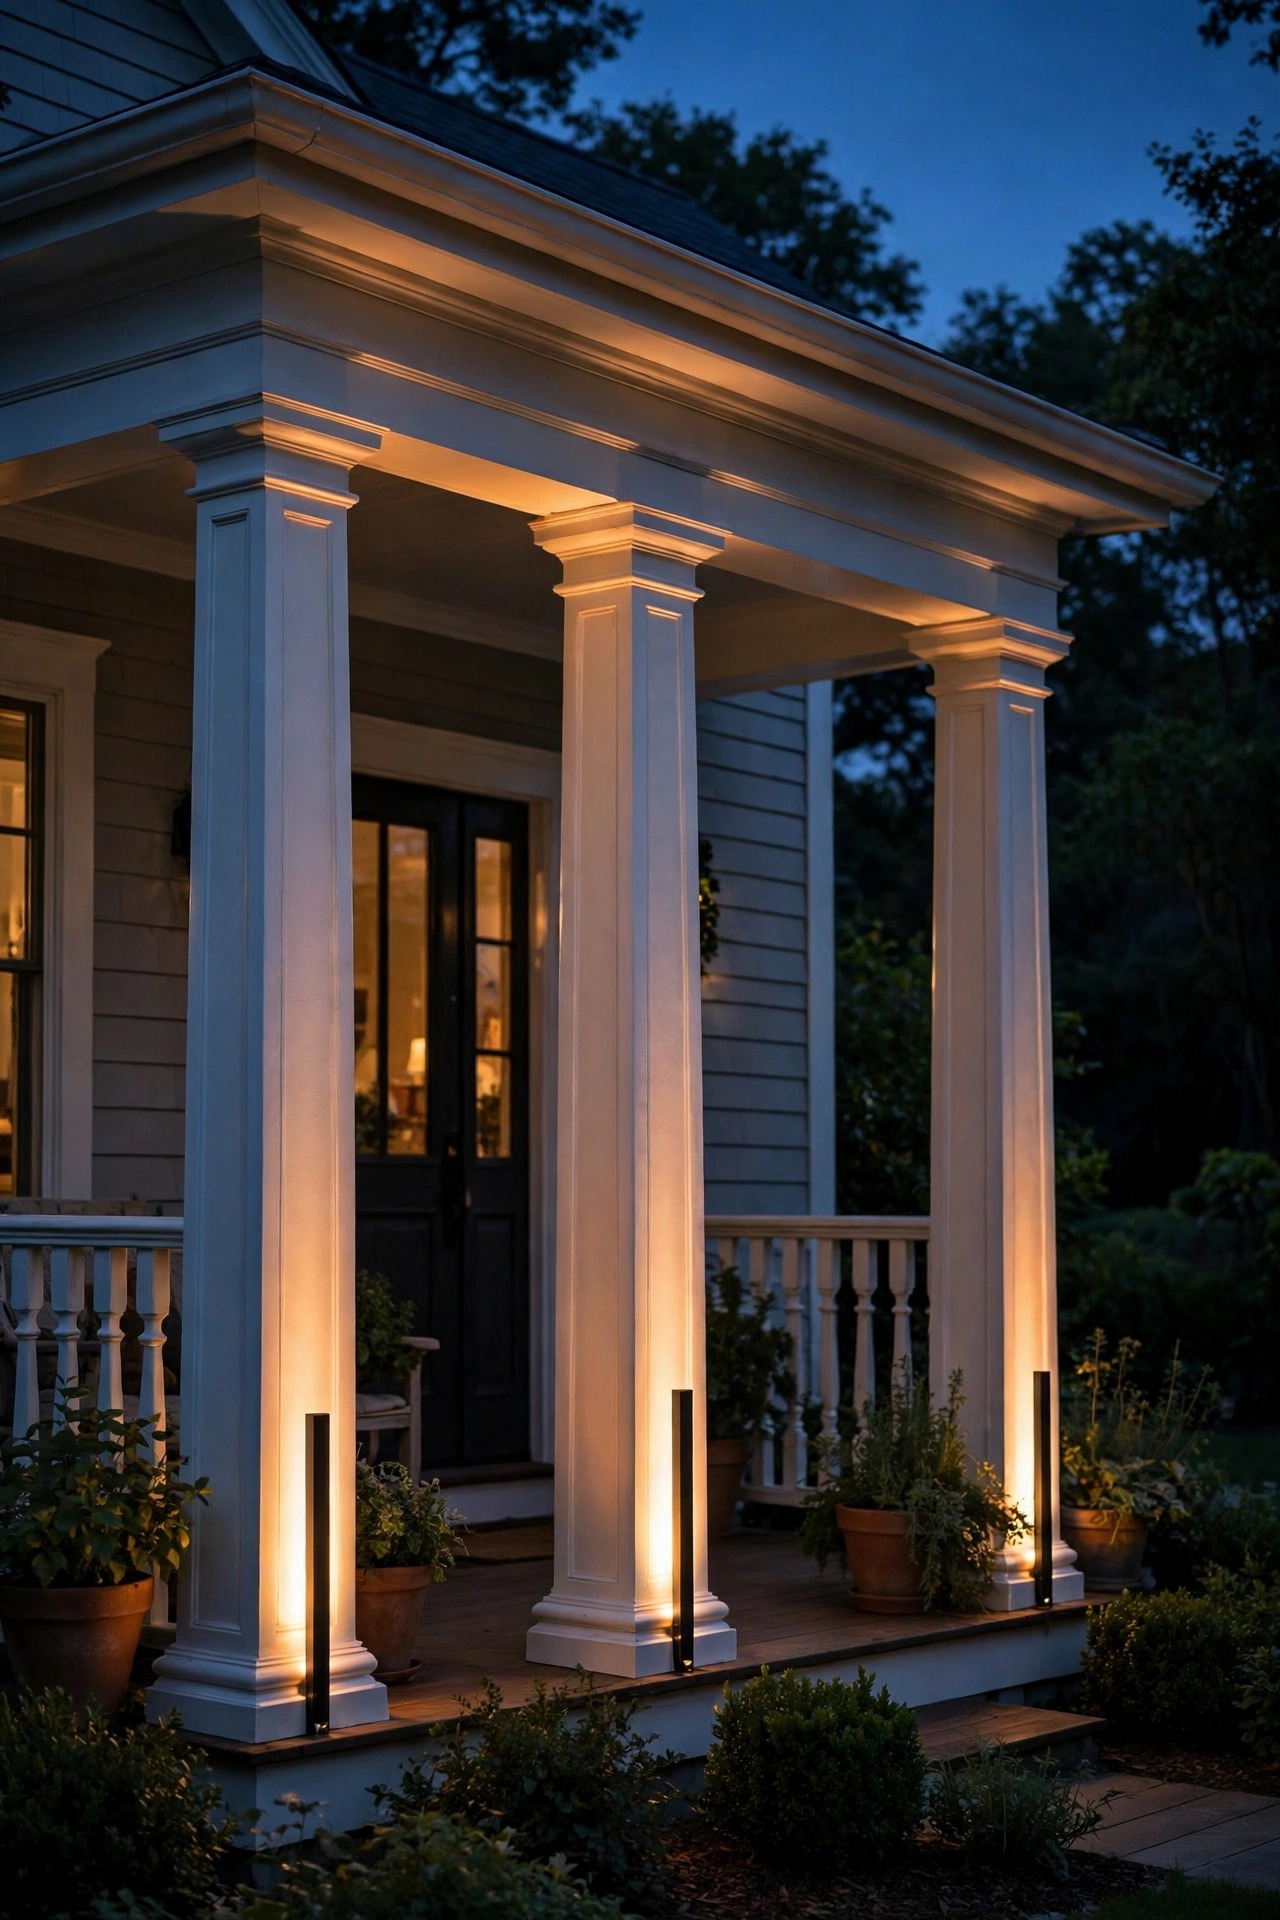
Columns are the most traditional feature a porch can have, and a slim modern uplight at the base of each one turns them into glowing architecture after dark. Use narrow, low-profile fixtures, in-ground wells or short cylinders, set six to ten inches out from the column base and aimed straight up the shaft. The light catches capitals, trim rings, and the porch ceiling, giving the whole entry a quiet grandeur that photographs beautifully and welcomes guests even better. Match the finish to your path lights so the daytime look stays tidy, and keep the beam narrow enough that light stays on the column instead of leaking into porch sitters eyes. Two columns want two lights, always a matched pair; four columns can often share the rhythm with lights on the outer pair only. This is a small, contained project, a few hours of trenching along the porch edge, and it pays back every single evening. If your porch has square brick piers instead of round columns, the same trick grazes the masonry texture we talked about earlier.
Suggested budget range: $100 – $400.
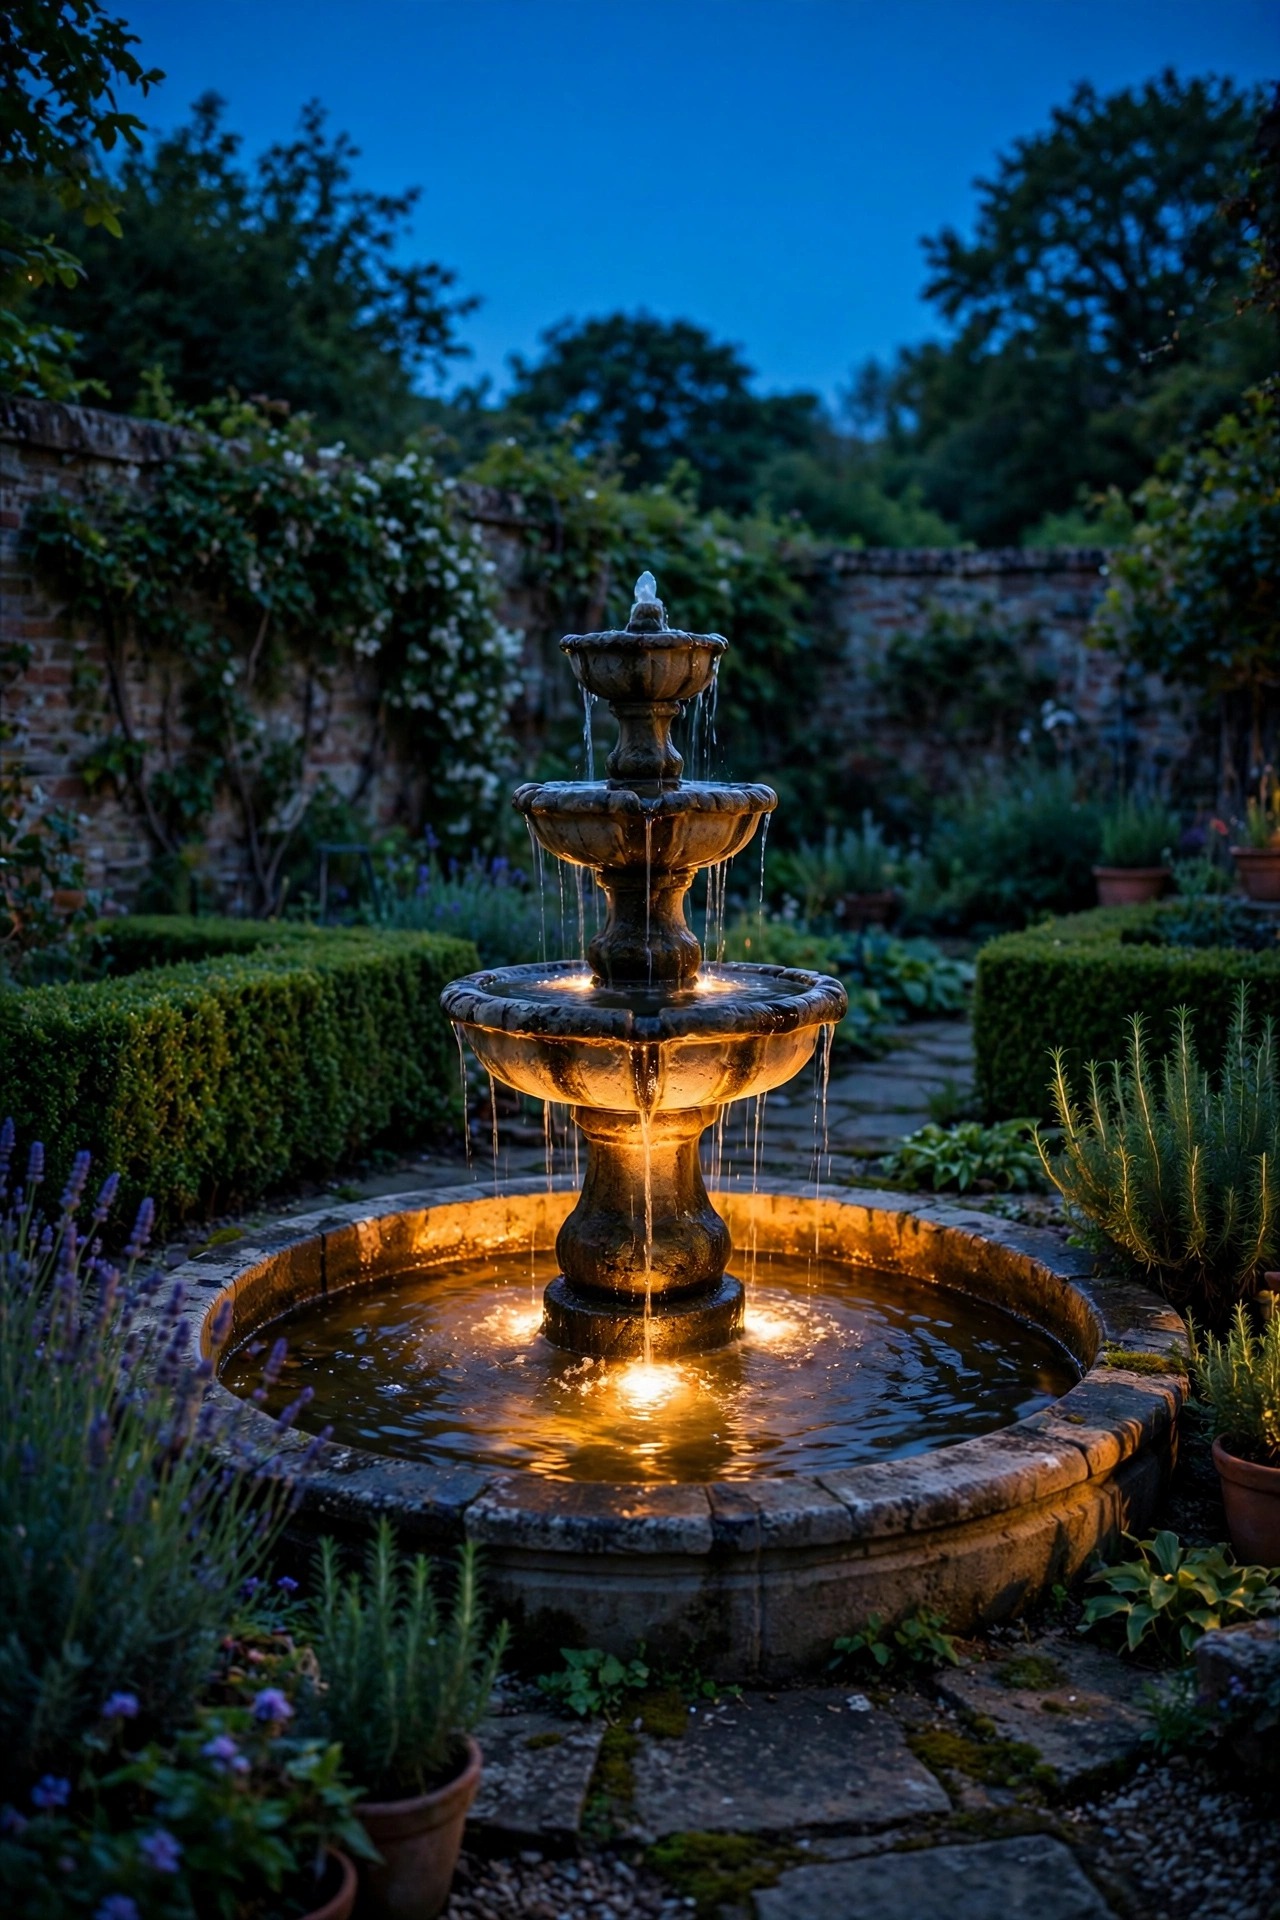
17. Give the Fountain or Birdbath the Accent Spot
Every blended garden deserves one small moment of theater, and water is the easiest stage. A single submersible light in a fountain bowl, or a small spotlight aimed at a birdbath from a shrub two feet away, makes moving water sparkle and gives the whole garden a focal point that is neither fixture-shaped nor modern nor traditional, just lovely. Use warm light only; cool white underwater turns water an aquarium blue that fights everything else in the yard. Submersible fixtures must be rated for underwater use, IP68, and run on low voltage through a GFCI-protected circuit, no exceptions, and keep the transformer well away from the waterline. If your garden has no water feature, a garden statue, a stone urn, or a beautiful ceramic pot can hold the accent spot instead, lit from low and to one side so shadows give it dimension. One focal point is the rule. Two competing sparkles, and the eye does not know where to rest, which is the opposite of the calm this style promises.
Suggested budget range: $80 – $450.
18. Restyle for the Seasons Without Rewiring a Thing
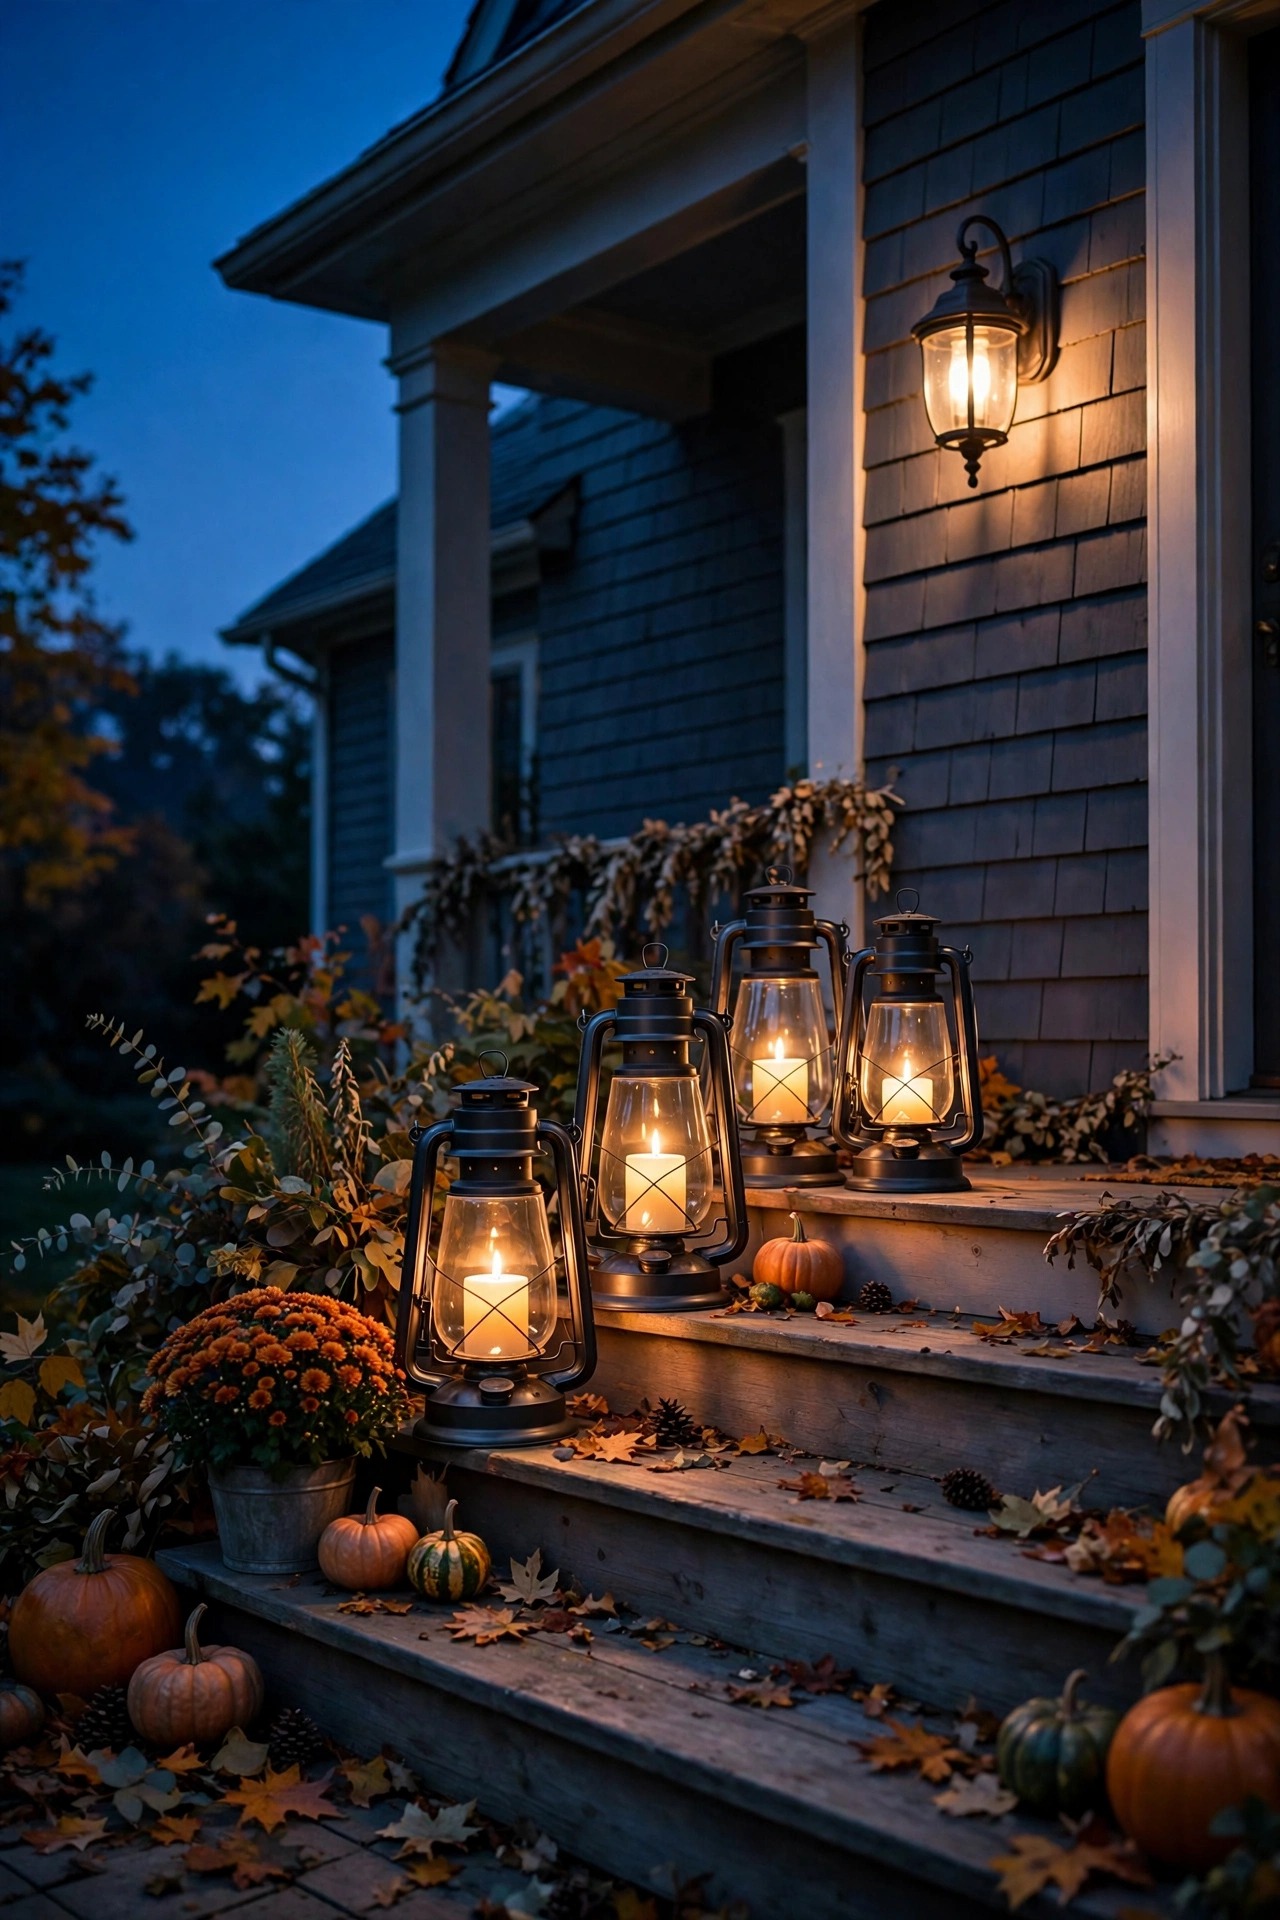
The bones of a transitional scheme stay fixed, but the dressing should change with the calendar, which is where this style quietly outshines both parents. In fall, cluster flameless candles in hurricane lanterns on the steps; in December, weave a single strand of warm mini lights through the porch garland; in spring, move two path lights to flank whatever is blooming. Battery and solar accents earn their place here precisely because they are temporary, filling a corner for a season without touching the wired system. Keep a small storage bin of seasonal pieces, extra globes, a spare strand, candle lanterns, and rotate them on the same weekend you change the porch pillows. The discipline is subtraction: every seasonal piece that goes out should echo the permanent finishes and the 2700K rule, and anything that no longer matches gets donated, not stored forever. Because the permanent layers never change, the yard always reads as itself, just dressed for the month, which is exactly how traditional homes have always handled holidays, with better tools.
Suggested budget range: $30 – $200.
19. Finish Your Transitional Outdoor Lighting Ideas With a Dusk Walk-Through
The last step is the one designers swear by and homeowners skip: walk the whole property at dusk, from the street, up the walk, onto the porch, and back through the garden gate, and judge every light as a guest would. Carry painter tape and flag anything that glares in your eyes, any bulb you can see directly, and any corner that fell dark between layers. Lower the offenders, shield them, or re-aim them; a five-degree tilt fixes more than a new fixture would. Check the view from inside too, because a path light that blooms in the living room window is a nightly annoyance. Confirm every bulb still matches at 2700K, every timer fires in the right order, and the hero tree is the brightest accent but never brighter than the door. Then repeat the walk in another season, when the beds have grown or the leaves have dropped. That habit of looking, adjusting, and editing is the real transitional secret: the style is not a product you buy, it is a balance you keep.
Suggested budget range: $0 – $100.
Frequently Asked Questions
What color temperature works best for transitional outdoor lighting?
Warm white at 2700K is the sweet spot, because it flatters traditional materials like brick, wood, and brass while keeping modern fixtures from feeling cold or clinical. Some garden accents can dip to 2400K for a candlelit feel, but avoid anything over 3000K outdoors in this style. The bigger rule is consistency: one temperature across every layer, so the blend reads as one designed scheme.
Can I mix brass and matte black fixtures in the same yard?
Yes, and done deliberately it is one of the hallmarks of the style. Give one finish the leading role, usually at eye level on the house, and let the second finish repeat at least three times in the garden layer. Keep the glass style and bulb temperature identical across both finishes, and the mix reads as a choice. Random one-off finishes are what make a yard look accidental.
Is solar or low-voltage wired lighting better for this style?
Low-voltage wired lighting wins for the permanent layers, because it delivers consistent brightness, matched color temperature, and timer control across twenty fixtures at once. Solar has improved enormously and earns a place for seasonal accents, far garden corners, and spots where trenching wire is impractical. A common transitional compromise is wired light for the front and solar accents deep in the beds.
How much does a transitional outdoor lighting refresh cost overall?
A focused refresh that keeps sound existing fixtures, swaps bulbs to matched 2700K, replaces two or three dated pieces, and adds timers usually lands between $300 and $1,200 in materials. A full front-yard scheme with new sconces, path lights, spotlights, and a transformer typically runs $1,500 to $4,000 in fixtures, with professional installation adding roughly a third again. Phasing by layer, welcome first, keeps each stage affordable.
Conclusion
The heart of transitional outdoor lighting ideas is not a catalog, it is an attitude: keep the shapes that make a house feel like home, edit everything that fusses, and let warm, layered light do the persuading. Start with the three-layer plan, unify every bulb at 2700K, mix your two finishes with intent, and finish with that honest dusk walk-through. Do those things and a colonial, a craftsman, or even a plain ranch will glow with a confidence that is neither old nor new, just right. If you want to see how the guidance layer comes together across a whole property, my guide to front yard landscape lighting is the natural next read. Then pour something warm, step out to the curb tonight, and enjoy the house you have been meaning to show off all along.