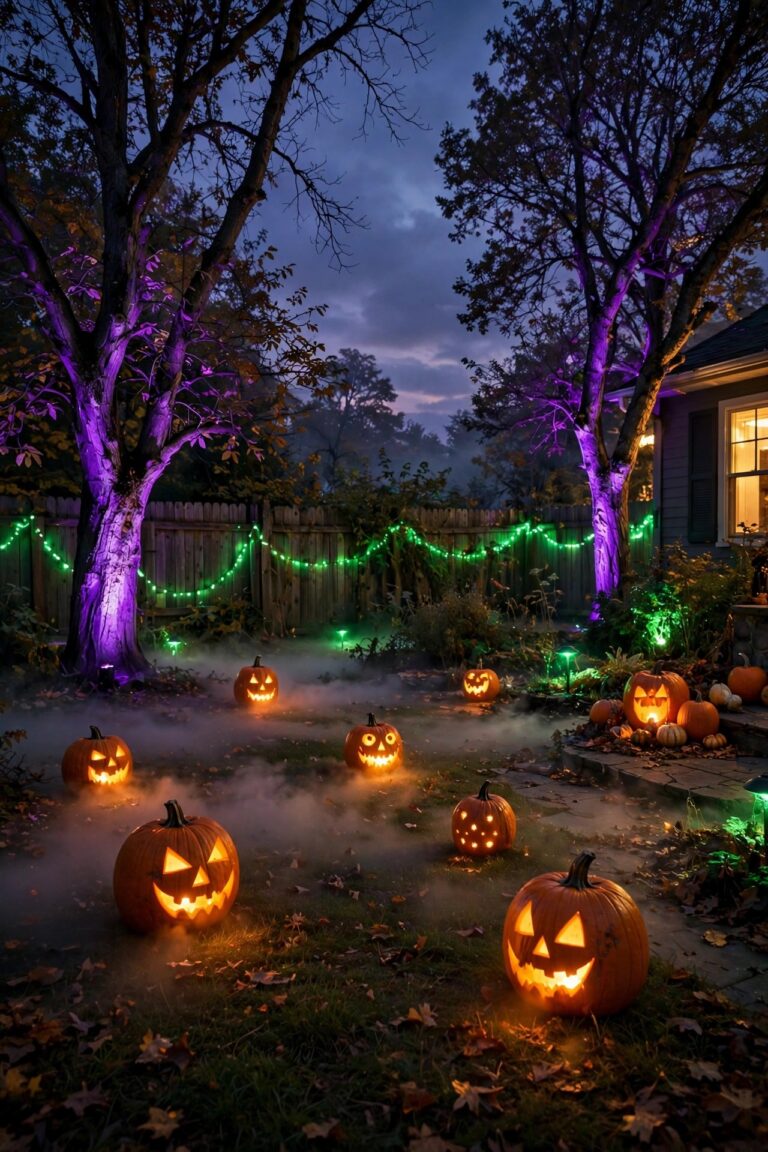
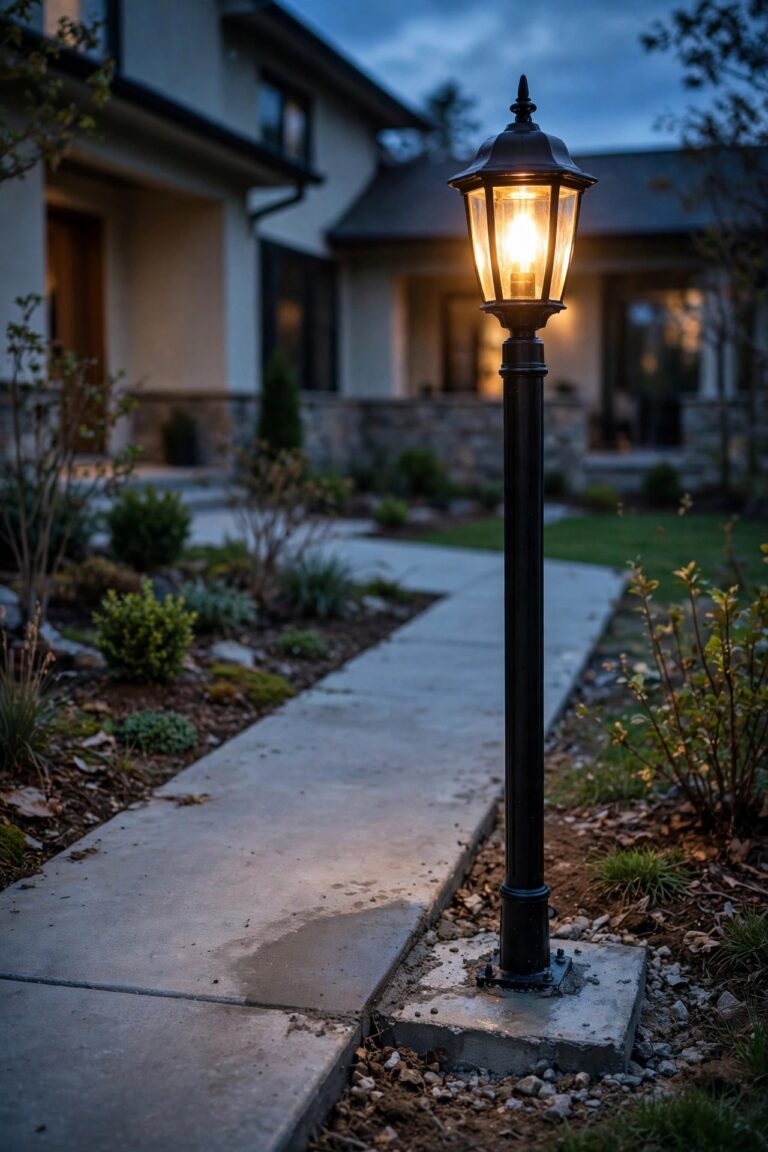
Two summers ago, a neighbor two doors down got The Letter. You know the one: cream envelope, HOA letterhead, and a polite note that his brand-new floodlights were not in keeping with community standards. He had spent an entire weekend installing them. I have lived under HOA rules for years, and I have learned the happy secret: the prettiest yards on our street are not the ones fighting the rulebook, they are the ones designed around it. That is exactly why I gathered these hoa friendly outdoor lighting ideas. Every one of them keeps light warm, low, shielded, and aimed at your own property, which is honestly all most covenants ask for. My approach never changes: layer the light. A soft ground layer for safe footing, a gentle middle layer for the porch and seating, and a little sparkle up top, all warm white and all on timers. Nothing blares, nothing spills into a bedroom window, and nothing needs drilling or trenching. Let me walk you through the 21 setups that keep my yard glowing and my mailbox blissfully free of warning letters.
1. Read the Rulebook First: Where HOA Friendly Outdoor Lighting Ideas Really Begin
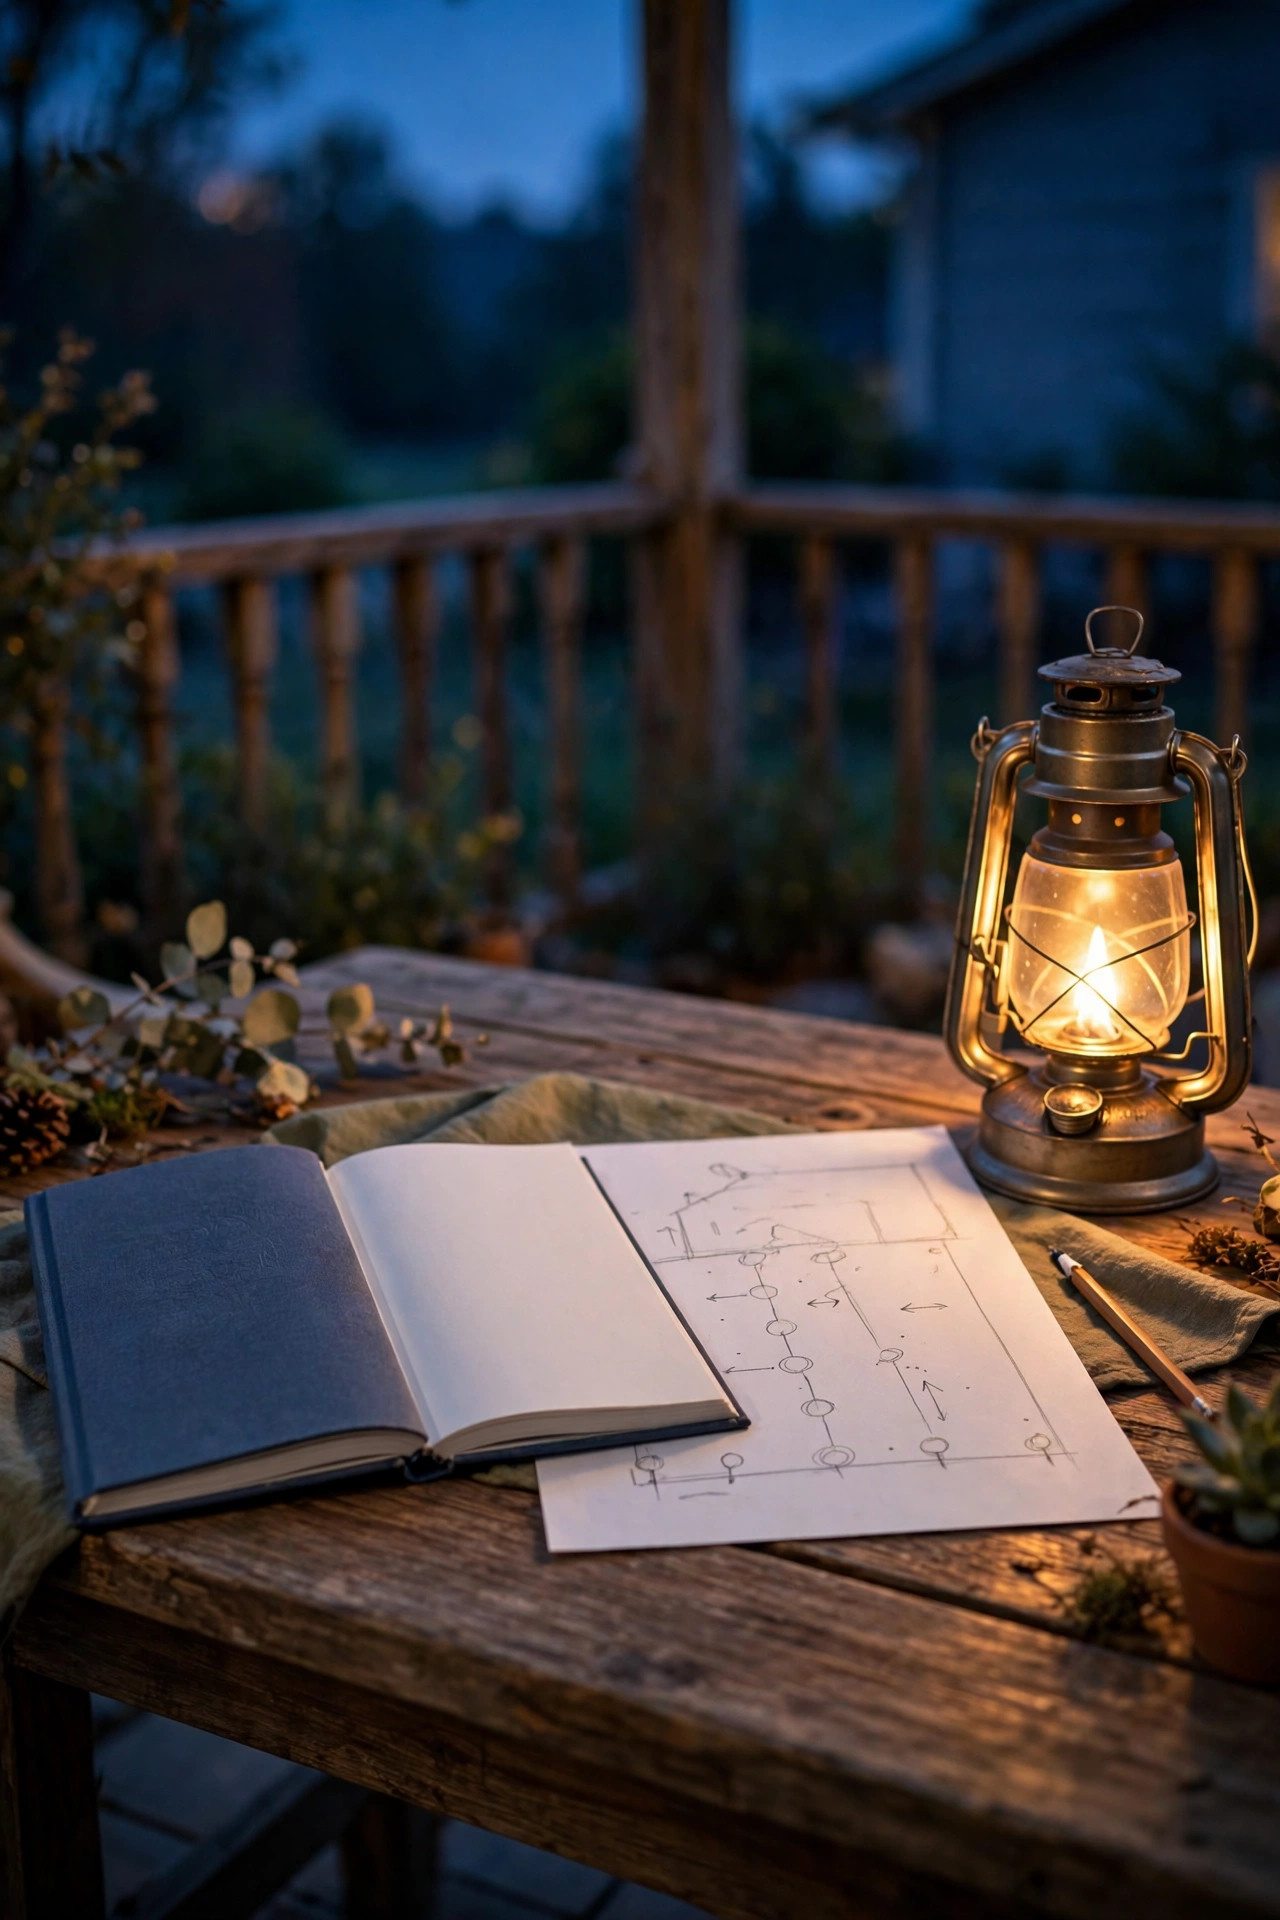
Before you buy a single bulb, pull up your CC&Rs and the architectural guidelines, and read the lighting section with a highlighter in hand. In my experience, most associations spell out exactly what they want: warm color temperatures, shielded fixtures, no light trespass onto neighboring lots, and sometimes an approved finish list. That document is not your enemy; it is a free design brief. Take photos of your yard at dusk, sketch where each fixture will go, and submit the architectural review form before you install anything permanent. My board has never taken more than two weeks to approve a warm, low, shielded plan, and that approval letter lives in a folder I keep forever, because it ends any future questions instantly. I go deeper on the front-yard specifics in my guide to HOA-friendly front yard lighting, but the habit matters more than any single fixture: paper first, purchases second. Neighbors who skip this step are the ones writing appeal letters in August. Spend one evening with the rulebook and a cup of tea, and every idea below becomes dramatically easier to keep.
Suggested budget range: $0 – $25.
2. Line the Walkway With Solar Path Lights
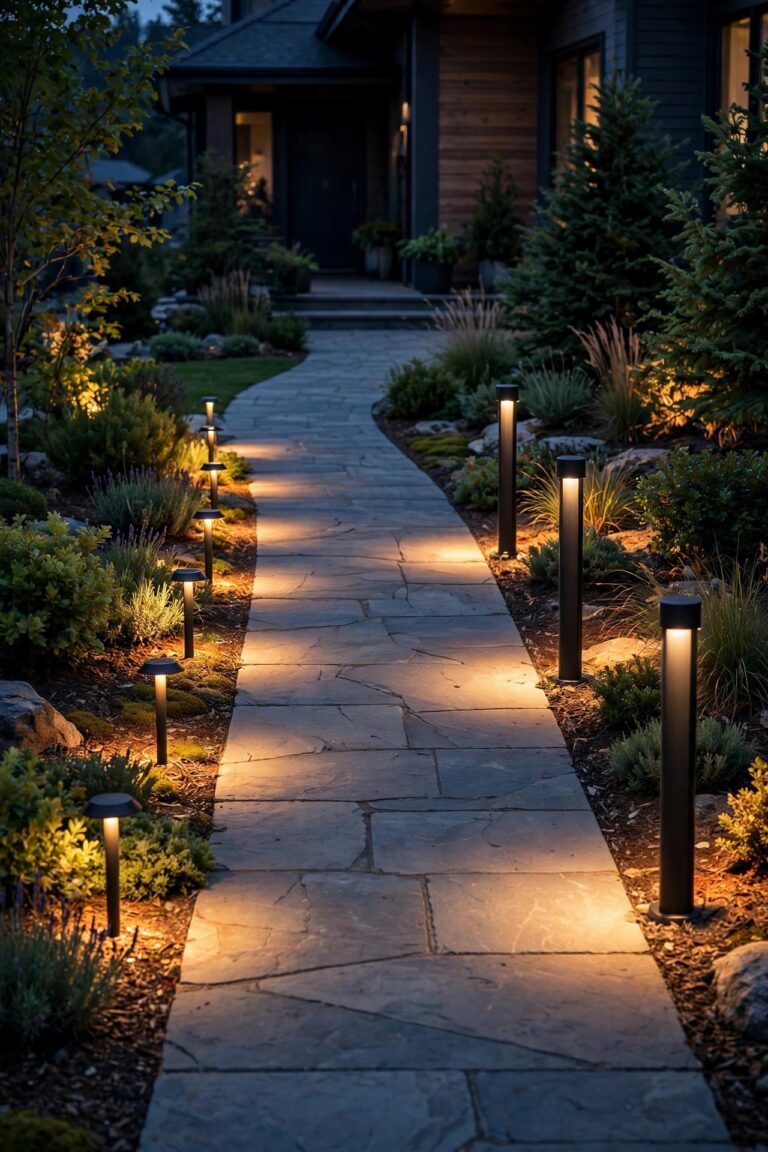
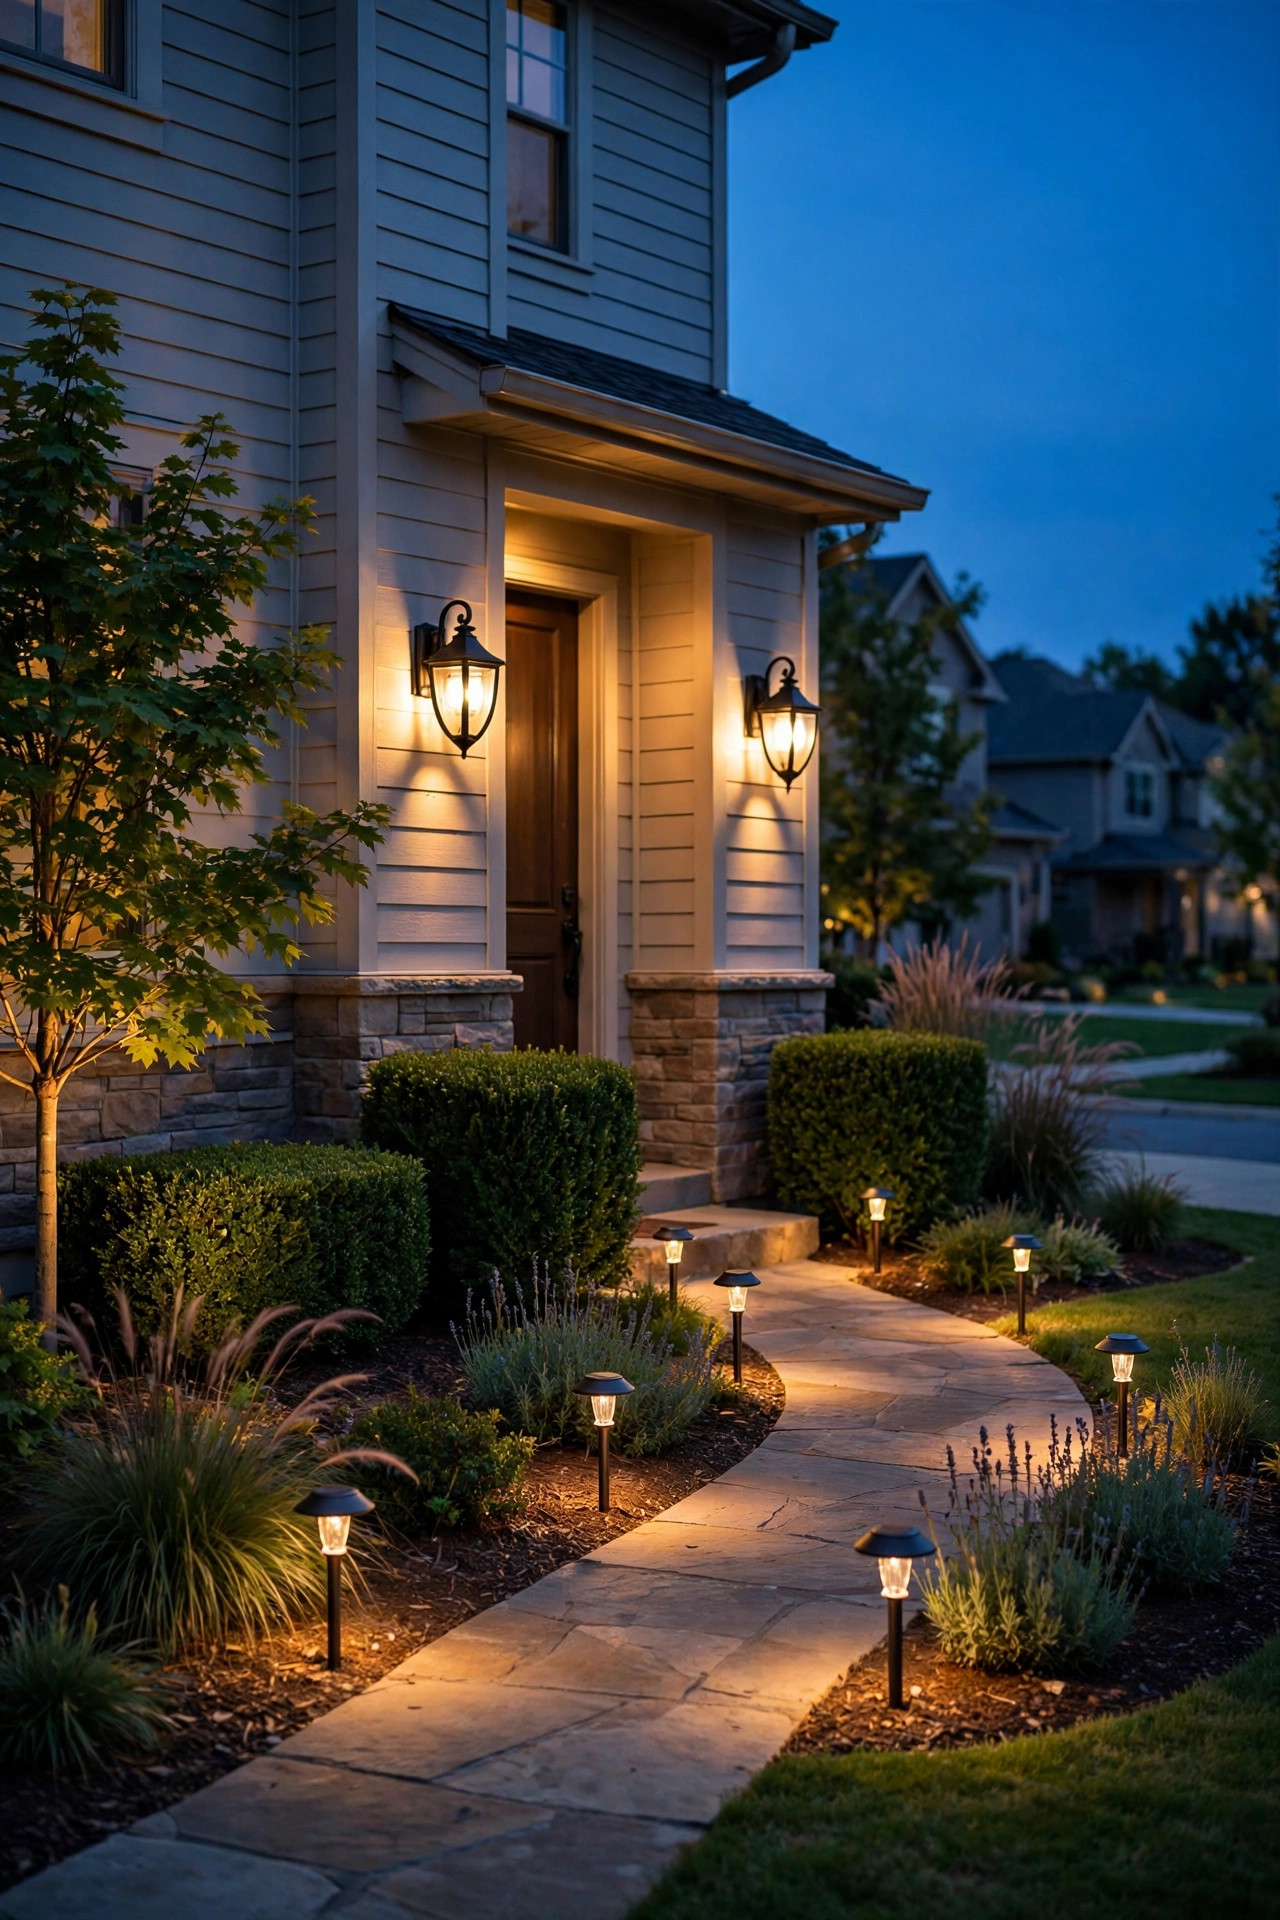
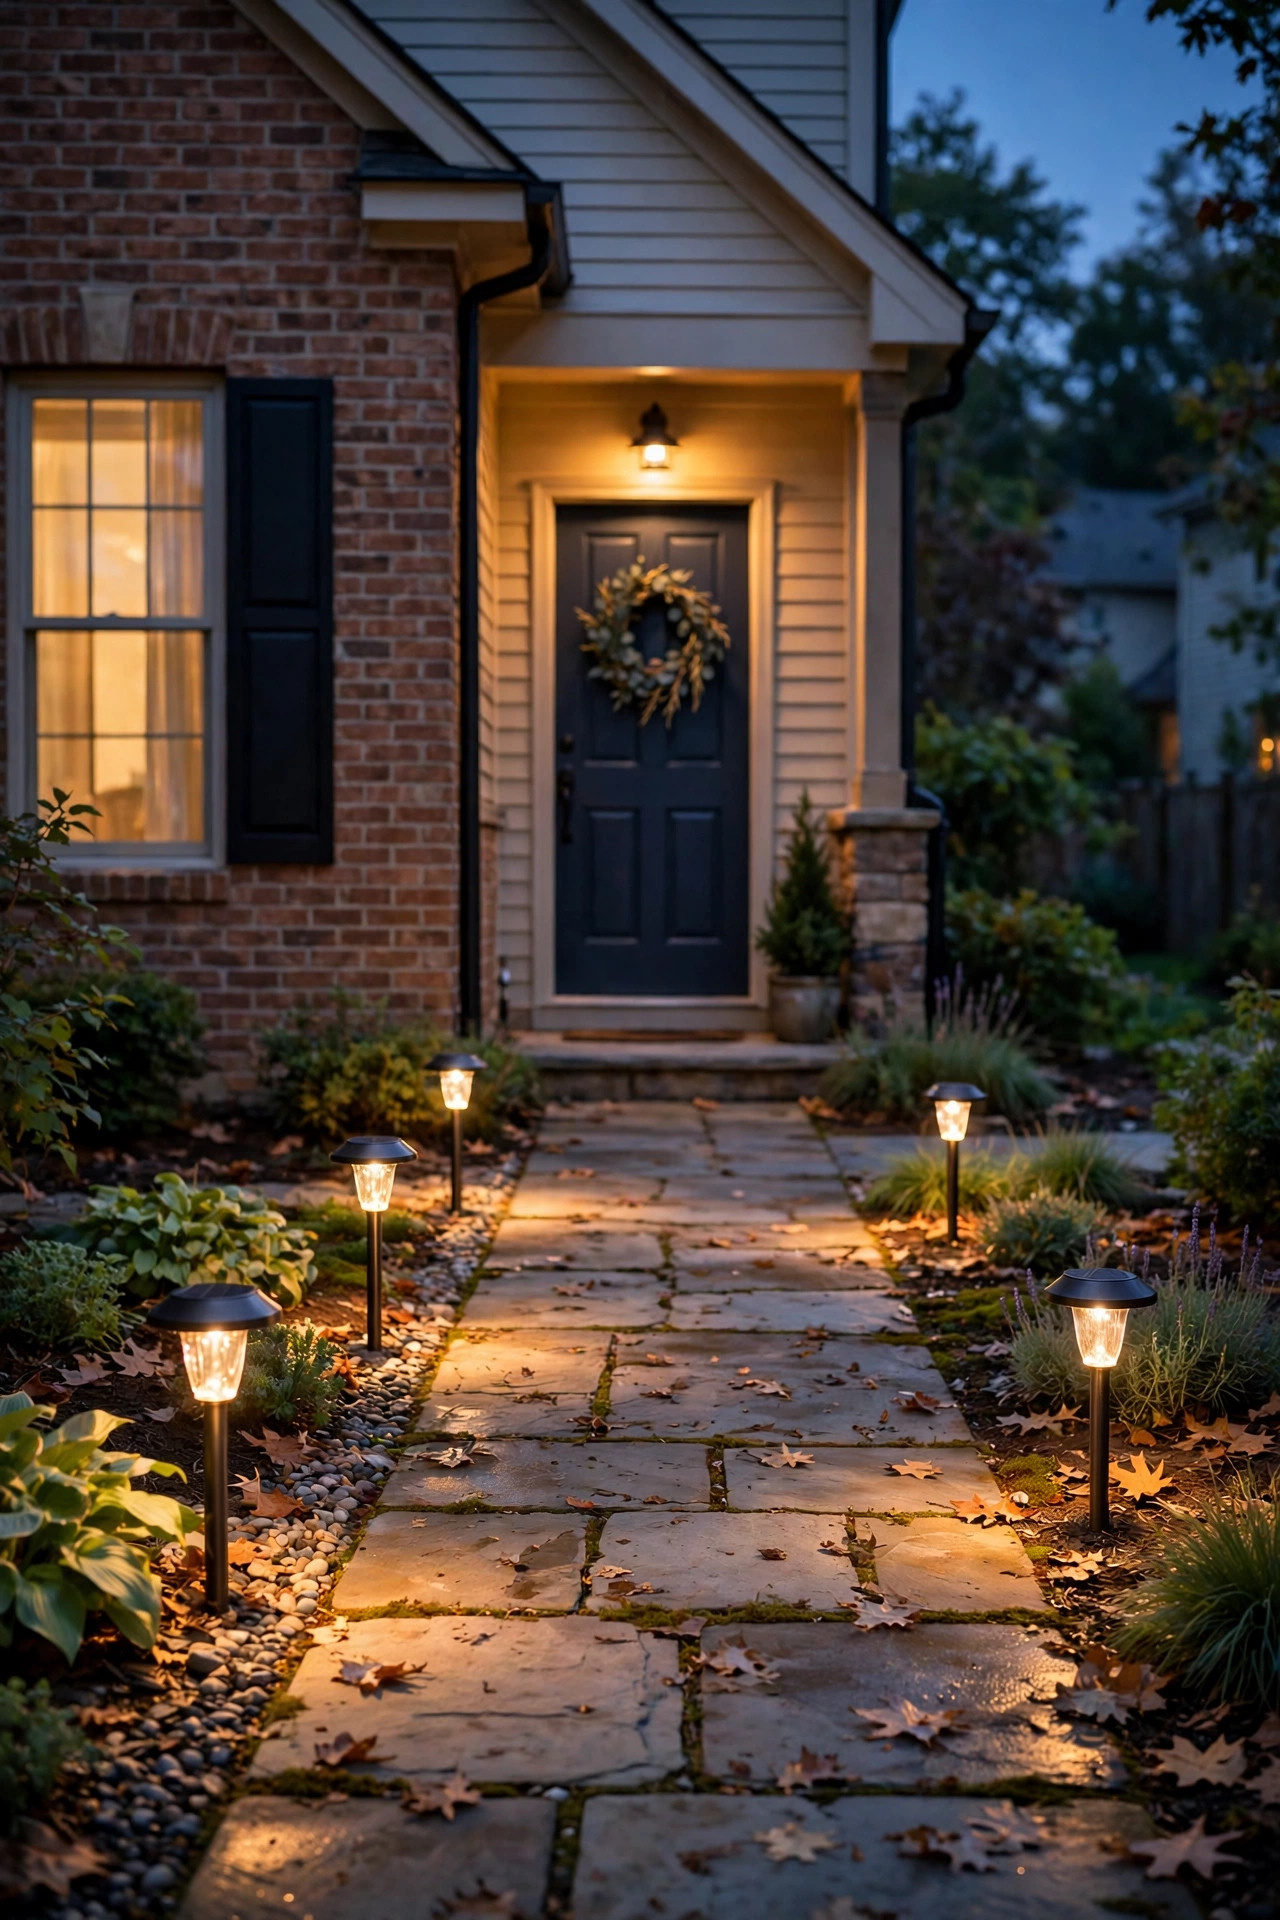
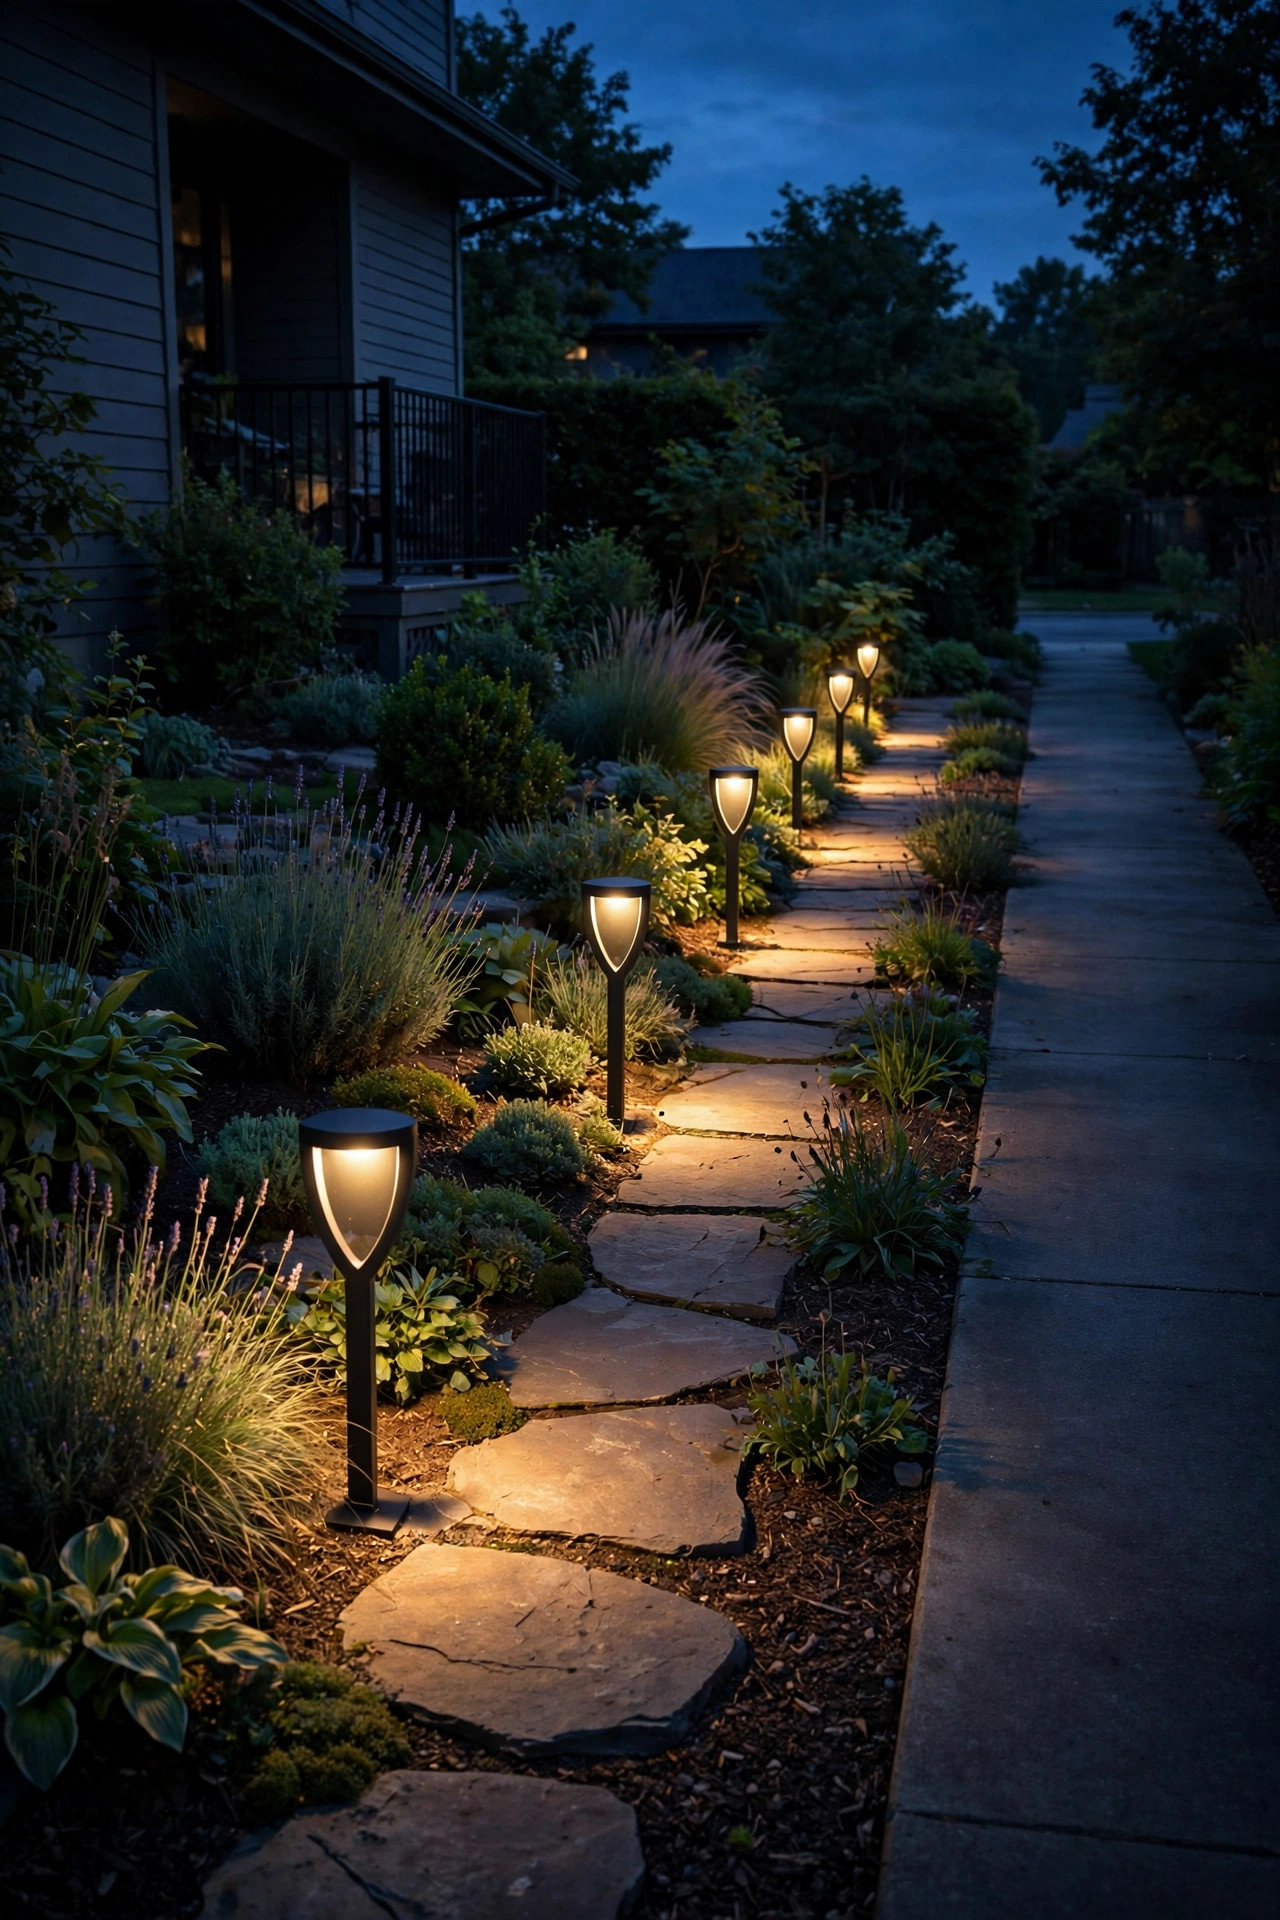
Solar path lights are the easiest yes in any HOA community, because nothing gets wired, trenched, or permanently altered. There is simply nothing for a compliance drive-by to object to. Push warm white stakes along both sides of the front walk, staggered every 5 to 6 feet so the pools of light overlap gently and nobody trips on the garden hose again. Look for 2700K to 3000K models in the 30 to 100 lumen range; that is plenty for safe footing without turning your sidewalk into a runway. I always recommend choosing fixtures with a simple, classic silhouette in black or bronze, since novelty shapes are what tend to draw comments at board meetings. Keep the stakes on your side of the walk so the glow stays on your property, and pull them up in seconds if you ever need to reseeding or re-mulch. One honest note: solar needs about six hours of decent sun to charge well, so under a deep porch roof or a dense maple, swap in low-voltage wired lights instead. I wipe the little panels with a damp cloth each spring, and mine are still going strong after four summers.
Suggested budget range: $25 – $60.
3. Commit to Warm White Bulbs Everywhere
If I had to name the single biggest trigger for lighting complaints, it would be color temperature. Those blue-white 5000K bulbs read as harsh and commercial, and they are the ones neighbors describe as interrogation lights. Nearly every set of guidelines I have seen either specifies warm white outright or uses words like soft and residential that mean the same thing. So I keep every bulb on our property between 2700K and 3000K, from the porch sconce to the tiniest garden stake, and the whole yard reads as one calm, golden composition. Consistency is the secret nobody talks about: one cool bulb in a sea of warm ones looks like a mistake, and mistakes are what get noticed. When you shop, check the Kelvin number on the box rather than trusting words like daylight, and buy spares from the same batch so replacements match. This applies to string lights and solar fixtures too, not just screw-in bulbs. Honestly, warm light is also more flattering to brick, stone, and skin, so you are not sacrificing a thing. Your yard will look like a magazine photo instead of a parking lot, and that is the whole point.
Suggested budget range: $15 – $40.

4. Choose Fully Shielded Fixtures That Aim Light Down
Glare is what actually generates warning letters, not brightness itself. A bare bulb visible from the street shines straight into eyes and windows, while a shielded fixture hides the bulb and pools the light on your own ground, where it belongs. Look for full-cutoff or dark-sky style designs: sconces with caps, path lights with hats, and spotlights with deep hoods. When a fixture keeps its light below the horizontal line, it satisfies the spirit of almost every covenant ever written, including the strict ones. I replaced our old carriage lanterns with shielded versions in the same size and finish, and not one neighbor noticed the swap, except that two of them complimented the yard that month. Angle matters as much as hardware, so stand at the sidewalk and then at your neighbor's driveway and check what you actually see; if you can spot a bare bulb, adjust it. The folks over at the dark-sky movement have this down to a science, and my notes on dark sky outdoor lighting cover the fixture shapes in detail. Downward light is also better light: it shows off your stonework and flowers instead of the inside of your retinas.
Suggested budget range: $30 – $90.

5. Build the Backbone With Low-Voltage Landscape Lighting
When you want a permanent system that looks professionally done, low-voltage is the format HOAs quietly love. A 12-volt system reads as polished and intentional rather than improvised, the cable tucks just under mulch or a few inches of soil with no trenching crew, and in most places a homeowner can install it without an electrician. Start with a transformer sized about 20 percent above your total fixture wattage so you have room to grow, then build the layers: path lights for the ground, a couple of washes for the facade, and one or two accents for trees. Because the whole system runs from one transformer, it also runs on one timer, which keeps you compliant with lights-out hours without any nightly effort. Boards respond well to this style of plan because it looks like the model homes in the community brochure, and honestly, it does. Submit your little diagram with the review form from idea one and approval is usually a formality. I have found the fixtures last for years if you choose solid metal housings over plastic, and the warm LED versions sip electricity, pennies a night.
Suggested budget range: $150 – $400.

6. Put Everything on Timers That End the Night Politely
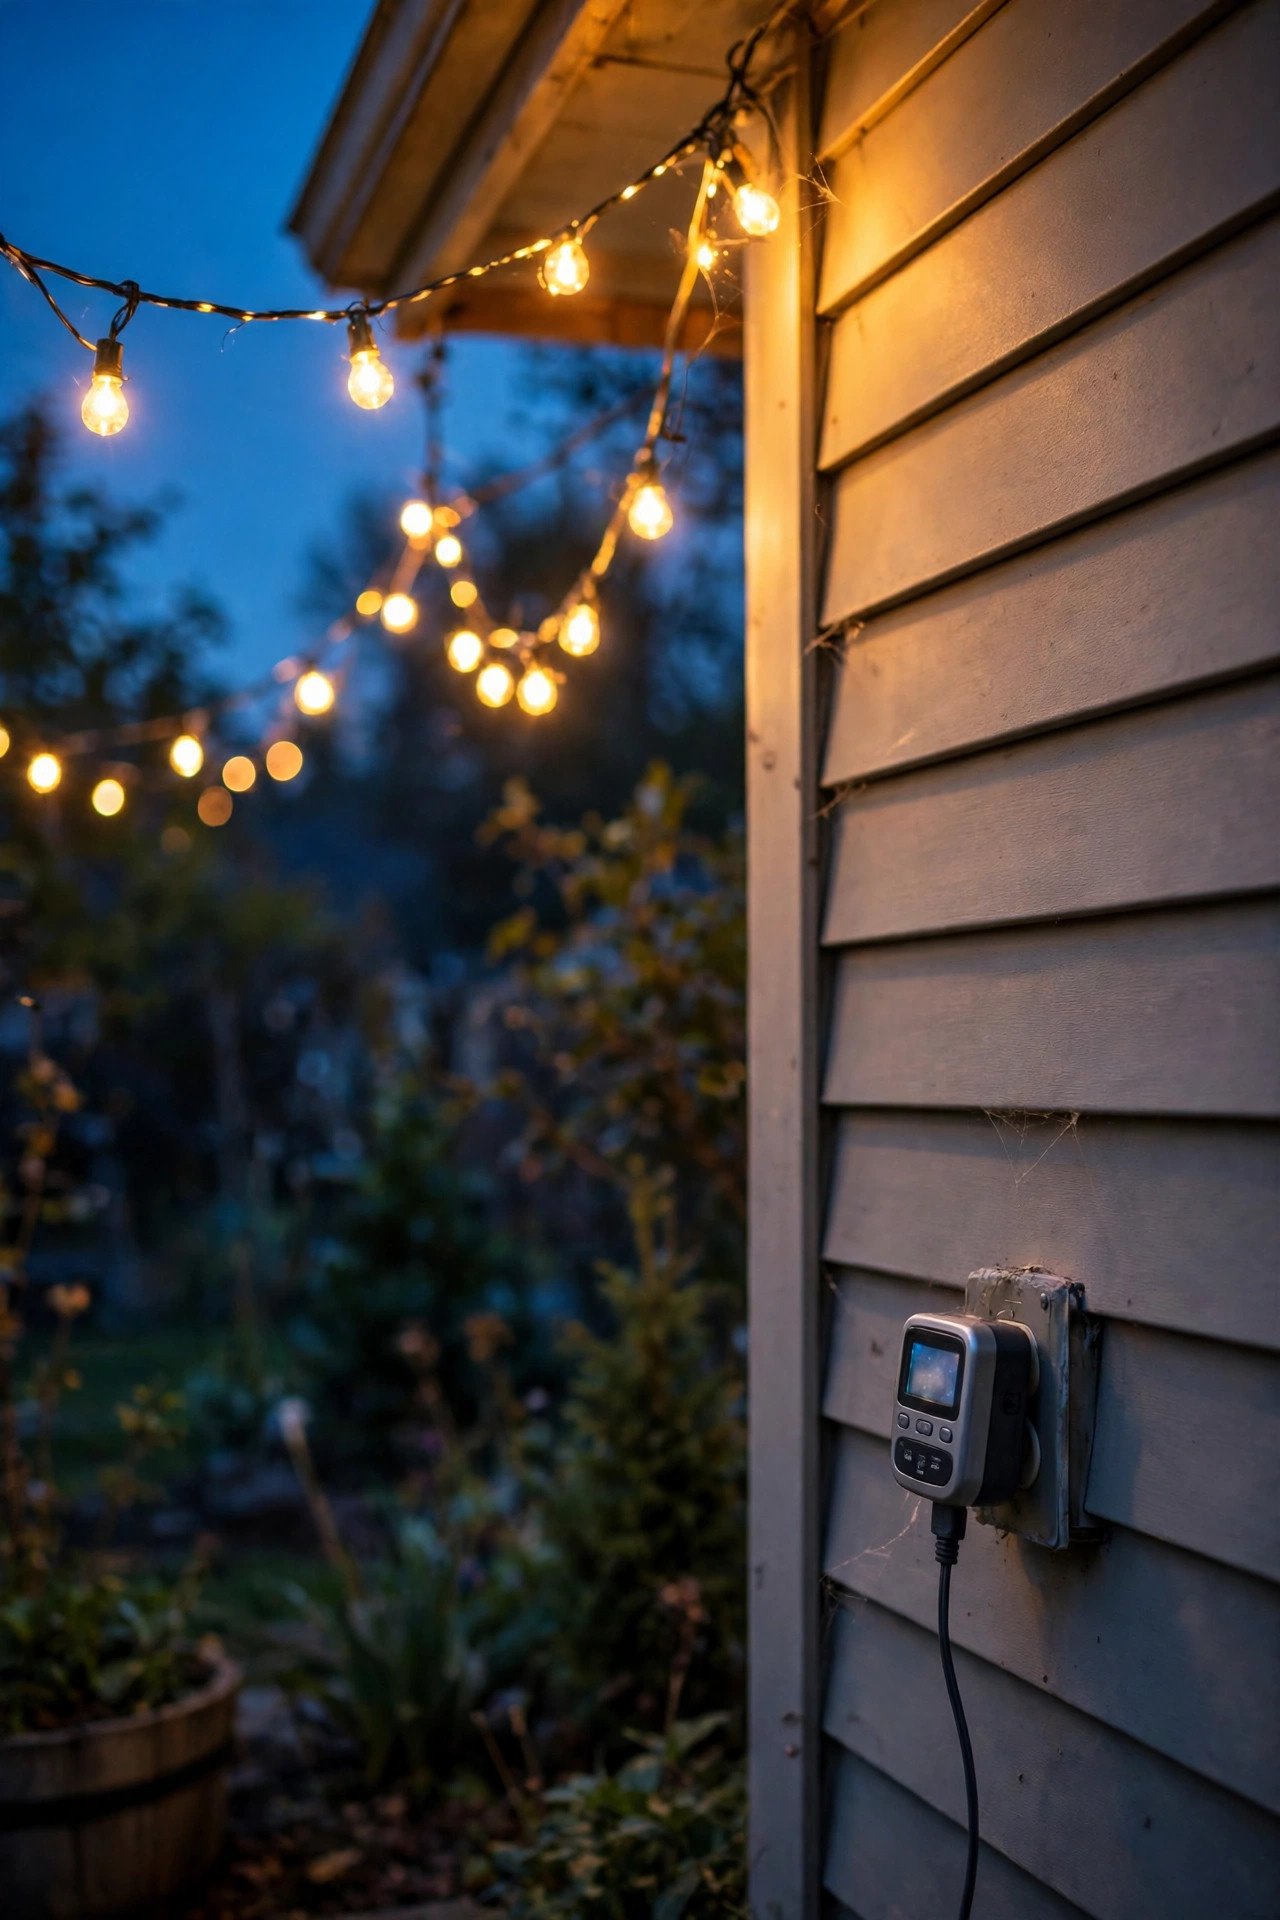
Plenty of communities have quiet hours for light, commonly lights dimmed or off by 10 or 11 p.m., and even where no rule exists, a yard that goes dark at a civilized hour never gets complained about. The trick is making it automatic, because nobody remembers to walk outside in slippers every night. An astronomical timer is my favorite: you set your location once, it tracks sunset all year, and you simply choose the off time. Smart plugs do the same job with an app, which is handy for adjusting before guests arrive. I run our decorative layers from dusk to 10 p.m. sharp, while the shielded porch light stays on a dusk-to-dawn photocell, since entry lighting is usually treated as safety lighting and exempt from the fun rules. Weekends get the same schedule as weekdays at our house, because consistency is what keeps the peace. As a bonus, the timers cut our outdoor electricity use noticeably, and bulbs last far longer when they are not burning until breakfast. Set it once, and the rulebook basically enforces itself while you are inside watching television.
Suggested budget range: $15 – $45.
7. Top the Fence Posts With Solar Cap Lights
Fence lines are sensitive territory in HOA land, especially shared fences, because drilling into a party fence can require your neighbor's written consent. Solar post cap lights sidestep the whole issue beautifully: they sit right on top of your existing posts, held by fit or a discreet dab of removable adhesive, and they ask permission from no one. The effect is a gentle dotted rhythm of warm light that defines your yard line and makes the whole back garden feel finished. Choose caps sized exactly to your posts, 4×4 or 6×6, in a finish that matches your other fixtures, and pick warm white over color-changing modes, which are exactly the kind of thing guidelines love to prohibit. Because they are solar, there is no wire crossing the fence and nothing to maintain beyond an annual panel wipe. One caution from my own yard: on a fully shaded north fence, caps can go dim by midnight in winter, so space them every other post there and let them be ambience rather than task light. From the street they are barely visible, and in the garden they are pure charm.
Suggested budget range: $30 – $80.

8. Keep String Lights in the Back Yard, Done Tastefully
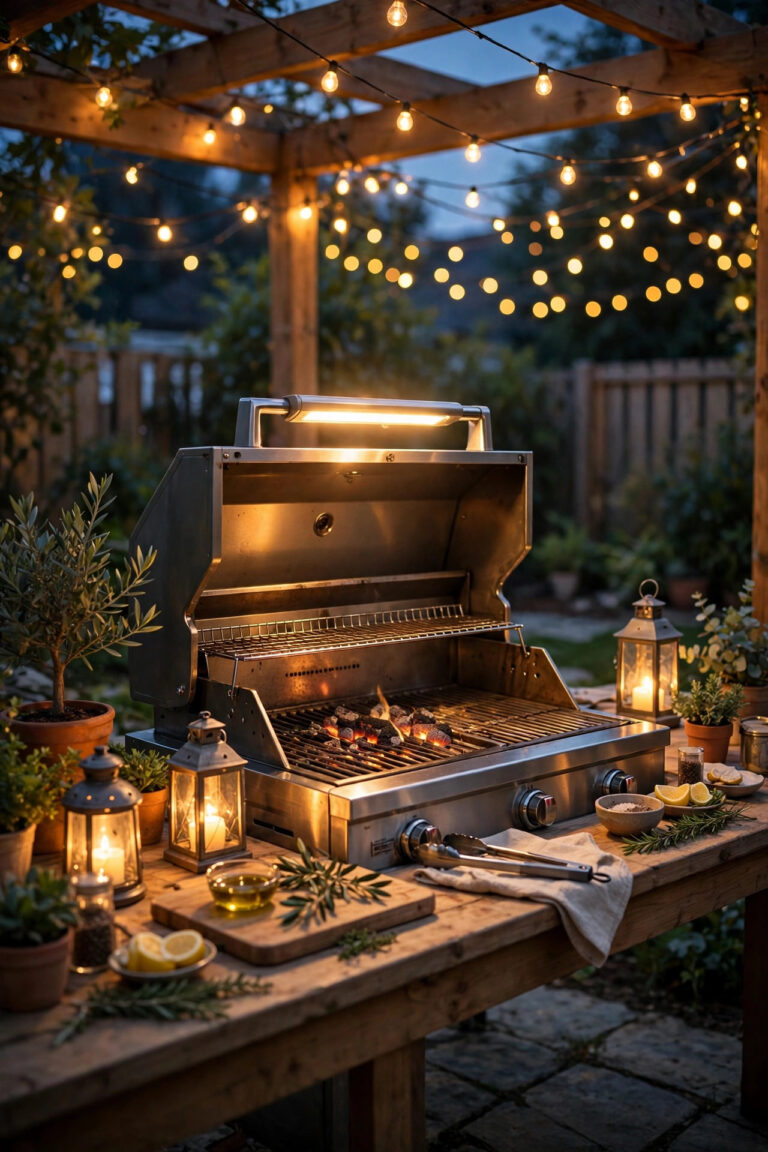
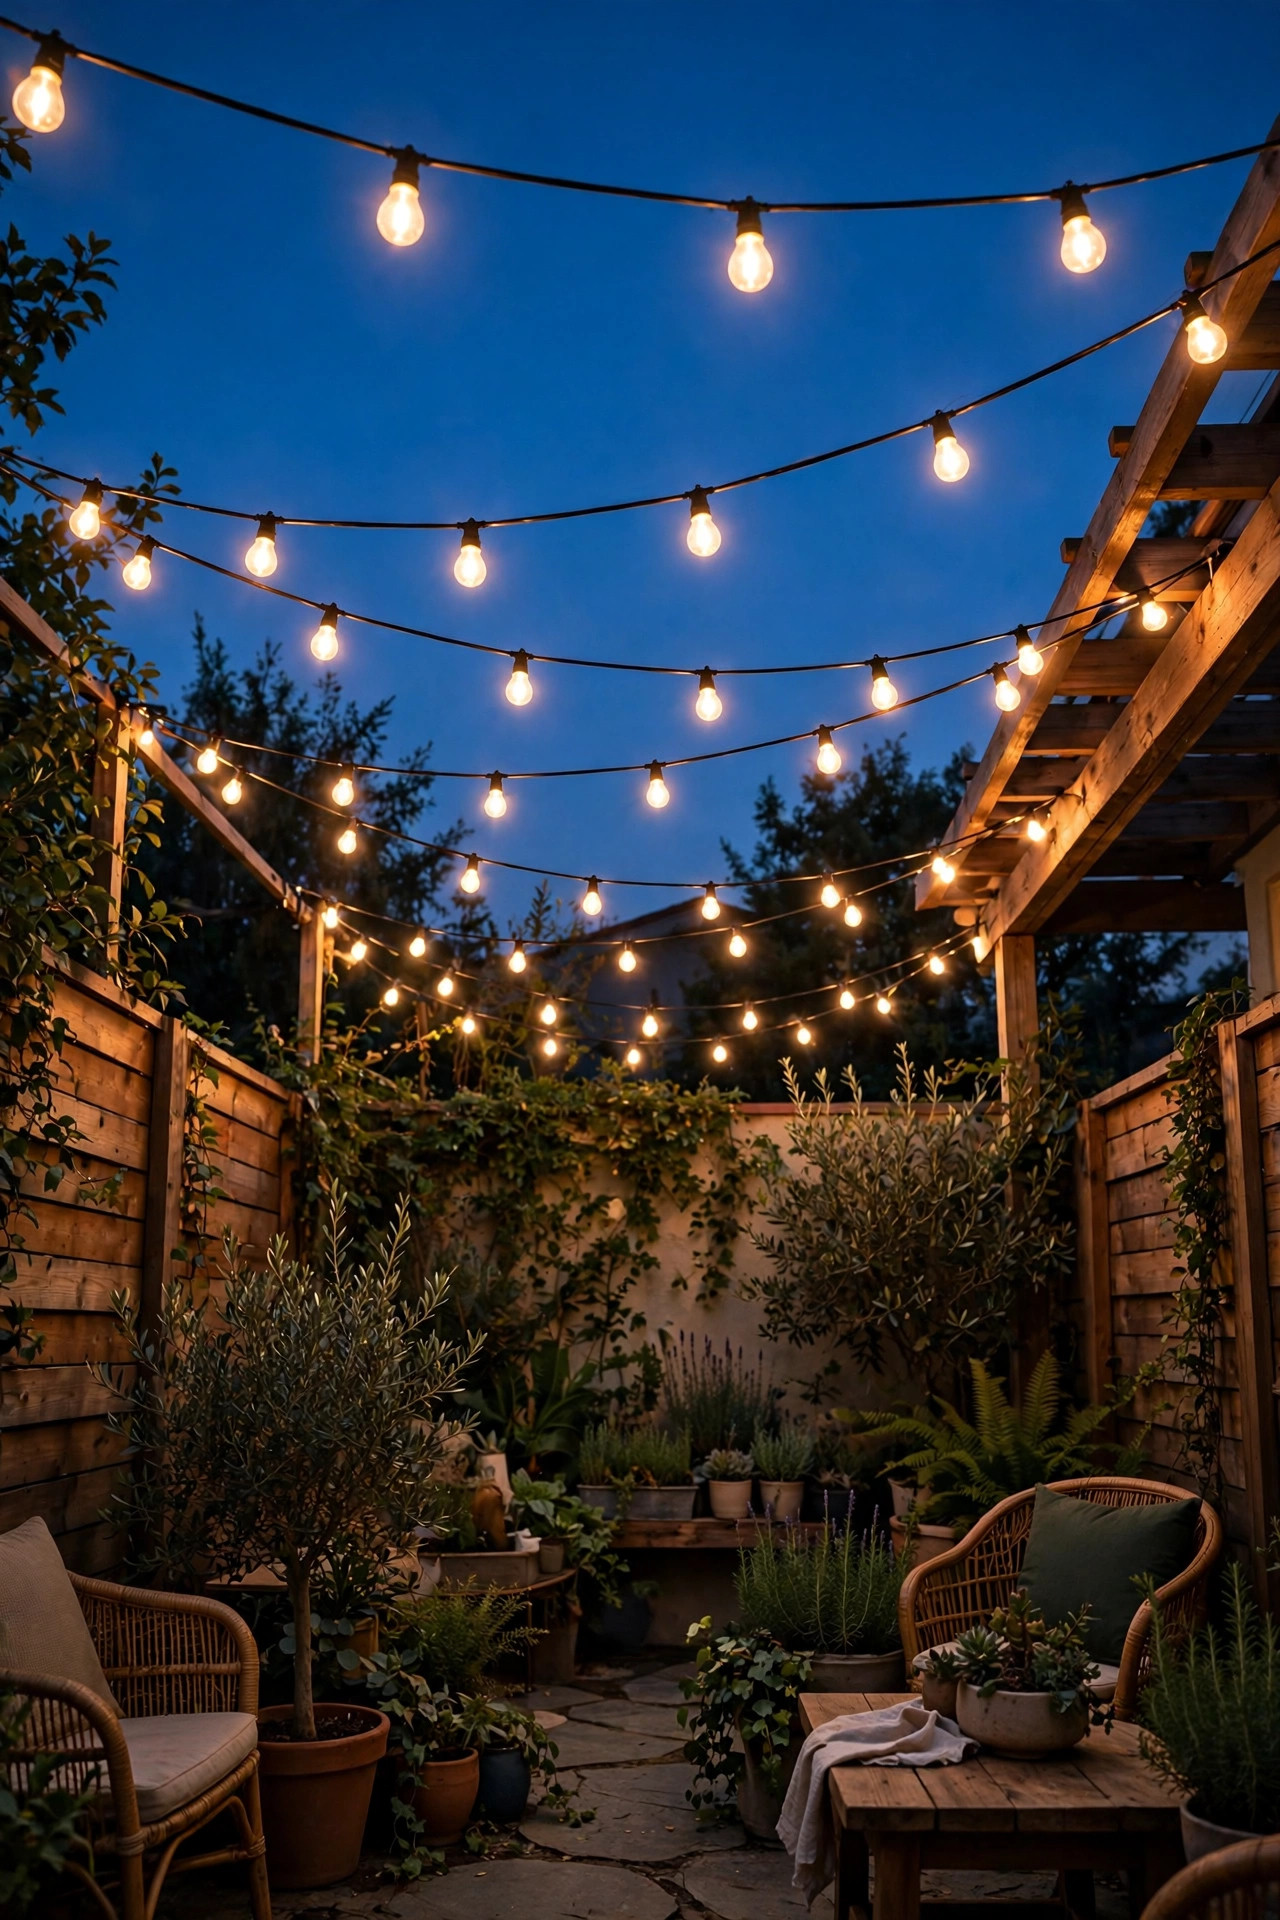
Let me be honest with you: front-yard string lights are where many good people get their first letter. The back yard, though, is usually far less regulated, and a single well-hung run of warm café lights is one of the prettiest sights in any neighborhood, including from your neighbor's kitchen window. The difference between charming and complaint-worthy is execution. Use shatterproof LED bulbs in warm white, keep the swags tidy and even, and hang them from proper hooks or a guide wire rather than draping them over gutters and shrubs. Keep the run below your fence or roofline sightlines where you can, and put the strand on the same dusk-to-10 timer as everything else. I always recommend skipping the multicolor and flashing modes entirely in an HOA; warm and steady reads as elegant, and elegant never gets flagged. If your guidelines mention string lights by name, and some do, follow the letter of that section and keep the paperwork from idea one in your folder. Done this way, string lights have survived three different compliance sweeps on our street without a single comment, while looking like a boutique hotel courtyard.
Suggested budget range: $30 – $85.
9. Uplight Exactly One Statement Tree
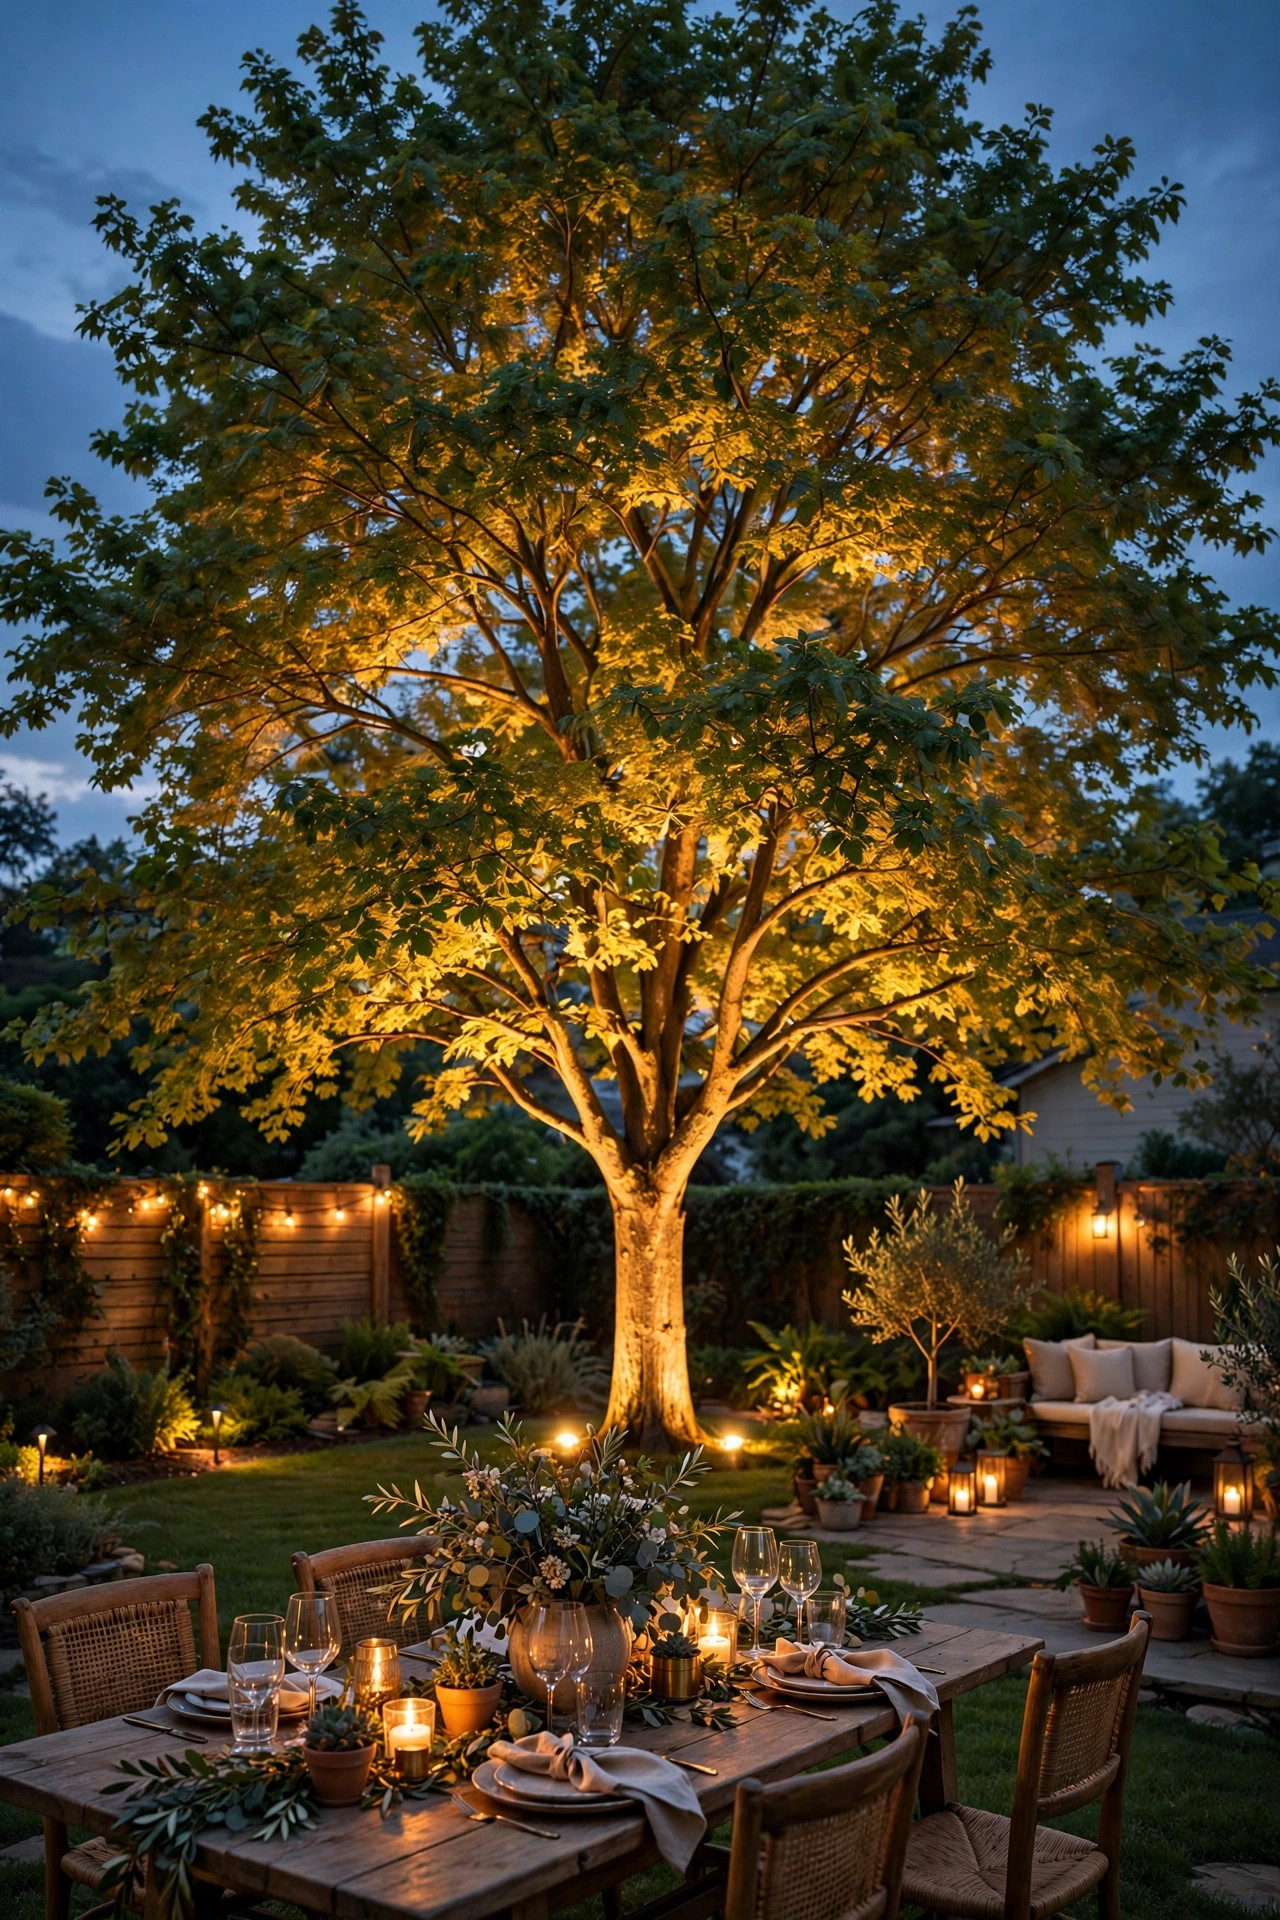
A single uplighted tree is the crown jewel move: dramatic for you, and completely defensible to a board, because it is one fixture, aimed at your own canopy, on a timer. Choose the best-shaped tree in the front or side yard and set one shielded well light or hooded spotlight at its base, angled up into the branches with a narrow to medium beam so the light dies inside the foliage instead of escaping into the sky. Warm white around 3000K makes bark and leaf texture look carved. Resist the urge to uplight every trunk on the lot; restraint is what separates a showcase yard from a theme park, and it is also what keeps the total glow modest enough that nobody across the street is squinting. Keep the fixture itself tucked into the mulch ring so the hardware disappears, and check the aim after storms, since a knocked spotlight pointing at a window is a letter waiting to happen. Ours goes off with the 10 p.m. timer, and the number of walkers who slow down to admire that tree still makes me smile years later.
Suggested budget range: $35 – $90.
10. Use Motion Sensors for Security Light That Sleeps
Security lighting is the category most likely to start a feud, because a badly aimed floodlight blasts the whole street every time a cat strolls by. A motion-sensor fixture solves the politics elegantly: it is dark 95 percent of the night, which no guideline on earth prohibits, and it only wakes up when someone is actually on your property. Choose a shielded, downward-aimed model in warm white, keep the brightness moderate rather than stadium-grade, and set the timer short, one to five minutes. Then do the step everyone skips: walk the sensor's range at night and adjust it so passing sidewalk traffic does not trigger it, only someone stepping onto your drive or path does. Aim the head below the fence line so the beam stays in your yard. This is exactly the approach I detail in my notes on neighbor-friendly security light ideas, and it works; our sensor light has been up for years and the neighbors have literally never mentioned it, which is the highest praise security lighting can earn. Safety where you need it, darkness where you do not, and zero standing glow to argue about.
Suggested budget range: $25 – $75.

11. Lean on Lanterns: Portable HOA Friendly Outdoor Lighting Ideas With Zero Installation
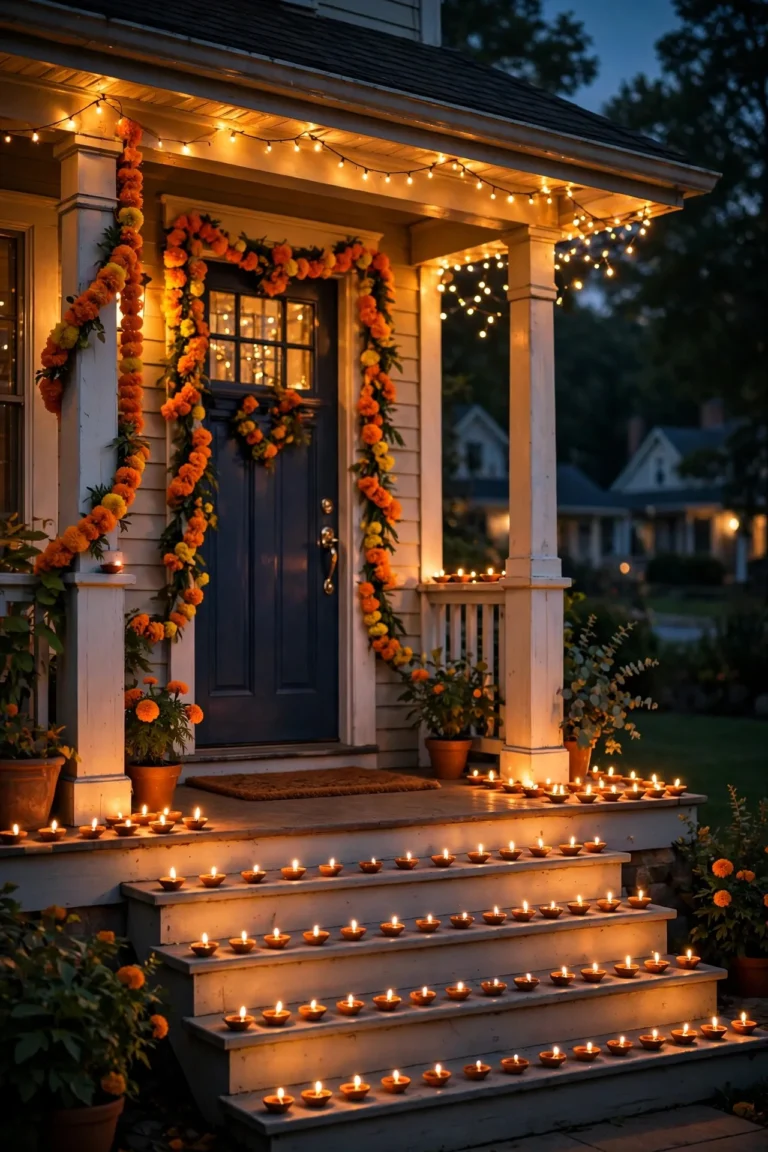
Here is a loophole I use shamelessly: what is not installed is very hard to regulate. Battery and solar lanterns are furniture, not fixtures, and in every community I know they sail straight under the architectural rules. A pair of flameless lanterns flanking the front steps, a taller one beside the porch chair, and a cluster of three on the patio table gives you that layered glow with literally zero installation, zero wiring, and zero paperwork. Choose lanterns with warm flicker LEDs and timers built in, so they wake at dusk and switch themselves off five hours later. Metal frames in black or oil-rubbed bronze look intentional and match the approved-finish palette most boards prefer. Because they are portable, you can carry them to the back yard for a dinner party, line the walk with them for Halloween, and bring them inside ahead of a storm or a compliance sweep if you are feeling extra cautious. I cluster mine in odd numbers at different heights, which stylists swear by and which honestly just looks better. Keep a small stash of rechargeable batteries rotating on the kitchen charger and the whole layer costs almost nothing to run.
Suggested budget range: $20 – $60.

12. Match Fixture Finishes to the Approved Palette
Many architectural guidelines include a short, specific list of approved exterior finishes, and lighting is where homeowners get tripped up by a pretty copper or chrome fixture that simply is not on it. Before you fall in love with anything, check the list: black, oil-rubbed bronze, and white or trim-matching finishes cover the vast majority of communities I have seen. Choosing from the palette is not a creative sacrifice, it is a shortcut to a yard that looks coordinated, because matching finishes across the porch, garage, and path lights makes the whole scheme read as one deliberate design. I keep every fixture on our house matte black for exactly this reason, and it photographs like a model home. If your current fixtures are the wrong finish but otherwise fine, a coat of exterior spray paint in an approved color is a weekend fix that costs almost nothing, though I would note it in your approval file just to be thorough. Avoid mixing shiny and matte metals, which looks accidental, and accidental is what catches a reviewer's eye. When everything matches, nobody looks twice, and not being looked at twice is the entire goal.
Suggested budget range: $10 – $120.
13. Add Low Step Lights Where Safety Sells Itself
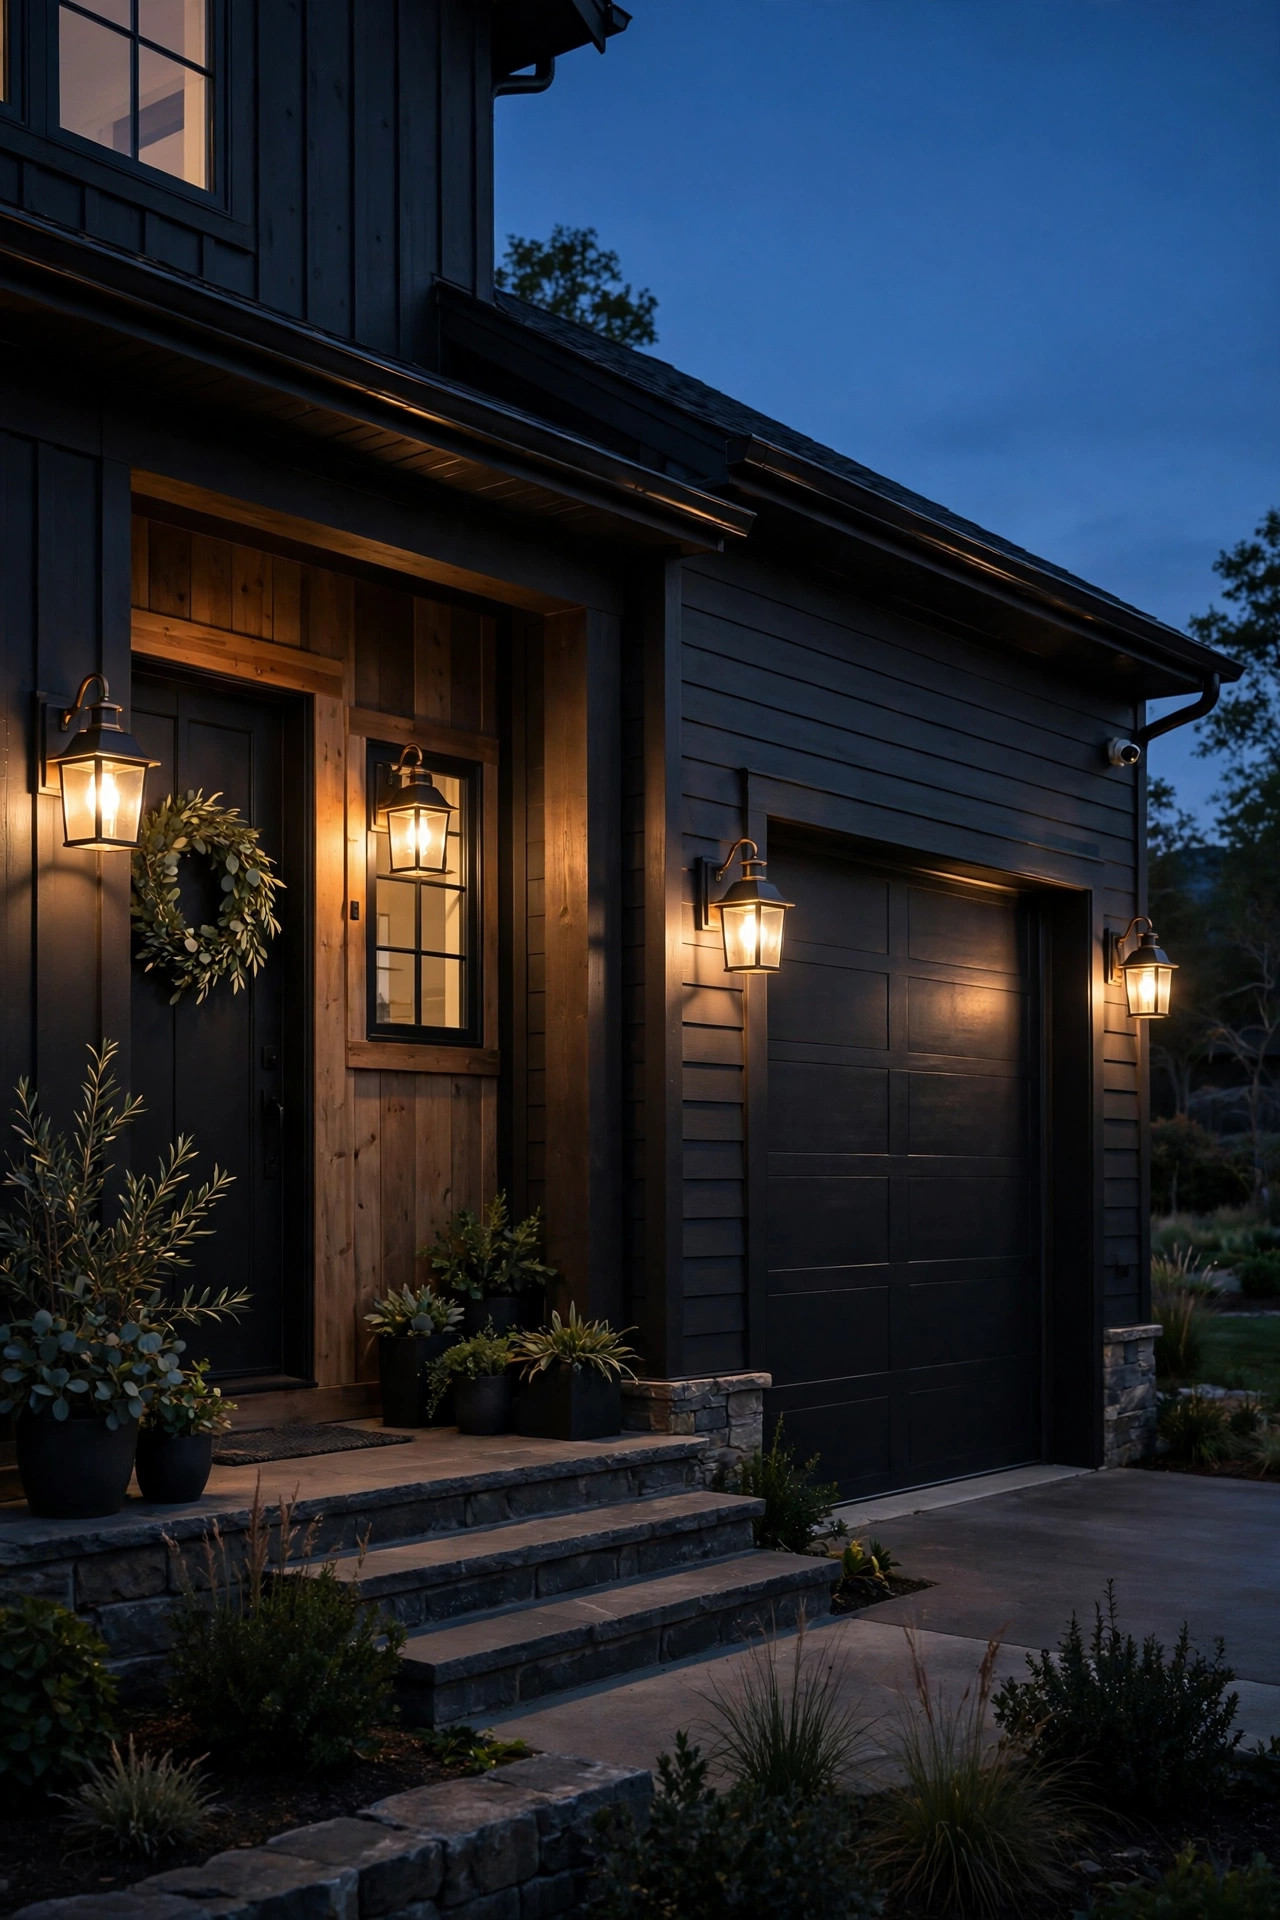
If a fixture prevents a fall, it is the easiest approval in the world, and step lights are my favorite example. Low, shielded lights on porch steps, deck stairs, and the one sneaky level change in the walkway read as pure safety equipment, and I have yet to meet a board that argues with safety. Solar step lights stick or screw onto the riser and throw a small pool of light exactly where a foot lands; low-voltage versions wire into your main system and ride the same timer. Keep them small, warm, and consistent, one per step or every other step on wide stairs, and choose models with diffused lenses so there is no visible bulb to glare. Because they sit inches off the ground and point down, they produce essentially zero light spill, which makes them compliance poetry: maximum function, minimum footprint. Ours came after my dad nearly missed the bottom step at Thanksgiving, and now I consider them non-negotiable in any yard, HOA or not. Guests comment on how easy the steps feel, the board sees a responsible homeowner, and everybody wins.
Suggested budget range: $20 – $65.
14. Do Holiday Lights Inside the Community Window
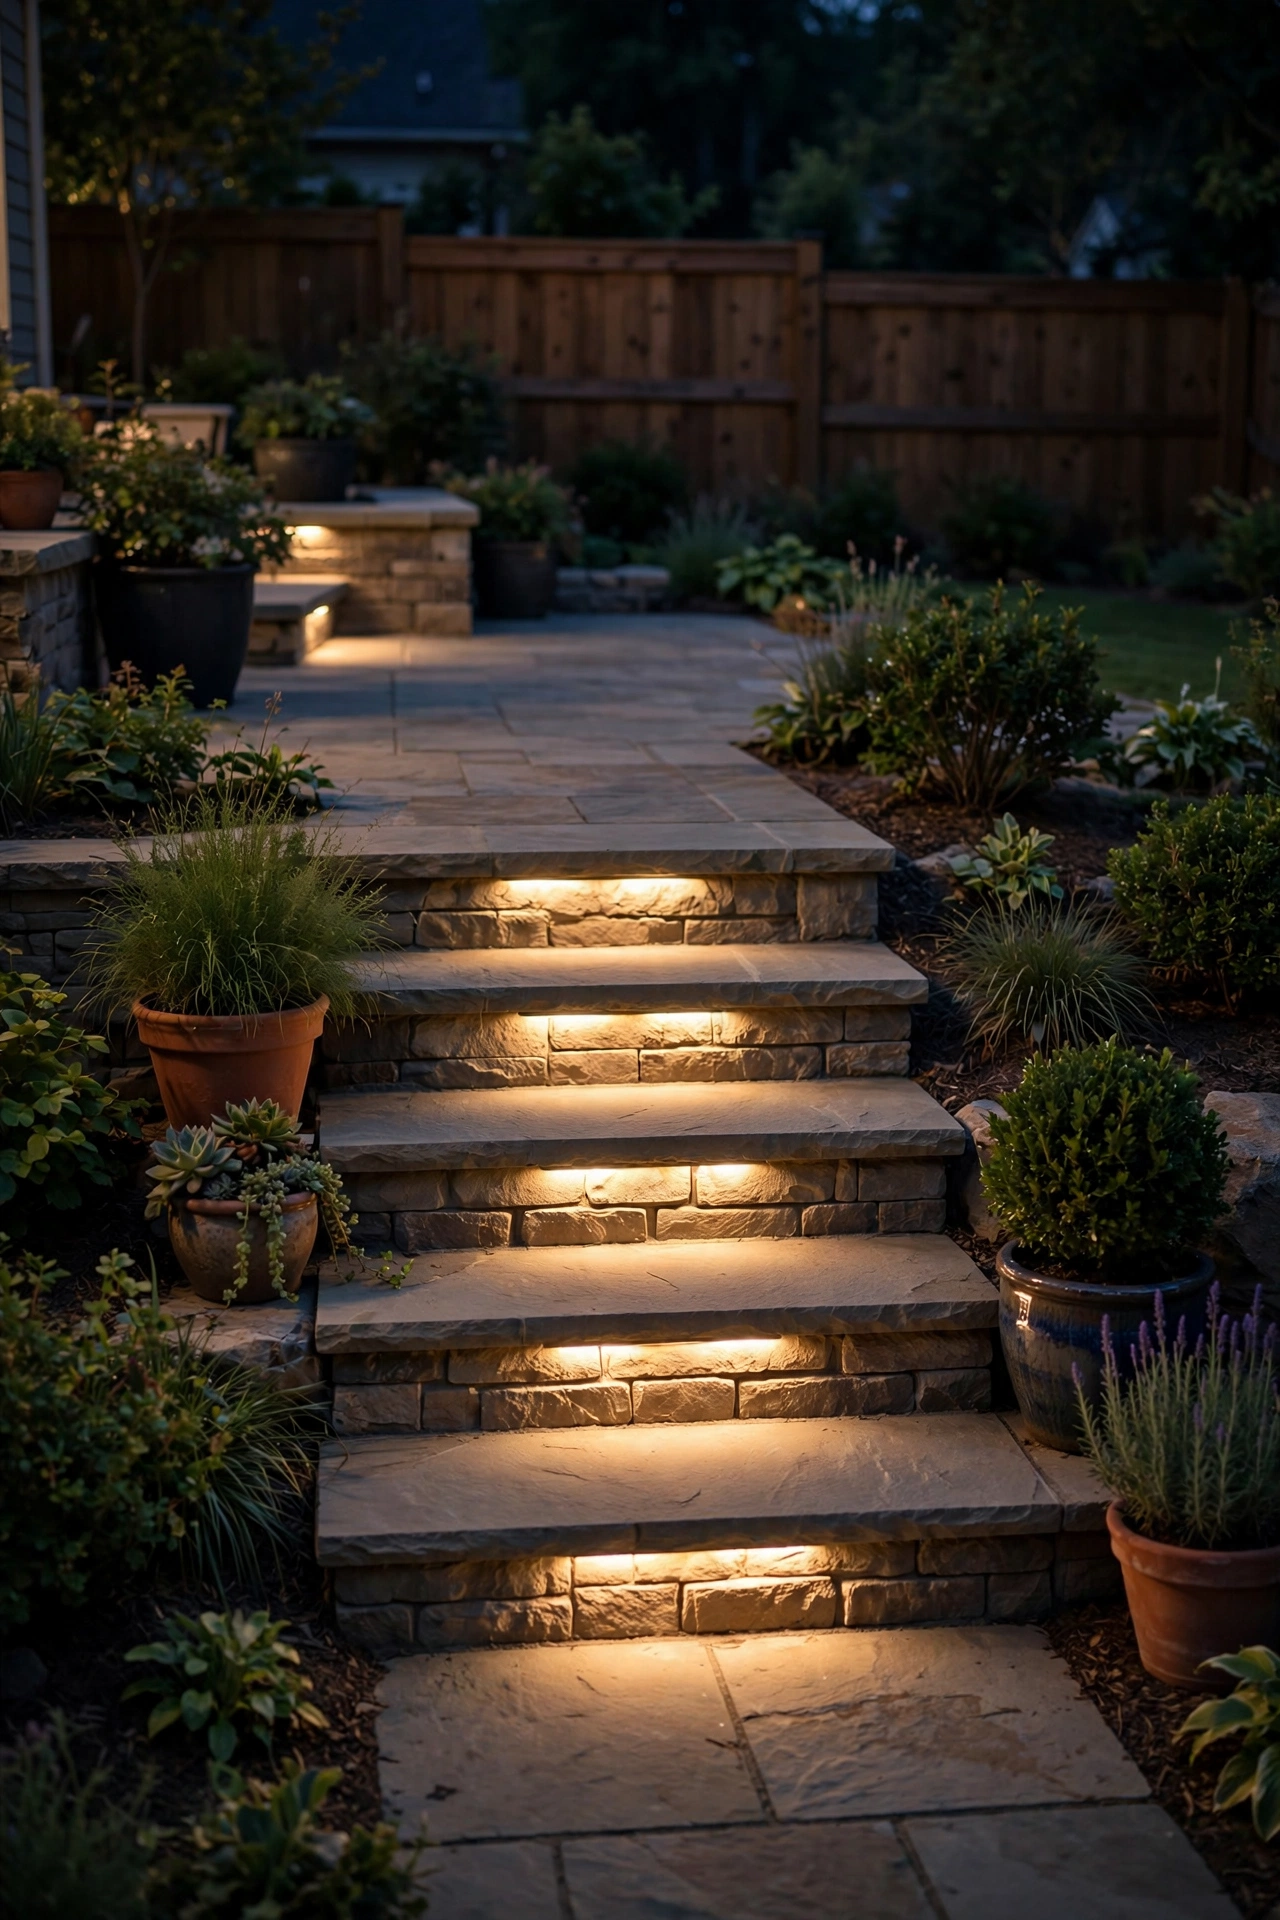
Holiday displays are the one area where most HOAs actually publish precise rules, usually an allowed window of dates, a lights-out time, and sometimes limits on size and animation. Working inside that window is not a limitation, it is a gift, because the rules tell you exactly what will pass. I hang warm white lights only, on the same dusk-to-10 timer as the rest of the yard, and I keep the display to the classics: roofline or porch outline, a wreath, and the statement tree from idea nine wearing its one tasteful wrap. Steady burn, never strobing, because flashing displays are the first thing most guidelines ban and the first thing neighbors photograph. Put the lights up no earlier than the first allowed weekend, and here is the part people forget: take them down promptly when the window closes, since the January stragglers generate more letters than December exuberance ever does. Store the approval-free basics in labeled bins and setup next year takes an hour. A restrained, warm, on-schedule display gets compliments from the same people who report the house with the inflatable light show, trust me.
Suggested budget range: $30 – $100.
15. Swap Garage Sconces One-for-One, Same Spot
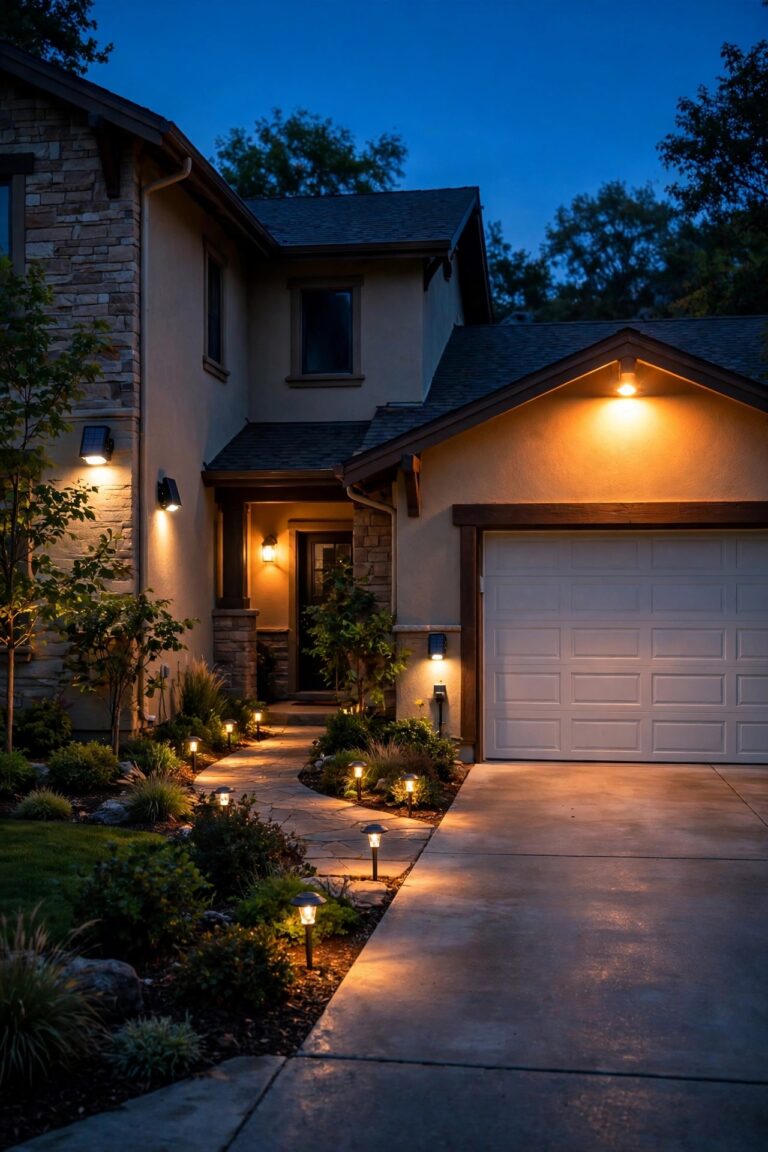
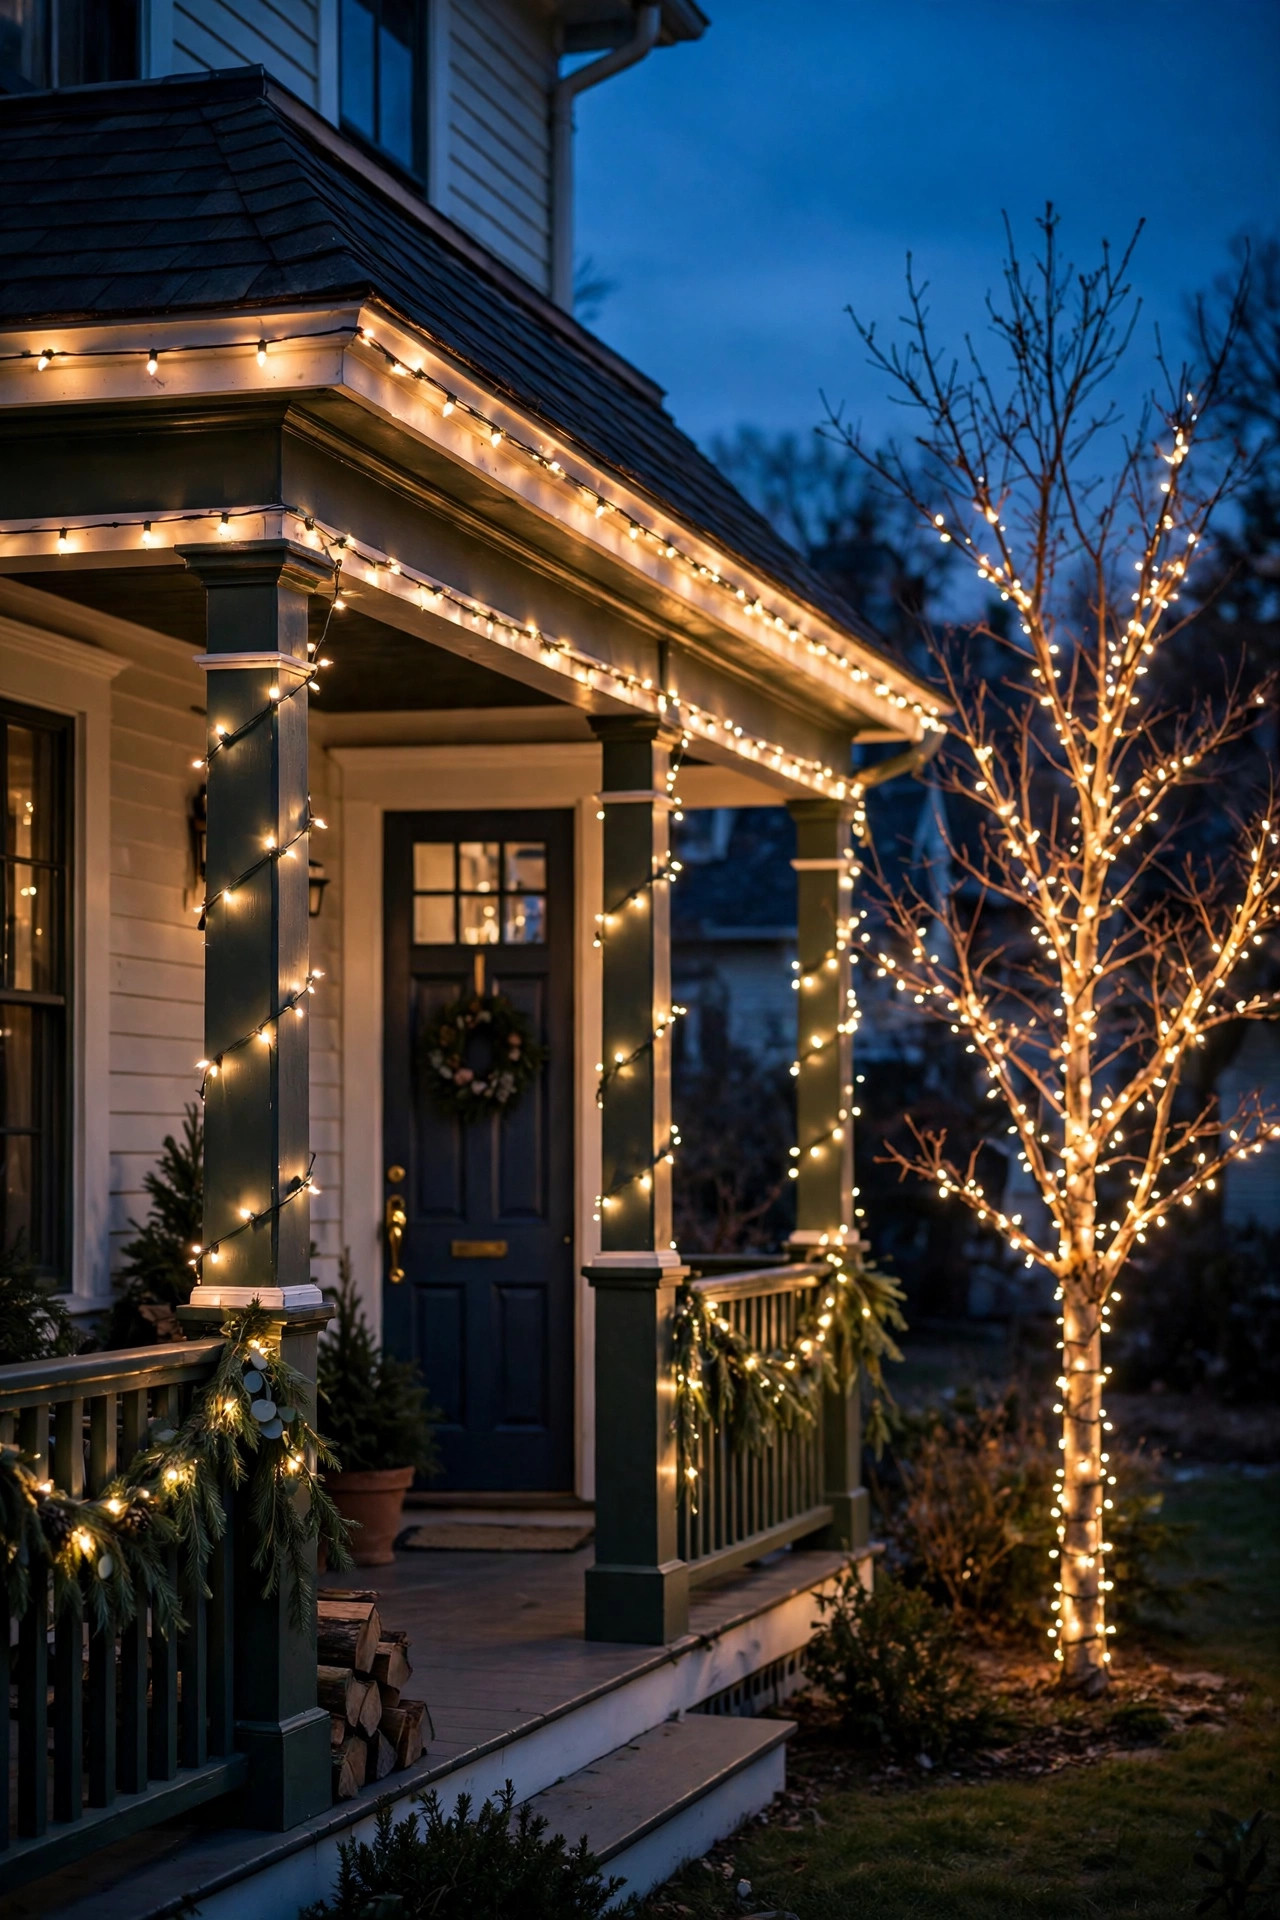
Replacing an existing fixture in the exact same location is the least regulated move in exterior lighting, because nothing new is being added to the house. If your builder-grade garage lanterns glare like interrogation lamps, swap them for shielded, downward carriage-style sconces in an approved finish, same mounting spots, same wiring, warm bulbs inside. The transformation is startling: the driveway gets a soft wash you can actually unload groceries by, the street view goes from harsh to handsome, and there is no new hole, wire, or fixture count for anyone to question. I always recommend photographing the old fixtures before you remove them, so your file shows a like-for-like replacement if a question ever comes up. Choose a design with the bulb fully tucked up inside the housing, sized in proportion to the garage door; fixtures about a quarter of the door's height look right on most homes. Put them on the porch photocell circuit so they handle themselves at dusk. This single swap did more for our home's evening curb appeal than any other project on this list, and it took one Saturday morning.
Suggested budget range: $50 – $150.
16. Give the House Numbers Their Own Small Spotlight
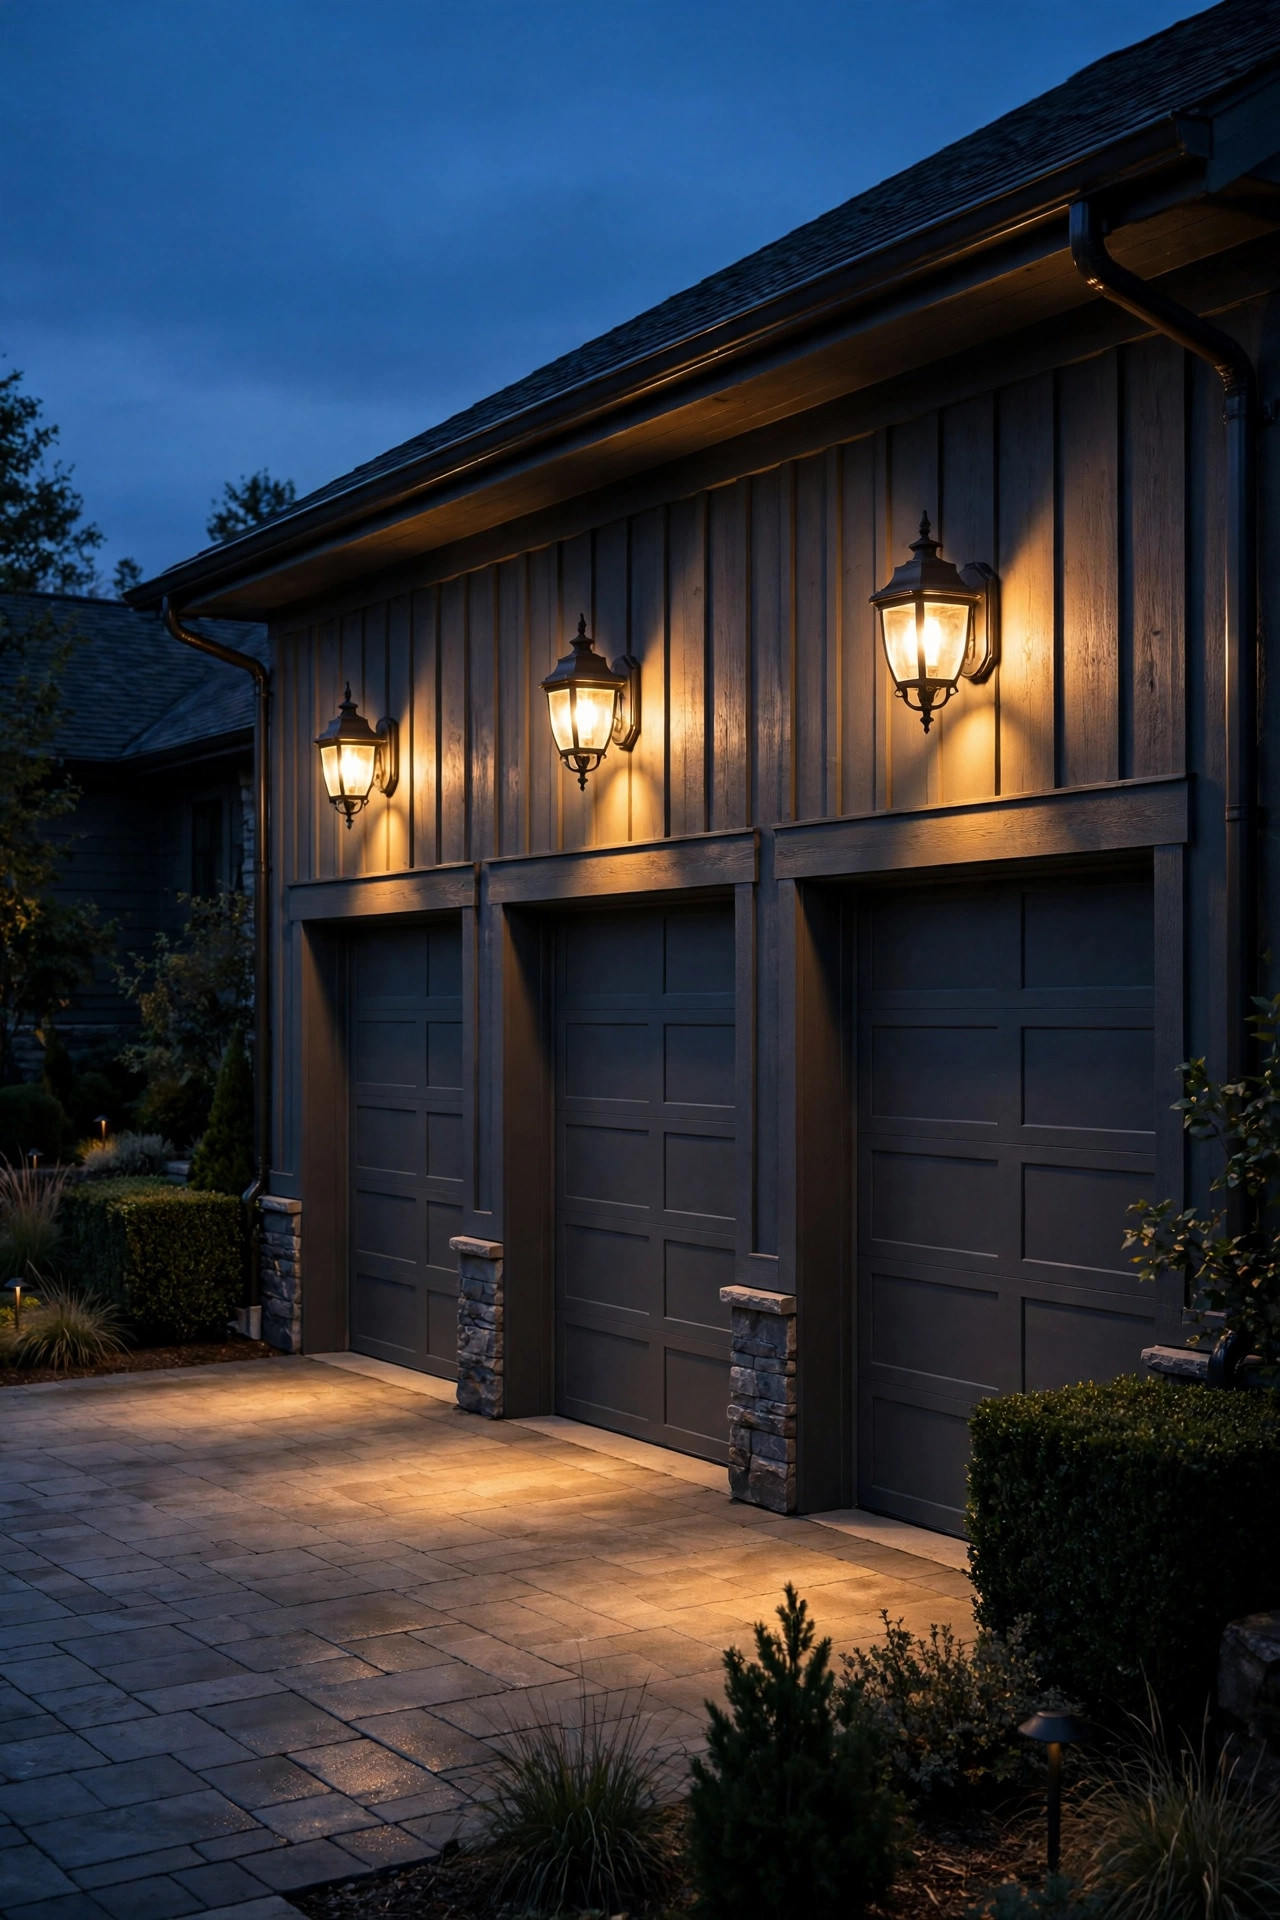
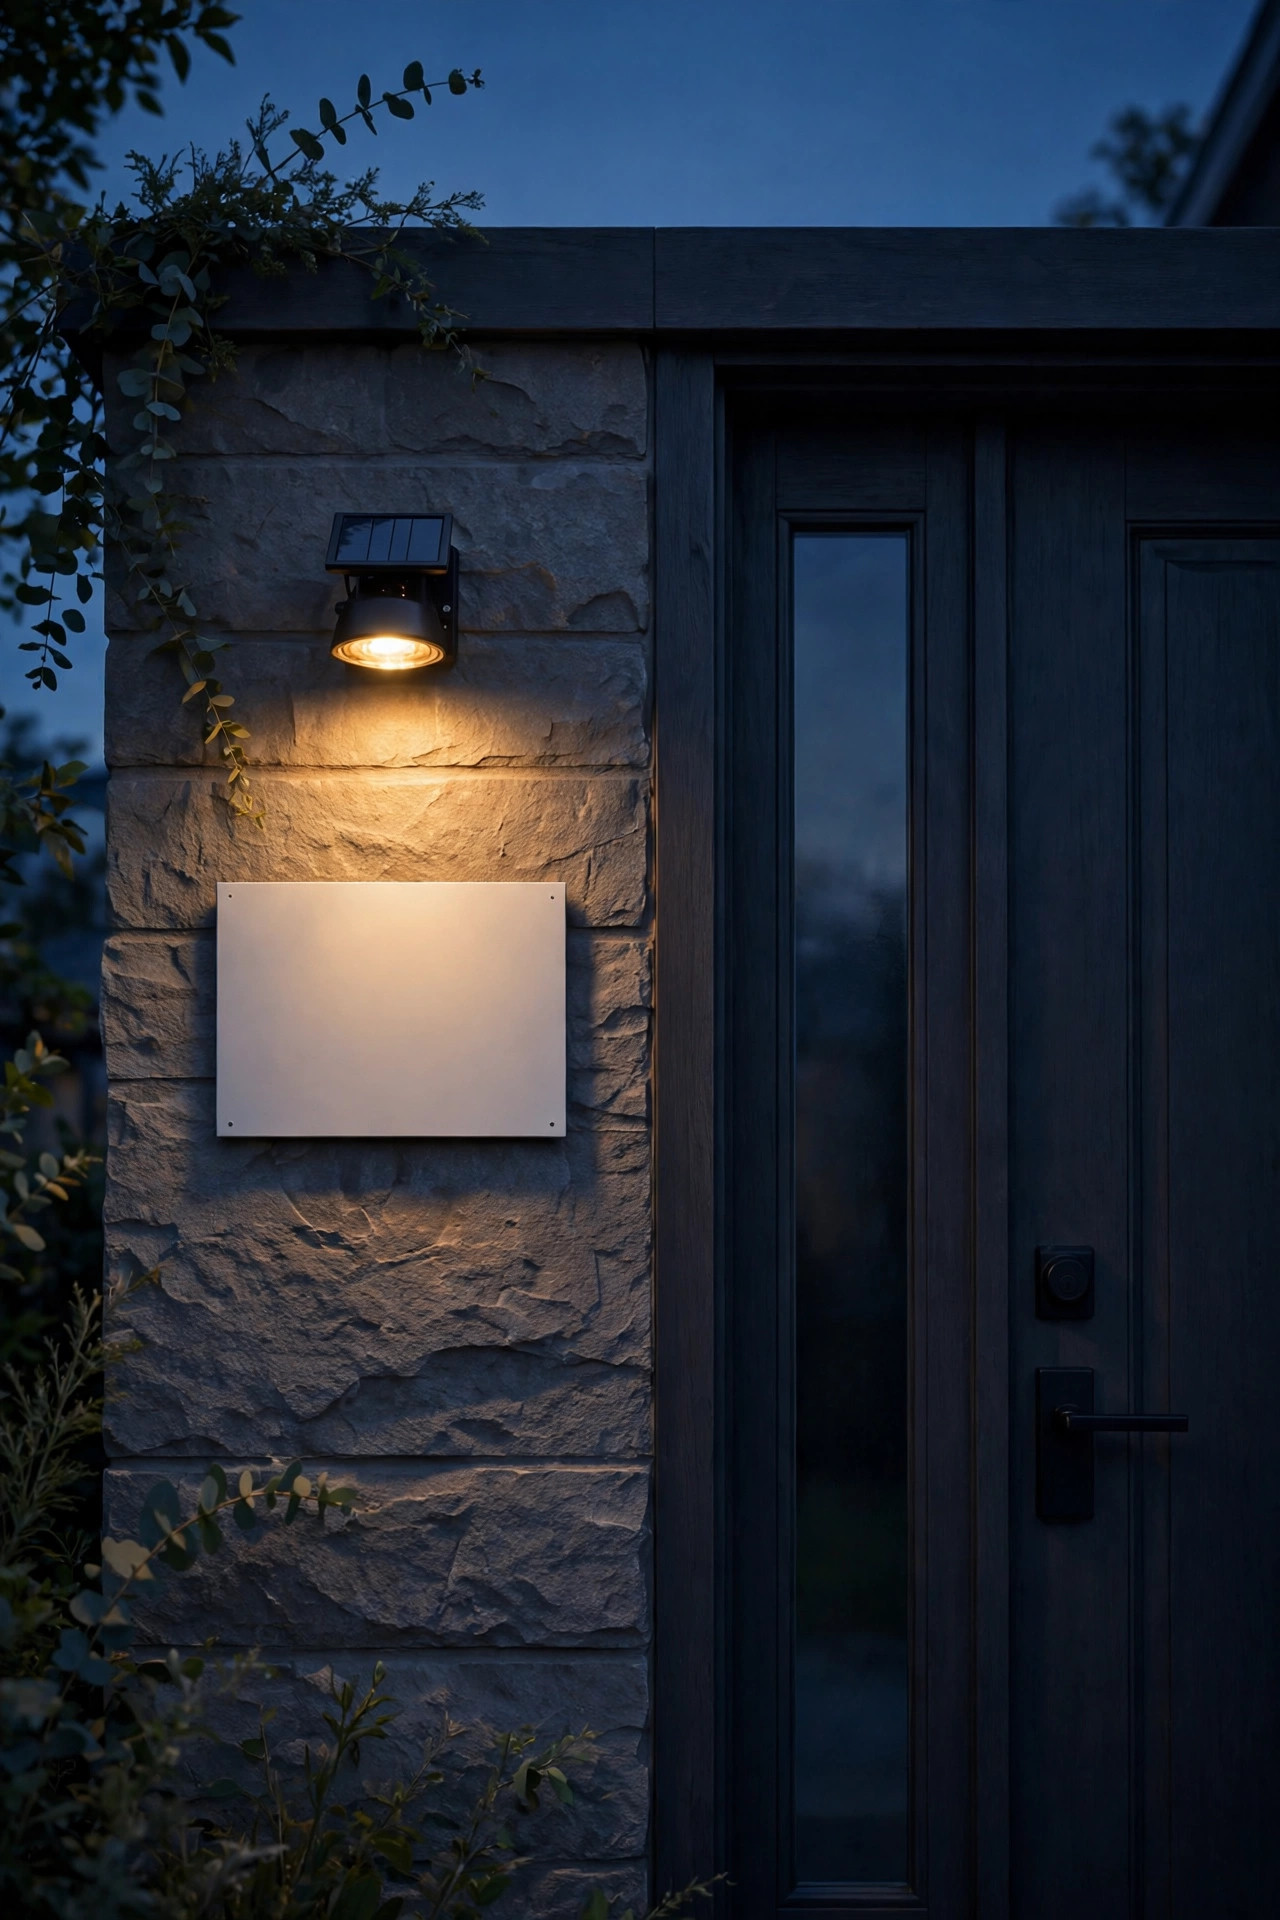
Here is an idea so practical that boards actively like it: a small, dedicated light for your house numbers. Delivery drivers, guests, and, far more importantly, paramedics all need to find your address at night, and many communities even have ordinances about visible numbering. A tiny solar spotlight staked in the bed below the numbers, or a low-voltage accent aimed softly at the plaque, does the job with just a few lumens, because numbers only need gentle definition, not a flood. Keep the beam tight and low, and let the fixture disappear into the mulch like the tree uplight. Warm white keeps it classy, and because it is small and safety-minded, it is the easiest line item on any approval form I have ever filed; one board member actually thanked me for including it. If your numbers live on a mailbox instead, a solar cap or a small stake beside the post works the same way. Pair it with the path lights and the whole arrival sequence reads calm, clear, and intentional, which is exactly the impression that keeps a compliance officer driving right on past your house.
Suggested budget range: $15 – $45.
17. Nestle Low Lights Inside the Garden Beds
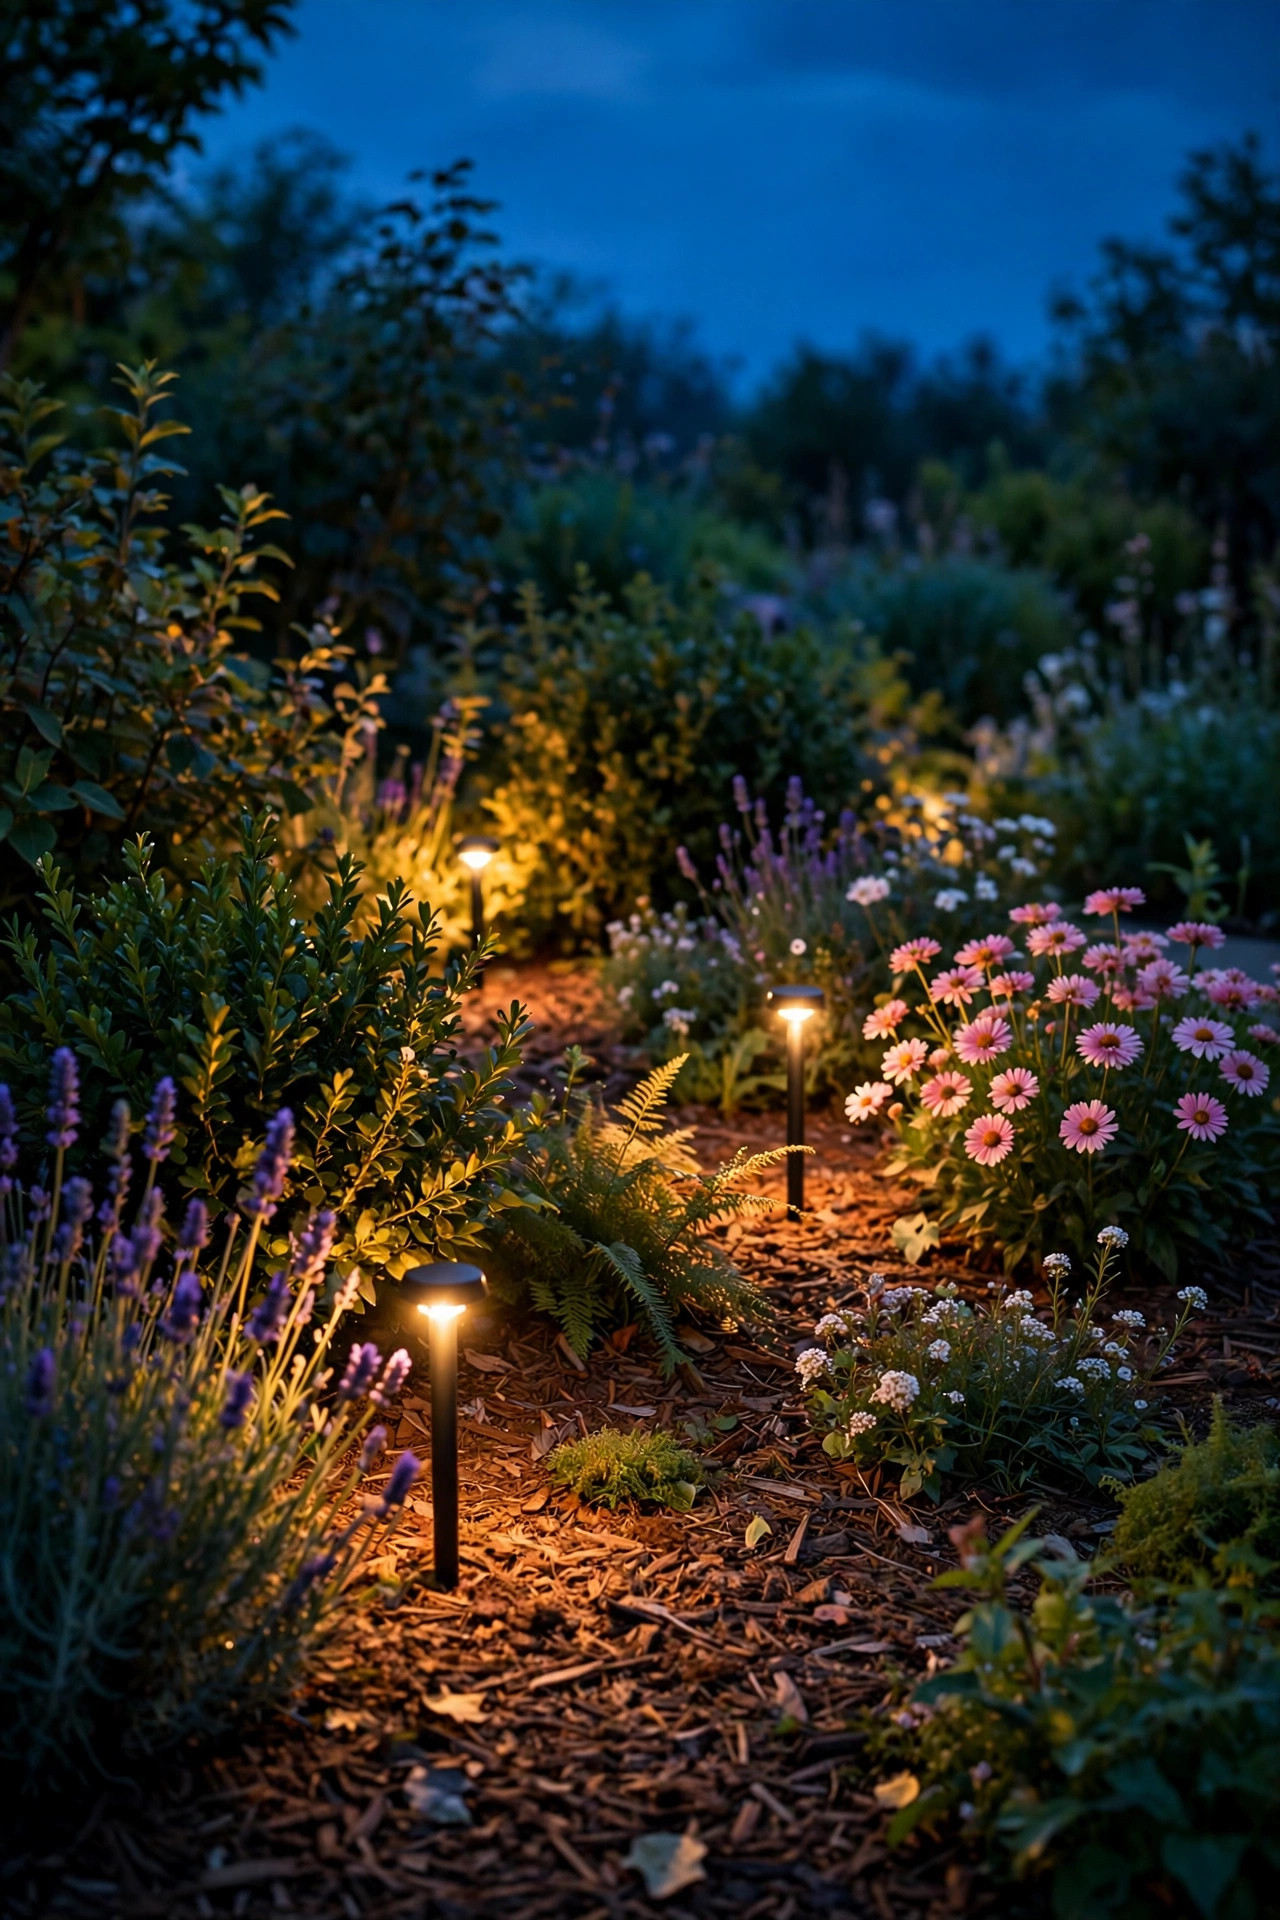
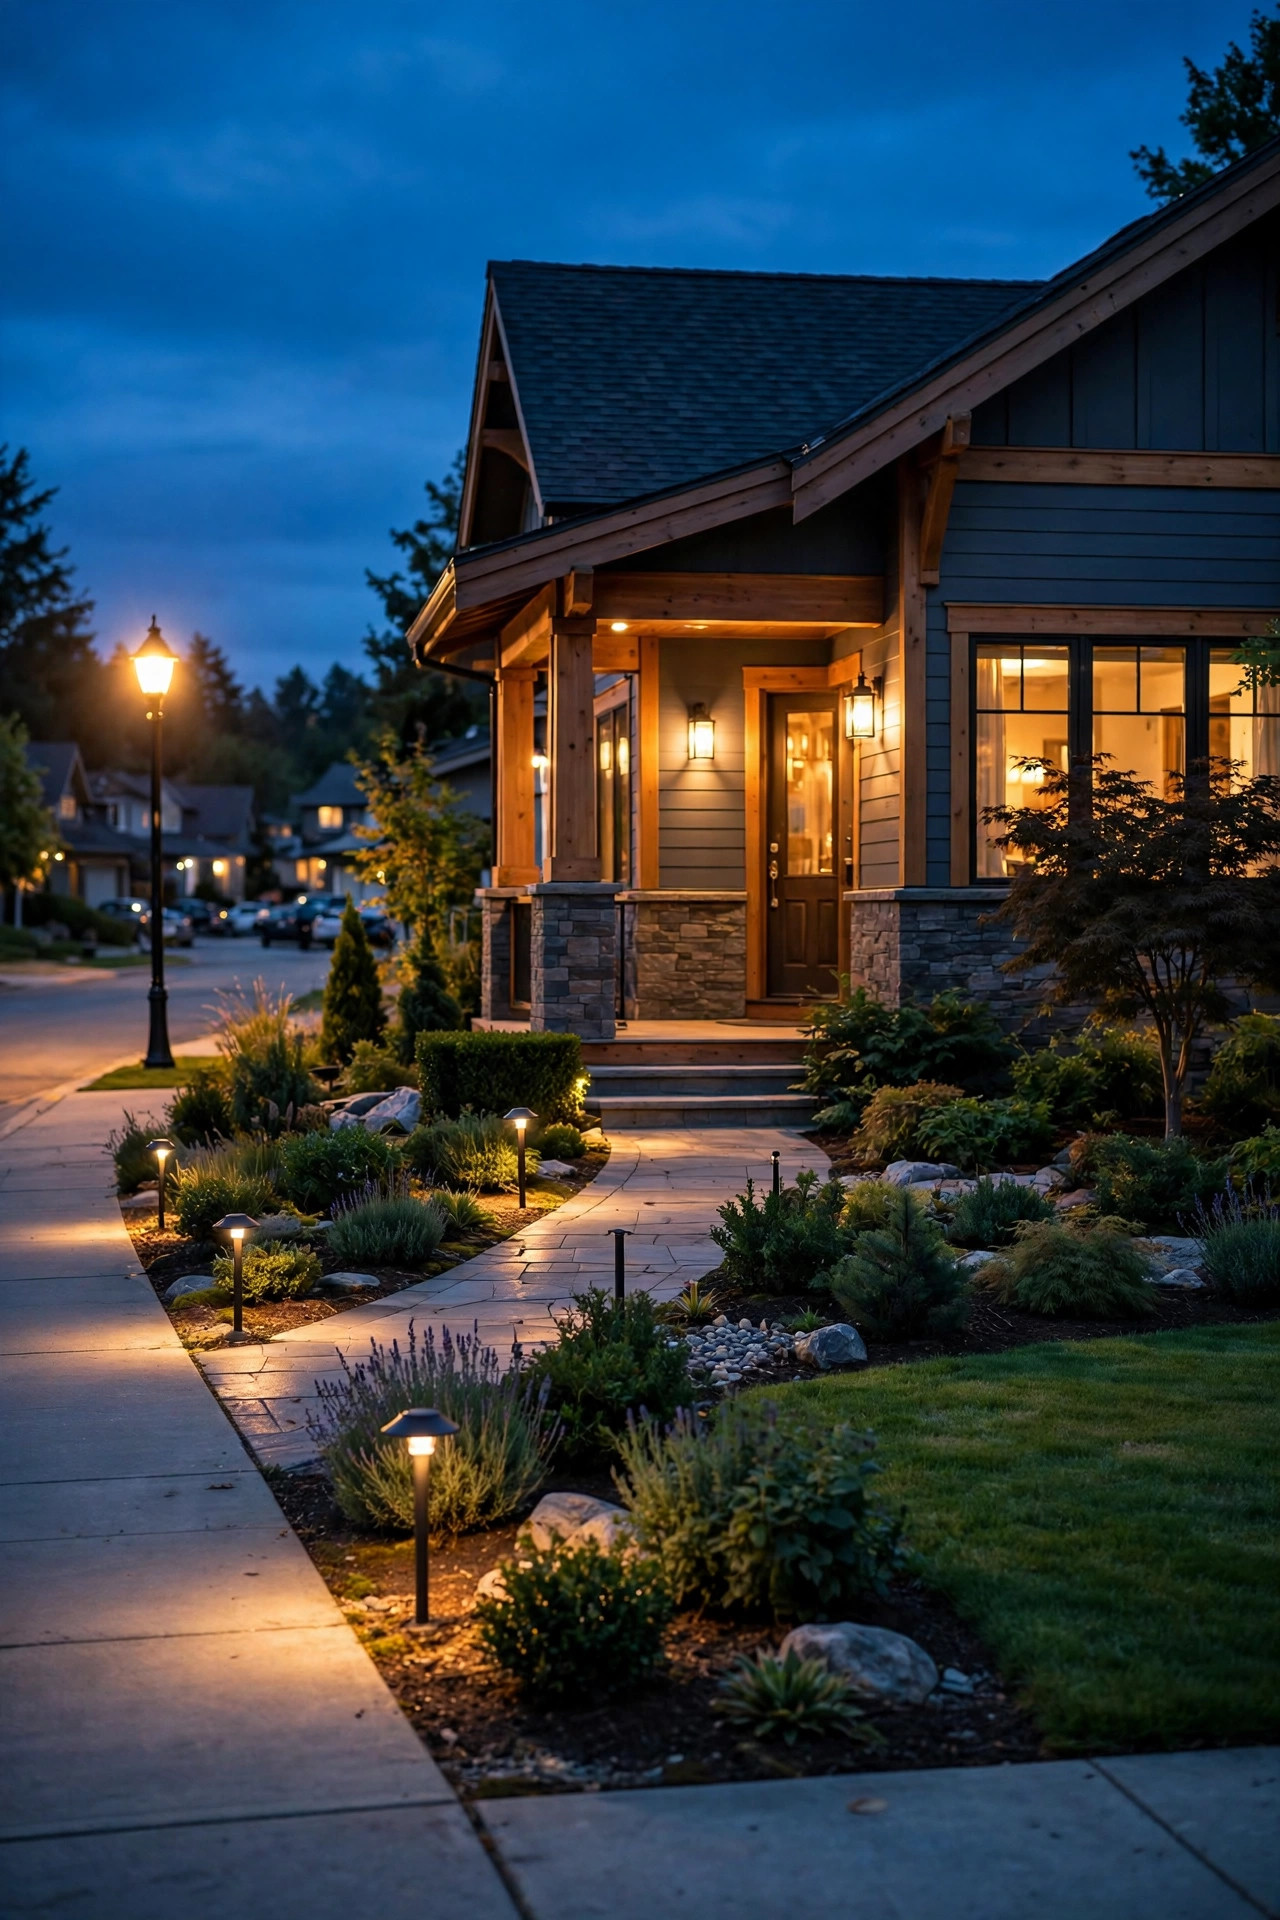
Fixtures tucked into planting beds are nearly invisible to a compliance check, because at a glance they read as landscaping rather than installation. Low stake lights and small mushroom-style fixtures nestled among shrubs and perennials wash foliage and flowers with a soft glow while the hardware itself hides behind leaves. This is where I get my middle layer in the front yard without a single visible fixture from the sidewalk. Aim beams into your own plantings, never outward toward the street, and use the lowest brightness that still shows the plants; garden lighting is about silhouettes and texture, not illumination. Mulch does you a favor here, hiding low-voltage cable completely, and solar versions need no cable at all. I space mine irregularly, following the planting rather than a ruler line, which looks natural and avoids the runway effect boards dislike on paths. Keep fixtures a few inches back from bed edges so mower wheels and edging tools pass safely, and expect to re-aim a few each spring as plants grow over them. The result at dusk is a front yard that glows like it is lit from within, and there is honestly nothing for anyone to write a letter about.
Suggested budget range: $25 – $70.
18. Save the Bigger Glow for the Back Patio
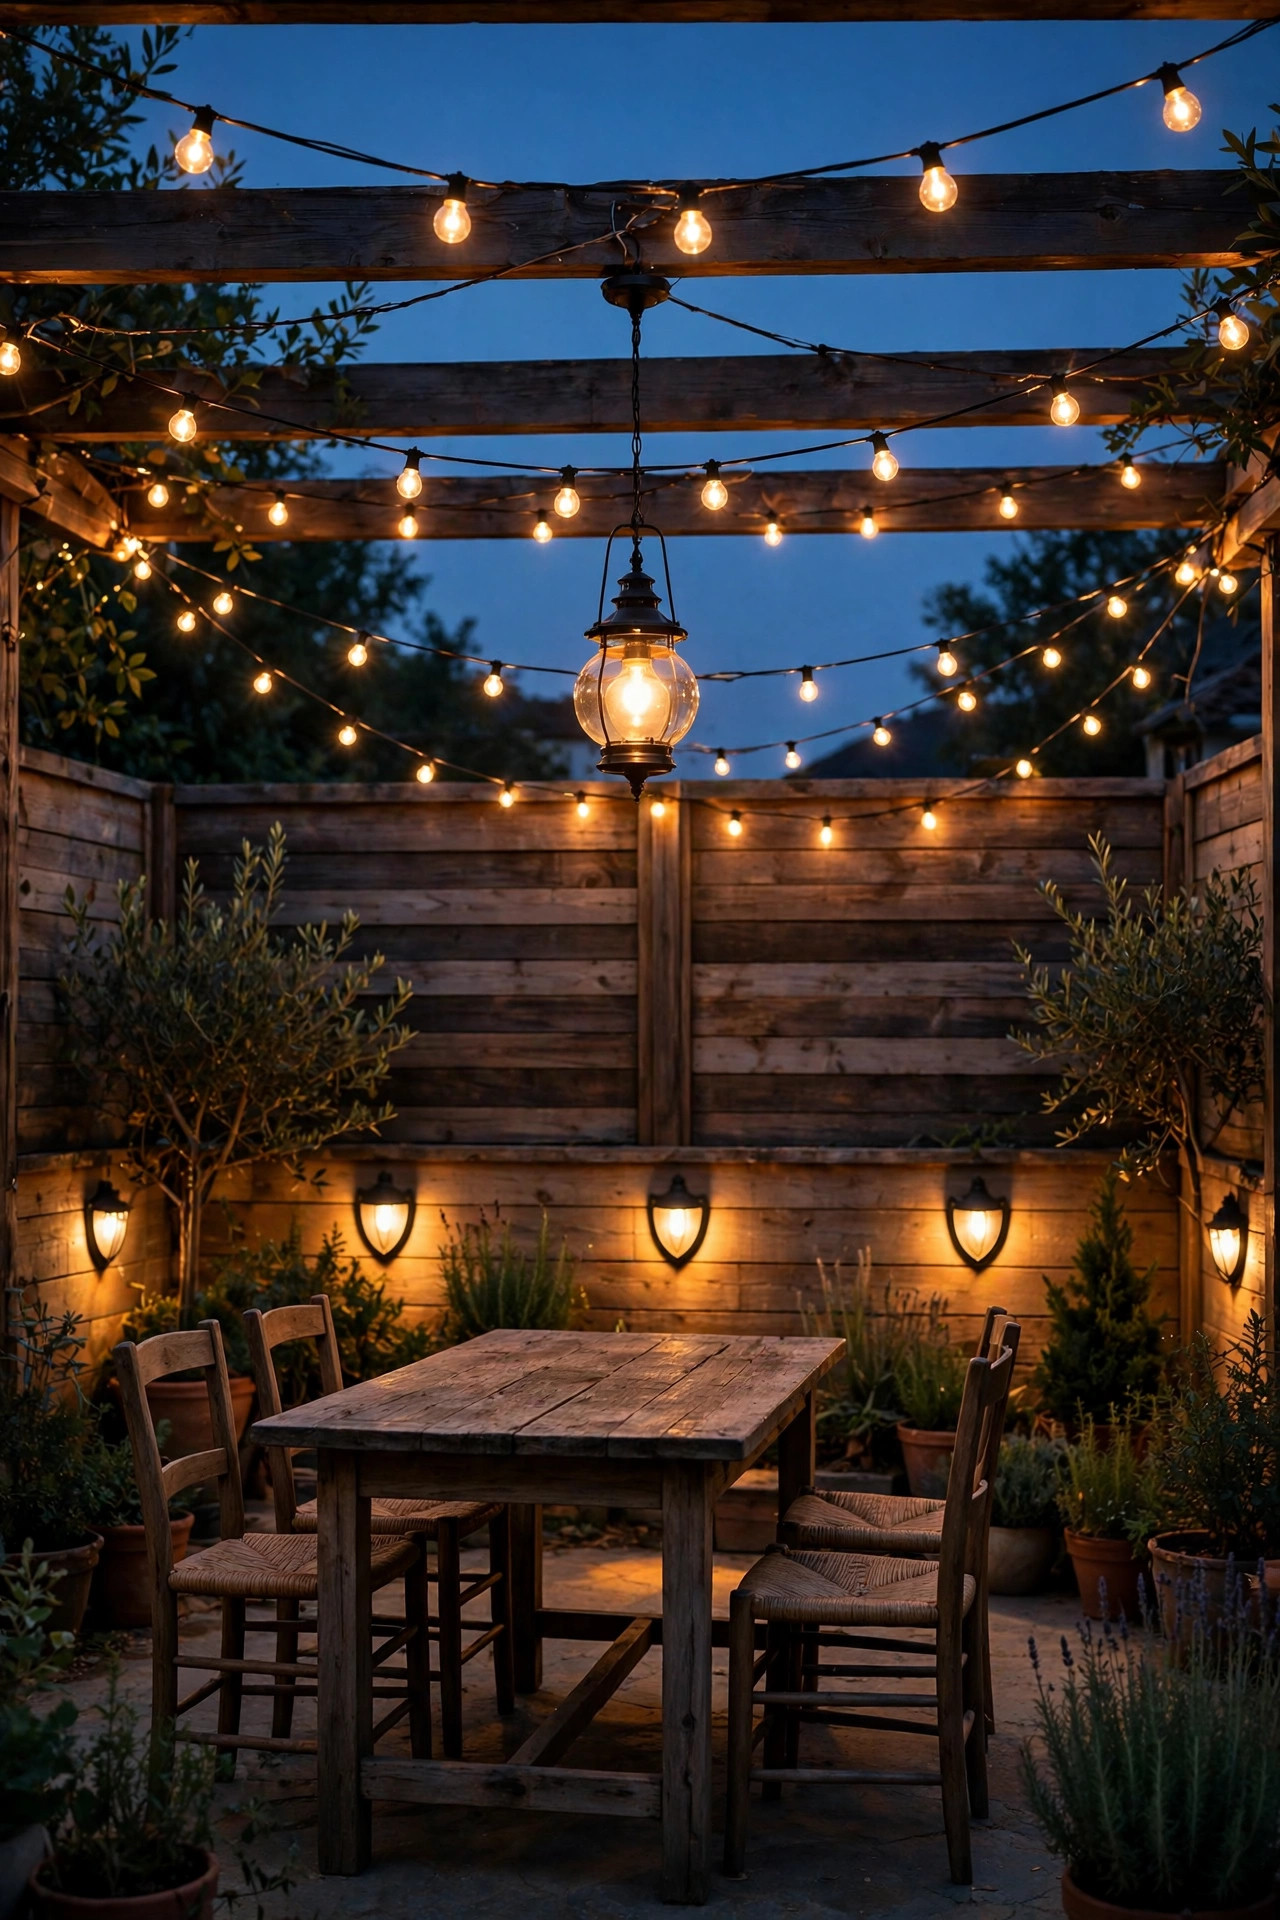
Front yards are public-facing and regulated; back yards, in most communities, are where you get to breathe. I concentrate our brightest, most social lighting on the back patio, below the fence line and out of street view, and nobody's guidelines have ever reached back there. A warm pendant or shaded fixture over the table, the string lights from idea eight, and a few shielded sconces on the rear wall give us a full evening living room out there. The discipline that matters is vertical: keep light sources at or below fence height where you can, so the glow does not sail over into the neighbors' yards, and keep the same warm temperature and 10 p.m. timer so the whole property behaves consistently. Rear-facing glass doors mean you enjoy the view of the lit garden from inside too, which is half the pleasure. If your lot backs onto a common area or a greenbelt, be a touch more restrained, since some guidelines treat that edge like a frontage. Otherwise, this is your sanctioned space to layer generously: ground, middle, and sparkle, all warm, all yours.
Suggested budget range: $40 – $130.
19. Dim It Down With Smart Bulbs and Schedules
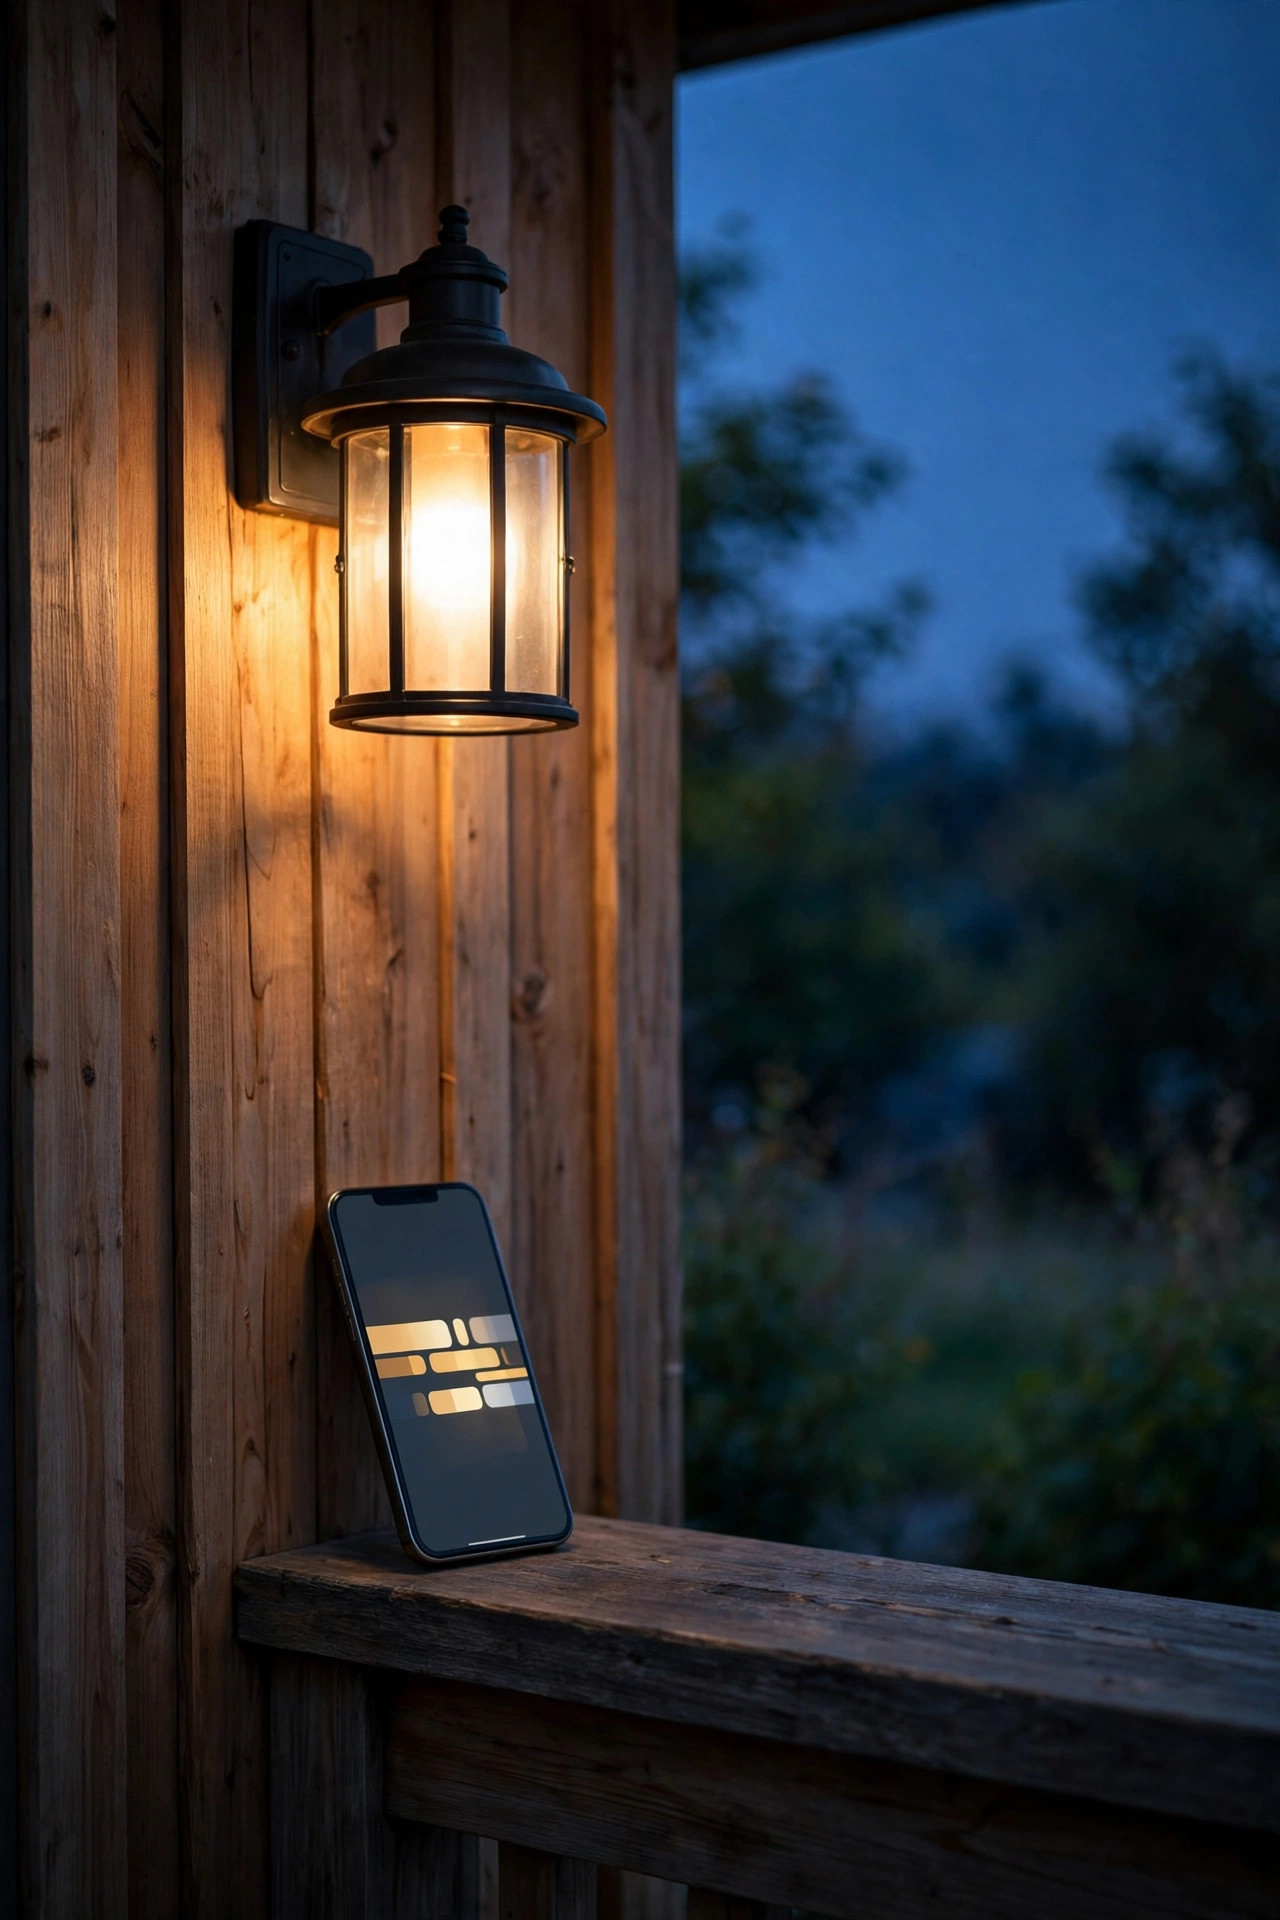
Brightness is a dial, not a destiny, and smart bulbs turn that dial into your best compliance tool. Swapping the porch and patio bulbs for dimmable smart versions lets me run everything at about 60 percent most evenings, which looks softer, saves the bulbs, and makes the yard glow rather than shine. On the rare night we host a bigger gathering, I can raise them from my phone, then drop them back before the 10 p.m. timer ends the party layer. Schedules are the other half of the trick: weekday and weekend routines, a vacation mode that still respects the off time, and a warm white setting locked in so there is no accidental color show in the front yard. A word of caution from my own learning curve: keep color-changing bulbs for the back patio only, and even there, warm scenes are what guests actually compliment. If your household is not app-friendly, an inline dimmer or a simple plug-in dimmer on the string lights gets you most of the same control. Modest light, precisely controlled, is nearly impossible for anyone to object to.
Suggested budget range: $25 – $80.
20. Walk the Property Line and Fix Every Spill
Once a season, I do the most valuable ten minutes in this whole list: I walk my property lines and the sidewalk at night and look at my own house the way a neighbor, or a compliance officer, sees it. You will be amazed what you find. A path light tipped two degrees into the street, a spotlight that crept upward after a storm, one bare bulb visible over the fence. Spill is almost always an aiming problem, not a fixture problem, and aiming is free. Nudge fixtures down and inward, add an inexpensive glare shield or louver where a hood is not enough, and space path lights a little wider apart so no single one needs to be bright. I also check from the neighbor's side of the line, politely, at the fence: if light is pooling on their patio, it is too much, whatever the rulebook technically allows. Goodwill is a compliance strategy, because people report what annoys them, not what merely exists. This little audit, done spring and fall, is how our yard has stayed letter-free through three changes of property management.
Suggested budget range: $0 – $30.
21. Finish With a Dusk Walkthrough: The Last of My HOA Friendly Outdoor Lighting Ideas
When everything is installed, do the walkthrough that closes the loop, ideally the evening before any inspection deadline or just after a big install weekend. Start at the curb and approach your house like a guest: is the address easy to read, the path clear, the entry welcoming, and is any single bulb glaring at you? Then circle the property lines, check the timer by actually watching the yard go dark at 10, and photograph the whole scene from the street. Those dusk photos join your approval letter and receipts in the project folder, and together they are an unanswerable file if a question ever arrives. I also write down the bulb temperatures and fixture finishes I used, because future replacements should match without a fresh round of research. If a neighbor happens to be out, this is a lovely moment to ask how it looks from their side; being asked first disarms almost any potential complaint. Finish by standing in the middle of the yard and simply enjoying it, warm, layered, and entirely within the lines. That is what doing this properly buys you: a glowing yard and a completely quiet mailbox.
Suggested budget range: $0 – $20.
Frequently Asked Questions
What color temperature do HOAs usually prefer for outdoor lighting?
Warm white, almost always. Most guidelines that mention color specify 2700K to 3000K, or use language like soft white and residential in character. Cool 4000K to 5000K bulbs are the ones most often flagged, because they read as commercial and create the harsh glare neighbors complain about. My rule is simple: one warm temperature across the whole property, front and back, so nothing looks out of place.
Do I need HOA approval before installing landscape lighting?
For anything wired, mounted, or permanent, assume yes until your guidelines tell you otherwise. Portable solar stakes, lanterns, and other removable items usually need no approval at all. The safe path is to submit the short architectural form with a sketch and fixture list before permanent work. In my experience approvals for warm, shielded, downward plans come back quickly, and the letter protects you permanently.
Are solar lights bright enough to meet HOA expectations?
For paths, steps, fence caps, and accents, absolutely; modern warm white solar fixtures in the 30 to 100 lumen range handle wayfinding beautifully after a sunny day. For facade washes or a statement tree, solar can fall short in shaded spots or winter, so I use low-voltage wired fixtures there instead. A mixed approach, solar for the small layers and wired for the anchors, keeps both the board and the electric bill happy.
What time should outdoor lights turn off in an HOA community?
Check your own covenants first, since many communities set 10 or 11 p.m. as the decorative lights-out time. Where no rule exists, I still recommend 10 p.m. for decorative layers, with shielded entry and safety lighting on a photocell overnight if your guidelines allow it. An astronomical timer or smart plug makes the schedule effortless and consistent, and consistency is what keeps the peace.
Conclusion
Living under an HOA does not mean living in the dark; it just means lighting like a good neighbor on purpose. Warm color, shielded fixtures, low placement, and honest timers handle nearly every rule ever written, and the rest is paperwork and a ten-minute property-line walk twice a year. Start with the rulebook, build your layers from the ground up, and keep your approvals in a folder. These hoa friendly outdoor lighting ideas have kept my yard the one walkers slow down for and my mailbox gloriously empty, and they will do the same for you. When you are ready for the next project, browse the rest of the outdoor lighting ideas here on the site; there is always one more corner of the garden waiting for its glow.