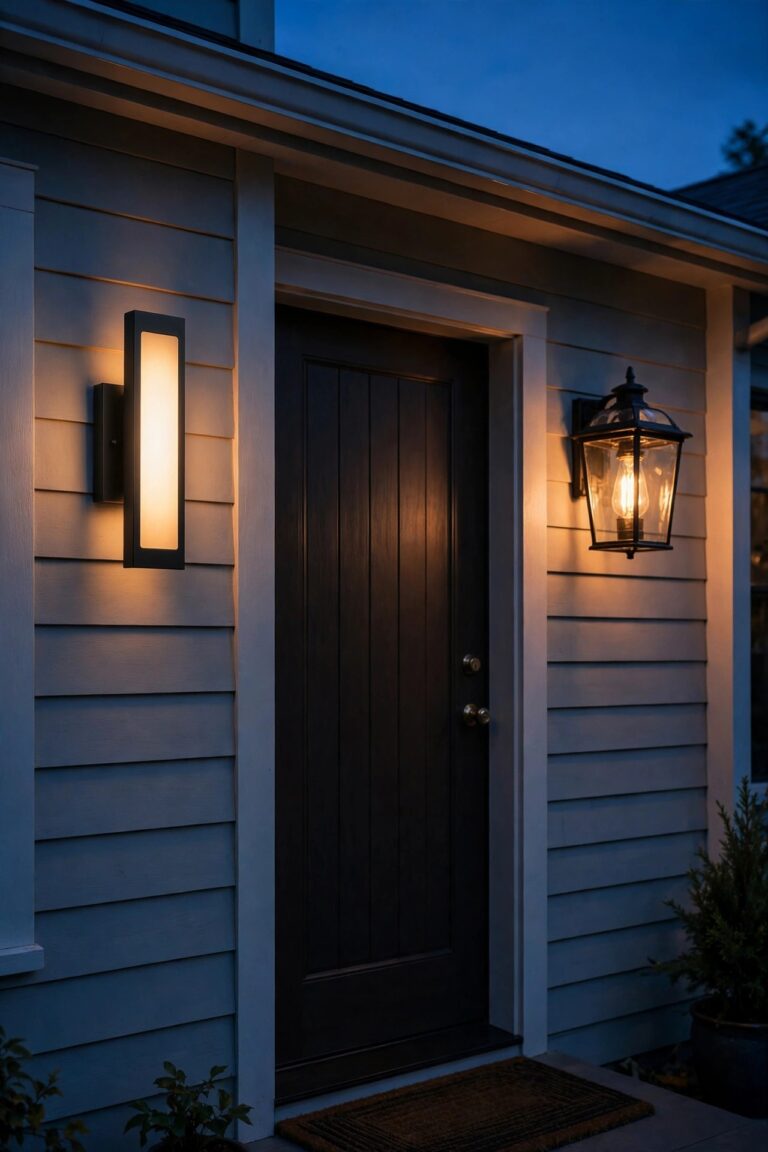
A Southwestern garden at noon is all glare and grit, but at dusk it turns into something else entirely. The gravel cools, the agaves go blue-green in the fading light, and the ocotillo canes draw long lines against a coral sky. That is the hour these southwestern garden lighting ideas are built for. Drought-smart beds are sculptural by nature — boulders, rosettes, terra-cotta, and gravel mulch instead of thirsty lawn — and sculpture only needs the right light to perform after dark. My approach never changes: a low layer to guide your feet, a middle layer of accents that model the plants and stone, and a soft wash from above that feels like moonlight. Because these beds sip water instead of gulping it, the fixtures here tread lightly too — fewer trenches near drip lines, solar where wiring makes no sense, and shielded beams that keep the famous desert stars exactly where they belong. Below are the 17 ideas I return to in xeric gardens, each with honest budgets, spacing numbers, and the dark-sky habits desert towns expect from good neighbors.
1. Start With a Layered Southwestern Garden Lighting Ideas Plan
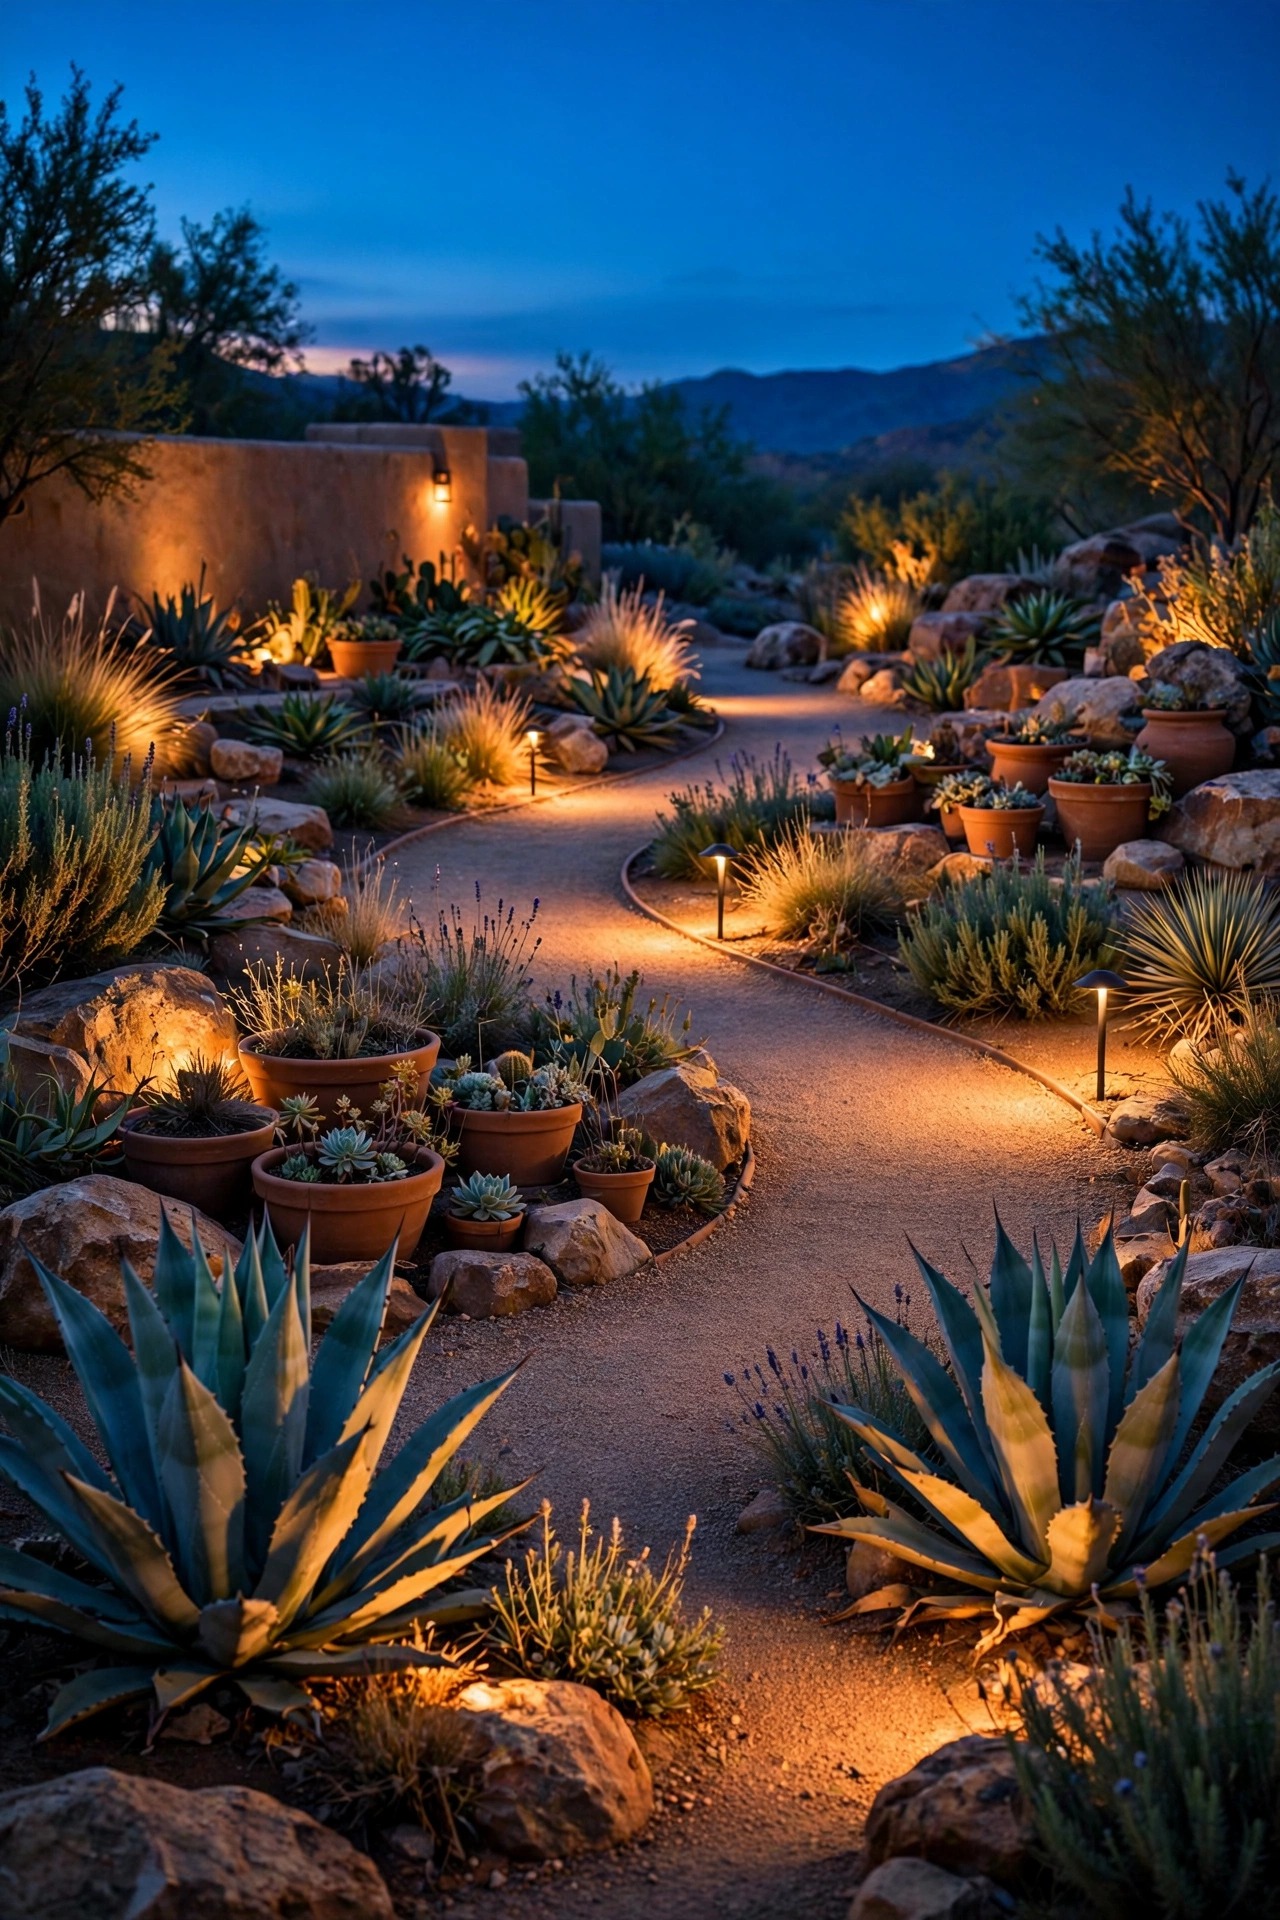
Every xeric garden I have lit well started with a sketch, not a shopping trip. Draw your beds, gravel paths, courtyard wall, and seating, then mark three layers. The low layer is guidance: path and step fixtures under 14 inches that pool light on the ground where you actually walk. The middle layer is the art show: narrow-beam accents aimed at agaves, yuccas, boulders, and pots. The high layer is atmosphere: one or two fixtures mounted 12 feet or higher in a mesquite or palo verde, washing soft light down like moonlight. Drought-smart beds reward restraint, because gravel and open soil give light nowhere to hide — for most garden beds, 10 to 14 fixtures across all three layers is plenty. Mark your drip irrigation lines on the same sketch before you plan a single trench; knowing where the emitters sit saves fixtures and roots later. Plan the dark-sky rules at this stage too: every beam lands on a plant, a rock, or the ground, never the sky. Finally, size the transformer with 20 percent headroom and walk the sketch at dusk with a flashlight before you buy anything.
Suggested budget range: $40 – $120.
2. Line Gravel Paths With Low, Shielded Path Lights
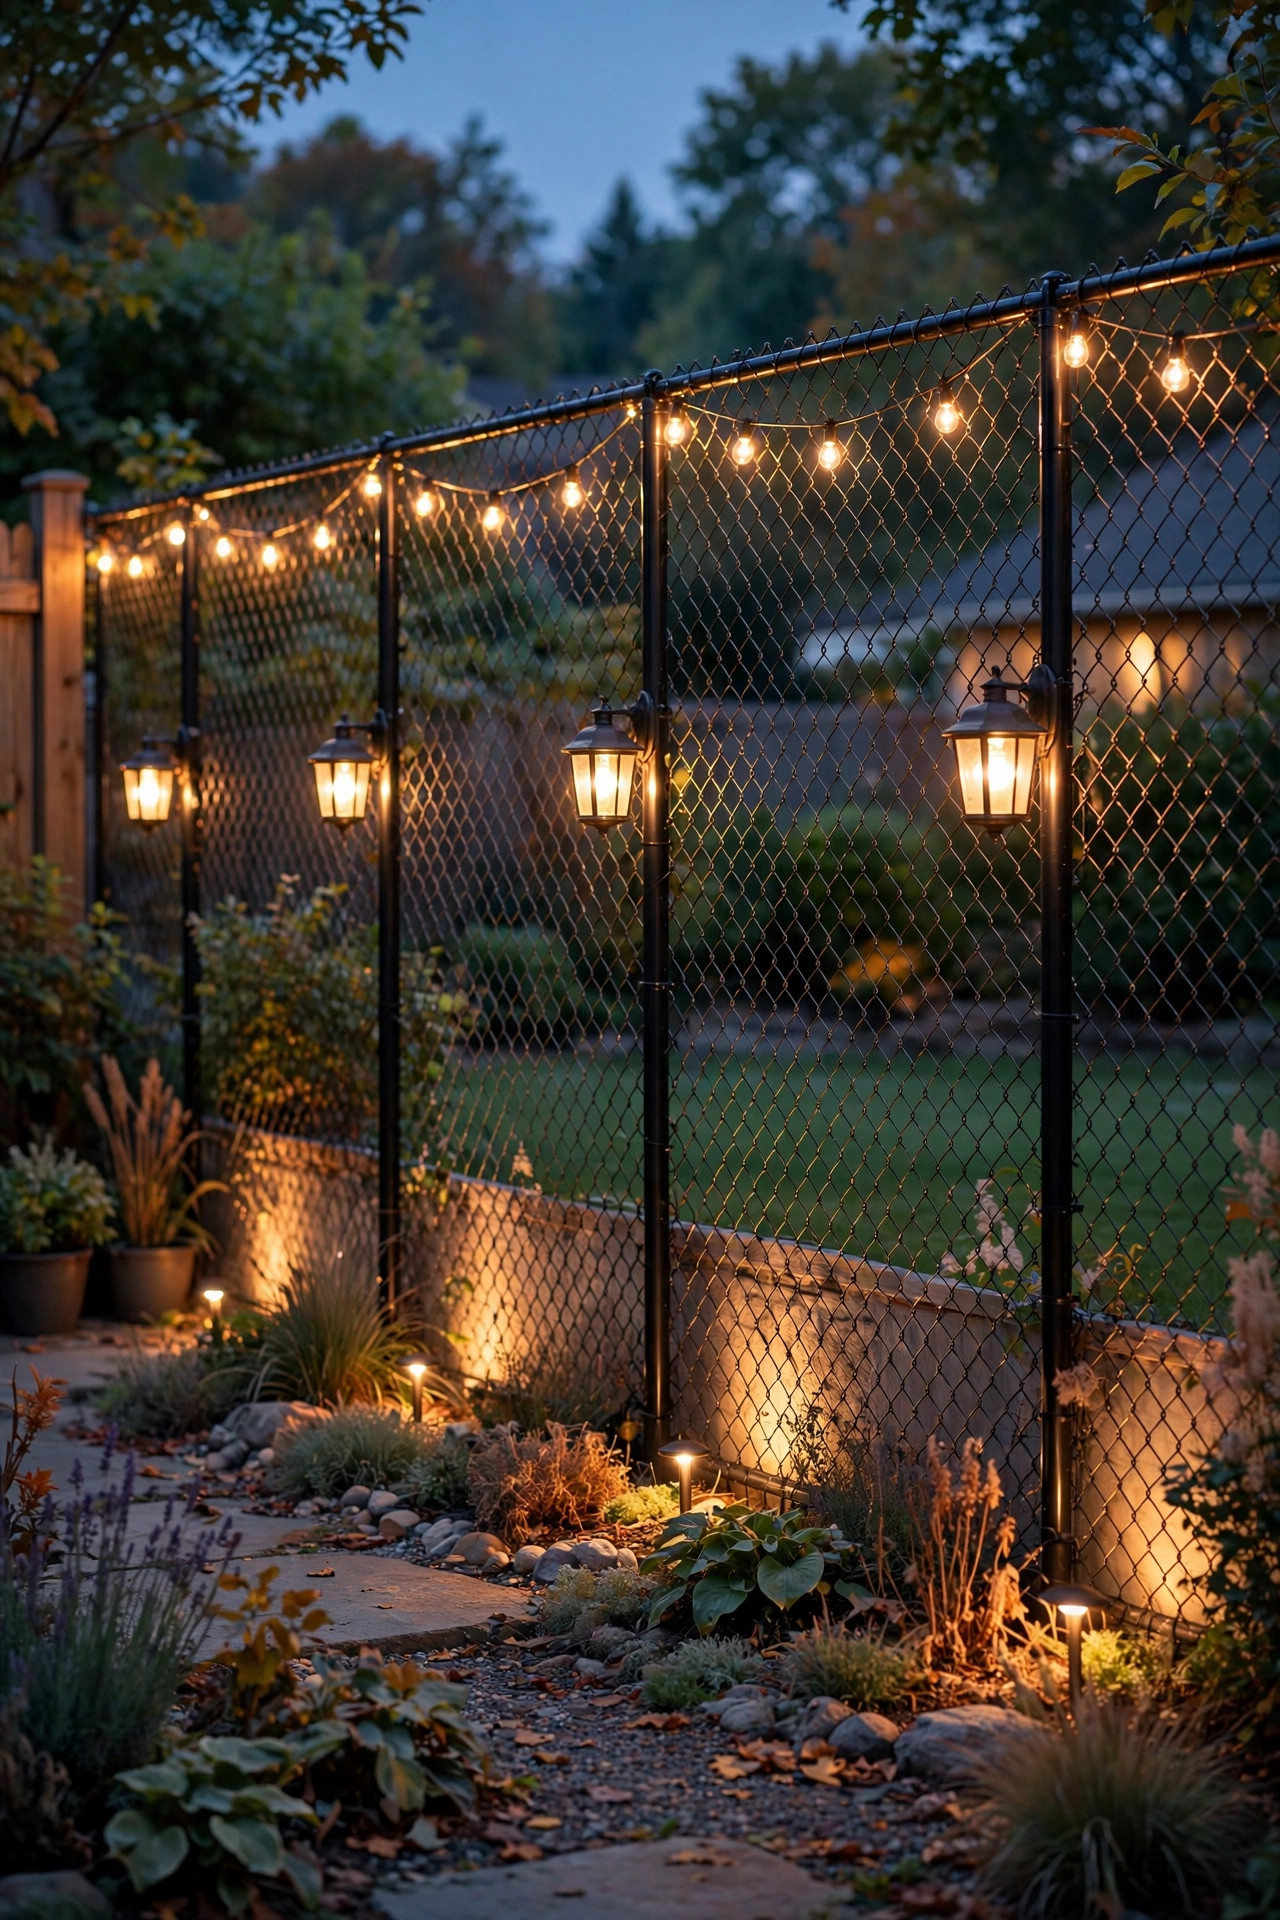
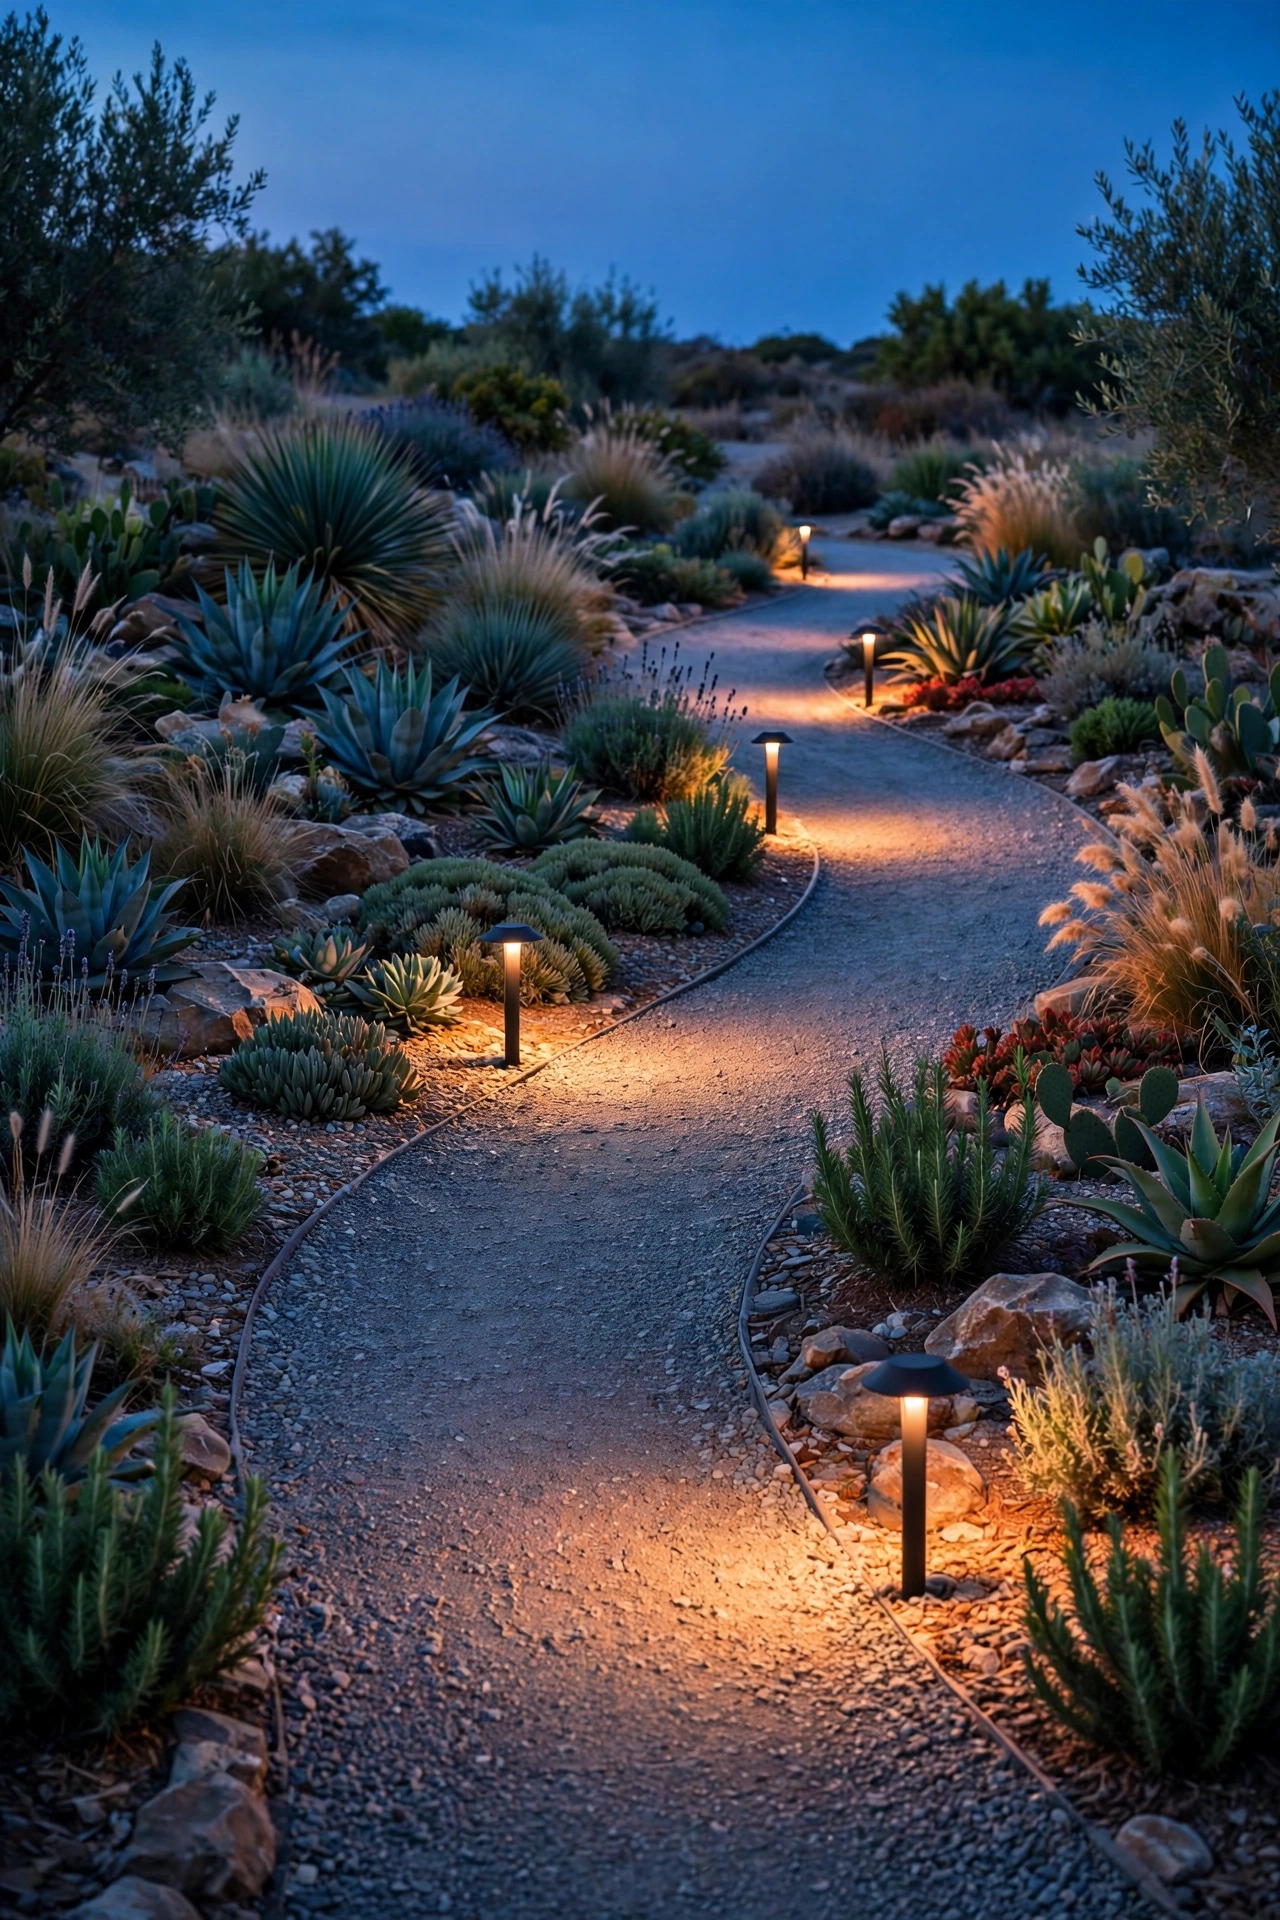
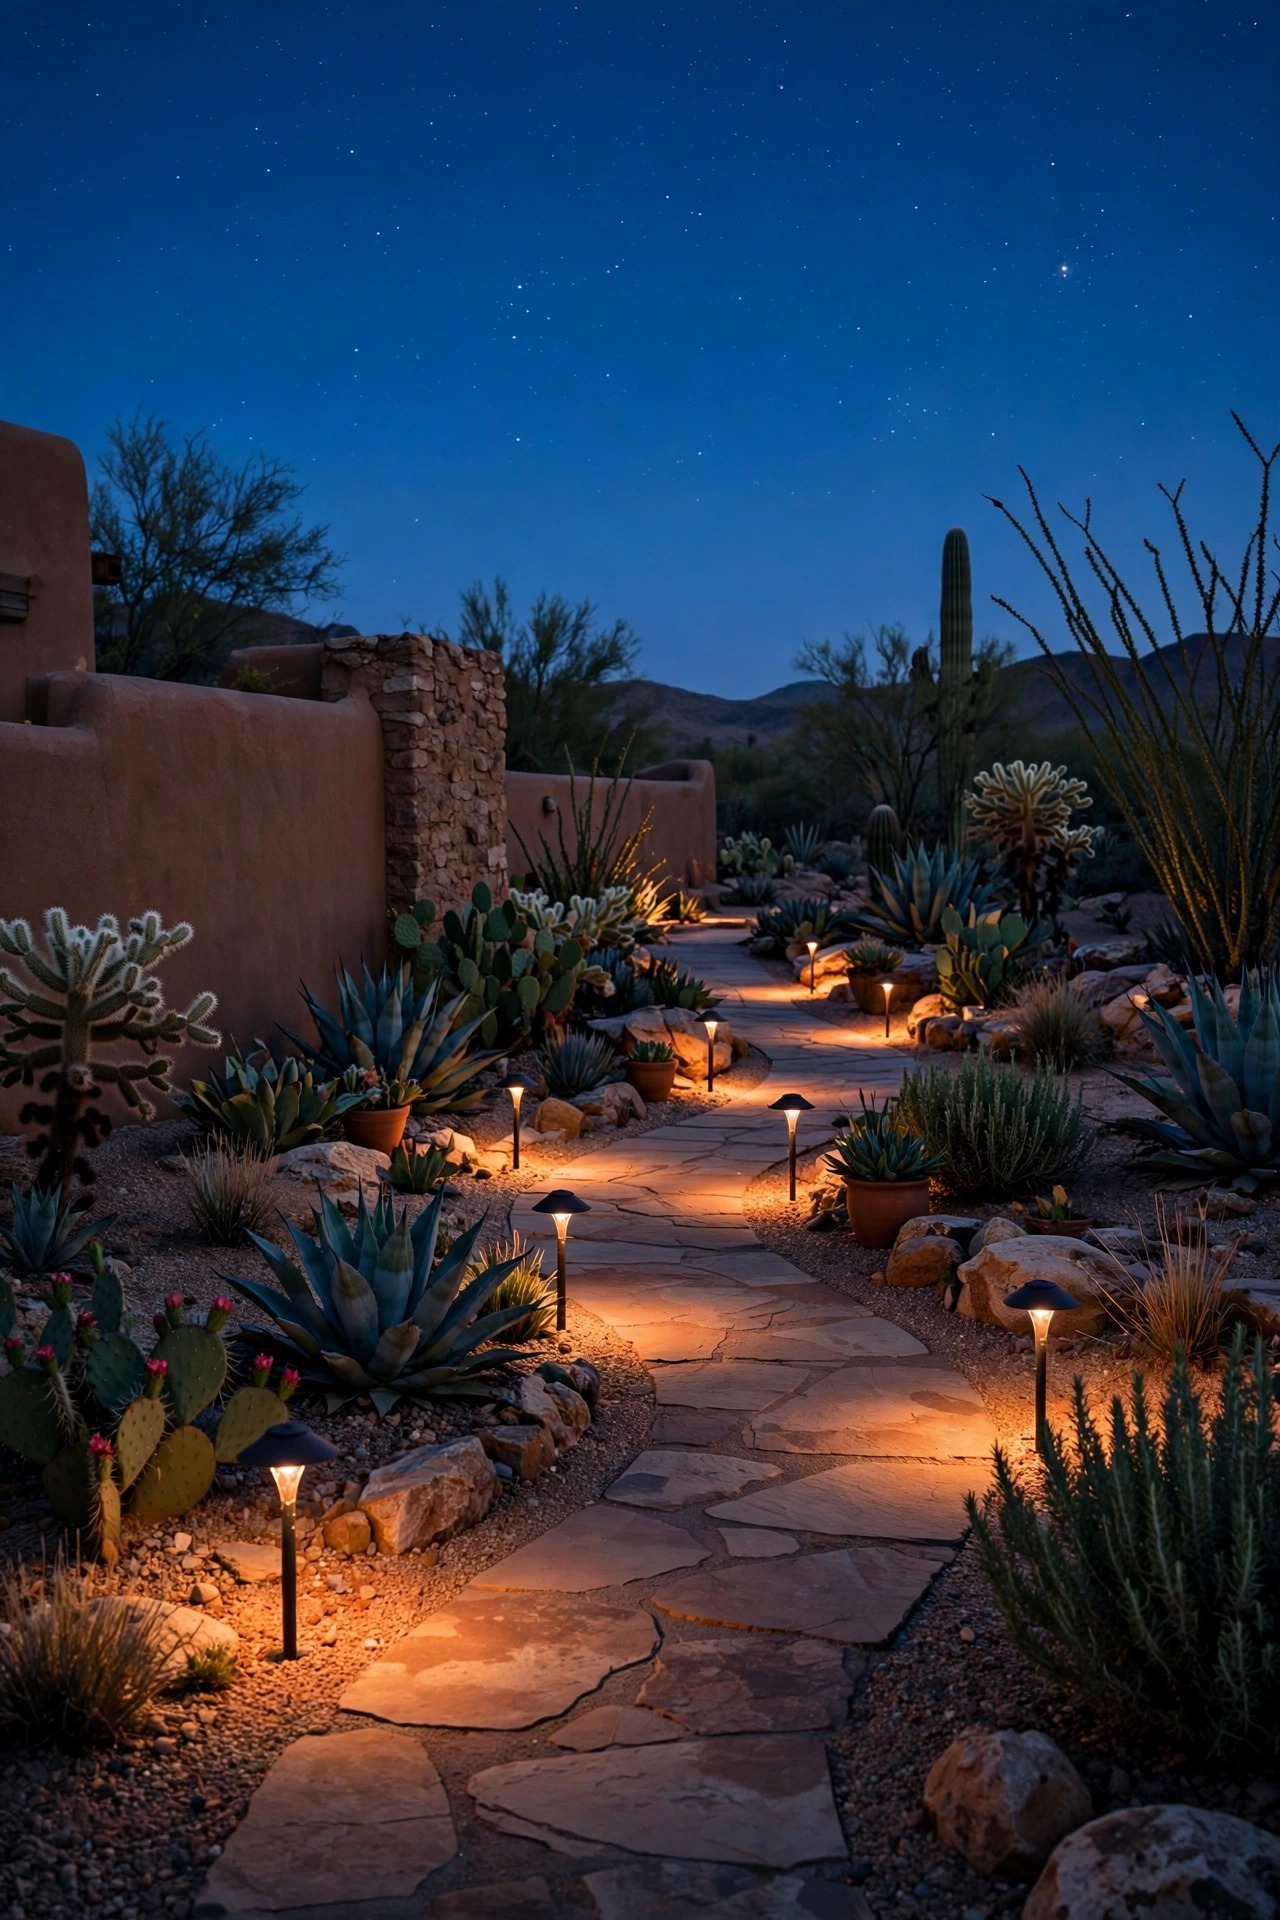
Gravel paths wind through nearly every Southwestern garden, and they ask for low, shielded light that lands on the stones and nowhere else. Choose hooded path lights or louvered fixtures that throw light straight down in a soft circle — an exposed bulb on a mushroom cap is the number one source of glare and sky glow in desert neighborhoods. Mine stand 12 to 14 inches tall, sit about 6 inches back from the path edge, and space 6 to 8 feet apart on alternating sides so the pools of light just kiss. That staggered rhythm reads as guidance, not an airport runway. Powder-coated steel or solid brass survives the sun and dust storms that chew through cheap plastic stakes in two seasons. Because every lumen points down, shielded path lights are the easiest fixture to defend to an HOA or a dark-sky ordinance — many desert cities require full shielding and cap color temperature at 3000K. Trench the cable 6 inches deep alongside the path, and slide a spare conduit sleeve under the path crossing for the future repair you will thank yourself for.
Suggested budget range: $90 – $280.
3. Uplight Agaves and Yuccas Like Sculpture
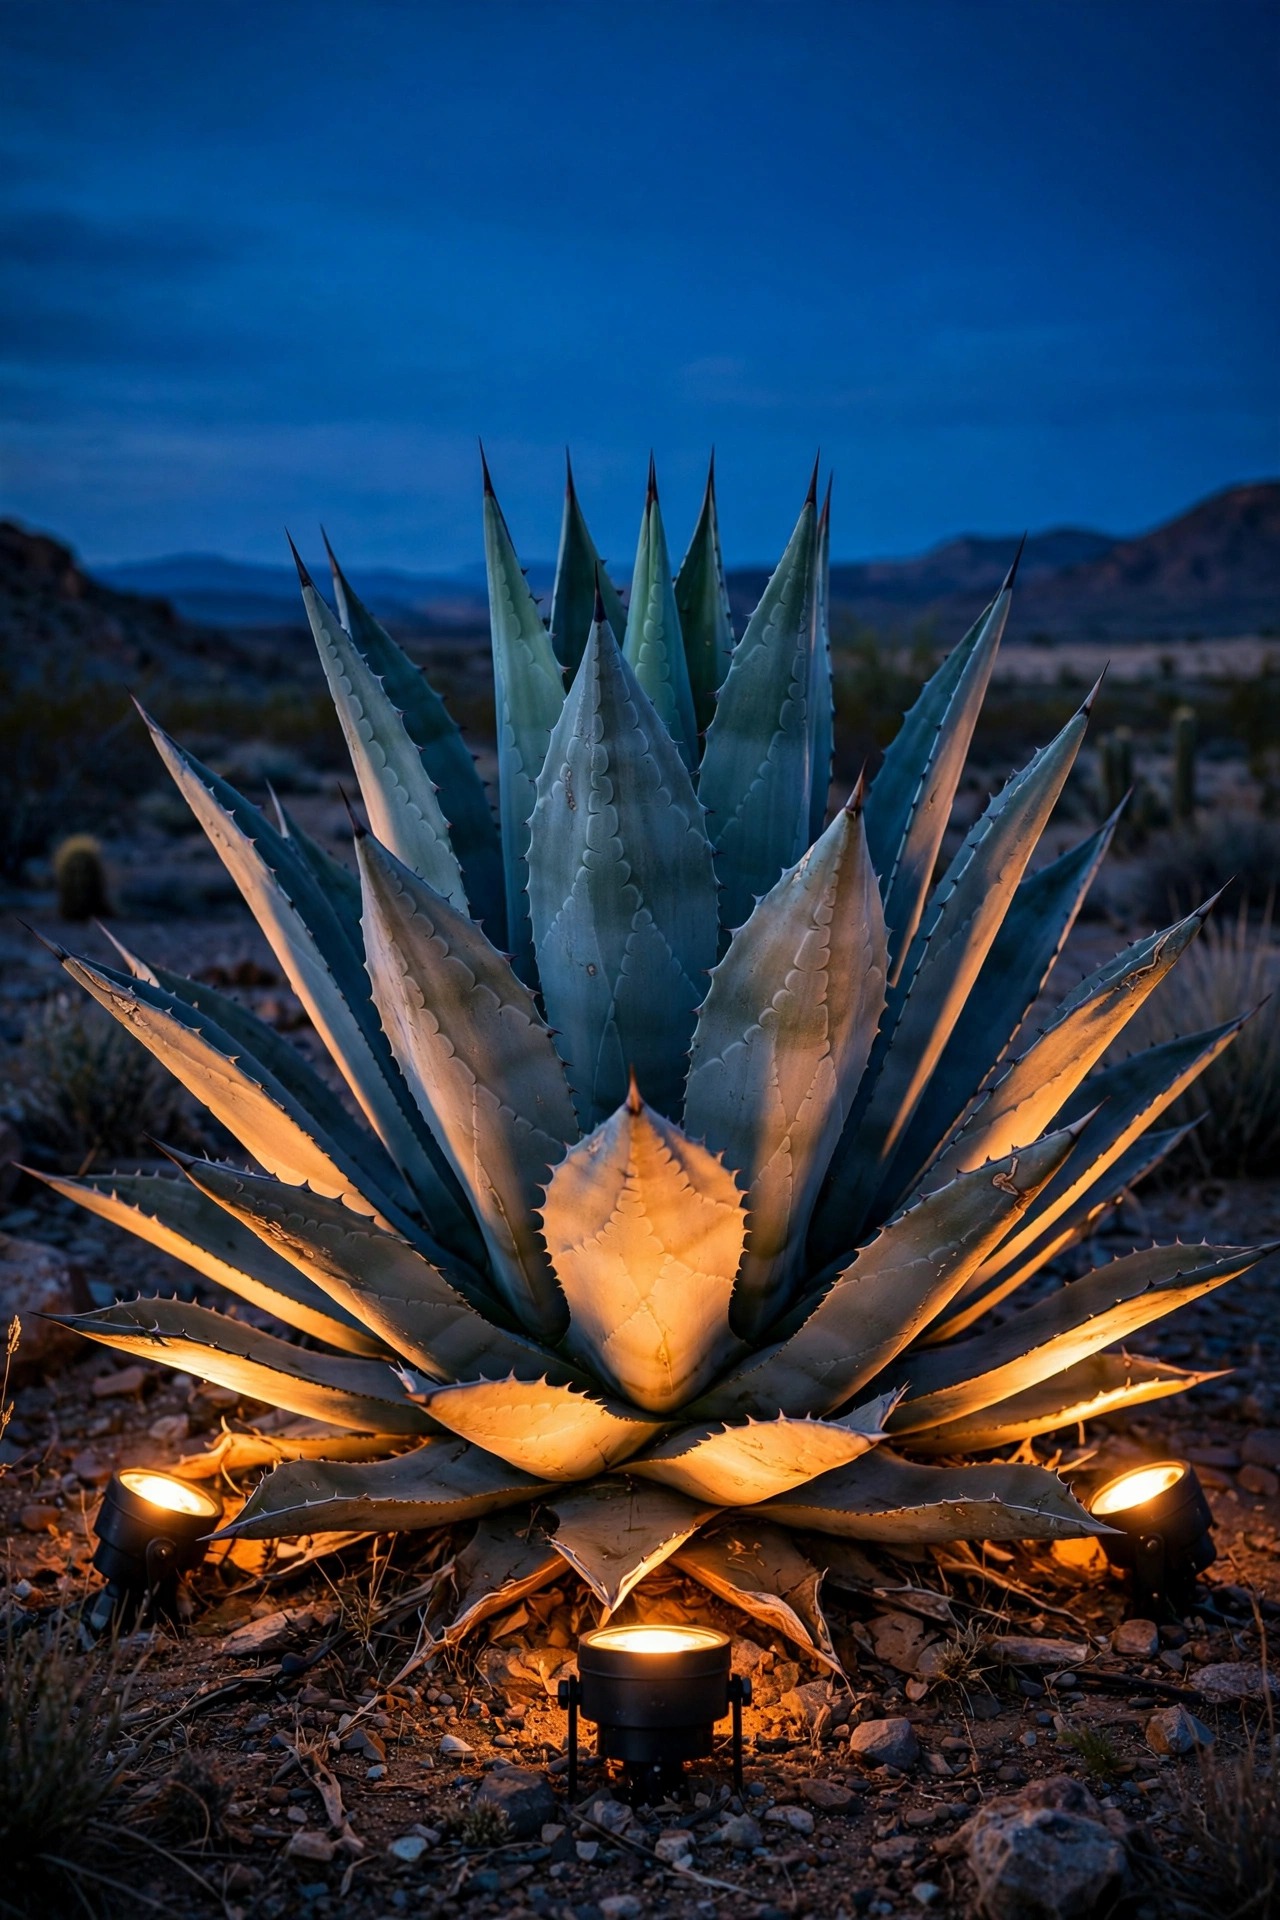
A big blue agave or a red yucca in full bloom is already a sculpture; lighting just lets it perform after sunset. My formula is two shielded spotlights with narrow 15- to 25-degree beams, staked 12 to 18 inches from the base and tilted up through the rosette so the light models every leaf instead of flattening it. Two beams from slightly different angles give you shadow and depth; a single head-on beam looks like a mug shot. Let the fixture shields do their job — the goal is a glowing plant, never a visible bulb, and tight beams keep stray light out of the night sky. Wear thick gloves and long sleeves anywhere near agave tips and yucca daggers, and never strap or screw hardware into a desert plant; wounds heal slowly out here and invite rot. A 2700K LED in the 300- to 500-lumen range is plenty for a mid-size specimen, because desert eyes adjust fast and restraint reads as elegance. In summer, check that fallen bloom stalks and dry leaves are not resting against the fixture lens before you call the job done.
Suggested budget range: $60 – $180.
4. Take Solar Stakes Where Wiring Makes No Sense
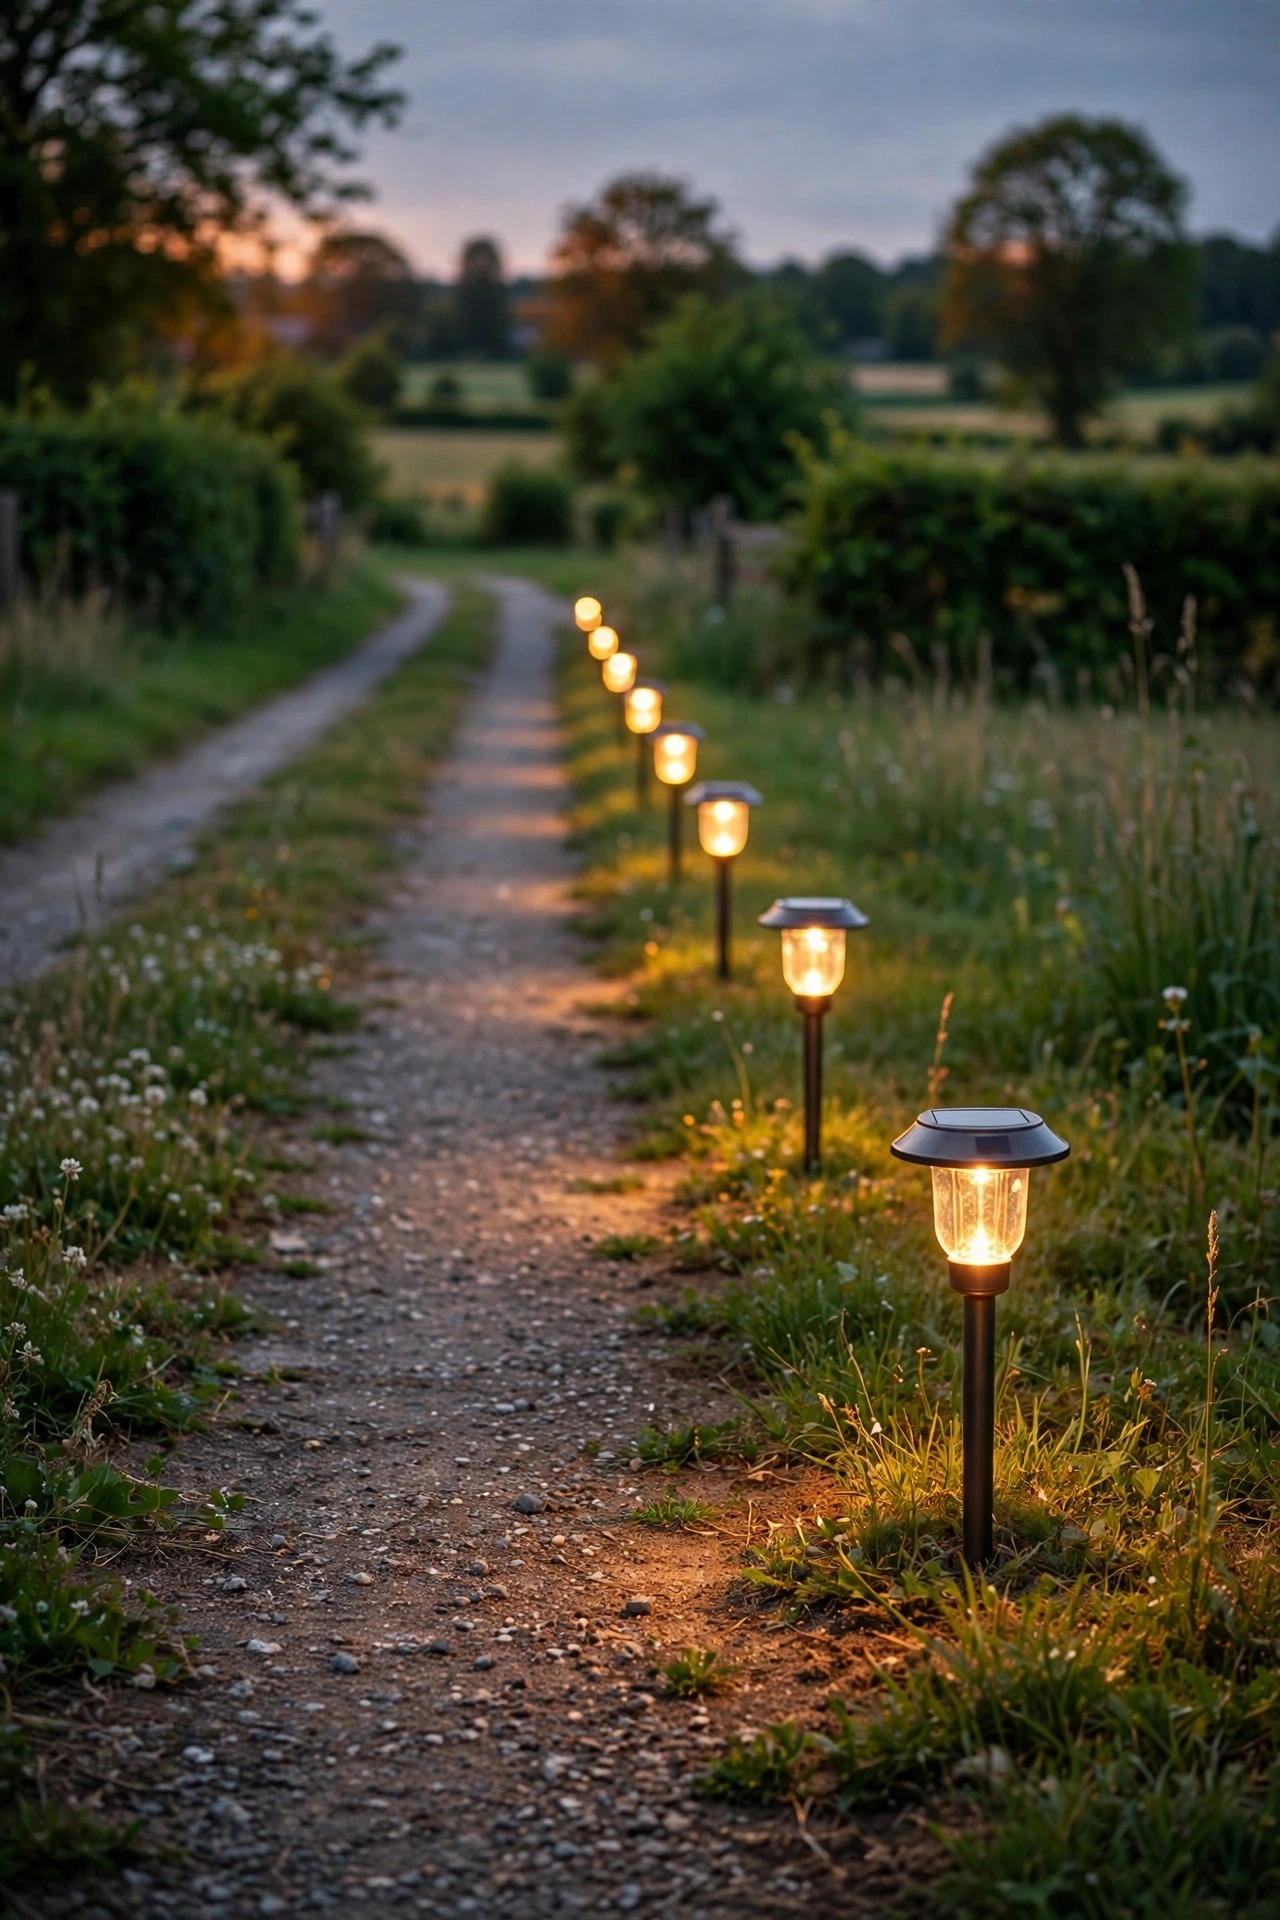
The far corners of a drought-smart bed — past the last drip line, behind the boulder cluster — rarely justify a trench, and that is exactly where solar stakes earn their keep. Trenching there would slice through roots and irrigation tubing to serve two small lights, so I let the sun do the hauling instead. Modern stakes with separate, tiltable panels charge far better than the dim dots of a decade ago, especially in a climate handing them 300 sunny days a year. Space them 5 to 7 feet apart along informal bed edges, push the stakes into the soil rather than the gravel so they stay upright, and angle each panel toward the southern sky. Dust is the honest catch: a film of desert dust can halve the charge, so wipe the panels when you wipe the patio furniture, about once a month. Choose models with replaceable batteries and warm 2700K output so they blend with your wired fixtures. My full solar path lights guide breaks down panel sizes and battery types if you want the deep dive before you buy a dozen.
Suggested budget range: $50 – $160.
5. Moonlight Down From a Mesquite or Palo Verde
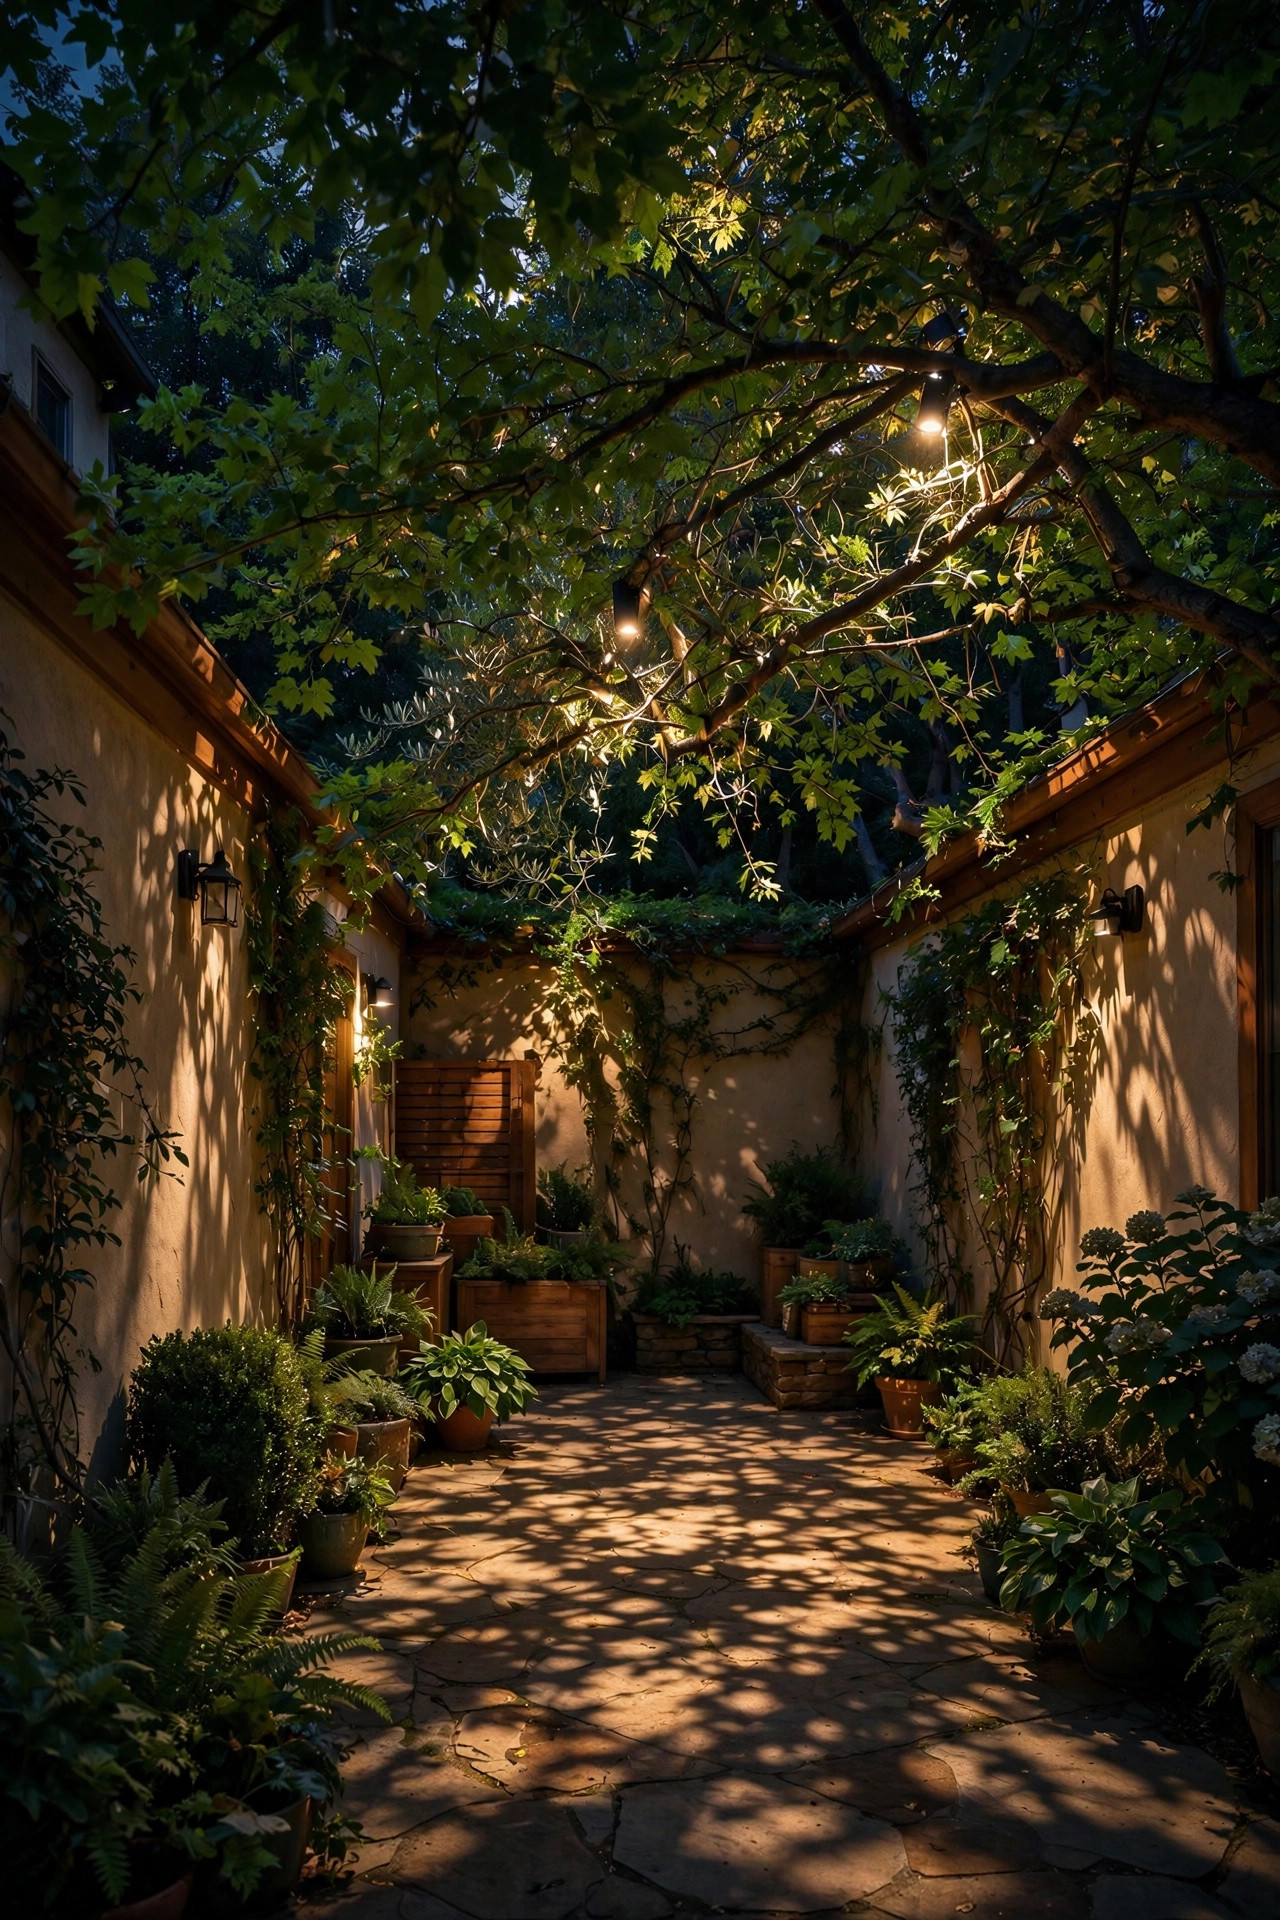
Moonlighting is my favorite trick in tree country, and it is the most dark-sky friendly technique on this list because every lumen points down. A small shielded fixture mounts 12 to 15 feet up in the canopy and sends a wide, soft beam down through the branches, so the gravel below gets dappled, shifting shadows that read exactly like a full moon. Use a stainless strap or a tree-friendly bracket — never nails or screws through bark — and leave slack in the cable for trunk growth. The green bark of a palo verde glows beautifully under 2700K, and the filtered light is gentle enough to sit under with a glass of something cold. This is the one job where I happily suggest a pro for the ladder work; an hour of professional help beats a fall every single time. Angle the glare shield so no bare bulb shows from the street or a neighbor's patio. Guests routinely assume my moonlighting tree is actual moonlight and ask why the moon looks so good tonight. One tree done well can anchor the whole garden.
Suggested budget range: $120 – $350.
6. Graze Boulders and Rock Clusters With Recessed Well Lights
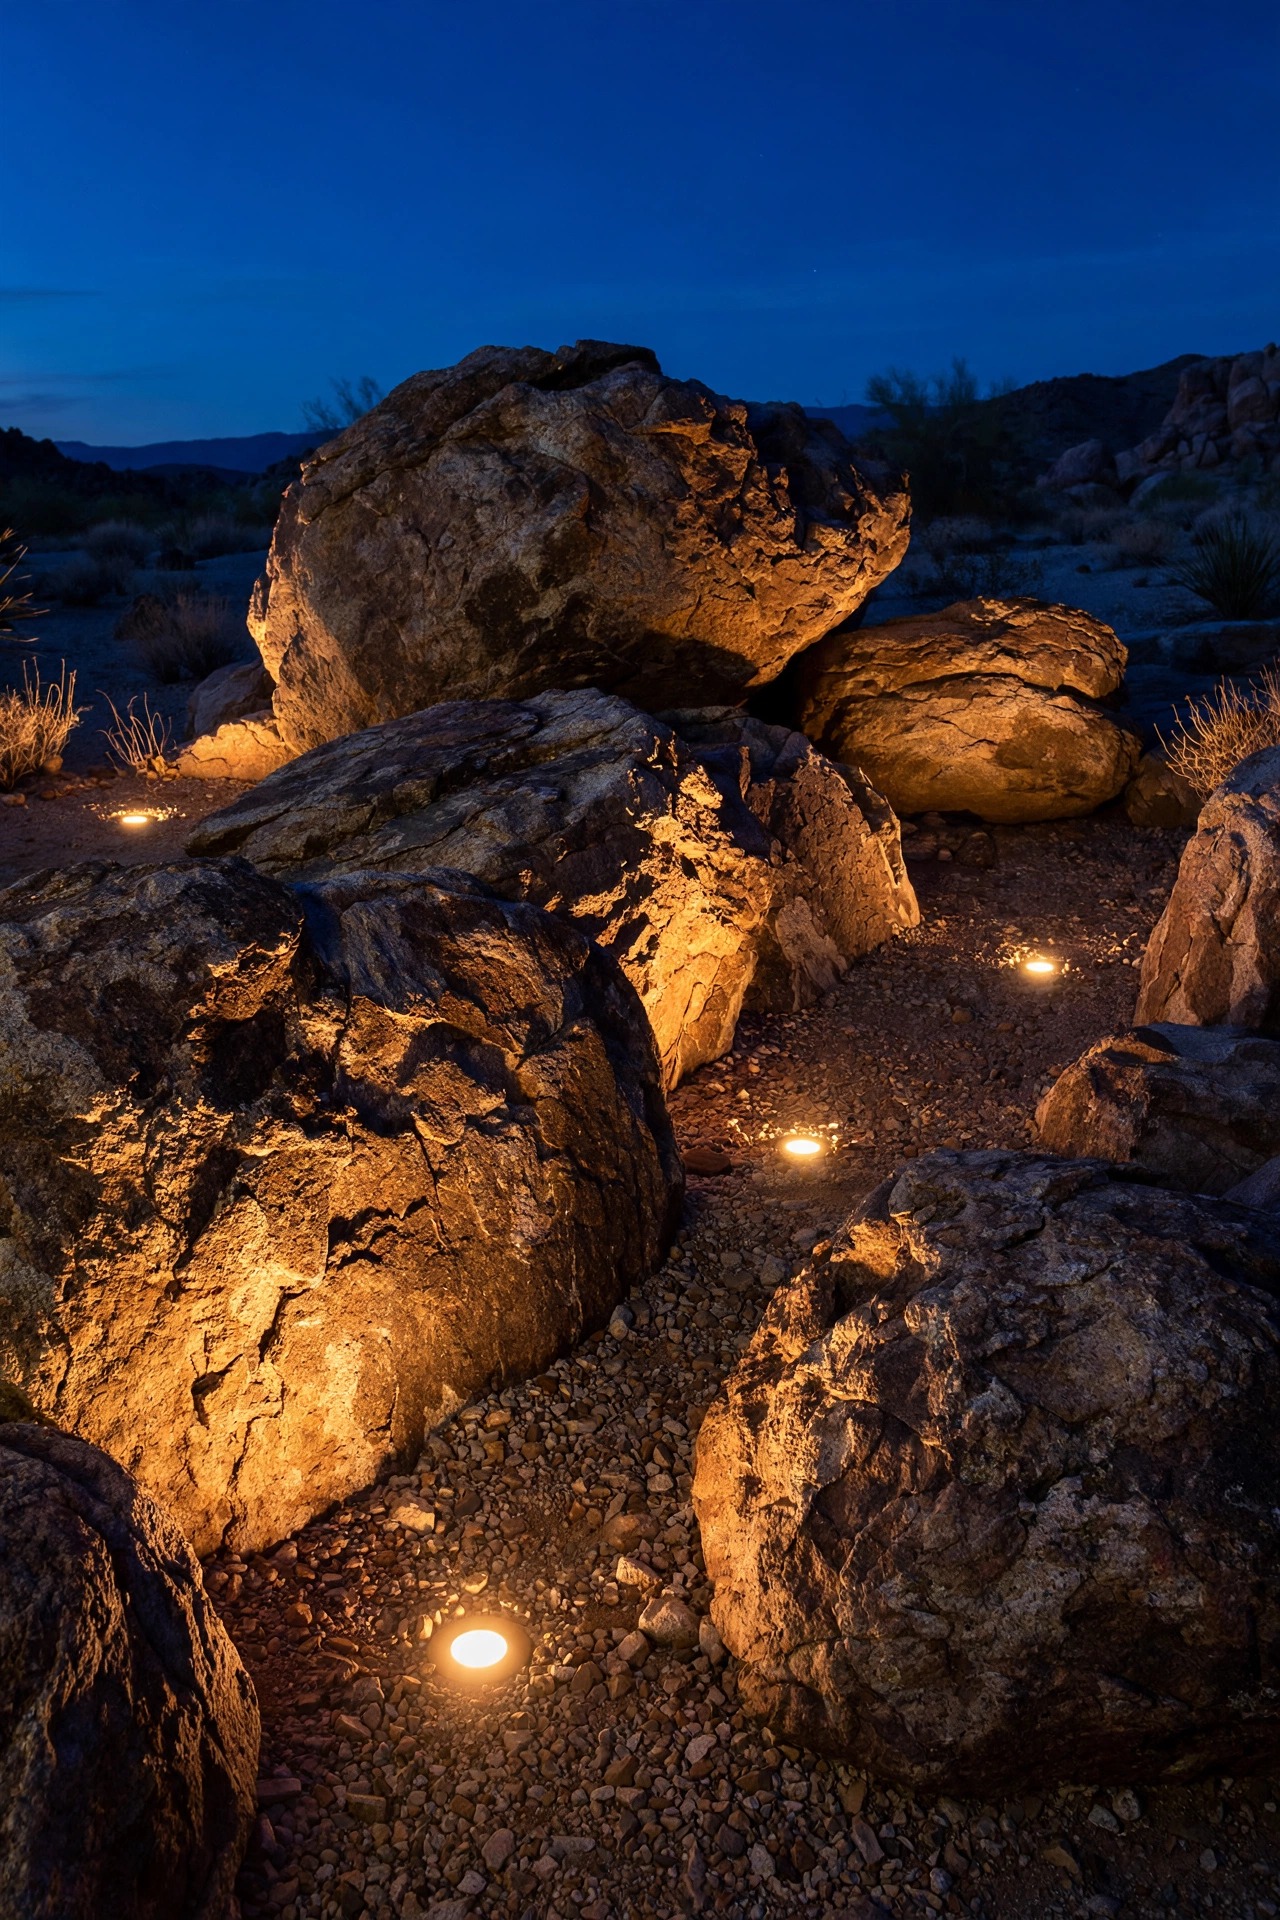
Boulders are the bones of a drought-smart bed, and grazing light is how you show off their texture after dark. Recessed well lights sit flush in the gravel, a few inches from the rock face, and skim a narrow beam straight up it, so every fissure and lichen patch throws a tiny shadow. Flush mounting matters in gravel: anything standing proud becomes a trip hazard and a rake magnet. Keep the fixtures 4 to 8 inches out from the rock and group your effort — one hero boulder lit well beats five rocks lit weakly. A 20- to 30-degree beam at 2700K in the 200- to 400-lumen range is the sweet spot for granite and sandstone. Brush dust off the lenses monthly, because fine desert grit settles on upward-facing glass and quietly dims the effect. If your beds lean more rock than plant, my post on front yard rock garden lighting goes deeper on placement angles for stone-heavy layouts. Well lights also stay invisible by day, which keeps the bed looking like a landscape, not a lighting showroom.
Suggested budget range: $80 – $240.
7. Hang Punched-Tin Lanterns Along the Portal Edge
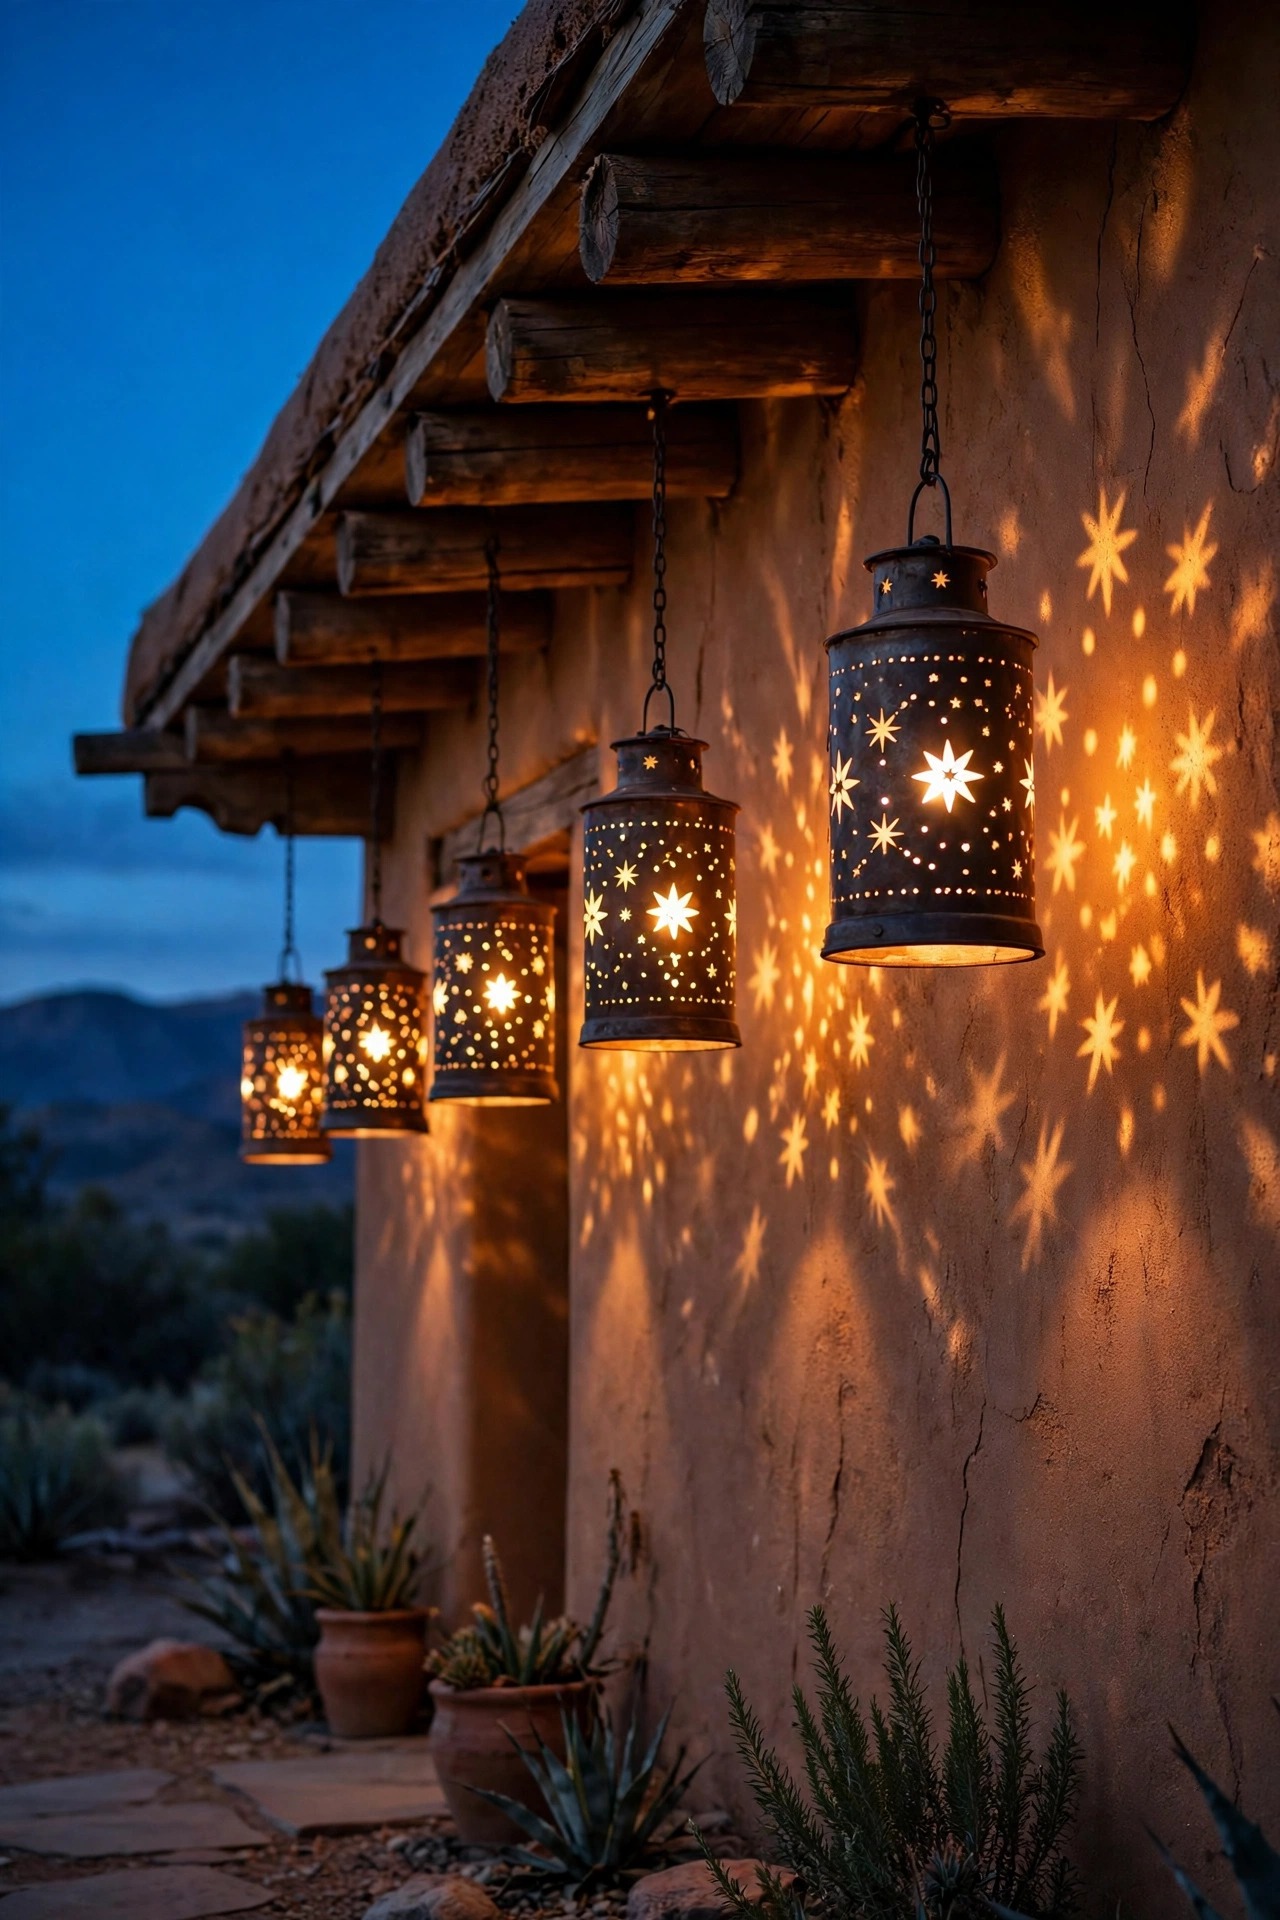
Punched-tin lanterns are pure Southwestern character — star and sunburst patterns that throw lace-like light across a wall or path. I hang them in a staggered row along the portal edge or a courtyard beam, three or five lanterns at slightly varied heights, each with a flameless LED candle or a low-wattage LED filament bulb inside. The pierced metal does the artistry; the light source just needs to be warm and modest, around 2200K to 2700K, so the patterns stay soft rather than disco. Real candles inside tin lanterns get one firm rule from me: LED only anywhere near dried ristras, cushions, or the paper and wood that collect on a portal. Tin will patina and eventually rust at the seams if monsoon rain reaches it, so hang them under cover and bring the most delicate ones in for the wettest weeks. Wipe soot and dust from the interiors each season so the punch patterns stay crisp. At holidays, a row of these over the gate is the whole decoration — nothing else required.
Suggested budget range: $45 – $150.
8. Wash Adobe and Stucco Walls in Warm Light
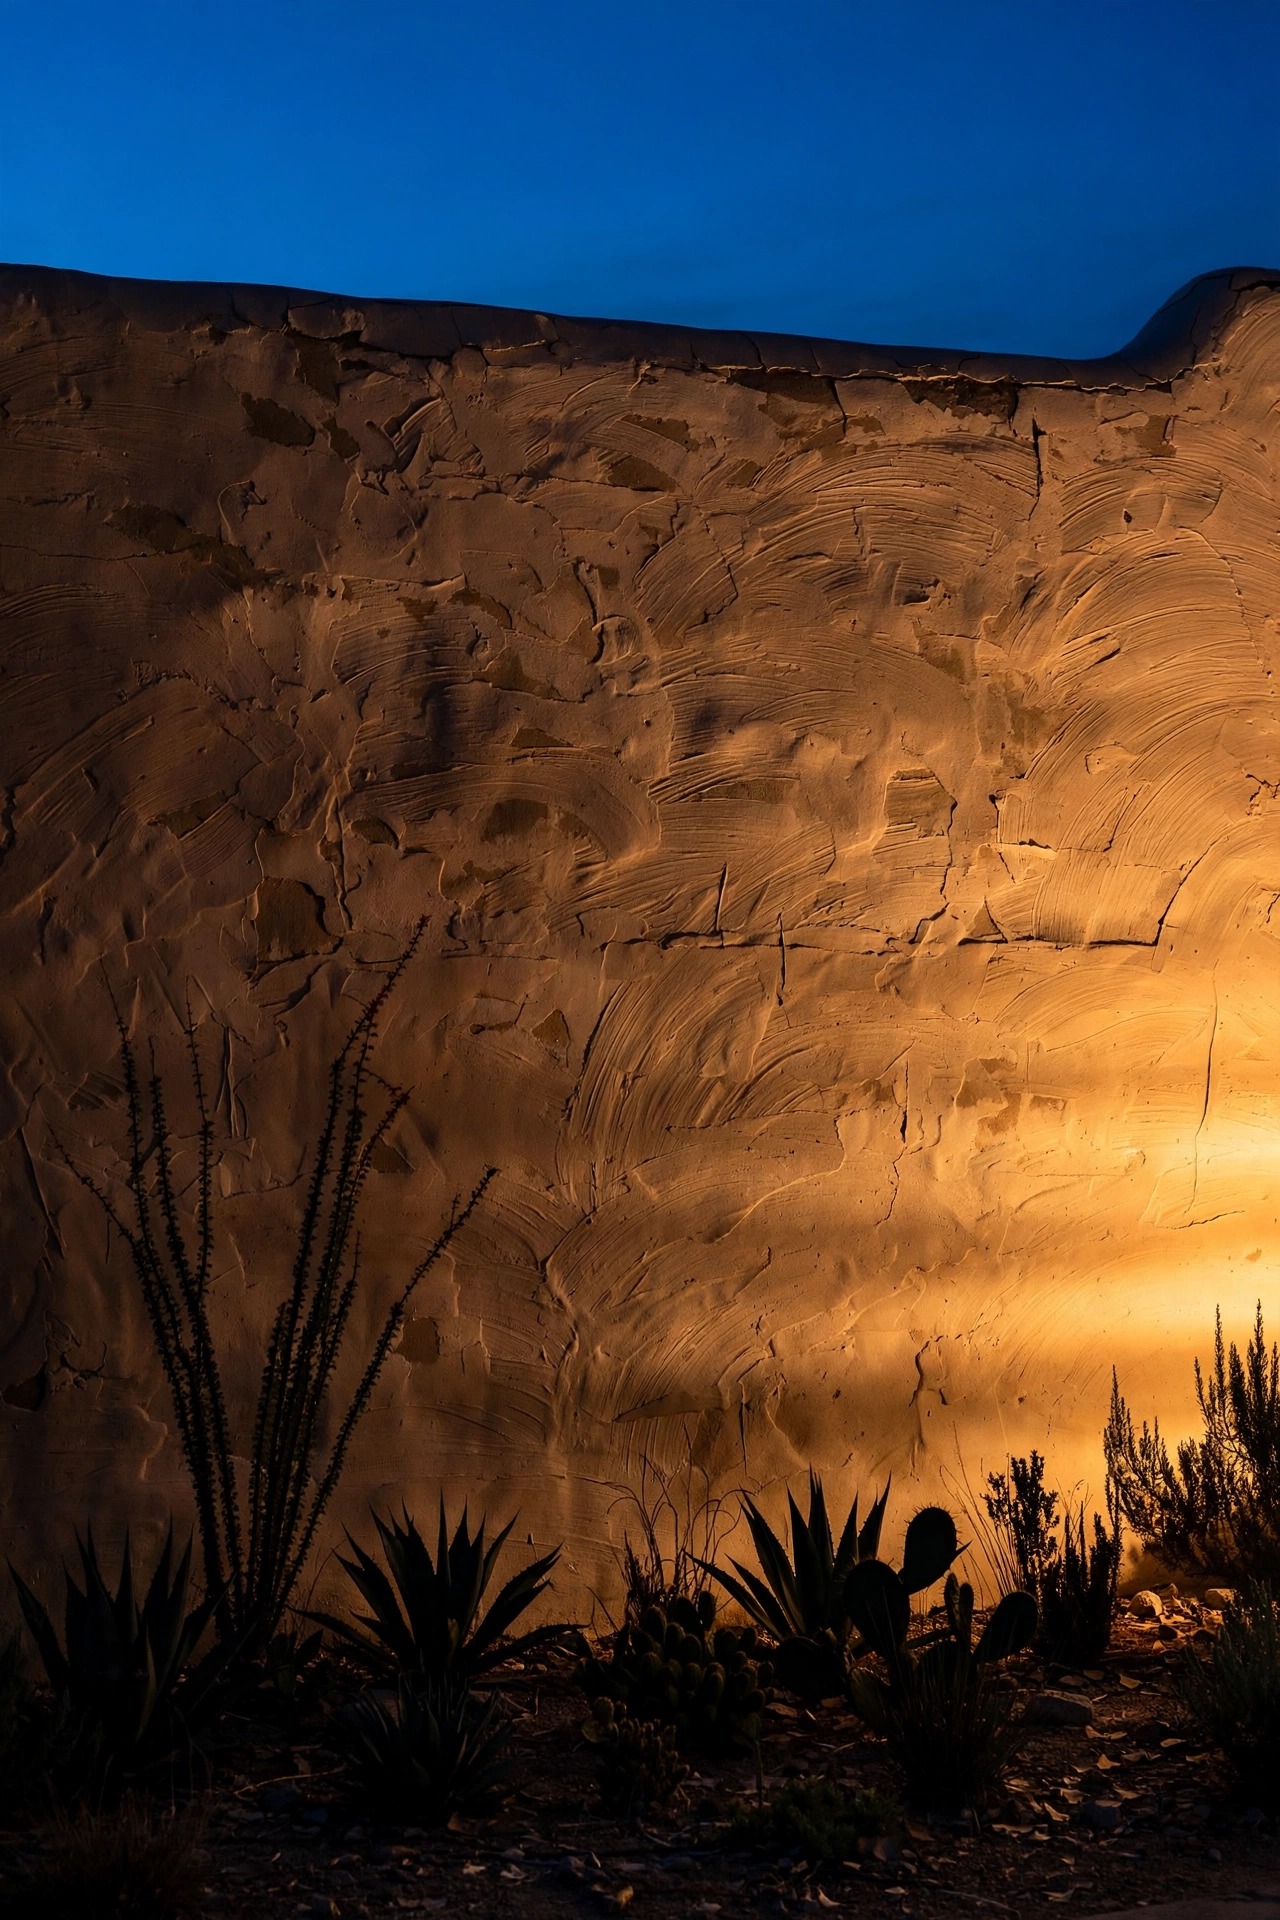
An adobe or stucco wall is a canvas the sun paints all day; a warm wash lets it keep performing at night. Set shielded fixtures 12 to 18 inches out from the wall base and aim up at a grazing angle, close enough that the light rakes across the surface and shows off every hand-troweled ripple. Space fixtures 6 to 8 feet apart for an even wash, or bunch them tighter under a feature like a banco or a nicho for a deliberate pool of brightness. Warm 2700K light flatters the earth pigments in adobe — anything cooler turns those lovely terracotta tones gray and muddy. Shielding matters double here: a wall wash aimed carelessly becomes a billboard visible three streets away, so keep beams tight to the surface and check the view from the street when you finish. If the wall borders a neighbor, keep the top of the beam below the wall cap so nothing spills into their windows. This single layer often does more for a courtyard garden than any other fixture I install.
Suggested budget range: $70 – $220.
9. Silhouette an Ocotillo Against a Lit Wall
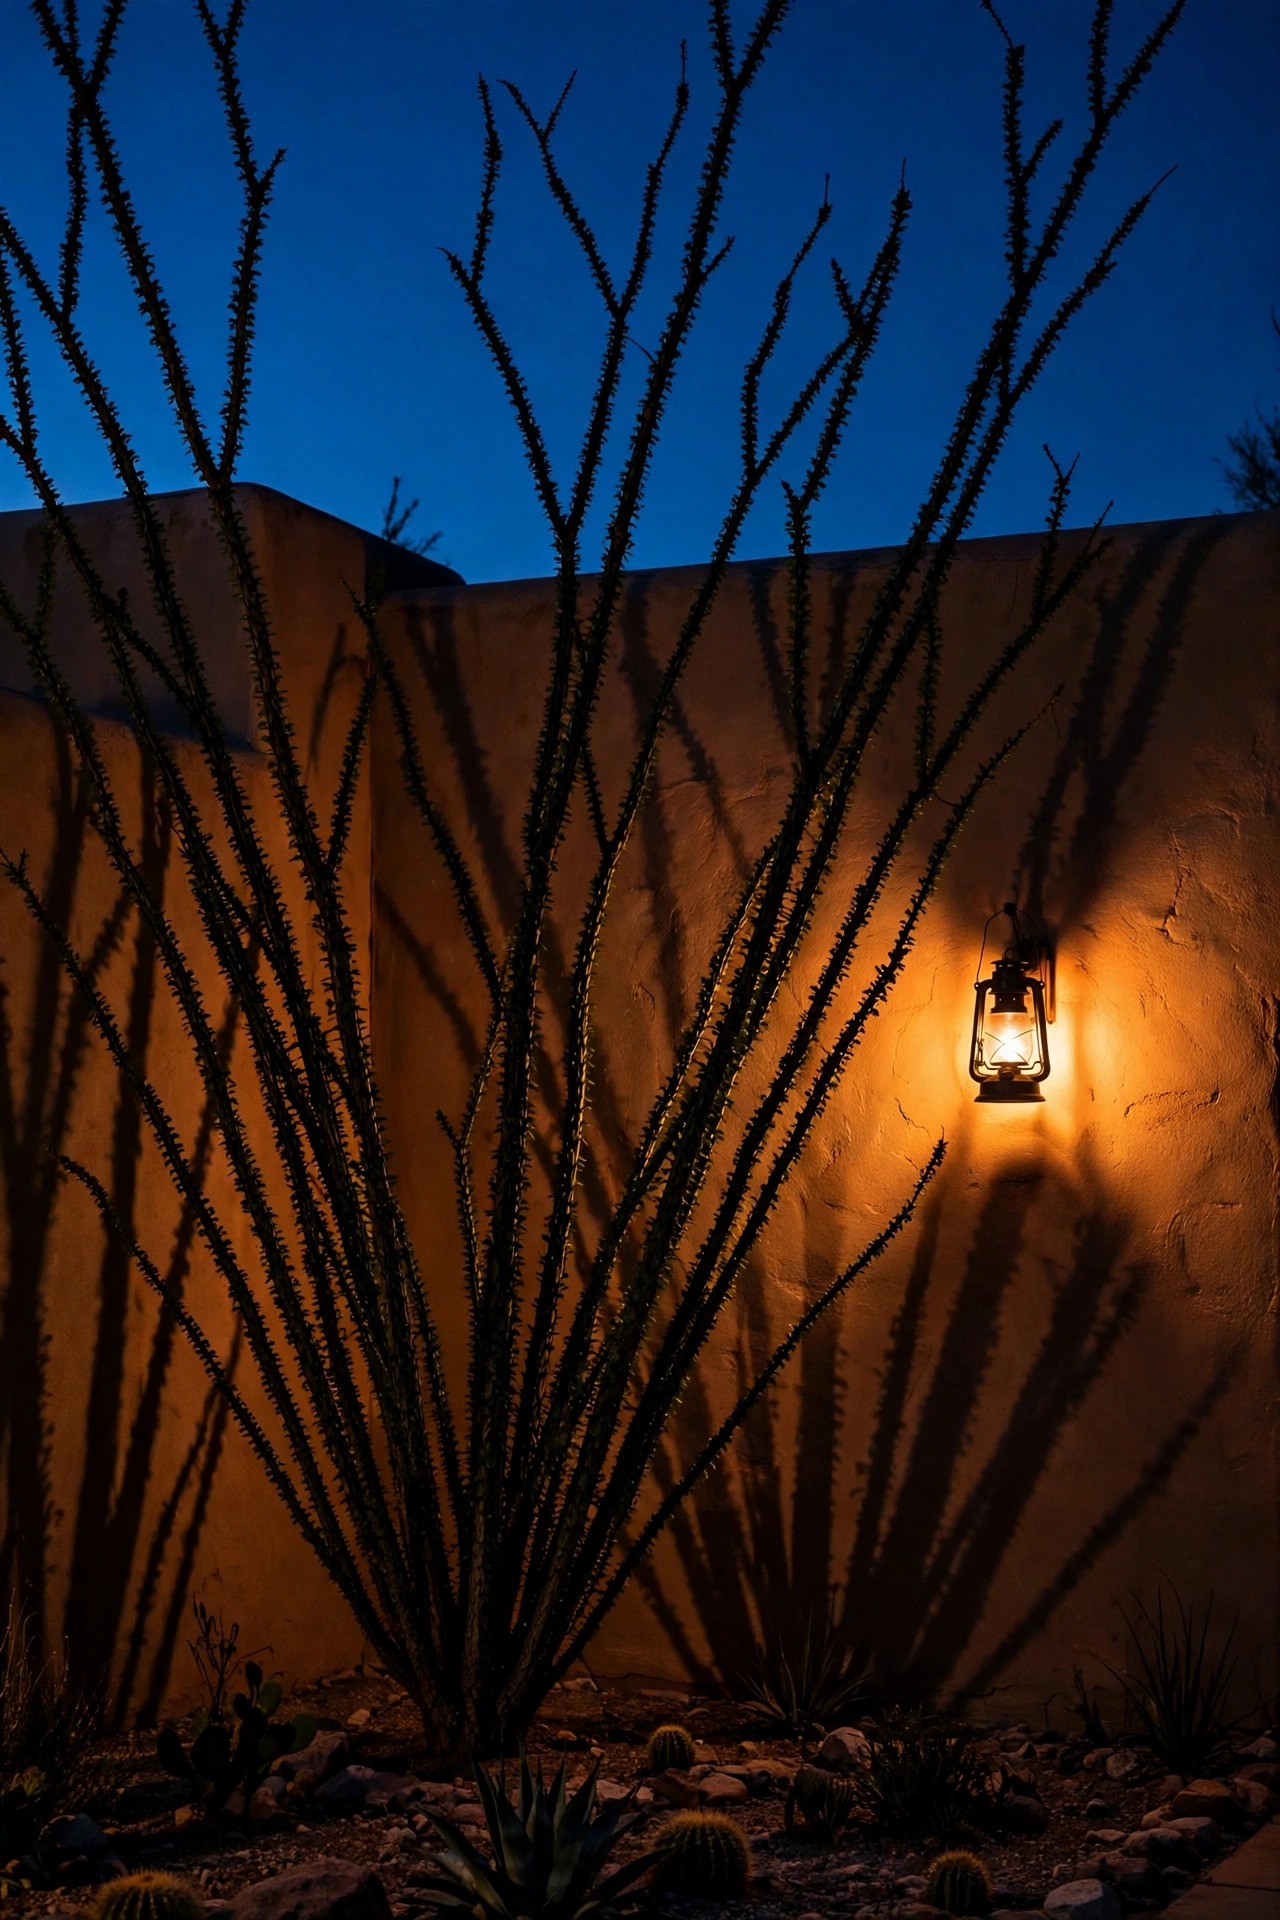
The most dramatic move in this whole list costs one fixture. Plant — or use — an ocotillo a few feet in front of a plain adobe or stucco wall, set one shielded spotlight low behind the canes aimed at the wall, and the plant disappears into a black calligraphy of arching lines while the wall glows behind it. When the ocotillo leafs out after rain or throws its spring torches of red bloom, the silhouette gains texture no other plant can match. A 2700K spot in the 300- to 500-lumen range with a 25- to 35-degree beam gives you a wash wide enough to fill the wall without hot spots. Keep the fixture lens hidden behind a rock or a pot so the source stays invisible from seating areas. This trick also works with a young saguaro, a prickly pear cluster, or a sculptural yucca — anything with a strong outline. Because the light lands entirely on your own wall, it is perfectly dark-sky friendly: zero spill upward, zero glare outward, all drama.
Suggested budget range: $55 – $160.
10. Keep Fixtures Clear of the Drip Lines
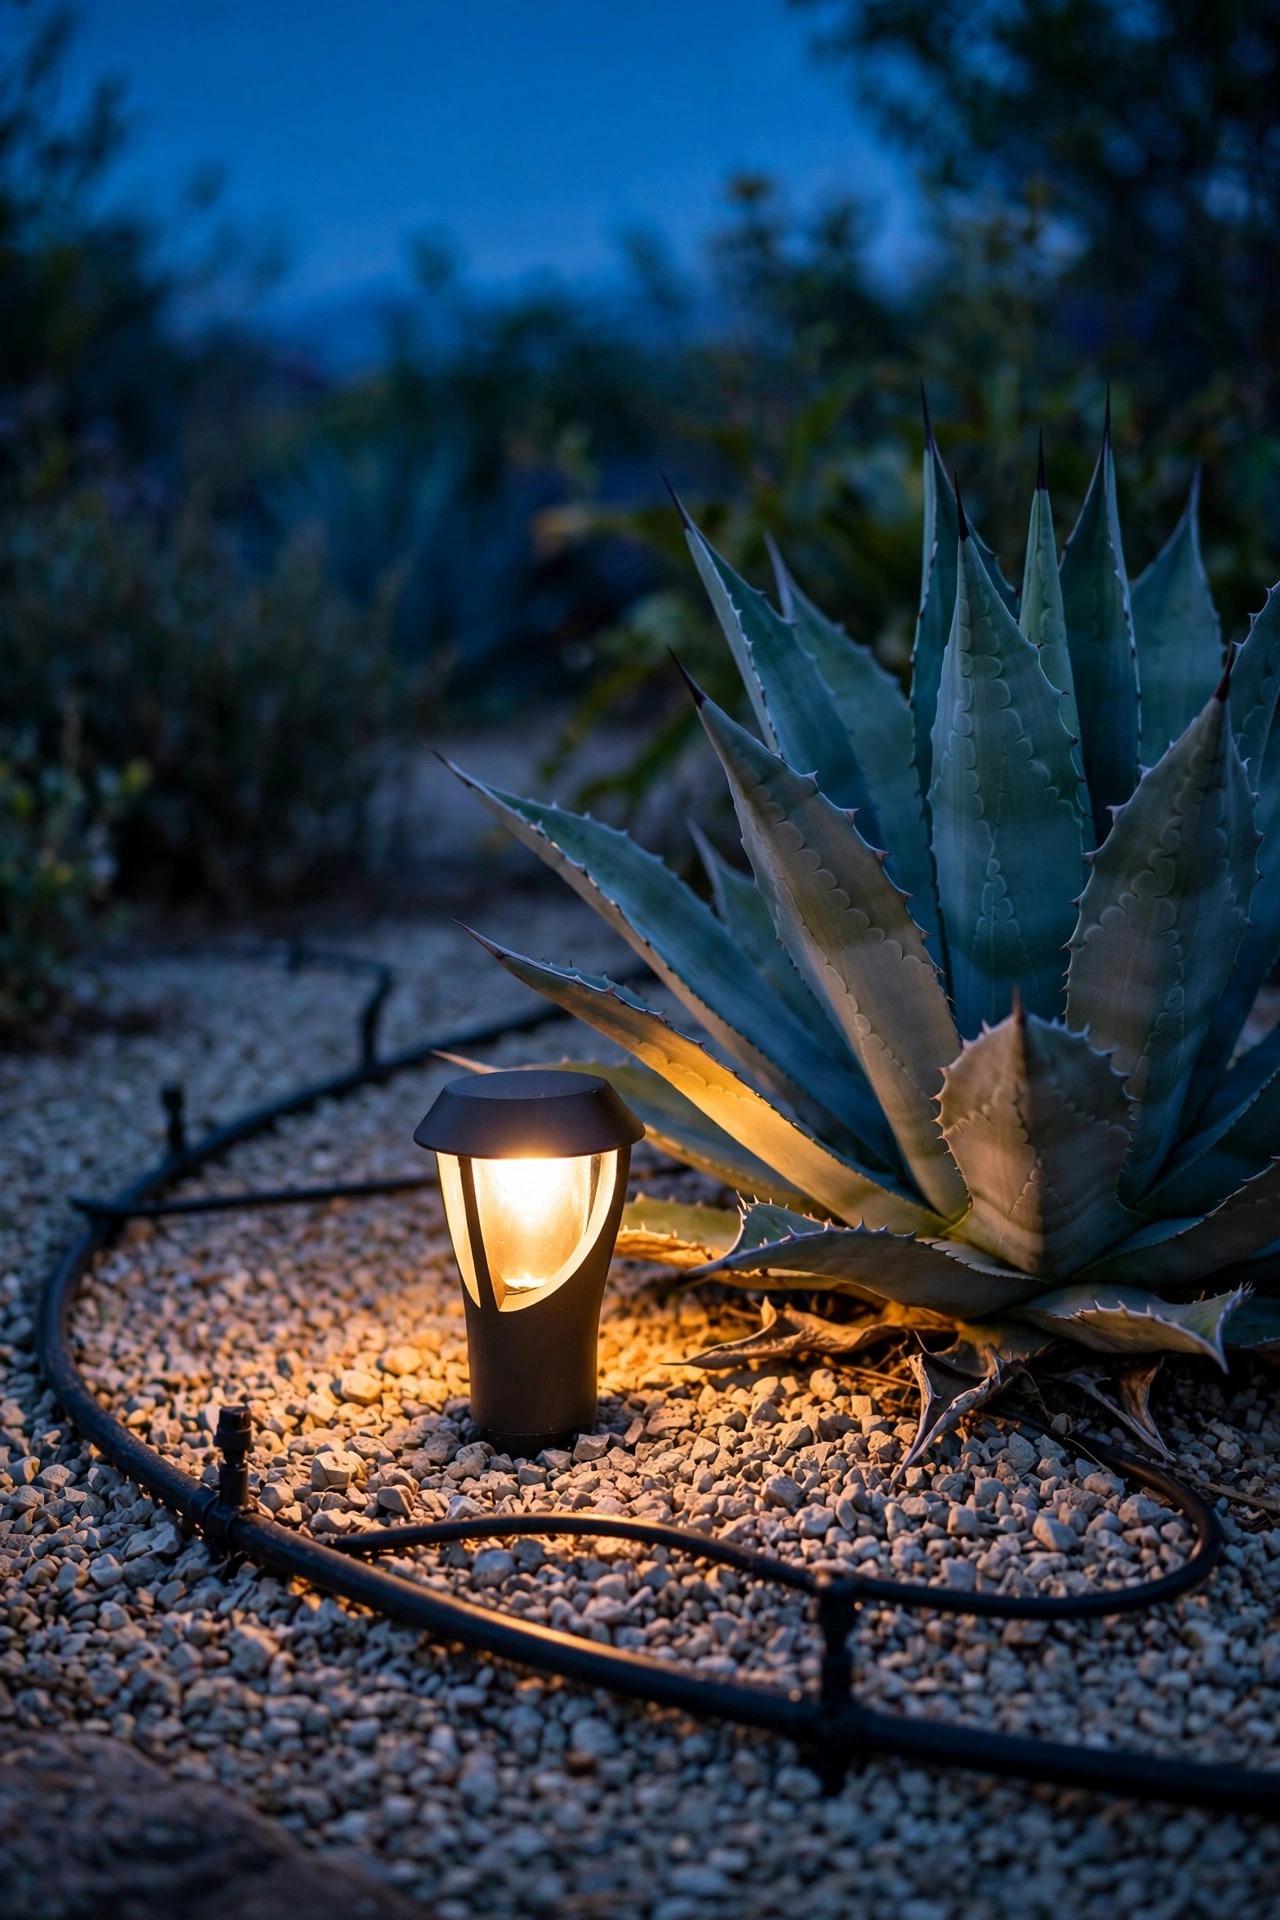
This is the least glamorous idea here and the one that saves the most money. Drought-smart beds run on drip irrigation, and every emitter is quietly depositing minerals exactly where the water lands. Park a fixture lens under an emitter and within a season you get a crusted, dimmed light and a corroded socket. Before you dig, run the irrigation for ten minutes, flag every wet spot, and place fixtures at least 6 inches away from emitter lines and never directly downhill of one. Hand-dig your trenches in beds — a shovel finds drip tubing by cutting it, while fingers find it by feeling it. When mineral crust does appear on a lens, a cloth with a little white vinegar lifts it without scratching. Also aim beams so they do not shine straight through a spray of irrigation mist on watering nights; the sparkle is pretty once and annoying forever. Ten minutes of mapping at install time prevents the two most common desert lighting failures I get called to fix: dim lenses and shorted connections buried in damp soil.
Suggested budget range: $15 – $60.
11. String Warm Café Lights Over the Courtyard Corner
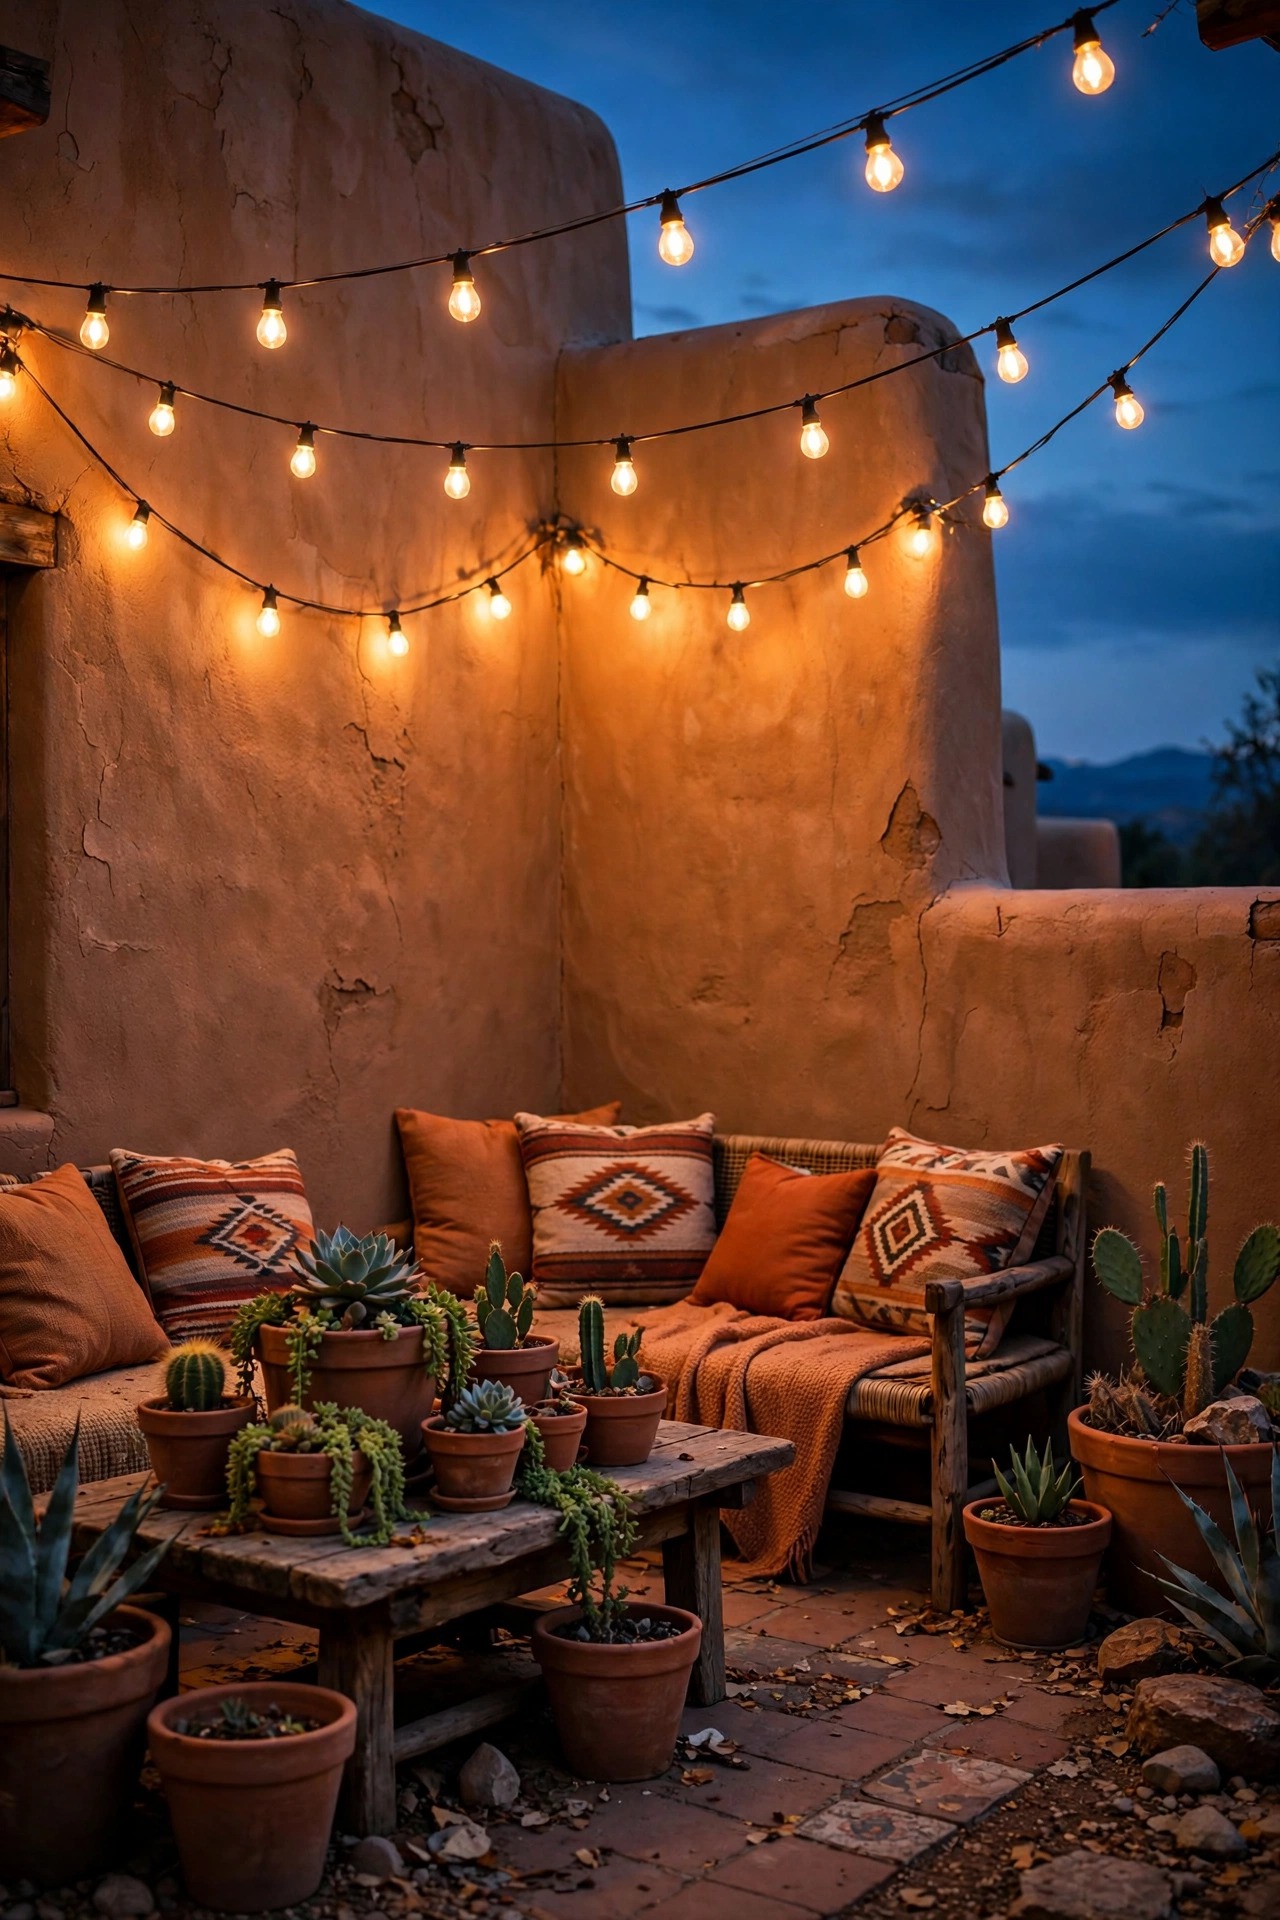
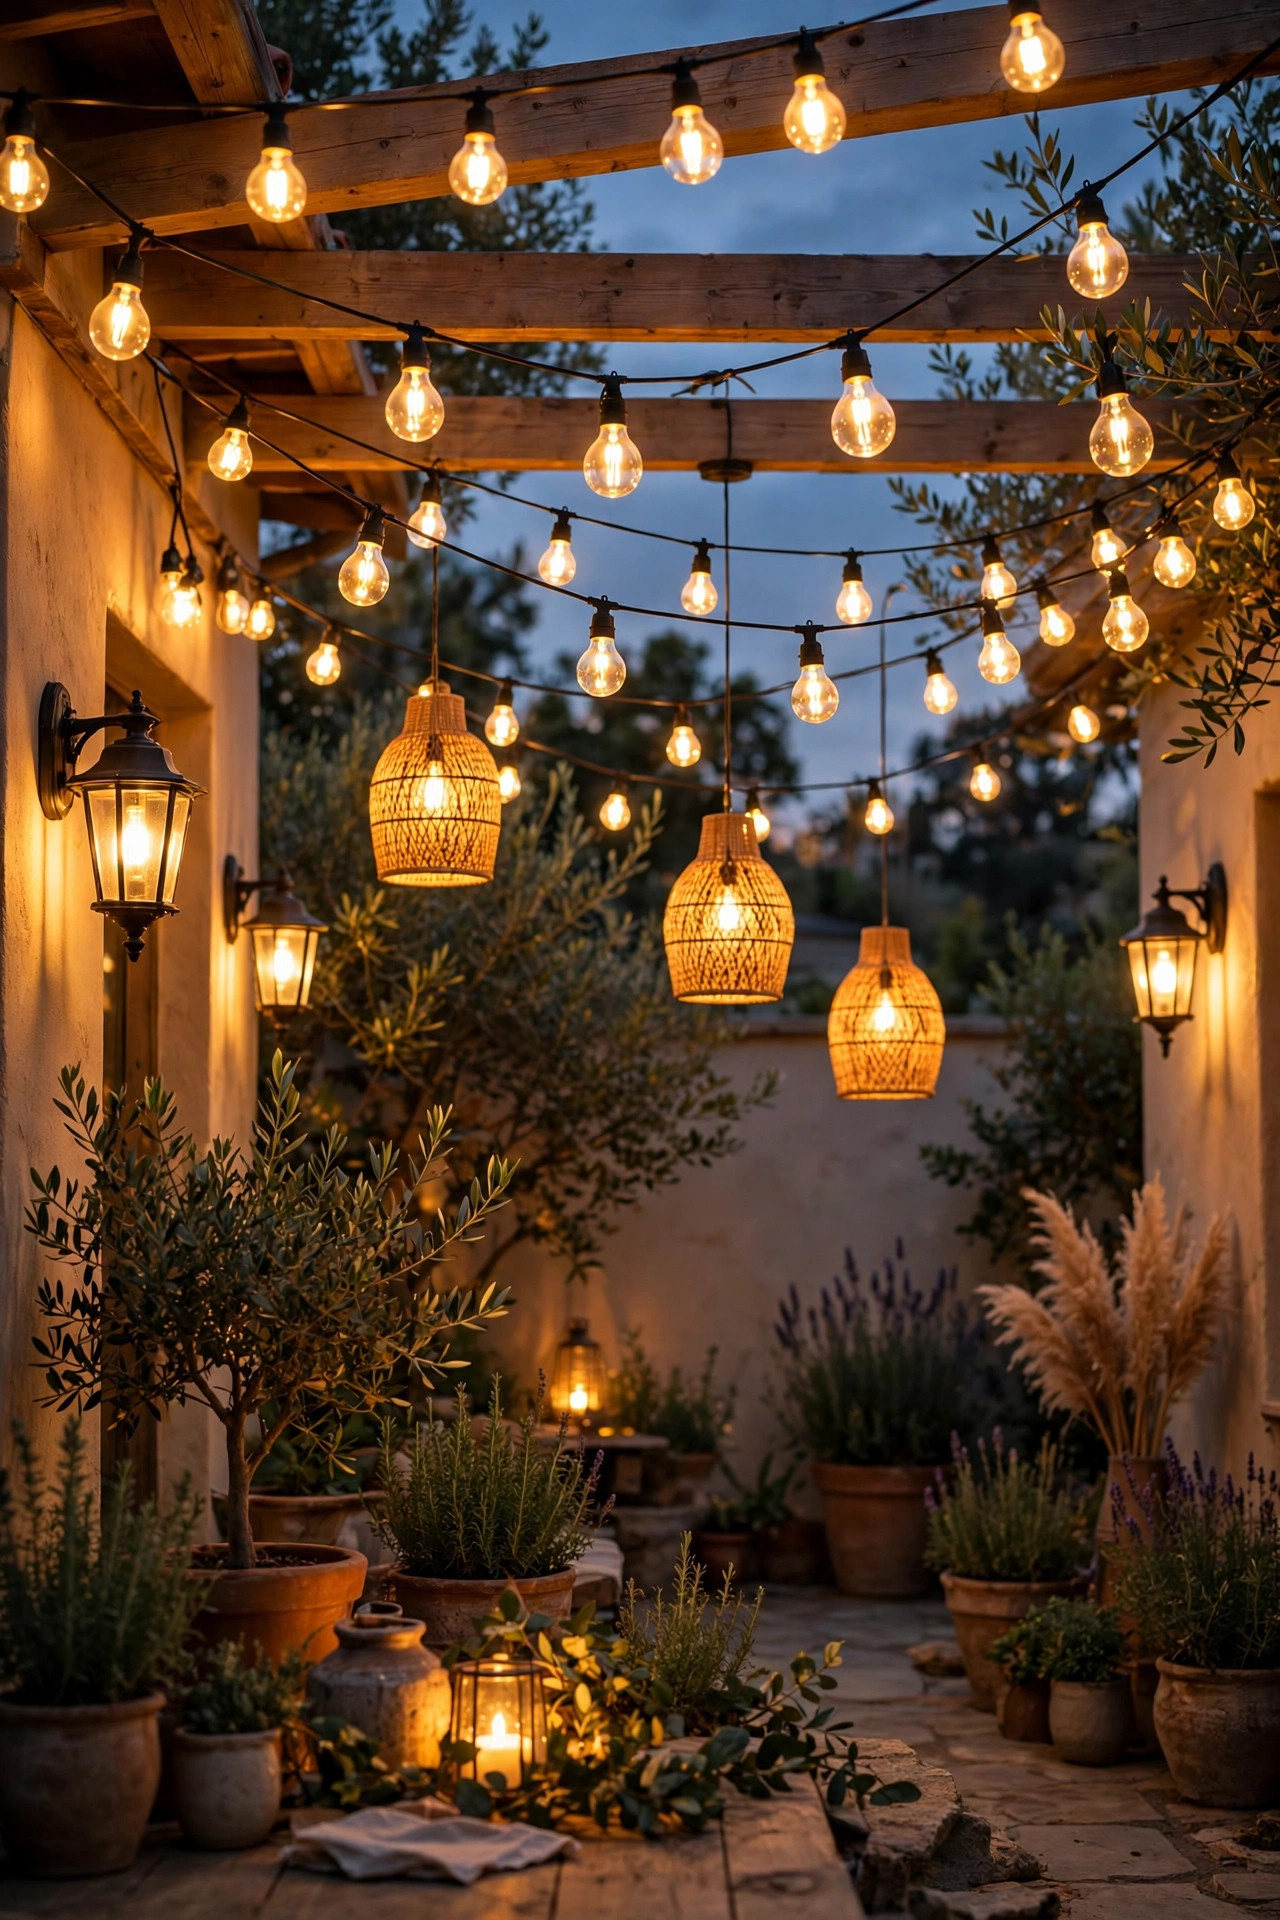
Every Southwestern garden deserves one corner where people linger, and café string lights are how you crown it. Swag commercial-grade strands between the portal beam and a mesquite limb or a sturdy post over the seating area, keeping the catenary gentle — deep swags, roughly a foot of drop for every 8 feet of span. LED filament-style bulbs at 2700K give you the vintage glow without the heat or the fragility of glass incandescents, and they sip power on a circuit you probably already have. One rule I never break out here: strings go on a timer, off by 10 or 11 p.m., because a courtyard strand burning till dawn is sky glow with better PR. LED only, always, and keep bulbs at least a few feet from dried plant material and shade sails. Support long runs with a proper guide wire so the sockets are not carrying the tension, and use outdoor-rated connections sealed against monsoon downpours. Two strands crossed over a small patio feel generous; five feel like a restaurant patio, which is rarely the goal.
Suggested budget range: $60 – $200.
12. Build Recessed Lights Into Steps and Retaining Walls
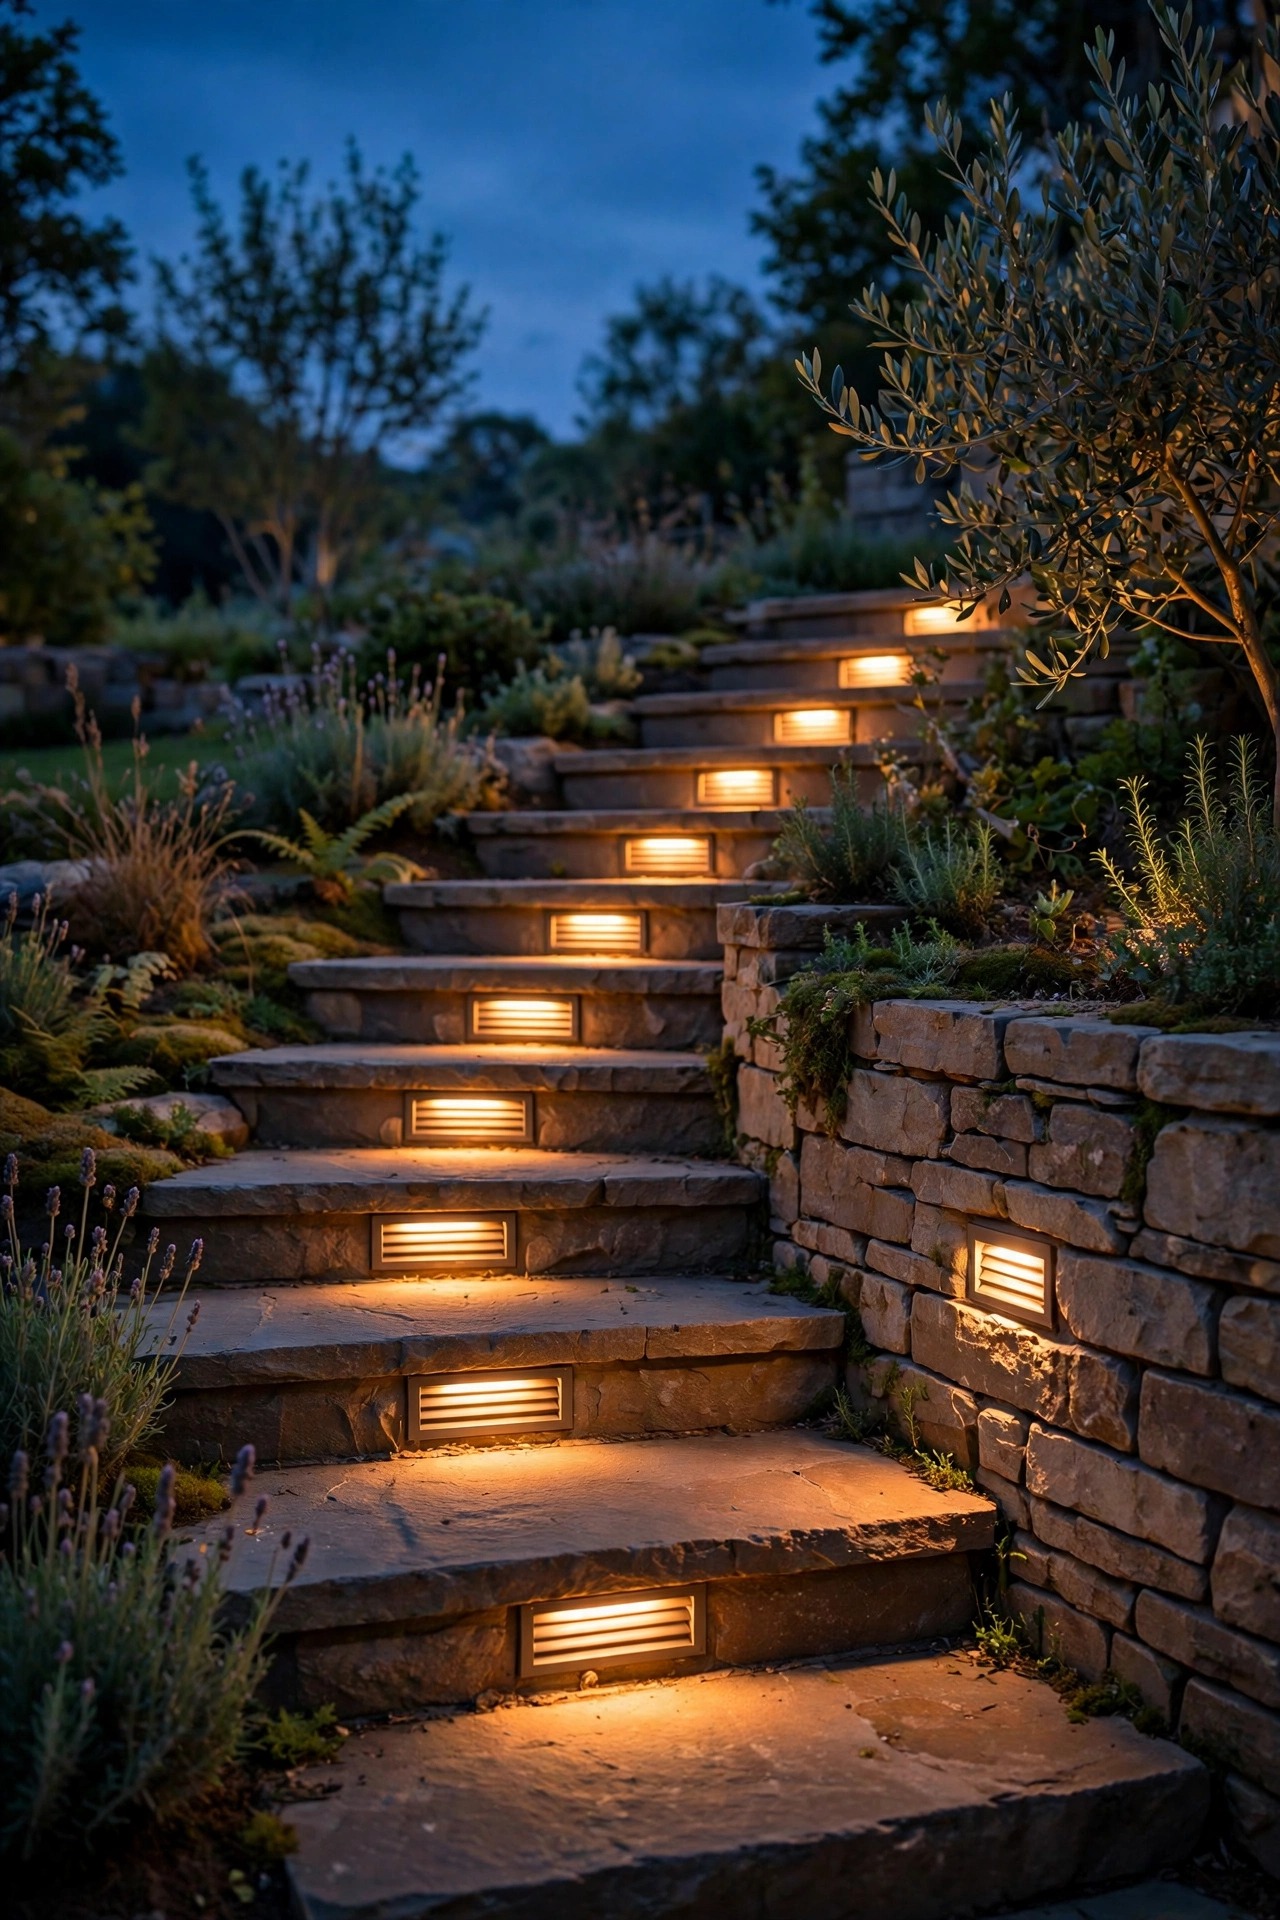
Desert gardens change level constantly — a step up to the portal, a low retaining wall holding a raised bed — and every level change is a trip waiting to happen in the dark. Recessed step lights tucked under a capstone or into the riser wash the tread below in a soft, shielded sheet of light with no visible source and no glare in your eyes. Louvered faces are my pick for walkways, since they push all the light downward where feet need it. Plan one fixture per step on wide stairs, or one every other step on narrow residential runs, wired on the same circuit as your path lights so the whole route reads as one gesture. Retaining walls take the same fixtures beautifully, spaced 6 to 8 feet apart, grazing down the stonework face. Masonry work rewards planning: sleeves and conduit belong in place during the build, not chiseled in afterward. Every exterior connection here should be outdoor-rated and GFCI-protected, full stop. At 2700K and modest lumens, lit steps read as hospitality rather than hardware.
Suggested budget range: $110 – $320.
13. Cluster Terra-Cotta Pots and Give the Cluster One Light
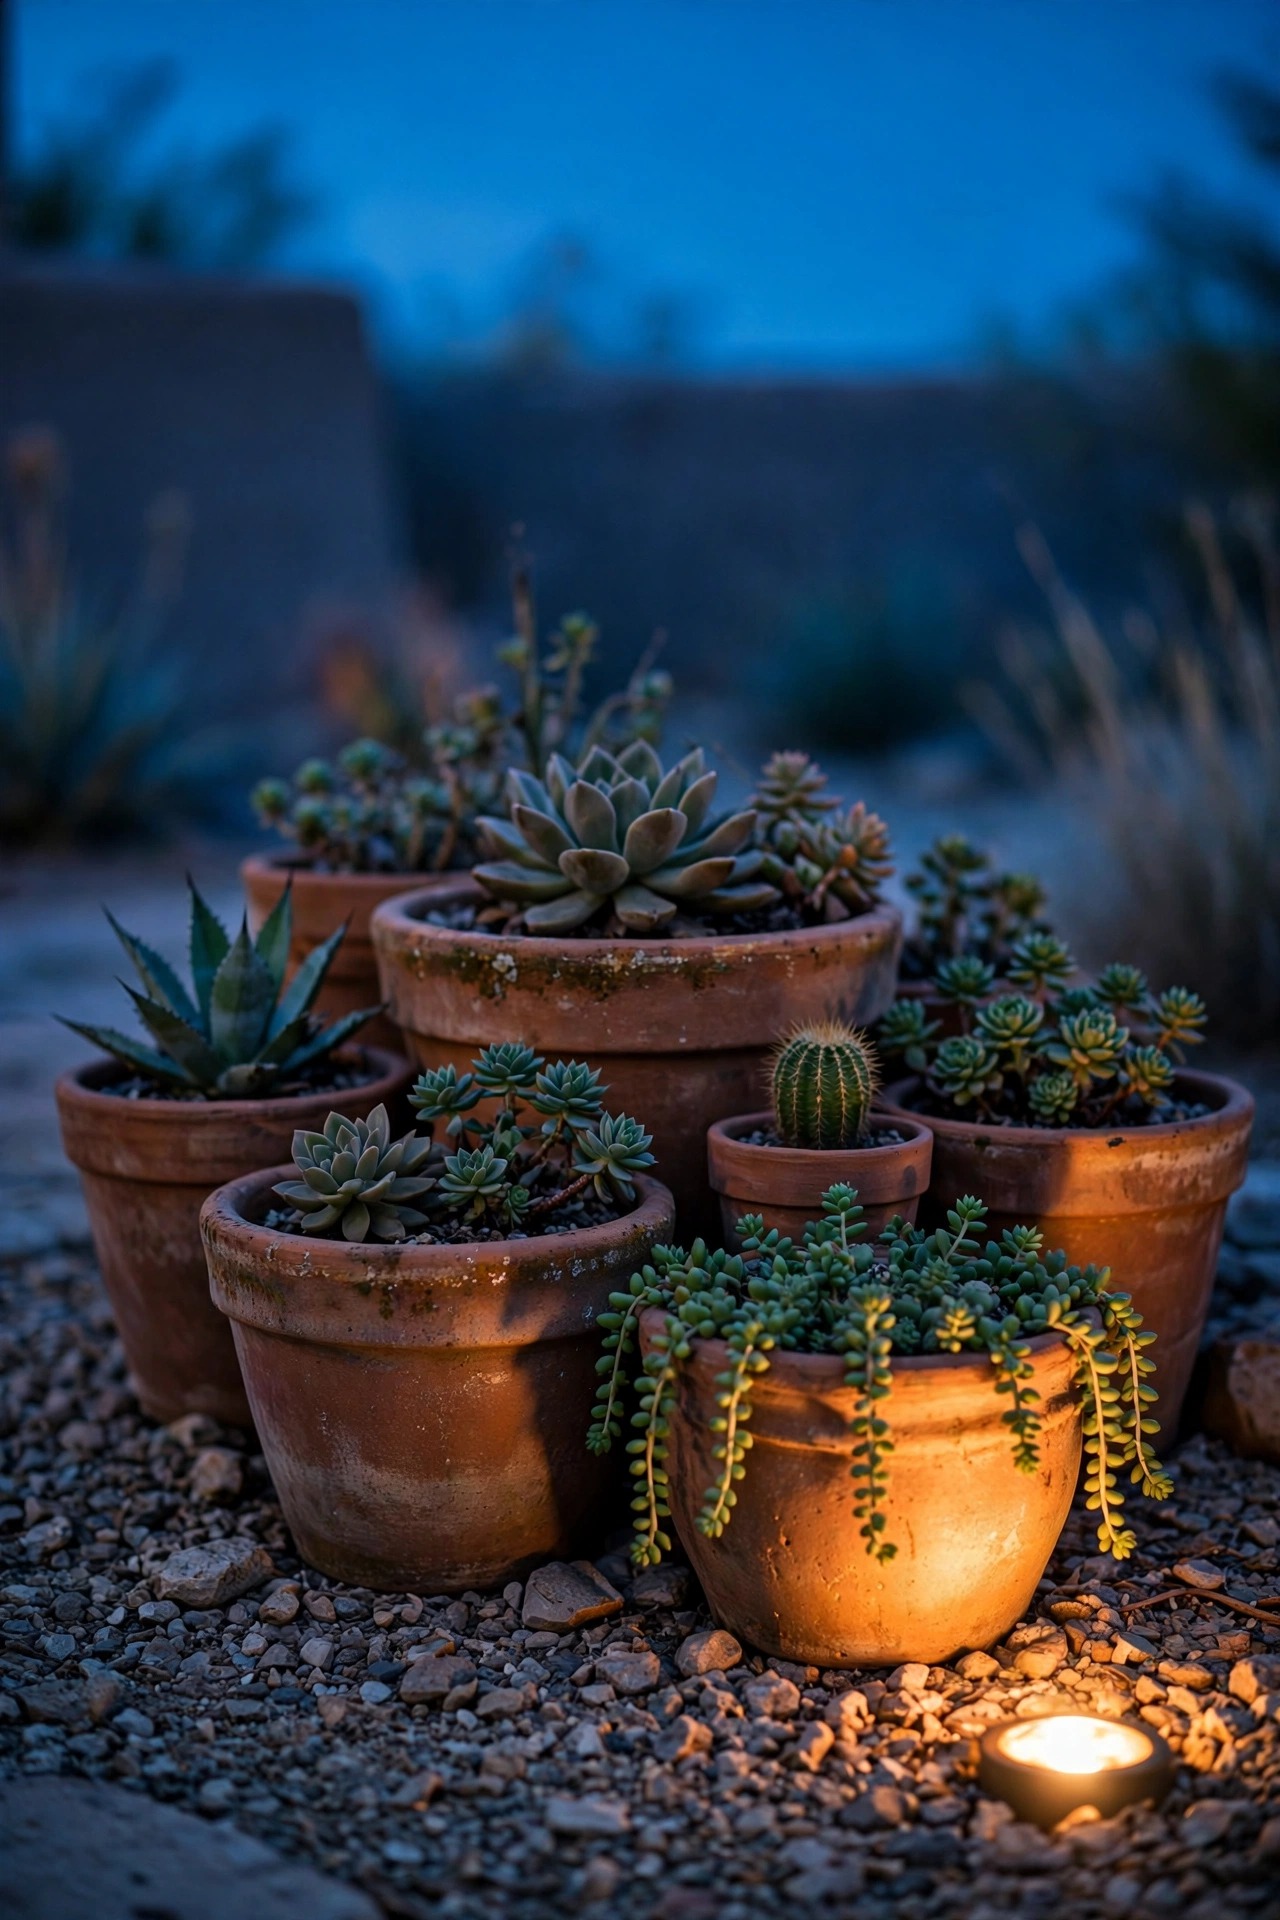
Terra-cotta is the Southwestern garden's jewelry, and a cluster of pots earns its own accent. Group pots in odd numbers — three or five — at the corner of a bed or flanking the courtyard gate, mixing heights so the silhouettes stack. Then give the whole cluster a single small shielded uplight set low in front, so the clay rims glow and the plants inside cast soft shadows upward. One fixture per cluster is the discipline; a light per pot turns the corner into a garden-center display. Unglazed clay drinks water and will darken where drip emitters splash it, so aim emitters into the pots, not across them, and keep the fixture lens out of the splash zone. Warm 2700K light on terracotta is one of the great color pairings in this palette — the pots look lit from within. Rotate tender pots to shelter before a freeze and let the light showcase the hardy anchors that stay. Clients consistently tell me this cheapest corner becomes the most photographed spot in their yard.
Suggested budget range: $40 – $130.
14. Set Out Luminarias for Fiesta Nights
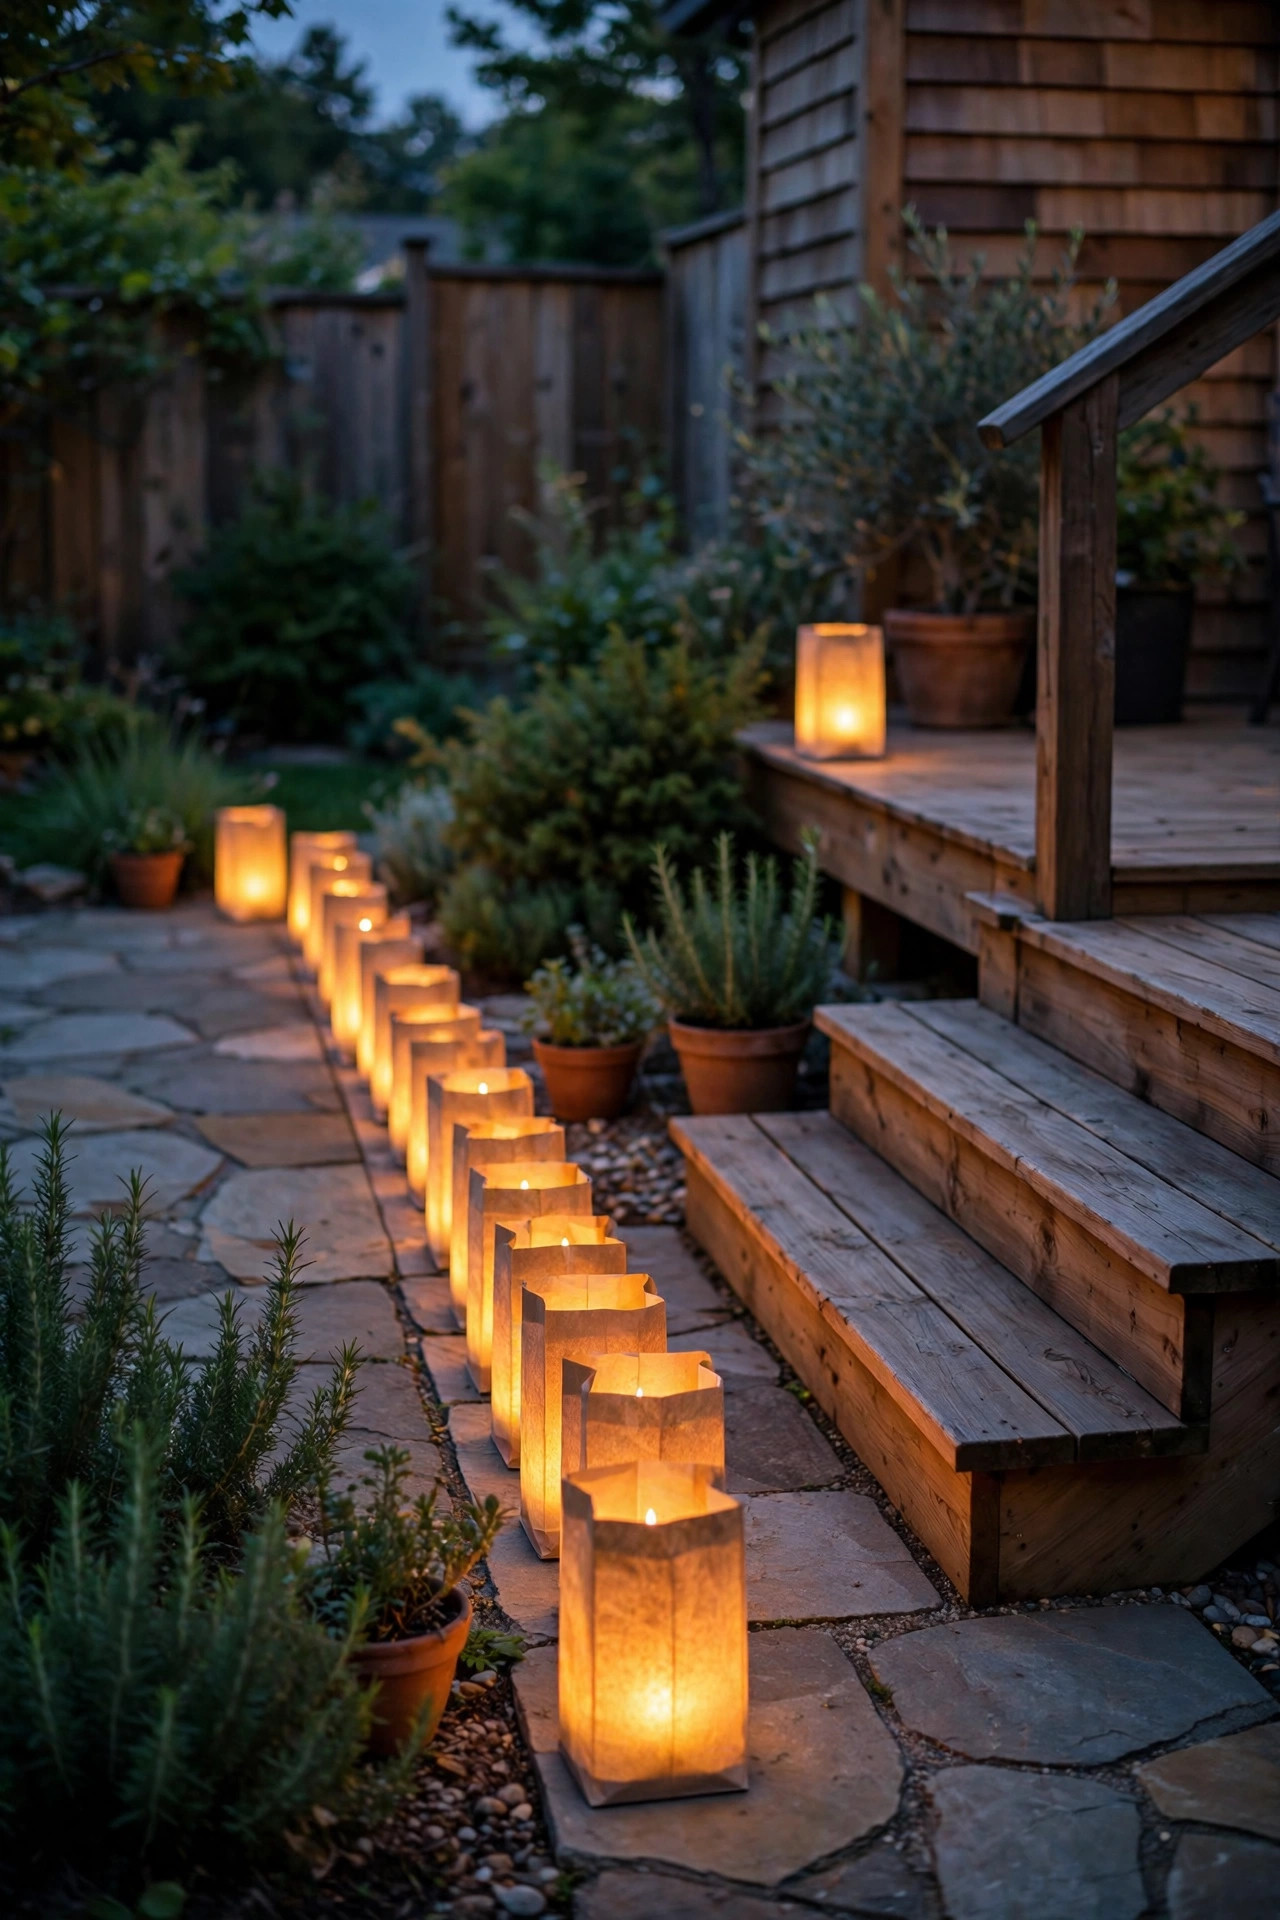
Luminarias — the classic paper-bag lanterns of the Southwest — are my favorite temporary layer, with one non-negotiable desert amendment: flameless LED tea lights only, never real candles. Open flame in a paper bag, in a dry garden, in a region where a spark can travel, is a risk no tradition justifies, and modern LED versions flicker convincingly from three feet away. Fold the bag tops down twice, add two cups of sand for ballast, and line paths, wall caps, and the courtyard edge at 2- to 3-foot spacing for that unbroken ribbon of glow. Plastic luminaria shells in terracotta tones are the reusable, monsoon-proof upgrade and they store flat. Because they sit at ankle height and burn nothing upward, luminarias are inherently dark-sky friendly — all glow, no beam. Set them out for gatherings, bring them in the same night, and let their scarcity keep them special. Guests slow down and lower their voices along a luminaria path every single time; it is the cheapest atmosphere in this entire post.
Suggested budget range: $25 – $90.
15. Put It All on Timers, Photocells, and a Dark-Sky Curfew
The most dark-sky friendly fixture is the one that turns off. I run every Southwestern garden on an astronomical timer that knows sunset year-round: lights on at dusk, accents off at 10 or 11 p.m., and only the path layer lingering at reduced hours where someone genuinely walks late. That curfew is not just astronomy etiquette — in many desert communities it is the ordinance, and it also halves your energy use and doubles bulb life. A photocell paired with the timer guards against storm-dark afternoons tricking the system. Smart plugs and app-based transformers make the schedule painless to adjust for a party, then return to the curfew without a trip to the garage. Wildlife thanks you too: desert birds, bats, and the moths that pollinate night-blooming cereus all navigate by darkness, and a garden that goes properly dark after 11 gives it back to them. If you take one habit from this list into an existing yard, take this one — it costs the least, saves the most, and your neighbors under those big starry skies will notice.
Suggested budget range: $35 – $140.
16. Hold Every Bulb to 2700K or Warmer
Color temperature is where Southwestern gardens are won or lost. Adobe, terracotta, sandstone, and weathered wood all live in the warm end of the spectrum, and a 4000K bulb — that stark blue-white of parking lots — makes every one of them look gray and cheap. I hold the whole garden to one temperature: 2700K for most fixtures, 2200K amber where I want firelight softness around seating. Many desert dark-sky ordinances cap outdoor lighting at 3000K, so 2700K keeps you legal with margin. Amber-leaning light also throws less glare, scatters less into the sky, and draws fewer insects than blue-rich light — a real mercy during monsoon moth season. The discipline is buying: order one spare bulb in the same temperature for every fixture type, label the box, and never let a random cool-white replacement sneak in during a hardware run. Hold a printed paint swatch or your phone flashlight against a lit wall at the store if you are unsure — your eyes will spot a mismatch across the yard forever once you see it.
Suggested budget range: $30 – $110.
17. Walk Your Southwestern Garden Lighting Ideas at Dusk and Edit
The last step is a walk, taken at dusk with the lights on and a roll of painter's tape in your pocket. Move at guest speed, from the street to the gate to the seating corner, and stop anywhere a bare bulb meets your eye — that is glare, and it means a shield needs rotating or a beam needs narrowing. Squat to sitting height in the courtyard chairs; light that behaves standing often misbehaves seated. Check the garden from the street and from the neighbor's side of the wall, because your southwestern garden lighting ideas should look like a glow, not a landing strip. Then apply my favorite rule: remove one fixture. Nearly every first install has one light too many, and the gap almost always improves the rhythm of the rest. Flag adjustments with tape, live with them a week, and only then make them permanent. Photograph the garden from your three best angles; the camera finds hot spots and dead corners your eyes forgive. This edit is where a collection of fixtures becomes a designed garden.
Suggested budget range: $20 – $80.
Frequently Asked Questions
What color temperature is best for a Southwestern garden?
Warm, always. I specify 2700K across the whole garden, with 2200K amber reserved for seating areas where I want a firelight feel. Warm light flatters adobe, terracotta, and sandstone, while anything at 4000K or above turns those earthy tones gray. There is a compliance bonus too: many desert dark-sky ordinances cap outdoor fixtures at 3000K, so a 2700K garden passes with room to spare. Whatever you choose, choose one temperature and hold it everywhere — a single cool bulb in a warm scheme draws the eye like a wrong note.
Are solar lights enough for drought-smart beds, or should I wire?
Solar handles the edges beautifully — far bed corners, informal path markers, spots where trenching would tear up drip lines and roots. But for the core of the scheme, wired low-voltage still wins: it is brighter, consistent on cloudy stretches, and runs on one timer with everything else. My honest split in most gardens is solar for the perimeter accents and wired for paths, specimens, and walls. In a sunny desert climate solar performs better than almost anywhere else, provided you wipe the dust off the panels monthly.
How do I keep my garden lighting dark-sky friendly?
Four habits do nearly all of the work. Shield every fixture so no bare bulb is visible and beams point down or at a surface. Keep color temperature at 3000K or below, ideally 2700K. Use only the lumens the job needs — desert eyes adapt fast, and restraint looks better. Finally, put everything on a timer with a curfew around 10 or 11 p.m. Do those four things and your garden will glow warmly while the Milky Way stays visible overhead, which is rather the point of living under desert skies.
How much does it cost to light drought-smart beds?
A starter layer of path lights and two specimen accents typically lands between $300 and $700 in fixtures and cable if you install it yourself. A full three-layer scheme for an average courtyard garden runs $1,200 to $3,000, with moonlighting and masonry step lights pushing toward the top. Running costs are small: a dozen LED fixtures on a nightly curfew draw less than a single old porch bulb left burning. Phase the project — paths first, specimens second, atmosphere last — and the budget stays painless.
Conclusion
The whole secret of southwestern garden lighting ideas is respect — for the plants that thrive on almost no water, for the architecture of mud and stone, and for the dark sky that makes the desert night famous. Layer low guidance, sculptural accents, and one soft wash from above; shield every beam; hold the color warm; and let a timer give the garden back to the stars by 11. Start with the path and your favorite agave, live with it a week, and edit like you mean it. For more ways to build on the basics, browse my wider collection of garden lighting ideas — your drought-smart beds are about to become the best room in the house, right after sunset.