There's a special kind of heartbreak in walking out at dusk, iced tea in hand, and finding half your garden dark because something — a shovel, an edger, or one very determined squirrel — has bitten clean through your cable. I've been there twice: once with my own edger (humbling, honestly) and once courtesy of the rabbits that live under our shed. The good news? Learning to repair cut landscape lighting cable is genuinely one of the easiest fixes in your whole yard. Low-voltage cable is forgiving, the parts cost a few dollars, and a careful splice buried the right way can last as long as the original run. In this guide I'll show you how to find the break even when it's buried, the three splice methods I trust (and the taped twist I beg you not to use), how to test your fix before the dirt goes back, and how to rebury everything so you're not digging it up again next spring. Give me an hour of your Saturday, and your path lights will glow again tonight.
The Short Answer
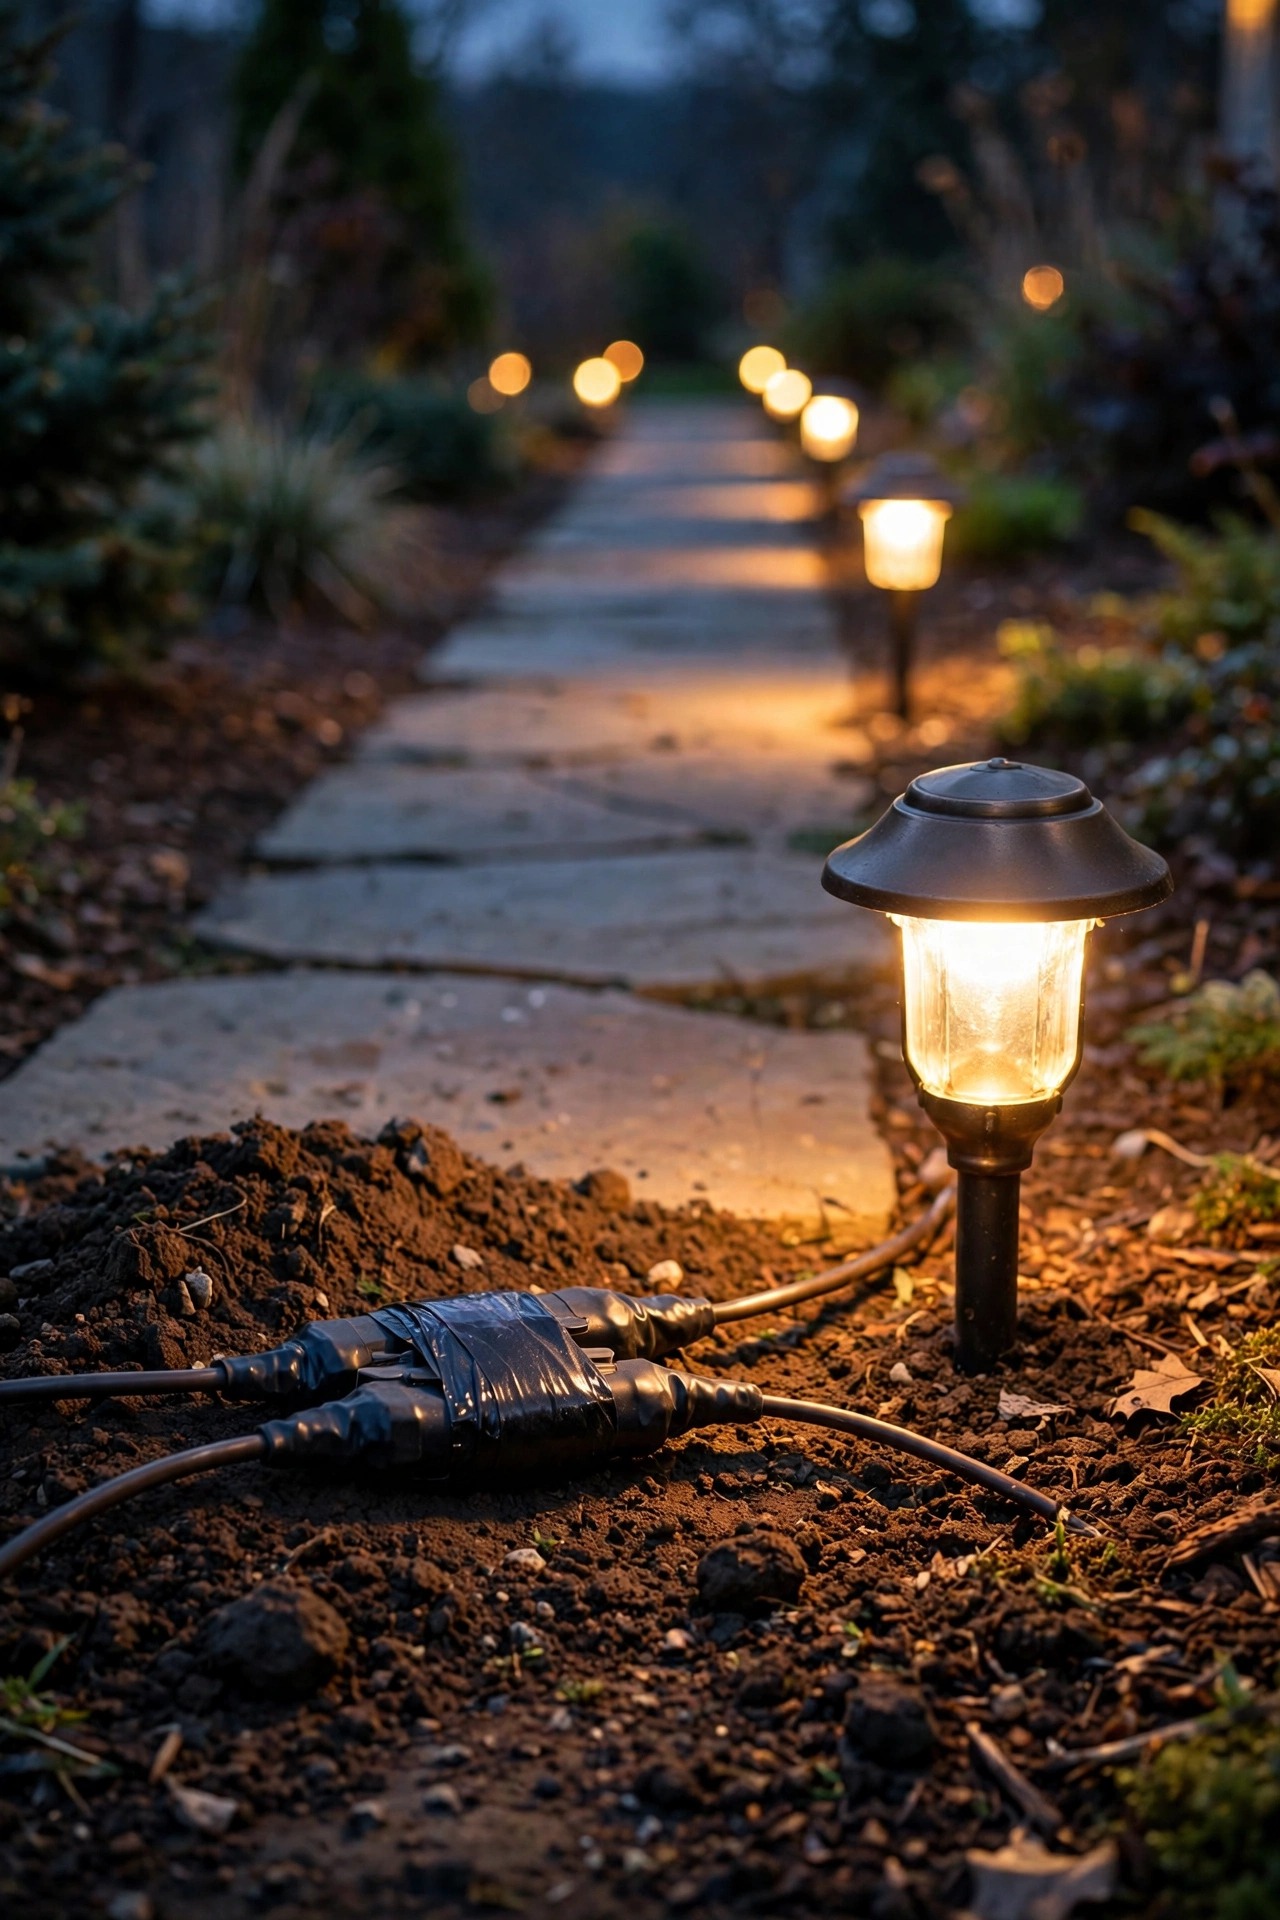
Yes, you can fix it yourself in under an hour, and no, you don't need an electrician. Unplug the transformer, dig up the cable around the damage, cut out the chewed section, and rejoin the ends with a waterproof, direct-burial connector — gel-filled connectors are my favorite because they seal out moisture the second they snap shut. Strip about 3/4 inch of insulation, match smooth side to smooth side and ribbed side to ribbed side, connect, tug-test, plug back in to confirm every light works, then bury the splice 6 inches deep with a little slack loop. Total cost for most repairs: $5 to $20. One rule: never trust electrical tape alone underground. It always fails.
First, Find the Damage: Locating a Cut or Chewed Cable
Before you buy a single connector, play detective, because the symptom tells you a lot. If every light on the run is out, the problem is probably at the transformer or the very start of the cable. If the first few lights glow and everything past one point is dark, the break sits between the last lit fixture and the first dark one — that's your digging zone, and it narrows the search enormously.
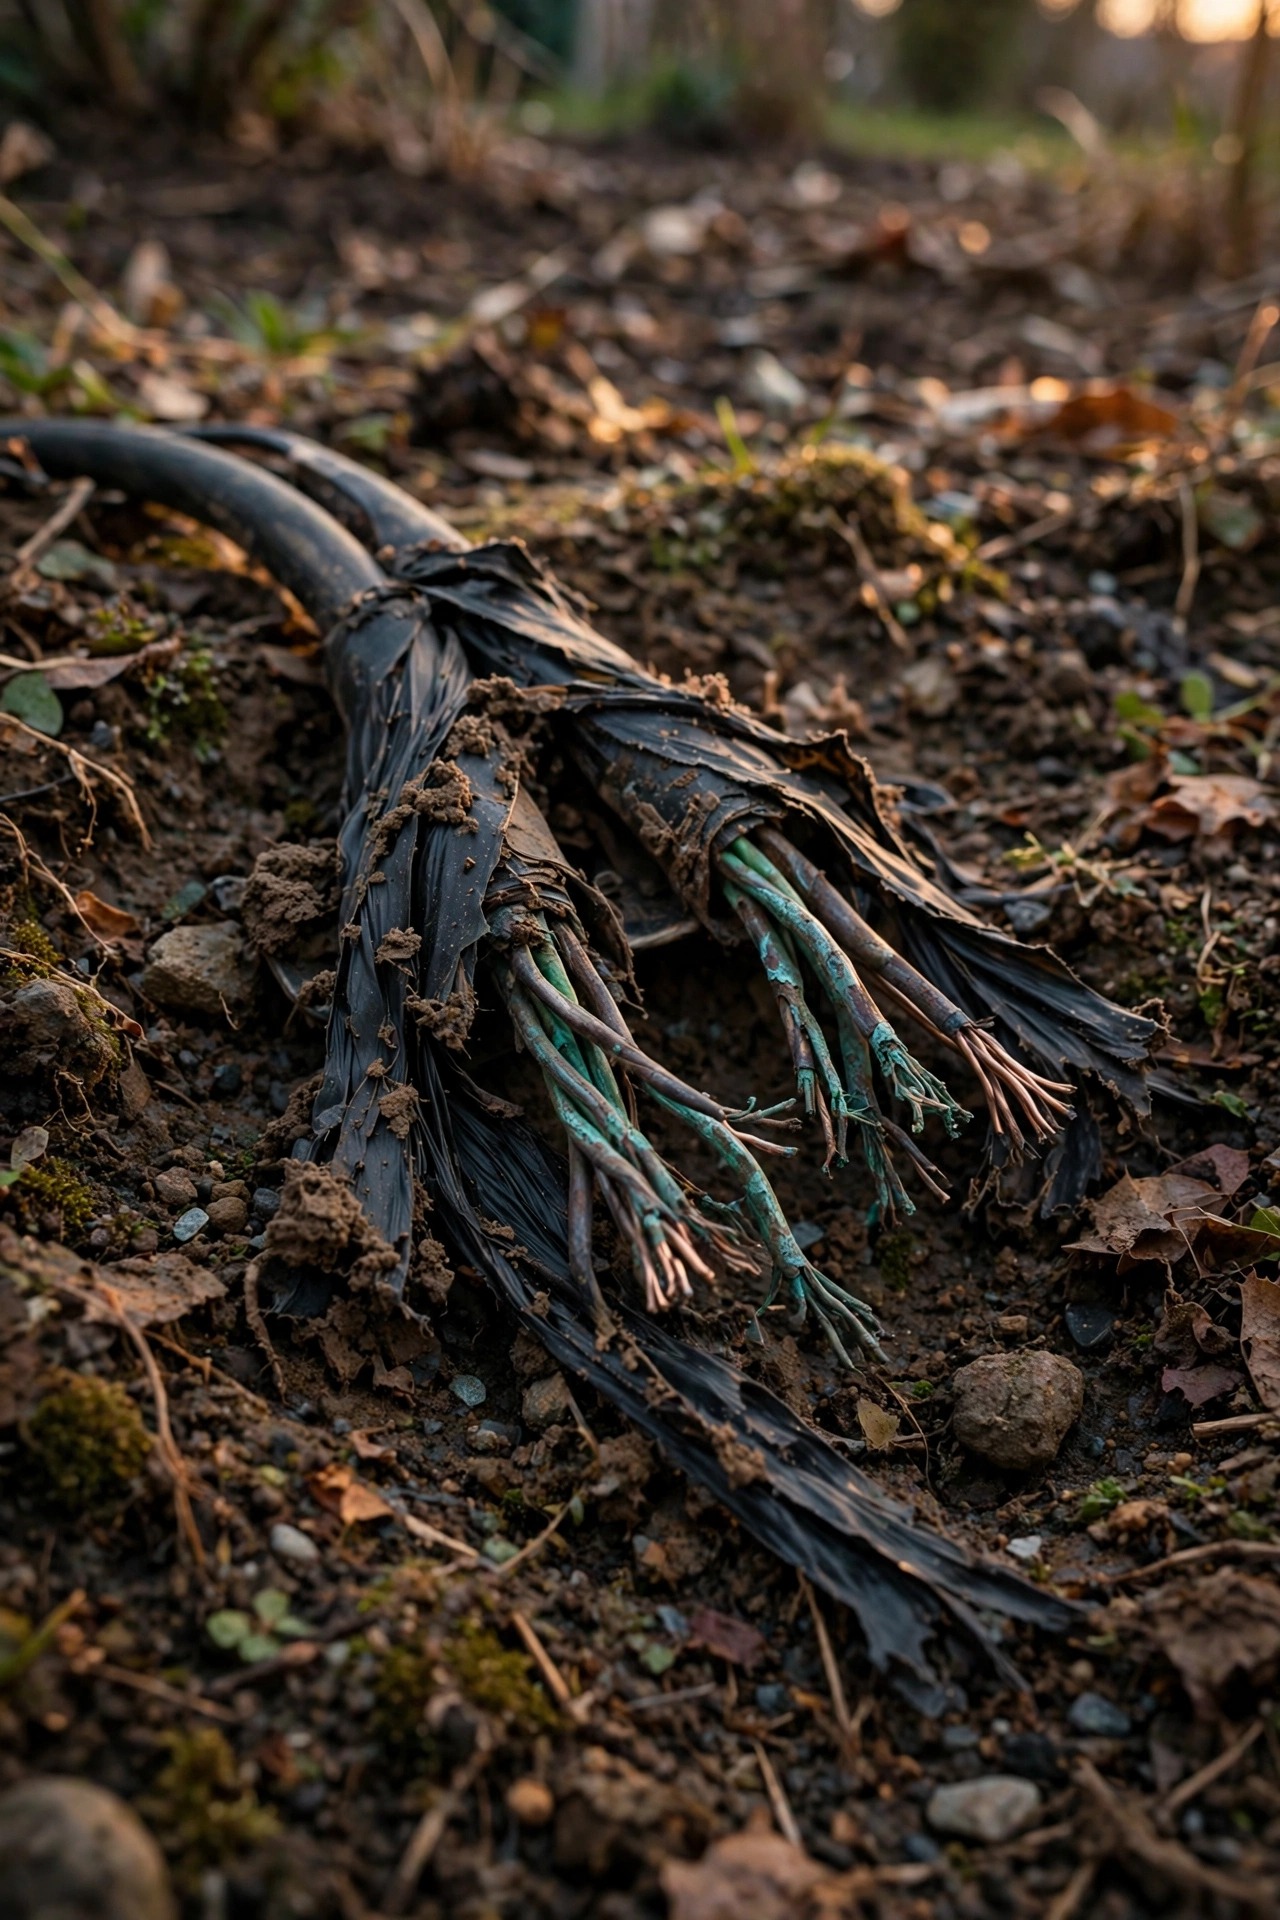
Start the transformer end and walk the run slowly, eyes on the ground. Look for freshly disturbed soil, a neat slice along a bed edge where an aerator or edger passed, or mulch scattered like something was digging or chewing there. Rabbits and squirrels love the cable runs under shrubs and along fence lines, and dogs will worry at any cable left lying on top of the mulch. Gently tug the cable where it surfaces near each fixture; a section that moves too freely, or pulls up with a chewed, copper-showing end, has just confessed.
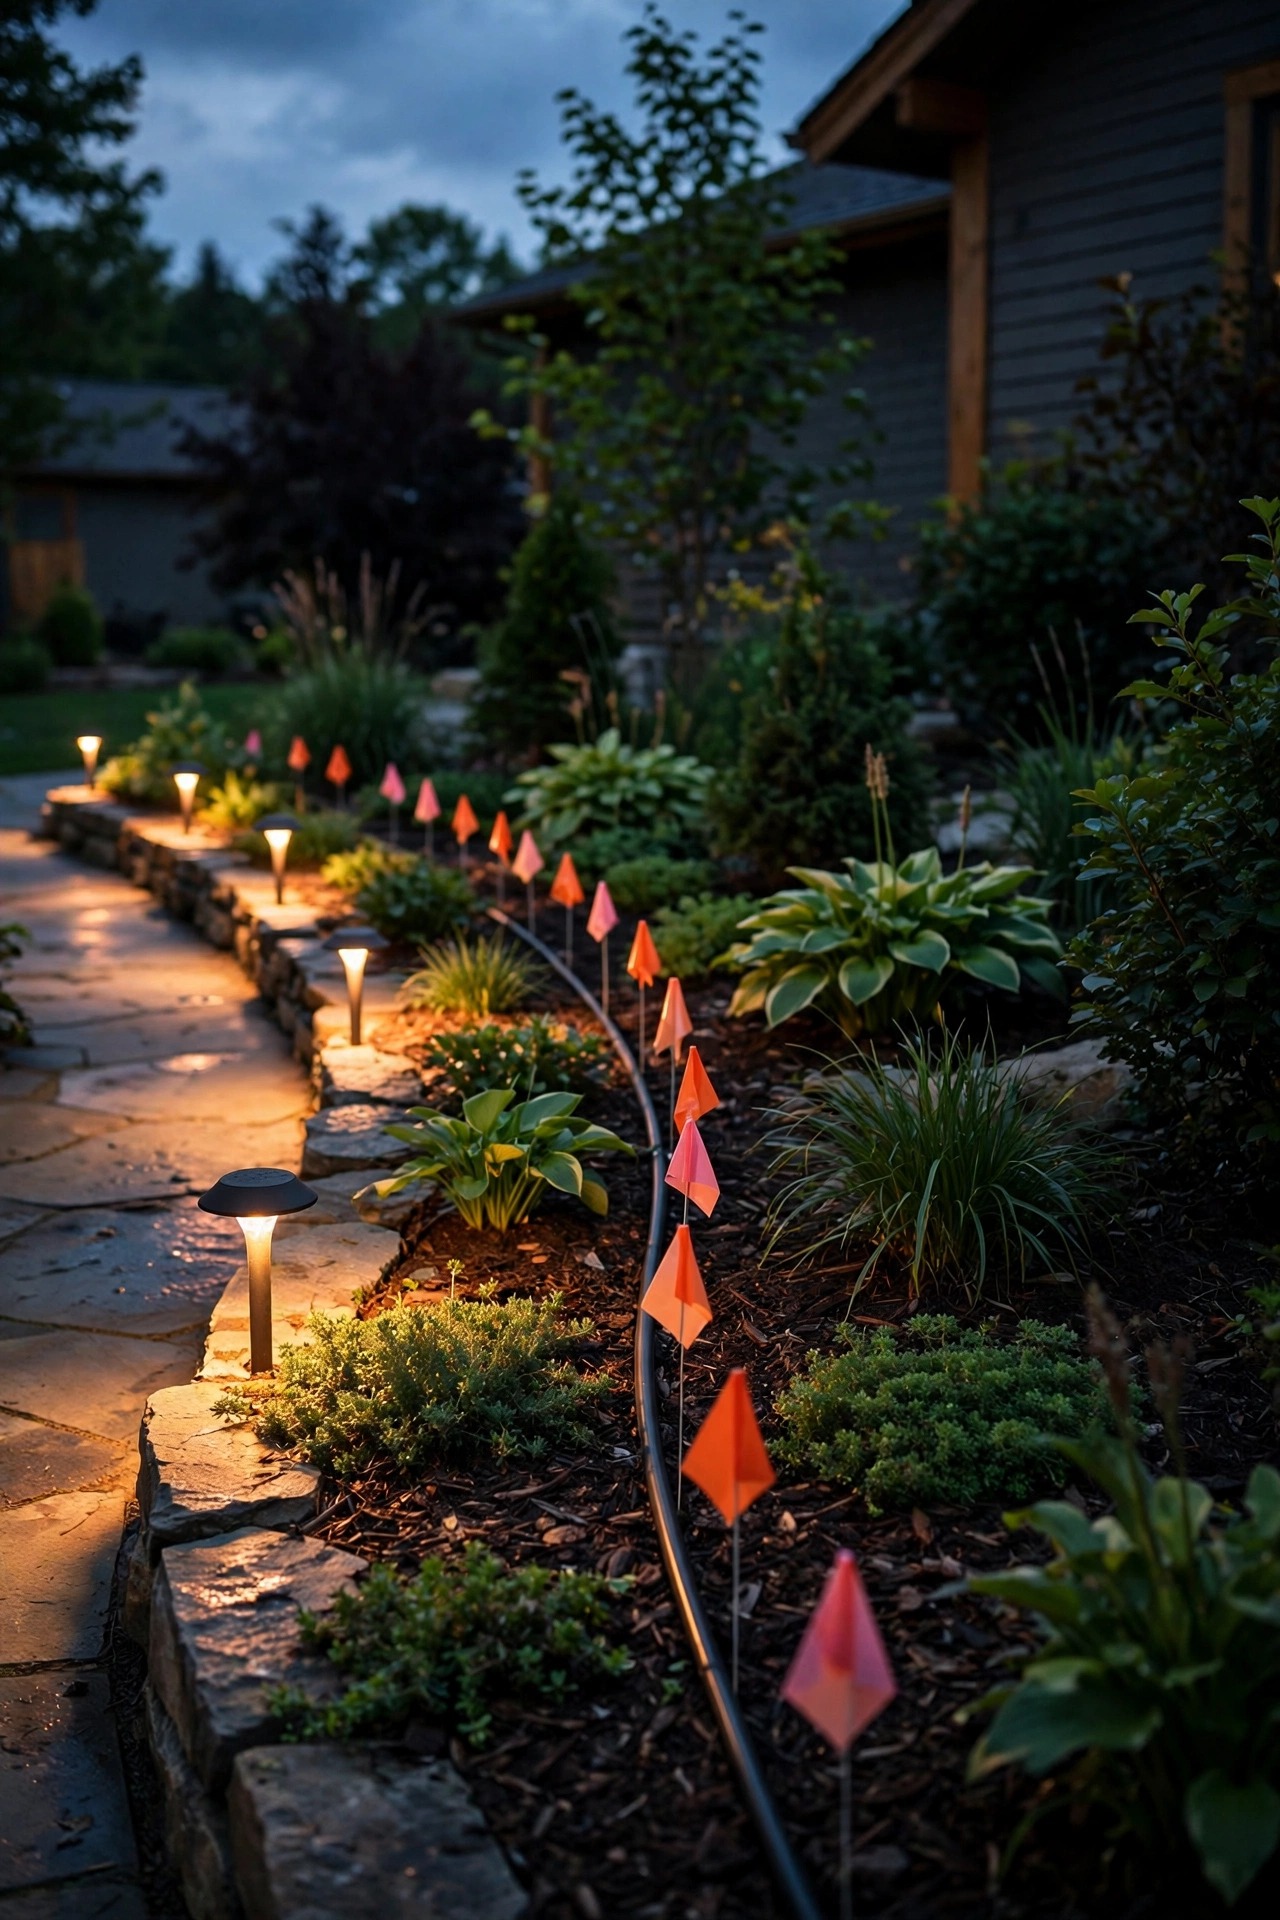
If the break hides completely, a basic multimeter helps: with the transformer unplugged, test continuity along the run, or plug in and check voltage fixture by fixture until it suddenly drops to nothing. Mark every suspect spot with a landscape flag before you dig — in my experience the damage is within a foot of where the evidence says it should be.
Safety First: Why 12-Volt Work Is Forgiving, Not Foolproof
Here's the reassuring part: a low-voltage landscape system runs at 12 volts, so a cable repair here is nothing like working on household wiring. You won't get a dangerous shock from the cable itself, and that's exactly why this job is so DIY-friendly. I've taught nervous friends to do their first splice in ten minutes.
Forgiving is not the same as careless, though. Rule one is absolute: unplug the transformer — or switch it off and pull the plug anyway — before you cut, strip, or splice anything. A 12-volt transformer can still push a lot of current, and if two bare conductors touch while the system is live, that short can melt insulation, trip the transformer's breaker, and cook a connector from the inside. Rule two: make sure the transformer is plugged into a GFCI-protected outdoor outlet, which guards the 120-volt side of the system where the real risk lives. Rule three: work with dry hands on a reasonably dry day, and if you find damage right at the transformer terminals or the 120-volt cord looks chewed, stop — that end of the project belongs to an electrician. Everything out in the garden, though? That's yours, and it's safe, simple work. One more transformer-side note: if the unit itself hums loudly, smells hot, or its breaker keeps tripping with nothing attached, leave it unplugged and get it checked — that's a transformer problem, not a cable problem, and no splice will fix it.

What You'll Need: Tools and Materials for the Repair
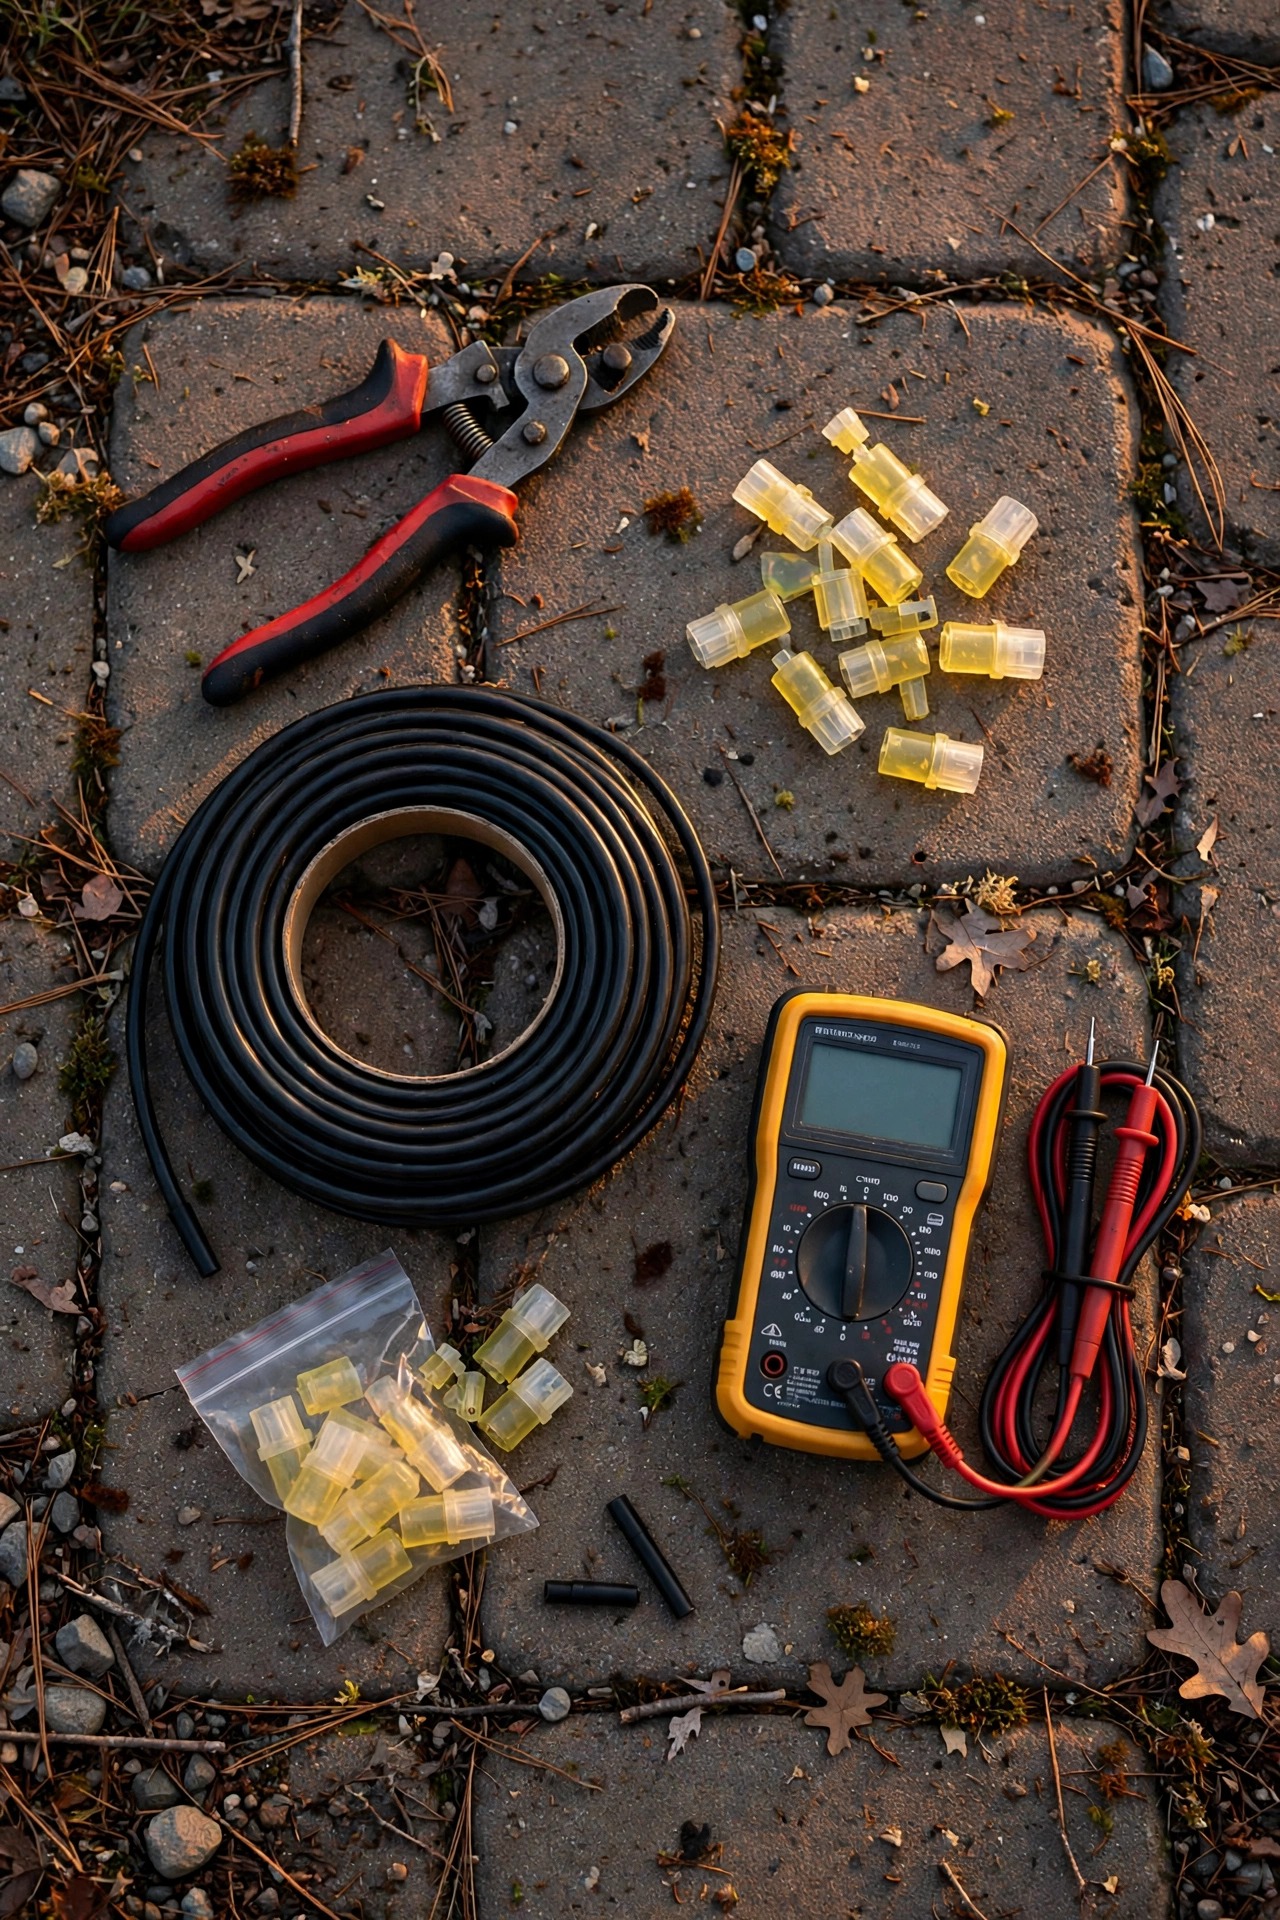
You probably own half of this already. For the splice itself, grab a handful of gel-filled direct-burial connectors — they come in multi-packs and are the single best purchase for this job. If you prefer a slimmer repair, heat-shrink butt splices plus a heat gun do beautiful work. For badly chewed sections, a direct-burial splice kit with a waterproof housing is the heavy-duty option.
Beyond connectors, you'll want wire strippers that handle up to 12-gauge wire, a pair of pliers for firm crimps and tug tests, a sharp utility knife for squaring up damaged ends, and a trowel or narrow spade for digging up the run. A basic multimeter earns its keep for hunting the break and testing afterward. Keep a short length of replacement cable on hand too, and this part matters: match the gauge printed on your existing cable's jacket — most home runs are 12/2 or 14/2, and patching with thinner cable invites dim lights later. A 2-foot offcut is plenty for most repairs, though you'll want more if the damage stretches. Finally, a short piece of split-loom tubing or thin PVC pipe makes excellent armor for the finished splice. That's the whole shopping list — one hardware-store trip, no specialty tools.
Step-by-Step: How to Repair Cut Landscape Lighting Cable With a Waterproof Splice
Here's the exact sequence I use, from dead cable to glowing garden. Take it one step at a time and the whole repair takes about 45 minutes, digging included.
1. Unplug the transformer. No shortcuts. Confirm the lights are dead before you touch a tool.
2. Dig up the cable around the damage. Expose about a foot of cable on either side of the break so you have room to work, and clear the soil away from the work area.
3. Cut out the damaged section. Trim back to clean, bright cable on both sides — if the copper looks dull, green, or frayed, keep trimming until it's shiny and healthy.
4. Strip 3/4 inch of insulation from each end. Landscape cable has two conductors in one jacket; separate them gently and strip each one without nicking the strands.
5. Match the sides. One conductor's insulation is smooth, the other has fine ribs or printing. Smooth joins to smooth, ribbed joins to ribbed — swapping them can make some LED fixtures misbehave.
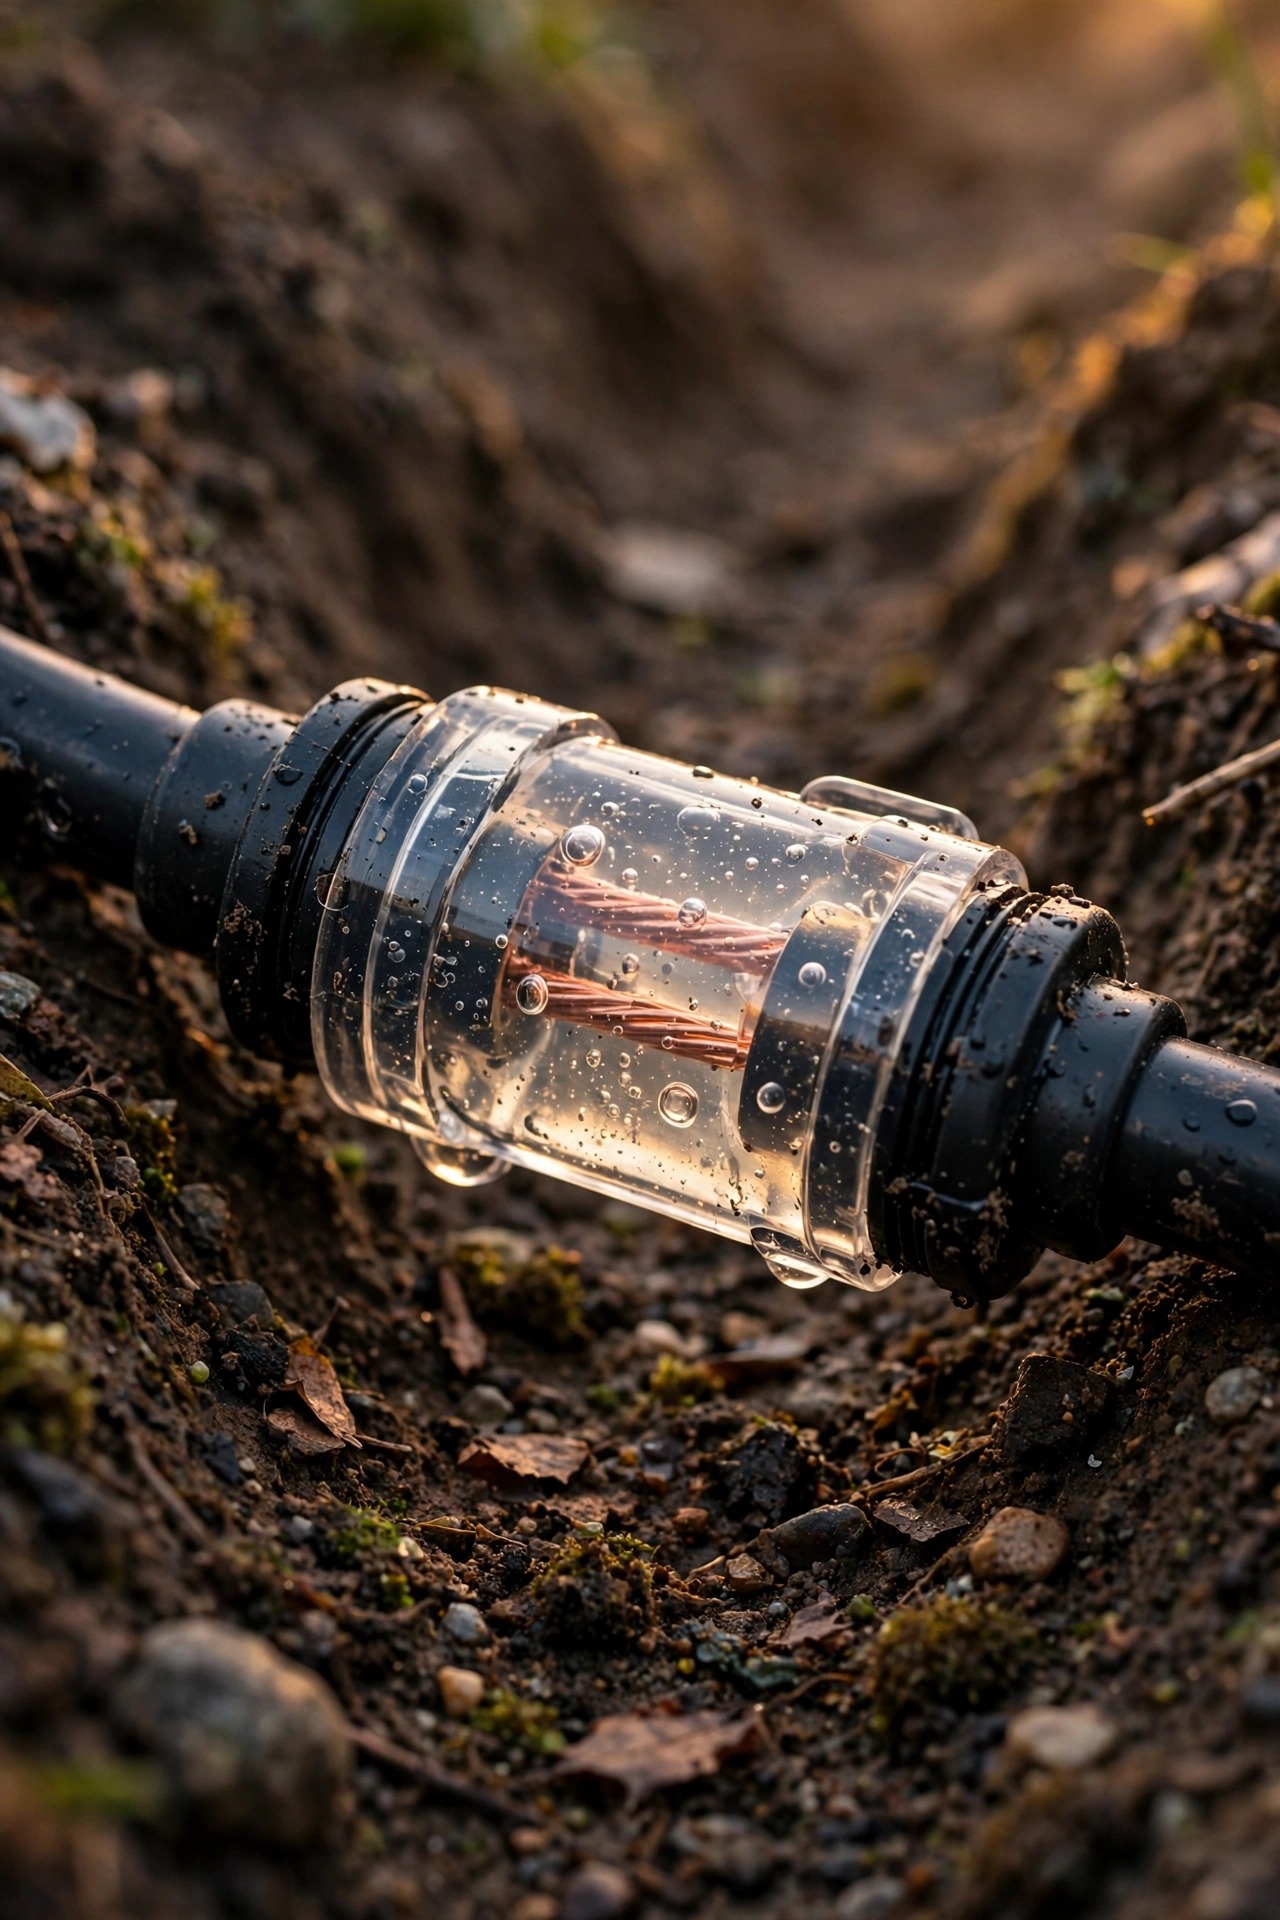
6. Connect with gel-filled connectors. Push each pair of ends fully into a connector and snap or crimp it closed so the gel seals around the copper.
7. Tug-test every joint. A firm pull should not move anything. If it slips, cut it off and redo it — this is the moment that decides whether the repair lasts a decade or a month.
8. Plug in and test before burying. Every fixture on the run should light at full brightness. Only then does the dirt go back.
The Three Splice Methods, Compared Honestly
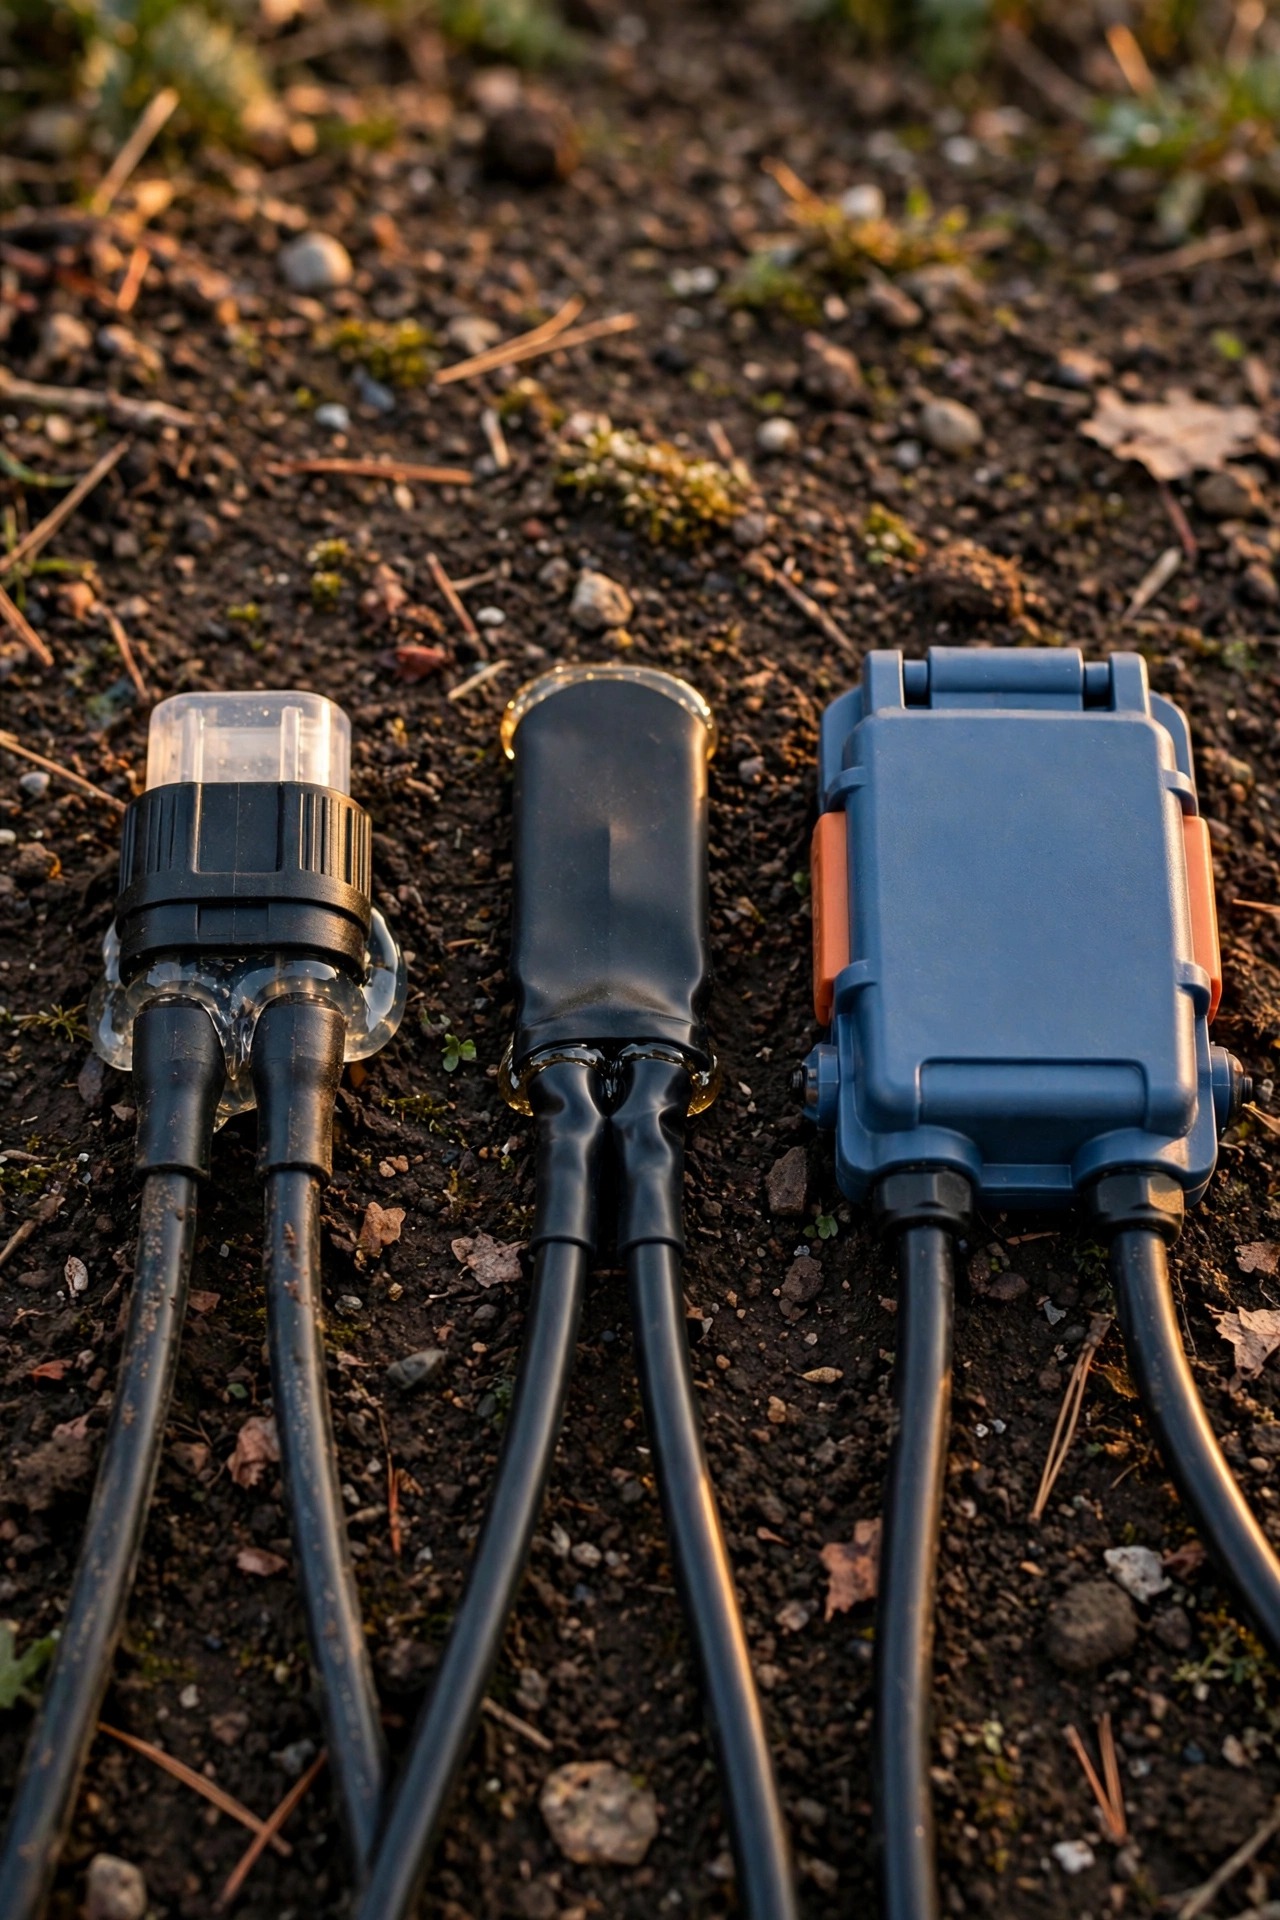
Not all splices are equal underground, so here's how the three methods I trust stack up against each other. I wrote a deeper walkthrough in my guide to splicing landscape lighting wire if you want photos-by-words of each one.
| Method | Cost per splice | Effort | Best for |
|---|---|---|---|
| Gel-filled connectors | $1–$3 | Easy, no special tools | Most single cuts; beginners |
| Heat-shrink butt splices | $1–$2 | Medium, needs a heat gun | Slim repairs in tight trenches |
| Direct-burial splice kit | $8–$15 | Medium | Replacing whole sections, heavy-gauge cable |
Gel-filled connectors are my default recommendation: the silicone gel inside displaces water and air the moment you close them, and they forgive slightly imperfect stripping. Heat-shrink splices make the lowest-profile repair — nice when the trench is tight — and the adhesive lining melts into a genuinely waterproof seal, but a rushed heat job leaves invisible gaps. Splice kits with a rigid housing are overkill for a single nick yet perfect when you're joining in a new length of cable. What never makes my list: standard twist-on wire nuts and tape. Even the "outdoor" nuts aren't rated for direct burial, and buried tape unravels into a soggy, corroded mess within a season or two. Every failed repair I've ever dug up had one of those two at its heart.
Should You Repair Cut Landscape Lighting Cable or Replace the Whole Run?
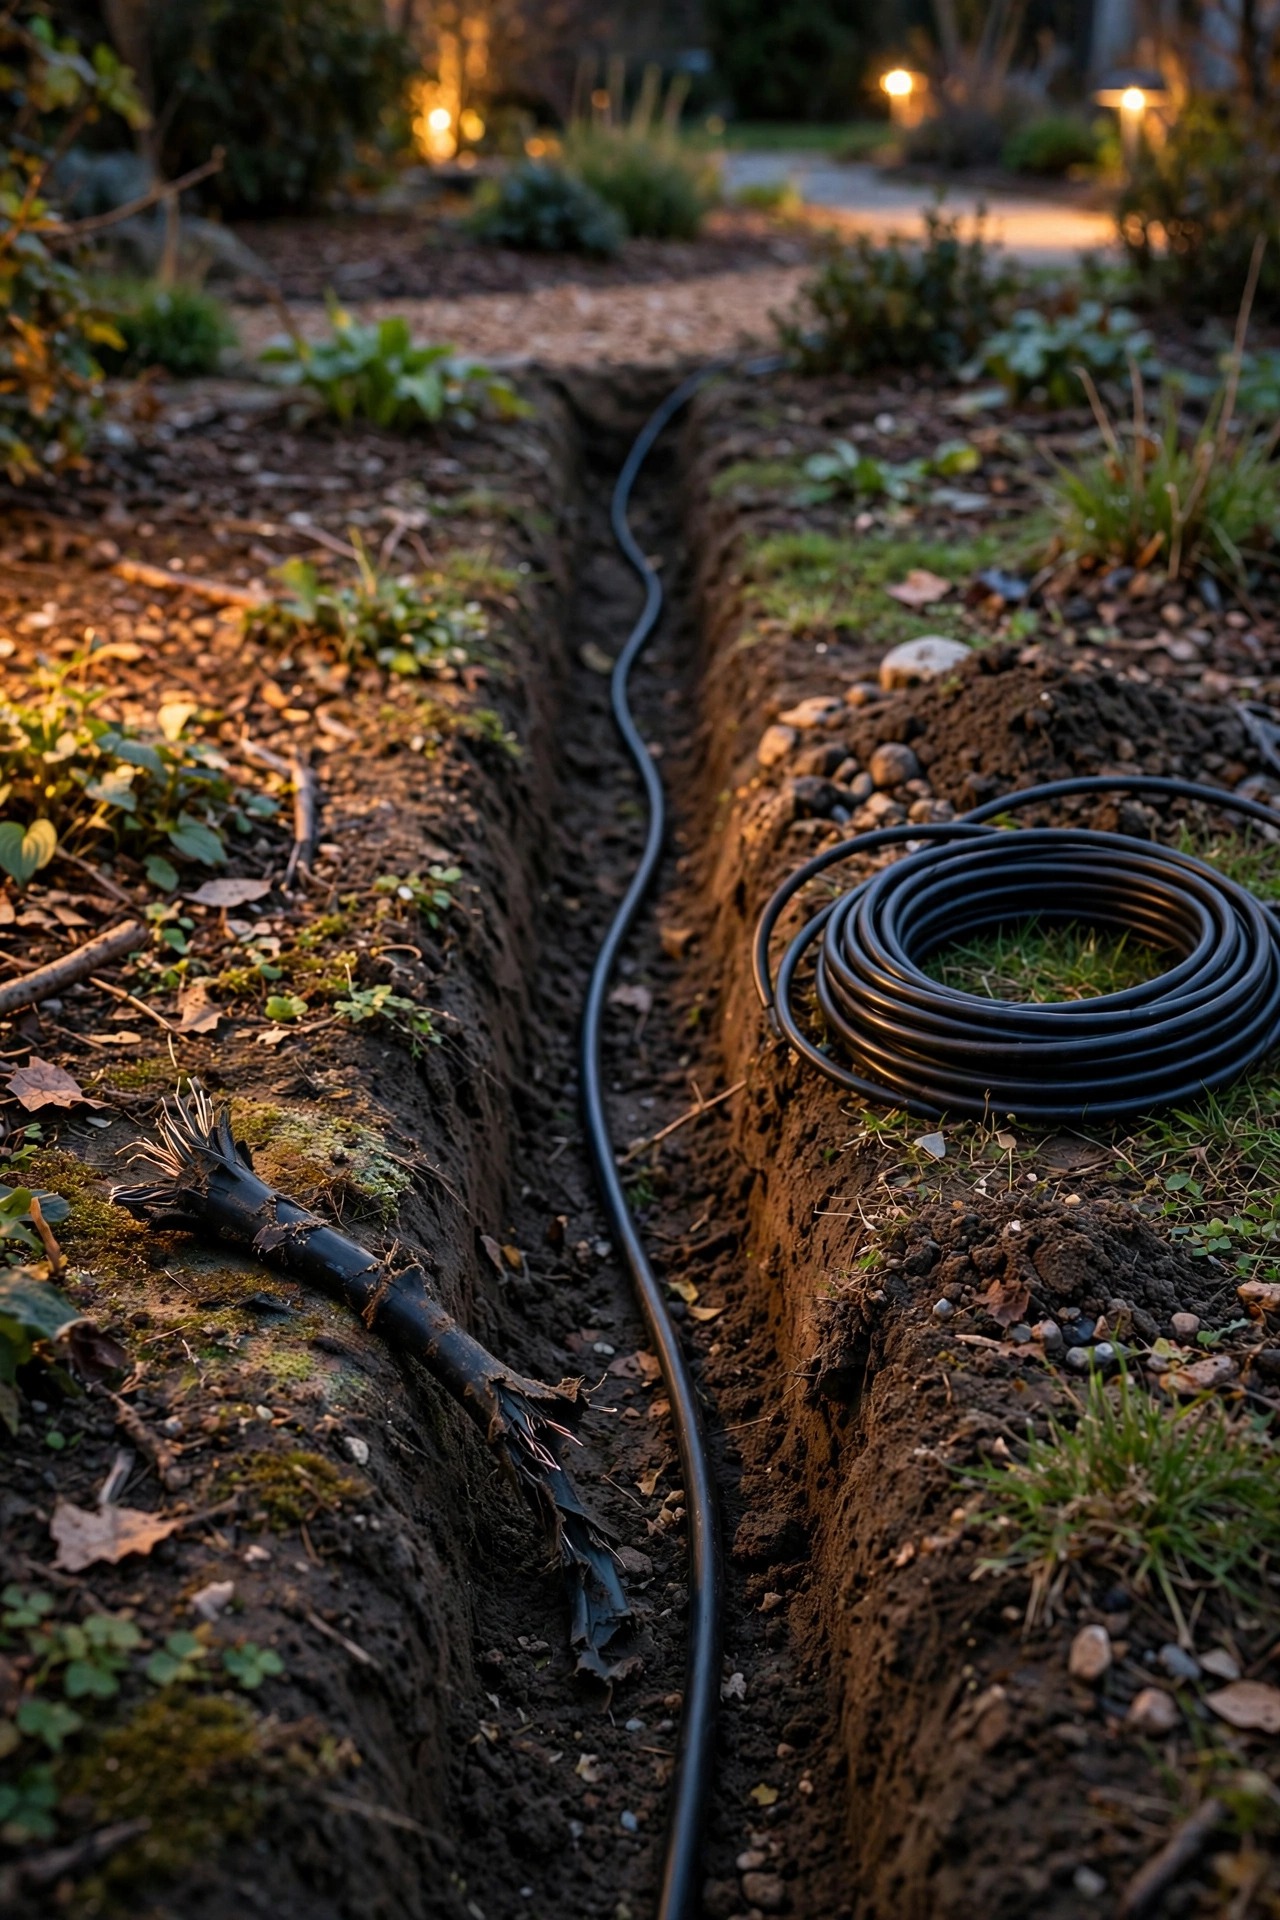
Sometimes the honest answer is fresh cable, and I'd rather tell you now than have you splice the same run four times. Replace — either the damaged stretch between two splices, or the whole run — when you spot any of these: multiple chews or nicks within a few feet of each other; green corrosion creeping along the copper well past the break, which means moisture has been traveling inside the jacket; a jacket that's chalky, cracked, or crumbly from sun and age; or a run that's already carrying two or three old splices. Each splice adds a little electrical resistance, and they add up.
One clean cut in otherwise healthy cable, though? Splice it every time — that's a $5 fix, not a $90 one. The middle path I use most is replacing just the wounded section: cut back to healthy cable on both ends, bridge the gap with new cable of the same gauge, and make two good gel-filled splices. And if the same spot keeps getting chewed or nicked season after season, that's the universe telling you the cable's route is the problem. Replace that stretch and reroute it deeper, or sleeve it in conduit, which brings us neatly to burying things properly.
Test Everything Before a Single Shovel of Dirt Goes Back
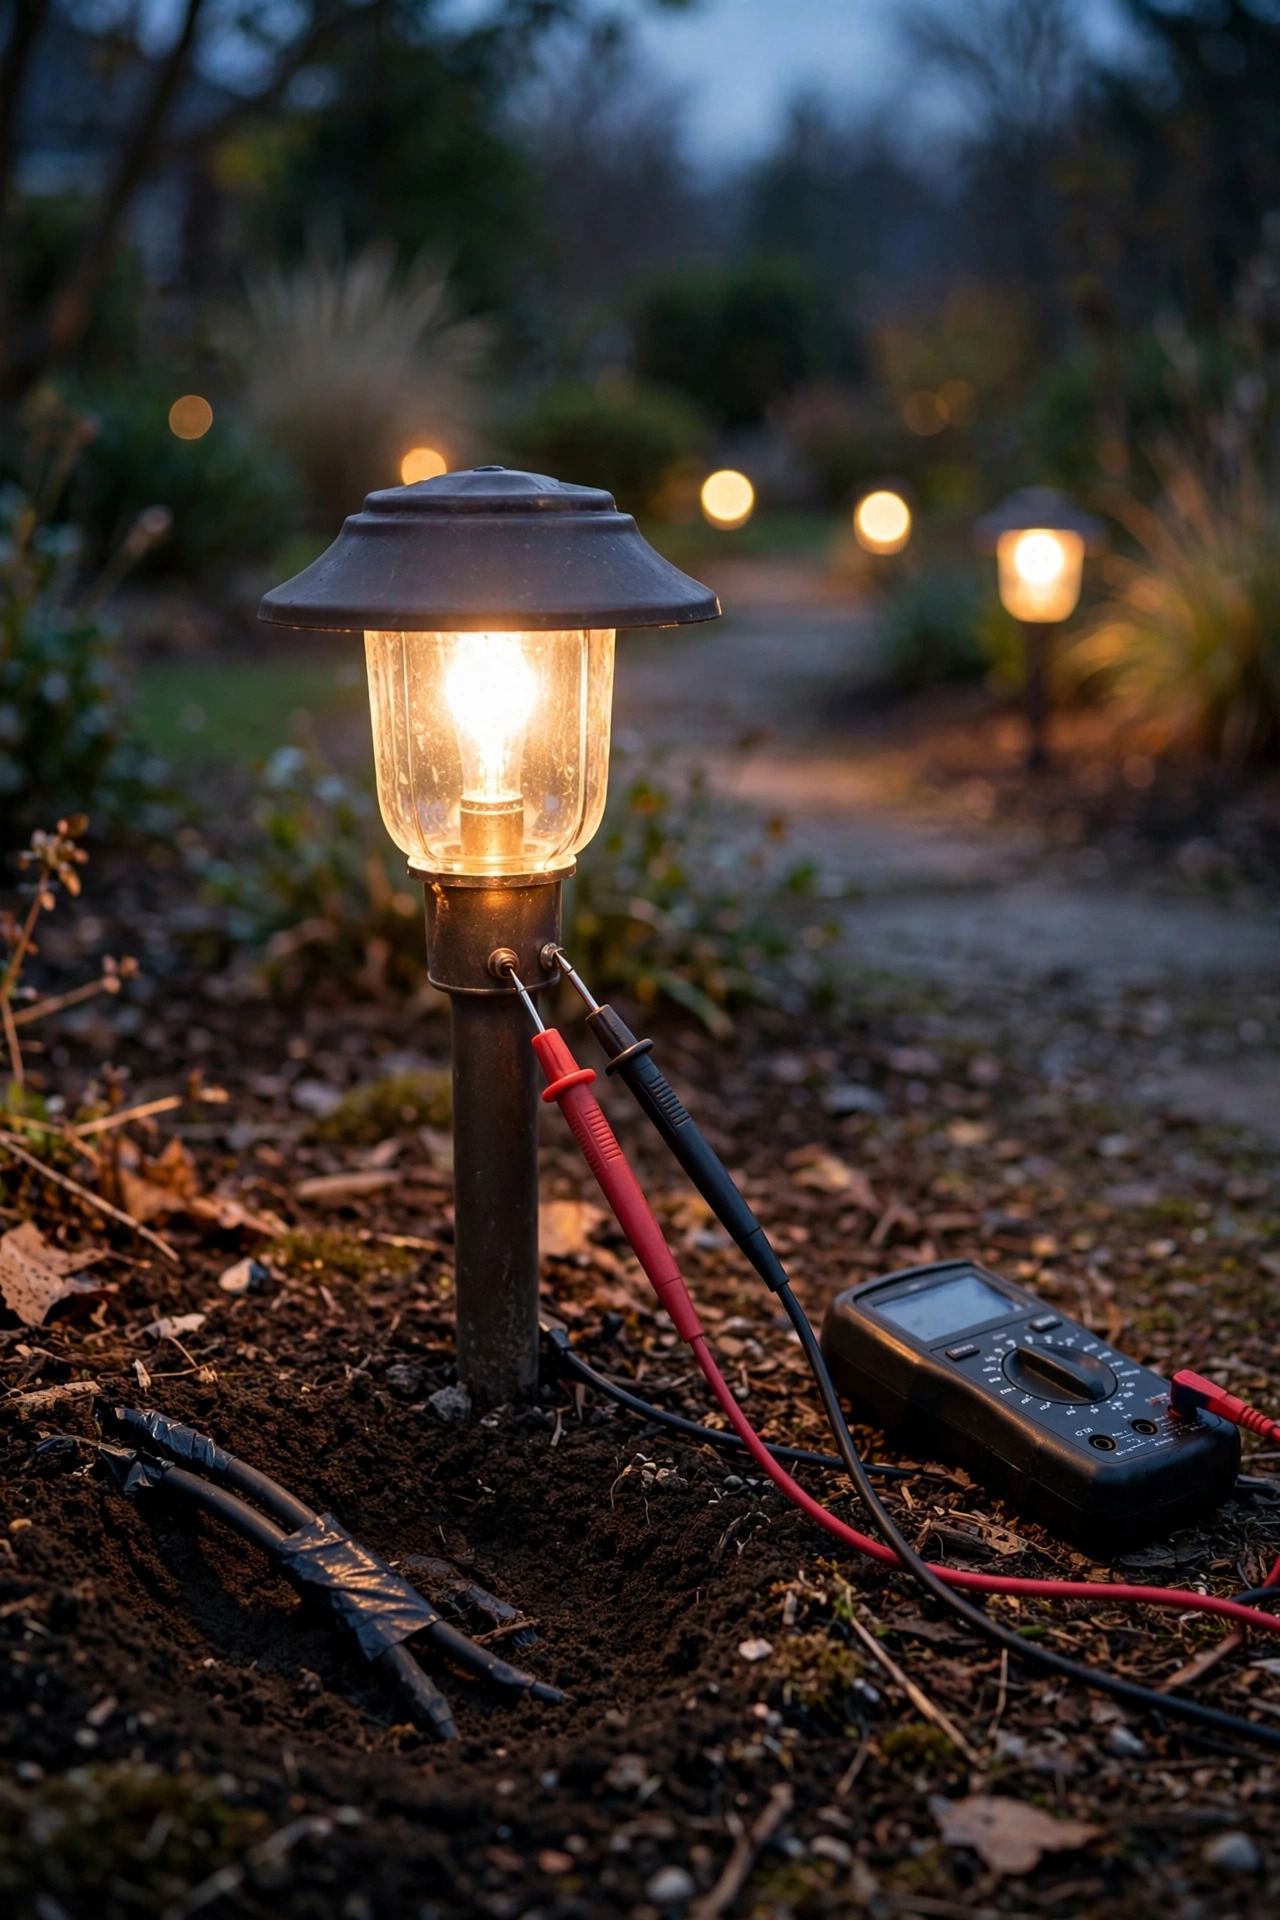
This is the step beginners skip and the step that separates a one-hour repair from a three-dig saga. With the splice still exposed, plug the transformer back in and walk the whole run. Every fixture should be lit, and just as important, the fixtures past your repair should be just as bright as the ones before it. A dim tail end means resistance at your splice — a strand or two didn't make it into the connector — and it's far better to learn that now.
If you own a multimeter, this is its moment: check the voltage at the last fixture on the run while the lights are on. Anything around 10.5 to 12 volts under load is a healthy system; much lower and you have a connection worth redoing. I explain the whole testing routine in my guide to testing landscape lighting with a multimeter, and honestly it's a skill that pays for itself every season. Finish with a gentle wiggle test — move the spliced cable slightly while watching the lights. Any flicker means a loose joint. No flicker, full brightness, solid tug test? Now, and only now, you may bury your good work. I leave the trench open until this test is done, every single time — no exceptions for weather, dinner plans, or optimism.
Bury It Better This Time: Depth, Sleeves, and Slack
The original installer — maybe past you, no judgment — probably gave that cable exactly the burial that let it get cut, so let's do better on the way back in. Low-voltage landscape cable wants a consistent 6 inches of depth: deep enough to escape edgers, aerators, and most curious digging, shallow enough that you can find it again. Six inches also happens to be the depth most manufacturers recommend for low-voltage landscape cable, so you're covered there too. I keep a full rundown of depths and methods in my guide to burying landscape lighting cable.
At the splice itself, leave a gentle S-curve of slack rather than pulling the cable drum-tight — soil shifts, frost heaves, and a taut splice is a splice under constant strain. Slide your split-loom tubing or a short PVC sleeve over the repair before backfilling anywhere the run crosses a bed edge, passes a favorite rabbit hangout, or goes under a stepping stone. Try not to park a splice in the lowest, soggiest spot of the run if you can choose; even great gel connectors prefer "damp soil" to "seasonal pond." Finally, take a phone photo of the open trench before you fill it, with a tape measure in frame if you're fancy. Future you, troubleshooting at dusk, will be so grateful.

What It Costs in 2026
Let me put real numbers on this so you can shop with confidence. Gel-filled direct-burial connectors run about $1 to $3 each, or $10 to $15 for a multi-pack that'll cover every repair you'll face for years. Heat-shrink butt splices come in packs of 20 to 40 for $10 to $18. A heavy-duty direct-burial splice kit costs $8 to $15. Replacement cable, if you need a patch length, runs roughly $0.60 to $1.00 per foot for 12/2 sold by the foot, or $55 to $95 for a 100-foot roll if you're redoing a whole run. A perfectly decent multimeter is $20 to $40, once, forever. All told, the typical single-cut repair from this guide costs $5 to $20 out the door, because most of us already own the shovel and strippers.
Compare that with calling a pro: a landscape-lighting service visit for diagnosis and one splice generally lands between $150 and $350 depending on your area, and an electrician will charge similar money for work that, at 12 volts, mostly doesn't need a license. There's no change to your running costs, either — a good splice wastes no meaningful electricity. My honest take: this is one of the highest-value DIY repairs in the yard. Spend the savings on one more path light instead.
5 Mistakes That Make a Cable Repair Fail Early
I've dug up enough failed repairs — including, ahem, two of my own early attempts — to know exactly how these jobs go wrong. Avoid these five and your splice will likely outlive the fixtures it feeds.
1. The tape-only fix. Twisting copper together and wrapping it in electrical tape is not a repair; it's a countdown. Underground moisture wins every single time, usually within one wet season.
2. Using indoor wire nuts. Standard twist-on connectors aren't sealed or rated for burial. They corrode from the inside and take the cable ends with them.
3. Patching with thinner cable. Replacing a section of 12-gauge run with 16-gauge leftovers chokes the current and leaves the far fixtures visibly dimmer.
4. Burying before testing. Skip the plug-in test and you'll be re-digging the same trench next weekend when something's loose. Ask me how I know.
5. Pulling the splice tight and shallow. A strained splice buried 2 inches down is a future repair scheduled by your edger. Slack plus 6 inches of depth, every time.
Notice a pattern? Every one of these failures is really about water or movement, and both are completely within your control on repair day. Take the extra ten minutes, spend the extra two dollars on the right connector, and in all likelihood you'll never meet your splice again — which is exactly how a good repair should end.
Keeping Shovels and Rodents Away From Your Cable
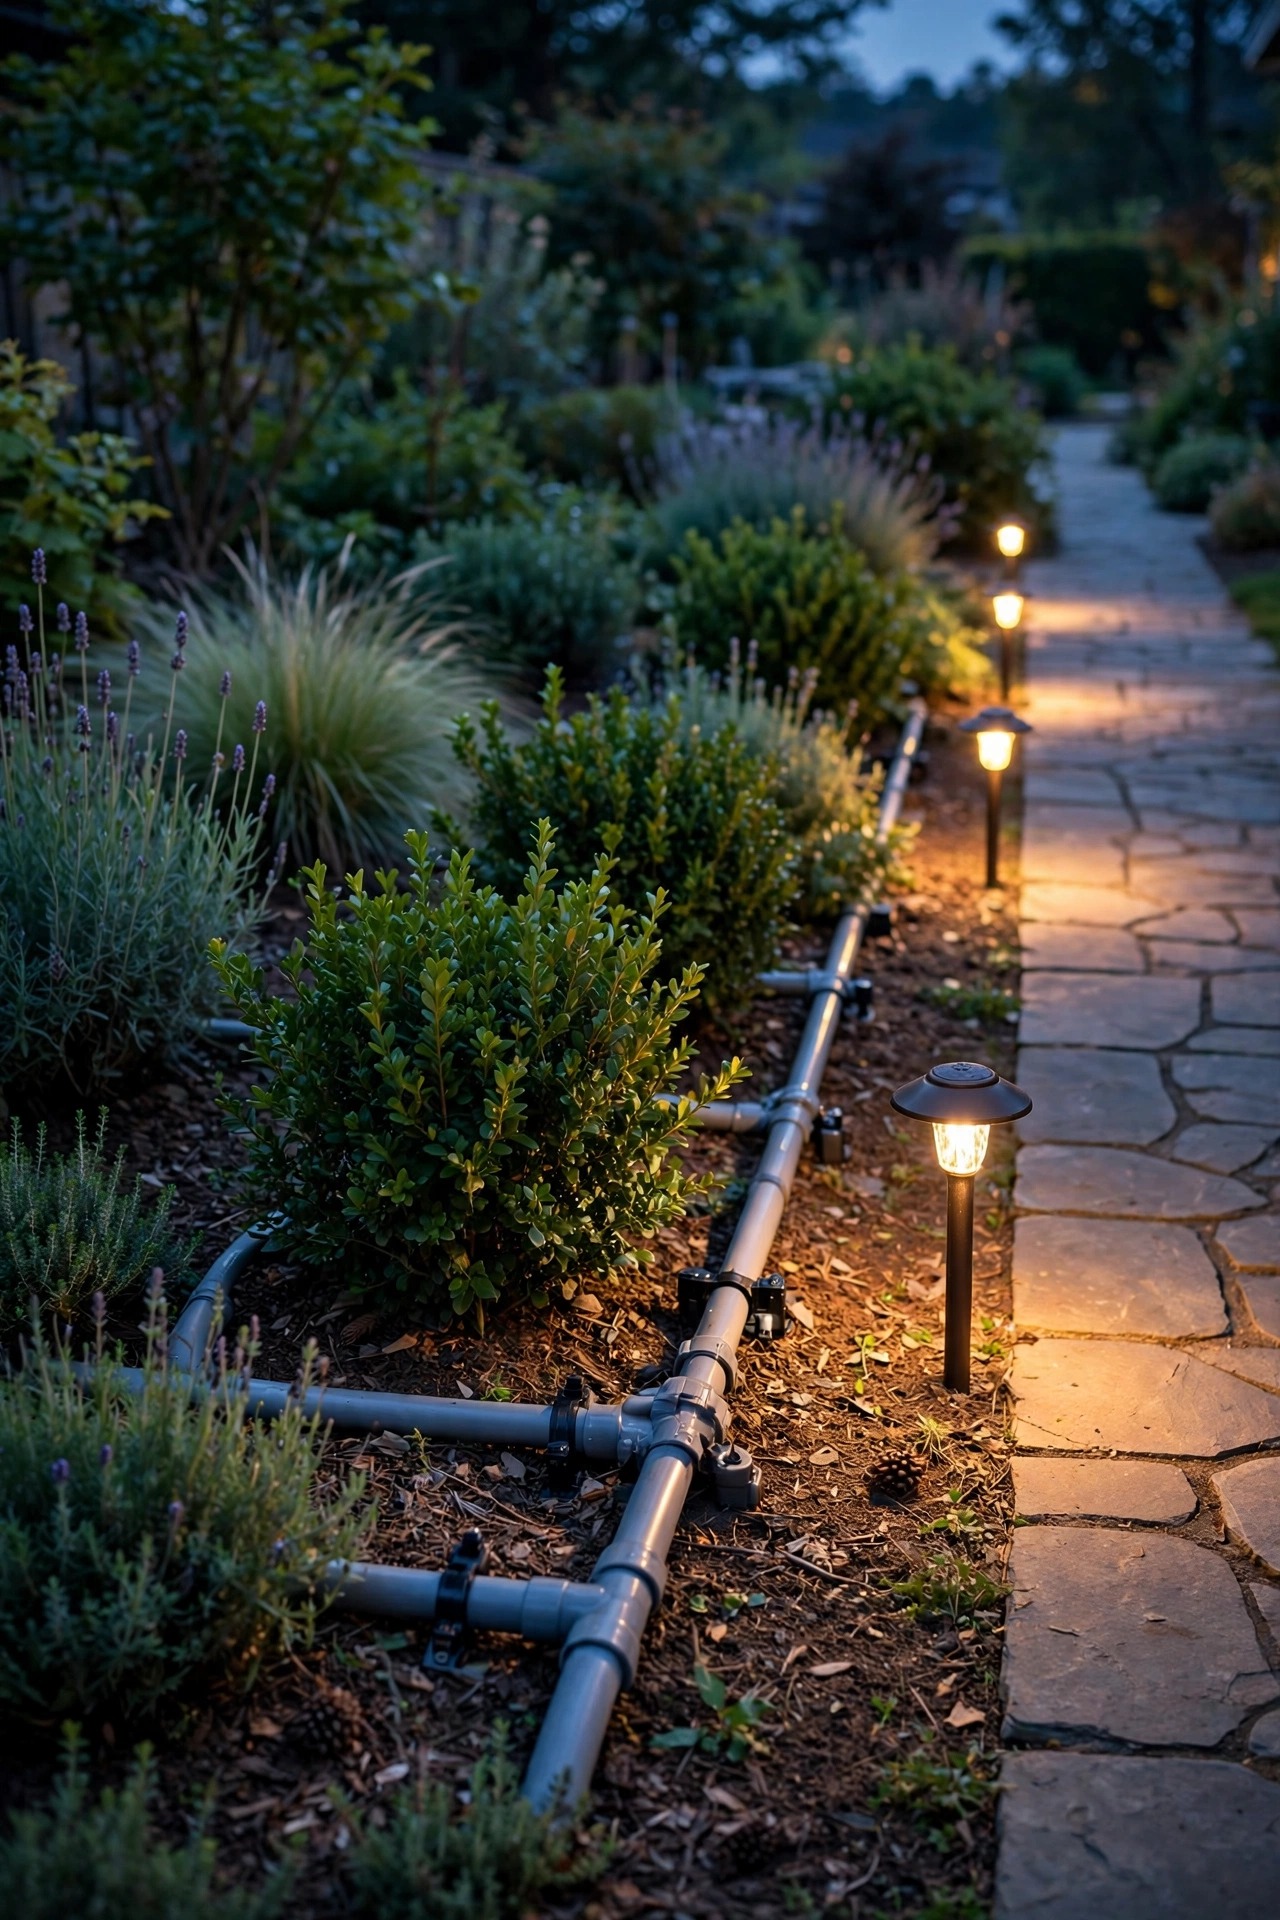
A good repair deserves a quiet life, so finish the job with a little prevention. The simplest protection is the one from the last section: full 6-inch depth everywhere, because nearly every tool that cuts cable — edgers, aerators, transplanting spades — works in the top few inches of soil. Where the run crosses a bed edge or a spot you replant every spring, thread the cable through a PVC sleeve or split-loom tubing for those few feet; it's cheap armor exactly where the danger is.
Rodents are trickier. Rabbits and squirrels chew cables that lie in or on mulch, so get every surface run buried, and in a repeat-offense spot, that conduit sleeve genuinely ends the habit — teeth lose interest in plastic pipe fast. Some gardeners swear by bitter-tasting deterrent sprays on exposed cable near transformers; my results were mixed, but burial plus sleeving has never failed me. Keep a simple map, too: that trench photo, plus a note in your phone of where splices live. And each spring, do a two-minute dusk walk — lights on, eyes open for dim sections or disturbed soil. Catching next year's chew while it's still a nibble is the whole secret to a lighting system that just works.
Frequently Asked Questions
Can I just twist the wires together and wrap them in electrical tape?
Please don't — and I say that as someone who tried it. Tape isn't waterproof, and buried joints live in damp soil for months at a time. Moisture creeps in, the copper oxidizes green, resistance climbs, and within a season the lights past that joint go dim or die entirely. A gel-filled connector costs about two dollars, takes the same five minutes, and seals the joint properly. It's the easiest upgrade in this whole guide.
How do I find a cut in a buried landscape lighting cable?
Use the lights themselves as your map: everything after the break goes dark, so the damage sits between the last working fixture and the first dark one. Walk that stretch looking for disturbed soil, edger tracks, or chew marks near shrubs and fence lines. If nothing shows, use a multimeter — check voltage fixture by fixture until it drops to zero, or test continuity along the run with the transformer unplugged. Then dig carefully, by hand, at the most likely spot.
Is it safe to repair landscape lighting cable myself?
Yes — this is one of the safest electrical jobs in the home because the garden cable carries only 12 volts. Unplug the transformer before you start, keep your hands dry, and your repair is a low-risk, low-skill project. The one exception is damage at the transformer itself or to its 120-volt power cord; that side of the system is household current and belongs to a licensed electrician, no exceptions.
Why are my lights dimmer after I repaired the cable?
Almost always, it's resistance at the new joint: a partially seated connector, a few copper strands left out, or early corrosion because the splice wasn't sealed. The other classic culprit is a patch of thinner cable than the original run, which starves the far fixtures. Dig the splice back up, inspect it in daylight, and remake it with fresh connectors — and if you patched in new cable, confirm its gauge matches what's printed on the original jacket.
Conclusion
A chewed or sliced cable feels like a catastrophe at dusk, but it's really a ten-dollar problem wearing a scary costume. Find the break by reading your lights, trim back to bright copper, make one clean waterproof splice, test it under power, and bury it deeper and smarter than it was before. Do that, and you'll repair cut landscape lighting cable with total confidence every time it happens — and get back to spending your evenings enjoying the glow instead of troubleshooting it. If your system has a few more battle scars waiting, browse my other landscape lighting guides here on the site for deeper help with splicing, burying, and testing. Your garden deserves its evenings back.