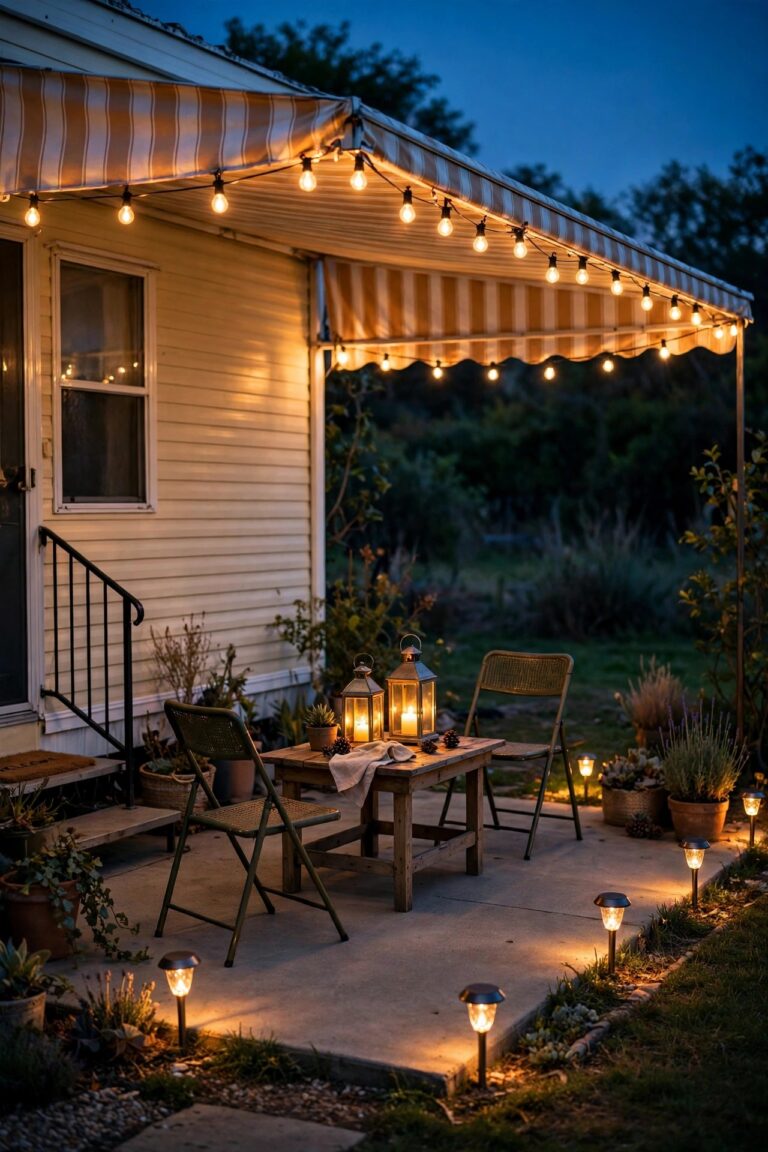
There is a kind of disappointment in walking outside at dusk and finding the whole yard dark. The path lights that glowed so faithfully last summer are just sitting there, silent. If you are hunting for answers about solar lights not working, here is the good news first: in my experience, a dark solar light is rarely a dead solar light. These little fixtures only have a few parts — a panel, a rechargeable battery, a light sensor, and an LED — and the failure almost always hides in the cheapest, simplest one. I have revived lights that sat dark for months with nothing more than a damp cloth and a fresh battery. This list follows the order I troubleshoot in my own garden: free two-minute checks first, then the fixes that cost a few dollars. Work through all eleven in order, test after each one, and most of your lights should be glowing again tonight. For the stubborn few, the last fix helps you decide when a light has earned its retirement.

1. Check the Switch First When You Find Solar Lights Not Working
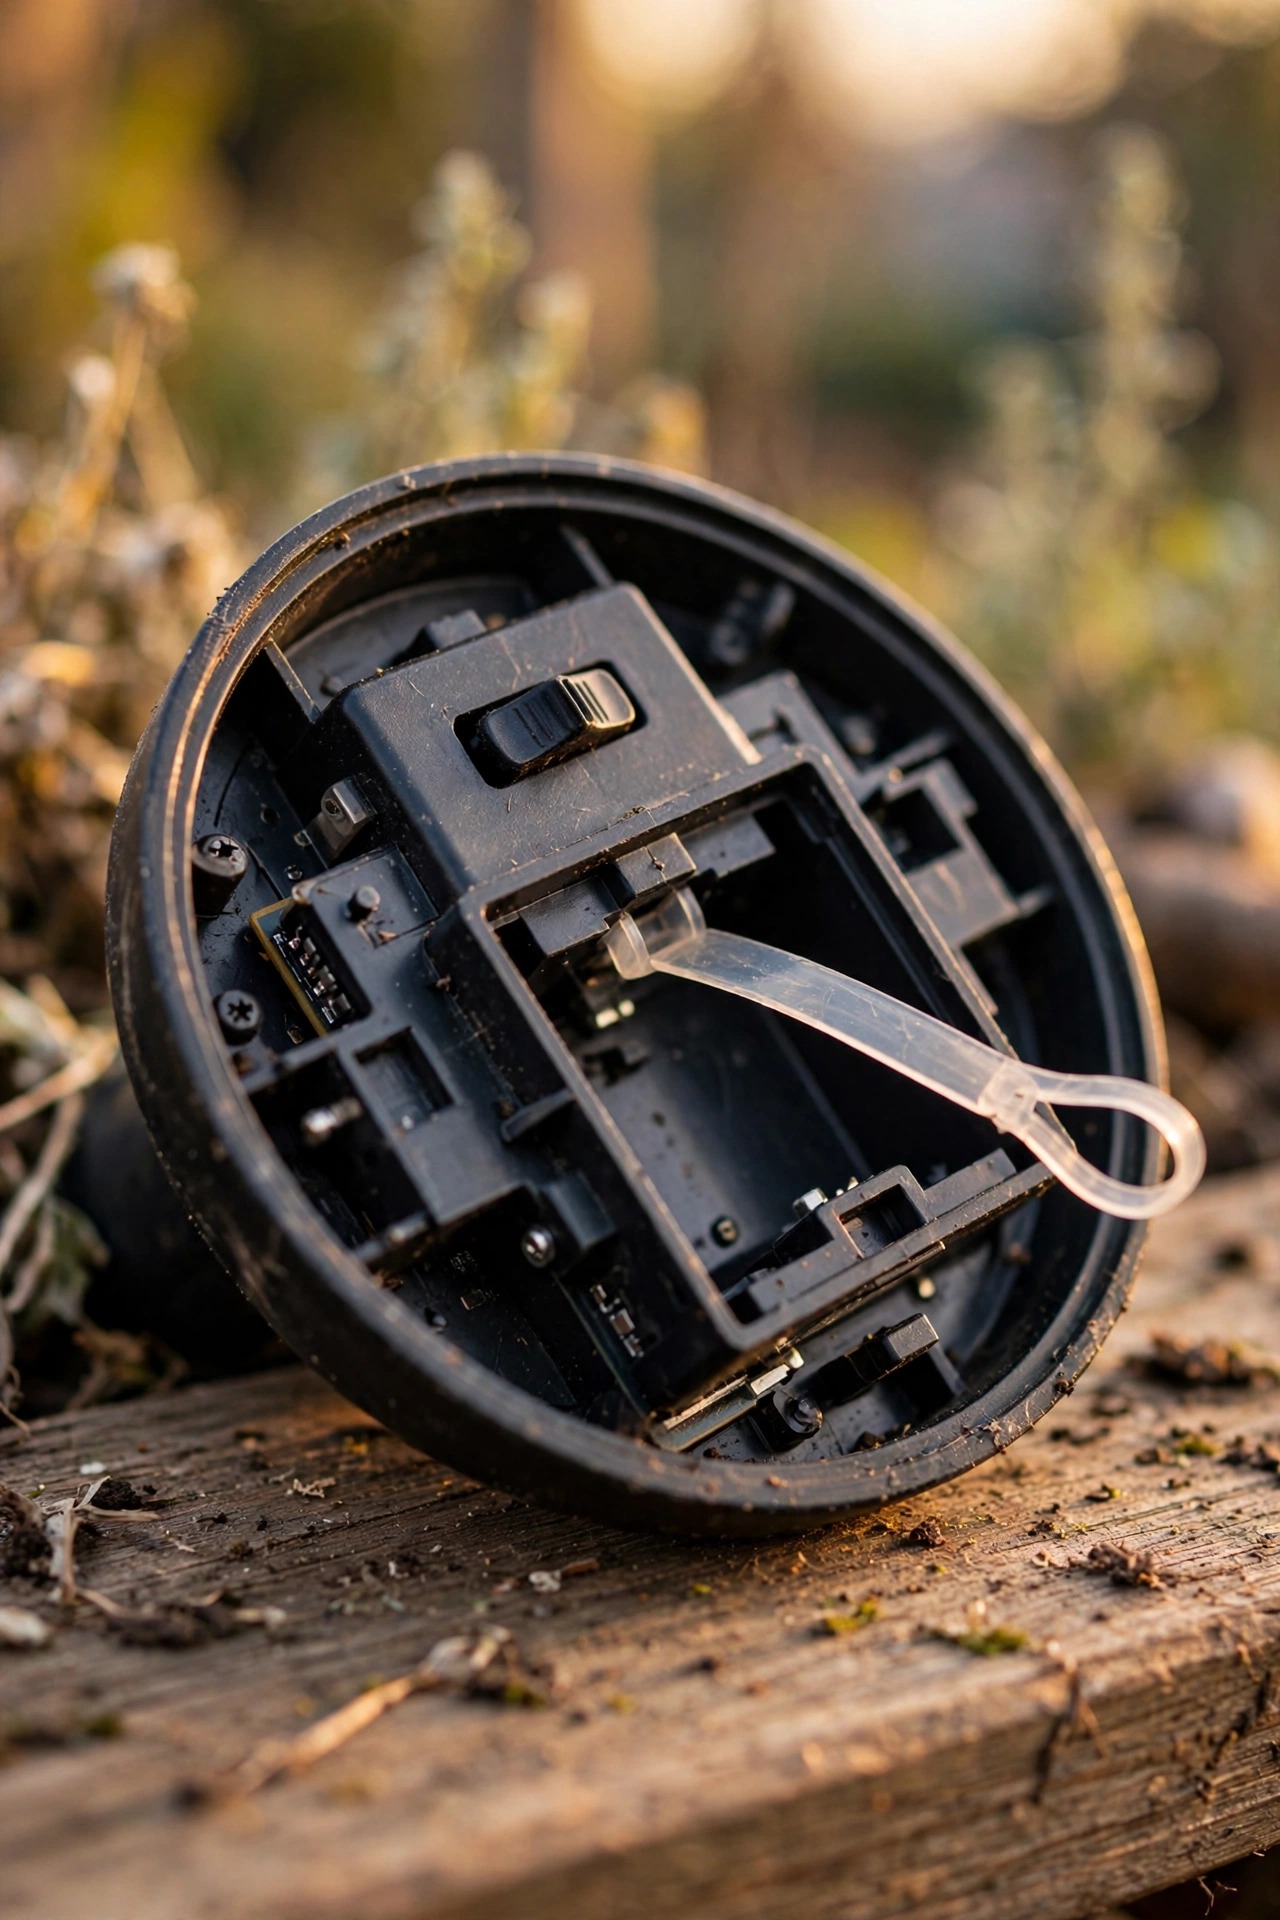
Before you spend a single dollar, find the switch. Most solar lights hide a small slider or button under the cap or on the underside of the top, and a surprising number arrive from the store with the switch off or with a thin plastic pull tab still wedged between the battery and its contact. If you popped your lights into the ground in a hurry last spring, that tab may still be half in place, quietly blocking the charge. Switches also drift. A bump from the mower, a curious dog, or a season of weather can nudge a slider into a halfway position, and a half-set switch behaves exactly like a dead light. Slide it firmly off, then on, a couple of times to wipe the contacts clean, and leave it on. If your light has a mode button that cycles through steady, flashing, and off, press through the modes slowly — it may simply be parked on off. Quick test before you move on: cup your hand tightly over the panel in daylight. If the LED flickers to life, the switch and battery are fine, and your real problem is charging. That narrows the search a lot.
Suggested budget range: $0 – $5.
2. Clean the Solar Panel Until It Shines
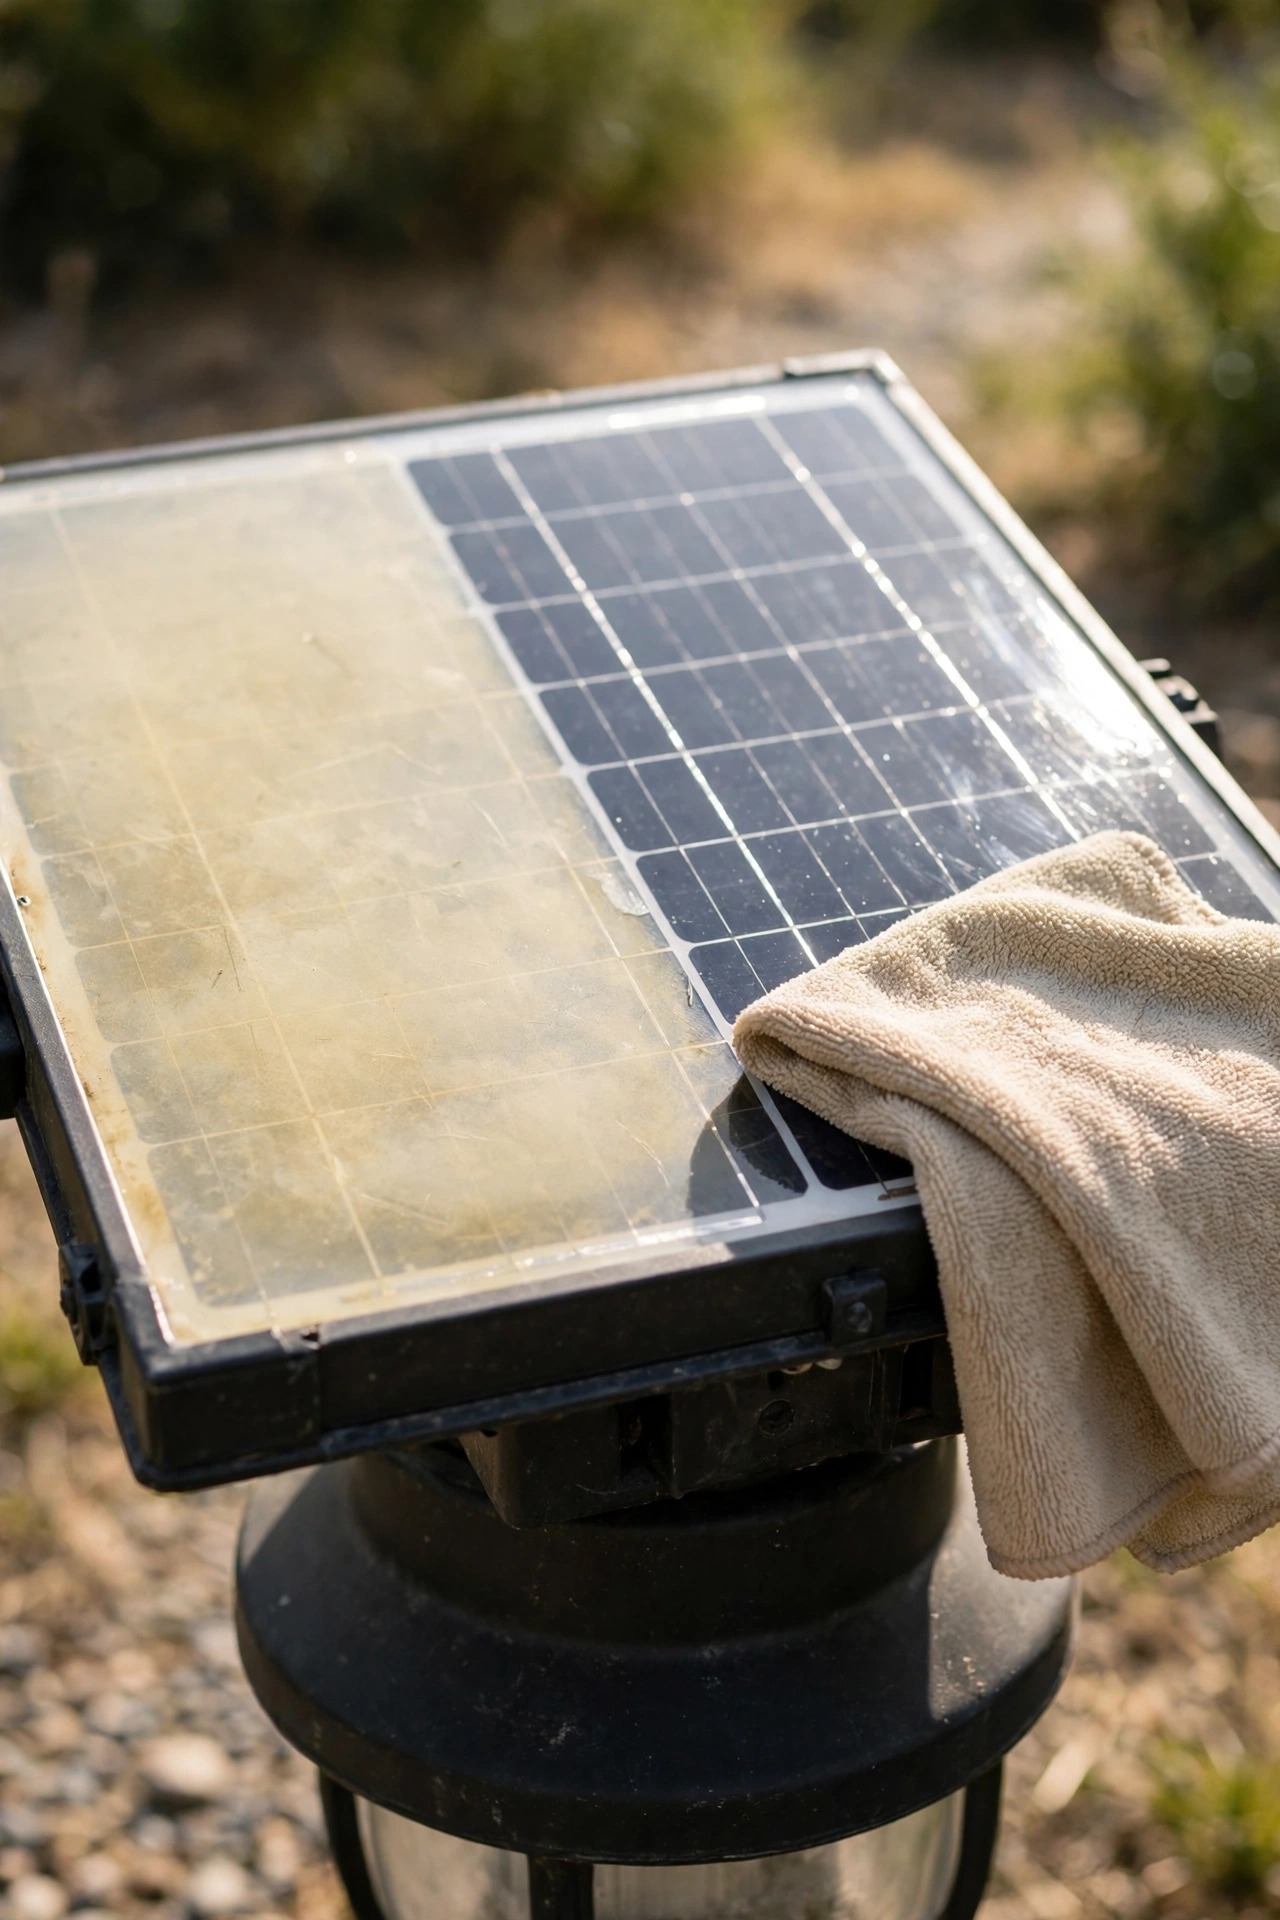
A solar panel cannot drink sunlight through a dirty window. Over a season or two, the panel collects a film of pollen, dust, water spots from the sprinklers, and sticky tree residue, and that film can cut the charge your battery receives dramatically. The cruel part is that the light still works — it just charges so little during the day that it fades by nine in the evening, then gives up a little earlier each night until one day it does not come on at all. The fix takes two minutes. Wipe the panel with a soft damp cloth; for stubborn sap or greasy spots, add one drop of mild dish soap and rinse with a second clean cloth. Never use an abrasive scrub pad or powdered cleaner — scratches in the panel coating scatter light and make the problem permanently worse. While you are there, wipe the clear cover over the LED too. I clean every panel in my yard twice a year, once when the lights go out in spring and once in midsummer, and it is honestly the highest-value habit on this whole list.
Suggested budget range: $0 – $8.

3. Move the Light Into Honest Sunlight
Shade creeps. The shrub that was knee-high when you placed your lights is now a wide green umbrella, the tree canopy has filled in overhead, and the sun itself rides a lower path across the sky than it did in June. A spot that honestly earned seven hours of sun in May can be down to three by September, and most solar lights need six to eight hours of direct sun to charge fully. Before blaming the light, audit its spot like a skeptic. Check on the panel at mid-morning, noon, and mid-afternoon on a clear day. If it sits in shadow at two of those three checks, the light is not broken — it is starving. The fixes are free and simple: move the stake a few feet toward open sky, shift it to the sunny side of the bed, or trim back the branch or shrub doing the shading. If the perfect spot for light at night is hopeless for sun by day, move that one fixture and let a different light cover the dark corner. Placement solves more failures than parts ever will.
Suggested budget range: $0 – $10.

4. Replace the Rechargeable Battery
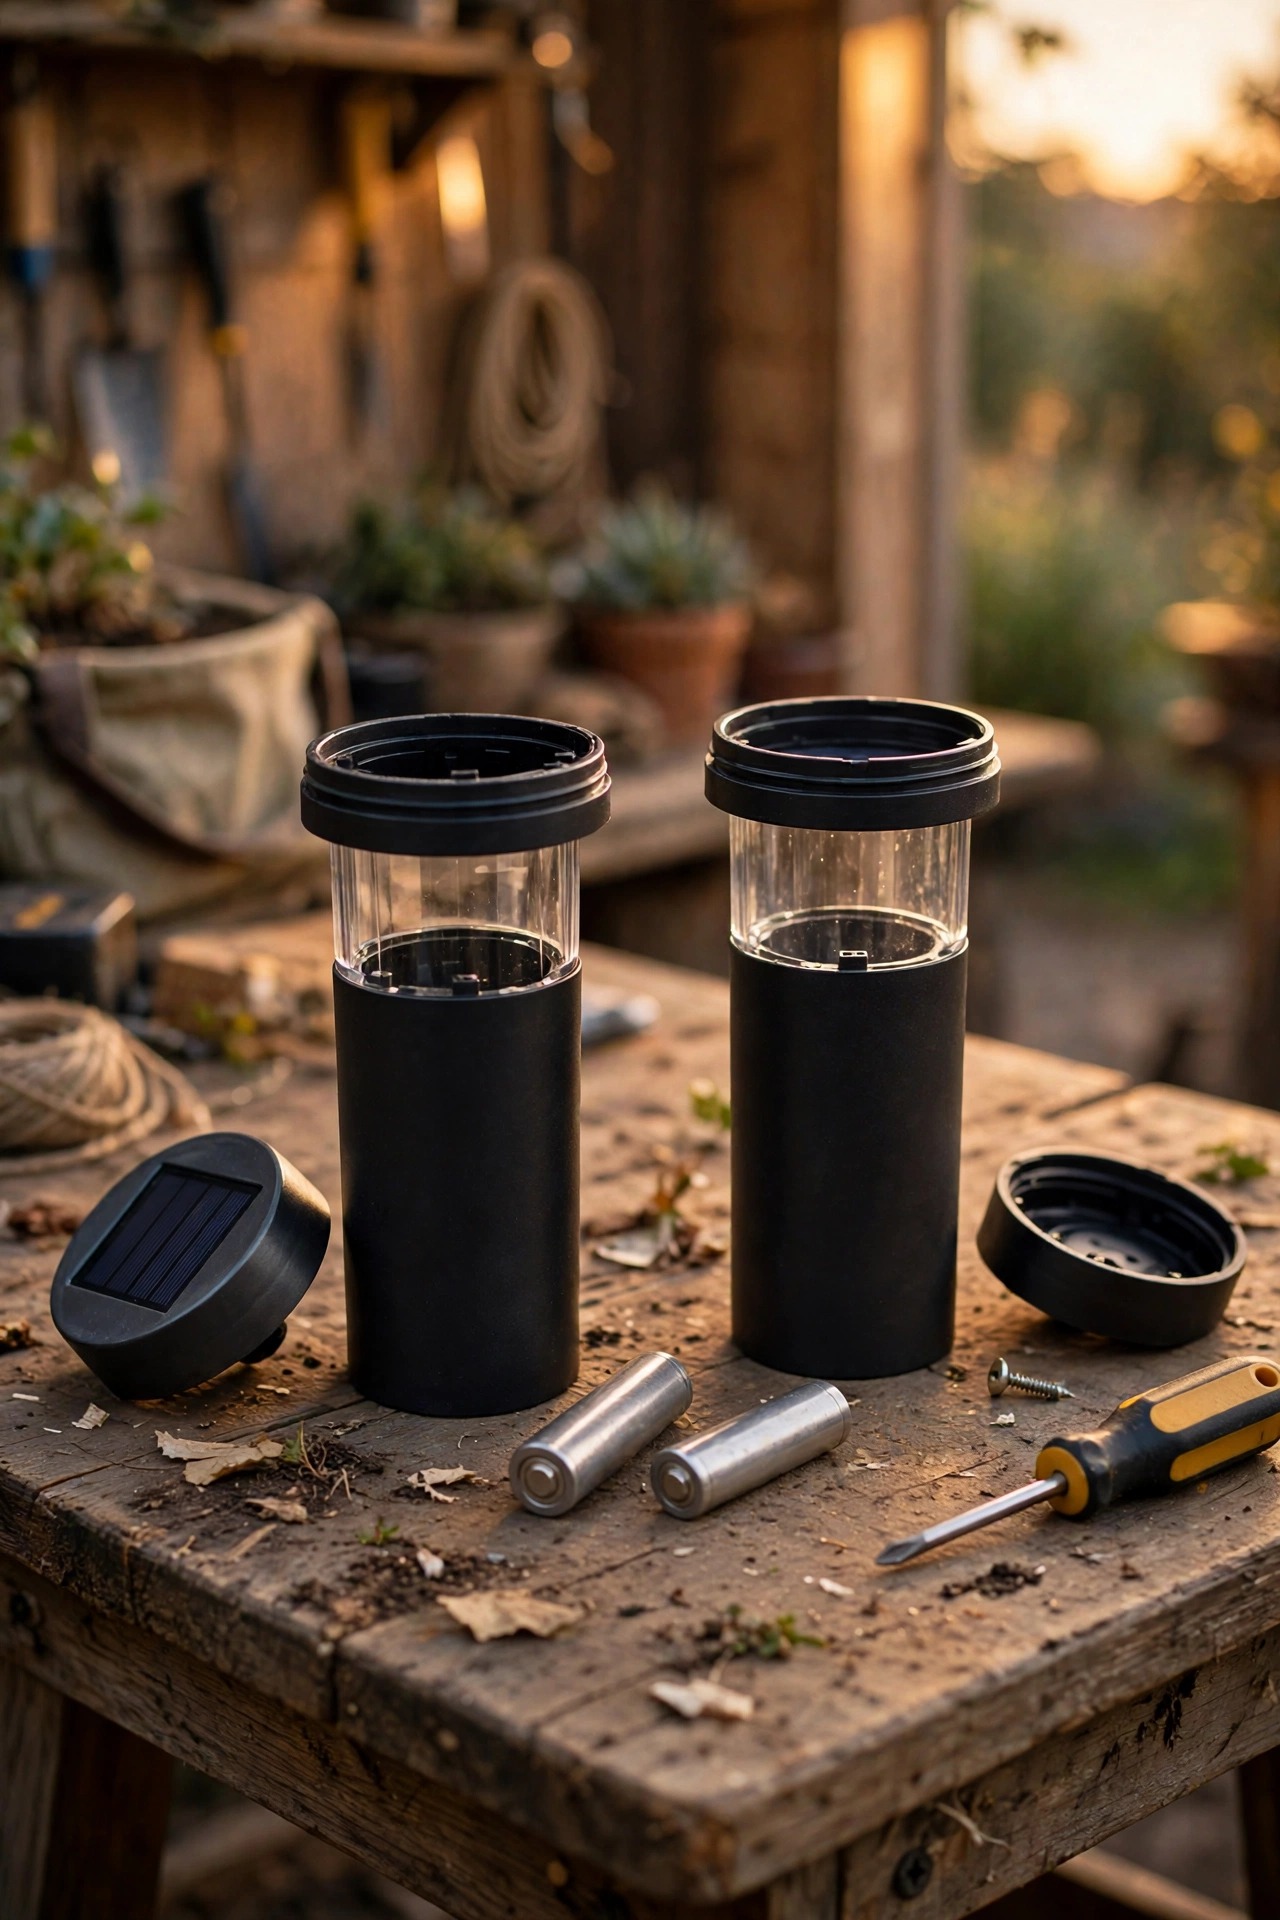
If a light is more than a year or two old and charges in good sun, the battery is my prime suspect. Nearly every solar light runs on a small rechargeable cell, usually AA or AAA size, and those cells quietly lose capacity with every season of daily charging. The classic symptom is a light that still wakes up at dusk like a trooper but dies an hour or two later — it is not broken, it is just running on a fraction of its original fuel tank. Pop the cap, note the size and type printed on the old cell, and replace it with the same size rechargeable with a similar capacity rating. Never substitute a regular alkaline battery: it is not built to be recharged, the light will try to charge it anyway, and it can leak and ruin the fixture. I walk through sizes, types, and the swap itself in my guide to replacing solar light batteries. Give the new battery one full sunny day of charging before you judge the result.
Suggested budget range: $5 – $15.

5. Dry Out a Light That Took On Water
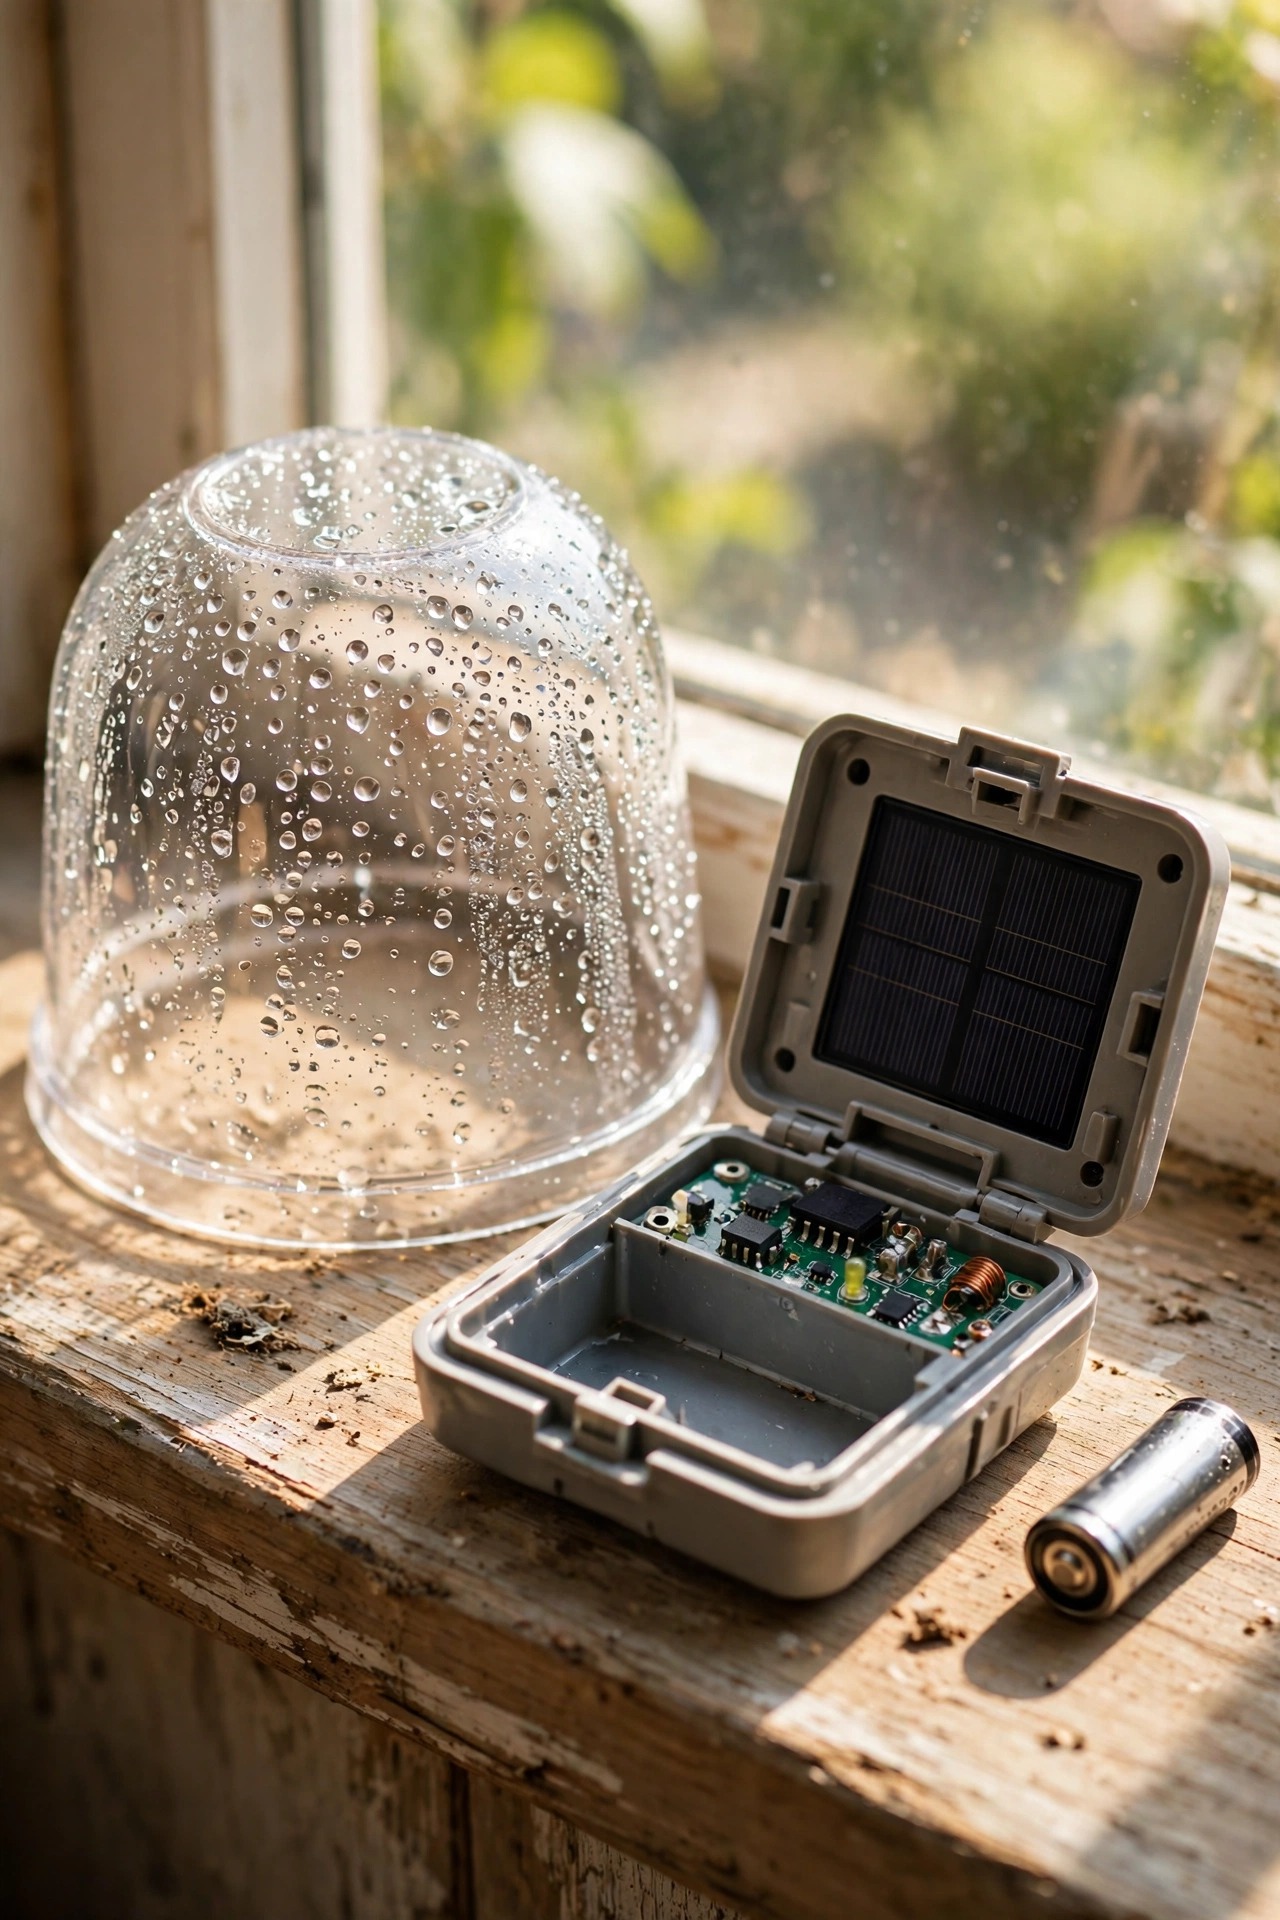
Water gets into everything eventually. If you can see condensation beading inside the lens, a fogged cover, or droplets sitting on the little circuit board, moisture is likely shorting things out or corroding the connections — and a damp light can fail even with a perfect panel and a fresh battery. Bring the light indoors, open the cap, and take the battery out. Let everything air-dry in a warm, dry spot for a full day or two; a sunny windowsill works, and patience matters more than heat, so skip the hair dryer on its hottest setting. Once the fixture is bone dry, check the rubber gasket around the cap and press it back into its groove. A thin bead of clear outdoor silicone along a cracked or loose seam keeps the next storm outside where it belongs. Reassemble, recharge for a day in full sun, and test at dusk. If the same light floods again after the next rain, the housing itself has warped — note it and read fix eleven before spending more on it.
Suggested budget range: $0 – $10.
6. Scrub the Battery Contacts Clean
Sometimes the battery is healthy, the panel is clean, and the power simply cannot get where it needs to go. Open the battery compartment and look closely at the metal contacts. A white, green, or rusty crust on those little tabs is corrosion, and it acts like a closed door between the battery and the light. The cure is already in your desk drawer. Rub each contact firmly with a pencil eraser until the metal shines again, or use a cotton swab barely dampened with white vinegar for heavier buildup, then wipe everything dry. While the battery is out, gently pry the springy contact tabs up just a touch so they press firmly against the battery ends — loose contact causes flickering and lights that quit when the wind rocks them. A tiny dab of petroleum jelly smeared on the clean contacts slows the crust from coming back. Seat the battery, close the cap, and run the hand-over-panel test. This fix costs nothing, takes five minutes, and rescues lights that their owners had already written off as electronic failures.
Suggested budget range: $0 – $6.

7. Check Whether Another Light Is Fooling the Sensor
Here is the sneakiest failure on this list: the light is fine, fully charged, and switched on — but it refuses to glow because it does not believe it is nighttime. Solar lights wake up when a sensor in or near the panel decides the world has gone dark. A bright porch light, a new streetlight across the road, or a neighbor floodlight aimed your way can bathe that sensor in enough glow to keep the light off all night, every night, while it charges beautifully by day. Test it tonight: once darkness falls, cover the panel completely with your hand or a strip of dark tape. If the light blinks on, you have found your culprit — nothing is broken at all. The remedy is placement, not parts. Move the light a few feet out of the other beam, shift it behind a shrub that shadows the sensor but not the daytime sun, or reconsider the porch bulb that is spraying light across the whole bed. I had a pair by my front steps quit the week our streetlight was upgraded, and moving them four feet fixed both.
Suggested budget range: $0 – $5.

8. Give It the Two-Day Charge Reset
A deeply drained battery can get stuck in a rut it cannot climb out of during normal use. After a long cloudy stretch, a winter in the garage, or weeks sitting in a shady spot, the battery voltage sinks so low that one ordinary day of charging barely registers — then the light tries to run all night on that sip of power and falls even further behind. Break the cycle with a proper reset. Switch the light off, so it can spend the day charging without spending anything after dark. Set it in the sunniest spot you have, panel tilted toward the sky, and leave it alone for two full sunny days. Then switch it on and let it greet the dusk. This same patience applies to brand-new lights, which often arrive with a sleepy, half-charged battery from the warehouse shelf — judge any new or revived light only after this reset, not on its first night. In my experience this free fix resurrects more supposedly dead lights than any other step here, especially every spring when the stored lights come back out.
Suggested budget range: $0 – $5.

9. Polish a Panel That Has Gone Cloudy
Look at your oldest lights on a bright day. If the panel has turned milky, yellowed, or dull — like headlights on an older car — ultraviolet light has been slowly cooking the clear coating, and far less energy reaches the cell underneath. The light charges in full sun, the battery is decent, and still the runtime shrinks to an hour because the panel itself is only sipping light through a fogged window. Mild cases respond beautifully to polishing. Use a dab of fine plastic polish — the kind sold for restoring plastic lenses — on a soft cloth, rub in small circles for a minute or two, and buff clear. Avoid harsh solvents and anything gritty, which cloud the surface further. Be honest about the result: if the panel is cracked, peeling, or stays cloudy after polishing, that fixture becomes your parts donor for switches, stakes, and caps. Lights with separate replaceable panels exist, but for most stake lights a cloudy panel is the beginning of the end, and the polishing attempt is what tells you which way it will go.
Suggested budget range: $5 – $14.
10. Swap Parts Between Lights to Find the Real Culprit
When you own several matching lights and only one has quit, you hold a free diagnostic lab. Parts swapping tells you in five minutes which component failed, so you stop buying batteries for a light with a dead board. Start with the battery: move the cell from a working light into the dark one, and the tired battery into the good light. If the dark light wakes up, its battery was the whole story. If it stays dark, try swapping the entire top — panel, board, and all — between the two stakes. A light that wakes with a borrowed top but not a borrowed battery has a panel or electronics problem, while a light that stays dark under every combination has likely lost its LED or its wiring. Write down what you learn, because it directs your dollars: batteries are cheap, panels and boards usually mean replacement. One more clue while you are testing — a revived light that glows but feebly is telling you the panel or battery is aging rather than dead, and my tips for making solar lights brighter squeeze more glow out of exactly that situation.
Suggested budget range: $0 – $12.
11. Accept When Solar Lights Not Working Means the Light Is Done
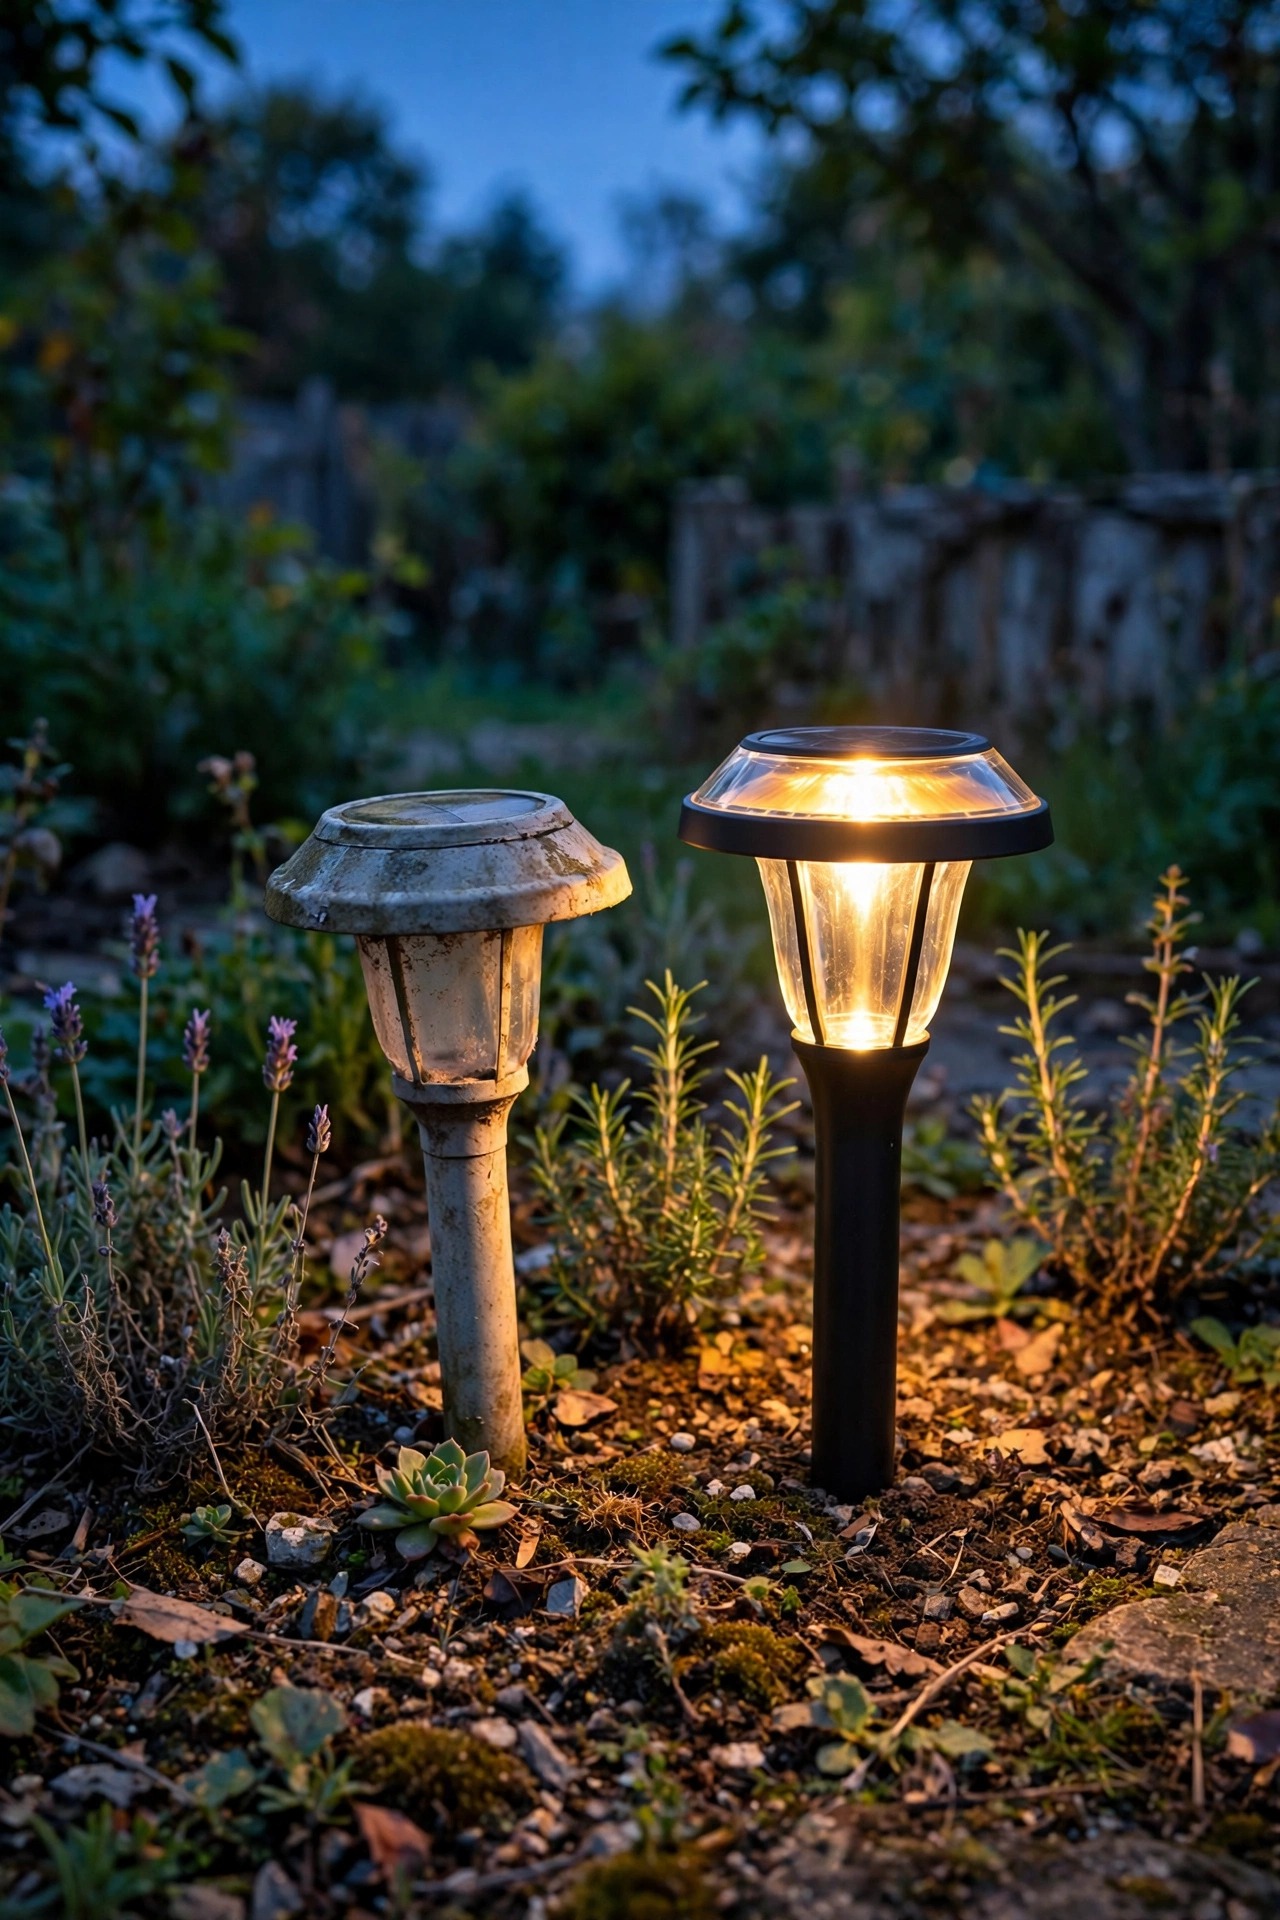
Every fix above assumes the bones of the light are still sound, and sometimes they honestly are not. Call it done when you see these signs together: the panel is cracked or cloudy past polishing, corrosion has spread from the contacts across the little circuit board, or the light stays dark after a known-good battery, a full two-day charge, and clean contacts. Brittle, crumbling plastic is the other verdict — a housing that cannot keep weather out will eat every new battery you feed it. Before the light goes, pull the rechargeable battery out for proper recycling rather than the trash, and keep the stake, cap, and any clean spare parts for your other lights. Then replace it without guilt: a fresh light costs less than another round of parts and guesswork, and my deeper solar light repair walkthrough covers the teardown-level checks if you want one last opinion. Spend your repair energy where the odds are good — that is the real secret to a yard that glows every single night.
Suggested budget range: $8 – $35.
Frequently Asked Questions
Why do my solar lights come on some nights and not others?
That on-again, off-again pattern usually means the battery is ending each day right at the edge of a usable charge. One cloudy afternoon, a slightly dirtier panel, or a sensor catching a neighbor porch light is enough to tip it over. Clean the panel, confirm the spot gets a full day of sun, and if the pattern continues, replace the battery — borderline cells are the classic cause.
Can I use regular AA batteries in solar lights?
Please do not. Solar lights are built around rechargeable cells, and the fixture will spend all day trying to recharge whatever you install. A regular alkaline battery is not designed for that, so it can leak, swell, or quit within days — and its voltage behaves differently enough to give weak, odd results. Always match the size and rechargeable type printed on the original cell.
Why did all of my solar lights stop working at the same time?
A whole set going dark together points to a shared cause, not eleven separate failures. The usual suspects are seasonal: shorter days and a lower sun starving every panel at once, new shade from fast-growing plants, or a new bright light source nearby fooling every sensor on the row. And if you bought the set on the same day, the batteries have aged in lockstep — fixing one often predicts fixing them all.
How many hours should a healthy solar light stay on at night?
With a full charge and a healthy battery, expect roughly six to eight hours in summer, and noticeably less in winter when charging days are short and cold. Runtime that shrinks a little more each month is your earliest warning that the battery is wearing out, well before the light gives up entirely.
Conclusion
Solar lights not working is almost never the mystery it feels like at dusk. Work the list in order — switch, panel, sun, battery, water, contacts, sensor, reset, polish, swap — and you will find the culprit almost every time, usually for free or for the price of one small battery. Save replacement for the lights that have truly earned it, and your paths will be glowing again by tonight. Browse the rest of my outdoor lighting ideas here whenever you are ready to add a few new favorites to the yard.