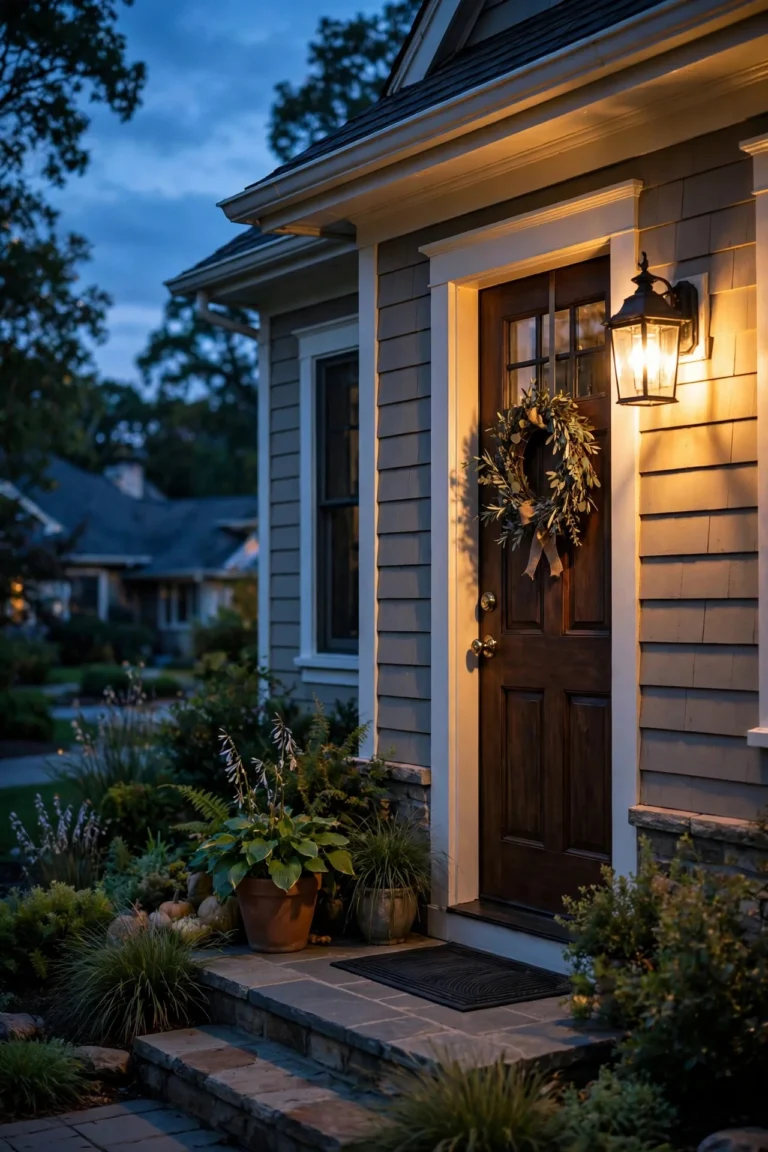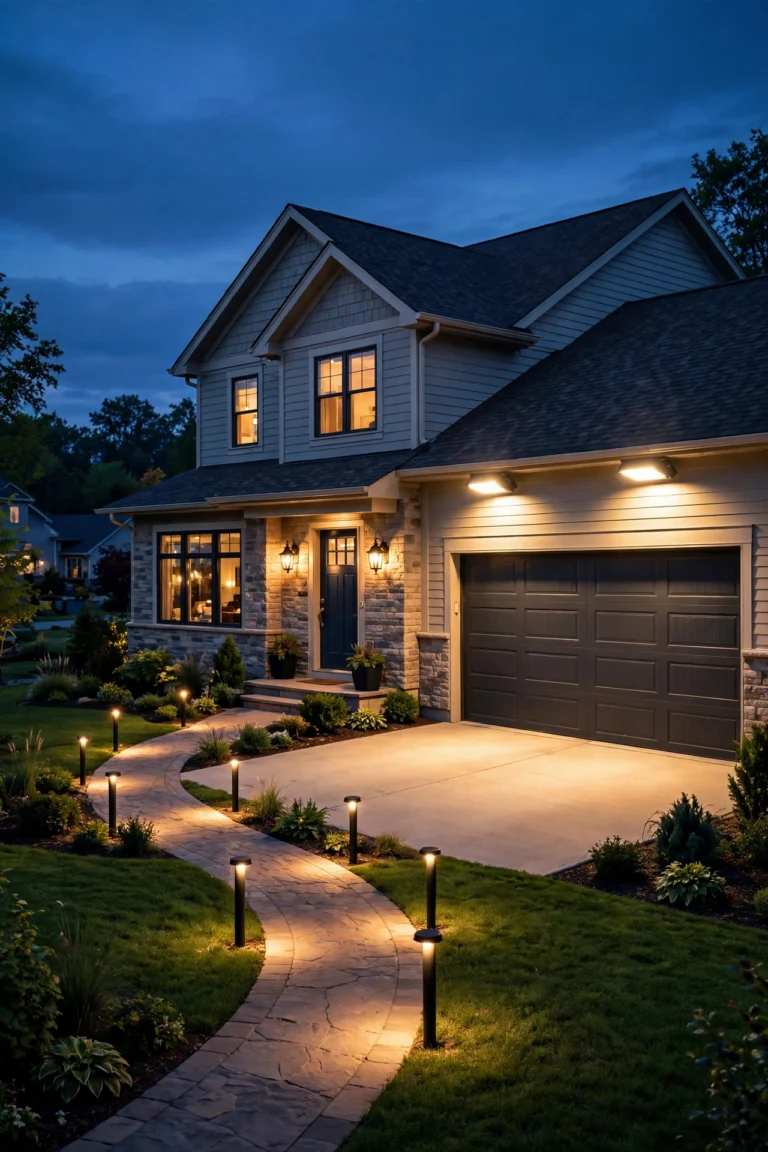
For most of us, the garage door is the single biggest surface on the front of the house — and after dark, it's usually the darkest, too. I was guilty of this for years: one sad little bulb beside the door while my porch got all the attention. Thoughtful garage door lighting ideas changed everything for me. The secret is the same layering philosophy I use everywhere outdoors: one layer to frame the door itself, one to wash the facade around it, and one gentle layer to lead the eye in from the street. When those three layers work together in warm white light, the garage stops looking like a blank wall and starts looking like architecture. In this post I'm sharing 17 ways to frame your garage door beautifully — from classic carriage lanterns to smart dusk-to-dawn setups — with real sizing, spacing, and budget guidance for each one, whether your garage is a single bay or a three-car showpiece.
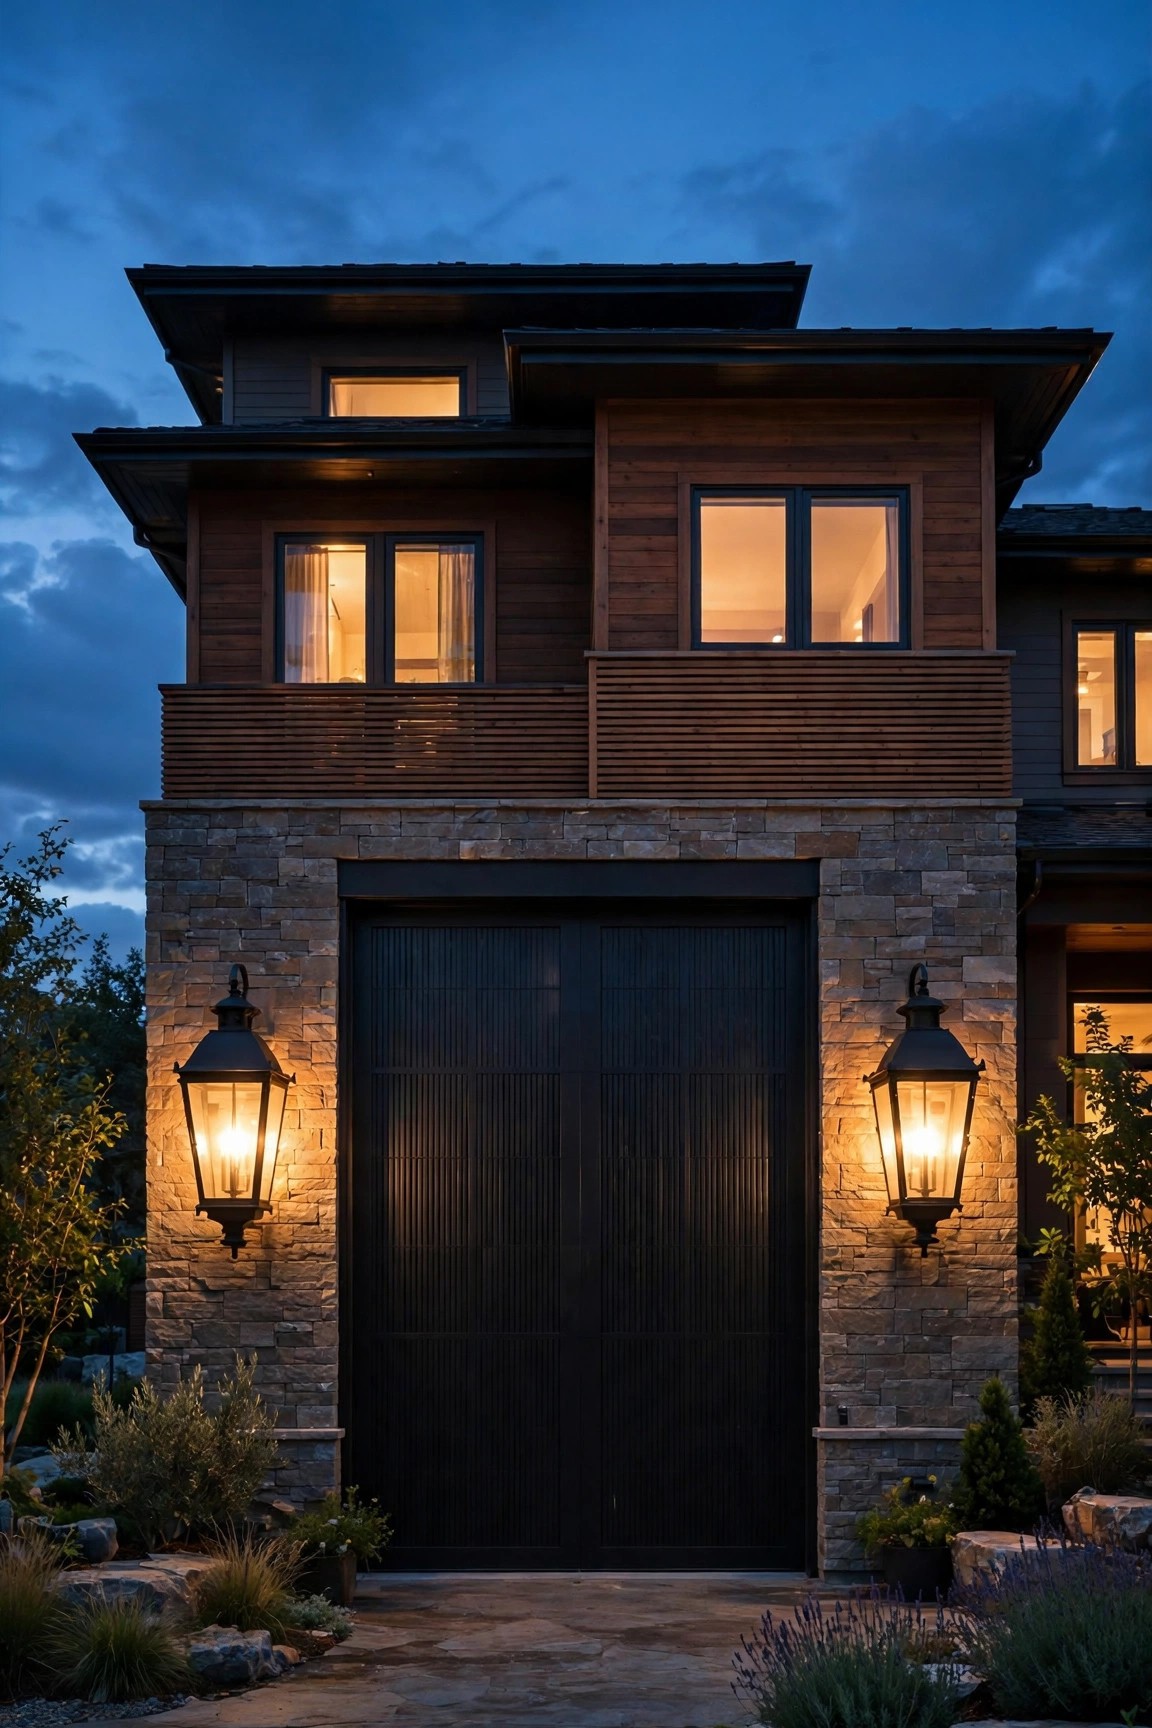
1. Classic Carriage Lanterns on Either Side
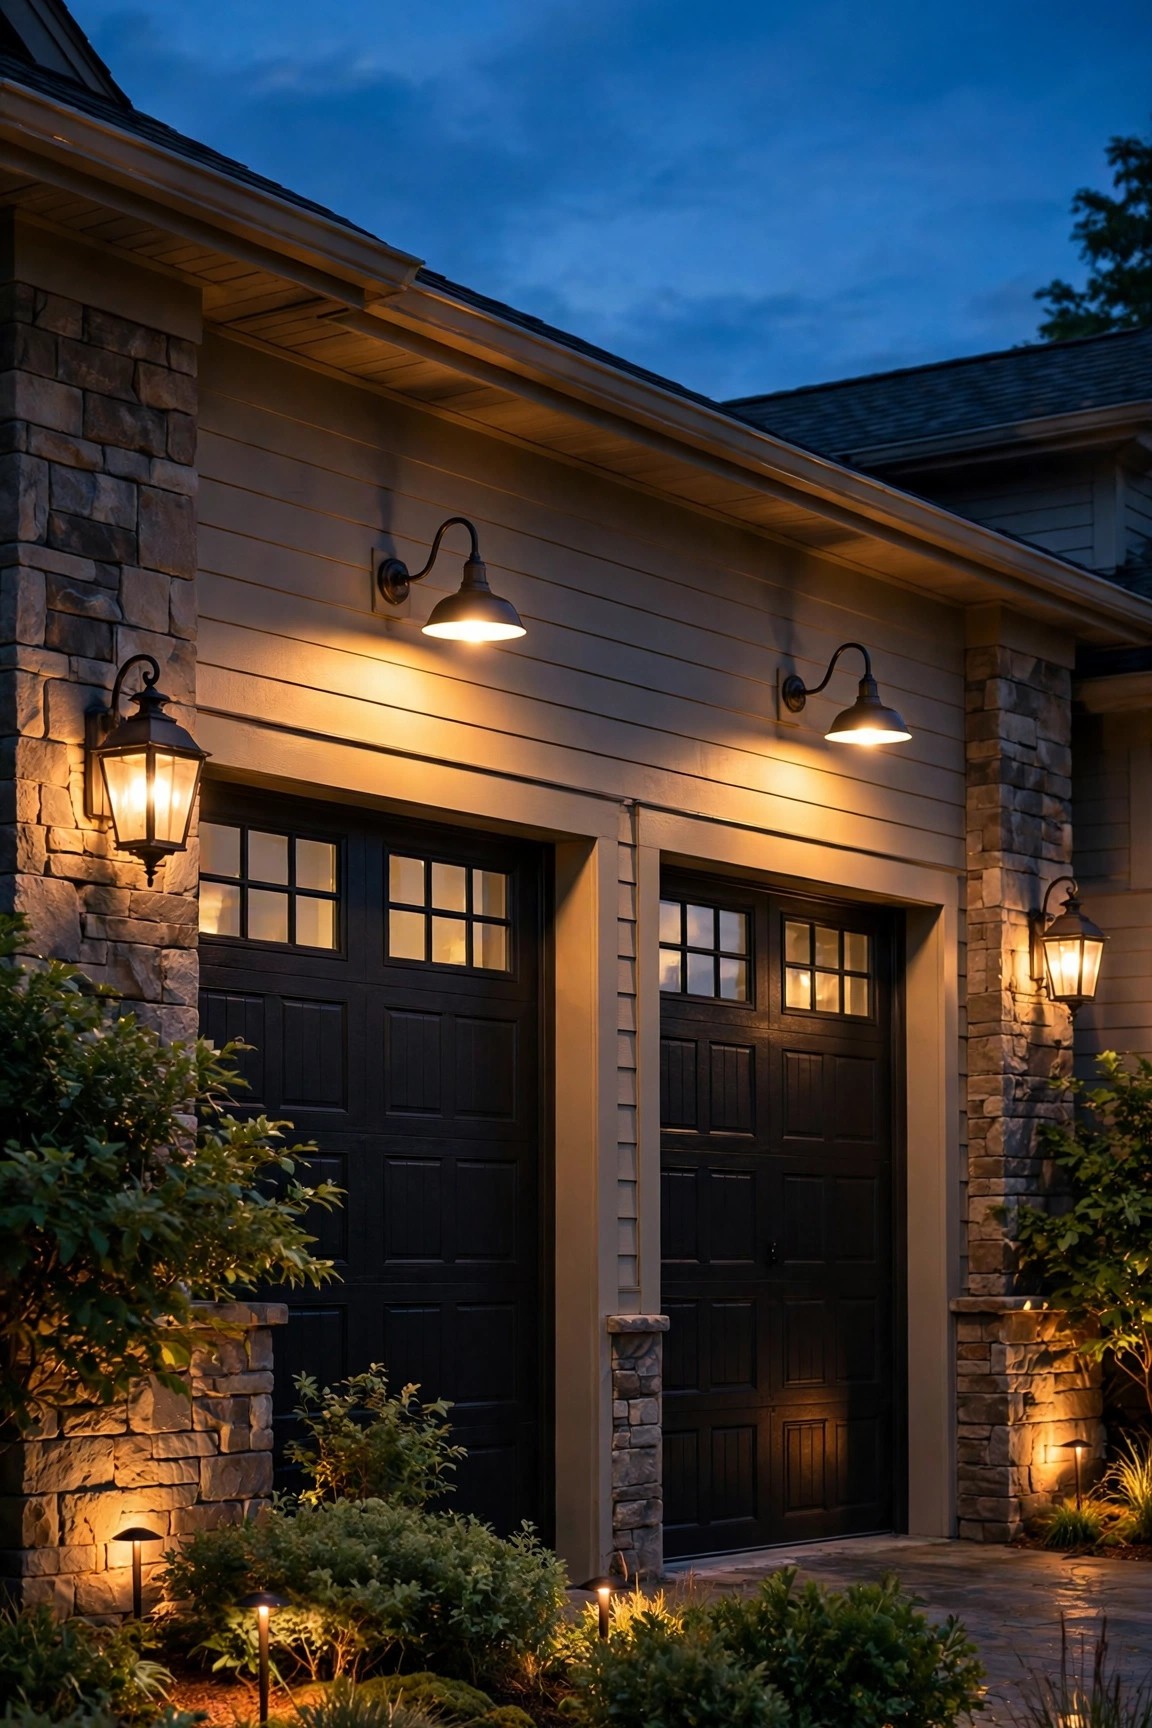
If I could only pick one upgrade, this would be it. A pair of carriage-style lanterns flanking the garage door is the most timeless look there is, and it frames the door the way a frame finishes a picture. The sizing rule I always recommend: each lantern should measure about one-quarter to one-third the height of the door itself. For a standard 7-foot door, that means fixtures roughly 18 to 24 inches tall — smaller than that and they look like afterthoughts. Mount them with the center of the fixture about 66 inches off the ground, and keep at least 6 inches between the fixture edge and the door trim so nothing looks crowded. I love clear glass with an LED filament bulb inside for that candlelit sparkle, in a matte black or oil-rubbed bronze finish. On a three-car garage, add a third lantern between the bays so the rhythm stays even. If you're still deciding on styles, my roundup of garage and carriage light ideas walks through the shapes that work best. Choose wet-location-rated fixtures and you'll never fuss with them.
Suggested budget range: $60 – $220.
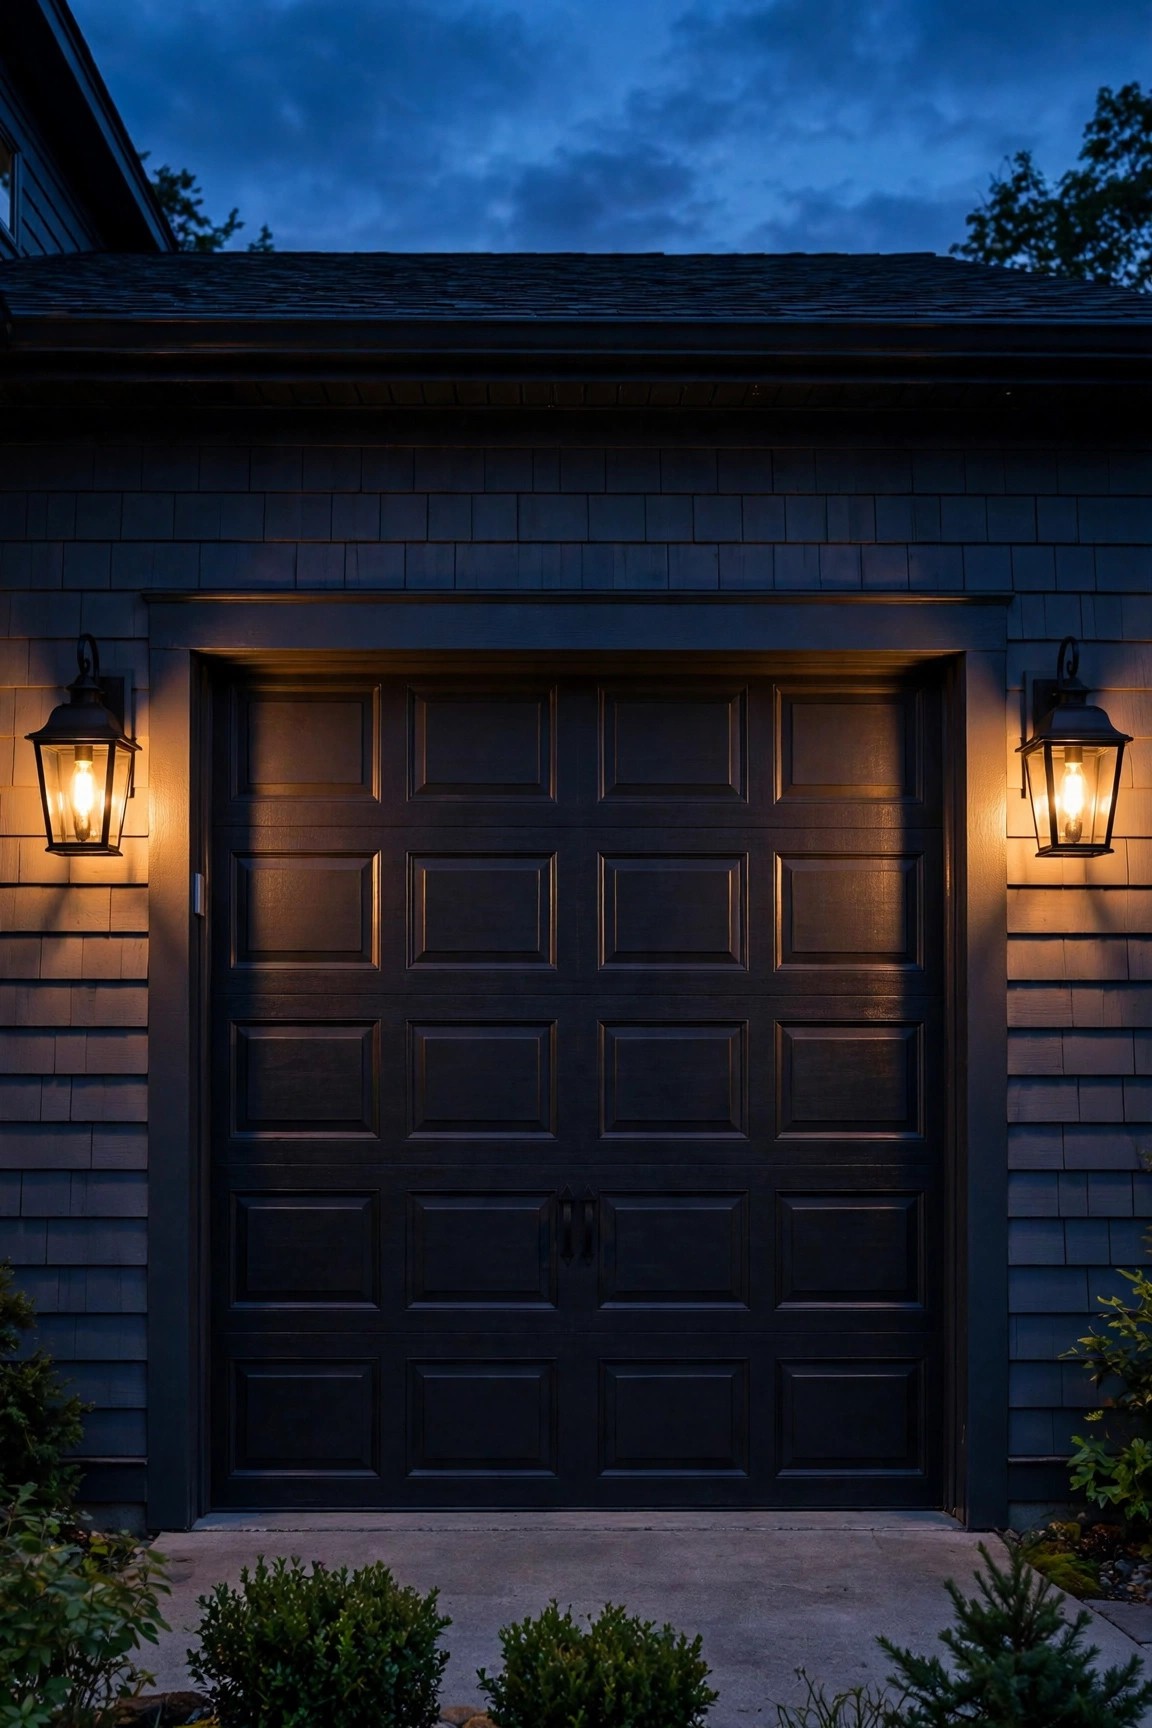
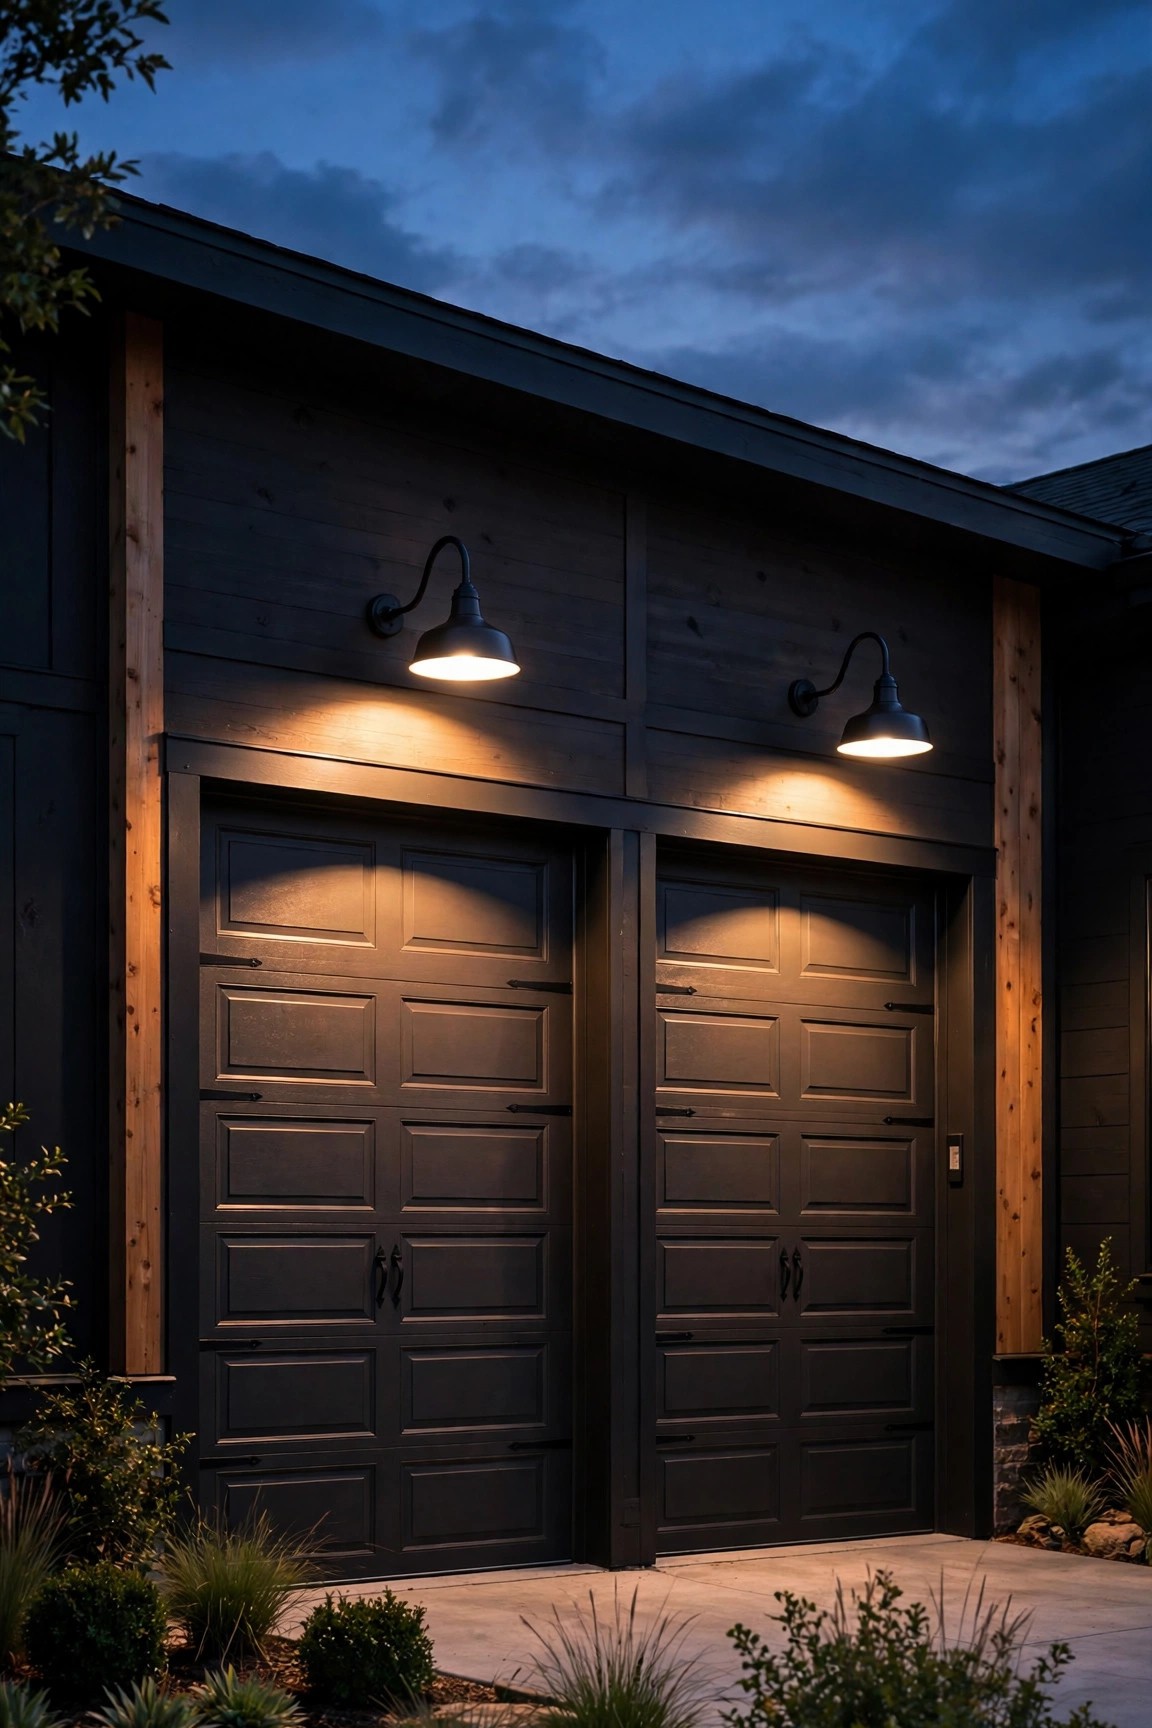
2. Gooseneck Barn Lights Over Each Bay
Gooseneck fixtures arc out from the wall and throw their light downward in a soft cone, and honestly? They make a plain garage look like a charming carriage house in one afternoon. I install one centered over each bay, mounted 12 to 18 inches above the top of the door, with the shade angled to wash the door face rather than the driveway. A shade diameter of 10 to 14 inches suits most single doors; go up to 16 inches for wide or tall doors. The downlight creates beautiful scallops of light across panelled doors, and because the bulb sits tucked up inside the shade, you get zero glare in your eyes as you pull in. Matte black is the classic, but galvanized or deep green shades are gorgeous on farmhouse and craftsman homes. Look for fixtures rated for wet locations with an enclosed or gasketed socket. If your garage has no existing junction box in the right spot, an electrician can usually tap into the existing garage circuit in under an hour per fixture. These pair beautifully with the carriage lanterns from idea one if you want a layered farmhouse look.
Suggested budget range: $80 – $300.
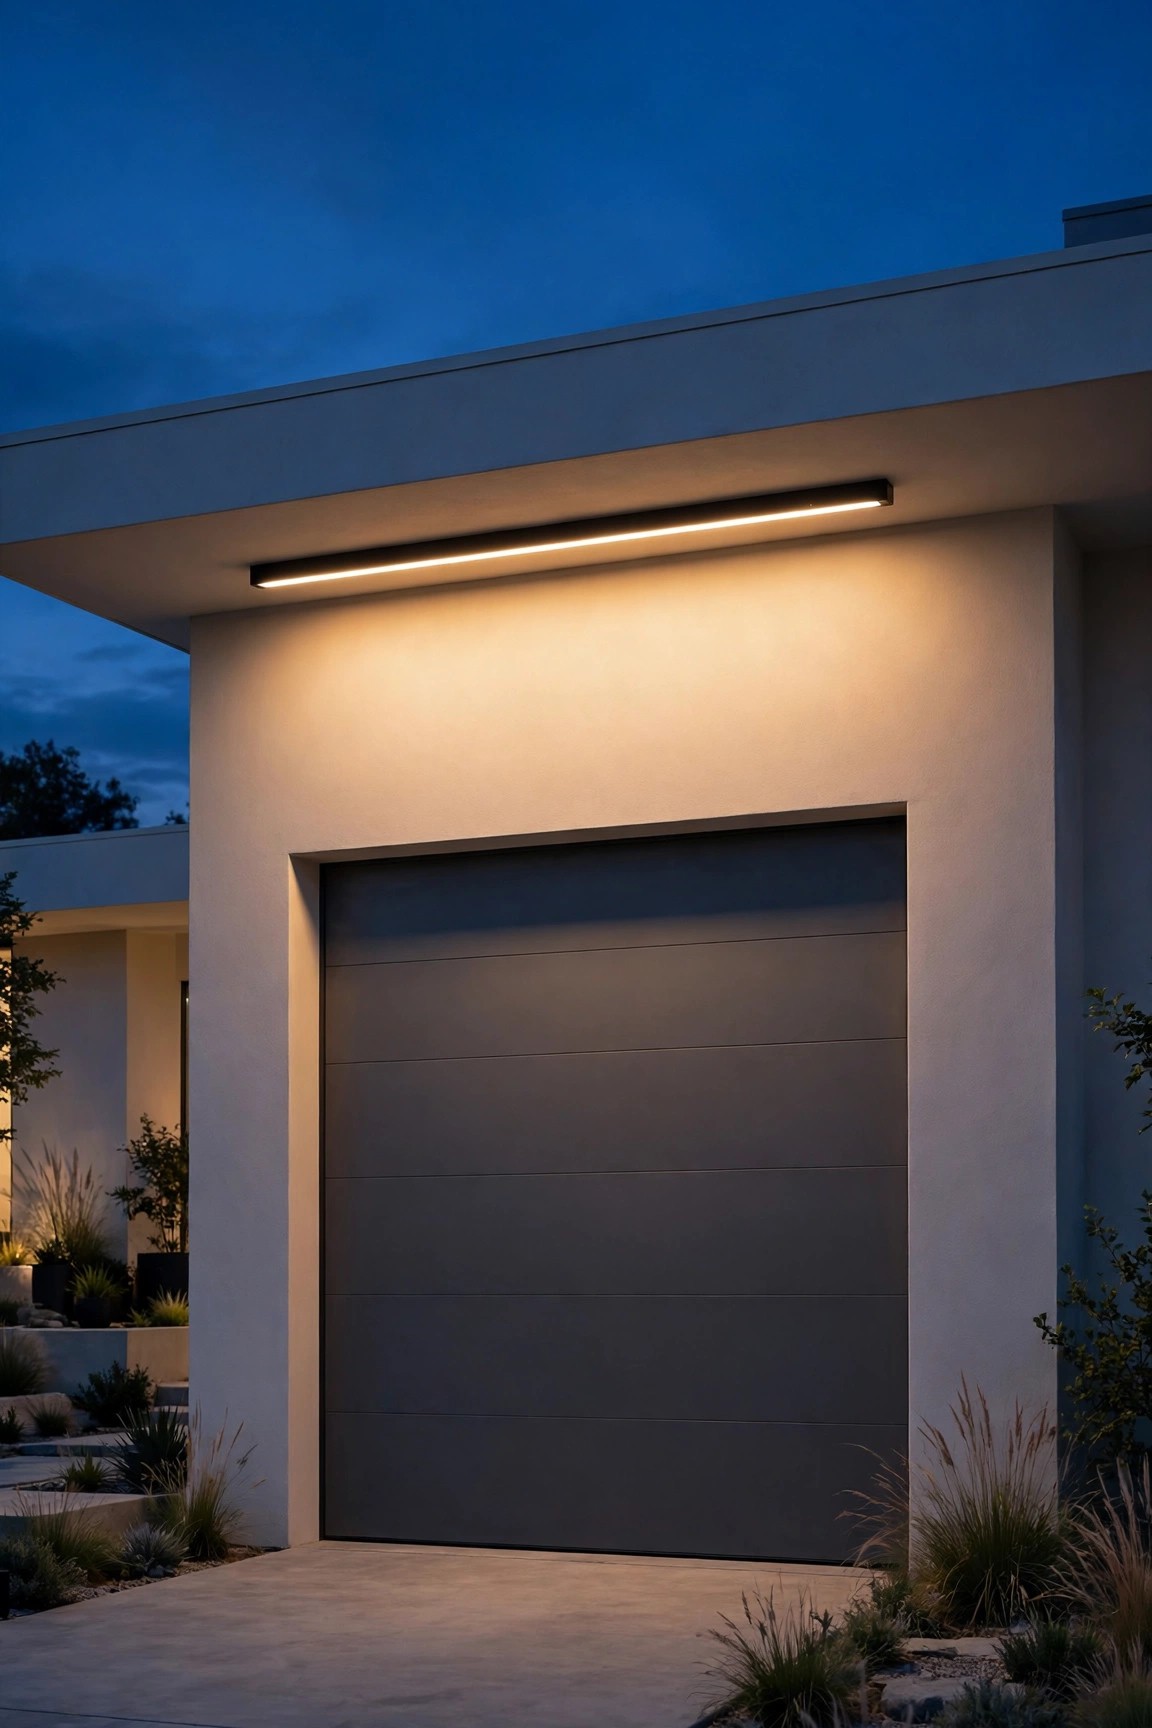
3. A Long Linear LED Bar Above the Door
For modern and minimalist homes, a slim linear LED bar is the cleanest garage door lighting you can buy. It mounts horizontally above the door — one long fixture instead of two or three separate ones — and lays an even sheet of light down the door face with no hot spots. I recommend a bar that spans at least two-thirds the width of the door; for a 16-foot double door, a 6 to 8 foot bar looks intentional and architectural. Choose an integrated LED model with a 2700K to 3000K color temperature so the light stays warm rather than office-blue, and look for an IP65 rating or better since it sits fully exposed to weather. Many bars are linkable, so you can run one centered over each bay on a multi-car garage for a perfectly repeated line. Keep the mounting height 8 to 12 inches above the trim, and if your door has windows, aim the bar slightly outward so light doesn't blast straight through the glass into the garage. It's a subtle look during the day and a genuinely dramatic one at night.
Suggested budget range: $70 – $250.
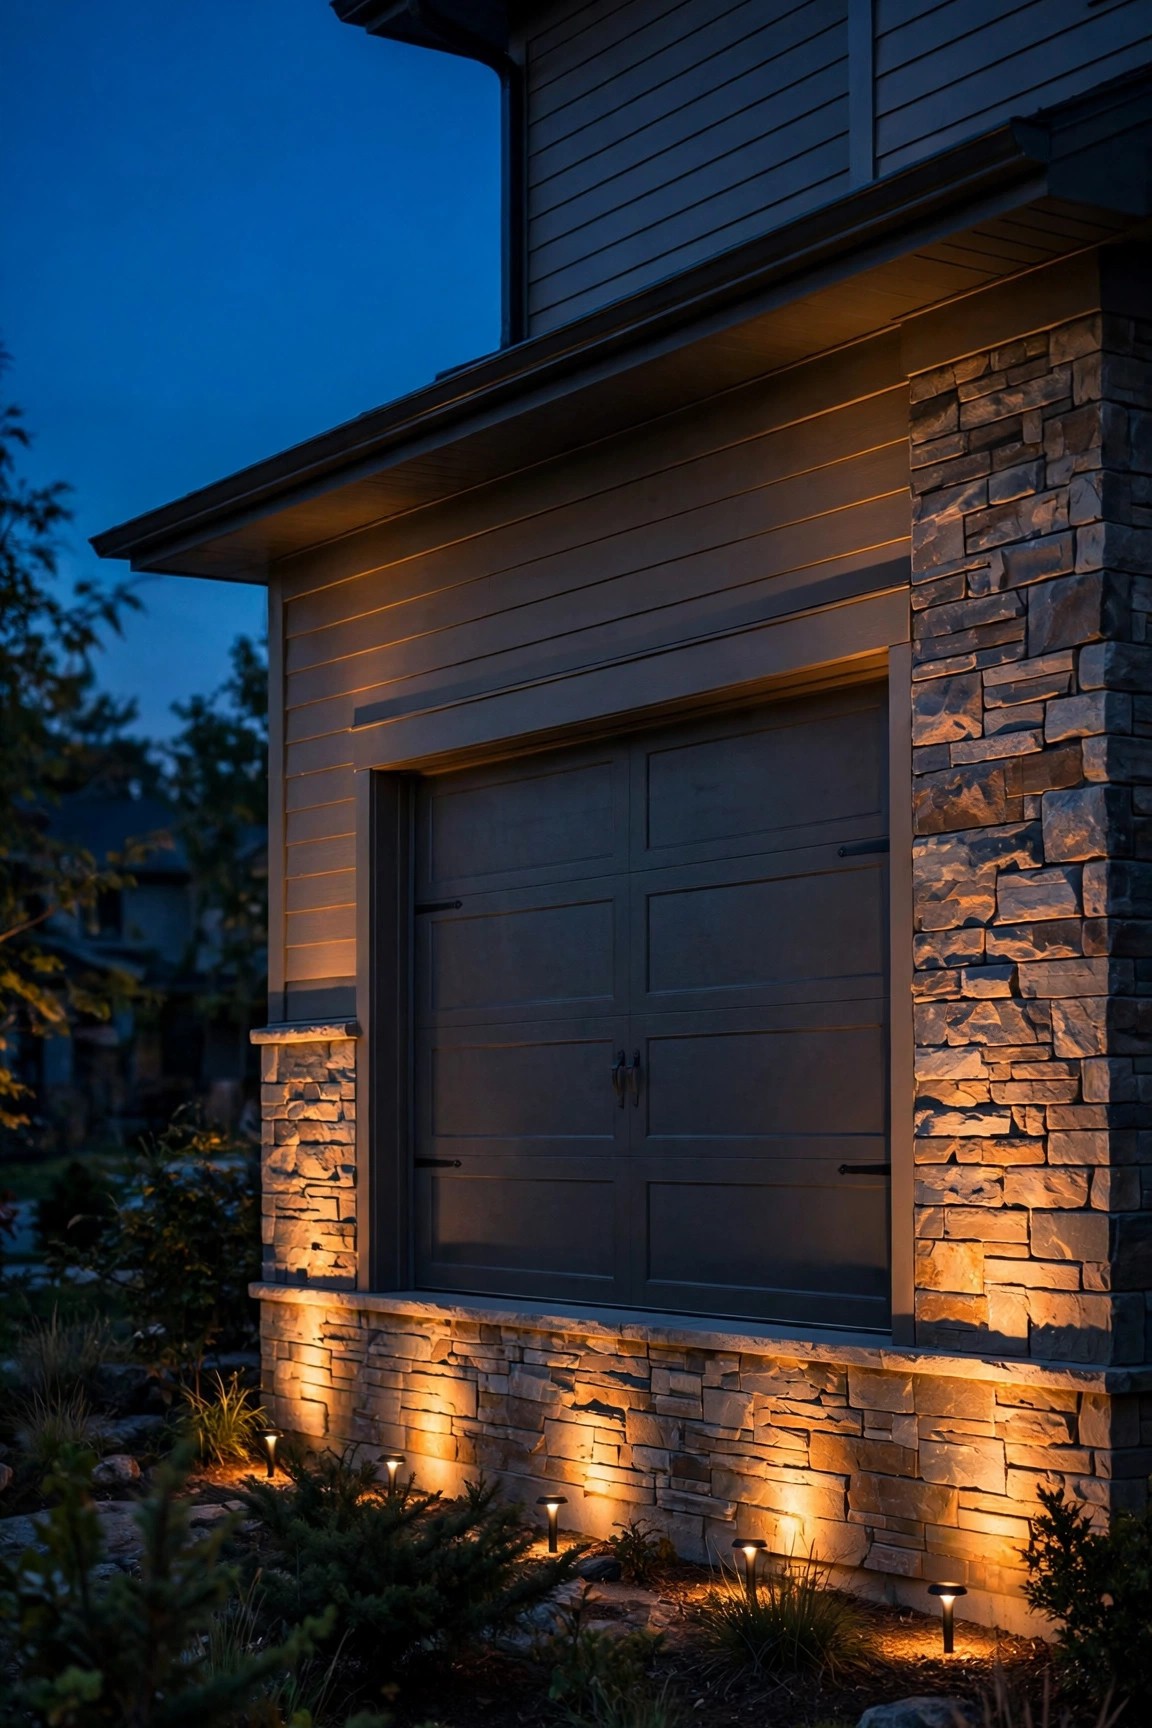
4. Garage Door Lighting From Below: Ground Uplights
Sometimes the prettiest light on a garage comes from the ground, not the wall. Low-voltage uplights placed at the base of the facade graze upward across the door and surrounding siding, picking out every bit of texture — brick joints, board-and-batten seams, stone veneer. I place one small well light or spot at each outer corner of the garage, about 12 inches out from the wall, angled up at roughly 30 degrees. Use a narrow-to-medium beam, around 24 to 36 degrees, so the light climbs the wall instead of spilling into the sky. This is grazing light, so a little goes a long way: 200 to 300 lumens per fixture is plenty. Because they're low-voltage, I can bury the cable under mulch myself with no electrician, and the fixtures are small enough to hide behind a shrub or a decorative stone. One caution from my own trial and error: if your door is smooth and light-colored, uplights can create glare spots — tilt them a touch wider or dim them down. The effect on textured facades, though, is pure drama.
Suggested budget range: $40 – $180.
5. Recessed Soffit Downlights for a Clean Glow
If your garage has a soffit or an eave overhang, recessed downlights tucked into it give you the most polished, built-in look of all — pools of warm light that spill down the door face with no visible fixture clutter. I space 4-inch recessed LED trims about 4 to 5 feet apart along the front of the garage, centered roughly 18 to 24 inches out from the wall so the beam kisses the door instead of landing entirely on the driveway. Choose trims rated for damp or wet locations and sealed against bugs and moisture, because soffits are prime real estate for spiders — ask me how I know. A 3000K trim keeps things crisp, though I personally still lean 2700K to match my porch lanterns. This is the one idea on the list where I happily hire an electrician: cutting into the soffit, tying into a switched circuit, and keeping everything code-compliant is worth the professional hour or two. Ask for a dimmer on the circuit — at full brightness for unloading groceries, low and moody the rest of the evening. It completely changes how finished the front of the house feels.
Suggested budget range: $120 – $450.

6. Motion-Sensor Flood Lights for Security
Beauty matters, but the garage is also where most of us actually come home after dark, so a motion-sensor flood light earns its place. My favorite setup is a dual-head LED flood mounted centered above the door, about 8 to 9 feet up, with each head angled slightly outward to cover the driveway apron and the walkway to the front door. Look for an adjustable sensitivity and a timer that keeps the light on for one to five minutes after motion stops, so it never flickers off while you're unloading the trunk. I always choose a model with a dusk-to-dawn photocell plus motion, so it stays politely off during the day. Brightness around 1,800 to 2,400 lumens is the sweet spot — enough to feel genuinely secure without interrogating the neighbors. Aim the sensor across the driveway rather than straight down it, because motion crossing the sensor's path triggers far more reliably than motion walking toward it. For placement diagrams and sensitivity settings, the motion sensor outdoor lights guide is the one I send friends. Pair it with softer decorative lighting so security night doesn't mean harsh night.
Suggested budget range: $35 – $130.

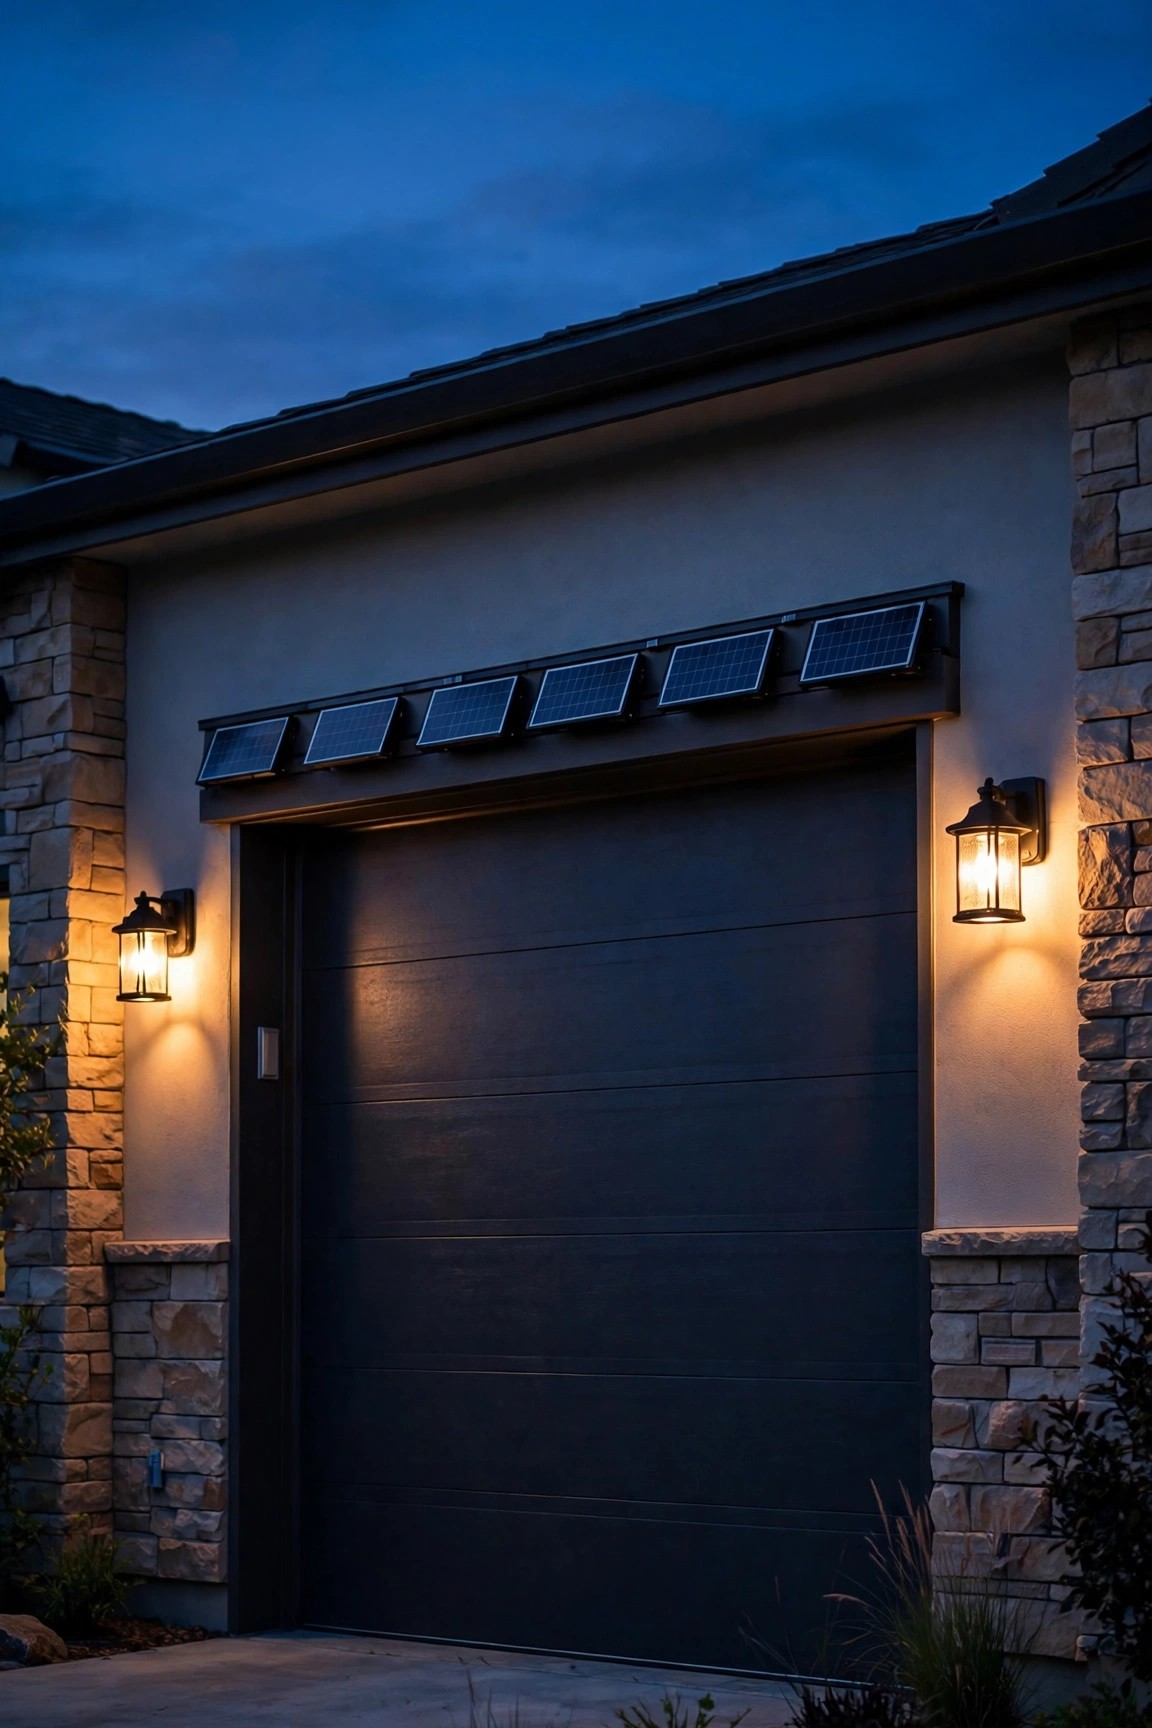
7. Solar Sconces When Wiring Isn't an Option
No junction box near your garage? Solar sconces have come a long way, and the good ones now give a genuinely warm, useful glow. I mount a pair flanking the door just like wired lanterns, following the same sizing rule — visually about a quarter of the door height. The honest caveats first: the little solar panel needs at least five to six hours of direct sun, so this idea struggles on north-facing garages shaded by trees, and brightness tops out around 100 to 200 lumens per fixture, which is accent light, not task light. Within those limits, though, they're wonderful. Choose models with a replaceable battery, a 2700K warm LED, and a real on/off or motion-boost mode. My trick is to look for sconces with a separate panel on a short cord — you can tuck the panel up on the trim where the sun actually hits while the lantern sits in the shade of the eave. Clean the panels with a damp cloth every few weeks; a dusty panel quietly cuts your runtime in half. Zero wiring, zero electrician, one ladder and a drill.
Suggested budget range: $30 – $110.
8. Smart Garage Door Lighting on a Dusk-to-Dawn Schedule
The single biggest upgrade to my own garage lighting wasn't a fixture at all — it was putting the bulbs on a schedule. Smart outdoor bulbs, or standard LED bulbs on a smart switch, mean my garage lights fade on at sunset, dim to 40 percent at ten, and switch off at midnight, every single night, with zero effort from me. In my experience, consistency is what makes exterior lighting look expensive; a house that's reliably lit every evening reads as cared-for. If your fixtures are enclosed, check that your smart bulbs are rated for enclosed use, or use a smart switch at the wall instead — I prefer the switch, since it works with any bulb and guests can still flip it manually. Astronomical timers that track your local sunset are the simplest set-and-forget option. I also love vacation mode, which randomizes the on-off times slightly so the house never looks empty. Keep everything 2700K and match the dimming curve across fixtures so the door looks evenly framed. It's a small budget line with an outsized payoff in how "finished" the facade feels.
Suggested budget range: $25 – $90.

9. Oversized Statement Lanterns for Wide Doors
Standard-sized lanterns get completely lost on an 8-foot-tall or extra-wide door — I see this mistake constantly. Scale is everything. For tall doors, carriage doors, and two-story entries beside the garage, go big: statement lanterns 24 to 30 inches tall with real presence. My rule of thumb is that the fixture should be visible and readable from the street, not a speck you have to squint at. Hang or mount them at the standard 66 inches to center if ceilings allow, but on tall facades I raise them so the top of the fixture sits closer to the top third of the door. Because oversized fixtures hold bigger bulbs, watch your wattage — an LED filament bulb around 800 lumens keeps the glow warm rather than glaring. Oversized lanterns also carry the daytime look of the house, so choose a finish that repeats somewhere else: the front door handle set, the house numbers, even the mailbox. That one repeated finish is the designer trick that makes the whole facade — garage included — feel composed instead of collected.
Suggested budget range: $120 – $400.
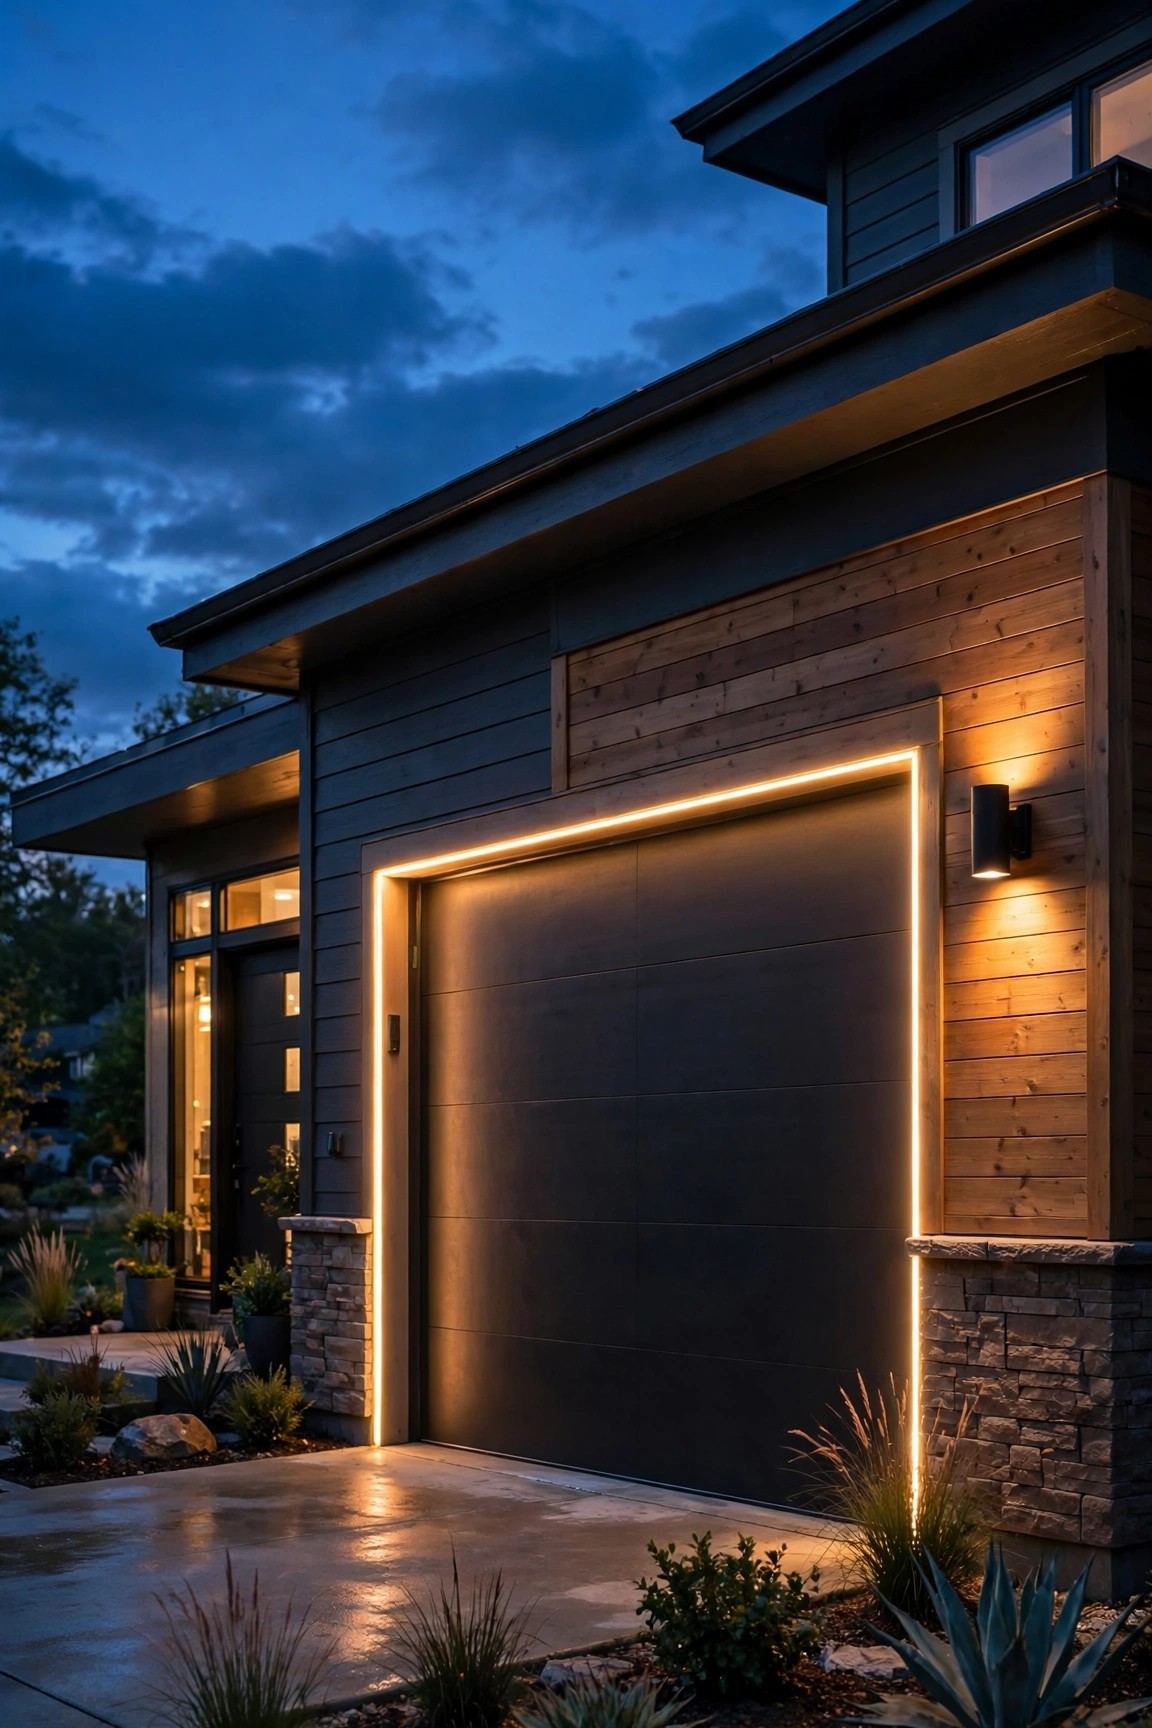
10. LED Strip Accents Along the Trim
This is my favorite modern trick for a plain door: a discreet run of outdoor LED strip lighting tucked along the inside edge of the garage door trim, outlining the whole opening in a halo of warm light. When the strip itself is hidden — mounted in an aluminum channel with a frosted diffuser, facing the wall or trim rather than your eyes — all you see is the glow, and the door looks like it's floating in a picture frame. Use a strip rated IP65 or higher, 2700K, and cut it to length at the marked points only. Run the low-voltage cable down one side and hide the small transformer inside the garage. The channel-and-diffuser step is non-negotiable in my book; a bare strip reads as dotted Christmas lights, while a diffused one reads as architecture. A strip around a full double-door opening uses roughly 25 to 30 feet of product. Keep the brightness modest — this is an accent line, not a landing strip — and put it on the same timer as your other garage lights so the whole composition switches on together at dusk.
Suggested budget range: $20 – $75.
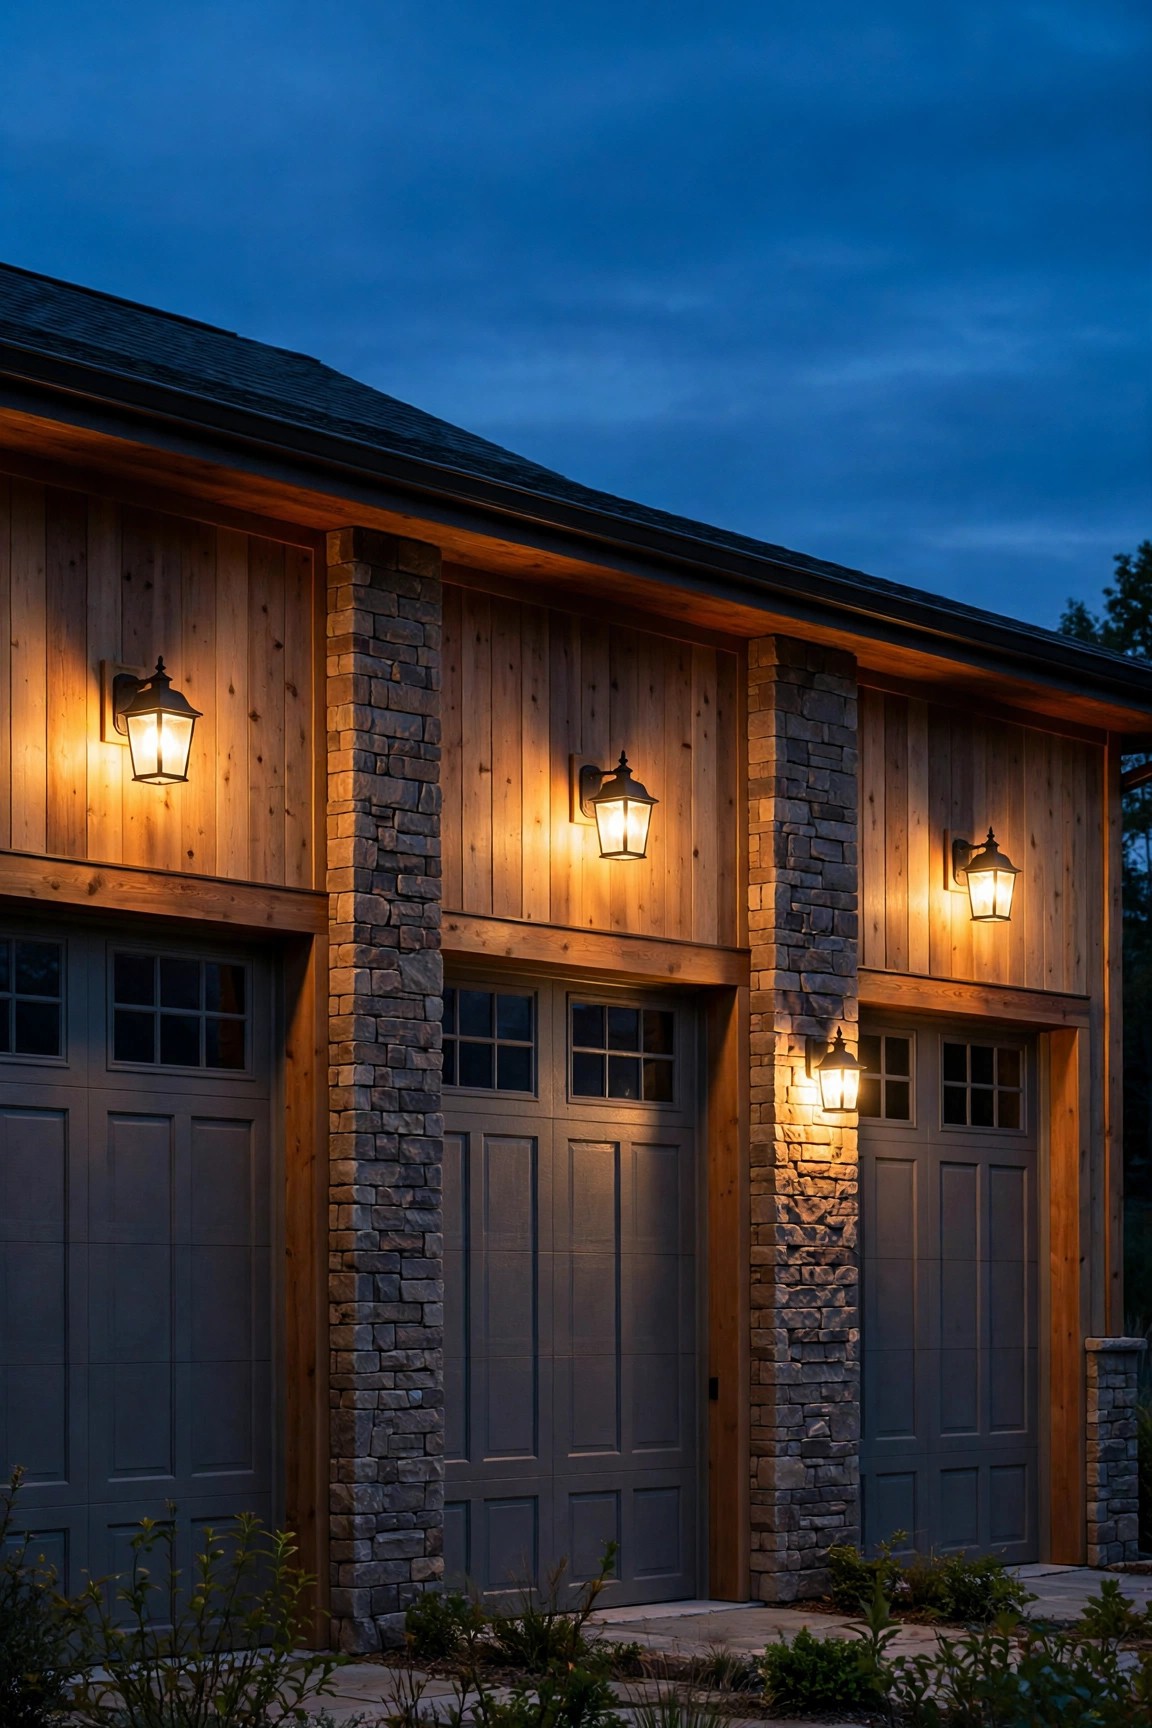
11. A Light Between the Bays on Double Garages
Three-car and side-by-side double garages have an awkward secret: two lanterns on the outer edges leave the wide middle column completely dark, and the whole facade falls into two glowing islands with a shadow between them. The fix is a third fixture centered on the column between the bays. It doesn't need to match the outer pair exactly — in fact, I often make it the slightly simpler sibling: same finish, same glass, a touch smaller. That center light stitches the composition together and gives the eye a resting point. Keep all three at identical mounting heights, center of fixture around 66 inches, or the line will wobble from the street. Wiring the center fixture is usually easy because it can share the circuit with whichever neighbor is closer. If your center column is narrow — under about 10 inches of flat space — choose a slim-profile lantern so it doesn't crowd the trim on either side. From the curb, three evenly spaced points of warm light across a wide garage is one of the most expensive-looking sights in the neighborhood, and it's just one extra fixture.
Suggested budget range: $50 – $180.
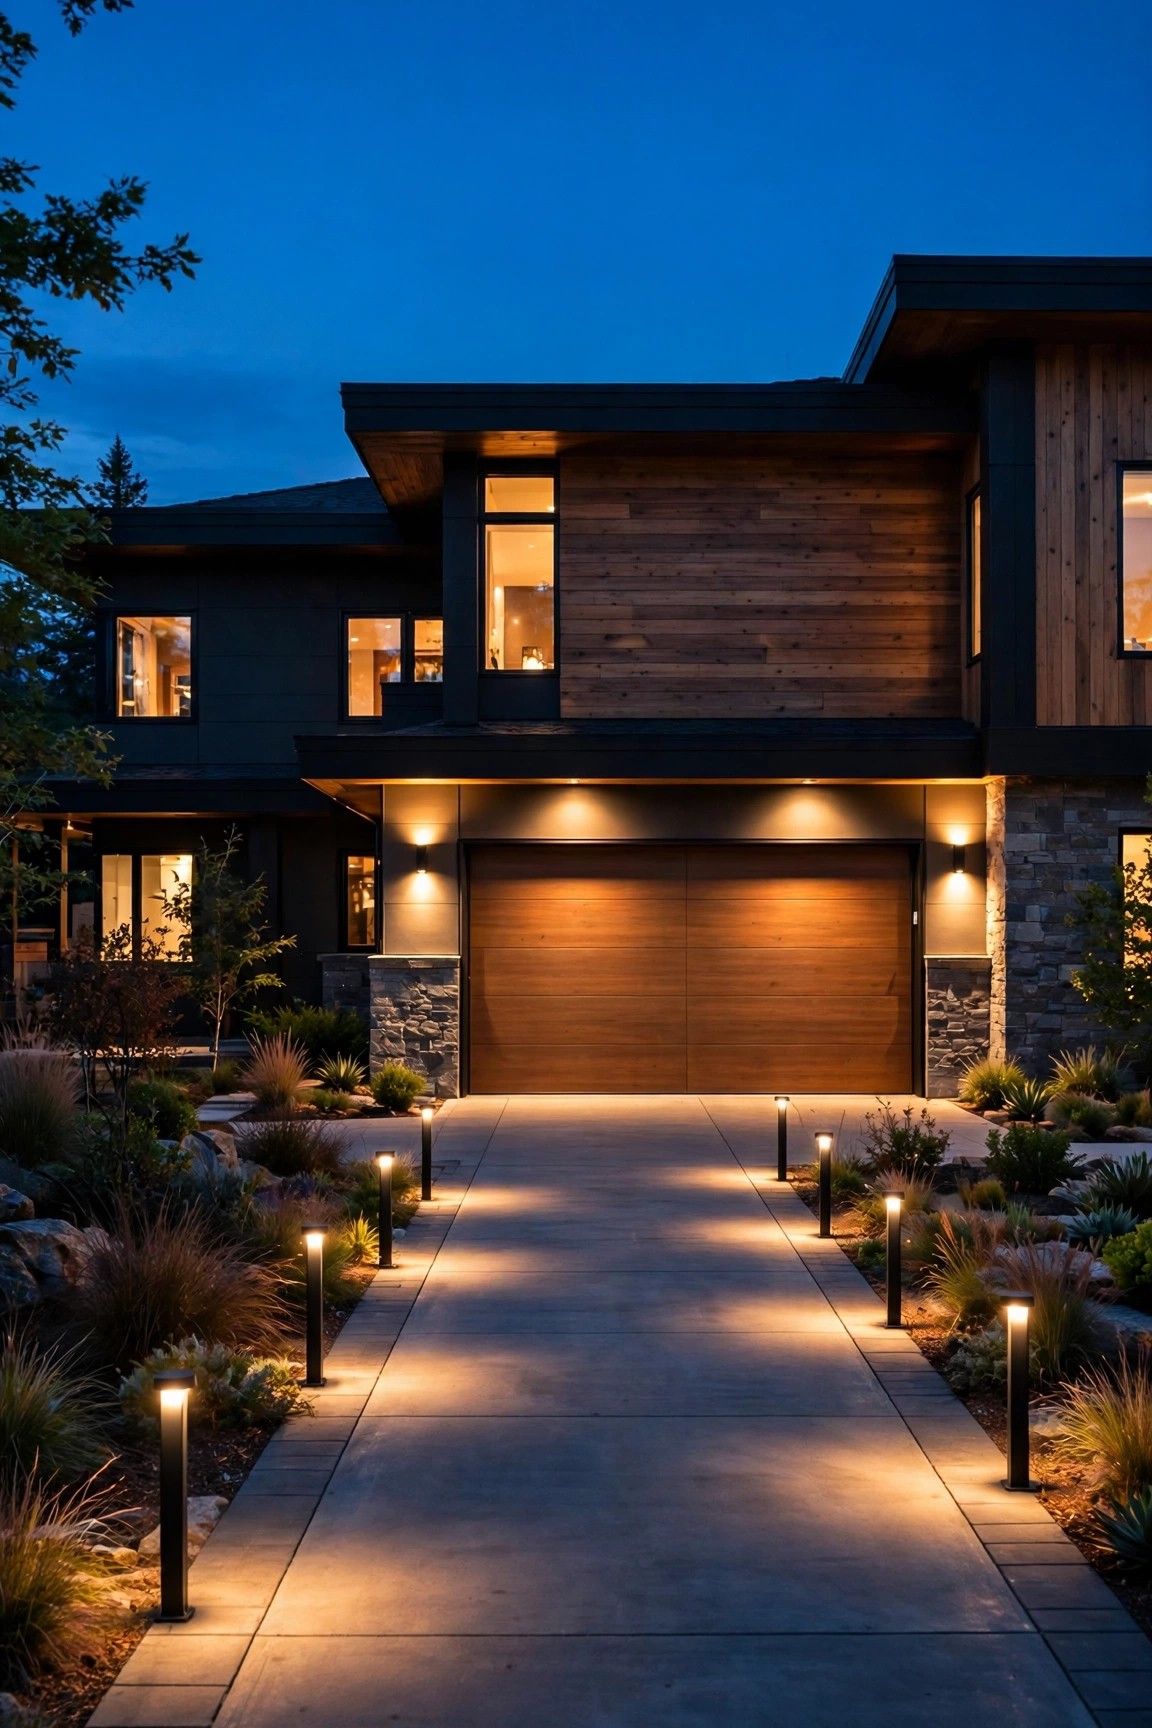
12. Driveway Bollards Leading the Eye In
Framing the facade doesn't stop at the wall — the driveway is part of the picture. A short run of bollard lights down one or both sides of the drive leads the eye straight to the garage and makes the whole approach feel choreographed. I space bollards 8 to 10 feet apart, starting about 6 feet out from the garage door so the first light doesn't fight with the door fixtures, and I stagger rather than mirror them if the drive is curved. Keep them low and shielded: 12 to 18 inches tall, with the light source louvered or frosted so drivers see glow, not glare. Low-voltage wired bollards are the reliable choice here; solar versions along a long drive tend to fade unevenly by February. Match the finish to your door lanterns so the driveway and garage read as one system. This is also the friendliest possible lighting for guests backing out at night — the edge of the drive is quietly obvious. For spacing patterns and more styles, browse these driveway lighting ideas alongside your garage plan.
Suggested budget range: $90 – $350.
13. String Lights Swagged Across the Eave
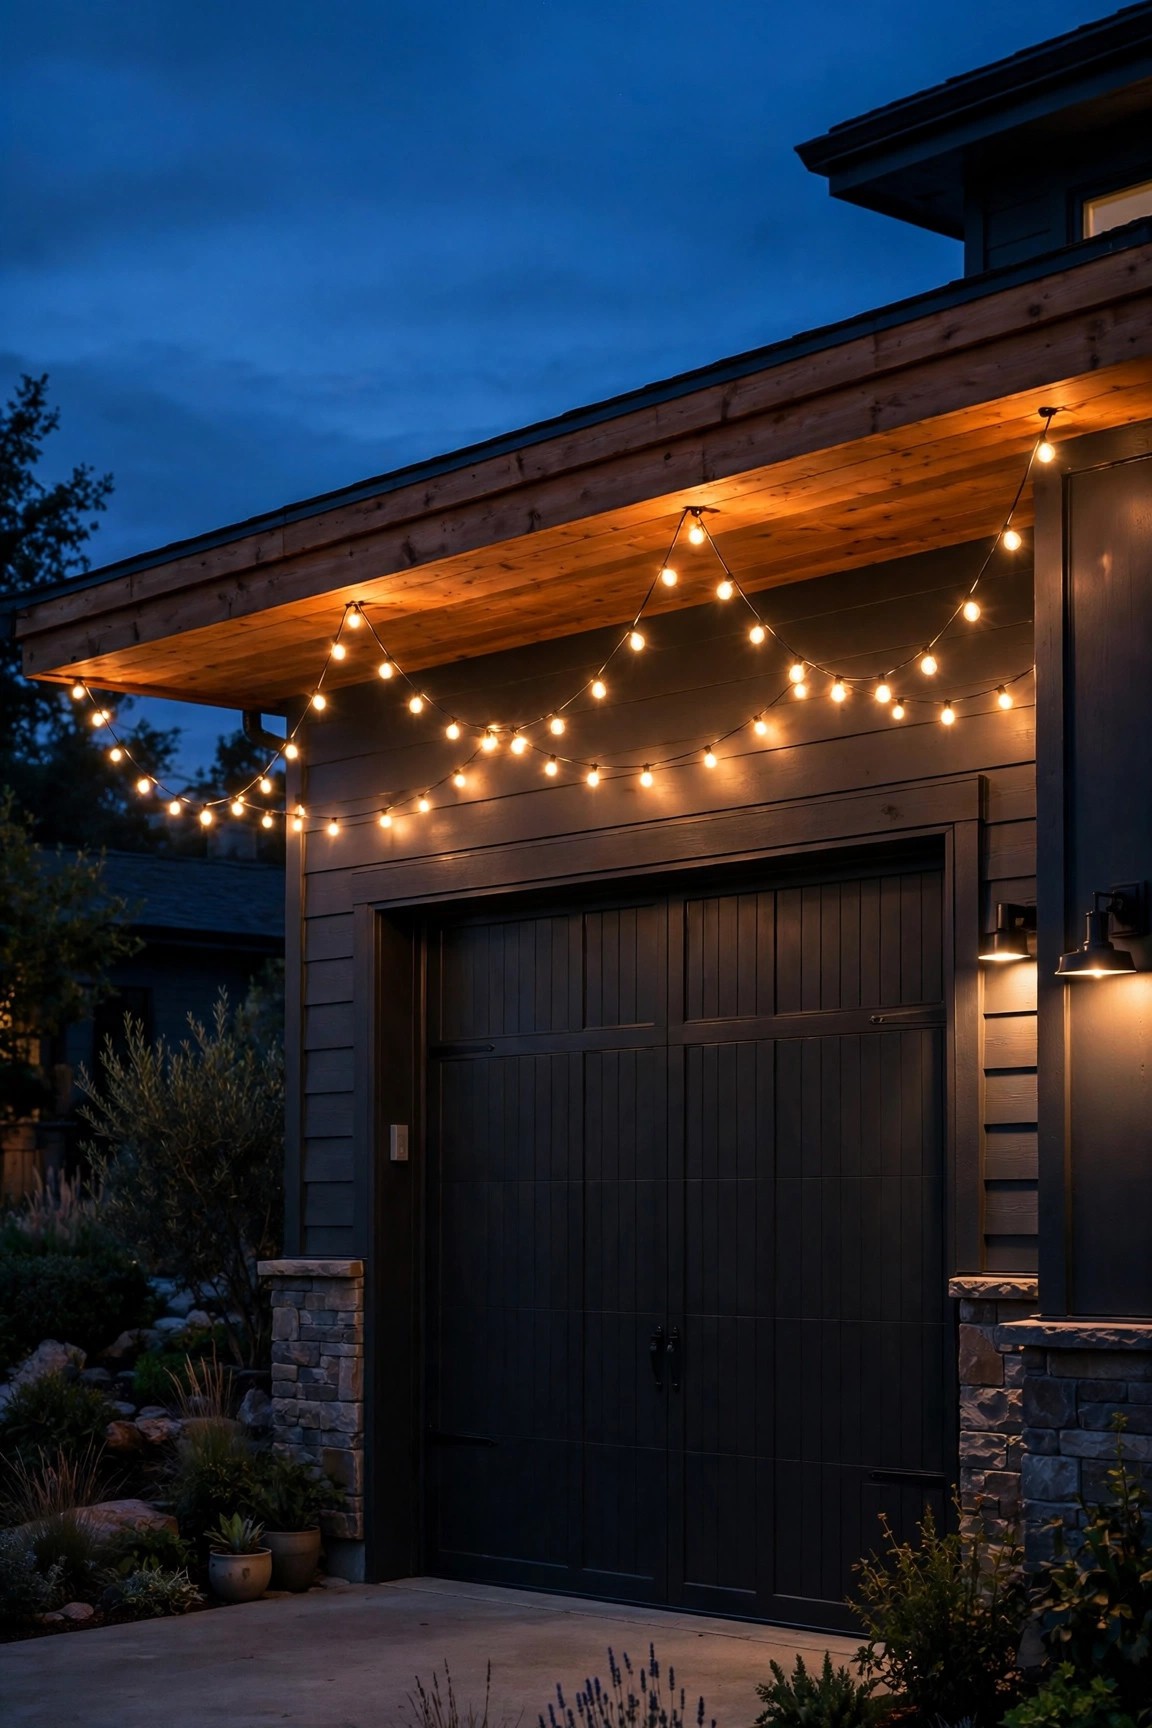
For a relaxed, welcoming feel, nothing beats a swag of warm string lights draped across the garage eave. I run commercial-grade outdoor string lights — the kind with thicker cable and replaceable LED bulbs — in two gentle swags across a double garage, anchored into the trim with screw-in hooks and a touch of slack so the catenary curve looks effortless. Keep the lowest point of each swag at least 7 feet above the driveway so tall vehicles and raised basketball hoops never meet it. LED bulbs only, always, and a shatterproof plastic bulb is the smart choice anywhere above a driveway where a dropped bulb would land on a car or a bare foot. This look is seasonal for some people, but I keep mine up year-round — the facade genuinely feels bare without them. If permanence worries you, start with one swag across a single bay for a holiday month and see how you feel. Put them on the same dusk timer as everything else, and choose 2200K to 2700K bulbs for that candlelit warmth. Playful, yes — but against a framed, well-lit facade, it reads as charming rather than casual.
Suggested budget range: $25 – $85.
14. Grazing Lights for Brick and Stone Facades
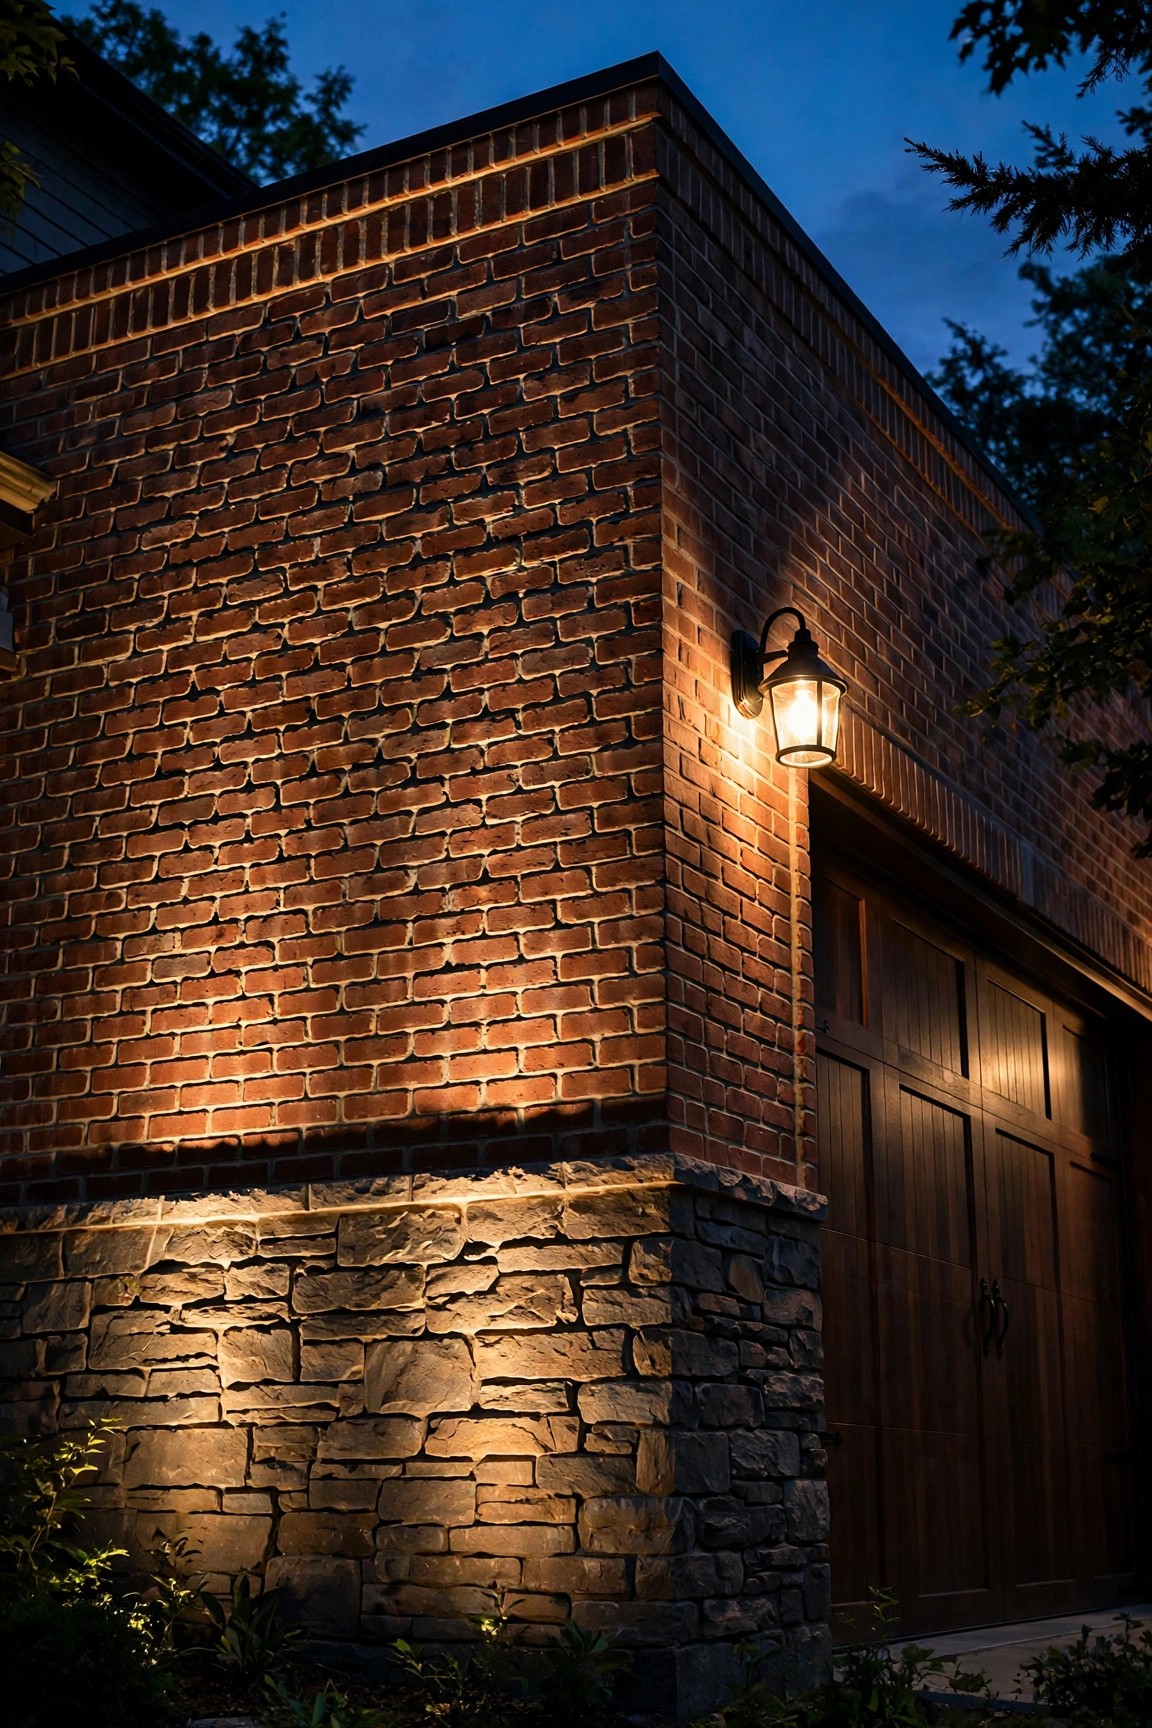
If your garage wears brick, stone, or textured stucco, grazing light is the technique that shows it off. A fixture placed very close to the wall — within 6 to 12 inches — and aimed straight up or down creates long raking light that throws every texture into relief. I use small low-voltage spots at the base of brick piers between the bays, or slim downlights tucked just under the eave of a stone facade. The closer the fixture to the surface and the narrower the beam, the more dramatic the shadow play. On smooth siding this looks harsh, but on masonry it's breathtaking — the wall itself becomes the decoration, and the garage door just needs one quiet lantern pair to complete the frame. Keep total brightness low; grazing light is about contrast, not coverage. One practical note: aim ground fixtures slightly away from the door's bottom seal, or every little bump and leaf shadow shows. And because these sit in garden beds, choose solid brass or copper fixtures that patina gracefully instead of powder-coat that chips in mulch.
Suggested budget range: $60 – $240.
15. Backlit House Numbers Beside the Garage
Here's a detail people forget until a delivery driver is circling the block: if your house numbers live near the garage, light them. Backlit LED numbers — each digit on a slim standoff with a halo of warm light behind it — are legible from the street, look quietly high-end, and double as a soft accent wash on the wall beside the door. I mount mine on the column between the garage and the front entry when the layout allows, at about eye level, 60 to 66 inches up. Most sets are low-voltage and can tap into the same transformer as your landscape lighting; solar versions exist but the wired ones hold their brightness all night. Choose digits at least 4 to 6 inches tall — anything smaller disappears from a moving car. Keep the color temperature at 2700K to match the rest of the facade rather than the icy blue-white some sets default to. It's a small project, an hour with a drill and a level, but it's the one guests and drivers compliment most, because it's the light that actually helped them find you.
Suggested budget range: $35 – $120.

16. Frosted Glass Fixtures That Cut the Glare
One of the fastest ways garage lighting goes wrong is glare: a beautiful lantern with a bare, blazing bulb that hurts to look at and leaves the actual door in shadow by comparison. Frosted, seeded, or opal glass solves it elegantly. The diffused glass spreads the light into a soft lantern glow that reads warm from the street and lets your eyes take in the whole facade — door, trim, plantings — instead of one hot spot. I especially recommend frosted glass for fixtures mounted at eye height near the walkway, and for carriage doors with windows, since a harsh bulb reflects in the glass panes all night. You lose almost nothing in useful brightness; a frosted fixture with an 800-lumen LED bulb still lights the driveway apron beautifully. If you love your existing clear-glass lanterns, there's a five-minute fix: swap in frosted LED bulbs, or spray the inside of the glass with a light coat of frosted-glass spray. In my experience this single change makes nine-dollar fixtures look like ninety-dollar ones, and the whole garage feels calmer after dark.
Suggested budget range: $70 – $260.
17. Matching Path Lights to Tie the Whole Facade Together
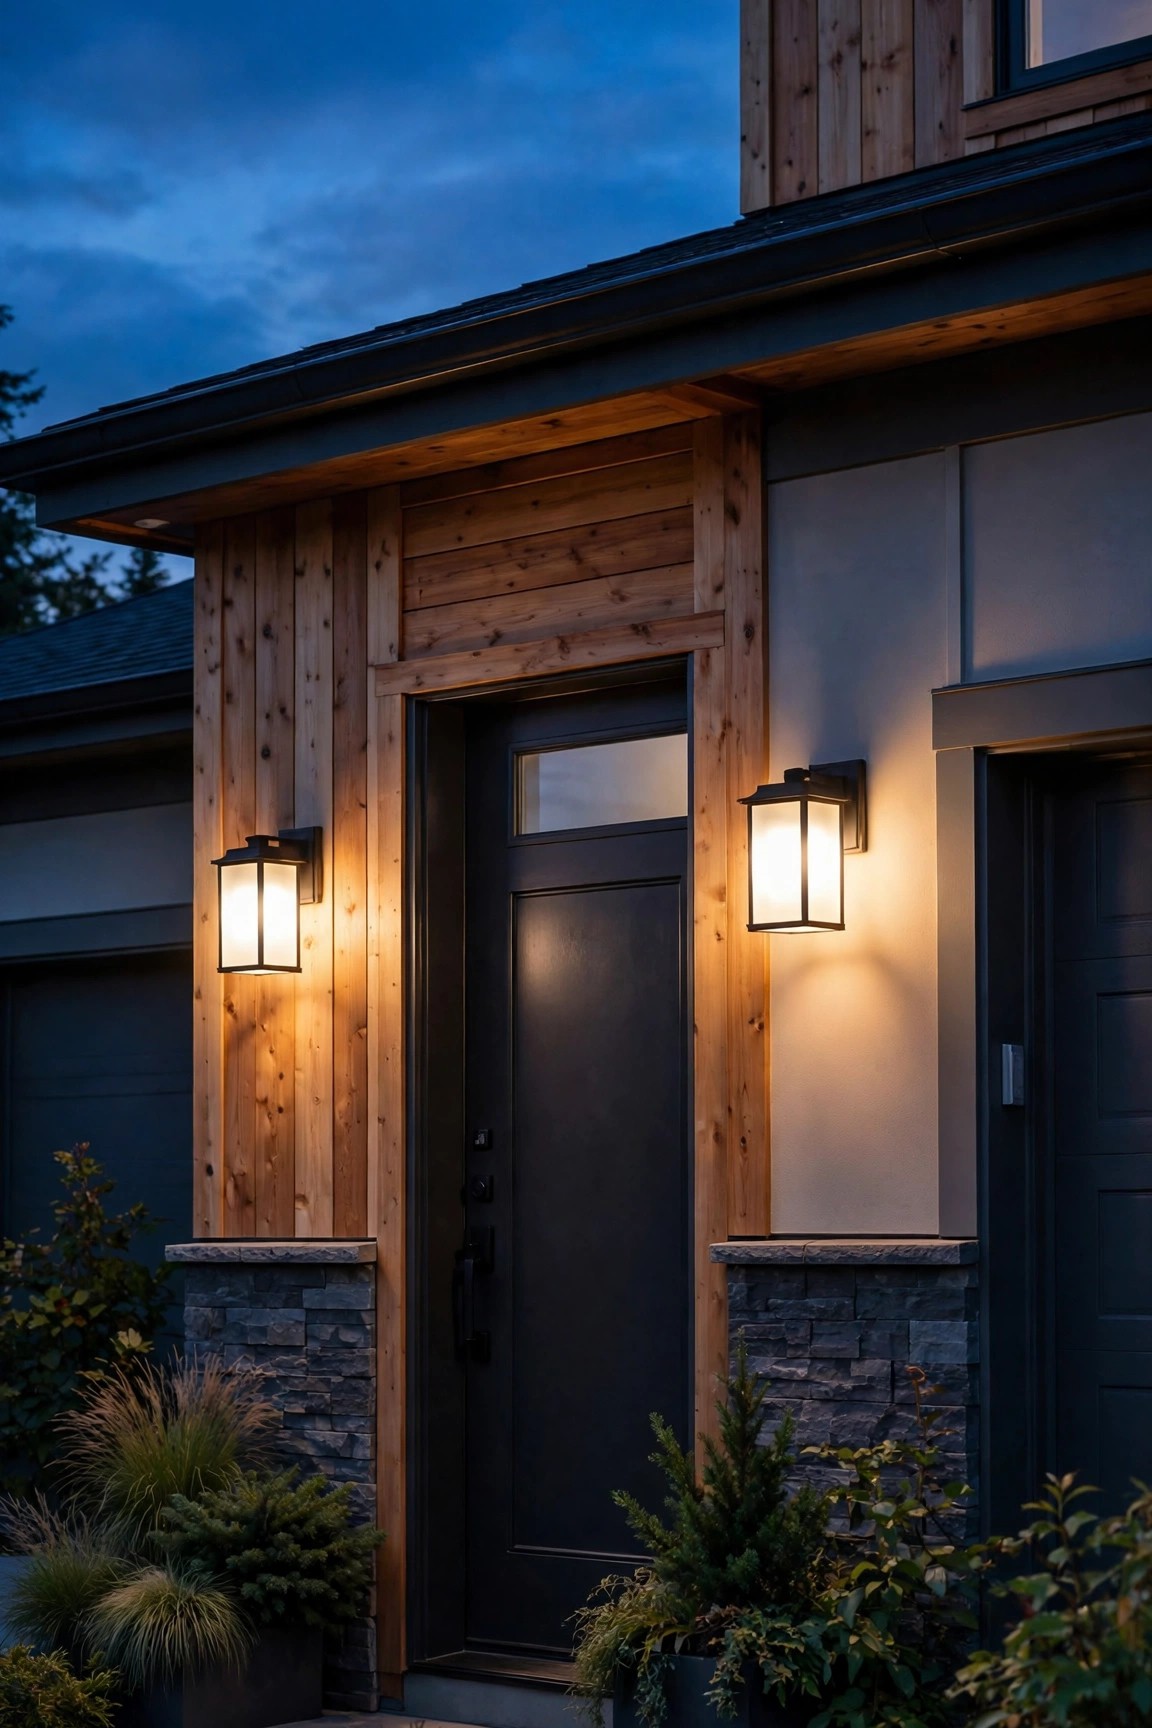
The final layer is the one that connects the garage to the rest of your home's nighttime face: a few path lights along the walk from the driveway to the front door. Without them, a beautifully lit garage sits in isolation; with them, the entire facade reads as one composed scene. I run three to five low-voltage path lights, staggered every 6 to 8 feet along the walk, on the same transformer and timer as the garage accents so everything wakes up together at dusk. Match the fixture finish and keep the color temperature identical — 2700K everywhere — because a single cool-white path light in a warm scheme sticks out for a block. Choose downward-facing path lights that pool light on the walk rather than spraying it sideways into drivers' eyes. Height around 14 to 18 inches clears most plantings without towering over them. This is the layer visitors actually experience on foot, walking from their car through your framed, glowing facade to the front door — and it's the moment the whole design pays off.
Suggested budget range: $50 – $200.

Frequently Asked Questions
How many lights do I need for a two-car garage door?
For a standard 16-foot double door, I recommend three light points across the facade: one on each outer side plus one above the center or on the center column if you have two separate doors. A single centered fixture above a wide door usually looks lost and leaves the corners dark. Add ground uplights or bollards only as accent layers — the three wall points do the real framing work.
What color temperature is best for garage door lighting?
Warm white, 2700K to 3000K, is the sweet spot for nearly every home. It flatters brick, stone, wood, and painted doors, and it matches the warm glow most of us use on our porches. Avoid anything above 4000K outdoors — that blue-white light reads as commercial and harsh at night, and it will clash with every other warm fixture on your facade.
Can I install garage door lights myself, or do I need an electrician?
Solar and low-voltage options — sconces, uplights, bollards, path lights — are comfortable weekend DIY projects for most people. Swapping an existing hardwired fixture is also manageable if you turn off the breaker and follow the basics. Adding a brand-new junction box or circuit, cutting recessed lights into a soffit, or anything involving the panel is electrician territory; it's usually a quick, affordable visit.
Should garage lights be on a timer or motion sensor?
Both, in different roles. Decorative framing lights look best on a dusk-to-dawn timer or smart schedule so the facade is consistently lit every evening. Motion sensors belong on the security layer — the flood light over the driveway — so it stays dark and polite until someone actually arrives. Combining the two gives you a welcoming house that also responds when it needs to.
Conclusion
The garage door takes up more of your home's face than any other feature, so it deserves more than an afterthought bulb. Start with the frame — garage door lighting ideas like carriage lanterns, a center-column light, or a clean linear bar — then add one soft wash from uplights or grazing fixtures, and finish with the approach: bollards and path lights that lead everyone home. Keep every layer warm, matched, and on a schedule, and your garage will stop being the dark spot on the street and start being the best-lit facade on it. If you're planning the rest of the front of the house too, browse our porch and entry lighting ideas for the same layered approach, and enjoy coming home after dark.