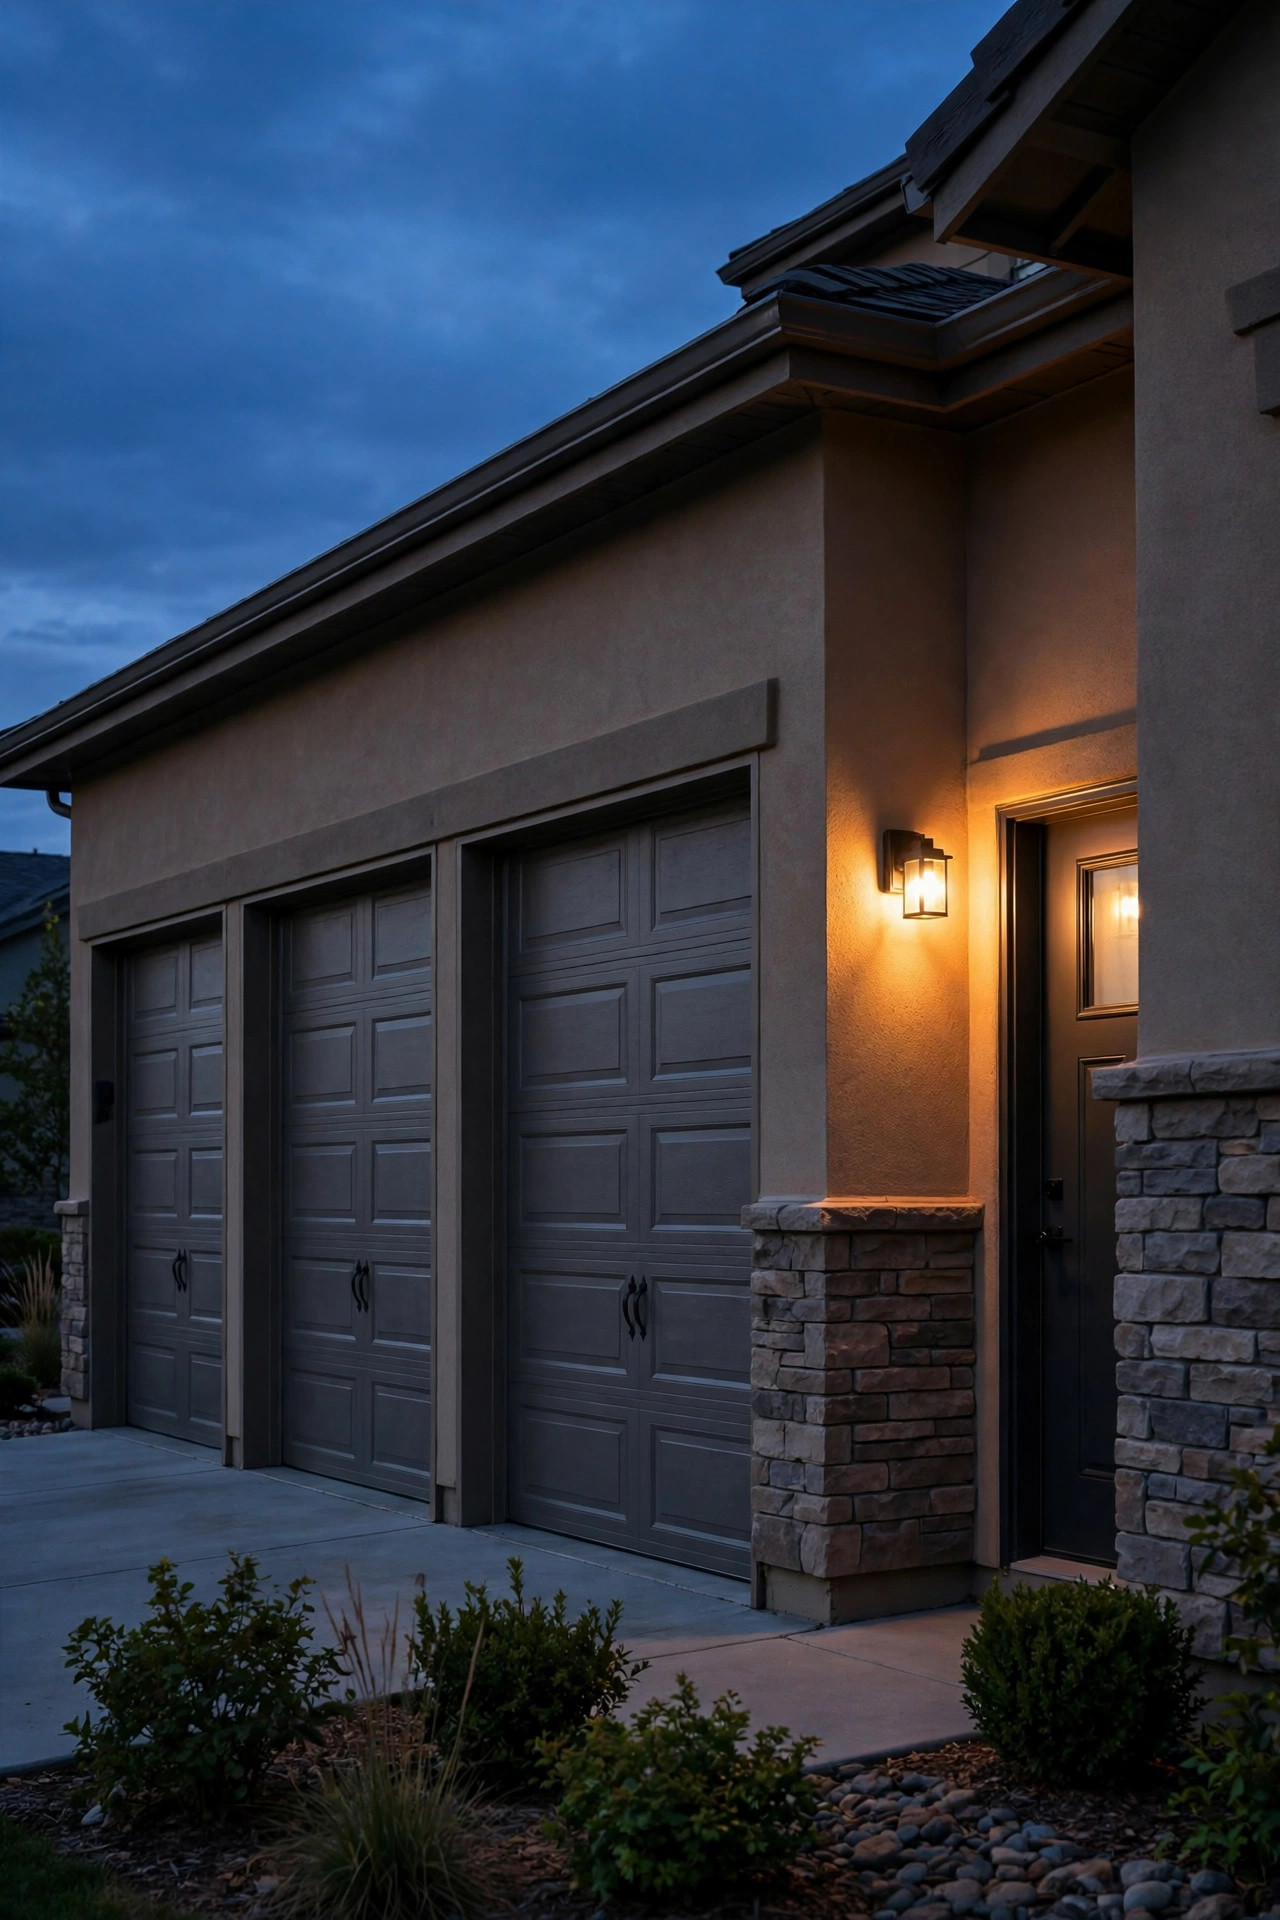
A three-car garage is a blessing right up until the sun goes down and that enormous facade turns into one flat, dark wall. Honestly, this is where most wide homes lose all their evening curb appeal — the garage can take up half the front of the house, so whatever you do (or don't do) with three-car garage lighting ideas sets the tone for the whole property. In my experience, the secret is never one big bright light. It's layering: fixtures at the piers, a little height above the doors, and a low glow along the apron, all in the same warm color temperature. That layered approach spreads light evenly instead of blasting one bay and leaving the other two in shadow. Below I've gathered 19 layouts and fixture ideas for wide, three-bay facades — from classic carriage lantern symmetry to smart zones you control from your phone — with budget ranges for each, so you can plan a facade that looks intentional from the street.
1. Bookend Sconces on the Outer Piers
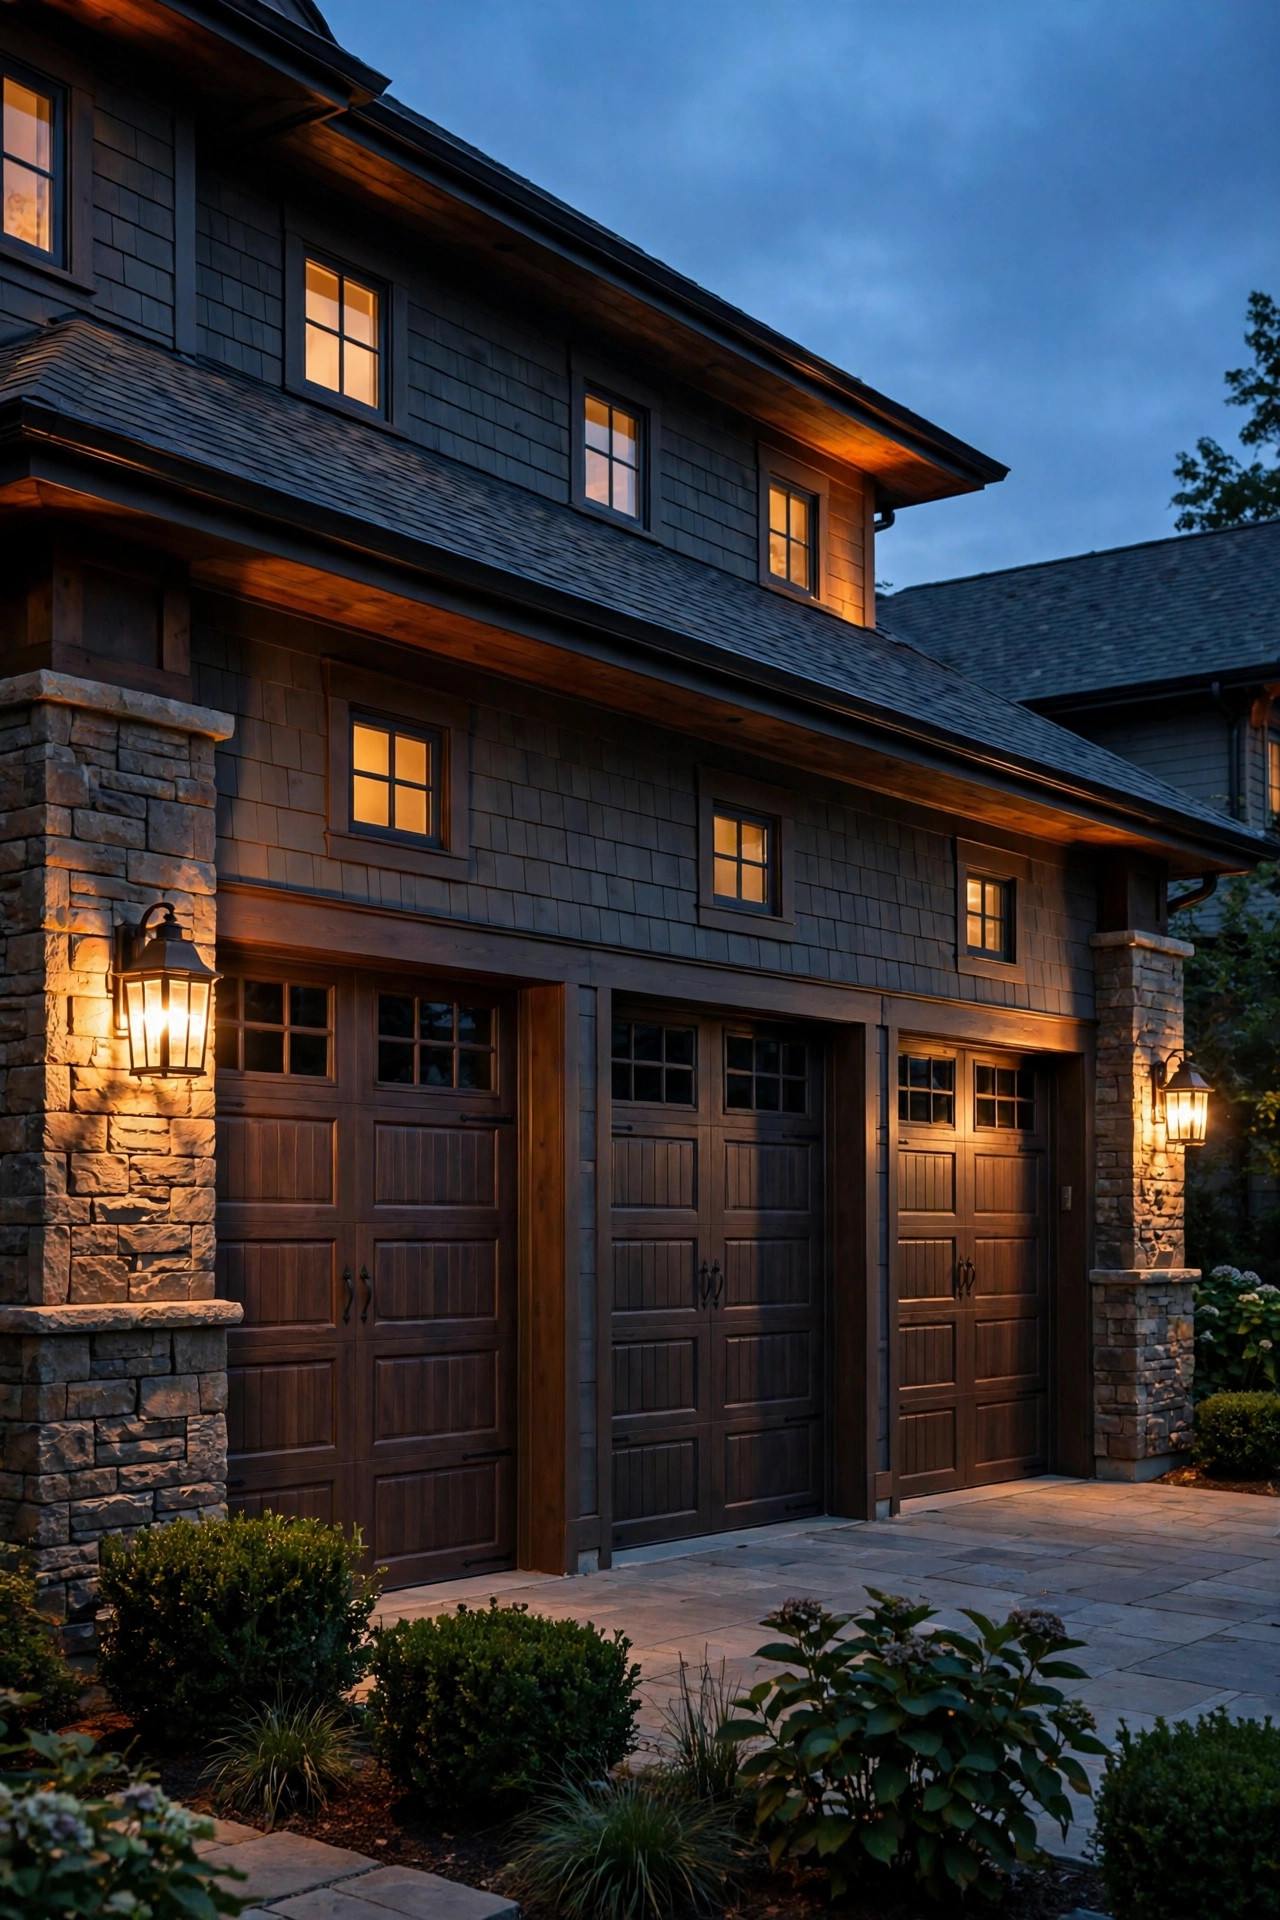
The simplest wide-facade layout I know is also the most forgiving: one sconce on each outer pier, bookending the whole garage. Those two end columns are the natural frame of a three-car front, and lighting just the frame makes the entire width feel deliberate without a fixture on every surface. Mount each sconce at eye level, roughly 5½ to 6 feet from the driveway surface, and center it on the pier so the glow washes both the wall and the edge of the nearest door. Choose fixtures with a little presence — on a wide facade, small sconces disappear, so look for lanterns at least 12 to 14 inches tall. I always recommend warm 2700K LED bulbs here, around 800 lumens each, which is plenty of welcome without turning the driveway into a runway. If your piers are narrow brick or stone columns, a backplate style mounts more securely than a hanging lantern. This layout also plays nicely with additions later: you can add between-bay fixtures next season and the bookends still make sense.
Suggested budget range: $90 – $260.
2. A Sconce Between Every Bay for Rhythm
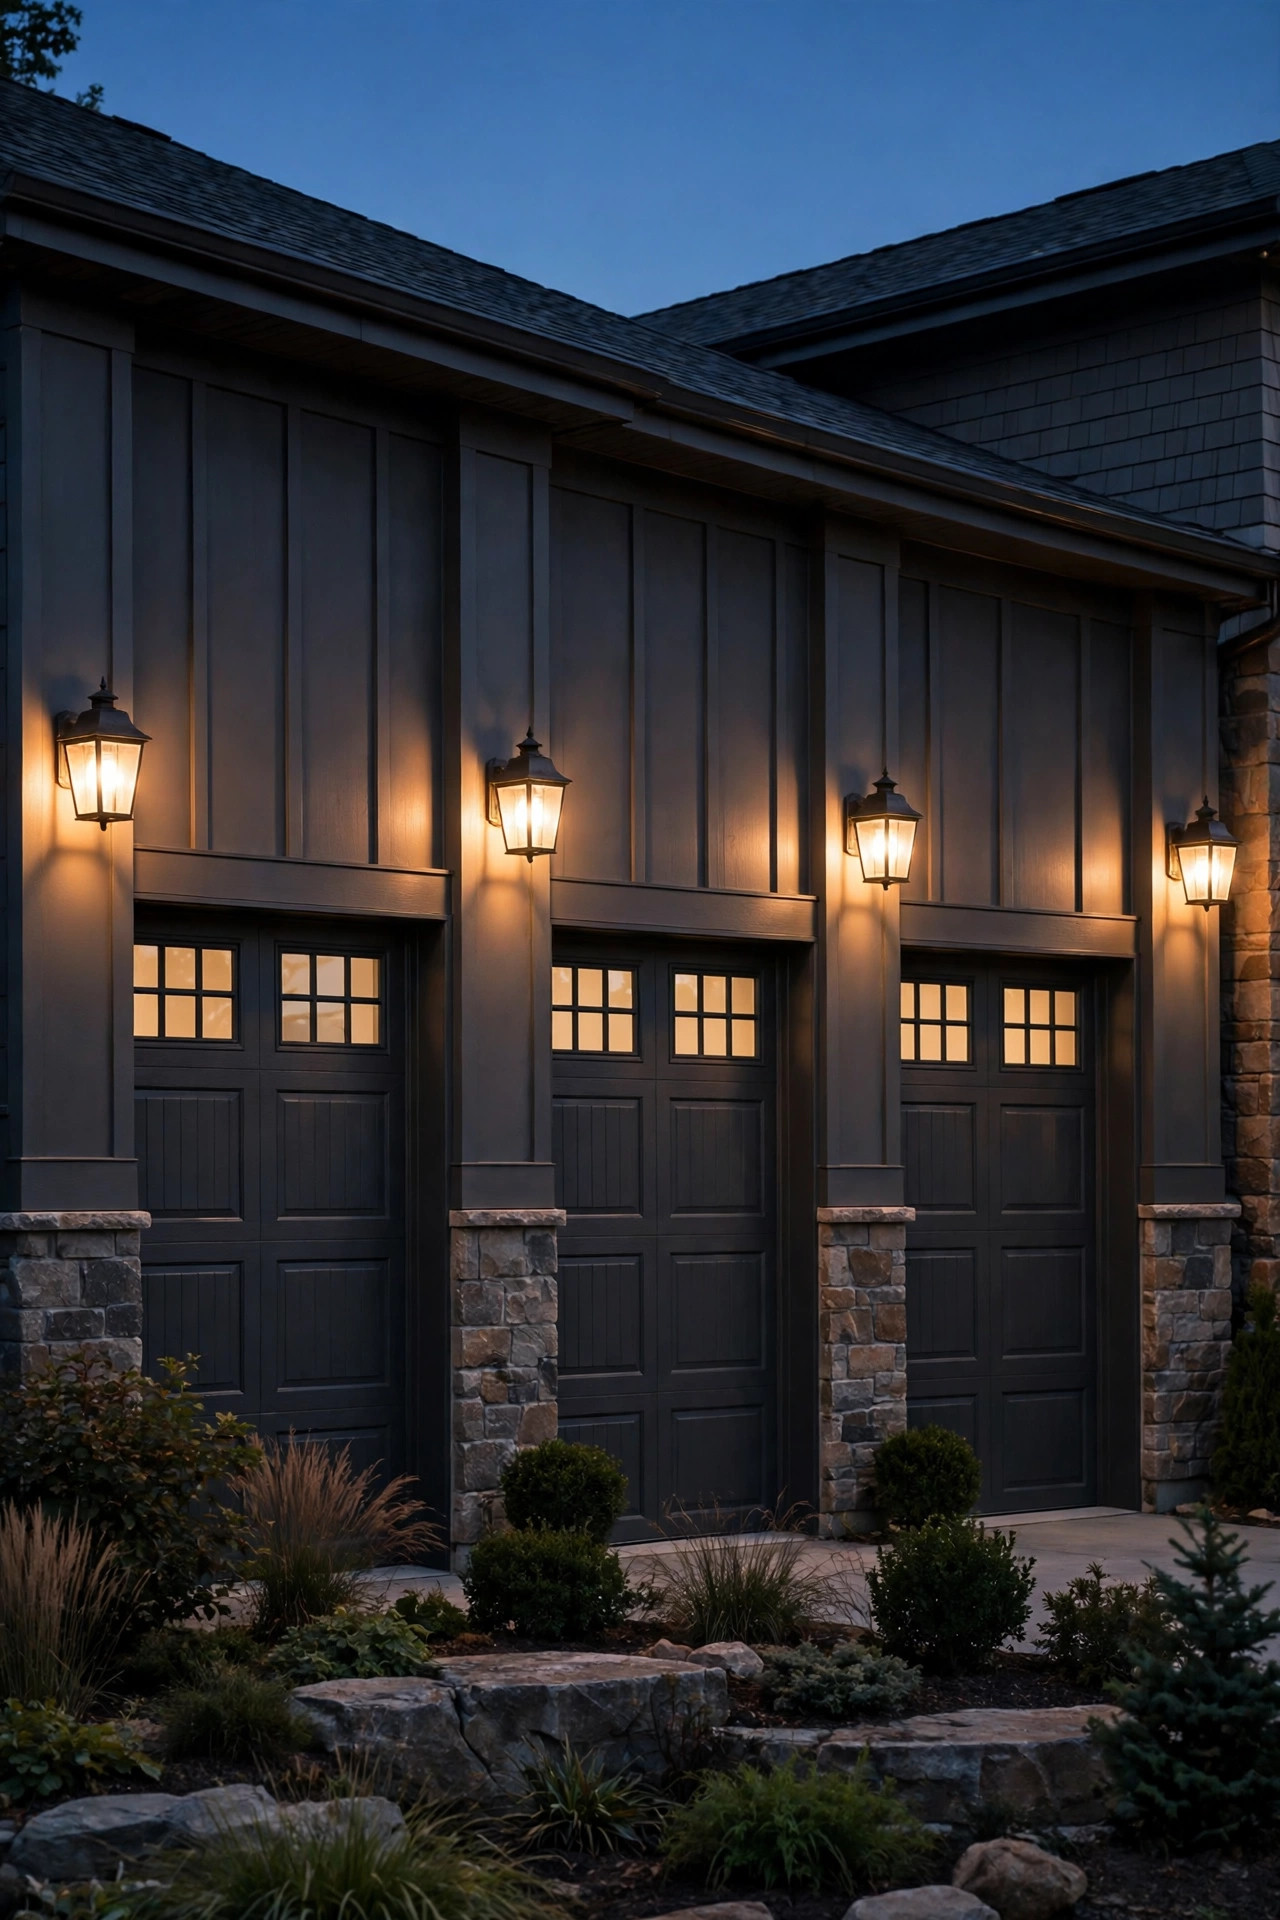
If bookends feel too minimal, the classic three-car treatment is four sconces: one on each outer pier and one on each pier between the doors. That even rhythm — light, door, light, door, light — is what gives big suburban facades their polished, builder-photo look, and it's the layout I recommend most for three-car garage lighting ideas because it scales perfectly. The trick is consistency: identical fixtures, identical mounting height (measure from the driveway, not the trim), and identical bulbs so no single light reads warmer or brighter than the others. Space them exactly on pier centers; being off by even two inches shows at night when the glow pools unevenly. Because you're buying four, this is a great place to choose mid-priced fixtures with replaceable LED bulbs rather than integrated LEDs — when one bulb eventually fades, you swap a $6 bulb instead of a whole lantern. Wiring runs daisy-chain neatly from pier to pier during a remodel, but if your walls are finished, an electrician can usually fish wire between bays in an afternoon.
Suggested budget range: $240 – $620.
3. Oversized Carriage Lanterns, Scaled Properly
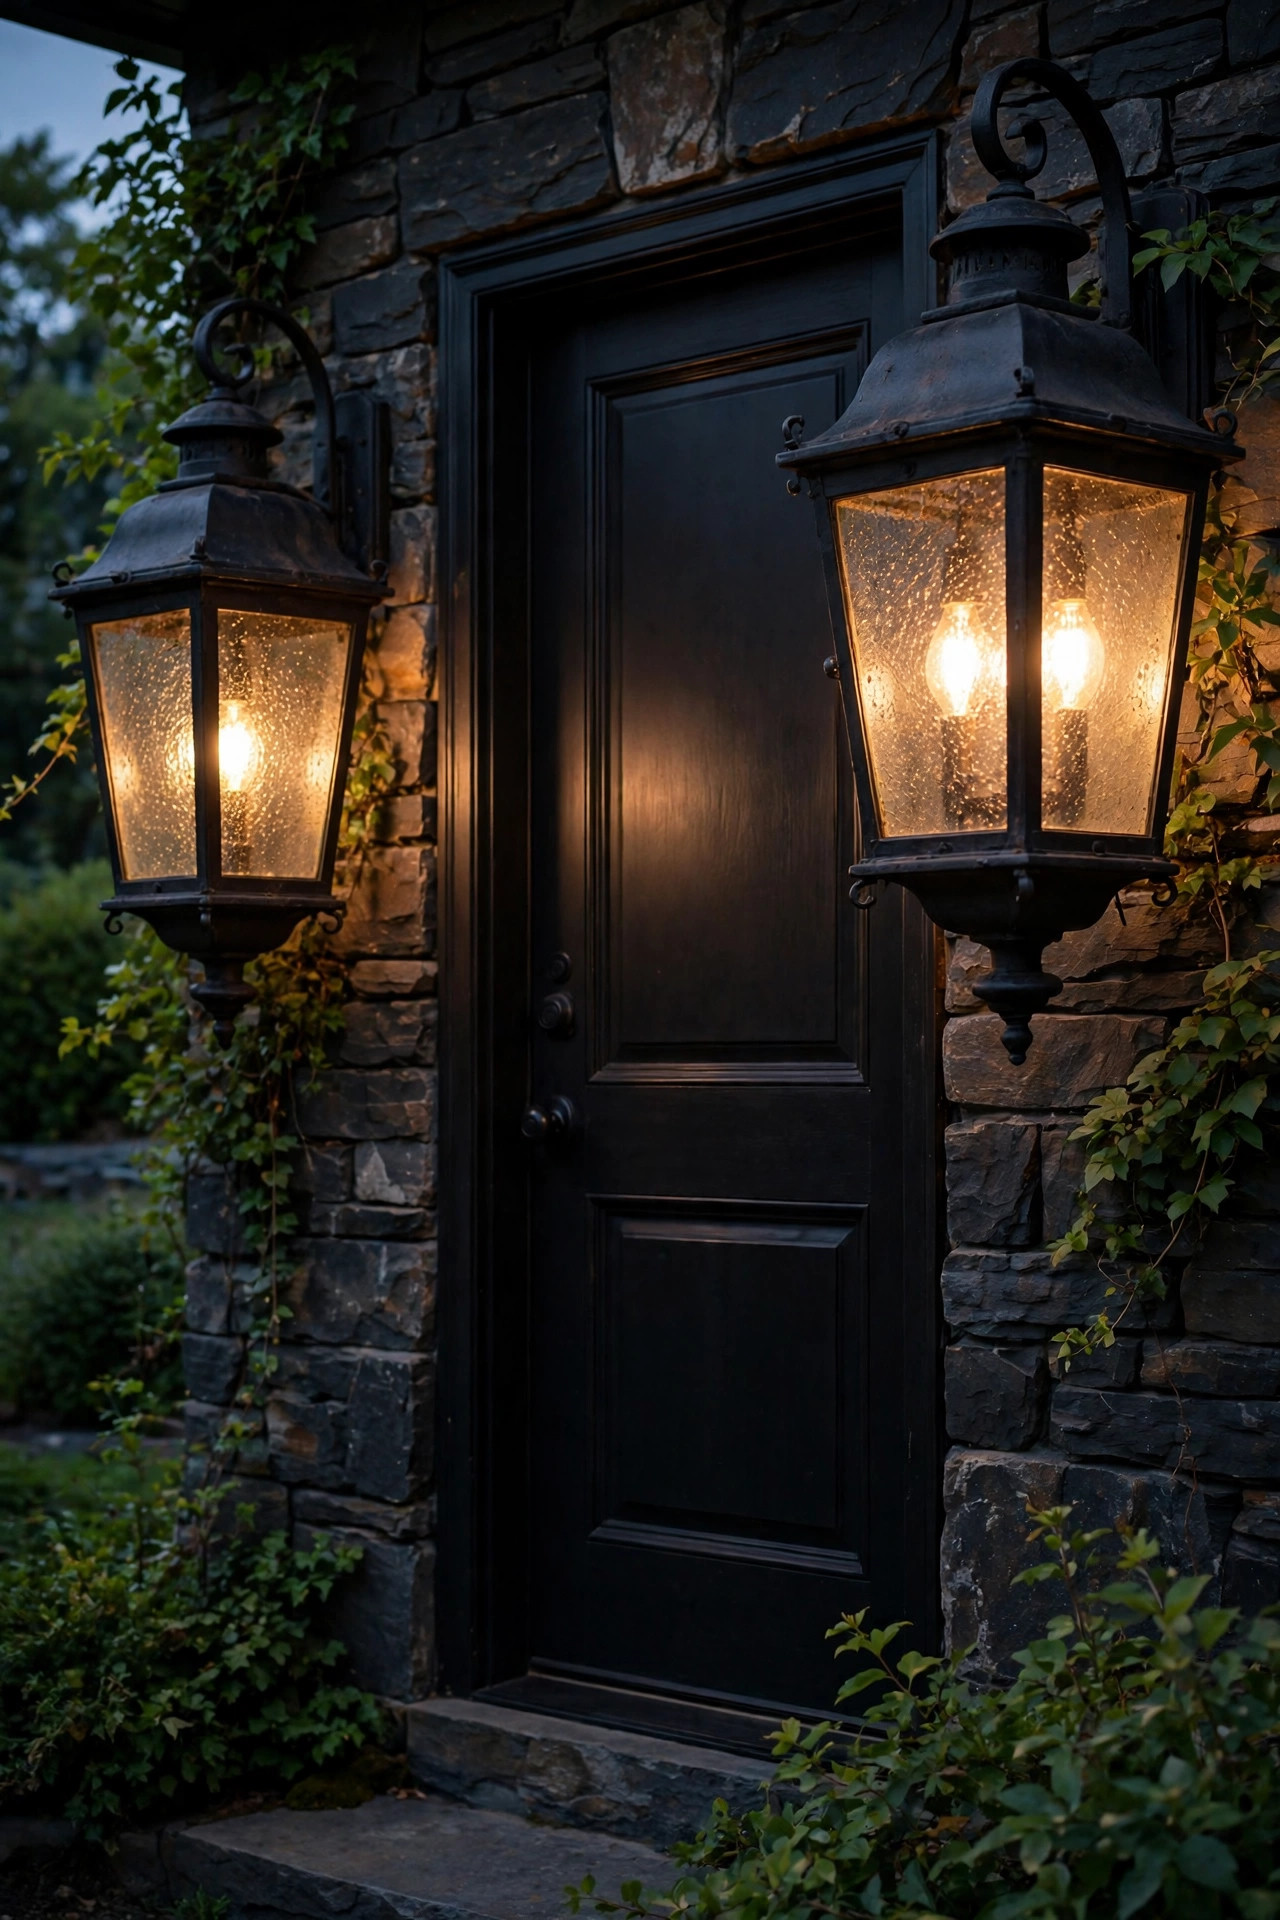
Carriage lanterns are the traditional partner for garage doors, but on a three-car facade the standard size looks lost. The sizing rule pros use: a fixture beside a door should be roughly one-quarter to one-third the height of the door itself. For a standard 7- to 8-foot garage door, that means lanterns 18 to 24 inches tall — much bigger than most people grab off the shelf, and honestly the single change that makes a wide facade look expensive. Hung or wall-mounted carriage styles with clear glass and a visible filament-style LED bulb give that warm, welcoming sparkle, and black or oil-rubbed bronze finishes read beautifully against brick, stone, and most siding colors. If you want a deeper dive on styles, sizing, and mounting heights, my guide to garage and carriage light ideas walks through the options in detail. Keep glass clean — on large lanterns, dusty panes cut the glow noticeably, so a quick wipe each spring is worth it.
Suggested budget range: $150 – $480.
4. Gooseneck Barn Lights Over Each Door
For farmhouse, craftsman, and transitional homes, a gooseneck barn light centered above each door gives a wide garage real character. The curved arm throws light downward in a soft cone that pools on the apron right where you step out of the car, which is both pretty and practical. Mount the canopy about 12 to 18 inches above the top of the door trim, and choose a shade wide enough — 12 to 14 inches — to spread the beam across a full bay. Because these fixtures point down, they're naturally glare-free for neighbors across the street, which your HOA will appreciate. I love them in matte black or galvanized finishes with a warm bulb tucked up inside the shade; you see the glow, not the bulb. One caution: above-door placement means changing a bulb involves a ladder, so choose long-life LEDs rated 25,000 hours or more and you'll rarely climb. Three matching goosenecks across a wide facade have that modern-farmhouse rhythm that photographs beautifully at dusk.
Suggested budget range: $180 – $450.

5. Recessed Soffit Downlights Washing the Doors
If your garage has a soffit or eave overhang, recessed downlights tucked into it create the cleanest, most architectural look of all — no visible fixtures, just an even wash of light down each door. Space them 4 to 5 feet apart across the full width, which typically means five to seven cans for a three-car front, each aimed straight down about 12 to 18 inches out from the wall. That close offset is what grazes texture: carriage-style door panels, board-and-batten siding, and stone veneer all gain gorgeous shadow detail. Use outdoor-rated, wet-location trims with 2700–3000K LEDs at roughly 600–800 lumens each, and put the whole row on a dimmer if you can — at 60% they're pure ambience, at full they're genuinely useful for unloading groceries. This is the one idea on the list I'd hire out unless you're confident cutting into a soffit and tying into a junction box; permits and GFCI protection matter here. The payoff is a facade that looks lit by an architect rather than by a hardware-store run.
Suggested budget range: $350 – $900.

6. A Centered Motion-Sensor Floodlight
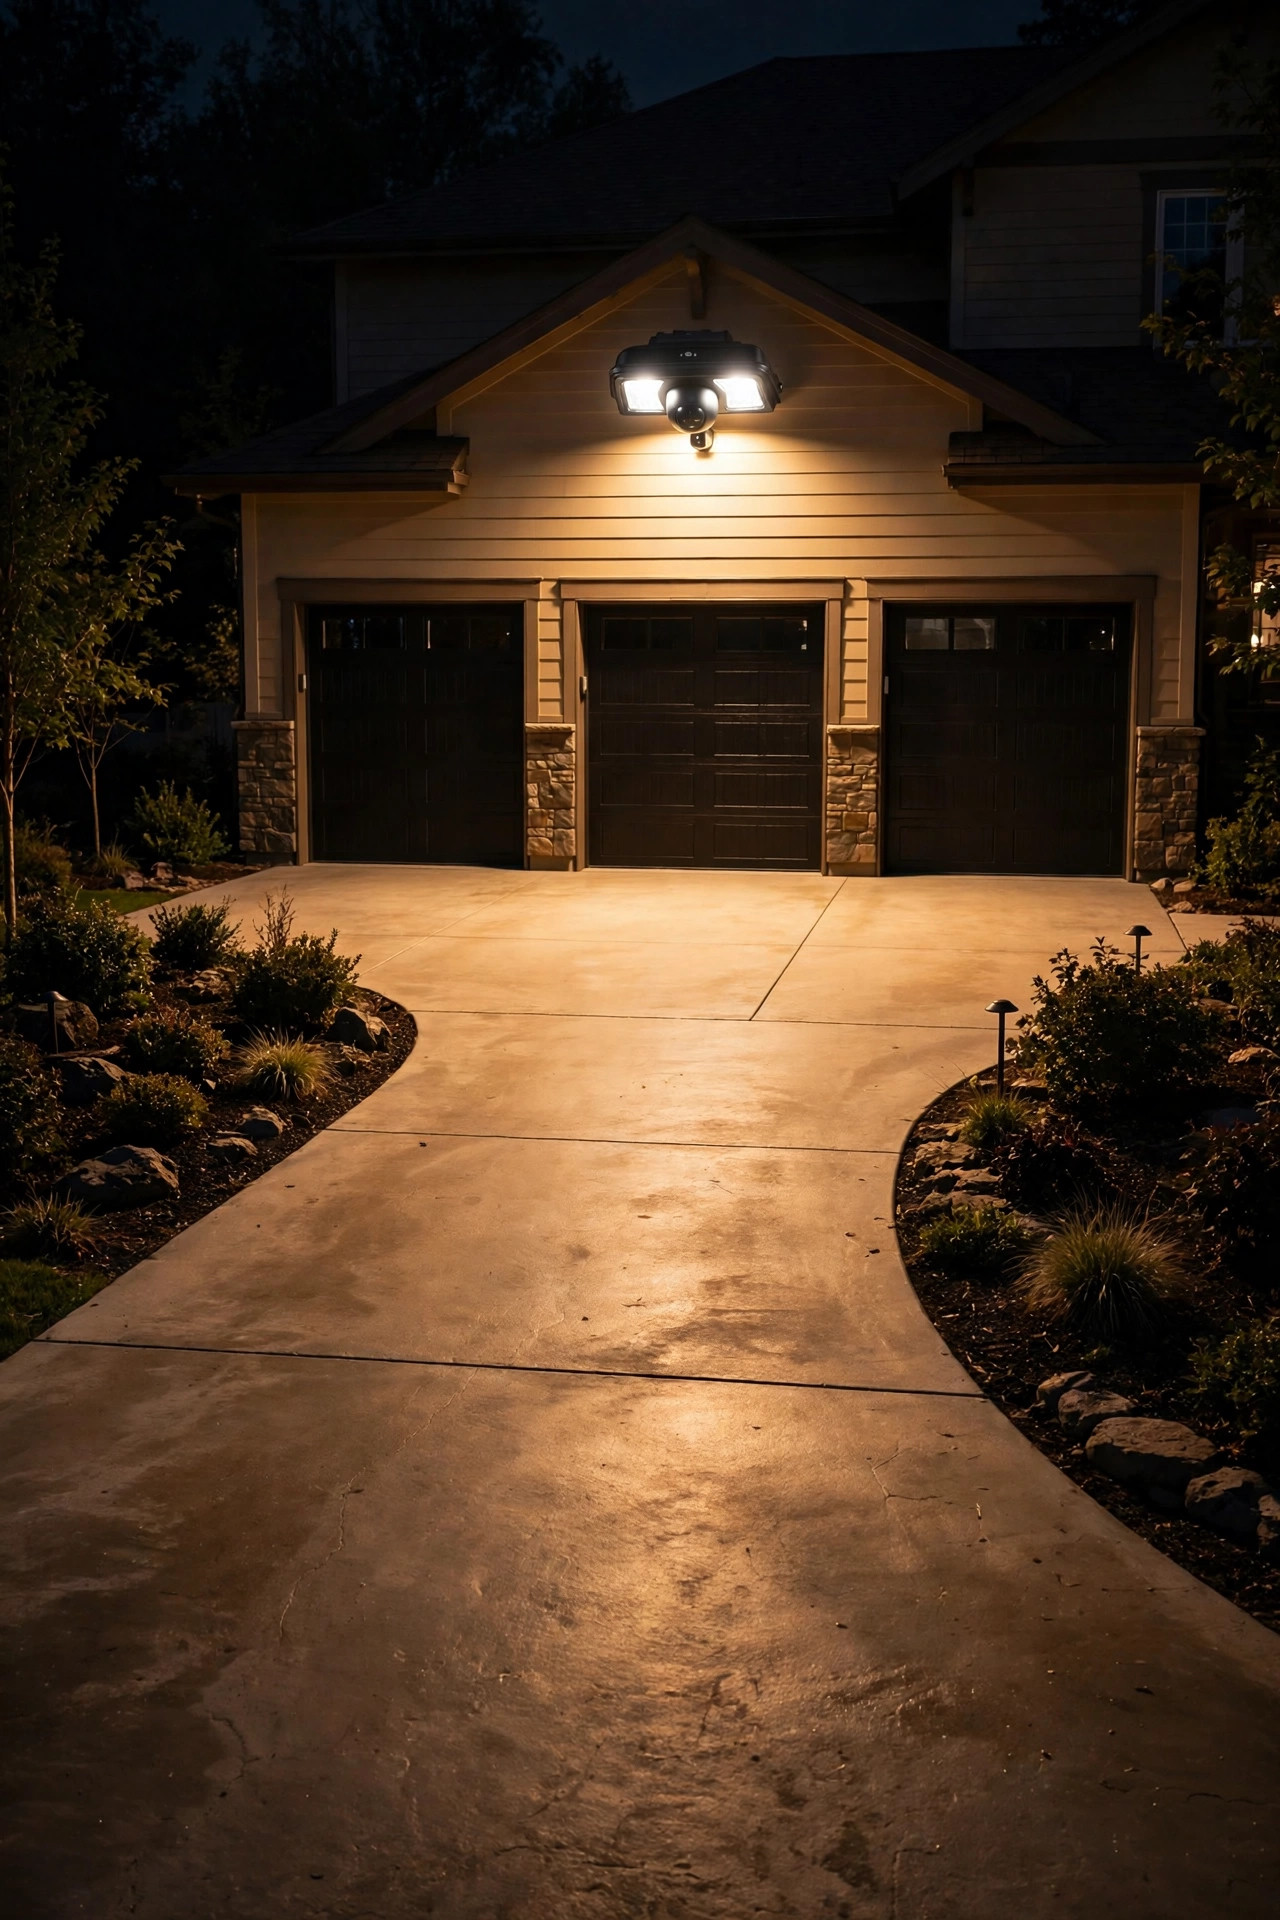
A wide driveway gives you a lot of dark apron to cross at night, and a motion-sensor floodlight mounted high above the center bay covers all of it in one sweep. Look for a dual- or triple-head LED flood with adjustable heads you can splay outward — center head aimed down the driveway, side heads angled toward the outer bays — so the beam pattern matches your width instead of forming one bright circle. Set sensitivity so it triggers from the street edge of the apron but not from passing sidewalk traffic, and use the dusk-to-dawn-plus-motion mode if it offers one: a dim warm glow all evening that brightens when someone arrives feels far more welcoming than total darkness snapping to stadium light. My full motion sensor outdoor lights guide covers sensitivity, range settings, and placement mistakes in depth. Keep the color temperature at 3000K or warmer; cool-white floods are the number-one reason garage lighting looks harsh in photos and in person.
Suggested budget range: $45 – $160.
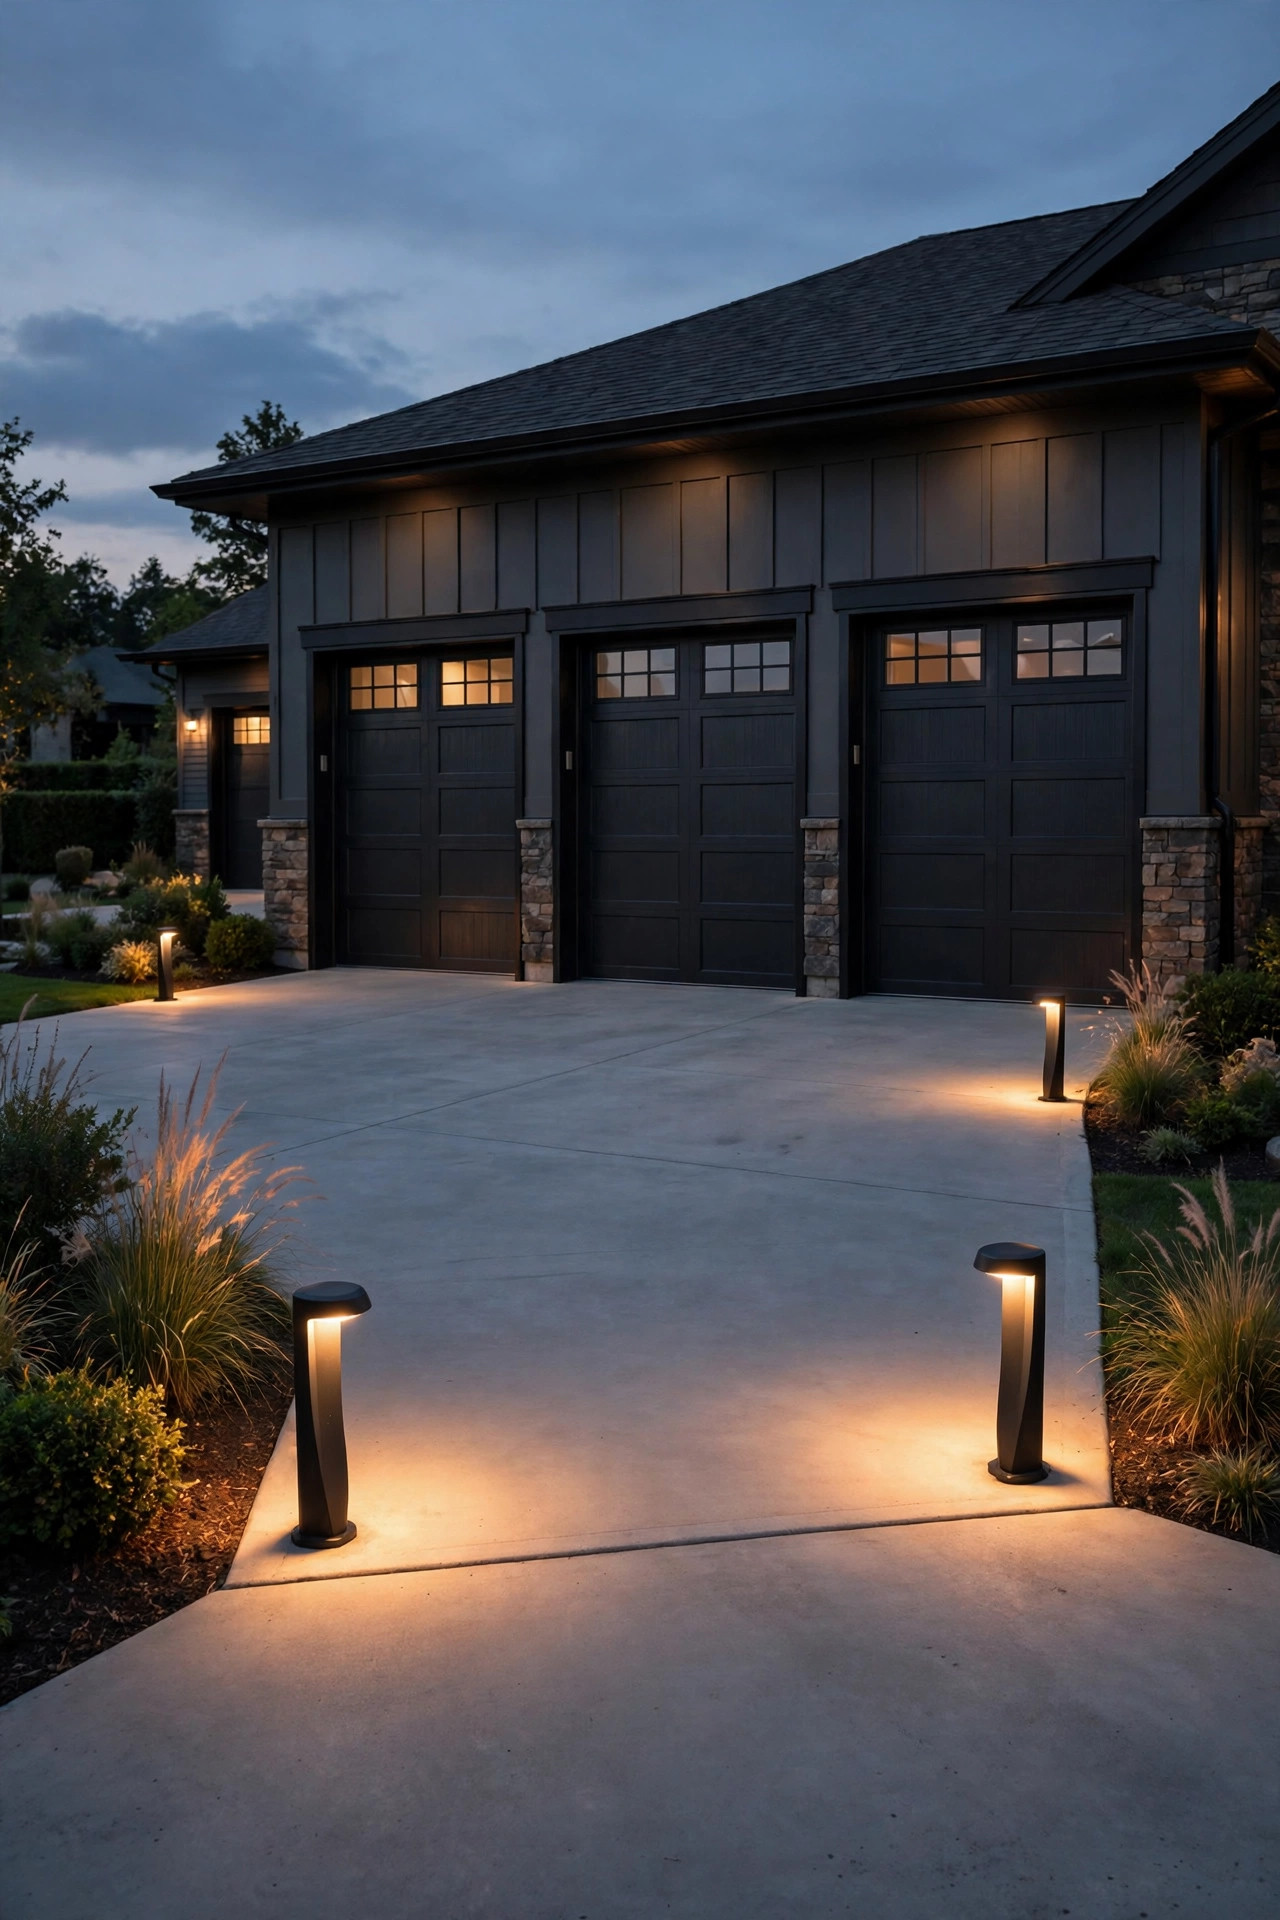
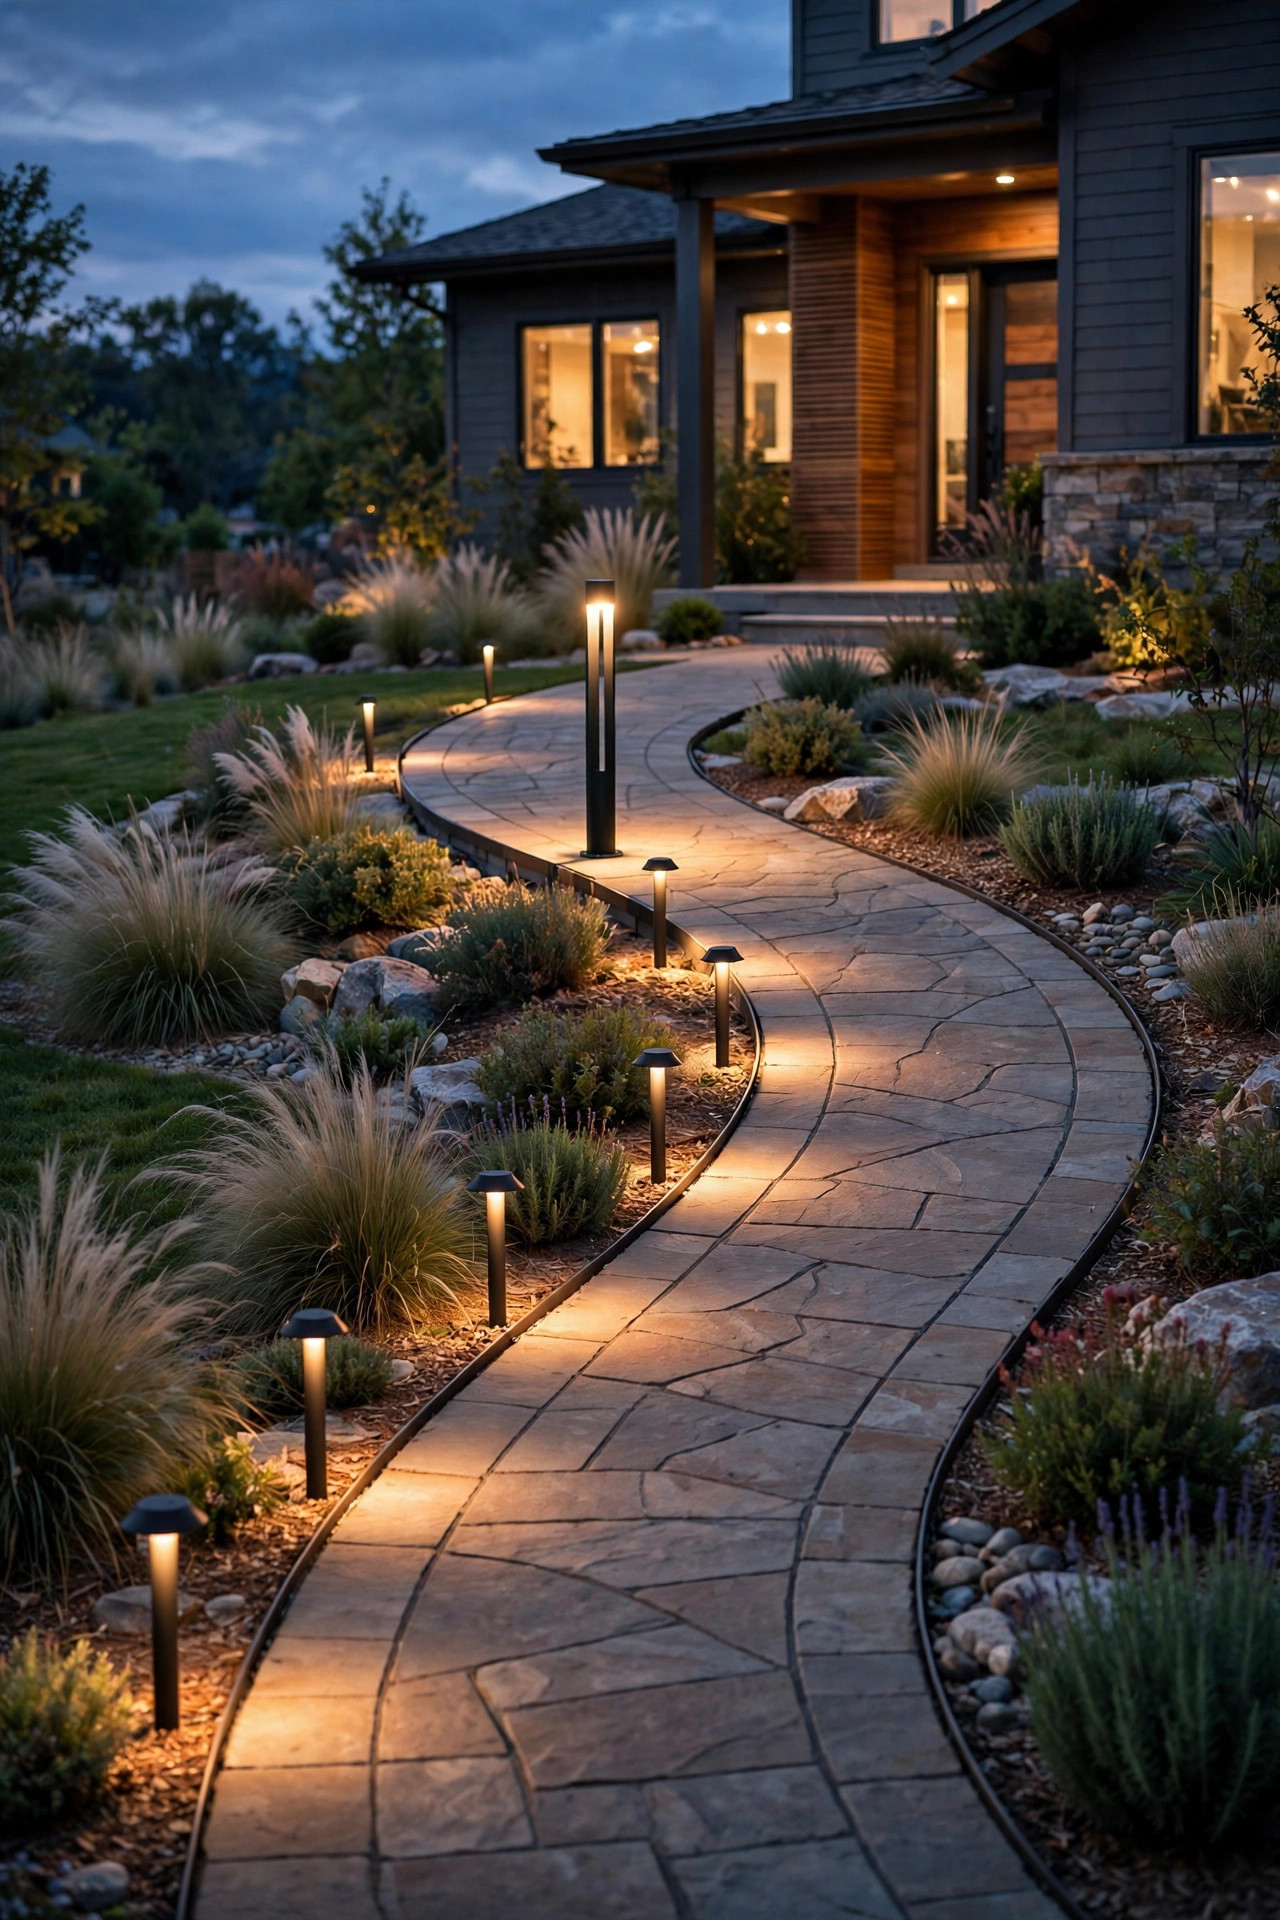
7. Low Bollards Edging the Apron
The doors get all the attention, but the apron — that wide slab in front of a three-car garage — is where guests actually park, turn, and walk. A pair or trio of low bollard lights along the apron's outer corners quietly defines the space and keeps tires off the lawn edge. Keep them short, 18 to 24 inches, with shielded tops that throw light down and out in a soft disc rather than into anyone's eyes. On a wide driveway, two bollards at the front corners plus one at the walkway junction usually beat a long marching row; you're marking edges, not building a landing strip. Hardwired low-voltage bollards tie neatly into an existing landscape lighting transformer, and their warm discs of light echo the sconces above for a layered look. If you're planning the whole approach, my roundup of driveway lighting ideas has layouts for every length and width. Choose metal housings over plastic — they survive the inevitable bumper tap and winter shoveling far better.
Suggested budget range: $120 – $380.
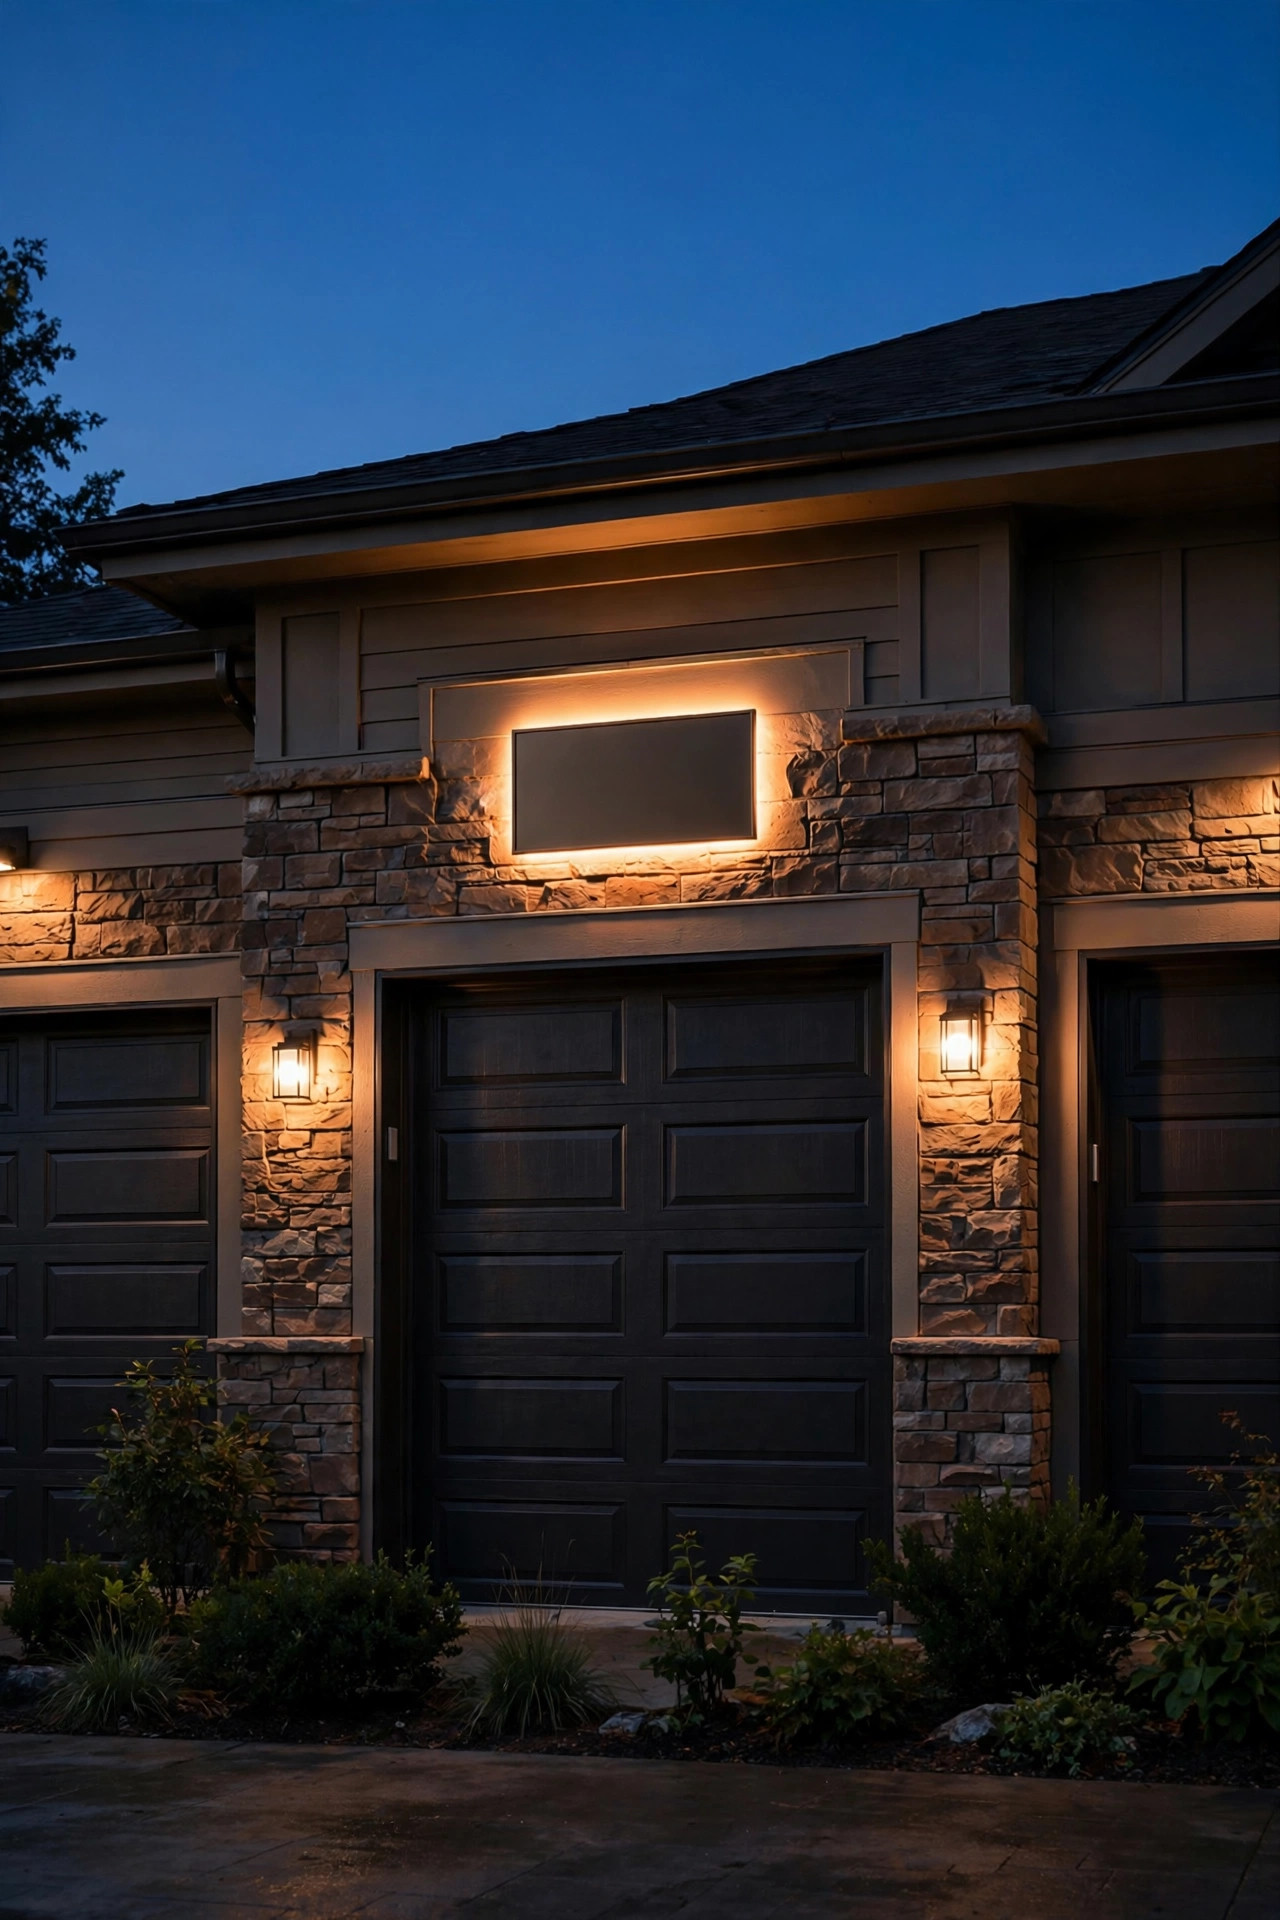
8. A Backlit Address Plaque Above the Center Bay
Delivery drivers and first-time guests scan a wide facade for one thing: the house number. A backlit address plaque centered above the middle door turns that necessity into a design feature — a soft halo of light behind crisp numerals that reads from the street without a spotlight. Most plaques are low-voltage or solar with a small rechargeable cell, and the halo style (light spilling from behind the plate) looks far more high-end than front-lit numbers. Center it on the middle bay at least 18 inches above the door trim so it clears the door's swing arc visually, and match the plaque finish to your sconces for a coordinated look. Choose numerals at least 5 to 6 inches tall; on a three-car-wide front, smaller numbers vanish. This is also a genuine safety upgrade — paramedics and firefighters will tell you that a clearly lit address at night saves real minutes. Installation is usually two screws and, for wired versions, a tap off the nearest sconce circuit.
Suggested budget range: $60 – $190.
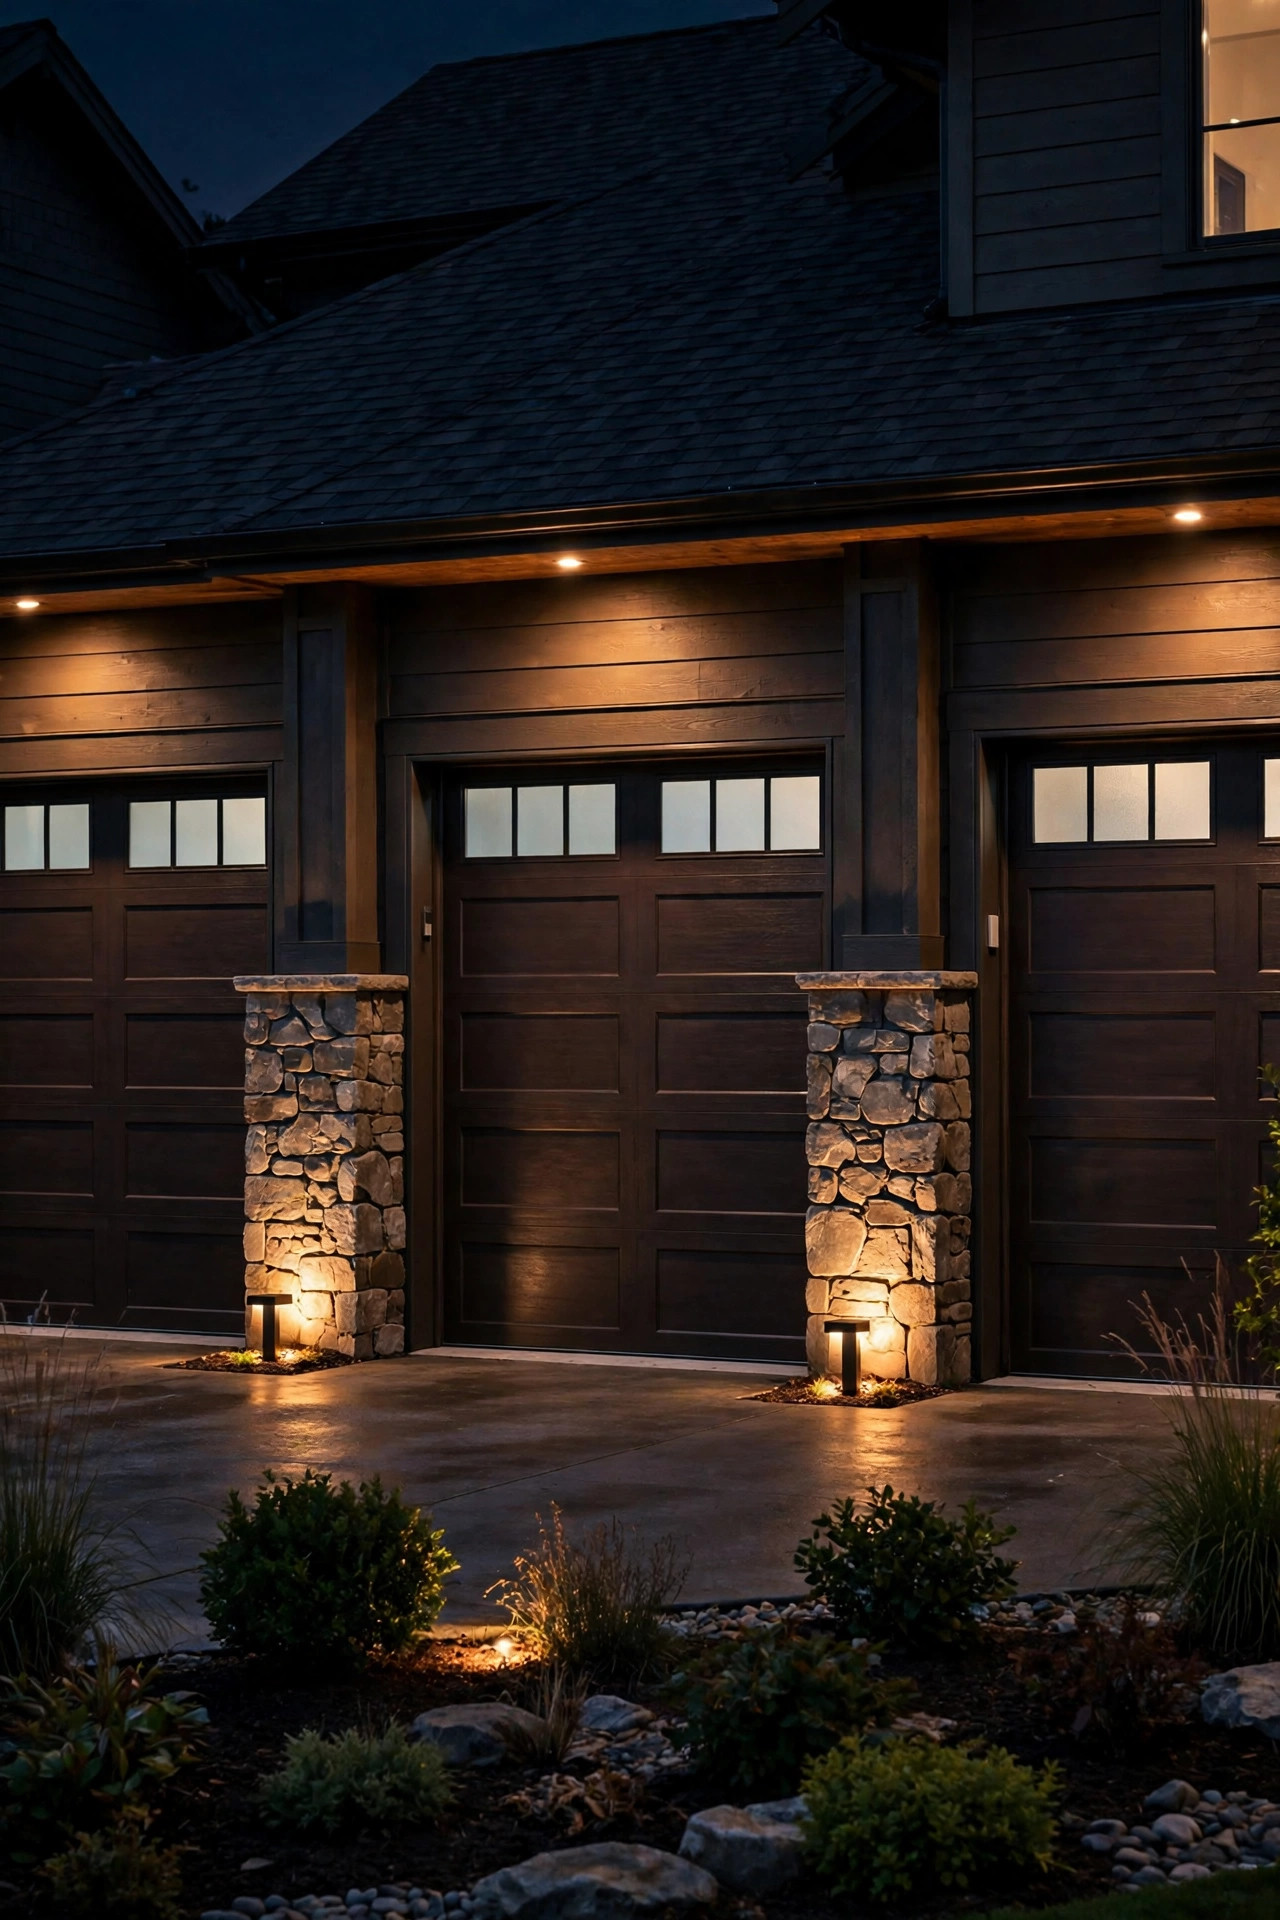
9. Uplights Grazing Stone or Brick Piers
If your three-car garage has stone or brick piers between the doors, you're sitting on free texture — and uplighting is how you cash it in. A small well light or bullet spot set at the base of each pier, aimed straight up with a narrow-to-medium beam, rakes light across the masonry so every stone edge and mortar line casts a tiny shadow. The effect at night is genuinely dramatic, and because the fixtures sit at ground level, they're nearly invisible by day. Keep fixtures a few inches out from the wall face; too close and you get a hot stripe at the bottom, too far and the grazing effect flattens. Warm 2700K is non-negotiable here — it makes stone look golden rather than gray. Low-voltage bullet spots on stakes are the easiest route and connect to the same transformer as your landscape lights. Skip this on smooth stucco or flat siding, where grazing light mostly highlights every trowel mark and imperfection instead.
Suggested budget range: $130 – $340.
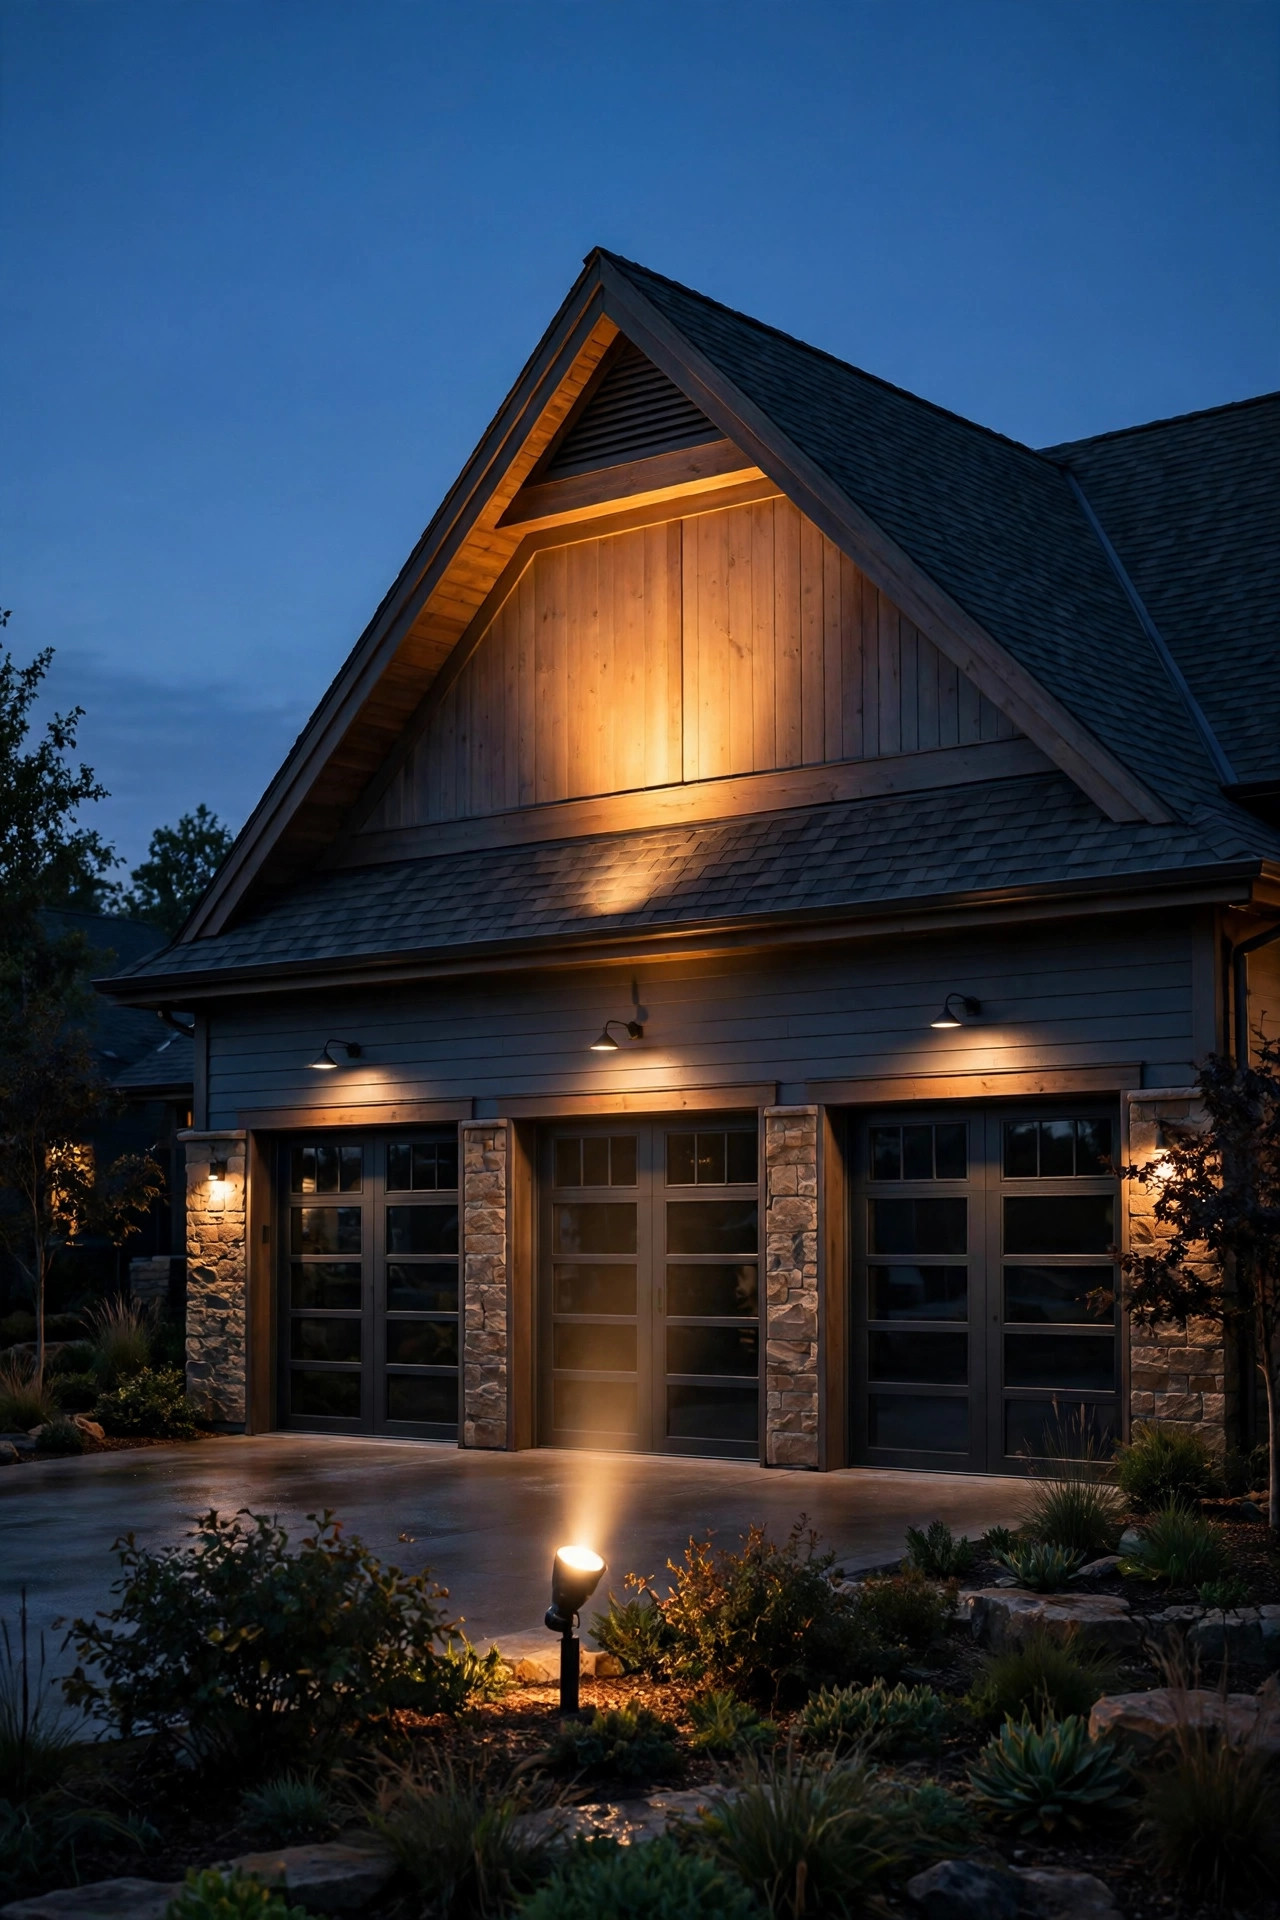
10. A Spotlight for the Gable Above the Garage
Wide garages often sit under a big gable or a stretch of roofline that goes completely black at night, which makes the house look like it's floating on its lit ground floor. One or two uplights aimed at that peak solve it: a narrow-beam spot from the planting bed, or a flood mounted on the garage's own fascia, washing the gable triangle in warm light. This is the "height layer" of a good three-car garage lighting layout, and it's what separates a flat facade from one with real dimension. Keep the beam tight — a 15- to 25-degree spot — so light lands on the gable instead of spilling into the sky or a second-story window. If your gable has a vent, louver, or decorative truss, aim to graze it slightly off-center for shadow and depth. A single 1,500-lumen LED spot is usually plenty; two crossed beams work on especially wide peaks. Put this light on the same timer as your landscape lighting so the whole composition turns on and off together.
Suggested budget range: $70 – $220.
11. Solar Stakes Marking the Apron Corners
Not every wide facade needs another wired circuit. For renters, new builds with unfinished landscaping, or anyone testing a layout before committing, solar stake lights at the apron's corners are the fastest win on this list — push them in and you're done by dinner. Quality matters enormously here: choose stakes with a separate, larger solar panel and warm-white LEDs, at least 40–60 lumens each, because the dim blue-tinted dollar-store versions make a handsome garage look haunted. Place one at each front corner of the apron and, if your driveway is long, a matching pair halfway down to guide the eye in. They won't light the doors, but they outline the parking area so guests stop trimming your lawn with their tires. Expect two to three seasons from the rechargeable batteries, and bring them in during harsh winters in northern climates to extend their life. Think of solar stakes as punctuation — they finish the sentence the sconces started.
Suggested budget range: $35 – $110.
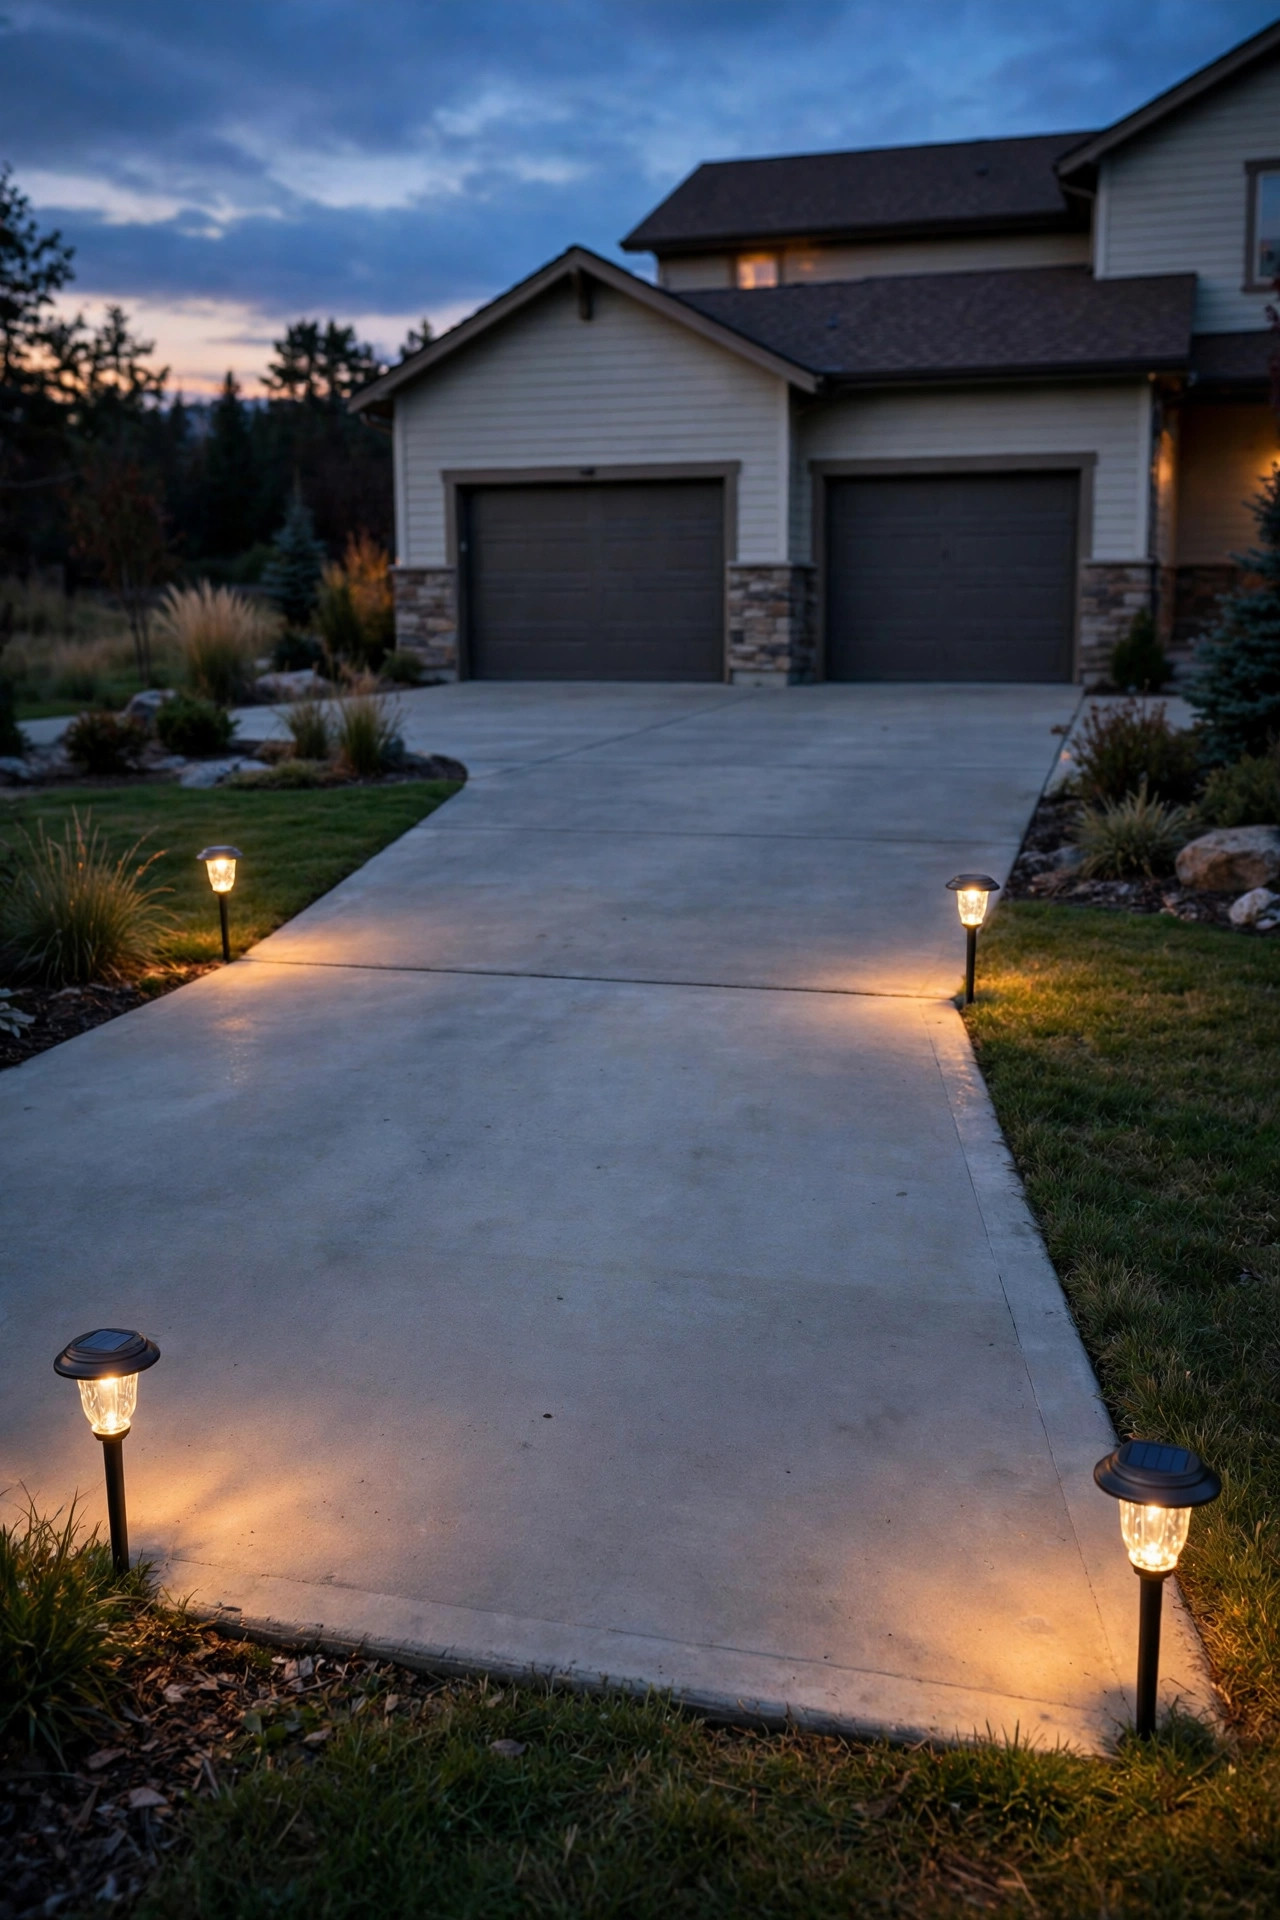
12. Smart Zoning: Garage Lights on Their Own Schedule
A three-car front can carry eight or more fixtures, and running all of them all night is wasteful and flat-looking. Smart zoning fixes both problems: put the sconces on one smart switch, the floods and soffit lights on another, and the low landscape glow on a third, then schedule them in layers. My favorite routine is sconces on at sunset at full warmth, landscape glow joining at dusk, and everything except the sconces stepping down or off at 11 p.m. — the house still looks lived-in, but you're not lighting an empty driveway at 3 a.m. Smart bulbs in the lanterns also let you dim for holidays or brighten when you're expecting guests, all from your phone. Just be sure every fixture on a smart switch uses standard replaceable bulbs or is rated dimmable/smart-compatible; some integrated LED fixtures fight with smart switches and flicker. This is one of the most practical three-car garage lighting ideas I know, because wide facades burn more electricity than narrow ones — zoning is where the savings compound.
Suggested budget range: $80 – $300.
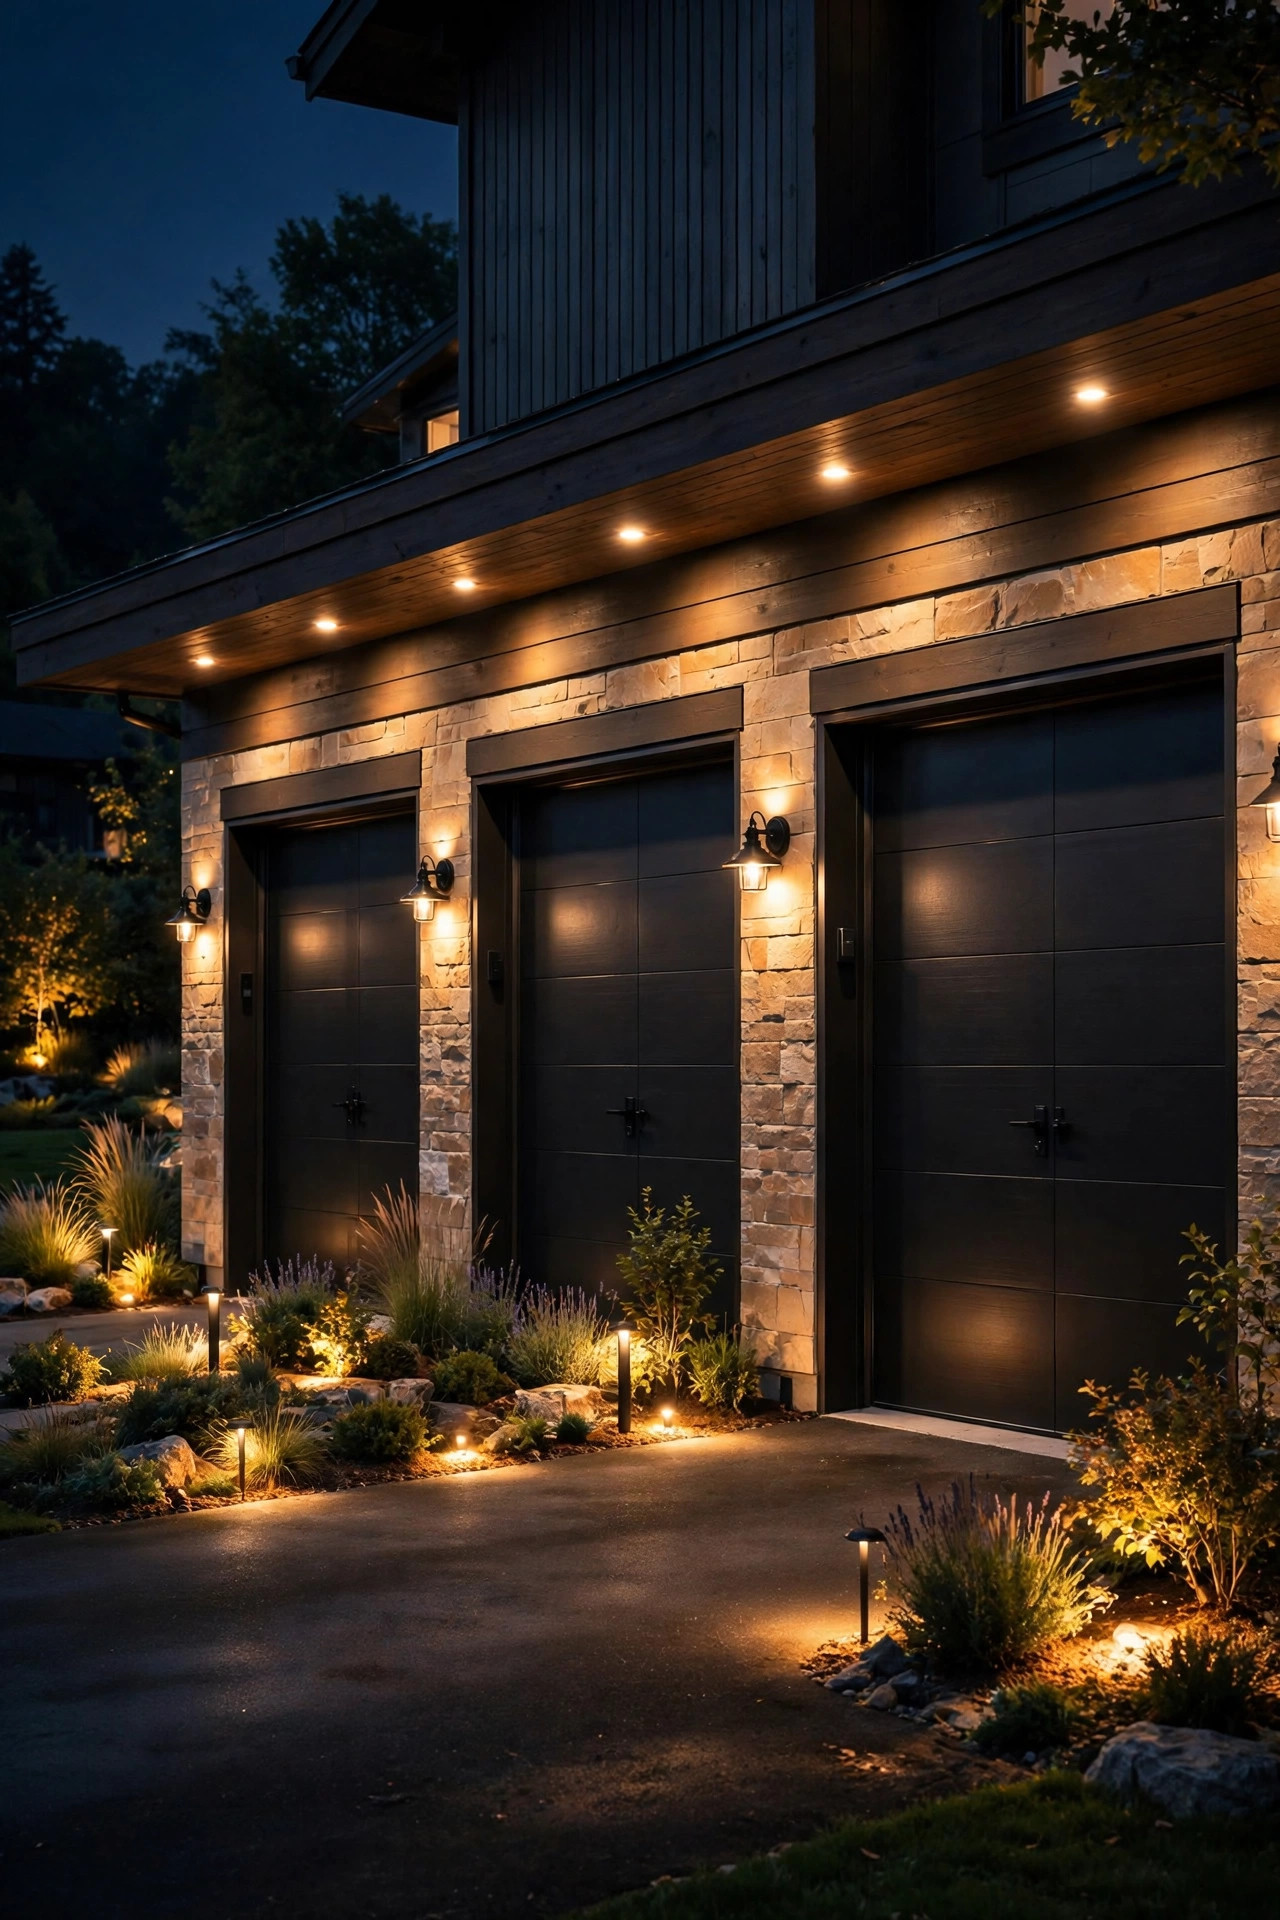
13. Dusk-to-Dawn Photocell Bulbs for Set-and-Forget Light
If smart switches feel like overkill, photocell bulbs are the humble hero of garage lighting. These LED bulbs have a tiny light sensor built in: they switch themselves on at dusk and off at dawn, no timer, no app, no programming. In a four-sconce layout they keep every lantern perfectly in sync, because each bulb reads the same fading light. They're ideal for the third bay that sits farther from the front door — the one everyone forgets to switch on. Choose warm 2700K versions with the sensor positioned to face outward when screwed in, and avoid fully enclosed fixtures unless the bulb is rated for them, since trapped heat shortens sensor life. One honest caveat: a photocell bulb under a bright soffit light or streetlamp may think it's daytime and stay off, so test one fixture before buying a whole set. For snowbirds and rental properties, this is the lowest-maintenance welcoming light you'll ever install.
Suggested budget range: $25 – $70.
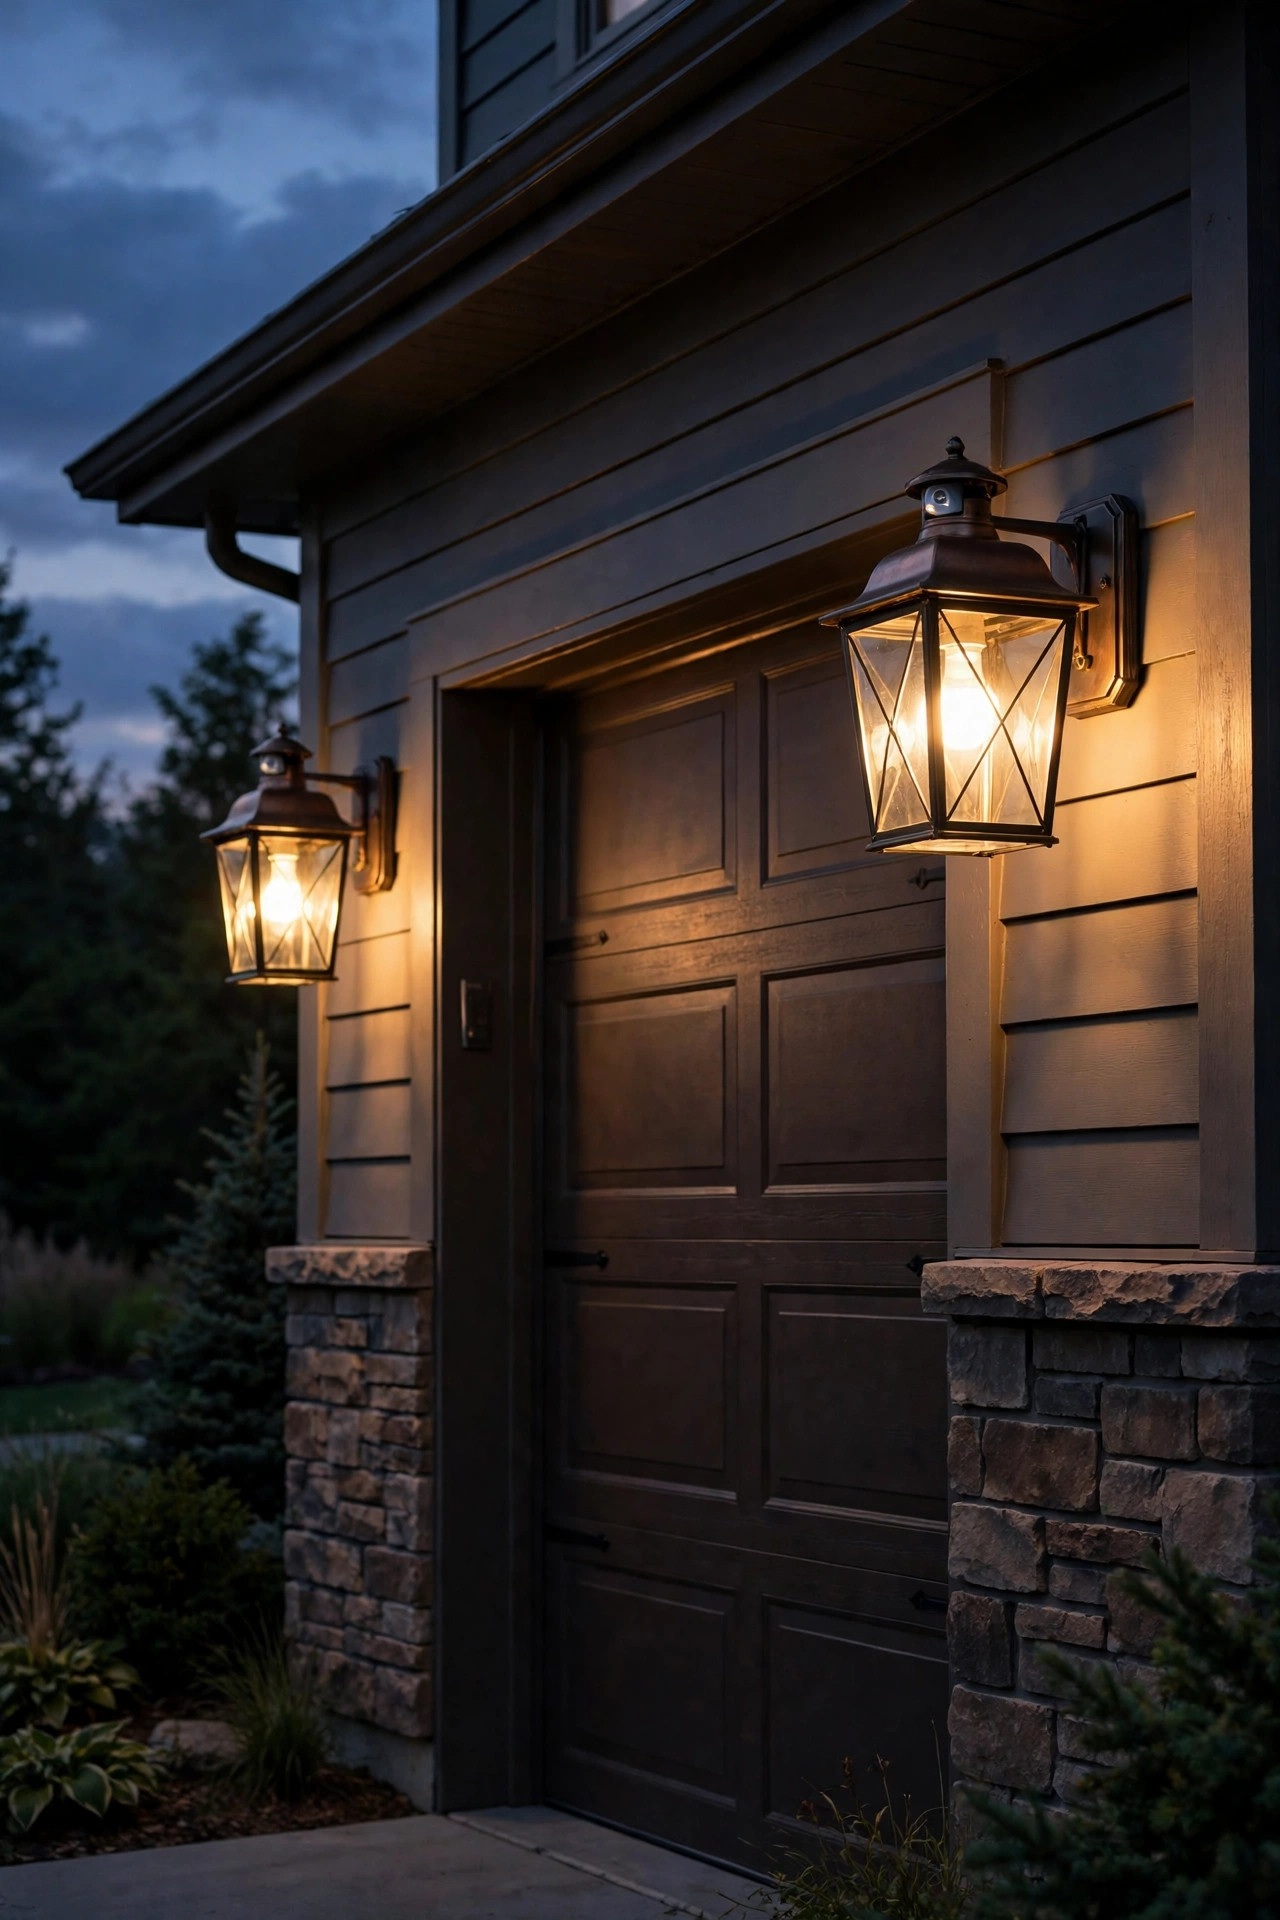
14. One Color Temperature Across Every Fixture
Here's the unglamorous rule that makes or breaks wide facades: every bulb, from the four sconces to the bollards to the gable spot, must share one color temperature. A three-car front shows mismatches mercilessly — one cool 4000K bulb among warm 2700K lanterns glows blue-white like a sore thumb, and because the fixtures line up in a row, your eye catches it instantly. I recommend 2700K across the board for that golden, welcoming look (3000K if your home's style is more contemporary), and I keep a labeled spare box in the garage so replacements always match. When you buy, check the Kelvin number on every package, including "free" bulbs included with fixtures — those bundled bulbs are frequent offenders and often 3000–4000K even in a warm-looking lantern. If some of your fixtures are integrated LED, note their fixed temperature before buying anything else, and match the rest of the plan to them. Consistency is invisible when it's right and glaring when it's wrong.
Suggested budget range: $30 – $90.
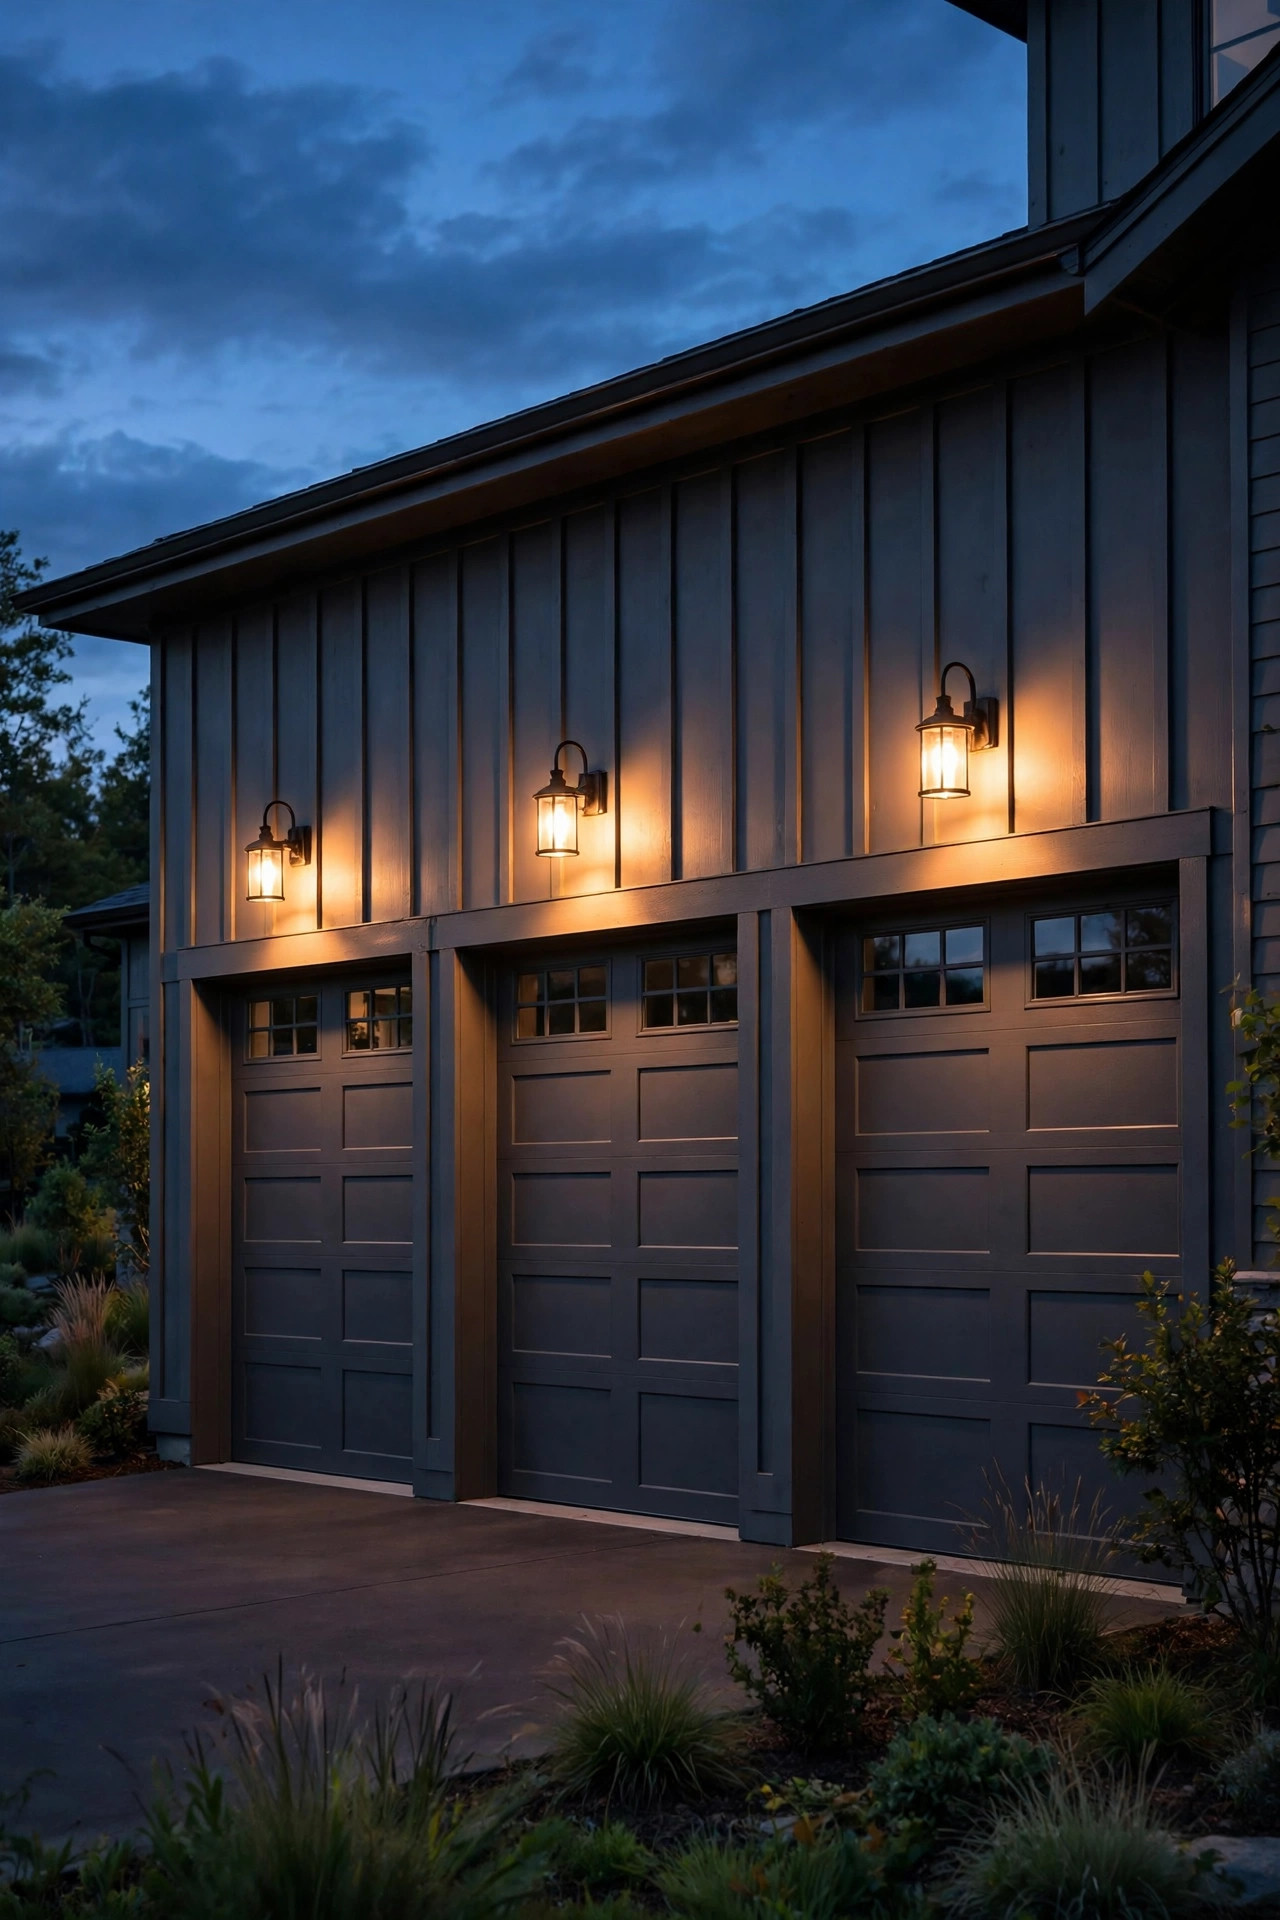
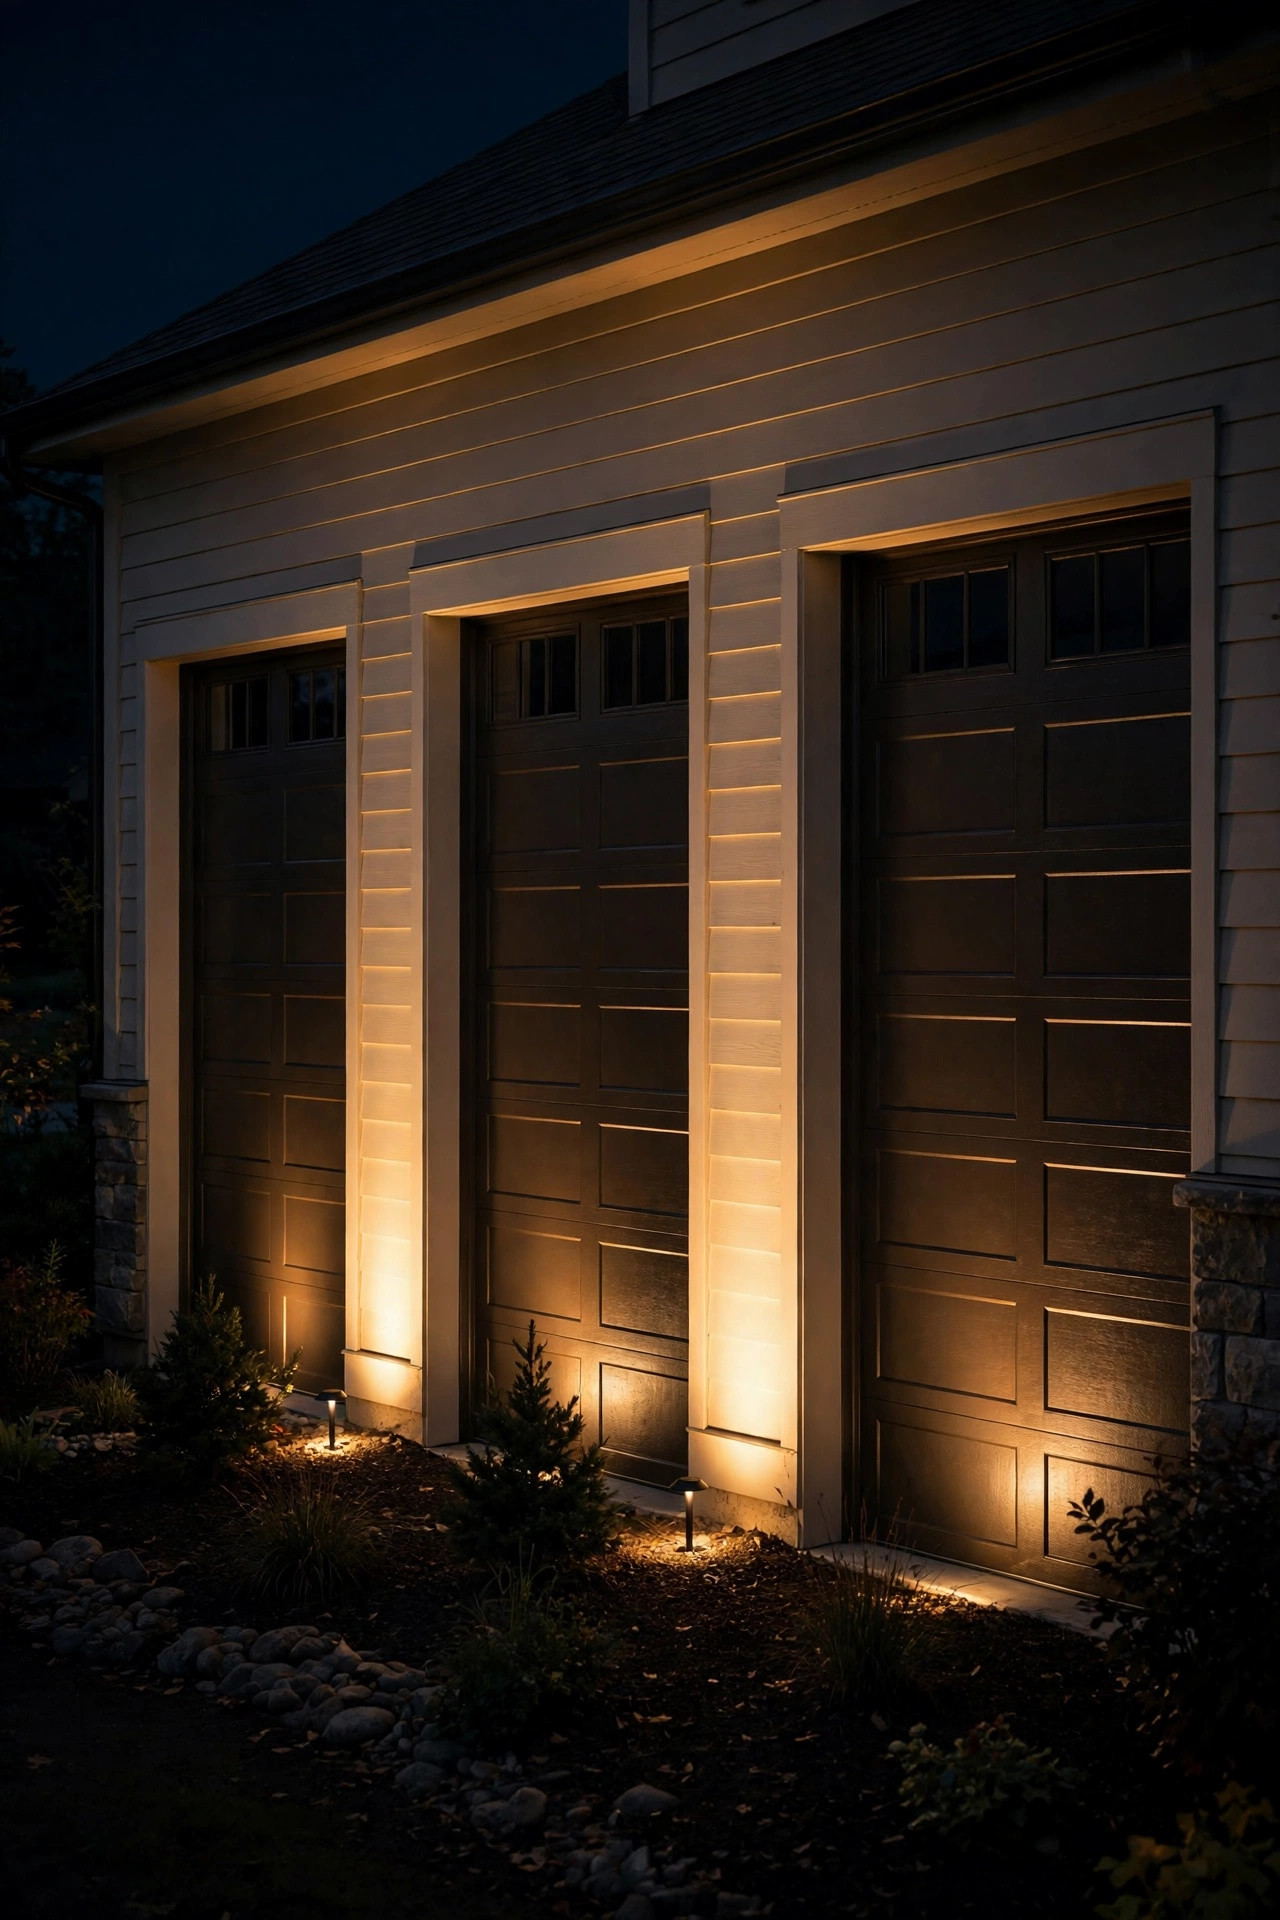
15. Low Spots Washing the Wall Between Doors
Most layouts light the piers or the doors, but the flat wall bands between bays — often wide stretches of siding — usually stay dark, breaking the facade into stripes. Low landscape spotlights set in the planting bed, aimed up at a wide angle, wash those in-between walls with a soft gradient that ties the whole front together. Use wide-beam floods (60 degrees or more) at low output, around 300–400 lumens each; you're painting a glow, not spotlighting, and the light should fade before it reaches the eaves. Space them to mirror the sconce rhythm above so the composition reads as one design. This wash is especially kind to board-and-batten and lap siding, where the gentle angle gives long, soft shadows. Because these are standard low-voltage landscape fixtures, they slot into the same transformer and timer as your path lights. It's a subtle move, honestly, but it's the one that makes neighbors ask if you hired a lighting designer.
Suggested budget range: $110 – $300.
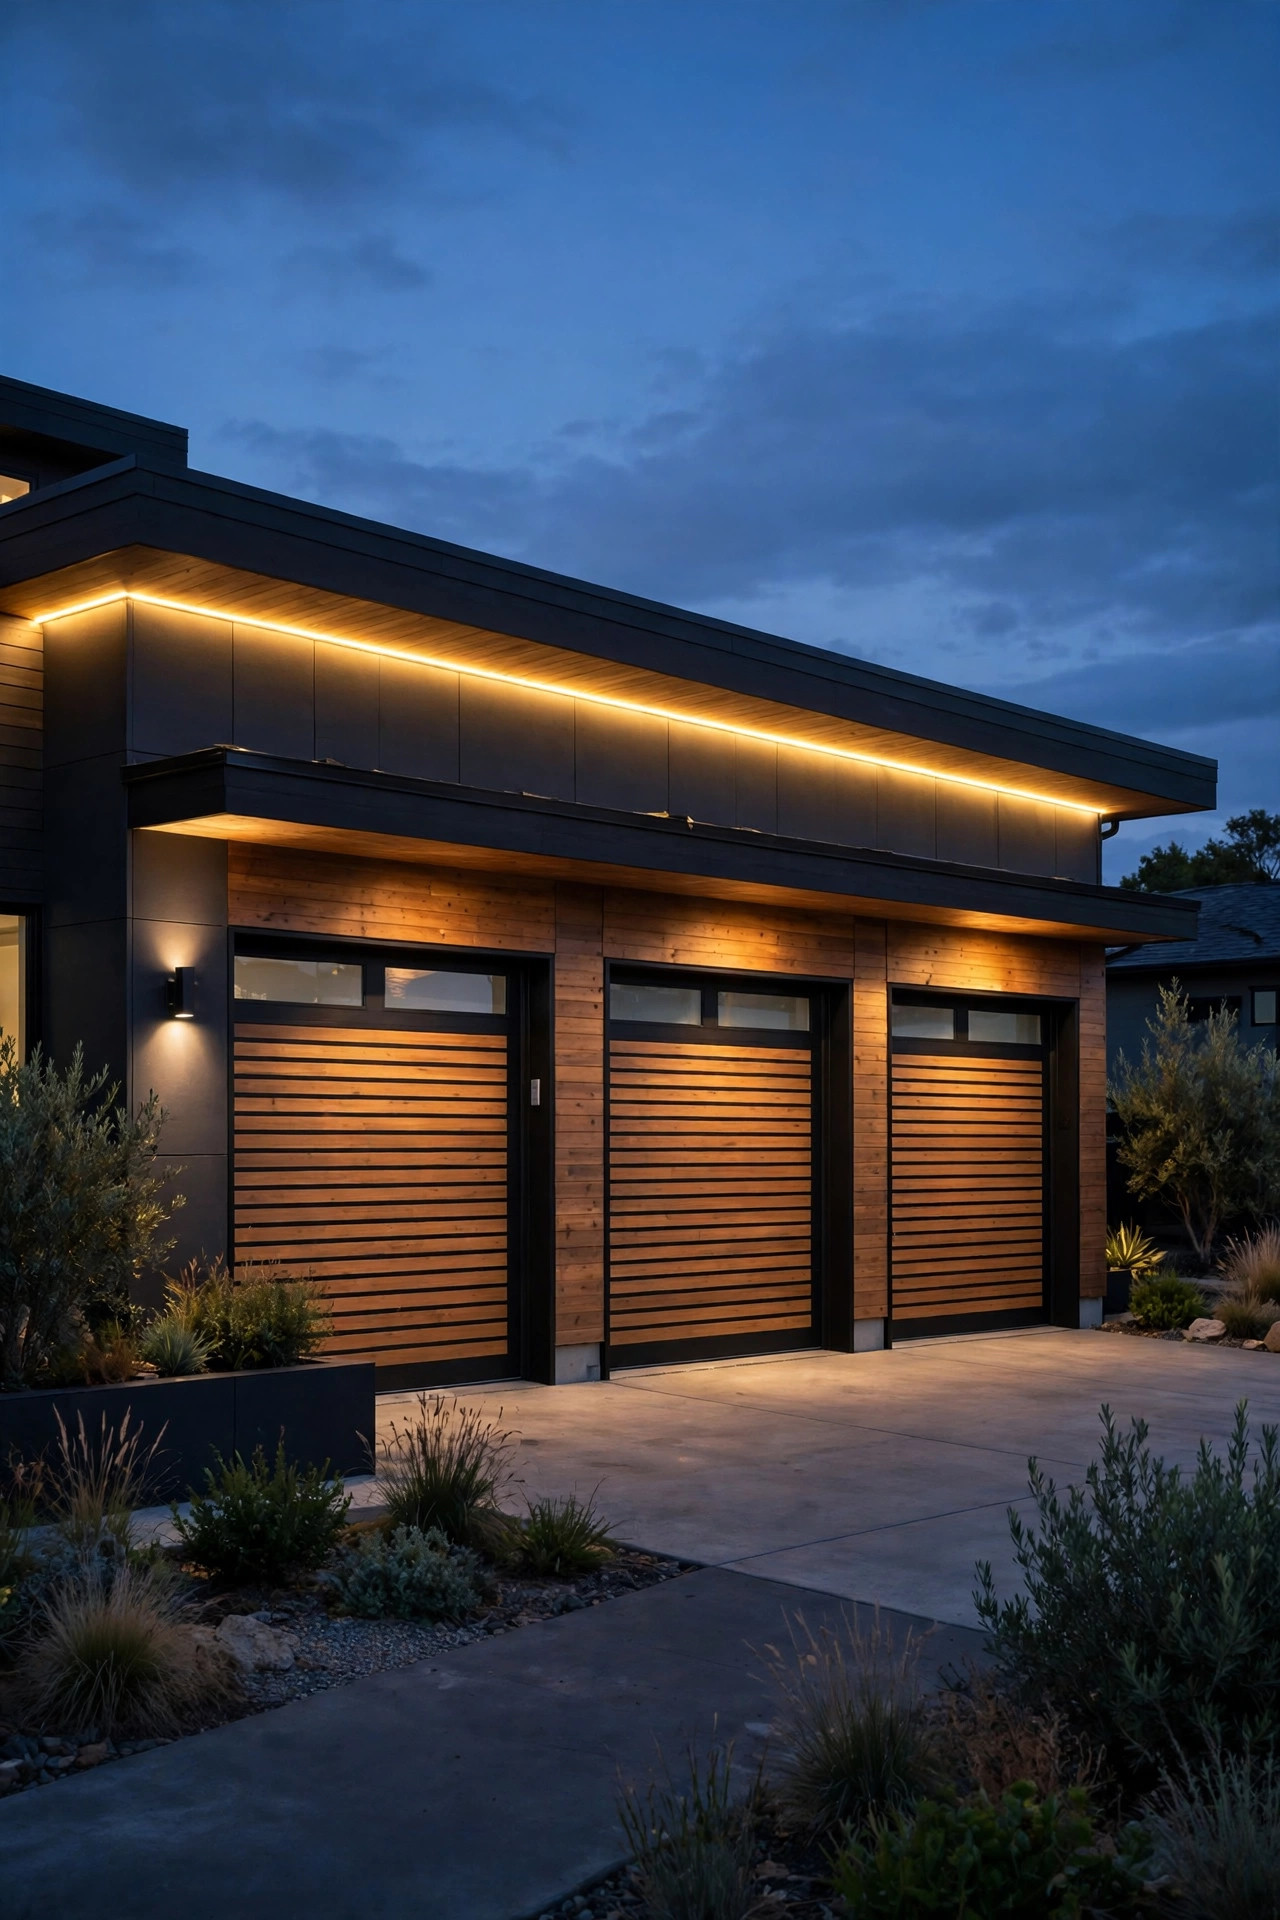
16. An LED Strip Under the Eave for a Floating Glow Line
For modern and contemporary homes, a continuous LED strip tucked under the eave or behind the fascia trim creates a clean line of light that runs the full width of the garage — the wide facade becomes a feature instead of a compromise. Use an outdoor-rated, silicone-sealed strip in warm white, mounted in an aluminum channel with a frosted diffuser so you see an unbroken glow rather than individual diodes. The strip should sit hidden: you want the light line on the wall and doors, never the source itself. Run it on a dimmer and it doubles as the softest possible night light for the whole front of the house. Pay attention to power injection on long runs — a three-car width can reach 30-plus feet, and strips fed from only one end often dim noticeably at the far side, so plan a feed at both ends or the middle. This is a more advanced DIY, and the channel mounting must be meticulous, but the architectural payoff on a boxy wide garage is unmatched.
Suggested budget range: $160 – $420.
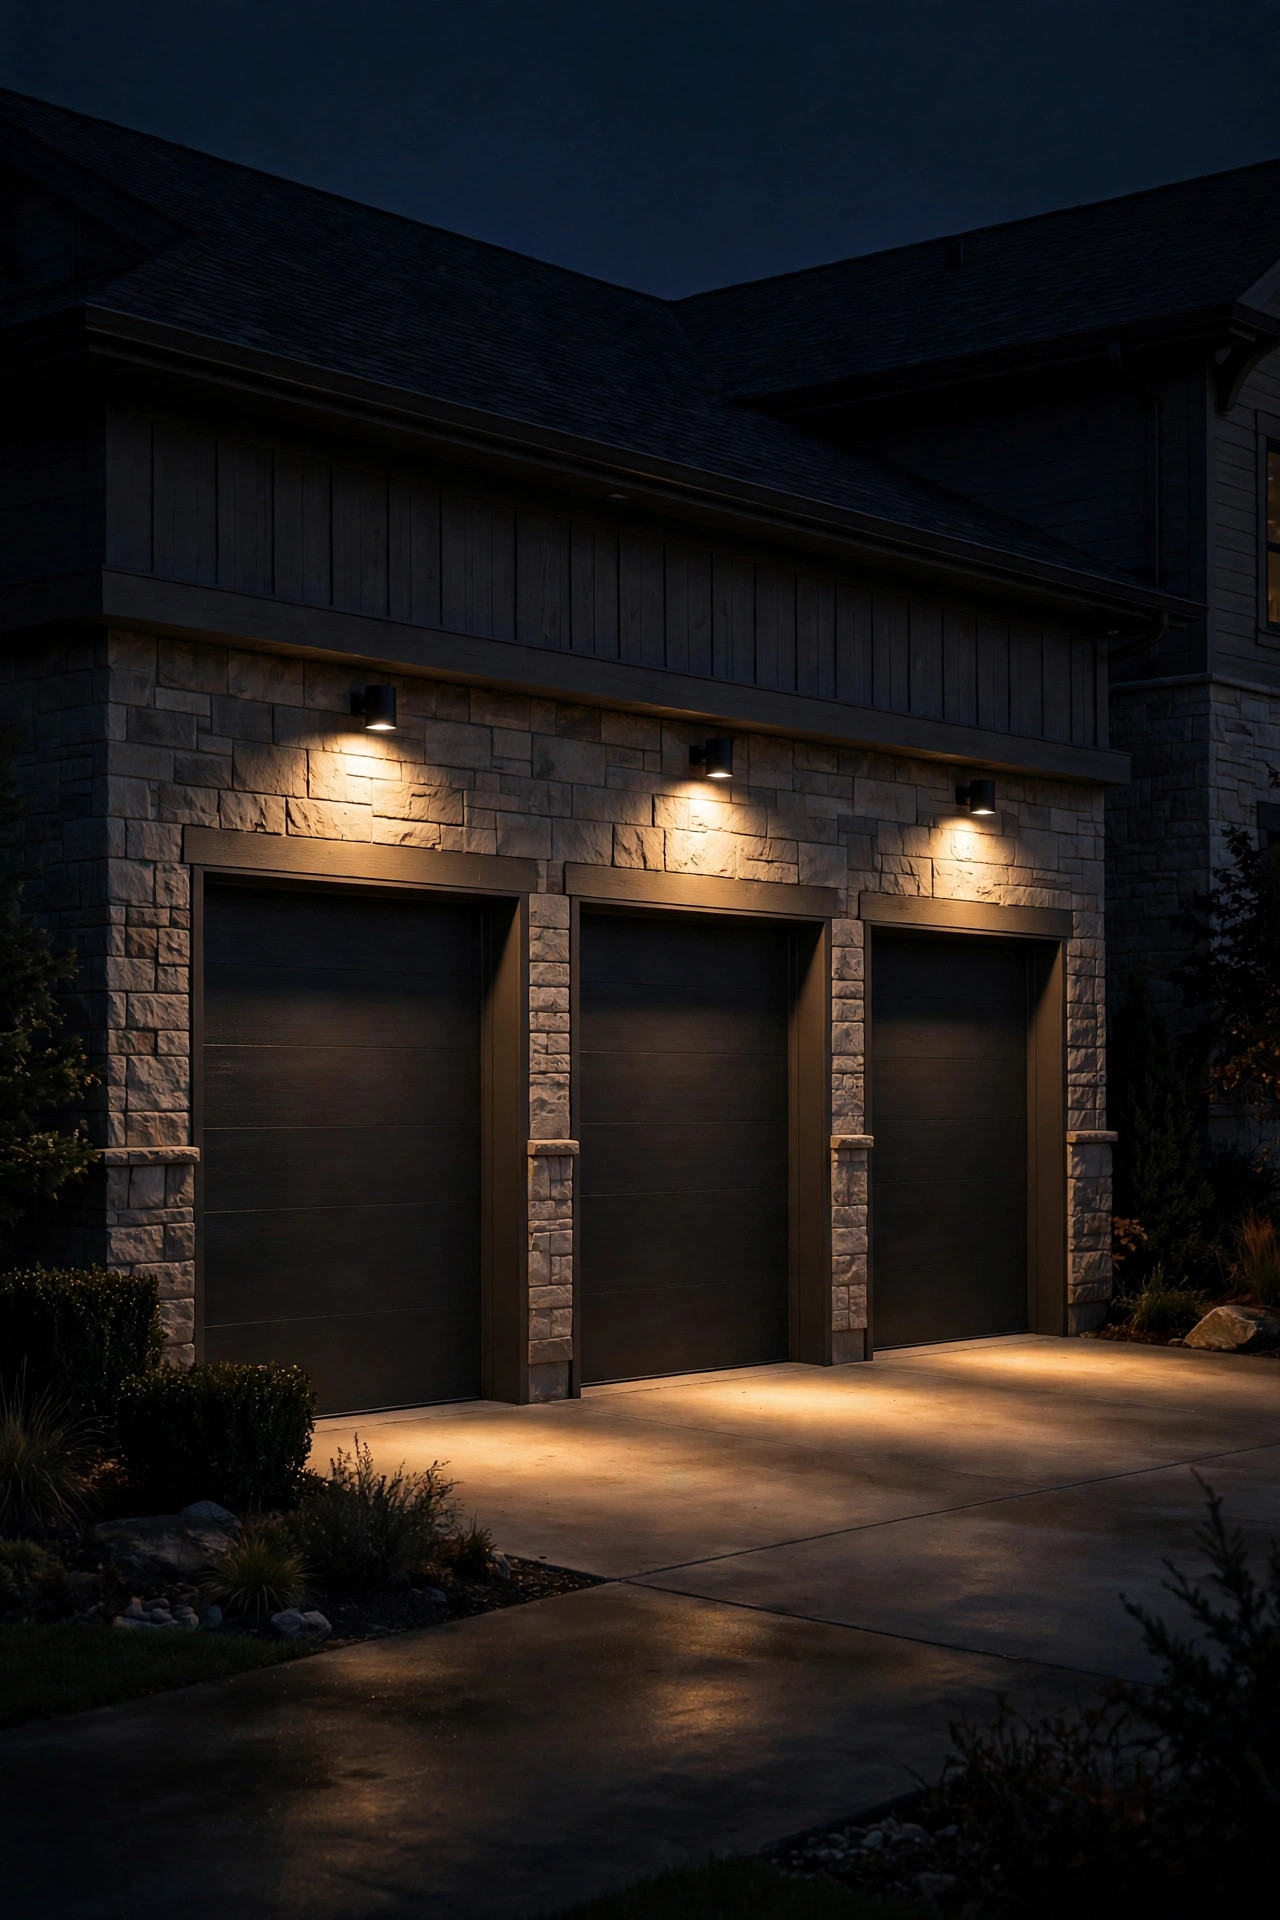
17. Shielded, Dark-Sky-Friendly Fixtures
A three-car garage throws a lot of light, and on a wide lot line that light lands in your neighbor's bedroom window. Shielded fixtures — sconces and floods with solid tops that push all their light downward — keep the glow on your driveway and off everyone else's property. Many newer suburbs and HOAs now require fully shielded outdoor fixtures, so choosing them from the start saves a compliance headache later. The good news is that downward light is also better light for you: it illuminates the apron you actually walk on instead of wasting half the beam on the sky, which means you can use lower wattages and still see clearly. Look for fixtures described as "dark sky friendly" with the bulb recessed up inside the housing, and aim any adjustable floods carefully — a flood tilted above horizontal stops being shielded no matter what the box says. As a bonus, downward lighting doesn't attract swarms of moths to your door glass the way exposed bulbs do. Kind to neighbors, kind to your electric bill.
Suggested budget range: $100 – $320.
18. Layered Heights: High, Mid, and Low Together
If you take one composition idea from this whole list, make it this: light a wide garage at three heights and it will never look flat. High layer — sconces or goosenecks at 6 to 8 feet, giving the facade its face. Mid layer — a flood or soffit wash around door height, doing the practical work of lighting handles, steps, and the apron edge. Low layer — bollards, stakes, or wall-wash spots under 2 feet, grounding the composition and guiding tires and feet. On a three-bay front, this three-car garage lighting approach works because each layer has its own job and its own pool of light, so nothing competes and nothing is left in shadow. You don't need every fixture type on this page — one choice per layer is enough. When I plan a facade, I literally sketch the elevation, mark the three bands, and only then go shopping. Stand across the street at dusk for your final aiming session; the layered effect is judged from the curb, not from the driveway.
Suggested budget range: $300 – $850.
19. A Proper Light for the Pedestrian Door
Many three-car garages have a regular walk-in door at one end — to the mudroom, the workshop, or the backyard gate — and it's almost always the darkest corner of the facade. Give that door its own fixture: a compact sconce at the same height as the main lanterns, in the same finish family, so it reads as part of the design rather than an afterthought. This is the light you'll actually use daily, arriving with groceries or taking the dog out, so practicality wins here — a downward fixture with a frosted lens won't blind you at arm's length the way a clear carriage lantern can. Add a motion sensor version if the door sits around a corner; the light greets you before you reach for the handle, and it politely ignores the driveway traffic the main flood reacts to. Keep the bulb warm and moderate, around 600 lumens. It's a small, cheap fix, but in my experience it's the one homeowners mention most a month later.
Suggested budget range: $40 – $130.
Frequently Asked Questions
How many lights does a three-car garage need?
Most wide facades look right with four to eight fixtures total. A classic starting point is four sconces (one per pier), then add one layer at a time — apron markers or a gable spot — until the front looks balanced from the street. More fixtures at lower brightness almost always beat fewer, brighter ones.
How high should garage sconces be mounted?
Mount the center of the fixture roughly 5½ to 6 feet above the driveway surface, which puts it at eye level and keeps glare out of drivers' eyes. Above-door fixtures like goosenecks sit 12 to 18 inches above the door trim. Whatever height you choose, keep it identical across every bay.
What color temperature is best for garage lighting?
Warm white at 2700K suits most homes and gives that golden, welcoming glow; 3000K works for contemporary styles. The real rule is consistency — every fixture on the facade should match, because a single cooler bulb in a row of warm ones is immediately obvious at night.
Can I put garage lights on a timer or smart switch?
Yes, and on a wide facade I'd encourage it. Smart switches let you zone the sconces, floods, and landscape glow on separate schedules, while photocell bulbs are a simpler set-and-forget option. Just check that fixtures are dimmer- or smart-switch-compatible before wiring, to avoid flicker.
Conclusion
A wide garage doesn't need more light — it needs light in the right places. Pick a sconce rhythm that suits your architecture, add one low layer for the apron and one high touch for the gable, keep every bulb at the same warm temperature, and these three-car garage lighting ideas will turn the biggest, plainest part of your home into its best evening feature. Start with the layout that matches your budget, stand across the street at dusk to admire (and adjust), and when you're ready for the next project, browse the rest of my outdoor lighting ideas here on the site for porches, pathways, and patios that deserve the same layered treatment.