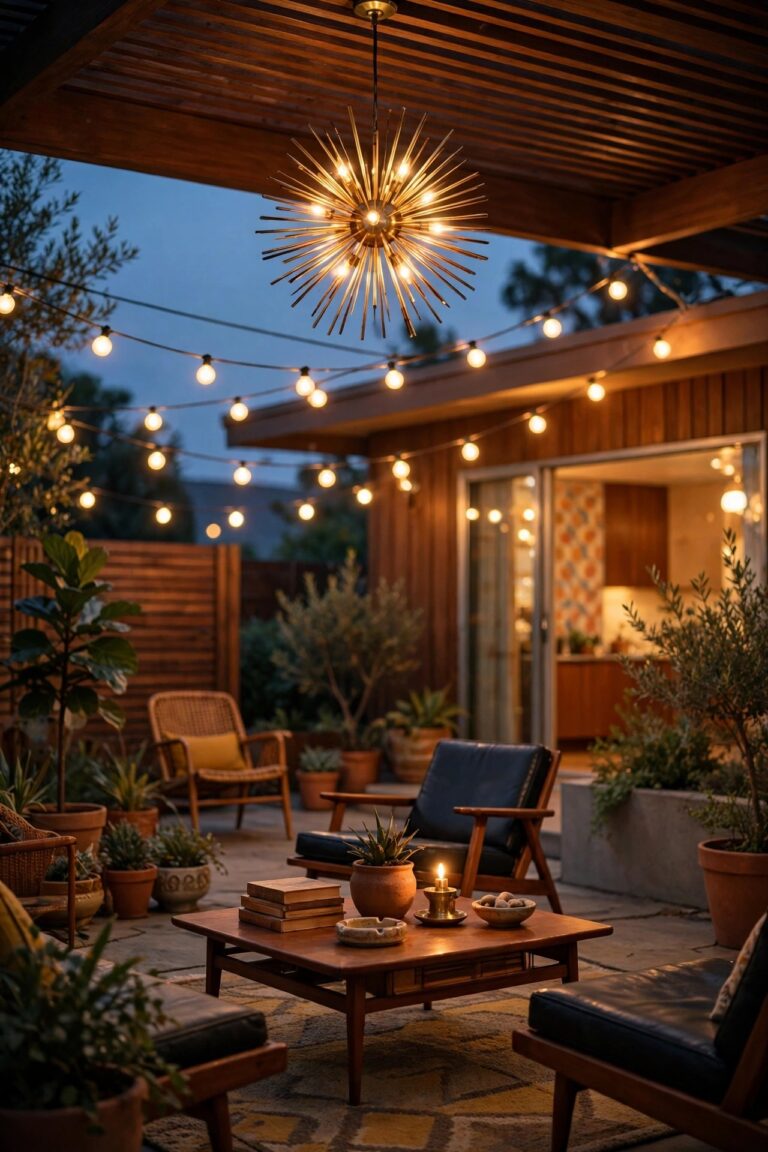
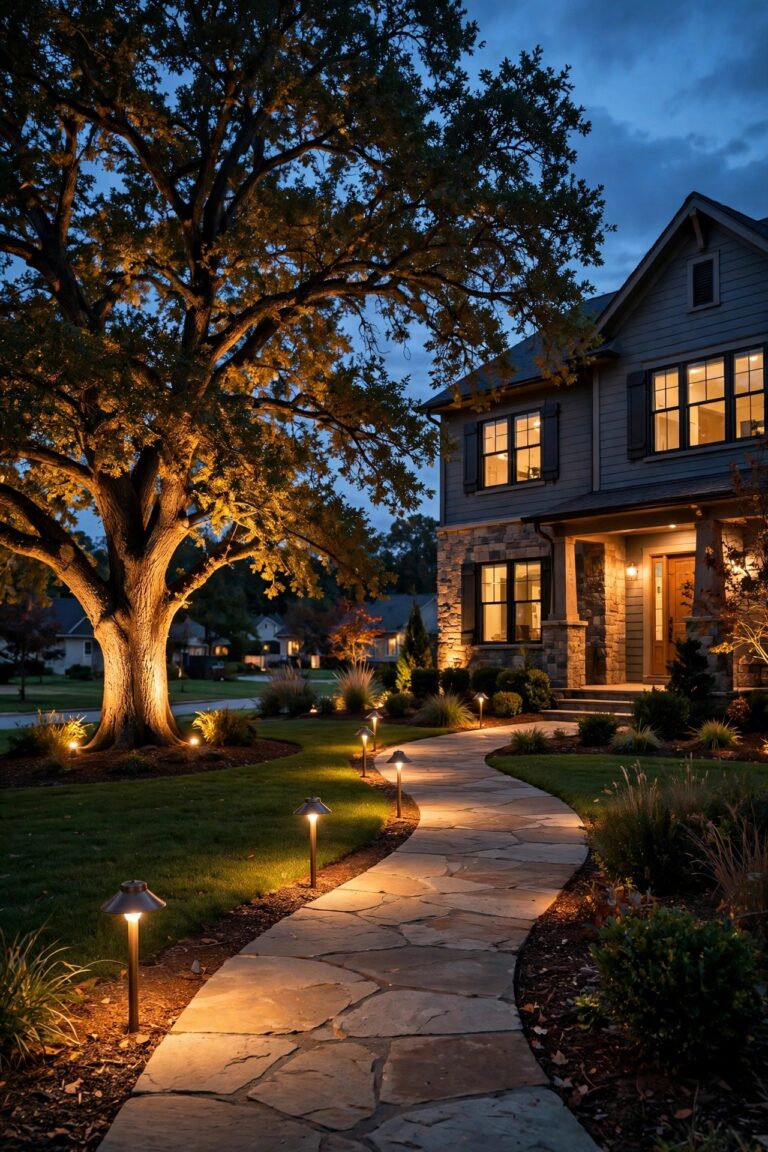
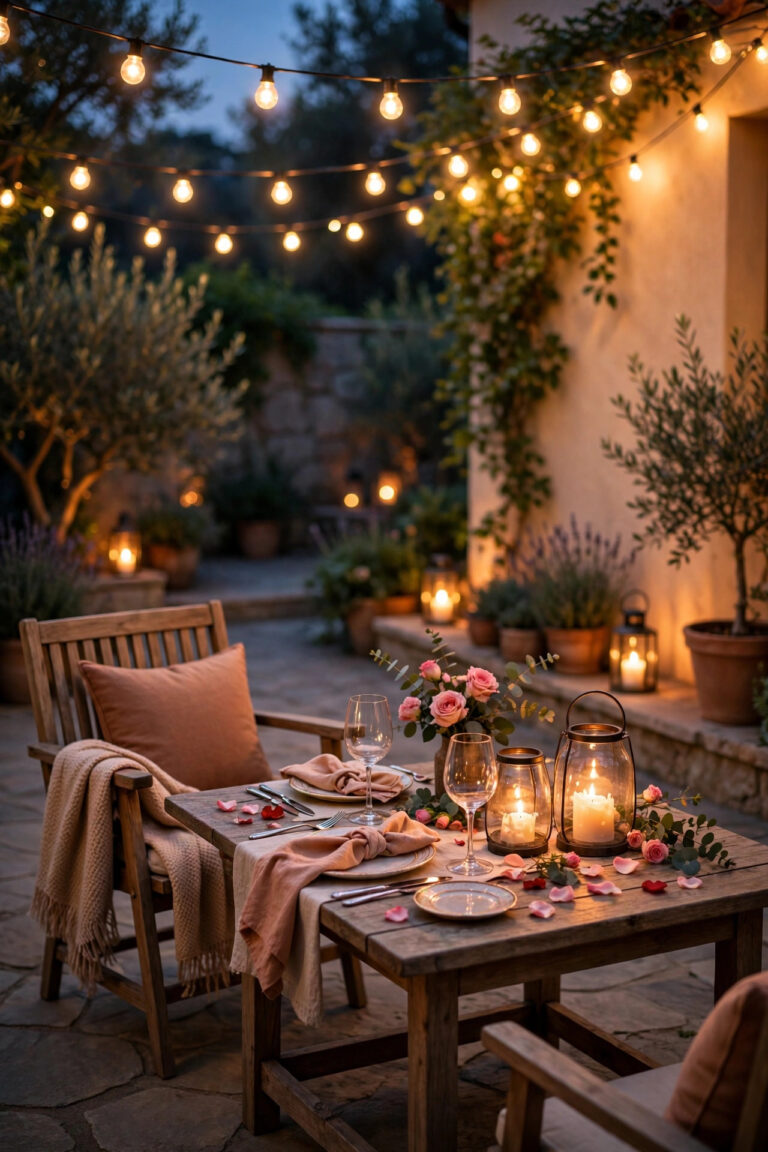
A lush, shady backyard is a gift right up until the sun goes down. All that dense green canopy that keeps your patio cool at noon turns into a wall of black by nine, and the prettiest planting beds on the street simply vanish. I know, because my own tropical corner did exactly that for two summers before I figured out the fix. The good news? Tropical backyard lighting ideas are actually easier than most styles, because the plants do half the decorating for you. You are not lighting an empty space; you are revealing shapes, textures and shadows that are already there. My approach is the same layering I use everywhere: a low, steady layer at ground level so nobody trips, a warm middle layer at sitting height where faces and drinks live, and a soft overhead layer that makes the canopy glow like a resort at dusk. In the seventeen ideas below, I will walk you through the two big tropical challenges — deep shade that starves solar panels, and humidity that eats cheap fixtures alive — plus a budget range for every single idea, so you can plan the whole yard before you spend a dime.
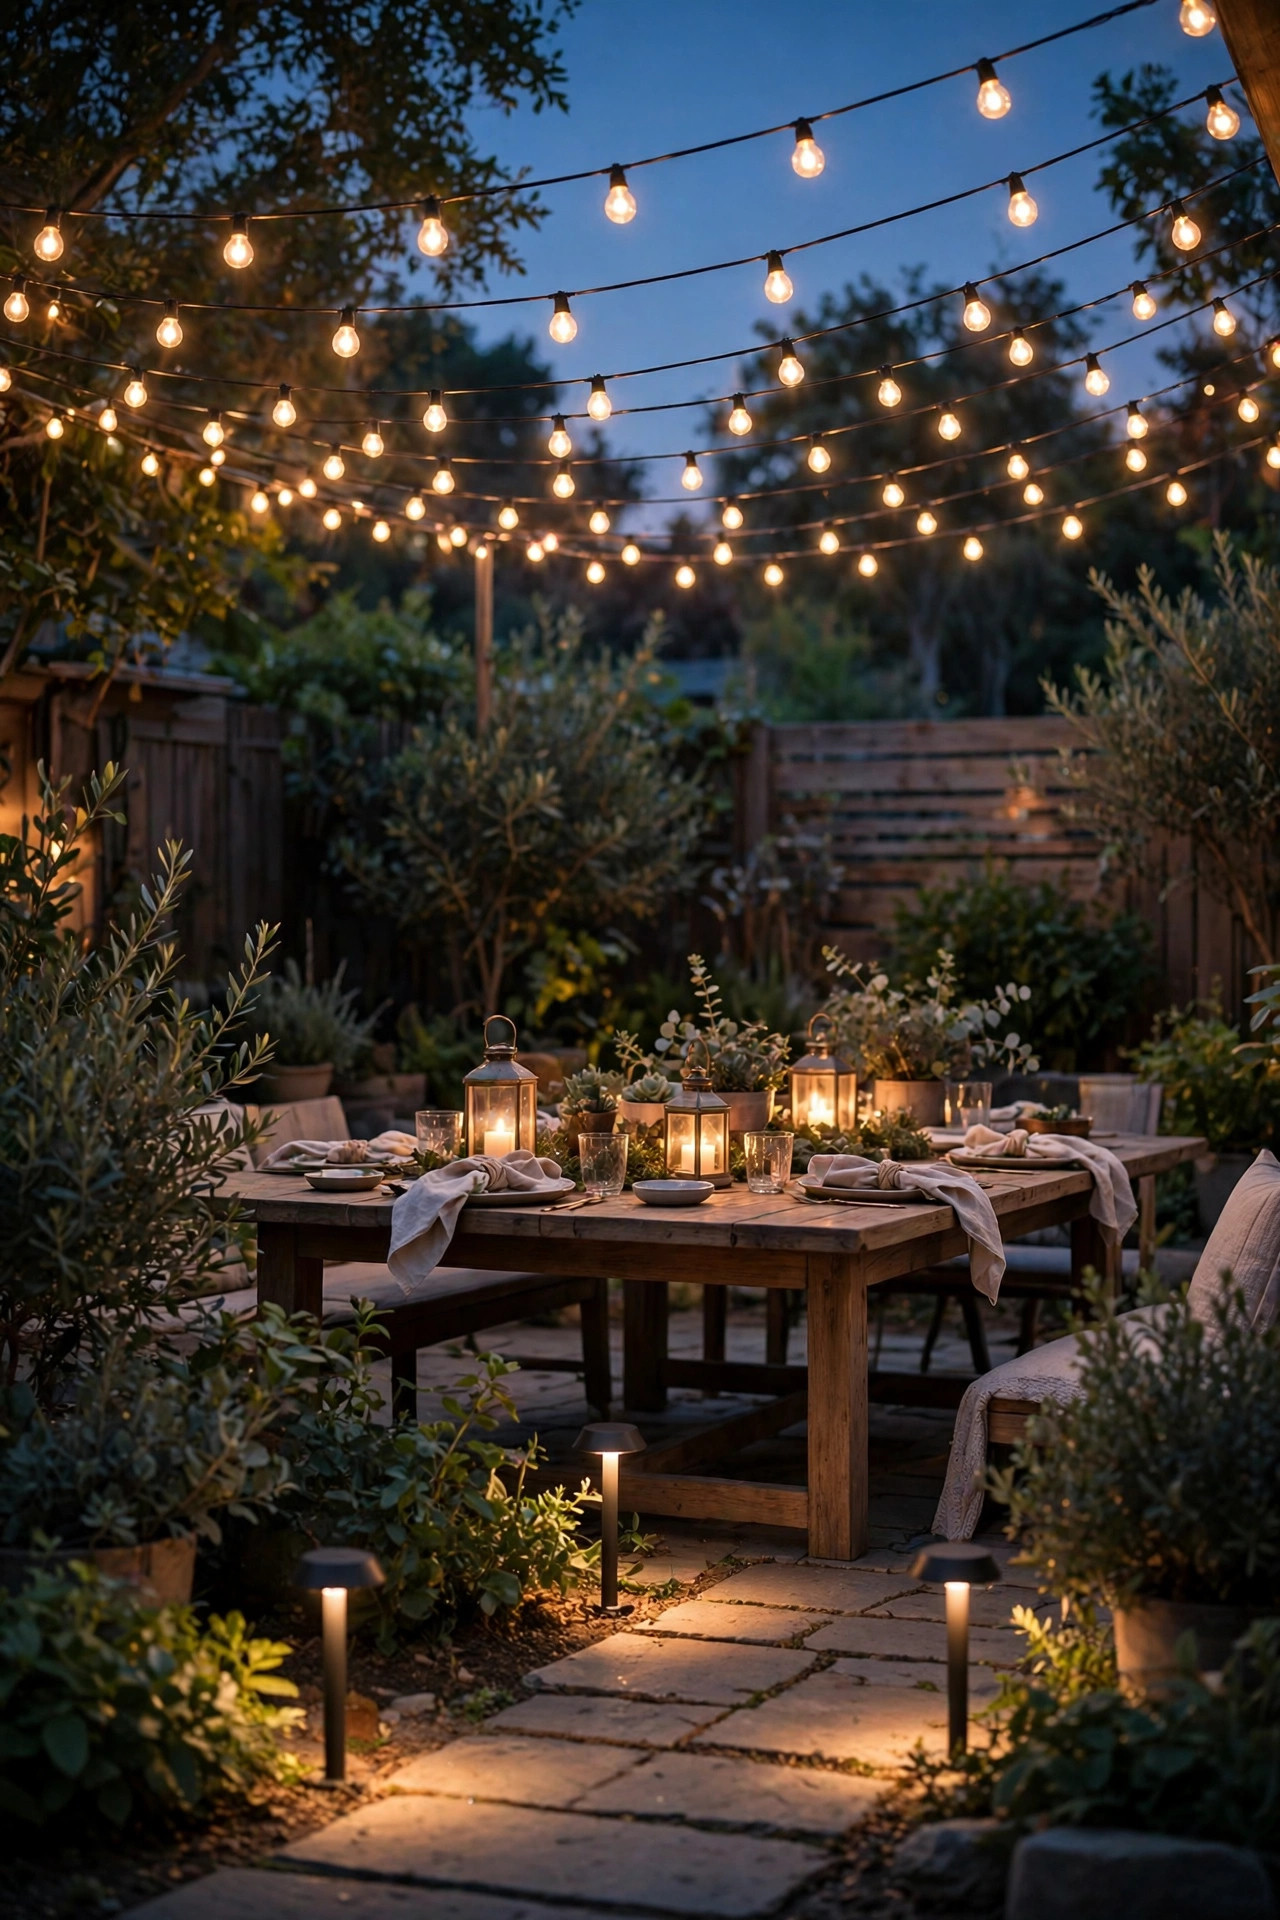
1. Layer Your Tropical Backyard Lighting Ideas in Three Levels
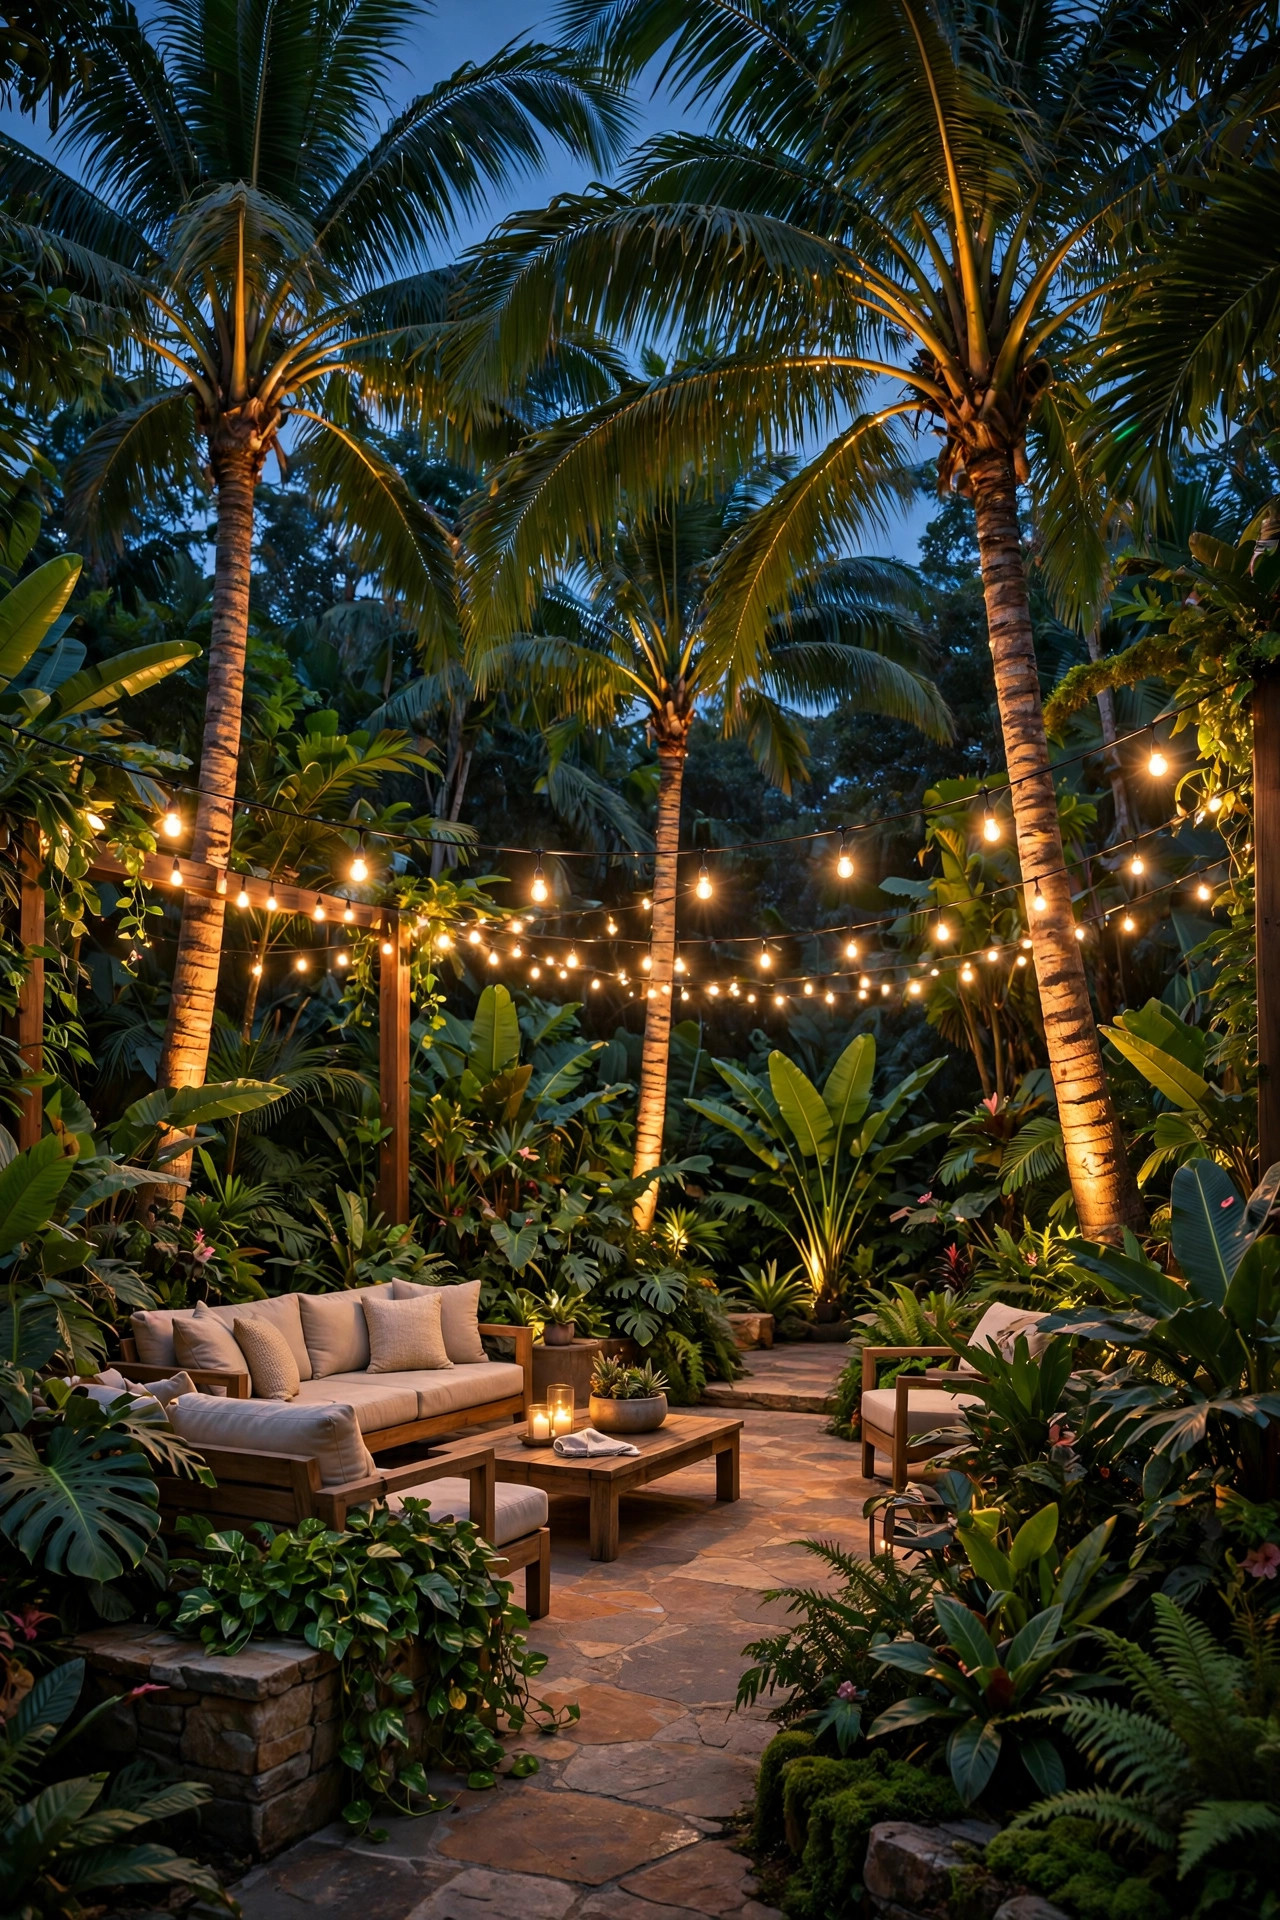
Every tropical yard that looks magical at night is doing the same quiet trick: it is lit in three layers, not one. The ground layer is your safety net — low path lights, well lights and step lights that keep feet on the walkway and out of the planting beds. The middle layer, roughly between knee and eye height, is where the mood lives: lanterns on the table, tiki torches at the corners, uplights washing the big leaves. The top layer is pure atmosphere — light tucked into the canopy so fronds and branches glow against the dark sky. When I plan a yard, I literally sketch three horizontal bands on paper and make sure each band has at least two light sources before I buy anything. This matters double in a shady yard, because a single bright fixture just creates a harsh pool of light surrounded by blackness. Spread the same wattage across three levels and the whole space reads as one soft, layered glow. Start with the ground layer and live with it for a week before adding the rest; your eyes will tell you exactly where the middle and top layers are missing.
Suggested budget range: $150 – $400.
2. Run a Low-Voltage Backbone Where the Shade Is Deepest
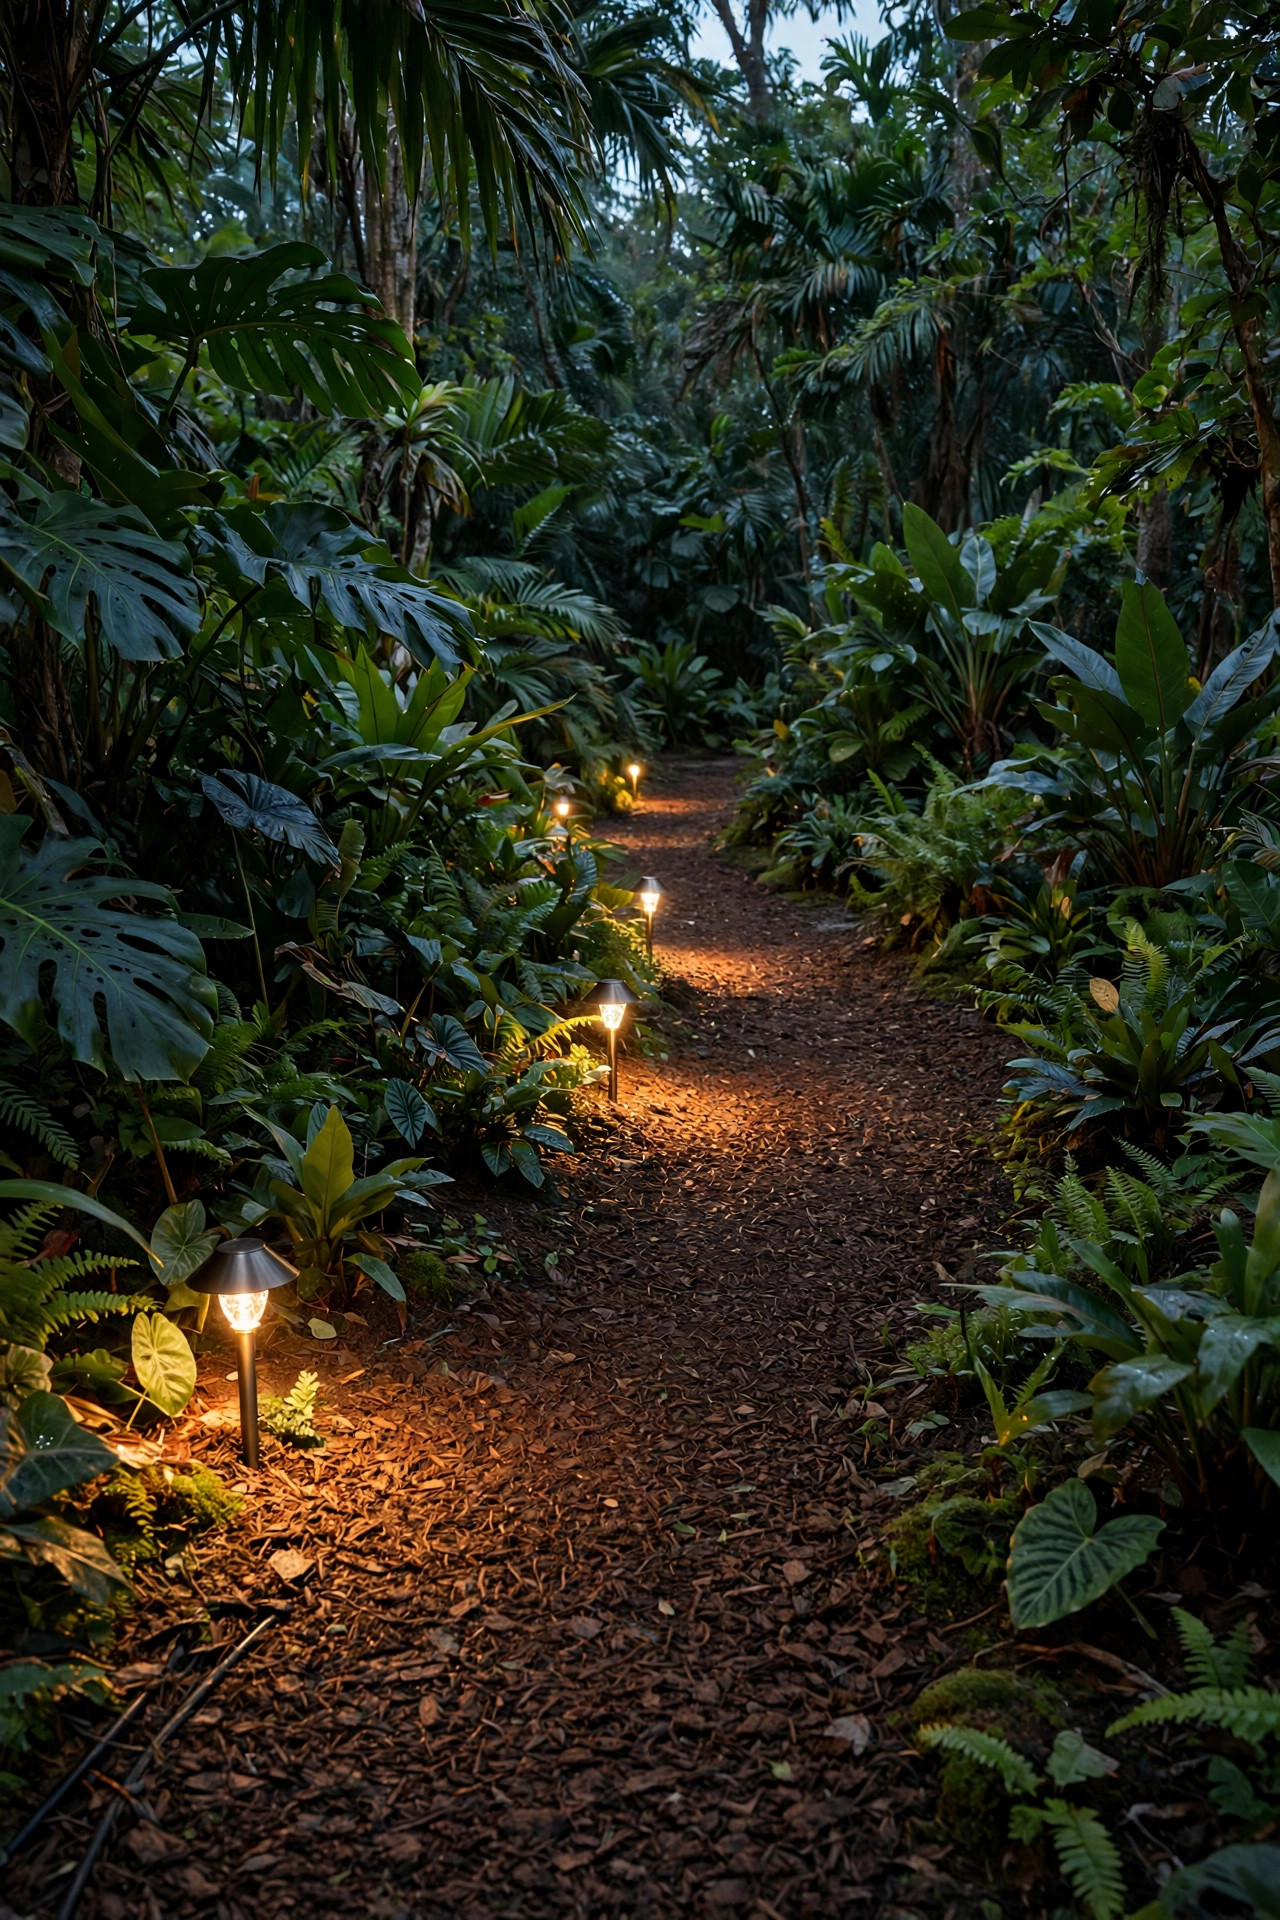
Here is the honest truth nobody tells tropical gardeners: solar lights and deep shade are enemies. A panel tucked under a banana leaf or a dense palm canopy may get one usable hour of sun, and the light will fade by ten o'clock. In the shadiest half of my yard, I gave up and ran a low-voltage wired system instead, and it has been flawless for years. A plug-in transformer (120 to 200 watts is plenty for most yards) sits by an outdoor GFCI outlet, and a single 12-gauge cable snakes through the beds, hidden under mulch. Fixtures connect with waterproof gel-filled connectors — insist on those, because standard twist connectors corrode fast in humid soil. Low voltage is safe to bury just under the mulch line, safe around kids and pets, and the LEDs sip power, so a whole evening costs pennies. Place the transformer where you can reach the built-in timer without crawling through the ferns. If part of your yard does get real sun, save the solar fixtures for out there and let the wired backbone carry the shade. It is the single most reliable upgrade a lush yard can get.
Suggested budget range: $200 – $450.
3. Uplight the Palm Trunks and Let the Fronds Do the Rest
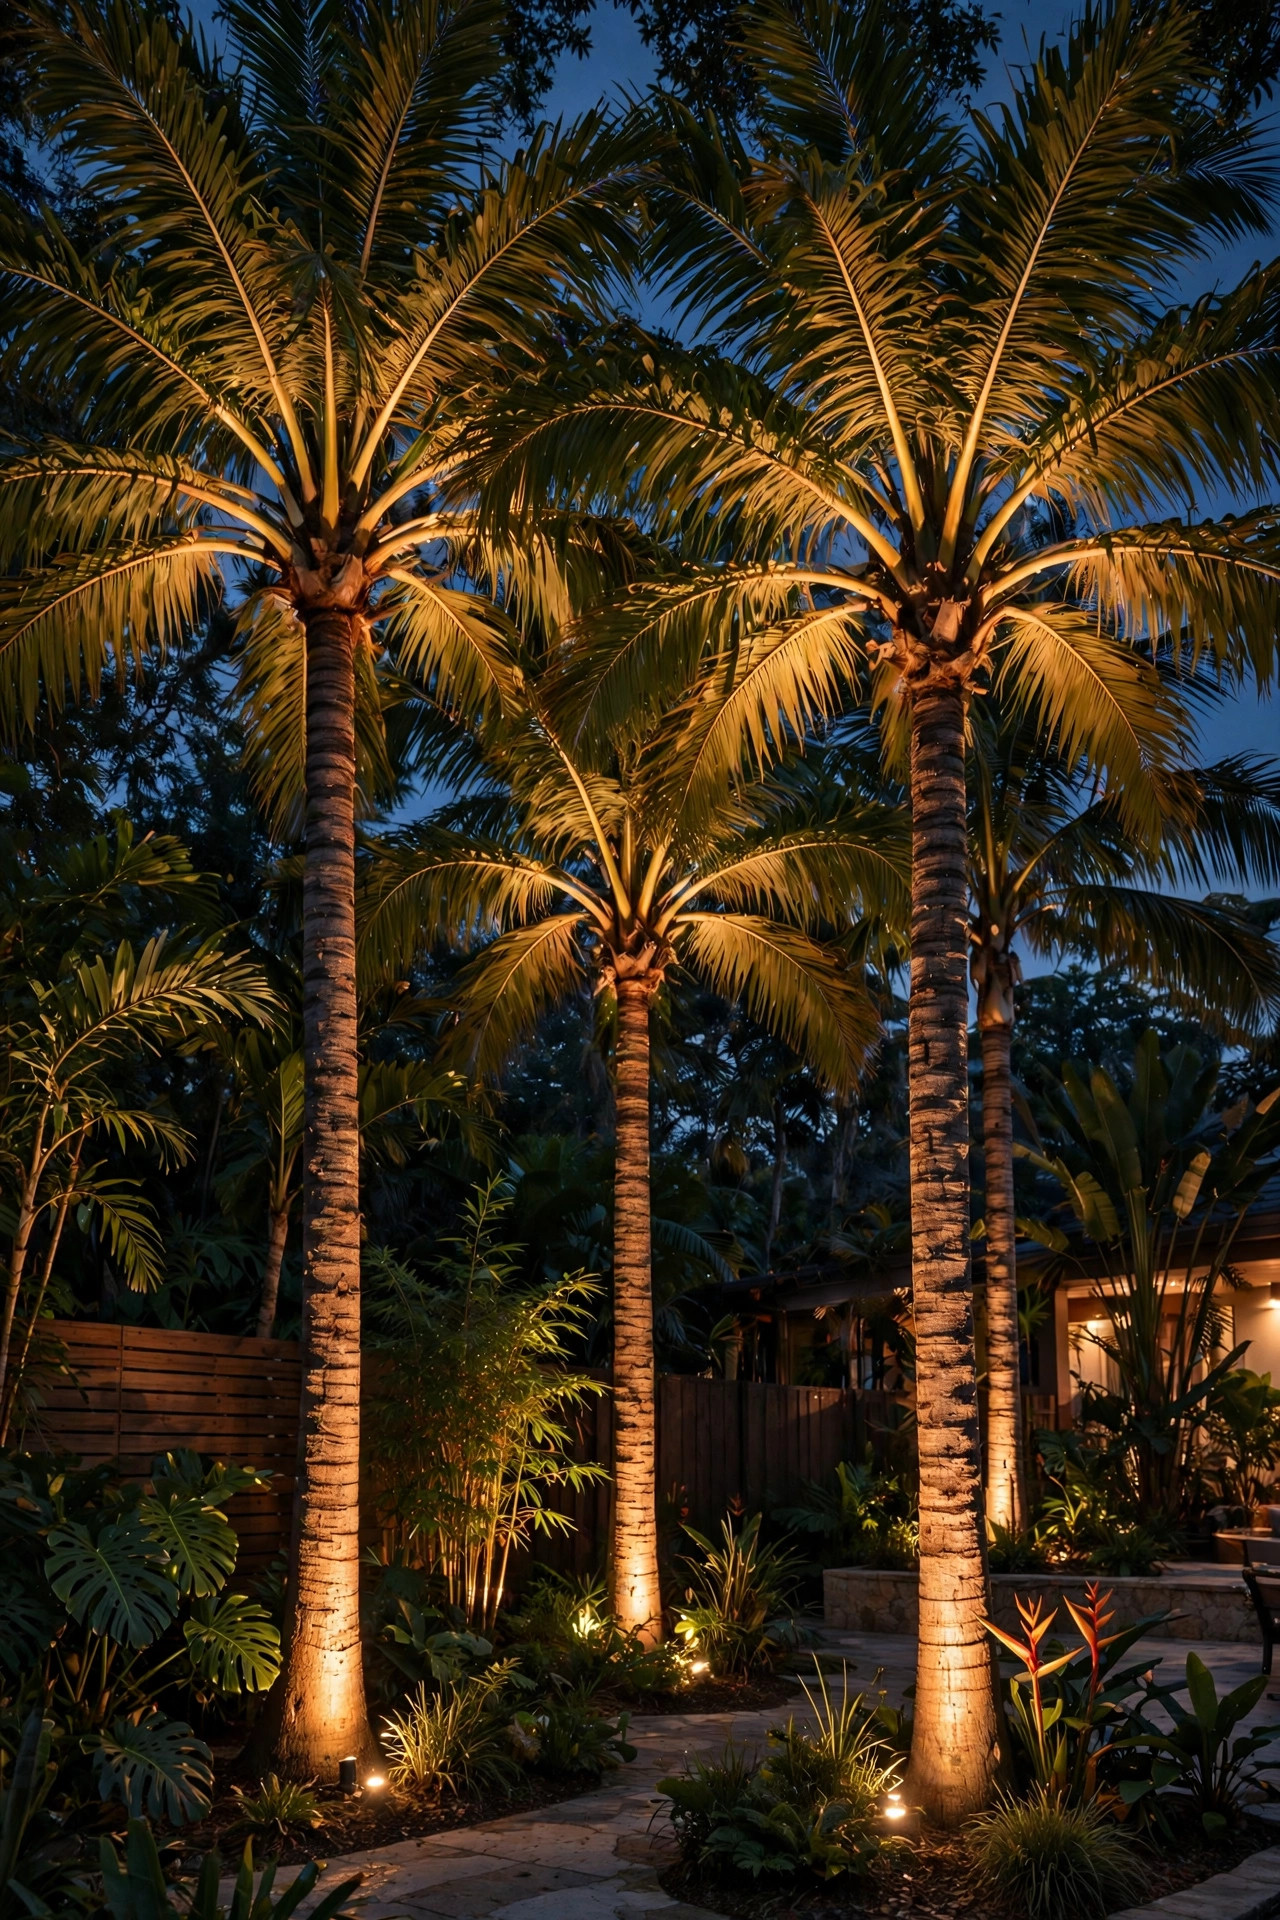
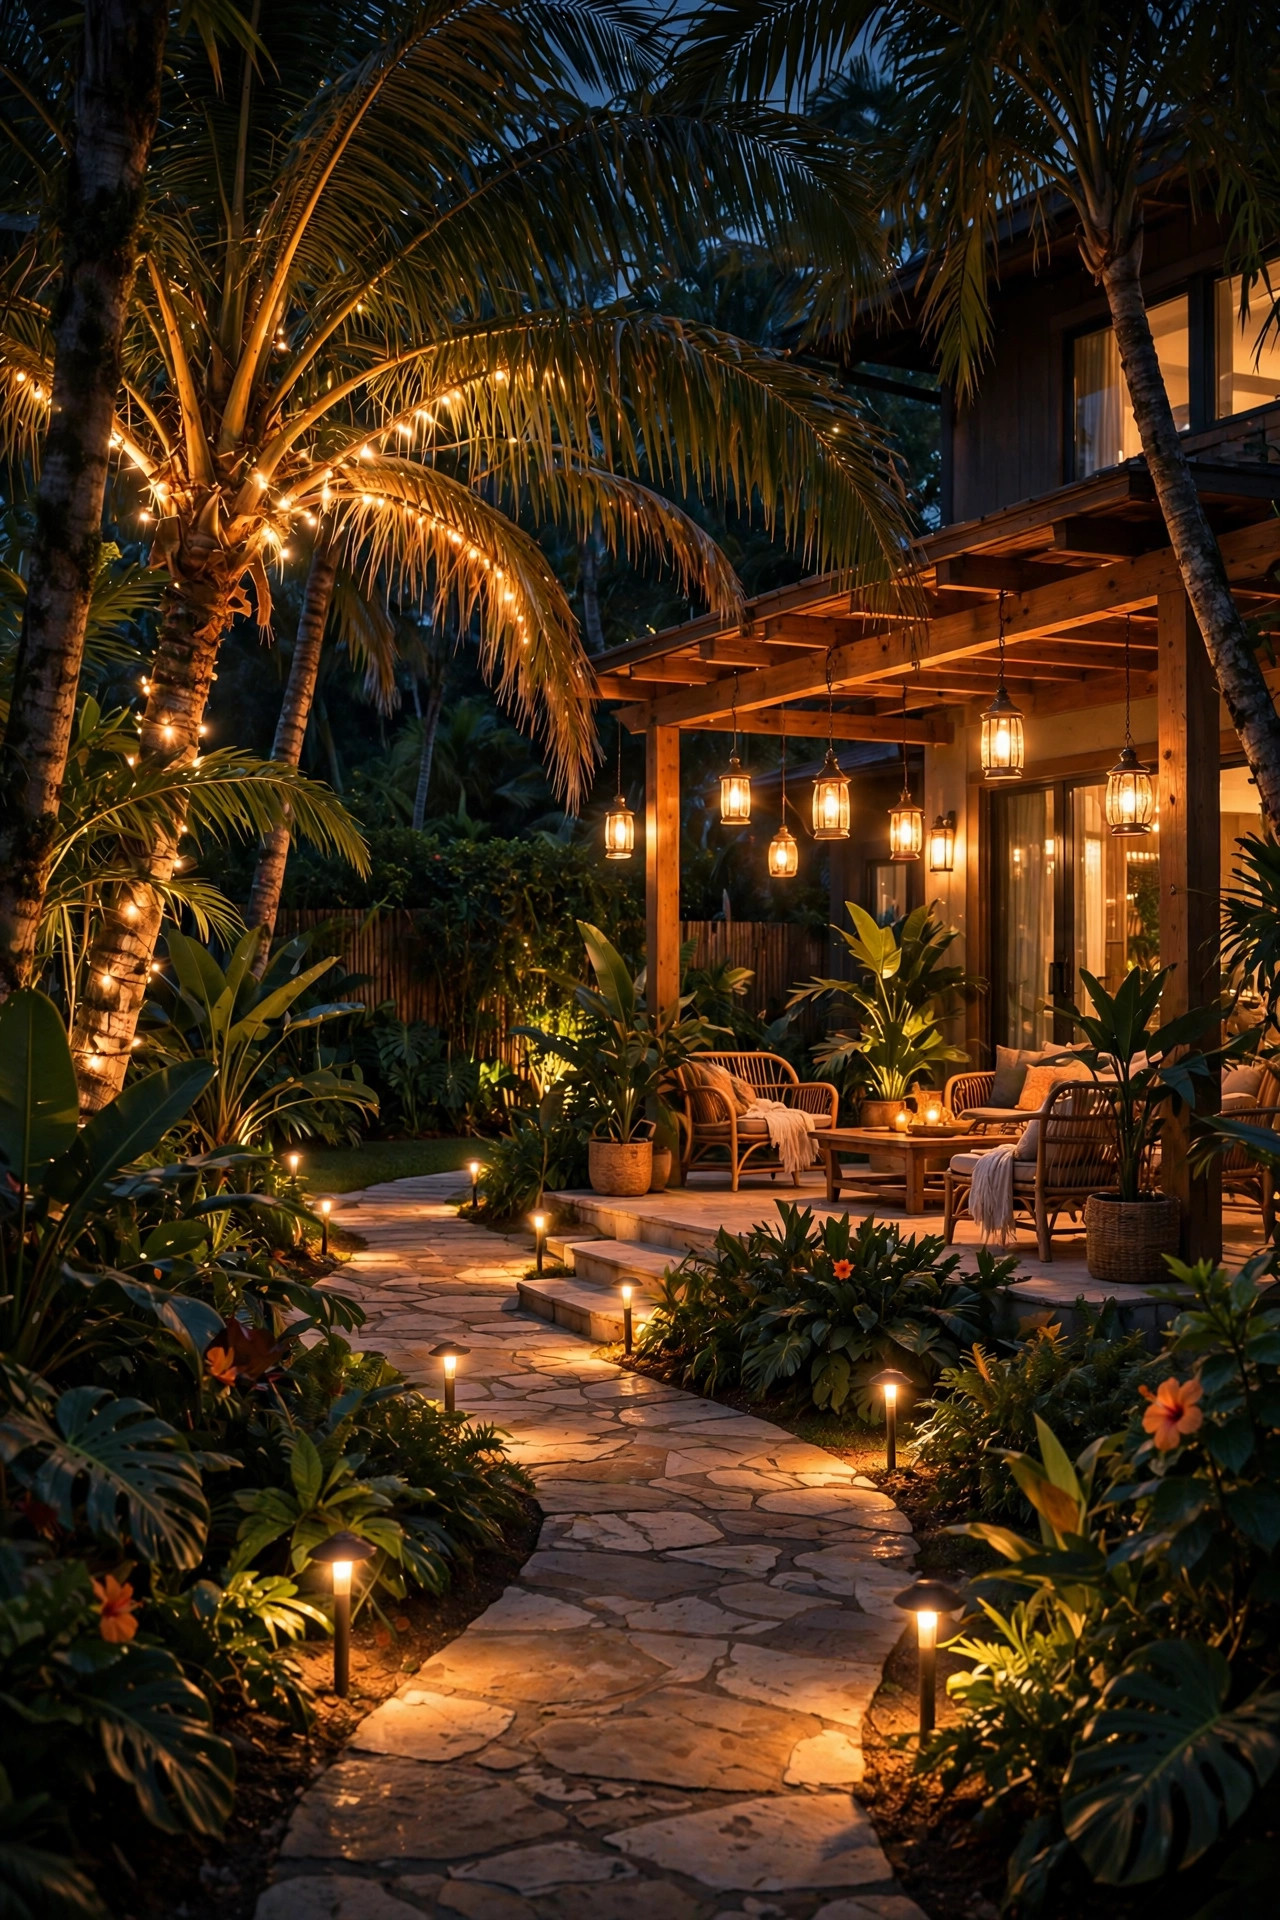
If you only add one dramatic touch, make it this one. A single well light or spot fixture at the base of each palm, aimed straight up the trunk, turns the whole canopy into a glowing green umbrella. The ribbed texture of the trunk catches the light beautifully, and the fronds spread it like a lampshade. I use fixtures with a 35 to 45 degree beam for slender trunks and a wider 60 degree beam for chunky ones, set about 12 inches out from the base. Warm white, 2700K, reads as candlelight against green leaves; anything cooler starts to look like a parking lot. For tall palms, a second fixture partway up aimed into the crown adds depth, but honestly one good uplight per tree carries most yards. Our full tree uplighting guide walks through beam angles and spacing for every tree shape if you want to get technical. Keep fixtures a few inches clear of mulch and leaf litter so debris does not bake onto the lens, and wipe the lenses twice a year — tropical pollen films over everything.
Suggested budget range: $90 – $260.
4. Line the Paths With Solar Tiki Torches (Panels in the Sun)
Flickering tiki-style torches are the fastest way to make a yard feel like a beach bar, and the solar LED versions give you the dancing flame effect with zero fire risk and zero citronella spills. The trick in a shady yard is placement: the flame head can sit in the shade, but the little solar panel on top cannot. I walk my paths at noon and mark the spots where sun actually lands for at least five to six hours, then cluster the torches at those gaps and along the sunny edges of beds. Space them 4 to 6 feet apart along a walk — closer than that looks like a runway, wider feels disconnected. Most models offer a steady-on mode as well as flicker; I run flicker at the garden edges and steady near steps where I want real visibility. For more styles and heights, our roundup of solar tiki torch light ideas covers everything from tabletop minis to 60-inch statement torches. Expect the budget stakes to last two or three seasons in wet climates; the metal-bodied ones earn their price back in lifespan.
Suggested budget range: $60 – $180.

5. Tuck In-Ground Well Lights Into the Planting Beds
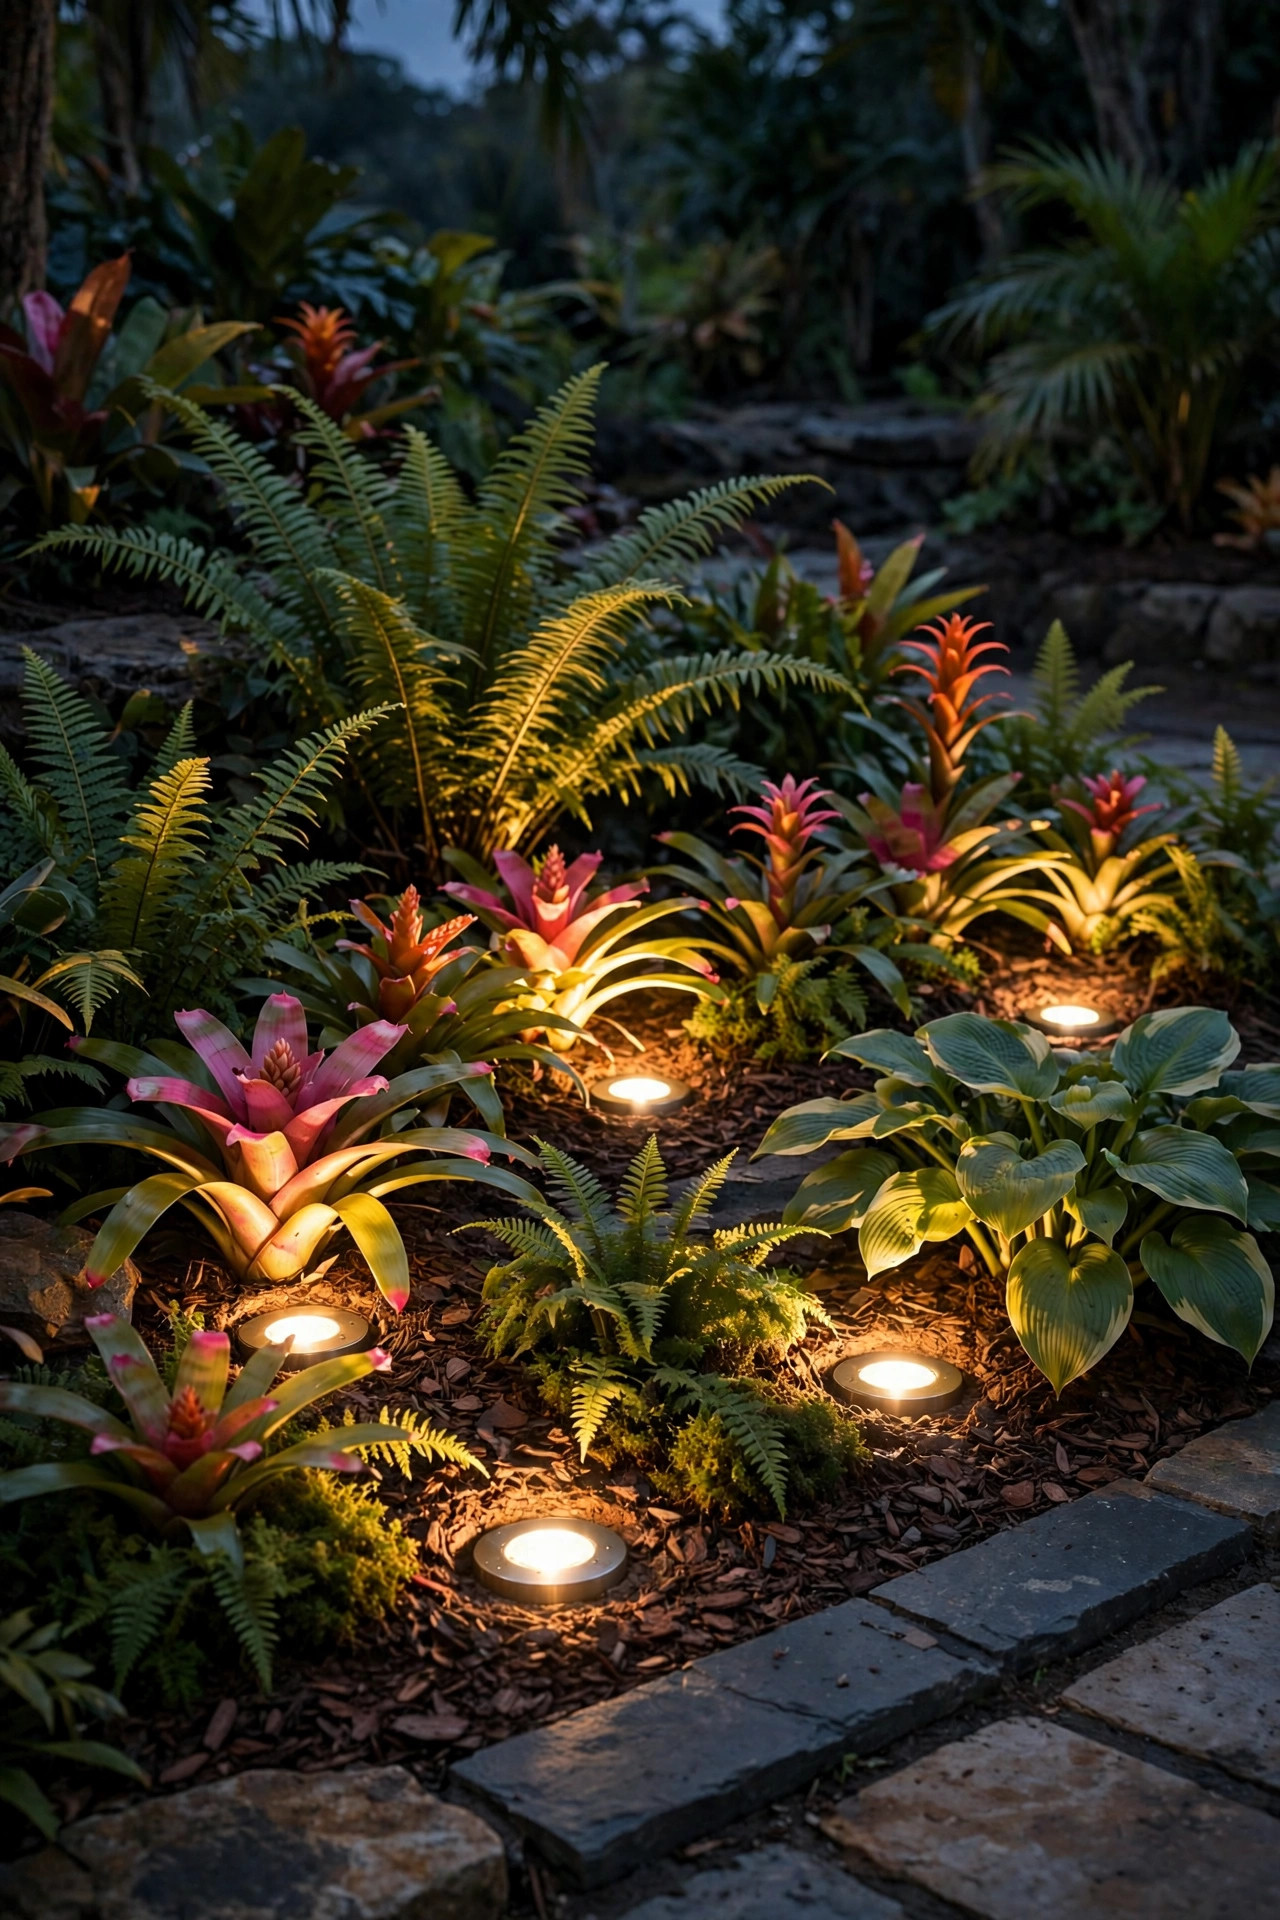
Shade gardens are layered with plants at different heights, and well lights are how you show off that layering after dark. These fixtures sit flush in the soil, lens at ground level, so all you see is the effect: a hosta mound glowing from below, fern fronds lit like green lace, a bromeliad turned into a little bonfire of color. I space them 3 to 5 feet apart through a bed, never in a straight soldier line — stagger them the way the plants themselves are staggered. Choose fixtures with a slight tilt option (many have an adjustable inner gimbal) so you can aim into a plant instead of straight at the sky. Drainage is the whole game here: dig the hole a few inches deeper than the fixture, add a gravel pocket underneath, and never let a well light sit in a puddle zone, or the lens will fog from the inside. In heavy-rain climates, look for IP67 ratings and stainless or composite housings, since cheap aluminum pits and corrodes in wet tropical soil within a couple of seasons.
Suggested budget range: $120 – $300.
6. Swag String Lights Through the Canopy and Pergola
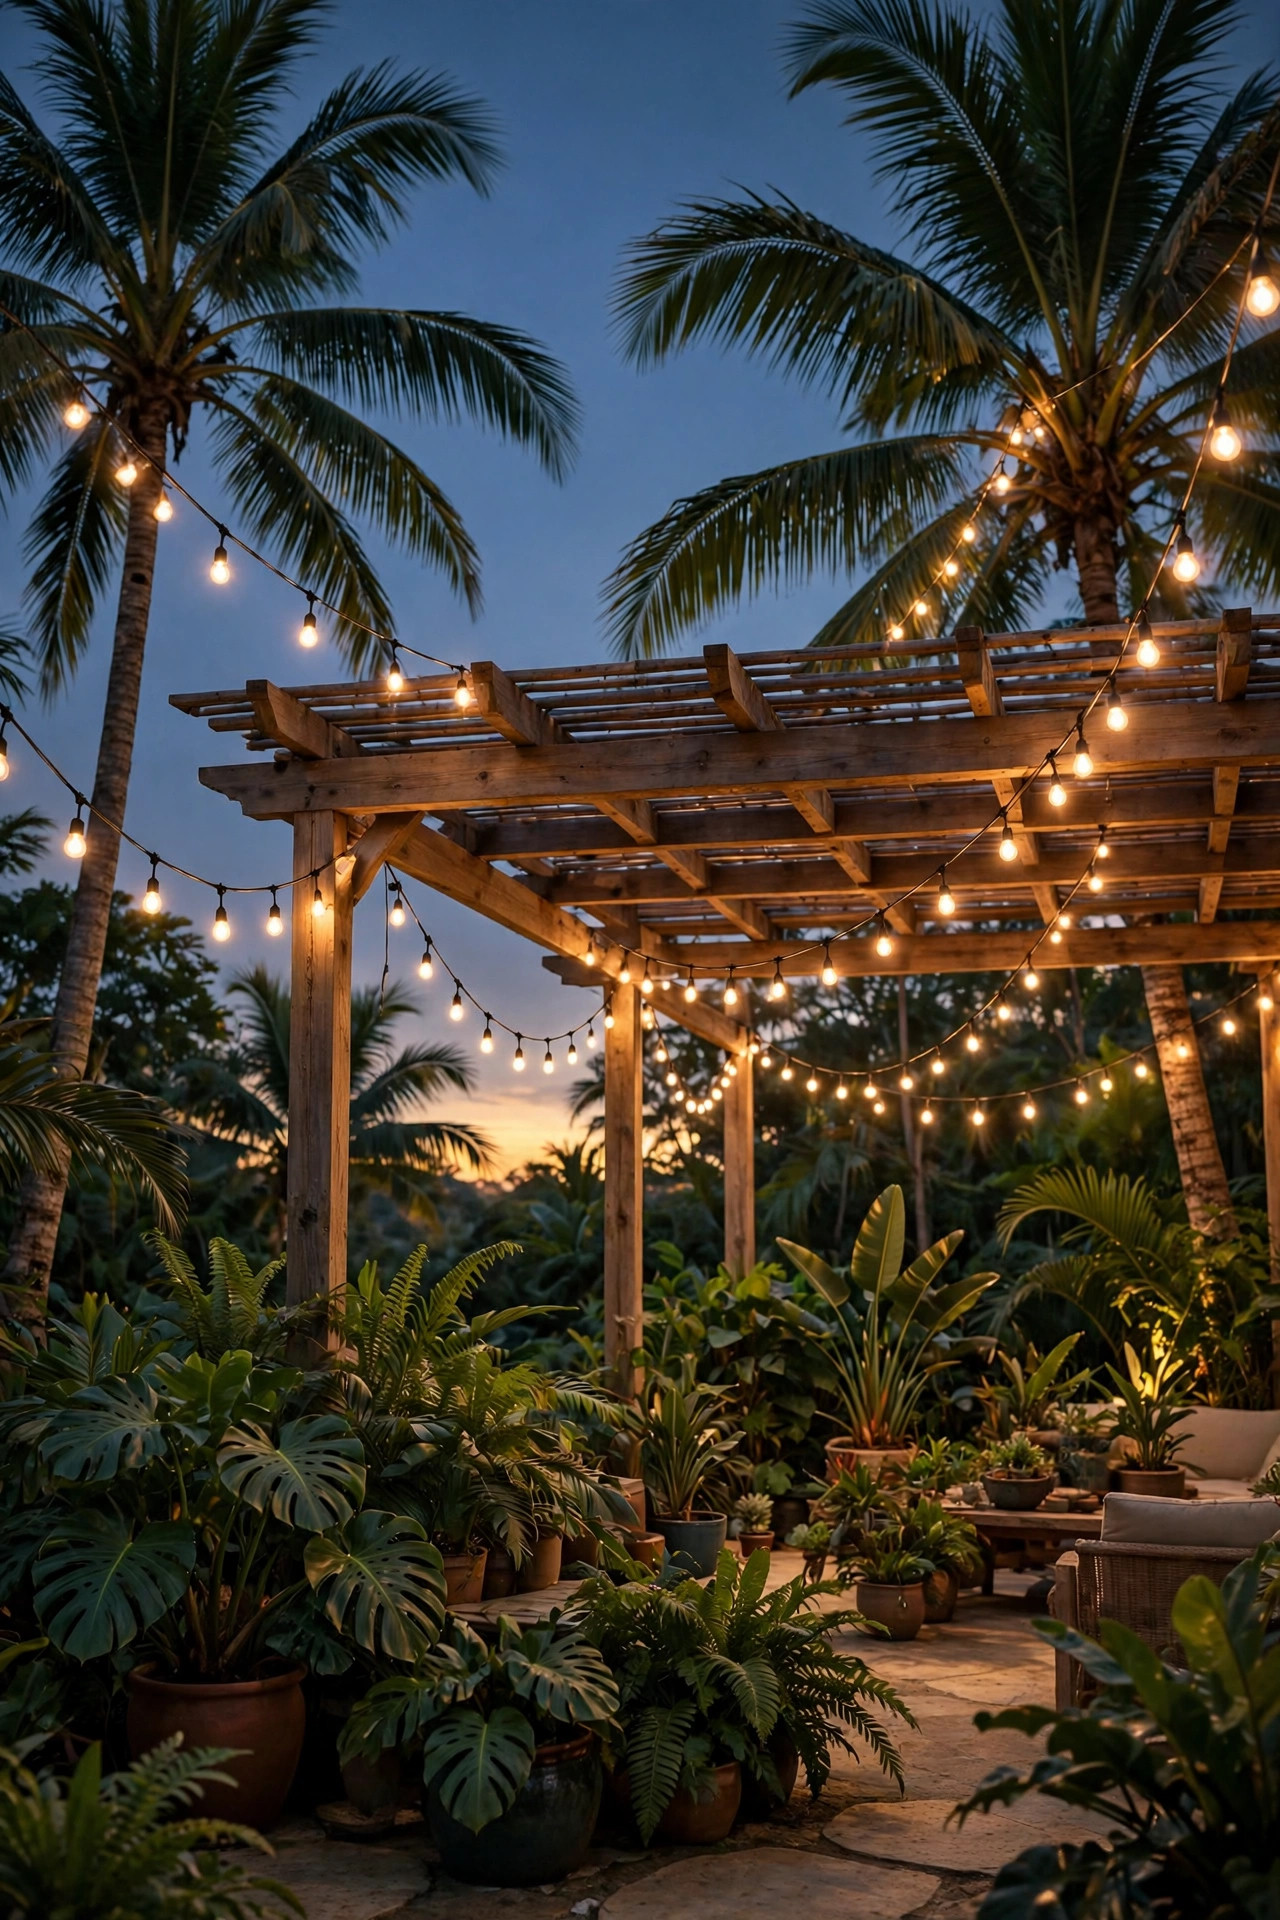
Overhead string lights are the resort look in its purest form, and a tropical yard gives you something most yards lack: sturdy palm trunks and pergola posts to hang them from. I run two or three swags from the house to a palm trunk or a pressure-treated post set in a planter, keeping each span under about 20 feet so the catenary curve stays graceful instead of droopy. Use commercial-grade stringers with suspended sockets — the bulbs should hang a few inches below the wire, which keeps heat off the cord and looks far more polished. LED filament-style bulbs in warm white give you that golden café glow for a fraction of the power, and they shrug off the occasional bump from a falling frond better than glass. Keep strands at least 8 feet above walkways, and where a swag crosses the yard, a thin stainless guide wire takes the tension so the cord itself never does. One dimmer on the circuit is my favorite ten-minute upgrade: full brightness for dinner prep, then down to a candlelight simmer for the rest of the night.
Suggested budget range: $75 – $220.
7. Moonlight From High in the Branches
Moonlighting is the most natural-looking technique I know, and a tropical canopy is practically built for it. The idea is simple: mount a small downlight 15 to 25 feet up in a sturdy tree or palm, fitted with a soft wide beam and a honeycomb glare guard, and let the light filter down through the leaves. The result is dappled pools of light on the path and patio below, exactly the way real moonlight behaves, complete with moving leaf shadows when the breeze picks up. Because the source is hidden in the foliage, guests see the effect and never the fixture. I hire an arborist or a lighting pro for the actual mounting — ladders and canopies are not a DIY combination in my book — but the design decisions are yours: one fixture per major tree, aimed to overlap slightly at ground level, on the same low-voltage run as everything else. Use a cool-neutral bulb here only if you want a true moonlight feel; personally I still choose a soft 3000K so it blends with the warmer layers instead of fighting them.
Suggested budget range: $180 – $420.

8. Give Statement Plants Their Own Spotlight
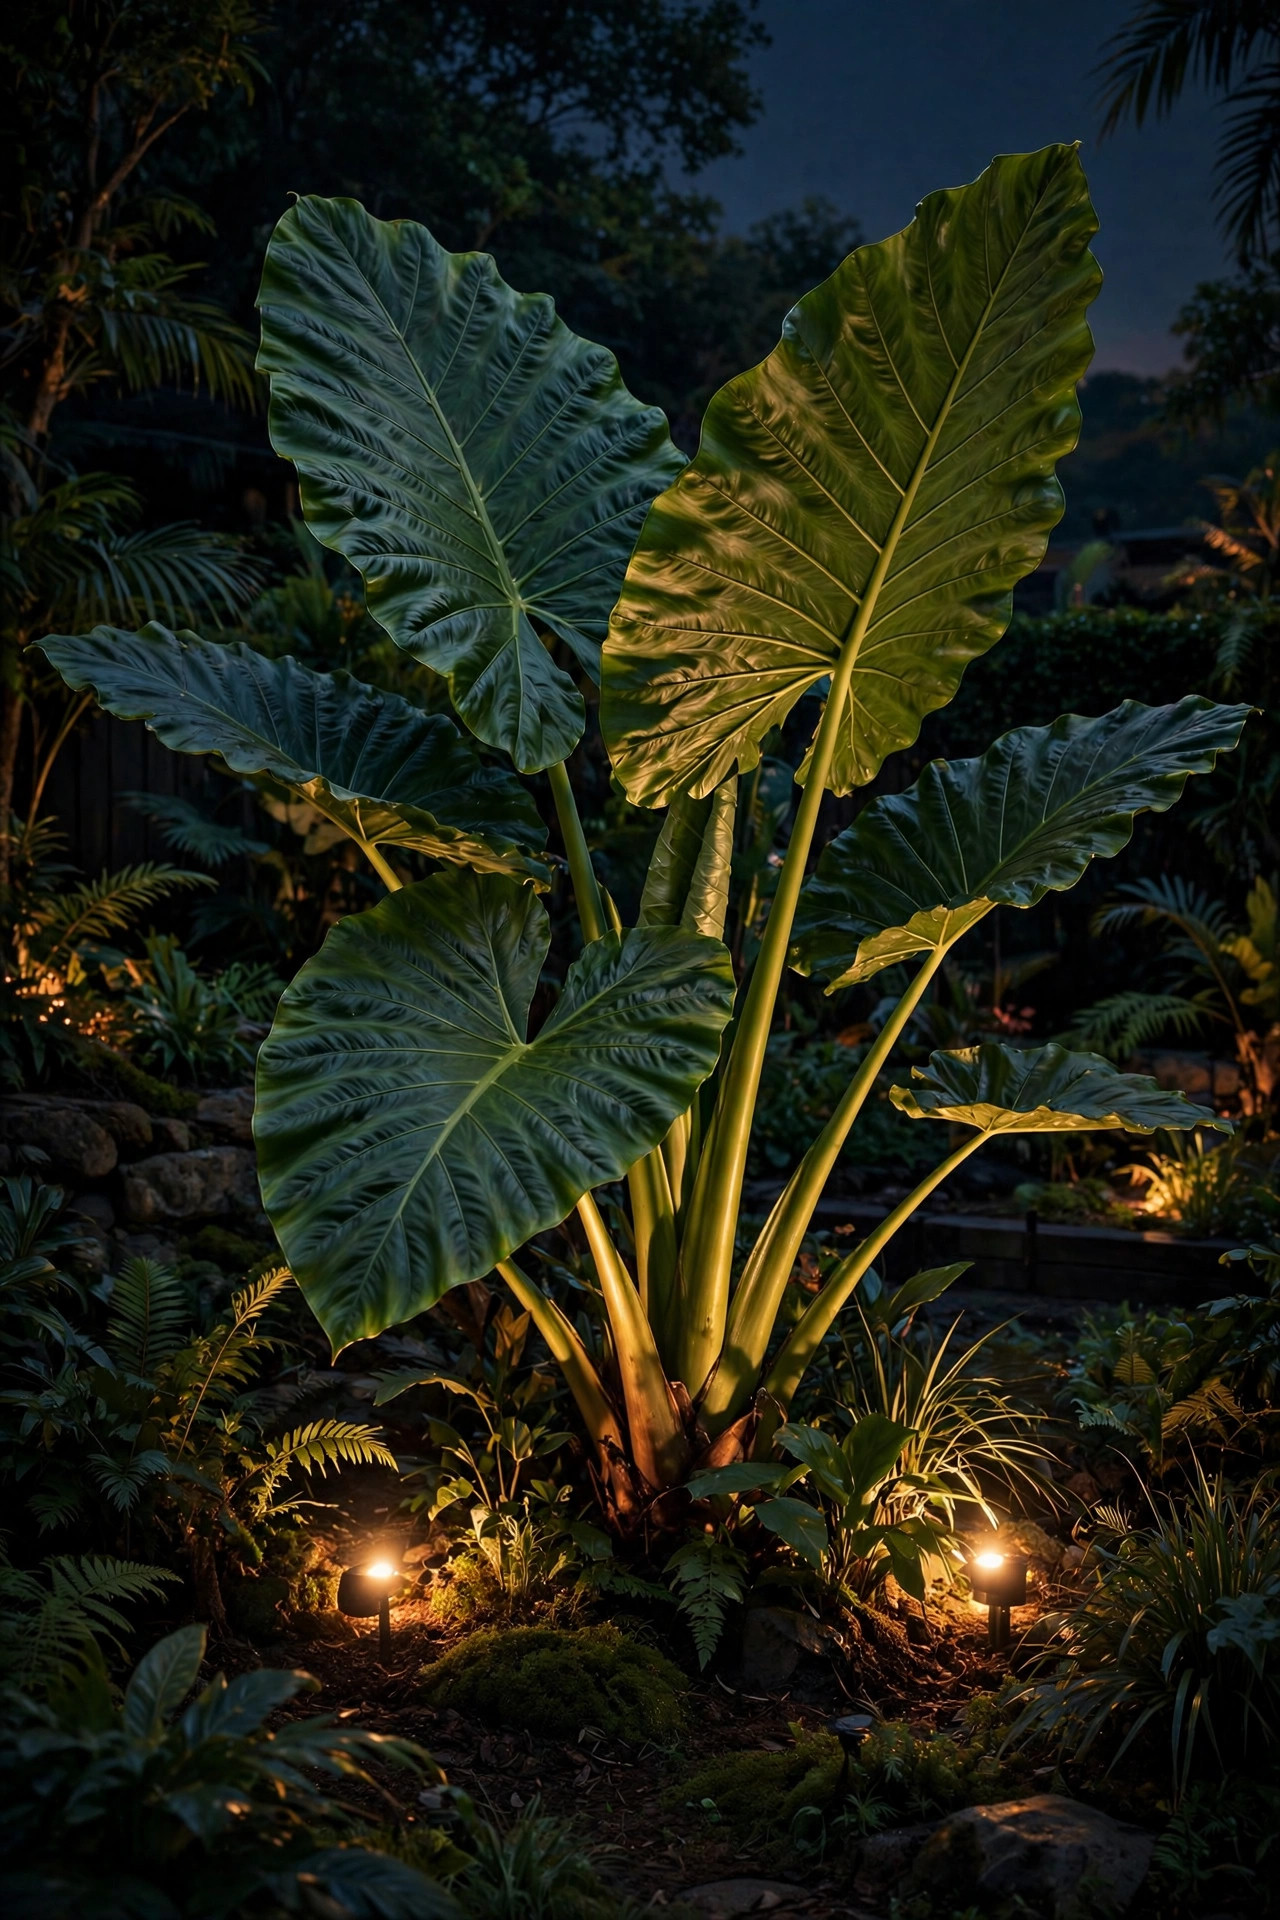
Every lush yard has a few plants that deserve a solo: a bird of paradise in bloom, a sculptural elephant ear, a monstera climbing a trunk, a banana cluster with those enormous ribbed leaves. A single narrow-beam spotlight, placed 2 to 3 feet in front of the plant and aimed up into its heart, turns it into living sculpture after dark. The secret is restraint — one fixture per hero plant, and a beam tight enough (15 to 25 degrees) that the light stays on the foliage instead of spraying the fence behind it. Big leaves reward a slight side angle, which rakes across the surface and throws every vein and fold into relief; flat front lighting just makes a green blob. This is also where a little color temperature discipline pays off: warm light deepens reds and oranges in crotons and bromeliads, while pure white keeps variegated leaves looking crisp. Swap the spotlight to a different plant every season if you like — in a tropical yard something is always coming into its moment.
Suggested budget range: $45 – $140.
9. Add Submersible Glow to Ponds and Water Features
Water doubles every lumen you give it, which makes a small pond, fountain or reflecting bowl the highest-impact spot in a tropical yard. Submersible LED pucks tucked under a waterfall lip or resting on the pond floor turn the whole feature into a lantern, and the ripples throw dancing reflections onto the plants and fence around it. I place one light to graze up through falling water, one aimed across the surface from the low side, and that is honestly enough for most home features. Everything that lives underwater must be rated for it — look for IP68 fixtures and low-voltage transformers only, never line voltage anywhere near water, and keep connections in a dry junction box above the waterline. Our dedicated pond lighting ideas post goes deeper on fixture placement for fish ponds and fountains if your feature is elaborate. Warm white keeps it elegant; the color-changing remotes are fun for a party, but I always drift back to warm white by the following weekend.
Suggested budget range: $70 – $240.

10. Run LED Strips Under Steps, Benches and Coping
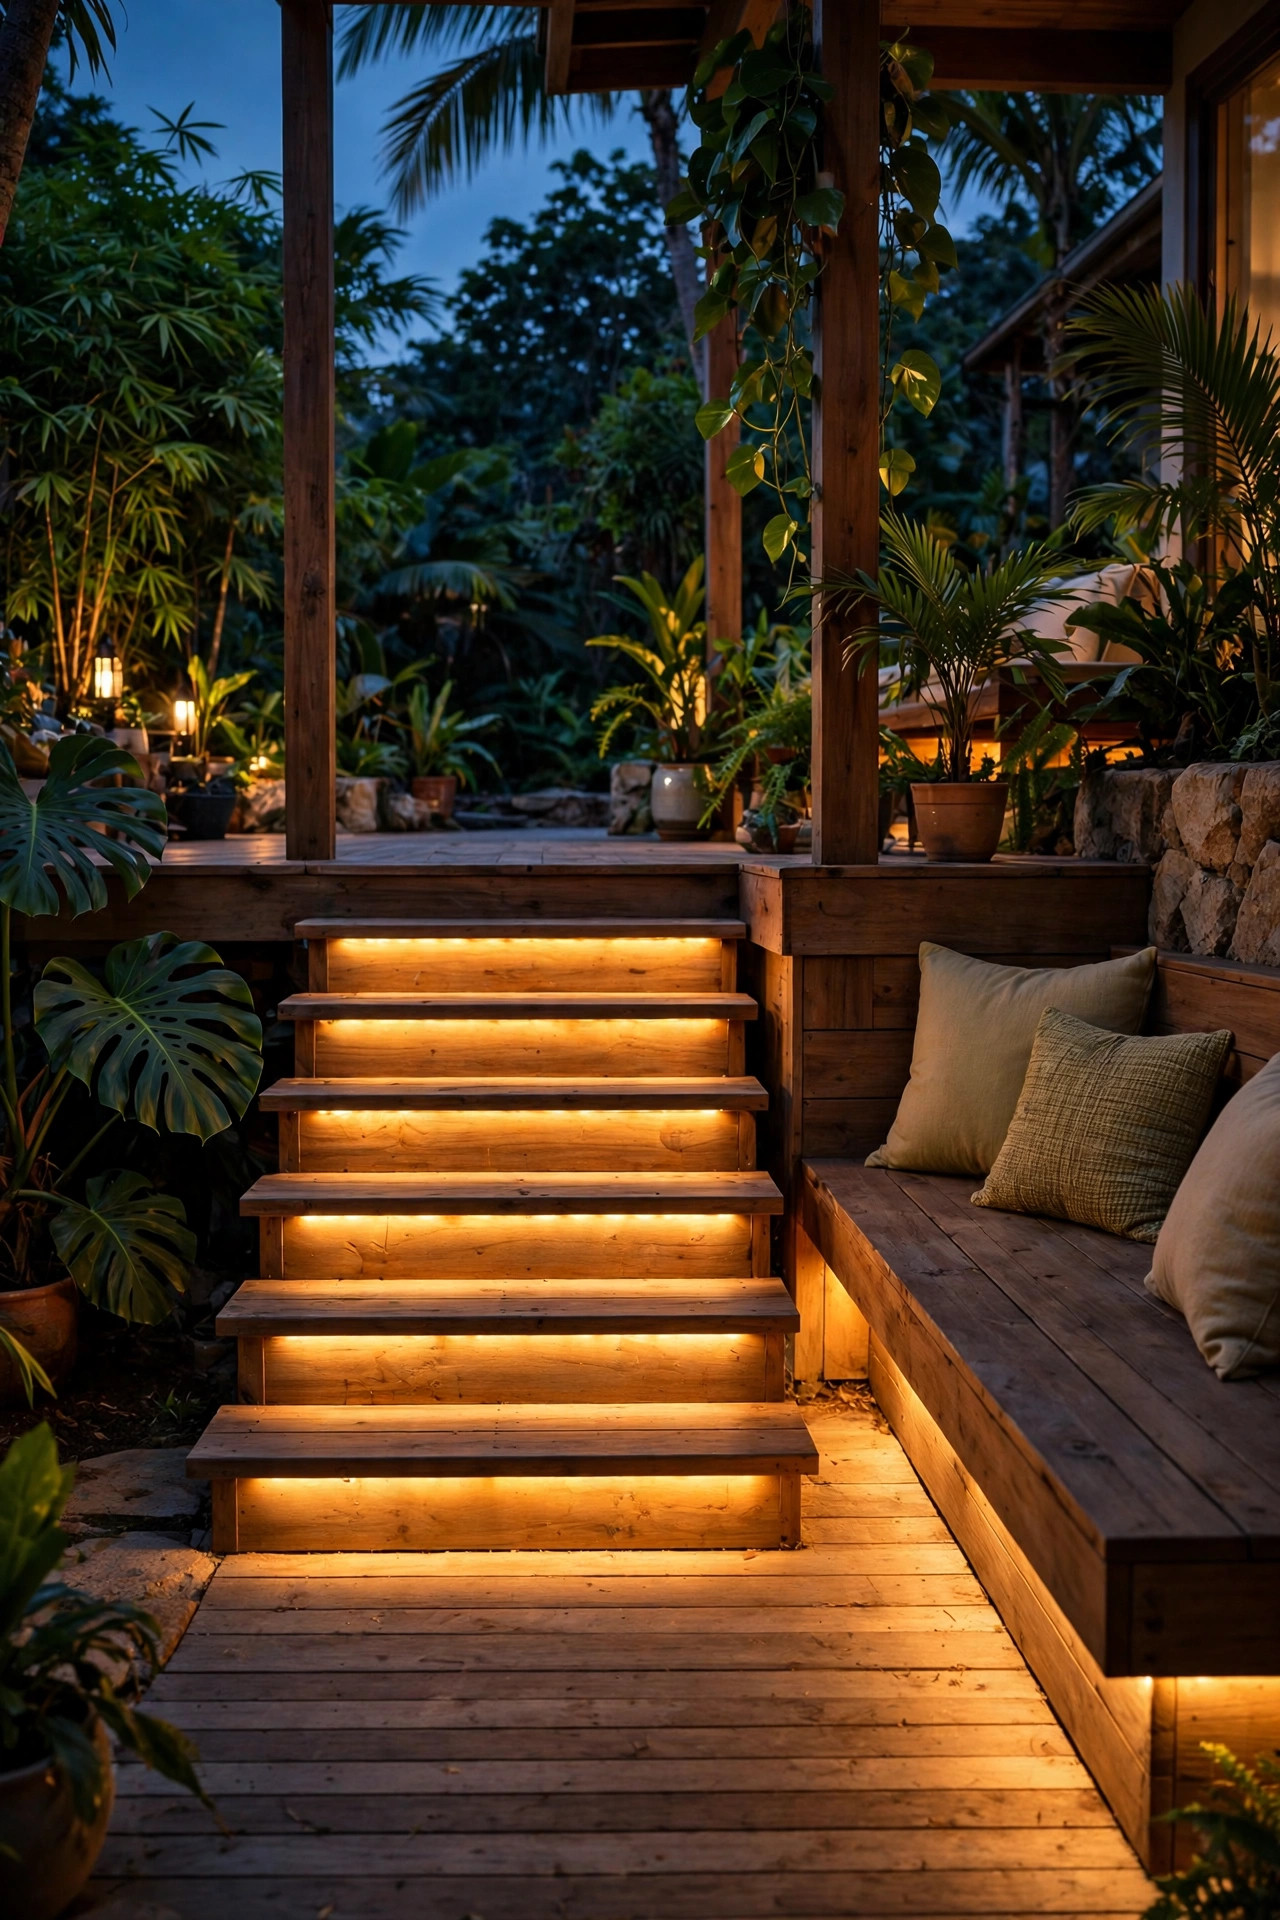
The most complimented detail in my own yard cost the least: warm LED strip lighting hidden under the nose of the deck steps, under the built-in bench, and along the underside of the bar counter. Because the strip itself is invisible, all you see is a clean ribbon of light washing the surface below — it makes steps read clearly at a glance, which guests' ankles appreciate, and it gives the whole seating area a finished, resort-built look. Use outdoor-rated strip (silicone-coated, IP65 or better) or slide it into an aluminum channel with a frosted cover, which both protects it and smooths out the individual dots. Corners in humid climates are where cheap adhesive fails, so I add the little mounting clips every 12 inches and seal cut ends with the manufacturer end caps plus a dab of silicone. A small inline dimmer lets the same strips serve as bright task light while you are grilling and a low ember glow afterward. Keep the power supply in a weatherproof box and the whole project stays genuinely beginner-friendly.
Suggested budget range: $40 – $130.
11. Cluster Flameless Hurricane Lanterns Where the Breeze Lives
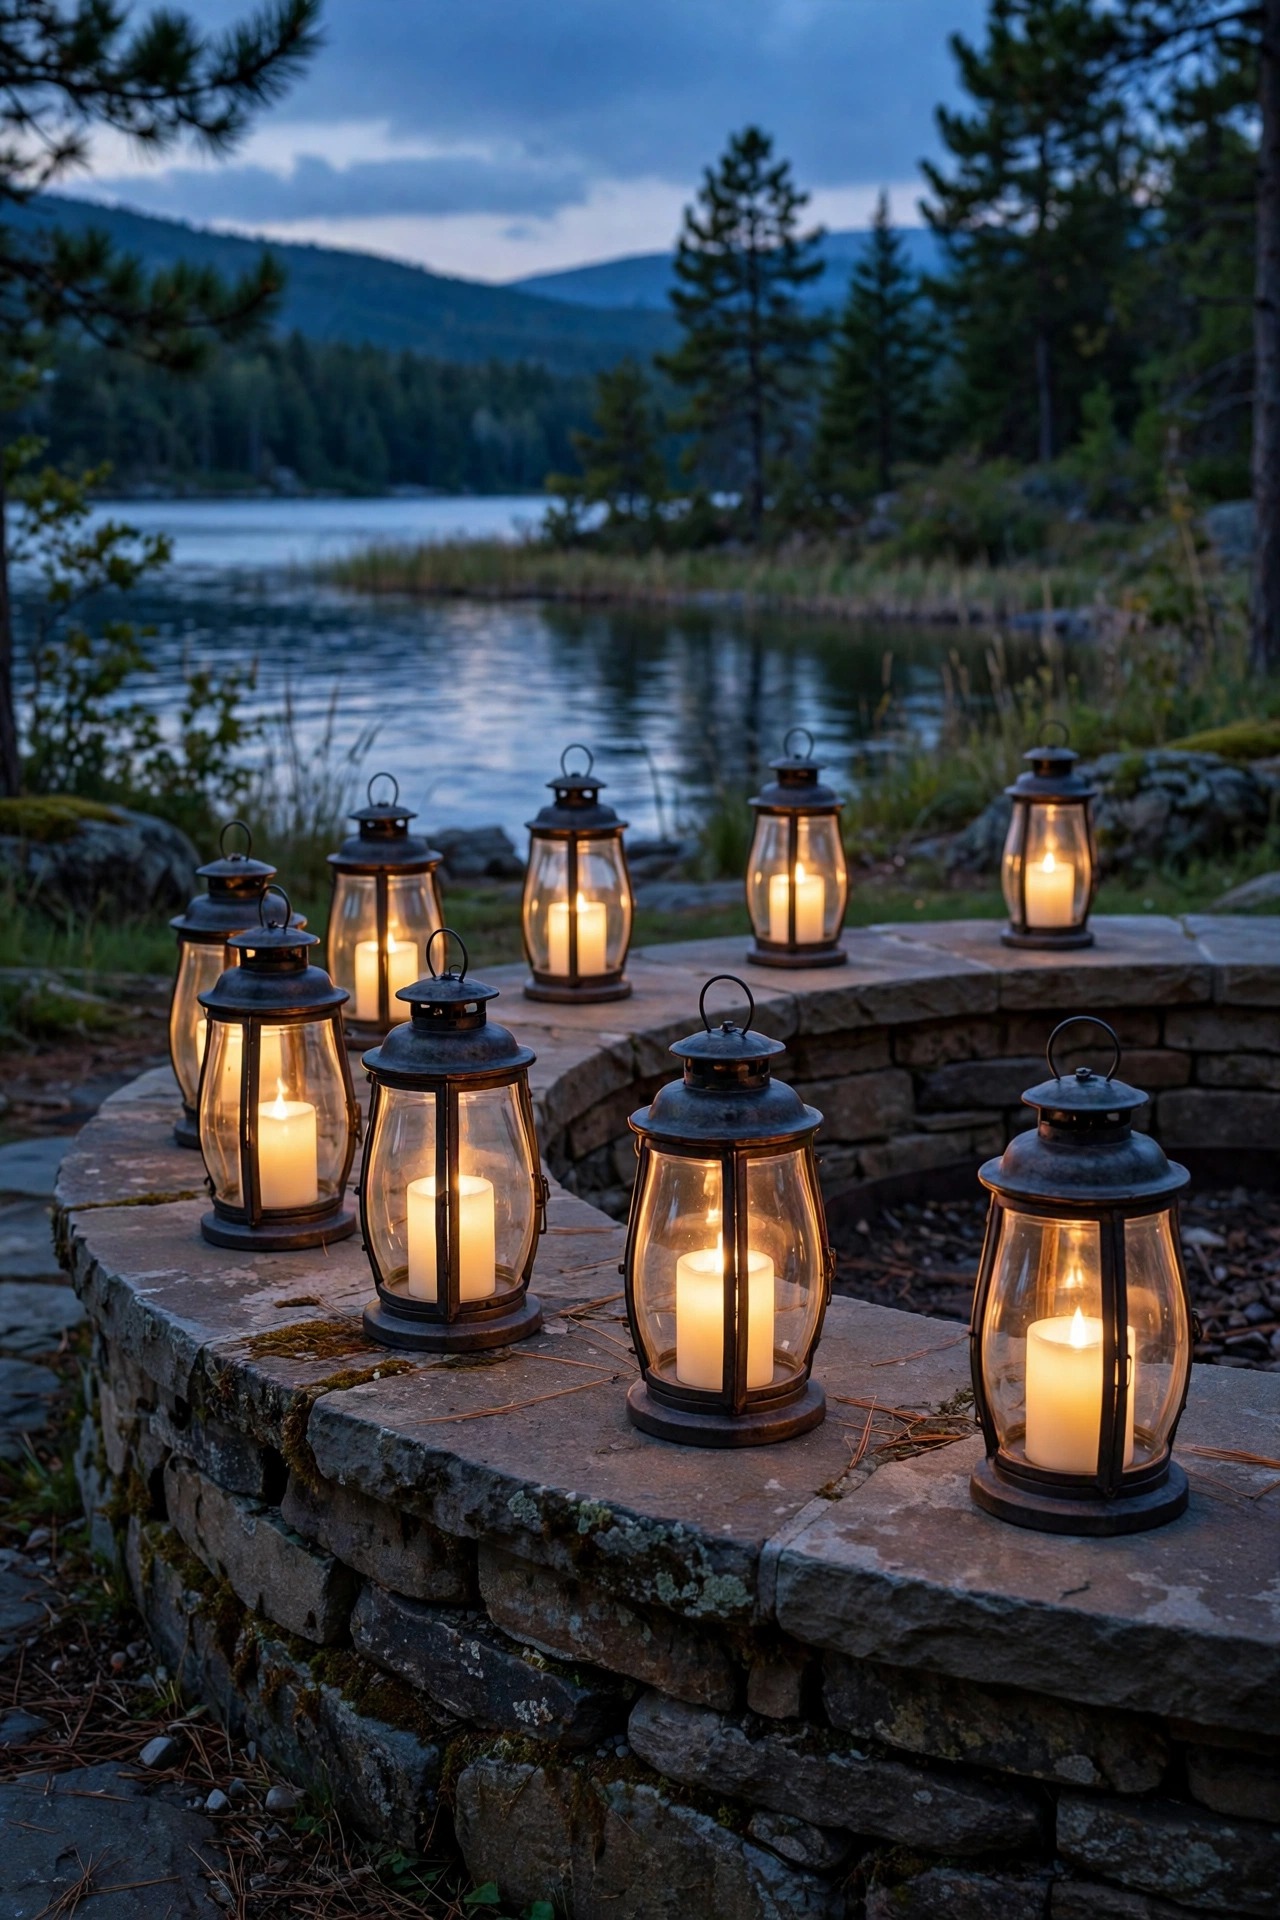
Real candlelight is gorgeous in a tropical yard right up until the evening breeze arrives, which in my experience takes about four minutes. Flameless candles inside hurricane lanterns solve it completely: the tall glass chimneys make the flicker read as real from three feet away, and the wind can do its worst. I group them in odd numbers — three on the dining table at staggered heights, five along the top of a low wall, a pair flanking the outdoor sofa — because clusters read as a design choice while single lanterns read as an afterthought. Choose candles with a timer function (five hours on, then off) and you will never wander the yard at midnight collecting them. The rechargeable versions have gotten genuinely good and save the battery shuffle; in shaded yards, the ones with remote solar tops still underperform, so plug-in charging is the reliable route. Look for resin or powder-coated metal lantern frames rather than bare wood or untreated steel, since humidity and salt air will freckle anything less within a season or two.
Suggested budget range: $35 – $120.
12. Weave Copper-Wire Fairy Lights Through Shrubs and Fences
Copper-wire fairy lights are my secret filler — the connective tissue that makes a planted border feel enchanted instead of merely lit. The wire is nearly invisible in daylight, bends around anything, and one 33-foot strand can wander through an entire hibiscus hedge or along a bamboo fence, sprinkling tiny warm points of light through the leaves. Because each LED is small, the effect is sparkle, not illumination, which is exactly what you want at the edges of the yard where the darkness should stay soft. Battery-powered strands with built-in timers suit shady yards best, since solar versions starve under the canopy; a set of rechargeable batteries per strand keeps it economical. I weave loosely, letting the wire disappear into the growth rather than wrapping tight outlines around shrubs — tight wrapping reads as holiday decor, loose weaving reads as fireflies. Plan on two seasons per strand in a wet climate before the wire gets brittle, and treat them as the semi-consumable they are. At this price, that is a fair trade for the magic they add.
Suggested budget range: $20 – $70.

13. Use Solar Where the Sun Actually Reaches — and Only There
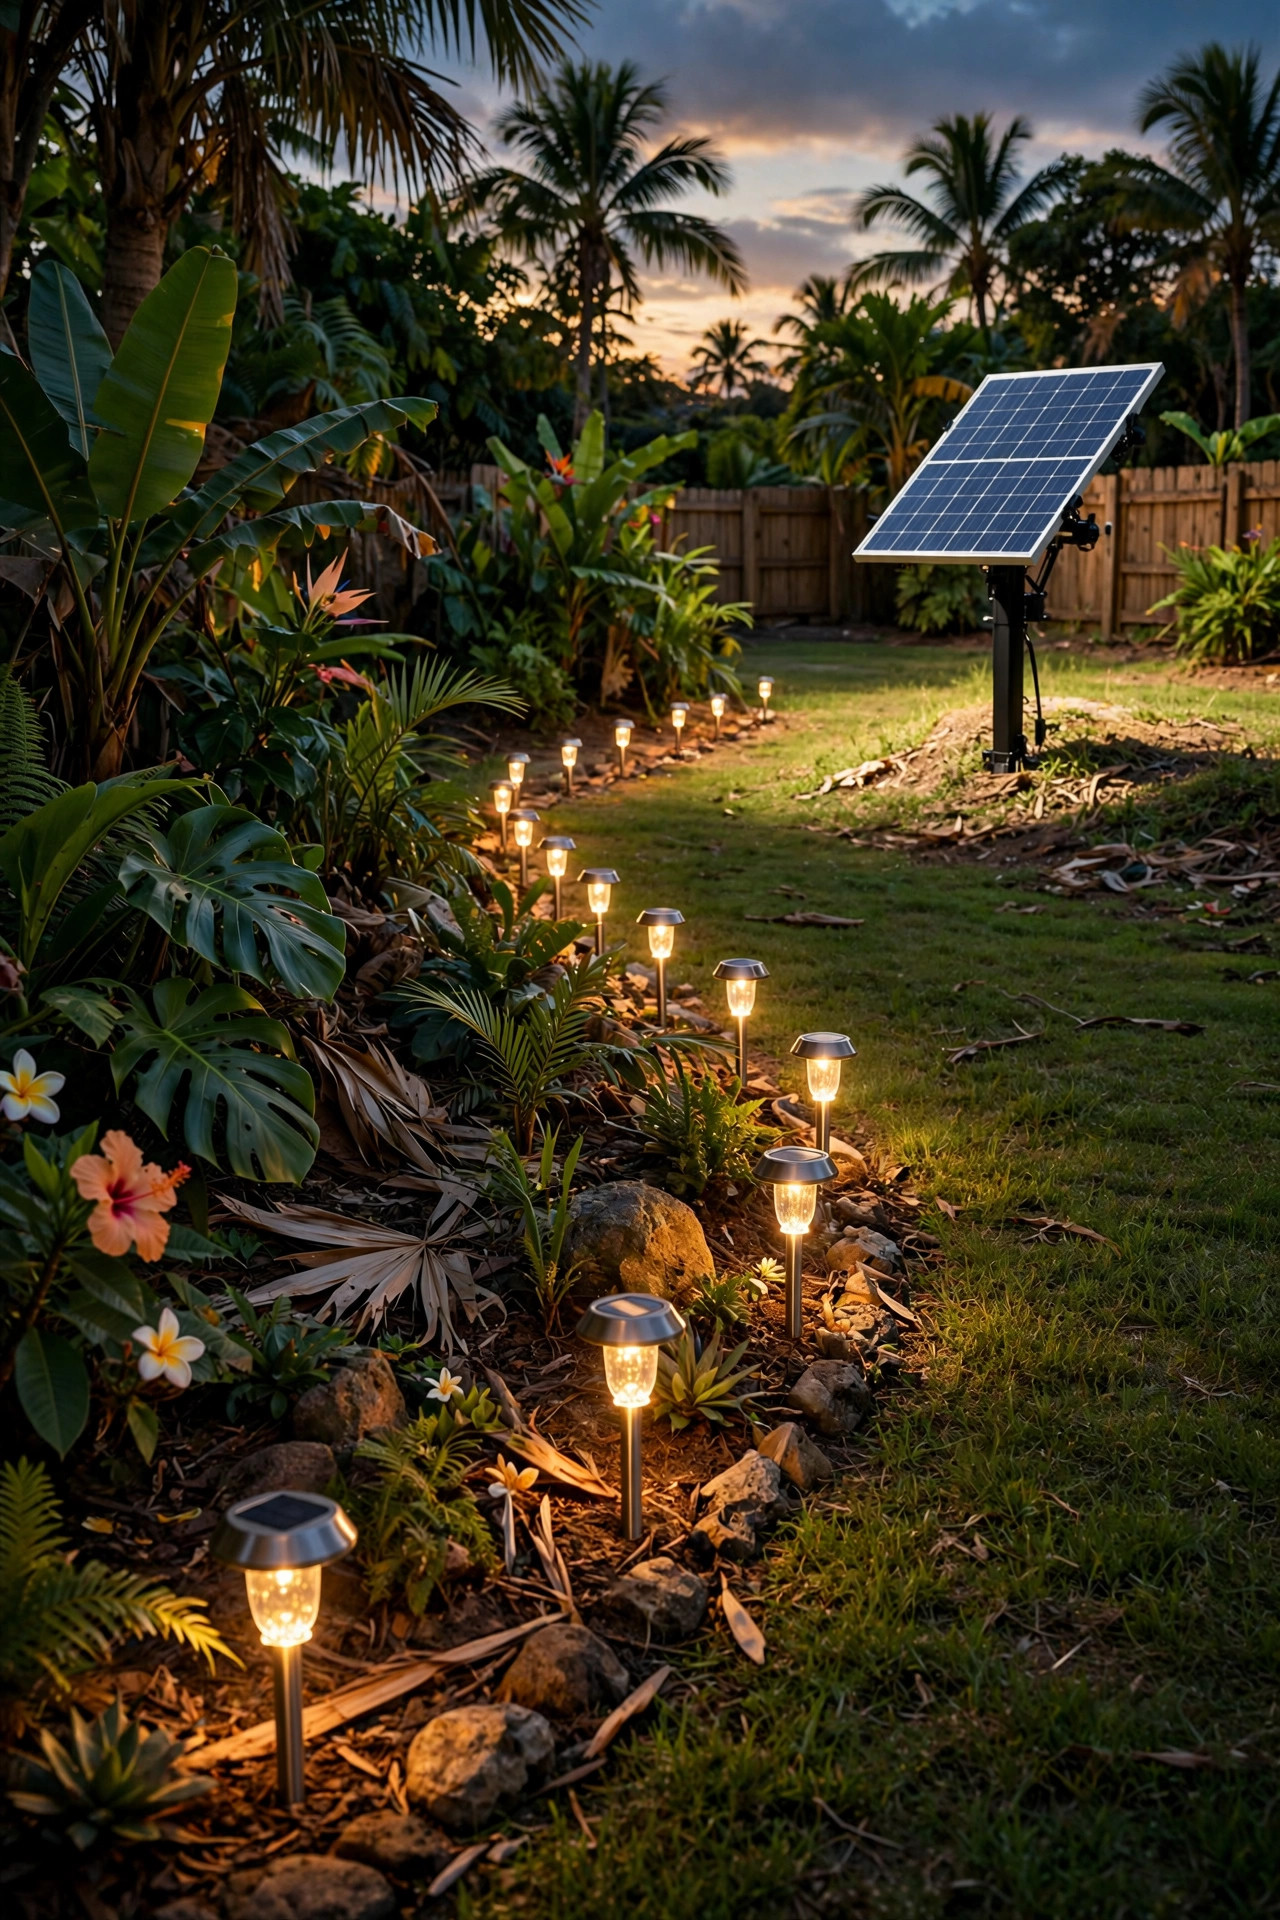
After everything I have said about shade, here is the other half of the strategy: most tropical yards have a sunny skeleton hiding inside them. The south edge of a bed, the gap where the driveway meets the garden, the top of a fence post, the step treads at noon — survey yours at midday with your phone camera and you will find more sun pockets than you expect. Those pockets are where solar belongs. Solar path lights at the sunny mouth of a walkway, a solar lantern hanging from the one exposed branch, solar accent spots aimed at a sign or a gate: all of these will charge fully and shine all evening, because you matched the technology to the light it needs. Panels that detach on a cable are the unsung heroes here — the fixture lives in the shade where you want the glow, while the panel rides 6 to 10 feet away in full sun. Read the runtime claims with suspicion and favor models listing replaceable batteries, because the battery, not the LED, is what wears out after two or three years of tropical heat.
Suggested budget range: $50 – $160.
14. Pick One Warm Temperature and Hold the Line at 2700K
The fastest way to make a beautiful yard look accidental is to mix bulb temperatures — a bluish path light here, an orange porch bulb there, a daylight-white spot washing the palms. In a tropical setting surrounded by deep greens, warm white does all the flattering: 2700K makes foliage look rich and skin look healthy, and it mimics the firelight-and-sunset palette the whole style is built on. I allow myself one exception, a 3000K for moonlighting downlights, and even that stays close enough to blend. Every time you buy a fixture or a replacement bulb, check the Kelvin number on the box before it goes in the cart; LEDs last so long that a mismatched bulb will annoy you for a decade. If you inherit a yard with mixed temperatures, swap the worst offenders first — the ones nearest the seating area — and let the distant path lights wait for their turn. Smart bulbs make discipline easier in feature spots, since you can dial them to match, but the honest workhorse solution is simply buying the same temperature, every time, and keeping a spare or two in the drawer.
Suggested budget range: $25 – $90.
15. Automate With Photocells, Timers and Outdoor Smart Plugs
Tropical yards get used year-round, which means your lighting needs to run itself — nobody wants to trek through wet foliage every evening to flip switches. The layered system I recommend starts with the transformer timer or a photocell that brings the wired backbone on at dusk and off at your chosen hour; I run mine until 11 p.m. on weeknights and later on weekends. Battery lanterns and fairy lights with built-in six-hour timers slot right into the same rhythm, arriving and leaving with the main show. For the string lights and anything plugged into an outlet, an outdoor-rated smart plug adds voice and phone control plus a true sunset-tracking schedule that adjusts itself as the seasons shift — set it once and forget it exists. One humidity habit worth forming: mount plugs and power supplies under an eave or inside a weatherproof box, connections facing down, so driven rain never pools in a socket. Motion-activated fixtures earn a place only at the side gate and the trash-corner path, where a brief pool of light is a feature, not an interruption.
Suggested budget range: $30 – $110.

16. Save Real Flame for the Fire Feature and Place It Like Furniture
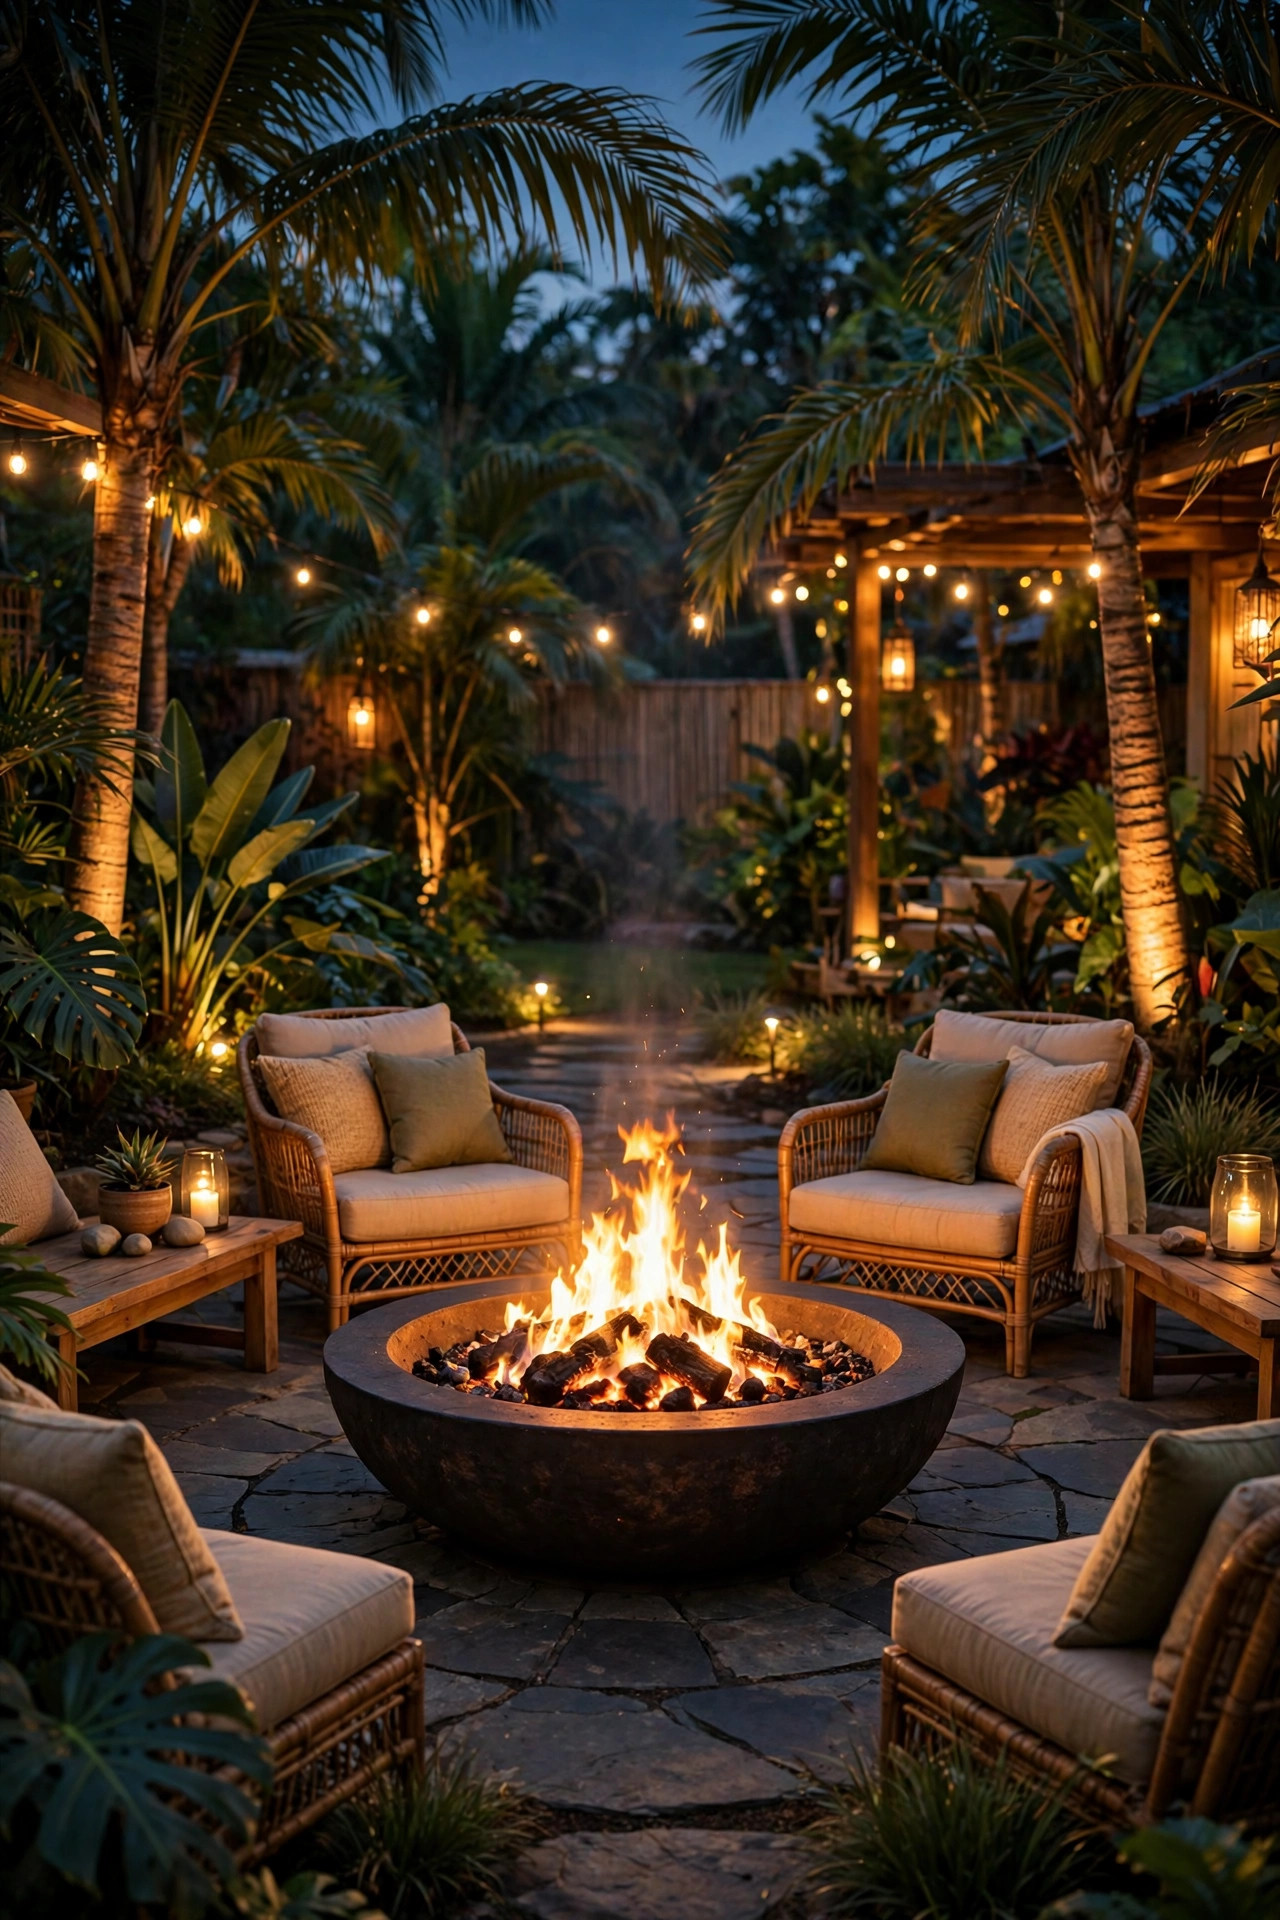
After steering you to flameless everything else, let me defend one honest flame: a single fire bowl, fire pit or cluster of real tiki torches at the seating heart of the yard. Fire is the original tropical light — it flickers, it warms, it gathers people the way no LED quite manages — and one well-placed source does more for atmosphere than a dozen fixtures. Placement is the discipline: center it where people naturally sit, keep it at least 10 feet from overhanging fronds and thatch, and never under the string-light swags. Surround it with a low ring of the LED layers you have already built so the fire is the star of a lit stage rather than a lone blaze in blackness. Citronella fuel in the torches genuinely takes the edge off mosquitoes in the seating zone, though I still keep a fan moving air on still nights, which bugs hate even more. Strict rules from my own yard: LED-only fixtures anywhere near dry palm litter, a sand bucket within reach, and flames out before the last person goes inside. No exceptions, even for birthdays.
Suggested budget range: $100 – $350.
17. Finish With a Dusk Walk-Through of Your Tropical Backyard Lighting Ideas
The last step costs nothing and improves everything: once your tropical backyard lighting ideas are installed, walk the yard the way a guest would, at dusk, phone in your pocket and a notepad in hand. Start at the back door. Where do your eyes go first? That should be a hero plant or the fire feature, not a bare bulb — any fixture you can see directly needs a shield, a tilt or a plant moved in front of it. Walk every path and check for the two failures that hide from the patio: dark gaps where a step or a root crosses, and glare spots that blind you at eye level. Sit in each chair. The view from the cheap seats is the one your guests will judge. Then go out to the street or the fence line and look back — the yard should glow like a lantern, not broadcast like a stadium, and your neighbors will thank you for aiming everything down and in. Give it a full week of evenings before the final tweaks; lights that seem dim on night one often prove perfect once your eyes adjust. Then pour something cold and enjoy the room you built outside.
Suggested budget range: $0 – $50.
Frequently Asked Questions
What color temperature is best for tropical backyard lighting?
Warm white, 2700K, is my firm recommendation for nearly everything in a tropical yard. It flatters green foliage, makes skin tones look healthy around the table, and echoes firelight and sunset. I allow 3000K only for moonlighting downlights hidden in the canopy. The real rule is consistency: one temperature across the yard looks designed, while a mix of warm and bluish bulbs looks accidental no matter how nice the fixtures are.
Do solar lights work in a shady tropical yard?
Mostly no, and it is not the fault of the lights. A solar panel under dense canopy may collect only an hour or two of usable sun, so the light fades early in the evening. Use solar in the sun pockets — path mouths, fence tops, sunny bed edges — or choose models with detachable panels you can mount in the sun on a cable. For the deep shade, a low-voltage wired system or timer-based battery fixtures will perform every single night.
How do I keep outdoor lights working in humidity and heavy rain?
Buy for the climate: IP65 ratings or higher for exposed fixtures, IP68 for anything submersible, and housings in stainless steel, brass or composite rather than cheap painted aluminum. Use gel-filled waterproof connectors on low-voltage runs, mount plugs and transformers under cover with connections facing down, and wipe lenses a couple of times a year to clear pollen and mildew film. A thin smear of dielectric grease on bulb bases prevents the corrosion that kills most humid-climate fixtures.
How much does it cost to light a tropical backyard?
A starter layer of tiki torches, fairy lights and lanterns can glow nicely for $150 to $300. Most yards I help with land between $500 and $1,200 once a low-voltage backbone, palm uplights and string lights are in. A full three-layer design with moonlighting and a water feature can reach $2,000 or more, but because everything is modular, you can build it one layer per season and never waste a dollar.
Conclusion
A lush, shady yard is not a lighting problem; it is a lighting opportunity, because every leaf and frond is a surface waiting to catch a glow. Start with the three layers, let a wired backbone carry the deep shade, save solar for the sun pockets, uplight those palms, and hold the whole yard to one warm 2700K temperature. Those tropical backyard lighting ideas will turn the green wall that disappears at nine into the room everyone drifts toward after dinner. Browse the rest of our outdoor lighting ideas here on the site for the next project — in a tropical yard, there is always one more corner that deserves to glow.