There is a reason the houses we slow down for on an evening drive look the way they do. It is never one big fixture doing the work. Traditional front yard lighting ideas succeed because they layer light the way classic homes have always done it: a soft guide along the walk, a warm welcome at the door, and one or two quiet accents that show off the architecture. No color-changing bulbs, no runway strips, nothing that will look dated in five years. When friends ask me how to get that timeless curb appeal, I tell them to think like the colonial builders did, then wire it up with modern low-voltage LED. In this post I will walk you through 19 traditional front yard lighting ideas I use again and again, from the post light at the curb to the candle glow in the windows. Every one is warm, symmetrical where it counts, and built on 2700K light that flatters brick, stone, and siding alike.
1. Start With the Classic Three-Layer Plan Behind Traditional Front Yard Lighting Ideas
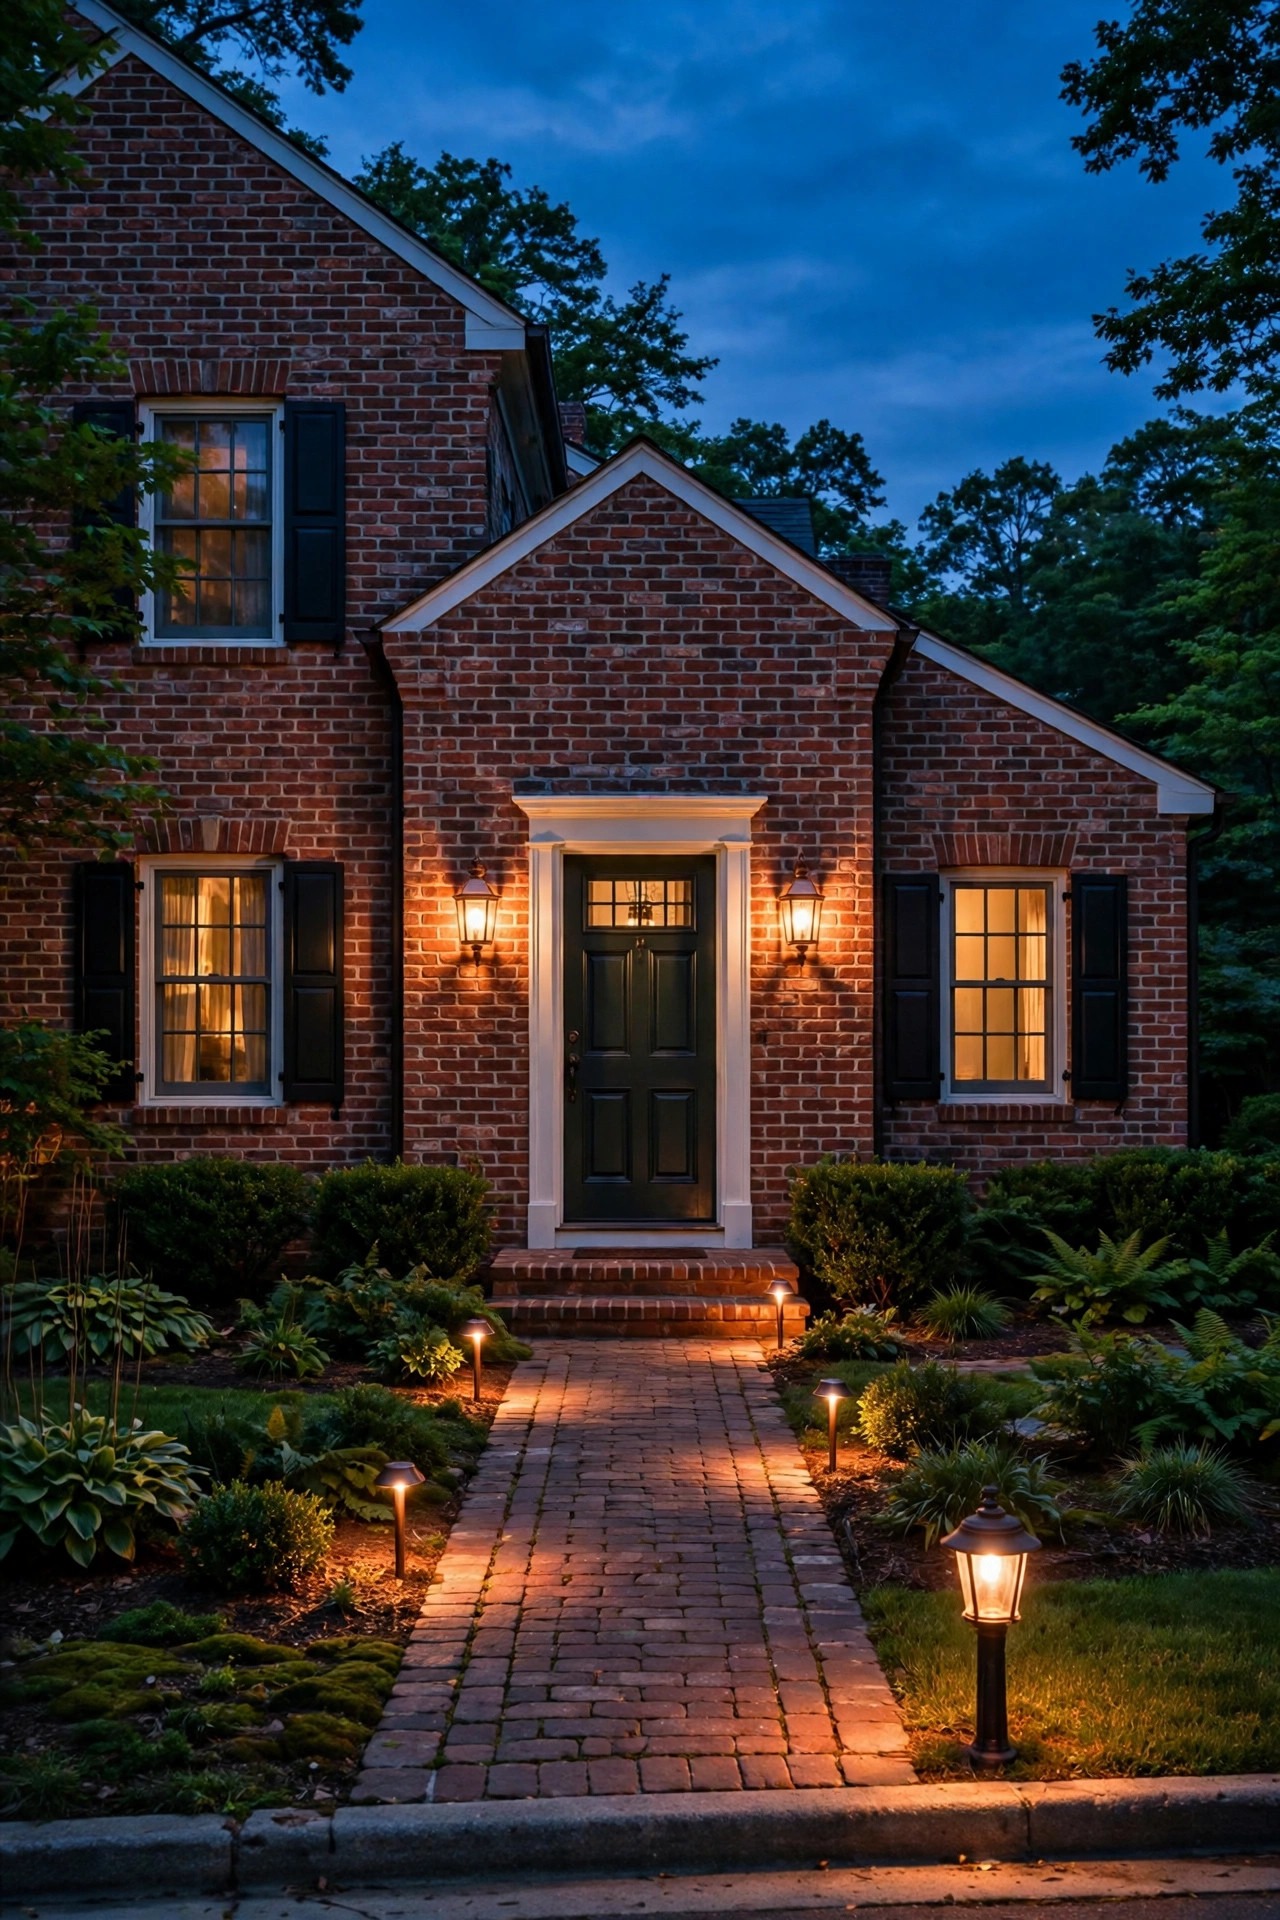
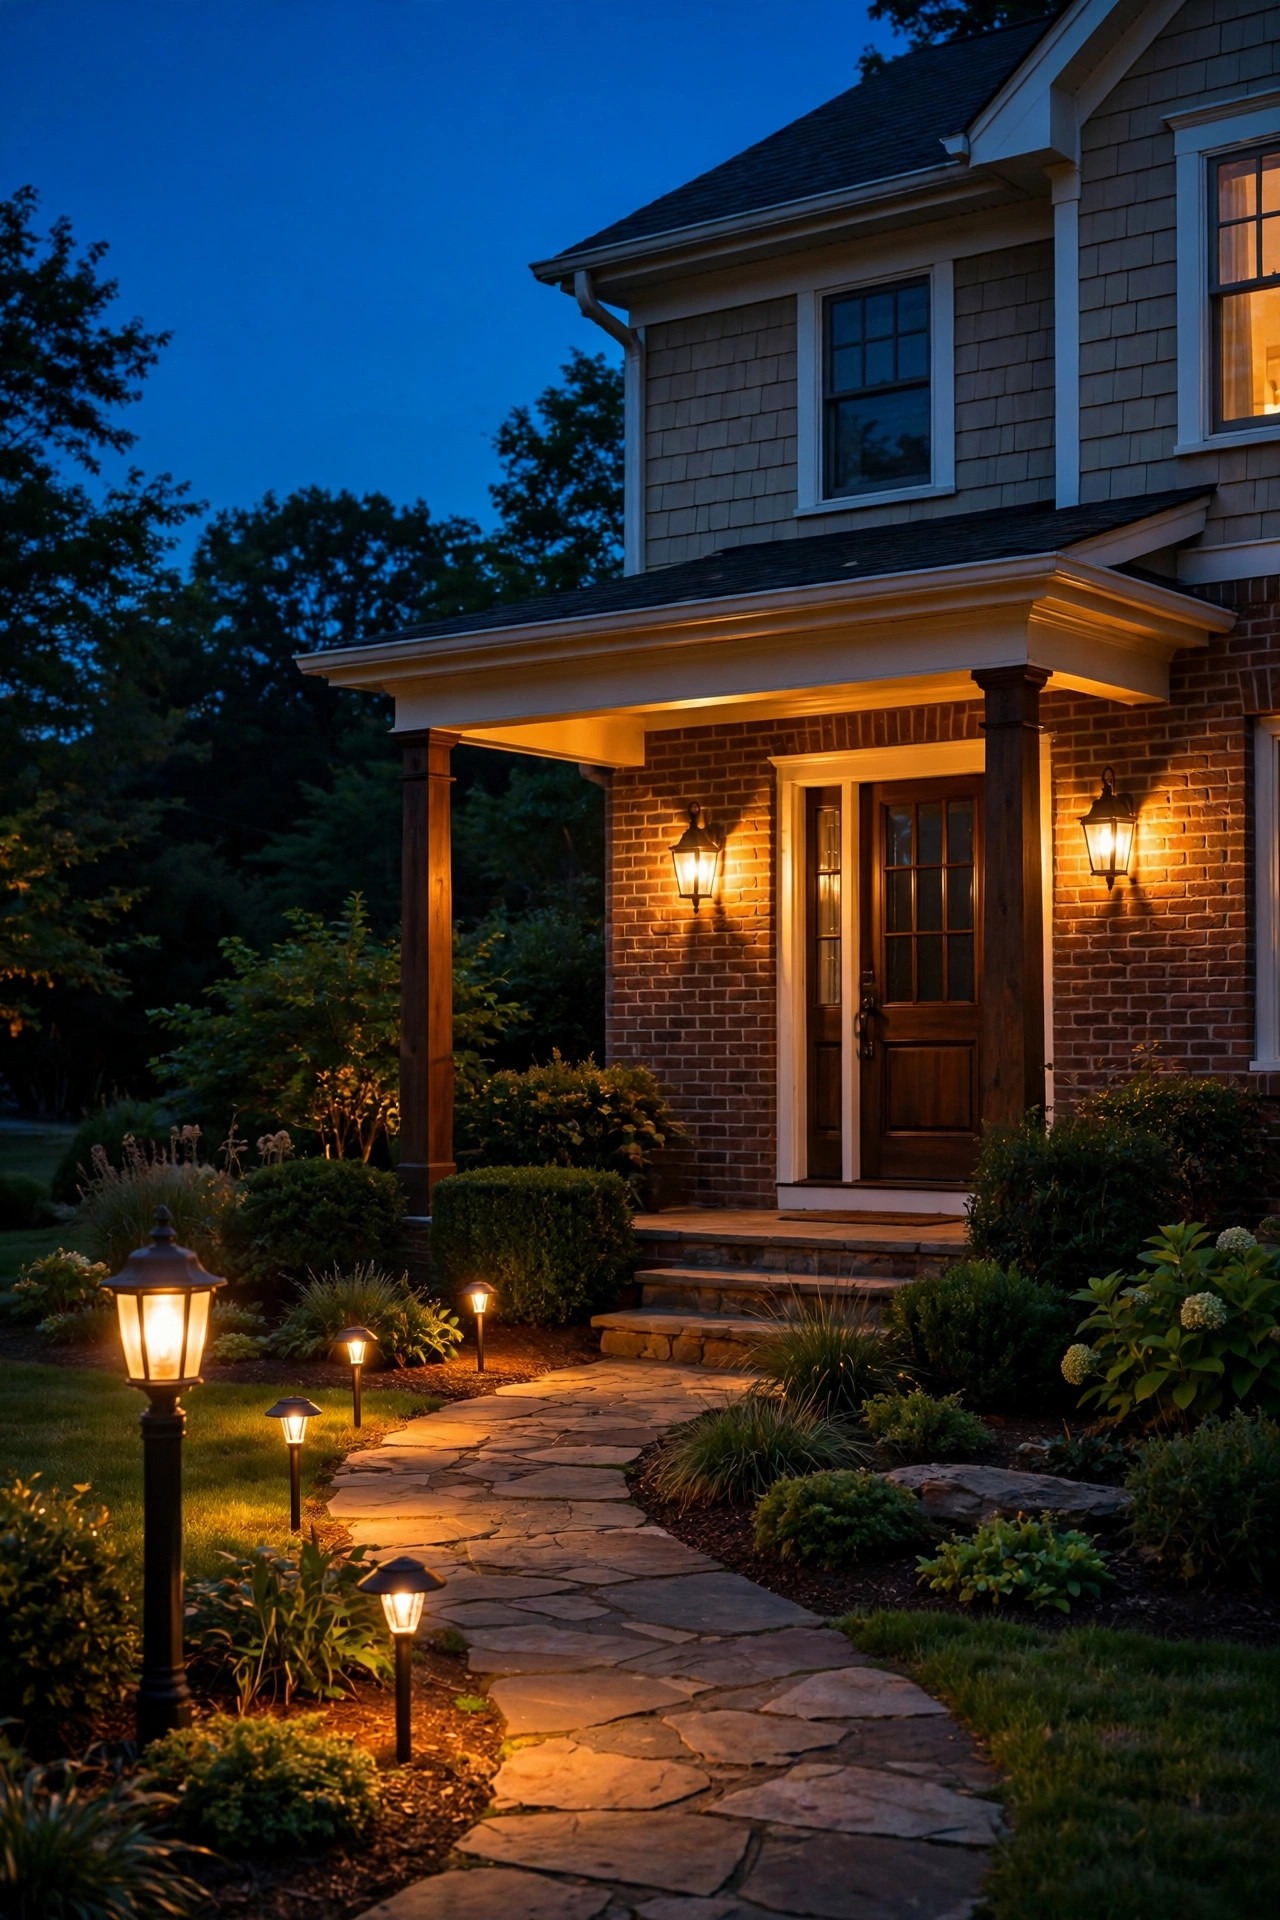
Every traditional scheme I have ever loved follows the same quiet formula: guide, welcome, accent. The guide layer is low light along the walk and drive, just enough to read the path. The welcome layer lives at eye level, lantern sconces or a post light near the door. The accent layer is one or two uplights on the facade or a favorite tree. Sketch it on paper first, standing at the curb, and count your fixtures before you buy anything. In my experience a typical front yard needs only 8 to 14 fixtures total, which surprises people who expected a runway. I lay out the full approach in my guide to front yard landscape lighting, but the short version is simple: light what a guest needs to see, light the door like you mean it, then stop. A 150 to 300 watt low-voltage transformer covers most yards, and keeping every fixture on the same warm temperature is what makes the whole scene read as one composed picture instead of a collection of parts.
Suggested budget range: $100 – $600.
2. Flank the Front Door With a Symmetric Lantern Sconce Pair
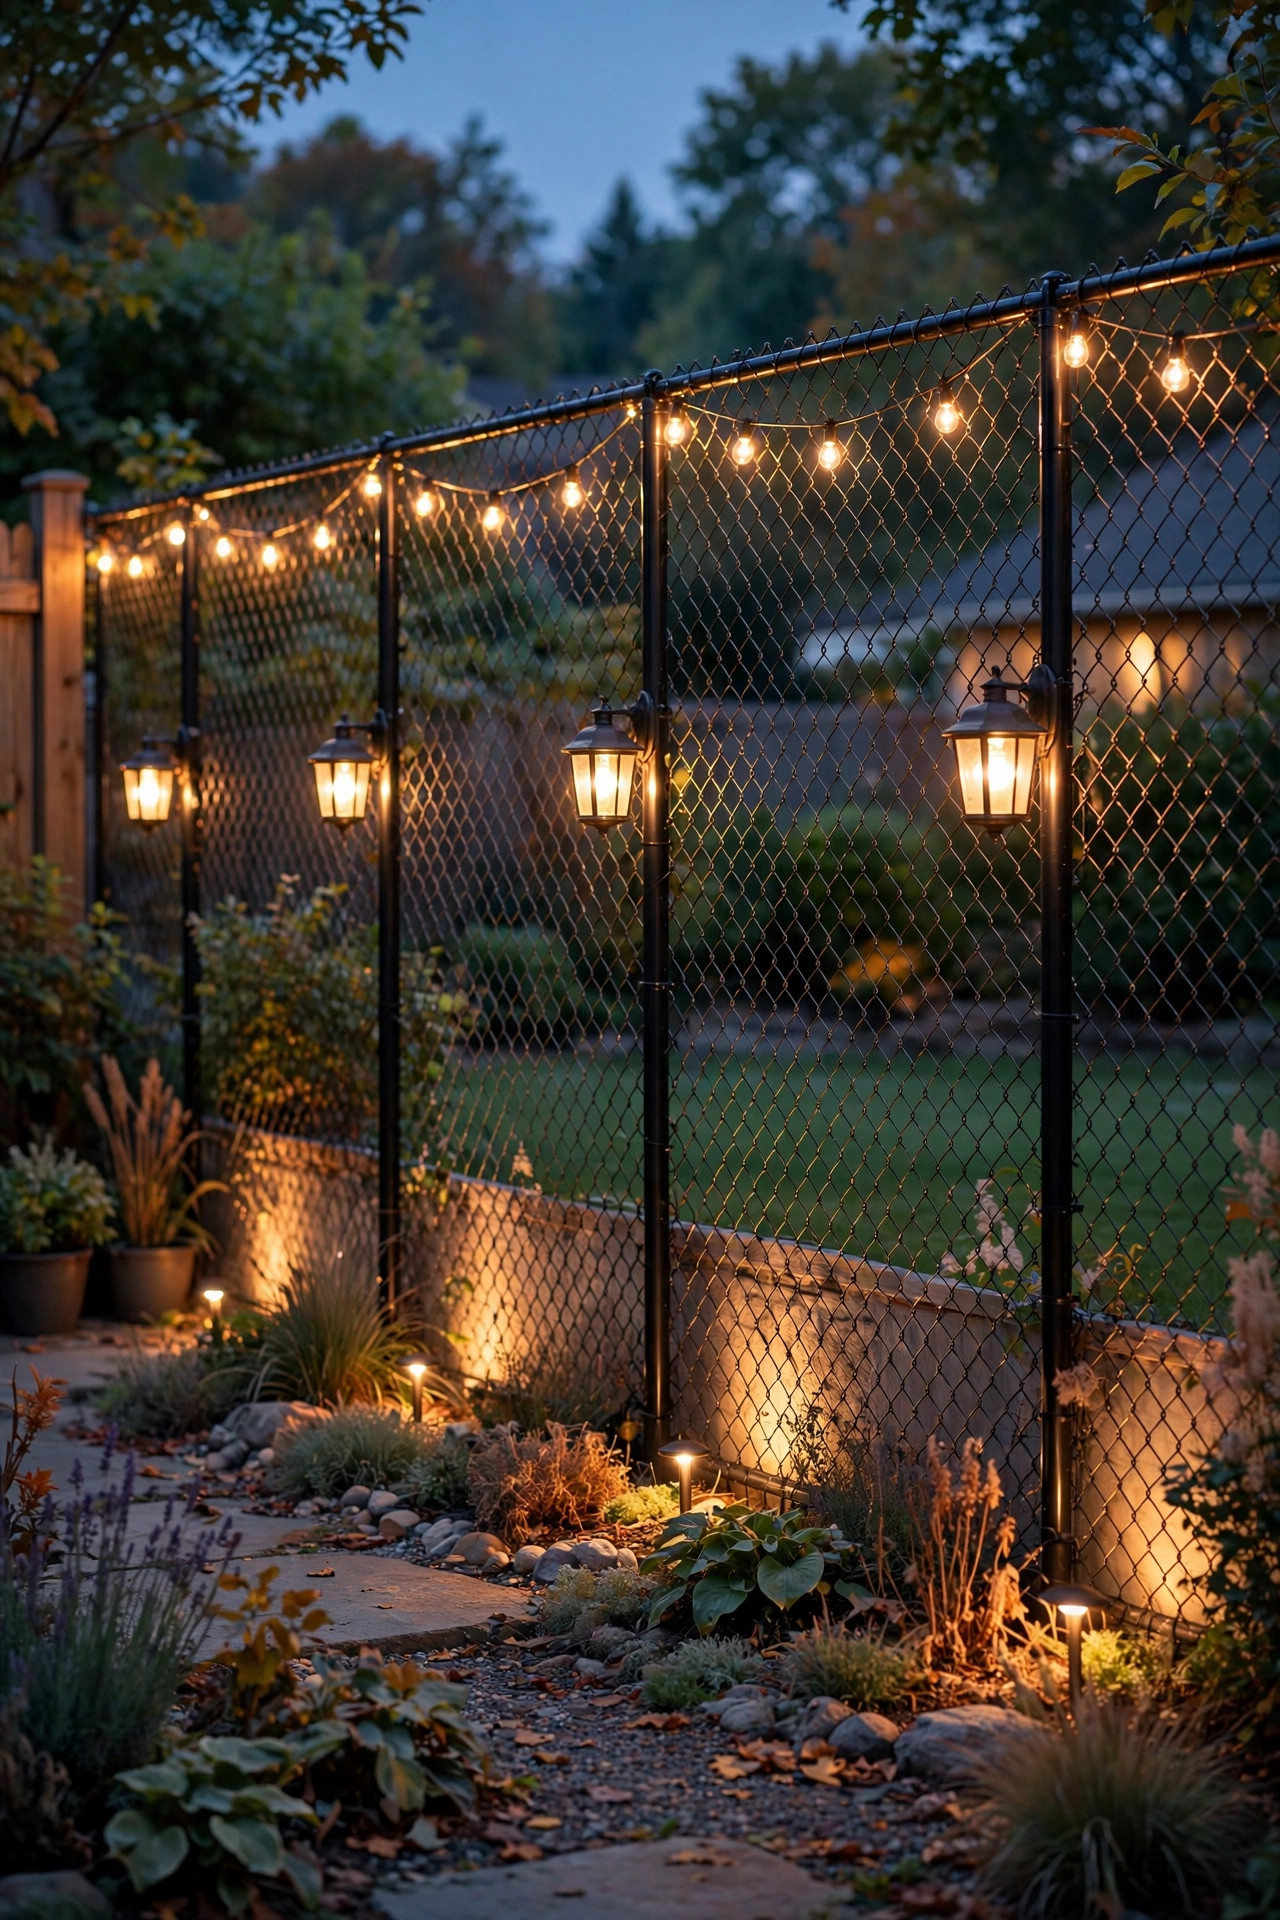
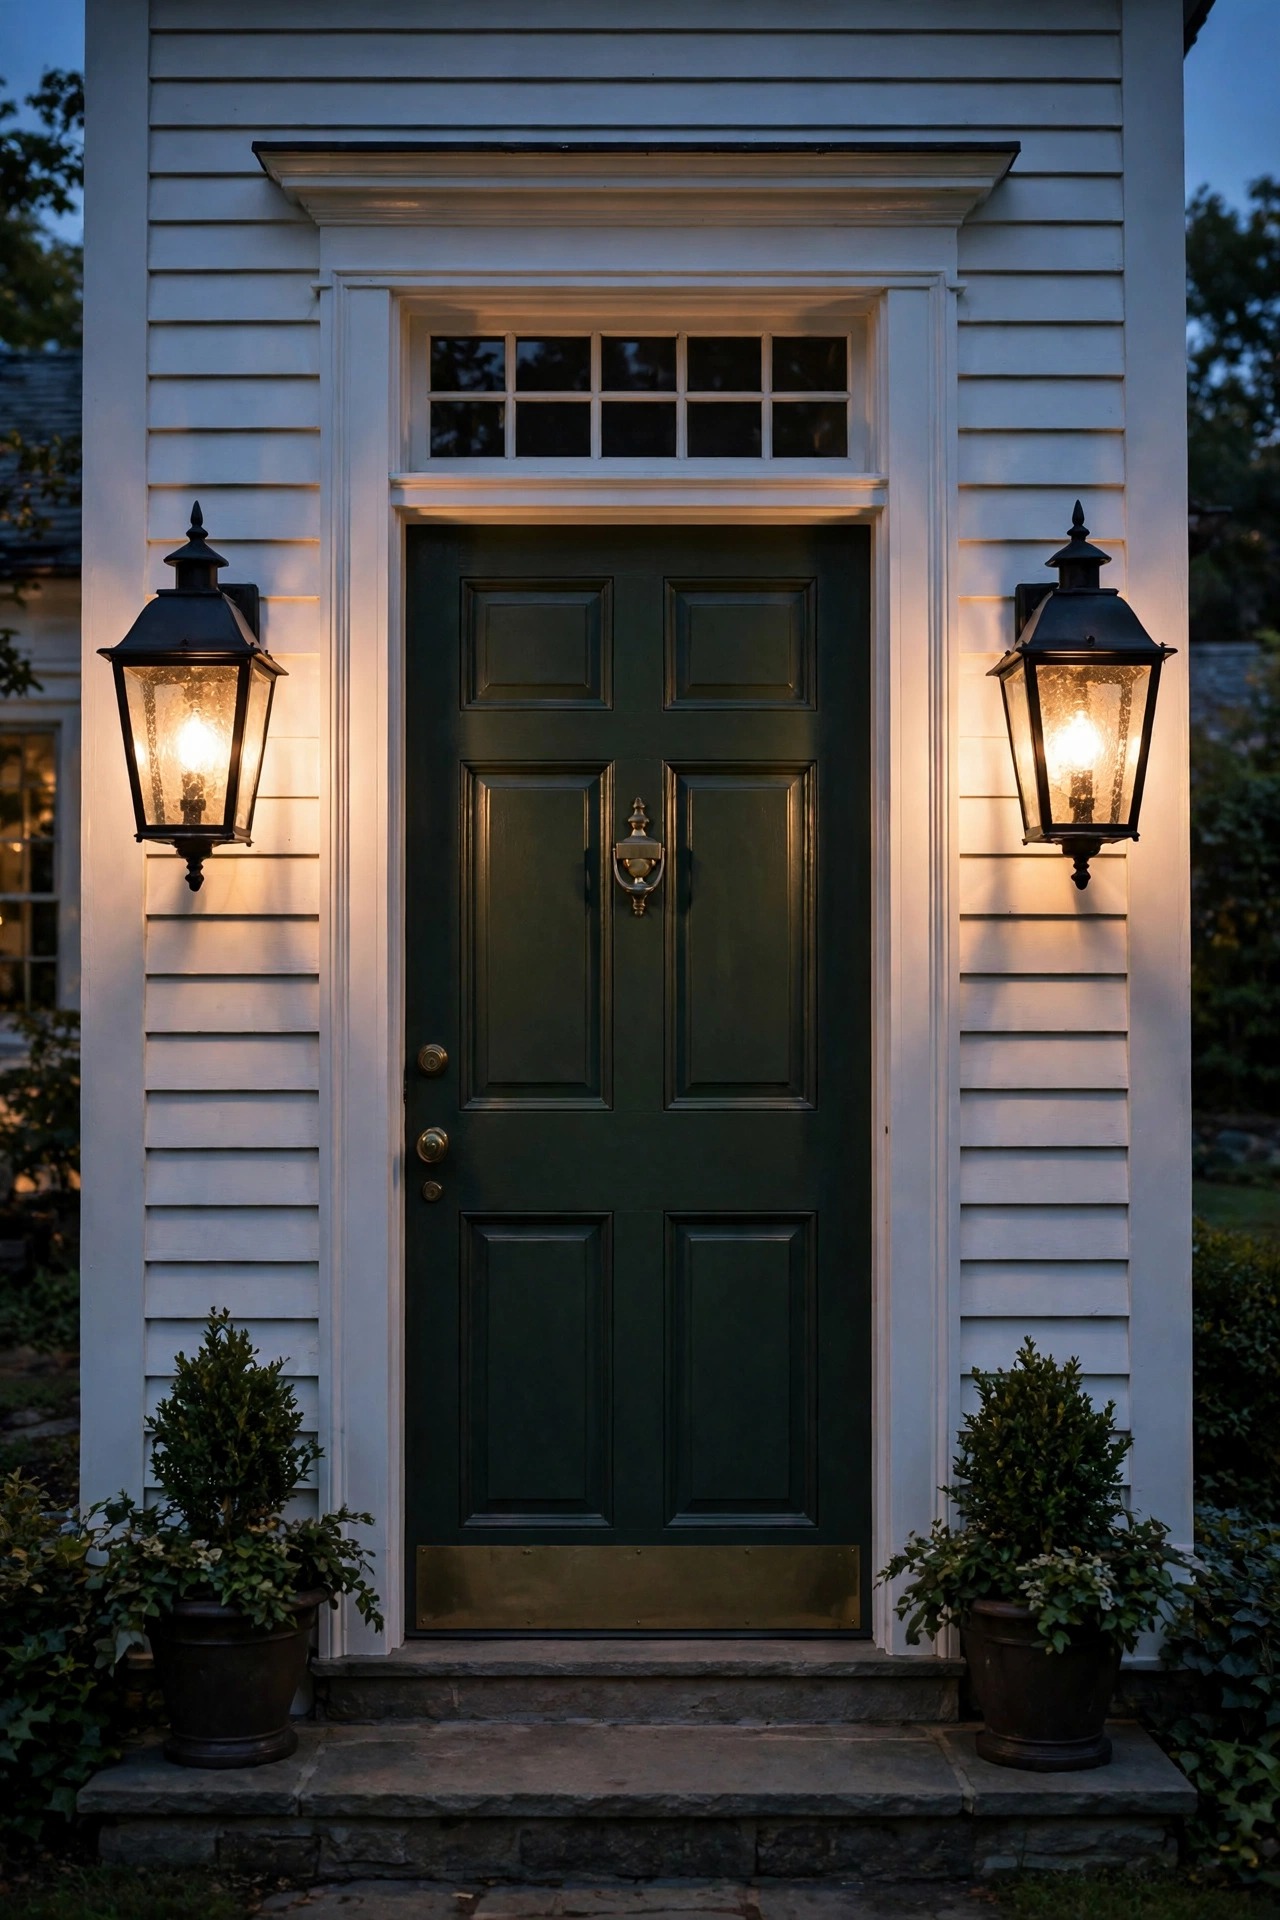
If a traditional front yard has a signature move, this is it. Two matching lantern sconces, one on each side of the front door, hung at eye level about 5 and a half to 6 feet from the porch floor. Symmetry is the whole point, so buy the pair together, match the finish to your door hardware, and size them at roughly one quarter the height of the door. Clear or seeded glass with a visible warm filament-style LED bulb gives that candlelit colonial feel without any of the fuss of real flame. I always put door sconces on a photocell or a timer so they are already glowing when you pull in, and I keep them dimmable if I can, because a soft 40-watt-equivalent glow flatters a facade far more than a bright glare. Choose fixtures with a wet-location rating if the porch is open, damp-location if it is covered, and remember that the pair should match your post light in finish so the yard reads as one family of fixtures from the street.
Suggested budget range: $80 – $300.
3. Anchor the Walkway With a Colonial Post Light
A post light near the curb or at the turn of the walk is the oldest trick in the traditional playbook, and it still works beautifully. The classic proportions matter: a 7 to 9 foot post overall, with the lantern head sitting high enough to cast a gentle pool of light without glaring into drivers' eyes. Black cast aluminum or aged bronze are the finishes that read as authentic, and a six-sided lantern head with clear panes looks right on almost any traditional home. In my experience the post light does double duty, marking your home from the street and giving guests a beacon to walk toward. Wire it into the same low-voltage run or choose line voltage with a photocell in the post so it minds itself. Keep the bulb warm and modest, around 2700K and 450 to 800 lumens, and set the post back about a foot from the walk edge so mower wheels and snow shovels pass without a fight. I collect more shapes and proportions in my notes on colonial exterior lighting if you want to compare styles before you commit.
Suggested budget range: $120 – $450.

4. Line the Front Walk With Copper Path Lanterns
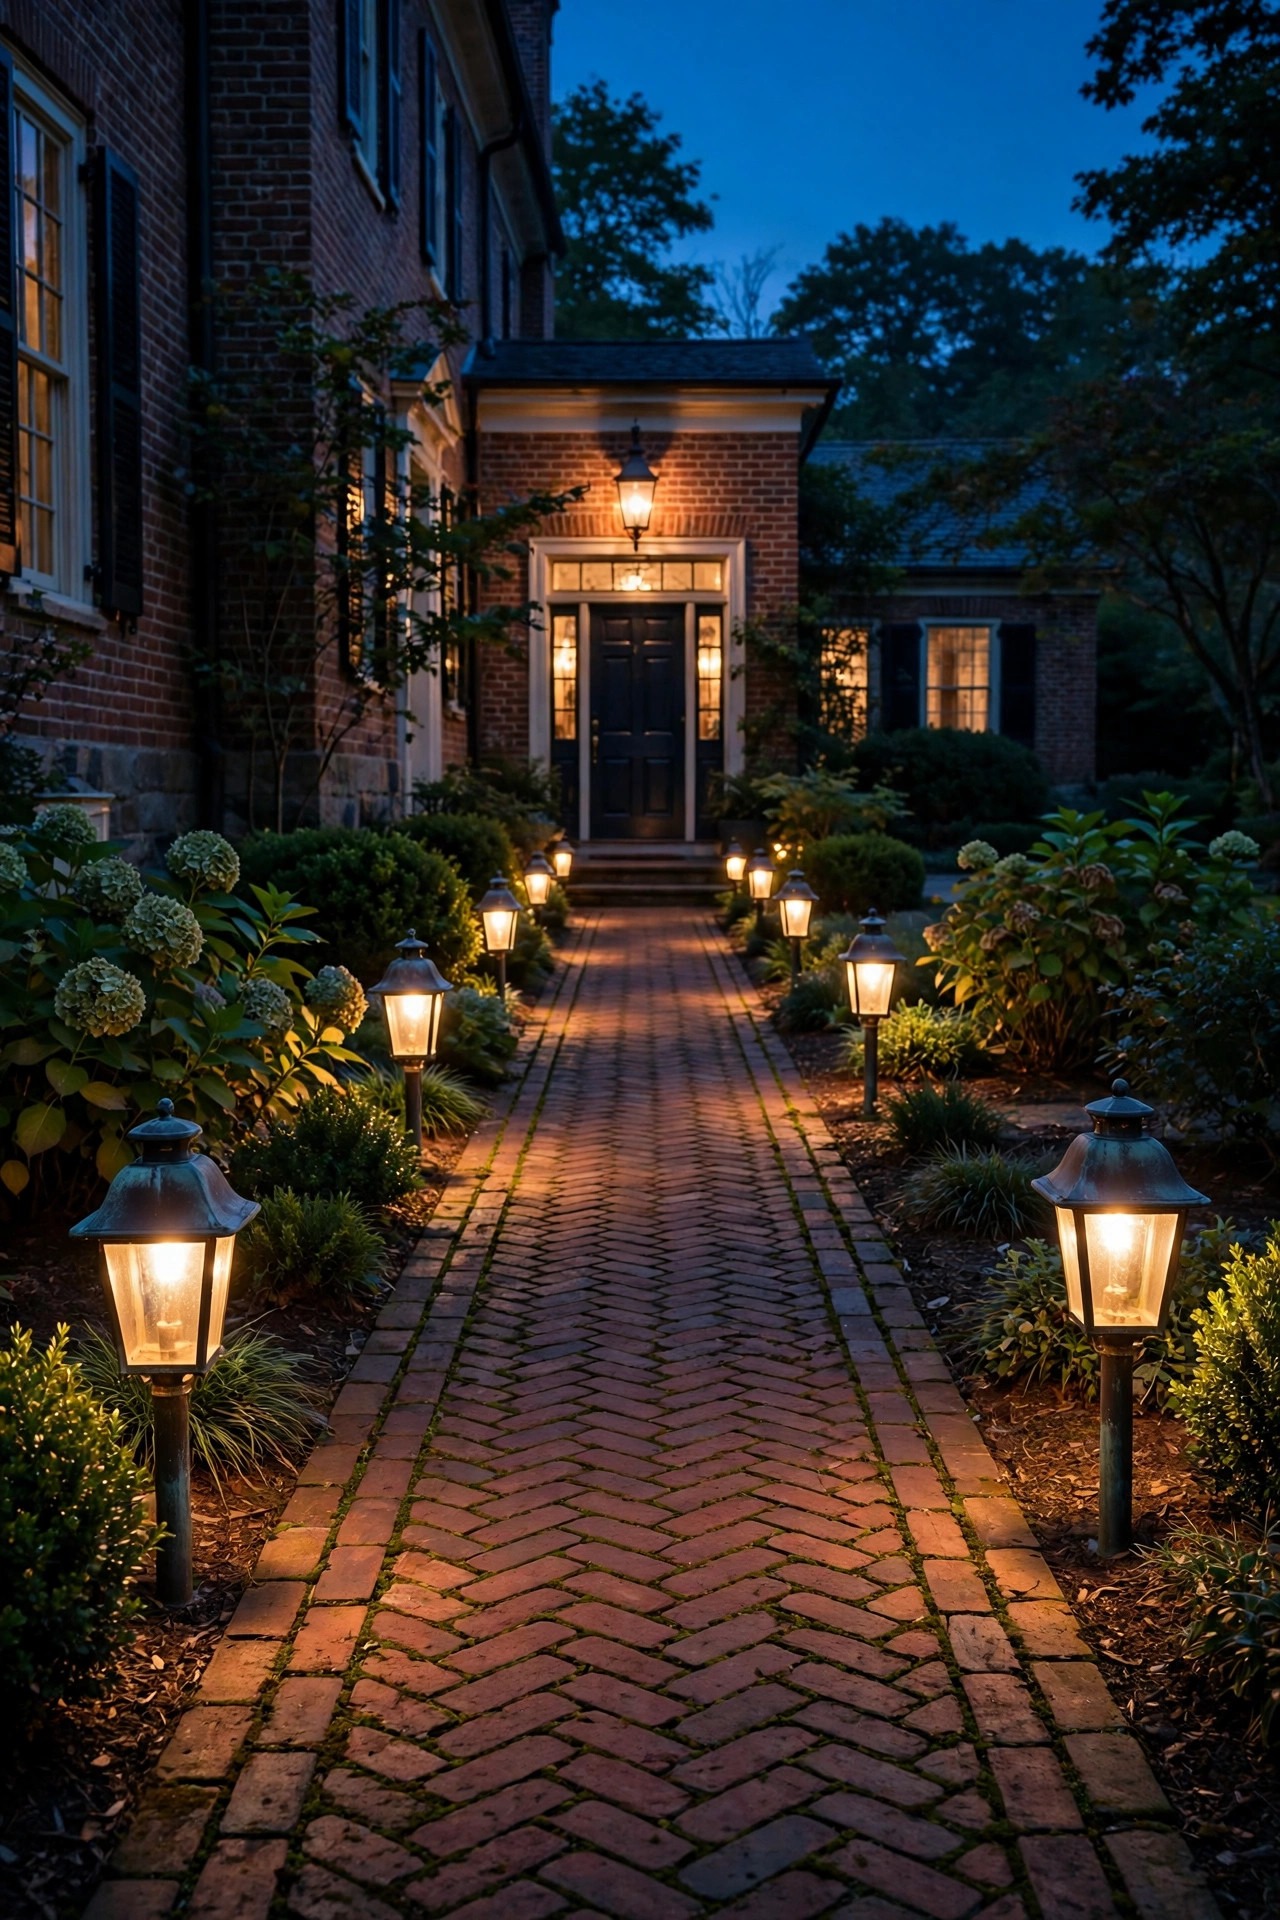
Path lights are the guide layer, and for a traditional yard I almost always reach for copper or aged-brass lantern styles instead of modern mushroom caps. Copper starts bright, then settles into that deep brown and soft green patina that looks like it has always been there. Space them 6 to 8 feet apart on alternating sides of the walk, never in a straight soldier row down both edges, and keep them back 6 inches from the pavement so the light pools on the path instead of the lawn. Each fixture only needs 100 to 200 lumens; more than that and the walk starts to look like a landing strip. I aim the light down and shielded, because in a traditional scheme you should see the glow, not the bulb. Solid brass and copper cost more up front than coated aluminum, but honestly they outlast it by decades and they never peel. Stagger, soften, and step back to the curb at dusk to judge the rhythm before you bury the cable for good.
Suggested budget range: $90 – $350.
5. Graze the Facade With Discreet In-Ground Well Lights
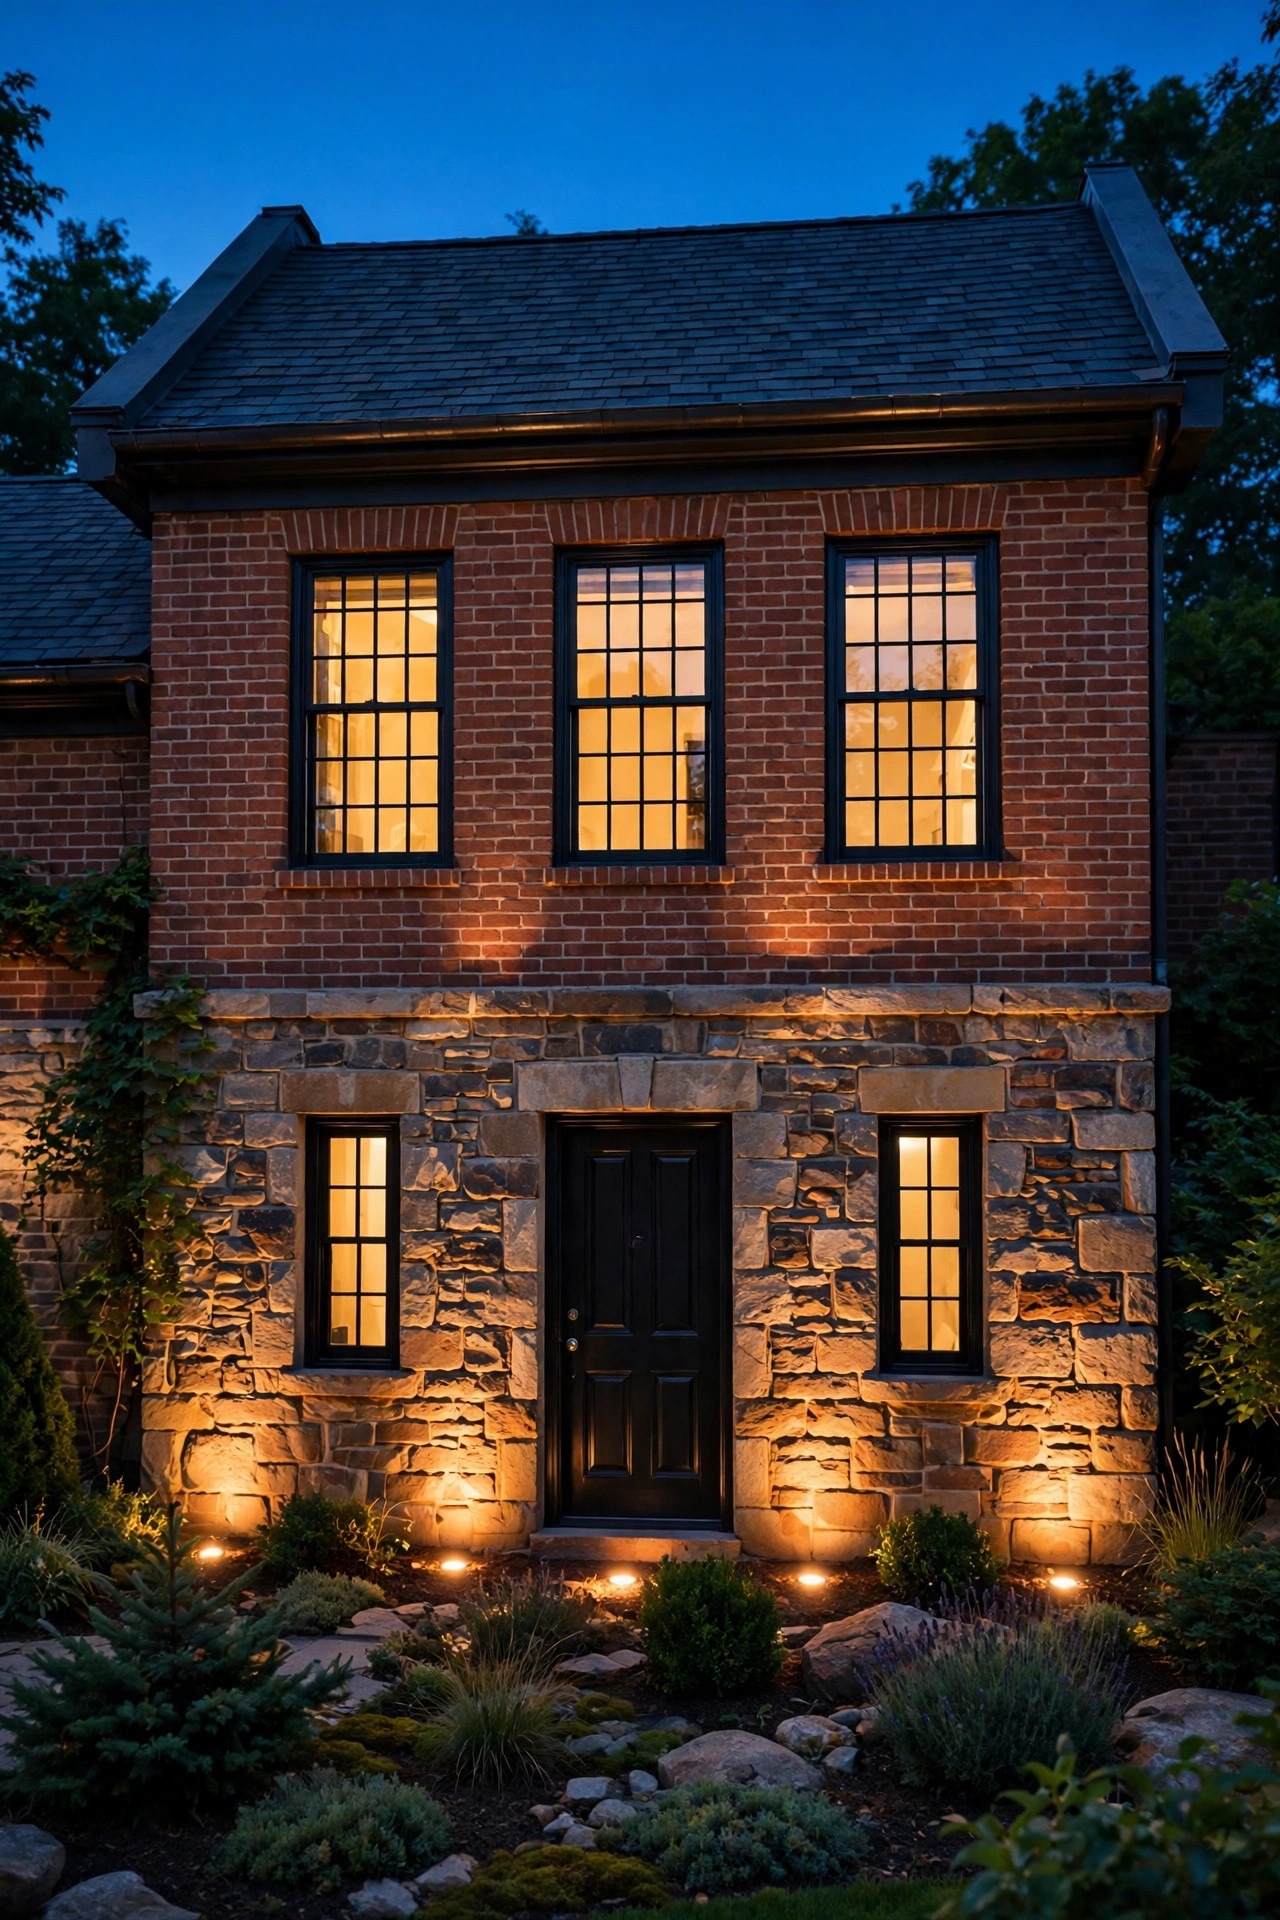
A traditional facade deserves light that seems to come from nowhere. In-ground well lights sit flush with the mulch or lawn, so by day they vanish, and by night they wash brick, stone, or siding with a soft upward glow that shows off the texture of the house. I place two, sometimes three, about 12 to 18 inches out from the foundation, aimed straight up or tilted slightly toward the wall, and I reserve them for the strongest stretches of architecture, a chimney breast, a stone bay, a pair of columns. Wide 60-degree beams feel gentle and classic; narrow spots feel modern and dramatic, which is not what we are after here. Choose fixtures with tempered glass rated for foot traffic and the occasional mower pass, and keep glare shields in mind if the angle catches the front windows. Because they sit in the ground, drainage matters, so bed them in a few inches of gravel. Used sparingly, well lights give a traditional home that quiet, established glow that says the house has been loved for years.
Suggested budget range: $60 – $240.
6. Uplight One Specimen Tree, and Only One
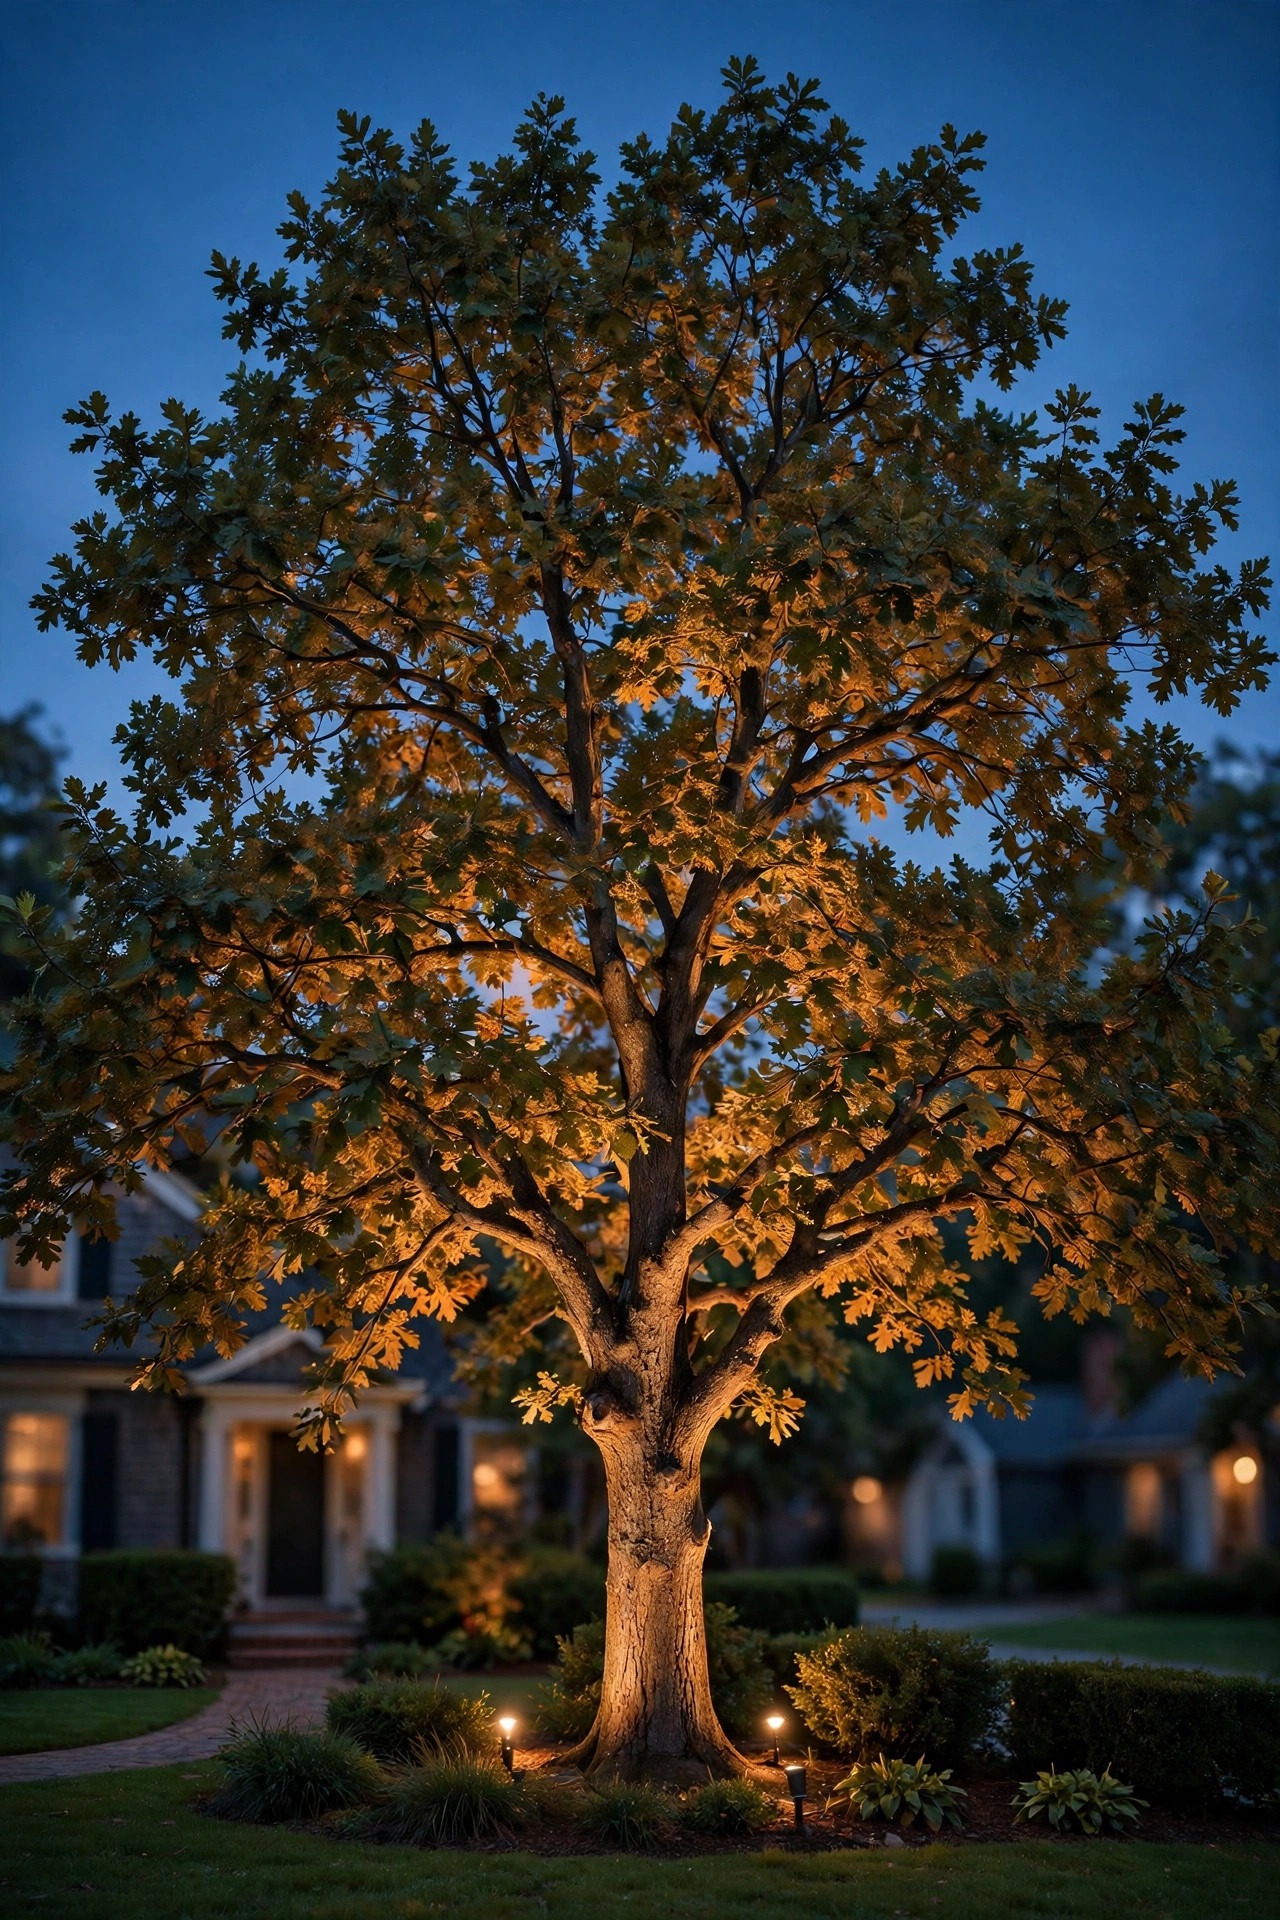
Every established front yard has a tree that deserves the spotlight, an old oak, a magnolia, a shapely maple. Give it one well light or a single bullet uplight at the base, set 1 to 2 feet from the trunk and aimed up into the canopy, and then resist the urge to light every tree you own. One glowing tree reads as a landmark; five read as a theme park. A 35 to 45 degree beam spread catches the branching structure without blasting light into the sky or the neighbors' windows, and 300 to 500 lumens is plenty for a mid-size canopy. I use a fixture with an adjustable shield so I can trim any spill as the tree grows, and I re-check the aim every spring because roots and frost heave nudge things around. If the tree is close to the street, keep the light warm and low; passersby should notice the tree, not squint at the fixture. This single accent, paired with the door lanterns, is often the entire accent layer a traditional yard needs.
Suggested budget range: $40 – $180.
7. Try Moonlighting From a High Branch for a Grown-In Glow
Moonlighting is the most traditional accent of all, because it imitates the original: light falling through branches the way moonlight does. A fixture mounted 20 to 30 feet up in a mature tree, shining down through the limbs, lays a dappled pattern across the lawn and walk that no ground fixture can fake. It is also wonderfully practical, since the light covers a wide area softly, with no glare at eye level. I will be honest about the trade-off: this is the one job in this list I hand to a pro, because it means climbing, mounting to the trunk with care so the tree is not harmed, and running wire that can flex as the tree grows. Use a cool-neutral moonlight tone only if you must; I still prefer warm 2700K to stay consistent with the rest of the yard. Expect to re-aim every few years. The result, though, is the most established, estate-like glow a front yard can wear, and guests will feel it before they can name it.
Suggested budget range: $150 – $400.

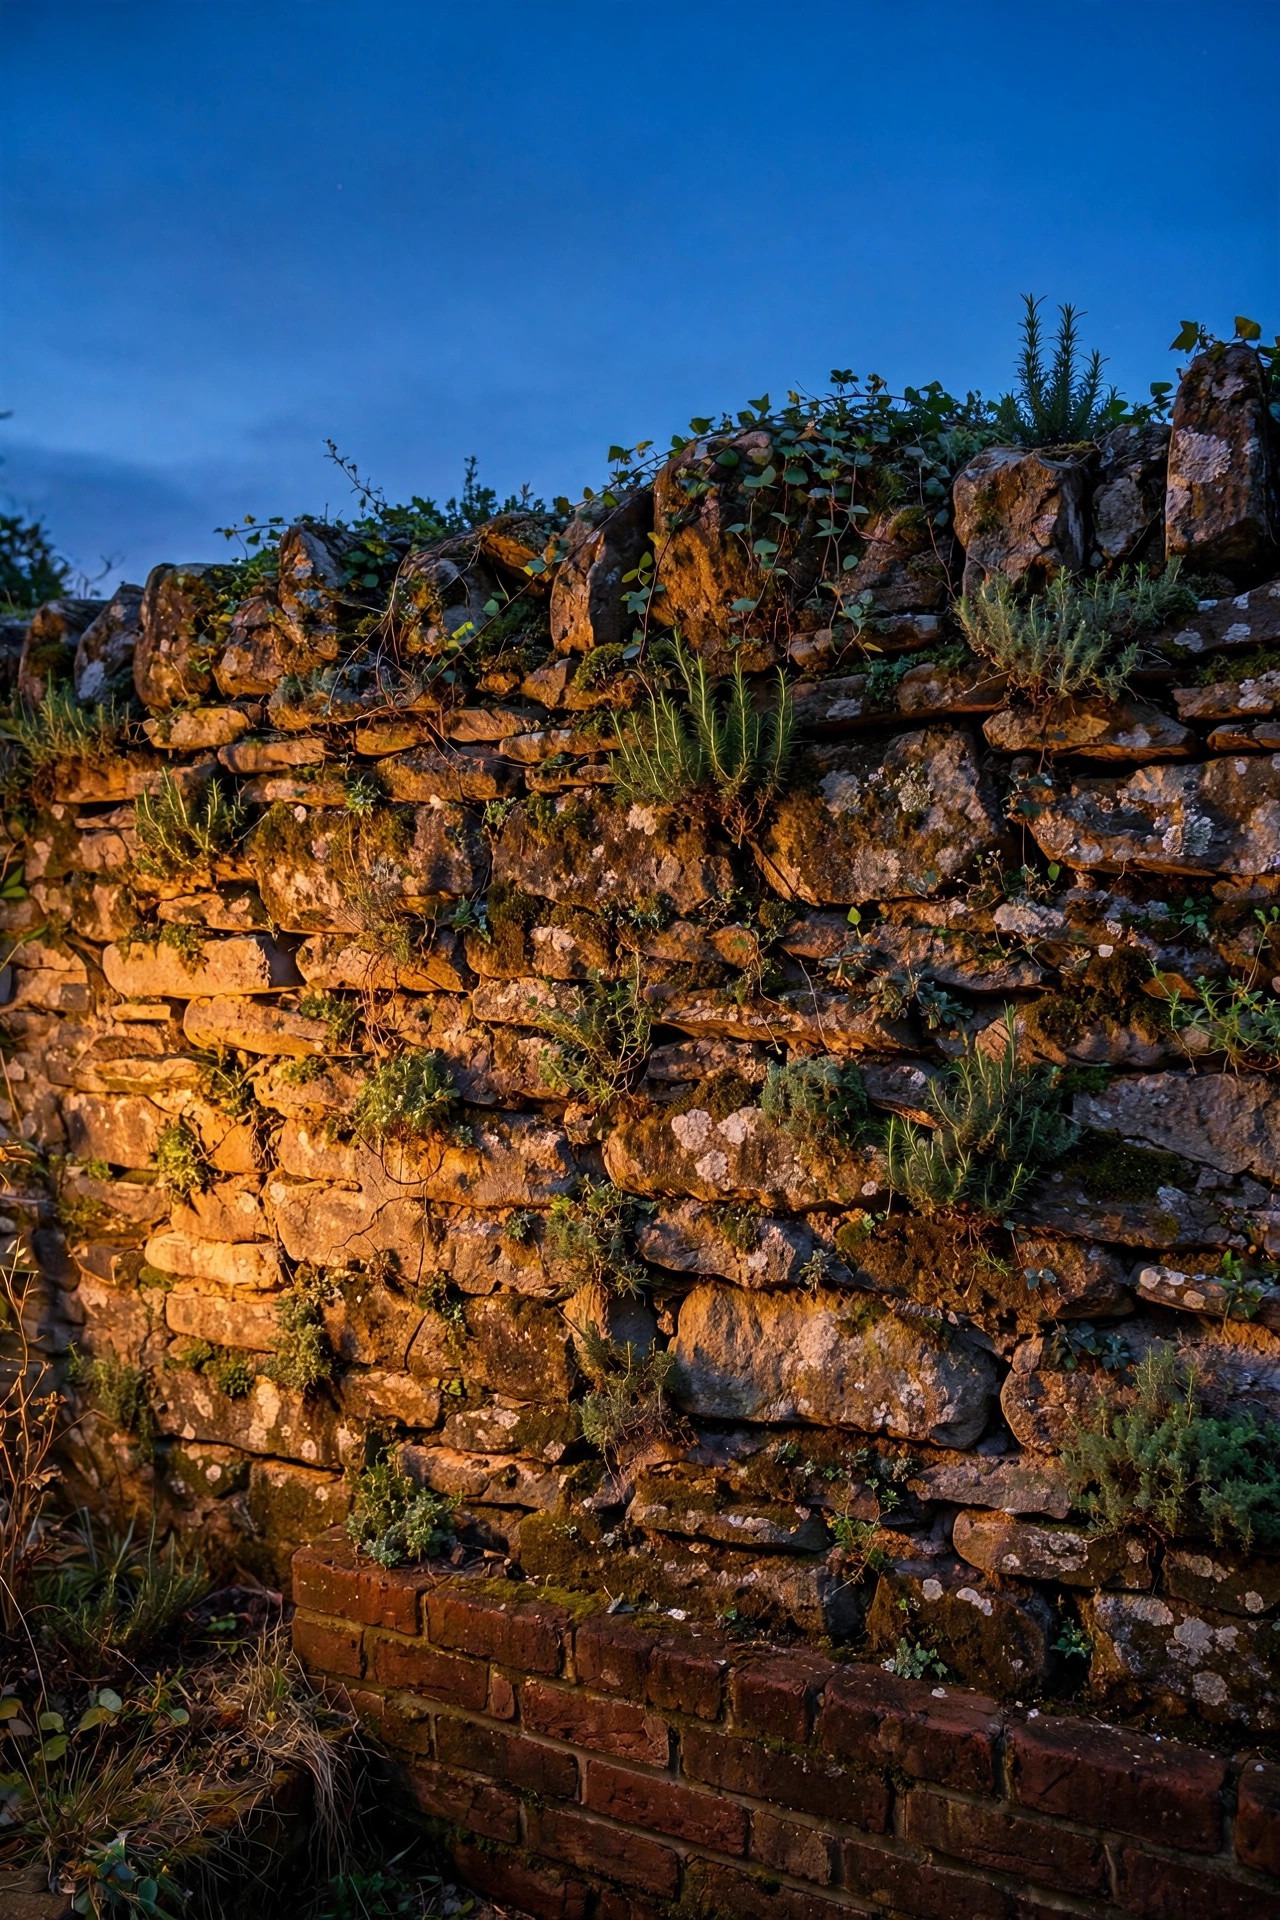
8. Wash Brick and Stone With a Gentle Wall Graze
Traditional homes often have one stretch of masonry that begs to be shown off: a stone foundation, a brick chimney side, a low garden wall. Grazing means placing a fixture close to the surface, 6 to 12 inches out, and aiming straight up so the light rakes across the texture and every mortar joint casts a tiny shadow. It is the difference between a flat wall and a wall with character. Well lights and compact bullets both work; I choose a wide beam and modest output, because raking light exaggerates everything, including any brightness. Keep the spacing even, about 4 to 6 feet between fixtures on a long wall, and test at dusk before you commit, since brick colors shift under warm light in ways you cannot predict at noon. One caution from experience: grazing shows flaws too, so skip crumbling or patchy sections and let those stay in shadow. On the right wall, this is the quiet detail that makes neighbors ask who did your lighting.
Suggested budget range: $50 – $200.
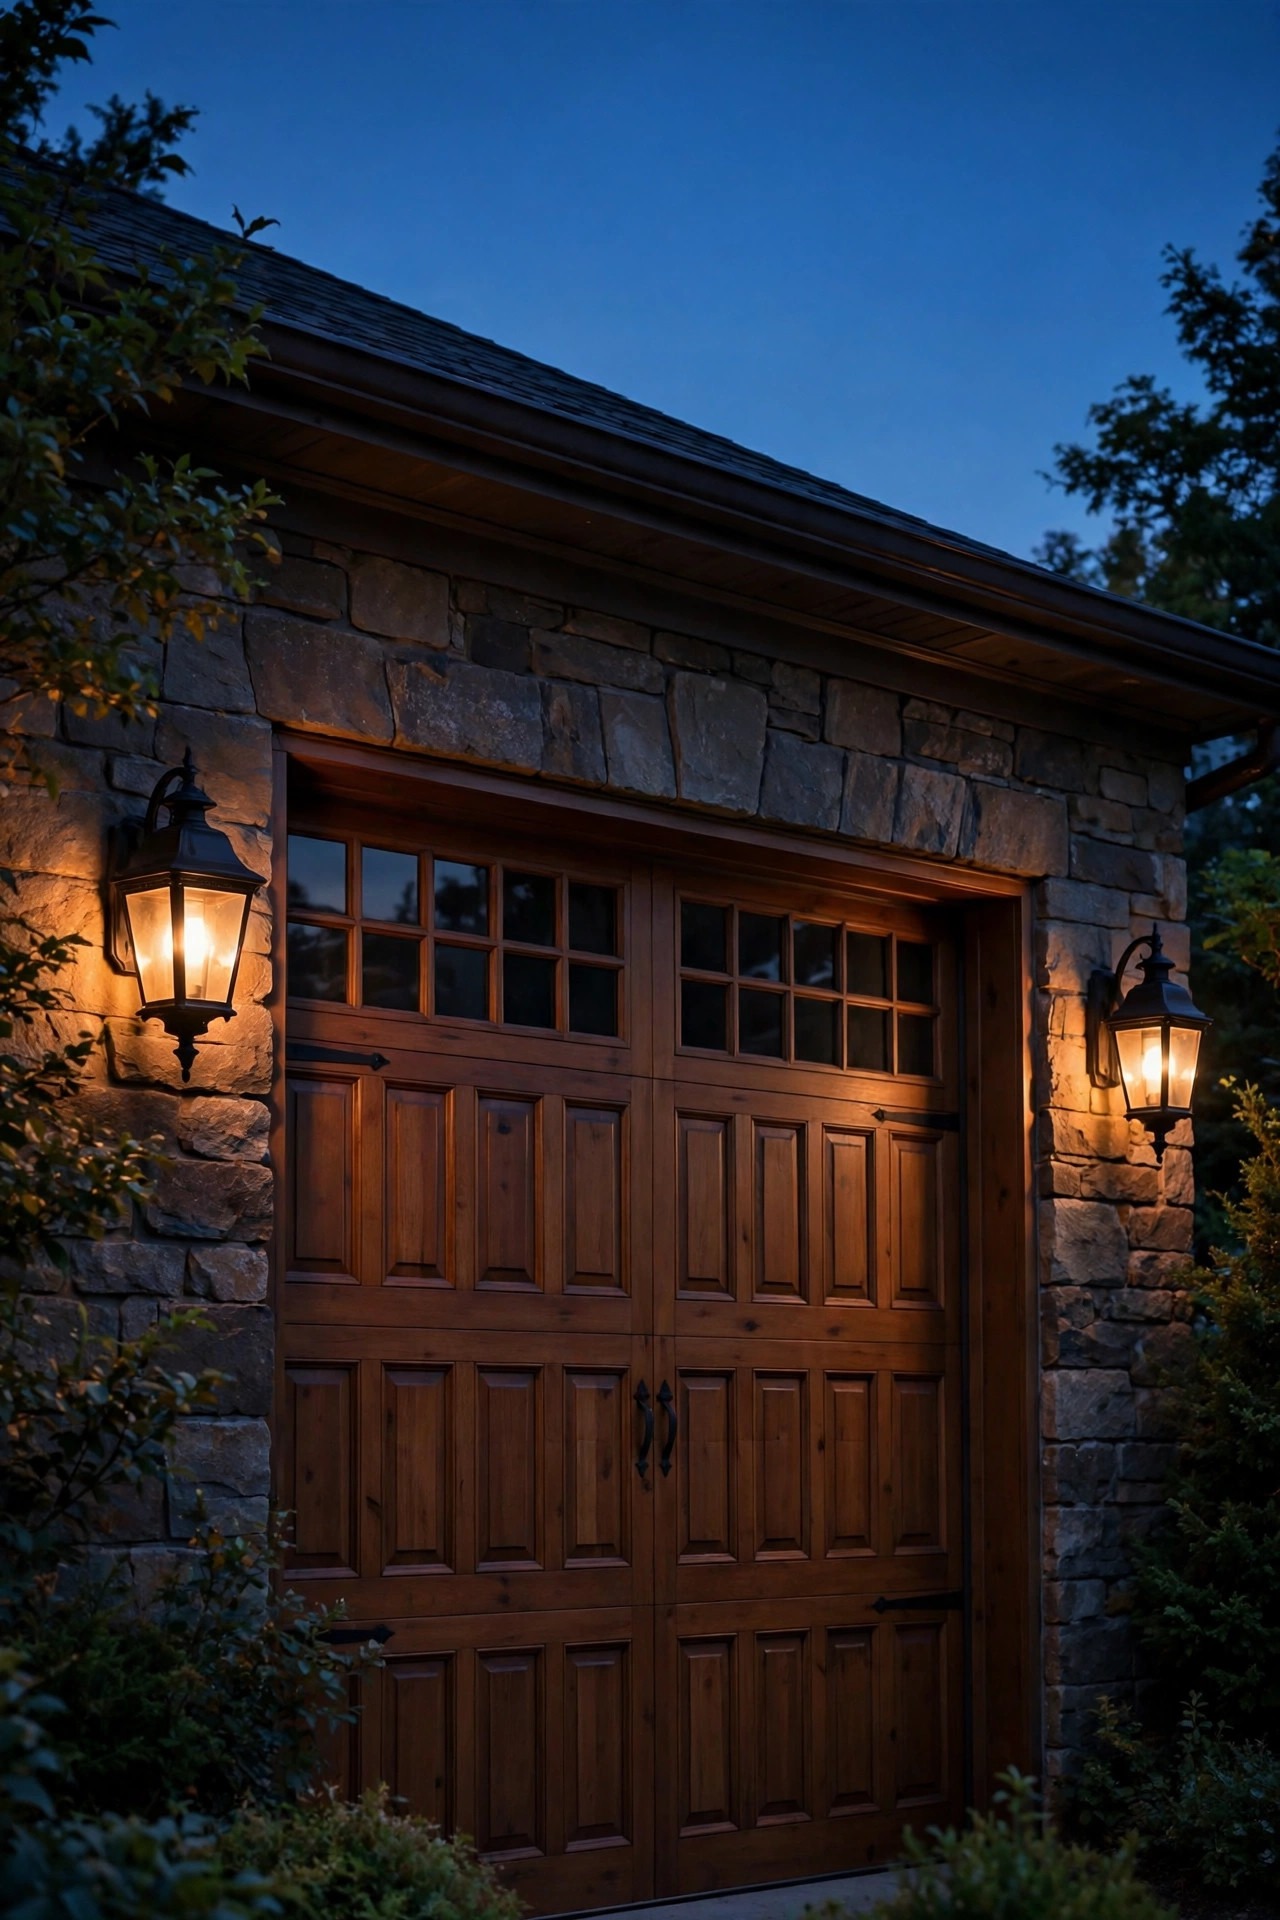
9. Match the Door With Coach Lights at the Garage
The garage door is the widest surface on most front yards, and leaving it dark makes the whole composition lopsided. Classic coach lights, one on each side of the door or a row across a two or three car front, balance the door lanterns and finish the welcome layer. The trick is family resemblance: same finish, same lantern silhouette, slightly smaller scale than the front door pair. Mount them at about 66 inches from the ground to the center of the fixture, in line with the door sconces if the architecture allows, so the eye reads one even band of welcome light across the house. Photocell bulbs or a shared timer keep them in step with the entry lights. If your garage sits forward of the house, as many colonials and ranches do, this band of light matters even more, because it is the first thing guests see. Keep output modest and warm; the goal is a matched glow, not a showroom. Consistency here is what separates a designed yard from a collection of fixtures.
Suggested budget range: $70 – $260.
10. Set Candle-Style Lights in the Front Windows
Few sights say traditional welcome like a soft candle glow in every front window. The modern version is easy and safe: slim LED window candles with warm 2200 to 2700K tips, on a shared timer or with built-in sensors, set on every street-facing sill at the same height. From the curb, the symmetry is what sells it, candles in all windows or none, never a scattered few. I use the battery or plug-in styles with a flicker kept subtle or off entirely, because a steady glow reads more classic than a busy twinkle. During the holidays they blend straight into seasonal decorating, and the rest of the year they simply make the house look settled and lived in. One practical note: choose bases heavy enough to sit steady on narrow sills, and run cords so they are invisible from outside. It is the cheapest idea on this list, and honestly the one that draws the most compliments from the street on a winter evening.
Suggested budget range: $15 – $60.

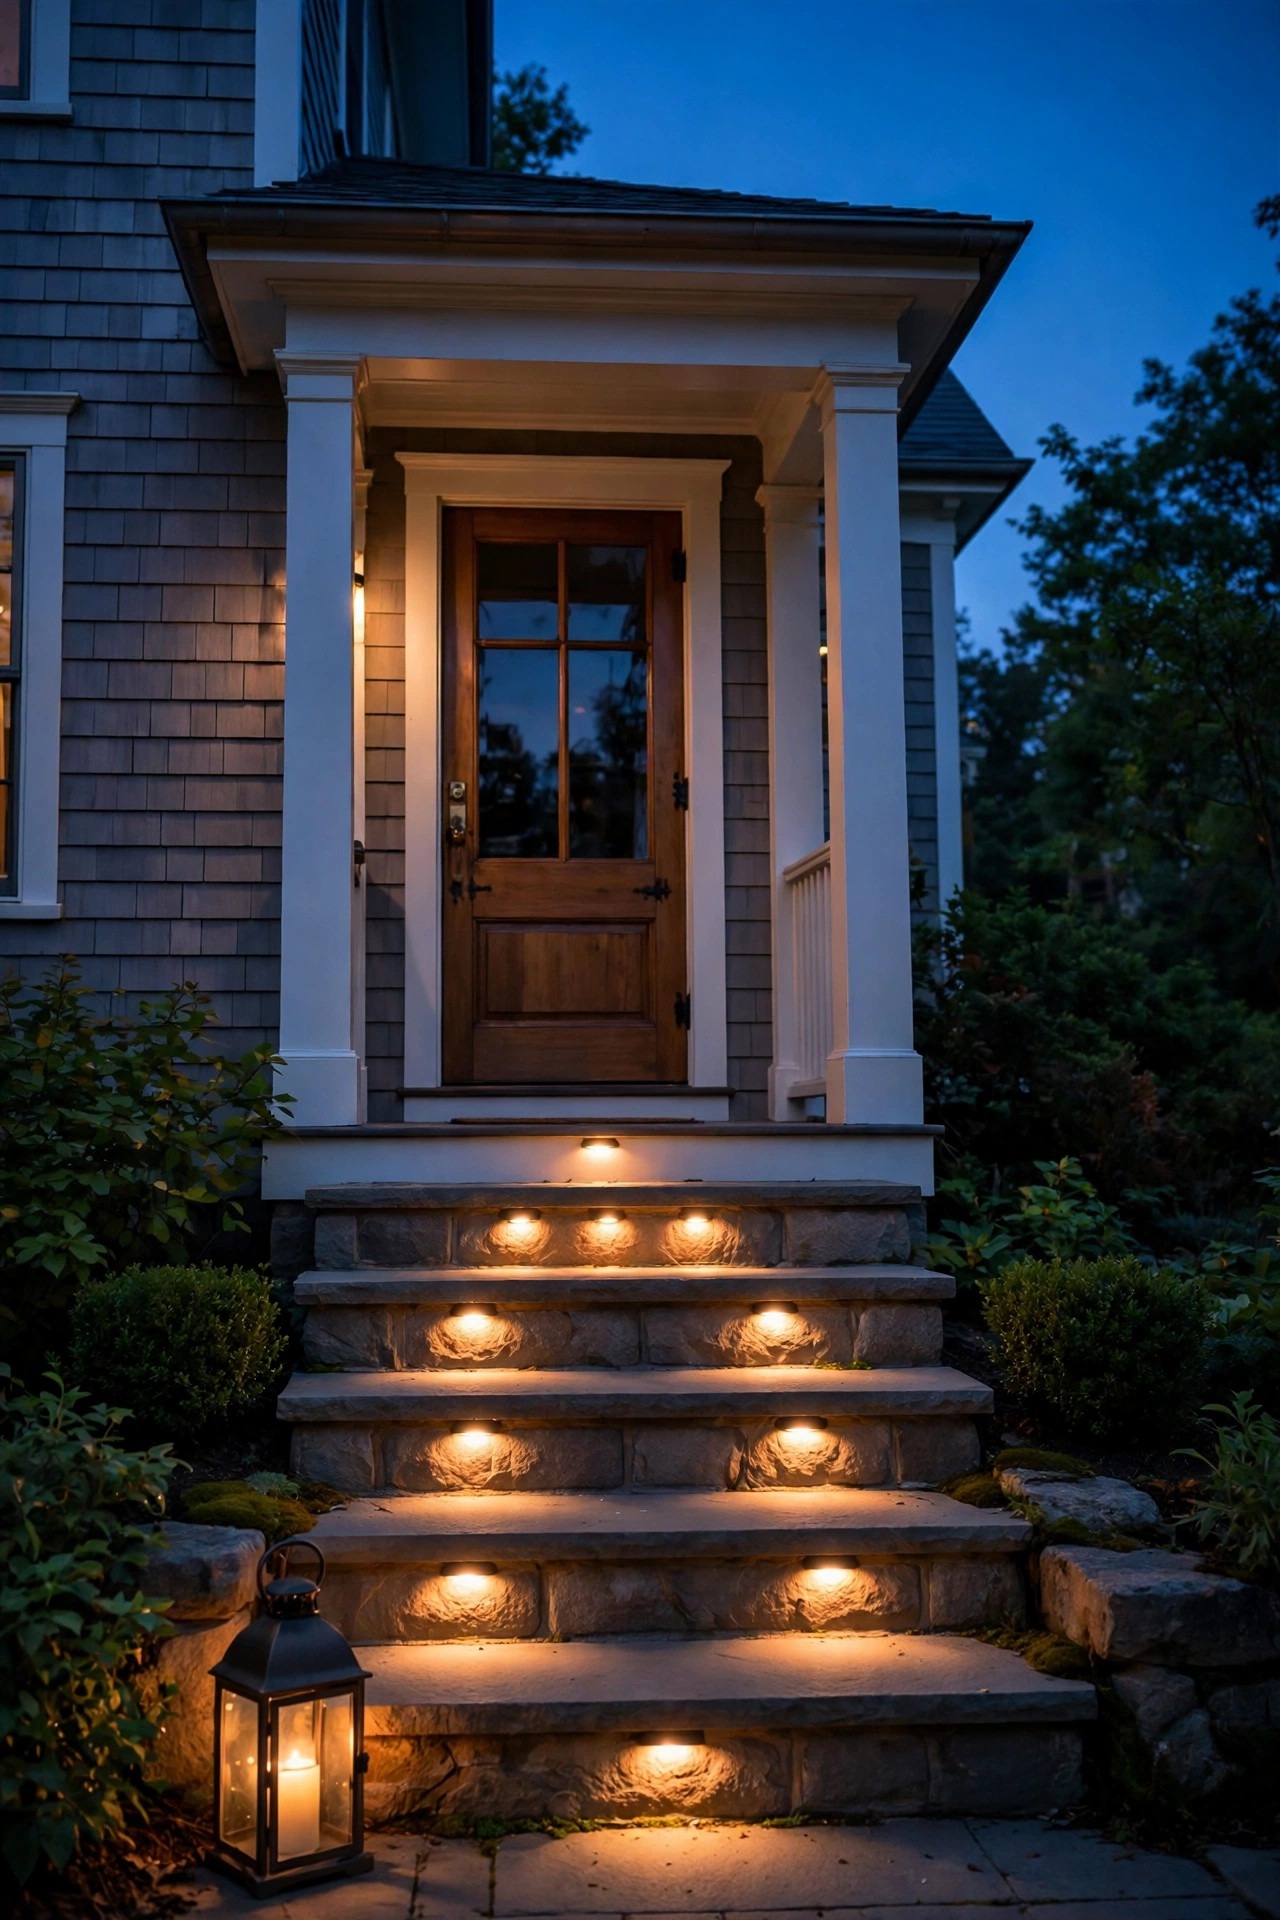
11. Light the Front Steps With Low Lanterns or Recessed Treads
Steps are where guests actually stumble, so the guide layer has to include them, but a traditional yard does it gracefully. My two favorite approaches are small hooded step lights recessed into the risers, or a pair of low lantern fixtures flanking the bottom step on short posts. Both keep the light on the treads where feet need it and out of everyone's eyes. If your steps are brick or stone, recessed fixtures disappear by day and feel like they were built with the house; retrofit puck lights under the tread nosing are a gentler option for historic steps you do not want to cut. Space a light every two to three steps on wide stairs, and keep the color matched to the rest of the yard at 2700K. Use only fixtures rated for the exposure, wet-location for open steps, and low-voltage wherever you can, since step wiring lives close to water and foot traffic. Safety lighting does not have to look like safety lighting, and this is the section that proves it to skeptical spouses.
Suggested budget range: $45 – $160.
12. Choose Aged Bronze and Copper Finishes That Patina Gracefully
Finish is where traditional yards win or lose their timelessness. Shiny chrome and bright white fixtures look new in the worst way and date within a season. Aged bronze, oil-rubbed bronze, antique brass, and real copper start handsome and get better, weathering into soft, uneven tones that suit brick, stone, and painted wood alike. My rule is one finish family across the whole front yard: door sconces, post light, coach lights, and path lanterns should all be cousins, even if they are not identical twins. Buy the best metal you can afford for the fixtures closest to the door, since those are inspected up close, and save with quality coated aluminum farther out. Avoid painted finishes that promise a patina look; they peel, and peeling is the one look that never reads as classic. If you are mixing existing fixtures into a new scheme, a can of patience helps: live with the plan for a season and replace in pairs. Cohesion, more than any single fixture, is what makes a yard feel established.
Suggested budget range: $60 – $280.

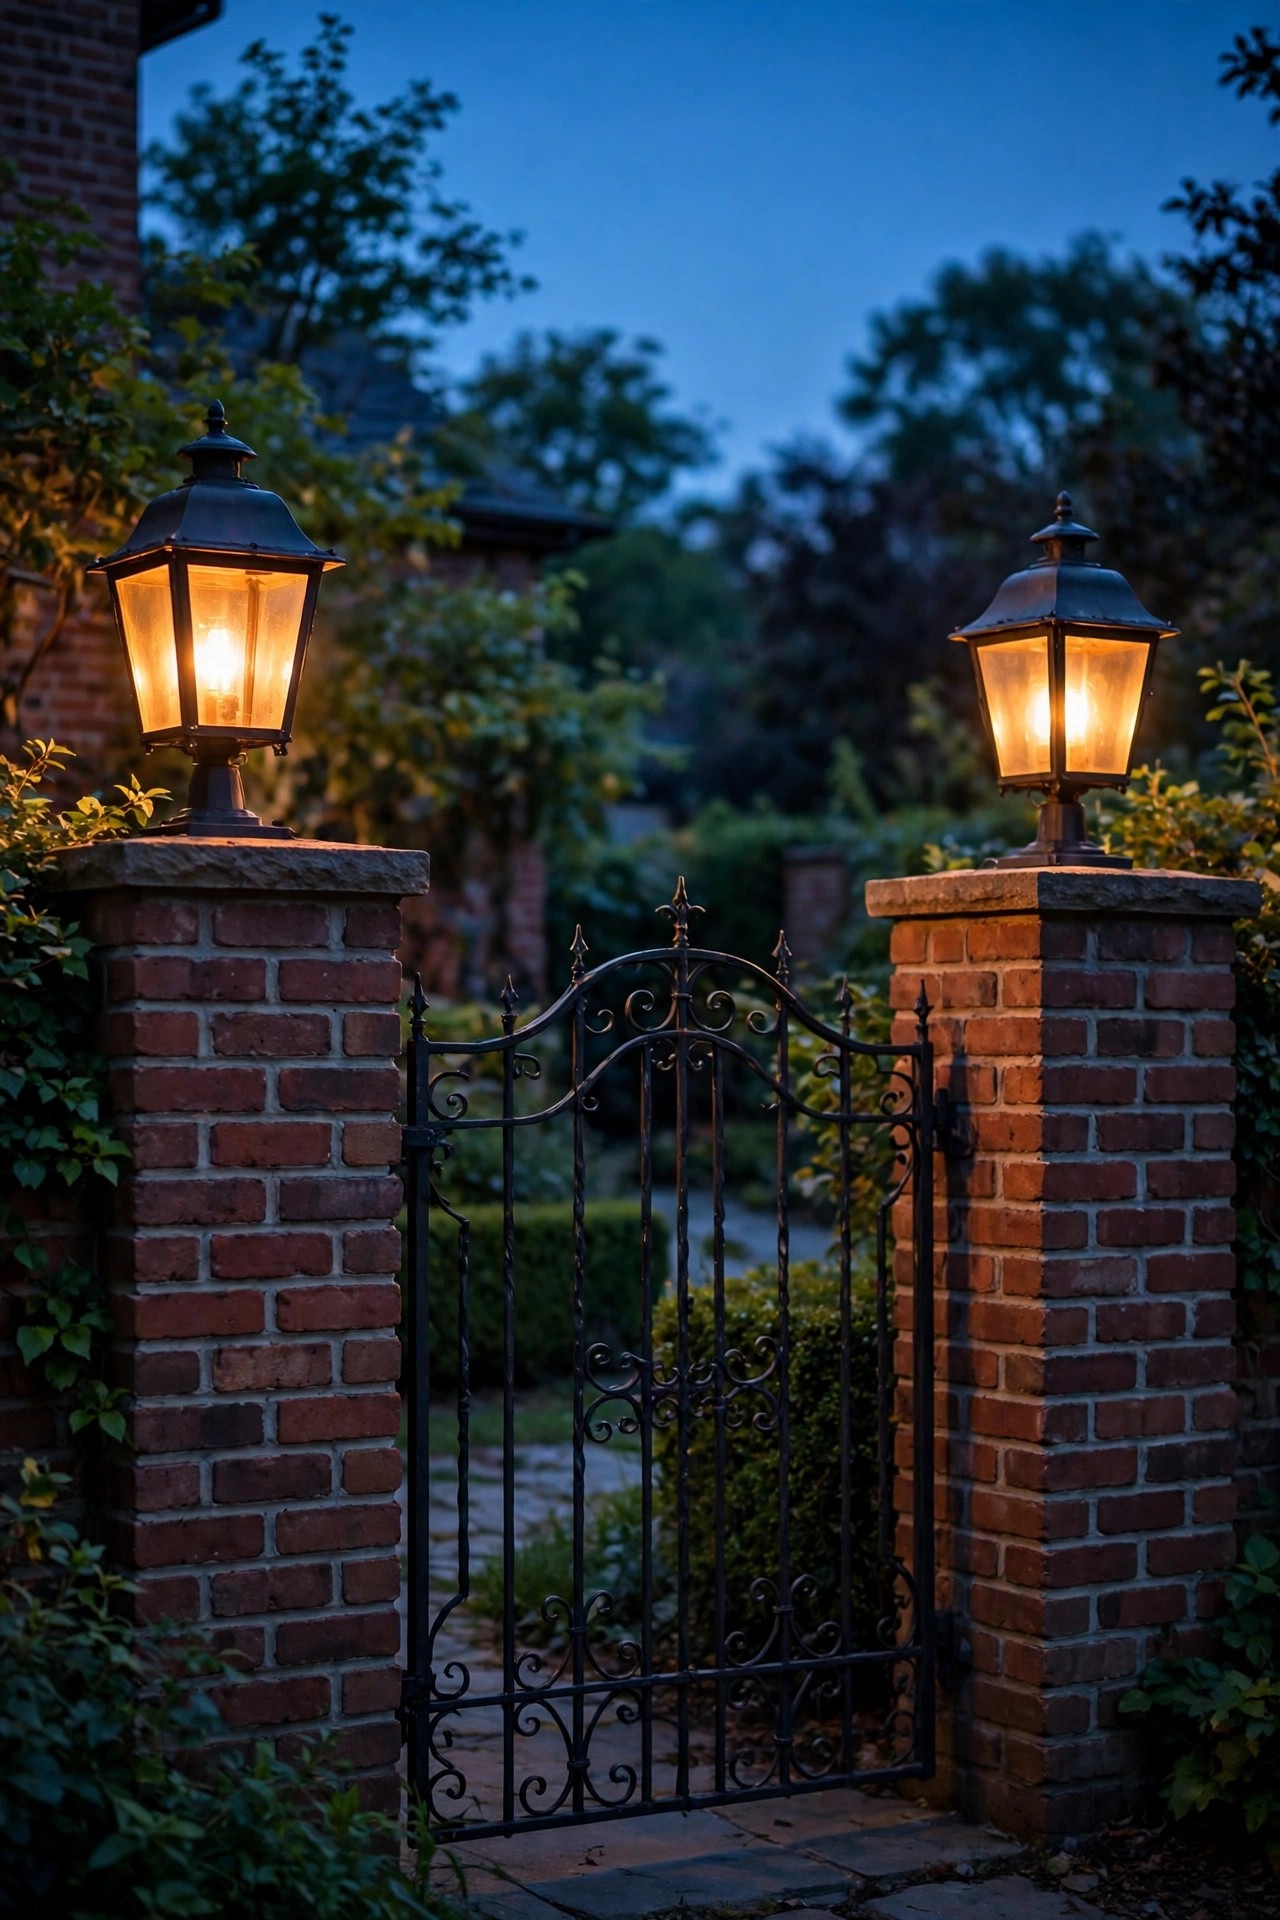
13. Mark the Gate or Fence Piers With a Matched Lantern Pair
If your front yard has a gate, a picket fence opening, or brick piers at the drive, you have a built-in frame for the whole composition, and it deserves light. A lantern on each pier or gate post, matched to the door sconces in finish and silhouette, tells guests exactly where to enter and gives the yard a sense of arrival. Pier lanterns sit on caps about 5 to 6 feet up, so they glow at the same height as the welcome layer and tie the street edge to the house in one glance. On wooden posts, a strap-mounted carriage lantern keeps the scale right; on brick piers, choose a base that covers the cap neatly with room for the wire to hide. Keep the output soft, 200 to 400 lumens, because these are markers, not floodlights. In my experience this pair does more for street presence than any other single addition, especially on deeper lots where the house sits far from the road and needs an advance welcome at the property line.
Suggested budget range: $80 – $320.
14. Spotlight Urns and Planters for Small, Formal Accents
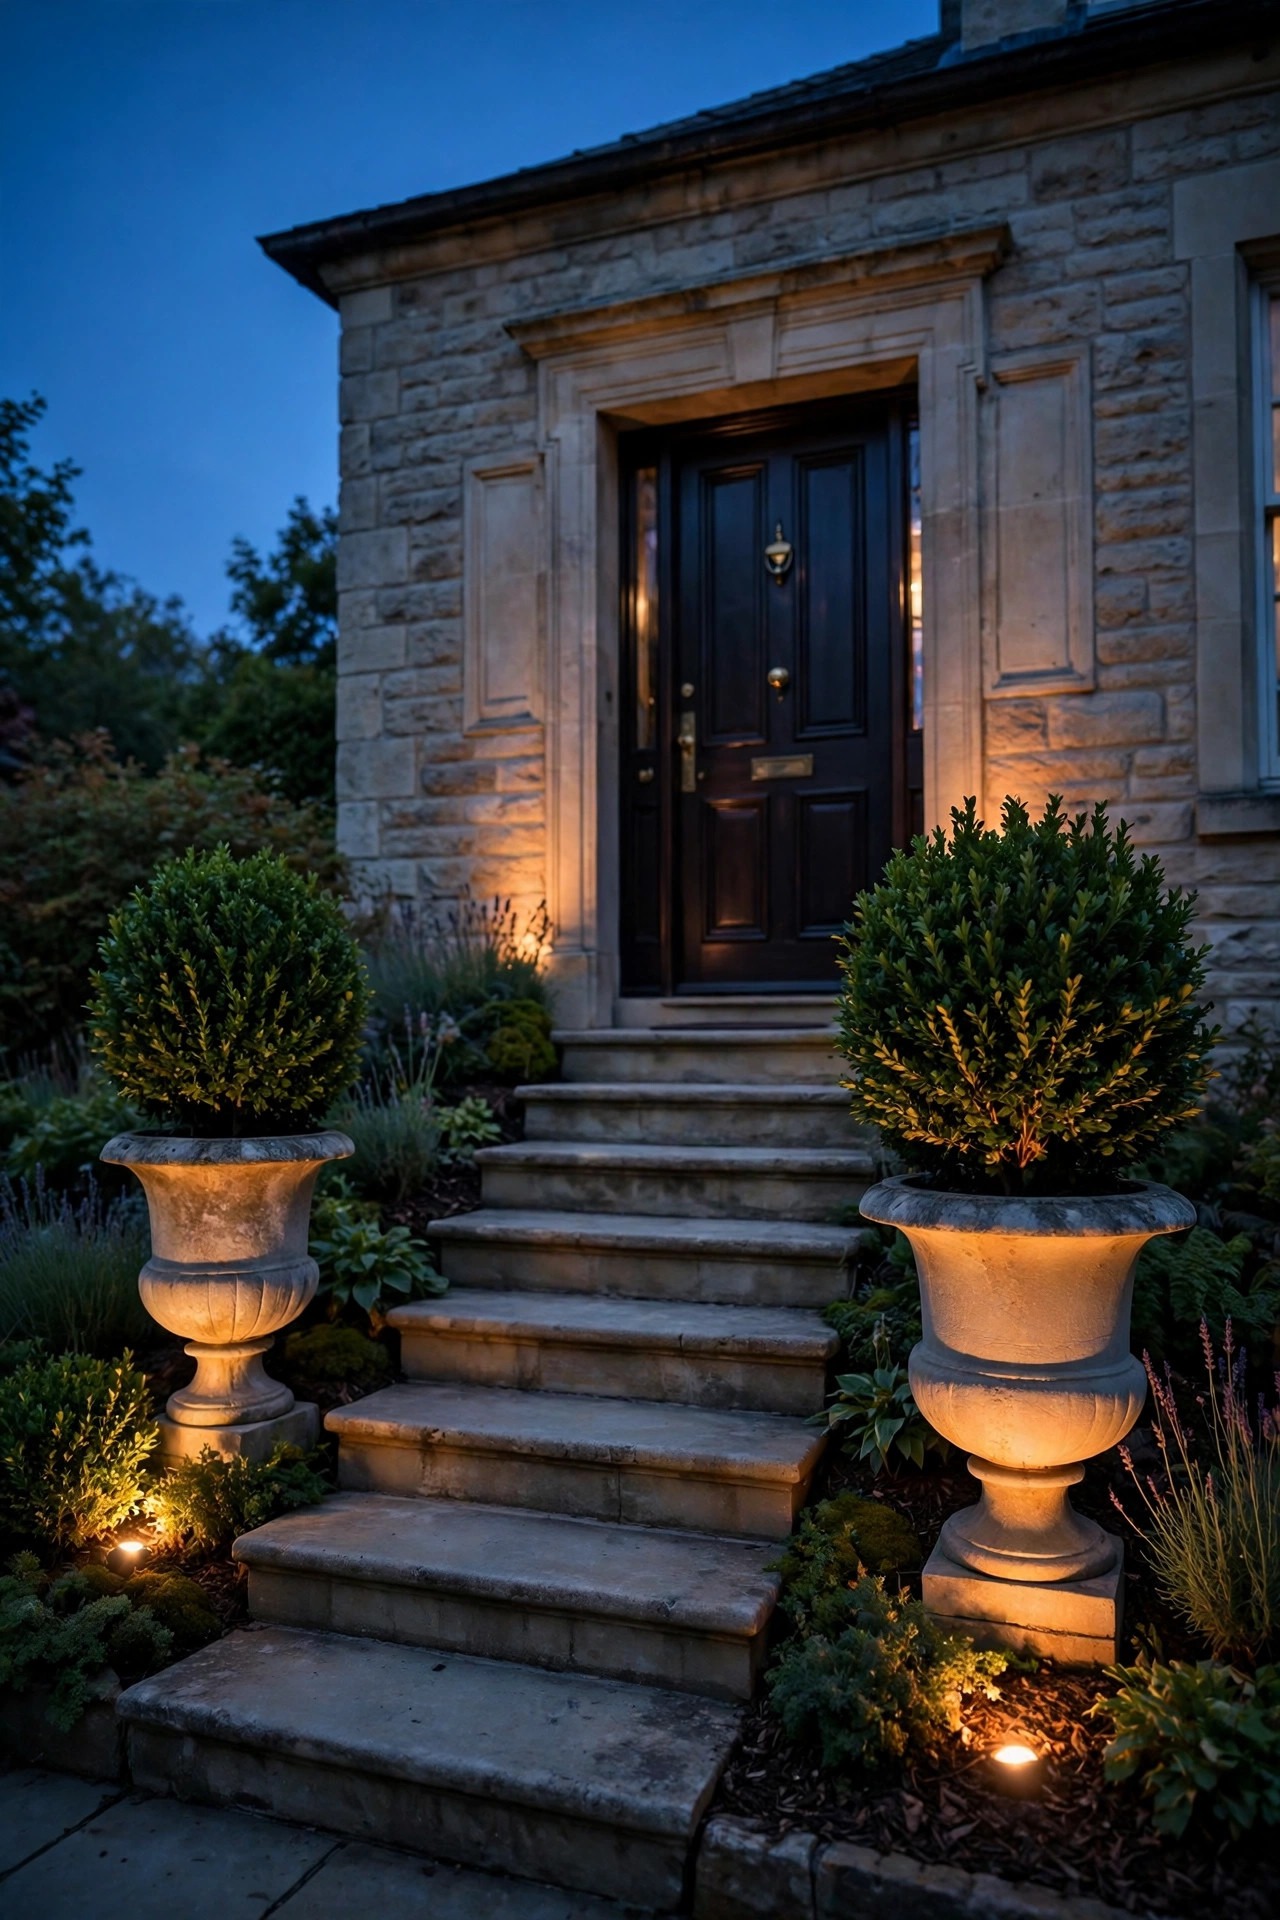
A pair of urns flanking the steps or a row of boxwood planters is practically standard issue for a traditional entry, and a whisper of light turns them into evening sculpture. One small spotlight per urn, tucked low in the planting bed and aimed up through the greenery, is all it takes. Evergreens carry this best because they hold their shape all year, but a summer urn of geraniums and trailing ivy glows beautifully too. Keep the fixtures hidden in the mulch, 30 to 45 degree beams, and warm light only; colored light has no place in a traditional scheme. This is also the easiest accent to make seasonal: the same spots that light spring urns will light autumn pumpkins and winter greens without moving a thing. If you light planters along the facade, repeat the treatment evenly, because an accent that appears once looks like an accident and twice looks like a plan. Small, formal, and symmetrical is the whole idea, and it costs less than almost anything else on this list.
Suggested budget range: $35 – $140.
15. Light the House Numbers and Mailbox for a Finished Detail
Guests hunting for your address after dark are experiencing your curb appeal whether you planned it or not, so finish the detail properly. A small shielded downlight over the house numbers, or backlit numerals in a classic serif style, makes the address legible from the street without a spotlight glare. Keep the light warm and dim; the numbers need to be readable, not radiant. At the curb, a mailbox post with a small lantern on top echoes the post light and gives the mail carrier and your guests the same welcome. If a lantern is too much, a single low path light placed to wash the mailbox post does the job quietly. Match finishes to the rest of the yard, as always. I also tell homeowners to stand at the street on a rainy night and check: numbers should read clearly through weather and headlights. It is a small, courteous, very traditional touch, and it is usually the last piece that makes a front yard feel completely thought through.
Suggested budget range: $25 – $120.

16. Tuck Solar Lantern Stakes Into the Flower Beds
Not every corner of a front yard is easy to wire, and that is where solar lantern stakes earn their place in a traditional scheme. The good ones have come a long way: cast-metal housings, warm 2700K light, and a lantern silhouette that matches wired fixtures instead of shouting plastic. I use them to fill the soft middle ground, a gentle glimmer inside the flower beds and along a side path where trenching cable would tear up established plantings. Set expectations honestly, though. Solar stakes give ambience, not guidance, so never let them carry the main walk. They need six hours of real sun, they dim after cloudy stretches, and they will want fresh rechargeable batteries every couple of years. Place them where the panel faces the open sky, not under a dense shrub, and bring the cheapest ones in for winter if your climate is harsh. Used as the supporting cast behind wired path lights and door lanterns, they add exactly the scattered, firefly softness that makes a traditional bed look alive at night.
Suggested budget range: $30 – $110.

17. Keep Every Bulb at One Warm 2700K Temperature
Here is the rule that quietly holds every traditional scheme together: one color temperature, everywhere. Warm 2700K is the classic choice because it mimics candlelight and early electric bulbs, flatters skin, brick, and foliage, and never makes a home look like a parking lot. The fastest way to cheapen a beautiful yard is a mix, a cool white path light here, a yellow porch bulb there. When you shop, read the Kelvin number on every box, including the integrated LED fixtures, and replace in matched sets when one fails years later. I keep a small stash of spare bulbs from the same purchase so replacements blend perfectly. Dimming helps too: traditional light should glow, not blast, so choose dimmable bulbs and run the system at about 80 percent on ordinary nights. If a fixture only comes in 3000K, it can work at the far edges of the yard, but the entry and walk should always match exactly. This single discipline costs nothing extra and it is, honestly, the difference between nice and timeless.
Suggested budget range: $20 – $90.
18. Put the Whole Yard on Photocells and Timers
A traditional yard should light itself with the reliability of a good habit. Photocells on the post light and coach lights bring them on at dusk without anyone thinking about it, and an astronomic timer on the low-voltage transformer handles the path and accent layers, adjusting itself through the seasons. I set most yards to run from dusk until about 11 at night, then drop to just the door and post lanterns overnight, which saves energy and keeps the street feeling calm in the small hours. Smart plugs and app-controlled transformers are fine, but honestly the simple mechanical and photocell controls fail less and confuse guests never. Whatever you choose, put every layer on some form of automatic control, because a scheme that depends on someone remembering a switch will spend half its life dark. Test the schedule at the curb once a season and adjust for daylight saving shifts. Effortless is the goal: the lights are simply on, warm and welcoming, every single evening you come home.
Suggested budget range: $25 – $130.

19. Walk the Yard at Dusk to Edit Your Traditional Front Yard Lighting Ideas
The last step is the one that makes everything else work: stand at the curb at dusk with a notepad and edit. This is where I catch the fixture glaring into the street, the path light hidden by a grown hydrangea, the tree uplight that needs a two-degree nudge. Walk the route a guest walks, from car to front door, and then do it again from the road at driving height, because that is the view that defines your curb appeal. Adjust one thing at a time and live with it a few nights before judging. Traditional yards are not installed in a day; they are tuned over a season, which is exactly how they earn that settled, established feeling. Photograph the yard from the street each time you change something, since photos reveal hot spots and dark gaps your eyes forgive in person. When the view from the curb makes you slow down a little, the way you do for the houses you admire, your traditional front yard lighting ideas have done their job.
Suggested budget range: $0 – $75.
Frequently Asked Questions
What color temperature is best for traditional front yard lighting?
Warm white at 2700K is the classic choice, and it is what I recommend for nearly every fixture in a traditional yard. It echoes candlelight and vintage filament bulbs, flatters brick, stone, and wood, and keeps skin tones looking natural at the door. Avoid anything above 3000K in the front yard; cooler light instantly reads modern and commercial, and mixing temperatures is the quickest way to make a careful scheme look accidental.
How many path lights does a traditional front yard need?
Fewer than most people think. For a typical 25 to 40 foot walkway, 4 to 6 path lights spaced 6 to 8 feet apart on alternating sides give even, glare-free guidance. The goal is overlapping pools of light you can walk through, not a dotted runway. If you can read the path comfortably and still see the lawn and beds in soft shadow, the count is right.
Can I mix solar and wired lights in a traditional front yard?
Yes, if each does the job it is good at. Let wired low-voltage fixtures carry the walk, steps, and door, where brightness and reliability matter, and use quality solar lanterns as soft accents inside beds and along side paths. Match the color temperature at 2700K and choose solar housings in metal finishes that echo your wired fixtures, and the mix will look intentional rather than improvised.
How much does a traditional front yard lighting setup cost?
A solid DIY low-voltage setup with 10 to 14 fixtures, a transformer, and cable typically runs $600 to $2,000, with solid brass and copper fixtures at the top of that range. Professional design and installation usually lands between $2,500 and $5,000 for a front yard. Running costs stay tiny with LED, often just a few dollars a month, especially on a timer schedule.
Conclusion
Classic curb appeal is not about owning the most fixtures; it is about restraint, symmetry, and one warm temperature telling a single story from the curb to the front door. Start with the three layers, match your finishes, light the one tree that matters, and let timers do the remembering. If you want the numbers behind the investment, I break down exactly how outdoor lighting boosts curb appeal value in another post. Take these traditional front yard lighting ideas one layer at a time, edit at dusk, and your home will wear that settled, welcoming glow for decades. Browse the rest of the site for more ideas by house style, and come back at twilight to enjoy what you built.