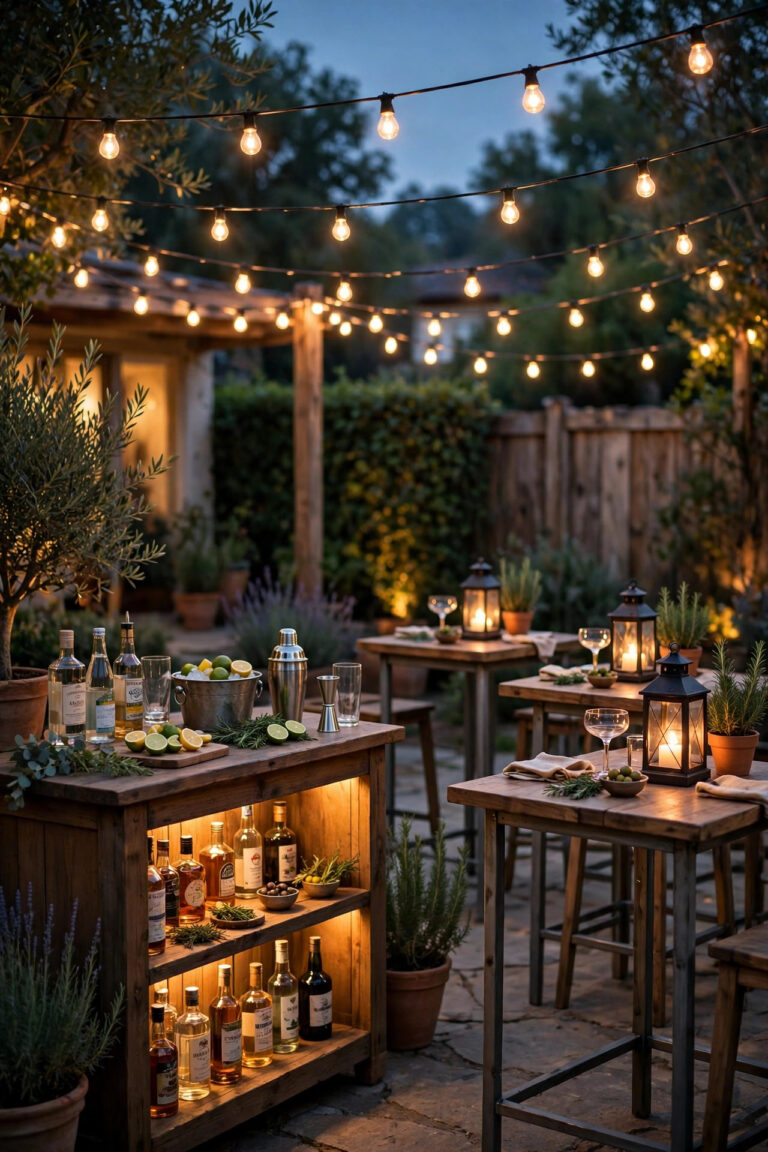
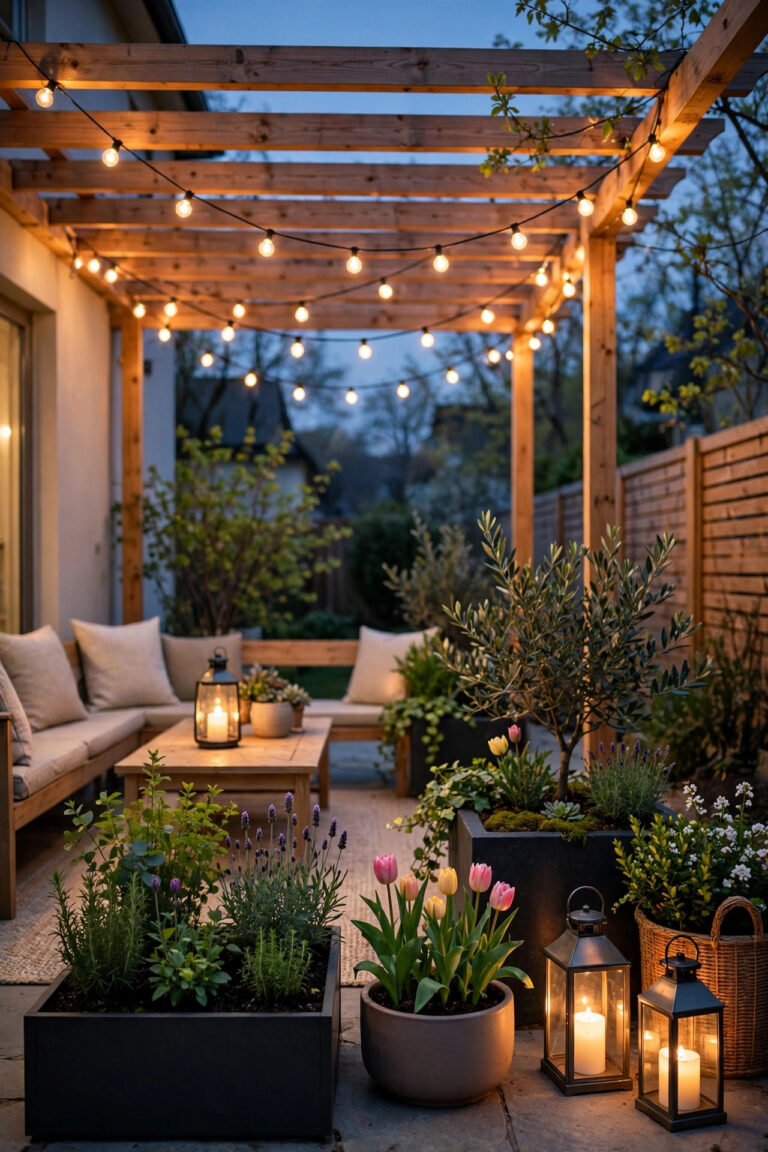
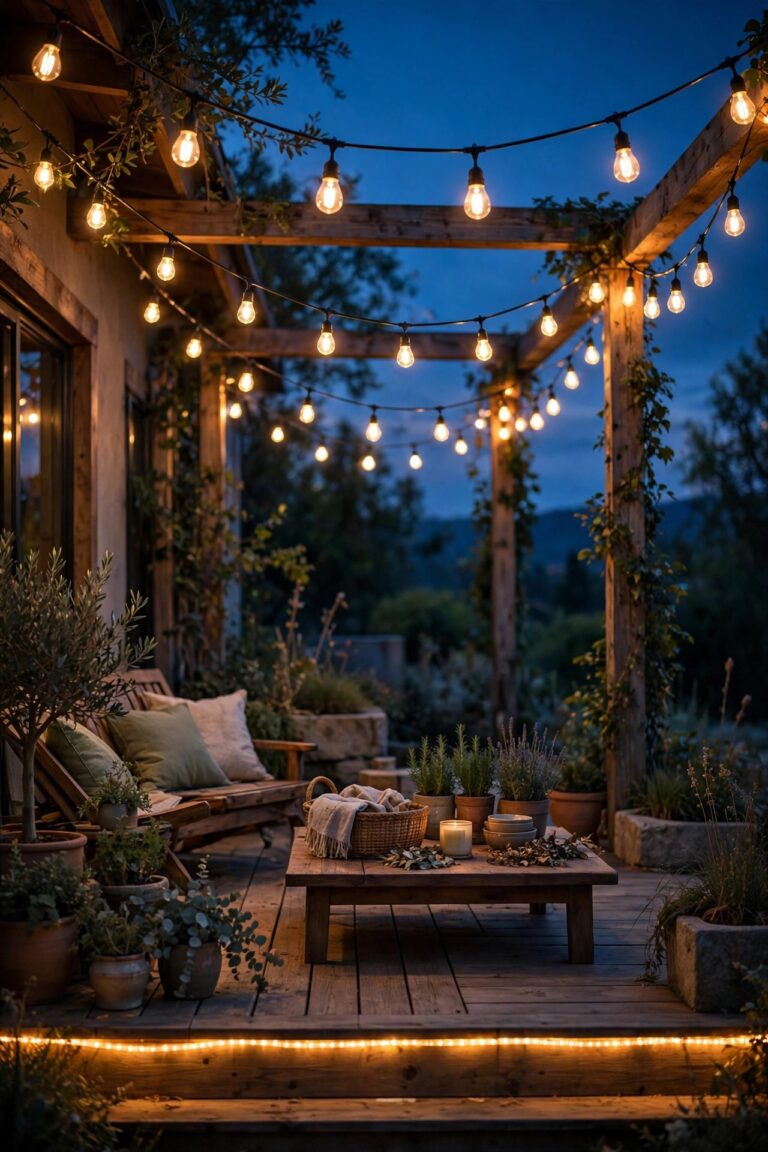
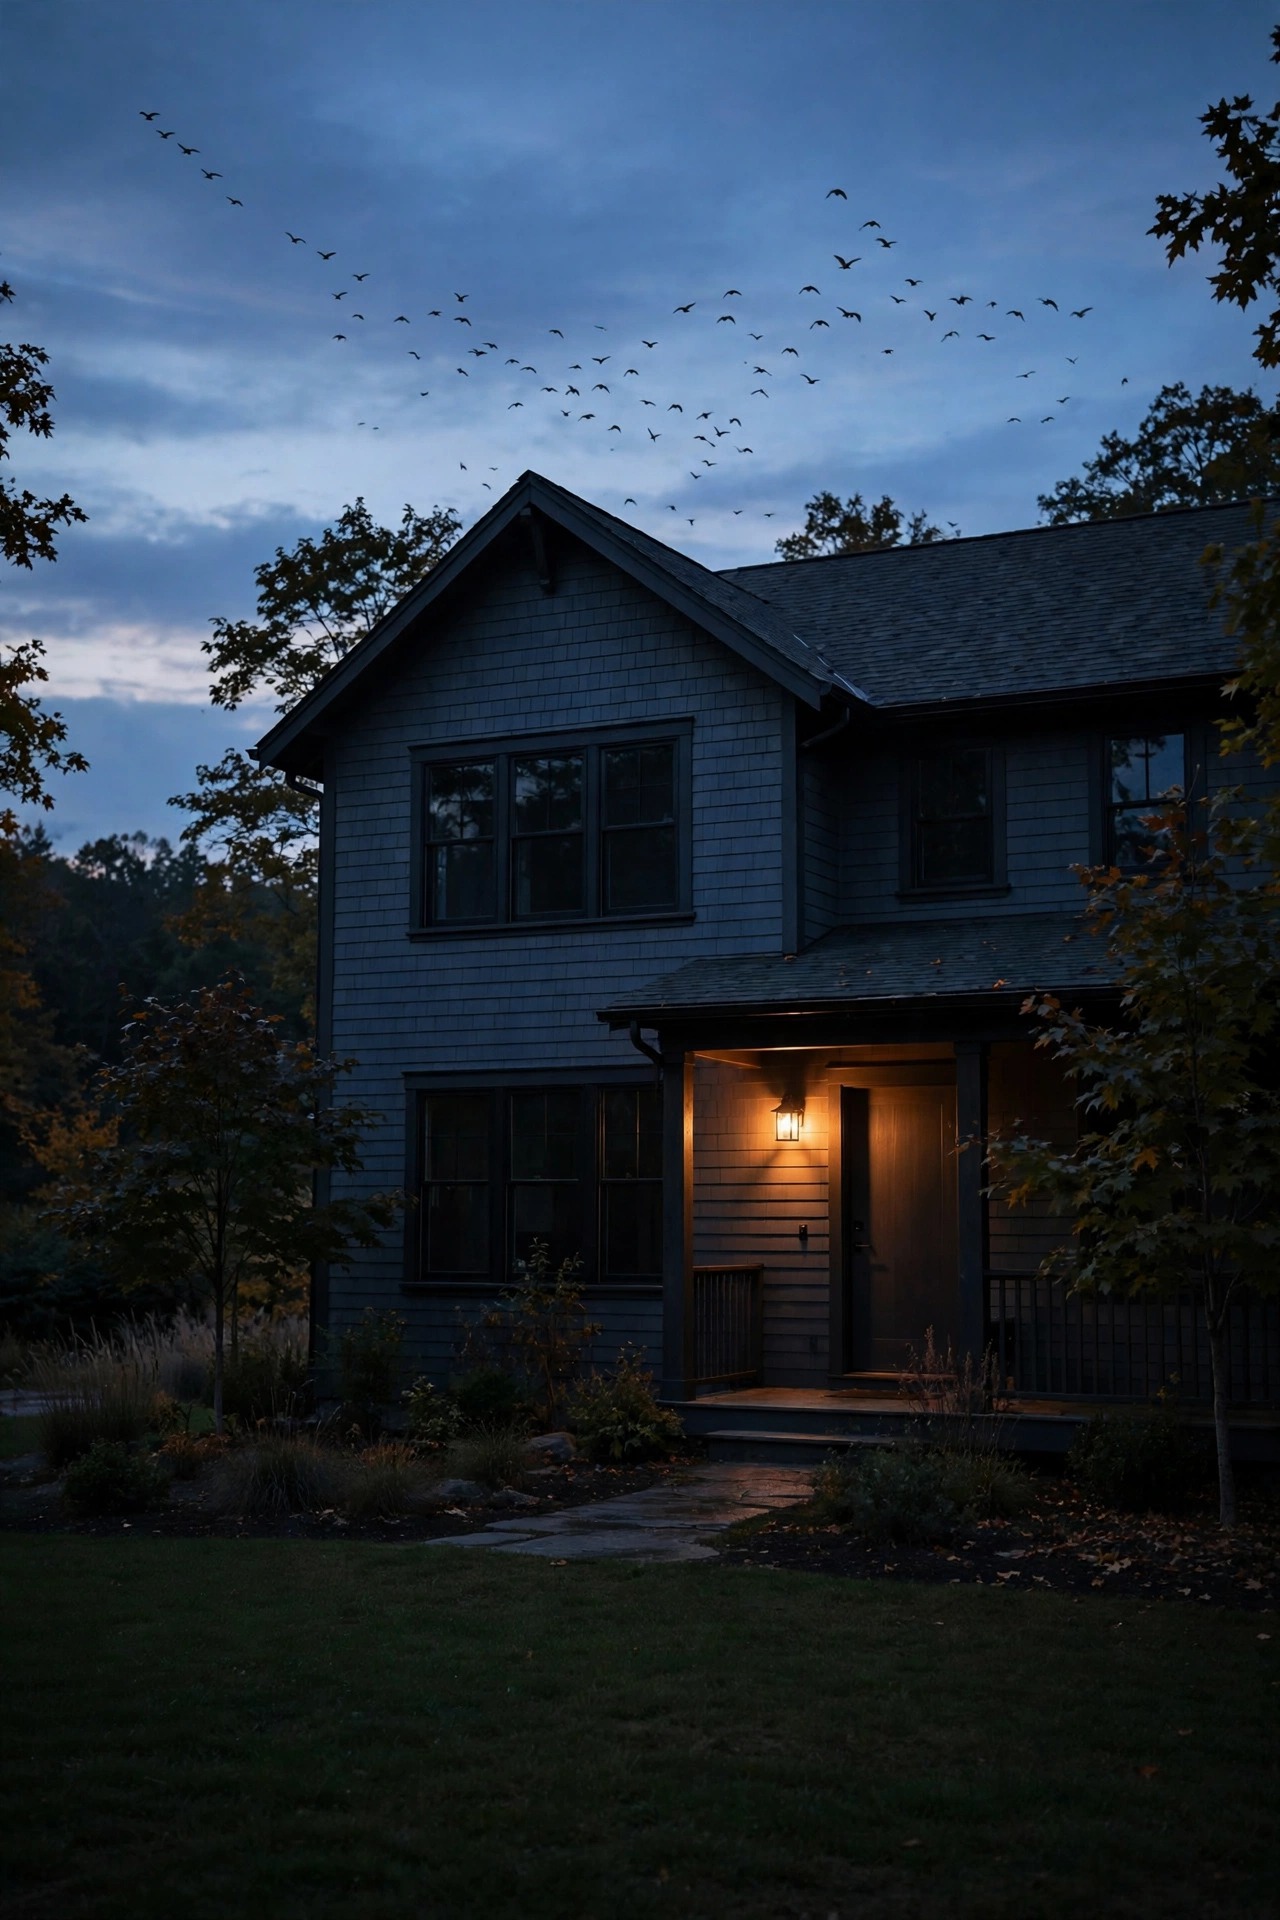
The night my porch light finally went dark at ten o clock, the fireflies came back. Not all at once, and not dramatically — just a few shy blinks over the back fence the first evening, then more each week, until my yard had its own tiny light show again, the original one. That is the heart of wildlife friendly outdoor lighting: the night already belongs to somebody. Bats are hunting over your lawn, moths are pollinating your garden, owls are listening from the fence line, and every bulb we leave blazing tilts their world a little further sideways. I am not asking you to live in the dark, honestly. I still light my paths, my steps, and my door, in the layered way I always have — guidance, welcome, accent. I just light them like a guest in the night instead of its landlord. These thirteen ideas are the exact changes I made, from bulb color to curfews, so your yard can glow for you and still rest for them.

1. Start With Wildlife Friendly Outdoor Lighting Bulbs in Warm Amber
If you change only one thing, change the color. Most night creatures read the world in a spectrum where blue-rich white light — the 4000K and 5000K bulbs sold as daylight — lands like a floodlight in the eyes. It scrambles insect navigation, pulls moths into exhausted spirals, and washes out the flash signals fireflies use to find each other. Warm amber bulbs at 2200K sit at the gentle end of the spectrum. They draw noticeably fewer insects to the fixture, which means fewer spiders building webs across your sconce and fewer bats forced to hunt in a glare they would rather avoid. At my house, swapping the two porch bulbs from cool white to 2200K amber was a ten-minute job, and the moths around the door thinned out within the week. The light still reads as warm and welcoming to people — it is the color of candlelight and old gas lamps — while reading as near-dusk to most wildlife. Check the Kelvin number on the box before you buy; anything labeled soft white at 2700K is a decent step, but true amber at 2200K is where the real kindness lives.
Suggested budget range: $10 – $45.
2. Shield Every Fixture So the Bulb Itself Stays Hidden
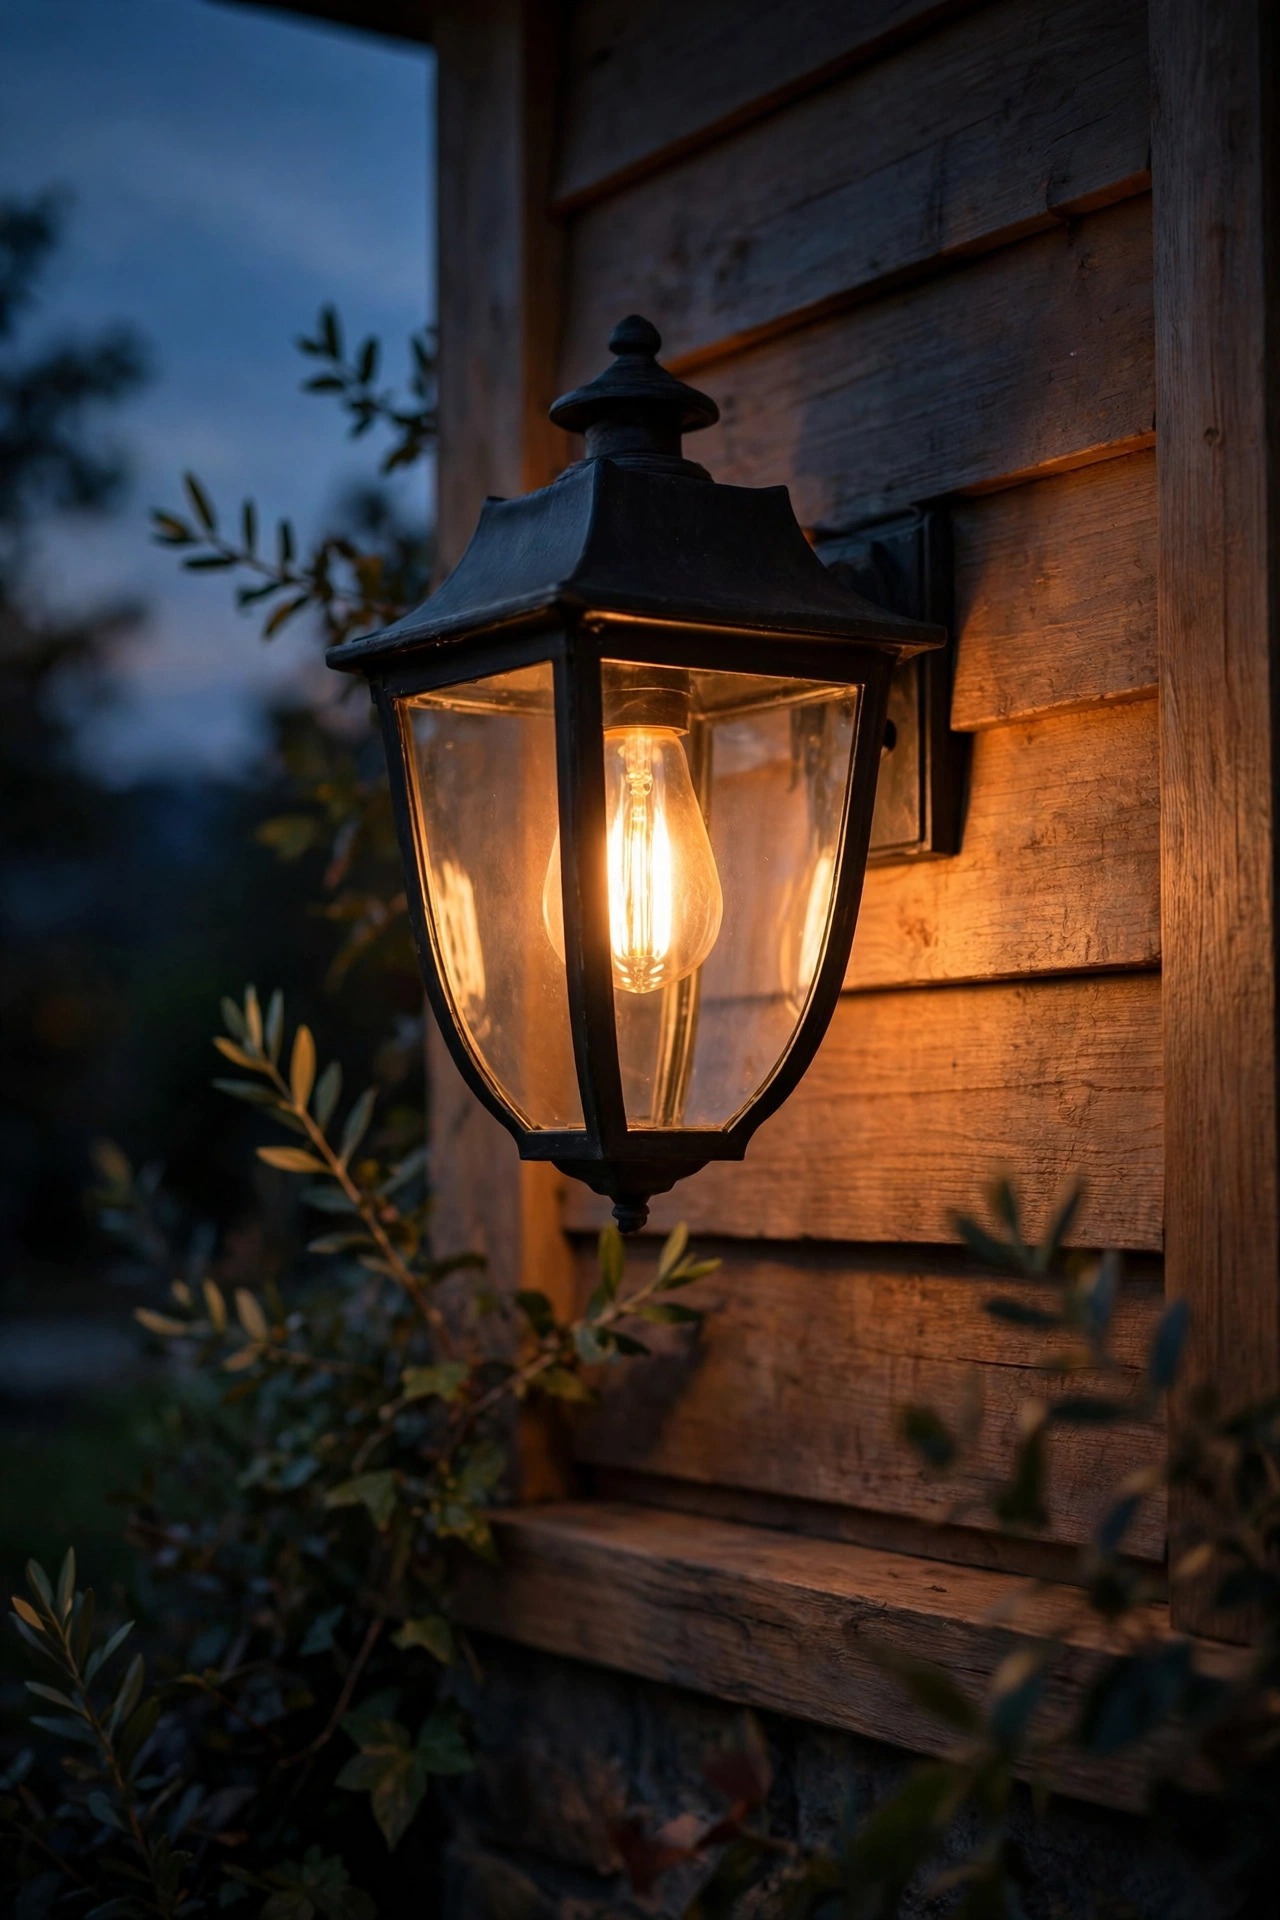
A bare bulb is a tiny sun, and from the air it is the brightest thing for blocks. Birds on nighttime flights, bats quartering your yard, even frogs in the border all see the naked source, not the light it throws on your path. Shielding fixes that. A full-cutoff fixture hides the bulb behind a hood or cap so every lumen travels downward and essentially nothing escapes above the horizontal. You still get a generous pool of light on the ground where feet actually go, but the sky, the canopy, and the flight paths above your roof stay dark. For fixtures you already own, clip-on visors, wide shades, and louver inserts do the same job for a few dollars. When I shielded my side-yard sconce, the change from the street was startling: the house looked calmer, and the glow stopped advertising itself to everything flying over. Most of this thinking comes straight from the principles in my guide to dark-sky outdoor lighting, and wildlife is the biggest winner. My rule is simple: if a creature flying over can see the bulb, the fixture needs a shield.
Suggested budget range: $15 – $75.
3. Aim Down, Mount Low, and Keep Light on the Ground
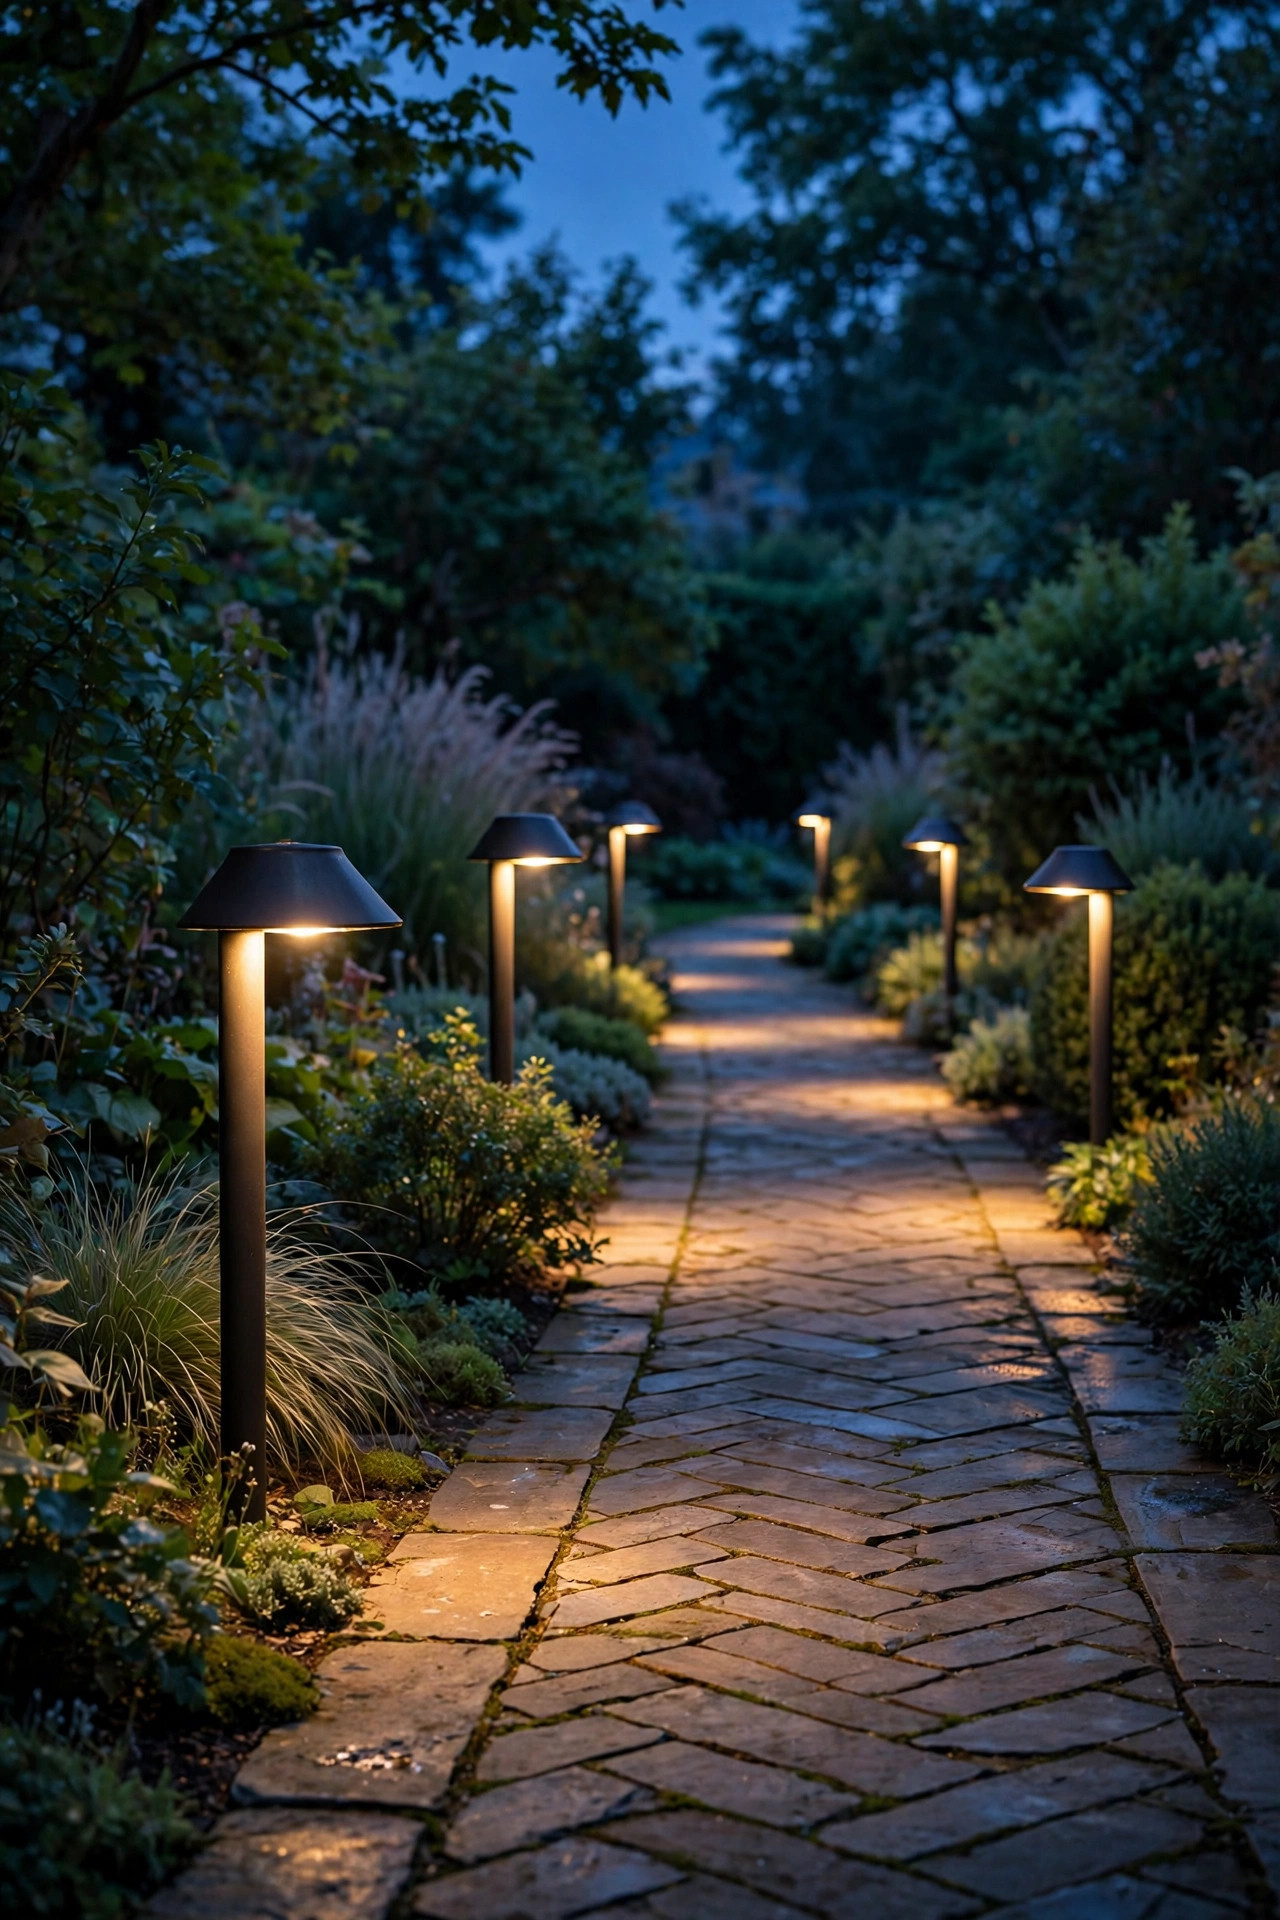
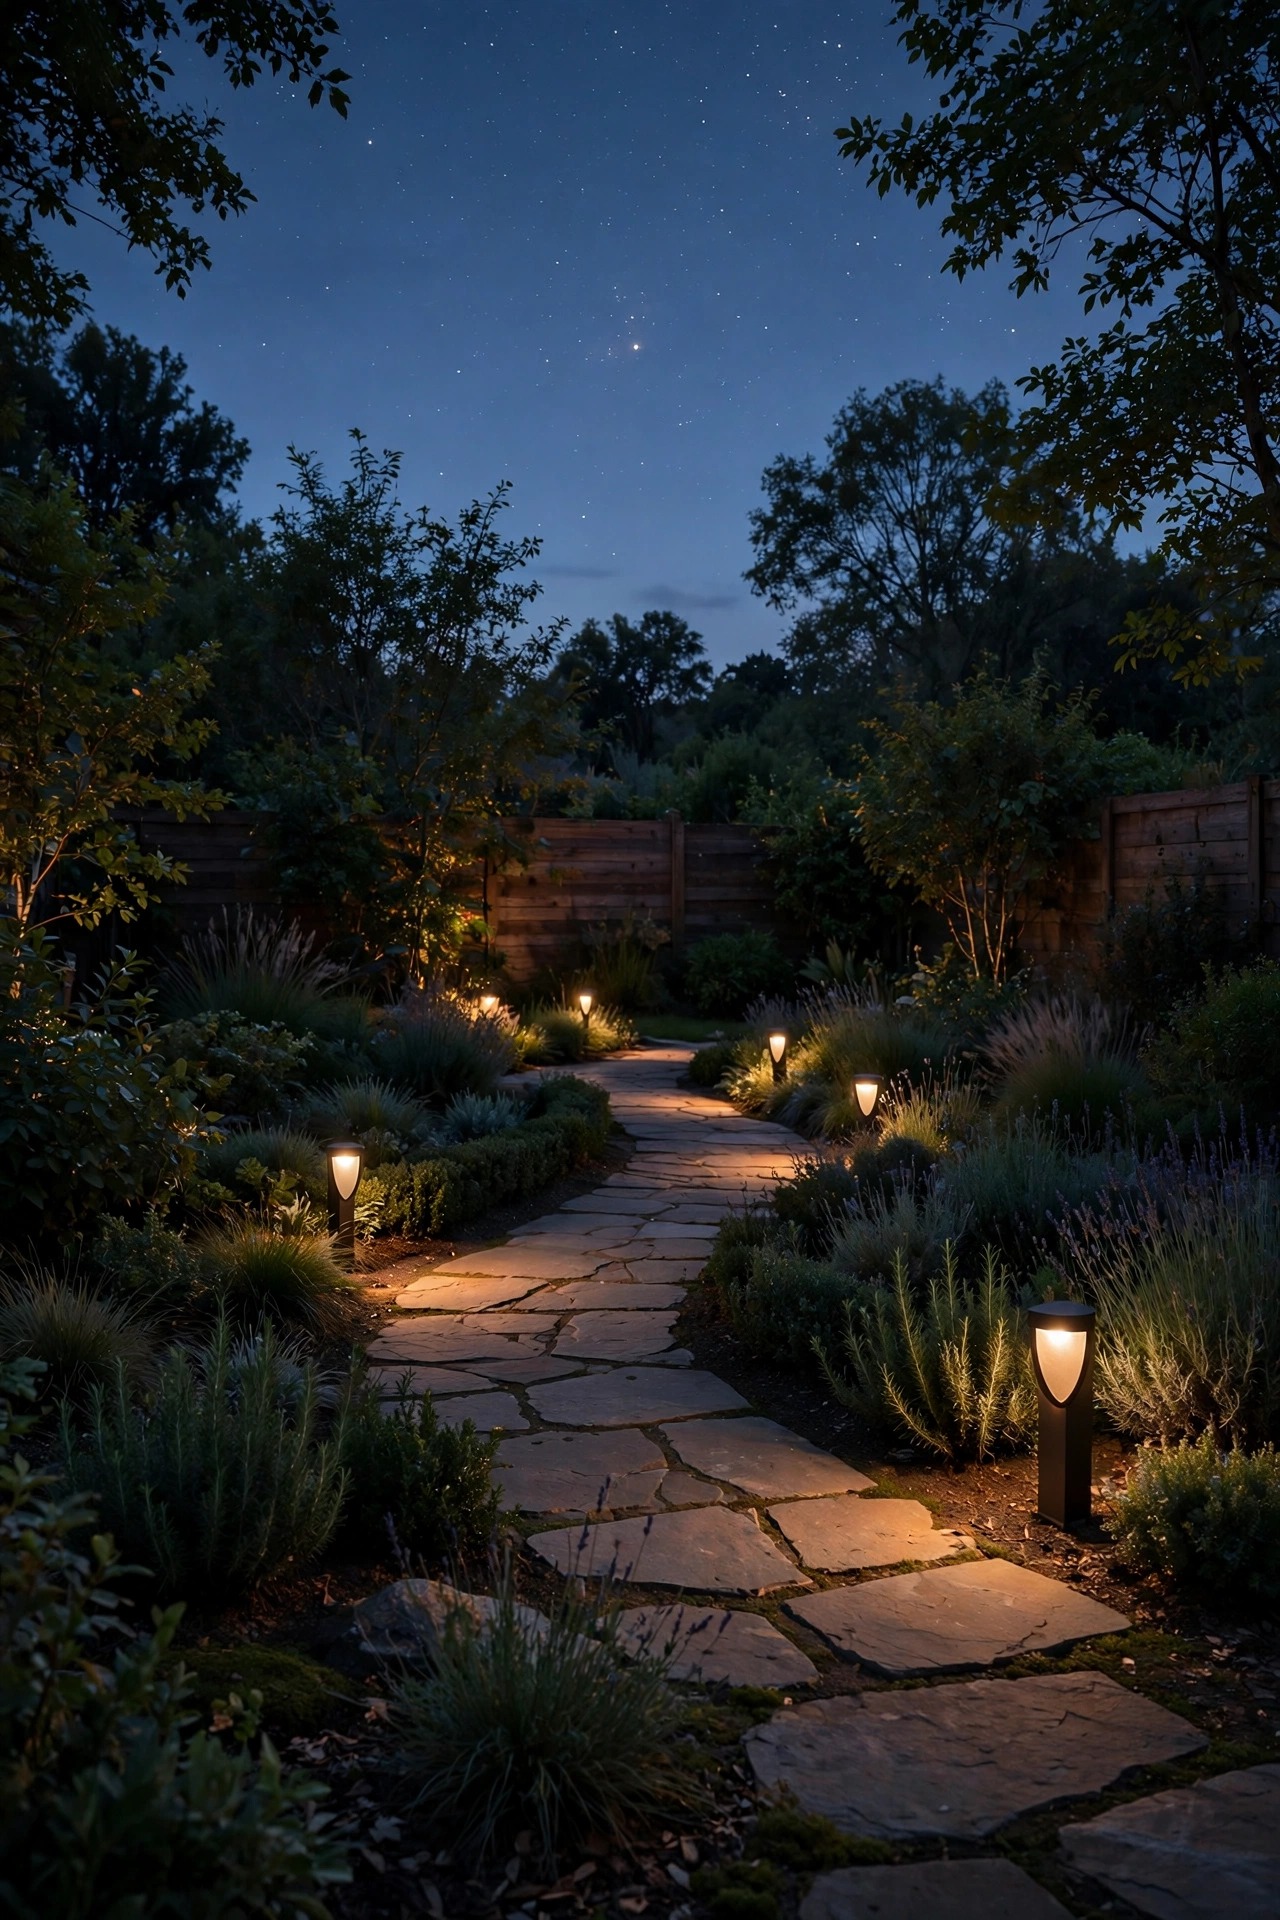
Height is a multiplier for harm. A flood mounted at the roofline throws light across your whole yard and half the street; the same fixture at knee height on a post lights one patch of path and minds its own business. So I aim every beam down at a steep angle and mount path and garden lights as low as the job allows — bollards and step lights between 12 and 24 inches, sconces tipped so the hotspot lands on the step, not the horizon. Low light also stays under the shrub canopy, where it belongs, instead of bleaching the undersides of trees where birds roost and bats rest during the day. After storms I re-check aim, because a tilted fixture quietly becomes a sky-beam. Try the creature test: crouch down at the far edge of your yard, at roughly rabbit height, and look back. If you can see bright sources staring at you from across the garden, so can everything that lives out there. Ten minutes with a ladder and a screwdriver after dark, twice a year, keeps every beam honest and grounded.
Suggested budget range: $0 – $25.
4. Use Motion Sensors So Habitat Gets Real Darkness
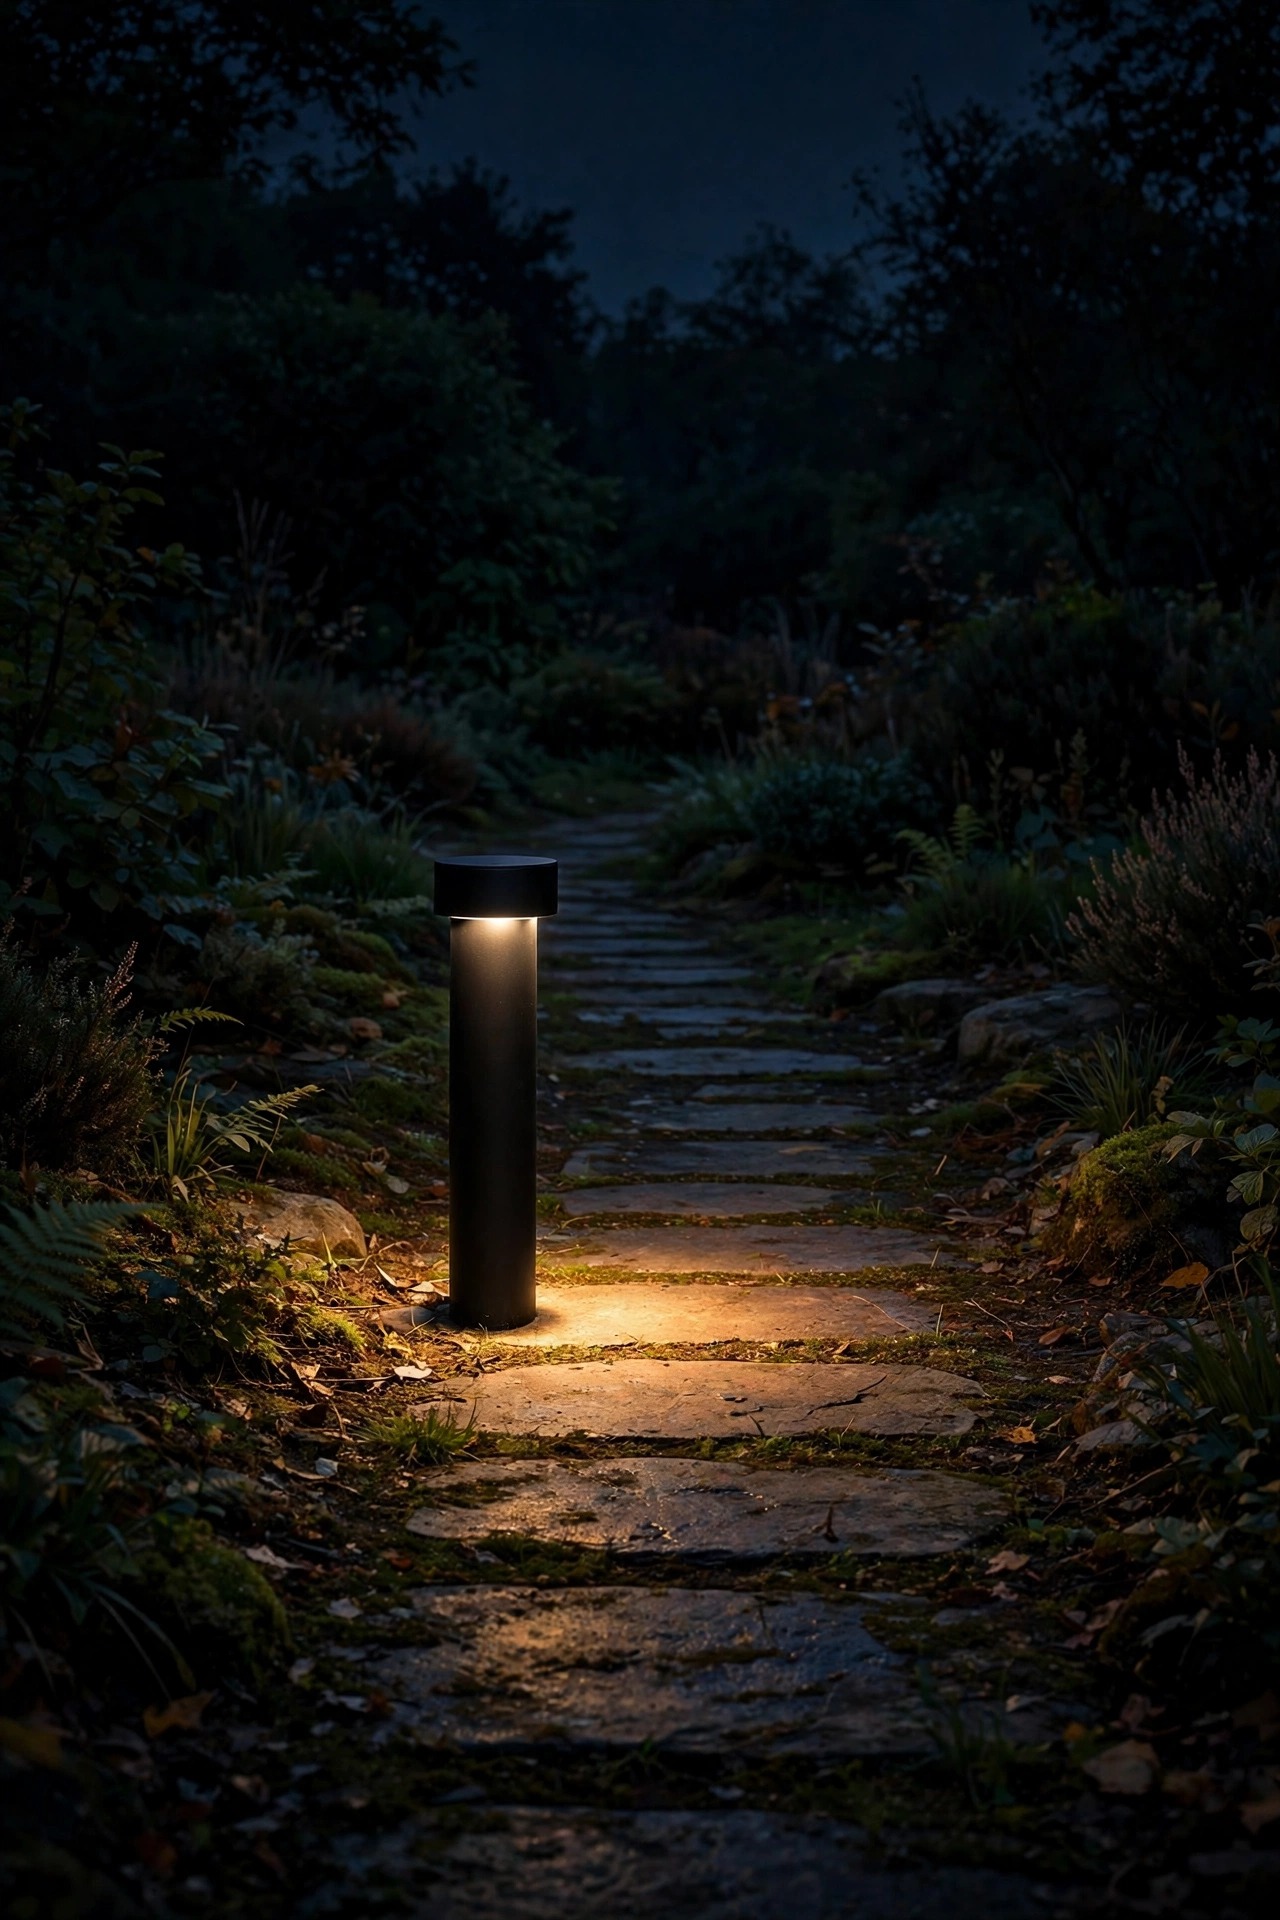
Darkness is not the absence of something for wildlife — it is the habitat itself. Owls hunt by hearing in the dark, fireflies signal in the dark, and most insects feed and travel in the dark. A light that burns all night erases that habitat for ten hours; a motion-sensor light gives it back for all but a few minutes. So my entry and side-yard lights now sit quiet until a person actually walks up, glow for a minute or three, and hand the yard back to the night. Set the duration short — one to three minutes is plenty to unlock a door or cross a patio — and aim the sensor at your own approach paths so passing wildlife in the borders does not trip it constantly. Dual-brightness fixtures are even kinder: a faint amber idle glow for orientation, brightening only when someone comes close. My full walkthrough of settings and placement lives in my motion-sensor outdoor lights guide. Honestly, this single change did more for the bats over my lawn than everything else combined.
Suggested budget range: $20 – $60.
5. Set a Curfew and Let the Yard Go Dark
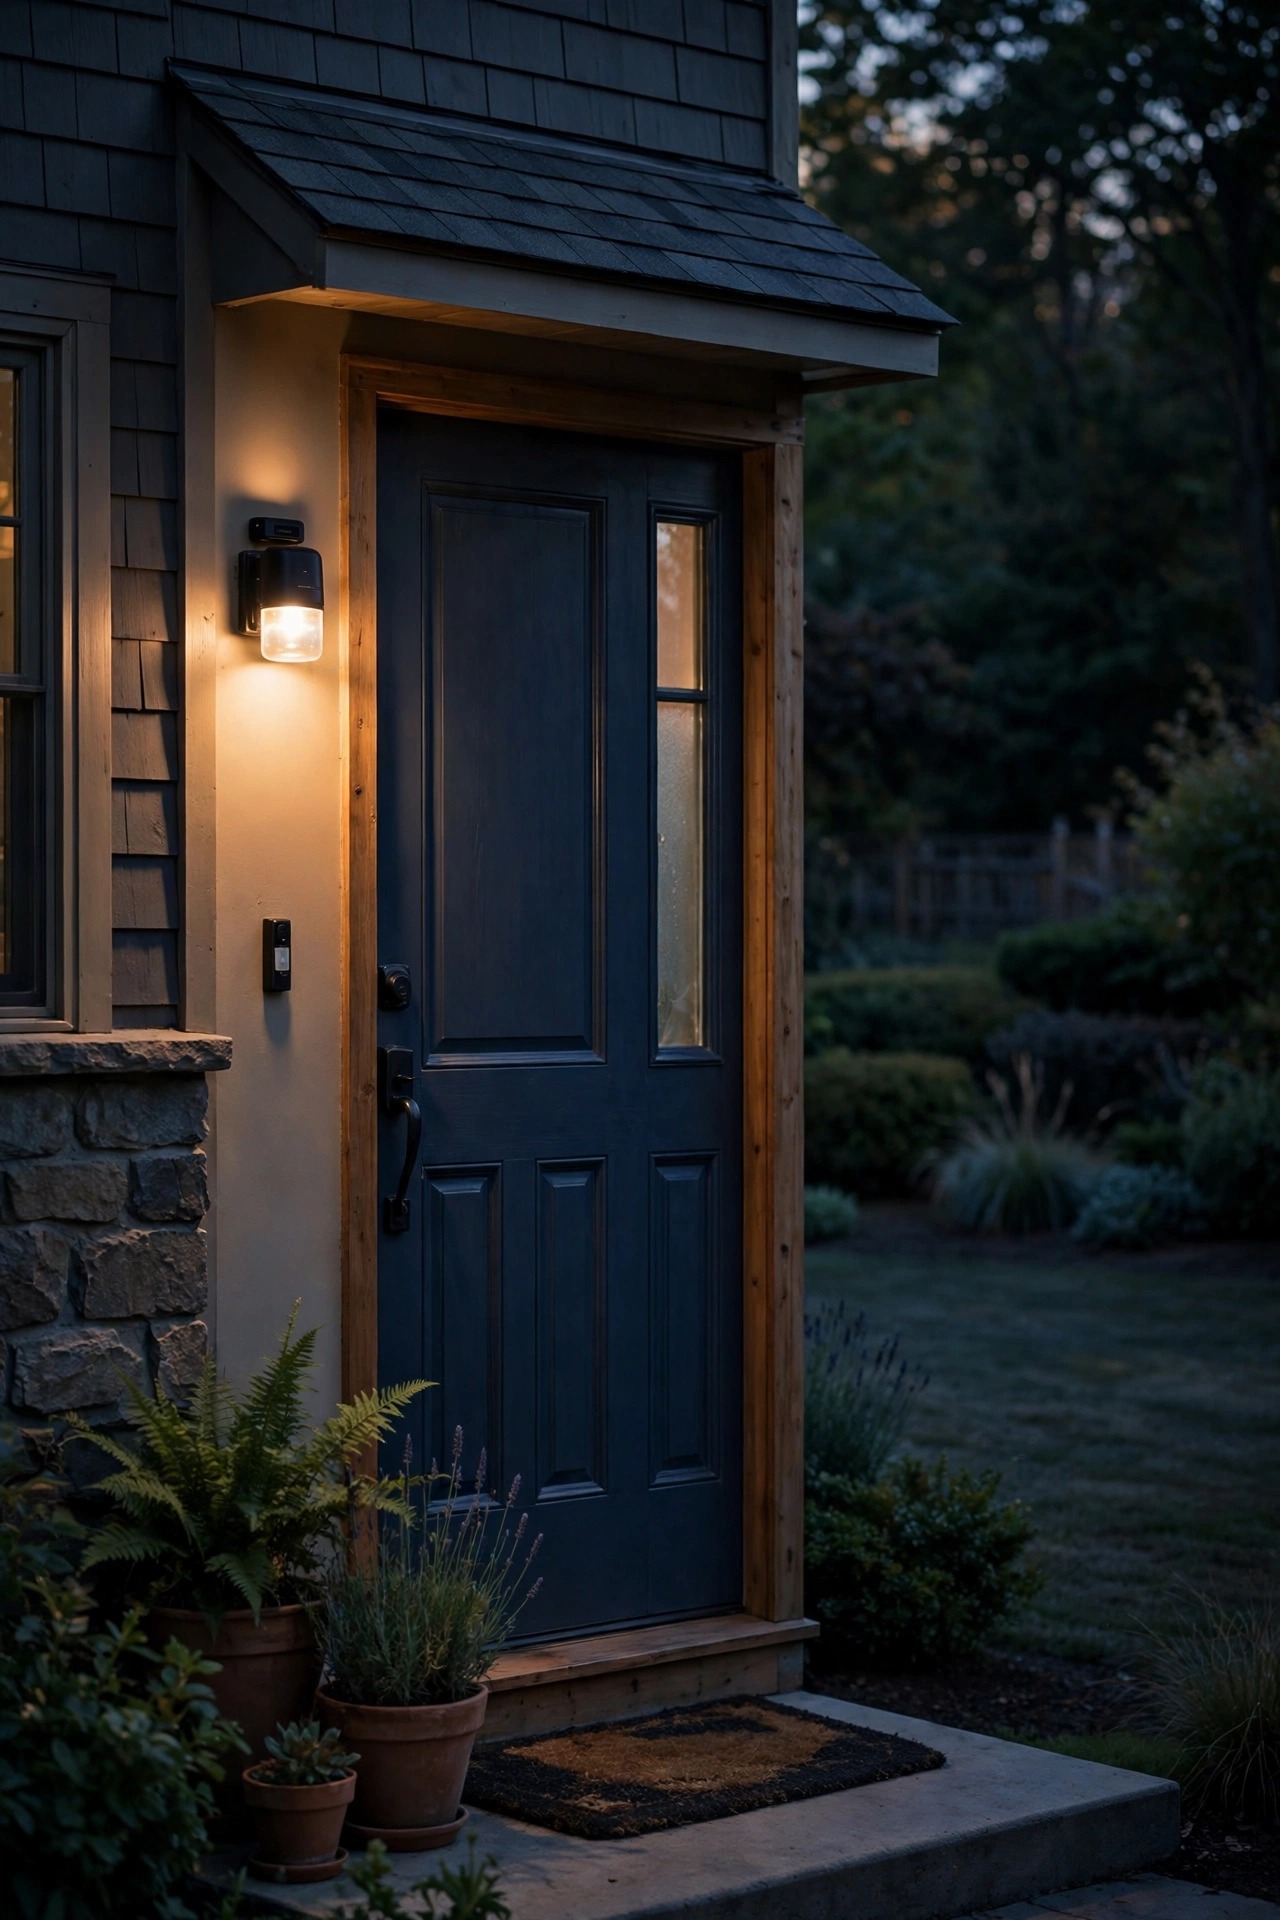
Even warm, shielded, well-aimed light adds up when it runs from dusk to dawn, so I gave my yard a bedtime. Everything decorative goes off at 10 p.m. — 11 on weekends when we are actually out there — and only the motion-sensor entry light stays armed. A simple plug-in timer or an astronomical timer on the transformer handles it without me remembering anything, and the astronomical kind even tracks the shifting sunset through the seasons. The hours after curfew are when the yard truly belongs to its residents: hunting peaks in the deep night, insects settle, and migratory birds passing overhead get the dark sky they navigate by. Curfew has a human dividend too — the house looks settled, the electric bill shrinks, and I sleep better without the garden lit like a stage set. If a full curfew feels strict, start with the accent layer only, the uplights and string lights, and keep paths on sensors. Wildlife does not need perfection from us. It needs the trend of the night pointing back toward dark.
Suggested budget range: $10 – $40.
6. Switch to Red Light Near Roosts, Nurseries, and Water Edges
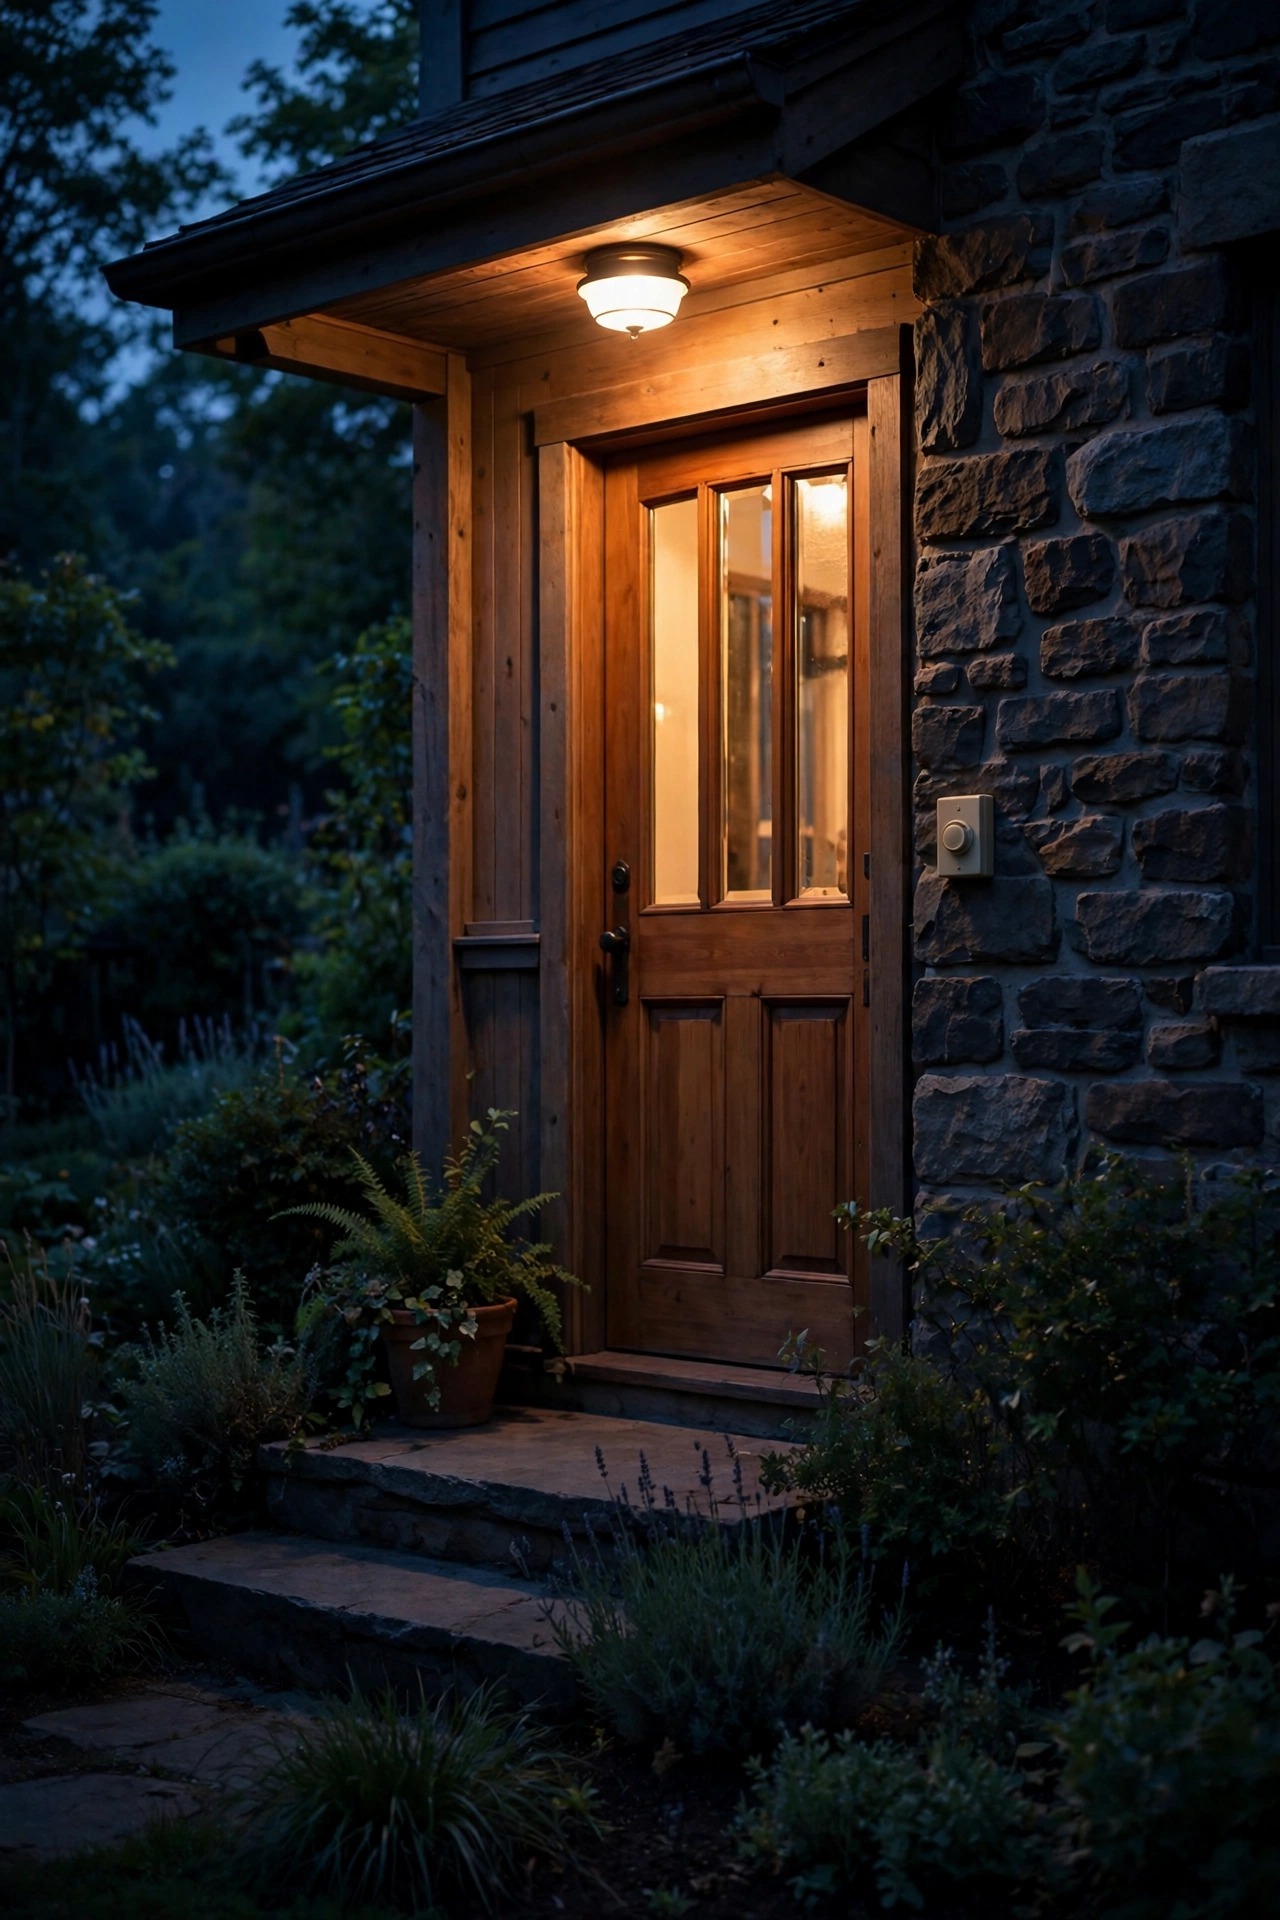
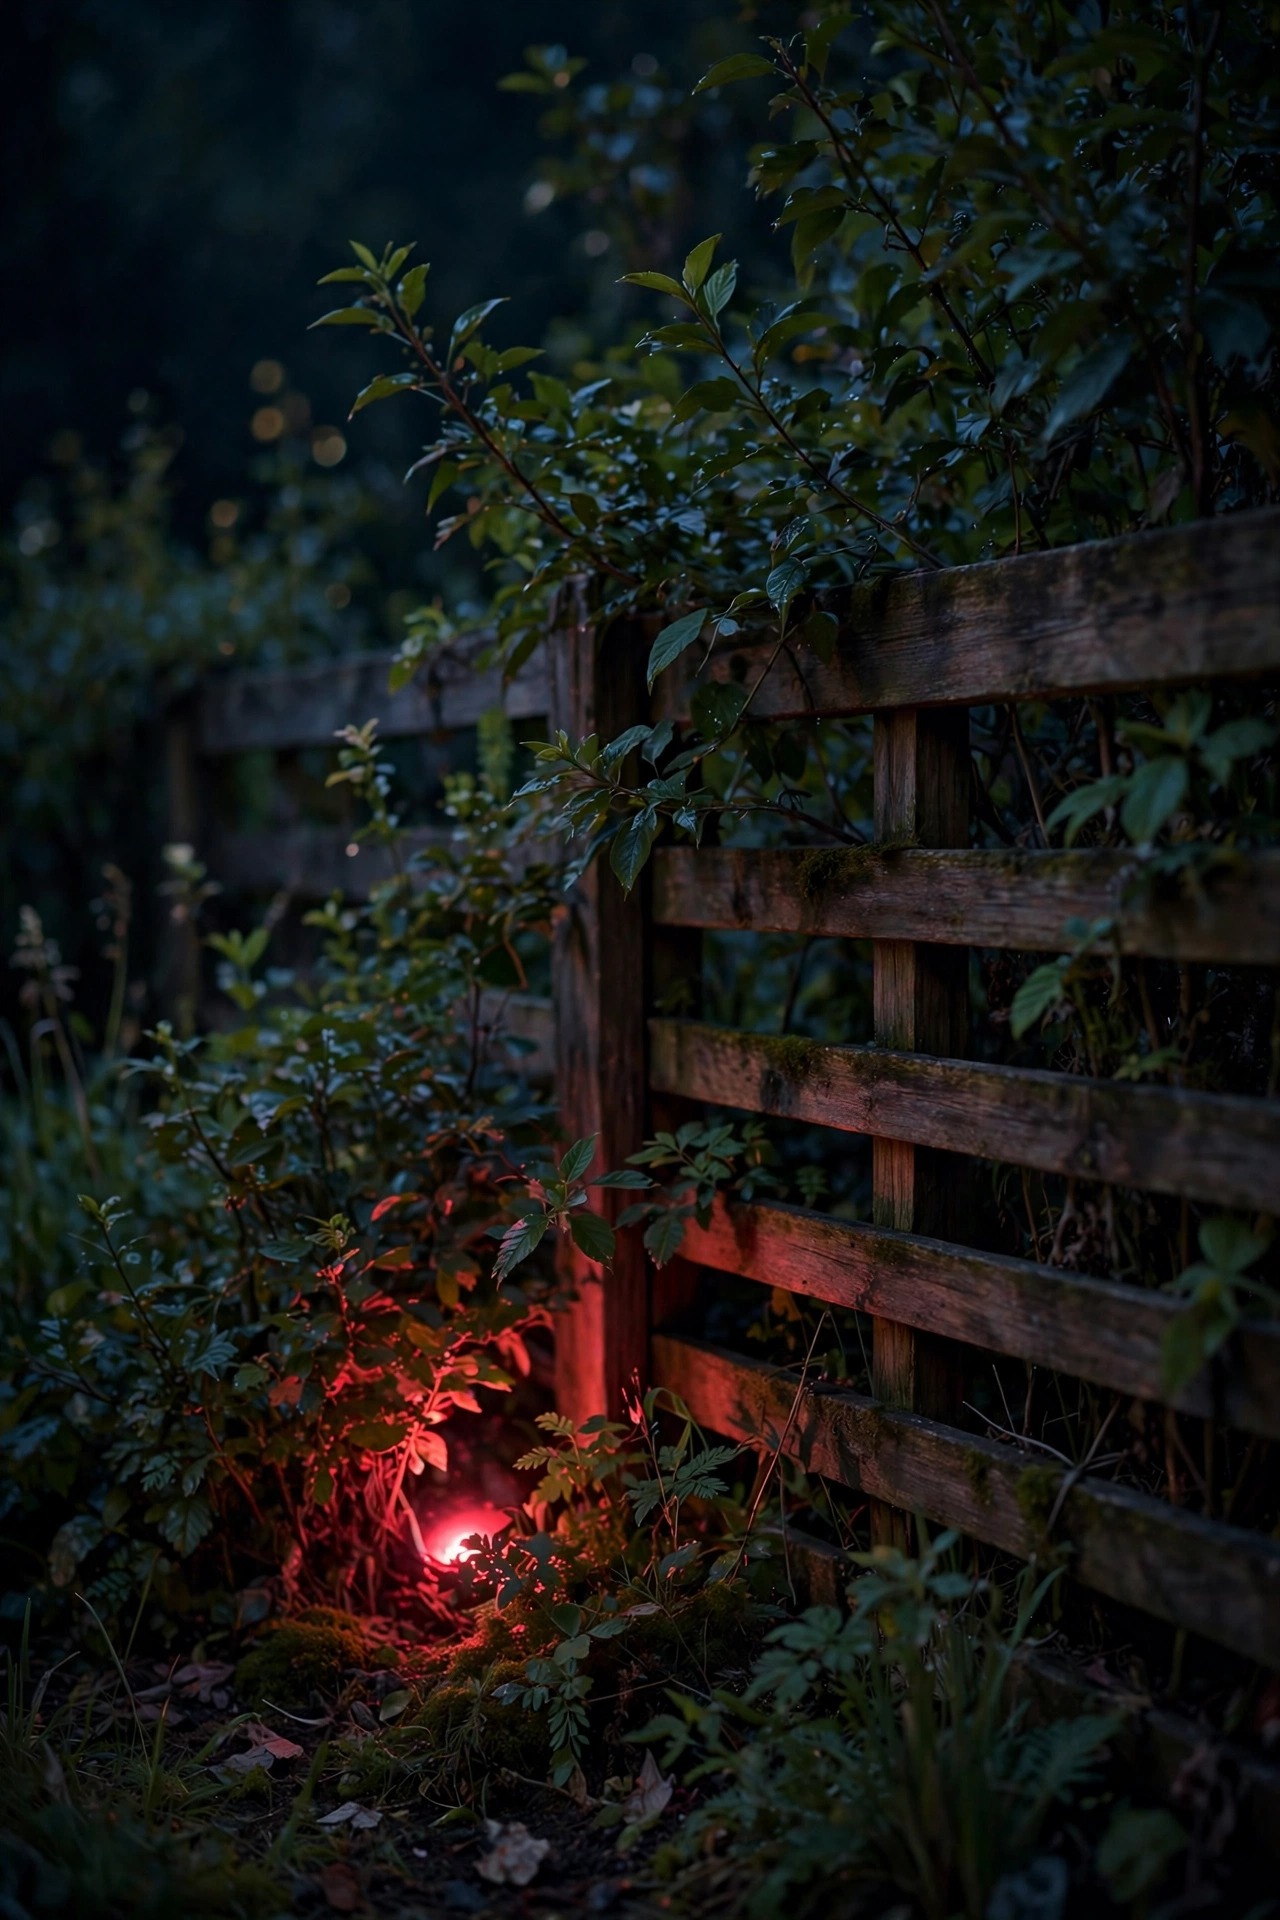
Here is a trick borrowed from beach towns, where red and amber light protects sea turtles that come ashore to lay their eggs: most nocturnal animals barely register red light at all. Their eyes are built for greens and blues, so a soft red glow lets you see a path while reading to them as near-darkness. I keep red bulbs for the two spots where my yard borders real habitat — the fence corner with the bat house and the shrubs where birds raise their young each spring. A red bulb in a shielded fixture gives me just enough shape and edge to walk the bins out or check the gate without sending every resident scattering. It is not the light I would read by, and it should not replace warm amber in your main living areas; think of it as a specialist tool for the wild edges of the property. During breeding season, roughly March through July in most of the US, red near the hedge is close to a free pass for the creatures raising families there. Guests always ask about the glow. Then they stand in it a moment and admit the yard feels secret and calm.
Suggested budget range: $8 – $35.
7. Keep Light Off Ponds, Birdbaths, and Pools
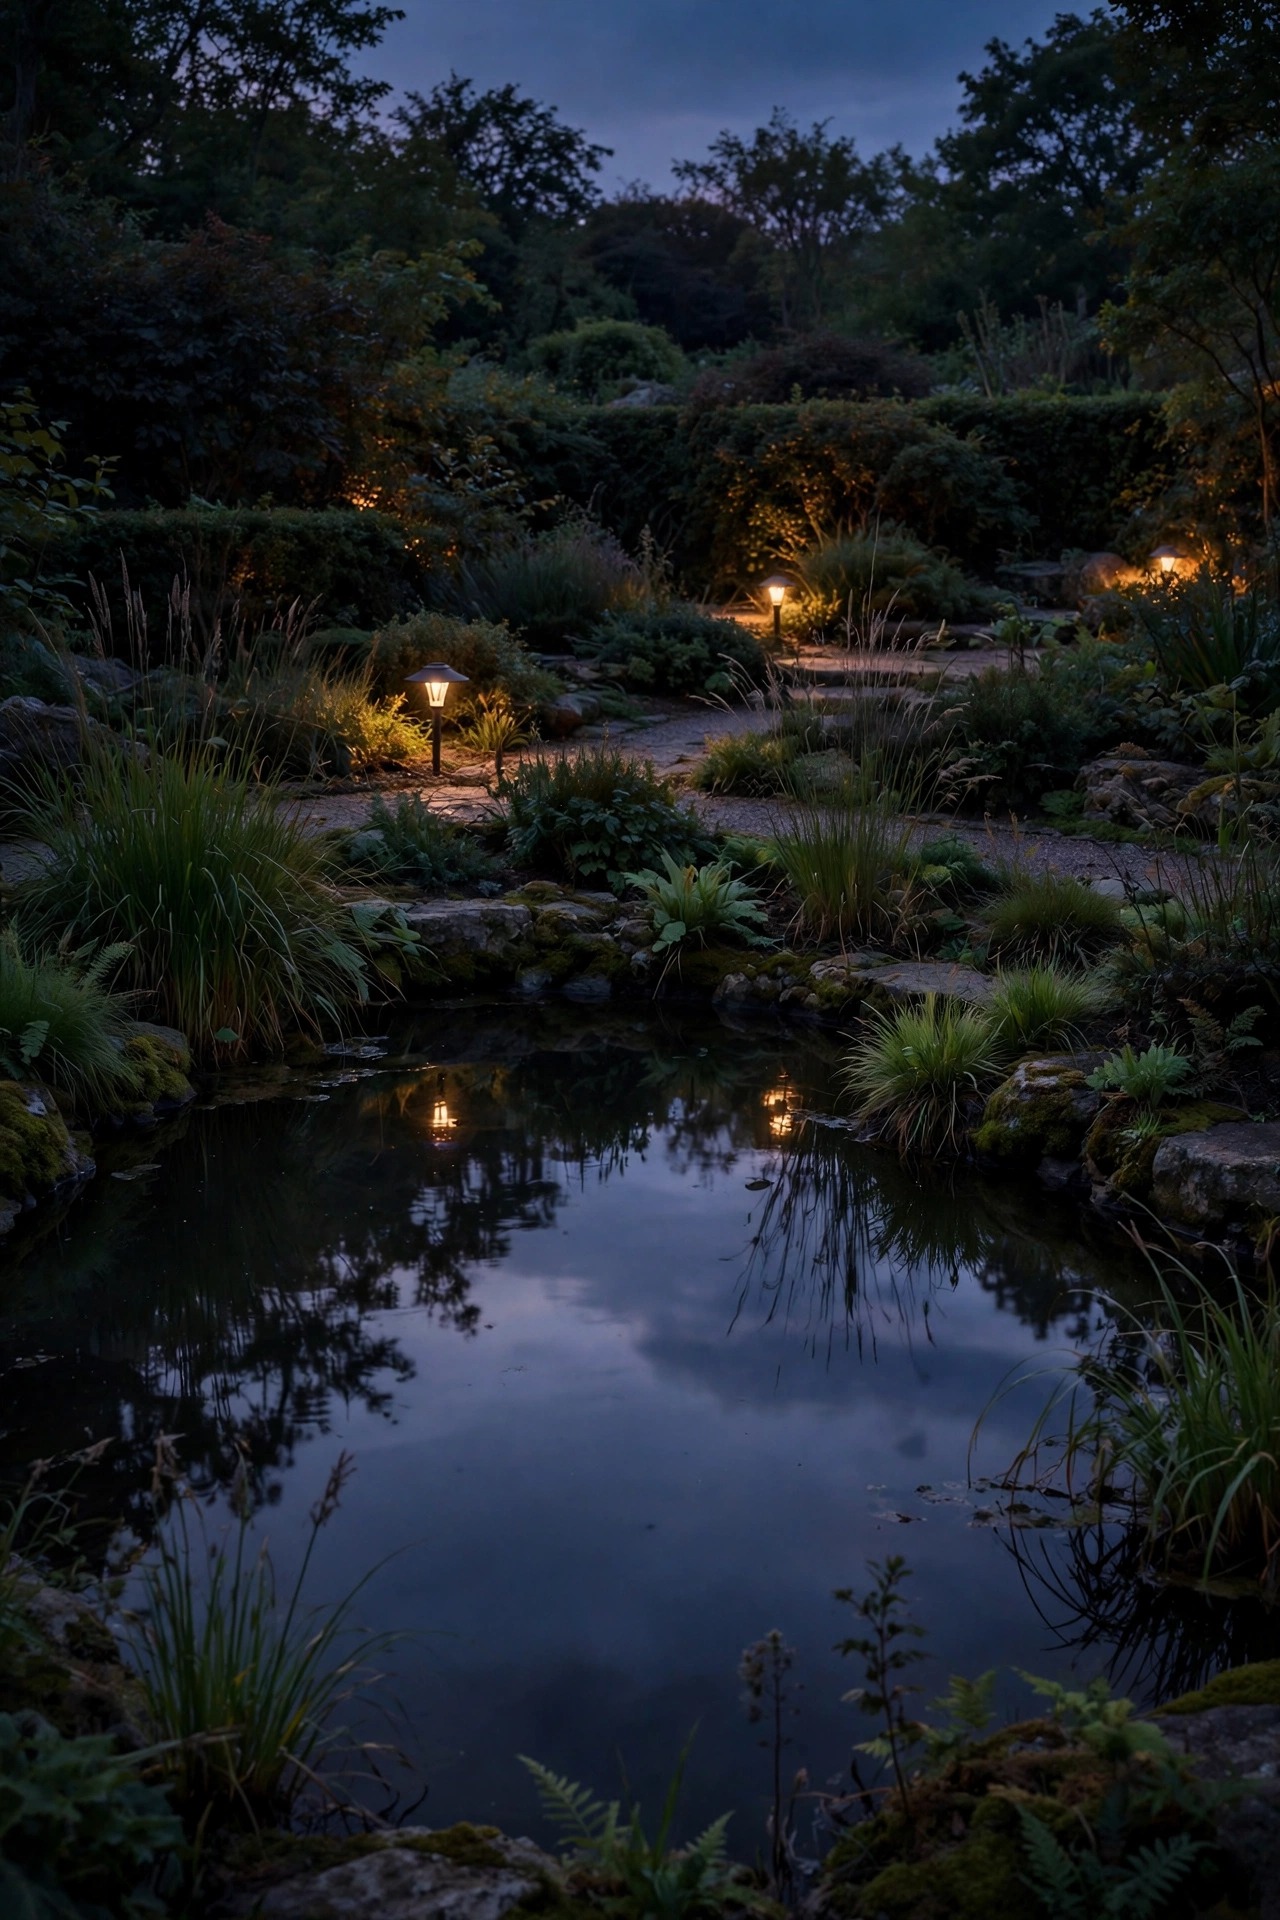
Water and light are a dangerous mix for small lives. Aquatic insects like mayflies read reflections as the surface of a stream, and a lit pond edge or a glowing pool can pull them in to lay eggs on concrete and glass instead of water. Frogs go quiet around bright banks, and birds that drink and bathe at dusk get exposed under lights that make them easy targets. So I keep every fixture pulled back from the water and aimed away from it, and my little garden pond has no light of its own at all — it borrows a whisper of spill from a shielded path light six feet away, enough for me to see the rim stones, nowhere near enough to turn the surface into a mirror of glare. If you love sitting by the water at night, use one low red or amber light behind your chair rather than anything mounted at the edge. The water itself should stay the darkest thing in the garden. Watch a truly dark pond for ten minutes sometime: the frogs start up, something rustles the reeds, and you realize the audience was never us.
Suggested budget range: $0 – $30.
8. Light Only the Paths People Actually Walk
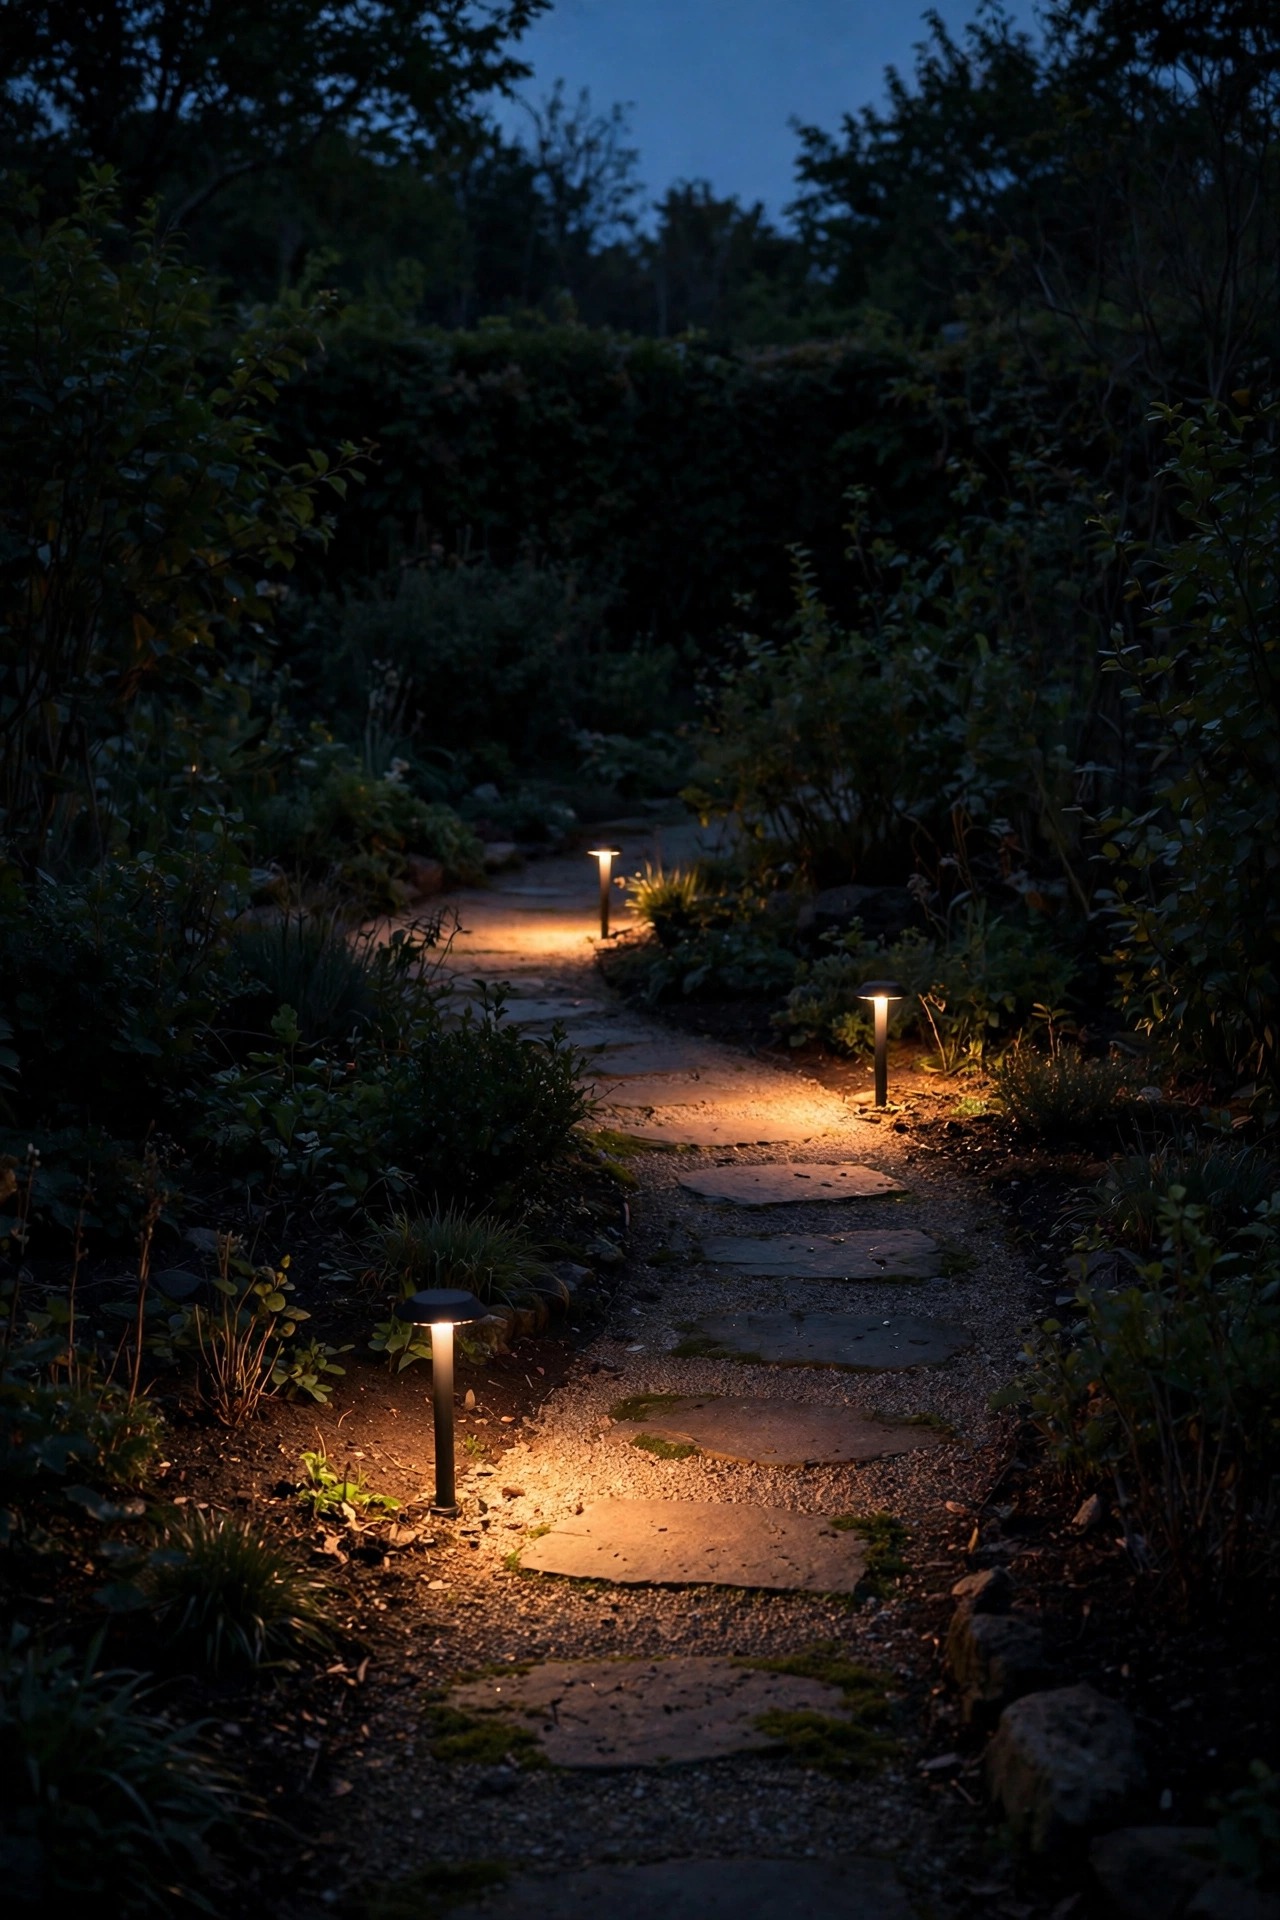
The gentlest lighting plan is mostly subtraction. I walked my yard one night with a notebook and marked every fixture with a hard question: does a person actually walk here, at night, regularly? The accent light washing the back fence failed. The spotlight on the ornamental grass failed. Two of my six path lights failed, because nobody steps off that corner of the patio. Each one that failed got removed, retired to the garage, or moved onto the curfew timer. What survived is a short, honest list: the front walk, the steps, the side gate path, and the route to the bins — the working paths of a real household. Everything else in the yard is scenery, and scenery does not need electricity. Creatures noticed the difference faster than my guests did; the dark gaps between lit paths became the corridors everything uses after dark. You will spend less, wire less, and replace fewer bulbs forever. In my experience, a yard with four well-placed lights looks more designed, not less, than a yard with fourteen scattered ones. Restraint is a style, and wildlife votes for it every night.
Suggested budget range: $25 – $120.
9. Moonlight From the Canopy Instead of Uplighting the Trees
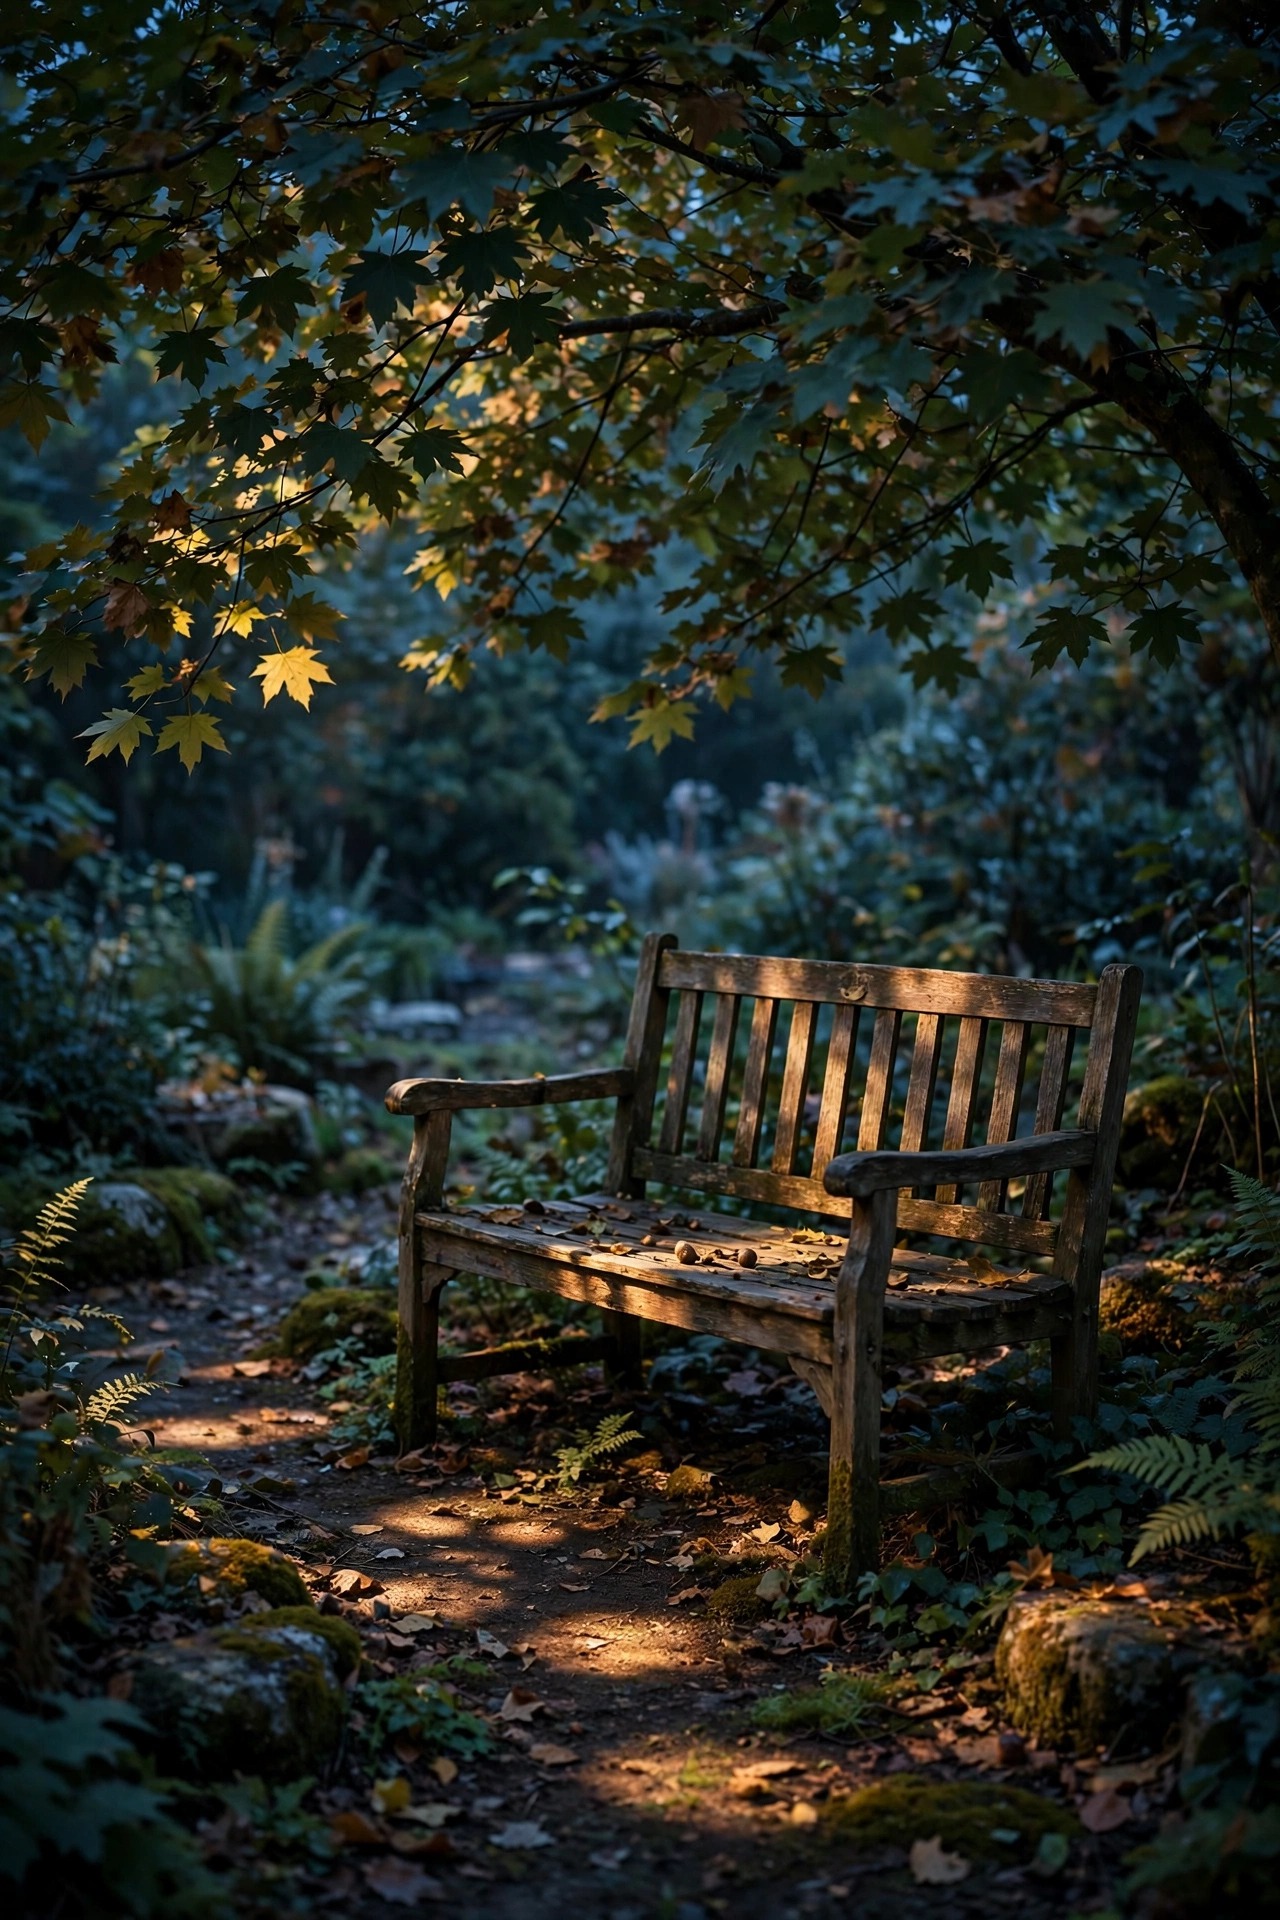
Uplighting a tree feels romantic until you think like a roosting bird. A spotlight at the trunk fires straight up through the branches where birds sleep and bats hang, and it turns the whole canopy into a lit stage that draws clouds of insects upward. Moonlighting flips the geometry: one shielded fixture mounted high in the tree shines down through the leaves, laying soft dappled pools on the ground — the exact pattern of a full moon, which every night creature already understands. Nothing beams into the sky, nothing stares into a roost, and the effect on people is honestly prettier, all lace and shadow instead of a green explosion. Mount the fixture 15 to 25 feet up with a deep shield, keep the output modest, and put it on the curfew timer so the tree gets its deep-night dark too. My step-by-step placement notes are in my moonlighting trees guide. One downward light in a big oak replaced two uplights at my house, and the screech owl stayed. That felt like a review I could trust.
Suggested budget range: $30 – $90.
10. Turn Down the Lumens — Gentle Beats Bright
Most outdoor lighting is wildly overpowered for its job. A path needs roughly 100 to 200 lumens to read clearly; a porch needs 300 to 400 at the door. Yet the bargain floodlights at the hardware store blast 2,000 lumens and up across the whole garden, and that excess is not neutral — brightness is exactly what disorients night-flying insects, suppresses firefly flashes, and tells bats to hunt somewhere else. When I re-lamped my yard, I simply bought one size down everywhere and added a dimmer to the patio circuit. Nobody noticed the drop. Steps stayed readable, faces stayed friendly, and the yard stopped squinting. Dimming has a second kindness built in: many LEDs shift warmer as they dim, sliding toward that gentle amber wildlife prefers. If a fixture is fixed-output and too bright, a shade or a louver trims it mechanically. Start by dimming or swapping the single brightest fixture you own — usually the security flood — and give the yard a week. Your eyes adjust in days. The creatures adjust back in about the same time, and they have better reasons to.
Suggested budget range: $10 – $50.

11. Leave Whole Zones Completely Dark as Wildlife Refuges
Every yard needs a lighting plan, and mine ends with a deliberate blank. The back strip of my property — the hedge, the brush pile corner, the fence line behind the shed — has no fixtures at all, on purpose, forever. That dark band is the highway everything uses: rabbits slip along it, toads commute through it, fireflies court over it, and the owl hunts its edge. Connecting darkness matters as much as darkness itself, because most small creatures will not cross a lit gap to reach a safe corner. So when you plan, zone the yard like a map with three kinds of territory: lit working areas near the house, dim transition areas on sensors or timers, and one connected dark refuge that runs unbroken along at least one border. Even a narrow strip counts in a small yard — a single fence line kept dark changes who visits. It costs nothing, asks nothing, and quietly becomes the most alive part of the garden. On summer nights I sometimes sit at the patio edge just to watch the border of the dark, where all the real evening happens.
Suggested budget range: $0 – $20.

12. Adjust Your Lights for Migration and Baby Season
Wildlife runs on a calendar, and a kind lighting plan checks it twice a year. Spring and fall bring the great bird migrations — roughly March through May and August through October — when millions of birds travel at night and city glow pulls them off course. On peak migration weeks, I go stricter: nonessential lights off entirely, porch light on the sensor only, blinds drawn on lit windows. Then comes baby season, when fledgling birds, young bats, and firefly larvae all depend on ordinary darkness close to home, and a blazing yard is a neighborhood emptied of its nursery. None of this requires new gear. It is a sticky note on the transformer: curfew earlier in spring, everything dimmer in the fall push, red bulbs in near the hedge while it is full of young birds. If you live near a coast, you already know the beach version of this rule — lights out for turtles all summer. The suburban version is the same kindness at a smaller scale. Your yard is habitat with a mortgage. Season by season, let it be habitat first.
Suggested budget range: $0 – $15.
13. Do a Monthly Wildlife Friendly Outdoor Lighting Check
Habits hold better than hardware, so I keep one small ritual: on the first clear night of each month, I walk the whole yard looking at my lights the way a creature would. I crouch at the pond edge, stand under the oak, and check the fence line from the refuge strip. I am looking for drift — the shield knocked crooked by a storm, the timer that forgot its curfew after a power flicker, the new bulb somebody installed at 5000K because it was on sale. Each problem takes minutes to fix while it is small. I also note who is around: fireflies in June, moths at the amber porch light, the bat working the lawn at dusk. That little census is the real report card for wildlife friendly outdoor lighting, and it changes the way you feel about the whole project. This stops being about restricting your lights and starts being about hosting a night that is visibly, audibly alive. Ten minutes a month, notebook in hand, and your yard keeps its promises to the creatures who were here long before the fixtures were.
Suggested budget range: $0 – $10.
Frequently Asked Questions
What color of light is safest for wildlife?
Warm amber around 2200K is the safest everyday choice, and red is gentler still for spots near roosts, breeding areas, and water. The enemy is blue-rich white light at 4000K and above, which disrupts insects, bats, and migrating birds the most. Read the Kelvin number on the box before buying, and choose the lowest warm rating you can find.
Are solar lights automatically wildlife friendly?
Not automatically, but they often help. Solar path lights are usually dim, low, and warm, which is the right recipe — until a bargain model ships with a cool blue-white LED or a dusk-to-dawn panel that never switches off. Check the color temperature, pick warm models, and favor versions with motion sensors or timers so the light still goes dark for part of the night.
Will turning my lights off at night make my home less safe?
In my experience, no. A motion-sensor light that snaps on when someone approaches is a far better deterrent than a flood that burns all night and that nobody looks at anymore. Pair a 10 p.m. curfew for decorative lights with sensor coverage at doors, steps, and the driveway, and you keep the safety while handing the deep night back to wildlife.
Do I have to give up my pretty string lights?
Keep them — with three conditions. Choose warm white or amber bulbs, hang them over the patio where people gather rather than in trees or along habitat edges, and put them on the curfew timer so they go dark when the party ends. An hour or two of warm glow over dinner is a pleasure; the same string blazing into an empty yard at 2 a.m. is just light pollution.
Conclusion
Your yard after dark is a shared address. Wildlife friendly outdoor lighting simply means remembering the other residents when you flip a switch: amber instead of blue, shields instead of bare bulbs, sensors and curfews instead of all-night glare, water kept dark, trees moonlit gently, and one honest strip of property left completely unlit. None of it asks you to give up the glow you love — the welcome at the door, the safe path, the pretty patio. It asks only that the light end where your evening ends. Start with the bulb swap and the curfew this week, and then stand outside on a warm night and watch who comes back. Browse the rest of my lighting ideas here whenever you are ready for the next gentle upgrade.