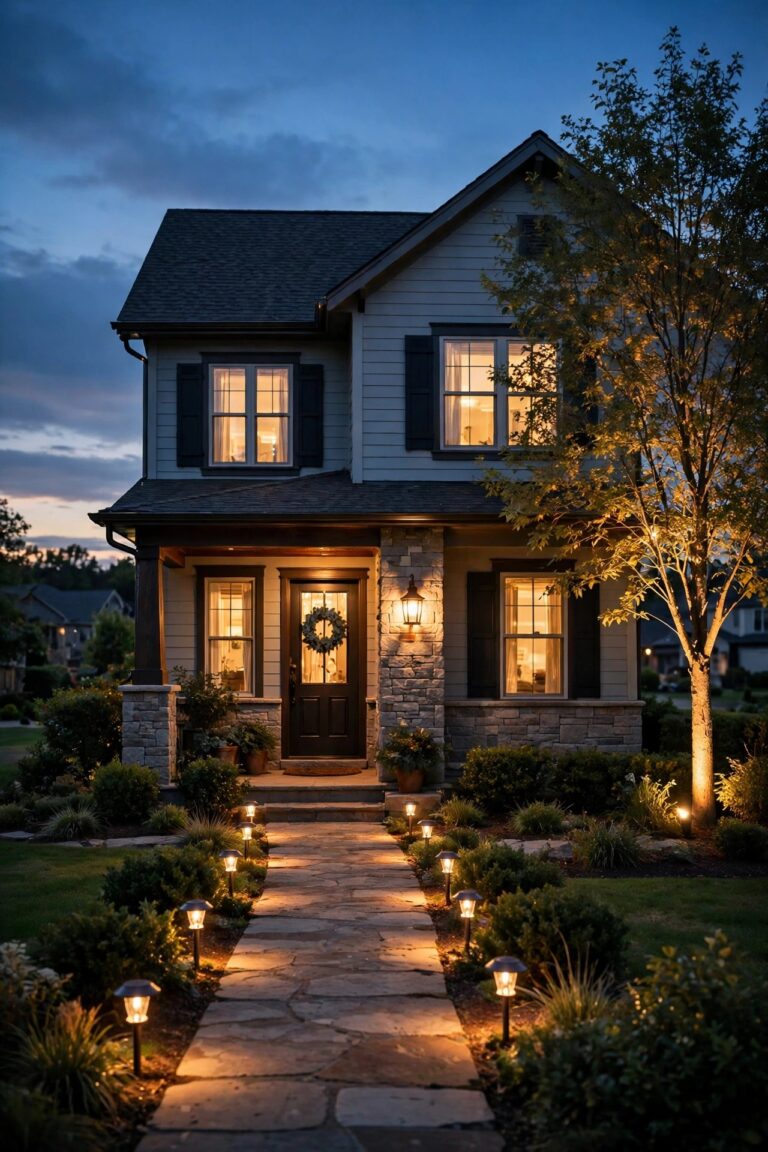
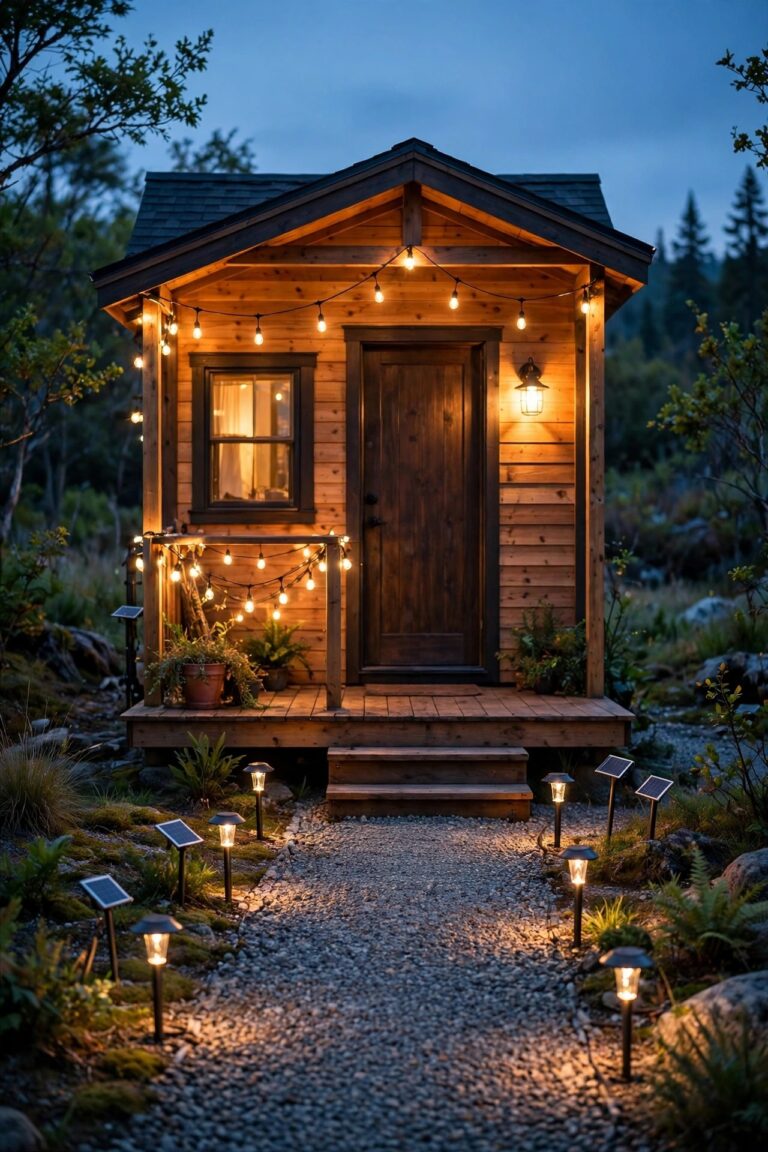
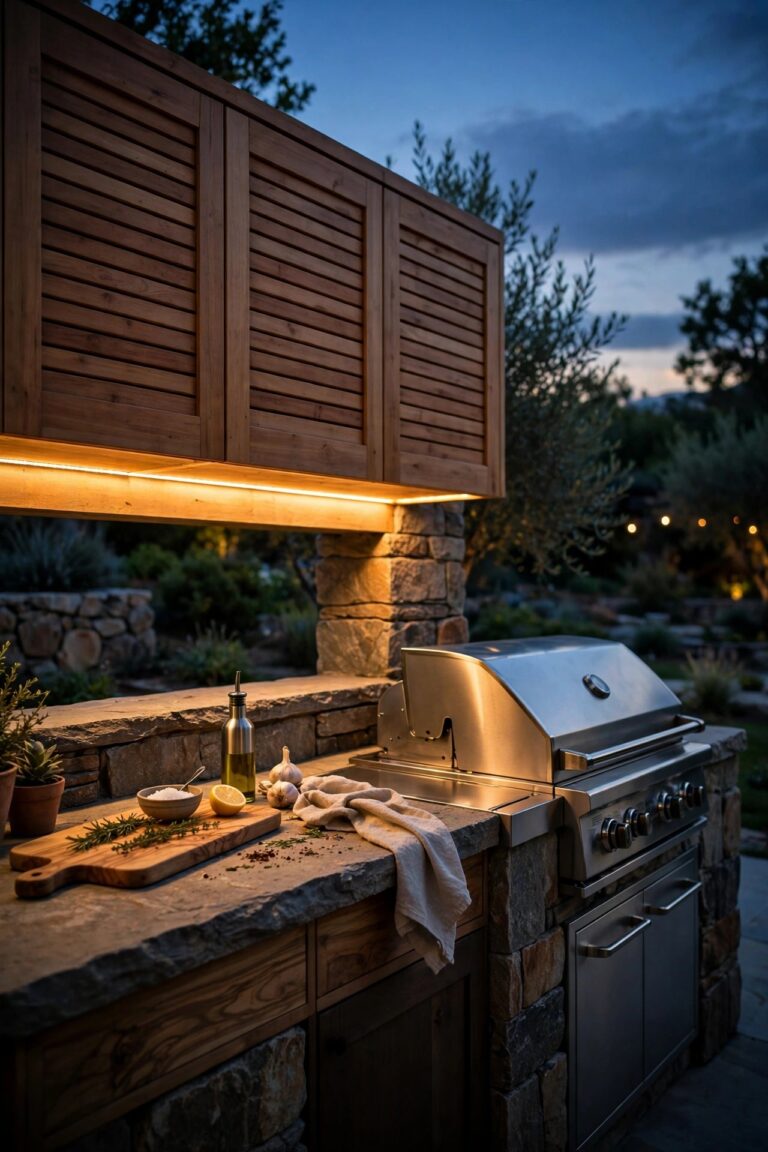
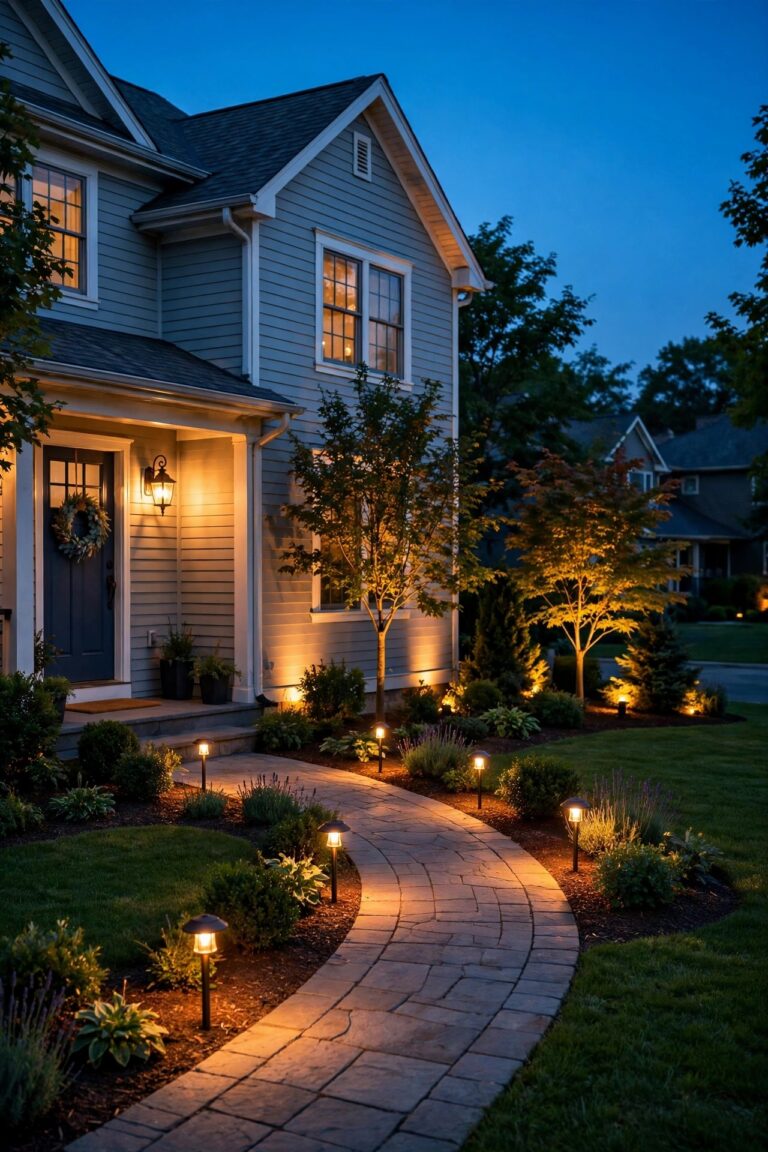
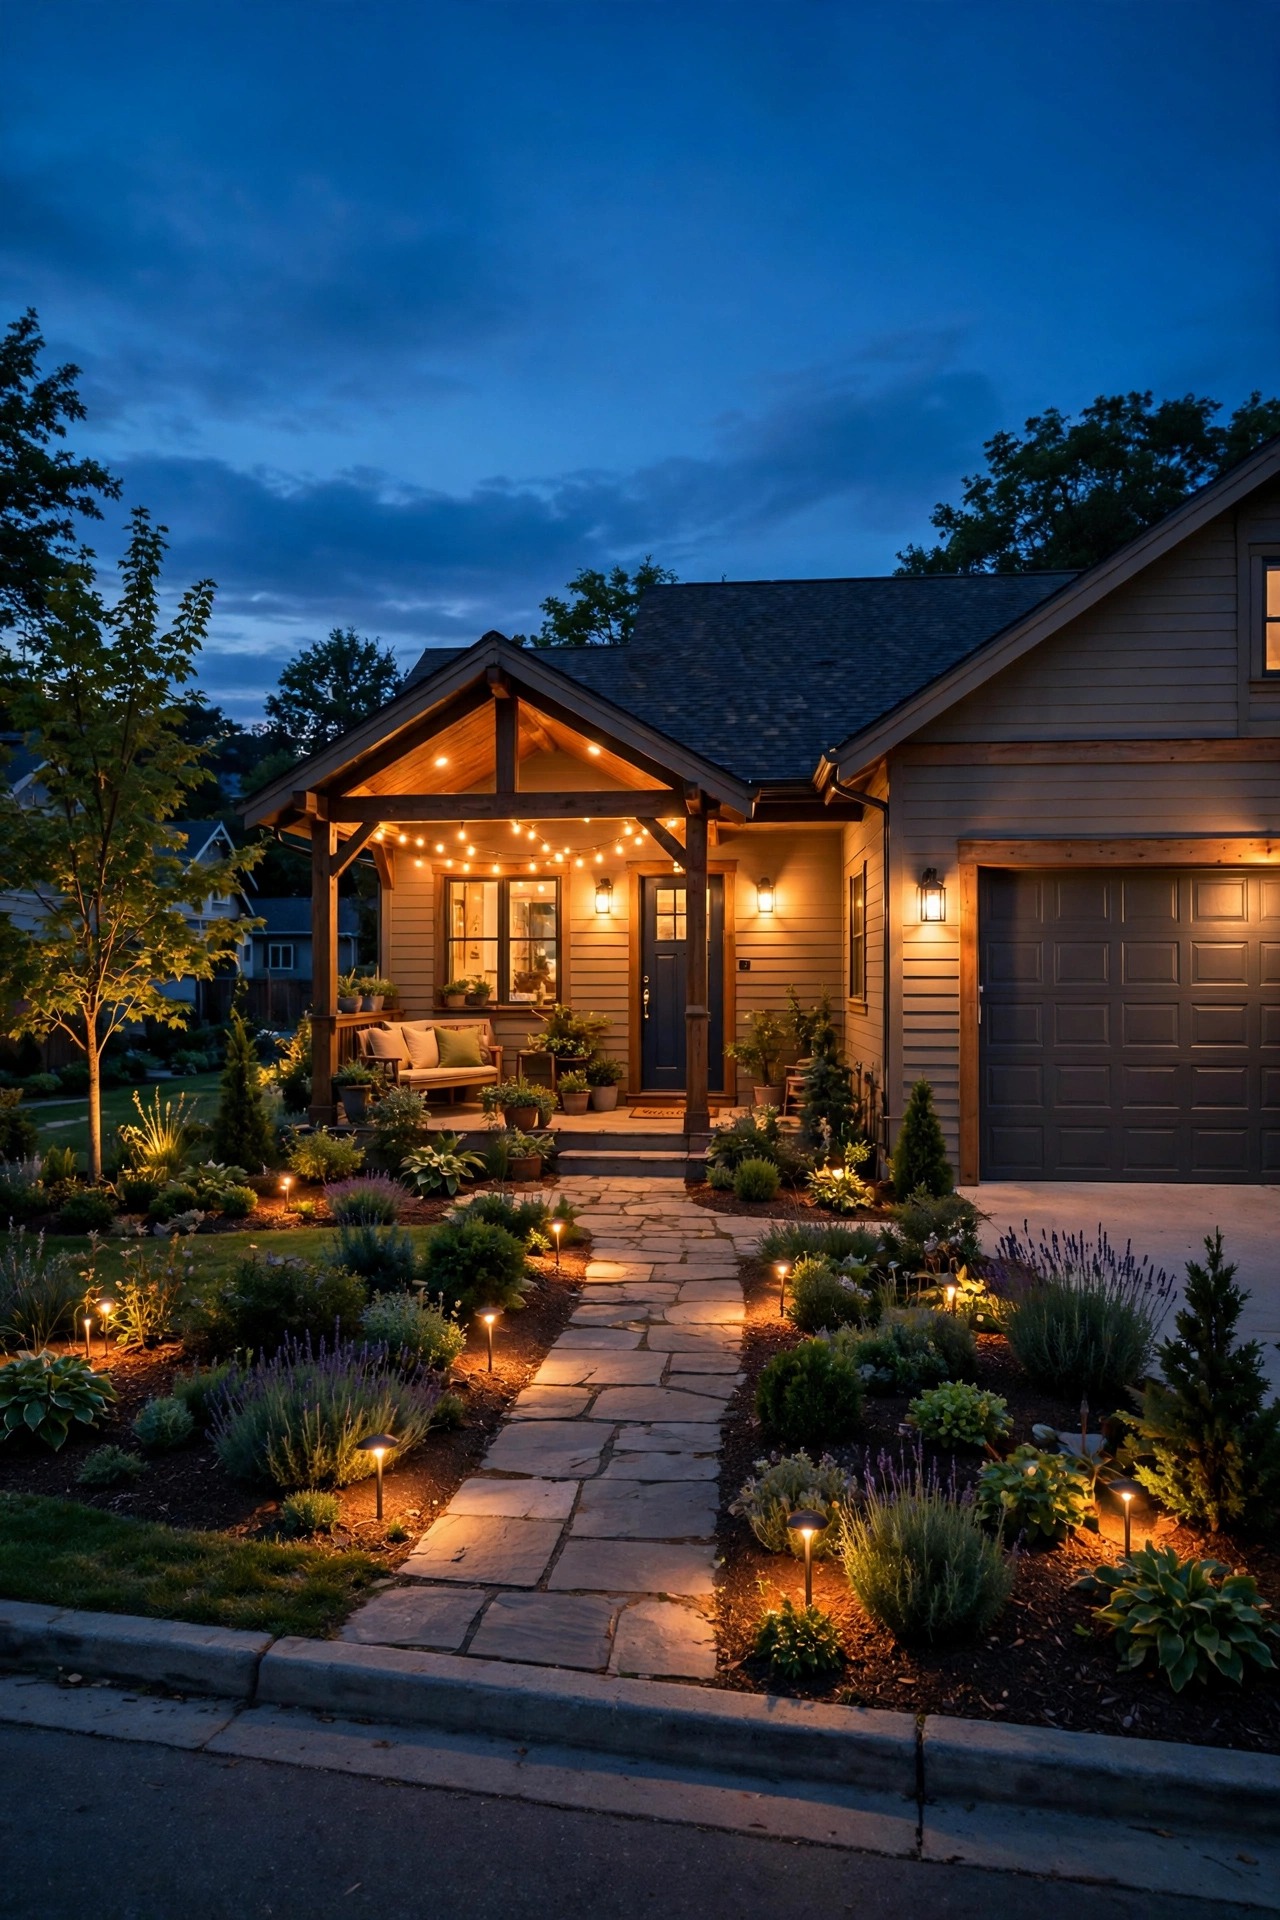
Here is the secret nobody tells you at the lighting store: your porch, garage, and patio fixtures are probably fine. It is the plain bulbs inside them that are stuck in 1995. Outdoor smart bulbs change that in about ninety seconds per fixture — unscrew the old bulb, screw in the new one, and suddenly the lights you already own answer to a phone app, a voice command, and a schedule that tracks sunset all year. I have swapped nearly every exterior bulb at our house this way, and the layered look I always preach — a path layer for safe footing, a welcome layer at the doors, an accent layer for trees and walls — stayed exactly the same. Only the control got smarter. In this list I will show you the thirteen upgrades that actually earn their keep outdoors, from choosing bulbs rated for enclosed fixtures to grouping everything into scenes, plus the honest costs and the two mistakes that kill smart bulbs fastest.
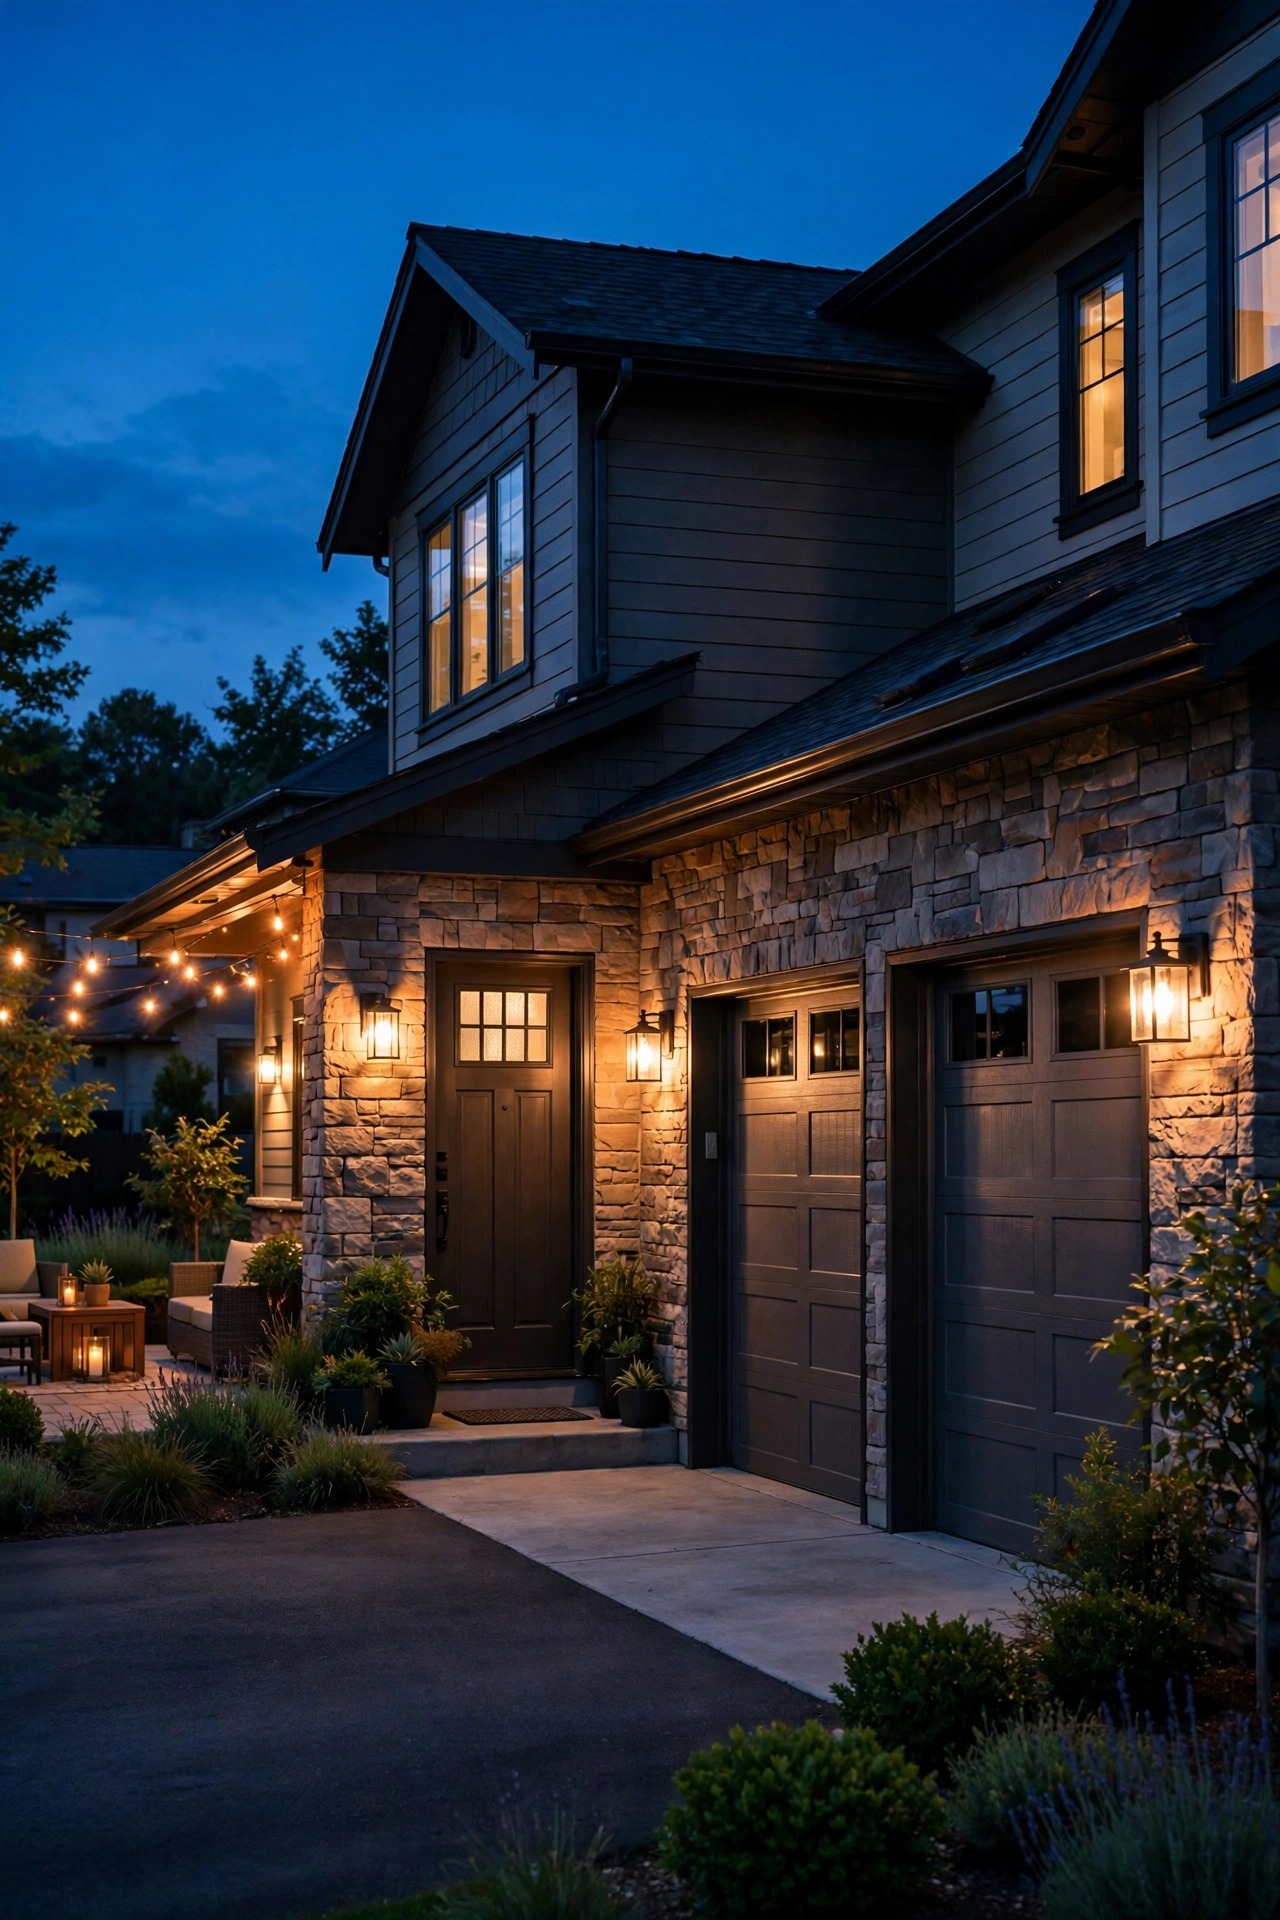
1. Plan Your Outdoor Smart Bulbs in Layers, Not Random Sockets
Before you buy a single bulb, steal the rule I use for every yard I light: think in layers. A path and steps layer for safe footing, a welcome layer at the front door and garage, and an accent layer for the porch ceiling, patio, and garden focal points. Smart bulbs work best when each layer has its own job, so walk the house at dusk with your phone and list every exterior socket you own — sconces, coach lights, floodlights, the bare bulb by the side door everyone forgets. Mark which ones need dimming, which ones just need to switch at sunset, and which ones only show up on holidays. In my experience, that ten-minute inventory saves real money, because you stop buying random bulbs and start building a system where every socket already has an assignment. Decide, too, which layer matters most if you are starting small — I always begin with the welcome layer, because the front entry is where guests, deliveries, and late-night dog walks all land. Upgrade one layer at a time, live with it for a week, and let the next purchase solve a problem you actually noticed.
Suggested budget range: $0 – $40.
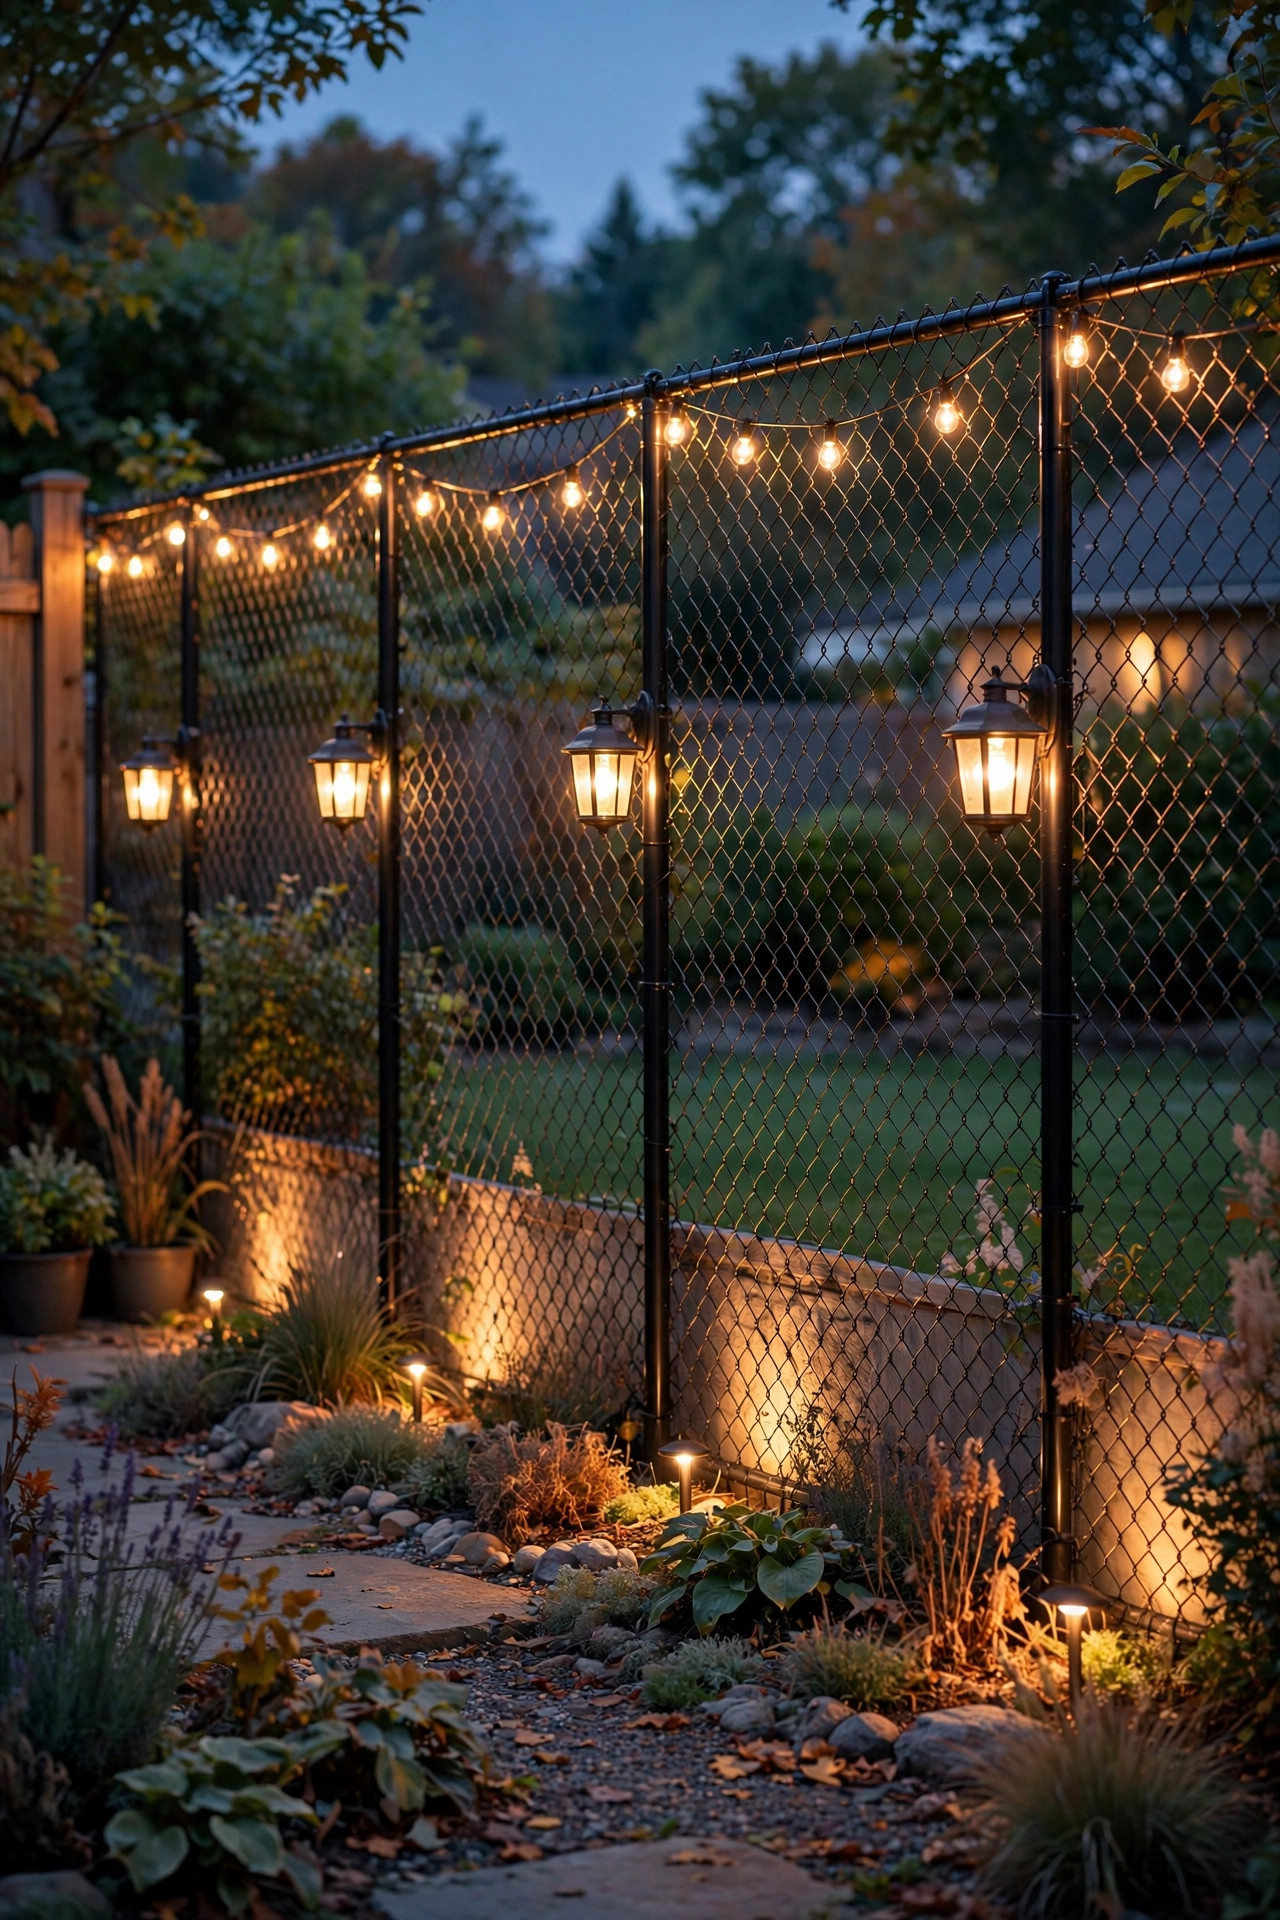
2. Swap the Porch Sconce Bulbs First
If you only upgrade two bulbs this weekend, make them the pair flanking your front door. Porch sconces are the hardest-working fixtures on the house — they greet guests, light the lock for your key, and set the tone for the whole entry — and a smart bulb turns each one into a dimmable, schedulable welcome light. Choose a bulb shape that suits the glass: a clear filament-style smart bulb looks gorgeous in open or seeded-glass sconces, while a frosted bulb hides the diode look in fixtures with clear panes. Match the brightness to the job, roughly 800 lumens per sconce for a comfortable pool of light without glare. I keep ours at full brightness until nine, then the app eases them down to forty percent so the porch glows instead of glares for the rest of the evening. If you are still choosing the fixtures themselves, my notes on the best bulbs for porch sconces cover shapes and wattages in detail. This one swap is what sold my skeptical husband on the whole project.
Suggested budget range: $20 – $45.
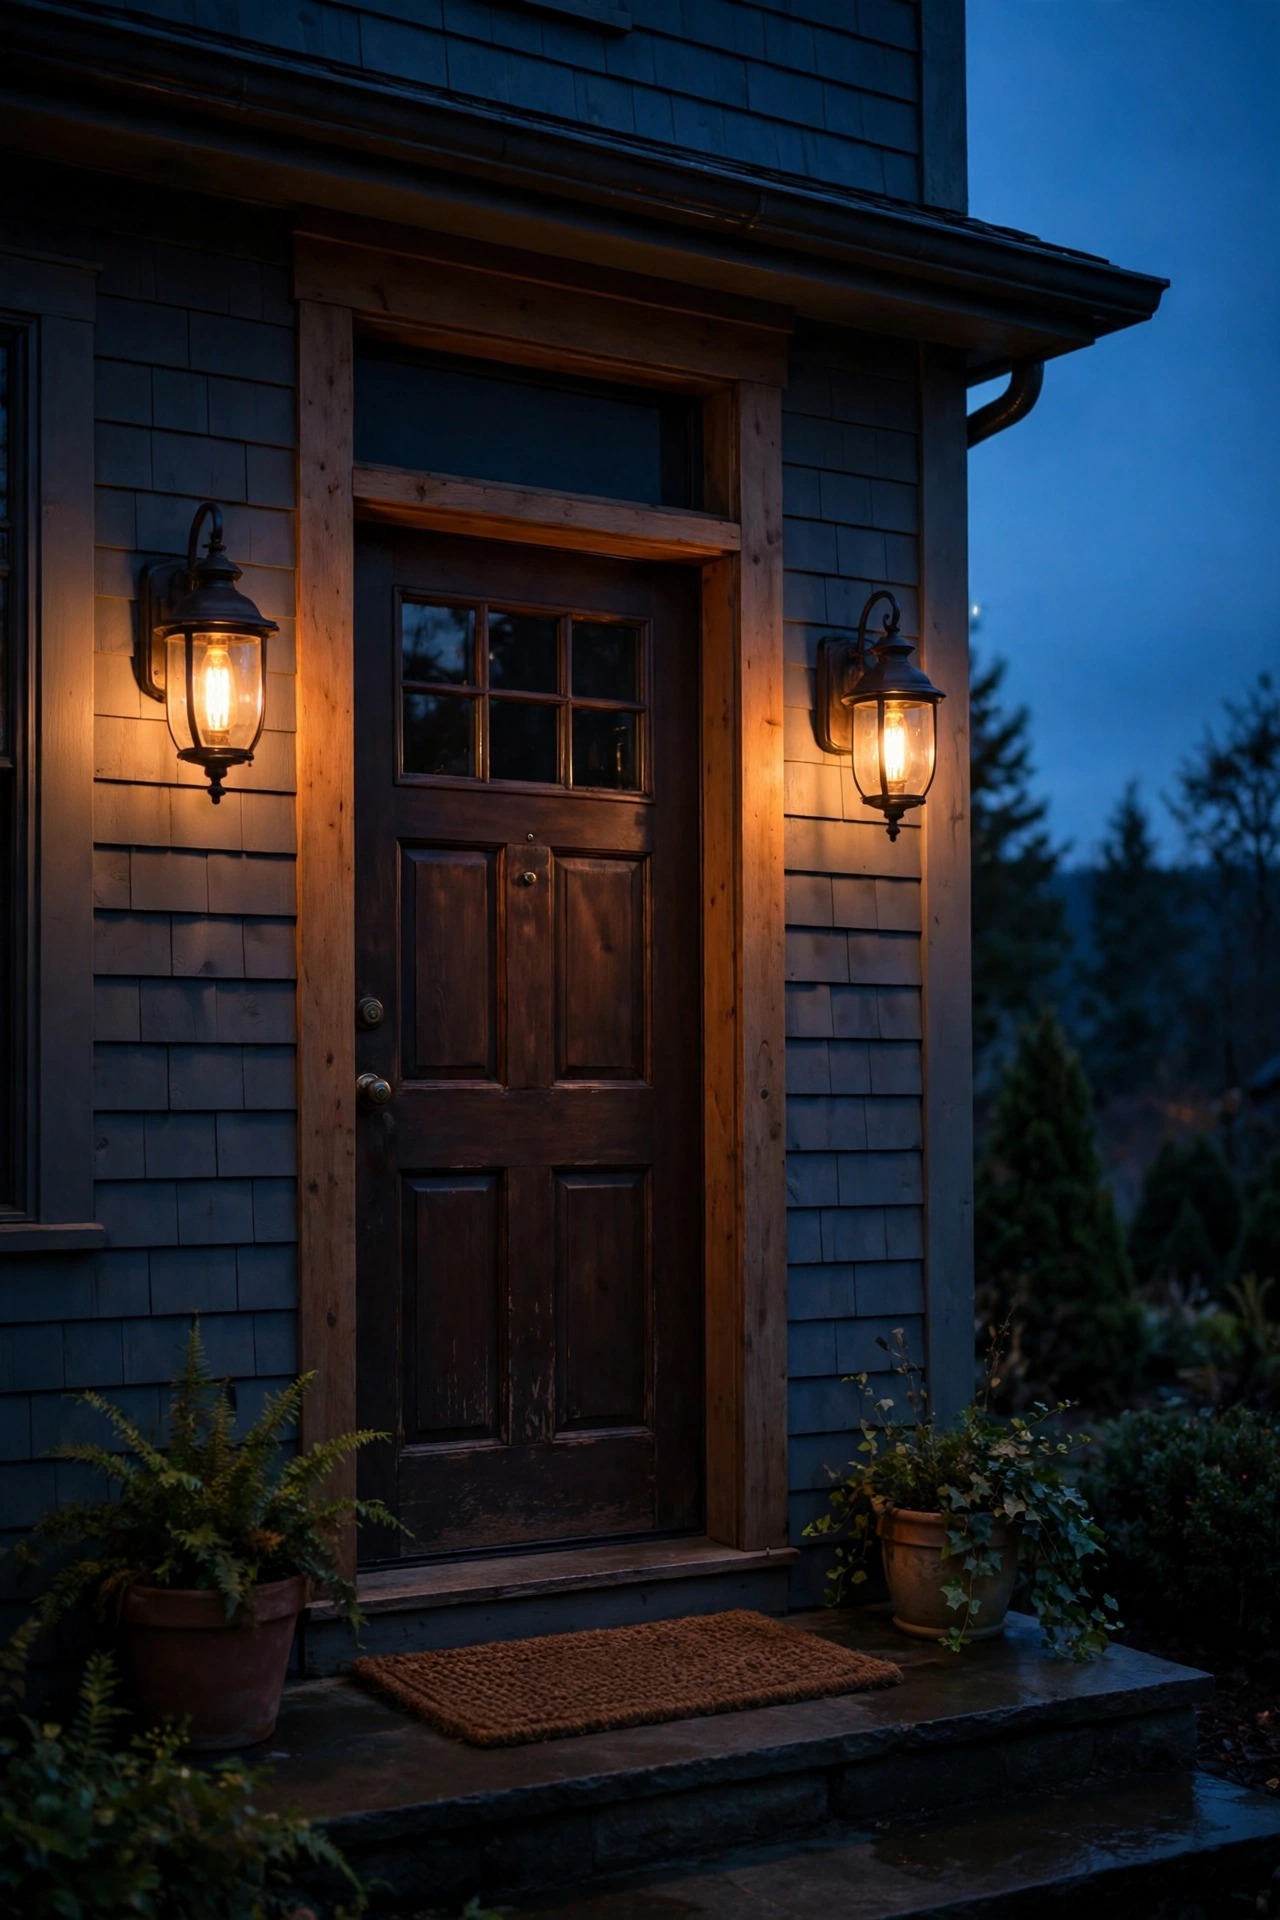
3. Choose Bulbs Rated for Enclosed Fixtures
This is the unglamorous step that decides whether your smart bulbs live for years or die by August. A smart bulb is a tiny computer, and computers hate heat — seal one inside a closed-top sconce or a carriage lantern with a glass lid and the trapped heat cooks the electronics, causing flicker, dropped connections, and early failure. The fix is printed right on the box: look for bulbs explicitly rated for enclosed fixtures, and check the operating temperature range while you are at it, because a bulb on a Minnesota porch in January faces a very different life than one in Phoenix. Follow the rating honestly in covered ceiling fixtures and post lanterns too, not just sconces. If your fixture is fully sealed and no enclosed-rated bulb fits it, that socket is a better candidate for a smart switch instead — more on that in idea eleven. I learned this the expensive way with a pair of bargain bulbs in our enclosed porch lanterns; the rated replacements have now outlasted them three times over and counting. Respect the rating and these bulbs genuinely last.
Suggested budget range: $12 – $25.
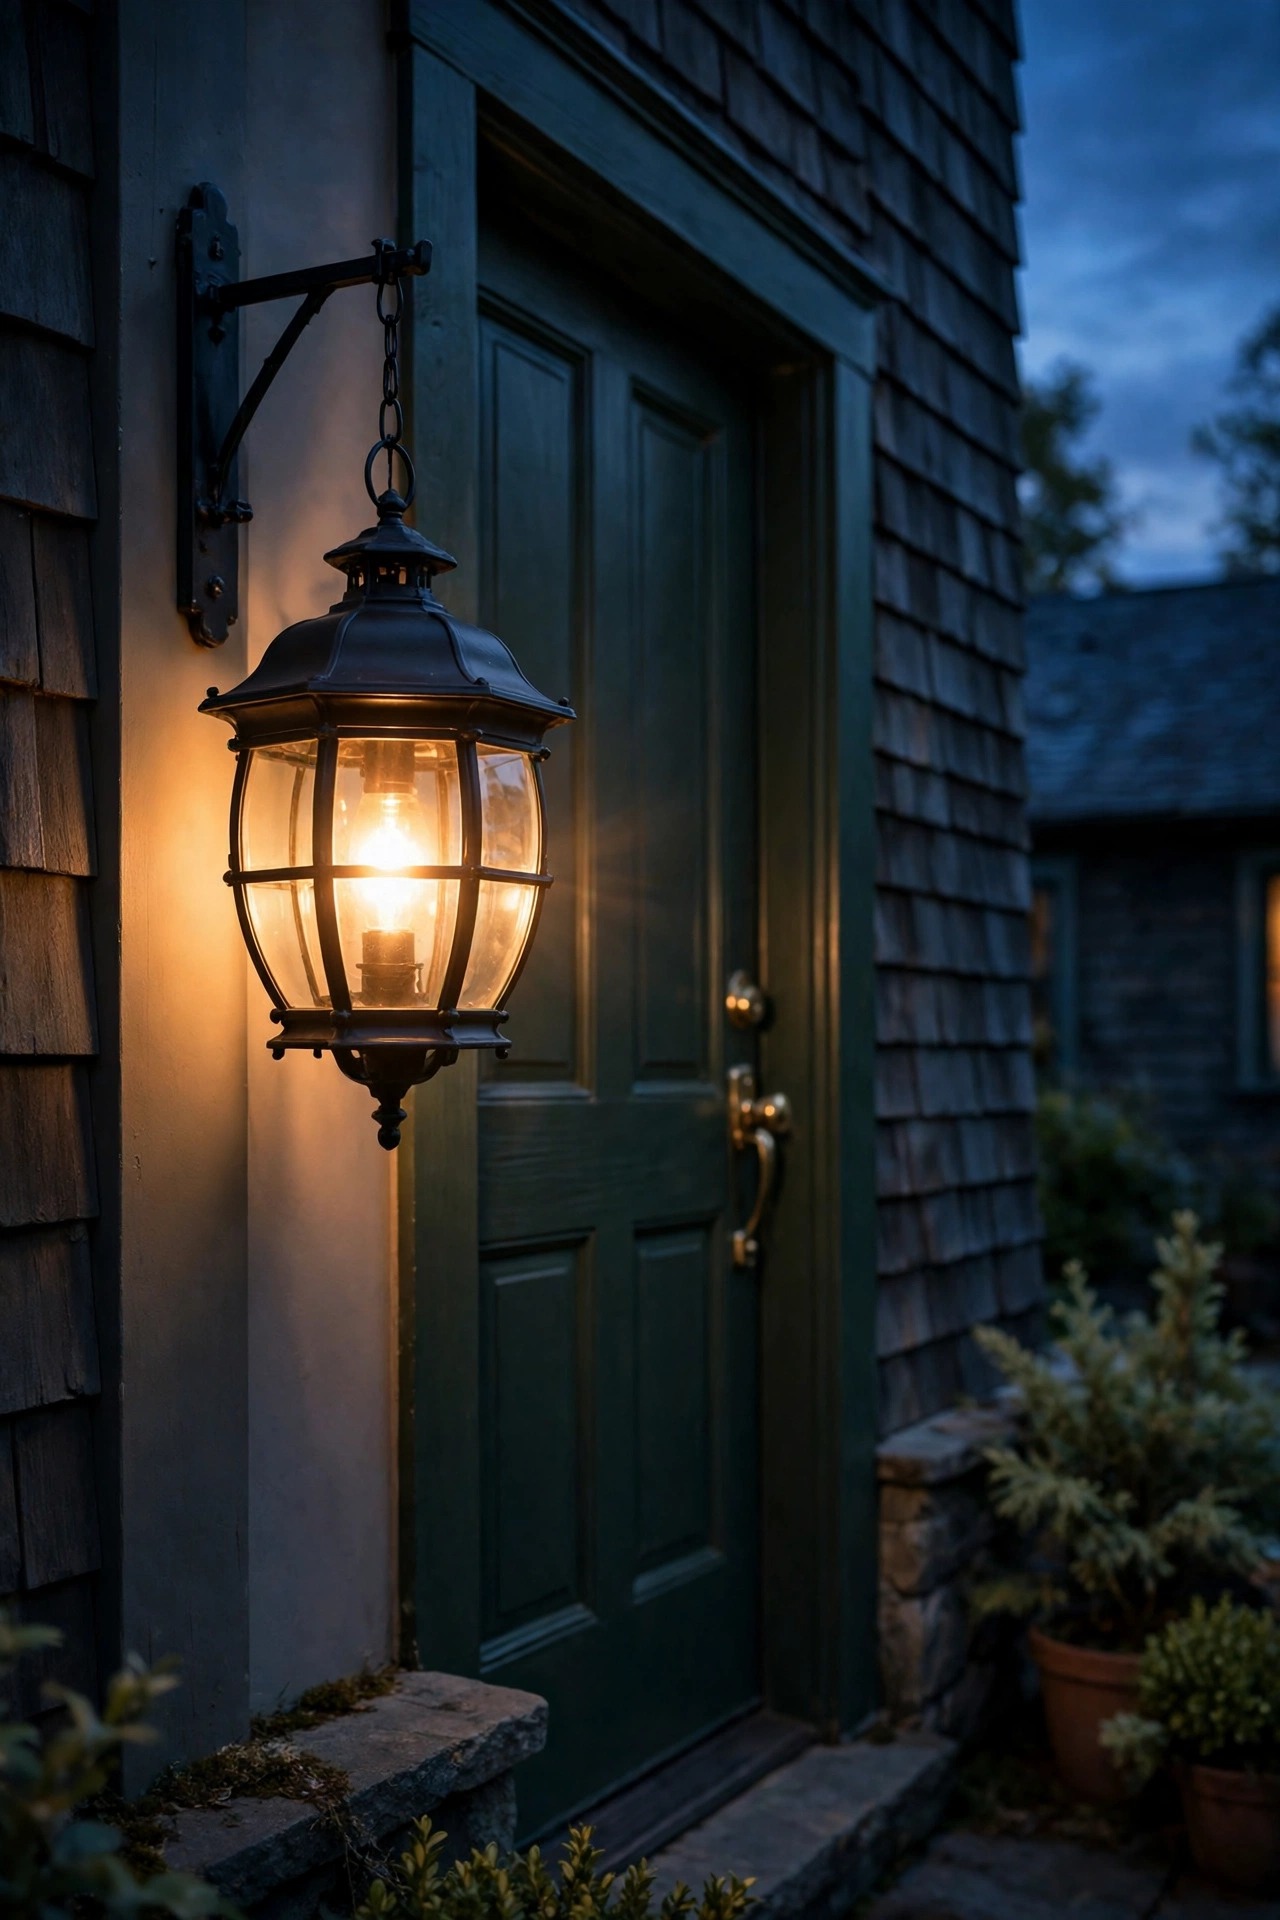
4. Match the Base and Shape to Each Fixture
Smart bulbs come in more shapes than the standard pear, and picking the right one per fixture makes the whole house look intentional instead of improvised. Standard screw-base bulbs handle most sconces and lanterns. Smaller candelabra-base bulbs fit the chandelier-style porch pendants and carriage lights with decorative candle sleeves. Reflector-style bulbs — the flat-faced kind — belong in floodlight and recessed soffit fixtures, where they throw a wide, even wash down the driveway or across the back wall. Globe bulbs soften bathroom-style exterior strips and exposed-socket string fixtures. Measure before you order: note the base type, the maximum bulb length the fixture allows, and whether the glass sits close enough to touch a taller bulb. I keep a note in my phone with every exterior socket, its base, and its shape, and it has saved me a return trip more than once. Also check the physical weight on swing-arm and pendant fixtures, since smart bulbs run slightly heavier than plain ones. Ten minutes of measuring beats a drawer full of almost-right bulbs every single time.
Suggested budget range: $10 – $30.

5. Pick One Color Temperature and Stay With It
Nothing makes a house look patched-together faster than a warm porch, a blue-white floodlight, and a yellow path light all arguing at once. Smart bulbs make discipline easy because most let you dial the exact shade of white in the app, from candlelight warm to daylight. For exteriors I set everything to 2700K — the warm, golden tone of a classic porch bulb — and then I leave it alone. Tune each bulb once, save the setting as your default scene, and every bulb in the house agrees regardless of when it was bought. This matters most when you mix bulb ages and shapes across fixtures, because two bulbs both labeled warm white can still drift a shade apart on the wall. Walk the front of the house after dark and adjust any bulb that reads cooler than its neighbors; a two-minute tweak in the app fixes what would otherwise nag you for years. Save the saturated colors for holidays and parties. A calm, uniform warm white is what makes the everyday lighting look expensive.
Suggested budget range: $10 – $25.
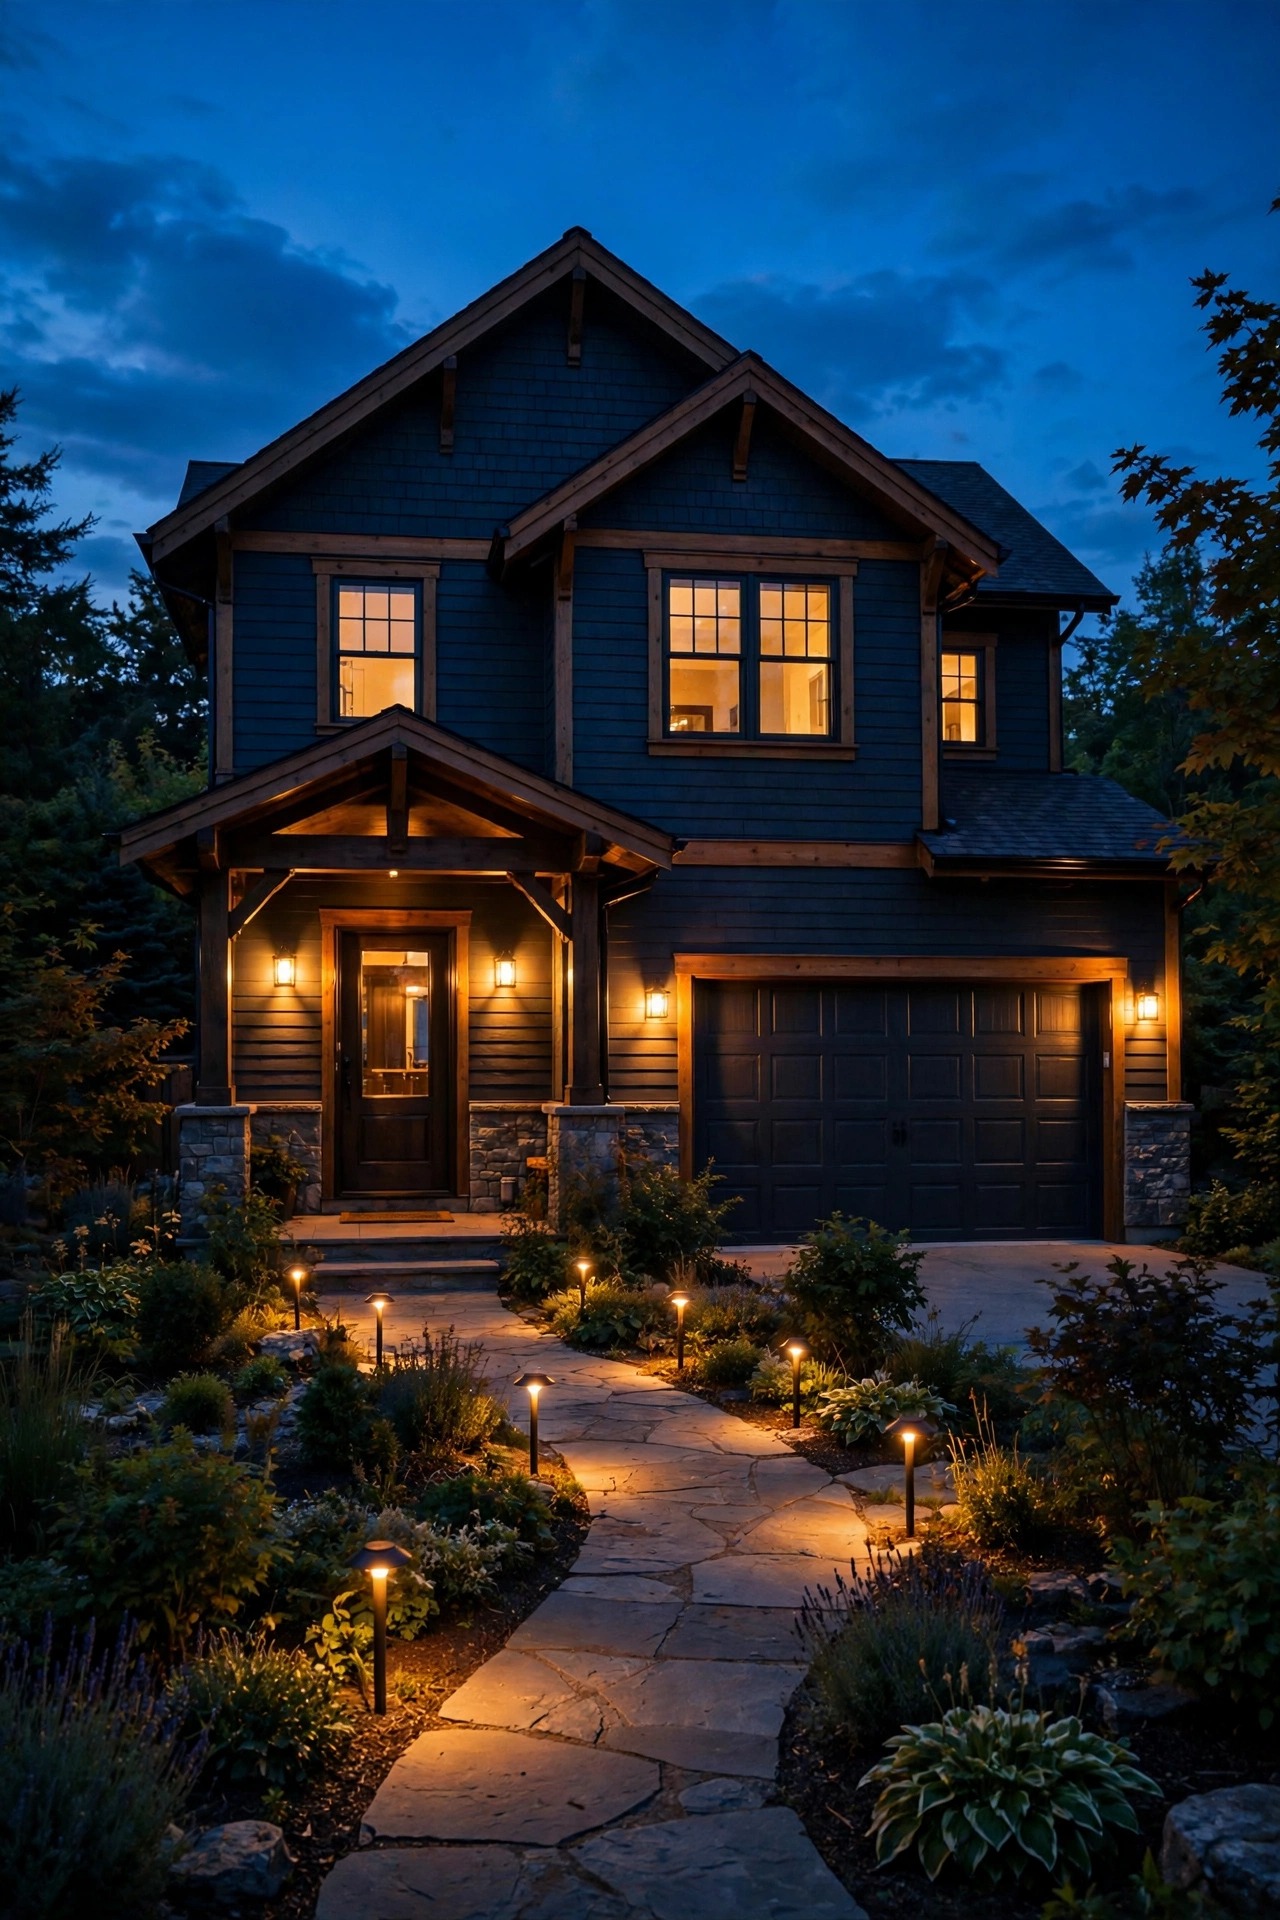
6. Bring the Garage Coach Lights Into the System
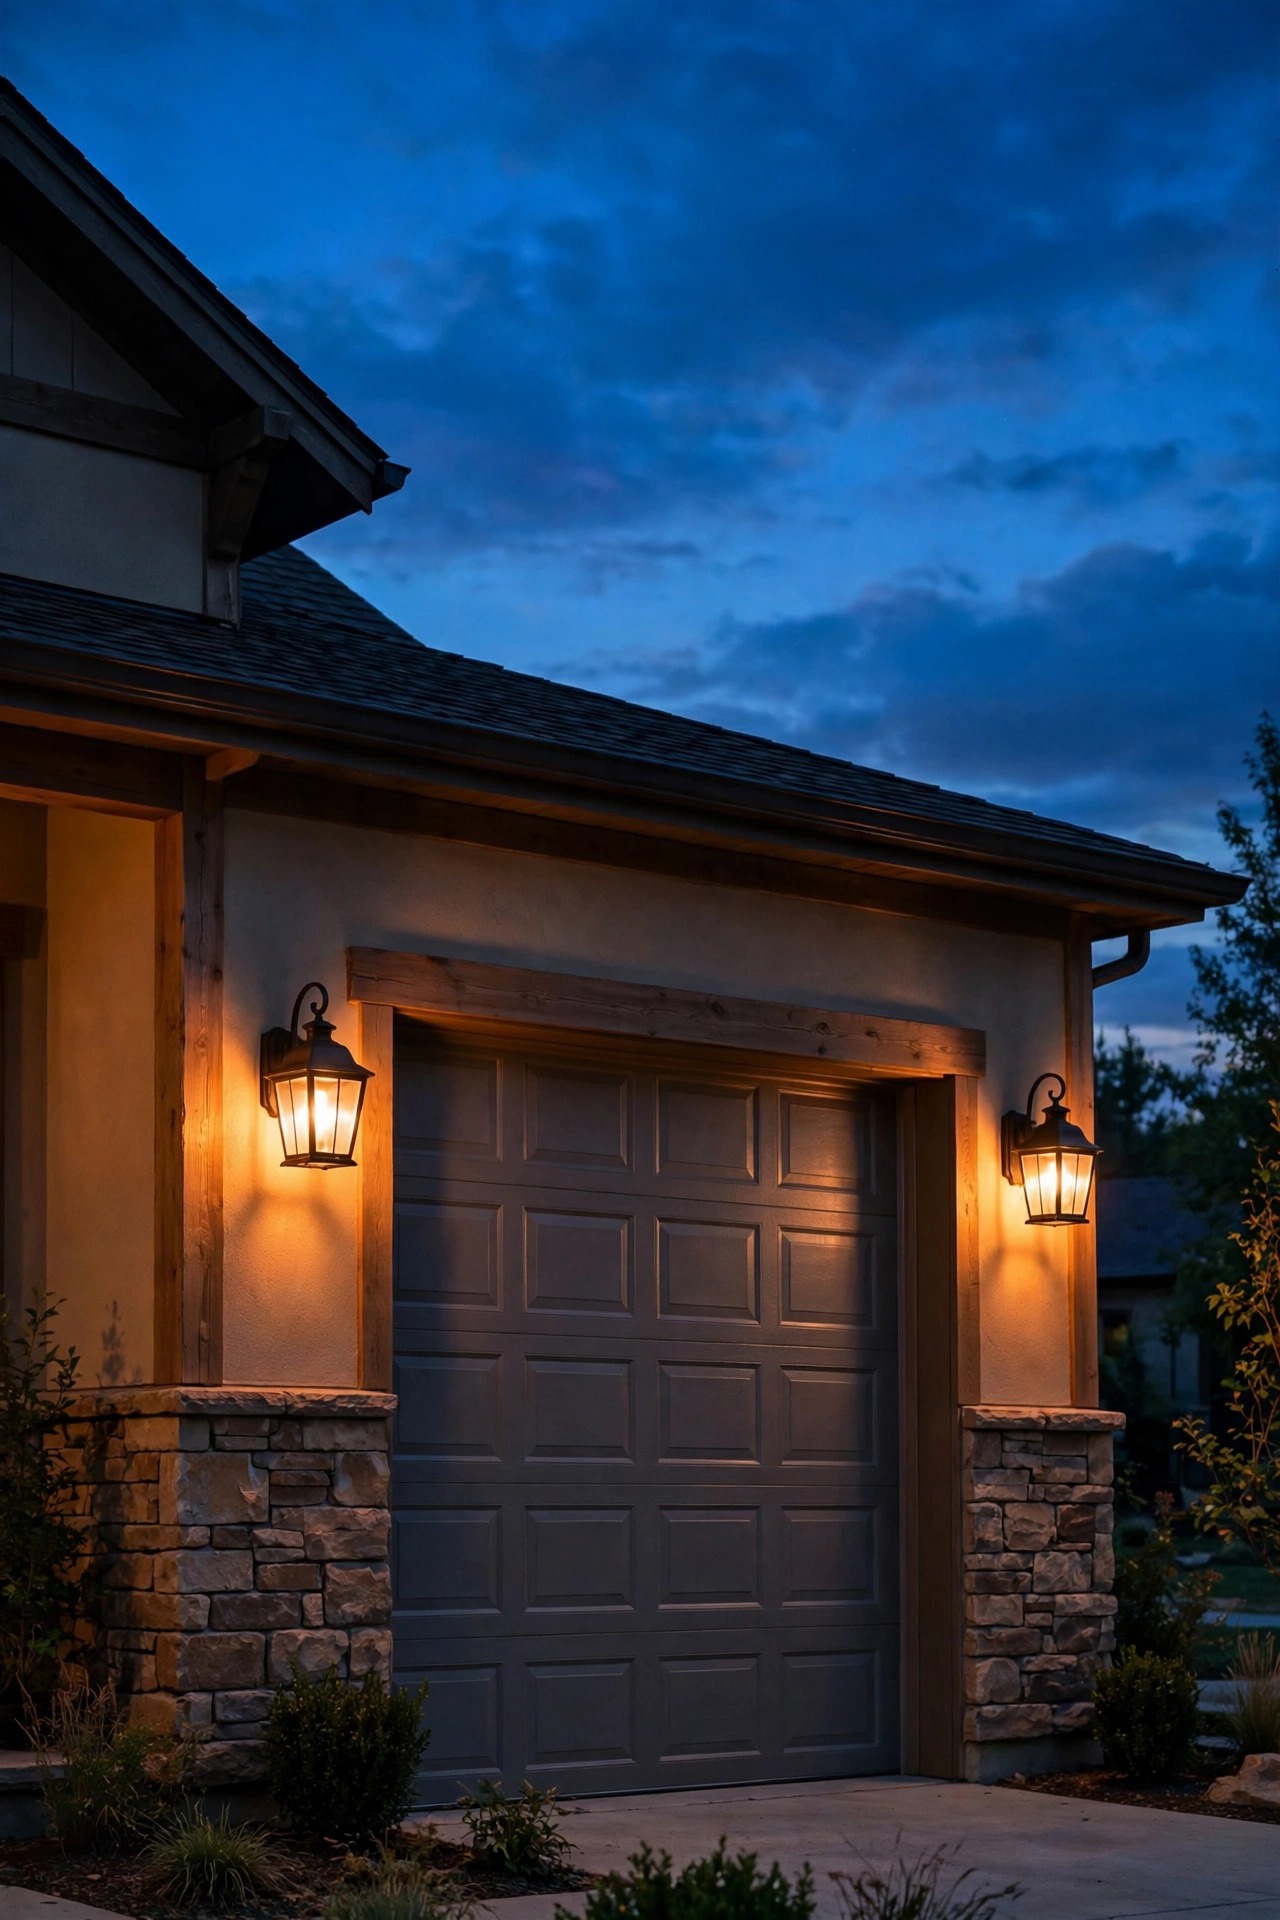
Garage coach lights run more hours than almost any fixture you own, and they are usually the last ones anyone upgrades. Two or three smart bulbs up there pay for themselves in pure convenience: they fade on at sunset, hold a soft forty percent through the evening so the driveway never looks abandoned, and brighten when you actually need to see. Group them with the porch pair in the app so the whole front of the house shares one schedule and one color temperature. If your coach lights sit in enclosed housings — most do — go back to idea three and pick enclosed-rated bulbs, because those fixtures bake in the summer sun all day before they even switch on. Coach lights are also a kind place to start if you are nervous about the technology: the fixtures are reachable from a step stool, the swap takes minutes, and nobody cries if the experiment fails. In our house the garage pair anchors the evening scene, and the driveway simply never looks dark anymore. Small fixtures, outsized effect.
Suggested budget range: $25 – $60.
7. Save the Color-Changing Tricks for Holidays and Game Days
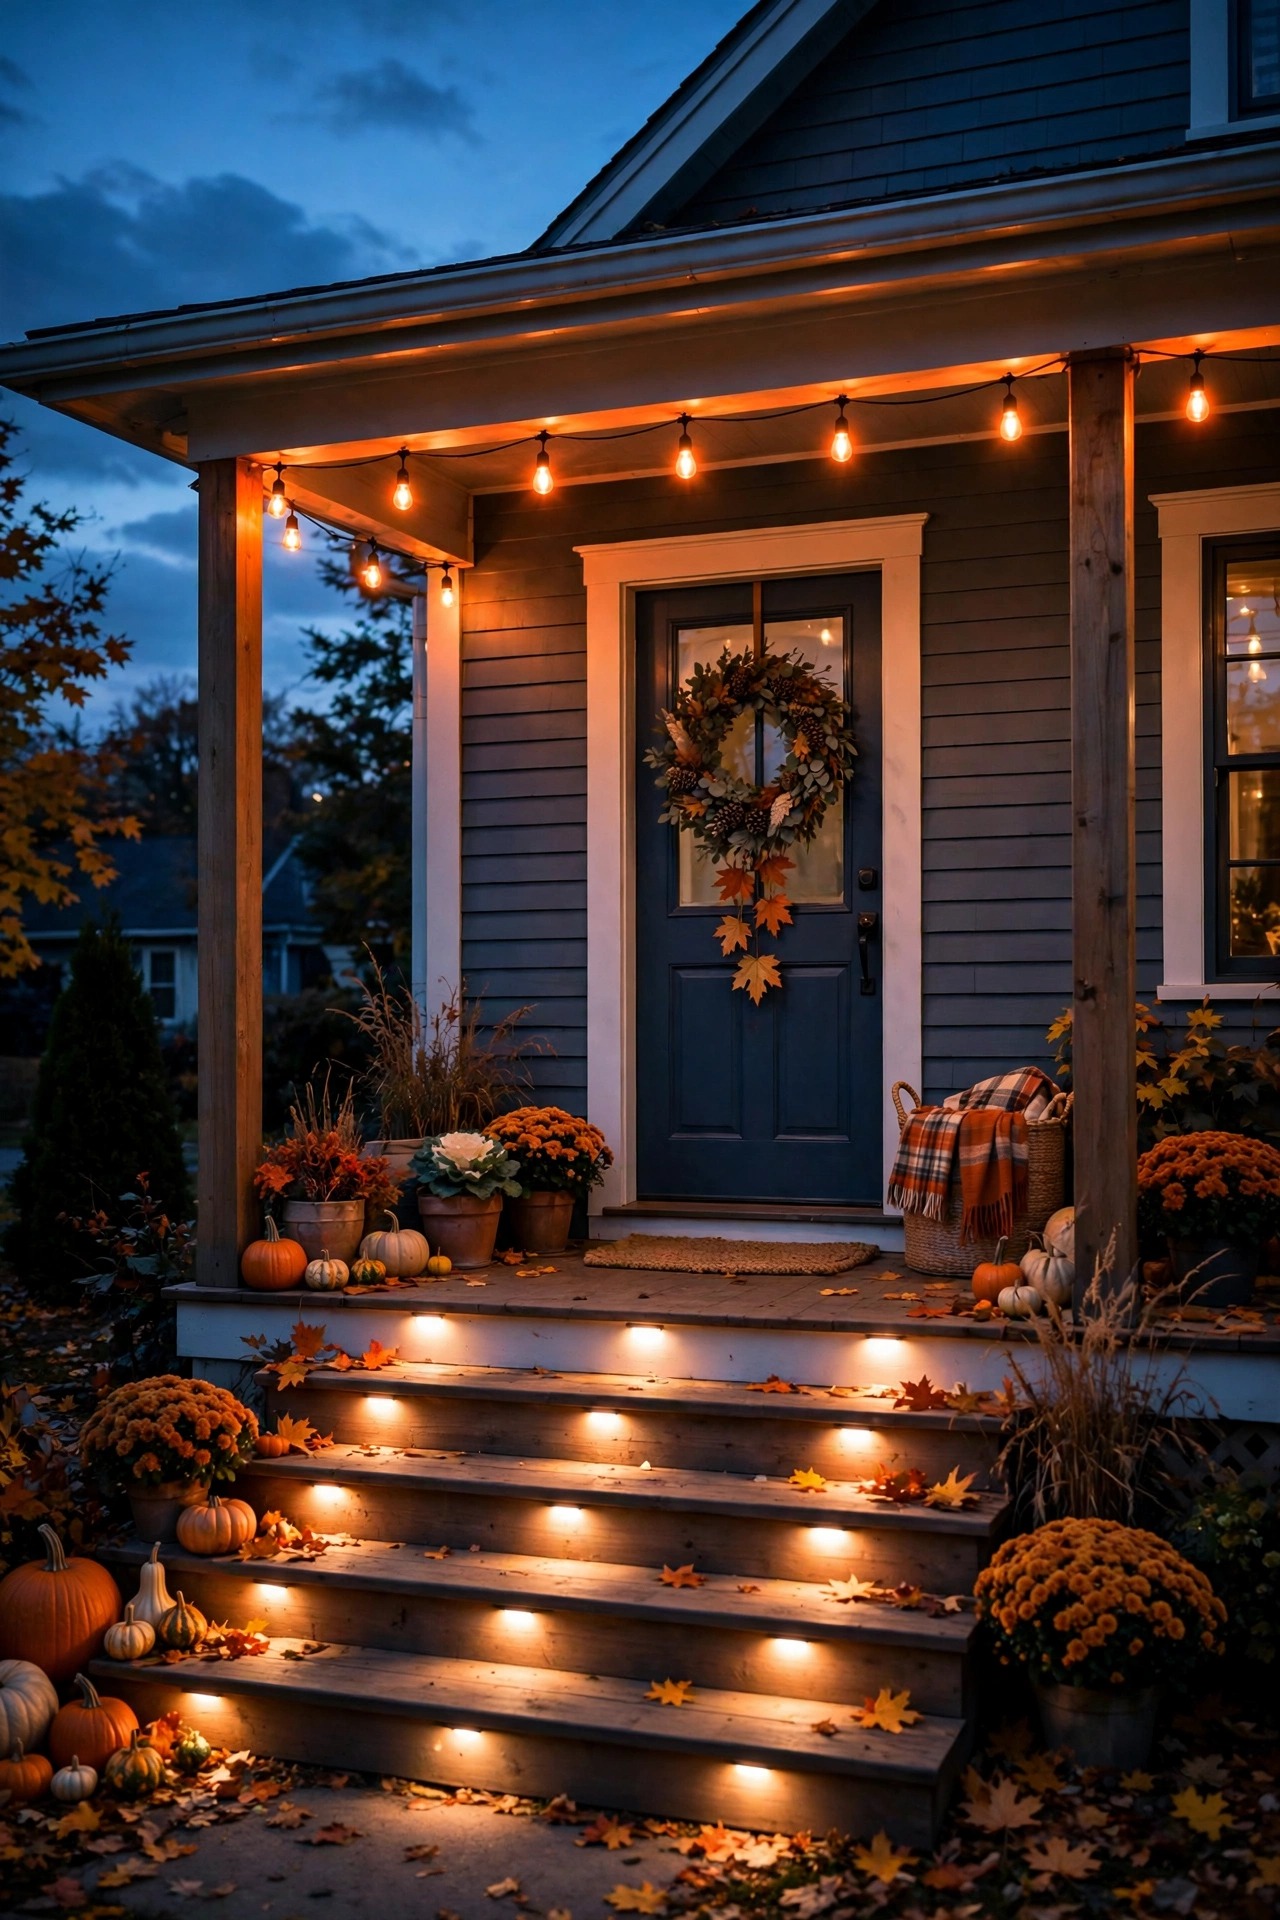
Color-capable smart bulbs are the party trick of outdoor lighting, and used with restraint they are genuinely fun. A wash of deep orange for Halloween, warm red and green accents for December, a team-color porch for the big game — each takes thirty seconds in the app and zero ladder time swapping tinted bulbs. The discipline is in the default: keep everyday lighting at your warm 2700K scene and treat color as a costume the house wears a few nights a year, not its personality. Porch sconces and the patio string fixtures carry color best, since they read as decoration; keep path and step lights warm white so footing stays safe and visibility stays honest. Also mind the neighbors — a saturated floodlight washing the whole facade is a lot, while two colored sconces are charming. One more practical note: color bulbs cost a little more and draw a touch more power, so I concentrate them at the entry and patio rather than replacing every socket outside. Fun where it counts, calm everywhere else.
Suggested budget range: $15 – $35.
8. Set Sunset Schedules and Retire the Old Timers
The single best reason to own outdoor smart bulbs is that they know when sunset is. Every decent lighting app offers a dusk schedule that shifts automatically through the year, so lights come on at twilight in December and at nine in June without you touching a thing. Set the welcome and garage layers to sunset, the patio layer to sunset plus thirty minutes so the backyard wakes up as you head out with drinks, and everything to off at your household bedtime — or let the entry pair hold a low overnight glow if you like a lit house. This one habit replaces the plug-in timers and photocell guesswork that always drifted out of sync at our house. It also saves real money: no more lights burning at noon because somebody flipped a switch and forgot. If a schedule ever misbehaves after a power blip, a quick toggle in the app resets it — no ladder, no dial, no tiny plastic pins. Honestly, the schedule feature alone justifies the bulbs.
Suggested budget range: $0 – $20.
9. Pair the Entry Bulbs With Motion Sensing
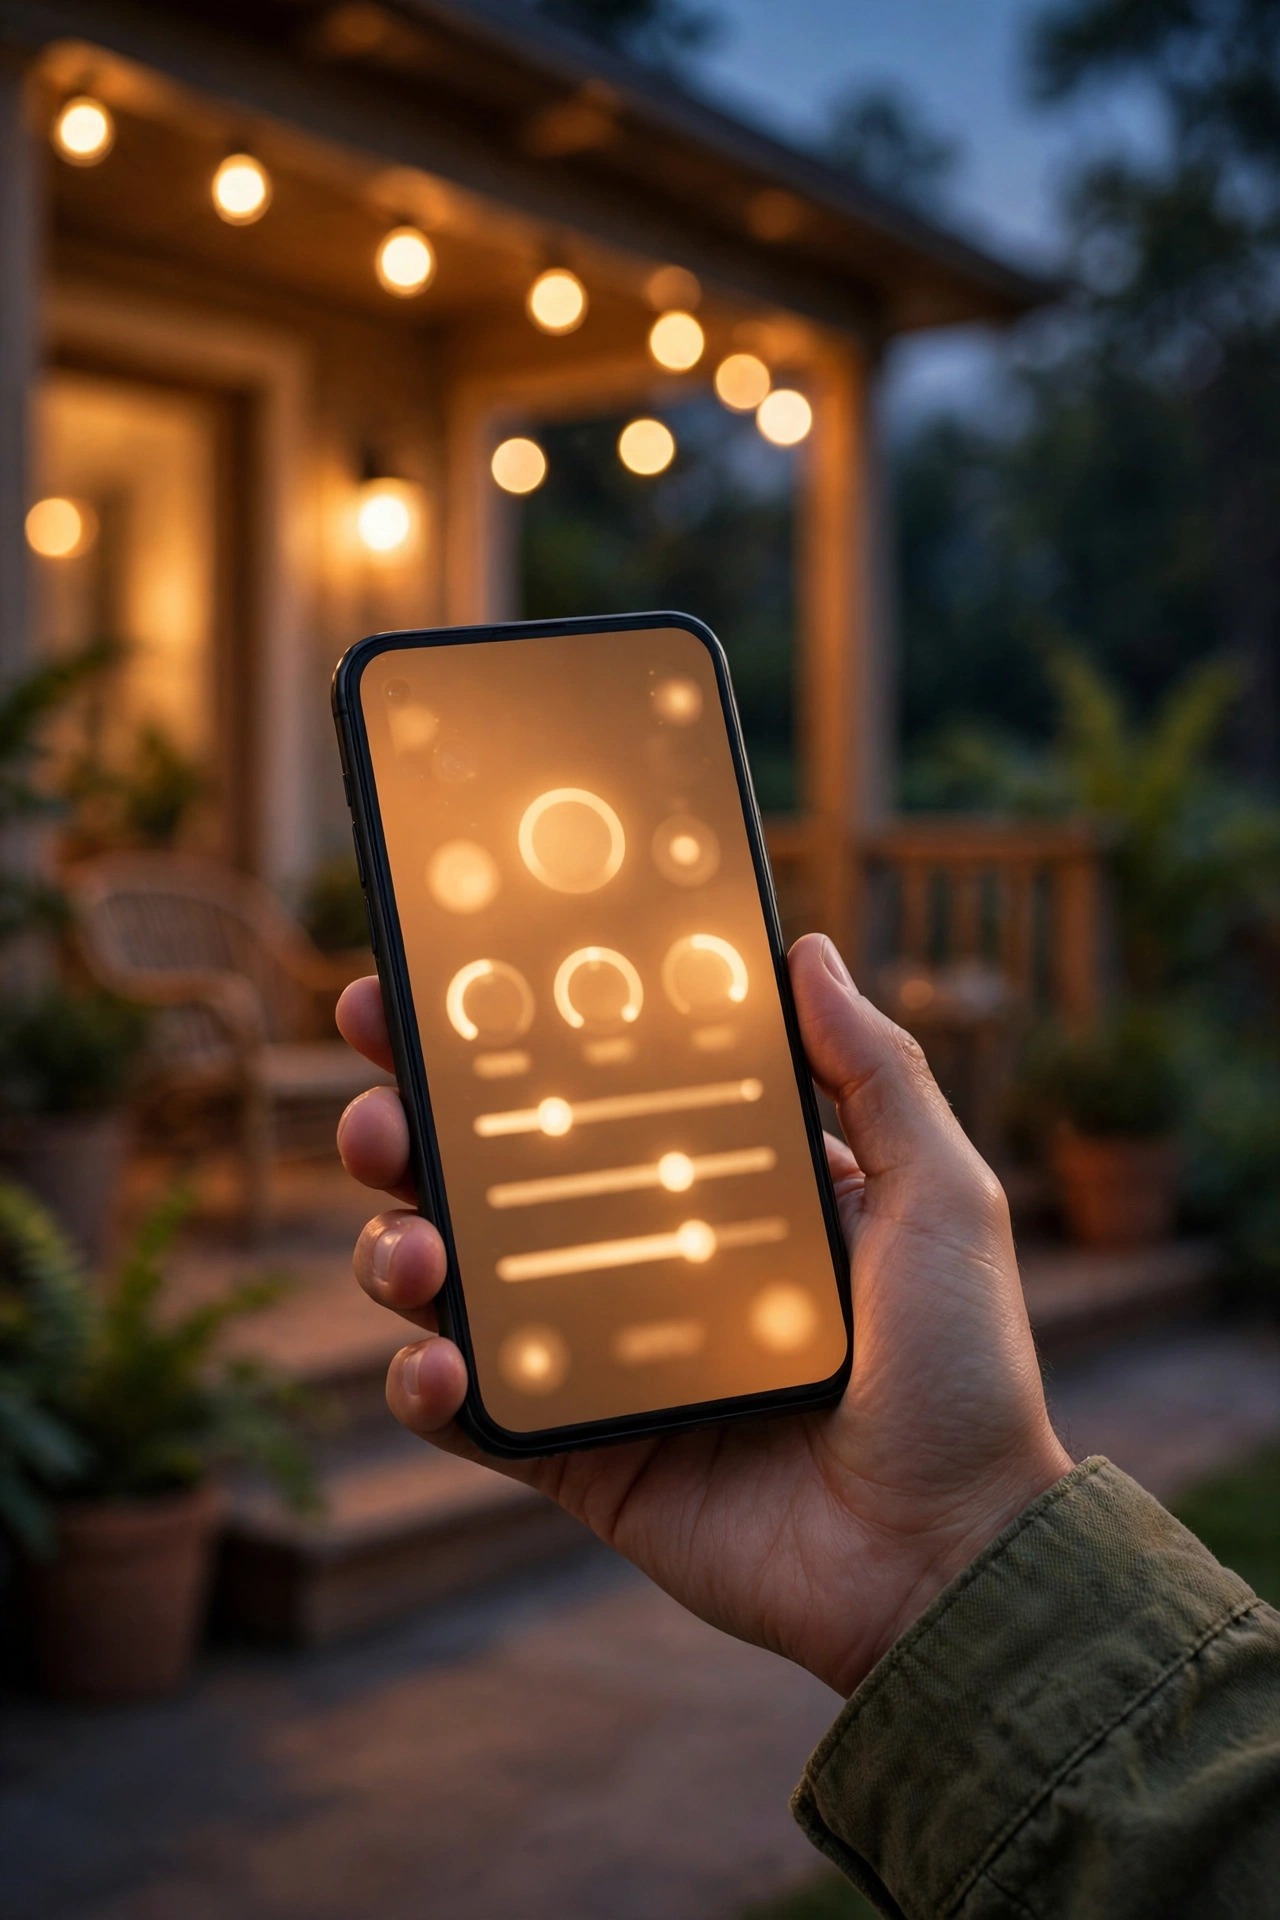
A porch that brightens as someone reaches the steps feels like magic and works like a safety feature. Many smart bulbs pair with a battery motion sensor — or carry the schedule logic in the app — so the entry layer idles at a soft twenty percent, then rises to full brightness when the sensor sees movement at the walk or driveway. Deliveries get a lit doorstep, guests get a welcome, and a prowler gets a sudden pool of light instead of a dark porch to work in. Place the sensor where it watches the approach path, not the street, or every passing car becomes a light show. Set the hold time to two or three minutes so the light lingers politely and then settles back down. This pairing is also kind to the electric bill, because the brightest hours of the evening are the ones nobody is actually outside. In winter, when it is dark before dinner, this is the idea visitors mention most. It feels attentive, like the house noticed them arrive.
Suggested budget range: $30 – $70.
10. Group the Bulbs Into Zones and Scenes
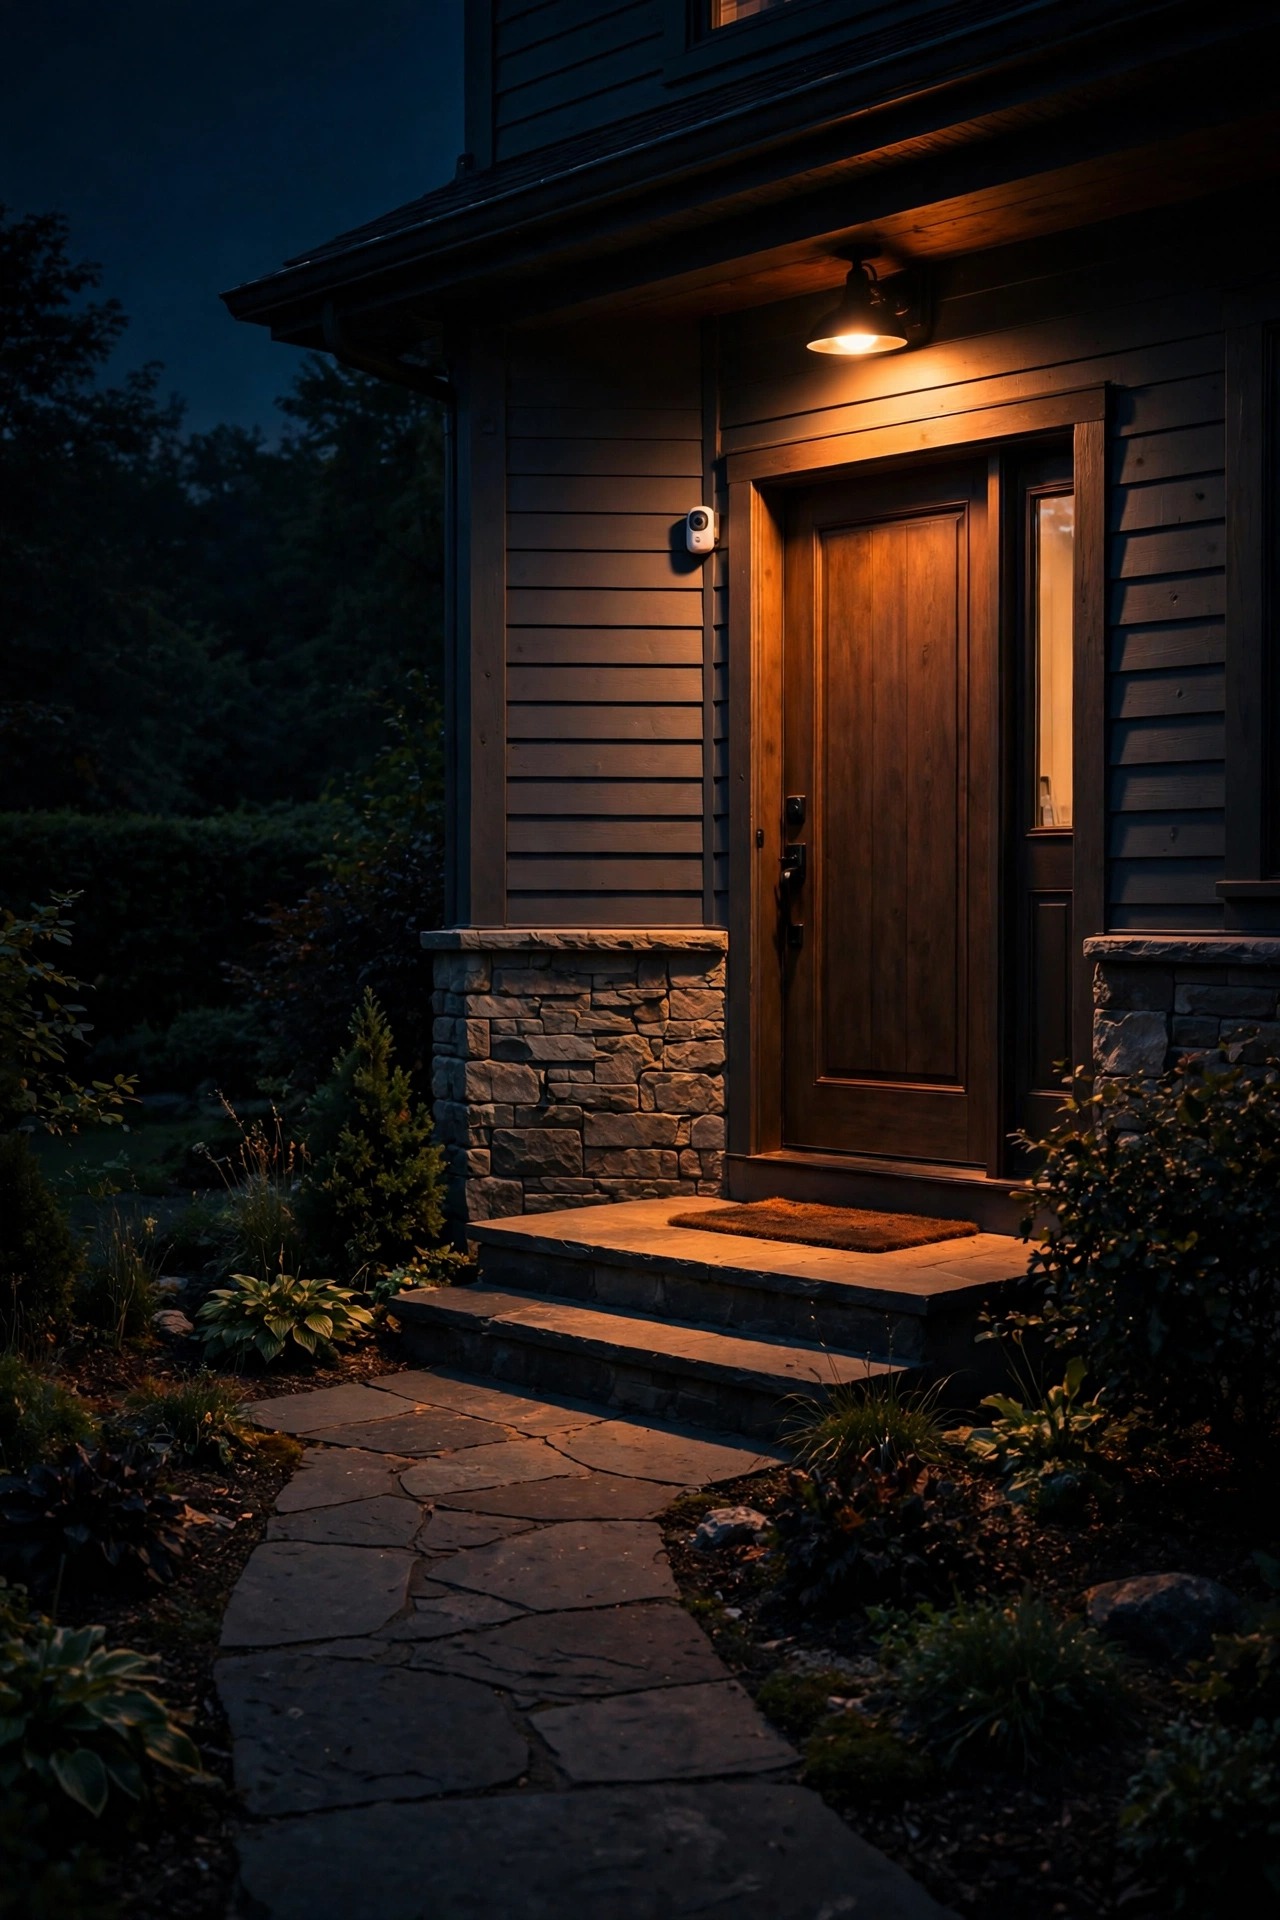
Individual bulb control is a novelty; zones and scenes are the actual upgrade. In the app, group bulbs by where they live: Porch, Garage, Patio, Path. Then build scenes on top of the groups — our weeknight scene runs the porch and garage at forty percent warm white, the holiday scene adds color at the entry, and the backyard-movie scene kills everything except a whisper of light behind the seating so the screen stays king. Naming matters more than you would think: short, plain names mean a voice assistant understands you the first time, and guests can work the lights without a tutorial. Keep the number of scenes small — four or five you genuinely use beat twenty you forget exist. This is also where smart bulbs quietly outperform smart switches, because a scene can set each bulb in the group to a different brightness, so the sconces glow at sixty while the step lights sit at thirty in the same command. One tap, and the whole front of the house strikes the pose you designed.
Suggested budget range: $0 – $25.
11. Know When a Smart Switch Beats a Smart Bulb
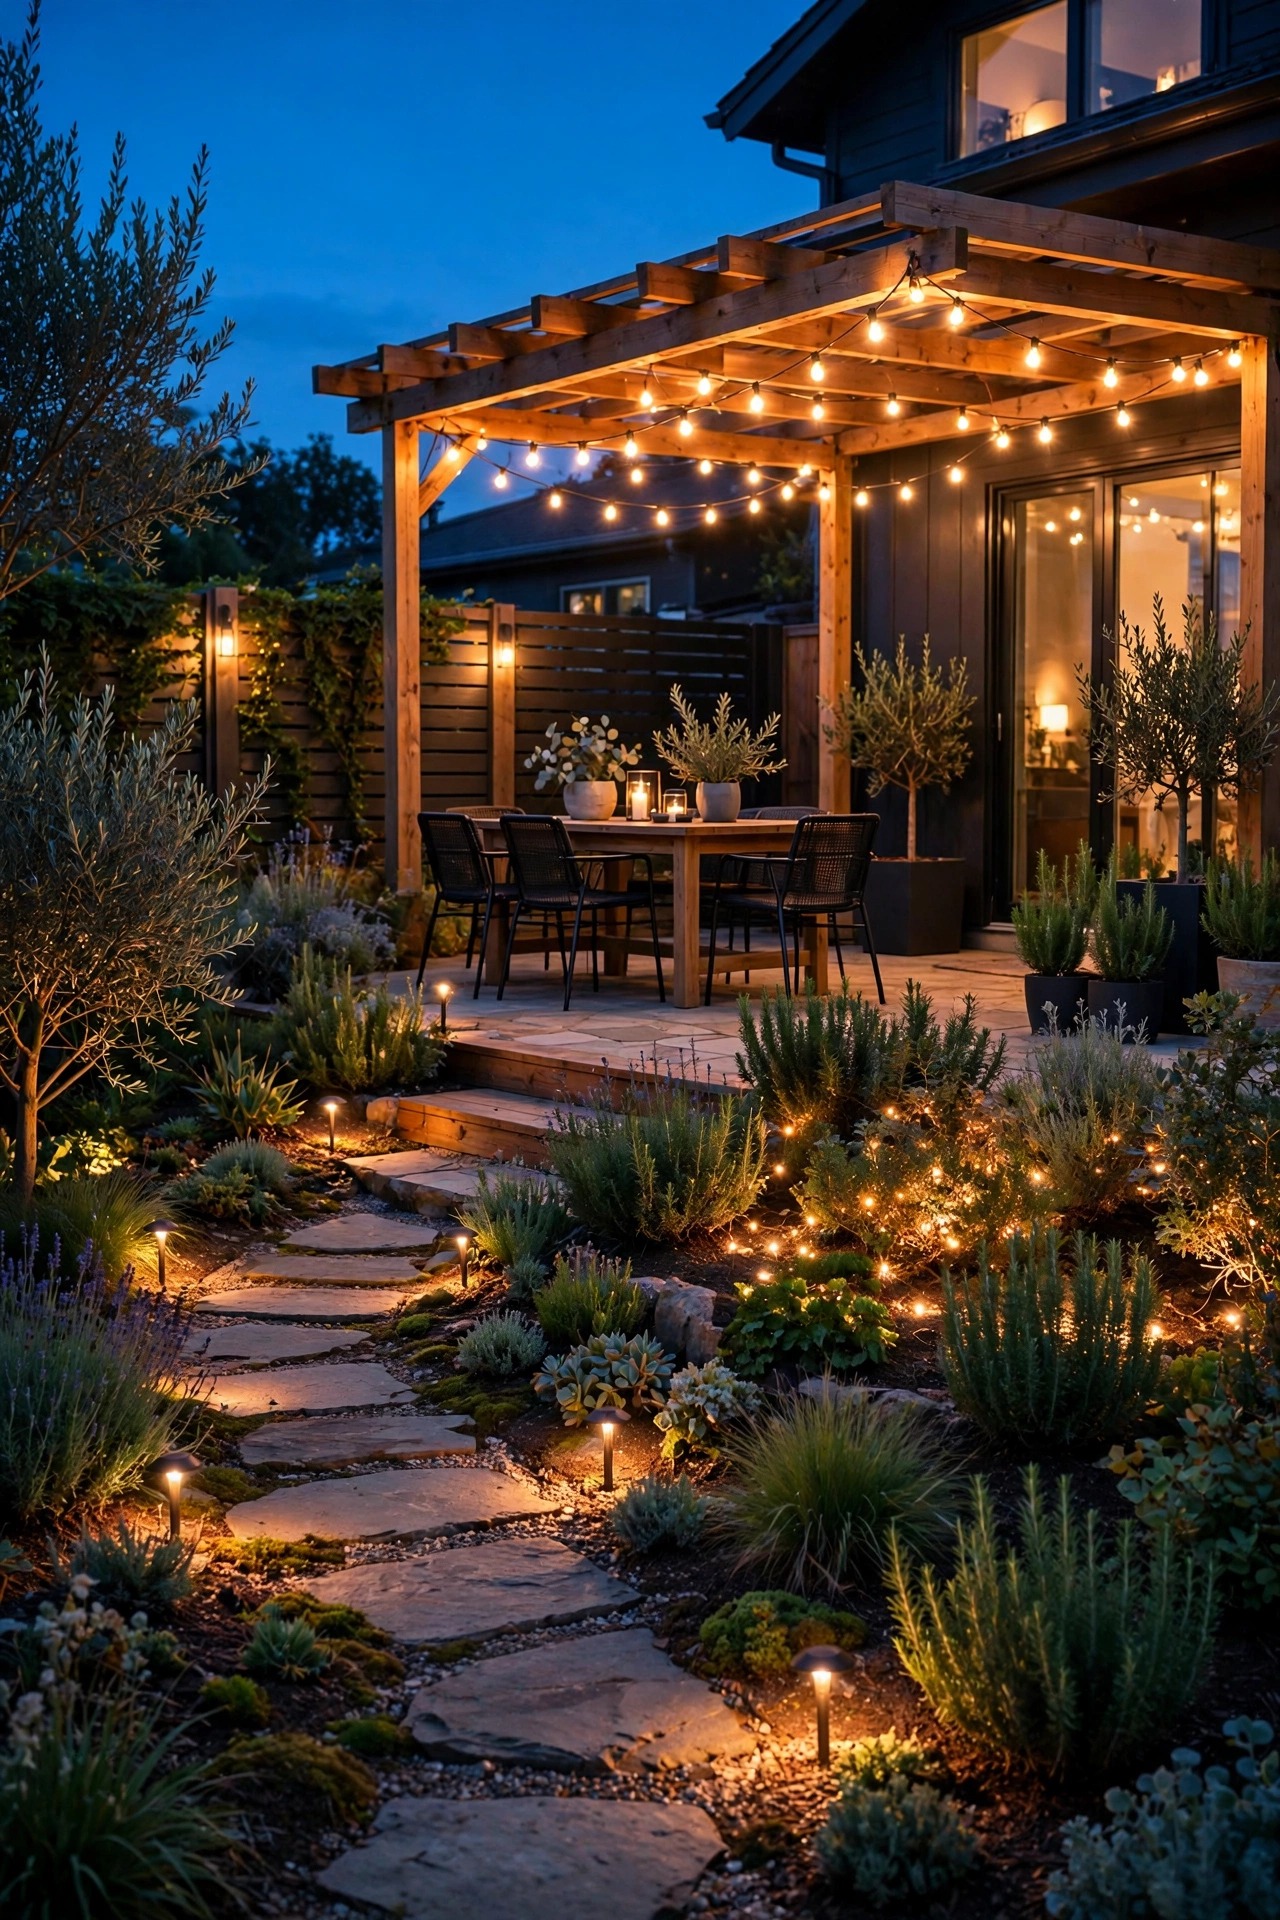
Honesty time: bulbs are not always the answer. When one wall switch runs six recessed soffit lights or a whole string of matching carriage lanterns, a smart switch or smart dimmer controls them all at once, costs less than six bulbs, and never cares whether a bulb is enclosed-rated. Bulbs win where you want per-fixture dimming, color, or control of a fixture with no neutral wire at the switch — and where renters or HOA rules make wiring changes a headache. Plenty of houses, ours included, run both happily: switches for the big uniform runs, bulbs for the stars of the show. My full comparison of smart switch vs smart bulb outdoors walks through the wiring and cost math room by room. One rule whichever way you lean: pick one control method per fixture. A smart bulb behind a smart dimmer, or a smart bulb whose wall switch keeps getting flipped off, is how people end up declaring the whole idea broken when it was only double-controlled.
Suggested budget range: $25 – $60.
12. Turn On Vacation Mode Before You Travel
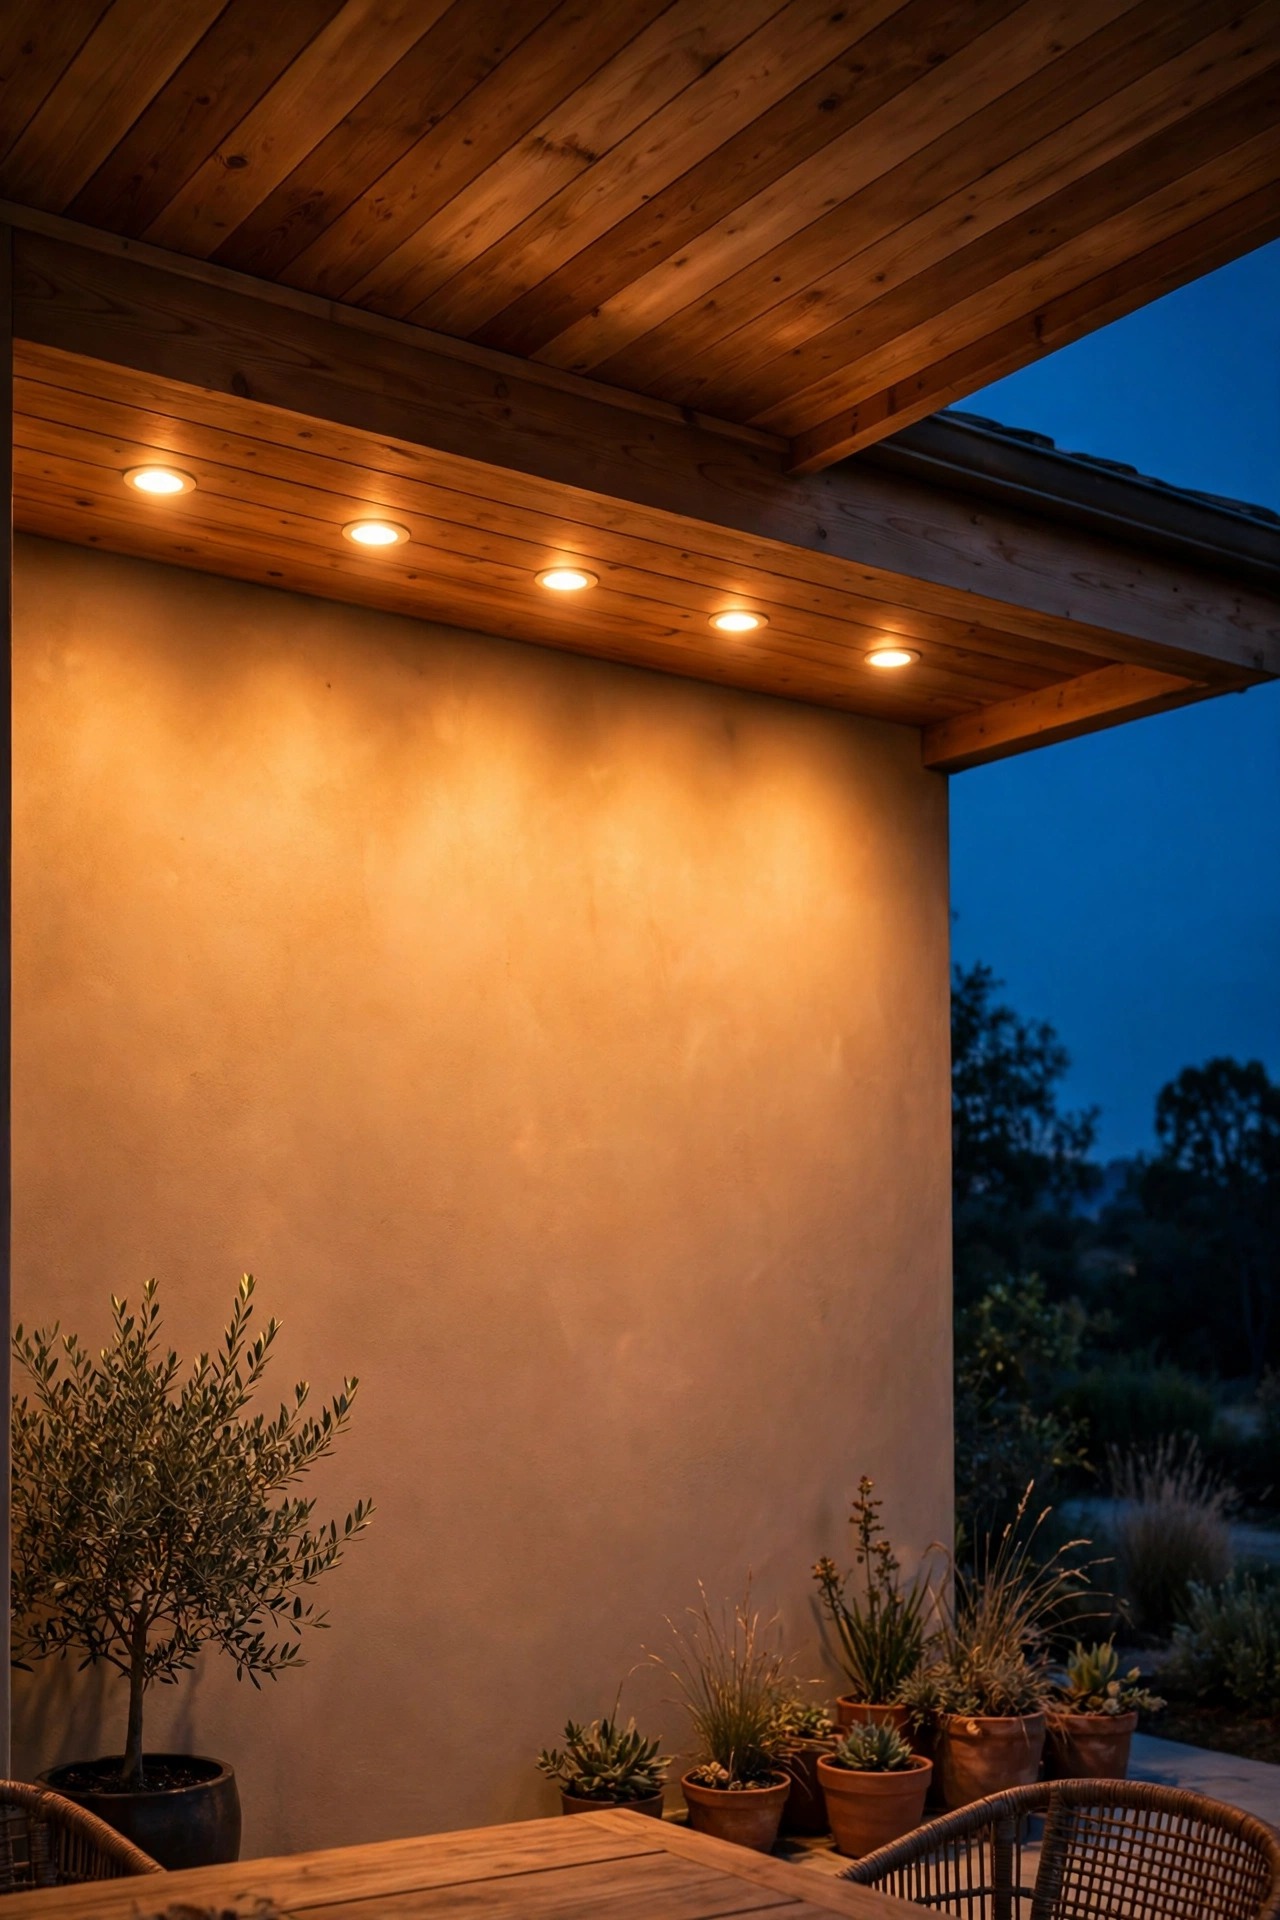
A house that lights itself on a believable rhythm is a house that does not look empty. Before a trip, switch the entry, garage, and one patio zone to vacation mode in the app: lights on near sunset, brightness shifting a little each evening, off at slightly different times, exactly the way a lived-in house behaves. Randomize by fifteen or twenty minutes rather than letting everything snap on at the same minute nightly, which is the oldest tell in the book. Keep one accent light in the mix too, because a home with only security lighting looks staged. Check the system from the airport — most apps let you nudge a scene or confirm the schedule from anywhere with a signal. My longer walkthrough on how to automate porch lights for vacation covers timers and neighbor coordination too. When we get home after dark, I bump the driveway scene from the car and the house is already glowing like we never left. Travel feels lighter when the porch has your back.
Suggested budget range: $0 – $15.
13. Finish With a Dusk Walk-Through and Tune Your Outdoor Smart Bulbs
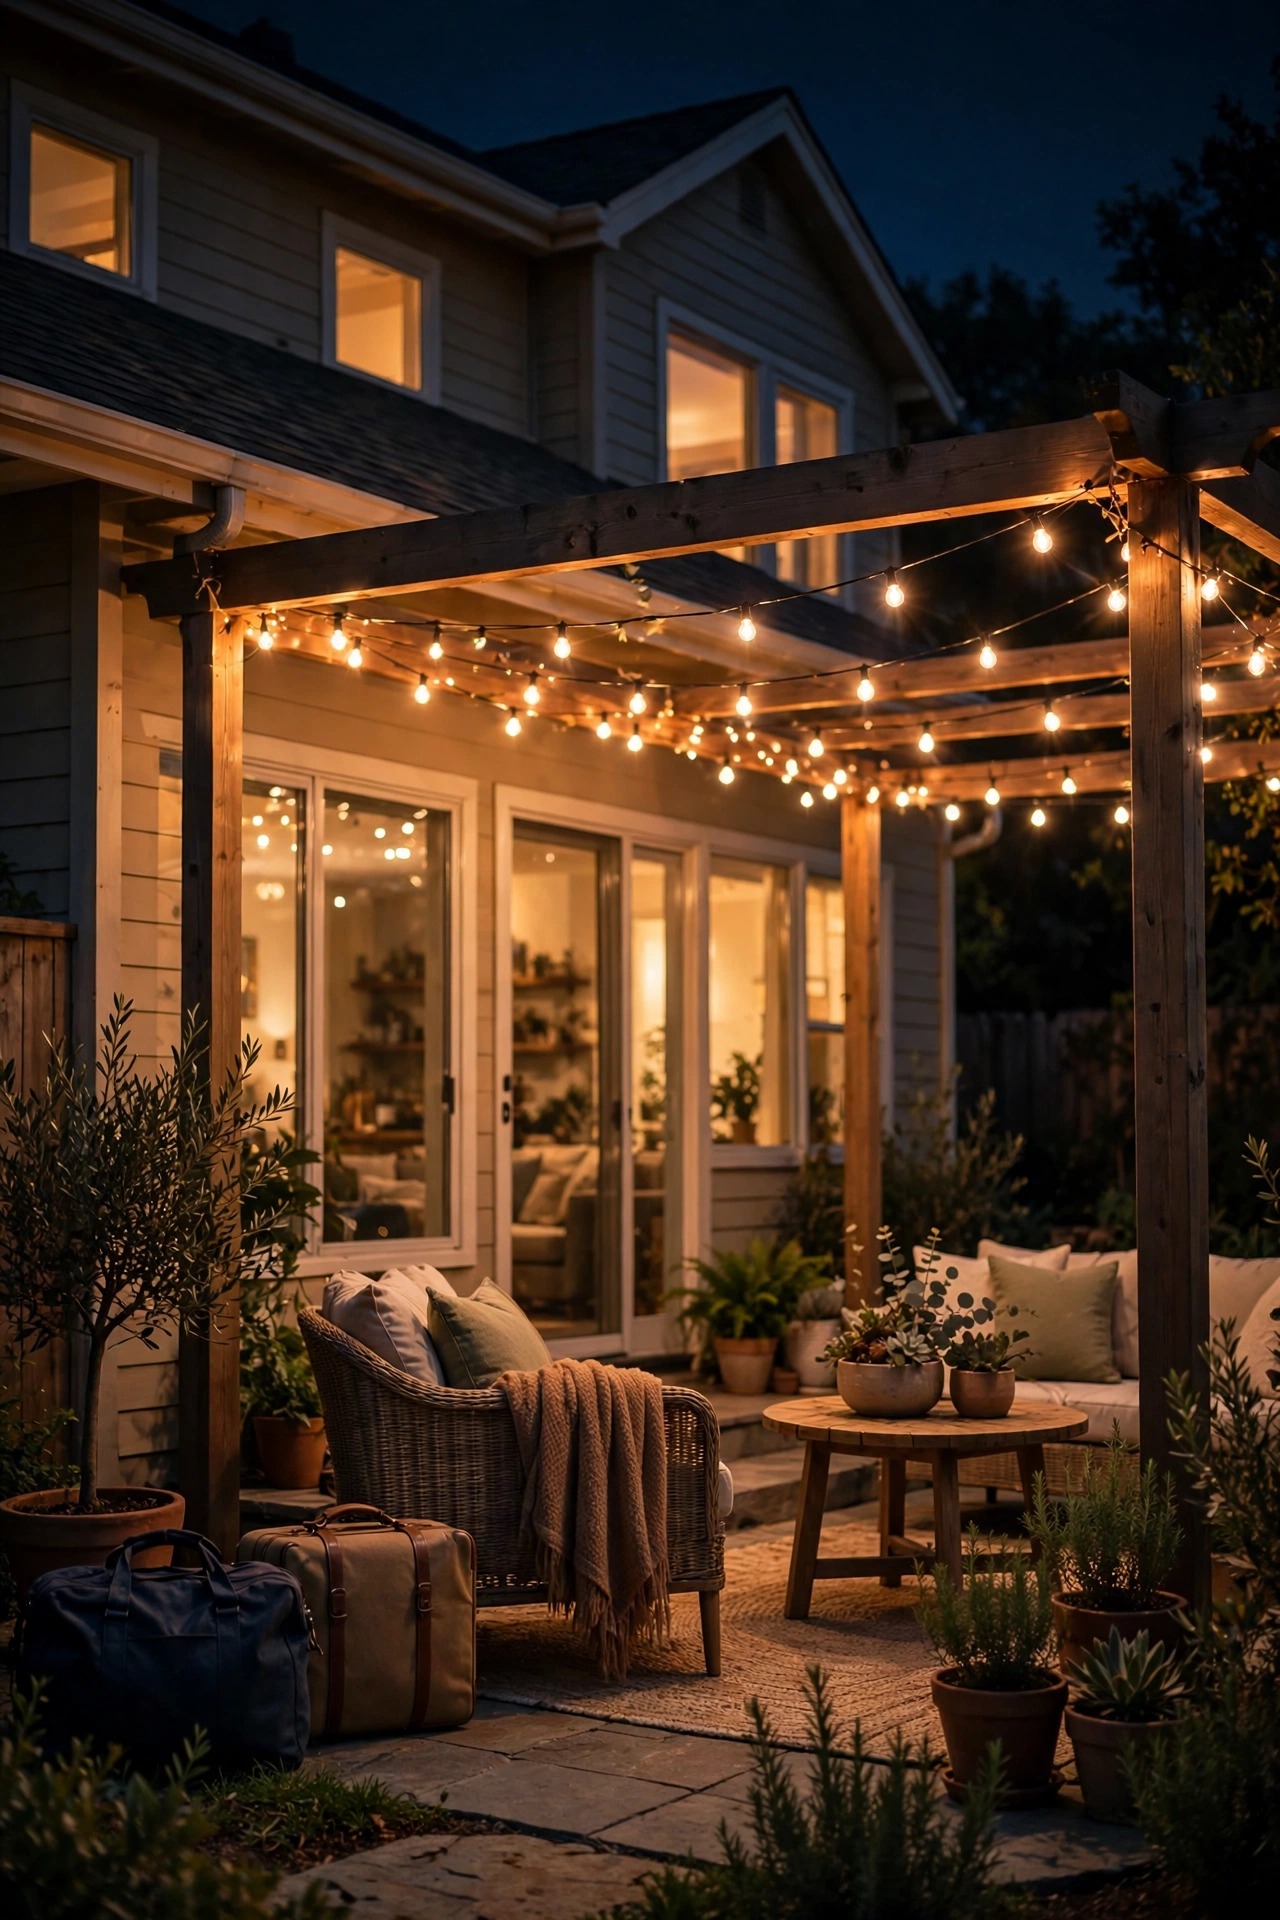
The last idea is the one that makes outdoor smart bulbs feel professionally done instead of merely installed. Wait for true dusk, phone in hand, and walk the property slowly — from the street, up the walk, around the patio, and back. This is when mismatches confess: one sconce a shade cooler than its twin, a floodlight aimed a few degrees too high, a step light bright enough to read by when it only needs to whisper. Adjust brightness in the app as you go, nudge the odd bulb toward 2700K, and save the result as your master evening scene so the tuned settings survive every future schedule change. Check the view from inside, too — a bulb that looks lovely from the yard can glare straight through the living room window. I repeat this walk-through twice a year, once when the clocks change, and it takes ten minutes. That little ritual is the difference between a pile of gadgets and a lighting design: the fixtures were always yours, and now every bulb in them is doing exactly the job you chose.
Suggested budget range: $0 – $10.
Frequently Asked Questions
Can outdoor smart bulbs handle rain, cold, and summer heat?
Yes, with the right bulb in the right fixture. Choose bulbs with a damp-location or wet-location rating for exposed sockets, and remember the bulb still lives inside a fixture that does most of the weather work. Cold is rarely a problem for LED bulbs — most are rated well below freezing — but extreme heat inside sealed fixtures is the real enemy, which is why the enclosed-fixture rating matters. In very hot climates, shaded fixtures and rated bulbs give the longest life.
Do smart bulbs still work when the wall switch is off or the Wi-Fi drops?
A smart bulb needs power, so a flipped-off wall switch cuts it off from the app entirely — leave the switch on and control the bulb digitally, or use a simple switch guard. If the Wi-Fi drops, most bulbs keep running their stored schedules and can still be toggled at the switch, but app and voice control pause until the connection returns. For critical entry lights, a schedule stored on the bulb itself is the most resilient setup.
How much does it cost to make all my outdoor lights smart?
Most homes have eight to fifteen exterior sockets. At roughly ten to twenty-five dollars per bulb, a full swap usually lands between one hundred and three hundred dollars, and you can spread it across seasons by layer. Electricity savings are modest but real, since LED smart bulbs sip power and schedules end the all-night burn. Starting with the porch and garage layers, as in ideas two and six, delivers most of the benefit for under one hundred dollars.
Will smart bulbs work in my older fixtures?
Almost always, yes. The bulb only cares about the socket base, the physical room inside the fixture, and staying within its heat rating — the age of the fixture itself is beside the point. Vintage lanterns, older coach lights, and builder-grade sconces all accept smart bulbs happily. The exceptions are fixtures on old two-wire dimmers, which can make smart bulbs buzz or flicker; replace the dimmer or use the bulb on a plain switch instead.
Conclusion
The nicest thing about outdoor smart bulbs is how little they ask of you: no new fixtures, no rewiring, just better bulbs in the sockets you already own, working on schedules you set once. Start with the welcome layer at the porch and garage, respect the enclosed-fixture rating, match every bulb to one warm color temperature, and group the results into a few scenes you genuinely use. Add motion at the entry and a vacation rhythm when you travel, and the house starts to feel quietly attentive. Browse the rest of my lighting ideas here whenever you are ready for the next layer — your fixtures are already waiting.