Cooking outside after sunset should feel like a treat, not a guessing game. Yet I cannot count how many beautiful outdoor kitchens I have seen where the grill area glows like a stage and the counter beside it disappears into shadow — exactly where the knives, the raw chicken, and the marinade bowls live. The fix is simpler than most people think: good outdoor kitchen under cabinet lighting. A slim strip or bar tucked beneath your wall cabinets or shelf edges throws light straight down onto the prep surface, so you can actually see when a steak hits medium-rare. It is the same layering trick I use indoors: bright, focused task light where the work happens, softer glow everywhere else. Below I am sharing 19 ways to add it — hardwired, plug-in, solar, and battery options — with honest notes on brightness, weatherproofing, and what each one really costs, so your next cookout runs as smoothly after dark as it does at noon.

1. LED Strip Lights: The Heart of Outdoor Kitchen Under Cabinet Lighting
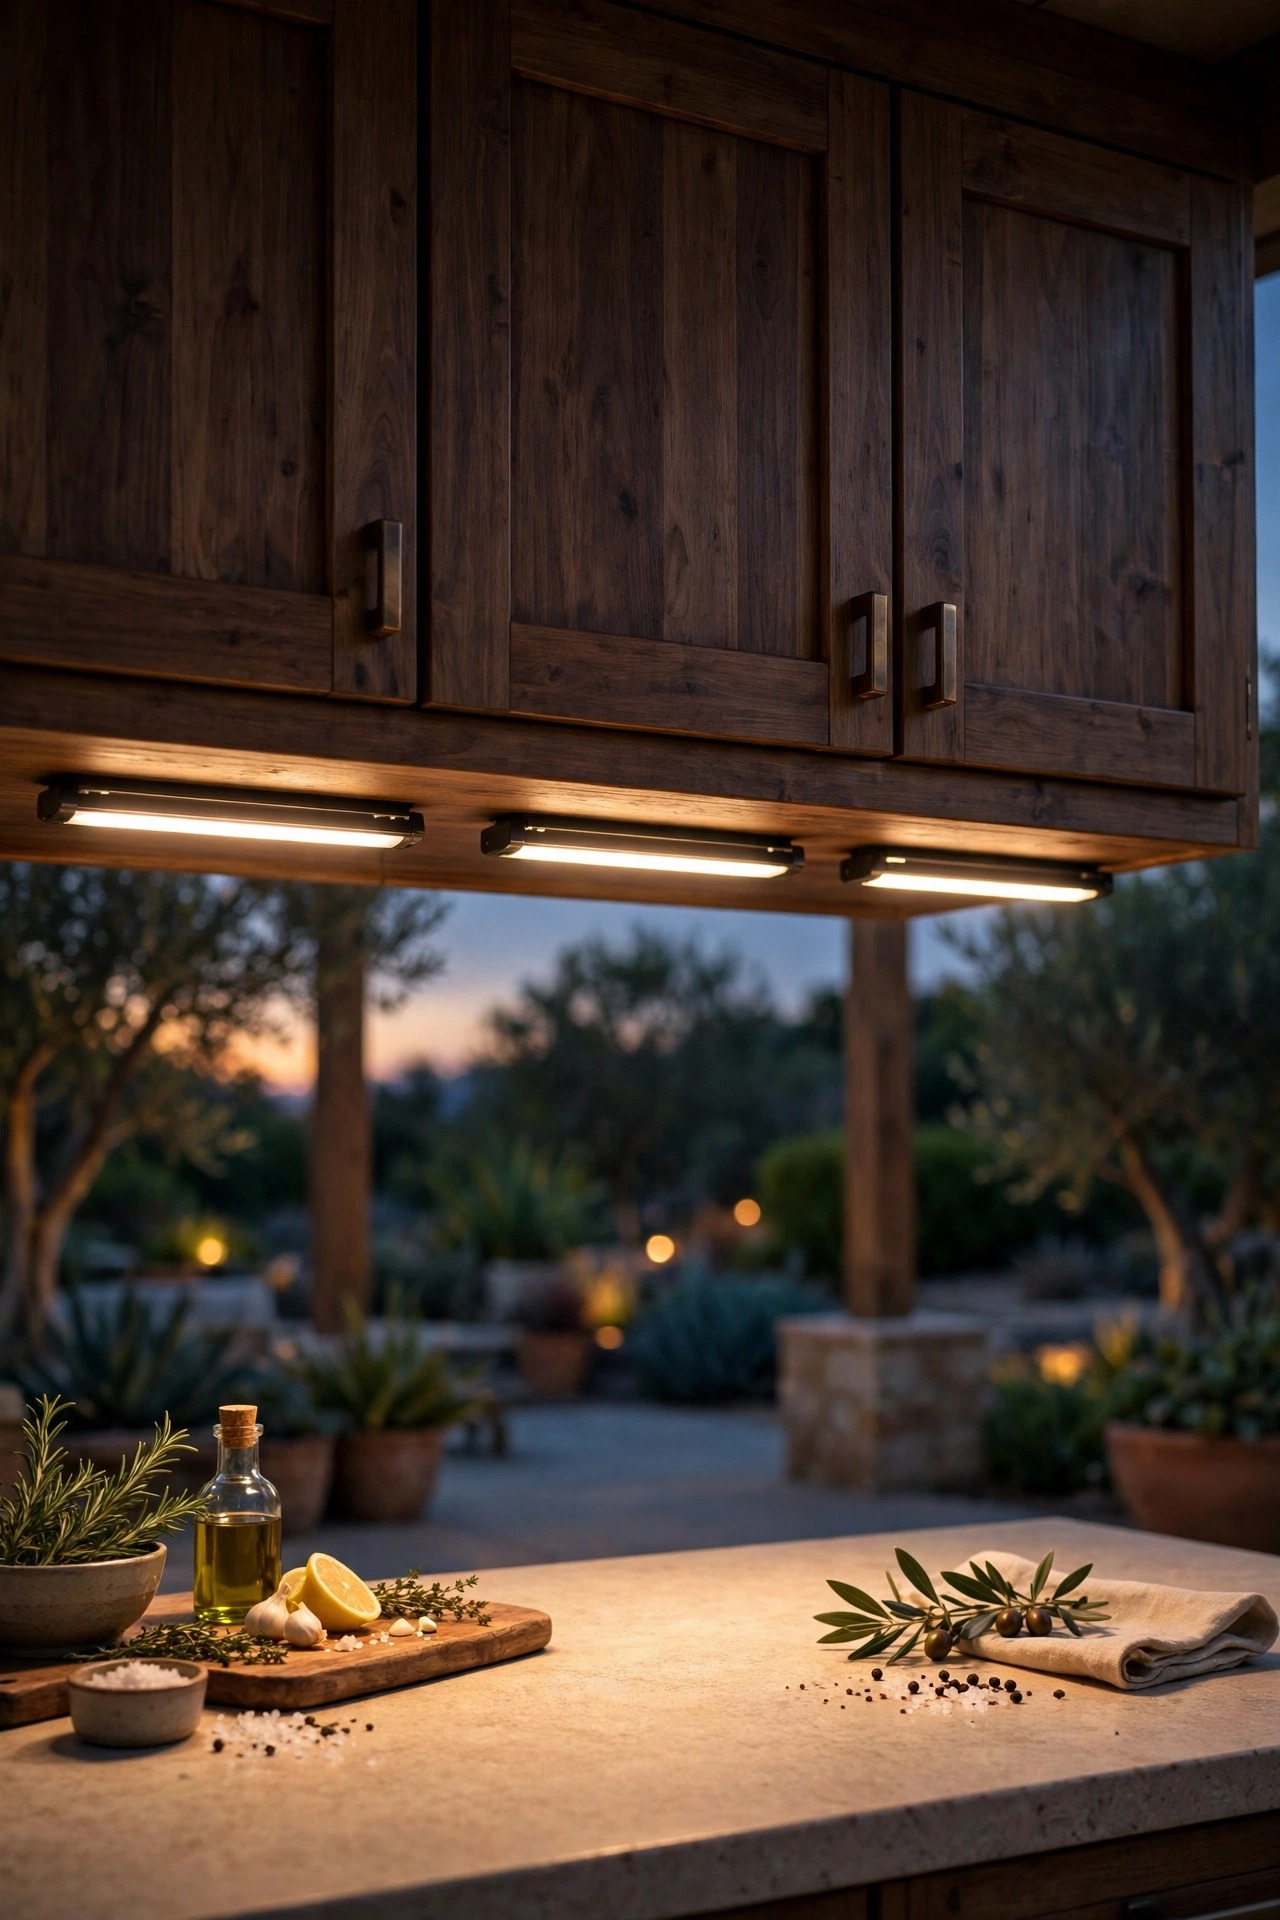
If I could only recommend one upgrade, this is it. A quality LED strip mounted under your wall cabinets lights the whole counter in one even wash, with no dark gaps between fixtures. Skip the bare peel-and-stick look and slide the strip into an aluminum channel with a frosted diffuser — it kills the dotted glare, protects the strip from grease splatter, and looks built-in. Aim for 250 to 400 lumens per foot over a working counter; anything less feels decorative rather than useful. I prefer 24-volt strips because they run longer distances without the far end dimming. Mount the channel toward the front lip of the cabinet so light falls across the full depth of the counter instead of pooling against the backsplash. The driver tucks into a weatherproof box and plugs into a GFCI outlet. Cut strips only at the marked scissor points, and seal every cut end with a cap and a dab of silicone.
Suggested budget range: $25 – $70.

2. Rigid LED Light Bars for an Even, Shadow-Free Wash
Rigid bars are the sturdier cousins of strip lights, and in an exposed kitchen I often reach for them first. Each bar is a slim aluminum fixture, usually 12 to 24 inches long, that screws directly to the cabinet underside and links end to end with small connectors, so a long run of cabinets gets one continuous line of light. Because the diodes sit behind a proper diffuser in a metal housing, bars handle heat, humidity, and the occasional bumped pan better than adhesive strips, which can sag in summer heat. Look for bars rated for damp or wet locations, with a color temperature around 3000K for a warm but honest light. Hardwired versions give the cleanest look, while plug-in bars with a rocker switch suit most DIY installs. Space linked bars with no gaps, and add one extra bar over the sink if your layout has one. When a bar eventually fails, you swap that single section instead of redoing the whole run.
Suggested budget range: $40 – $120.
3. Puck Lights for Targeted Task Zones
Puck lights are the little round discs, about the size of a hockey puck, that punch focused pools of light exactly where you need them. I love them over the spots that demand precision: the cutting board station, the sink, the drawer where the tongs and thermometer live. Mount them 12 to 18 inches apart and angle your layout so the pools overlap slightly — three lonely spotlights with dark gaps between them will make you crazier than no light at all. Battery pucks with a tap-on, tap-off lens are the fastest install in this whole list, genuinely ten minutes with a screwdriver or adhesive pads. Hardwired pucks on a dimmer look far more polished and never need batteries before a party. Either way, choose pucks with a wide beam, around 100 degrees, so the light spreads like a puddle instead of a laser dot. Warm white at 2700K to 3000K keeps food looking appetizing under them.
Suggested budget range: $20 – $60.

4. Recessed Hardwired Downlights for a Built-In Look
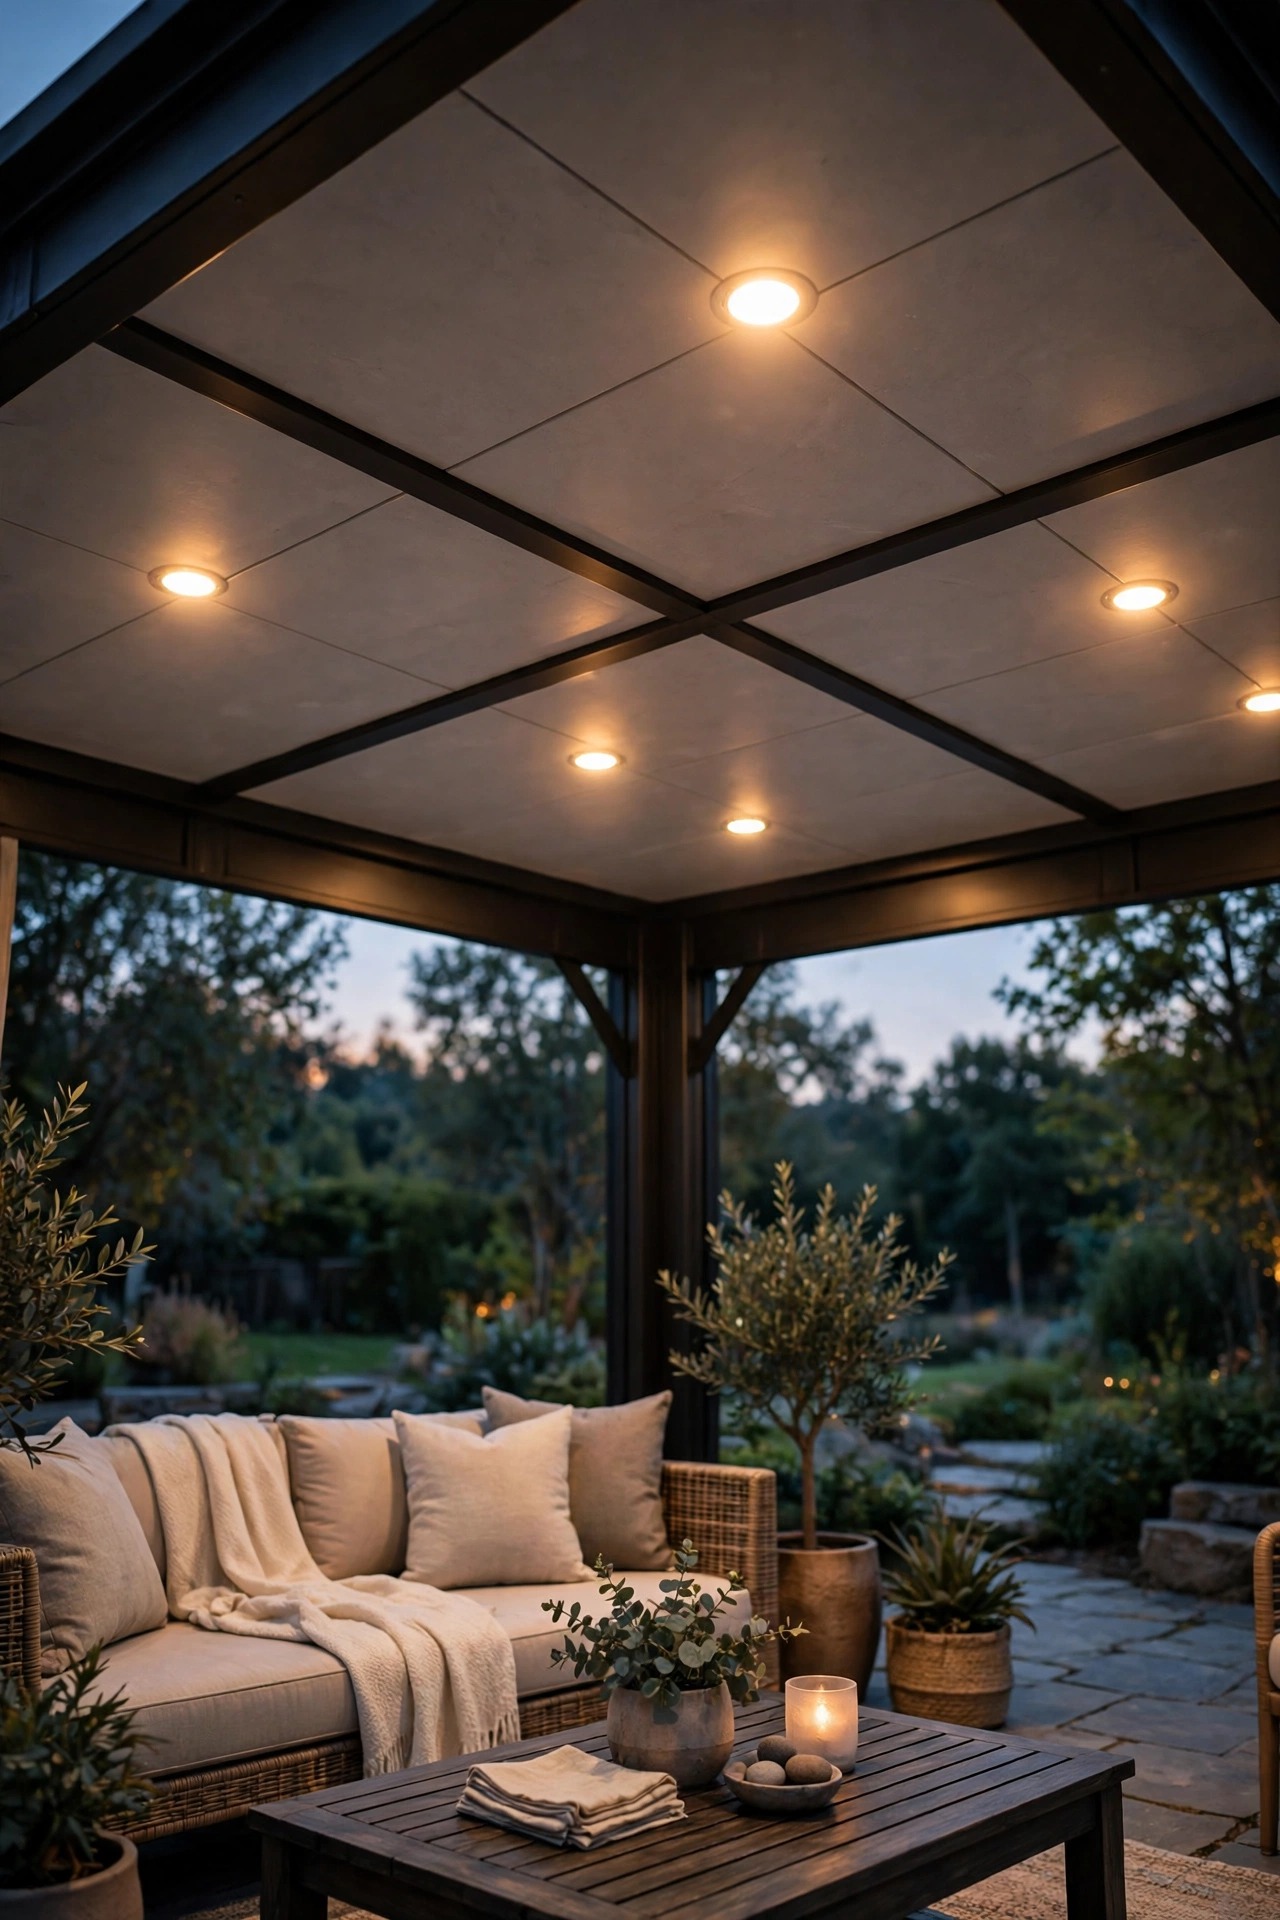
For a permanent covered kitchen, recessed downlights set into the cabinet bottom panel are the most polished option of all. Each fixture sits nearly flush, so nothing hangs down to catch steam, splatter, or a tall stockpot lid. This is electrician territory: the cabinet bottom needs a double panel or enough depth to hide the fixture bodies, and the wiring runs inside the wall or cabinet where weather cannot reach it. Plan one downlight every 18 to 24 inches, on a dimmer, and you get counter light that feels like it came with the house. Because the fixtures are sealed units, choose models rated for damp locations at minimum, and confirm the trim is corrosion resistant if you are anywhere near the coast. The honest downside is flexibility — once holes are drilled, rearranging your layout means patching. I recommend this route when your kitchen design is final and you cook out there several nights a week, all season long.
Suggested budget range: $120 – $350.
5. Rope Lights: The Budget Retrofit That Still Works
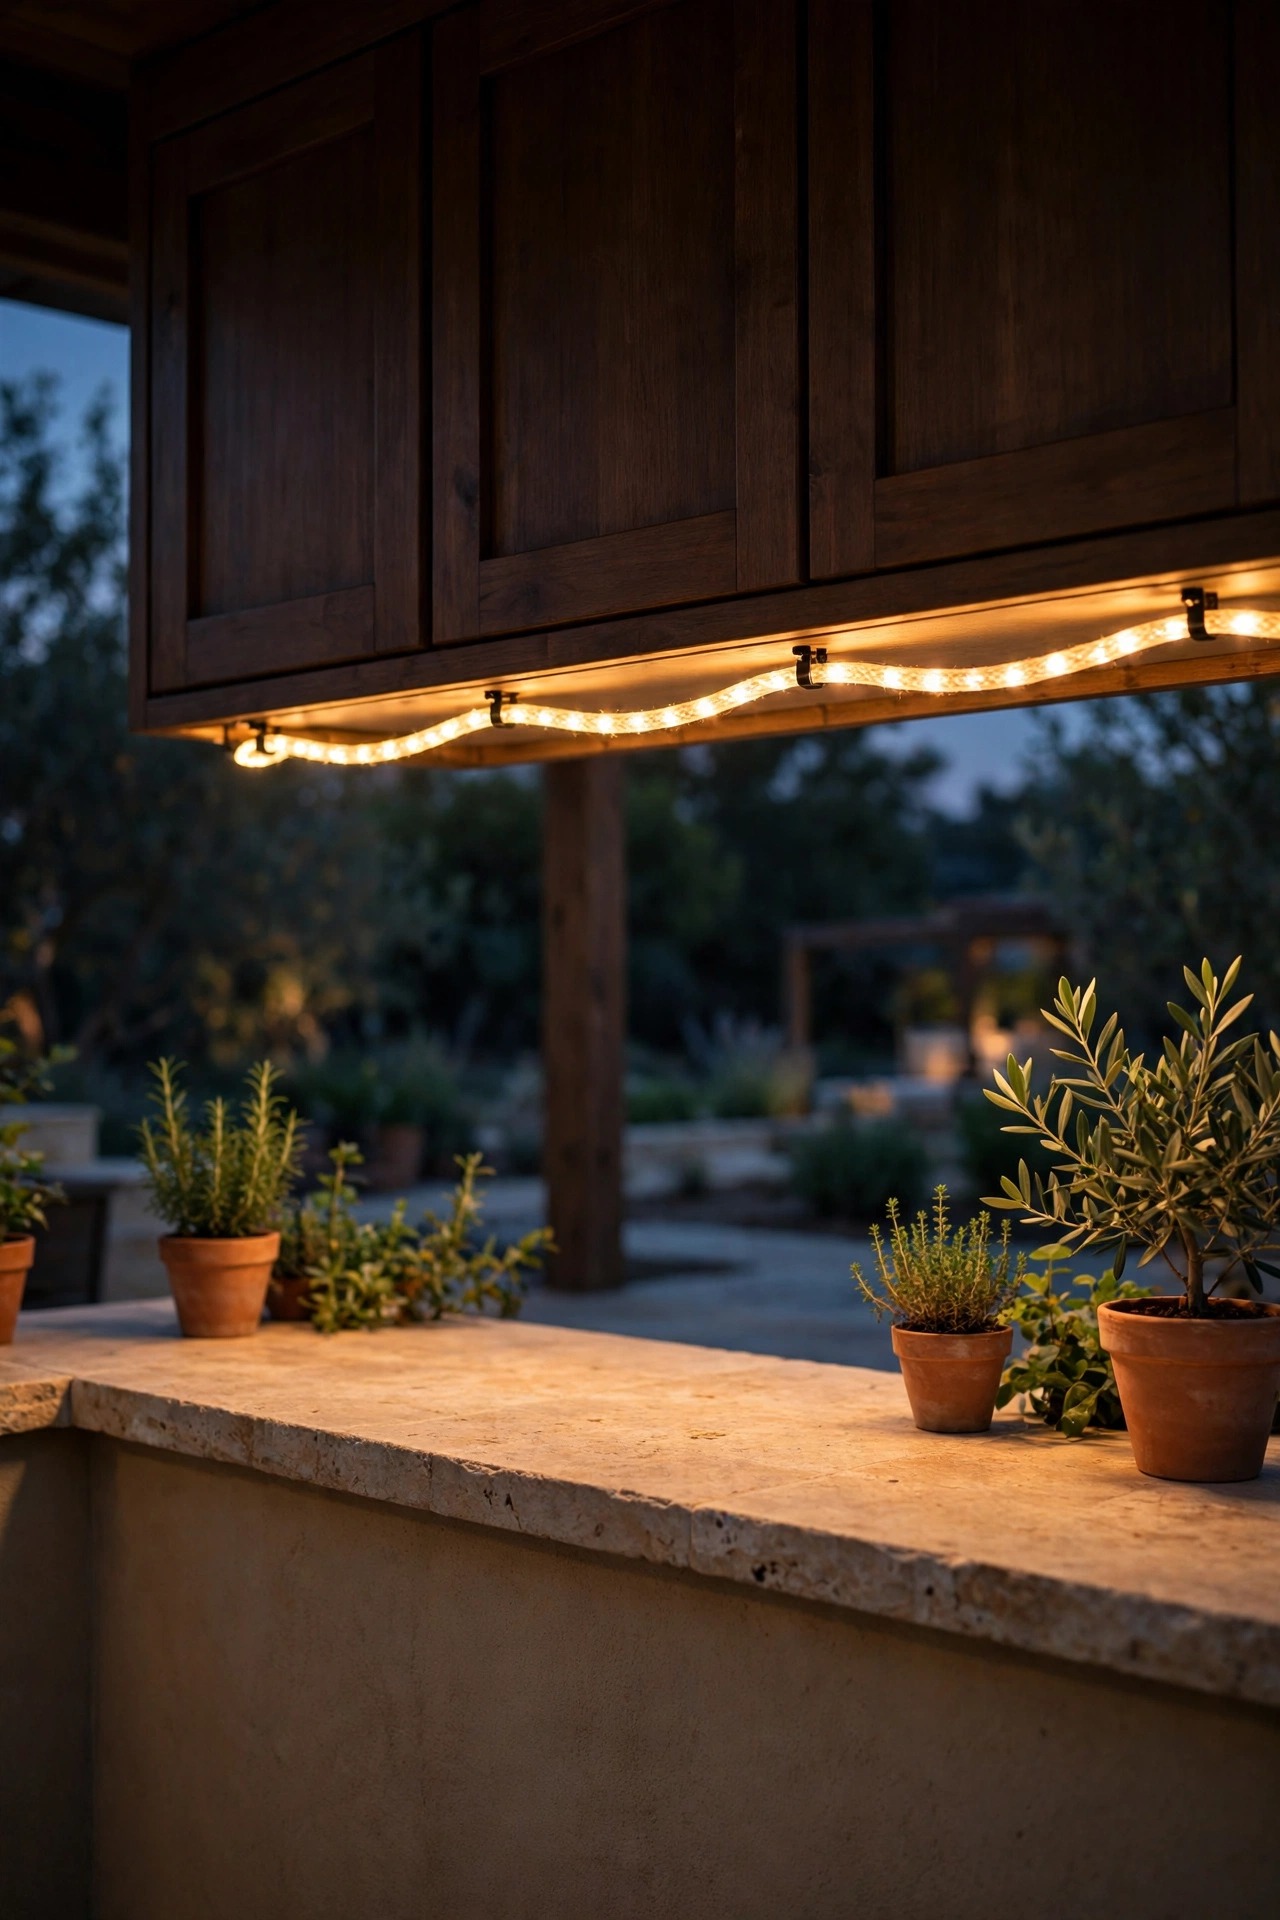
Rope light is the old-school budget answer, and I still specify it for one situation: a quick, cheap retrofit where the goal is gentle guidance light rather than serious task brightness. Modern LED rope comes in flexible, UV-stable tubing that clips under the cabinet lip with simple screw clips every 12 inches. It shrugs off rain, tolerates being hosed down, and costs less per foot than almost anything else here. Be honest with yourself about output, though. Most rope light delivers a soft glow, fine for finding the fridge handle and not tripping over the dog, but weak for judging whether chicken is cooked through. My favorite trick is to pair a rope run under the cabinets with one brighter task fixture over the main prep zone, so you get atmosphere plus function for very little money. Choose warm white, avoid the icy blue-white versions, and plug into a GFCI-protected outlet with the connection point sheltered under the counter overhang.
Suggested budget range: $15 – $45.
6. Motion-Sensor Bars for Messy Hands
Every cook knows the moment: hands covered in raw burger, sun gone, and the light switch three cabinets away. Motion-sensor under-cabinet bars solve it with a wave. Slide a hand or elbow under the sensor and the light comes on; walk away and it shuts itself off after 30 seconds to five minutes, depending on the setting. Most are rechargeable bars that mount on magnetic strips, so install is literally stick, charge, cook. I put one over the sink station and one near the trash pull-out, the two spots where my hands are always at their worst mid-cookout. Check the sensor range before buying — you want it to trigger from about six to ten inches below the cabinet, not every time someone walks past the kitchen. A manual override switch matters too, because during a long simmer-and-chat session you will want the light to simply stay on.
Suggested budget range: $25 – $65.
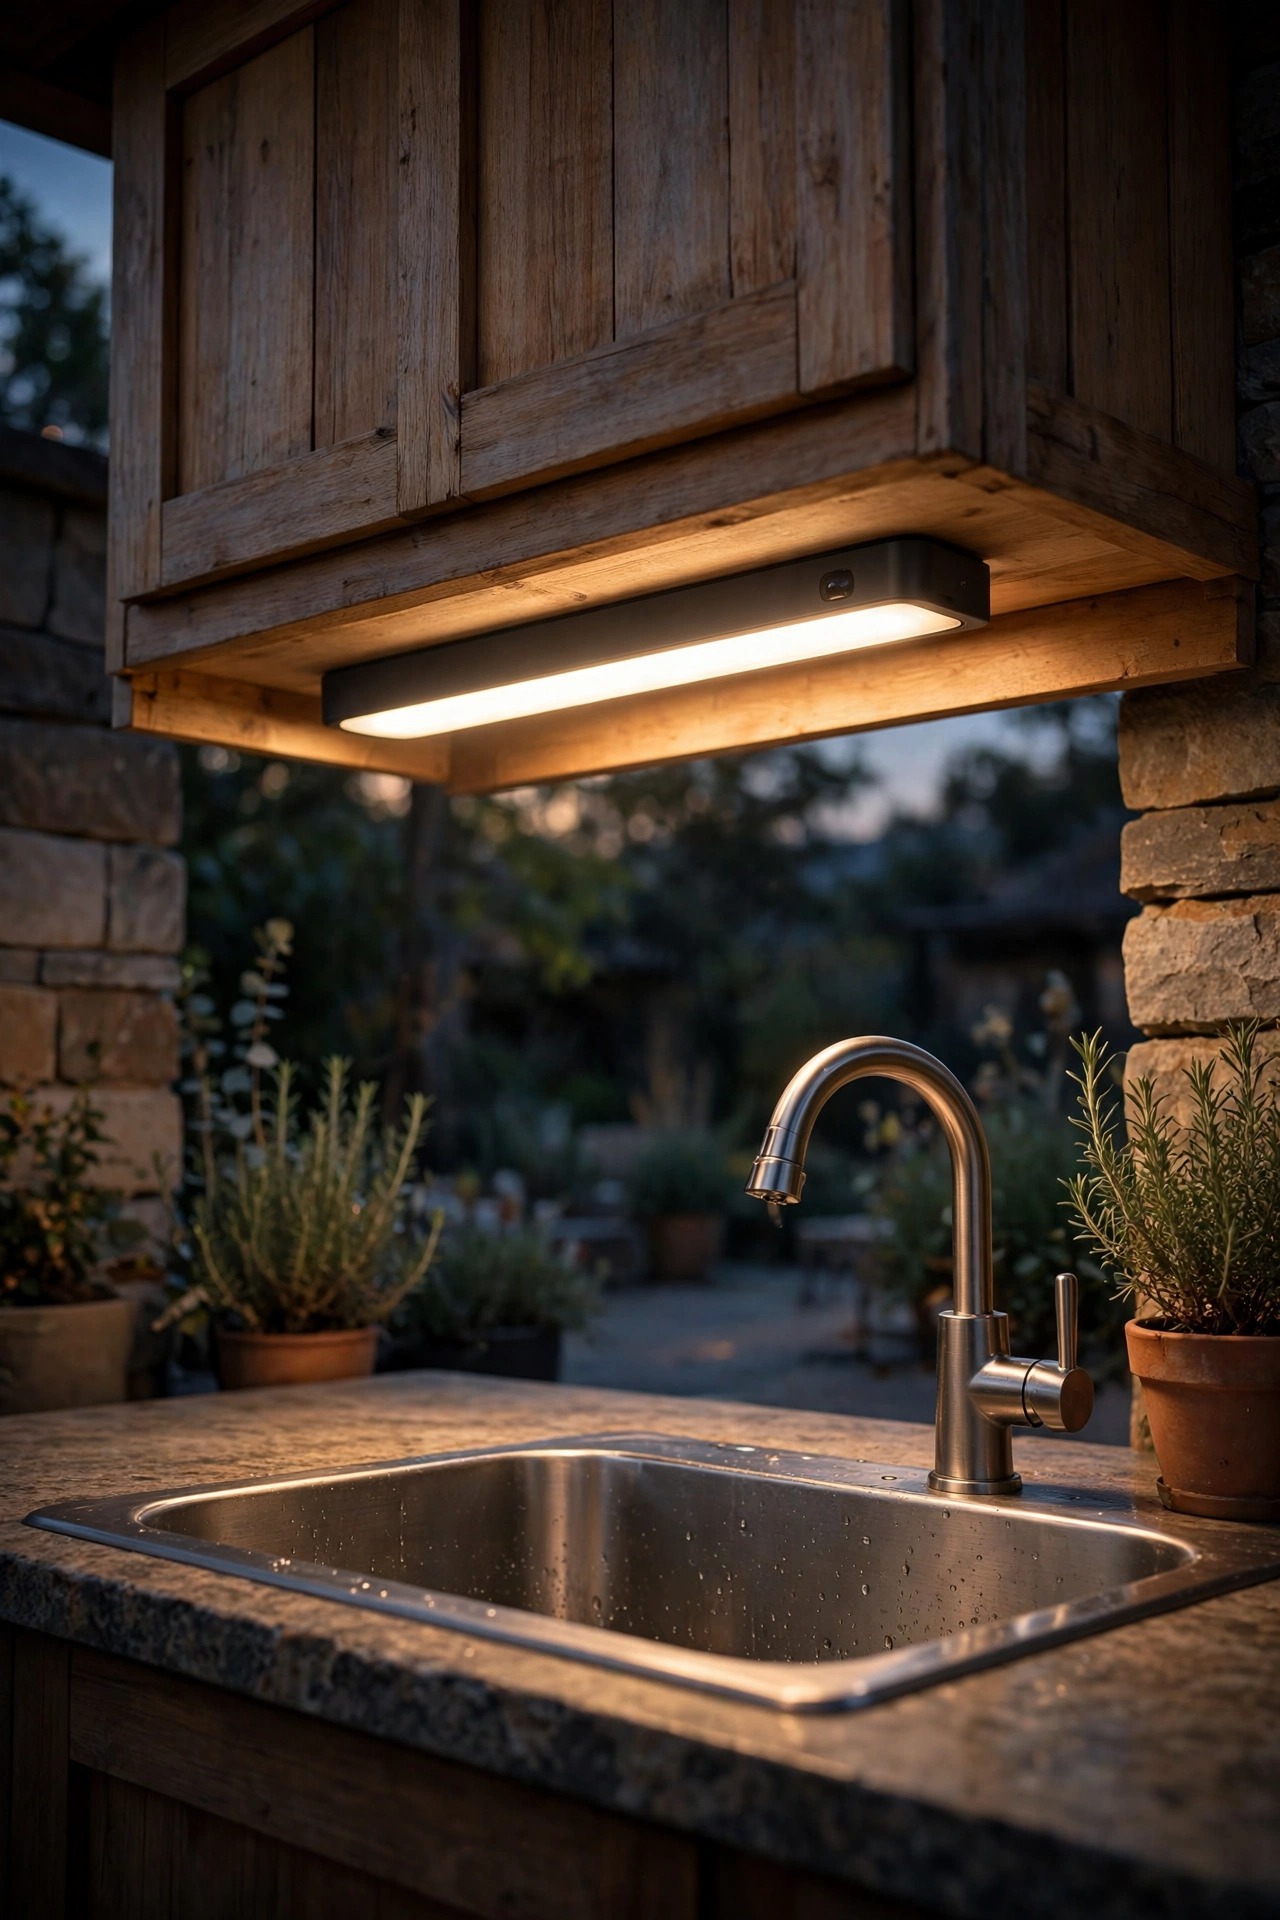
7. Dimmable Strips That Take You From Prep to Party
Here is the truth about outdoor cooking light: the brightness you need to julienne peppers at 7 p.m. is way too harsh for sipping wine at 9. Dimmable LED strips bridge the two moods. Run them at full power while you cook, then drop to 30 percent when the food moves to the table and the kitchen becomes backdrop. A simple inline rotary dimmer works, but I prefer a remote or wall-style controller mounted inside a cabinet door, safe from weather and sticky fingers. Look for dimming that stays smooth down to 10 percent without flicker, and a memory function so the strip returns to your last setting instead of blasting to full every time. This is also where the under-cabinet layer joins the rest of your lighting scheme — pair the dimmed strips with the softer layers from my pergola dining lighting ideas and the whole space settles into evening mode together.
Suggested budget range: $35 – $90.
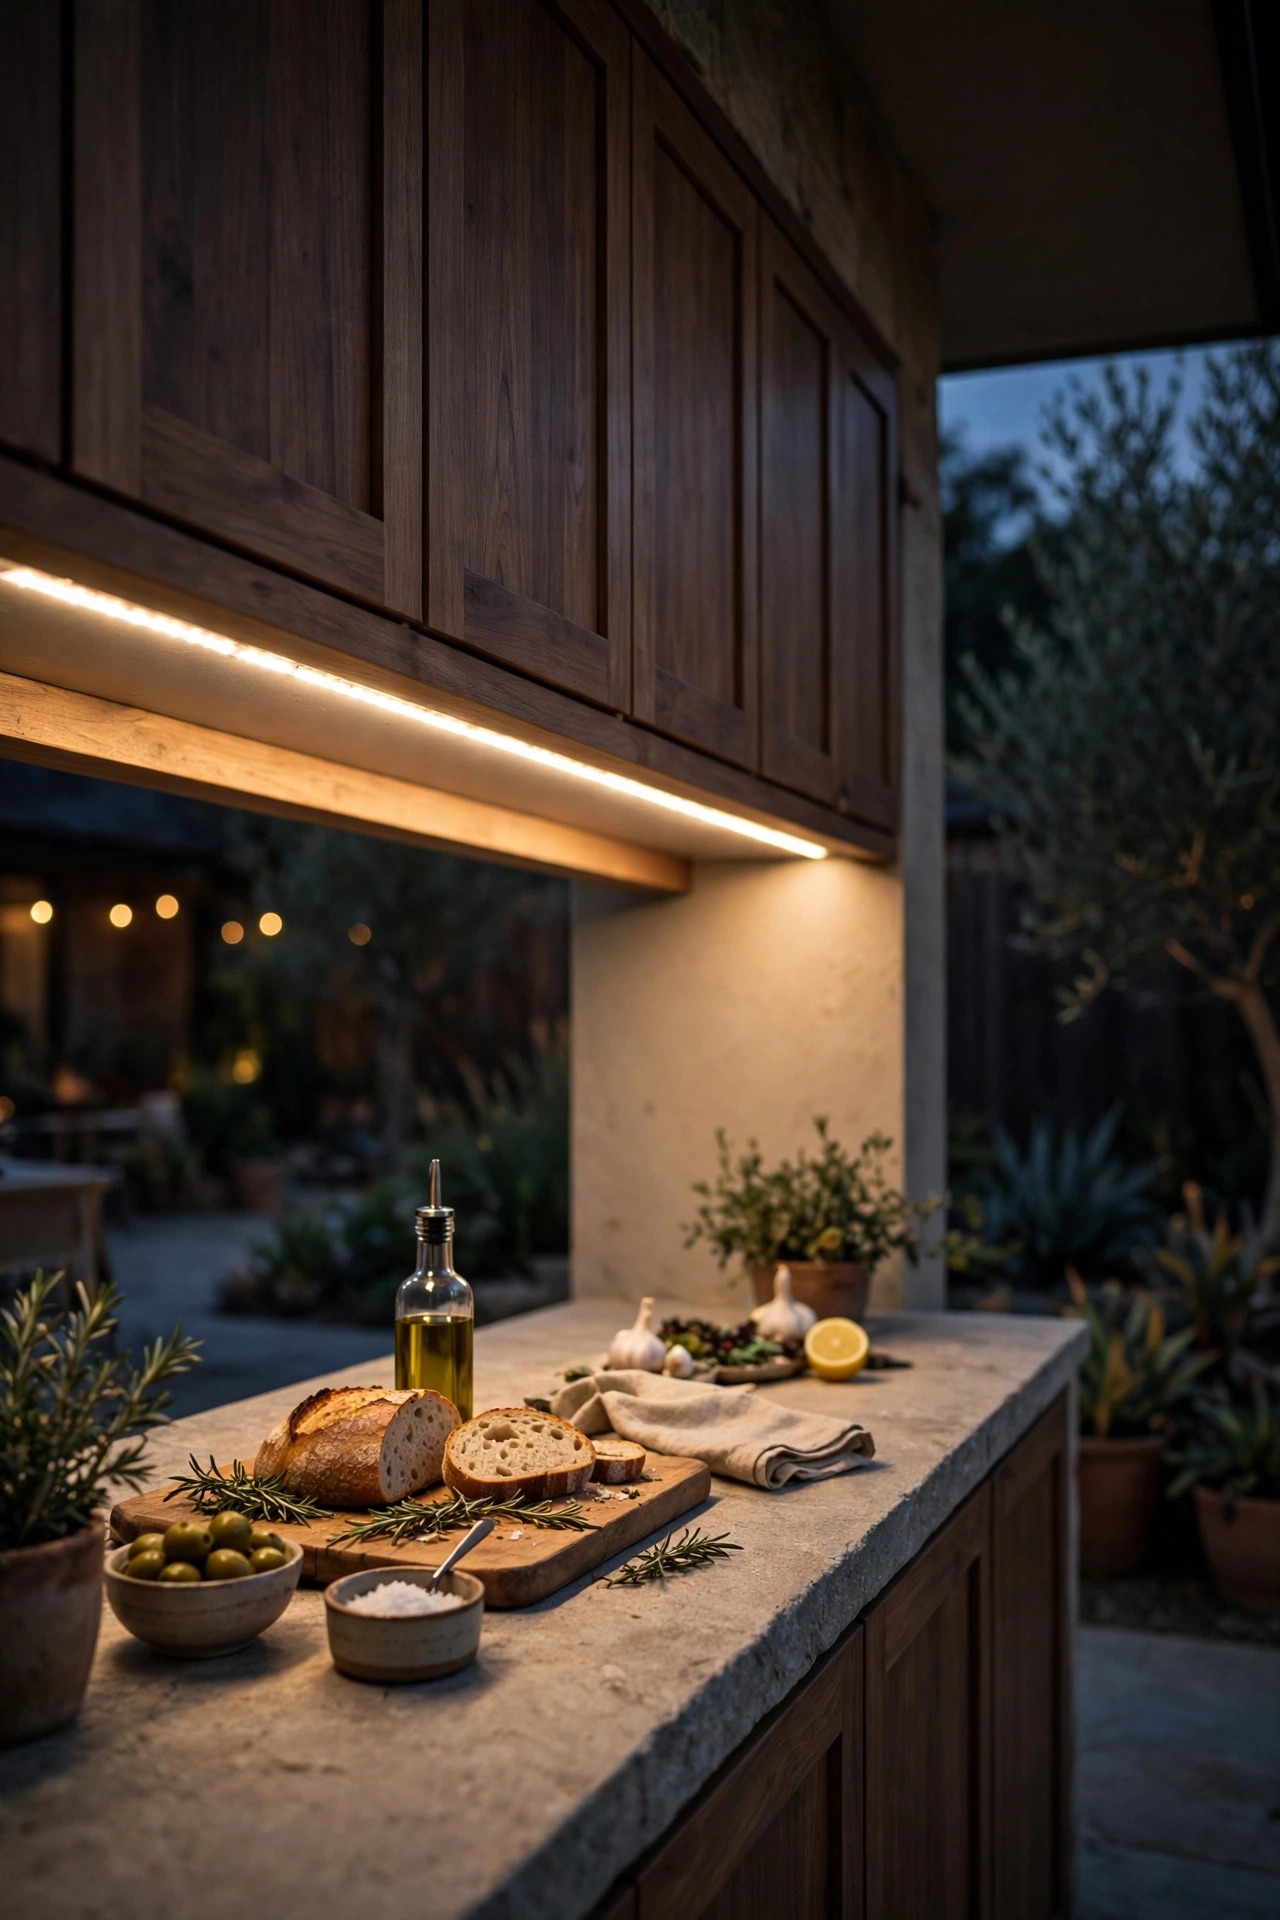
8. Tunable-White Lighting: Cool for Prep, Warm for Serving
Color temperature changes how food looks, and once you notice it you cannot un-notice it. Under a very warm 2700K bulb, a medium-rare steak and a well-done one look suspiciously similar. Tunable-white strips solve the problem by sliding from warm 2700K up to a crisp 4000K or 5000K. I run the prep zone cooler, around 4000K, where honest color helps me judge doneness, sear, and whether the herbs are fresh. Then everything drops back to a cozy 2700K for eating. Dual-white strips have two sets of diodes and blend them with a small remote or controller, no smart home system required. If your kitchen has separate runs — grill side and serving side, say — you can even set them to different temperatures at the same time. Honestly, this single feature is the one my dinner guests never see and my cooking benefits from most.
Suggested budget range: $45 – $110.
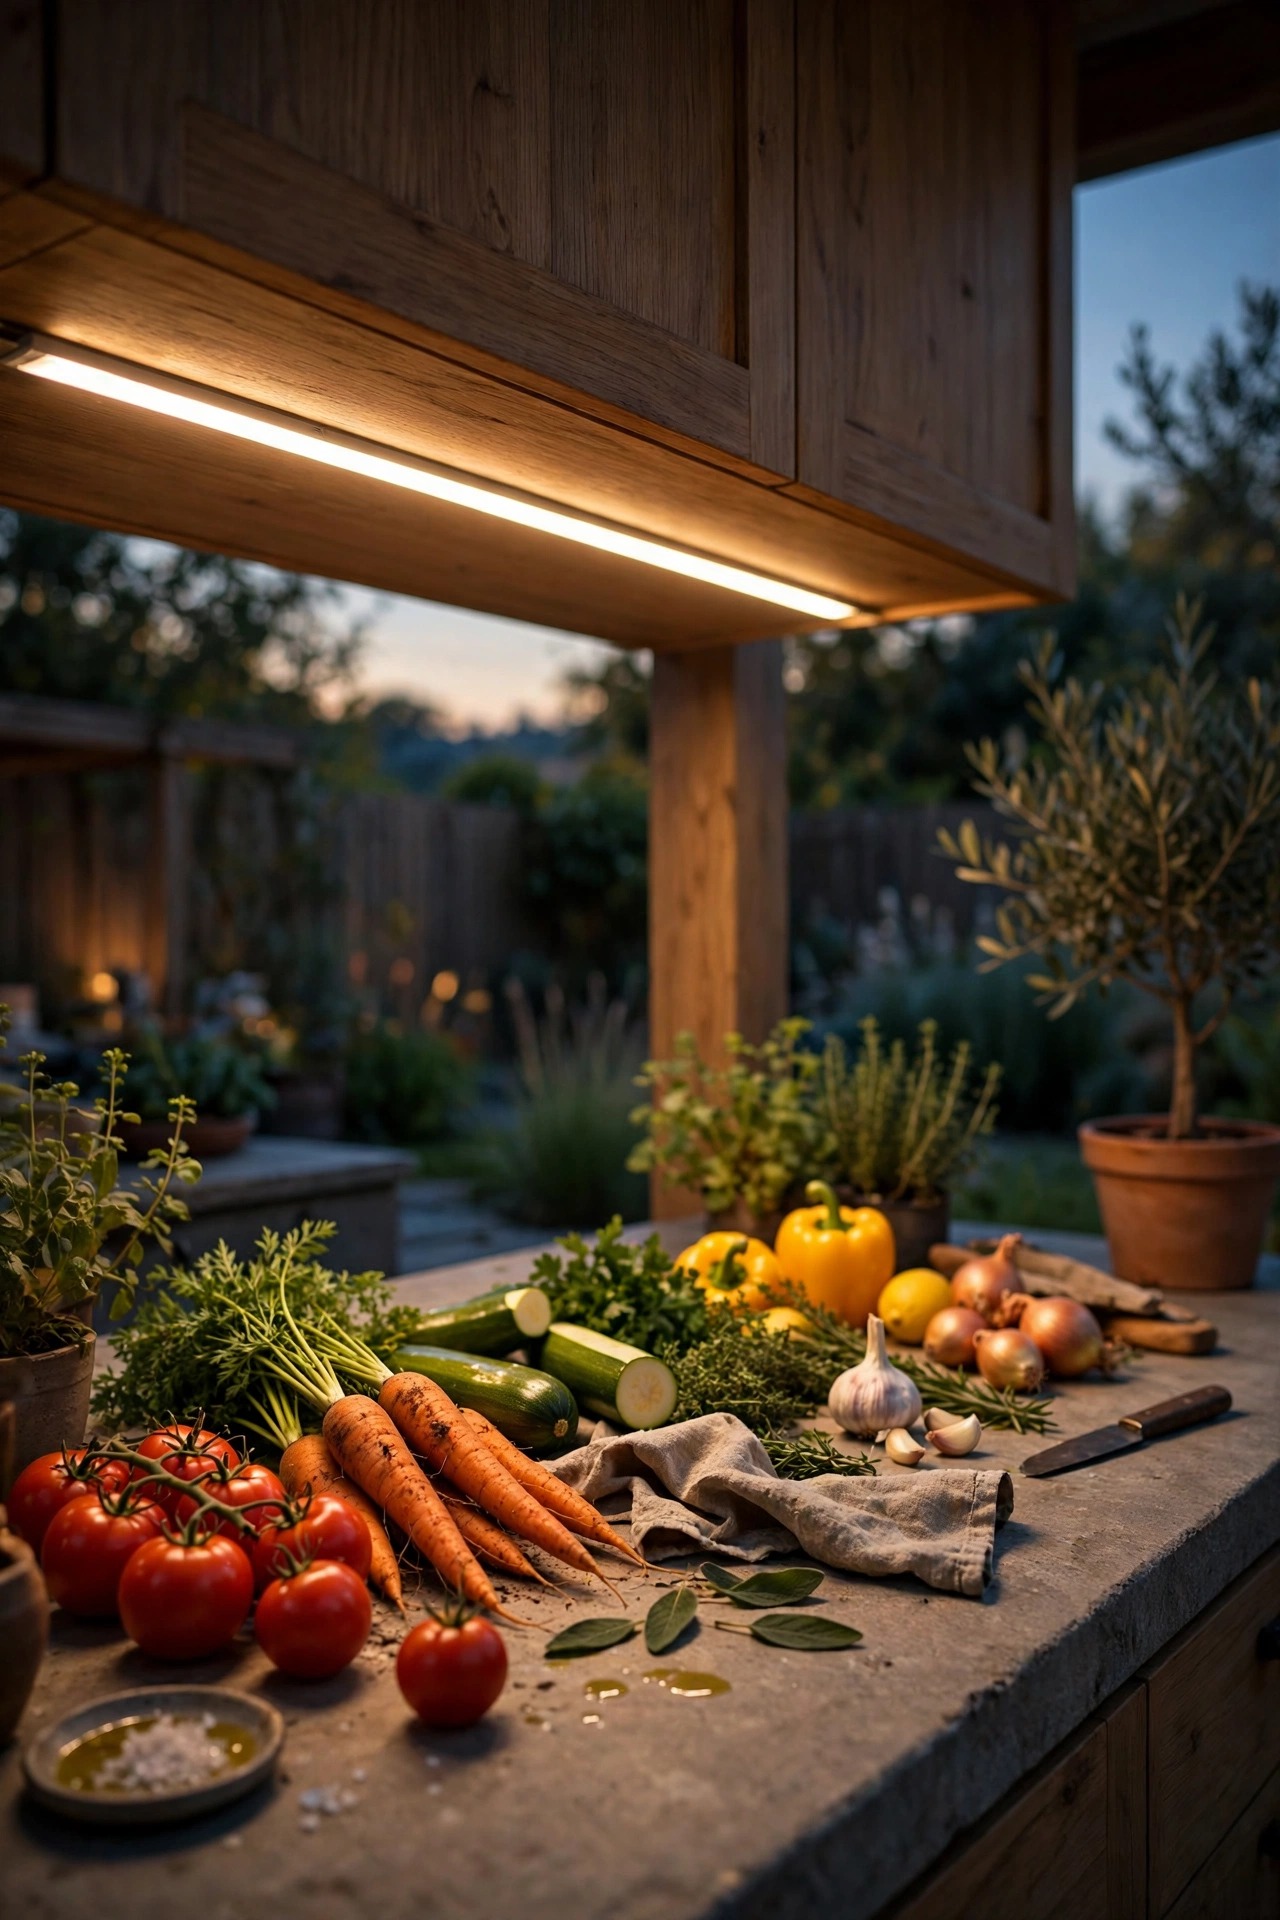
9. Waterproof IP65 Strips for Open, Unsheltered Kitchens
Not every outdoor kitchen hides under a roof, and standard indoor strips will not survive a single season in the open. For unsheltered cabinets you need strips rated IP65 at minimum — that means sealed against rain jets from any direction. The best versions are potted in silicone or epoxy, with sealed connectors and proper end caps, not just a splash of coating. IP44 gear is fine under a deep, reliable roof, but open sides and wind-driven rain call for IP65 or IP67. Check the driver and connectors too; the strip itself is rarely the weak point. The power supply should live inside a weatherproof box, and every connection point should sit where dripping water cannot pool. Also confirm the silicone sleeve will not yellow — cheap coatings turn amber within a year and shift your warm white into something dingy. Spend a little more here and the system simply stops being something you worry about when storms roll in.
Suggested budget range: $30 – $85.
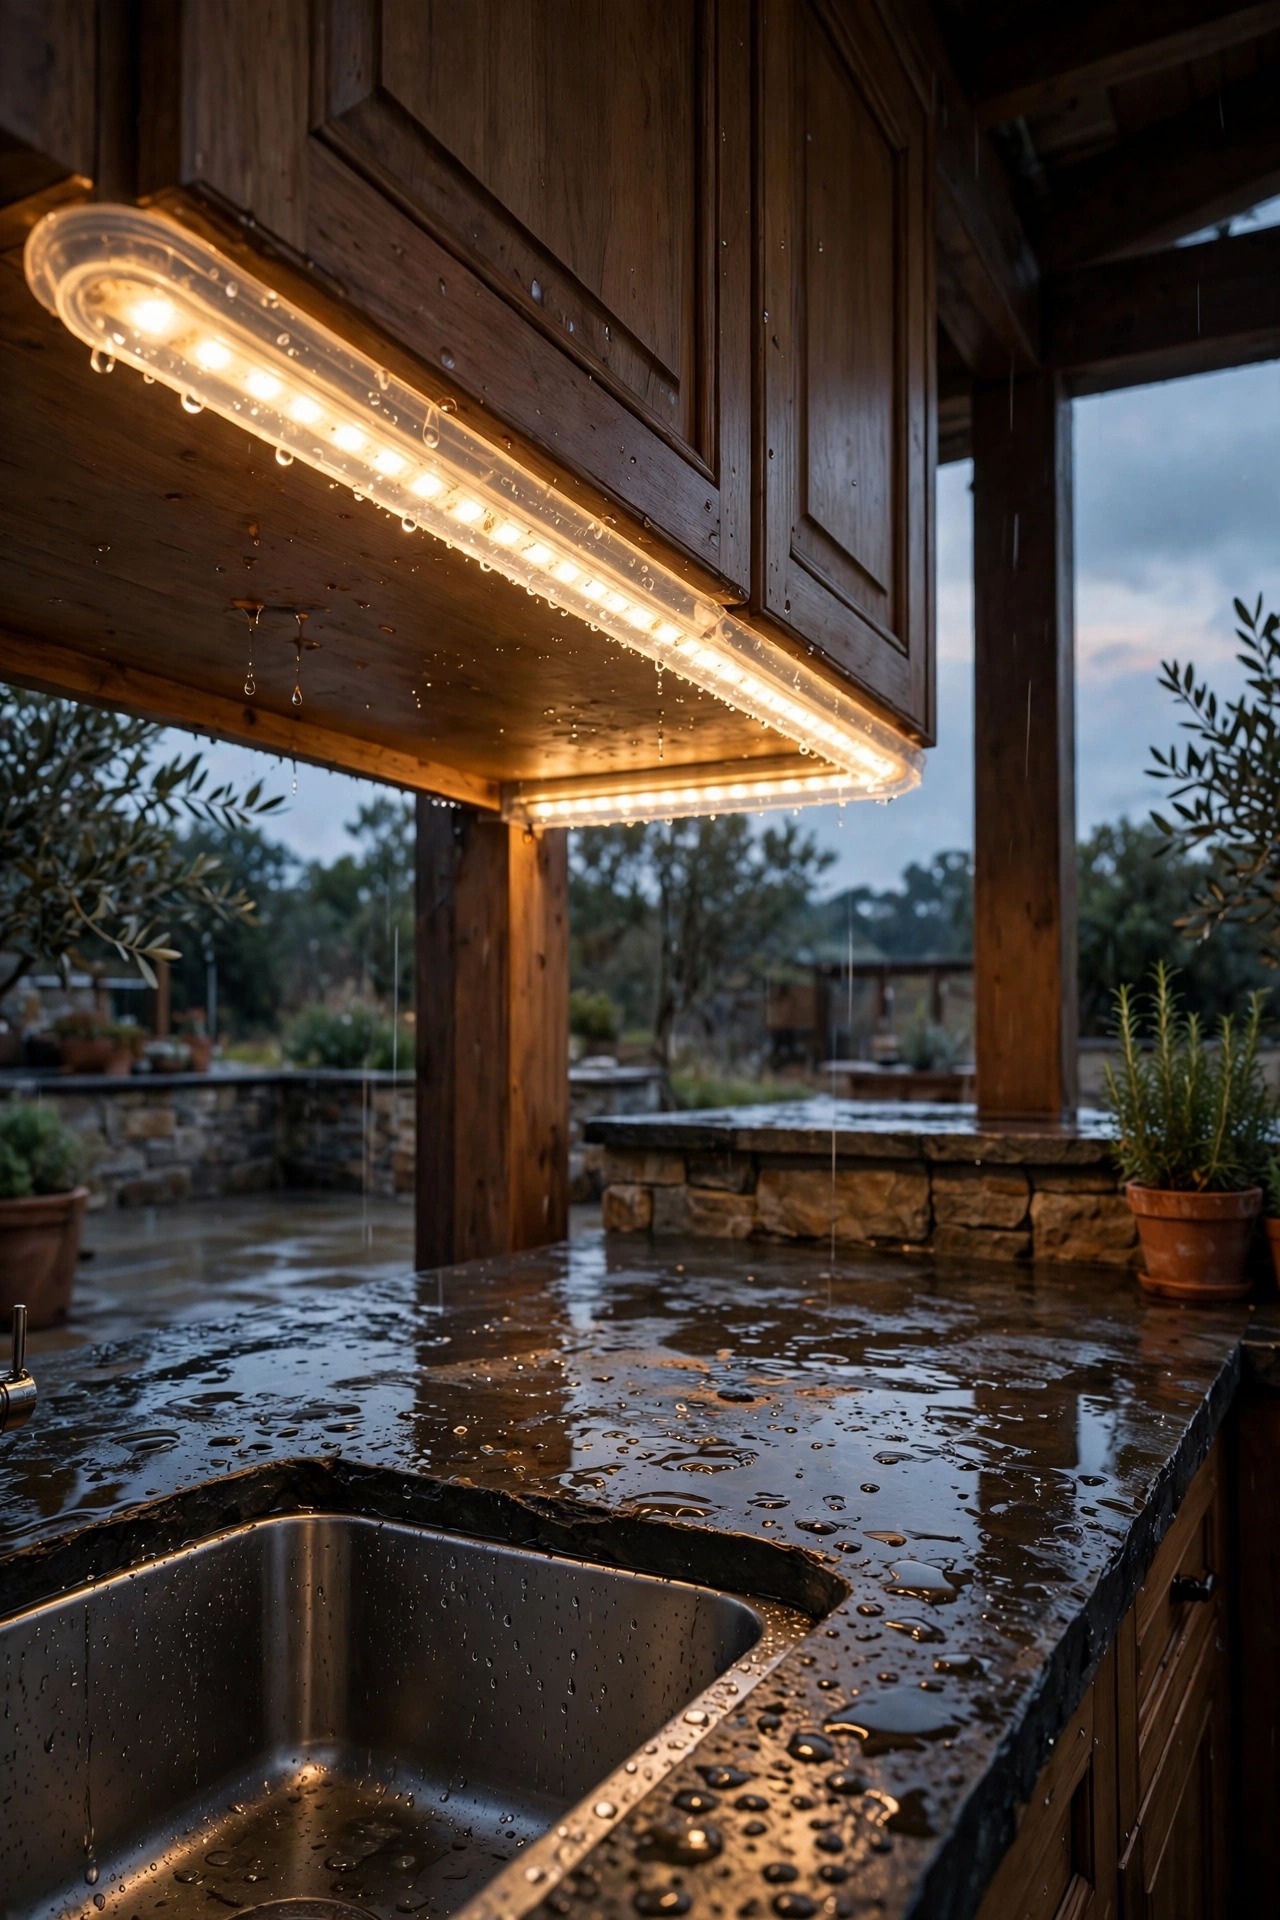
10. Solar Under-Cabinet Lights for Kitchens With No Wiring
No outlet near the cabinets? Solar under-cabinet lights are a genuinely workable answer, as long as you set expectations honestly. Each fixture or strip run connects to a small panel that mounts on top of the cabinet, the pergola beam, or a nearby sunny edge, with the cable dropping down out of sight. Modern panels charge a lithium battery that gives four to six hours of evening light, which covers most cookouts. Output is moderate — think serving-station and ambience brightness rather than fine knife work — so I use solar under cabinets for the bar end and the buffet counter, and keep one stronger light at the grill. Face the panel south or west where possible, wipe it down monthly since pollen film quietly steals charging power, and choose fixtures with a replaceable battery so the whole unit is not trash in three years. For a rental or a first kitchen, this is the lowest-commitment way to test the layout.
Suggested budget range: $20 – $55.
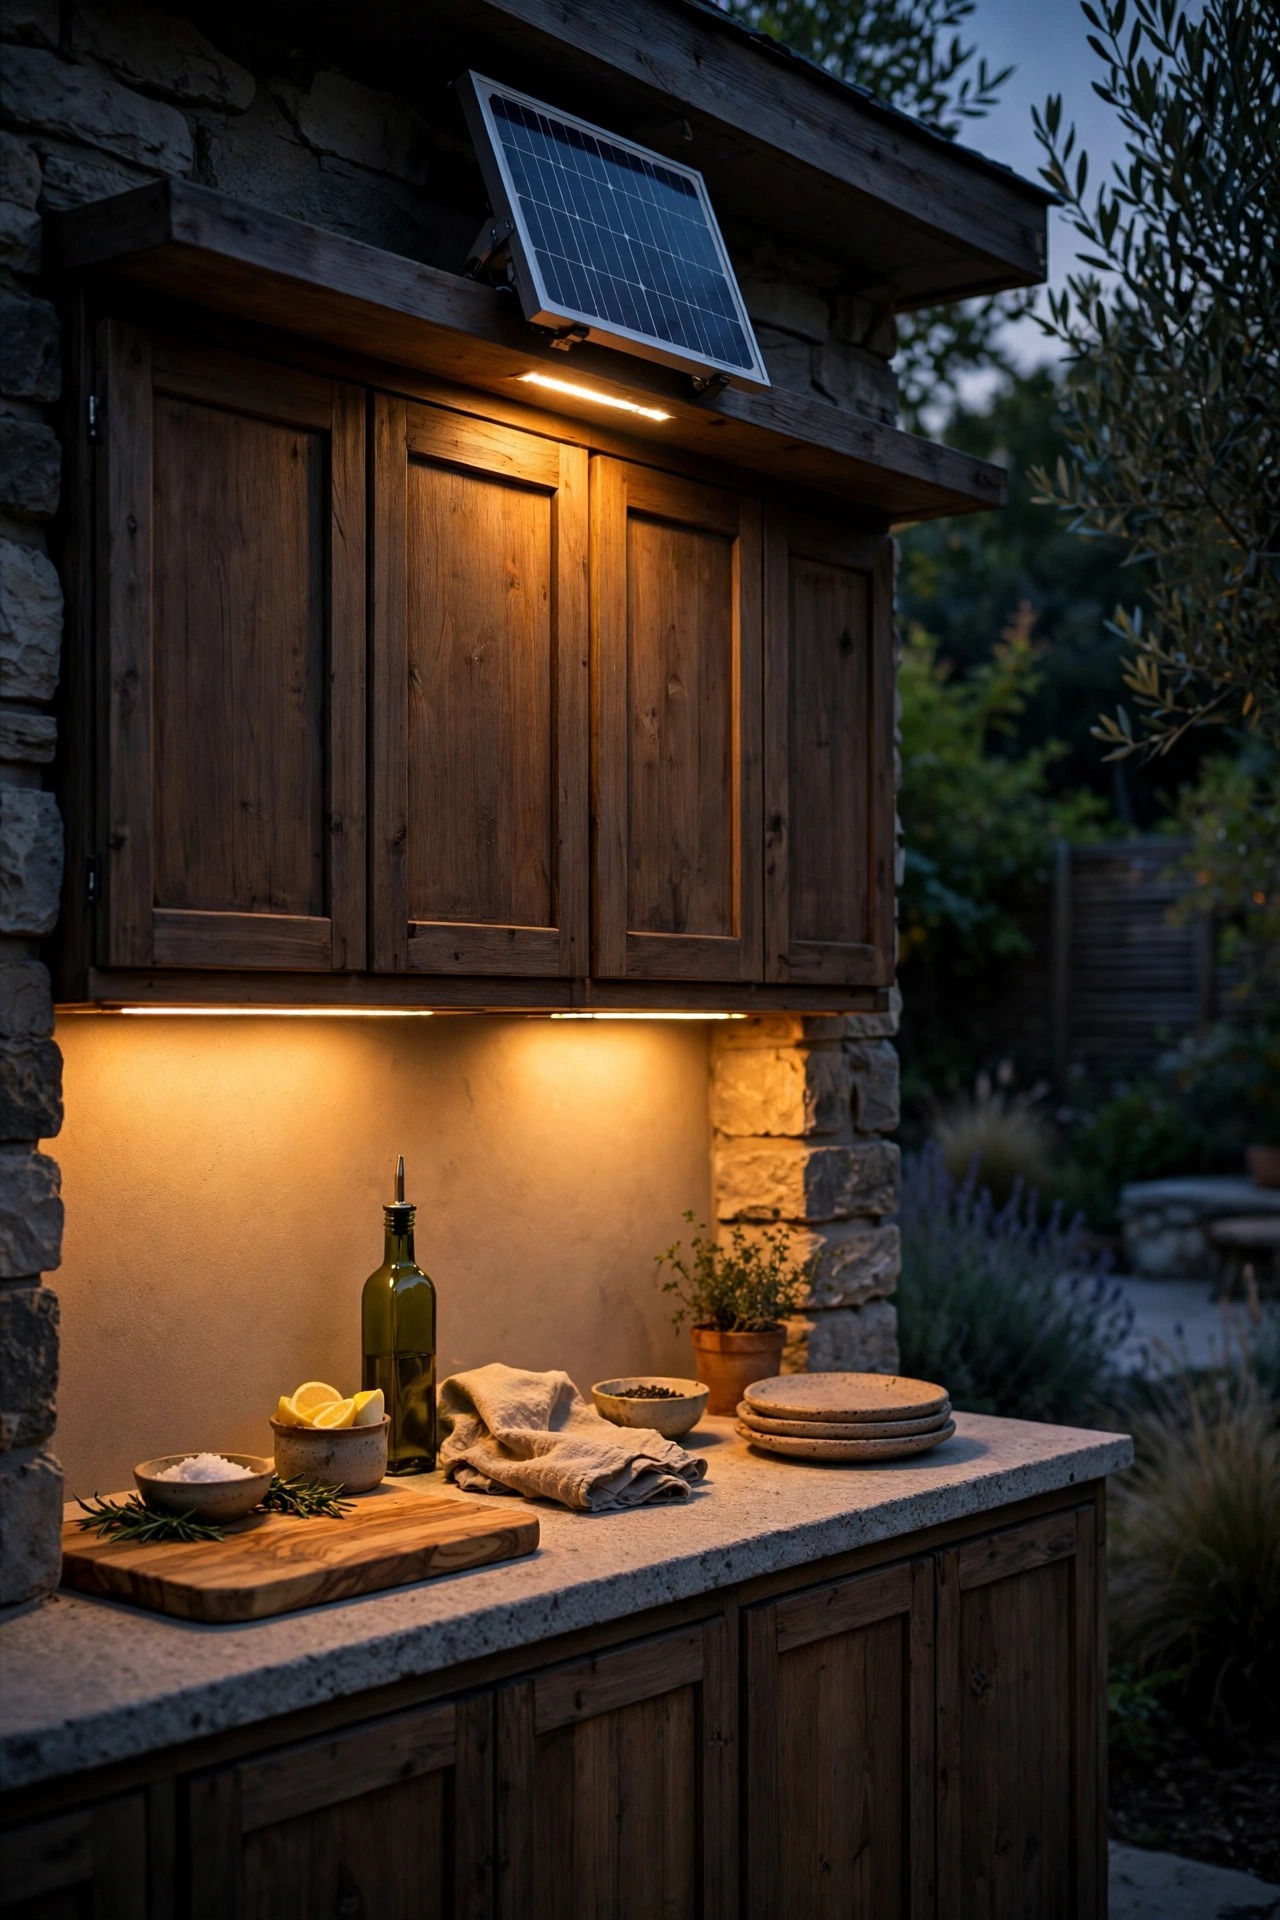
11. Rechargeable Battery Bars You Can Pop Off and Plug In
Rechargeable bars are the renters best friend and, honestly, a smart backup for everyone else. They mount on a magnetic strip or small brackets, run six to ten hours on medium brightness, and pop off to charge from any USB outlet indoors — no electrician, no drilling into tile, no cords crossing the counter. I keep two in rotation: one working, one charged, so a dead battery never ruins a Friday night. Choose bars at least 12 inches long for a useful spread of light, with a physical switch in addition to any touch controls, because touch panels and wet hands do not get along. Some models add a remote, which sounds silly until you are elbow-deep in pizza dough. The light quality on better bars now matches plug-in strips, and at 3000K the glow is properly warm. If your kitchen is a cart, a balcony rail setup, or a patio corner still evolving, start here before committing to wired runs.
Suggested budget range: $18 – $50.

12. Backsplash Bounce: Aim the Light at the Wall, Not the Counter
This is a designers trick that costs nothing extra, because it is about aim rather than gear. Instead of mounting the strip at the front lip of the cabinet pointing straight down, mount it at the back, tilted toward a tile or stone backsplash. The light washes the wall and bounces forward onto the counter as a soft, shadowless glow. Raw onions stop casting dramatic shadows, your hands stop blocking the task light, and the whole run of cabinets gets that expensive, indirect look. It works best with a light-colored, slightly glossy backsplash that reflects well; matte black tile will swallow most of the bounce. On my own setup I run both: a bounce strip for general glow plus one front-mounted bar over the cutting board for true task work. If you only do one, and your backsplash is pale stone or subway tile, bounce is the prettier choice. Try the strip in both positions with painter tape before you commit to screws.
Suggested budget range: $25 – $75.

13. Under-Shelf Lighting for Open Shelving Instead of Cabinets
Plenty of outdoor kitchens skip wall cabinets entirely and use open shelves for platters, jars, and cookware. The good news: a shelf underside is a cabinet underside for lighting purposes. Run a slim strip or mini bar under the lowest shelf and you light both the stored pieces above the counter and the work surface below. Route the wire along the back edge of the shelf bracket where it disappears, and use a channel so the strip reads as part of the shelving rather than an add-on. This also works beautifully under a floating shelf on a pergola post or under the edge of a bar-height counter. Keep fixtures a few inches back from the shelf front so the light grazes down instead of shining into the eyes of anyone seated opposite. And because open shelves collect grease film faster than closed cabinets, choose sealed fixtures you can wipe clean in seconds.
Suggested budget range: $30 – $95.
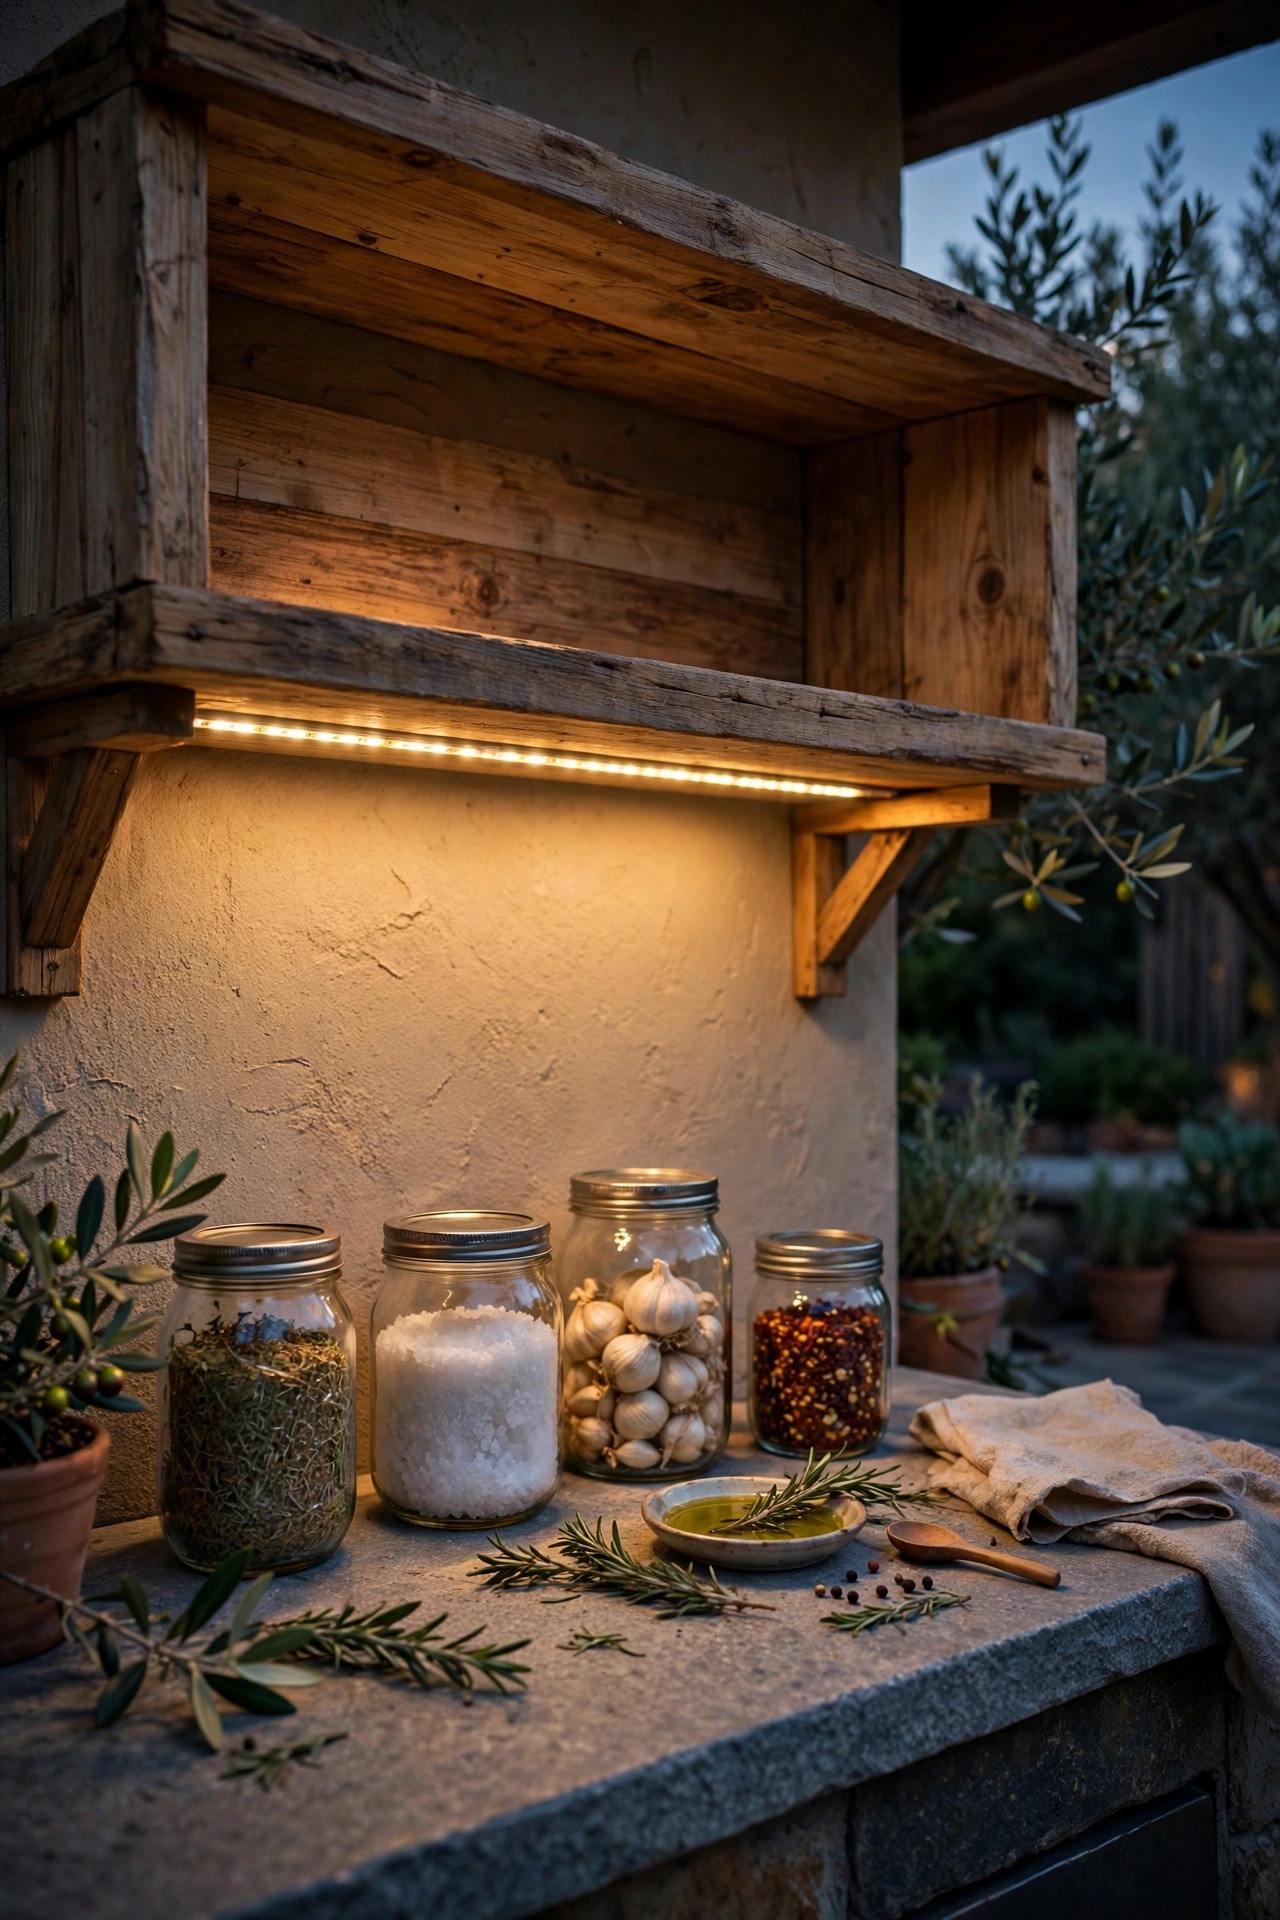
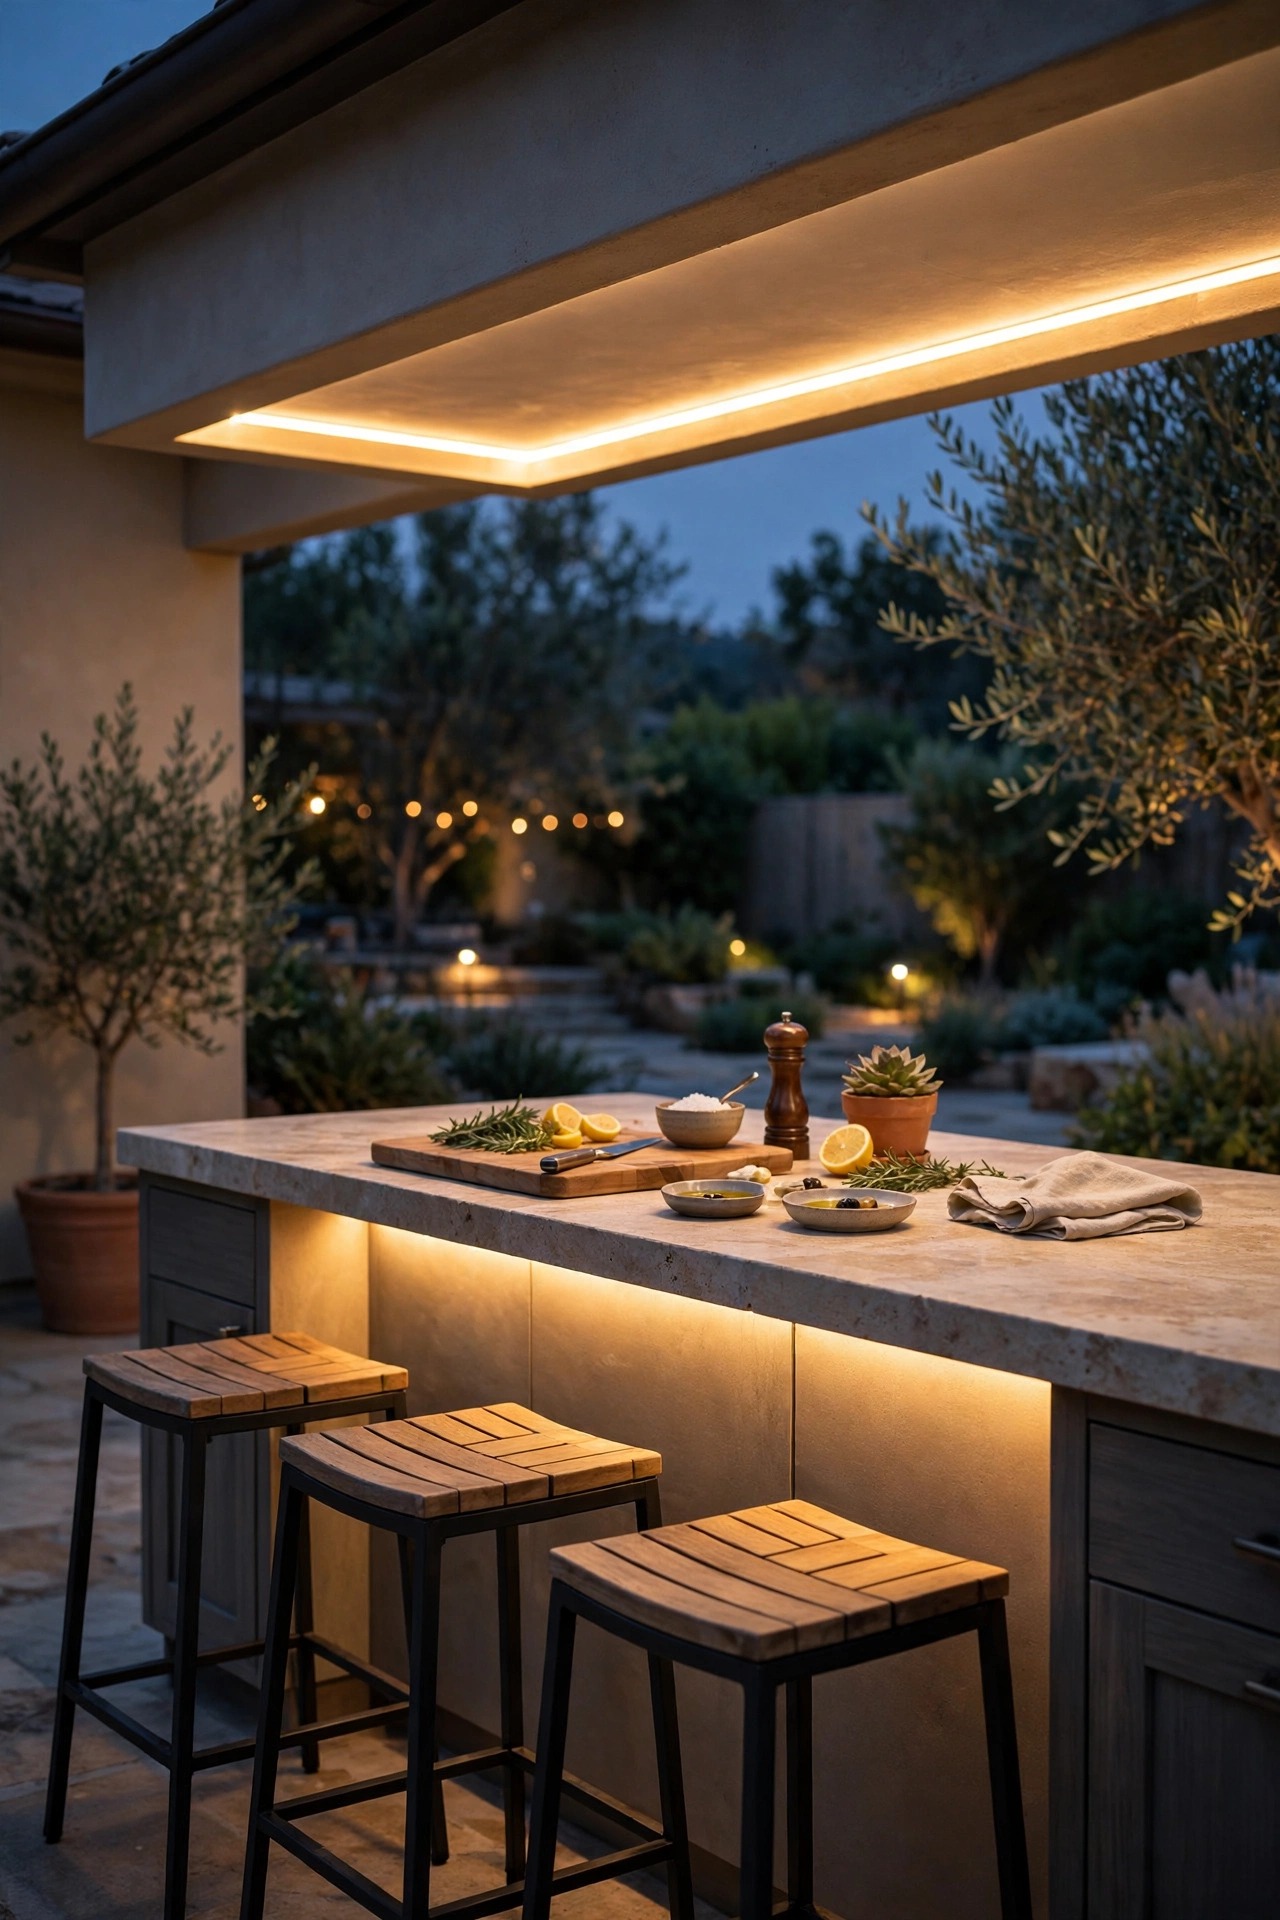
14. Under-Counter Light for the Island and Prep Peninsula
Islands get forgotten because they have no wall cabinets, but the countertop overhang is a perfect hiding place for a strip. Mounted under the lip on the prep side, it floods the island work surface where most of the actual chopping and plating happens. On the seating side, the same trick at low brightness lights knees and the floor edge, so guests stop kicking the cabinet base in the dark. Power usually comes from inside the island cabinet: a low-voltage driver on the cabinet floor, fed by the same GFCI circuit as the island outlet, with cable run through the cabinet interior where it stays dry and invisible. If your island was built without power, rechargeable bars under the overhang are the painless workaround. One caution from experience: put the island strip on its own switch or dimmer, separate from the wall run. The island is where people gather, and you will constantly want it set differently from the cooking zone.
Suggested budget range: $35 – $100.
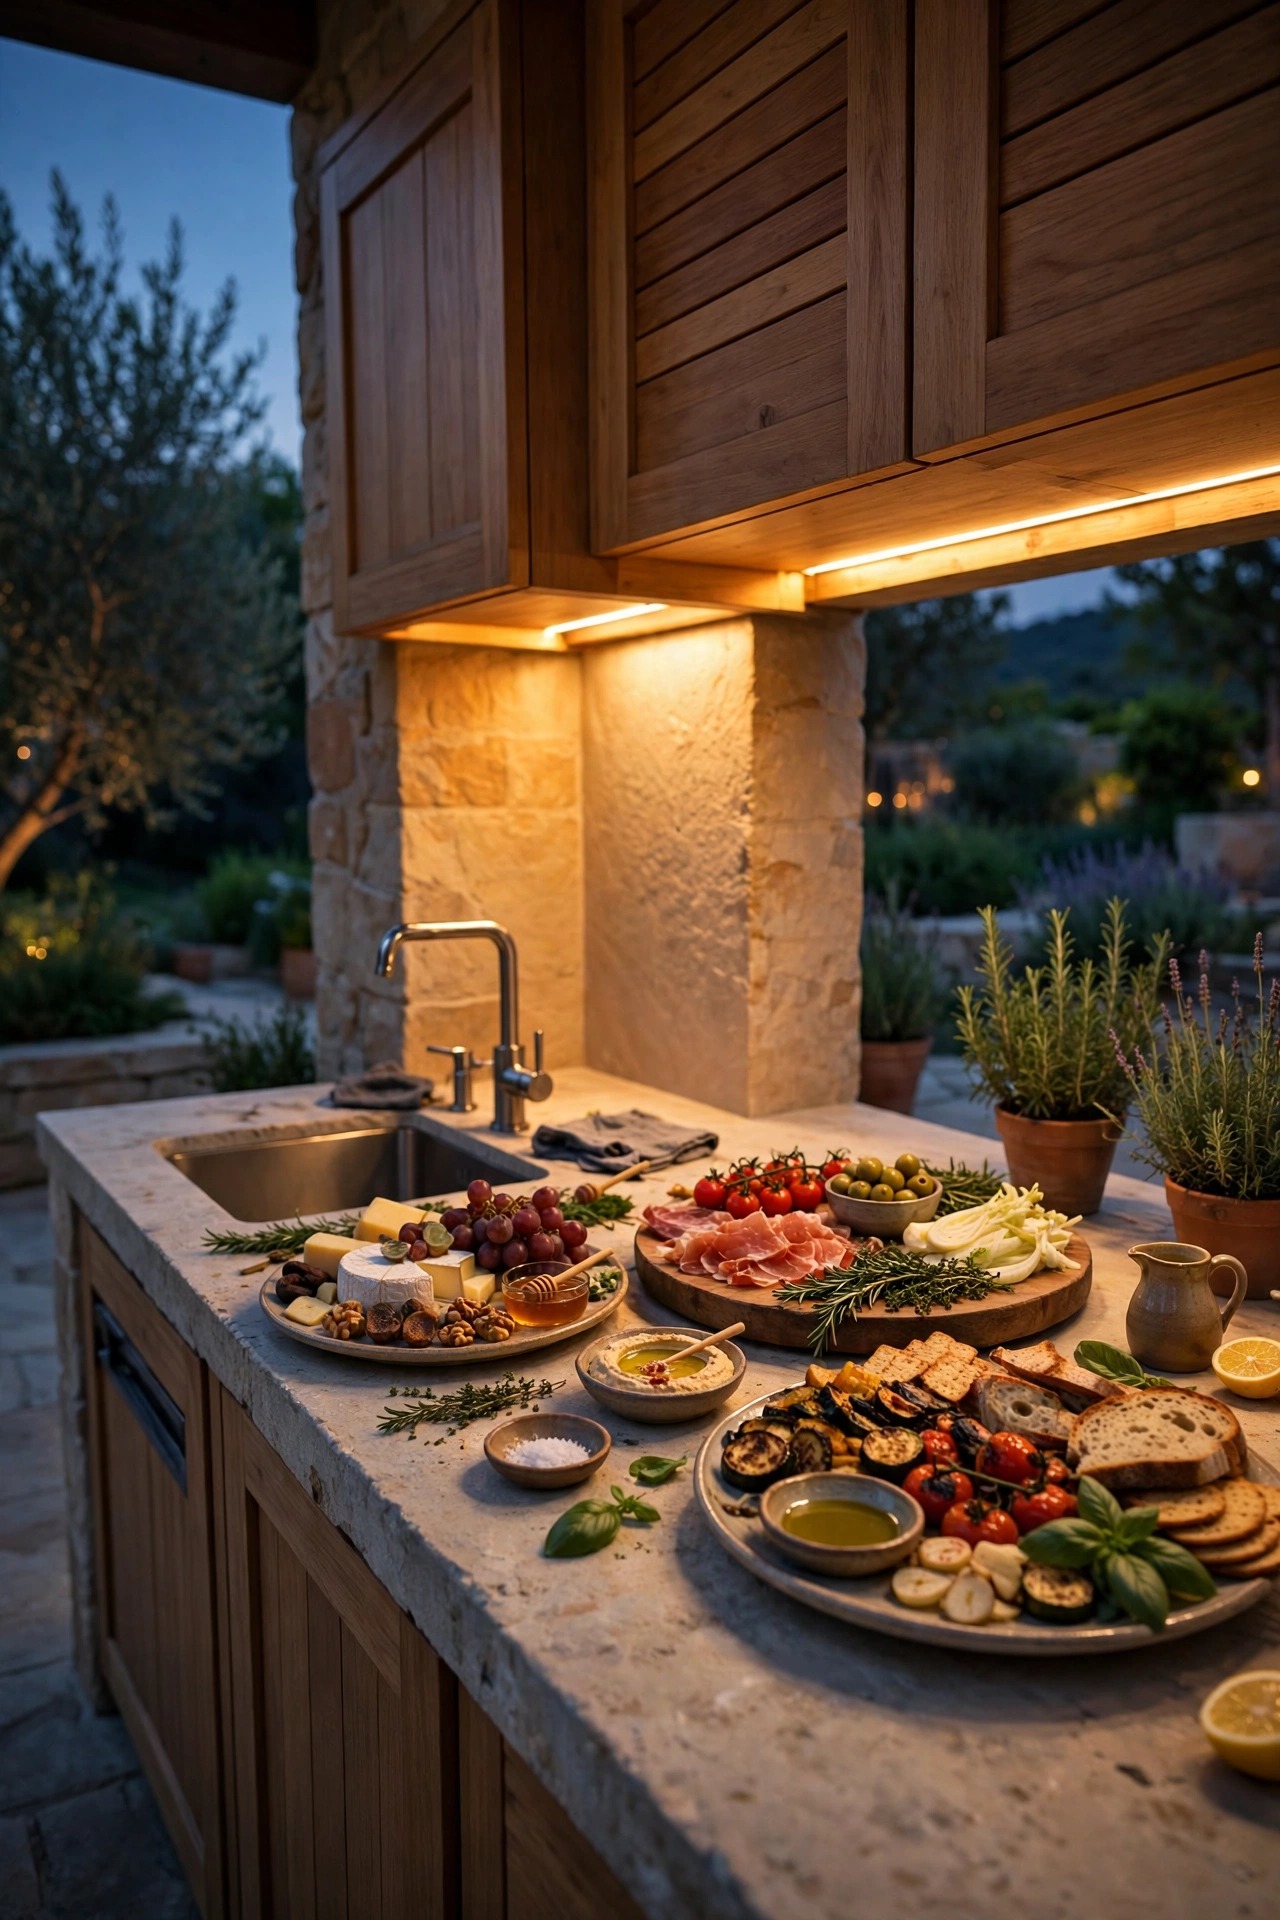
15. Sink and Serving Station Lights That Earn Their Keep
The sink run and the serving counter are the two under-cabinet zones people skip, and then curse every single night. Over the sink, a bright bar means you can actually see whether the salad greens are clean and the glasses are spot-free; choose sealed, corrosion-resistant fixtures here because this zone lives with constant splashes and steam from the dishwasher drawer if you have one. Over the serving station, go warmer and dimmer — this is presentation light, and a gentle 2700K wash makes a buffet look abundant instead of clinical. Motion activation suits the sink, while the serving run belongs on the same dimmer as your dining layer. In both spots, mount the fixture as far forward as the cabinet allows so the light reaches the front edge of the counter, where trays get set down and drinks get poured. Small zones, huge nightly payoff.
Suggested budget range: $25 – $80.
16. Heat-Smart Task Lighting Beside the Grill
The grill end of the counter needs light the most and forgives it the least. Heat is the issue: standard adhesive strips mounted too close to a grill hood will yellow, sag, and die young. My rules are simple. Keep any plastic-bodied fixture at least 18 inches from the grill opening, farther if your grill runs a rear rotisserie burner. Within the hot zone, choose metal-bodied light bars with glass or silicone diffusers, rated for high ambient temperatures, and mount them under a cabinet or shelf that itself stays clear of the hood swing. A slight forward angle throws the light onto the grill-side counter where tongs, trays, and resting meat land, without blasting the cook in the eyes. Also, keep wiring out of the heat path entirely — run cables along the back panel, never over the firebox. Done right, this is the light that saves the burgers, because you can finally see the difference between charred and perfect.
Suggested budget range: $40 – $130.
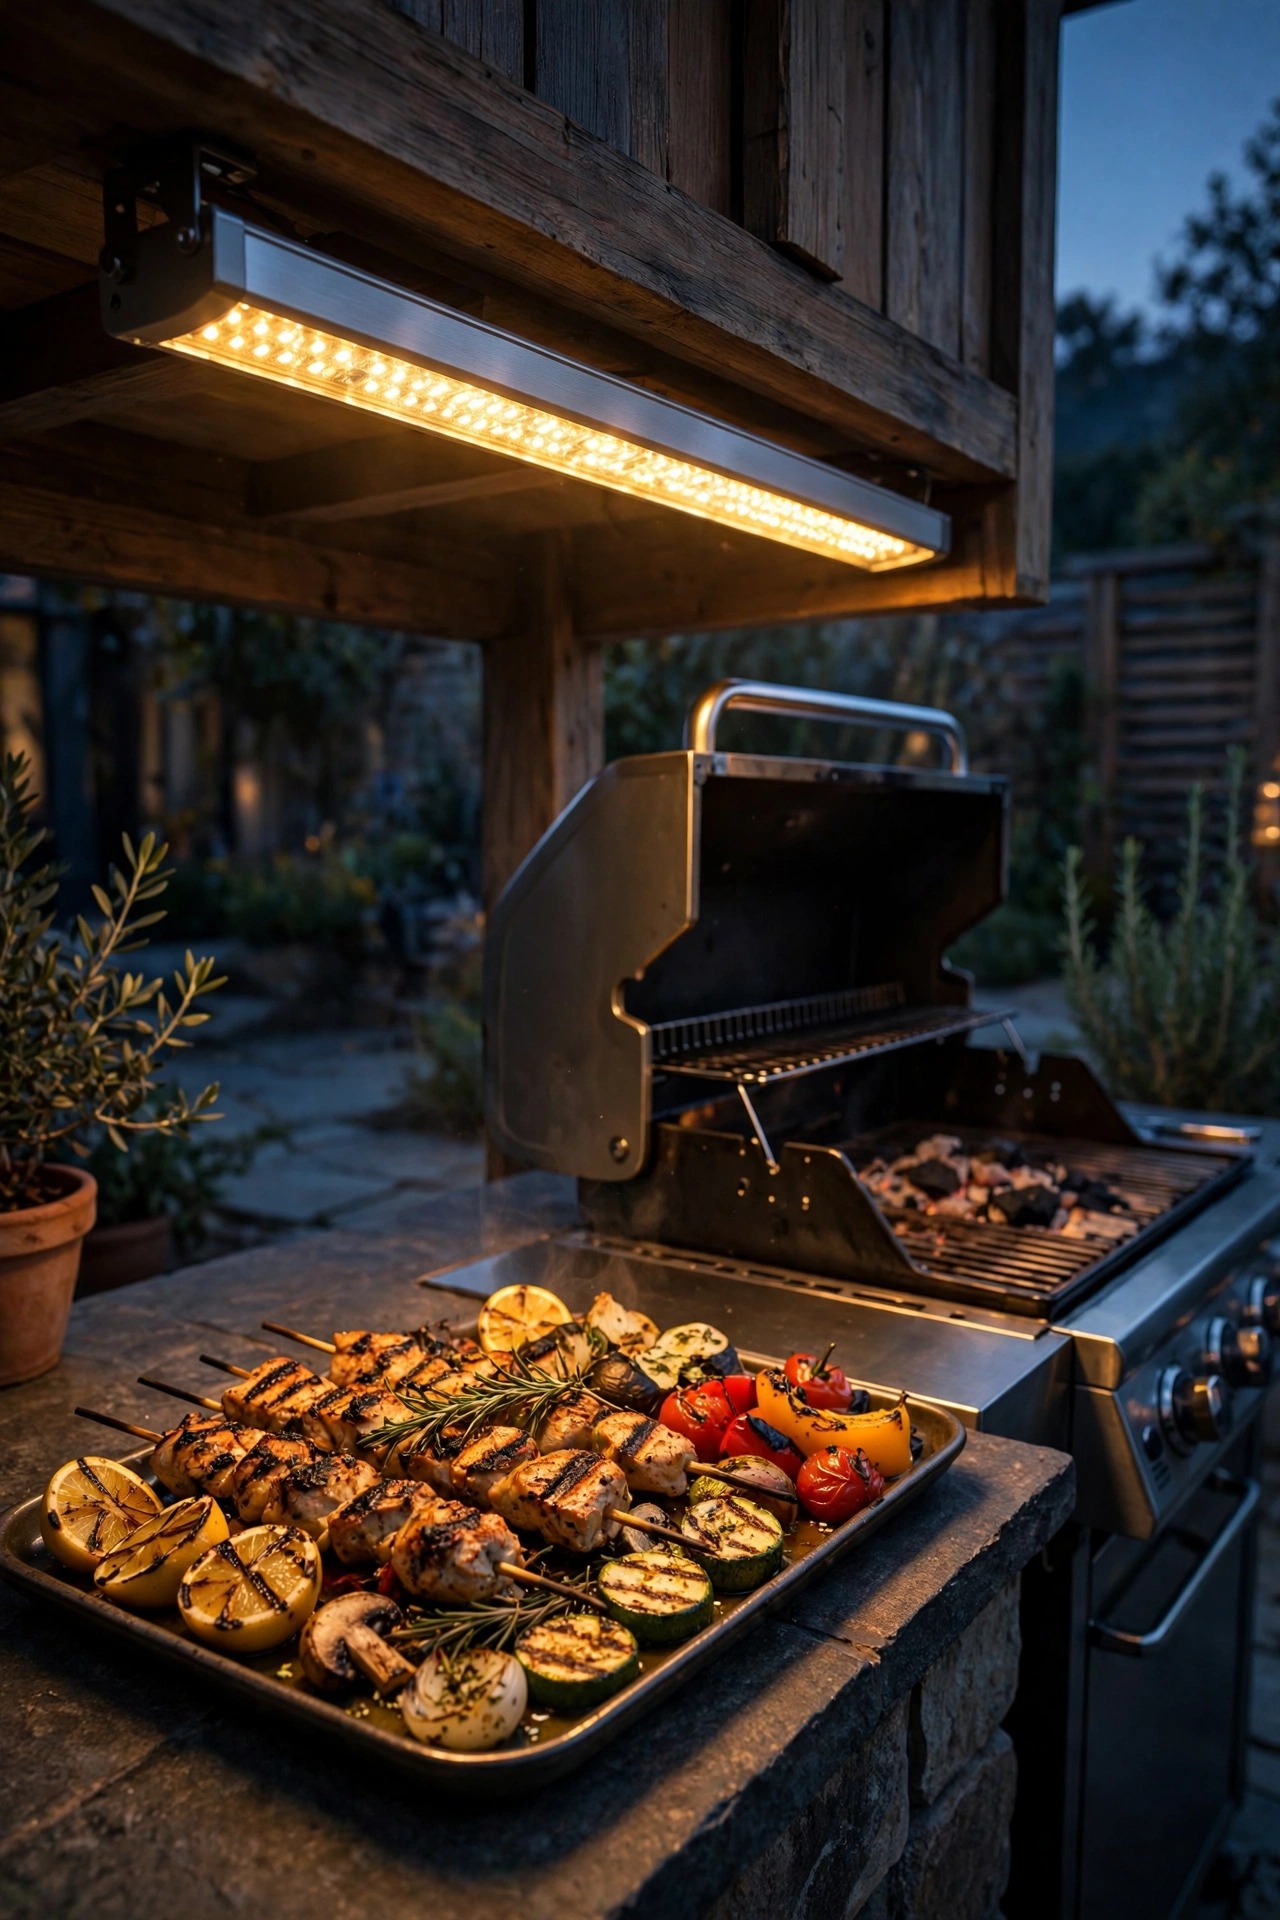
17. Timers and Smart Plugs So the Kitchen Greets You Lit
The best under-cabinet system is the one already on when you carry the first tray outside. Plug the driver into an outdoor-rated smart plug or a photocell timer and the whole run wakes at dusk without you touching a switch. I set mine to turn on about 30 minutes before sunset and off at 11 p.m., which covers cooking and cleanup without burning electricity all night. An astronomical timer is the upgrade worth having — it tracks your local sunset all year, so the schedule never drifts silly in June or December. Keep the plug itself sheltered inside the cabinet or a weatherproof box, since the plug is the one part of the system not built for a soaking. During party weeks I add a manual override habit: full brightness on the controller before guests arrive, and let the timer handle the rest. Automation also means the lights are on for the security camera view of the patio, a quiet bonus.
Suggested budget range: $30 – $85.
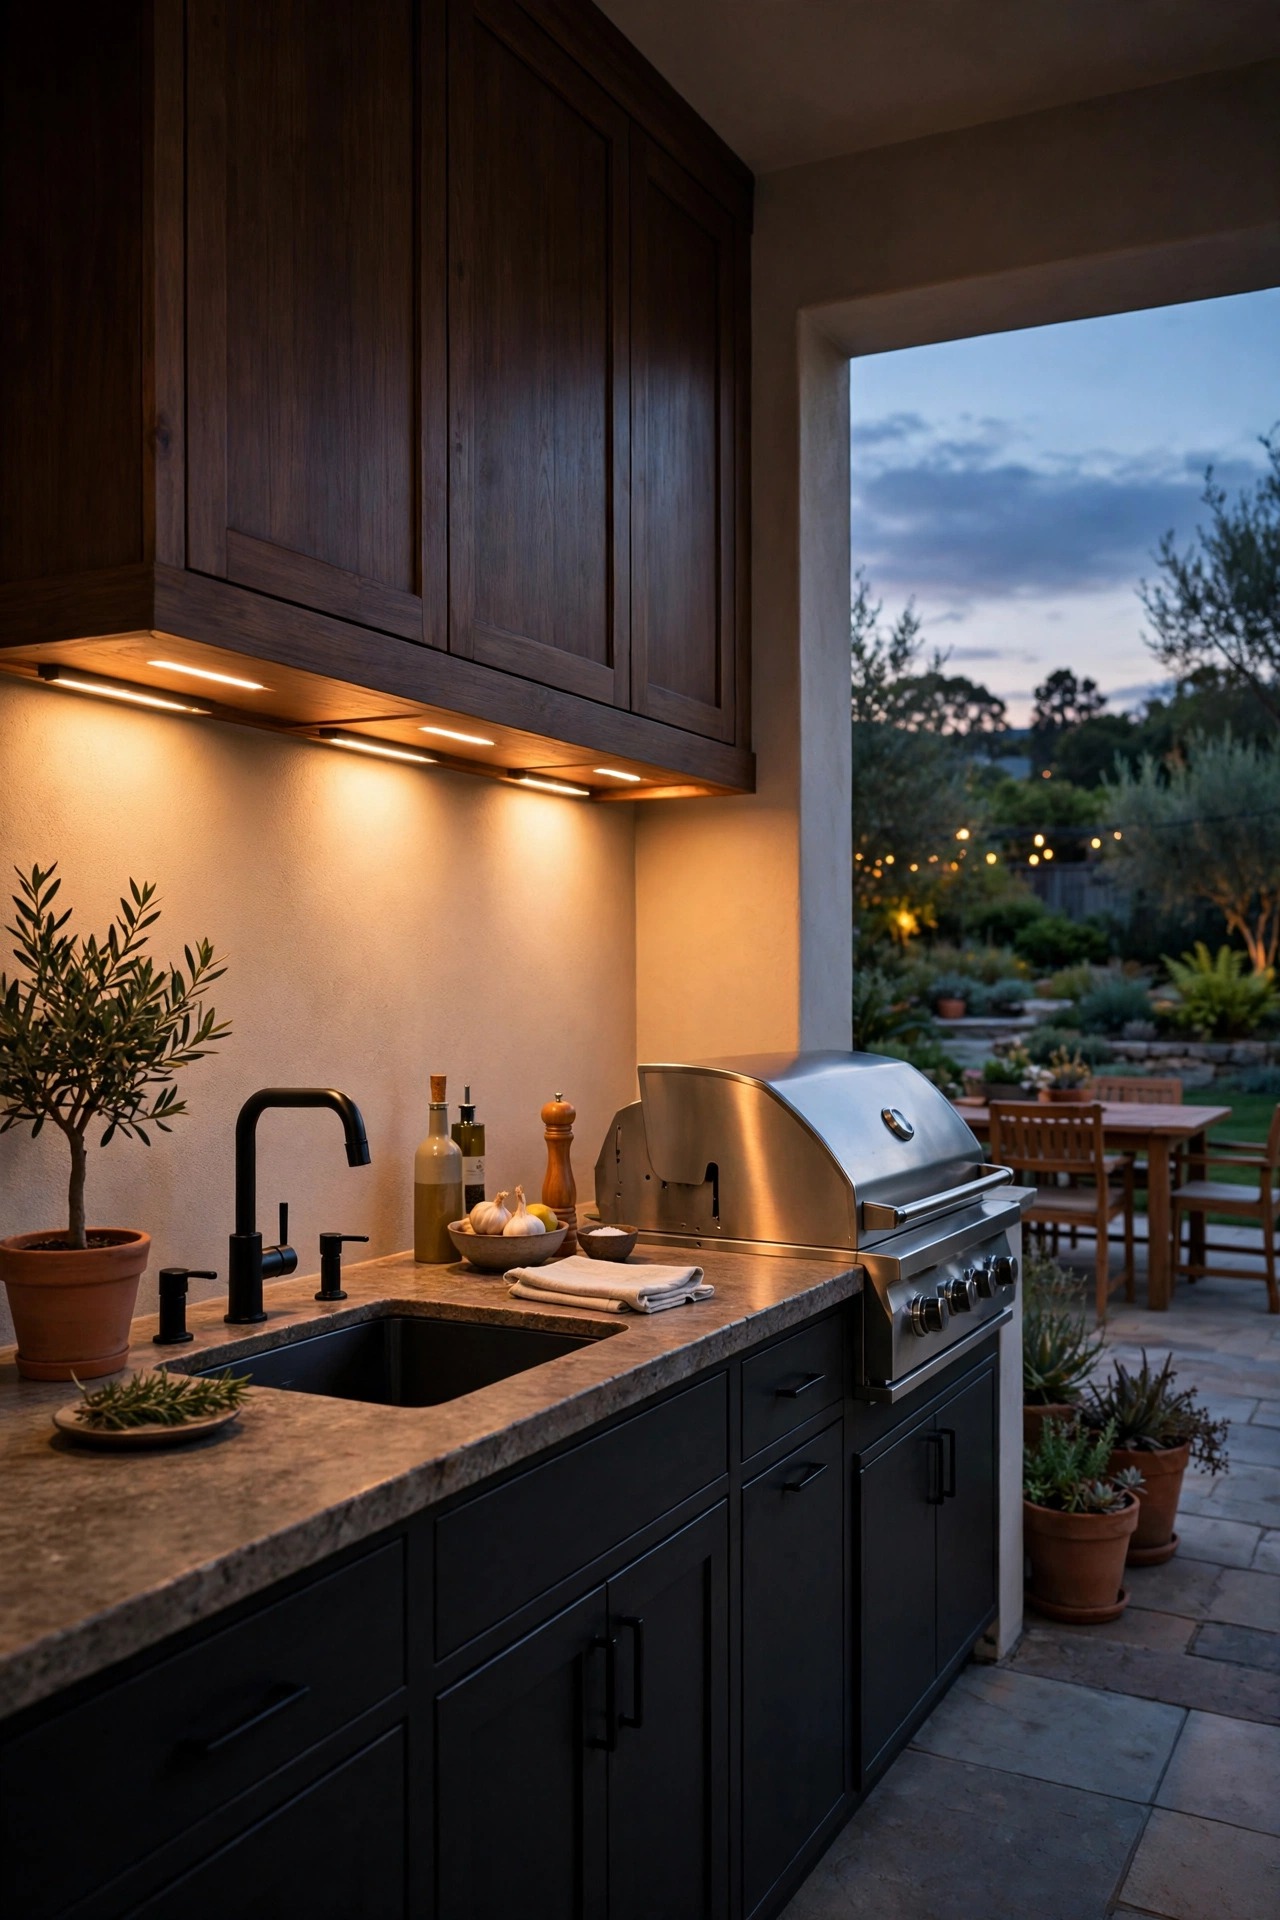
18. Layer It: Strips Plus Pucks for Complete Outdoor Kitchen Under Cabinet Lighting
By now you can probably see my favorite formula coming. Strips alone can look flat; pucks alone leave gaps. Together they give you the layered outdoor kitchen under cabinet lighting that makes a counter feel both bright and beautiful. Run a continuous strip or bar as your base layer for even coverage, then add two or three pucks over the hero zones — the cutting board, the sink, the plating spot — where detail matters. Keep every fixture in the same color temperature family or the counter will look patchworked; 3000K across the board is my sweet spot. Put the base layer and the pucks on separate switches or dimmer channels if you can, because some nights you want just the pucks glowing like little stage lights over a cheese board. This is also exactly the approach I take with rails and steps in my under-rail LED strip lighting projects — a soft base wash plus deliberate accents always beats one bright fixture trying to do everything.
Suggested budget range: $60 – $160.

19. Zone Your Outdoor Kitchen Under Cabinet Lighting Like a Pro
Final idea, and the one that ties all eighteen together: stop thinking of your under-cabinet light as one thing. Think in zones. The prep zone gets the brightest, coolest light, around 4000K at full output. The grill zone gets heat-smart metal fixtures on their own switch, because nobody needs them blazing during dessert. The sink and serving zones get warm, dimmable light that flatters food and faces. Wire or group each zone separately — most low-voltage systems make this easy with a multi-channel controller — and label the switches inside the cabinet door; future you, mid-cookout, will be grateful. Walk the space at night with a tray in your hands and adjust before you finalize anything. If you are still planning the bigger picture, my complete guide to outdoor kitchen lighting shows how this layer fits the grill, pergola, and path lighting around it. Zoned, your kitchen works like a restaurant line and glows like a resort.
Suggested budget range: $80 – $250.
Frequently Asked Questions
How many lumens do I need under outdoor kitchen cabinets?
For real cooking tasks, plan on roughly 250 to 400 lumens per linear foot of counter. A six-foot run therefore wants somewhere between 1,500 and 2,400 lumens total. Serving and ambience zones can drop to half that. If a product only lists watts, a decent LED strip producing about 300 lumens per foot usually draws five to seven watts per foot.
Are LED strip lights safe to use outdoors under cabinets?
Yes, with the right rating. Choose strips rated IP65 for exposed kitchens, or IP44 minimum under a solid roof, and always power them from a GFCI-protected outlet. Keep plastic fixtures at least 18 inches from grill heat, seal cut ends, and house the driver in a weatherproof box. Low-voltage 12 or 24 volt systems add an extra margin of safety around water.
Can I install under-cabinet lighting outdoors without an electrician?
Usually, yes. Plug-in strips, rigid bars, battery pucks, rechargeable bars, and solar fixtures are all DIY friendly and need nothing more than screws, clips, and a GFCI outlet. Hardwired recessed downlights and any new circuit work should go to a licensed electrician, both for safety and because most local codes require it.
What color temperature is best for cooking outside?
Around 3000K is the all-round sweet spot: warm enough to feel inviting, neutral enough to judge food honestly. If you do a lot of grilling after dark, 4000K over the prep zone shows doneness and sear more accurately. Tunable-white strips give you both, sliding cooler for cooking and warmer for serving.
Conclusion
Great outdoor kitchen under cabinet lighting is not about buying the brightest fixture on the shelf. It is about putting honest task light over the counters where you actually work, softening it when the cooking is done, and choosing ratings that shrug off weather and grill heat. Start with one run over your main prep counter — a dimmable strip in a channel is my standing recommendation — then add zones as the cookouts pile up. Your future self, knife in hand at dusk, will thank you. Browse the rest of the site for more outdoor lighting ideas to layer around the kitchen, and let the season run long.