There is a very specific heartbreak that comes with pulling a pizza out of your oven at 9 p.m. and realizing, too late, that the bottom is scorched and the cheese never quite melted. Wood-fired cooking happens fast — ninety seconds can be the entire cook — and if you cannot see what is happening inside that dark oven mouth, you are simply guessing. That is exactly why good pizza oven lighting ideas matter just as much as your dough recipe. In my experience, the backyard stations that work beautifully after dark are never lit by one heroic bulb. They are layered: bright, honest task light where you launch and turn the pie, softer ambient glow over the prep counter, and warm accent light where everyone gathers with their plates. Get those three layers right and the whole backyard starts to feel like a little Italian courtyard. Below I am sharing my fifteen favorite pizza oven lighting ideas, from a heat-rated task light over the mouth to the string light canopy that makes guests linger long after the last slice is gone.
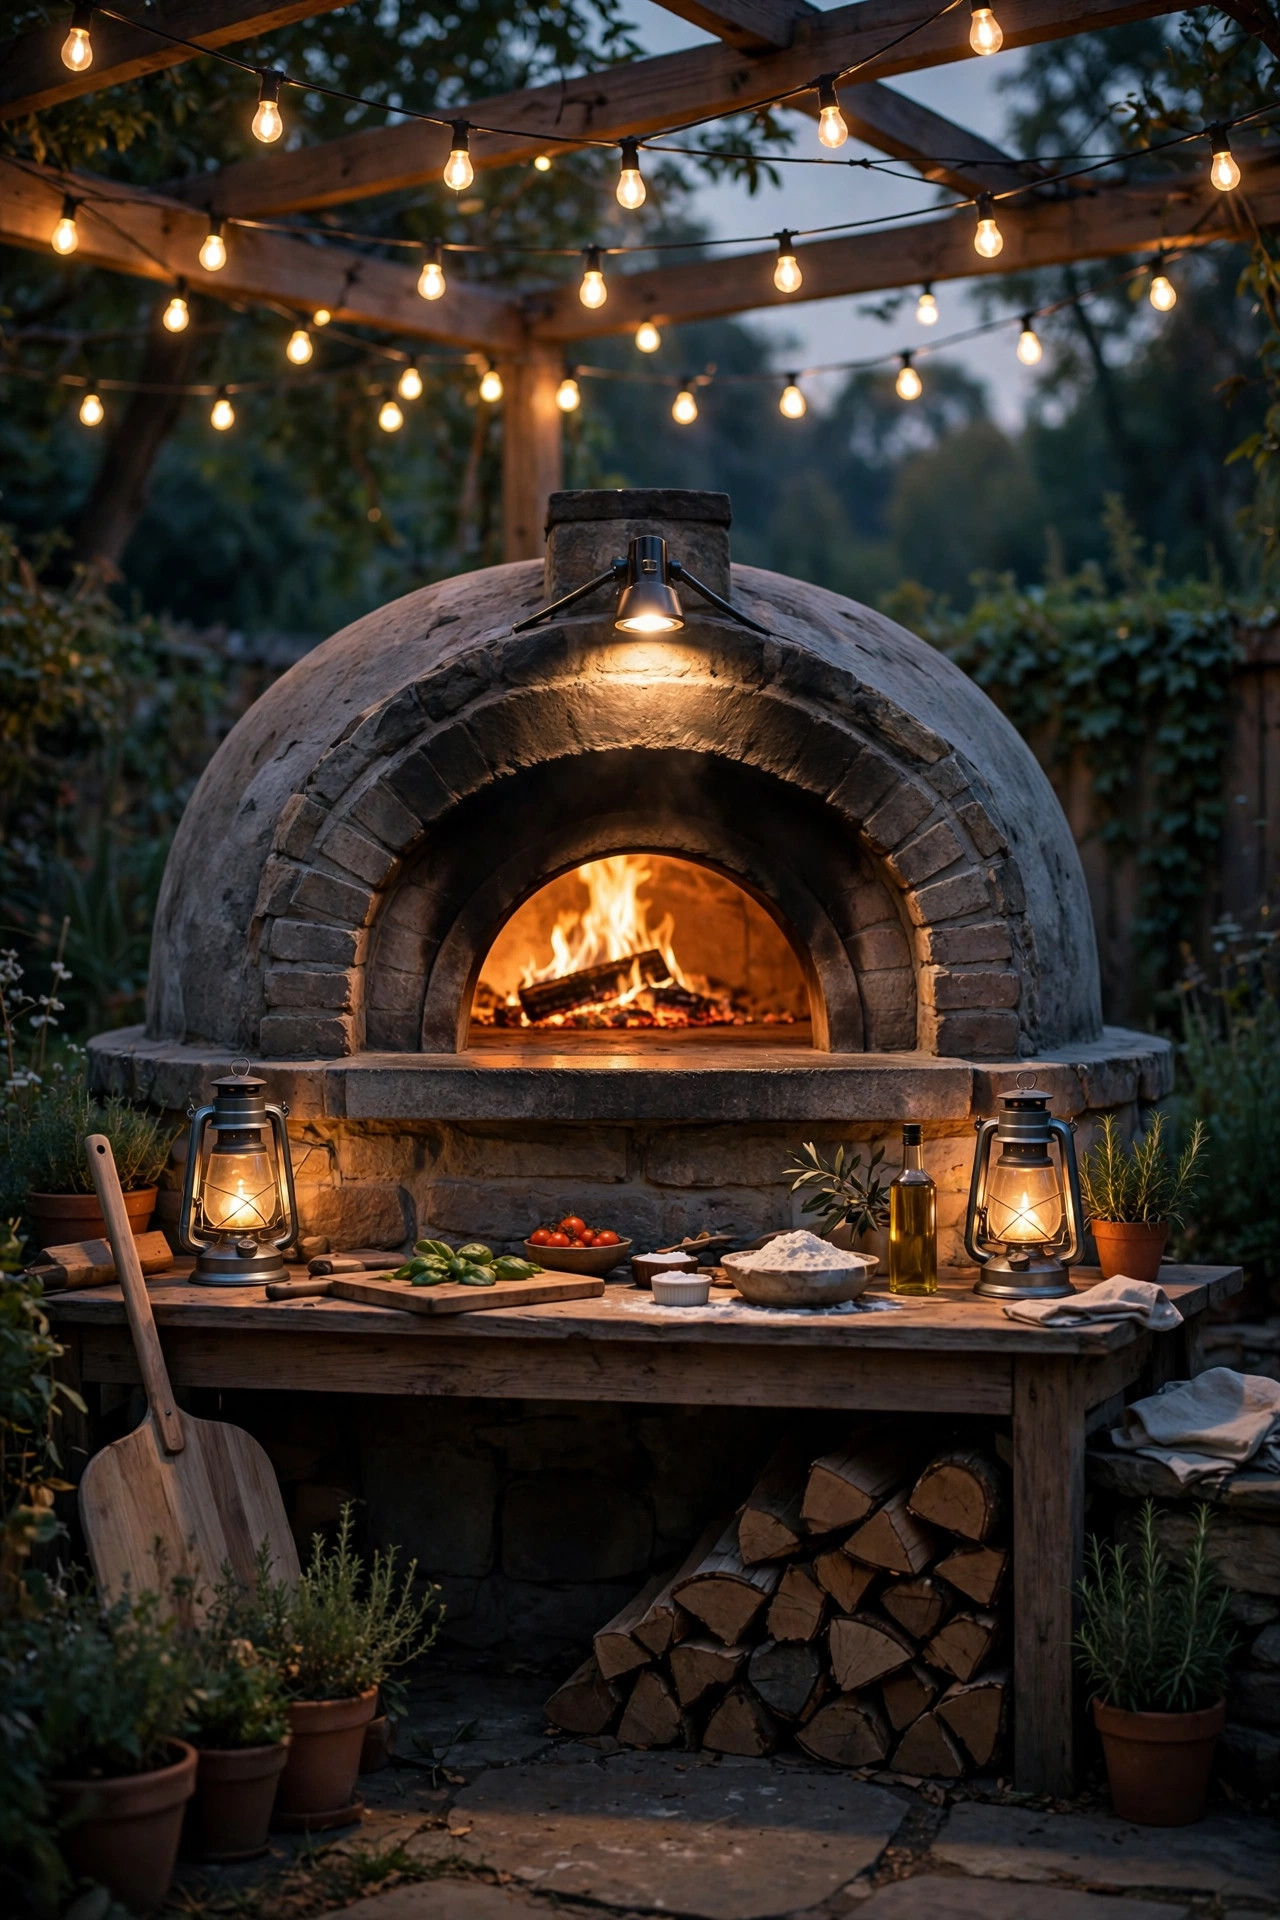
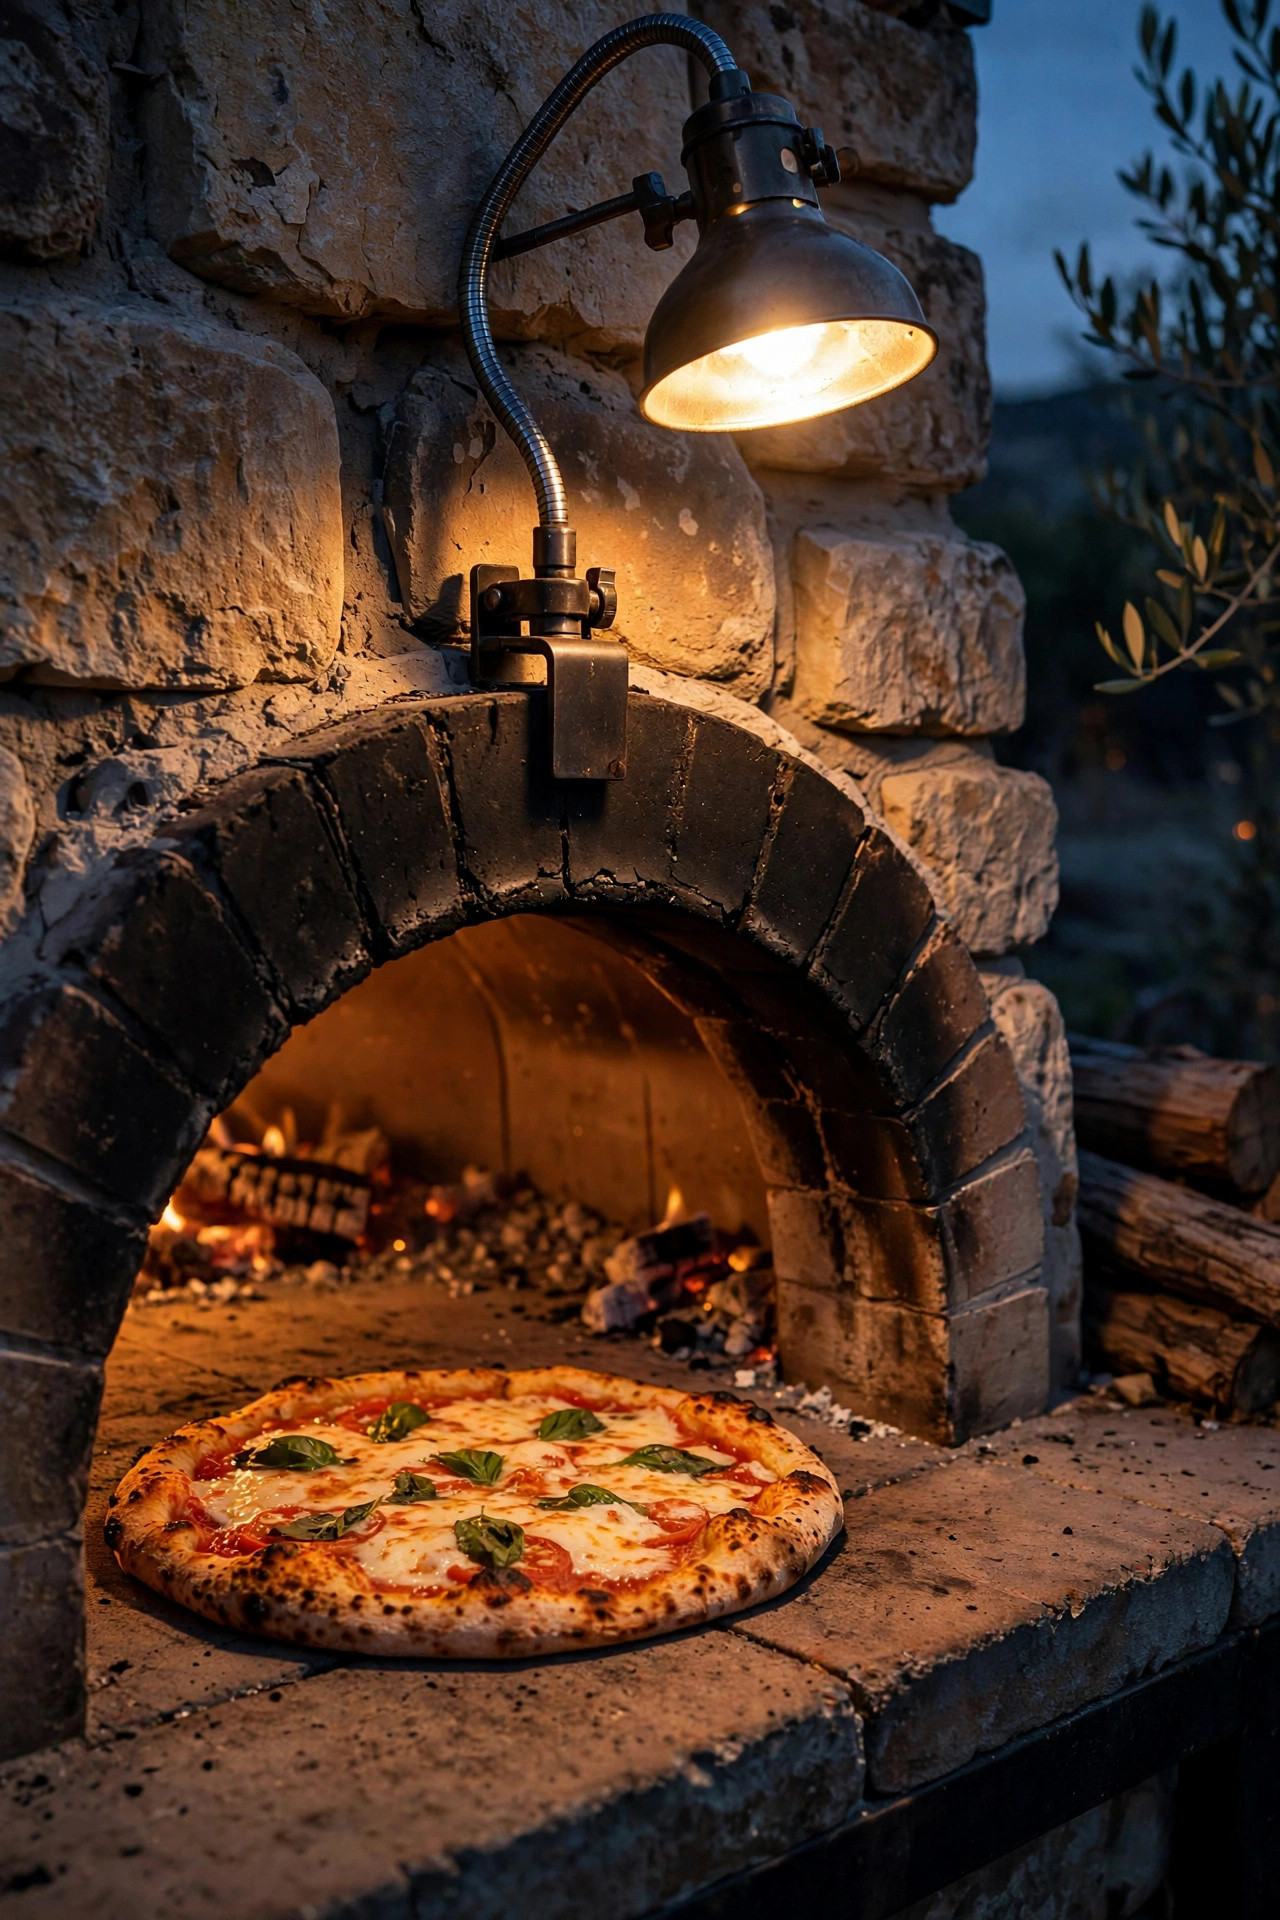
1. Mount a Heat-Rated Task Light Over the Oven Mouth
This is the single most important light in the whole setup, so I always start here. You need to see the crust blistering, the cheese bubbling, and the underside browning — in real time, not by flashlight. I recommend an adjustable gooseneck or swing-arm fixture with a metal shade, mounted on the oven stand or the surround just above and to the side of the mouth, aimed down into the opening at roughly a 45-degree angle. Choose an LED bulb in the 800 to 1,100 lumen range so the interior of the oven reads clearly without washing out. Heat is the catch: never use a plastic fixture anywhere near the opening, and keep the fixture at least 18 to 24 inches from the flue and chimney where the hottest air escapes. Look for a fixture rated for outdoor use and high ambient temperatures, and wire it through a GFCI-protected outlet. A shade with a matte interior cuts glare so you can judge color honestly — too warm and dim, and every pizza looks done five minutes before it is. Honestly, once this light is in, your success rate on leopard-spotted crusts jumps overnight.
Suggested budget range: $35 – $85.
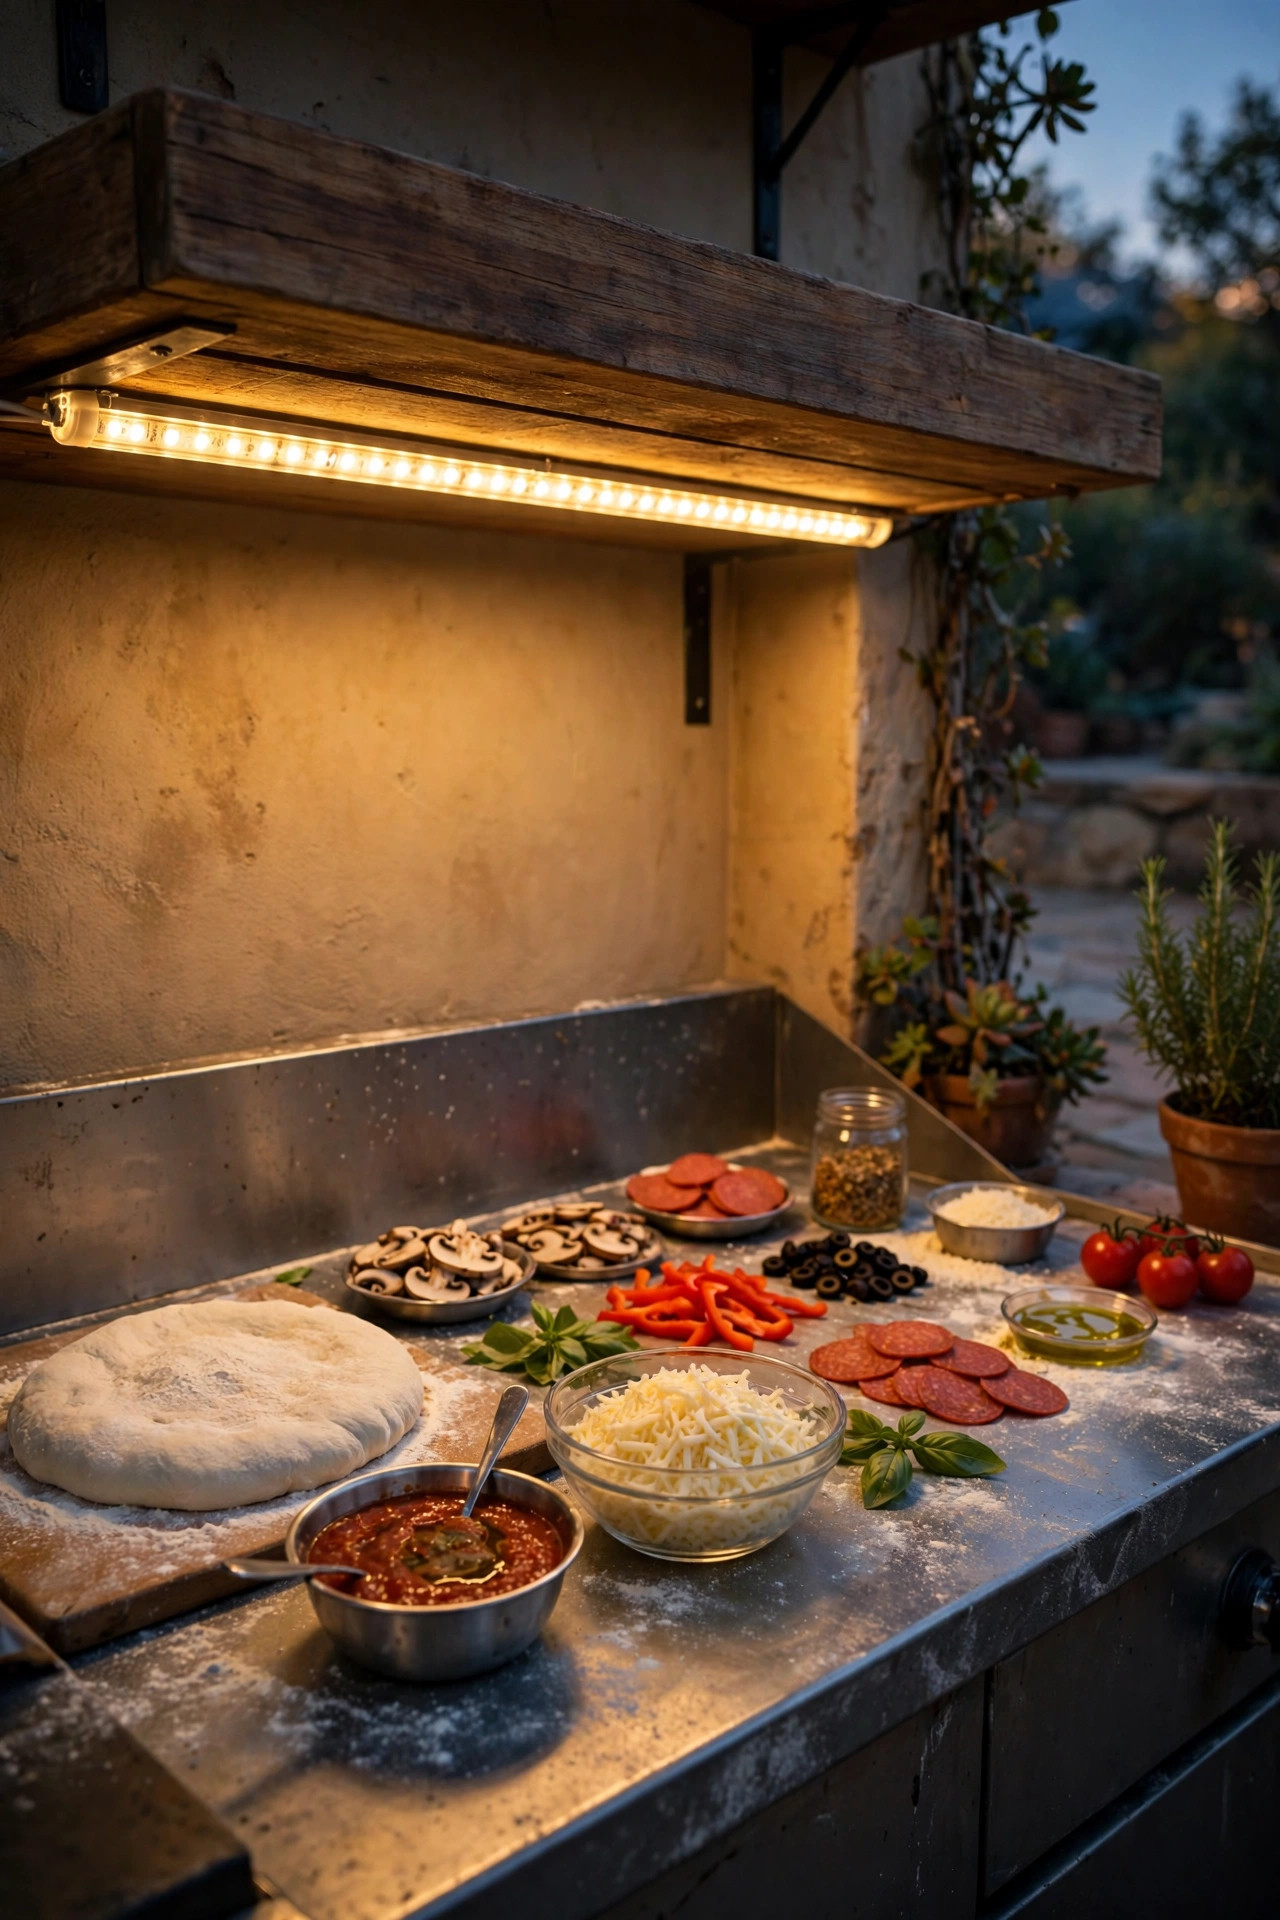
2. Add an LED Strip Under the Prep Counter Shelf
Stretching dough, spooning sauce, and scattering toppings is detailed work, and overhead light alone leaves your own shadow right across the pizza. My favorite fix is a waterproof LED strip tucked under the front edge of a shelf or cabinet above the prep surface. It throws even, shadow-free light straight down onto your worktop, exactly where your hands are. Choose an IP65-rated strip in warm white, around 3000K, so the basil still looks green and the tomatoes look ripe instead of orange. If your station has no outlet nearby, rechargeable battery strips work surprisingly well for a weekend pizza night — just remember to charge them the day before, not an hour before guests arrive. Keep the strip at least a few feet from the oven mouth and never run the cord across your walking path to the oven; a taped-down or clipped cord is a small detail that prevents a very bad evening. Puck lights work too if a strip feels fiddly, though in my experience the continuous strip gives you the most even light for judging how thin you have stretched the center of the dough.
Suggested budget range: $15 – $45.
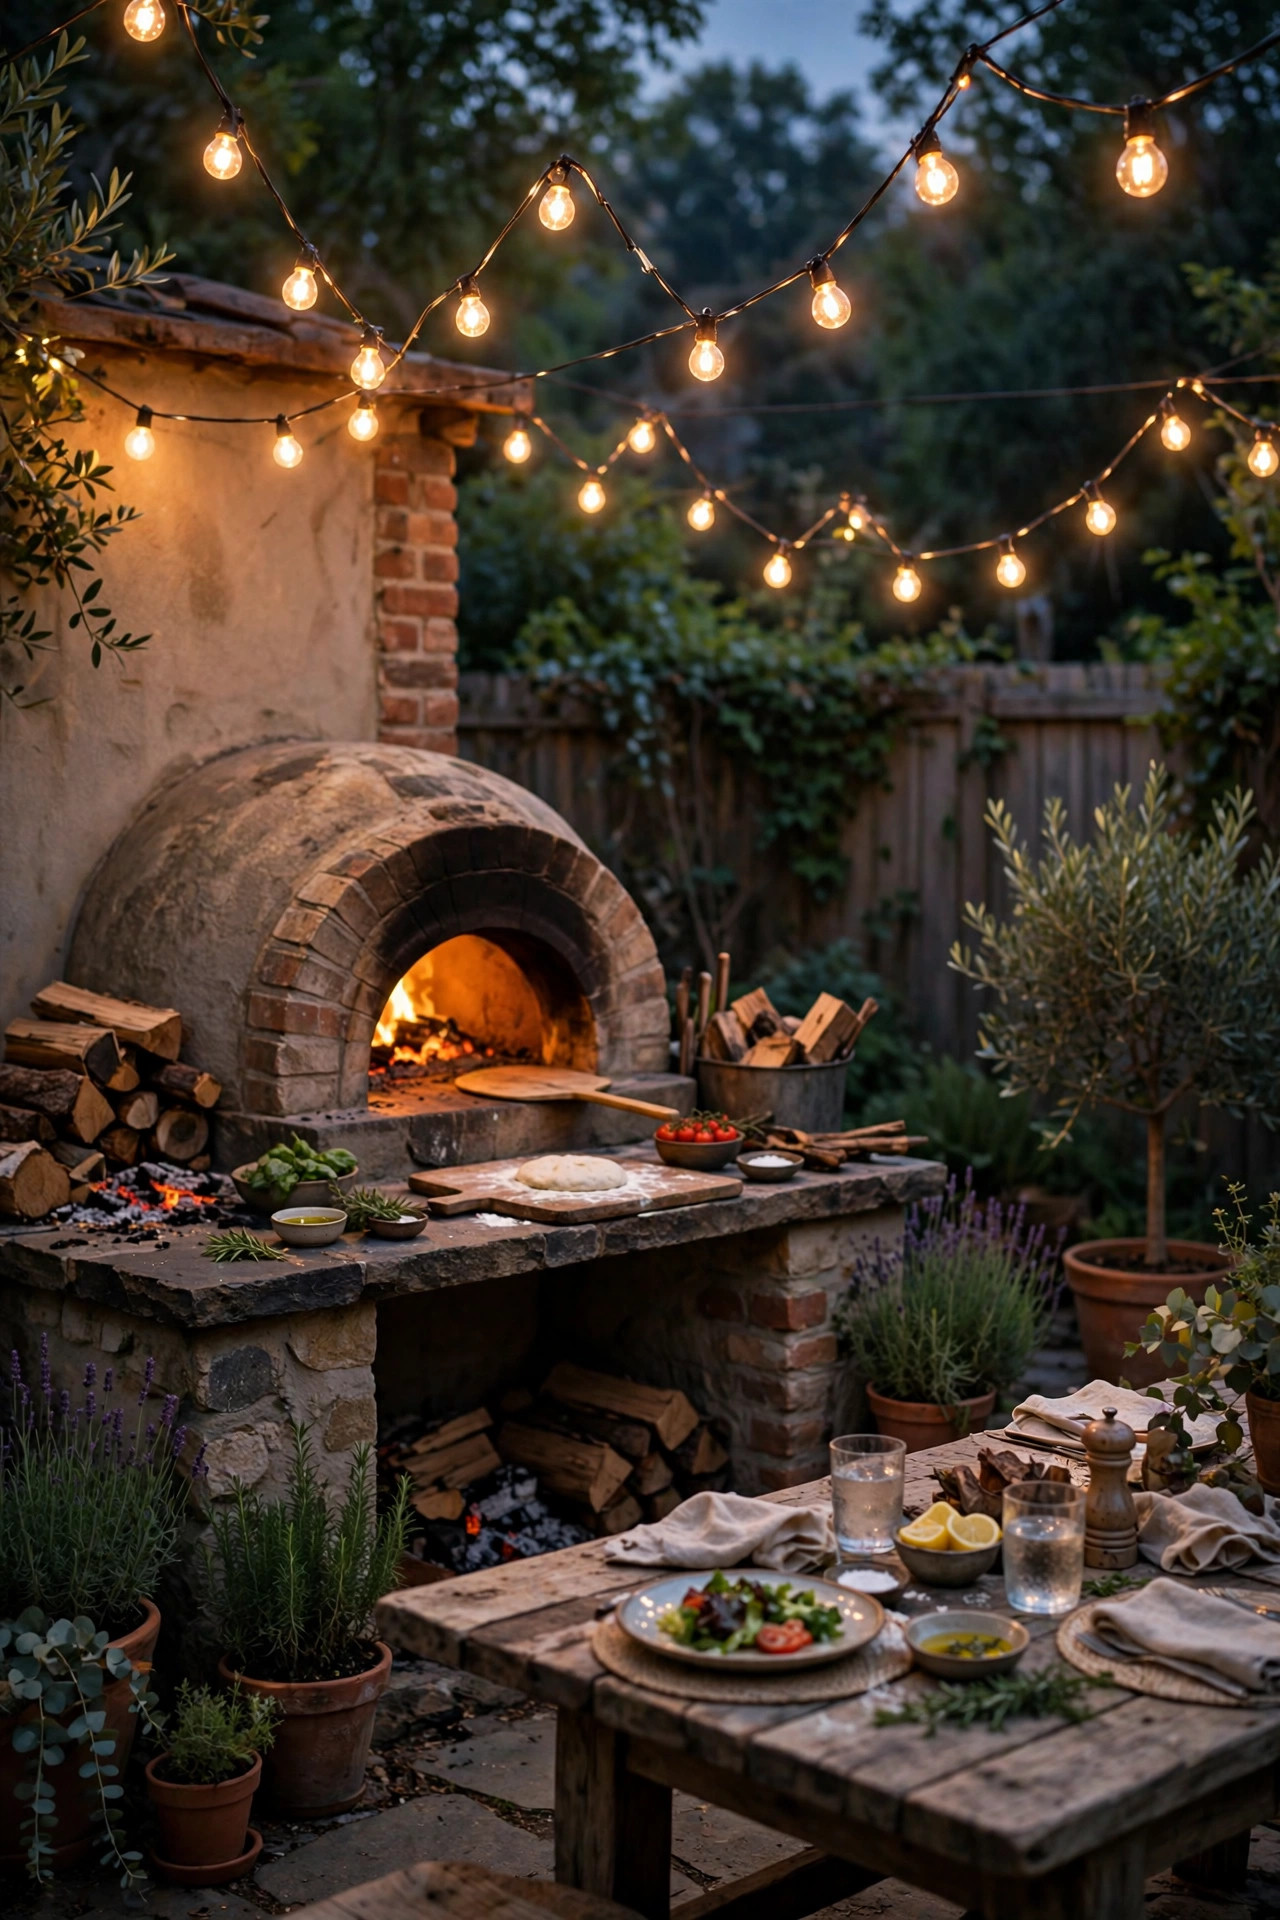
3. Hang a String Light Canopy — the Easiest of All Pizza Oven Lighting Ideas
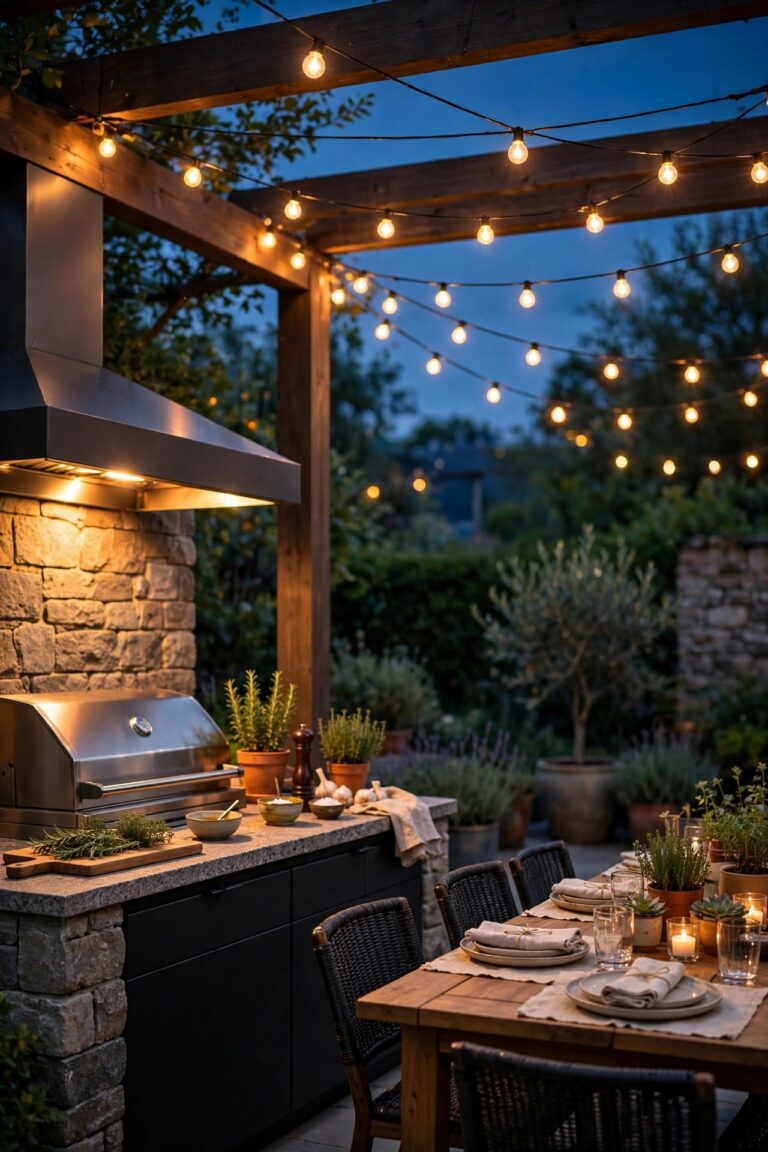
If the task light is the workhorse, the string light canopy is the mood. A zigzag of bistro string lights over the cooking and eating area gives you that soft, golden, everyone-looks-wonderful glow that makes guests settle in and stay. I run two or three strands in a gentle zigzag between the house, a pergola post, and a couple of sturdy poles, keeping the lowest swag at least 7 feet off the ground so nobody brushes them carrying a peel. One non-negotiable: keep strands and bulbs well clear of the chimney and flue — I leave at least 3 feet of clearance above the flue opening, because sparks and radiant heat do not mix with anything hanging overhead. Shatterproof LED bulbs are worth the small premium here; glass over a food prep area makes me nervous. My full walkthrough of patterns and pole setups is in my bistro string light ideas post if you want the details. Warm white, 2700K, is the sweet spot — it flatters the food and echoes the firelight.
Suggested budget range: $30 – $90.
4. Cluster Lanterns on the Prep Table and Dining Table
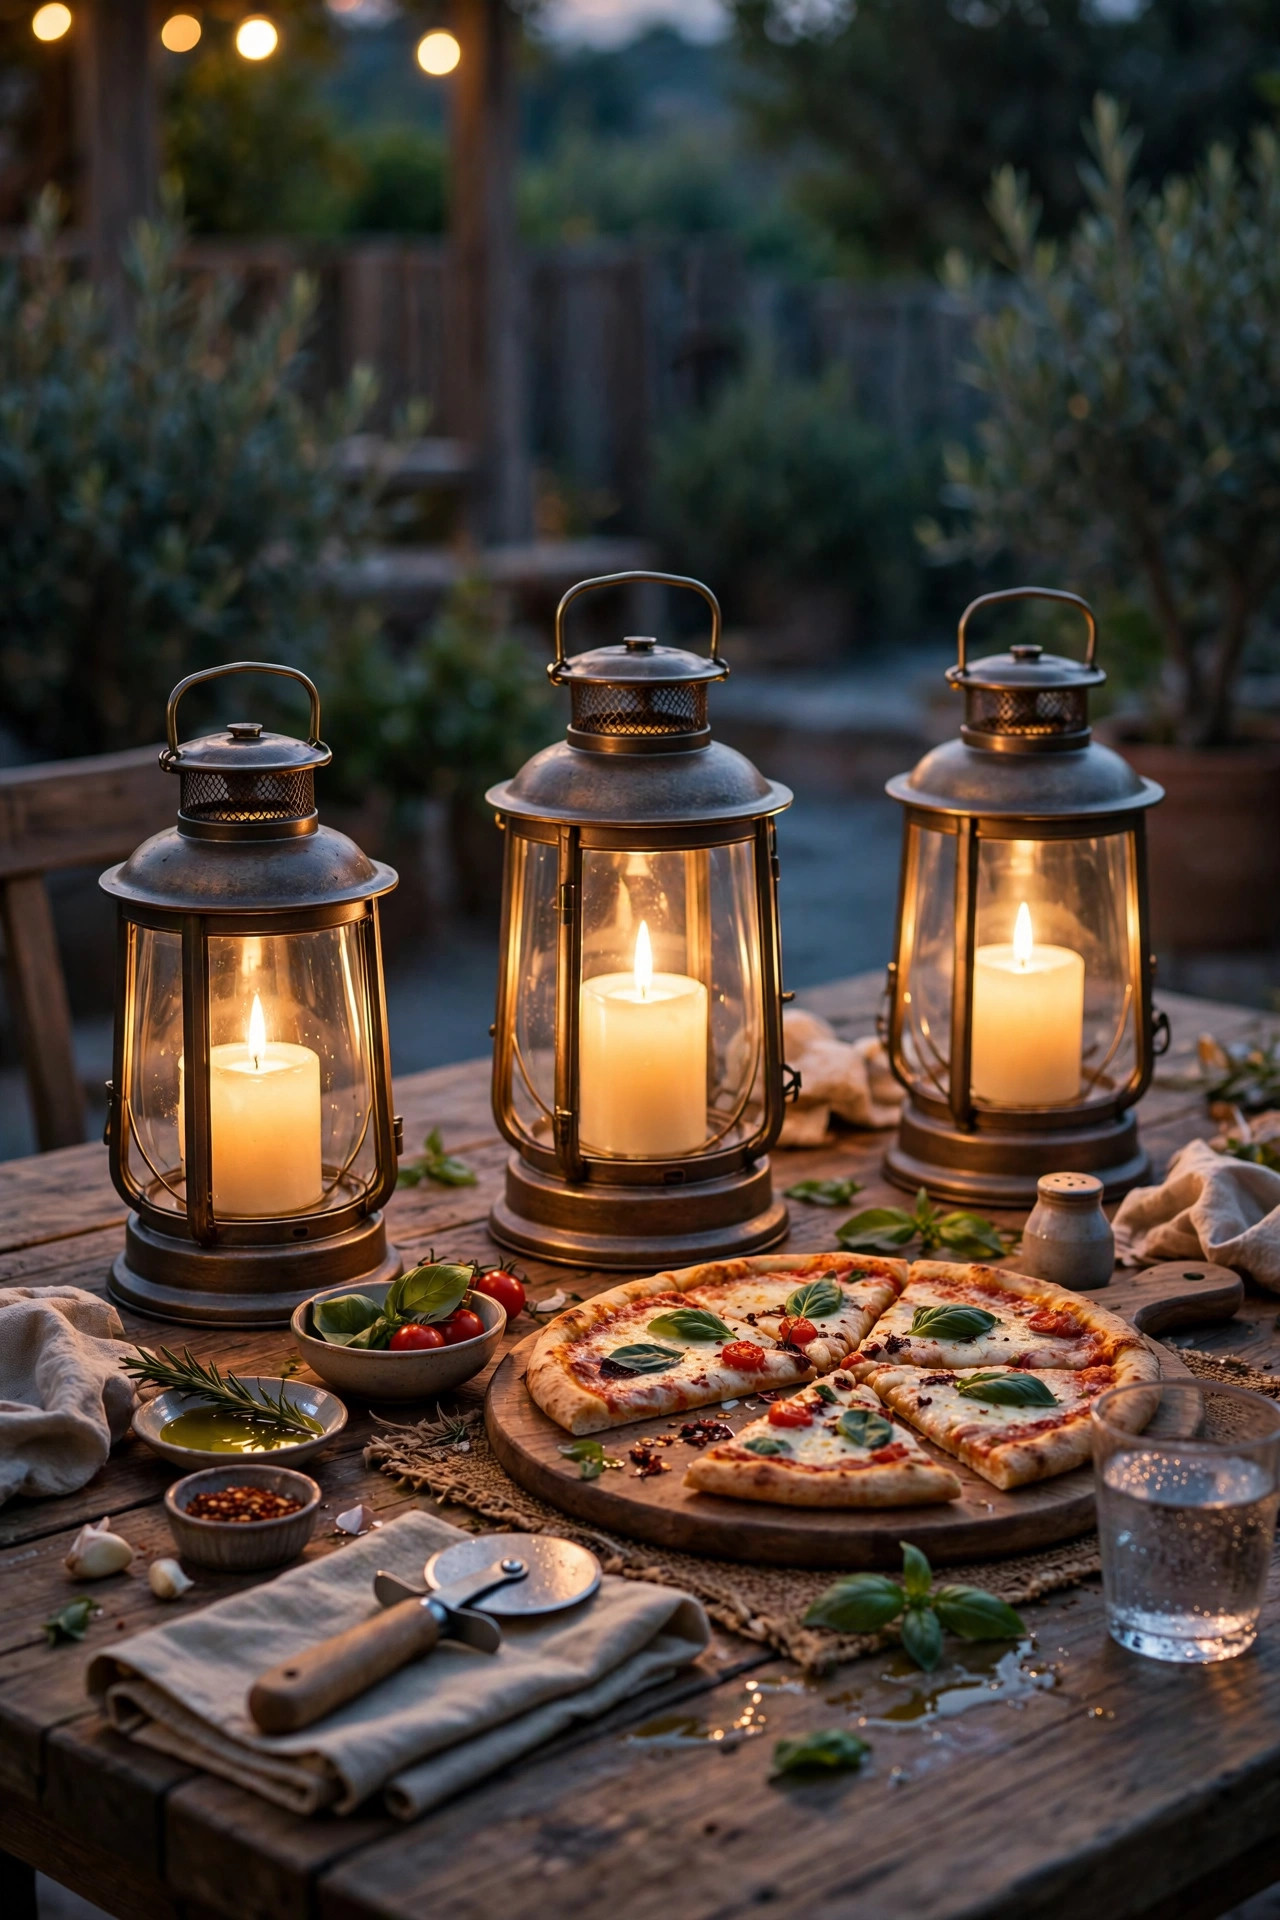
Lanterns are my flexible friends — they go wherever the evening needs a little pool of light, no wiring required. I group battery-powered lanterns with flameless LED candles in threes: one trio on the prep table for ingredient spotting, one on the dining table where the finished pizzas land. Odd numbers just look better, honestly. Look for lanterns with built-in timers so they click on at dusk and off five hours later without you thinking about it. Keep them a respectful distance from the oven mouth — flour dust and serious heat are both unkind to battery housings — and never set one on the oven itself, tempting as that flat warm surface is. On the dining table, lantern light at seated eye level is far more flattering and comfortable than any overhead bulb, and it keeps the pizza looking appetizing under warm, low light. Metal or rattan frames both suit a pizza night; rattan reads softer and more rustic, black metal reads modern. A set of three mid-size lanterns will serve you for years of pizza nights, movie nights, and everything in between.
Suggested budget range: $20 – $60.
5. Light the Path From the Kitchen Door to the Oven
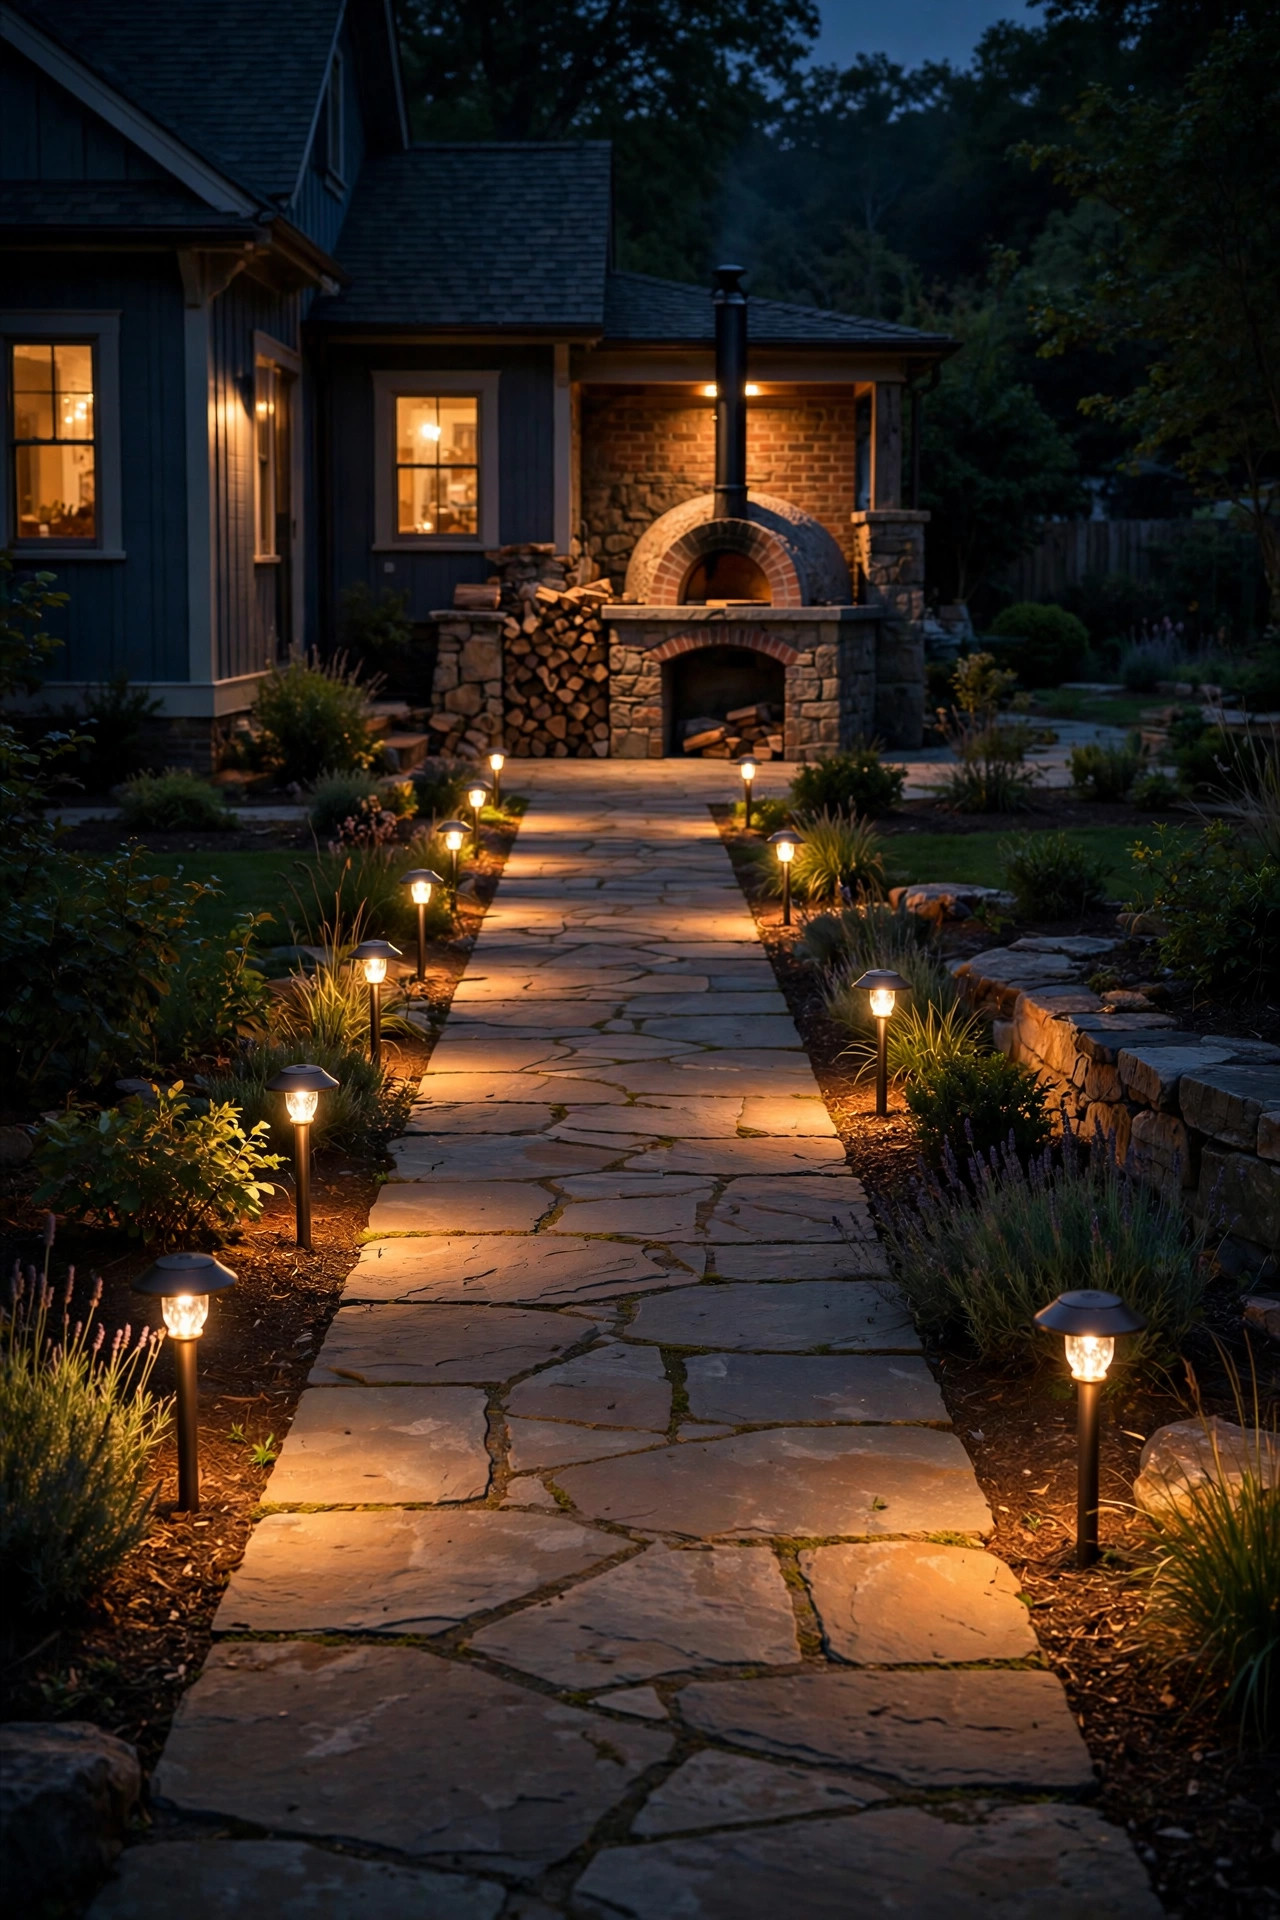
Here is the hazard nobody thinks about until it happens: carrying a screaming-hot pizza on a metal peel, in the dark, across a yard with one sneaky step or garden hose in the way. The walk between your back door and the oven station deserves real light. Low-voltage path lights are my first choice for a permanent setup — place them every 6 to 8 feet along the route, staggered rather than in a runway line, at about knee height so they pool light on the ground without glaring into your eyes. Solar path lights work if the route gets decent daytime sun, and they install in minutes. Keep the fixtures low and shielded: you want to see the ground, not the bulb. Warm 2700K light matches the rest of the station so the whole yard feels like one place. If your route crosses a deck, low deck lights along the edge boards do the same job beautifully. This is unglamorous lighting, I know — but it is the difference between a relaxed pizza night and a trip hazard with marinara on it.
Suggested budget range: $40 – $120.
6. Uplight the Oven Itself to Show Off the Brickwork
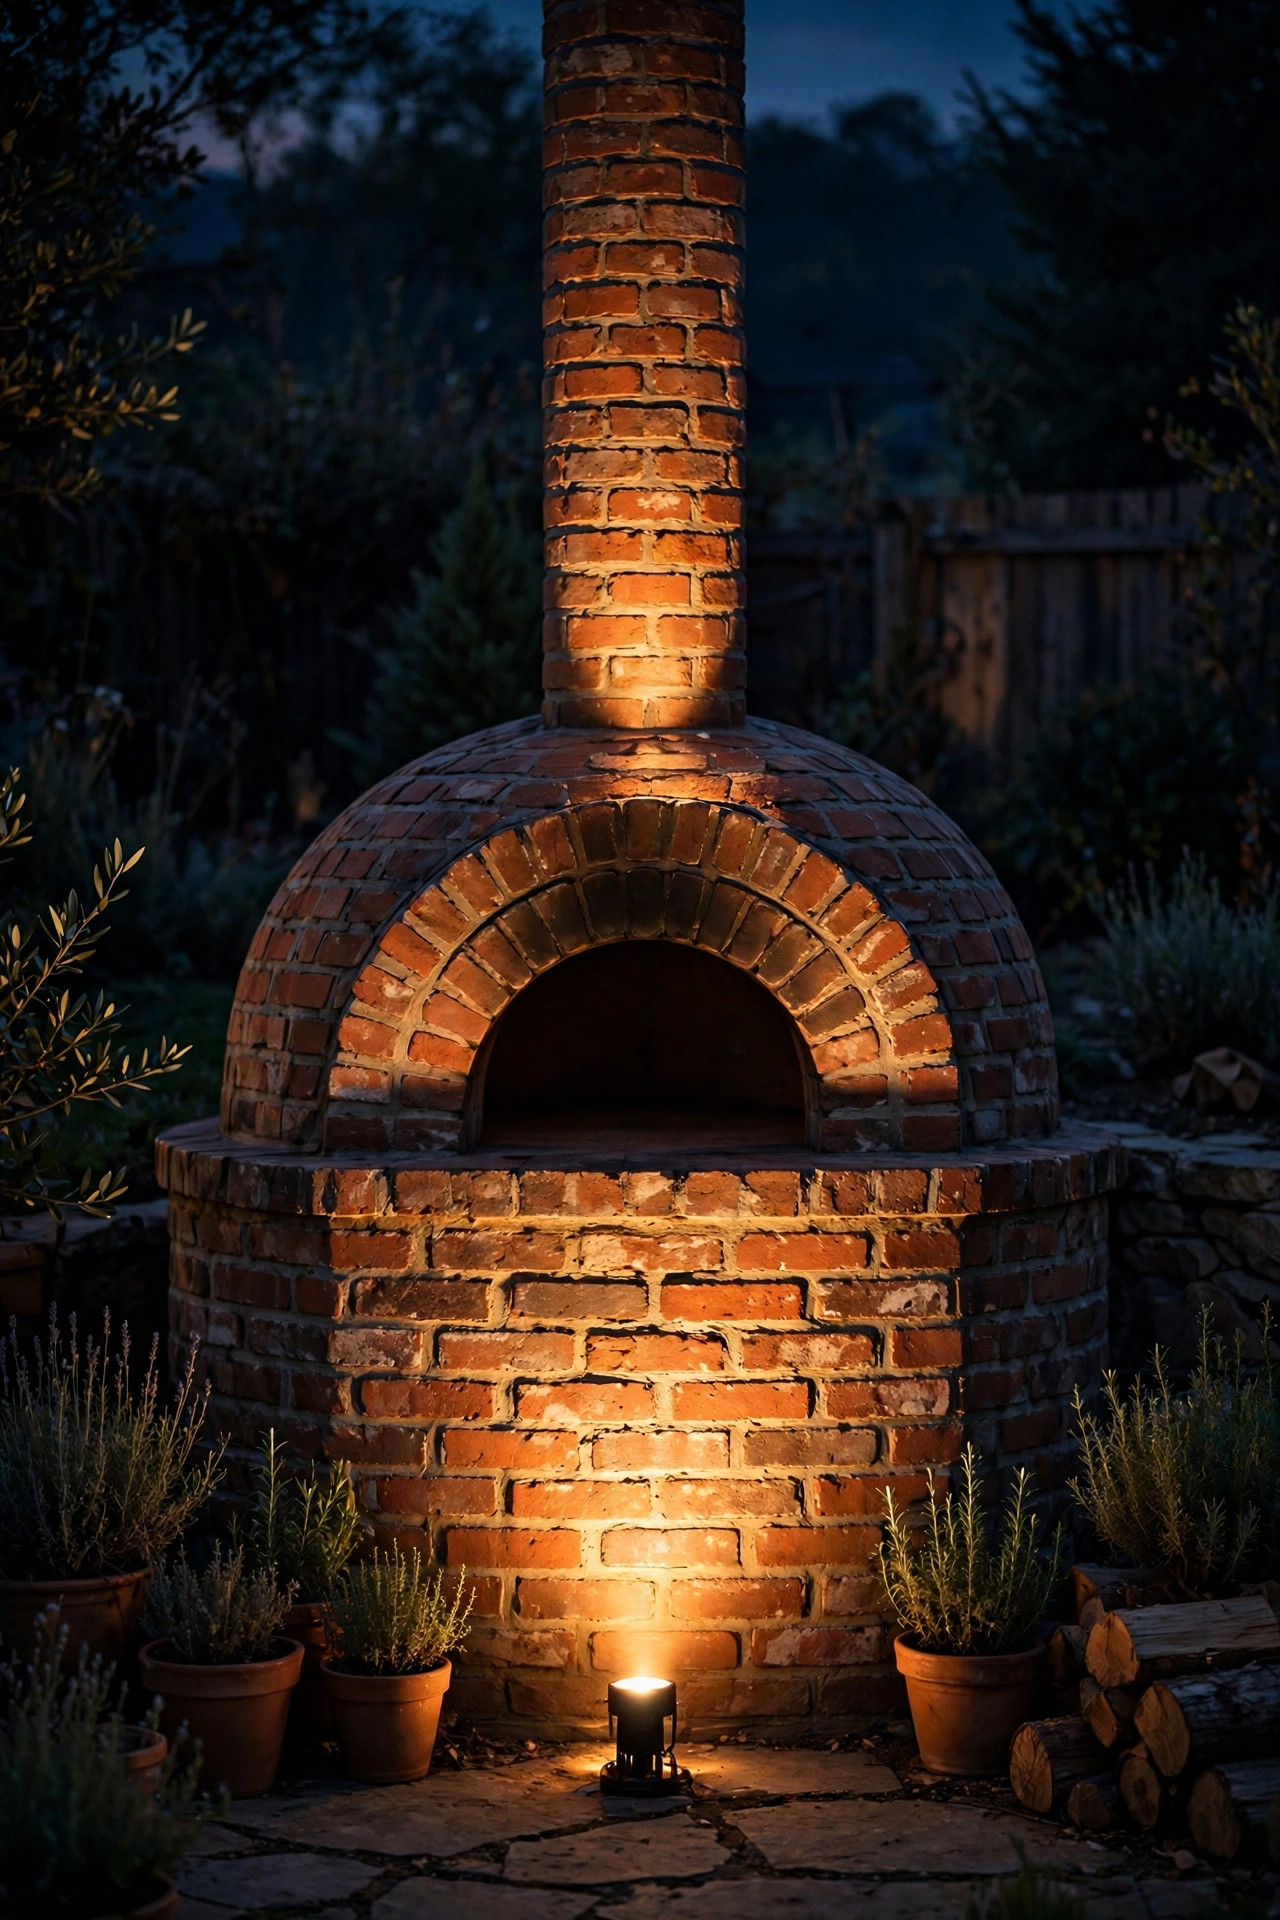
You built or bought a beautiful oven — dome, brick arch, stone surround — and then the sun sets and it disappears. A single uplight fixes that and turns the oven into the backyard's focal point after dark. I use a low-voltage well light or a small adjustable spotlight set in the ground or gravel a couple of feet in front of the base, angled up to wash the front face and arch. Keep the output modest, around 200 to 400 lumens, in warm 2700K; you are grazing light across texture, not interrogating it. Angle the fixture so the beam never points toward the dining seats — uplight glare straight into guests' eyes is the fastest way to ruin the mood you just built. On a brick or stone oven, the grazing angle makes every bit of texture pop, and honestly the oven ends up looking better at night than it does at noon. If your oven sits on a stand, a second tiny uplight underneath the stand adds a floating effect that sounds odd and looks wonderful. Keep fixtures out of the ash and wood zone so they stay clean.
Suggested budget range: $25 – $70.
7. Mark the Wood Pile With Solar Stakes
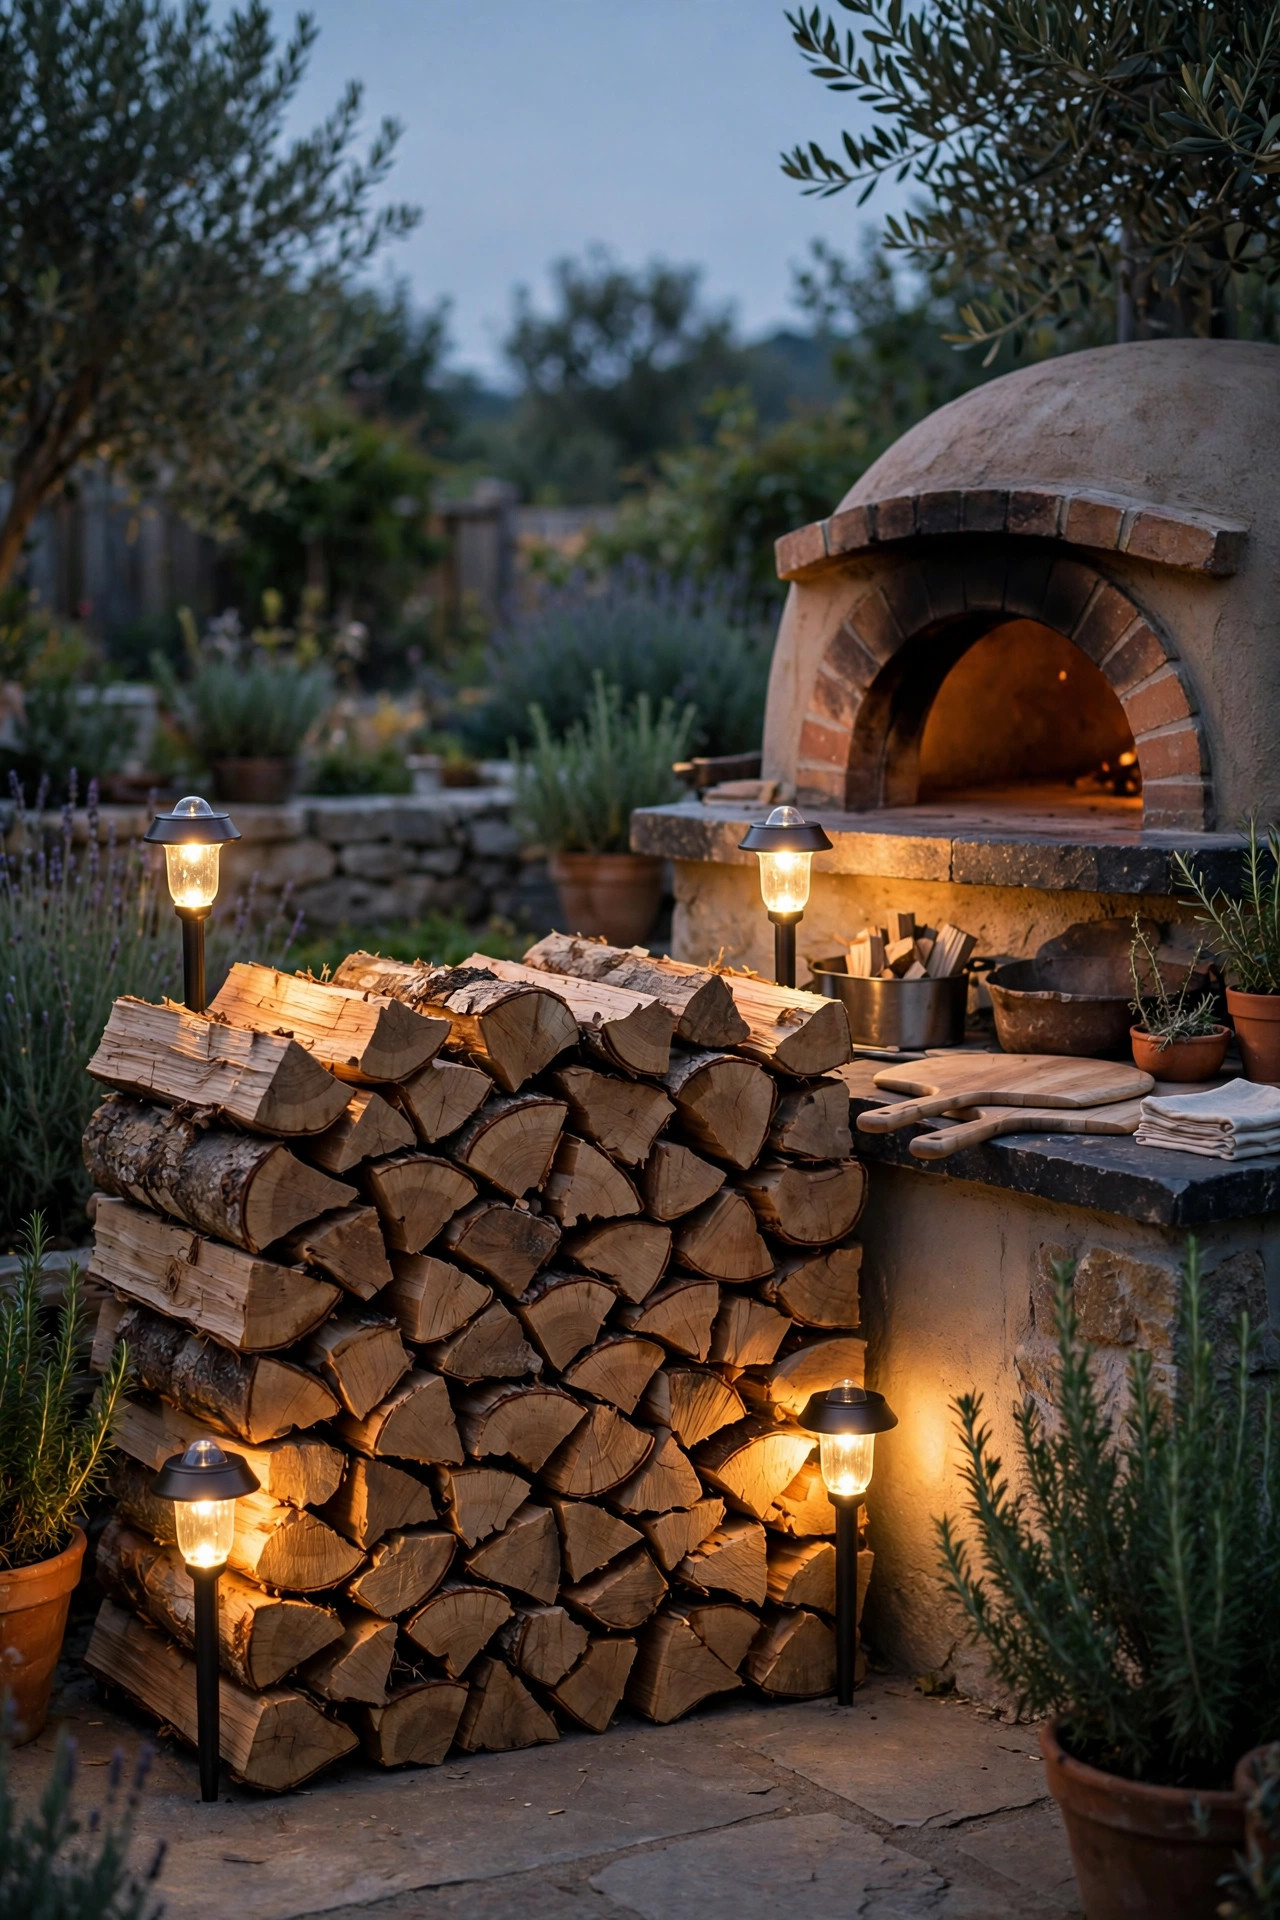
Every wood-fired night involves trips to the wood pile in the dark, usually with an armload of logs on the return trip and zero free hands for a flashlight. A couple of solar stake lights at the corners of your wood storage corner quietly solve this. They charge all day, glow all evening, and mark the pile so nobody shin-checks a log stack at 10 p.m. One practical note from experience: the panel needs real sun, so if your wood pile lives under a dense tree or roof overhang, choose solar stakes with a separate remote panel you can place in a sunny spot a few feet away. Warm white reads cozy; I skip the color-changing novelty modes for this job. Drive the stakes just outside the pile's footprint so falling logs do not take them out, and wipe the little panels every few weeks — a dusty panel charges at half strength and dies by nine. It is a tiny, cheap layer of light, but the wood pile is exactly the kind of forgotten corner that causes the evening's only injury if you leave it dark.
Suggested budget range: $18 – $50.
8. Hang Pendant Lights Under the Pergola
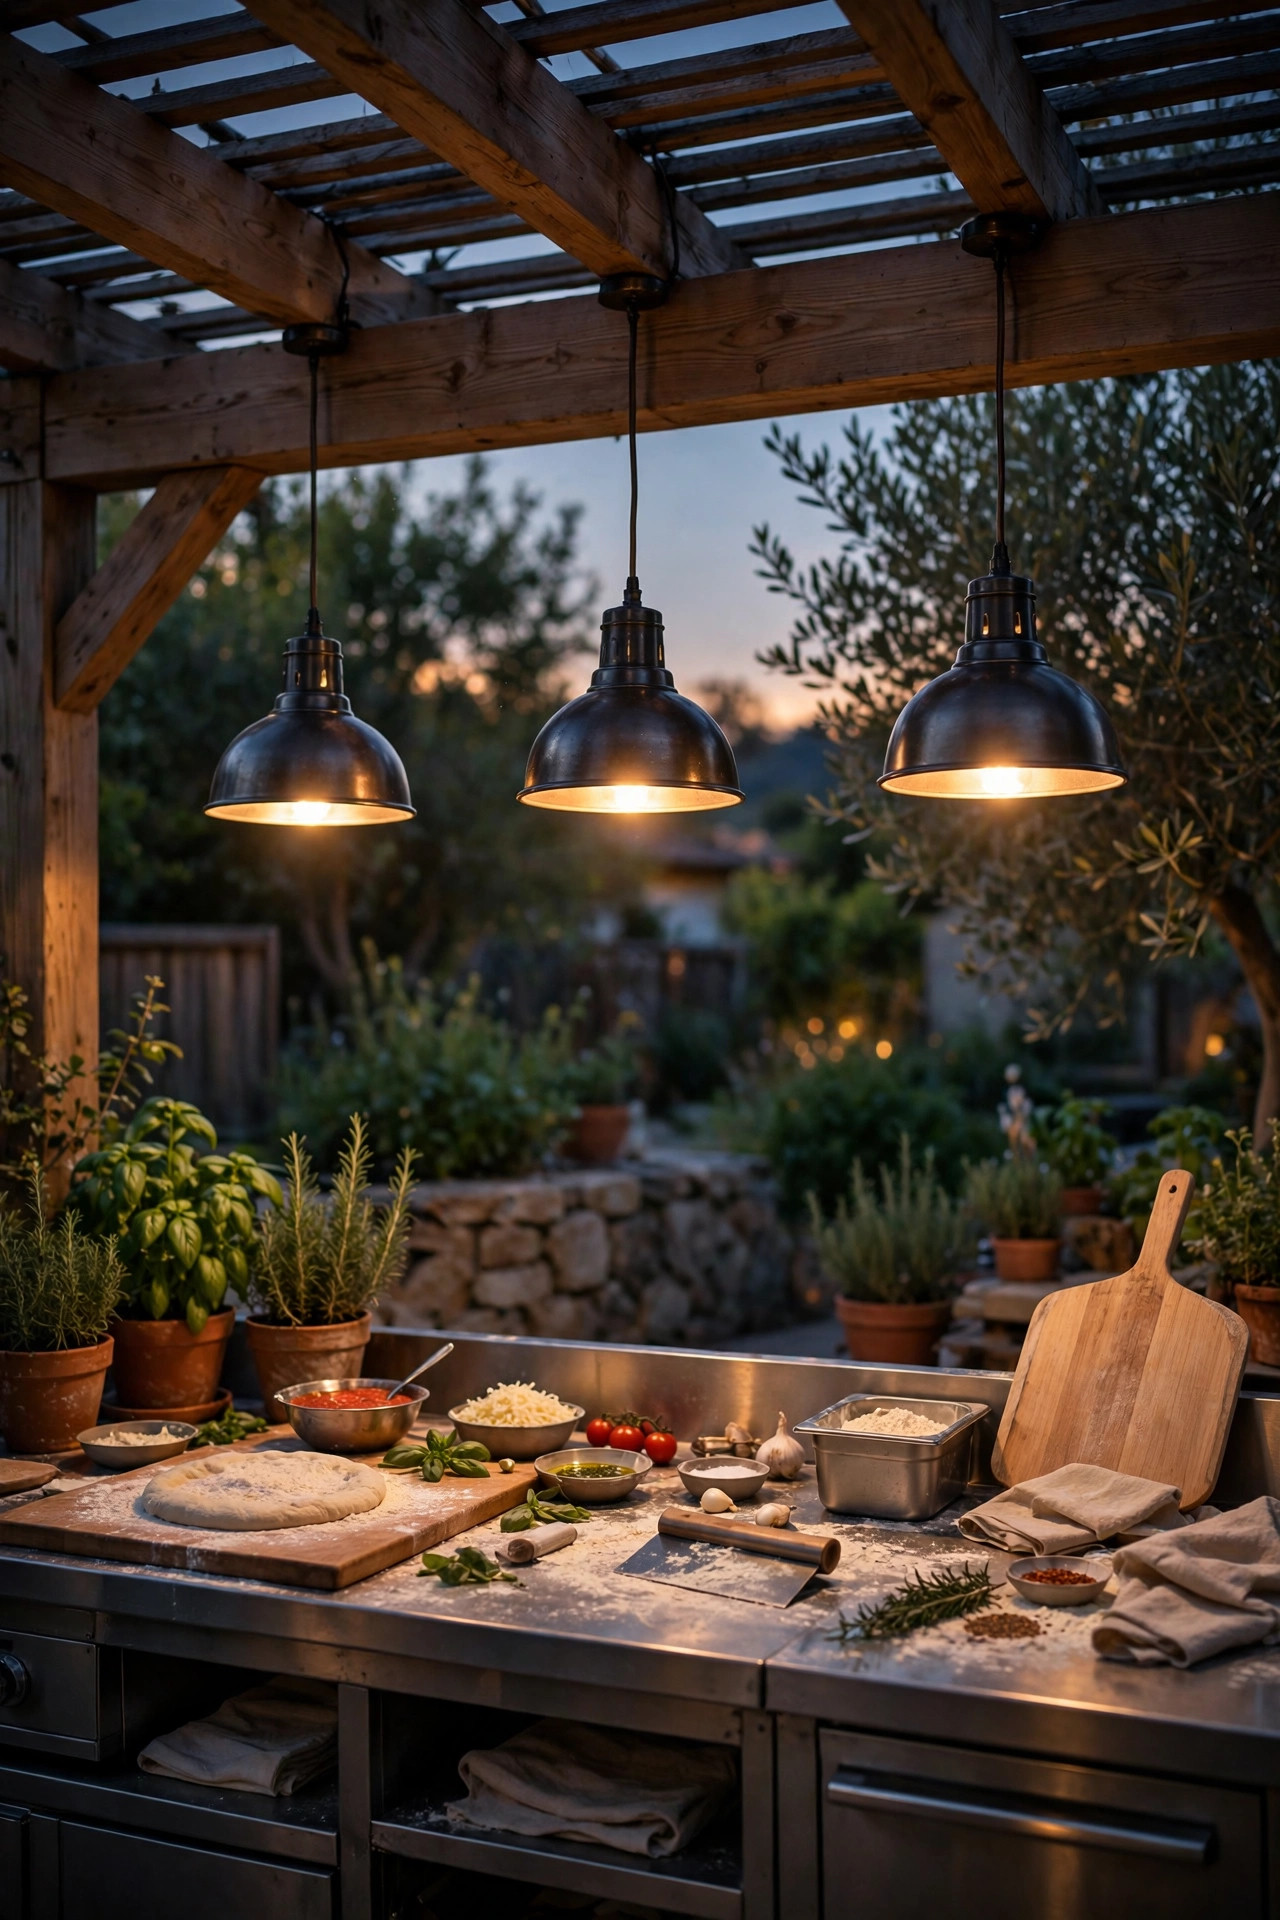
If your oven station sits under a pergola or covered structure, pendants over the prep counter or dining table give you the most finished, indoor-kitchen feeling of any option here. Two or three pendants in a row, hung so the shades sit about 30 to 36 inches above the counter surface, put generous light right where you work and eat. Choose fixtures rated for damp or wet locations — even under a roof, outdoor air is humid air — and put them on a dimmer if you possibly can. Full brightness for stretching dough and judging toppings; dimmed low for eating and lingering. Metal shades in black or aged copper suit the fire-and-brick palette beautifully, and they direct light downward instead of spraying it everywhere. Keep pendants out of the chimney's heat path, obviously, and if your pergola is open on the oven side, shift the row toward the dining end. This is one of the pricier layers on the list, but if you are building a real outdoor kitchen around your oven, my outdoor kitchen lighting guide covers how pendants, strips, and task lights work together across the whole space.
Suggested budget range: $60 – $180.
9. Add a Motion-Sensor Light Near the Back Door and Wood Storage
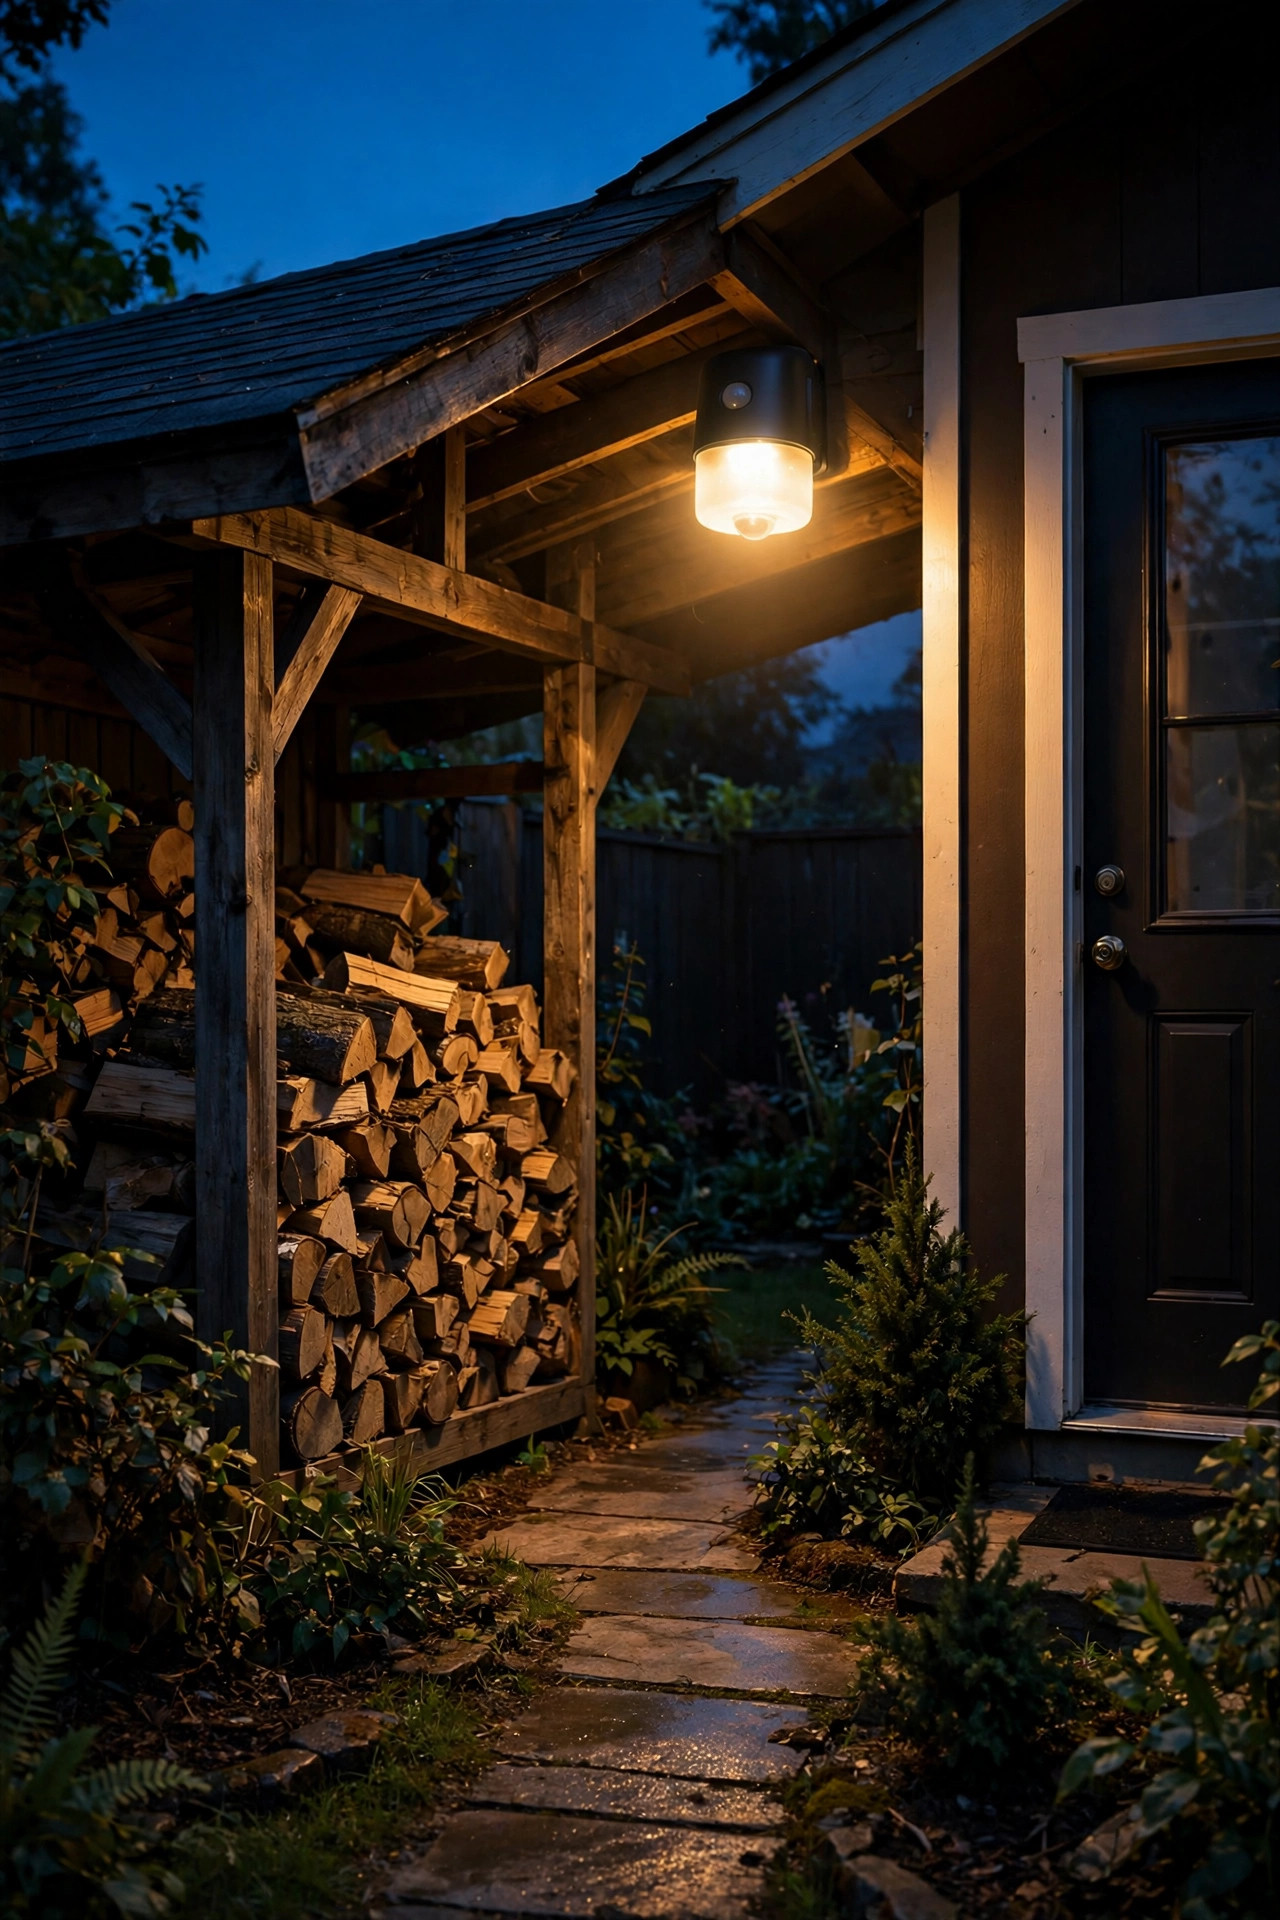
Some nights your hands are full of dough, flour, or firewood, and fumbling for a switch is not happening. A motion-sensor light mounted near the back door or over the wood storage area is pure practicality. Pick one in the 1,000 to 1,500 lumen range with an adjustable head aimed down at your walking and working area, not out into the yard where it will blind everyone at the table when it triggers. Set the sensitivity thoughtfully: drifting heat shimmer and rising sparks can fool cheap sensors, so angle it away from the oven's heat plume and test it on a real pizza night before guests come. A timer setting of one to three minutes is plenty — long enough to load logs and get back inside the glow of the station. I keep this light on its own, separate from the pretty layers, because its job is safety rather than atmosphere. Warm white is nicer than the harsh blue-white of old security lights, and modern fixtures give you the choice. Your future self, carrying logs at midnight, says thank you.
Suggested budget range: $20 – $55.
10. Fill Mason Jars With Fairy Lights for the Table
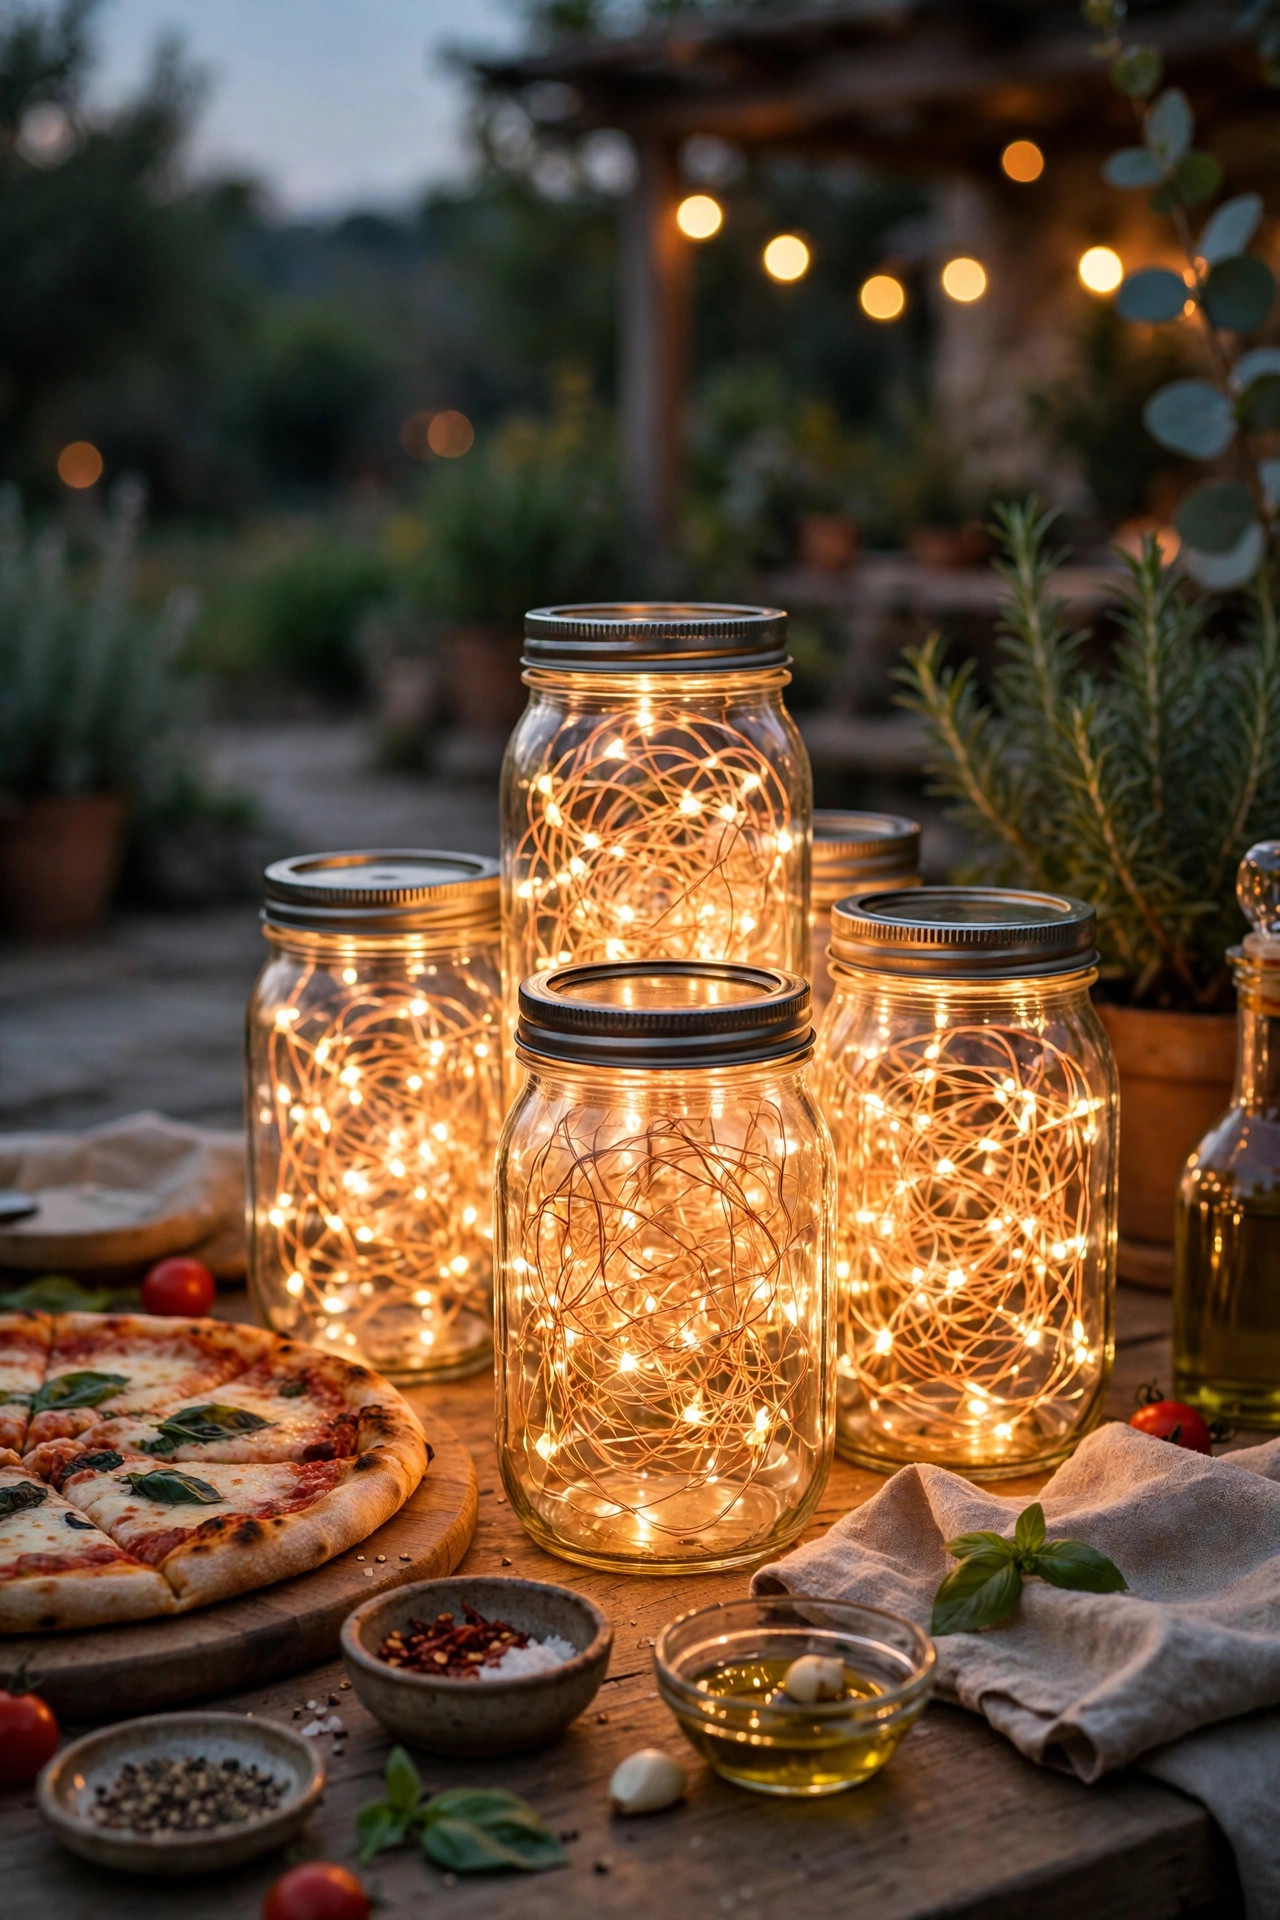
For the dining table itself, I love the simplest trick in this whole list: copper-wire fairy lights coiled loosely inside clear glass jars. Three jars down the middle of the table give you a soft, twinkling centerpiece that costs almost nothing, takes five minutes, and never blows out in a breeze the way real candles do. The battery packs tuck neatly under the table or beneath a runner — a tiny coil of wire disappears fast. Warm white fairy lights read like fireflies caught in glass, which is exactly the register a wood-fired night wants. Keep the jars on the dining table only, well away from the oven; glass and battery packs do not belong near serious heat or flying flour. Because the light is low and close, it flatters faces and food alike, and guests can actually see their slices without a glare overhead. If you entertain kids, hand them a jar each — in my experience they will carry them around the yard like lanterns all night. When pizza season ends, the same jars move indoors to a mantel without missing a beat.
Suggested budget range: $10 – $30.
11. Install Step Lights Where Guests Carry Plates
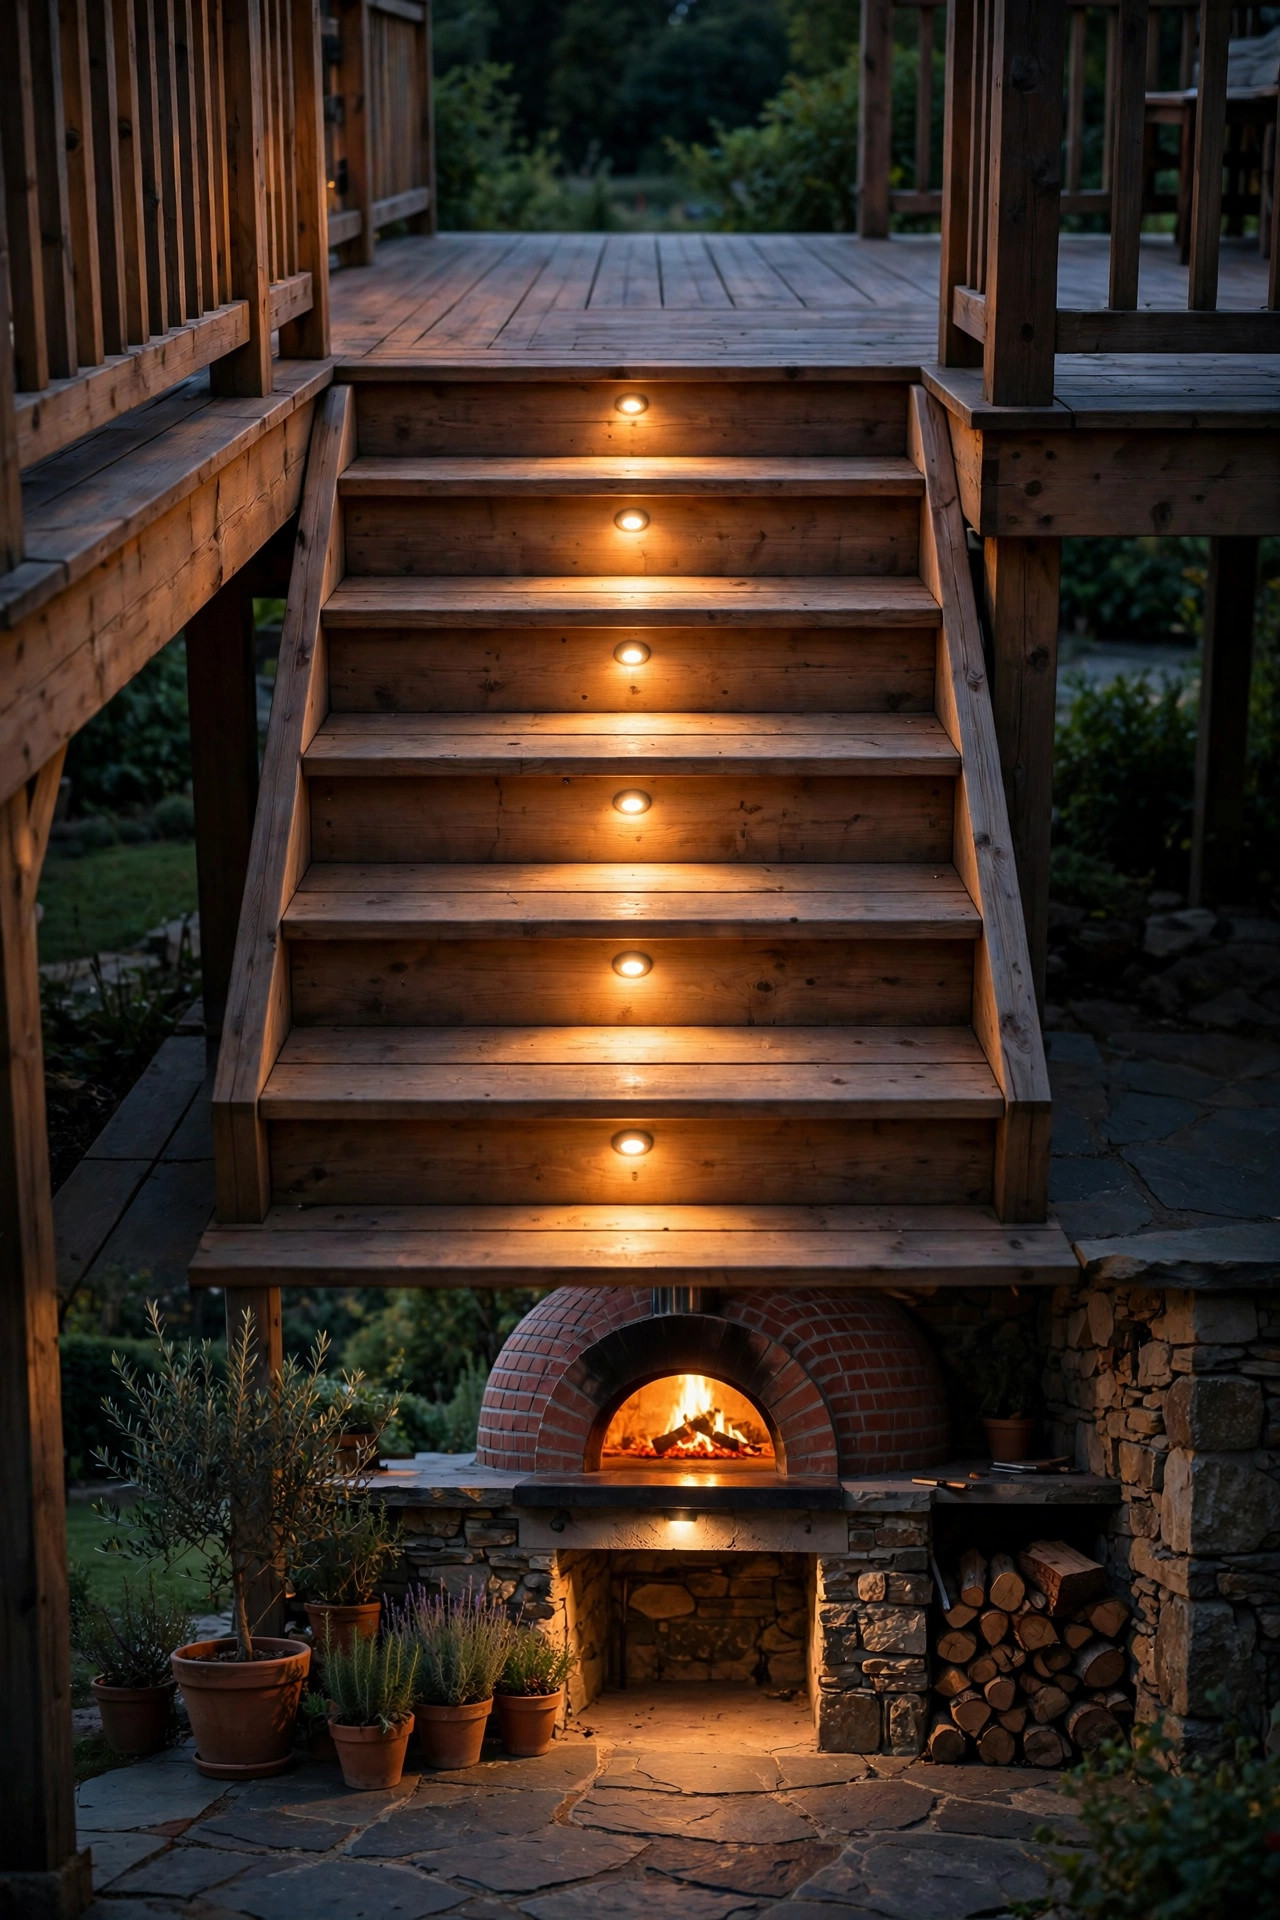
If there is a deck step, a patio edge, or a raised threshold anywhere between the oven and the seating, it needs light. Guests carrying plates with both hands cannot watch their feet, and a single missed step ends the evening early. Recessed step lights set into the riser are the cleanest solution for a permanent deck; solar step lights that screw onto the riser face are the ten-minute version and genuinely work well. Put one on every step, not just the top one, and aim for a soft downward wash rather than a bright dot. Warm 2700K again, for consistency with the rest of the yard. On a raised patio edge without steps, a short run of low bollards or a discreet LED strip under the edge lip marks the drop clearly. I learned this lesson the slightly embarrassing way, hosting with a dark deck step and a guest who took a slow-motion tumble with a margherita. Nobody was hurt, the pizza was, and the step lights went in the following weekend. Learn from my pizza, not your own.
Suggested budget range: $24 – $80.
12. Put the Ambient Layers on Timers and Smart Plugs
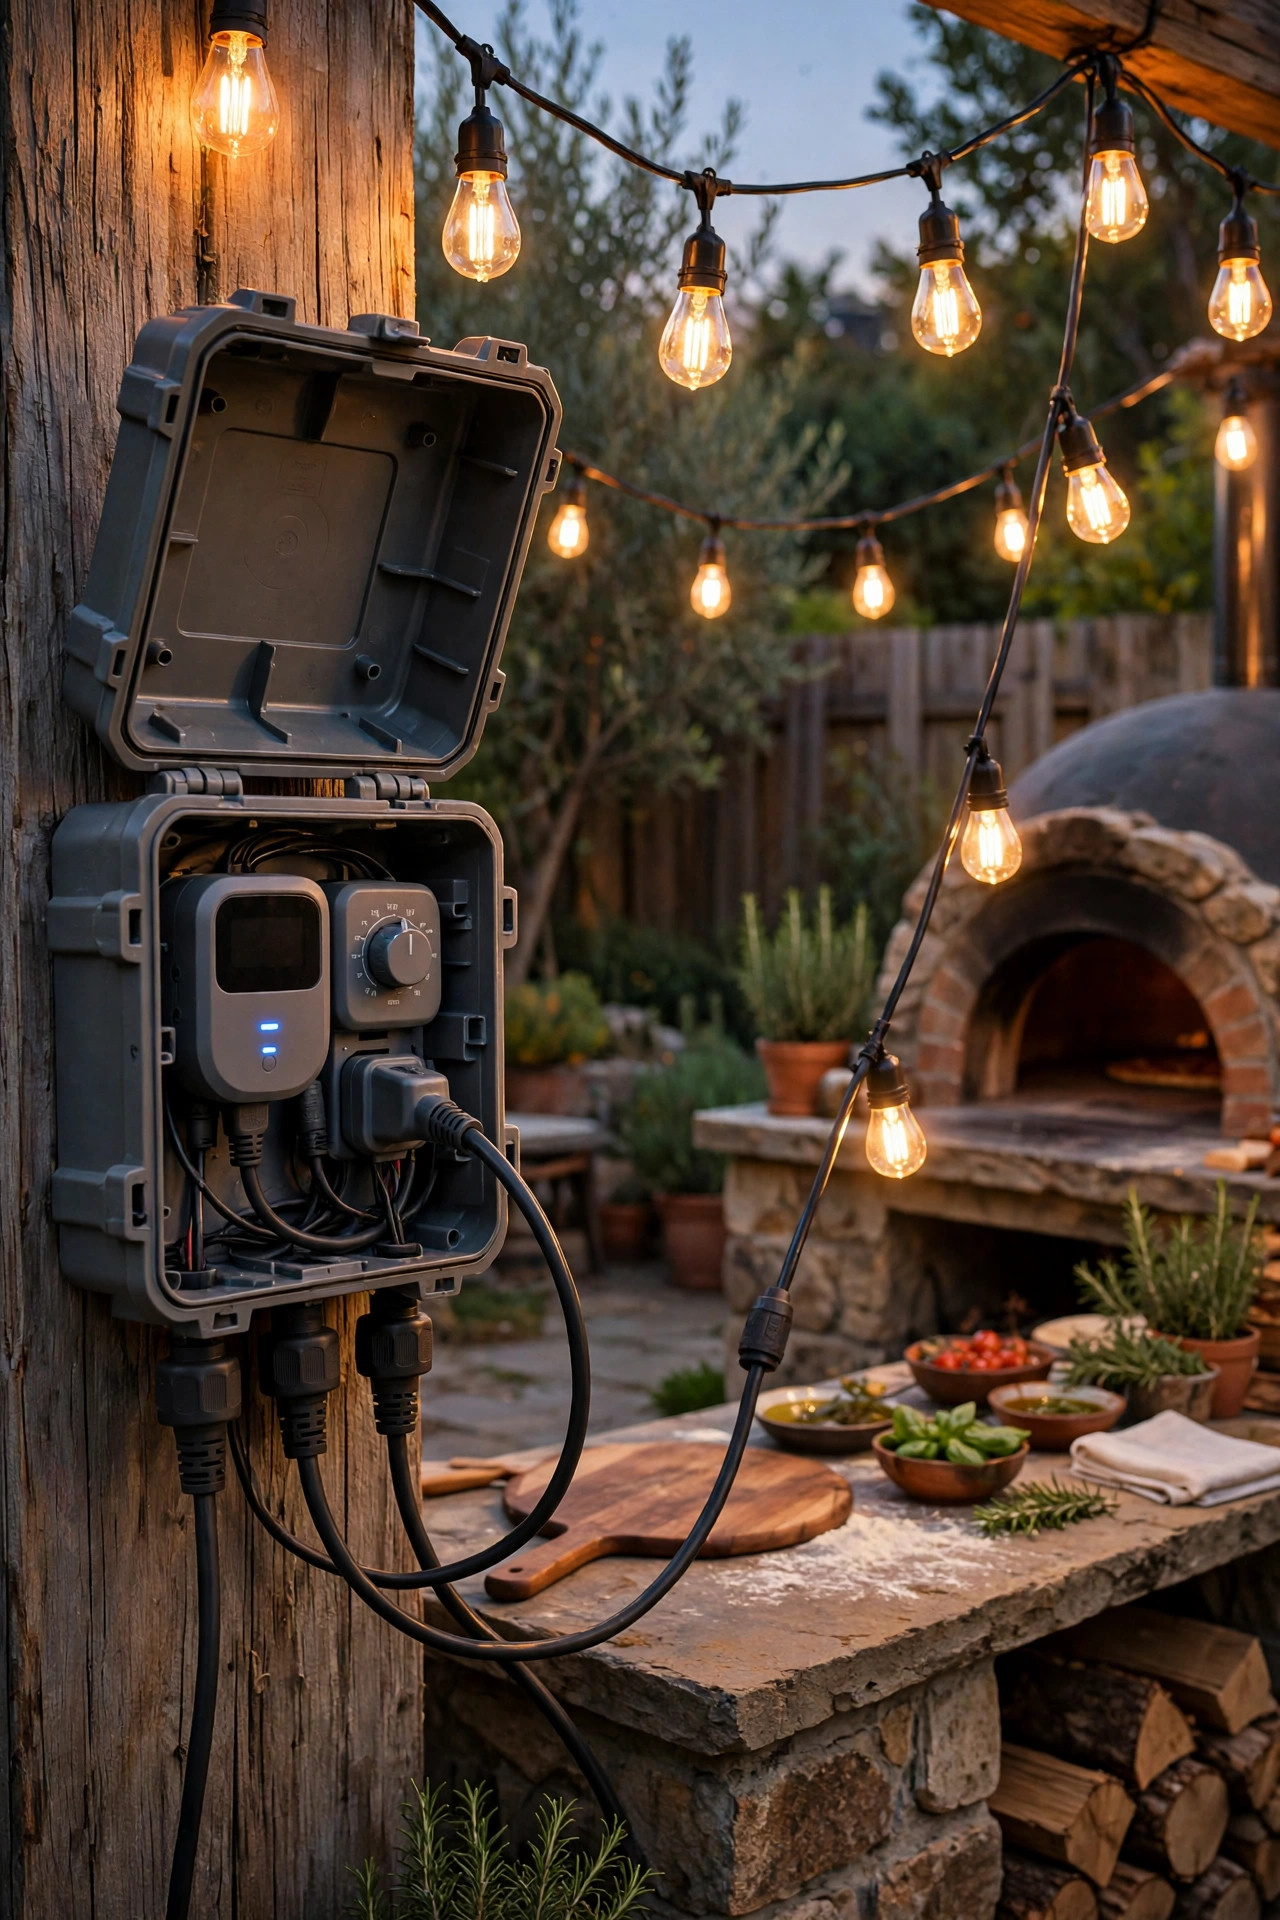
The best lighting is the lighting you never have to think about, and pizza nights run smoother when the ambiance simply shows up. I put the string lights, lanterns, and uplight on smart plugs or simple dusk-to-dawn timers: on at sunset, off around midnight. That leaves the task light at the oven mouth on a plain manual switch, which is deliberate — you never want the light you are cooking by to click off mid-launch because a schedule said so. Smart plugs rated for outdoor use live inside a weatherproof box at the outlet, and a single app scene called "Pizza Night" can bring up the whole yard in one tap while your hands are covered in flour. Astronomical timers that track sunset automatically are lovely if your controller supports them; a basic photocell timer is honestly fine too. One tip: stagger the off times so the yard does not go dark all at once — path lights last, out at midnight, canopy off a little earlier, so guests drift inside naturally instead of being plunged into darkness between courses.
Suggested budget range: $12 – $40.
13. Surround the Perimeter With Flame-Effect Torches
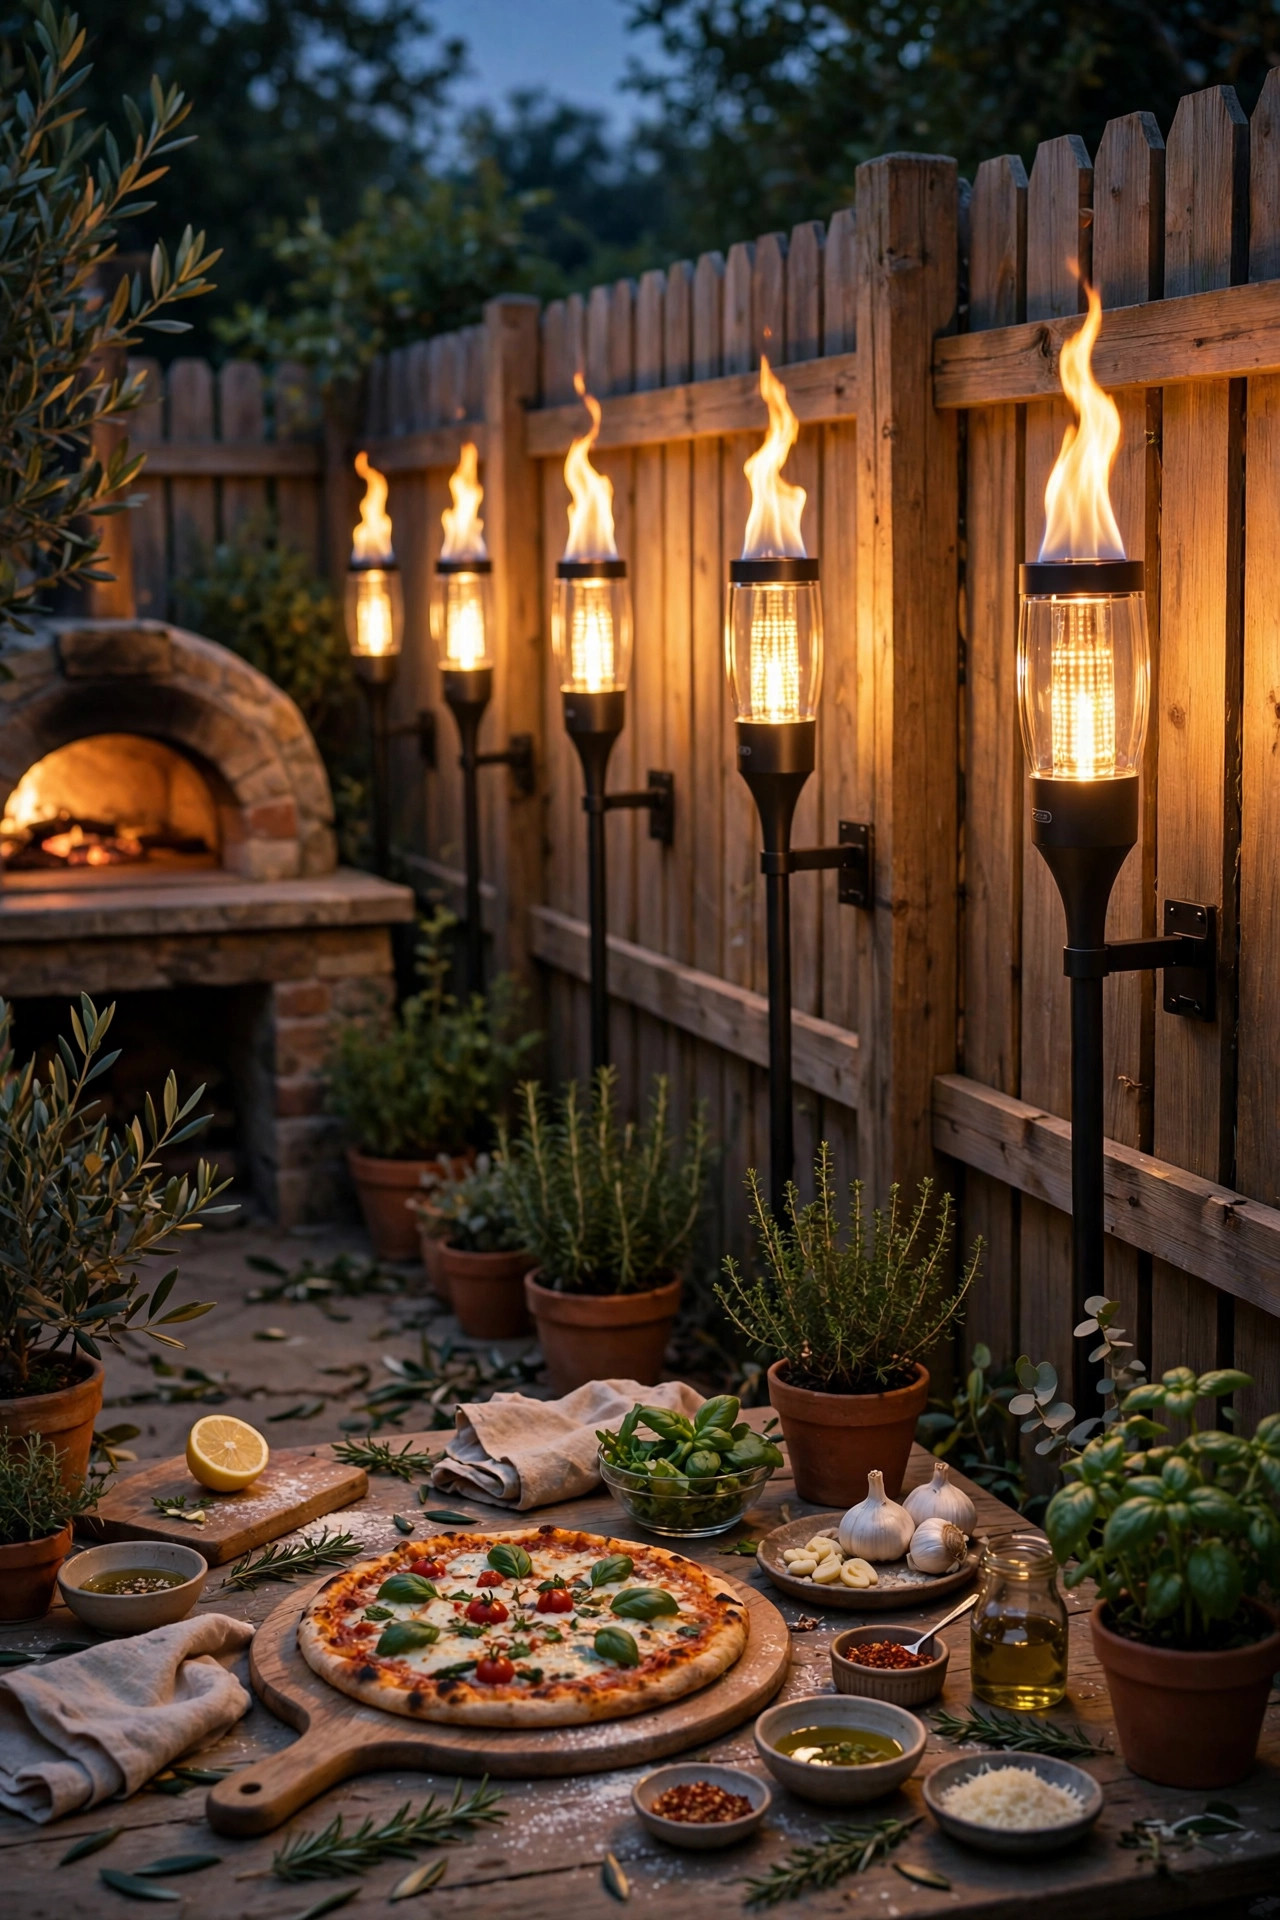
There is a special pleasure in echoing the oven's real fire with little flames around the yard's edge. Flame-effect torches and bulbs — the LED kind that flicker like real fire — give you that living, moving light along a fence line or around the seating area without adding actual open flames to a night that already has one big one. If you prefer real tiki torches, place them thoughtfully: well away from the oven mouth and chimney, away from seating where guests lean back, and nowhere near the flour-dusted prep zone. My honest recommendation for most yards is the LED version; it reads as fire from six feet away and carries zero spark risk around kids, dogs, and paper plates. Keep the color warm amber, and space torches 6 to 10 feet apart so the rhythm of flicker feels intentional rather than random. My fire pit area lighting ideas use the same perimeter trick if your yard has both a pit and an oven competing for attention. The flicker layer is pure atmosphere — and atmosphere is half the meal.
Suggested budget range: $28 – $75.
14. Zone Your Color Temperatures Like a Pro
This is the quiet detail that separates a station that merely has lights from one where the food looks incredible. I run two zones. At the oven mouth and prep counter — the judging zones — I use slightly brighter, cleaner light around 3000 to 3500K with a high color rendering index, CRI 90 or above if the bulb lists it. High CRI is what lets you read the difference between golden, blistered, and about-to-burn on a crust in the half-second you have to decide. Then the eating and gathering zones drop to cozy 2700K, warm and flattering, where nobody is making cooking decisions. The mistake to avoid is mixing temperatures inside one zone — one warm bulb and one cool bulb side by side always looks accidental, like a replacement bulb nobody matched. Buy your task-zone bulbs together, keep a spare from the same pack, and label zones on your timer settings so the system stays coherent when a bulb dies mid-season. It sounds fussy, I know. Then you see a margherita under high-CRI task light, perfectly speckled, and you understand completely.
Suggested budget range: $15 – $50.
15. Pull It All Together: My Layered Pizza Oven Lighting Ideas Recipe
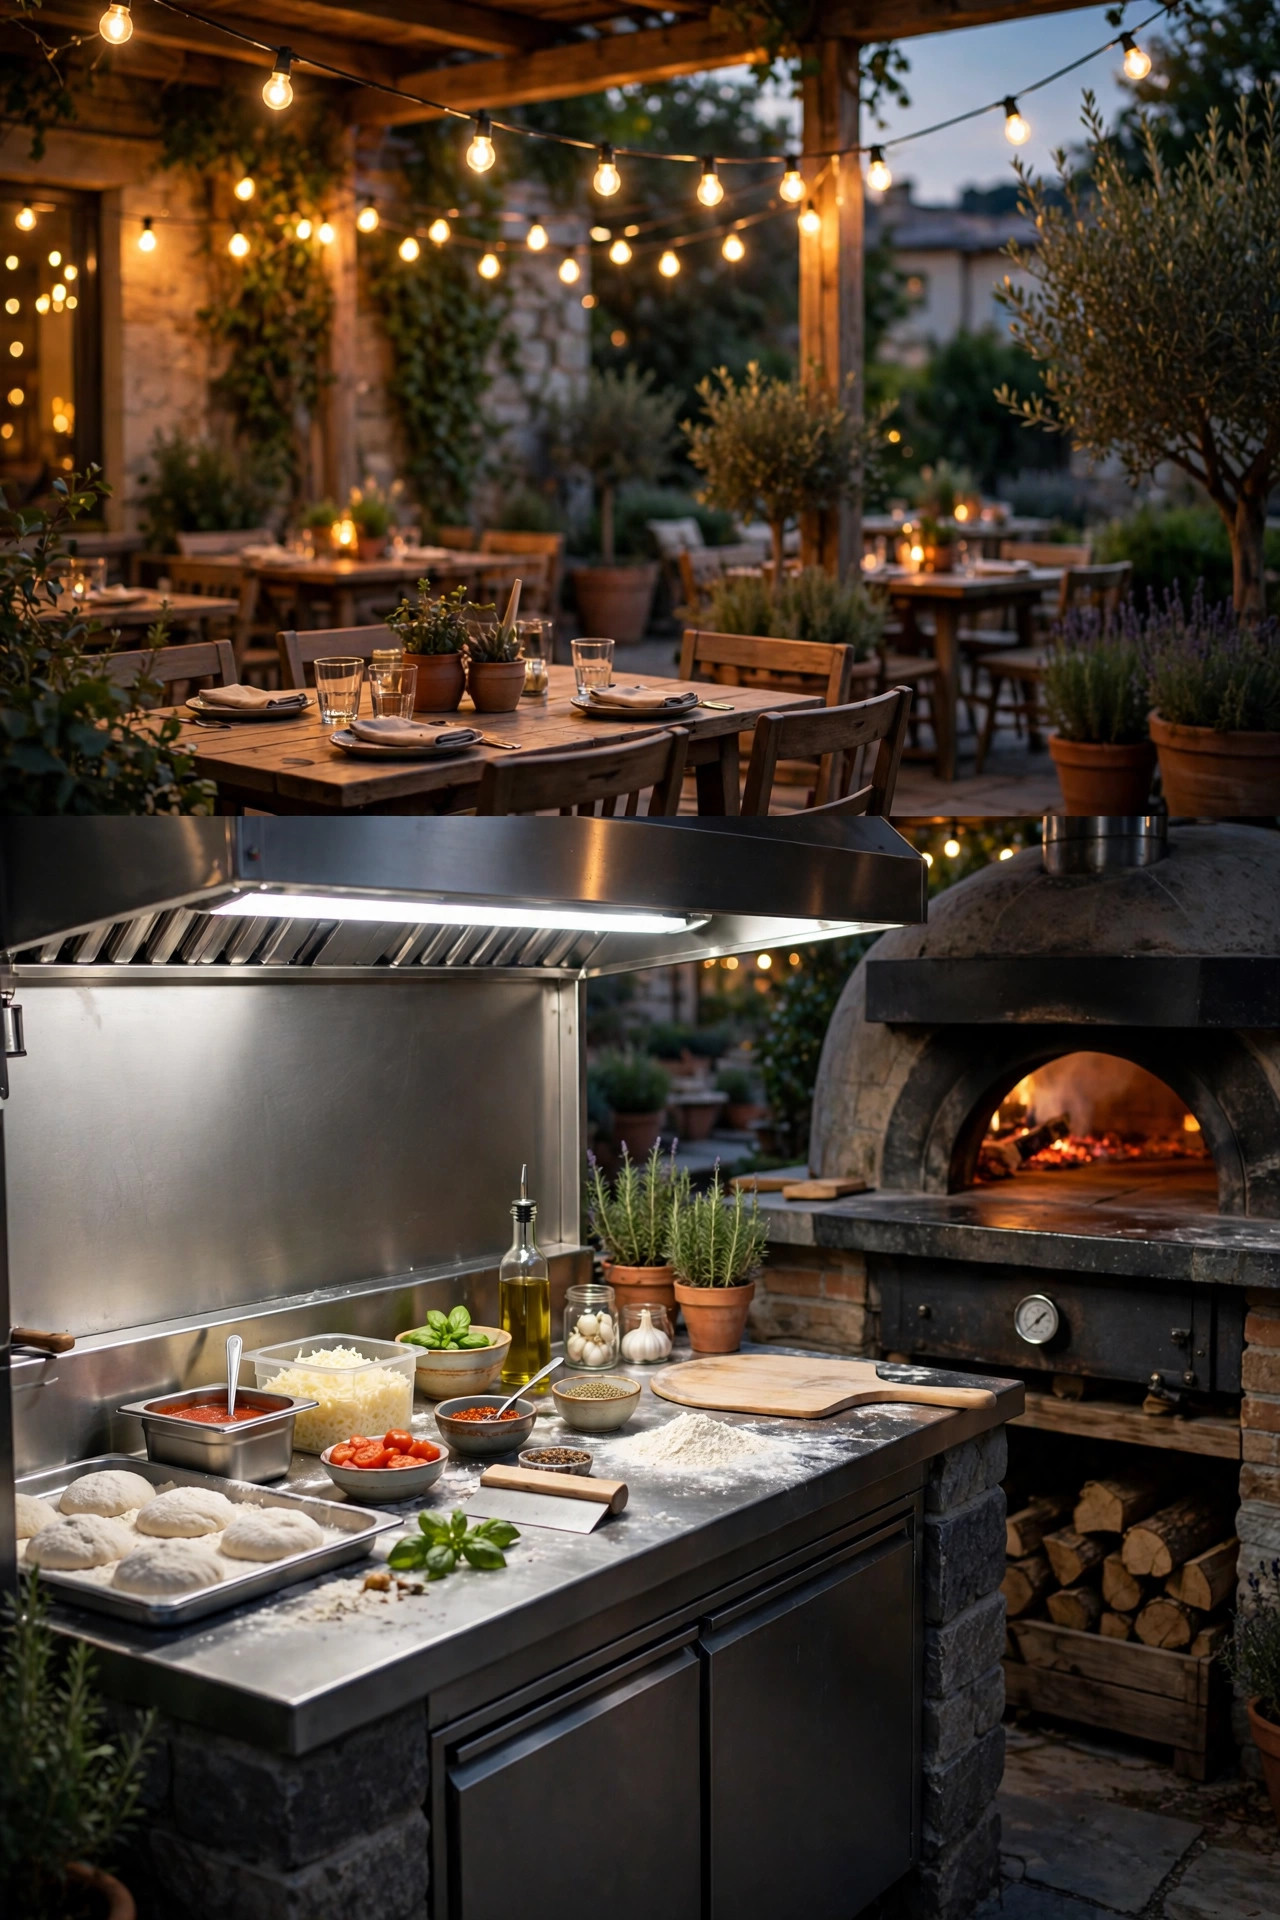
If I were lighting a brand-new pizza station this weekend, here is exactly how I would layer it, in order. First the work lights: the heat-rated task light over the oven mouth, the LED strip at the prep counter, the path lights along the route, and step lights anywhere feet could miss. That safety-and-task skeleton goes in before anything pretty. Second, the glow: the string light canopy overhead and the lanterns on the tables, all on timers so the mood arrives at sunset without a thought. Third, the accents: the uplight washing the oven's brickwork, fairy light jars down the table, flame-effect torches at the fence line, and solar stakes marking the wood pile. Three layers, each doing one job, none of them fighting. Stick to warm white throughout, keep every fixture outdoor-rated, protect every circuit with GFCI, and keep anything hanging or plastic well clear of the chimney's heat. Do that, and these pizza oven lighting ideas will carry you from the first spring firing to the last chilly autumn pizza night of the year — with every crust visible, every guest glowing, and not one pizza sacrificed to the dark.
Suggested budget range: $150 – $400.
Frequently Asked Questions
What color temperature is best for lighting a pizza oven area?
Use two zones. Around the oven mouth and prep counter, 3000 to 3500K with a high CRI rating helps you judge crust color accurately in the seconds that matter. Over the dining and gathering areas, warm 2700K is more flattering and relaxing. Matching temperatures within each zone matters more than the exact numbers you pick.
How bright should the light over a wood-fired pizza oven be?
Aim for a focused task light in the 800 to 1,100 lumen range aimed into the oven mouth. That is bright enough to see bubbling cheese and browning crust clearly without harsh glare. The rest of the station can stay much dimmer — ambient layers work beautifully at low levels because your eyes adjust once the task zone is properly lit.
Can I use solar lights around a pizza oven?
Yes, for the ambient and safety layers. Solar path lights, step lights, and stakes at the wood pile all work well if their panels get real daytime sun. Solar is not a good choice for the main task light over the oven mouth, though — you need guaranteed, full brightness on demand for cooking, and a weak solar charge will not give it to you.
Are string lights safe near a hot pizza oven?
They are safe with sensible clearance. Keep strands and bulbs at least 3 feet away from the chimney and flue opening, use shatterproof outdoor-rated LED bulbs, and never drape lights directly over the oven mouth where heat and sparks rise. Mounted high with real clearance, a string light canopy is one of the safest and prettiest layers you can add.
Conclusion
A wood-fired pizza oven gives you ninety seconds of magic per pie, and the right light is what lets you actually catch it. Layer it the way the pros do: honest task light where you cook, warm ambient glow where you gather, and a few accents to make the whole station feel special. Start with the task light over the mouth if you only do one thing this weekend — it changes everything. These pizza oven lighting ideas are all simple, affordable, and built for real backyard evenings, so pick your first layer, fire the oven, and enjoy seeing every single pizza come out exactly the way you meant it to. Browse the rest of the site for more outdoor lighting ideas to round out your yard.