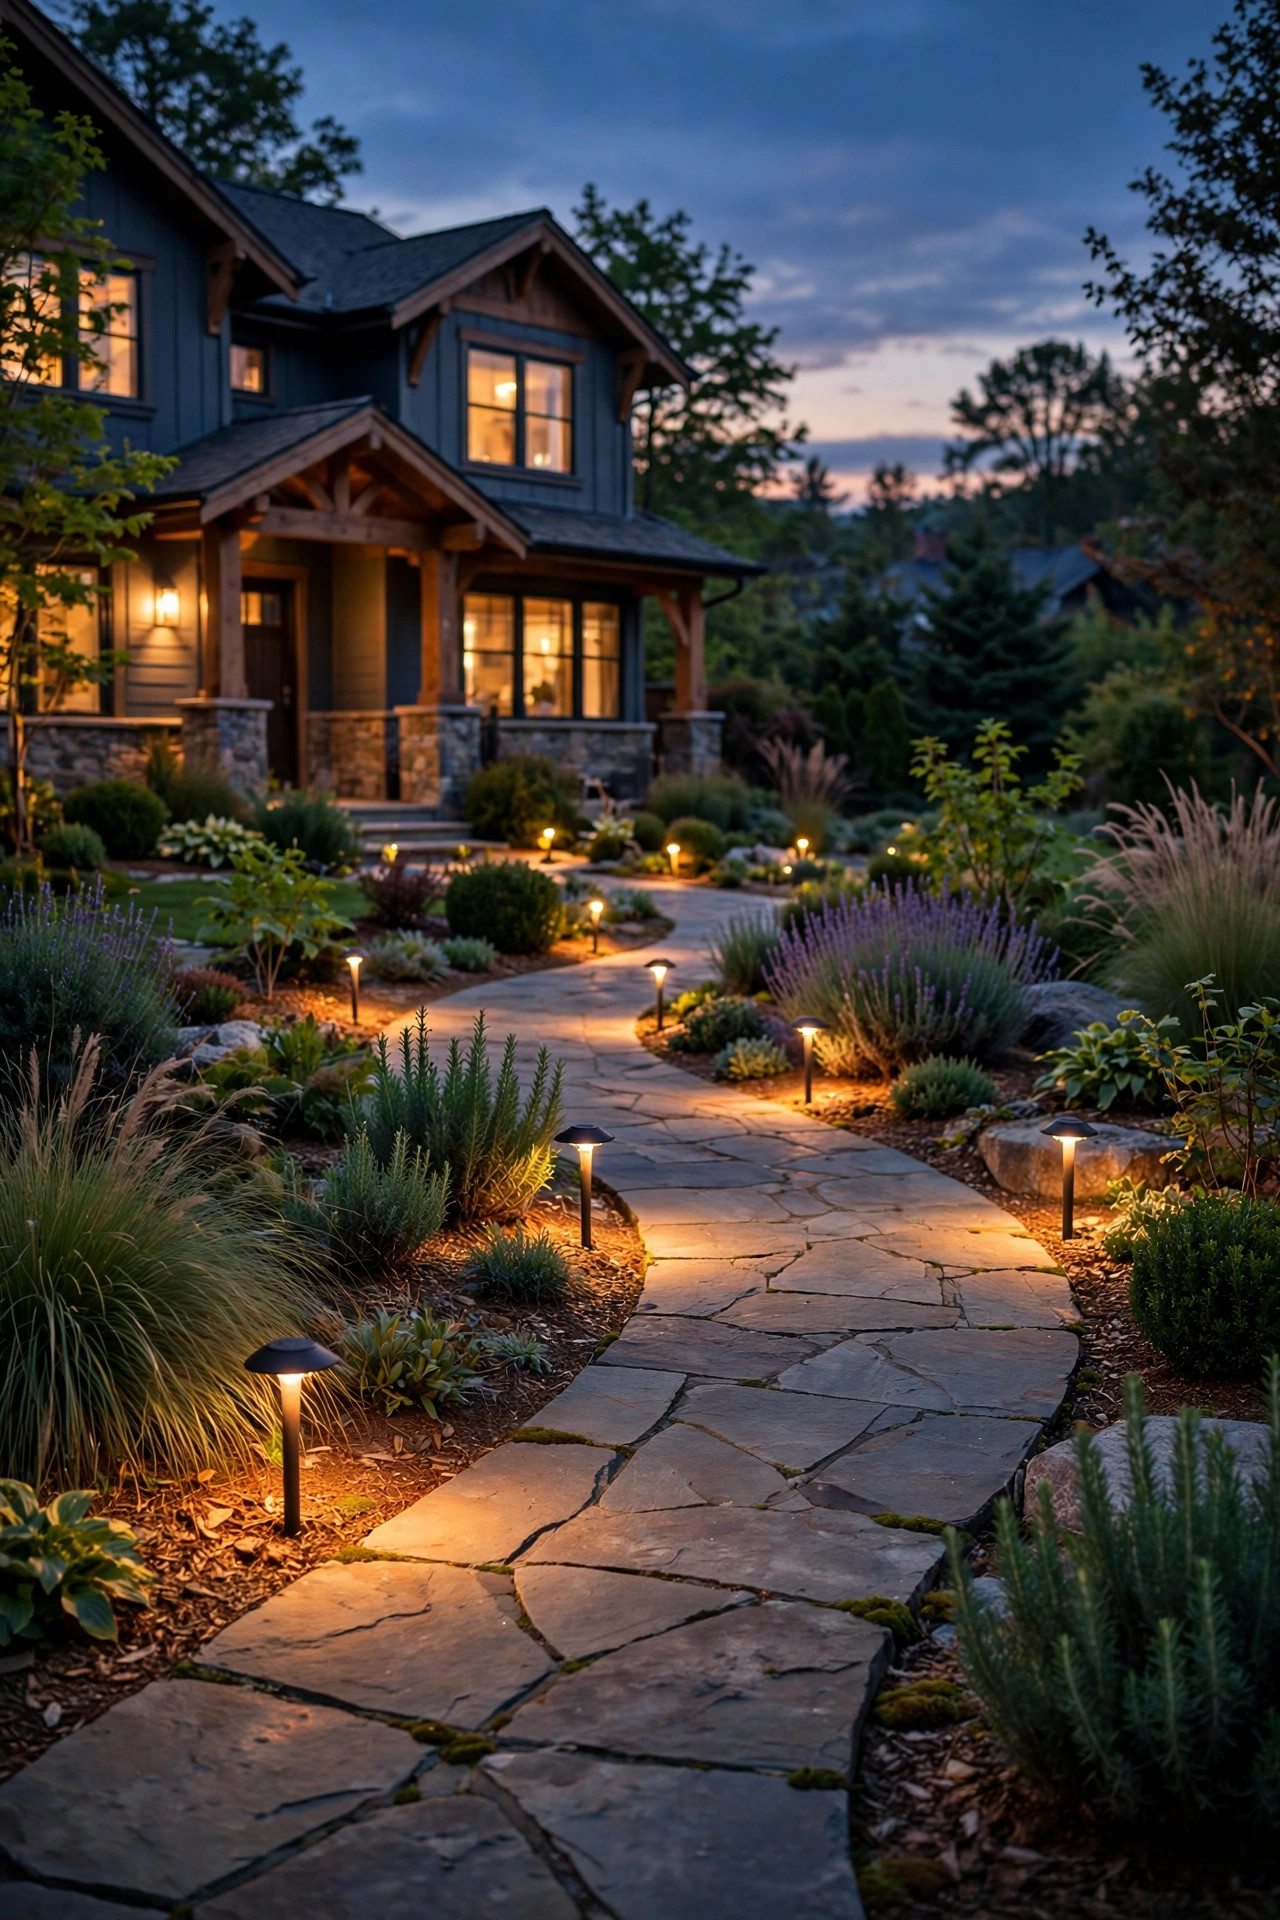
A curved walkway is one of the prettiest things a front yard can have — it meanders instead of marching, and it makes guests slow down and actually look at your garden. But the moment the sun goes down, that gentle bend can turn into a guessing game. Straight paths are easy to light; a curve asks a little more of you. The good news? These curved walkway lighting ideas are all about working with the bend instead of fighting it. In my experience, the secret is layering: soft pools of light placed where the path changes direction, a little glow on the plantings beside it, and spacing that follows the arc rather than a rigid grid. Below, I'm sharing 19 ways to light a curved walkway so it looks intentional, feels safe underfoot, and honestly looks a little magical after dark. If you're starting from scratch, my general walkway lighting ideas guide covers the basics — this post is all about the curve.
1. Anchor the Bend With Low-Voltage Path Lights
When a walkway curves, your eye naturally looks for the next pool of light to tell you where to step. That's why classic low-voltage path lights are still my first recommendation for a bend. Choose fixtures with a hat or dome shade that throws light downward onto the pavers, not out into your eyes. Place them on the outside edge of the curve, roughly every 6 to 8 feet, and tighten the spacing to about 5 feet right at the tightest part of the bend, where footing matters most. A 12-volt system with warm 2700K LED bulbs gives you consistent brightness that solar sometimes can't, and the wire simply follows the curve in a shallow trench. Keep fixtures 12 to 18 inches back from the path edge so mower wheels and snow shovels pass safely. If you're comparing systems, my breakdown of low-voltage path lights explains transformers and wire gauges in plain English. This is the dependable, do-it-once option — and honestly, the one I'd choose for a front walk used every single night.
Suggested budget range: $180 – $450.

2. Let Solar Stakes Trace the Inside of the Curve
Here's a trick I use on gentle garden bends: put slim solar stake lights along the *inside* of the curve instead of the outside. The inside edge is the shorter line, so the lights read like a dotted ribbon guiding you around the bend, and it looks especially pretty through low plantings. Solar stakes need no wiring, which matters because curves rarely sit near an outlet. Look for models rated at least IP65 with warm-white LEDs around 2700–3000K — cool blue solar lights will cheapen the whole look, trust me. Push them 8 to 10 inches back from the edge and space them every 4 to 6 feet, closer where the curve tightens. They won't be as bright as wired lights, so think of them as guidance and atmosphere rather than task lighting. Before you buy a dozen, read through a good solar path lights guide so you know which brightness claims to believe. For a secondary garden path or a rental-friendly fix, this is the fastest weekend win on the whole list.
Suggested budget range: $40 – $120.
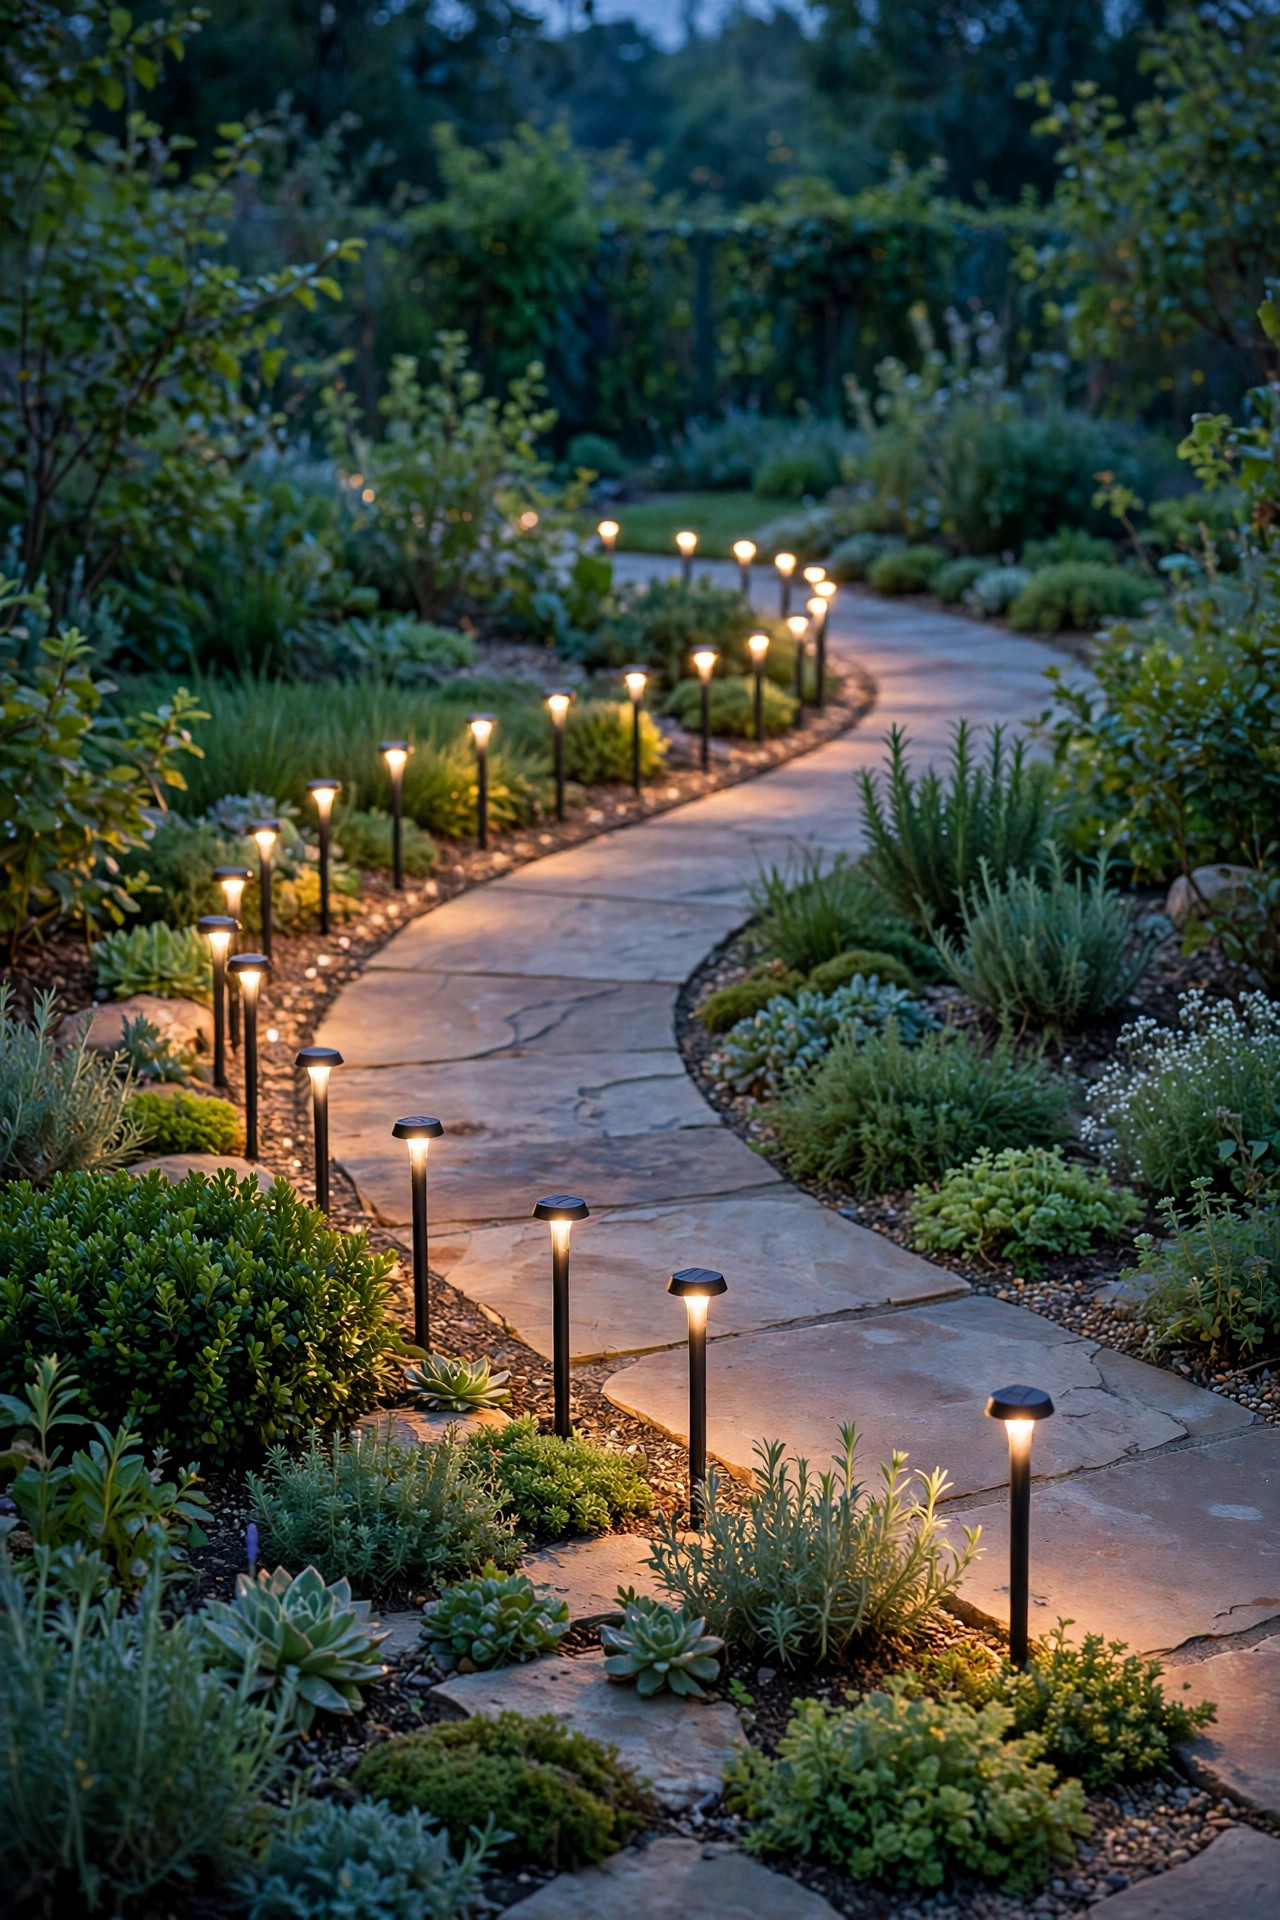
3. Trace the Arc With Recessed In-Ground Well Lights
If you want the curve itself to be the artwork, recessed well lights are gorgeous. These fixtures sit flush in the soil or gravel right at the path's edge, shining a soft wash up and across the walking surface, so the arc of the bend becomes a glowing line in the dark. Space them every 5 to 7 feet, and place one exactly at the apex of the curve — that's the spot your eye lands on first. Choose fixtures with a frosted or louvered lens to cut glare, and make sure they're rated for in-ground, drive-over-adjacent use even if they're only beside a footpath; water pools in recessed housings, so drainage gravel underneath each fixture is non-negotiable. Low-voltage versions wire together along the bend, and at 2700K they make stone and brick paths look rich and warm. This is a more permanent install — you'll dig, level, and bury cable — but the result is clean, modern, and completely tripod-free: no fixtures to knock over, ever. In my experience it's the single most "designed" look a curved walkway can wear.
Suggested budget range: $250 – $600.

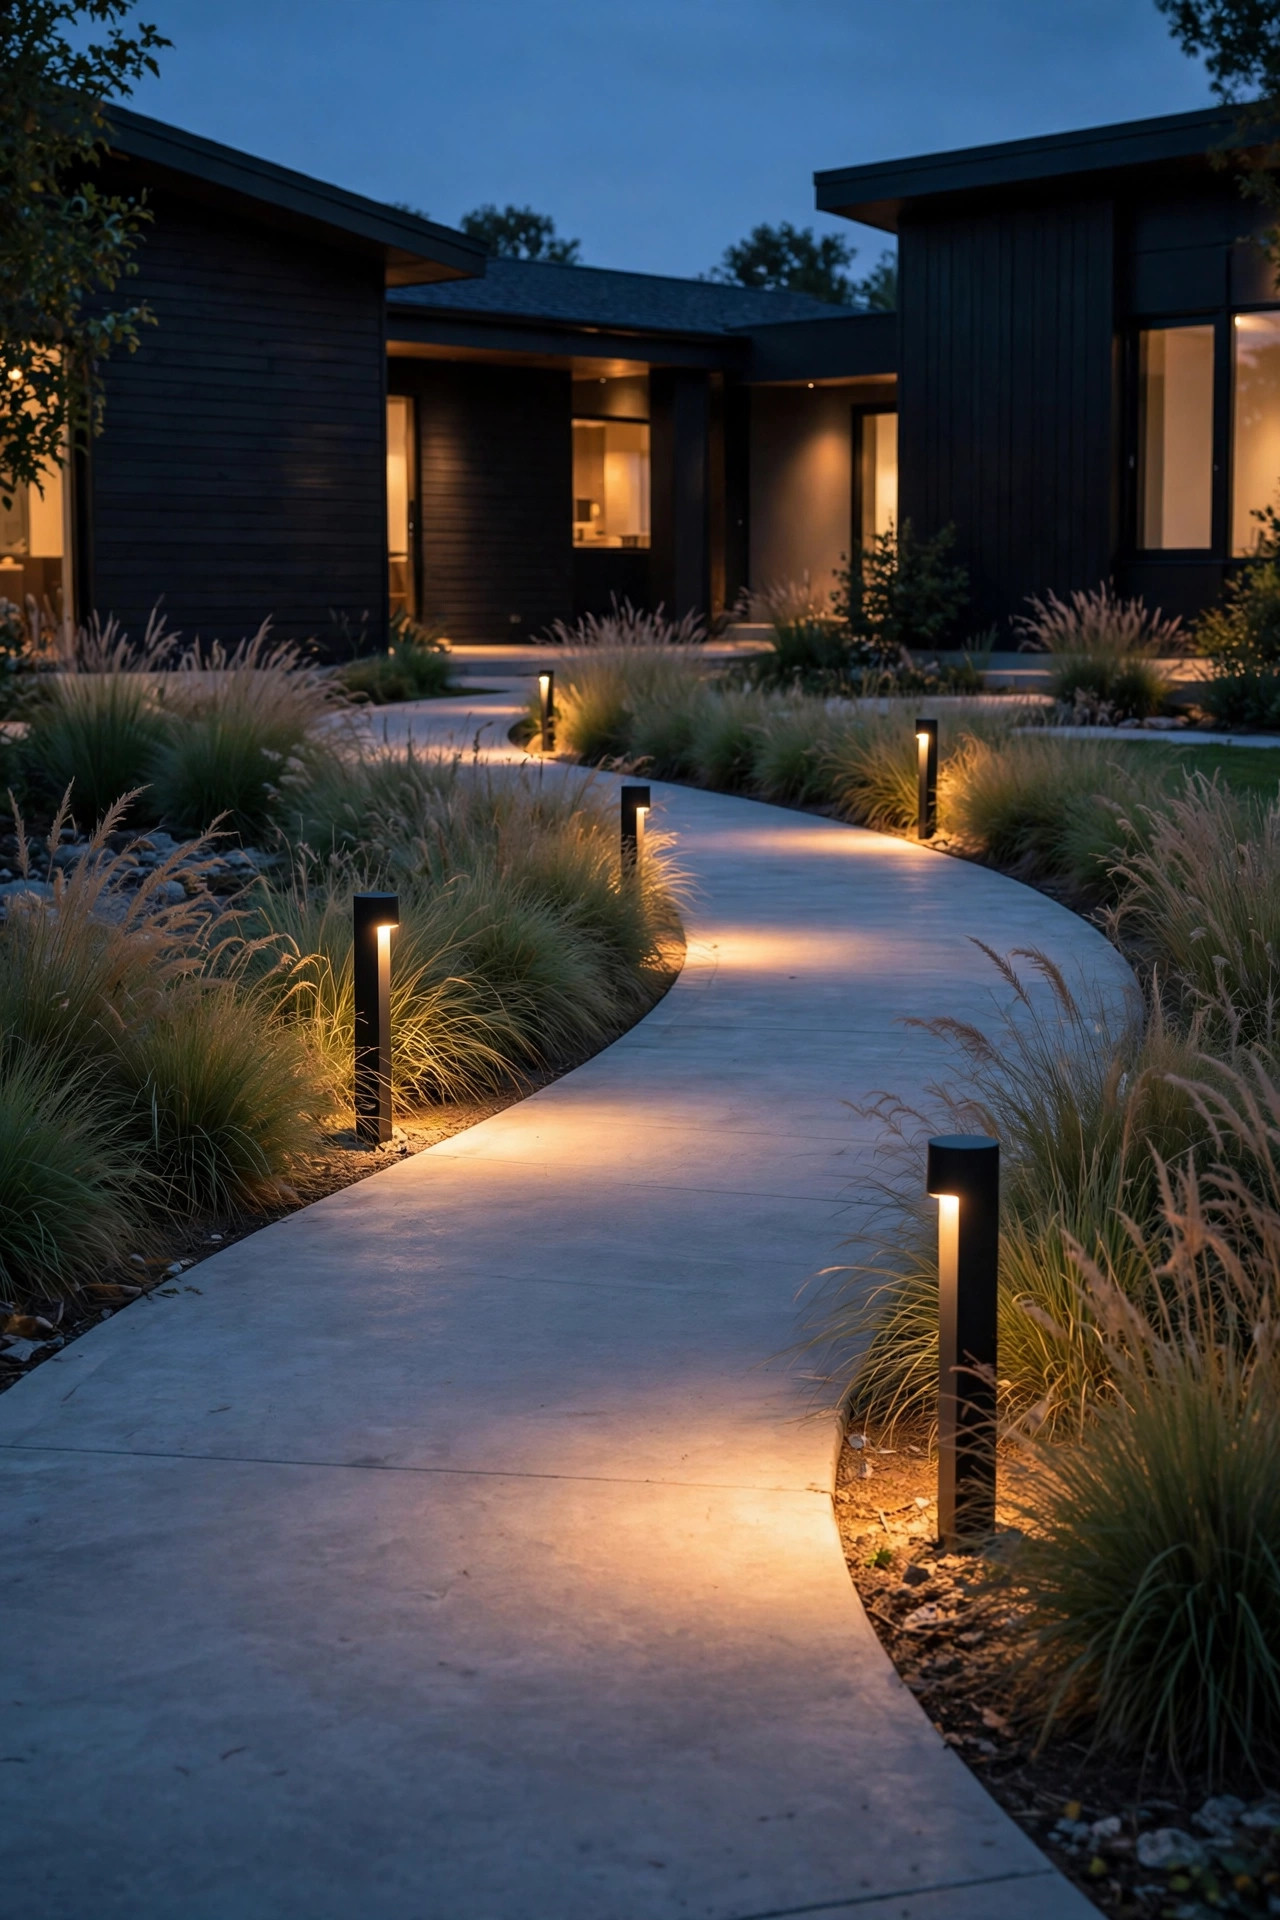
4. Mark the Widest Sweep With Bollard Lights
Every curved walkway has one generous, sweeping section — the part where the path bulges out around a planting bed or a tree. That wide moment deserves a slightly taller fixture, and bollards are perfect for it. A 12- to 24-inch bollard throws a broader pool of light than a little path light, so two or three of them can carry the whole wide section without clutter. Place bollards on the outside of the sweep, spaced 8 to 10 feet apart, and let smaller fixtures handle the tighter bends elsewhere. I love matte black or weathered bronze finishes against greenery; they disappear by day and glow by night. Look for bollards with downward-facing or shielded LEDs so you're lighting the path, not the neighborhood, and pick 2700K to keep that warm welcome. Because they read as small pieces of architecture, bollards also give a curved walk a sense of rhythm — tall note, quiet stretch, tall note. Just anchor them in a small concrete footing or a deep ground stake; a leaning bollard ruins the effect faster than anything.
Suggested budget range: $150 – $420.
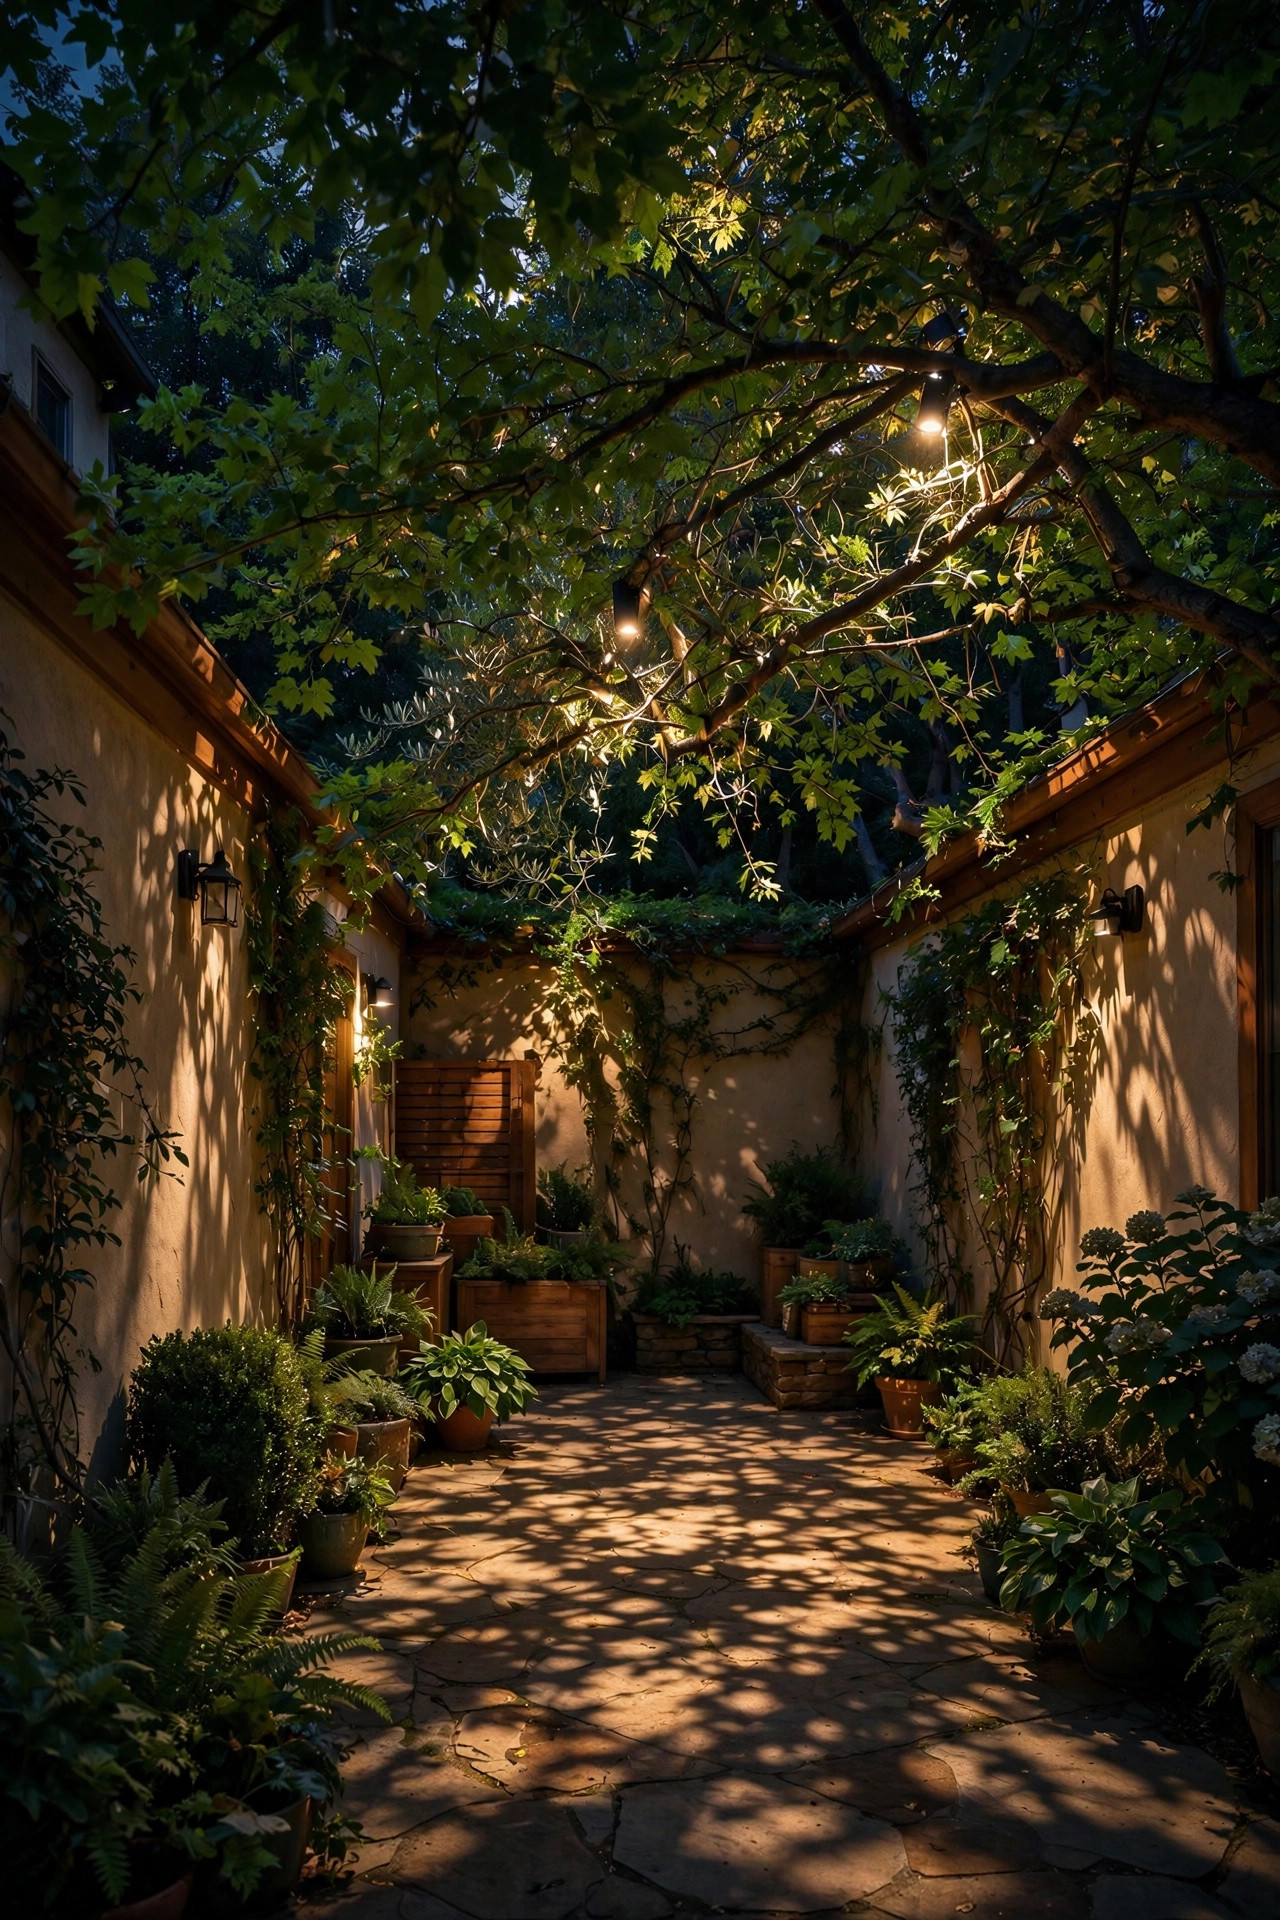
5. Moonlight the Bend From a Nearby Tree
Sometimes the prettiest light on a curved walkway doesn't come from the path at all. Moonlighting — mounting a shielded downlight 15 to 25 feet up in a tree so it filters through the branches — casts dappled, natural-looking light that suits a curve beautifully because it doesn't demand fixtures in a perfect line. If your bend passes anywhere near a mature tree, this is worth considering. The light should be soft and cool-neutral, around 3000–4000K, to mimic real moonlight, though I personally cap it at 3000K to keep the yard feeling warm. Use a fixture with a long glare shield, aim it through open branch structure, and let the leaf shadows dance on the pavers. You'll still want a few low guide lights at the tightest part of the bend for safety, but the moonlight layer does the atmospheric heavy lifting. Honestly, guests always ask about this one. Hire a pro for the tree work if heights aren't your thing — the wiring runs down the trunk and should be done neatly with room for the tree to grow.
Suggested budget range: $300 – $750.
6. Edge the Curve With a Hidden LED Rope Light
For a continuous ribbon of light that follows every inch of the bend, nothing beats a rope light or outdoor LED strip tucked along the path's edging. Hide it under a metal or stone edge restraint, beneath a raised paver lip, or along the inside face of a low border — the source stays invisible and only the glow shows, washing the curve in one unbroken line. This works beautifully on modern curved walkways and on raised beds that sweep alongside the path. Choose a warm 2700K, fully waterproof (IP67 or better) rope rated for outdoor use, and power it from a low-voltage transformer or a weatherproof driver in a protected spot. Gentle curves are forgiving; for tighter bends, rope light flexes far better than rigid strip. Keep the run in sections with connectors at natural breaks so a failed segment is easy to replace. One caution from experience: cheap rope light yellows and goes patchy within a couple of seasons, so buy the better spool once. The effect at night — a river of light curving through the garden — is hard to beat for the money.
Suggested budget range: $60 – $200.

7. Add Cottage Charm With Lantern-Style Path Lights
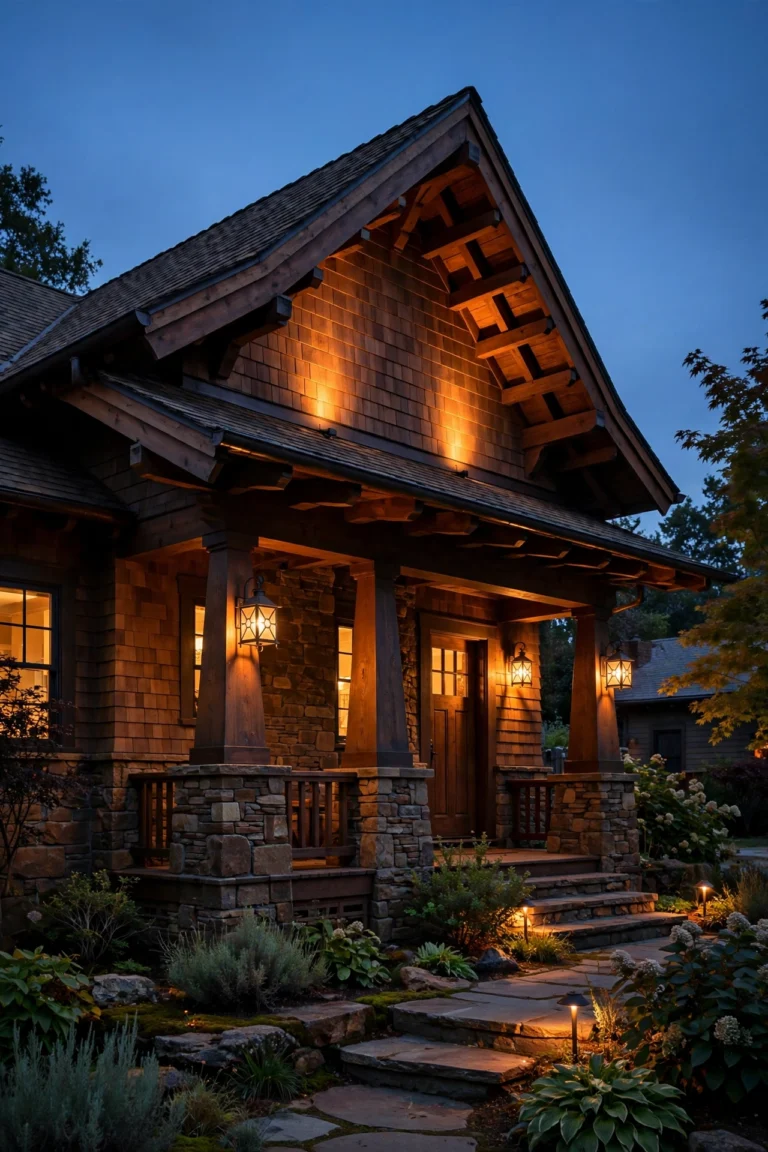
If your curved walkway winds toward a cottage, craftsman, or farmhouse entry, lantern-style path lights feel like they were made for it. The seeded glass, candle-style LED bulbs, and slightly vintage silhouettes soften a curve in a way sleek modern fixtures don't. Space them every 6 to 7 feet on alternating sides of gentle bends — a loose zigzag suits the romantic mood better than a strict single-file line — and tuck them among plantings so the bases disappear. Warm 2700K filament-style LEDs are the whole point here; you're buying a candlelit feeling, not stadium brightness. Choose powder-coated aluminum or solid brass so the lanterns weather gracefully instead of rusting by the second winter. I also love pairing two lanterns flanking the spot where the walkway meets the porch steps, like a little gateway. Keep glass clean with a quick wipe each season, because dusty seeded glass dims fast. This is the look that makes neighbors slow down on evening walks, and it photographs beautifully for listing photos, too.
Suggested budget range: $120 – $380.

8. Set Flush Paver Lights Into the Walkway Edge
Here is a space-saver I recommend whenever the curve runs tight against planting beds: small rectangular or round paver lights installed flush into the walkway's own edge course. Because they sit in the path rather than beside it, nothing sticks up to catch a mower, a snow shovel, or a toddler's toe, and the light grazes across the surface so every curve and texture shows. Space them every 4 to 6 feet along the outside edge of the bend, or place pairs at the start, apex, and end of a short curve. Solar versions exist, but wired low-voltage paver lights are brighter and far more reliable through winter; if you go solar, choose models with replaceable batteries. This is easiest to do while a paver path is being built or re-leveled — retrofitting means lifting edge pavers one at a time, which is fiddly but absolutely doable on a Saturday. Use 2700K LEDs and a sand or polymeric-sand bed so each unit sits dead level. The finished effect is subtle by day and quietly elegant at night.
Suggested budget range: $140 – $400.

9. Soften the Bend With Mushroom and Dome Lights
Mushroom lights — those low fixtures with a wide cap that bounces light down in a soft circle — are the gentlest way I know to light a curve. Instead of a bright point, each one lays a calm pool of light about 4 to 6 feet across, and when you overlap those pools slightly along a bend, the whole walkway feels like it's floating on moonbeams. They're ideal where the curve passes seating or a garden bench, because there's almost no glare at sitting eye level. Space them 6 to 8 feet apart on the outside of the bend, nestled into mulch or low groundcover so the stems vanish. Warm 2700K LEDs keep the pools golden rather than clinical. Mushroom fixtures come in solar and wired versions; wired wins for consistency, but a good solar mushroom is a lovely no-dig option for a back garden curve. One styling tip: repeat the same fixture all the way along the path. Mixing fixture styles on a curve draws attention to the hardware instead of the bend itself, and consistency is what makes it look designed.
Suggested budget range: $90 – $300.

10. Stagger Fixtures Side to Side to Kill the Runway Look
The number one mistake I see on curved walkways is a single-file line of identical lights that reads like an airport runway. A curve gives you the perfect excuse to stagger: alternate fixtures from one side of the path to the other as the bend unfolds, so the light weaves and the path feels wider and more relaxed. The rule is simple — never place two lights directly opposite each other, and keep the visual rhythm uneven, about 5 to 7 feet between pools of light as you walk. Your eye follows the zigzag, which actually improves wayfinding on a bend because each next light pulls you forward. Staggering also lets you light both edges' plantings in turn, so one side's hydrangeas glow here, the other side's grasses glow there. This works with stakes, lanterns, or mushrooms — it's a placement strategy, not a product. Before you commit, lay the fixtures on the ground at dusk and walk the path yourself. From experience, ten minutes of shuffling fixtures around before you bury a single wire saves a whole season of "something looks off."
Suggested budget range: $80 – $350.

11. Uplight the Focal Point at the Apex of the Curve
Every curve has an apex — the far point of the bend — and whatever sits there becomes the natural exclamation point of the whole walk. If you have a small tree, a birdbath, a sculptural stone, or even a beautiful urn at that spot, give it a dedicated uplight and let the path lights stay quiet and low. A single narrow-beam spotlight (30 to 45 degrees) placed 12 to 18 inches from the base and aimed up through the branches or across the texture creates depth that flat path lighting never can. Suddenly the walkway isn't just lit; it leads somewhere. Keep the uplight warm at 2700K and modest in brightness — it's an accent, not a floodlight, and it should never shine into a neighbor's window. This is also a smart budget move: one quality spotlight at the apex does more for the overall scene than adding four more path lights along the bend. In my own yard, the little Japanese maple at the turn of our path gets exactly this treatment, and it's the thing guests comment on most.
Suggested budget range: $60 – $220.
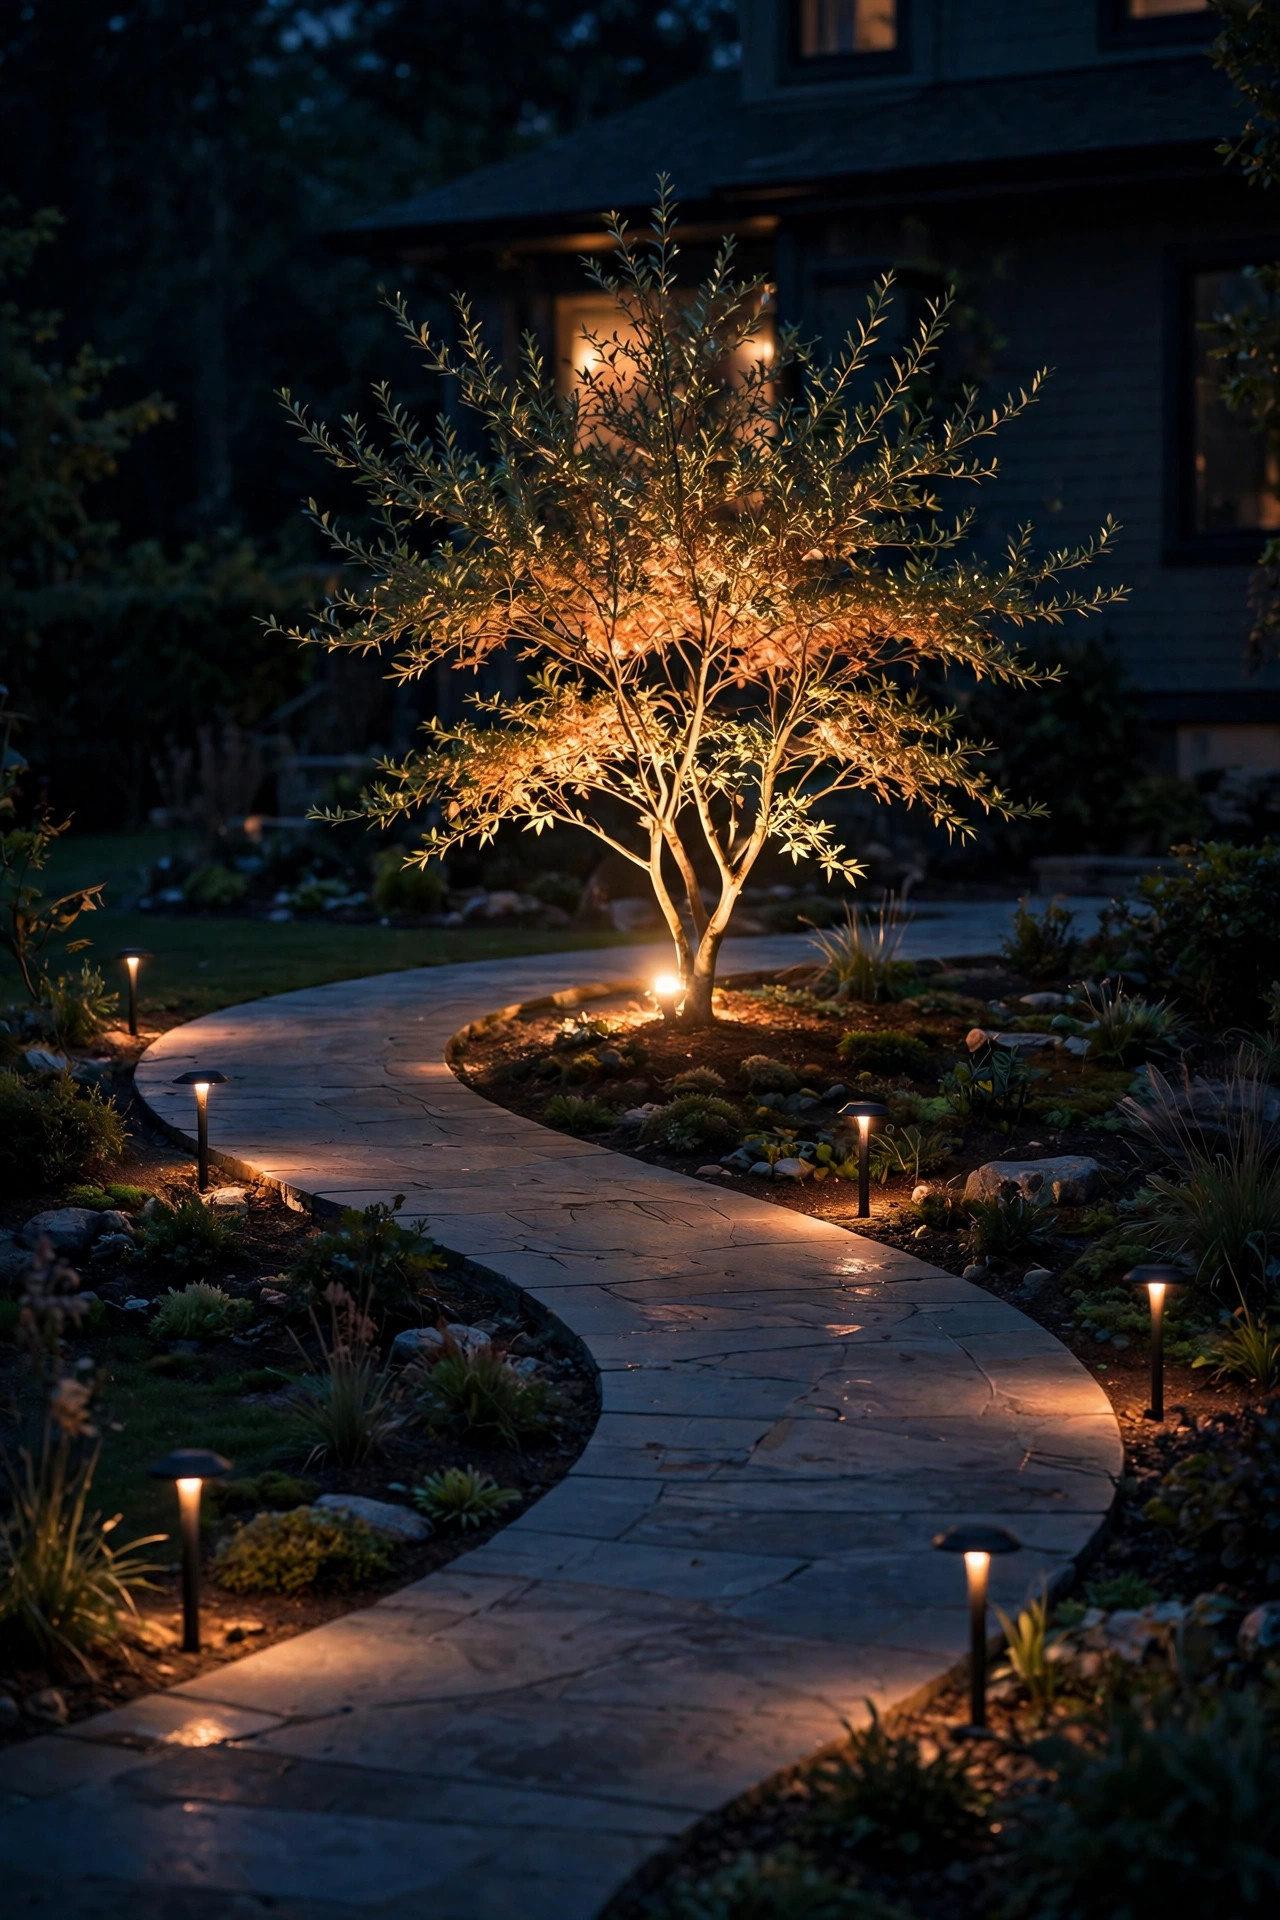
12. Drape Short-Post String Lights Along a Garden Curve
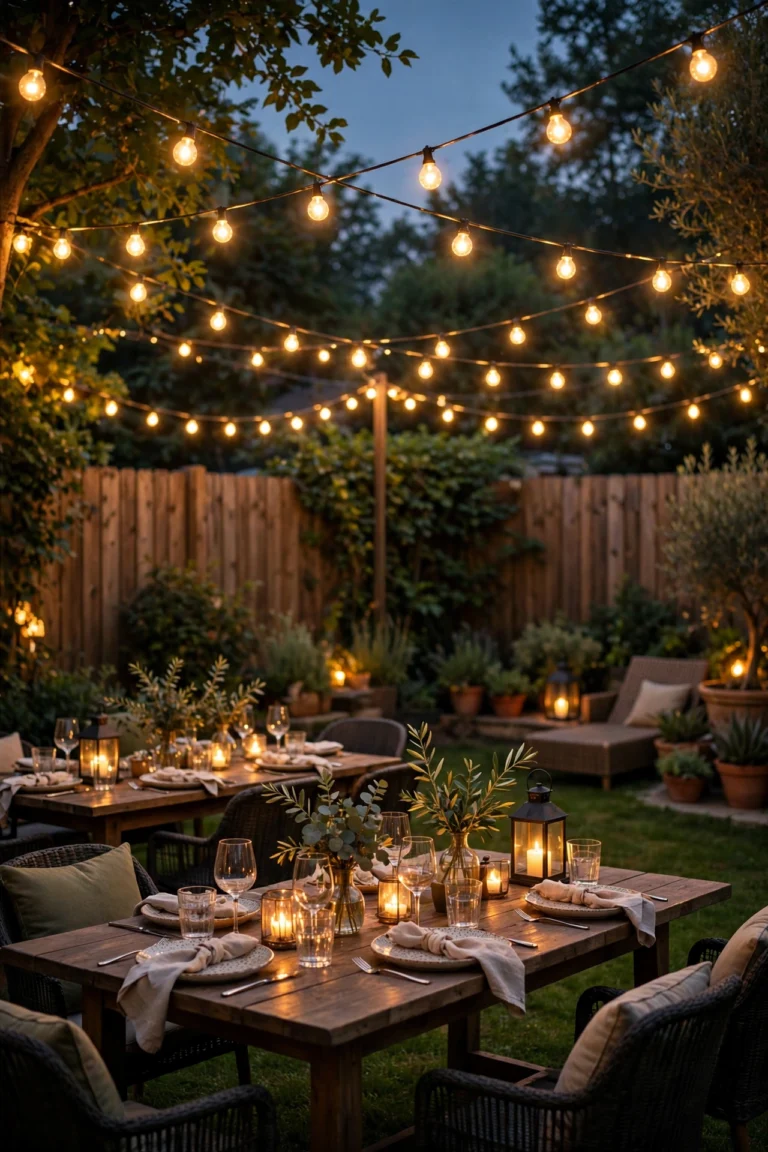
For a backyard curve — especially one that winds between a patio and a fire pit or garden gate — string lights on short shepherd's-hook posts bring a festive, bistro feeling that follows the bend effortlessly. Set sturdy 4- to 5-foot posts every 8 to 10 feet along the outside of the curve, swag the strands between them with a gentle dip, and use shatterproof LED café bulbs in warm white. Because the posts mark the curve's outline from above, the path reads clearly even with no ground fixtures at all. Anchor posts deep or in weighted bases; a leaning post mid-party is a sad sight. Keep bulbs LED-only and outdoor rated, and plug into a GFCI outlet with a timer so they shut off by midnight. One honest caution: string lights alone are ambiance, not safety lighting — if the path has steps or uneven stones, add a couple of low stakes at those spots. For summer evenings, though, nothing on this list makes a curved walkway feel more like a destination.
Suggested budget range: $70 – $250.
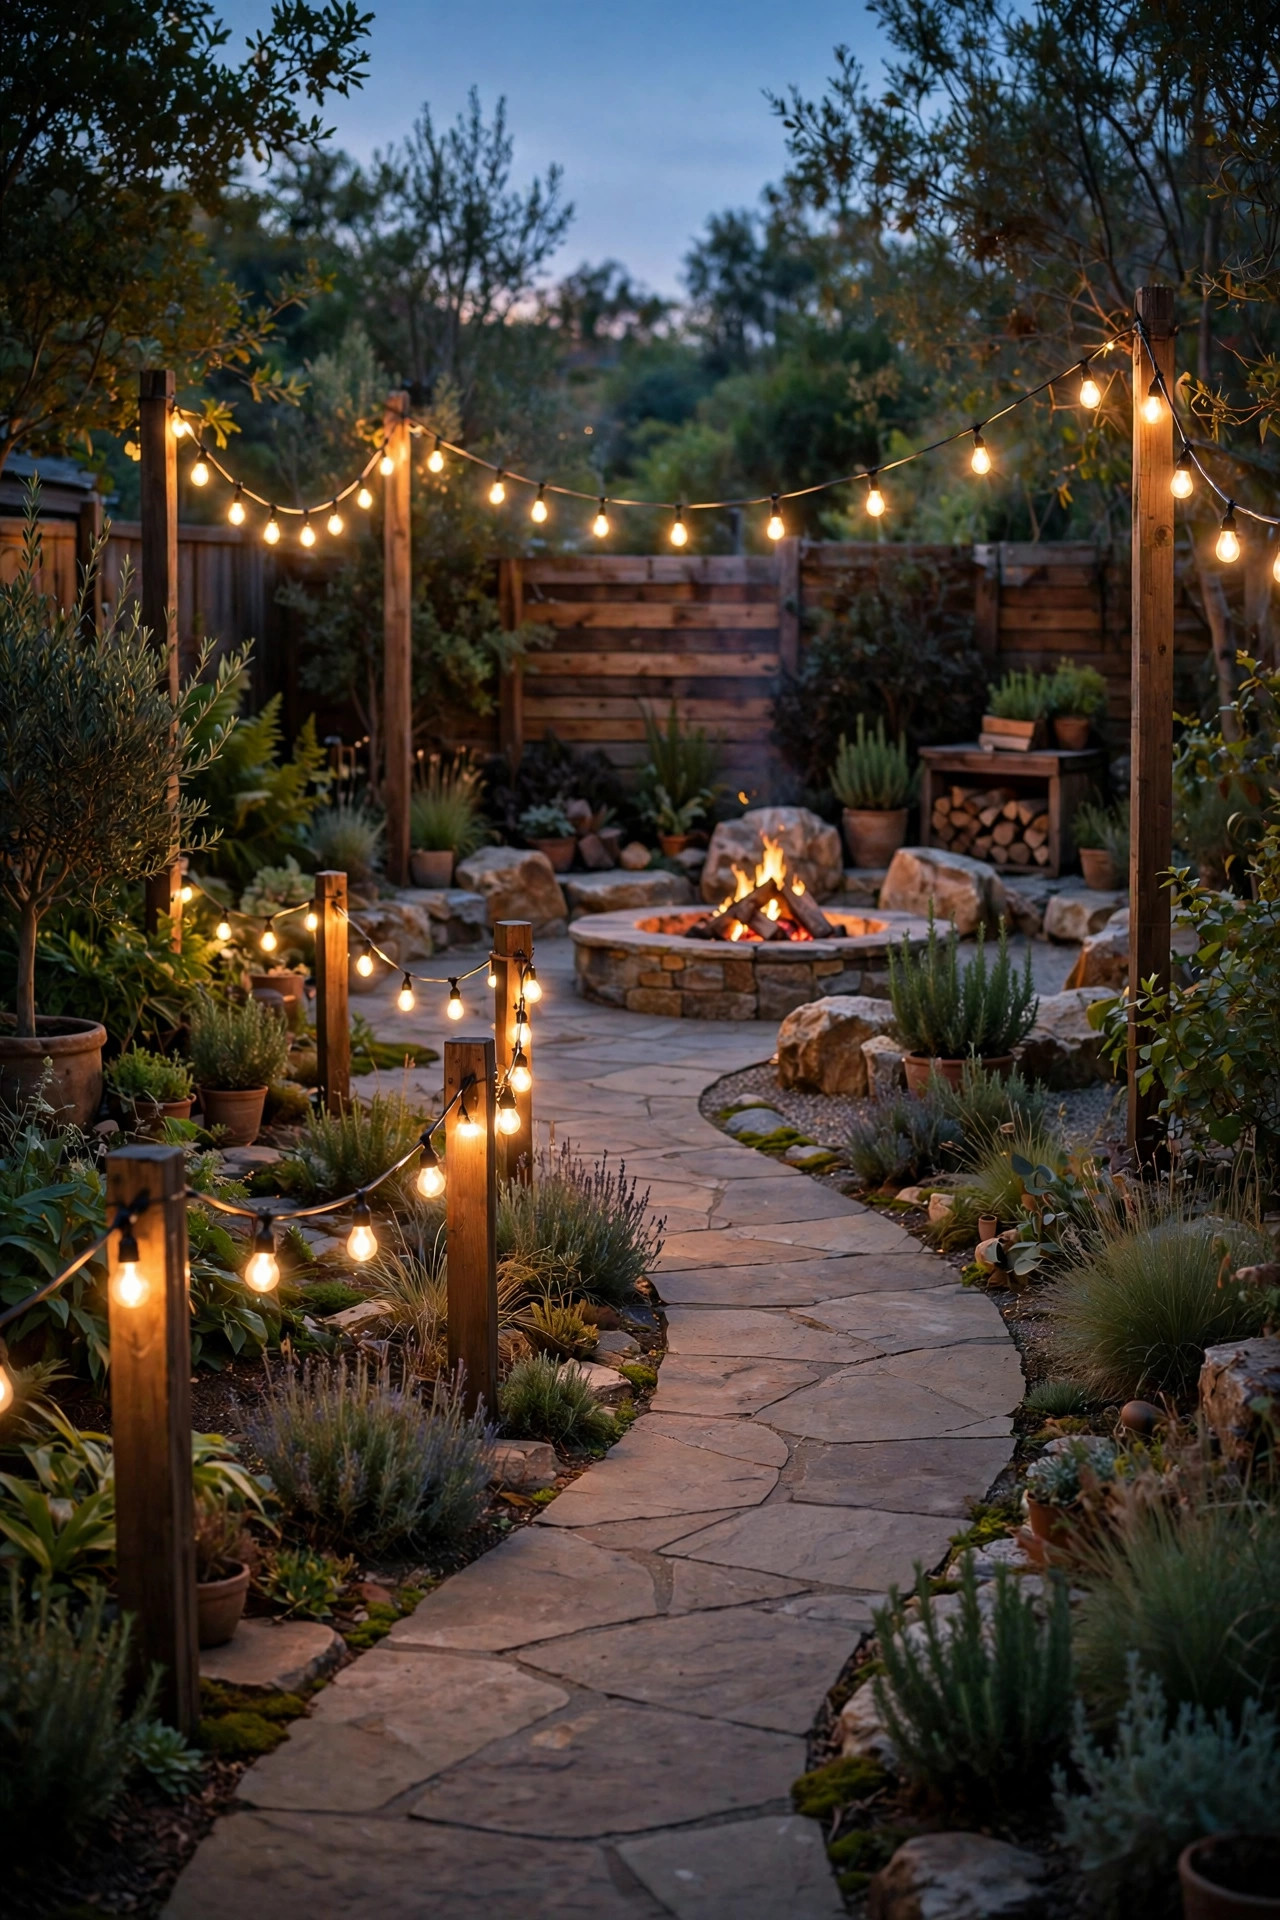
13. Use Motion-Sensor Lights Where the Curve Meets the Driveway
There's usually one spot on a curved front walk that matters more for safety than beauty: where the bend straightens out near the driveway, garage, or street. A motion-sensor fixture there — a path light with a built-in sensor, or a low bollard that brightens as you approach — gives you full light exactly when feet are on the ground and a soft idle glow the rest of the time. Modern low-voltage and solar versions dim to about 20–30 percent at rest and step up when they sense movement within 10 to 15 feet, which is kind to your electric bill and your neighbors. Place the sensor light just before the turn, aimed so it triggers as someone enters the bend, not after they're already around it. Test the angle at night with a partner; sensors blocked by shrubs are the usual failure, so keep foliage trimmed back a foot or so. I especially recommend this for households with early-morning departures — nobody should navigate a frosty curve in the dark.
Suggested budget range: $50 – $180.
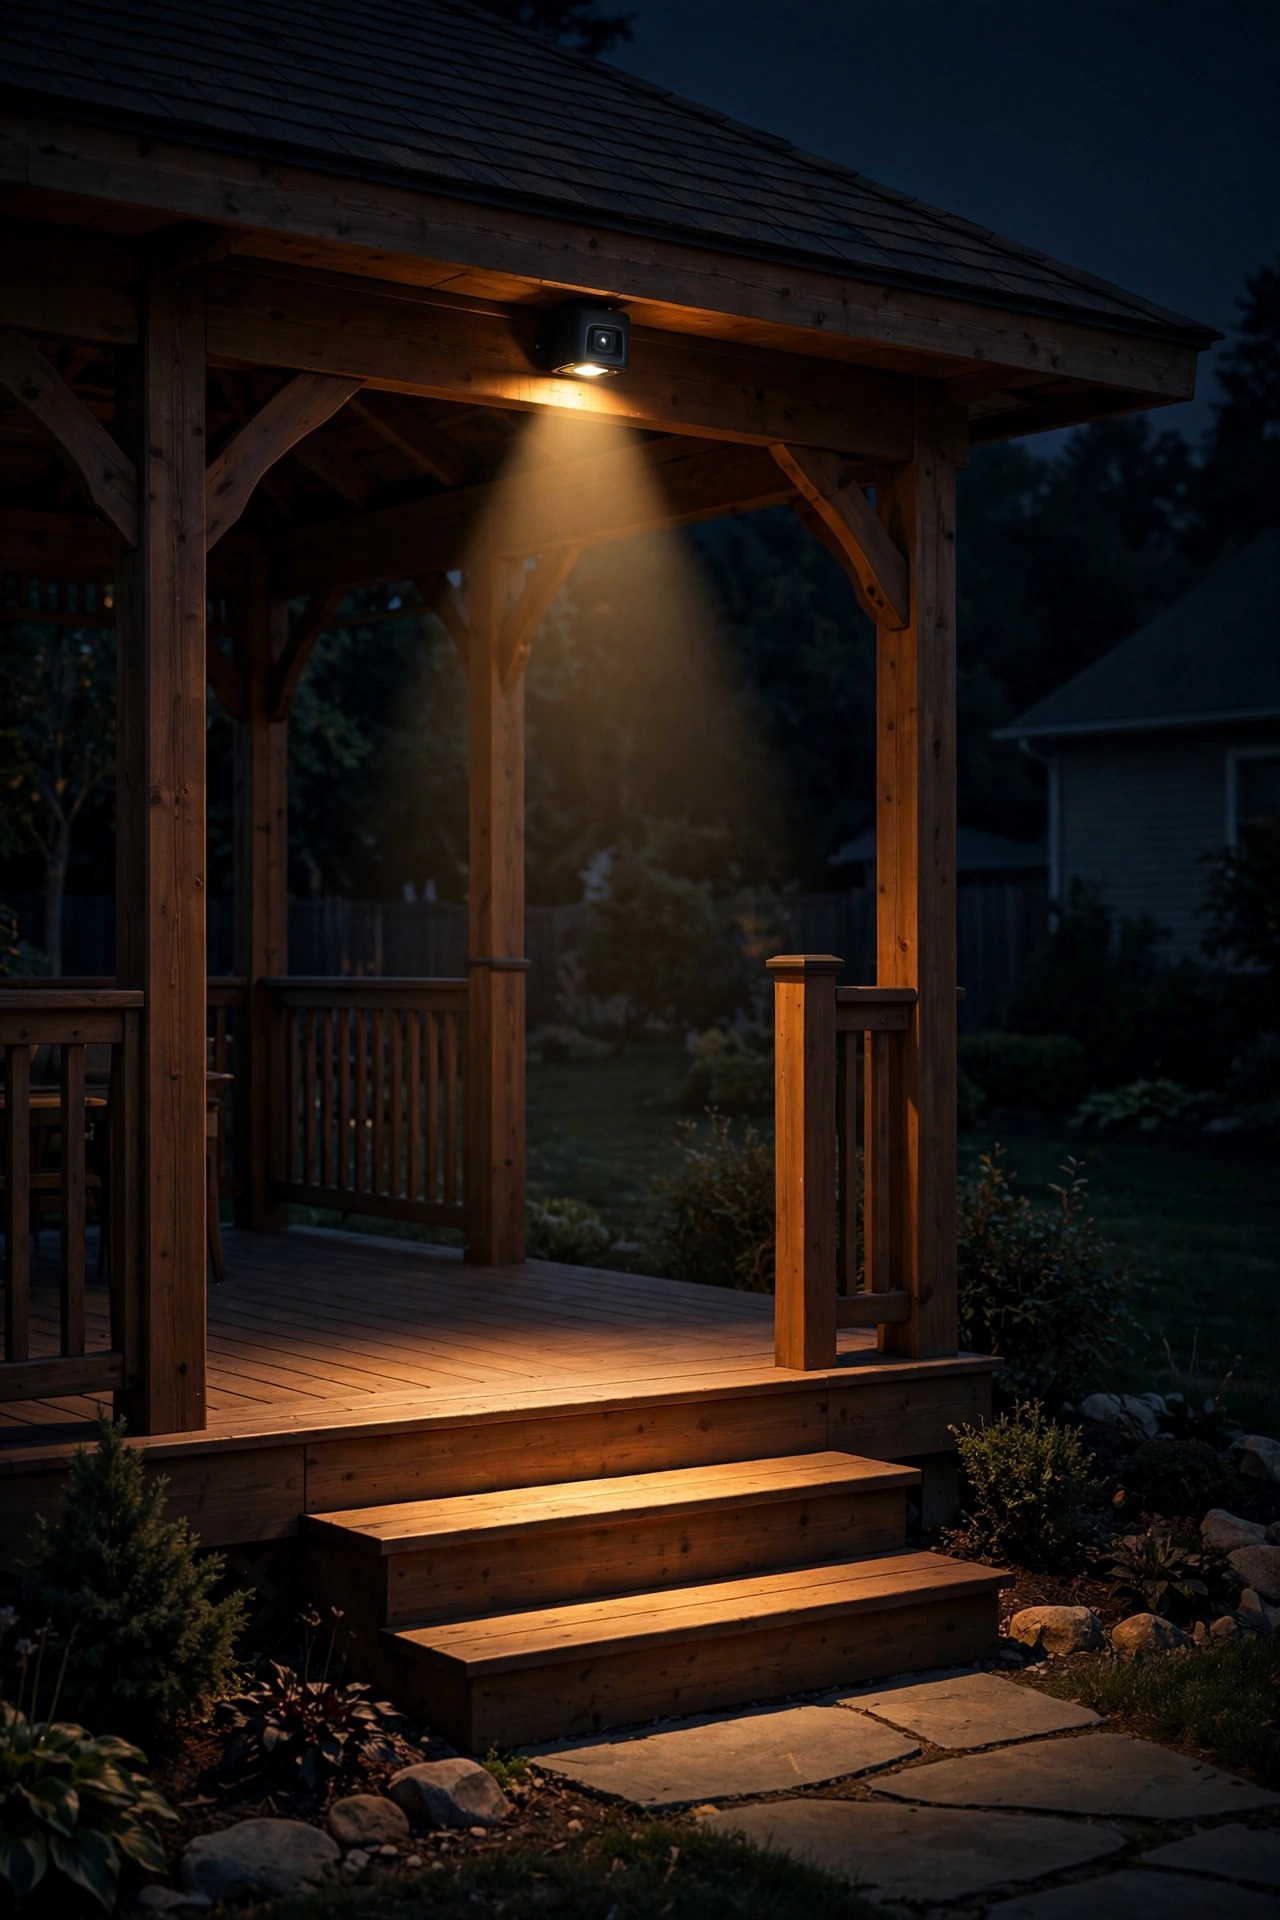
14. Line a Woodland Bend With Stone Lanterns
If your curved walkway wanders through a shady, naturalistic garden, stone or stone-look lanterns belong there. Their weight and texture echo rocks and trees in a way metal stakes never will, and the light spilling from their little windows feels like something from a storybook. Place one at the entrance of the bend, one at the apex, and one where the path straightens again — three lanterns can carry a whole curve because each one is a destination in itself. Between them, the path can stay dim and dappled, which suits a woodland mood; just be sure footing is even, since this is atmosphere-first lighting. Real carved stone is heavy and pricey, but cast-stone and resin versions with solar or wired LED inserts look convincing and weigh far less. Warm 2700K inserts are a must — a cool white glow breaks the spell instantly. Nestle each lantern into ferns or hostas with a small cleared gravel pad so it sits level and doesn't sink into mulch over the season. This is slow, quiet lighting, and I mean that as a compliment.
Suggested budget range: $90 – $500.
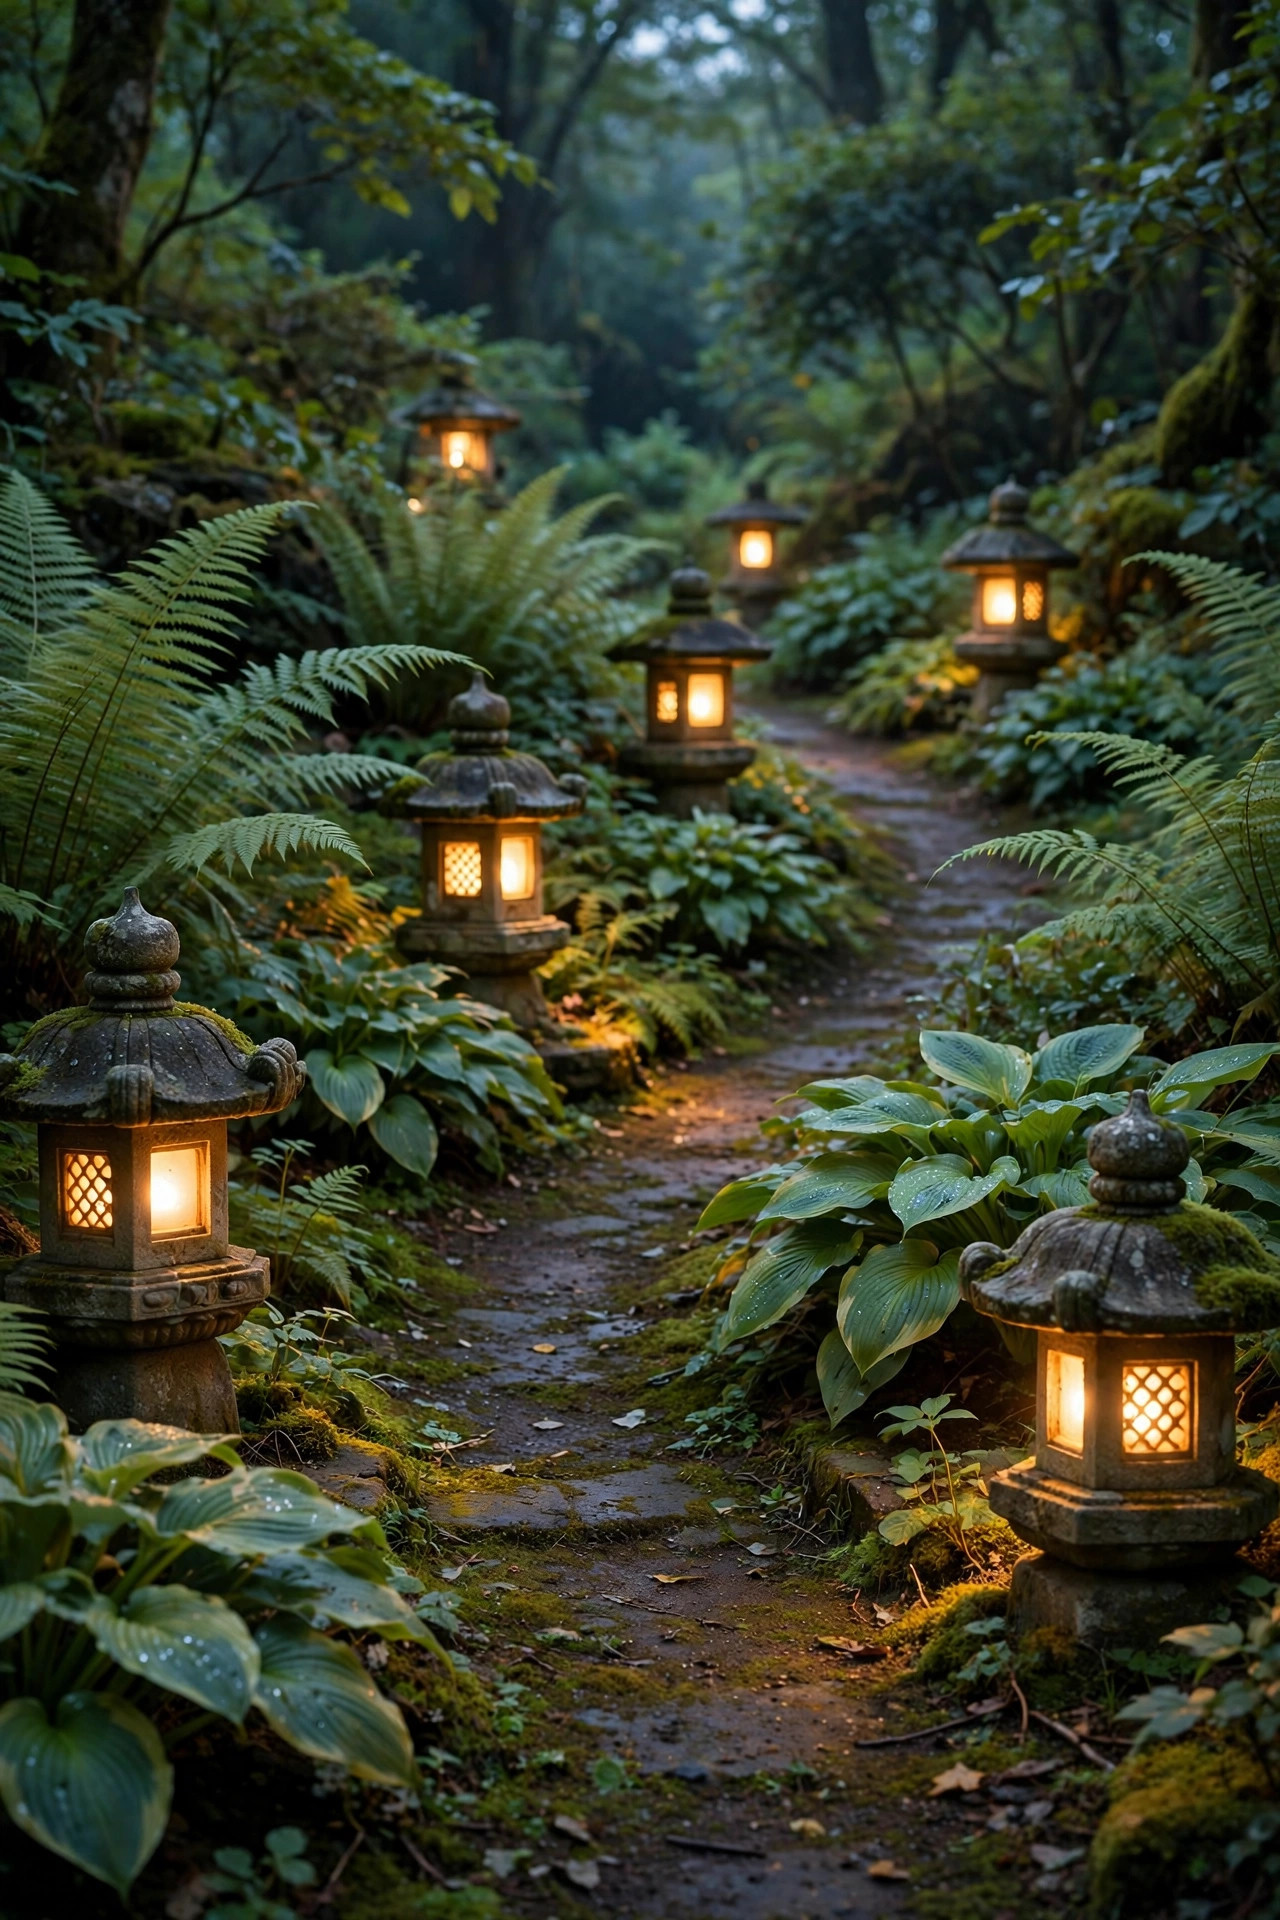
15. Wash the Planting Beds That Hug the Curve
Curved walkways almost always come with curved planting beds — that crescent of flowers and shrubs on the inside or outside of the bend is half the reason the path curves at all. Lighting only the path and leaving those beds black is a missed opportunity. A few small wash lights or wide-beam floods set low at the bed's edge, aimed across the plantings at a shallow angle, will graze texture, catch flower faces, and make the whole curve feel three-dimensional. Use wide beams (60 degrees or more) at low brightness, spaced 6 to 8 feet apart, and keep them 2700K. The path itself then needs only the faintest guide light, because the beds define the bend's shape. Be careful not to aim washes toward the house or the street — grazing angles along the bed, never out of it, keeps glare down and neighbors happy. In spring this makes tulips and alliums glow like they're lit from within; in winter it picks out evergreen structure and ornamental grass plumes. Honestly, bed-washing is the layer that separates "lit" from "landscaped."
Suggested budget range: $110 – $350.

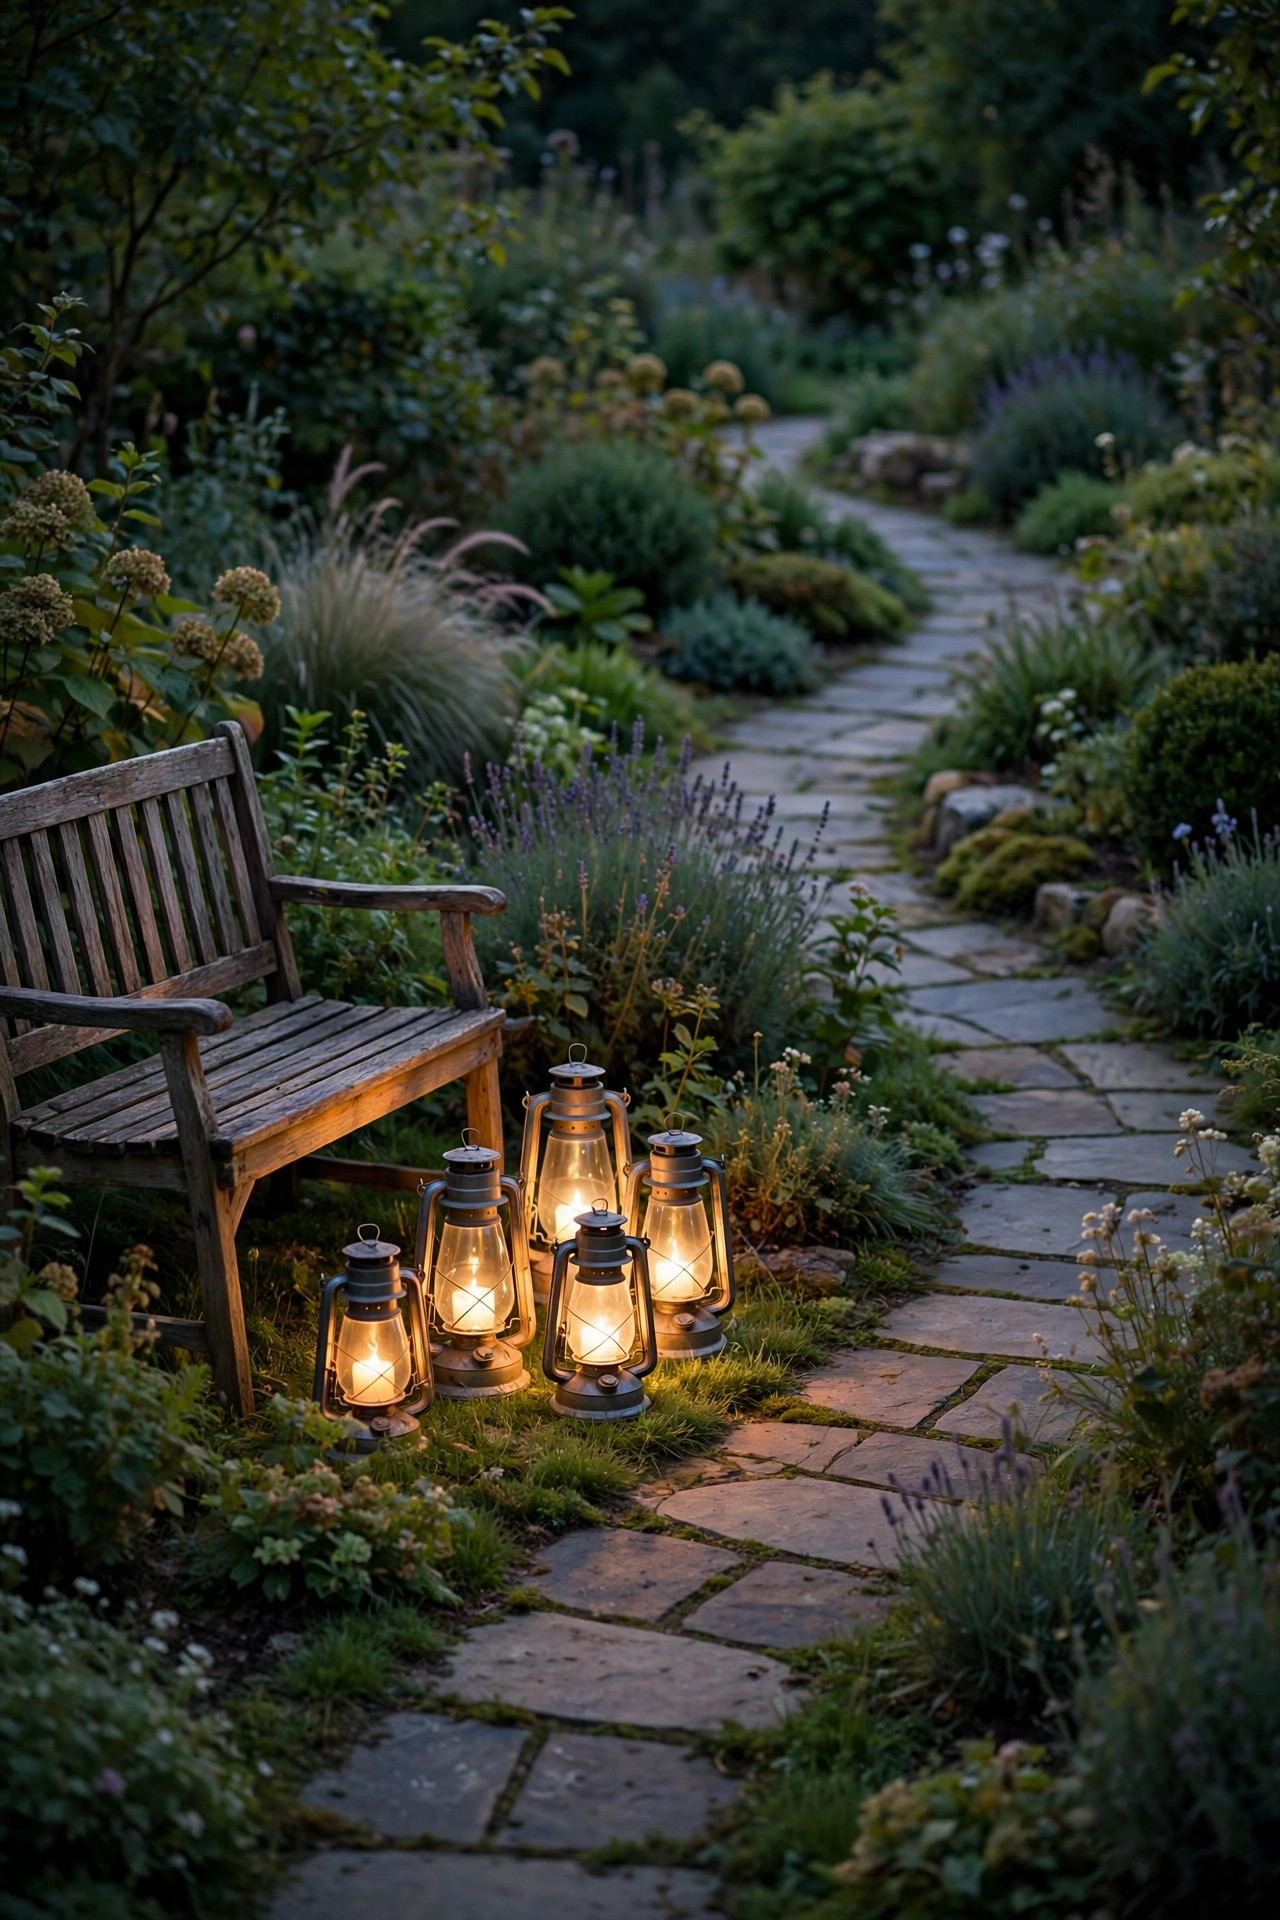
16. Set Out LED Hurricane Lanterns for Evenings on the Curve
Not every layer of light has to be permanent. For a curved walkway that passes a seating nook or garden bench, rechargeable LED hurricane lanterns — the kind with a realistic flickering candle inside — add instant, movable warmth exactly where the evening is happening. Cluster two or three at the bend's seating spot, one on a small side table and the others on the ground at the path's edge, and carry them home at night or leave them on a timer setting. Choose lanterns rated for outdoor use with at least an IP44 splash rating, and never substitute real candles along a dry mulch path — LED flicker is convincing and fire-safe, which matters near plantings. Because they're portable, they're also my favorite way to *test* a lighting plan: live with lanterns on the curve for a week, notice where you actually want permanent fixtures, then wire once. Renters, this one's especially for you — full credit for ambiance, zero holes dug. Group lanterns in odd numbers and vary the heights slightly for that collected, effortless look.
Suggested budget range: $35 – $130.
17. Put the Bend on Smart Controls With Zoned Path Lights
A curved walkway often serves two masters: it's the everyday route to the front door and the scenic route through the garden. Smart low-voltage path lights let you treat those as separate zones. Put the door-side stretch on a bright, motion-friendly schedule for comings and goings, and the garden bend on a dimmer, warmer scene that runs until your usual bedtime. App- and voice-controlled systems also solve the seasonal shuffle — sunset shifts by hours across the year, and astronomical timers adjust automatically instead of leaving your path dark at 5 p.m. in December. When you shop, prioritize systems whose fixtures are standard low-voltage underneath the smarts, so a dead hub never means a dark walkway. Start with a starter kit covering the bend, then add fixtures as budget allows; most transformers handle far more capacity than a single curve needs. In my experience this is the upgrade people resist, then rave about — there's something deeply satisfying about saying "garden lights, fifty percent" from the porch.
Suggested budget range: $200 – $550.

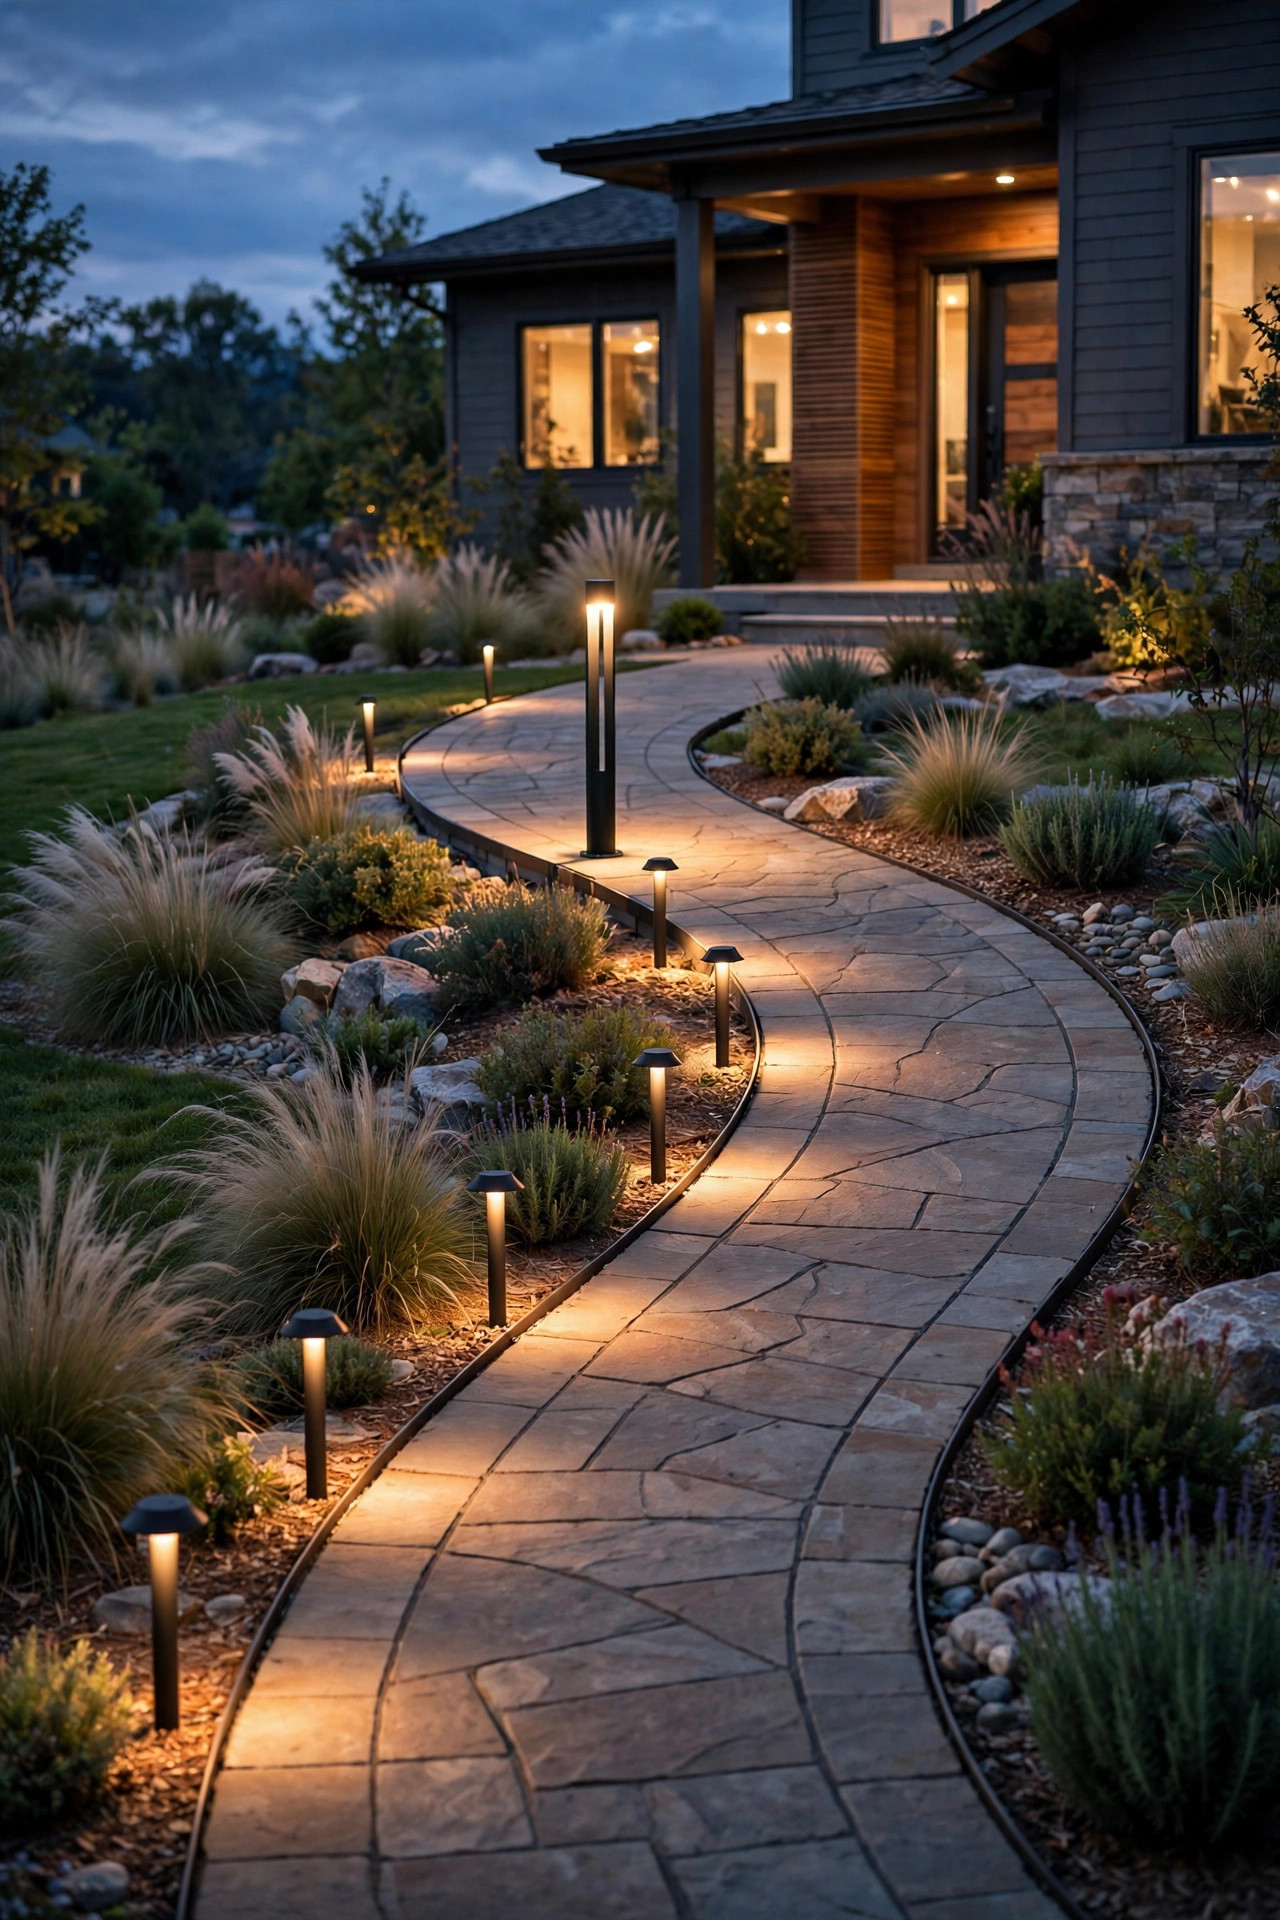
18. Layer Heights: One Tall Fixture, Then Low and Low Again
Here's a designer's rule that curves love: vary the heights. Pick one taller element for the bend — a 24- to 30-inch bollard, a lantern on a short post, even a lit address marker if the curve starts at the street — then step down to standard path lights, then to the lowest layer of flush or ground-hugging fixtures as the path rolls on. That descending rhythm gives a curve a beginning, a middle, and an end, instead of a monotone row of identical soldiers. The tall fixture belongs at the decision point: where the walkway leaves the driveway, splits toward a side gate, or reaches the apex. Keep every layer the same color temperature (2700K throughout) so the layers blend rather than compete. And repeat the sequence on long, S-shaped paths — tall, low, lower — so the rhythm carries through both bends. This layered approach is really the heart of all my curved walkway lighting ideas: contrast in height is what makes a simple bend feel like a landscape architect touched it. Fixture count stays the same; only the heights change.
Suggested budget range: $160 – $480.
19. Borrow Light From a Low Wall Along the Bend
If your curved walkway runs beside a low retaining wall, a raised bed edge, or a row of landscape blocks, that wall is a lighting opportunity hiding in plain sight. Small recessed wall lights — sometimes called step or hardscape lights — mount under the wall's cap or into its face and spill a soft sheet of light down onto the path exactly where feet land. Because the fixtures hide in the masonry, the curve reads clean and uncluttered, and there's nothing to trip over or knock askew. Space them every 4 to 6 feet, following the wall's arc, and wire them low-voltage in a single run. Light output is gentle, so this works best as the main guide light on a wall-side curve paired with a focal uplight or two on the open side. Retrofitting is straightforward: many hardscape lights are designed to slide between block courses or under capstones with just the wire to route. Keep lenses clean — downward-facing lights collect dust — and choose sealed, outdoor-rated units at 2700K. It's the most architectural look on this list, and the most forgiving of tight curves.
Suggested budget range: $130 – $420.

Frequently Asked Questions
How far apart should lights be on a curved walkway?
As a starting point, space path lights every 6 to 8 feet on gentle bends and every 4 to 6 feet where the curve tightens, since that's where footing changes. The real test is the pools of light: they should nearly touch, with no fully dark gap at the apex of the bend. Always lay fixtures out on the ground at dusk and walk the path before burying wire or driving stakes permanently.
Are solar or low-voltage lights better for a curved path?
For a main front walkway, low-voltage wired lights win on brightness, consistency, and winter performance, and the cable follows a curve easily in a shallow trench. Solar is a smart choice for secondary garden paths, tight budgets, or spots far from power, as long as the panels get several hours of direct sun. Many yards end up happiest with both: wired on the working path, solar accents on the scenic bend.
What color temperature looks best along a garden path?
Warm white, between 2700K and 3000K, flatters stone, brick, wood, and skin tones and keeps a curved walkway feeling welcoming rather than clinical. The one exception is moonlighting from a tree, where 3000–4000K reads more like real moonlight. Whatever you choose, keep every fixture on the path the same temperature — mixing warm and cool is the fastest way to make lighting look accidental.
How do I keep a curved walkway from looking like a runway?
Stagger fixtures from side to side instead of lining them up in matching pairs, vary fixture heights, and add one accent — an uplighted tree or washed planting bed — so the eye has somewhere to land besides the next path light. Slightly uneven spacing that follows the arc of the bend looks natural; perfect symmetry is what creates the airport effect.
Conclusion
A bend in the path is an invitation, and the right light makes people want to accept it. Whether you trace the arc with recessed wells, stagger a handful of lanterns, or simply wash the beds that hug the curve, the principle behind all of these curved walkway lighting ideas is the same: follow the shape the path already gives you, layer heights and brightness, and keep everything warm. Start with the tightest part of your bend, lay fixtures out at dusk before you commit, and you'll be amazed how quickly a tricky curve becomes the prettiest part of your yard after dark. Looking for more inspiration? Browse the rest of my outdoor lighting ideas here on the site — your front yard's evening chapter is just getting started.