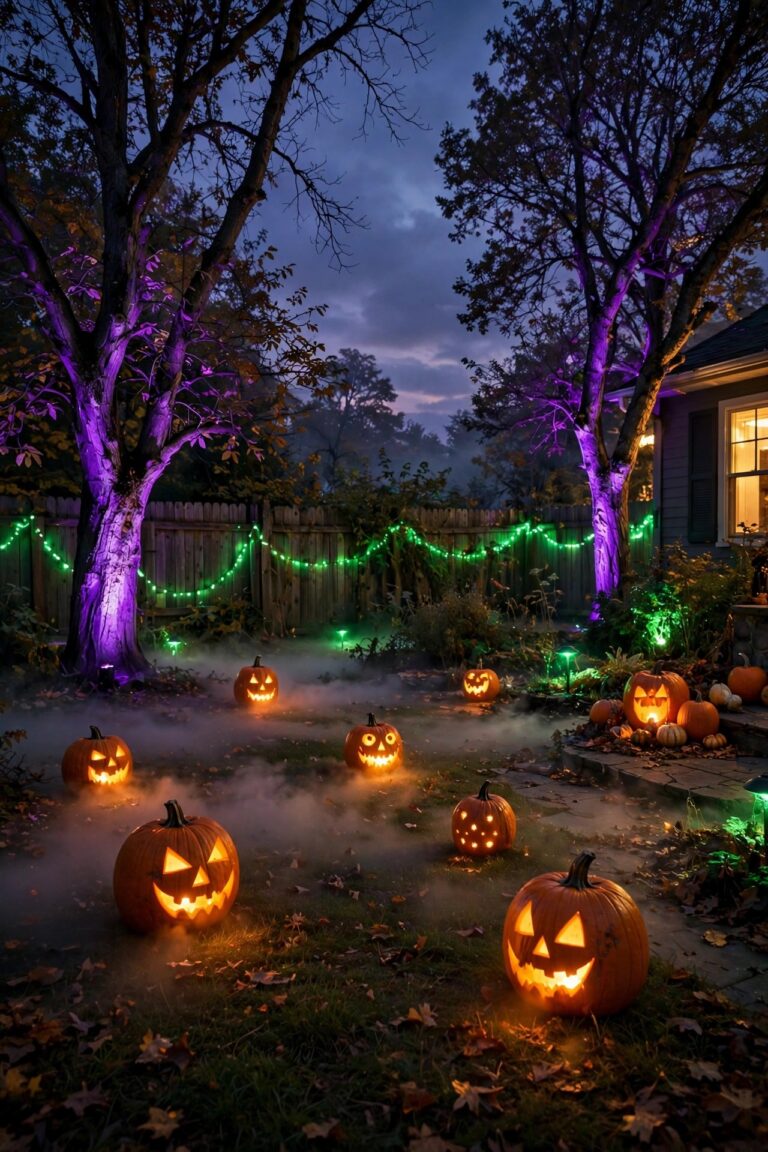
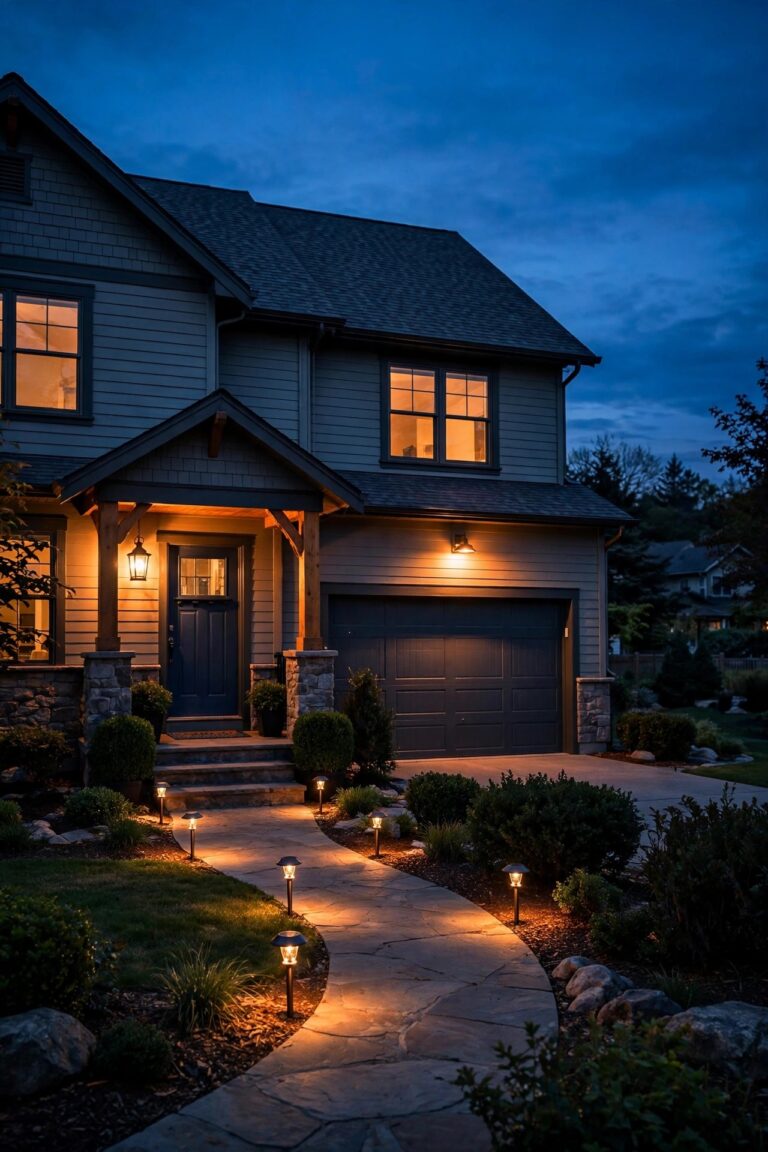
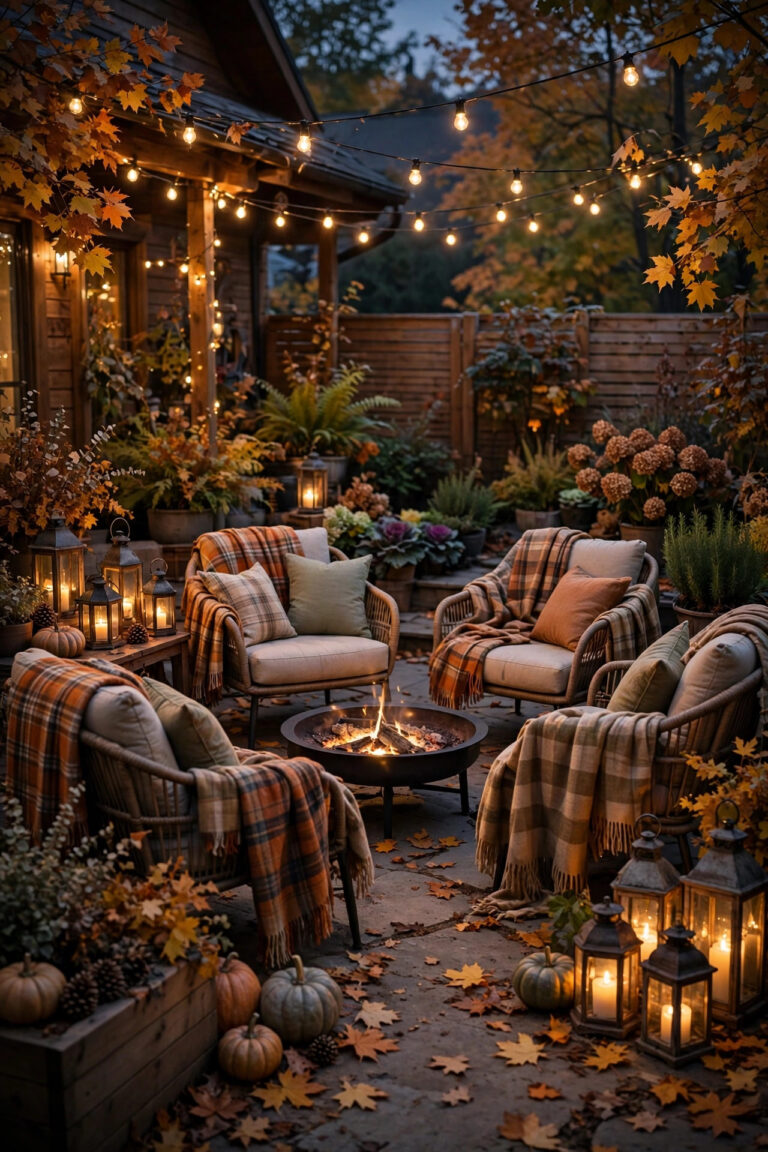
There is a magic stretch in our backyard, right after dinner, when the kids would happily stay outside until bedtime if only they could see where they were going. Flashlights help for about five minutes, and then they end up dropped in the grass, shining up at the sky. That is exactly why I went hunting for kids backyard lighting ideas that turn the lawn into a safe little adventure zone instead of a tripping hazard. In my experience, the secret is layering: soft light low to the ground so little feet can spot roots, rocks, and forgotten toys, a gentle glow at kid height around the places they actually play, and warm overhead sparkle that keeps the yard feeling cozy for grown-ups too. Every idea below puts safety first: shatterproof bulbs, cool-to-the-touch LEDs, and zero cords stretched across running paths. Most are solar or battery powered, which means no electrician and no extension-cord spaghetti. Let me show you the 17 setups that turned our yard into the favorite after-dark playground on the block.

1. Start With a Simple Plan for Your Kids Backyard Lighting Ideas
Before you buy a single light, stand in the yard at dusk and watch how your kids actually move through it. In my experience, every backyard breaks into three zones: the runways (paths between the door, the playset, and the gate), the play zones (where the action happens), and the edges (fences, flower beds, and the dark corners nobody should wander into). Sketch it on paper and mark where light needs to land for each layer of my favorite formula: ground level for safe footing, kid height for faces and games, and overhead for general glow. I always recommend walking the routes yourself after dark with your phone flashlight off; anywhere you hesitate, a light belongs there. Note the spots where cords would cross a running path, because those become solar or battery picks instead of plug-in ones. Also flag sprinkler heads, tree roots, and the sandbox lid, all classic shin-level hazards. This ten-minute glow map saves you money, because you will buy exactly what each zone needs instead of a random pile of fixtures. Honestly, it is the single step that separates a magical yard from a cluttered one.
Suggested budget range: $0 – $20.

2. Line the Runways With Solar Path Lights
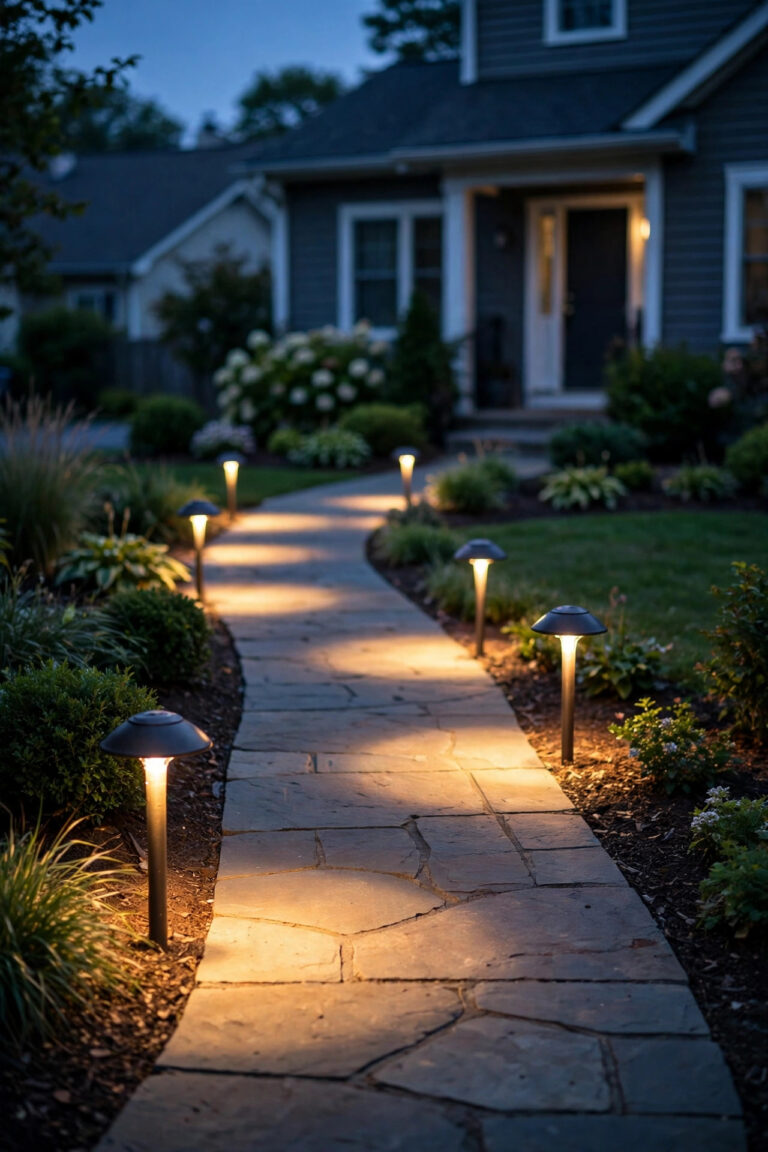
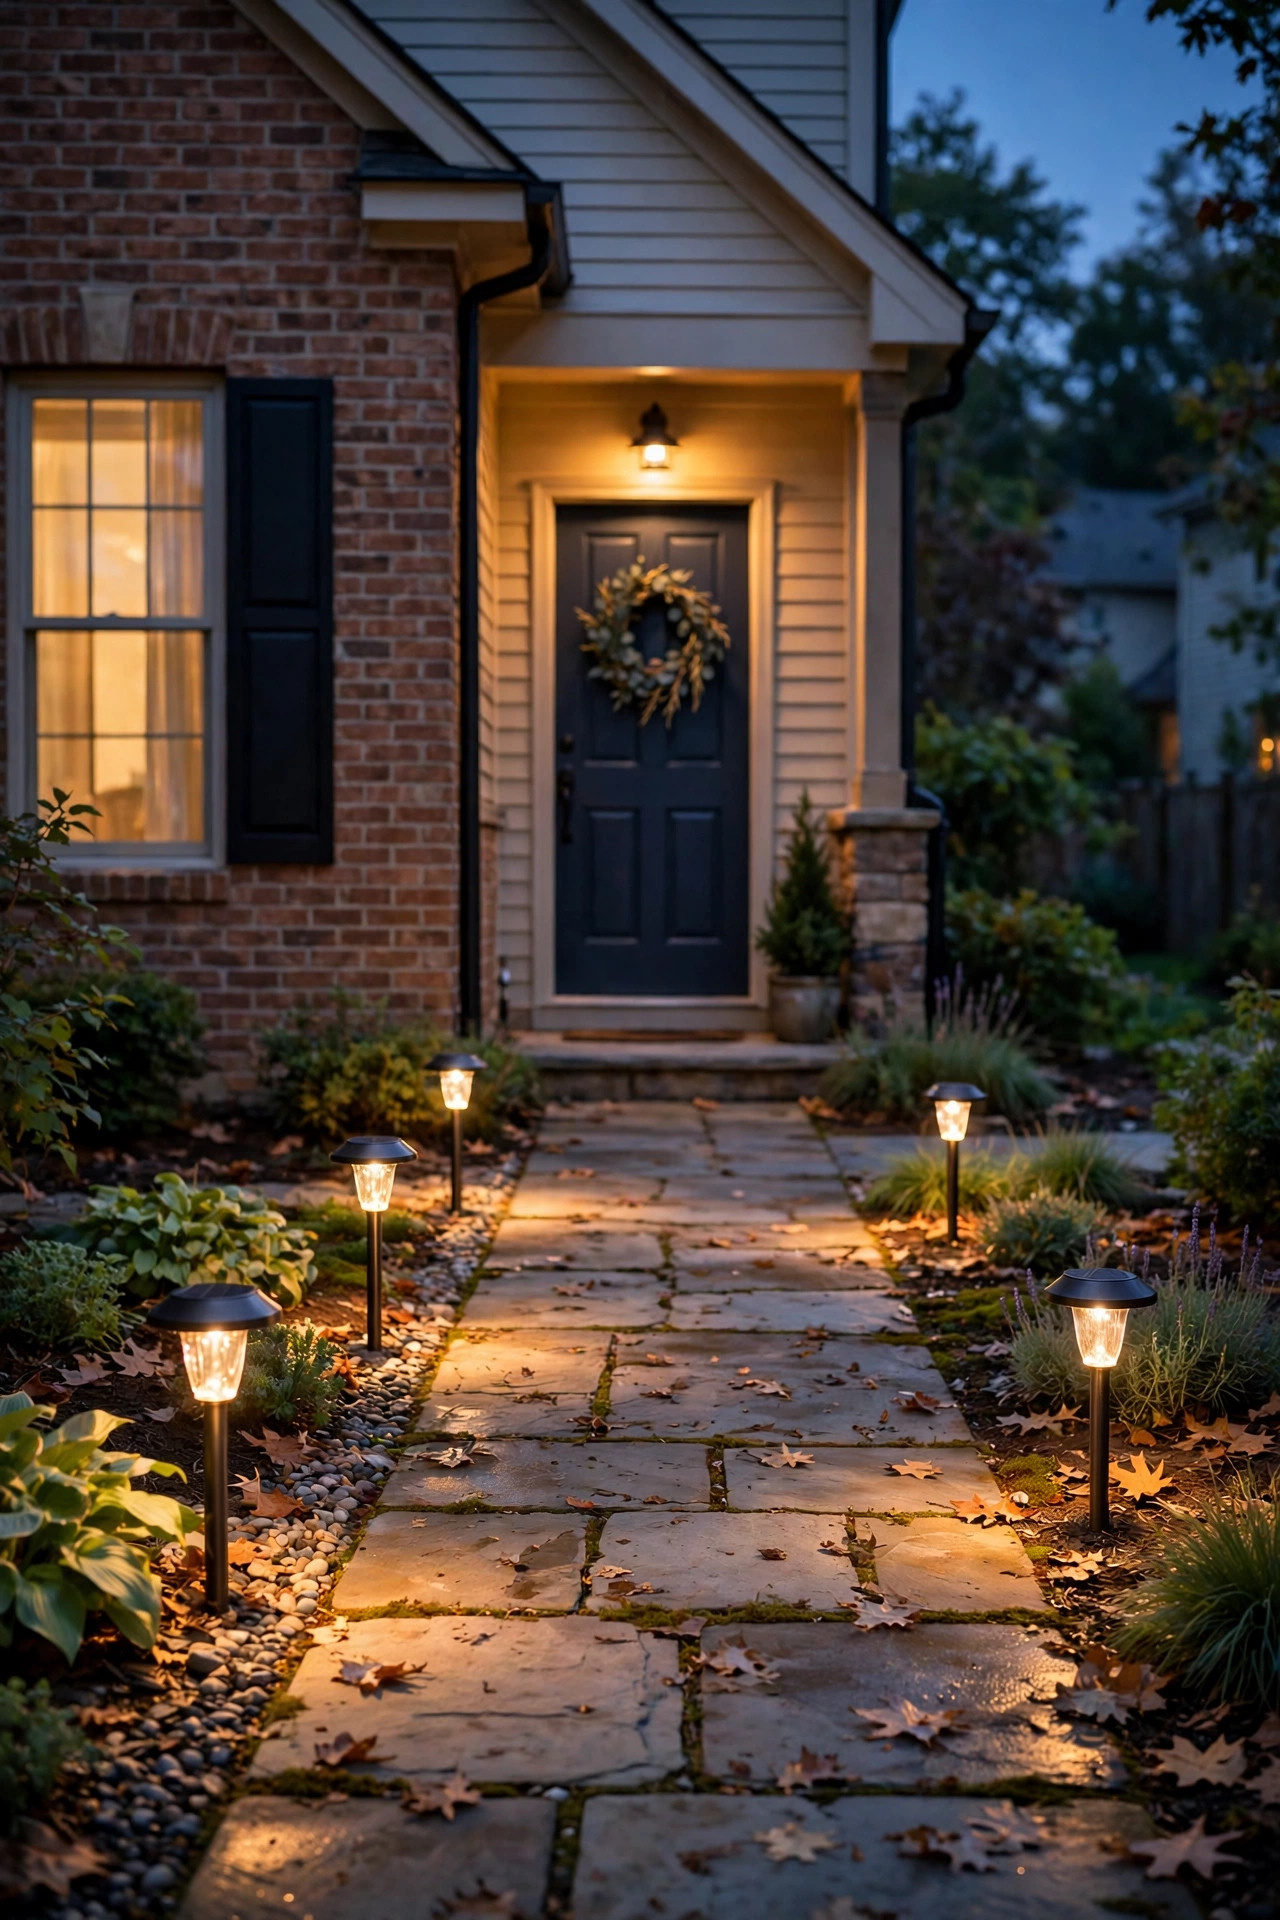
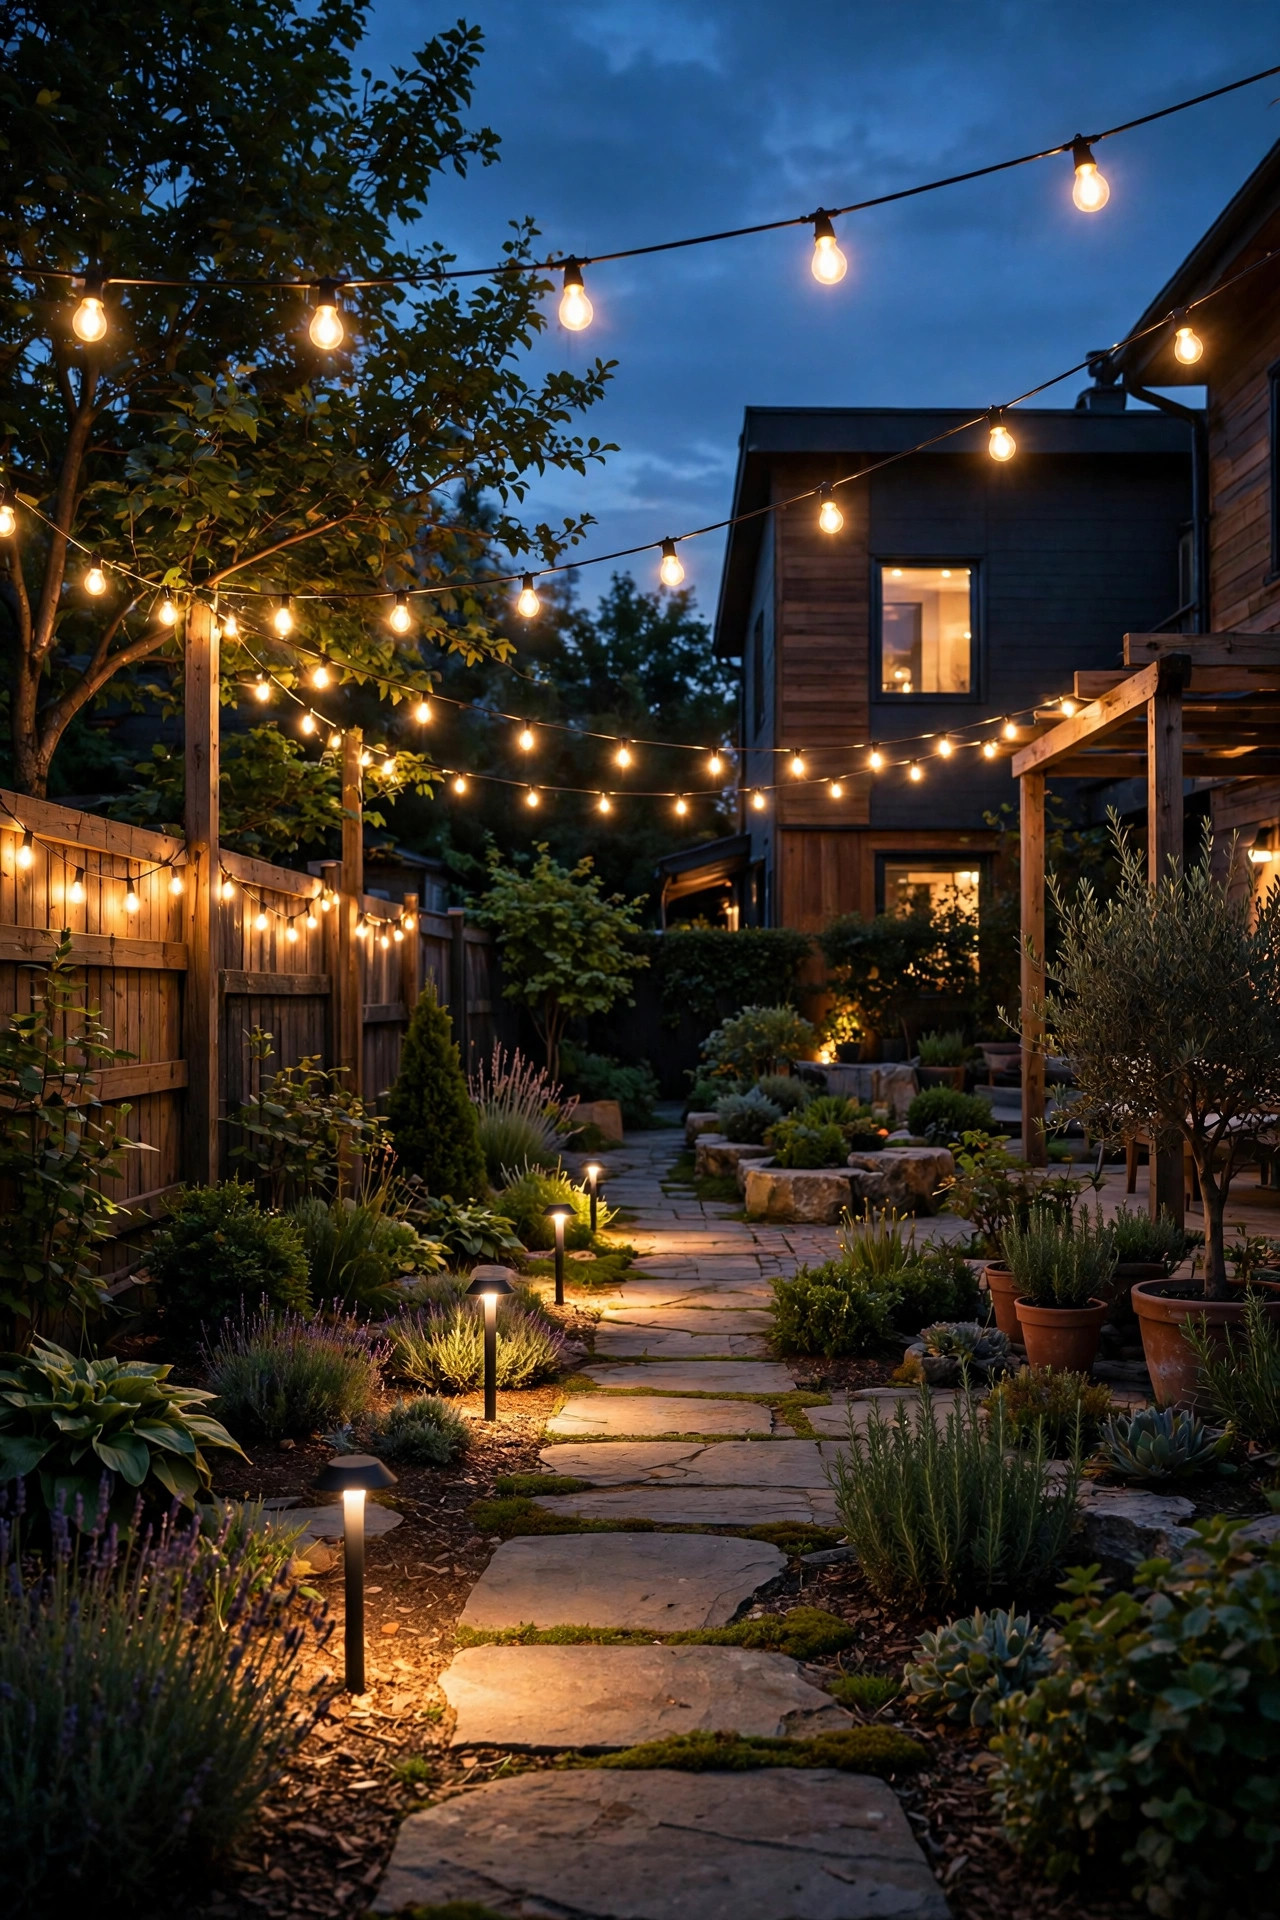
The path from the back door to the playset is the highest-traffic route in any family yard, so it gets lights first at my house. Solar path lights are perfect here: no wiring, no cords to trip over, and they switch themselves on at dusk. Push the stakes in every 6 to 8 feet along both sides of the route, staggering them slightly so the light pools overlap and there are no dark gaps for little feet to misjudge. Look for models rated at 50 to 100 lumens each, which is plenty for wayfinding without blinding anyone, and choose plastic or rubber-coated stakes rather than thin metal ones, since a stake that gets kicked during a soccer game should bend, not snap into something sharp. Warm white (2700K to 3000K) keeps the yard feeling cozy instead of clinical. I pull ours up twice a year to wipe the solar panels clean with a damp cloth; dusty panels are the number one reason these lights go dim. If a stretch of path sits in deep shade all day, swap in a low-voltage wired light there instead, because solar needs roughly six hours of sun to charge well.
Suggested budget range: $25 – $60.
3. Hang Shatterproof String Lights Over the Main Play Area
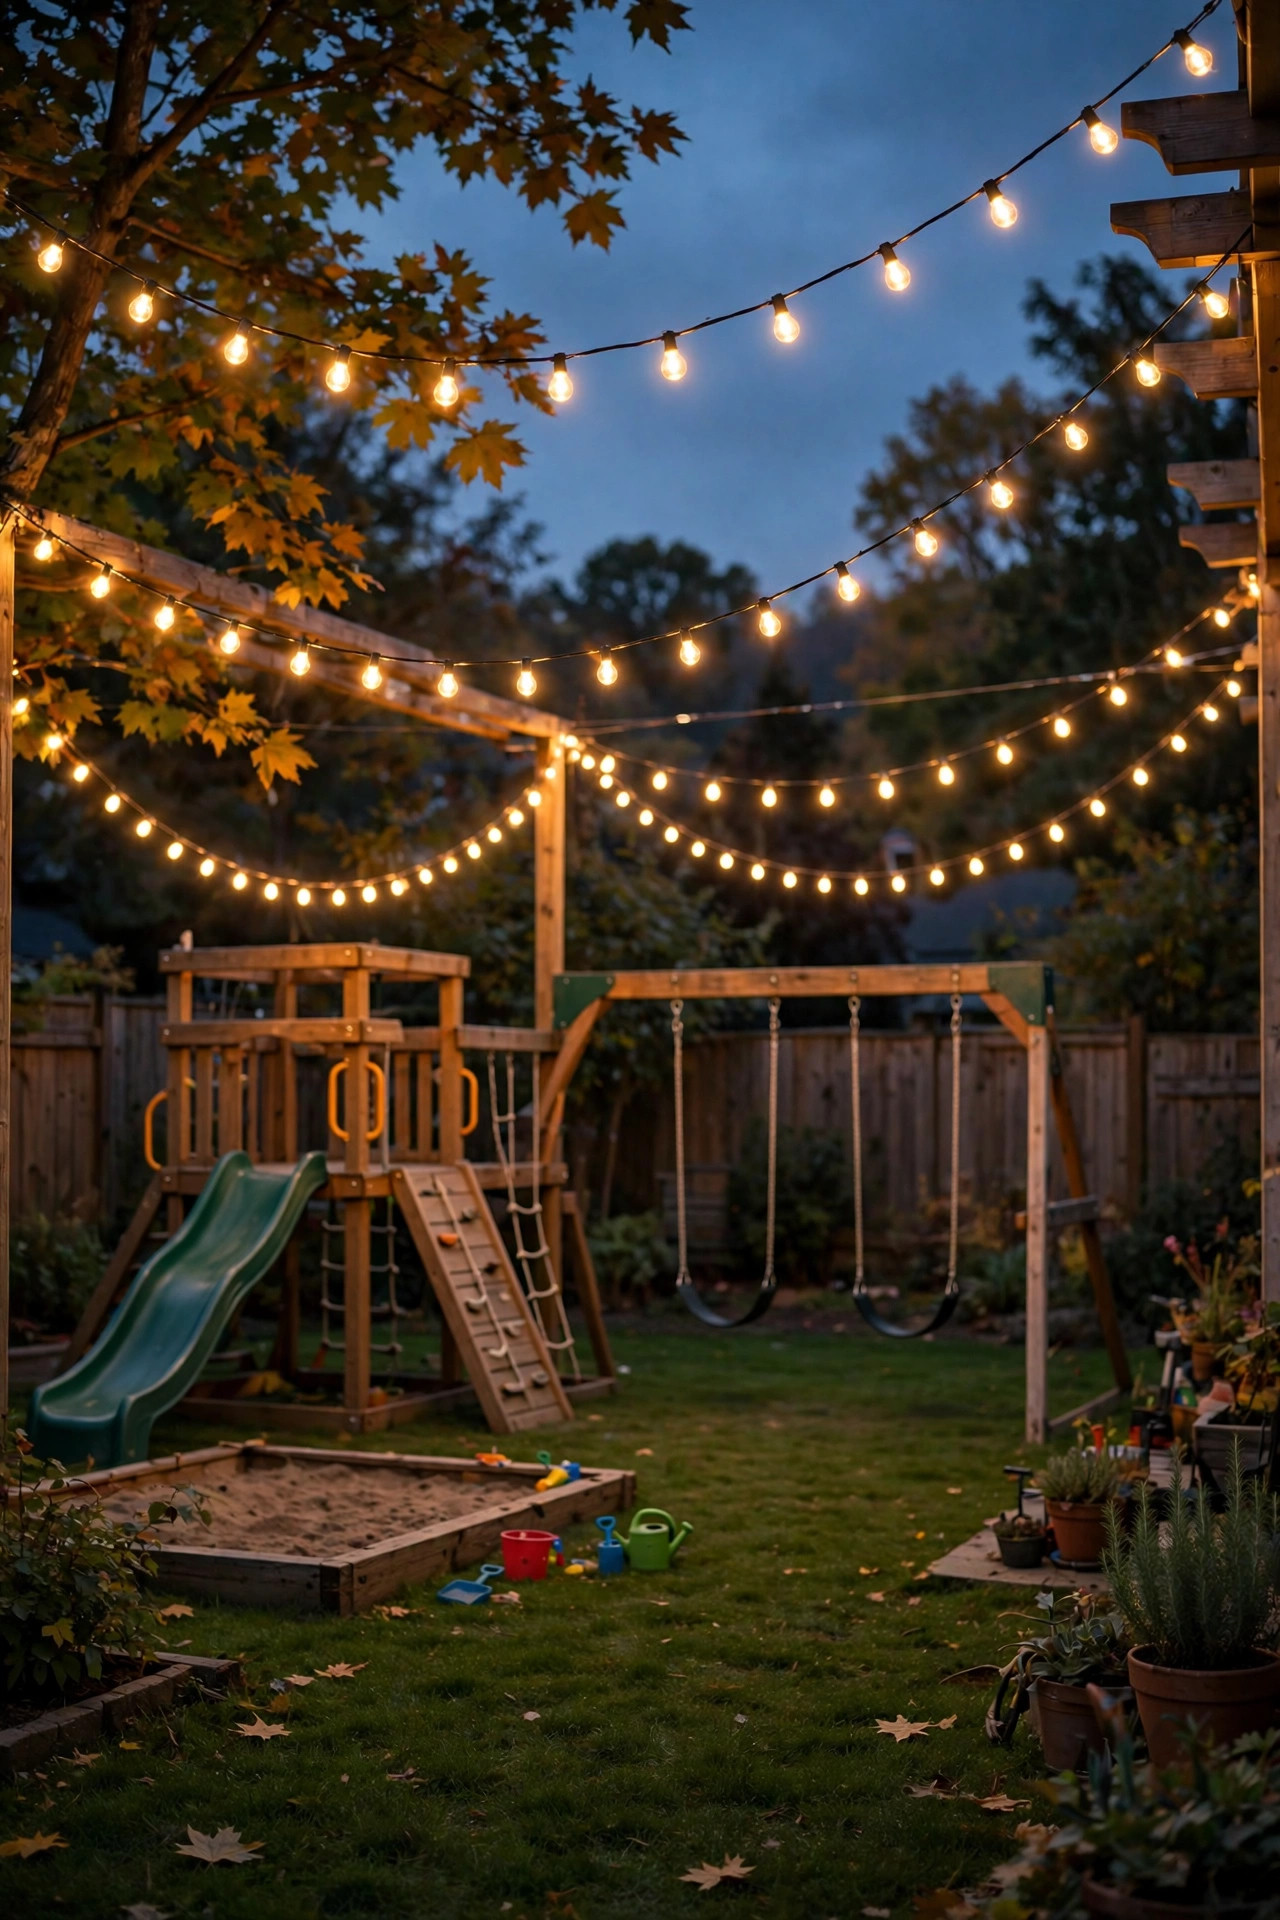
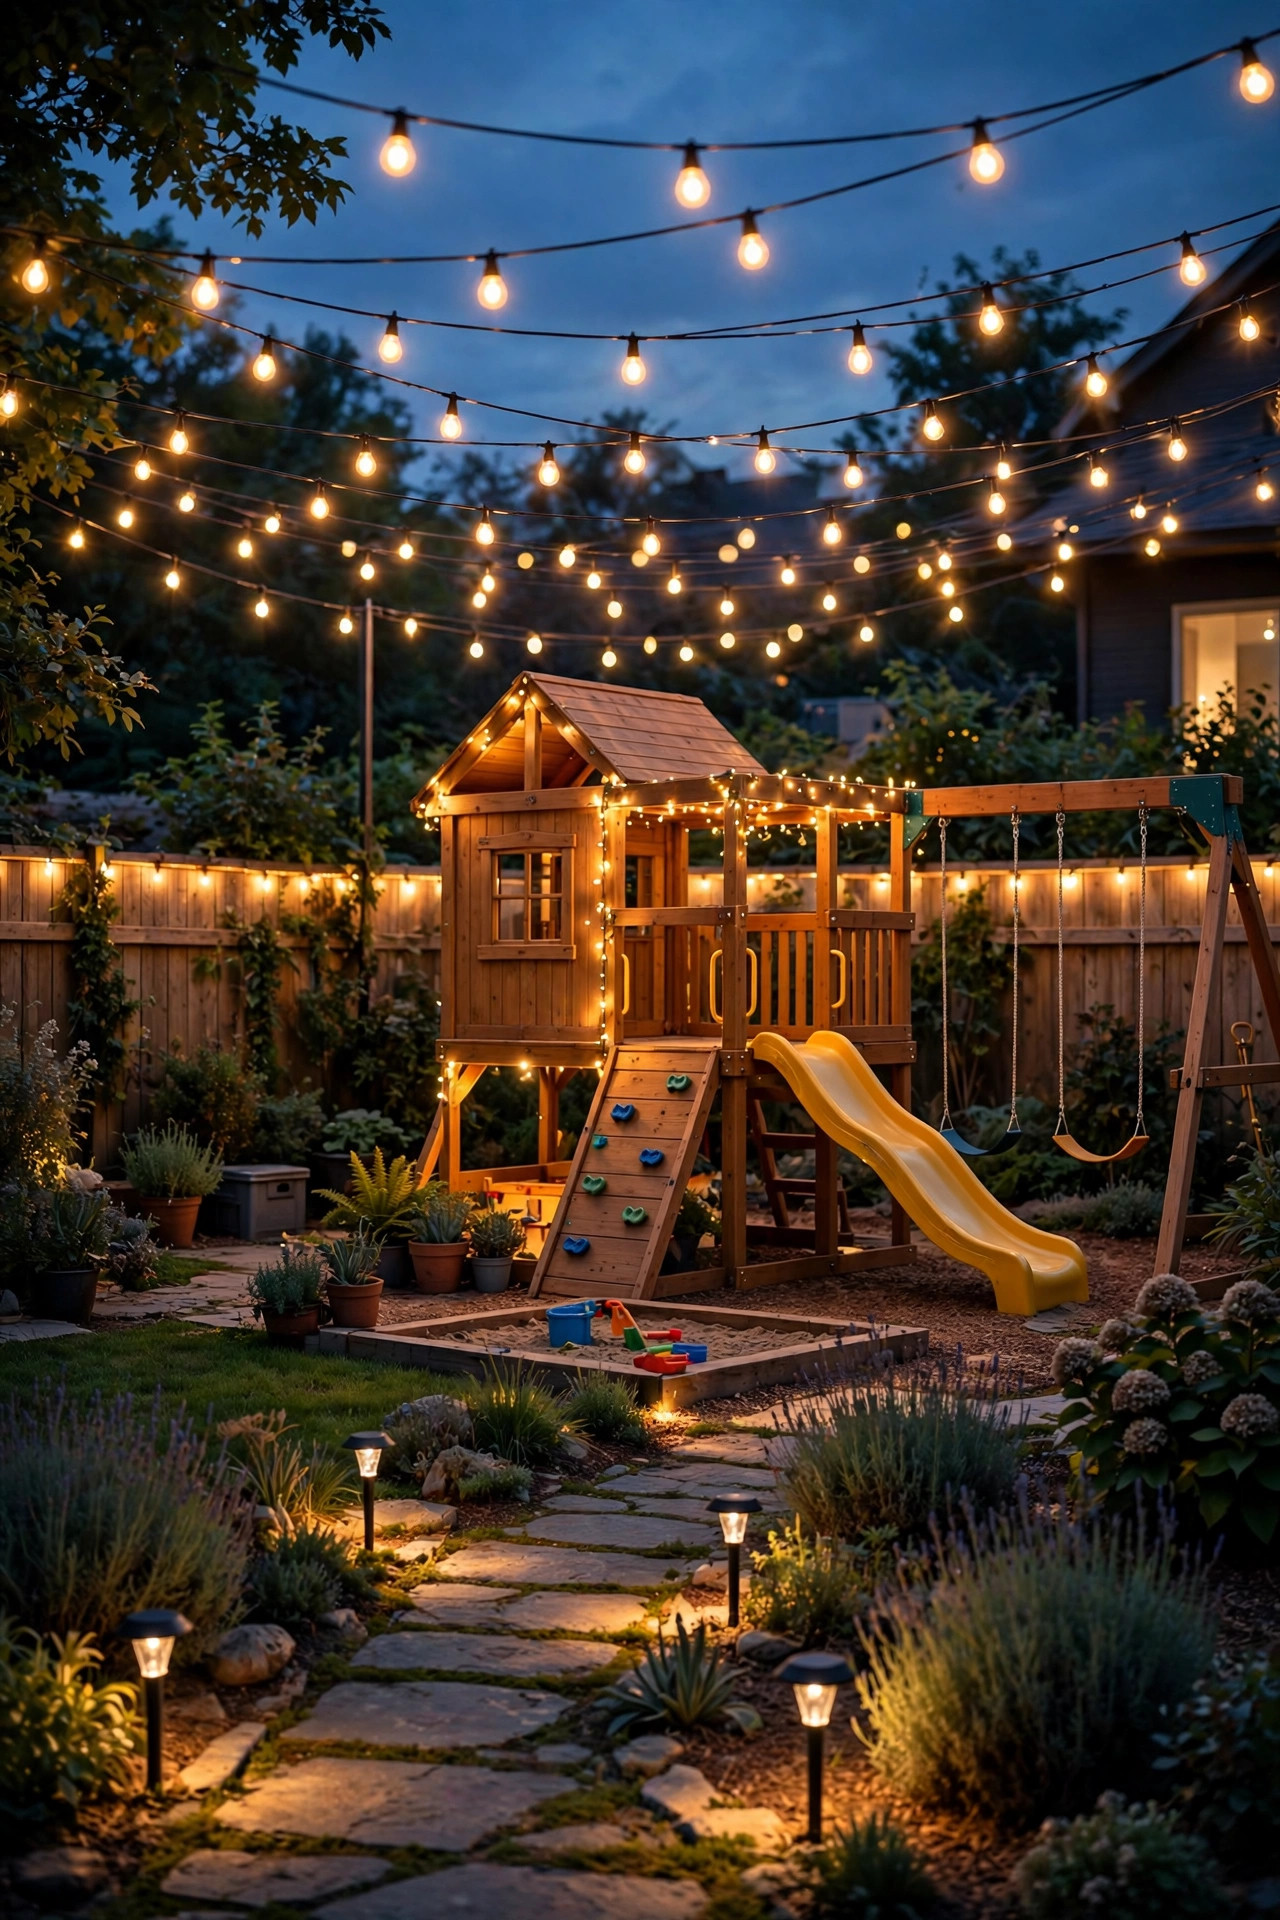
Overhead light is what makes the whole yard feel like a place instead of a collection of flashlight beams, and string lights do it best. For a kids' yard, though, the bulb material matters more than the style: choose shatterproof plastic LED bulbs, never glass. If a stray ball knocks one down, it bounces instead of scattering shards across the grass where bare feet play. The LEDs also stay cool to the touch, so a curious toddler grabbing a low bulb is a non-event. I hang two swags across our main lawn from the house to a sturdy tree, keeping the lowest dip at least 7 feet off the ground so nothing swings into the bounce zone of taller kids. Use guide wire or heavy-duty hooks rather than draping cords over branches, and plug into a GFCI outlet with a weatherproof in-use cover. Warm white filament-style LEDs give that storybook glow kids love. My favorite of all the backyard string light ideas I have tried is still the simple crisscross canopy; it lights faces evenly, which makes hide-and-seek fair and parent supervision easy.
Suggested budget range: $30 – $80.
4. Light the Playset From Underneath and Around the Base
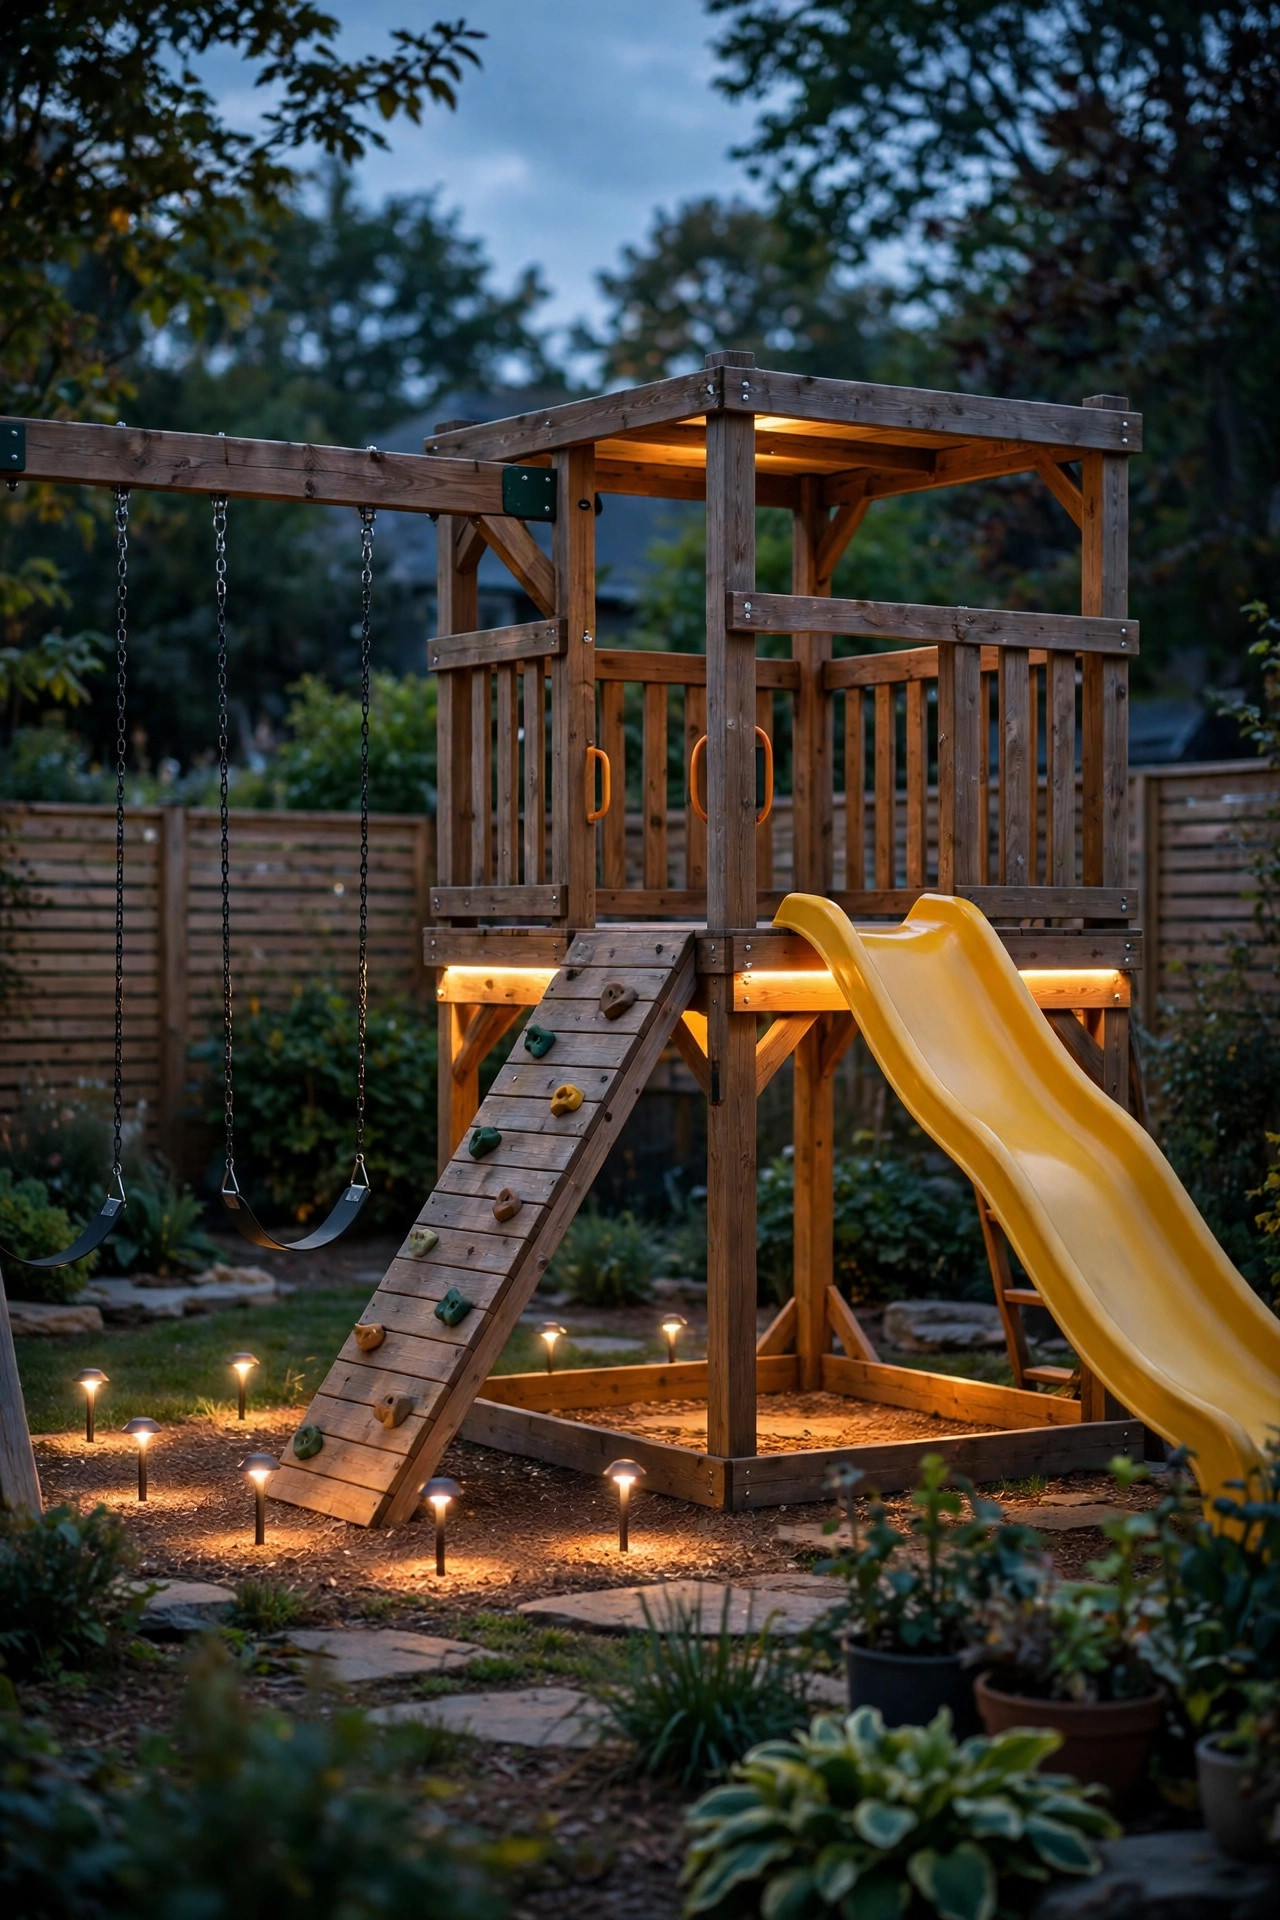
A playset in shadow is an obstacle course of missed rungs and bumped heads, so this is where I spend a little extra care. Battery-powered LED strip lights tucked under the platform roof and along the underside of the deck boards wash the whole structure in soft, shadow-free light without a single visible cord. Stick-on strips with adhesive backing go up in minutes; choose the waterproof IP65 kind and press them onto clean, dry wood. Add two small solar spotlights aimed at the climbing wall and ladder from a few feet away, angled so they light the holds without shining into climbers' eyes. Around the base, a ring of low mushroom-style path lights marks the landing zones under swings and slides, the exact spots where kids jump off. I always recommend checking swing clearance after dark setup: nothing rigid should sit inside the swing arc or within 6 feet of a slide exit. For a deeper dive on fort and slide setups, my notes on backyard playset lighting ideas cover the bigger structures. The result at our house is a playset that stays open for business until bath time.
Suggested budget range: $20 – $70.
5. Mark Play Zones With Color-Changing Solar Stakes
Kids navigate by landmarks, so I give each zone its own color and let the lights do the boundary-setting for me. Color-changing solar stakes are wonderful for this: set the sandbox area to warm amber, the open lawn to soft green, and the reading blanket corner to a gentle blue, and suddenly "stay where it is green and amber" is an instruction a five-year-old can actually follow. Most of these stakes cycle colors or lock onto one with a small switch on the stem; lock them, because full cycling mode reads more like a disco than a boundary. Space them 4 to 6 feet apart around each zone's edge, pushed deep enough that a bumped stake wobbles instead of toppling. The color glow also helps grown-ups: from the patio, one glance tells you which zone everyone is playing in. If you want the full menu of effects, the roundup of color-changing solar light ideas on the site is where I comparison-shopped mine. Keep the brightness modest; these are markers, not floodlights, and the lawn stays magical instead of washed out.
Suggested budget range: $20 – $50.

6. Add Glow Markers to Deck Steps and Level Changes
Steps are where most backyard bumps happen after dark, because a shadowed tread edge is nearly invisible to a running kid. My fix is a two-part one: small solar step lights mounted on each riser, plus a strip of glow-in-the-dark tape along the nosing of the top and bottom steps, the two that matter most. Solar step lights screw or stick onto the vertical face of the step and throw a small pool of light straight down onto the tread below; two per step is plenty for a standard deck stair. Choose fixtures with diffused lenses so the light spreads instead of glaring. The glow tape charges all day and gives you a backup outline even if a battery dies mid-evening, which I love for peace of mind. Do the same trick at any level change kids cross on autopilot: the patio edge, the garden bed border, the spot where the lawn dips near the drainage swale. Honestly, walk your whole yard thinking like a sleepy seven-year-old in socks; every surprise underfoot deserves a marker. It is unglamorous lighting, and it prevents more tears than anything else on this list.
Suggested budget range: $15 – $45.

7. Put Motion-Sensor Lights at the Gate and Dark Corners
Some spots do not need light all evening; they need light the second someone wanders toward them. The side gate, the gap beside the shed, and the far corner behind the compost bins all fall into that category at our house. A battery or solar motion-sensor light mounted 6 to 7 feet up catches movement within about 15 feet and pops on for 30 seconds, which does two jobs: it lights the way for a kid fetching a lost ball, and it quietly tells the adults on the patio that someone is near the gate. Angle the sensor slightly downward so it triggers on kid height, not just adults, and test it with your smallest child, not yourself. Choose warm white and a mid-range brightness around 200 to 400 lumens; a sudden blast of harsh white feels alarming rather than helpful. Weatherproofing matters here, so look for IP44 or better. If your gate light would shine straight into a neighbor's window, add a small shield or pick a downward-aimed model. Boundaries that announce themselves keep everyone relaxed.
Suggested budget range: $25 – $75.

8. Fill Mason Jars With Fairy Lights for Forts and Dens
Every kid needs a fort, and every fort needs a lantern that cannot burn, tip a flame, or shatter. Mine are wide-mouth mason jars with a coil of copper-wire fairy lights dropped inside and the tiny battery pack taped under the lid. The wire lights run cool, the jar diffuses them into a honey-colored glow, and the whole thing survives being knocked off a blanket pile, which cannot be said for most lanterns. Solar-powered jar lids are even better for forgetful families, since they charge on the fence rail all day and glow by dinner. I make a handful each spring and let the kids claim theirs with a ribbon tied around the neck: one for the fort, one for the reading blanket, one for the bug-observation station. Set a jar on each side of the fort entrance and the interior reads like a tiny cabin. Keep spare batteries in the patio drawer, because a dead fort light at 8 p.m. is a genuine household emergency. These cost almost nothing, and in my experience they get more love than any fixture I have ever bought.
Suggested budget range: $15 – $40.

9. Ring the Trampoline With a Soft Ground-Level Glow
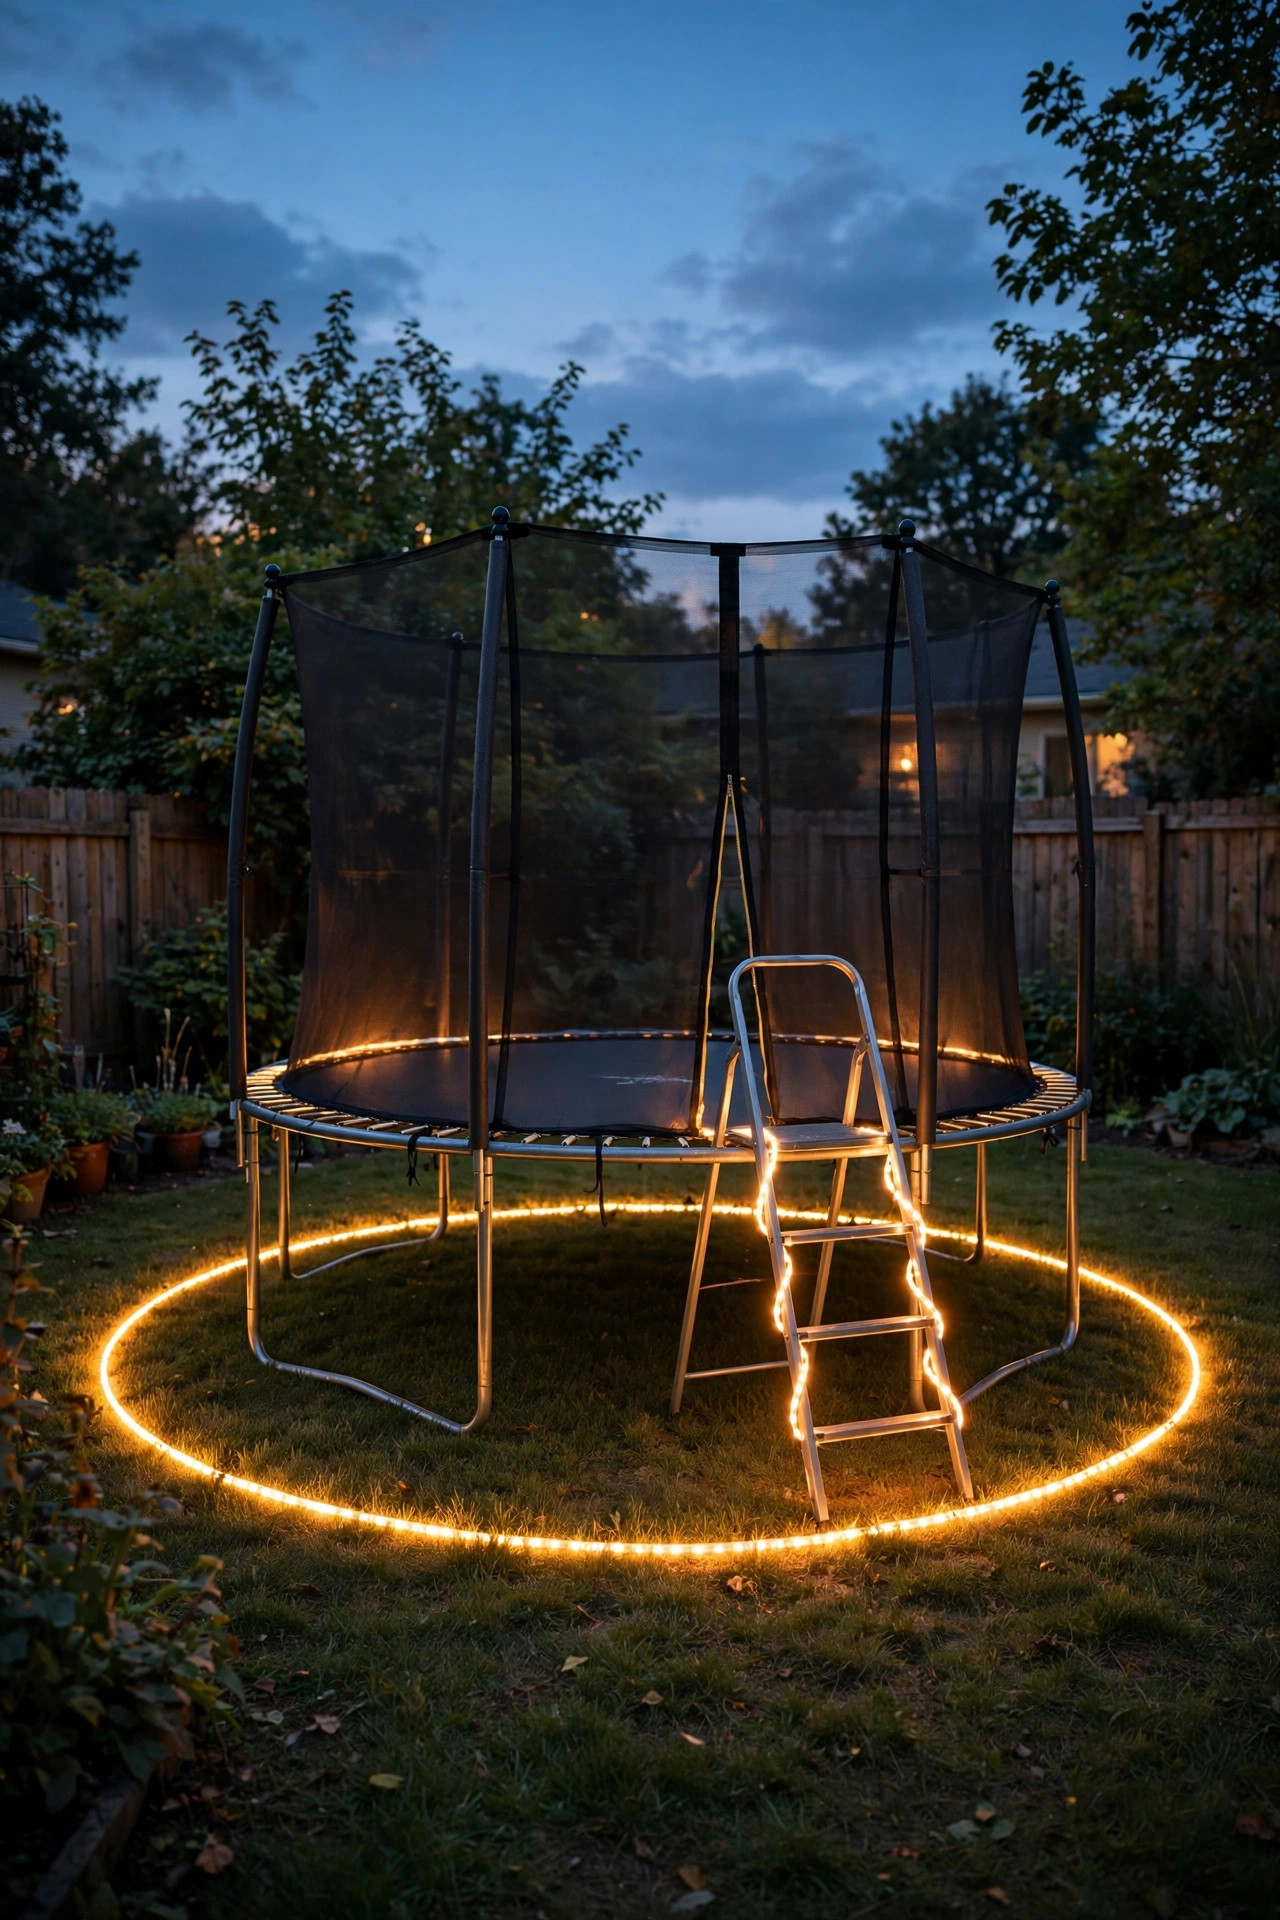
The trampoline is the social center of our yard after dinner, and it is also a big dark disc sitting at ankle height, which is a trip hazard with a fan club. I outline ours with a flexible LED rope light laid on the ground around the frame, held down with landscape staples every couple of feet. The rope light is fully sealed, cool to the touch, and tough enough to be stepped on, and it draws a bright boundary that says "hard metal frame here" to anyone running past. Keep the power cord, if yours is plug-in, routed tight along one leg and out the back, never across the entry side where kids climb in and out. A solar rope light removes the cord question entirely and is my pick for most families. Add one low solar spotlight aimed at the ladder so the climb up is never a guess. I always recommend a firm household rule that pairs with the lighting: the glow ring marks the waiting spot, one jumper at a time, and spectators stand outside the light. Boundaries kids can see are boundaries kids respect.
Suggested budget range: $20 – $60.
10. Run a Rope Light Along the Fence to Draw the Yard's Edge
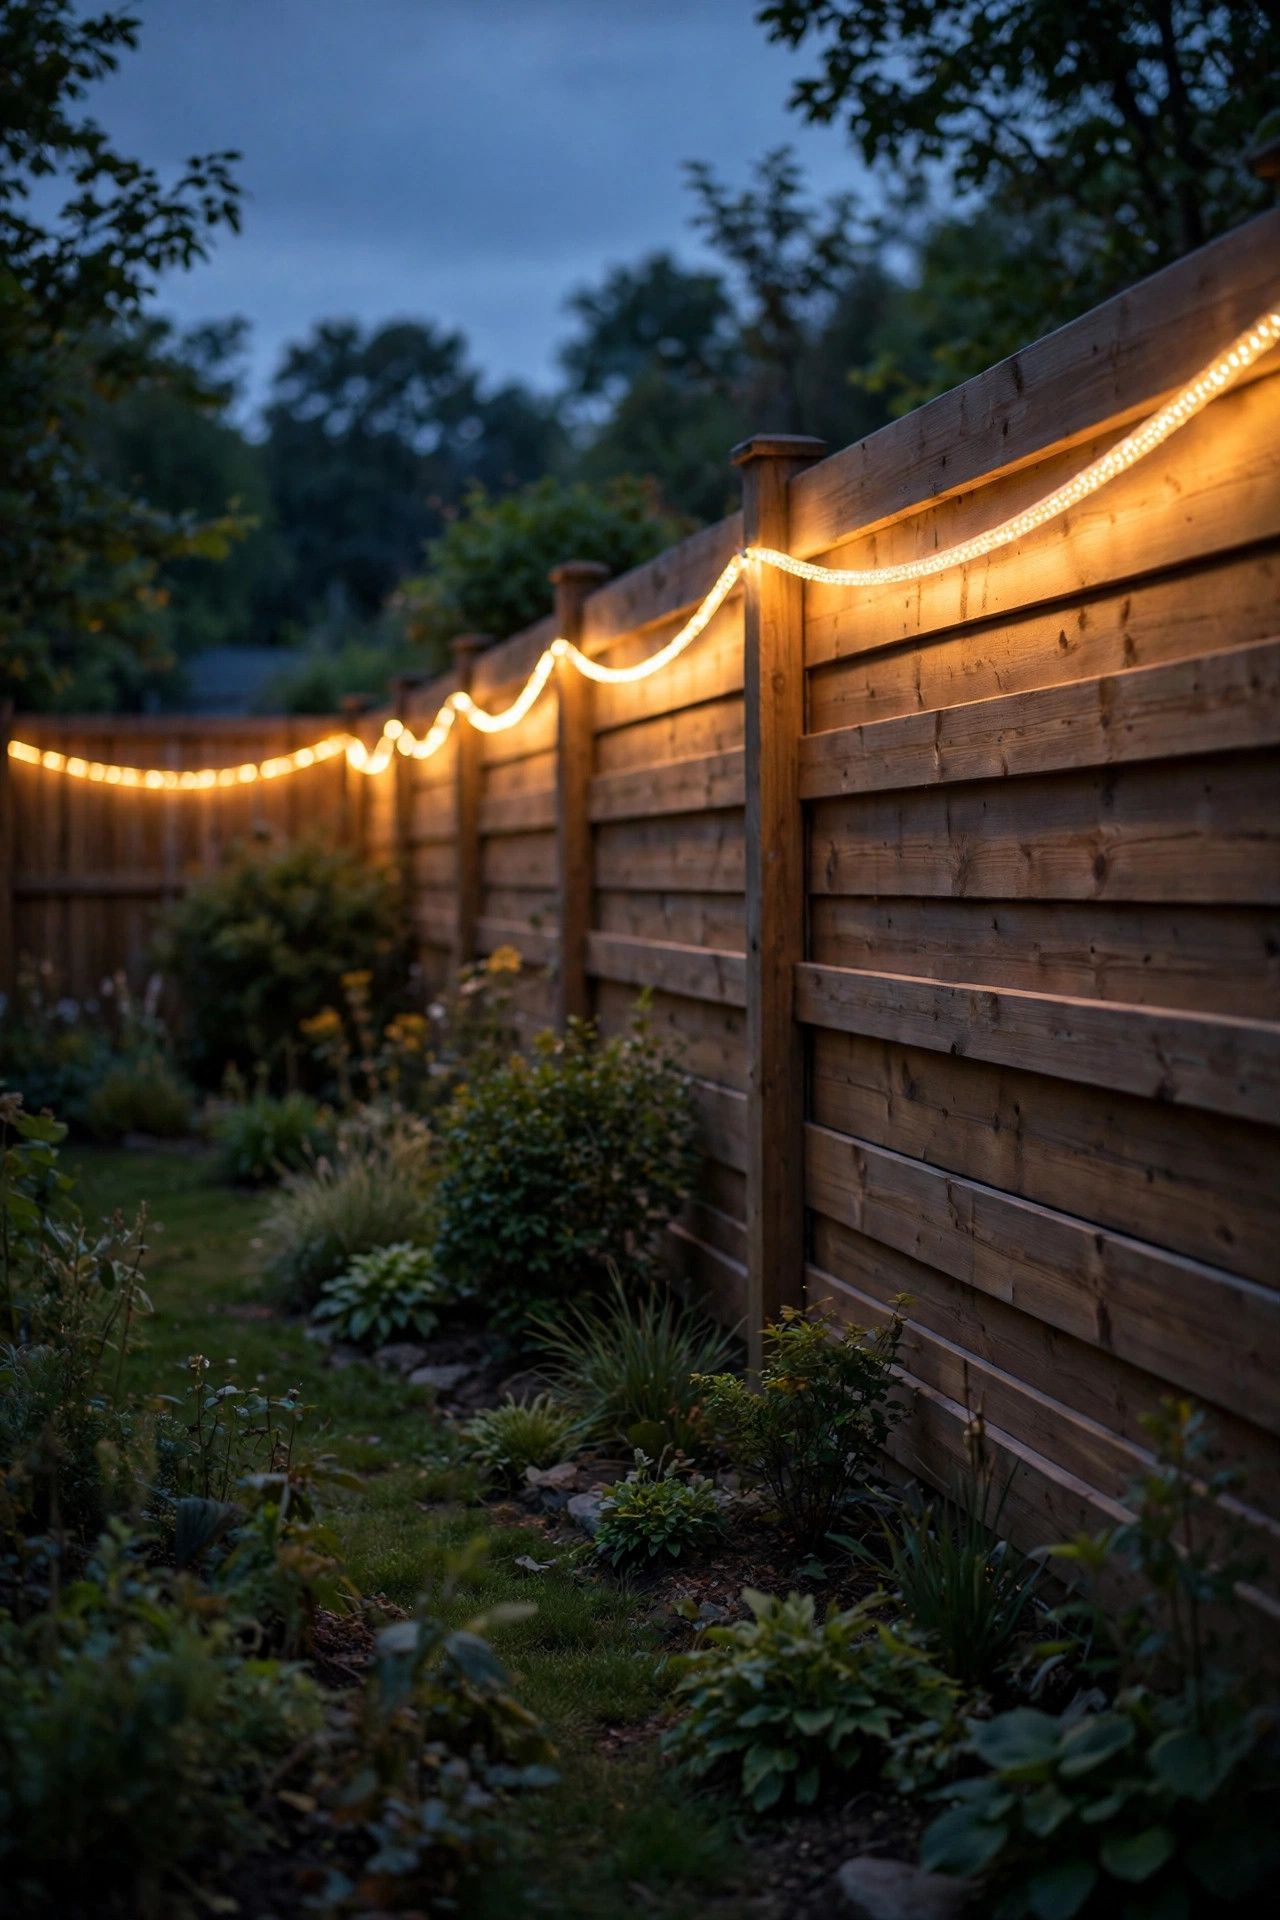
After the play zones, the most useful light in a family yard is the one that quietly draws the property line. A warm LED rope light or a run of low solar fence lights along the back fence tells kids exactly where their world ends, which matters most for the littlest ones and for evening games that drift. I mount rope light on the inside face of our fence about a foot below the top rail, using the little screw clips that come in the box, spaced every 18 inches so it never sags into grabbable loops. On a picket fence, weaving it loosely through the top of the pickets gives a scalloped glow that looks downright charming. The light is too dim to bother neighbors but bright enough to read as a boundary from anywhere in the yard. It also backlights the flower beds beautifully, which is my excuse for calling it decor. If a section of fence borders a pool or a drop-off, double up there with brighter path lights instead; some boundaries deserve emphasis. A defined edge makes the whole yard feel safer and, honestly, bigger.
Suggested budget range: $25 – $70.
11. Pack a Portable Lantern Kit Kids Can Carry
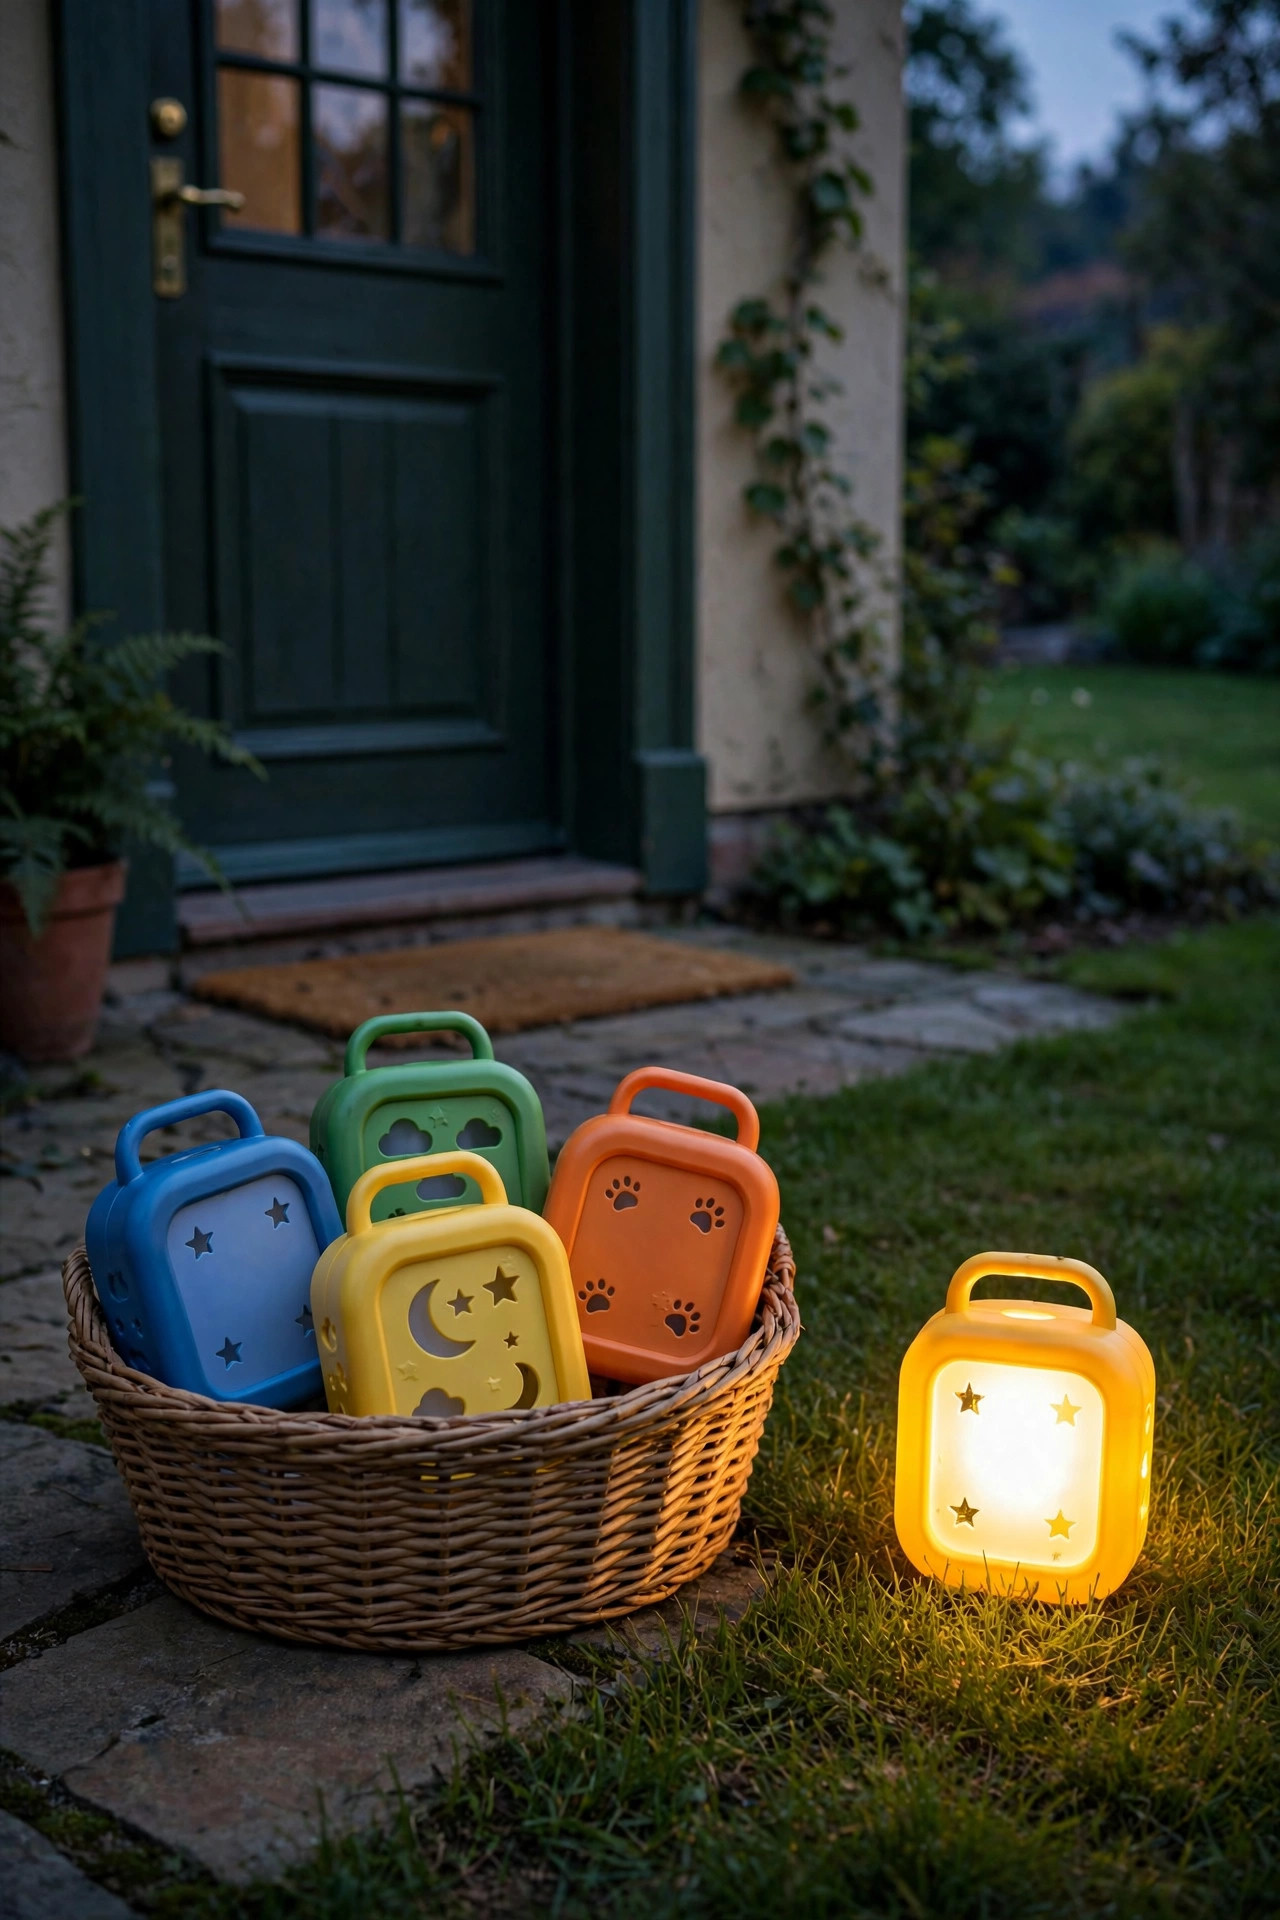
Fixed lights cover the yard, but kids roam, and their adventures need to take the light with them. I keep a small basket by the back door with three or four kid-proof lanterns: rubber-armored, battery powered, with big easy buttons and a dimmable warm LED. The rules are simple: if you leave the lit zones, you take a lantern, and the lantern comes back to the basket at bedtime. These are the lights that power snail inspections, worm rescues, and the long expedition to check whether the moon is out yet. Look for lanterns that float if your crew is pond- or pool-adjacent, and skip anything with a glass globe or a fuel flame, no matter how classic it looks. Rechargeable models save a fortune in batteries across a summer; I charge ours on Sunday nights with the phone chargers. A lantern with a red-light mode is a sleeper hit, by the way: it preserves night vision and makes every kid feel like a junior astronomer. Portable light turns "stay where I can see you" into "take your light and explore," and that shift is the whole point.
Suggested budget range: $20 – $55.
12. Glow Up the Sandbox and Water Table With Submersible Lights
Sand and water play does not have to end at sunset if the play surface itself glows. Submersible LED puck lights, the little sealed battery discs made for fountains and tubs, are perfect here: drop two in the water table and one under the sandbox lid's edge, and the whole station turns into a glowing dig site. In the water they scatter light through every splash, which buys you a solid extra half hour of happy play and makes wet floors easy to spot. Choose pucks with a remote or a simple twist-on switch, warm or color modes, and replaceable batteries. Because they are sealed units with no cords anywhere near the water, they are far safer than any plug-in option for this job, though I still keep them as an adult-sets-up, kids-play item. Rinse and dry them after water play so the seals last, and store them in the sandbox lid so they are never lost. In the sandbox, a puck buried just under the surface makes a "treasure glow" that has launched a thousand excavations at our house. Small lights, enormous return.
Suggested budget range: $15 – $35.

13. Moonlight the Big Tree for Swings and Shade Play
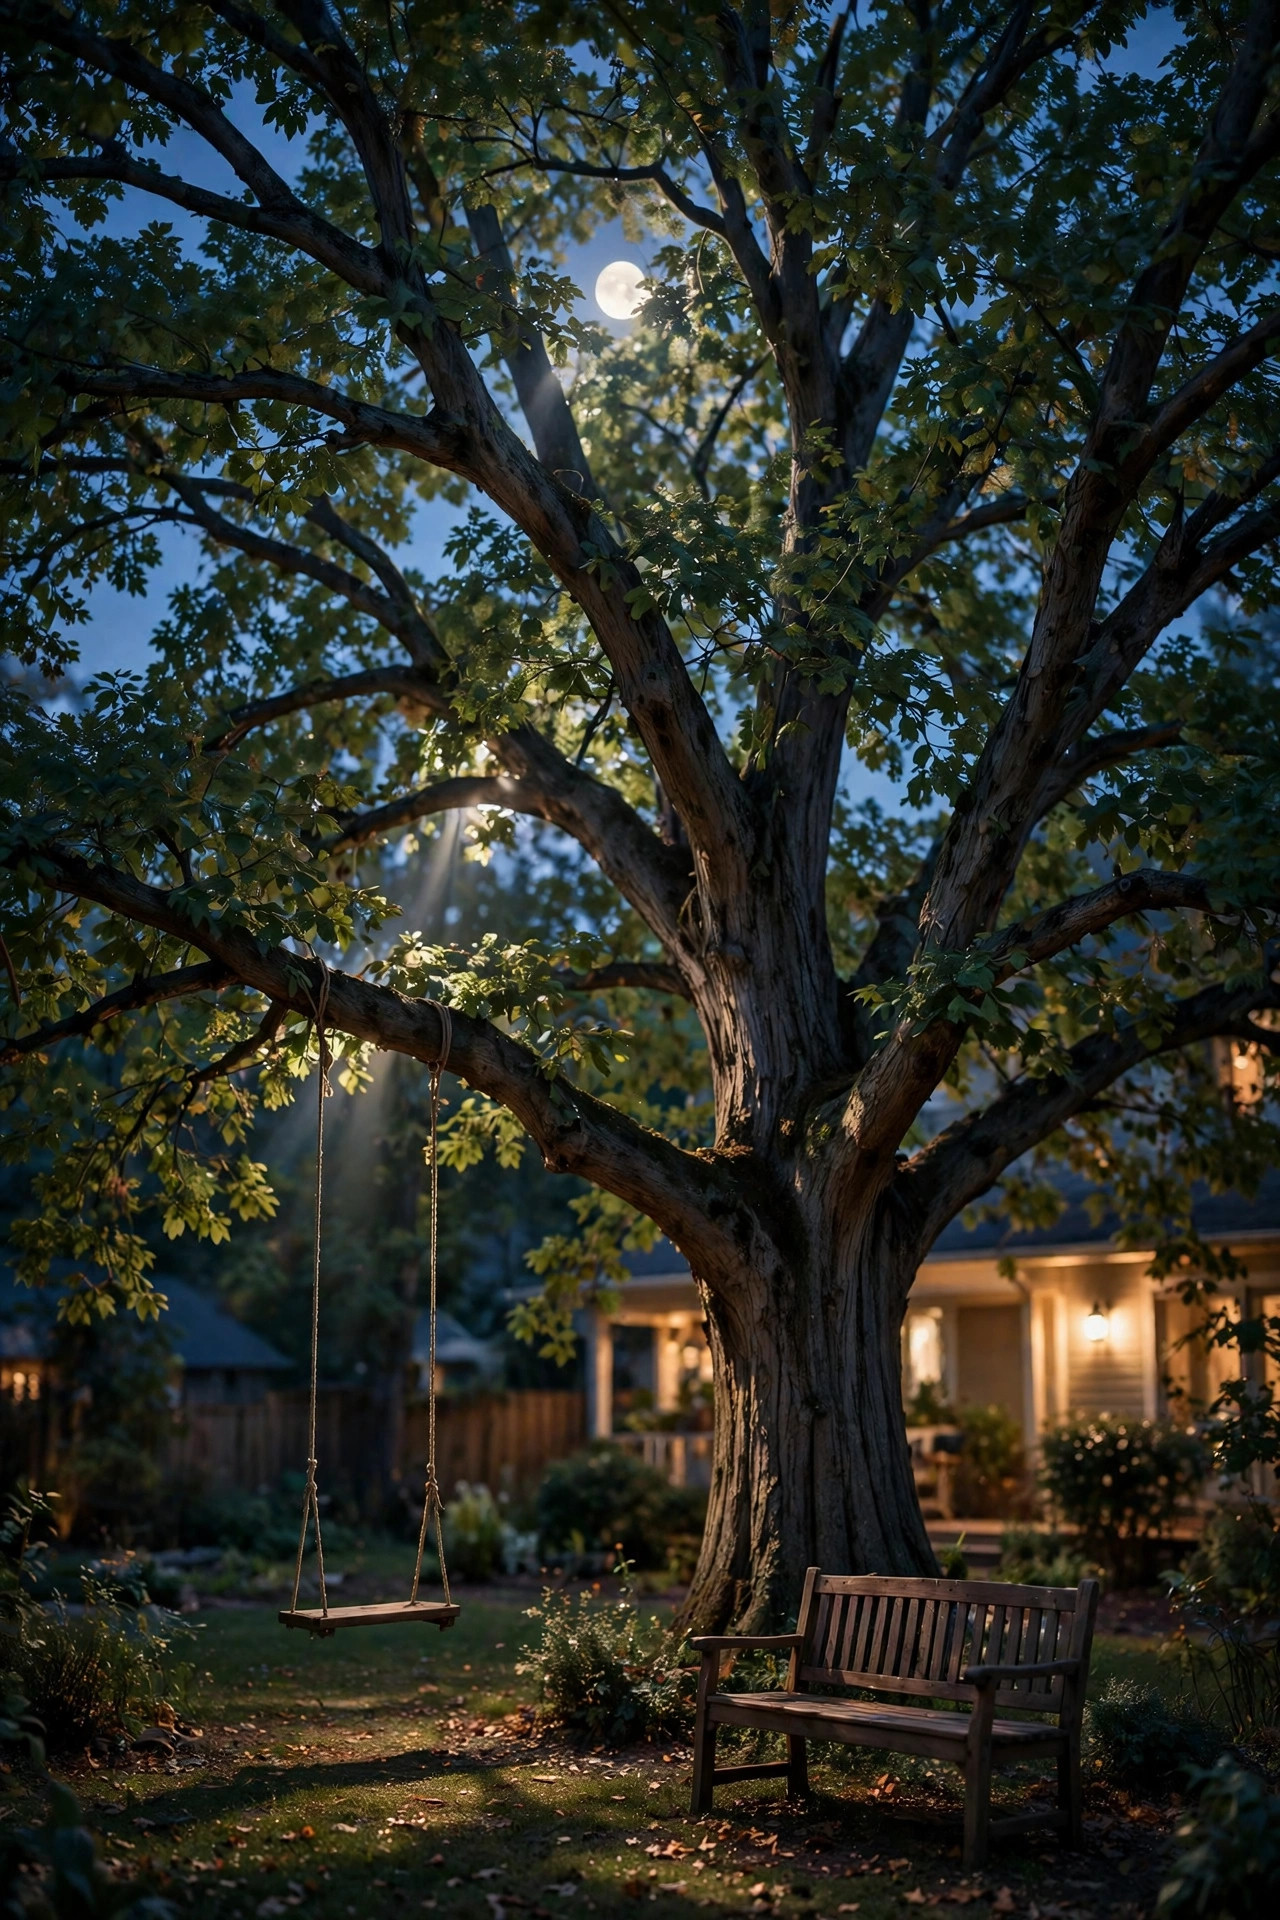
If your yard has one big tree, it is probably already the headquarters of childhood, so light it like it matters. Moonlighting means mounting a soft downlight high in the canopy, 15 to 20 feet up, so light filters through the branches and dapples the ground the way real moonlight does. The effect under a swing or a reading bench is pure storybook, and because the light comes from above, it never shines in anyone's eyes. This is the one project on my list where I say hire it out or use a proper extension ladder with a spotter; the fixture and its wire need to be secured to the trunk with room for the tree to grow. Choose a low-voltage fixture with a frosted lens, around 200 to 300 lumens, aimed through the branches rather than straight down. Solar tree lights exist, but canopy shade starves them, so wired low-voltage wins here. Add a simple hook at kid height on the trunk for hanging one of the fairy jars from idea 8, and the tree becomes a lit little world of its own.
Suggested budget range: $35 – $110.
14. Keep Bugs Away From Play With Amber Light Placement
Nothing ends an evening faster than a cloud of moths and mosquitoes around the kids' heads, and the fix is mostly about where light sits, not what it kills. Insects swarm to bright white and blue-rich light, so I keep the seating and snack zone lit with amber-toned bulbs (around 2000K to 2200K, often sold as bug bulbs) that bugs largely ignore, and I place the brighter white lights, like the motion sensor at the gate, a good distance away to draw insects toward the edges instead. It is a decoy strategy, and it genuinely works. For extra help near the patio table, LED flame-effect torches give the flicker kids love without the open flame of real tiki torches, which have no business near a play space in my book. Citronella candles belong on the adult table, up high and away from play routes, if you use them at all. Keep play lighting warm and low, let the decoys glow at the perimeter, and your crew can play in short sleeves again. Comfort is a safety feature too; miserable kids stop watching where they are going.
Suggested budget range: $20 – $60.

15. Give Lawn Games Their Own Soft Floodlight Zone
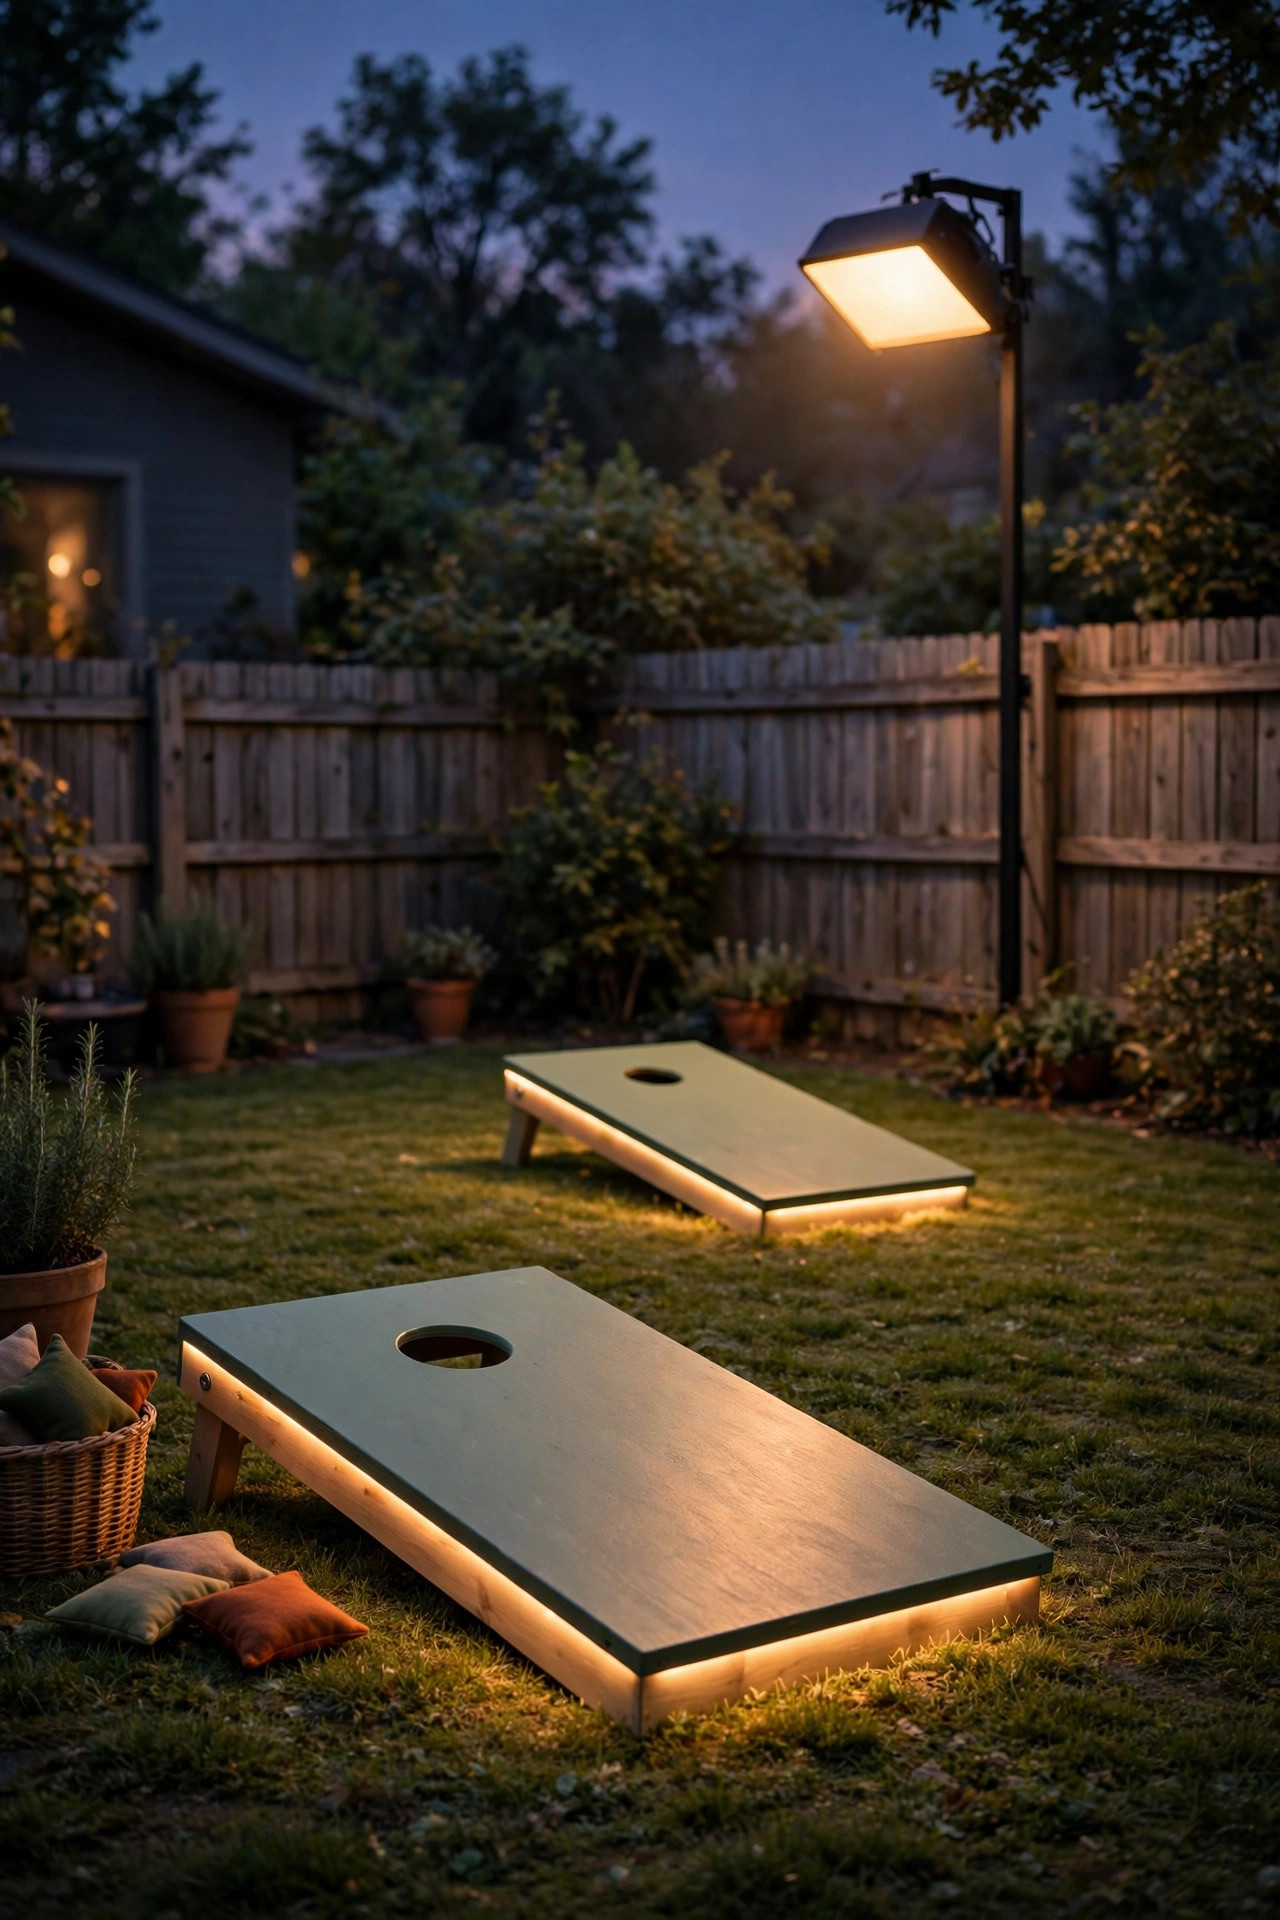
Cornhole, flashlight tag, giant ring toss, the nightly wiffle ball championship: games need broader light than paths do, but a harsh work light kills the mood and blinds the batter. My compromise is one wide-beam LED floodlight mounted under the eave or on a fence post at about 8 feet, aimed across the open lawn at a low angle, with a frosted diffuser or a piece of parchment-style diffuser film to soften it. Aim for 400 to 800 lumens over the game zone, and put it on a dimmer or choose a model with brightness steps so tag night can run moodier than tournament night. Mount it high enough that the beam clears heads, and never point it toward the neighbors' windows or the street. A portable rechargeable floodlight on a tripod works too and stores in the garage, though I always recommend weighting the tripod legs with sandbags when kids are cannonballing past it. Defined game light means the rest of the yard can stay soft and firefly-friendly, which is a balance my whole family appreciates.
Suggested budget range: $30 – $90.
16. Set Timers and Dusk Sensors So Lights Are On Before the Kids Are
The best safety light is the one that is already on when the kids burst out the door after dinner, and that is a scheduling problem, not a fixture problem. Photocell (dusk-to-dawn) stakes and plug-in astronomical timers solve it completely: they track sunset, so the yard lights itself at the right time in June and in October without you touching a thing. I put our string lights and fence rope on an astronomical timer set to turn off at 10 p.m., and the path lights are all solar with their own sensors, so the base layer simply never gets forgotten. For battery lanterns and fort jars, a charging routine beats technology; Sunday night, everything plugs in. Smart plugs are a fine upgrade if you want app control from the patio chair, and they are lovely for the "one more hour" negotiation, but honestly the humble timer does 90 percent of the work for a fraction of the cost. Whatever you choose, test the whole system at the start of each season. A yard that lights itself invites kids outside, and that invitation is worth automating.
Suggested budget range: $15 – $50.
17. Finish With a Kid-Height Walk-Through of Your Kids Backyard Lighting Ideas
Once everything is installed, do the test that actually matters: crouch down to about three feet tall and walk your whole yard the way your kids use it. You will be amazed what changes at that height. A path light that looked perfect from standing height glares straight into small eyes; a "lit" corner goes dark behind the playset; the gate latch, invisible at adult level, is exactly where a running shoulder lands. I do this walk-through at the start of every season and again mid-summer, because kids grow, plants grow faster, and fixtures get bumped by mowers and soccer balls. Bring a roll of painter's tape and mark anything that needs angling, raising, or moving while it is fresh in your mind. Check that every zone color still reads clearly, that the swing arc and slide exit are free of fixtures, and that timers still match the sunset. Then hand a lantern to your smallest critic and let them lead you around. Their review is the honest one. Ten minutes of crouching now saves a whole season of skinned knees and "I can't see" complaints later.
Suggested budget range: $0 – $30.
Frequently Asked Questions
What color temperature is best for kids playing outside at night?
Warm white, in the 2700K to 3000K range, is my recommendation for play areas. It shows obstacles and faces clearly without the harsh glare of daylight-white bulbs, which makes kids squint and actually hides shadow detail. Save cooler light for a single task spot, like a grill station, and keep the play zones warm and diffused.
Are solar lights bright enough for safe backyard play?
For paths, boundaries, and marking hazards, yes; modern solar stakes in the 50 to 100 lumen range handle wayfinding beautifully after a sunny day. For active play zones like the playset or lawn games, layer in at least one wired low-voltage or plug-in fixture as an anchor, because a string of cloudy days can leave solar-only yards dimmer than you want.
How do I keep cords from becoming trip hazards in a kids' yard?
Start cordless wherever you can: solar and battery fixtures cover most play lighting. Where a cord is unavoidable, route it tight along fences and walls, never across a running path, use low-profile cord covers at door thresholds, and bury low-voltage cable a few inches under mulch or sod along bed edges. Always plug outdoor fixtures into a GFCI outlet with a weatherproof cover.
Are string lights safe around children?
They are, with the right specs: LED bulbs in shatterproof plastic housings stay cool to the touch and will not scatter glass if a ball hits them. Hang them at least 7 feet up or well out of reach, secure them with proper hooks or guide wire instead of draping, and choose outdoor-rated strands with sealed sockets. Check the run each season for cracked housings.
Conclusion
Great kids backyard lighting ideas all come back to the same principle I use everywhere: layer it. Ground light shows little feet where to land, mid-level glow marks the play zones and boundaries, and warm overhead sparkle makes the yard a place everyone wants to be. Start with the runways and the playset, add your zones and timers as the season goes on, and do one dusk walk-through with kid-height eyes before you call it done. If you are ready for the next round of projects, browse the rest of the outdoor lighting ideas here on the site; there is a whole section of my yard left to glow up, and yours is next.