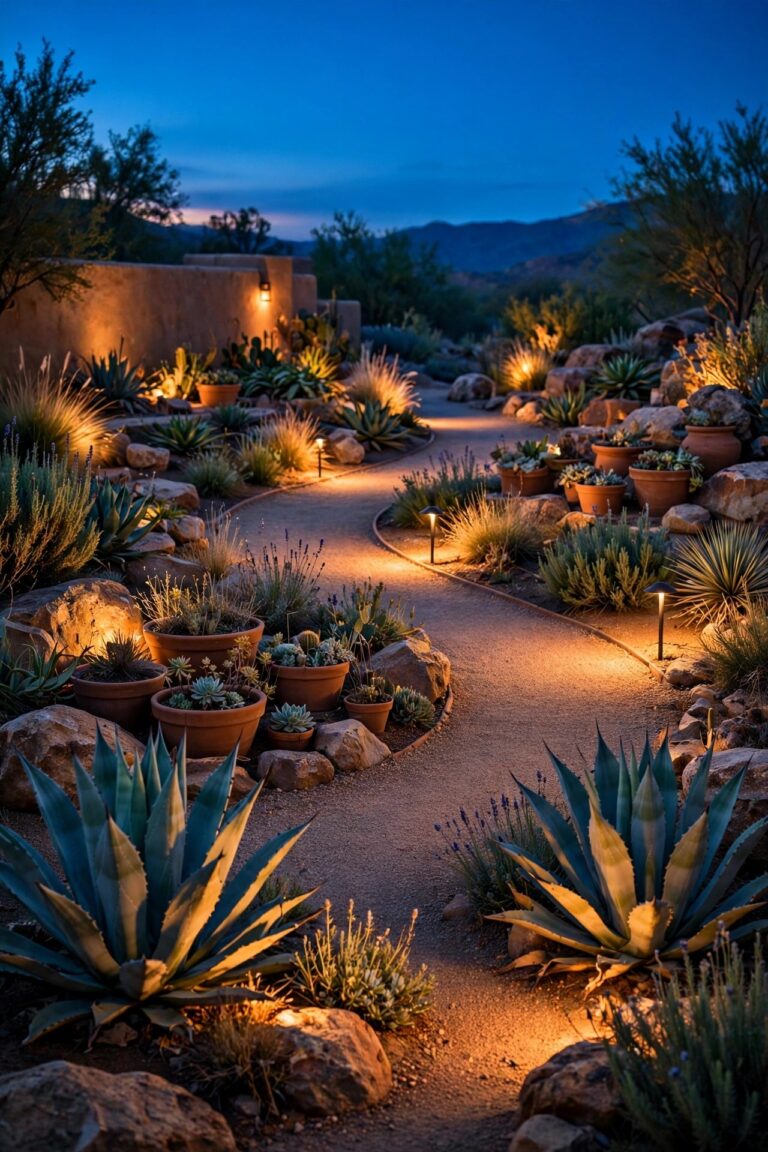
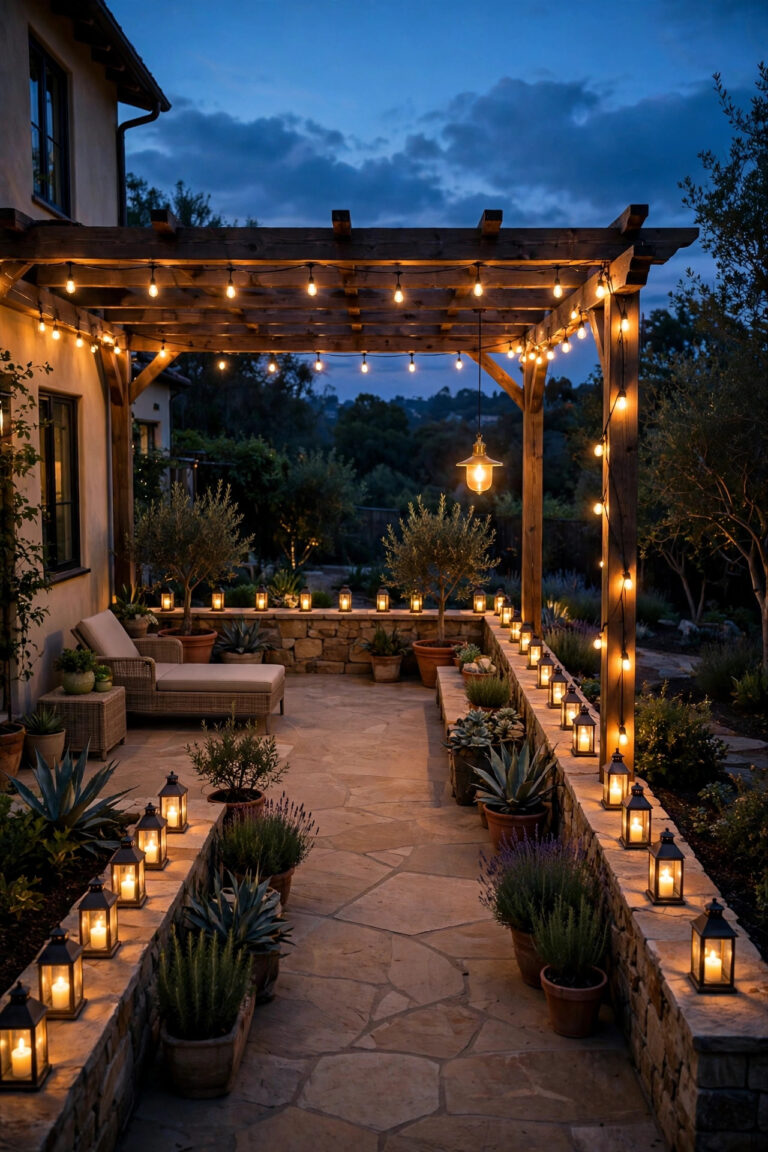
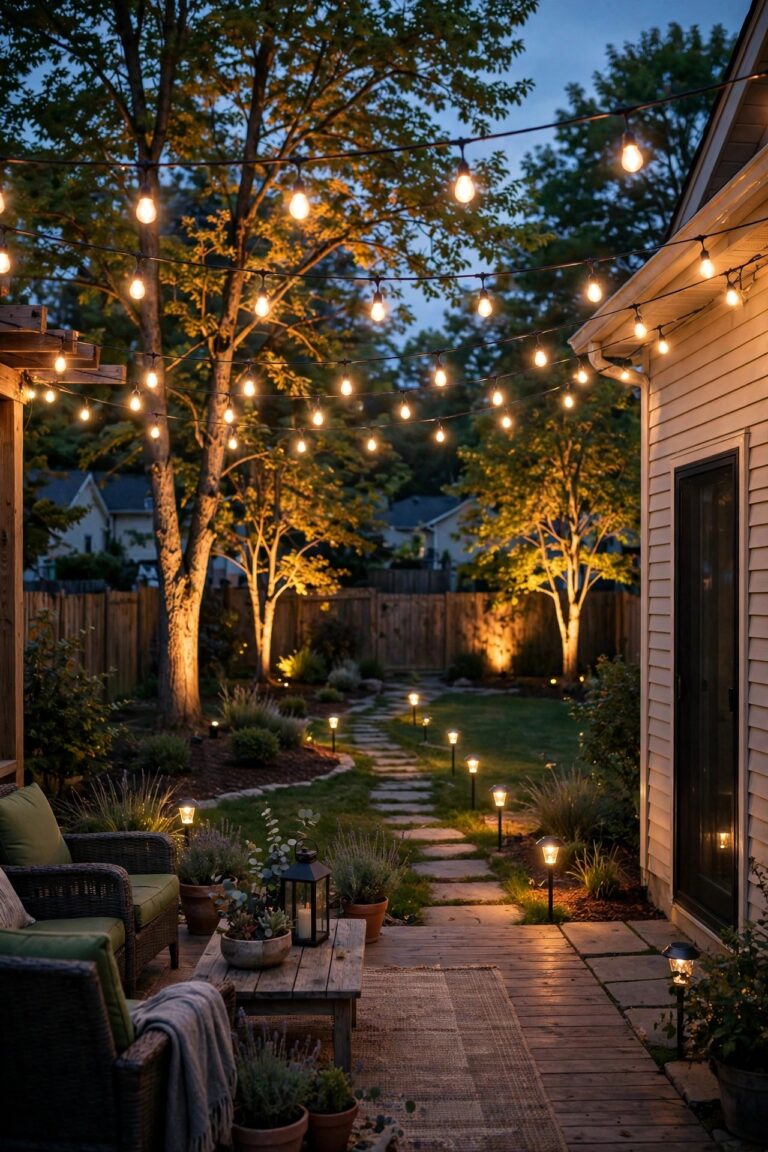
The first time a guest reversed out of my driveway on a dark, rainy night and dropped a wheel into the flower bed, I stopped treating driveway lighting as decoration. A driveway has two jobs after sunset: guide tires safely, and make the front of the house look loved. The best driveway lights do both, and the secret is the same layering I use everywhere — a guide layer that marks the edges, a visibility layer where cars maneuver, and one warm accent that gives the entrance its personality. In this post I am sharing the 11 types I recommend, judged by type rather than brand, with honest notes on what each one cannot do. That honesty matters out here more than anywhere, because driveway lights get buried in snow, clipped by mower decks, nudged by plow blades, and starved of sun in December. A light that charms you in June and dies by January is not a bargain at any price. Match the type to your climate, your driveway length, and your appetite for wiring, and the front of your house will feel finished every night.

1. Solar Stake Markers — The Best Driveway Lights for a No-Wiring Weekend
If you want a lit driveway by Saturday night with zero digging, solar stake markers are where almost everyone starts, and I understand why. You push them into the soil along both edges, the little panel on top charges all day, and at dusk you get a dotted line of light guiding you home. Space them 6 to 8 feet apart on alternating sides so the pattern reads as a path instead of a runway, and set each one about a foot back from the pavement. Here is the honest part: these are guidance lights, not illumination. Each one throws a small pool of light a foot or two wide, so they will not help you read a house number or spot a skateboard left on the asphalt. Winter is their weakness. In December, with short days and low sun, expect four to six hours of glow instead of the eight to ten you get in June, and after a snowstorm they are simply buried until you brush them off. Plastic stakes also snap in frozen ground and lose fights with mower decks. For renters, mild climates, and short drives, they remain a cheerful, low-stakes start. For more layouts and honest output expectations, see my guide to solar driveway lighting ideas.
Suggested budget range: $20 – $45.

2. Low-Voltage Bollard Lights for Real, Reliable Light
When someone tells me they want a driveway that actually lights up — not just sparkles — I steer them to low-voltage bollards on a 12-volt transformer. Bollards stand 14 to 24 inches tall and throw a wide, even wash across the pavement, so you can see the edges, the cracks, and the recycling bin someone left out. Because they are wired, they burn at full brightness from dusk to dawn in every month of the year, with no December fade. The real work is the install: a transformer near an outdoor outlet, a cable run trenched a few inches down, and fixtures set 12 to 18 inches back from the driving surface — close enough to light it, far enough away that a drifting tire or a plow wing cannot clip them. Spacing of 10 to 15 feet along one side usually beats doubling up on both. The limits are cost and commitment: this is a weekend project with real money in it, and moving a fixture later means moving cable too. Cast-metal bodies outlast plastic by years, and individual light modules can be replaced when they fade. My driveway lighting cost guide breaks down what a full wired run costs in 2026. This is the system I would install on my own forever driveway.
Suggested budget range: $180 – $450.

3. Flush In-Ground and Paver Lights You Can Drive Right Beside
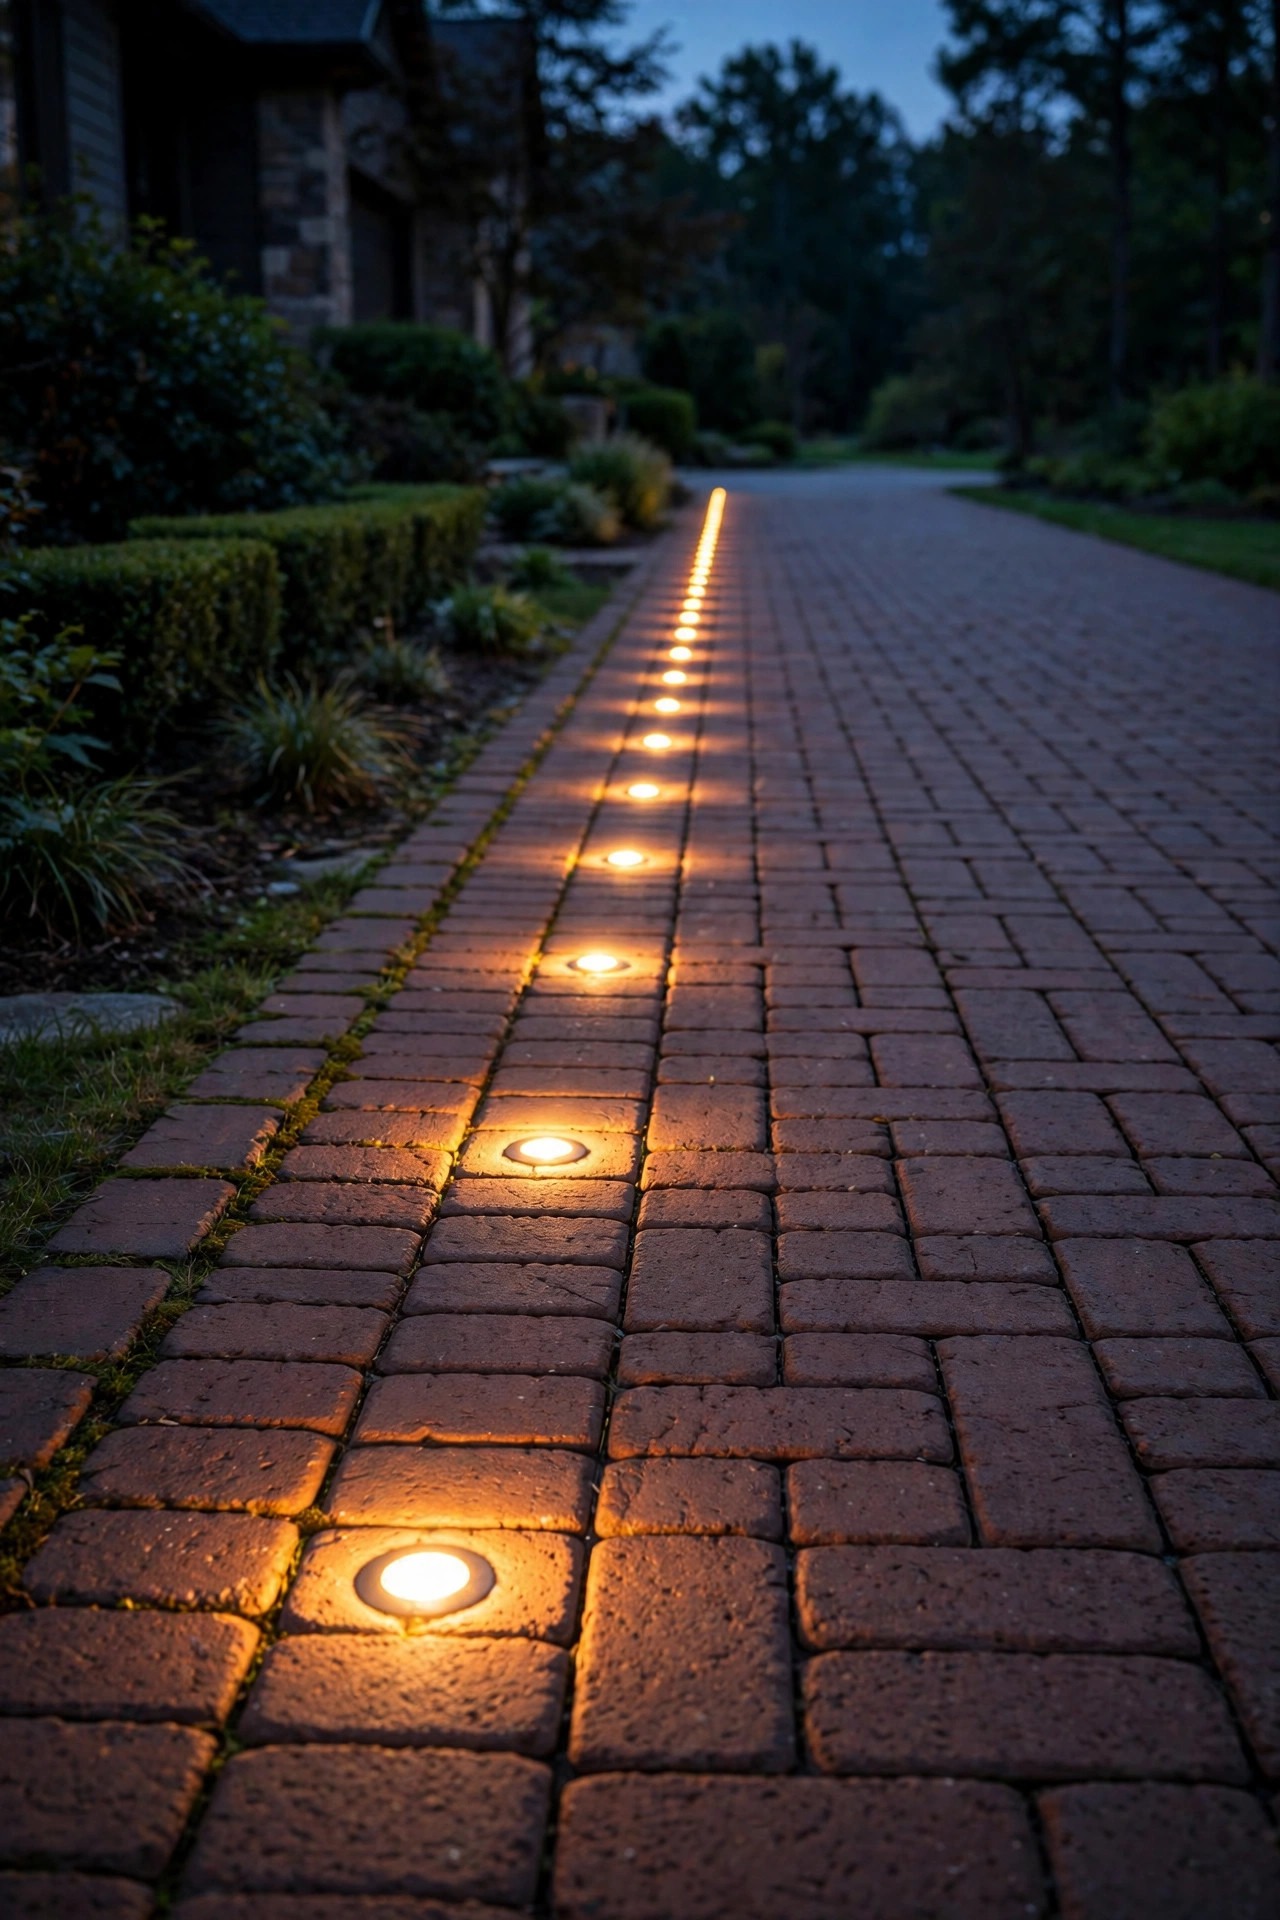
Flush lights solve the oldest driveway problem there is: anything standing up eventually gets hit. These fixtures sit level with the pavement — in-ground well lights buried at the edge, or paver lights swapped in for a standard brick in a paver border — so mower decks, plow blades, and snowblower augers pass straight over them. Drive-over rated models carry serious load ratings, though I still place them in the border or just off the edge rather than in the tire path itself. The look is pure architecture: a clean line of light with no visible hardware, which is wonderful on modern homes. Now the trade-offs. Installation is the most involved on this list. You are coring pavers or digging precise holes and thinking hard about drainage, because a fixture sitting in a puddle of its own making will fog and fail; look for sealed units and a gravel bed beneath each one. Snow cover dims them just like solar stakes, and when one finally dies, replacement means lifting pavers, not twisting a stake out of the soil. These are best for paver driveways, snow country, and any household with a documented history of destroying standing fixtures.
Suggested budget range: $150 – $400.
4. Motion-Activated Flood Lights at the Garage
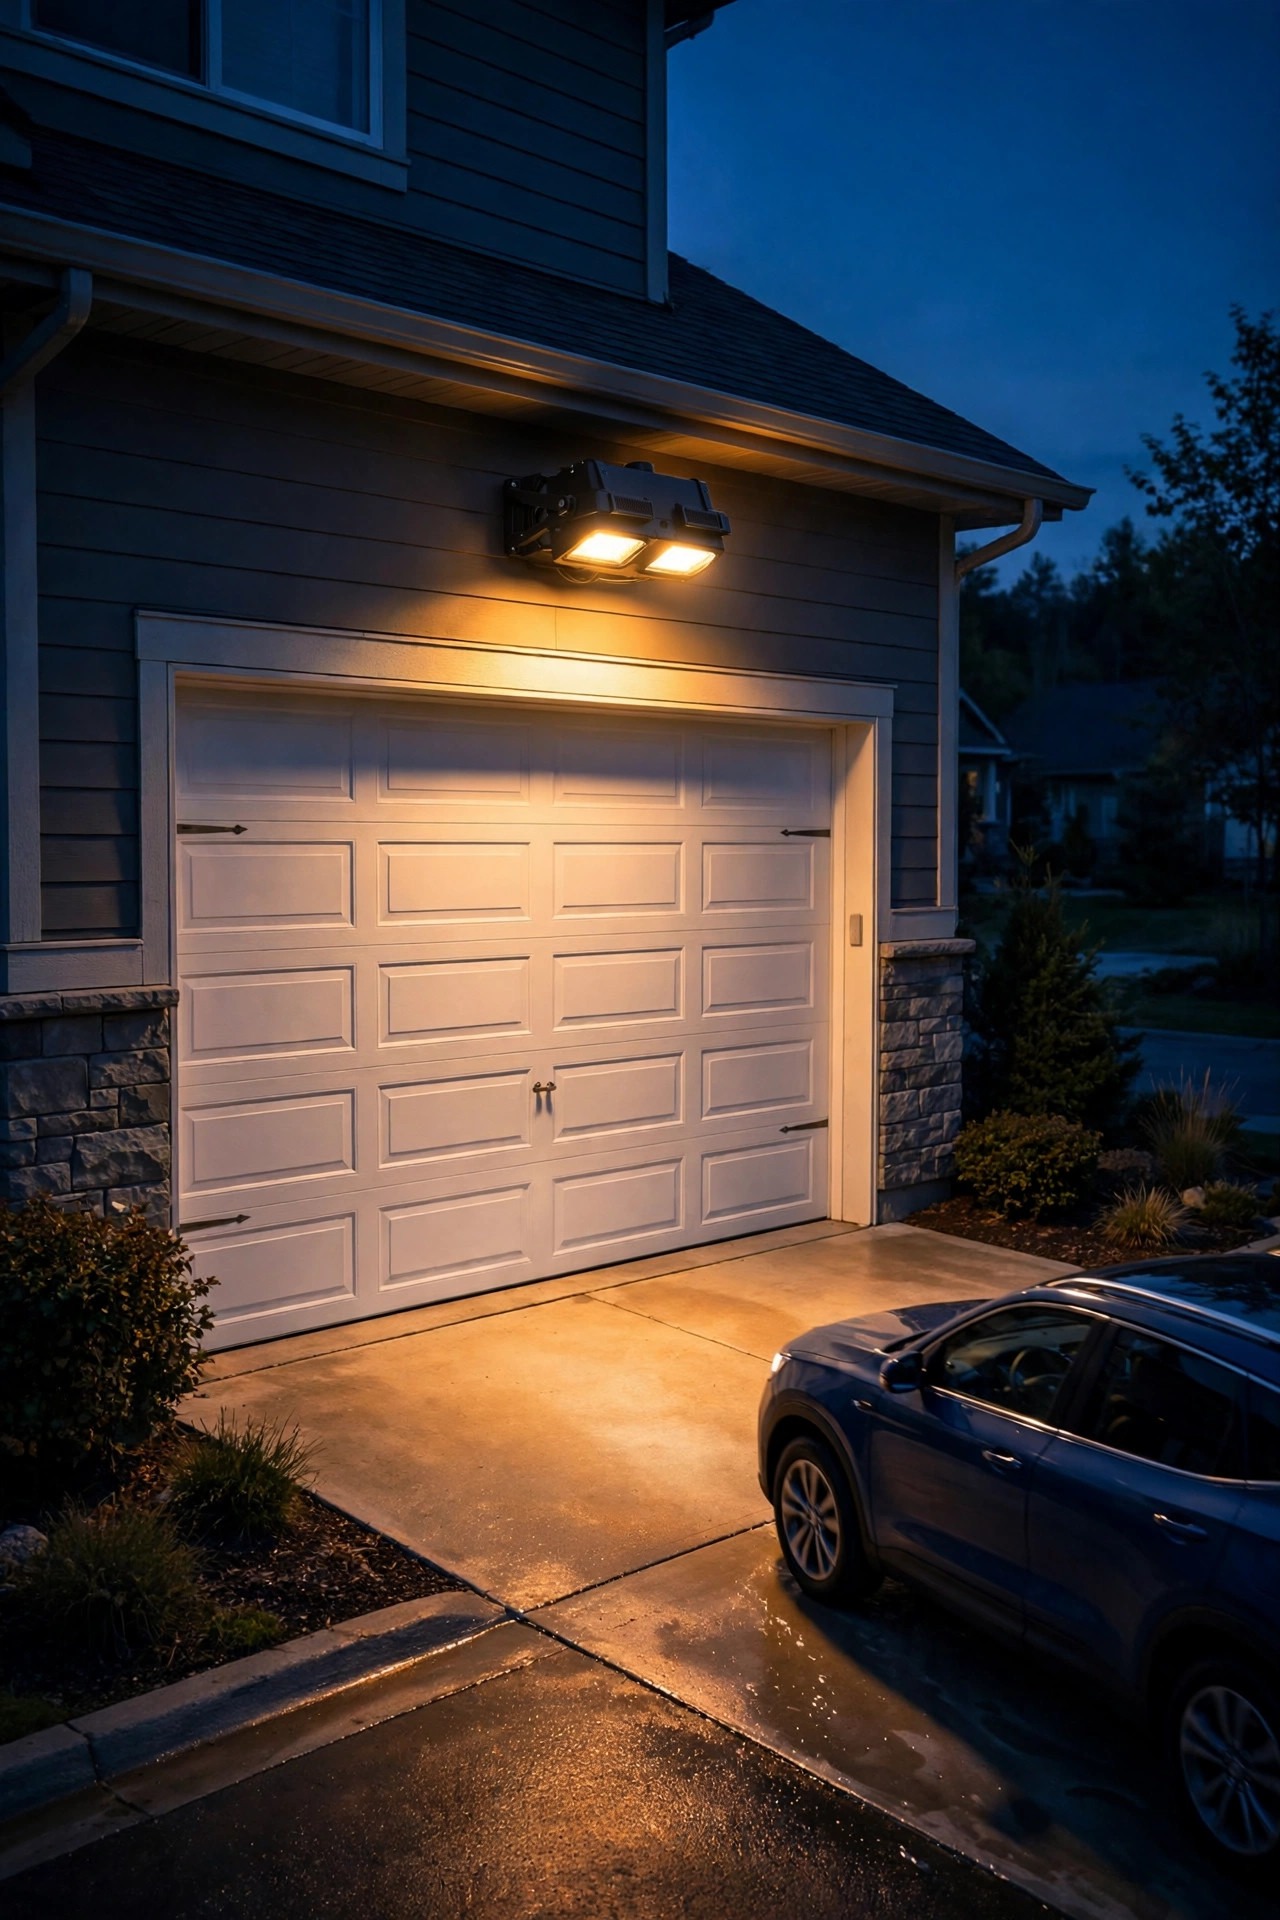
Every driveway has one spot where visibility matters most, and it is usually the last ten feet in front of the garage, where people park, unload groceries, and wrestle car seats in the dark. A motion-activated flood light owns that spot. Mounted 8 to 10 feet up and aimed down the apron, it delivers a bright, wide wash exactly when a car or a person arrives, then shuts off and leaves the night alone. That on-demand brightness doubles as a security bonus. Now the honesty: a flood is a work light, not a beauty light. Aimed badly, it blasts through a bedroom window and turns your facade into an interrogation room, so take the ten minutes to aim it downward, set the sensitivity so passing cats do not trigger it, and keep the timer short — one to five minutes is plenty. Solar versions exist and are fine for lighting the garage door itself, but a hardwired model is brighter and never has a dead-battery night in February. Pair a flood with any gentle guide layer from this list and you have covered both halves of the job: finding the driveway, and using it.
Suggested budget range: $35 – $110.
5. A Lantern Post Light at the Entrance
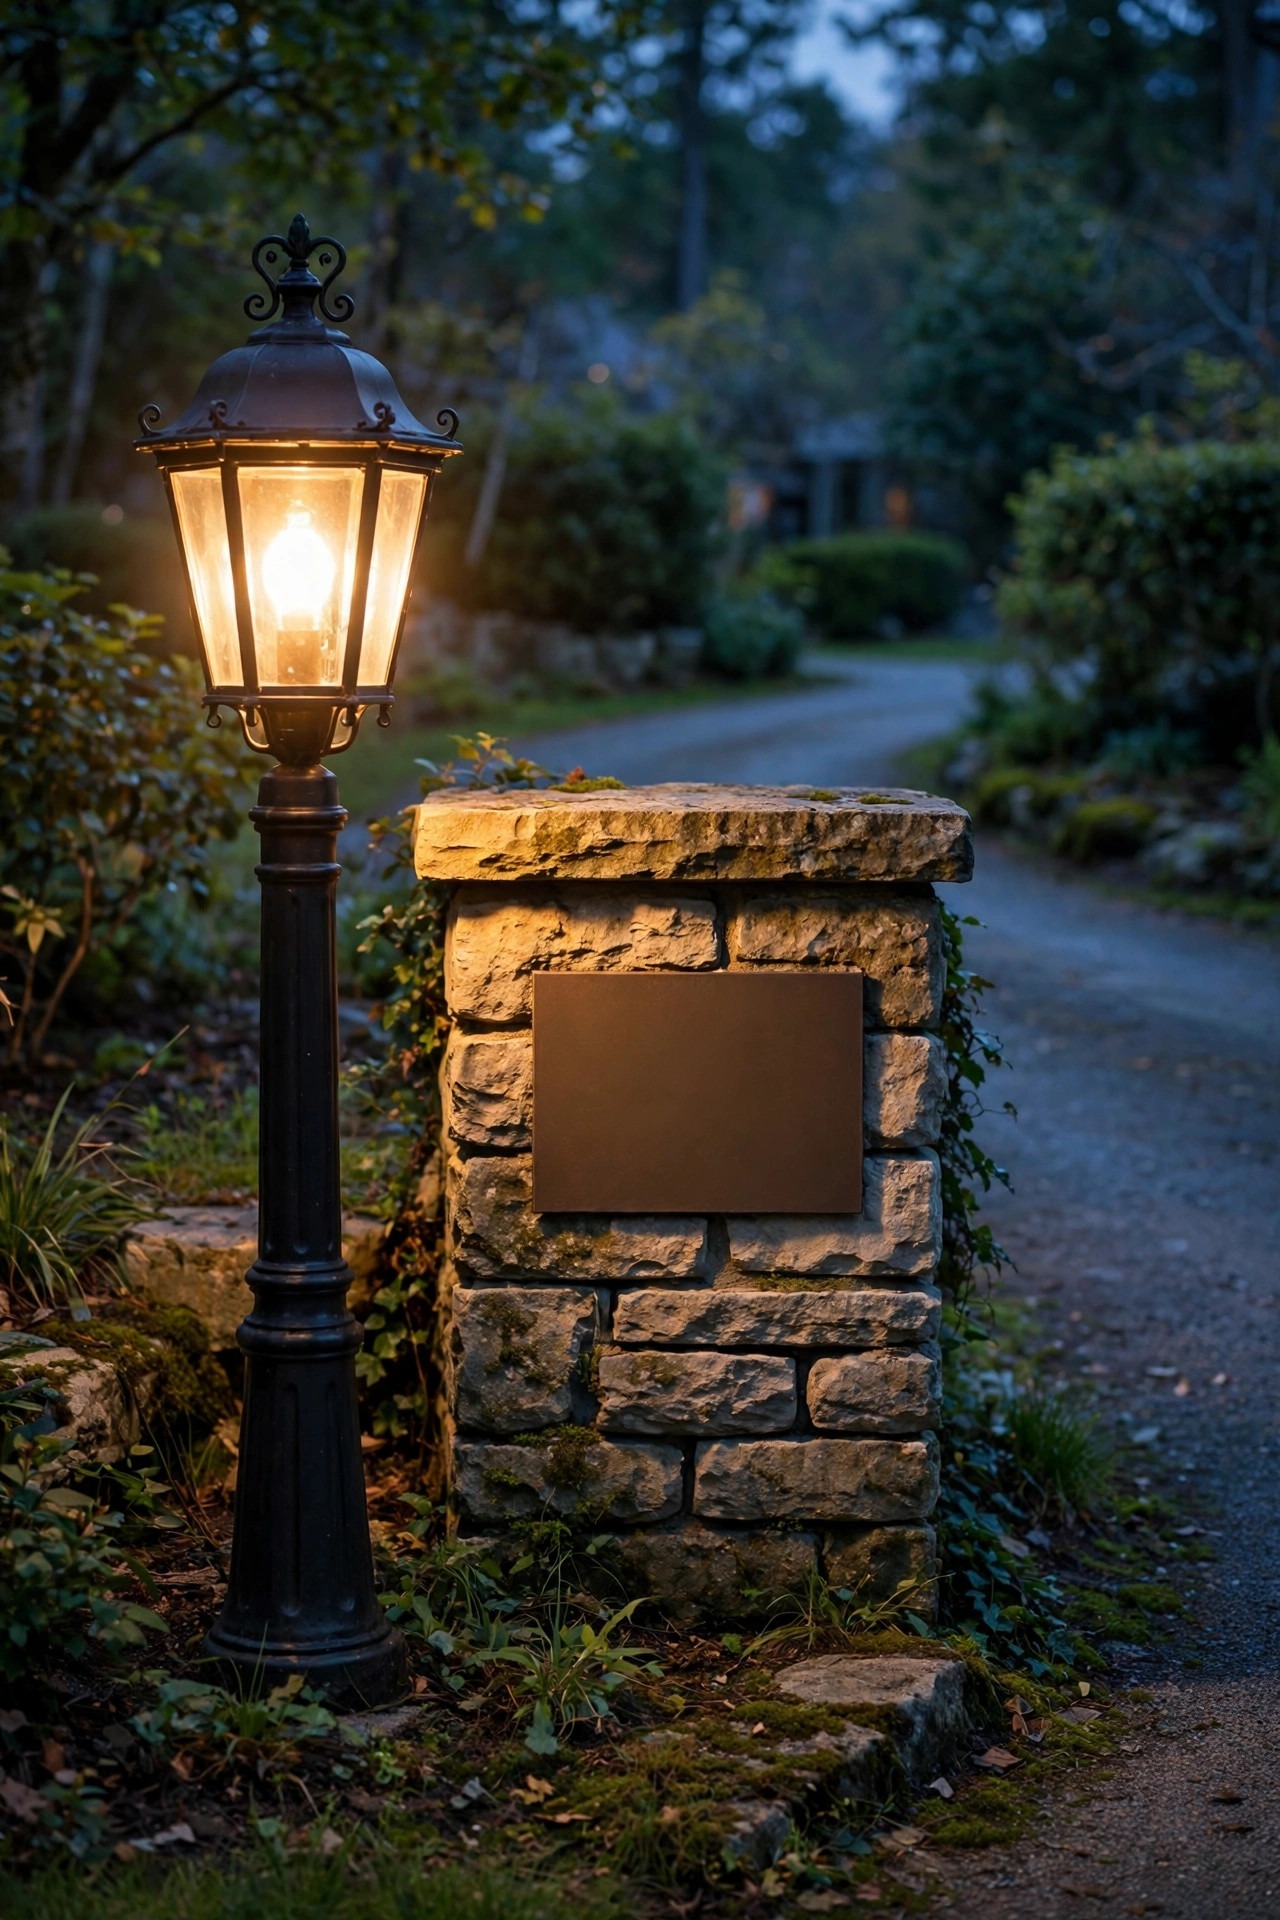
If bollards and stakes are the guide layer, a lantern post at the street entrance is the handshake. One well-chosen post light where the driveway meets the road marks the turn for guests, gives the house number something to live beside, and sets the architectural tone for everything behind it. Traditional and colonial homes wear this look effortlessly, but a clean-lined modern post works the same magic on a contemporary facade. Choose a fixture 5 to 7 feet tall overall — tall enough to read from the street, short enough not to loom — with the bulb shielded or frosted so drivers see glow, not glare. The honest limitation is scope: a single post light throws a lovely pool of light about 10 feet wide and does nothing for the middle of a long driveway, so treat it as the anchor of a layered plan, not the whole plan. The second limitation is the wire. If your entrance sits 80 feet from the house, trenching power out there is real money, and a quality solar post is a reasonable compromise — just expect softer output and shorter winter nights. Where the wire is feasible, hardwired wins every time.
Suggested budget range: $120 – $320.
6. Reflective Driveway Markers — The Cheapest Guidance There Is
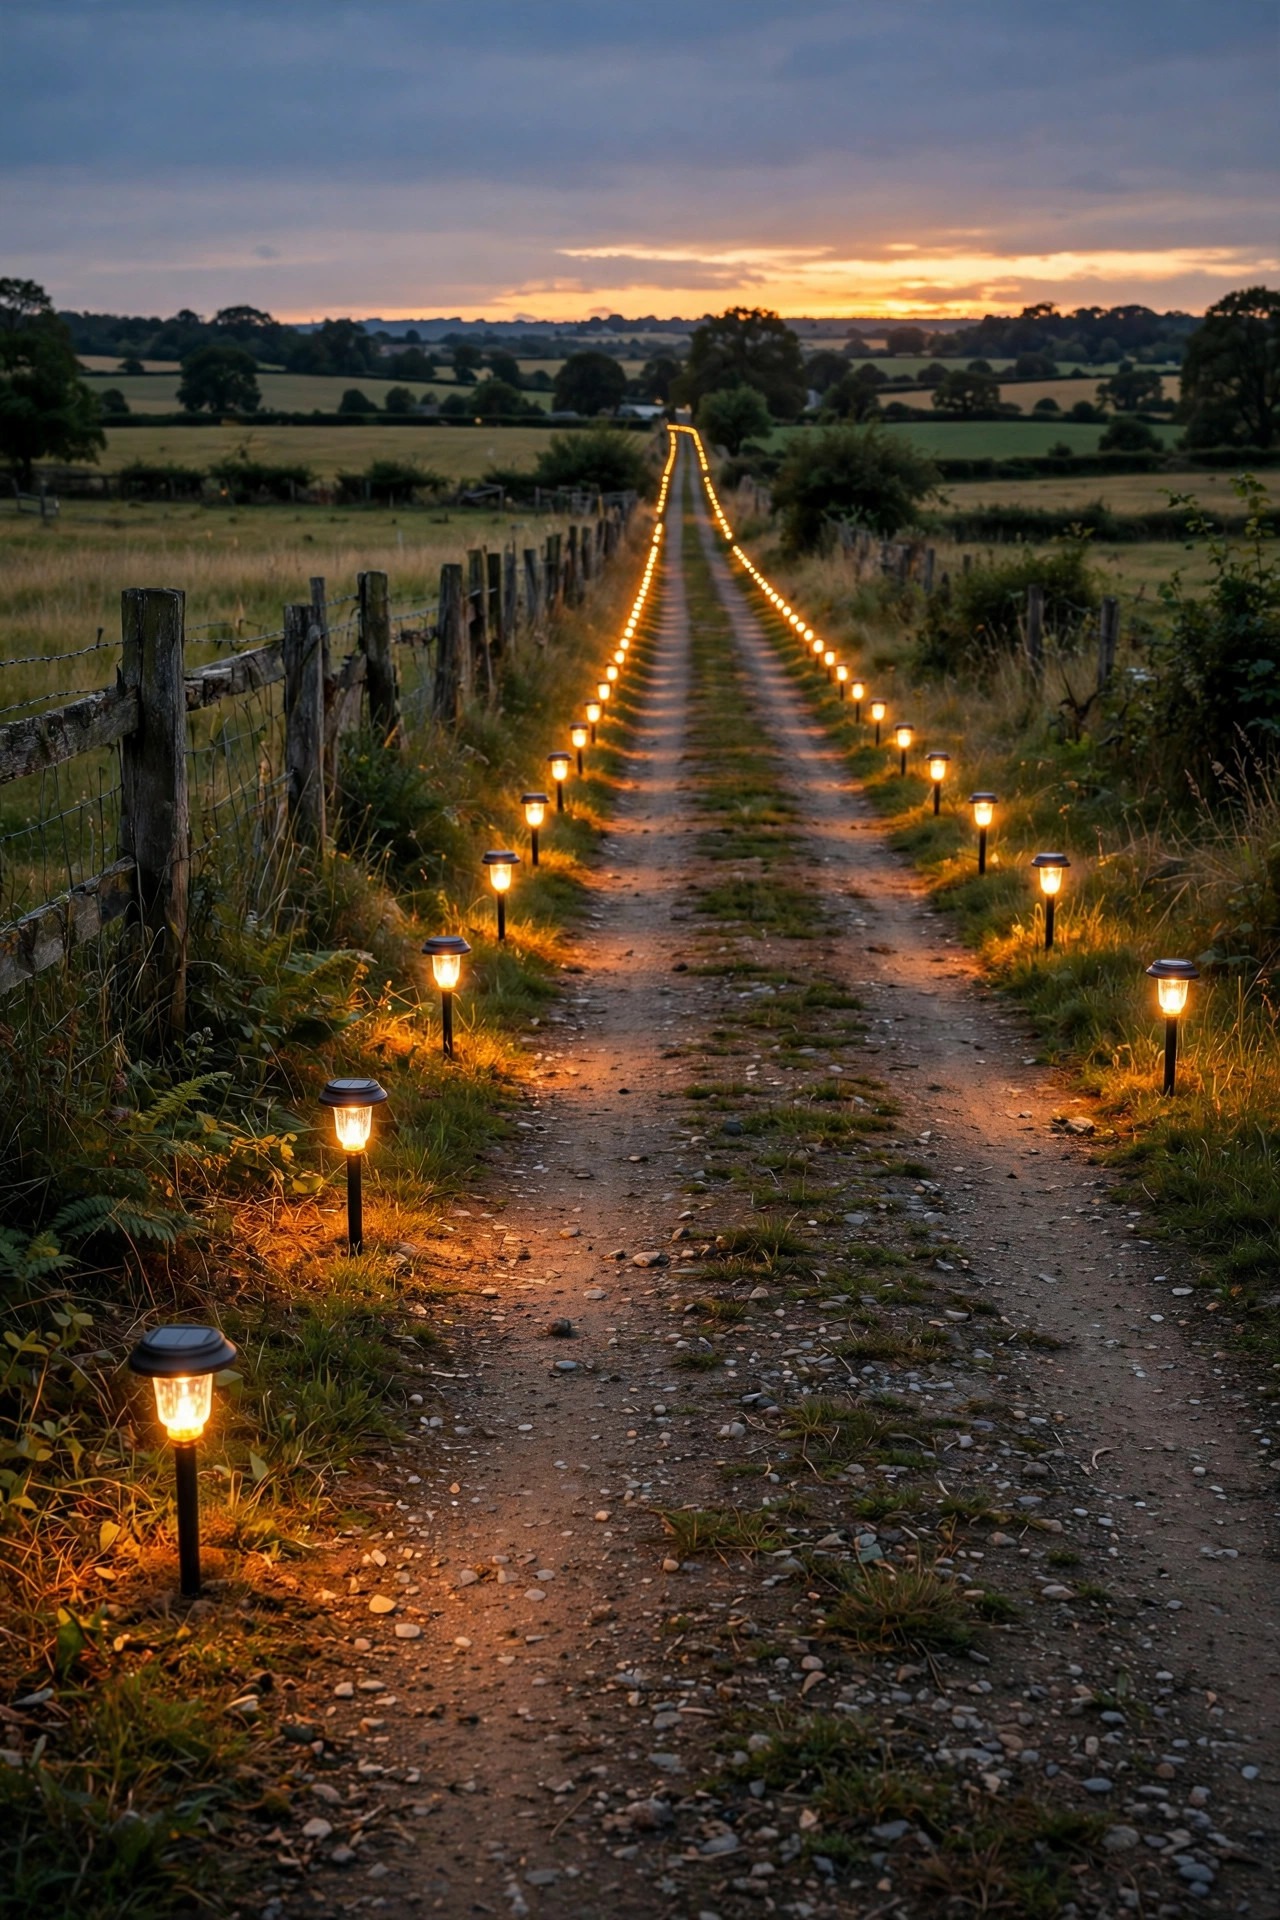
Reflective markers are the humble heroes of snowy driveways, and I refuse to write a driveway list without them. They produce no light of their own. Instead, a prismatic reflector on a 3- to 4-foot rod catches your headlights and bounces them back as two lines of bright dots, showing you exactly where the edges are — including in February, when those edges are hiding under a snowbank and the plow driver is guessing. That is exactly why plow operators love them: mark your drive in November and you have told the blade where not to go, which saves your lawn, your mailbox, and your lighting. Install them before the ground freezes, 12 to 18 inches back from the edge, tall enough that the reflector rides above your typical snowfall. The limits are real: they do nothing for guests on foot, nothing without headlights, and the fiberglass rods splinter after a few seasons of hits. But at a few dollars each, with zero batteries, zero wiring, and zero maintenance beyond pulling them in spring, they are the best supporting actor on this list. Pair them with any lit option here and you have covered both cars and plows.
Suggested budget range: $15 – $35.

7. Smart and Timer-Controlled Driveway Lights
The fixtures themselves might be bollards, post lights, or spots — this pick is about who is in charge of the schedule, and the answer should be nobody, because it runs itself. A transformer with a built-in astronomical timer learns your sunset and adjusts all year long, while a simple photocell just wakes the system at dusk. Stepping up, smart transformers and outdoor smart plugs add app control, dimming scenes, and vacation randomization, so the driveway can glow at 40 percent for ambiance and jump to full brightness when you pull in. For second homes and frequent travelers, that lived-in look is worth real money. The honest downsides: apps get abandoned, the wireless signal at the far end of a driveway is often weak, and every smart feature is one more thing to troubleshoot at 11 p.m. in February. My advice is to build reliability in layers. Choose a system that defaults to a simple dusk-to-dawn schedule even if the smart features fail, and put the transformer somewhere you can reach it without a ladder. Timers and photocells also quietly save electricity: the lights run exactly the dark hours, never noon.
Suggested budget range: $200 – $500.

8. Heavy-Duty Metal Lights Built for Snow-Plow Country
In serious snow country, the question is not whether your driveway lights will be tested, but how many times per winter. This pick is the heavyweight class: cast aluminum or steel bollards with thick housings, commercial-grade stake lights on metal ground spikes, and fixtures anchored in concrete collars instead of pushed into soil. Height is part of the armor — choose taller fixtures that stay visible above plowed snowbanks, because a buried light is just a decoration. Placement discipline matters more here than anywhere. Set fixtures 18 inches or more back from the driving edge, in line with where you have told your plow driver the edge actually is, and expect thrown snow to pile against them all season anyway. The honest costs are price and weight, plus one more truth: even the toughest fixture loses to a direct blade strike, which is why cold-climate pros treat one replacement every few winters as normal wear and buy a spare fixture while the matching model is still sold. Skip this tier if you live where snow is a rumor. Overpay happily if February at your house involves a plow contract.
Suggested budget range: $250 – $600.

9. Budget Multipacks for Lining a Long Driveway
Lighting 200 feet of driveway at boutique prices is how people end up with a very expensive first 30 feet and darkness the rest of the way. Budget multipacks — eight, twelve, sometimes sixteen solar stakes in one box — exist to solve that math. Per light, they cost a fraction of individual fixtures, the look stays perfectly consistent, and when one dies you replace it from the spare you wisely bought in the same order. My spacing advice for long drives: cluster tighter near the house and the street entrance, where decisions happen, and let the middle stretch breathe at 12 to 15 feet. Be clear-eyed about what you are buying, though. Multipack lights are the dimmest on this list, the stakes are thin plastic, and in a northern winter you will get a few early-evening hours from them, not a full night. Think of them as a luminous fence line that says the driveway runs here — which, on a dark country property, is genuinely most of the job. If your drive is long, my long driveway lighting ideas walk through layouts and the wired-versus-solar math in detail.
Suggested budget range: $50 – $110.
10. Spotlights and Uplights for the Curb-Appeal Layer
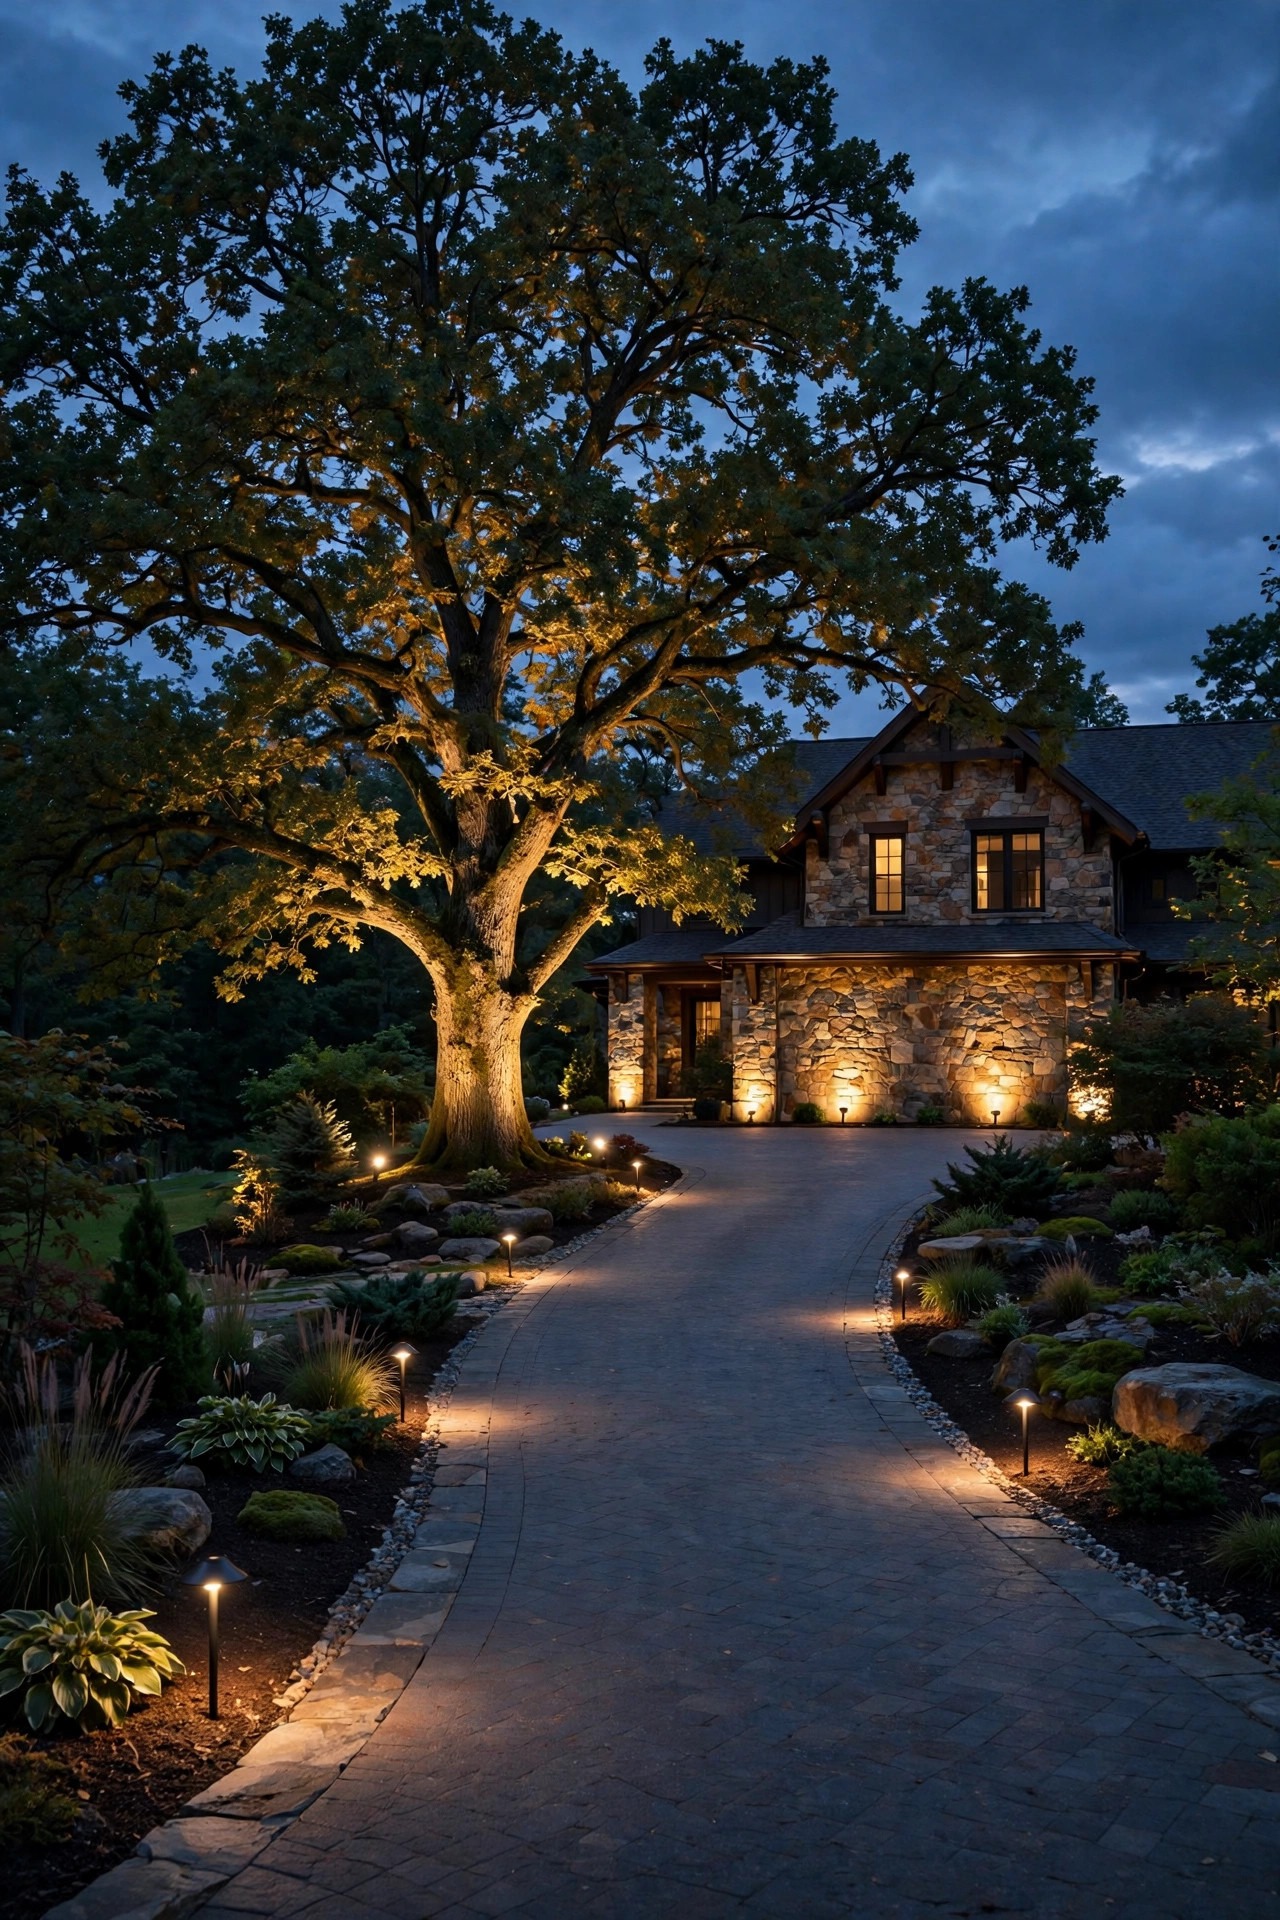
Everything so far has been about the driveway itself. This pick is about what drivers see at the end of it. A few low-voltage spotlights aimed at a specimen tree, a stone wall, or the front facade turn an ordinary arrival into a little event, and honestly, this layer is where curb appeal actually lives — the eye lands on the lit tree and the house, not on the pavement. Keep the spots off the pavement: fixtures sit in the planting beds, aimed up and away, so there is no glare in a reversing driver’s eyes. Warm 2700K light flatters brick, stone, and foliage, while cooler light makes most homes look like office parks. The limits are taste and restraint. Too many spots and the yard looks like a car dealership; light trespass annoys the neighbors; and uplighting adds nothing to safety, so it should be the last layer you fund, not the first. Two or three well-aimed fixtures usually beat eight scattered ones. If you add only one thing after your guide lights, make it a single beautiful tree, lit from below, at the bend of the drive.
Suggested budget range: $90 – $260.
11. Premium Architectural Fixtures — The Best Driveway Lights You Buy Once
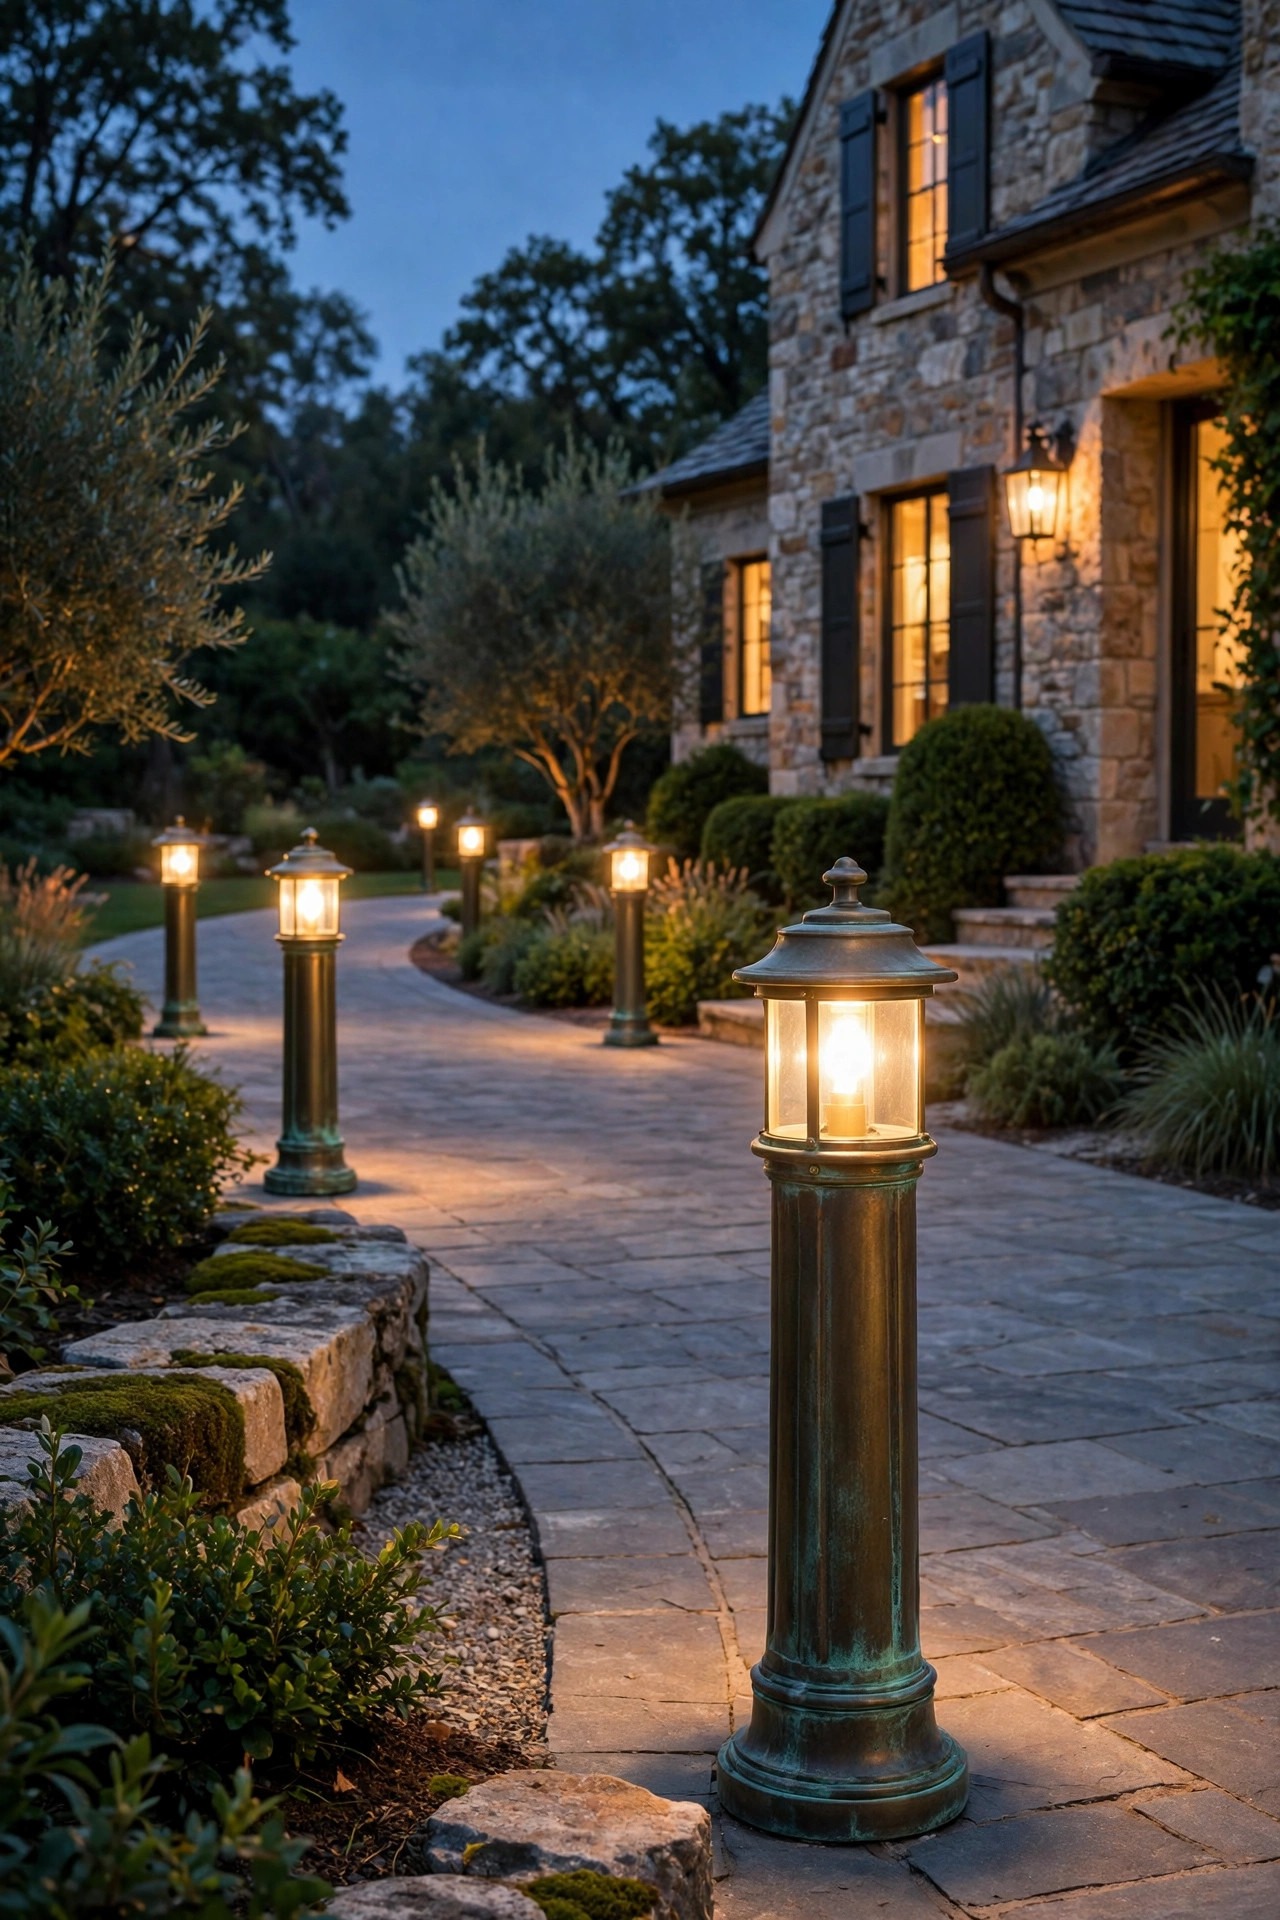
At the top of the market, fixtures stop being accessories and become part of the house: solid brass and copper bollards that patina instead of peeling, architectural post lights built like street furniture, and in-grade fixtures machined from heavy metal with replaceable light engines. What the money actually buys is time. Thick metal does not crack in a freeze-thaw winter, seals stay sealed for a decade, parts remain available, and when the light engine eventually fades you swap the engine instead of demolishing the install. Design coherence is the other dividend — finishes that echo your door hardware and house lights make the whole front elevation look considered. The honesty section writes itself: these cost three to five times the mid-range picks, installation really should be professional, which adds more, and premium fixtures still get buried in snow and struck by plows, so protect them with smart placement like everything else on this list. Buy this tier if you are in your long-term home and tired of the replacement cycle. Buy one run, buy it well, and hand the problem to the next decade.
Suggested budget range: $400 – $900.
Frequently Asked Questions
How many driveway lights do I actually need?
Count spacing, not fixtures. For stake markers, plan one every 6 to 8 feet, alternating sides. For bollards throwing a real wash of light, one every 10 to 15 feet along a single side usually suffices. A typical 40-foot suburban driveway lands between 6 and 10 lights. Long drives can stretch the spacing through the straight middle section and tighten it at the entrance and the garage apron, where drivers are making decisions.
Are solar driveway lights bright enough in winter?
Honestly, they are dimmer and shorter-lived in winter — that is physics, not a defect. Short days and a low sun mean less charge, so expect roughly four to six hours of modest light in December, where summer gives eight to ten. Solar works fine as a guide layer anywhere, but if you need true illumination on a northern driveway, wired low-voltage is the honest answer.
How far back from the edge should driveway lights sit?
Twelve to eighteen inches back from the driving surface is the sweet spot for most fixtures: close enough to wash the edge, far enough to survive drifting tires, mower decks, and plow wings. In snow country I lean to a full 18 inches and add reflective markers on the true line, so the plow knows where the edge is even when the lights themselves are buried.
What color temperature is best for a driveway?
Warm white, 2700K to 3000K, flatters brick, stone, and landscaping and reads as home rather than parking lot. If visibility is your top priority, 3000K is the practical ceiling — it feels brighter without that harsh blue edge. Whatever you choose, keep every fixture on the driveway the same temperature; a mix of warm and cool along one run looks like a mistake, because it is one.
Conclusion
A great driveway at night is never one product — it is a small system. Pick your guide layer from the best driveway lights above based on your climate first and your budget second, add real visibility where cars actually maneuver, and finish with one warm accent that makes the entrance feel like yours. Be honest with yourself about snow, sun, and how far you are willing to trench, and the right choice usually names itself. If cost is the sticking point, the cost guide linked earlier in this post lays out the numbers tier by tier. However you build it, walk the driveway on foot the first night after the install. That slow, dark lap will tell you more than any spec sheet, and it is quietly my favorite part of every project.