There is a reason the prettiest house on every old street seems to glow instead of glare. Victorian homes were designed for gaslight — soft, warm, and just bright enough to make lace curtains, spindle work, and gingerbread trim look like something out of a storybook. When friends ask me to help light a Queen Anne or a wraparound-porch farmhouse, I reach for victorian outdoor lighting ideas that borrow that same romance: flame-shaped bulbs, ornate black scrollwork, copper that earns its patina, and light layered low, middle, and high so the whole house shimmers instead of spotlights. In my experience, the secret is restraint with a little theater. One dramatic lantern beats six mismatched fixtures every time. Below I have gathered the 23 ideas I return to again and again, from gas-style door lanterns to a gazebo chandelier, each with honest budget ranges and the placement tricks I have learned the hard way. Pour something warm, walk your front path at dusk, and let us plan the glow your house was basically born for.
1. Layer Your Victorian Outdoor Lighting Ideas in Three Heights
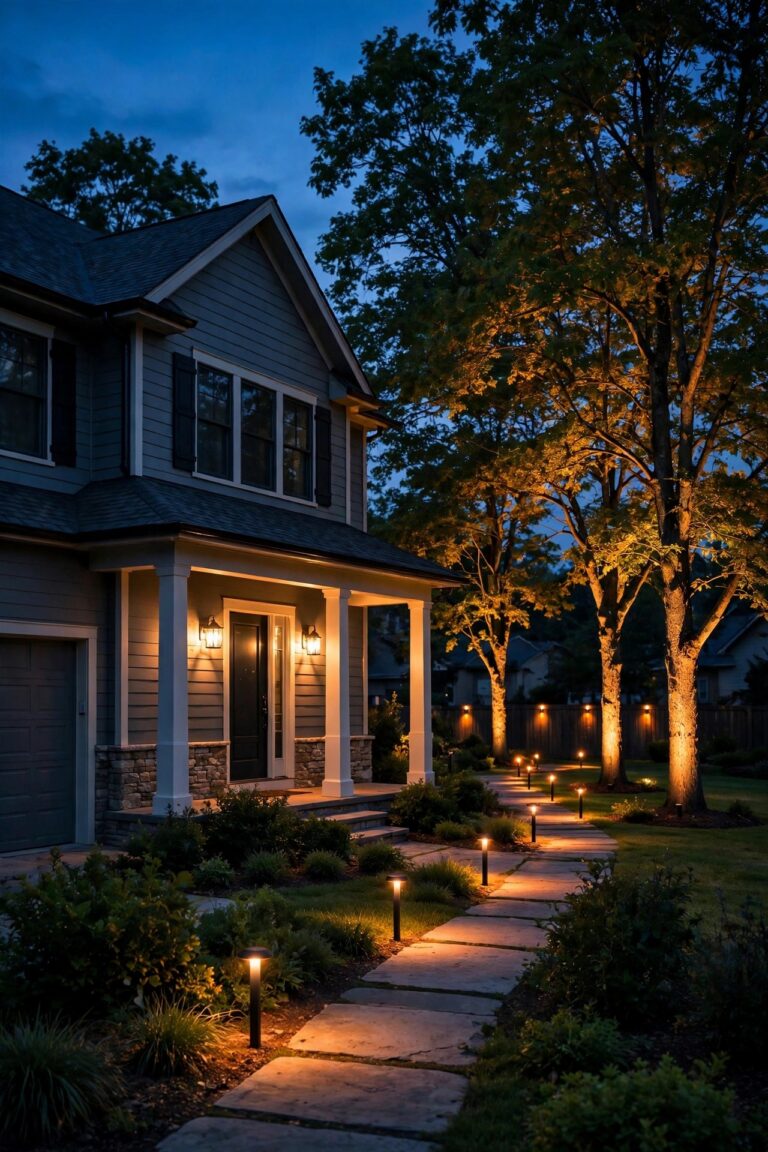
Every Victorian scheme that works follows the same quiet rule I use on my own porch: light in three layers — low, middle, and high. Low light lives at path level: little lanterns and stake lights 12 to 18 inches tall that pool light on the walkway instead of blasting it into the street. Middle light is your welcome layer, the sconces and door lanterns mounted around 66 inches high, right at eye level, where their scrollwork and seeded glass can actually be admired up close. High light is the drama layer — an uplit gable, a lantern swinging from the porch beam, moonlight sifting through a maple canopy. When all three layers burn together on warm 2700K bulbs, a house does not look lit; it looks candlelit, which is exactly the mood this architecture begs for. Before you buy a single fixture, sketch your three layers on paper and assign every purchase to one of them. If a fixture does not fill a layer, it is clutter. Honestly, half the Victorian charm is what you deliberately leave in shadow, so let the in-between spaces stay dusky and mysterious.
Suggested budget range: $150 – $400.
2. Flank the Front Door With Gas-Style Flame Lanterns
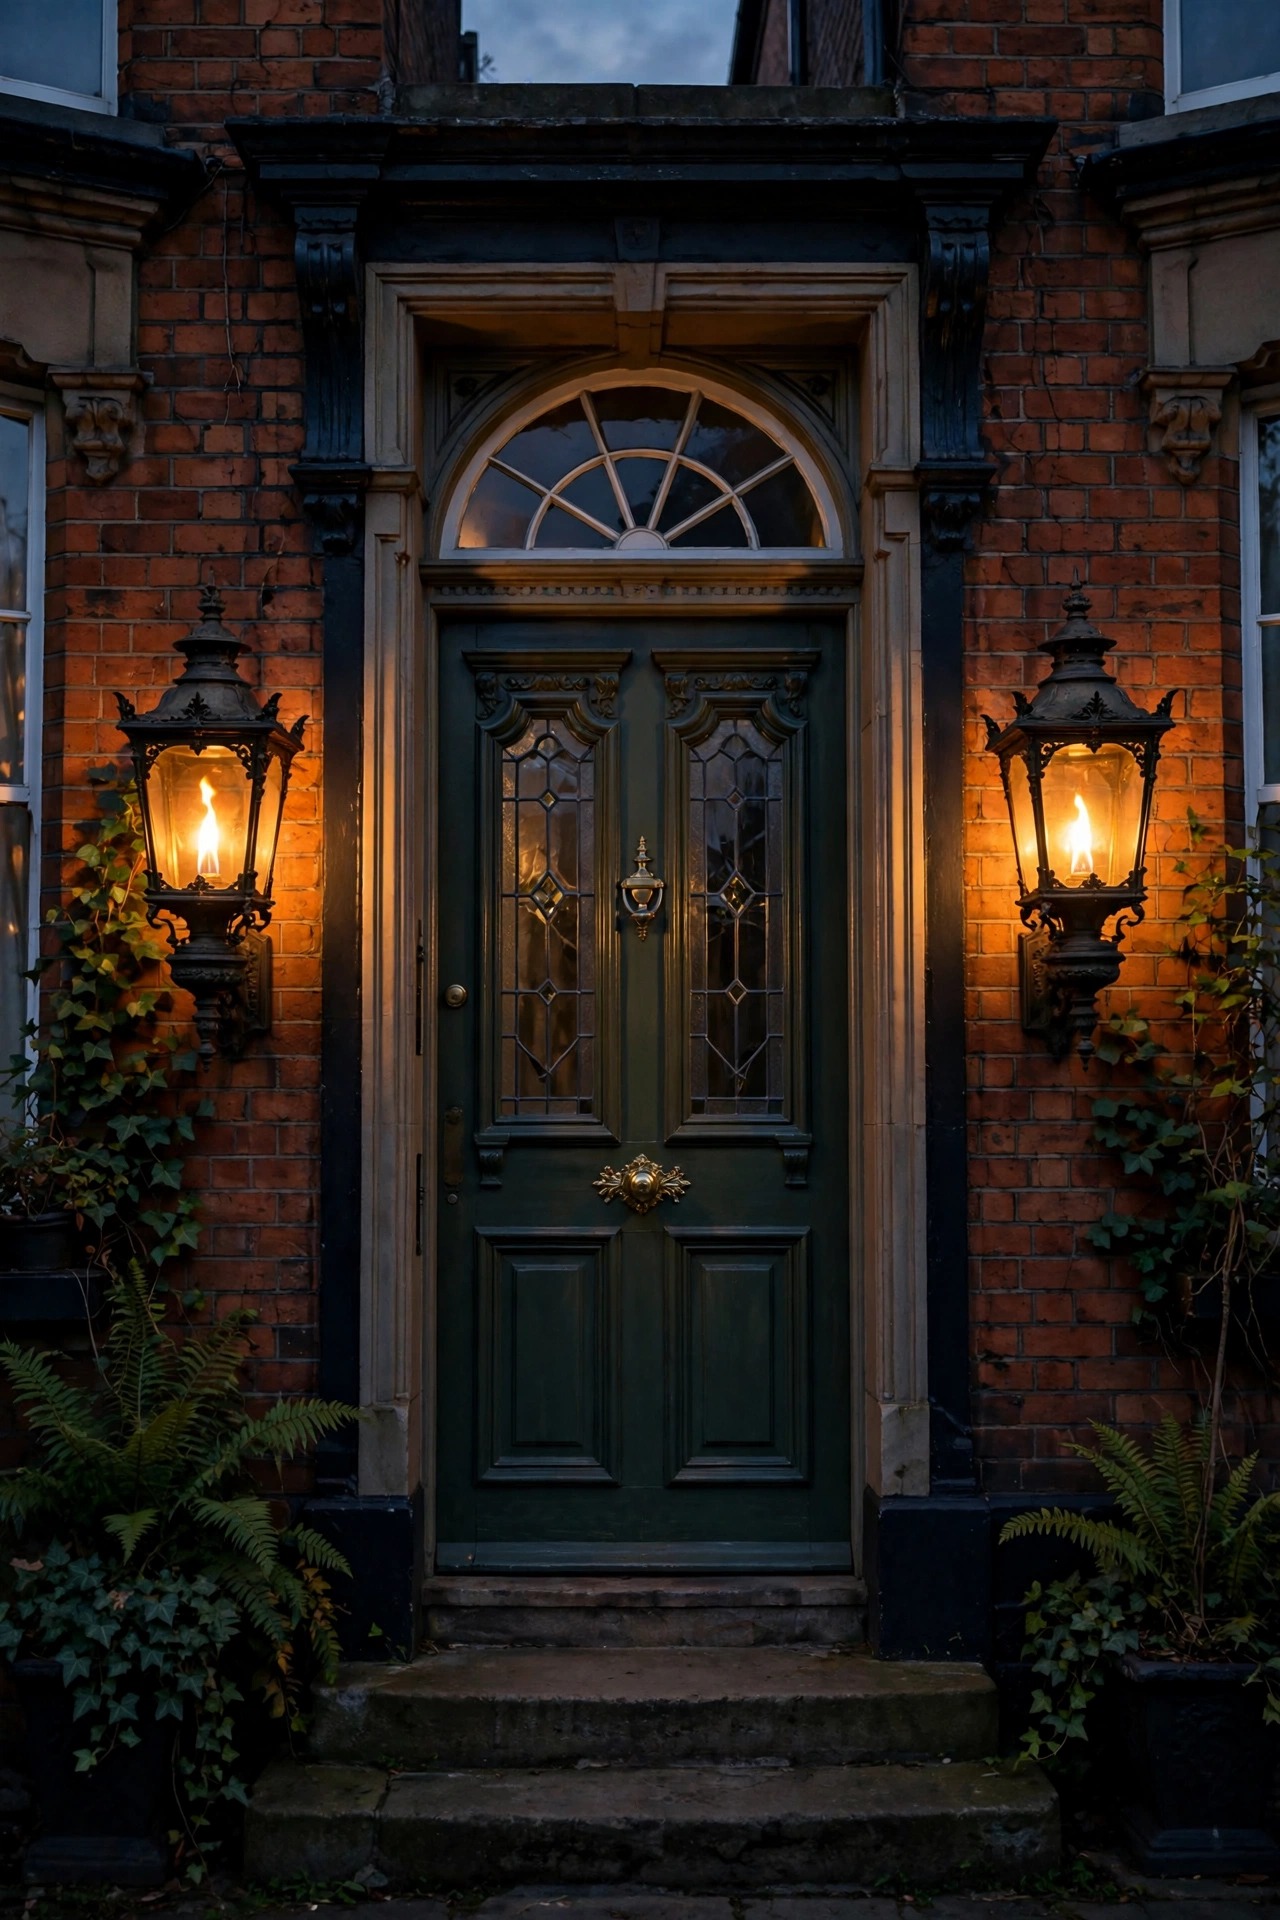
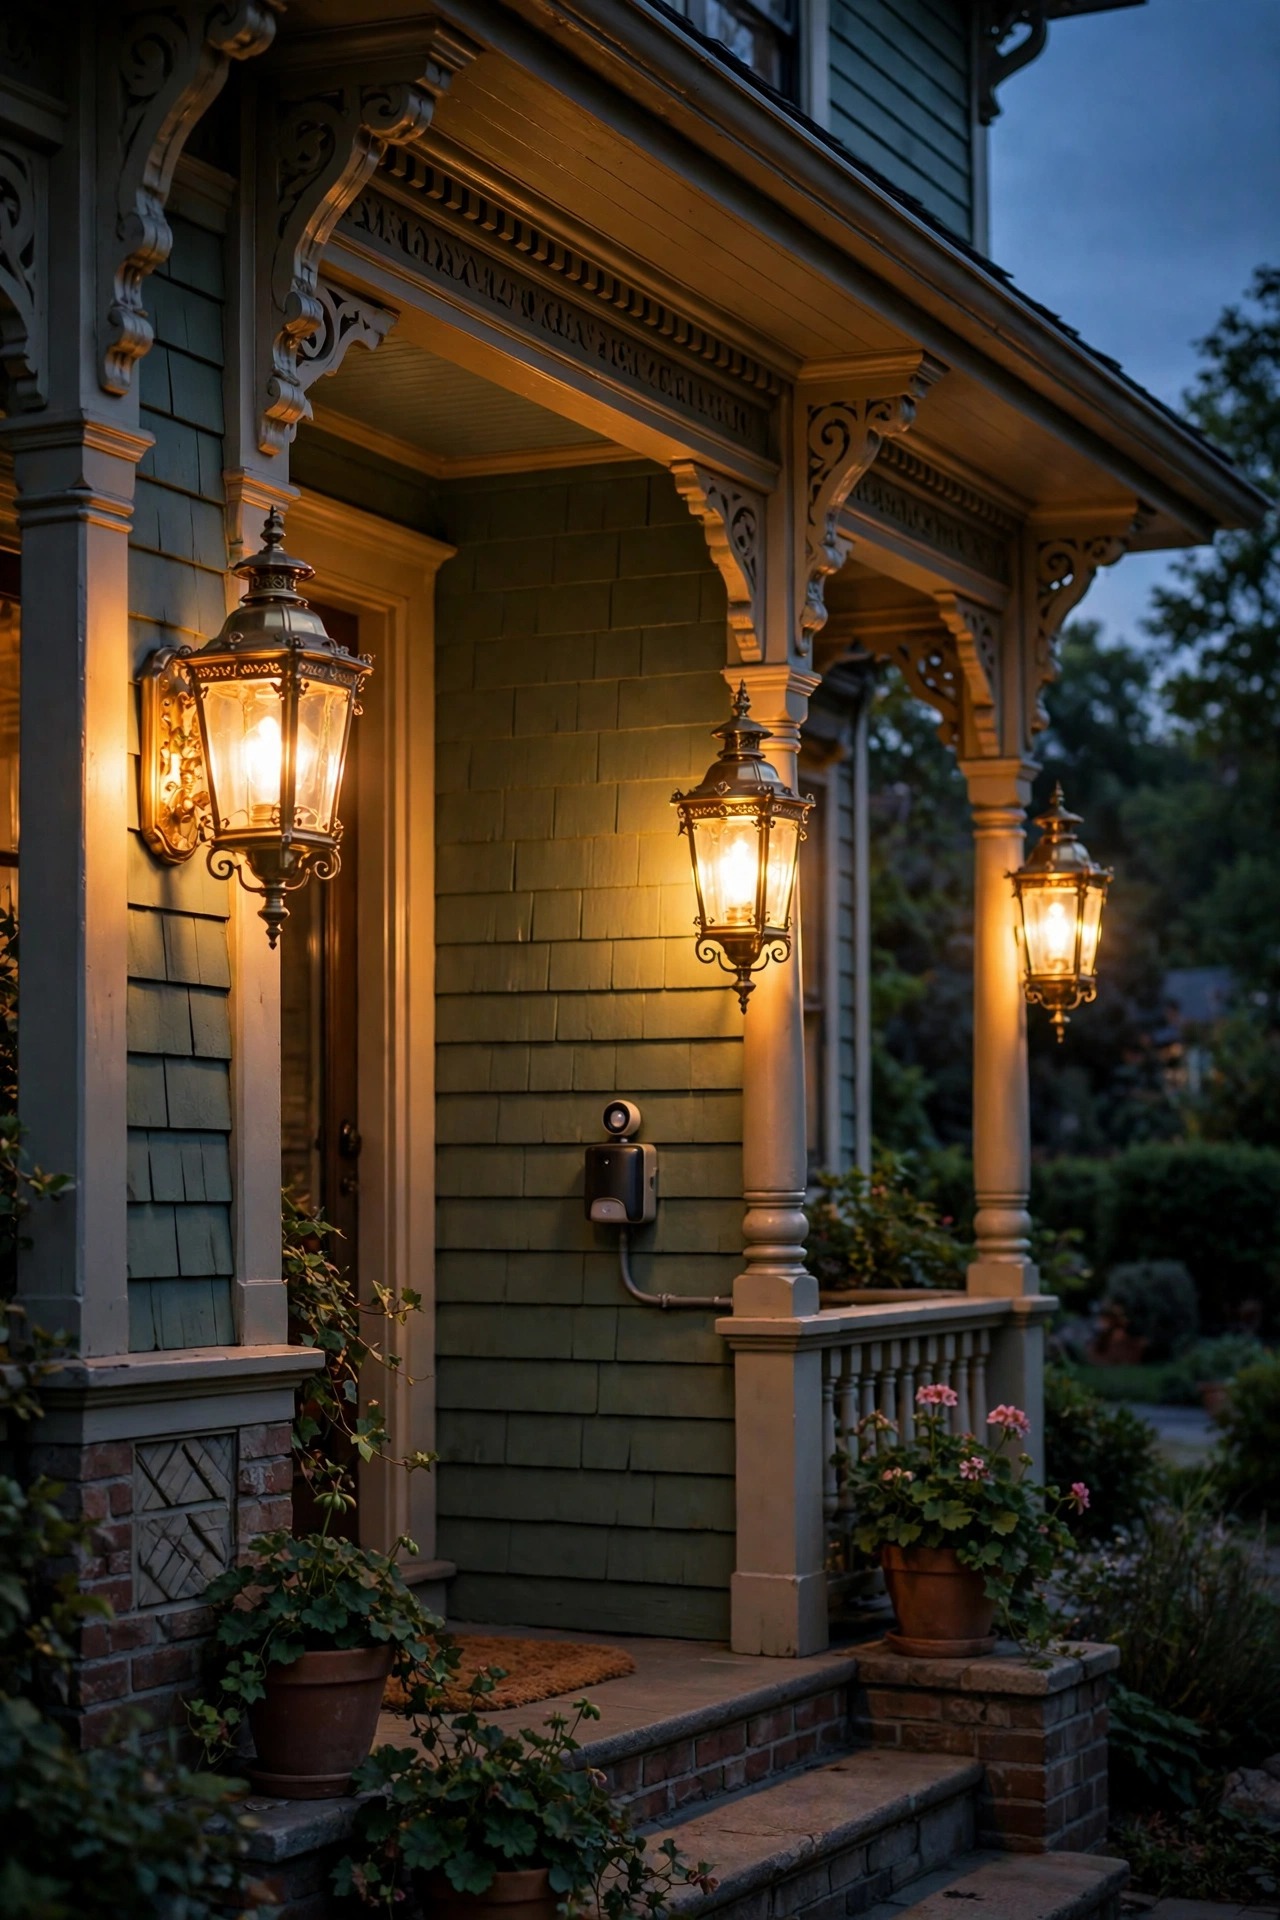
If you change only one thing, make it this. A pair of gas-style lanterns flanking the front door is the single most Victorian gesture a house can make, and modern flame-effect LED bulbs have gotten so good that guests lean in to check for a real wick. Look for lanterns with a tapered, four-sided silhouette, a little finial on top, and clear or lightly seeded glass so the flickering flame bulb is the star. Size matters more than price here: each lantern should measure roughly a quarter to a third of your door height, so about 18 to 24 inches tall for a standard 80-inch door. Mount the pair so the bulbs sit near 66 inches from the porch floor, and wire them to a dimmer if you can — at 70 percent brightness the flicker reads as genuine gaslight. Choose bulbs in the 2000–2200K range for that deep amber flame color, and keep the finish classic: matte black or aged bronze, never shiny chrome.
Suggested budget range: $90 – $260.
3. Choose Ornate Scrollwork Sconces for the Porch Walls
Victorian fixtures were never plain, and your sconces should not be either. Cast-aluminum sconces with curling scroll arms, acanthus-leaf details, and a crown-like top bring that ornate silhouette to porch walls, garage corners, and the sides of a bay window. The good news is that modern cast aluminum copies the look of nineteenth-century iron without the rust and the shocking weight. I always recommend seeded or water glass over perfectly clear panes — the tiny bubbles diffuse the bulb, hide harsh LED filaments, and read as old glass from the sidewalk. Mount sconces with the light source about 66 to 72 inches off the ground, and check the wet-location rating, because a porch roof does not protect as much as people think once wind starts driving rain sideways. One styling note from experience: repeat the same sconce everywhere on the front elevation rather than mixing two pretty styles. Victorian design loved symmetry and matched pairs, and your house will look instantly more authentic when every wall fixture is family.
Suggested budget range: $60 – $180.

4. Set a Carriage Lantern Post Where the Walk Meets the Drive
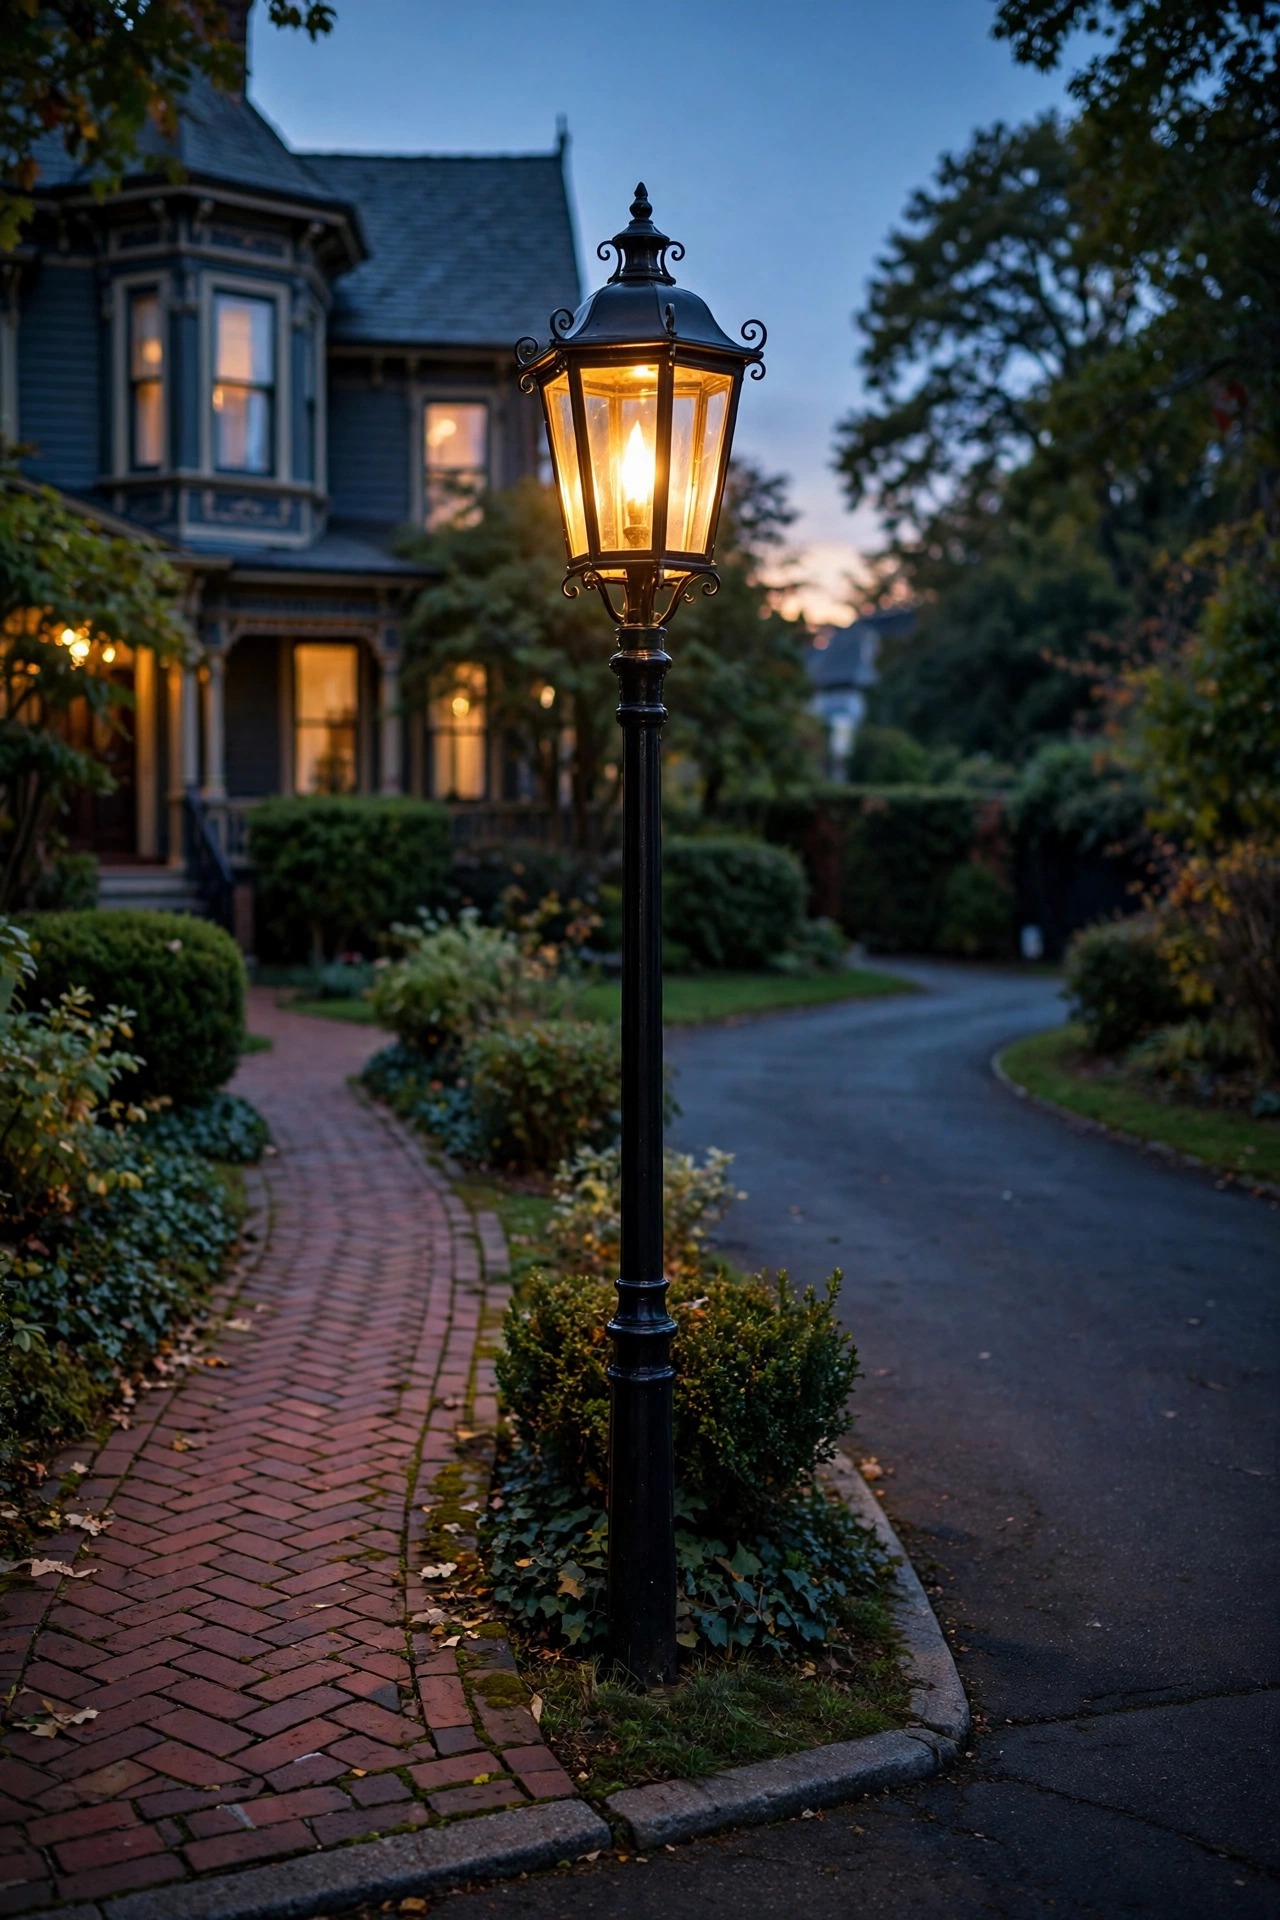
A carriage lantern on a post is pure nineteenth-century theater: it marks the spot where guests once stepped down from the carriage, and it still works beautifully where your front walk meets the driveway or the street. Choose a post 7 to 9 feet tall with a lantern head that echoes your door lanterns — same finish, same glass, similar finial — and set it back about 2 feet from the edge of the drive so bumpers and snowplows leave it alone. Bury the cable at least 6 inches deep for low-voltage runs, or hire an electrician for a line-voltage post with a proper conduit run. A photocell in the post cap means it wakes up on its own every evening, which I consider non-negotiable. If your house leans earlier than Victorian, browse my notes on colonial exterior lighting for the simpler lantern shapes that suit those facades. One carriage light, well placed, does more for curb appeal than a row of six path lights.
Suggested budget range: $150 – $420.
5. Let Copper and Brass Lanterns Earn Their Patina
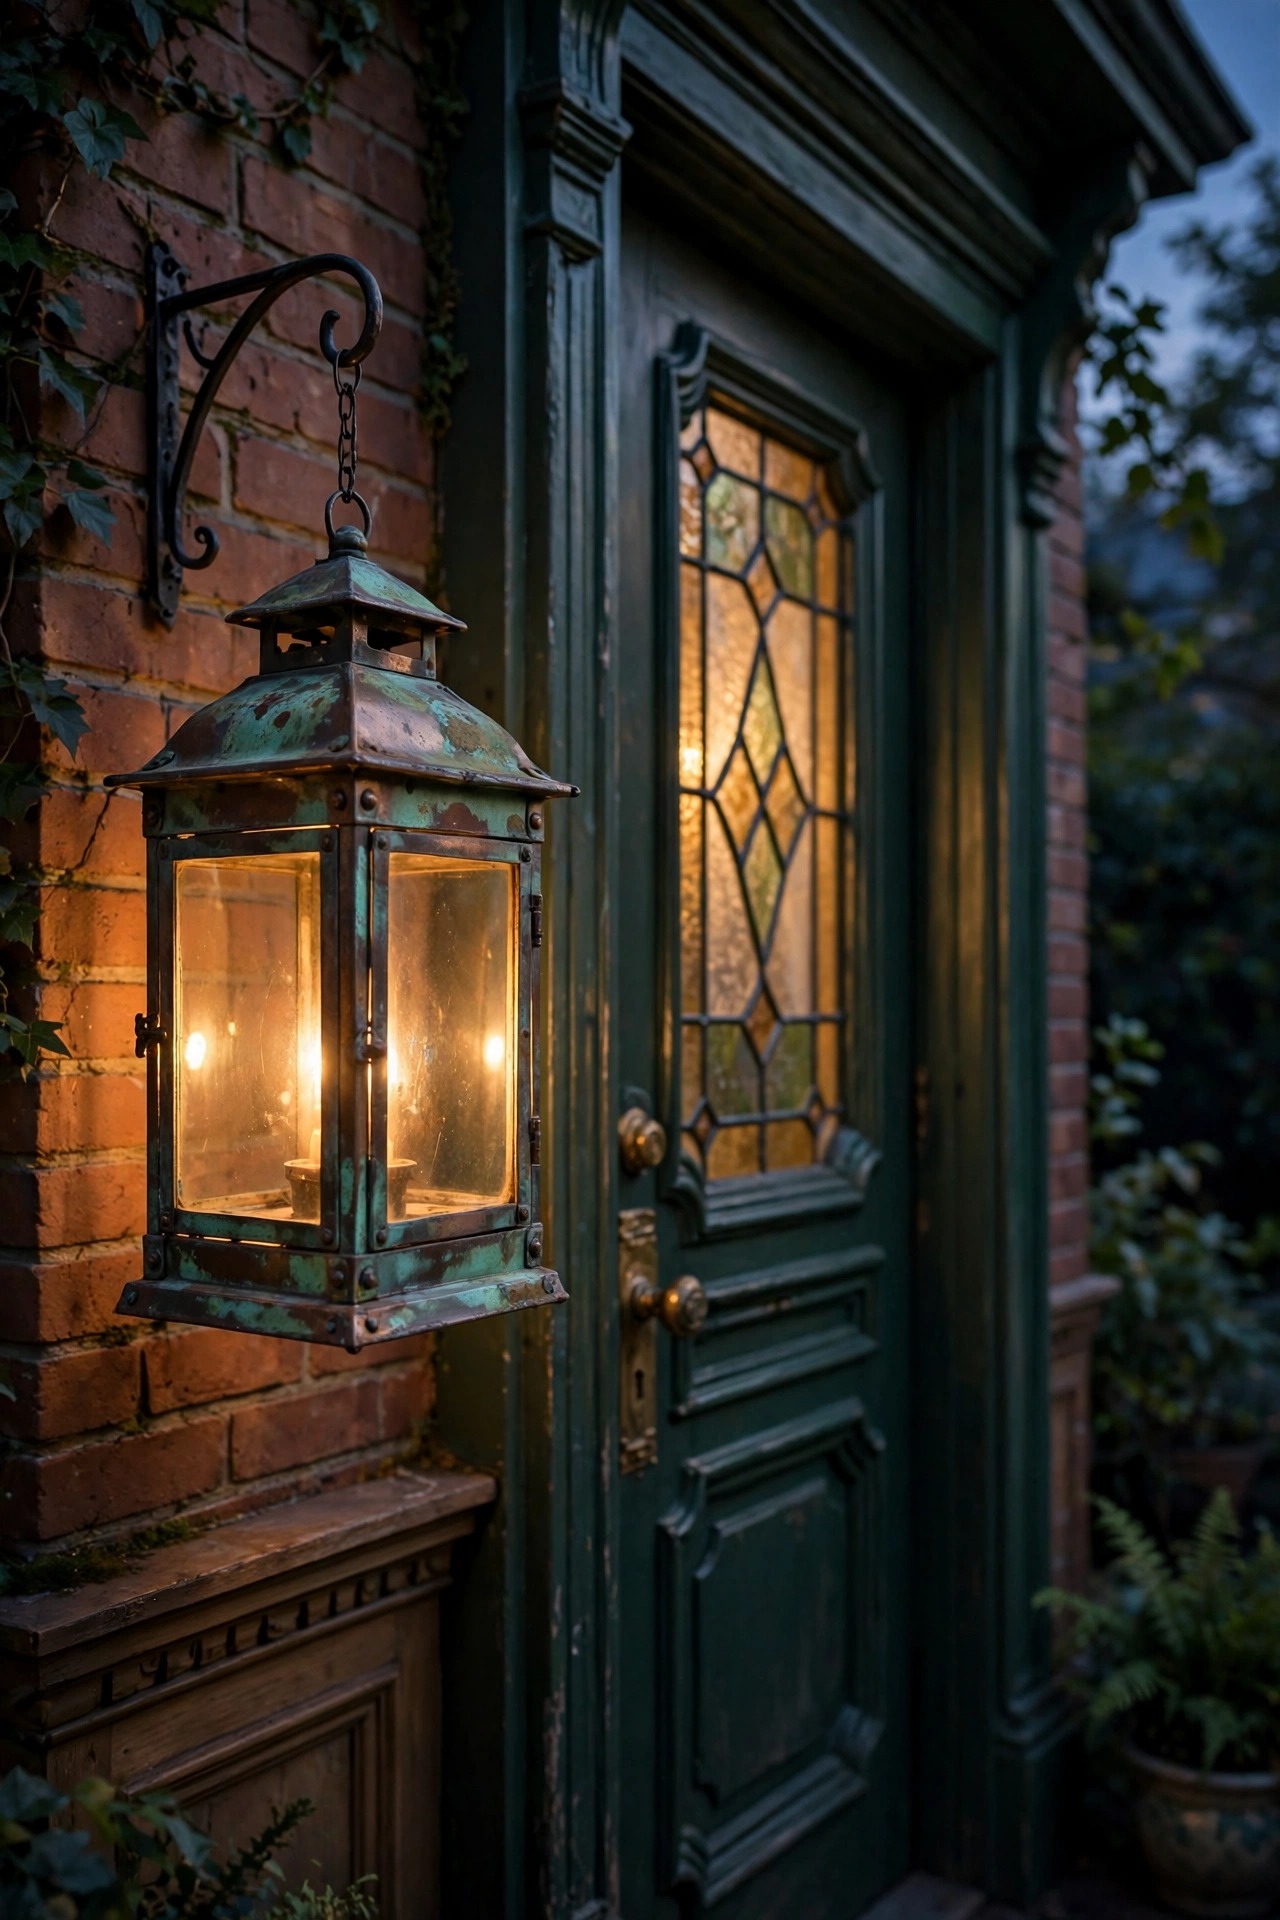
Nothing flatters a Victorian facade like a living metal finish. Unlacquered copper and brass lanterns start bright and penny-shiny, then deepen through chocolate brown into that soft blue-green patina that looks like it has belonged to the house for a century — because on real Victorians, it has. I always recommend solid copper or brass over copper-colored paint, which chips and fades in two seasons. Use these lanterns where people see them up close: beside the door, on the porch columns, flanking the garden gate. Keep the glass simple, because the metal is the ornament here. A word of patience from my own porch: the awkward in-between stage lasts a few months, and fingerprints from installation day will patina faster than the rest, so handle new fixtures with cotton gloves. For shapes and finishes that suit period homes, I keep coming back to these copper and brass outdoor lantern ideas. Never polish a living finish once it starts to turn — the patina is the whole point.
Suggested budget range: $80 – $300.
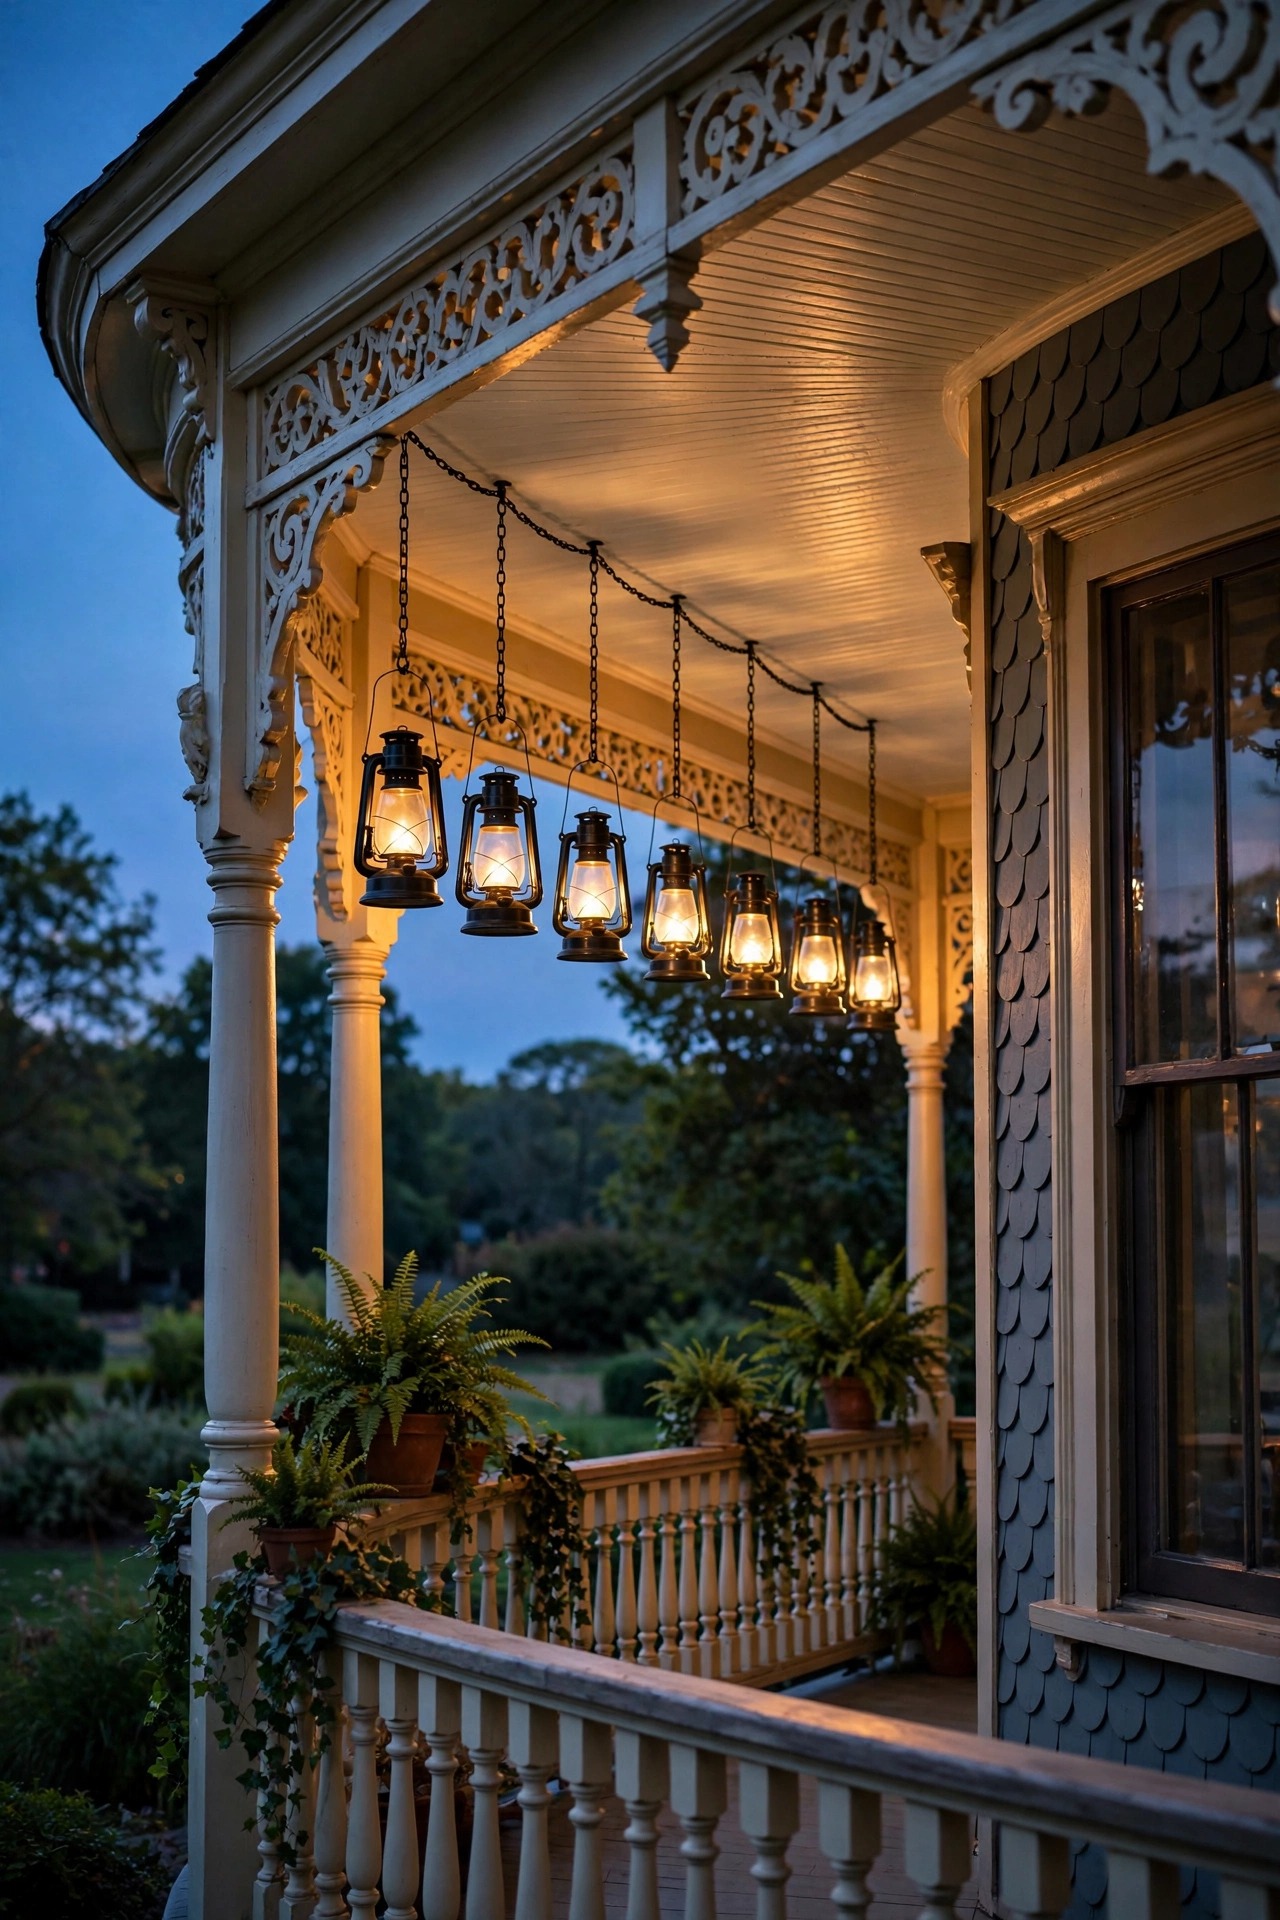
6. Hang Lanterns From Chains Along the Porch Ceiling
A wraparound porch deserves more than one ceiling fixture. A row of chain-hung lanterns — three on a long porch, five if you are lucky enough to have a true veranda — gives you that rhythmic, gaslit-colonnade feeling the moment they flicker on. Match the lanterns to your door pair but scale them slightly smaller, and hang them so the bottom of each fixture clears heads by a comfortable margin: aim for about 7 feet from porch floor to lantern bottom on a standard 9-foot ceiling. Real chain, not cord, sells the period look, and a gentle variation in drop length looks more authentic than a laser-level row. Put the whole run on one dimmer so you can sink the porch into a low amber murmur on summer nights. Wind will set them swaying slightly, which is charming, but add a stabilizing hook if you live somewhere gusty. For more ways to work hanging fixtures into porches and pergolas, see my favorite hanging lantern ideas for outdoor spaces.
Suggested budget range: $70 – $220.
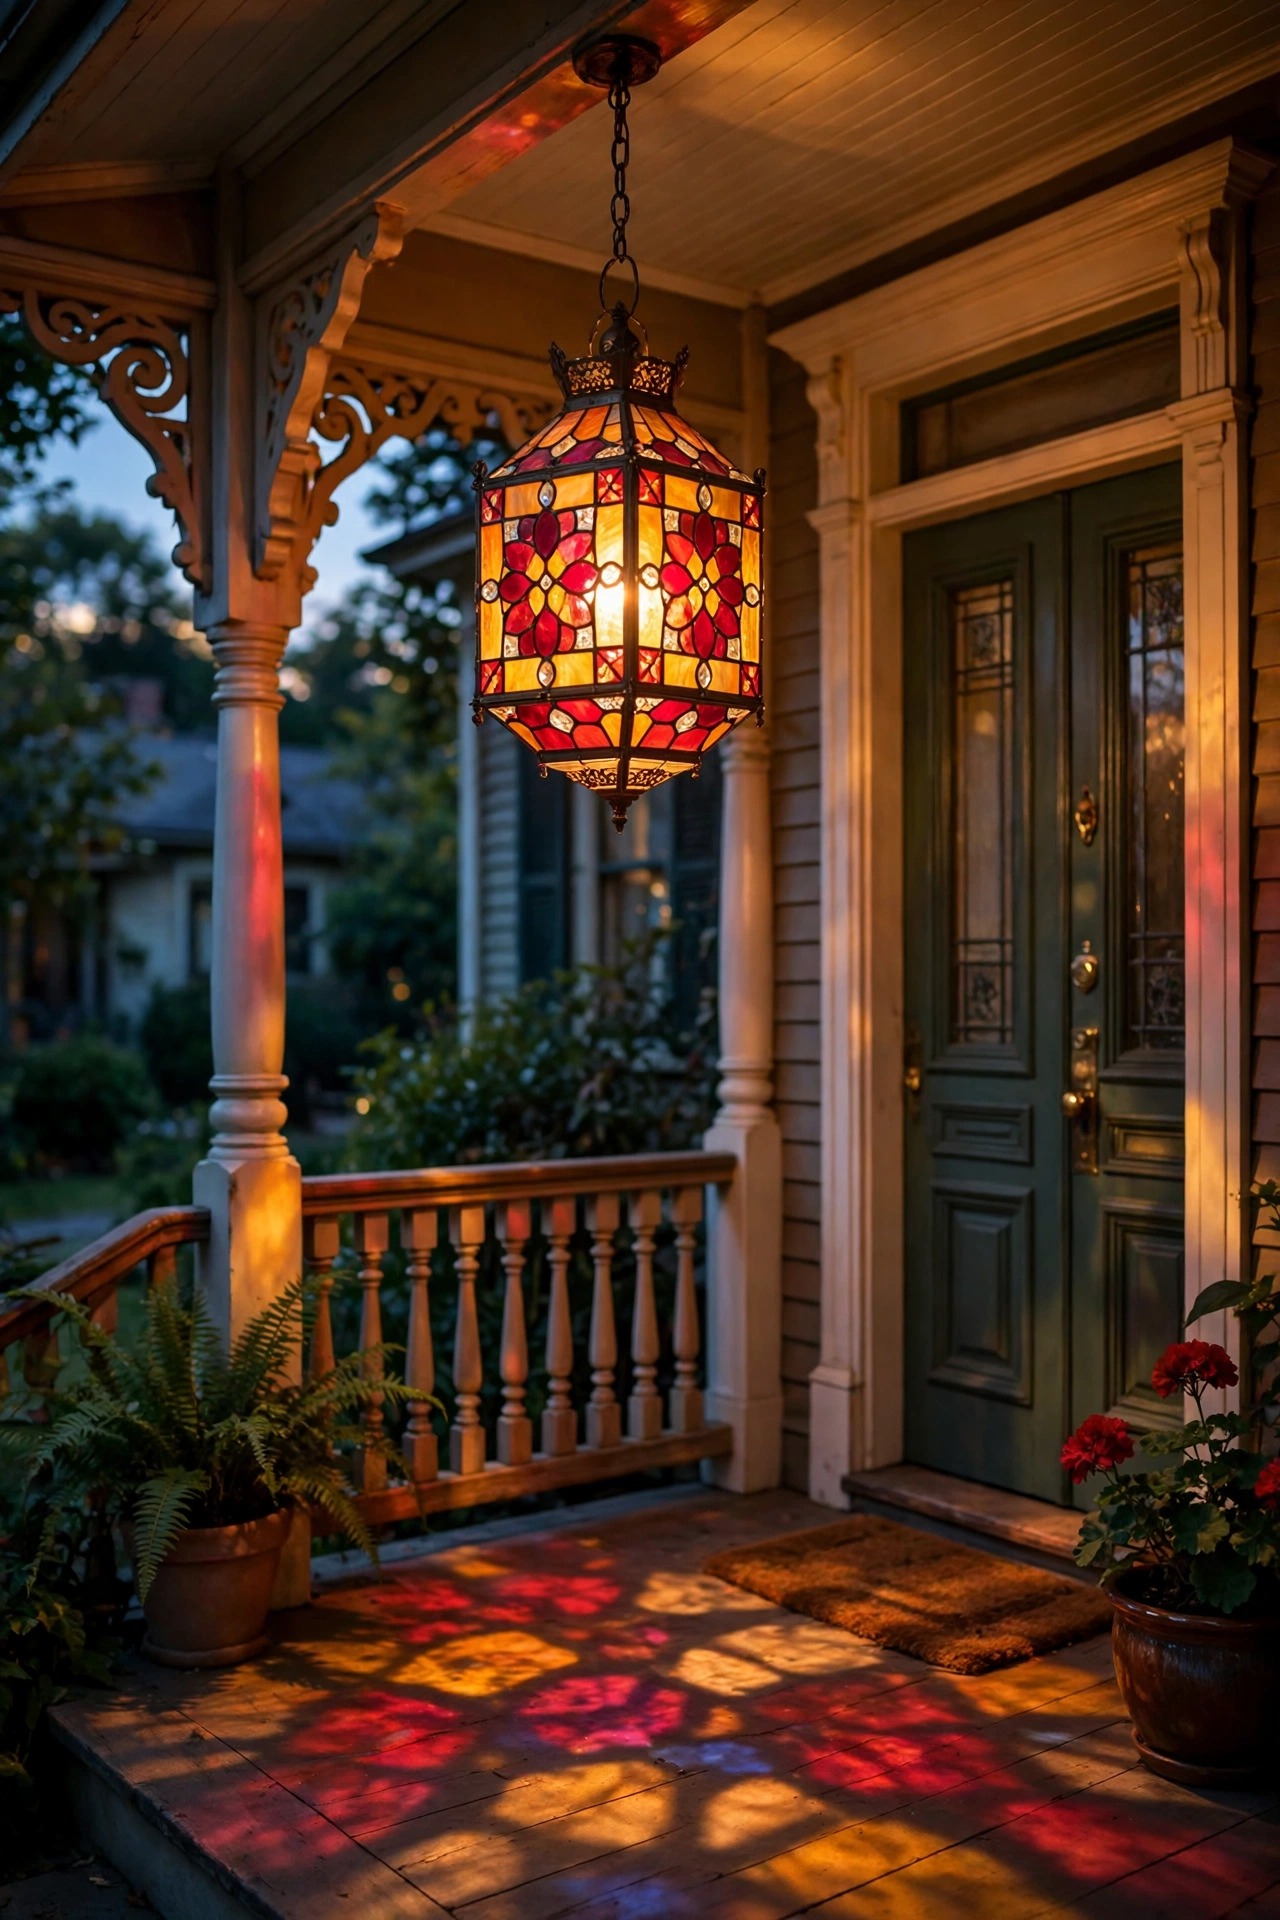
7. Tuck in One or Two Stained-Glass Accent Lanterns
Stained glass is the jewelry of Victorian lighting, and like jewelry, a little goes a long way. One amber-and-ruby stained-glass lantern beside the door, or a pair of small ones on the porch steps, throws pools of colored light that feel impossibly romantic against white trim and dark siding. Look for genuine soldered glass panels rather than painted plastic, which fades to a sad pastel by August. Amber, sage, and deep red palettes suit the era best; bright blues read more coastal than Victorian. Because the glass colors the light, keep the bulb inside modest — a 40-watt-equivalent warm LED is plenty, and anything stronger washes the color out. I would not build a whole scheme around stained glass: two pieces, placed where lamplight falls across a walkway or a porch floor, give you the stained-glass moment without turning the house into a novelty lamp shop. They are also the fixtures guests ask about most, every single time.
Suggested budget range: $50 – $160.
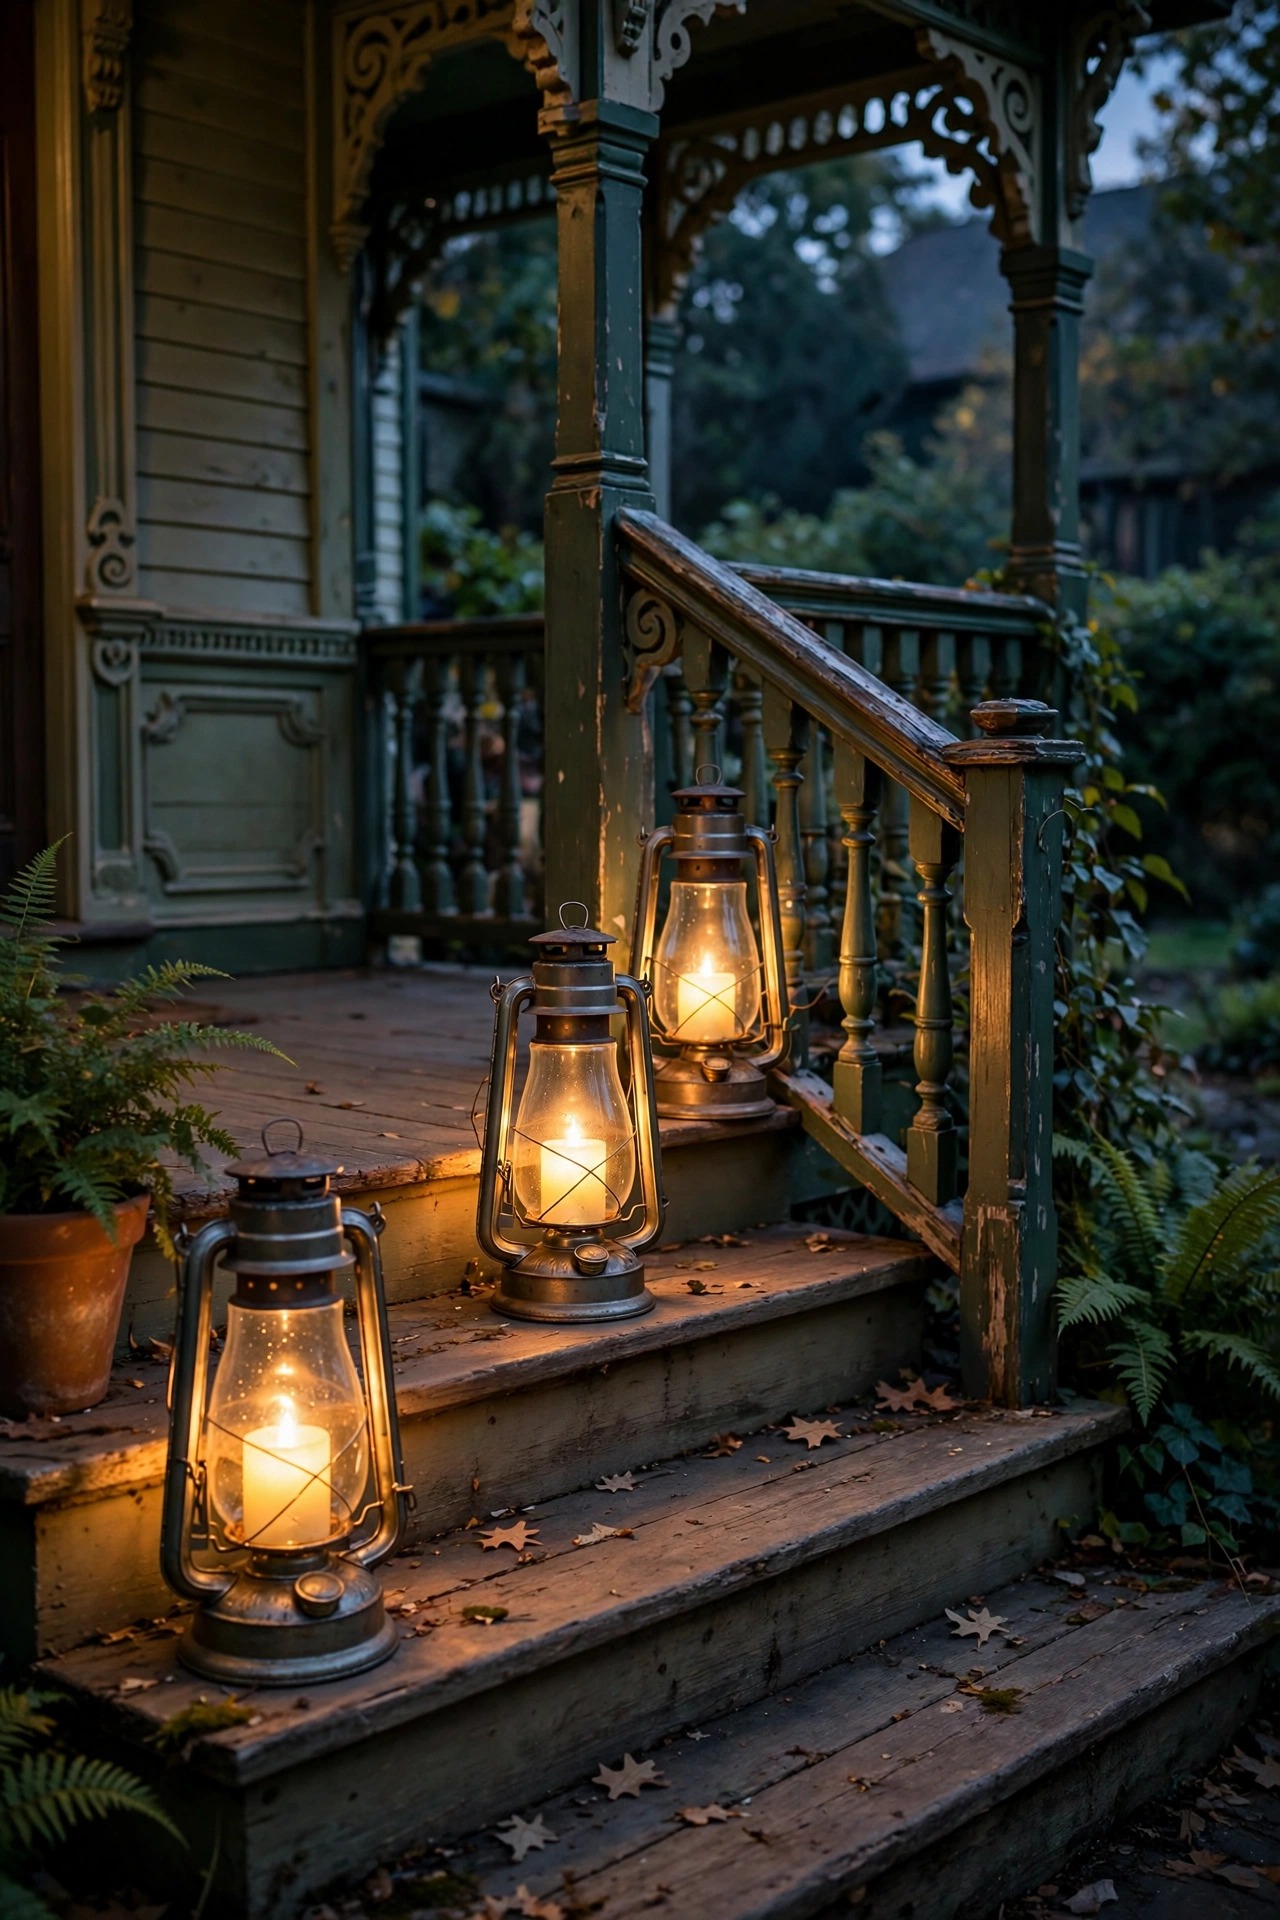
8. Line the Porch Steps With Flameless Candle Lanterns
Porch steps are where Victorian romance meets modern liability, so solve both at once. Hurricane lanterns with flameless LED candles give you the guttering-candle look on every tread without a single real flame near garlands, costumes, or trailing hemlines. Choose lanterns 10 to 14 inches tall with real glass chimneys, set one on alternating sides of each step rather than in matched pairs, and let the candles run on a six-hour timer so they greet you at dusk and put themselves to bed. The flicker setting matters: the slow, uneven flicker looks like wax; the fast strobe looks like a horror movie, and not in the fun way. Keep light output low and warm, around 2200K, because steps need guidance, not a runway. In my experience these are the hardest-working lights on the porch in October and December, when they mingle happily with pumpkins and evergreen. Come summer I cluster the same lanterns around the porch swing instead. Buy once, restyle forever.
Suggested budget range: $25 – $80.
9. Wind Fairy Lights Through a Rose Arch or Garden Trellis
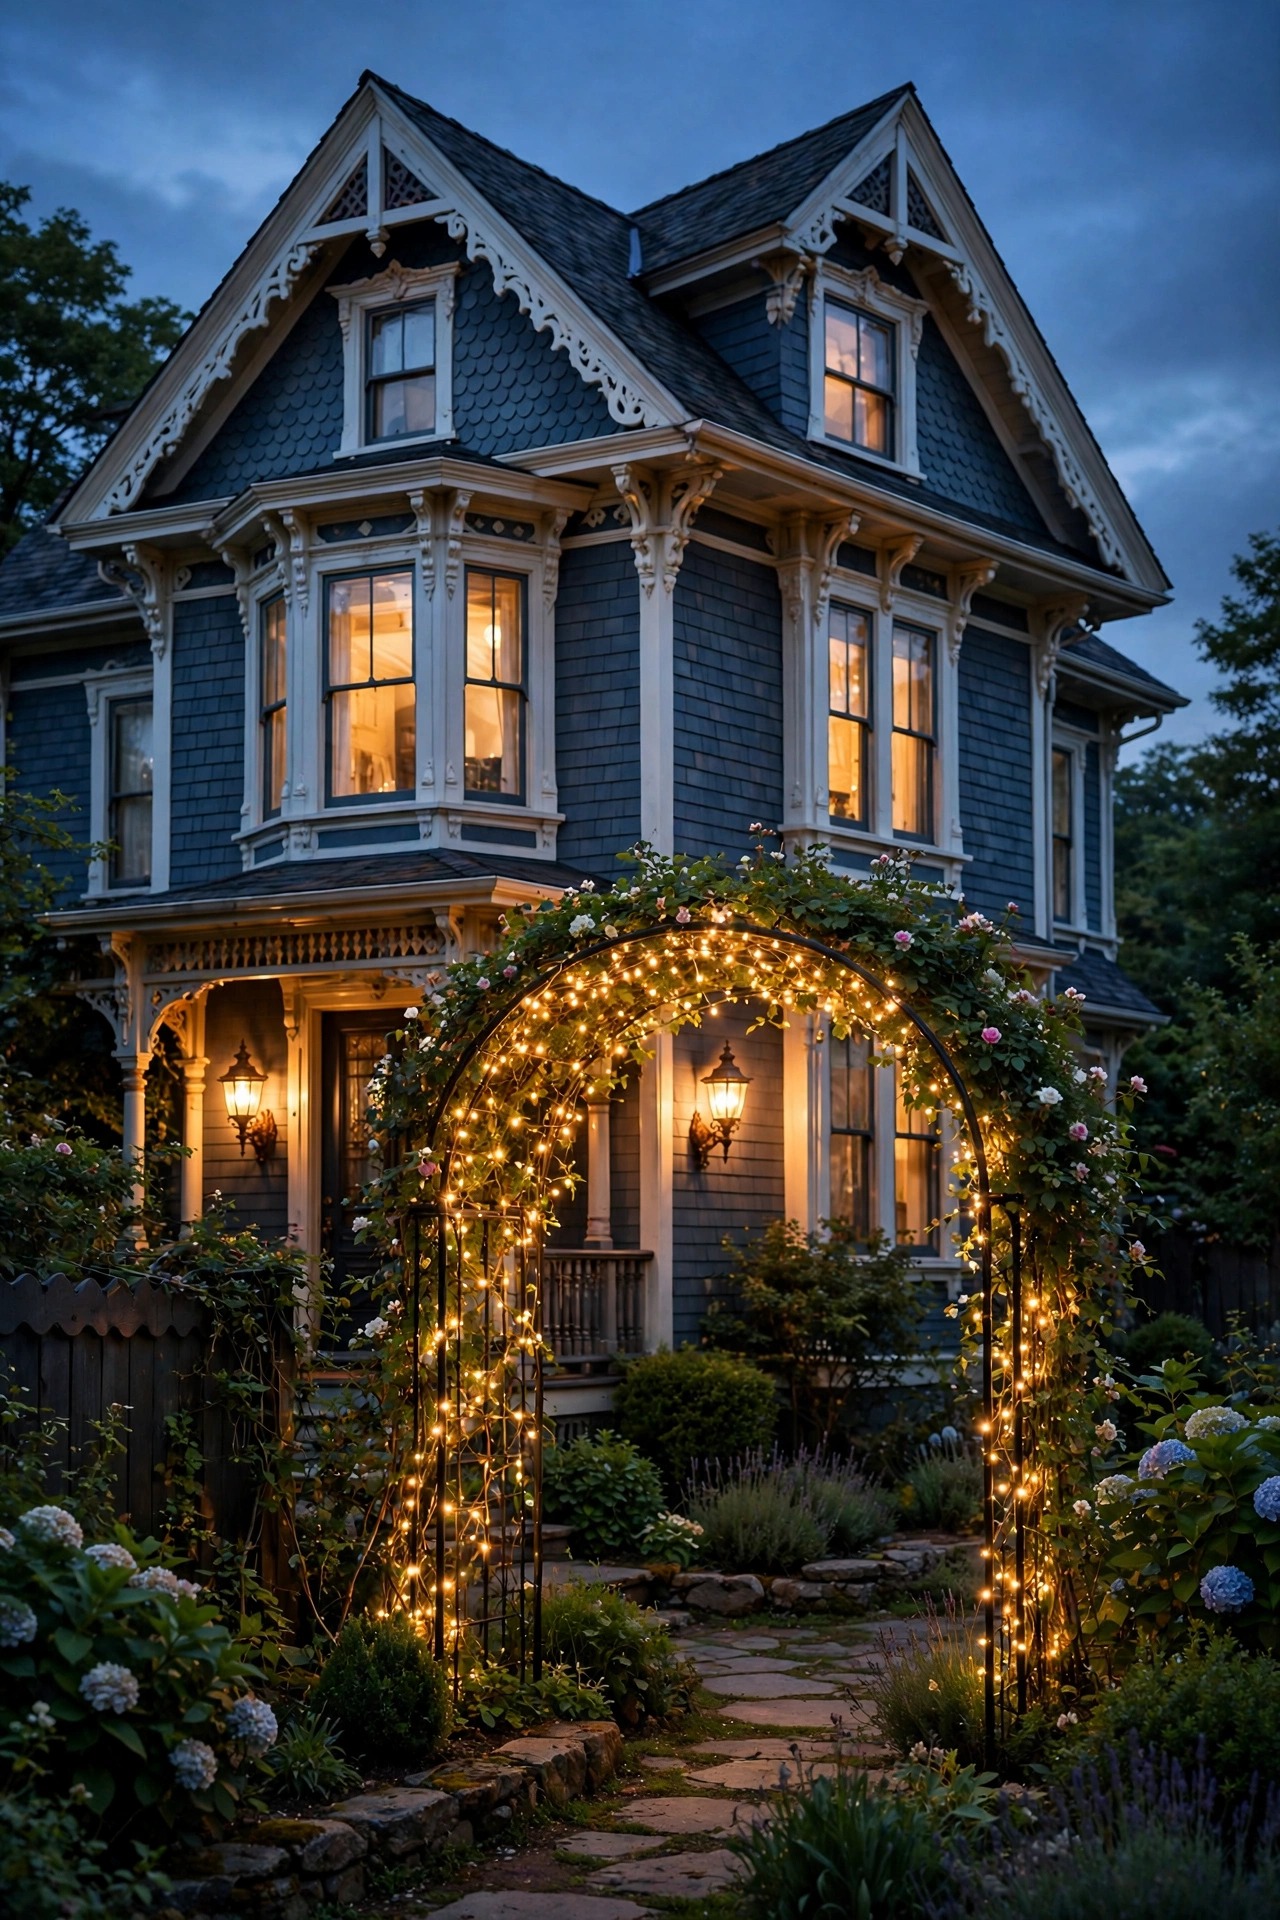
Every Victorian garden had a moment of pure whimsy, and yours can too. A rose arch, a white trellis, or even a wrought-iron obelisk wrapped in copper-wire fairy lights becomes a glowing doorway to another world once the sun drops. The hair-thin copper wire disappears against stems and ironwork, so all you see at night are dozens of floating sparks. A single 33-foot strand wraps a standard garden arch generously; weave loosely rather than winding tight, and let a few loops droop for that overgrown, secret-garden feeling. Solar strands work here because the individual lights draw almost nothing, but plug-in strands stay brighter through winter — choose based on your season of heavy use. Keep the color warm white only. Multicolor strands are delightful at Christmas and confusing in June. One caution from experience: wrap the arch before the roses leaf out fully in spring, or you will spend a thorny afternoon regretting your timing. The result photographs like a wedding venue, for the price of a pizza night.
Suggested budget range: $20 – $60.

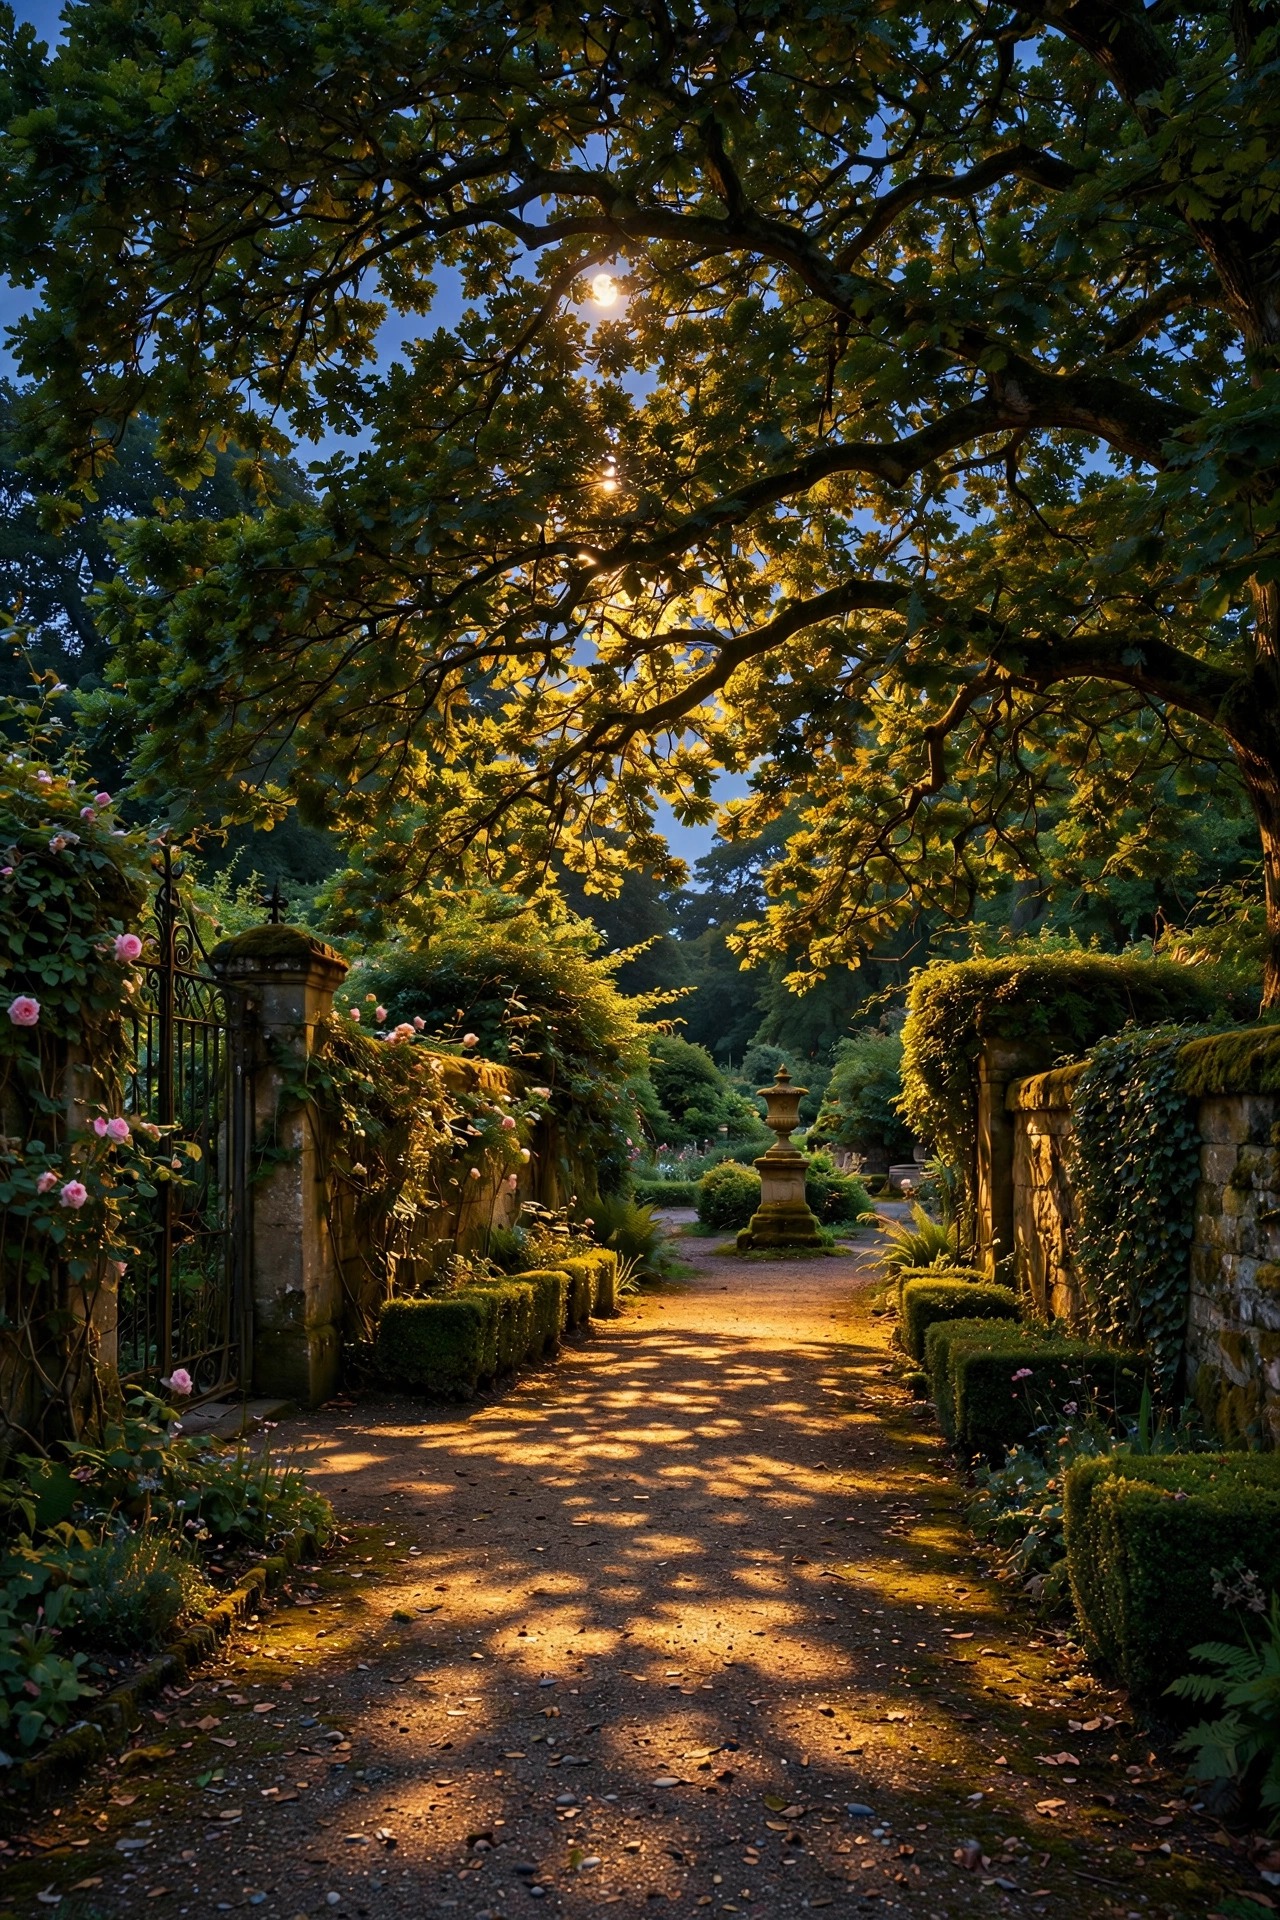
10. Moonlight From a Mature Tree for a Silvery Canopy Glow
Victorian gardens were moon gardens long before the term existed — white flowers and pale paths designed to shine after dark. You can fake the moon beautifully by mounting two or three shielded downlights 20 to 25 feet up in a mature tree, aimed through the branches so light dapples the lawn and path below in moving leaf patterns. Use warm 2700K fixtures even though real moonlight is cool; the warm version flatters skin, siding, and garden parties far better. The fixtures themselves stay invisible, tucked on the far side of limbs, and the effect is pure atmosphere with zero glare. This is the one job in this whole list where I insist on professionals: an arborist-electrician team will mount fixtures without girdling the tree, leave slack loops in the wire for growth, and save you from a very tall ladder. Re-aim once a year as the canopy grows. Guests will look up, look around, and never find the source — which is, of course, the entire delicious point.
Suggested budget range: $250 – $600.
11. Uplight the Gingerbread Trim, Turrets, and Gables
Victorian houses are vertical theater — turrets, stacked gables, fish-scale shingles, and brackets marching under the eaves — and a couple of well-aimed uplights let the show continue after dark. Place narrow-beam spotlights in the planting beds 2 to 4 feet out from the foundation, tilted up to graze one architectural feature at a time: the turret, the front gable, the porch frieze. Grazing light rakes across textured shingles and carved trim so every shadow deepens the detail, which flat floodlighting completely erases. Resist the urge to uplight everything; pick two features, three at most, and let the rest of the facade rest in the glow of your porch lanterns. Shielded, hooded fixtures keep light on the house and out of the sky and your neighbors' windows. I use 2700K with a 15-to-25-degree beam for tall features and a wider 35-degree wash for the porch frieze. Standing at the curb at midnight, adjusting aim by inches, is a normal part of this hobby — embrace it.
Suggested budget range: $120 – $380.
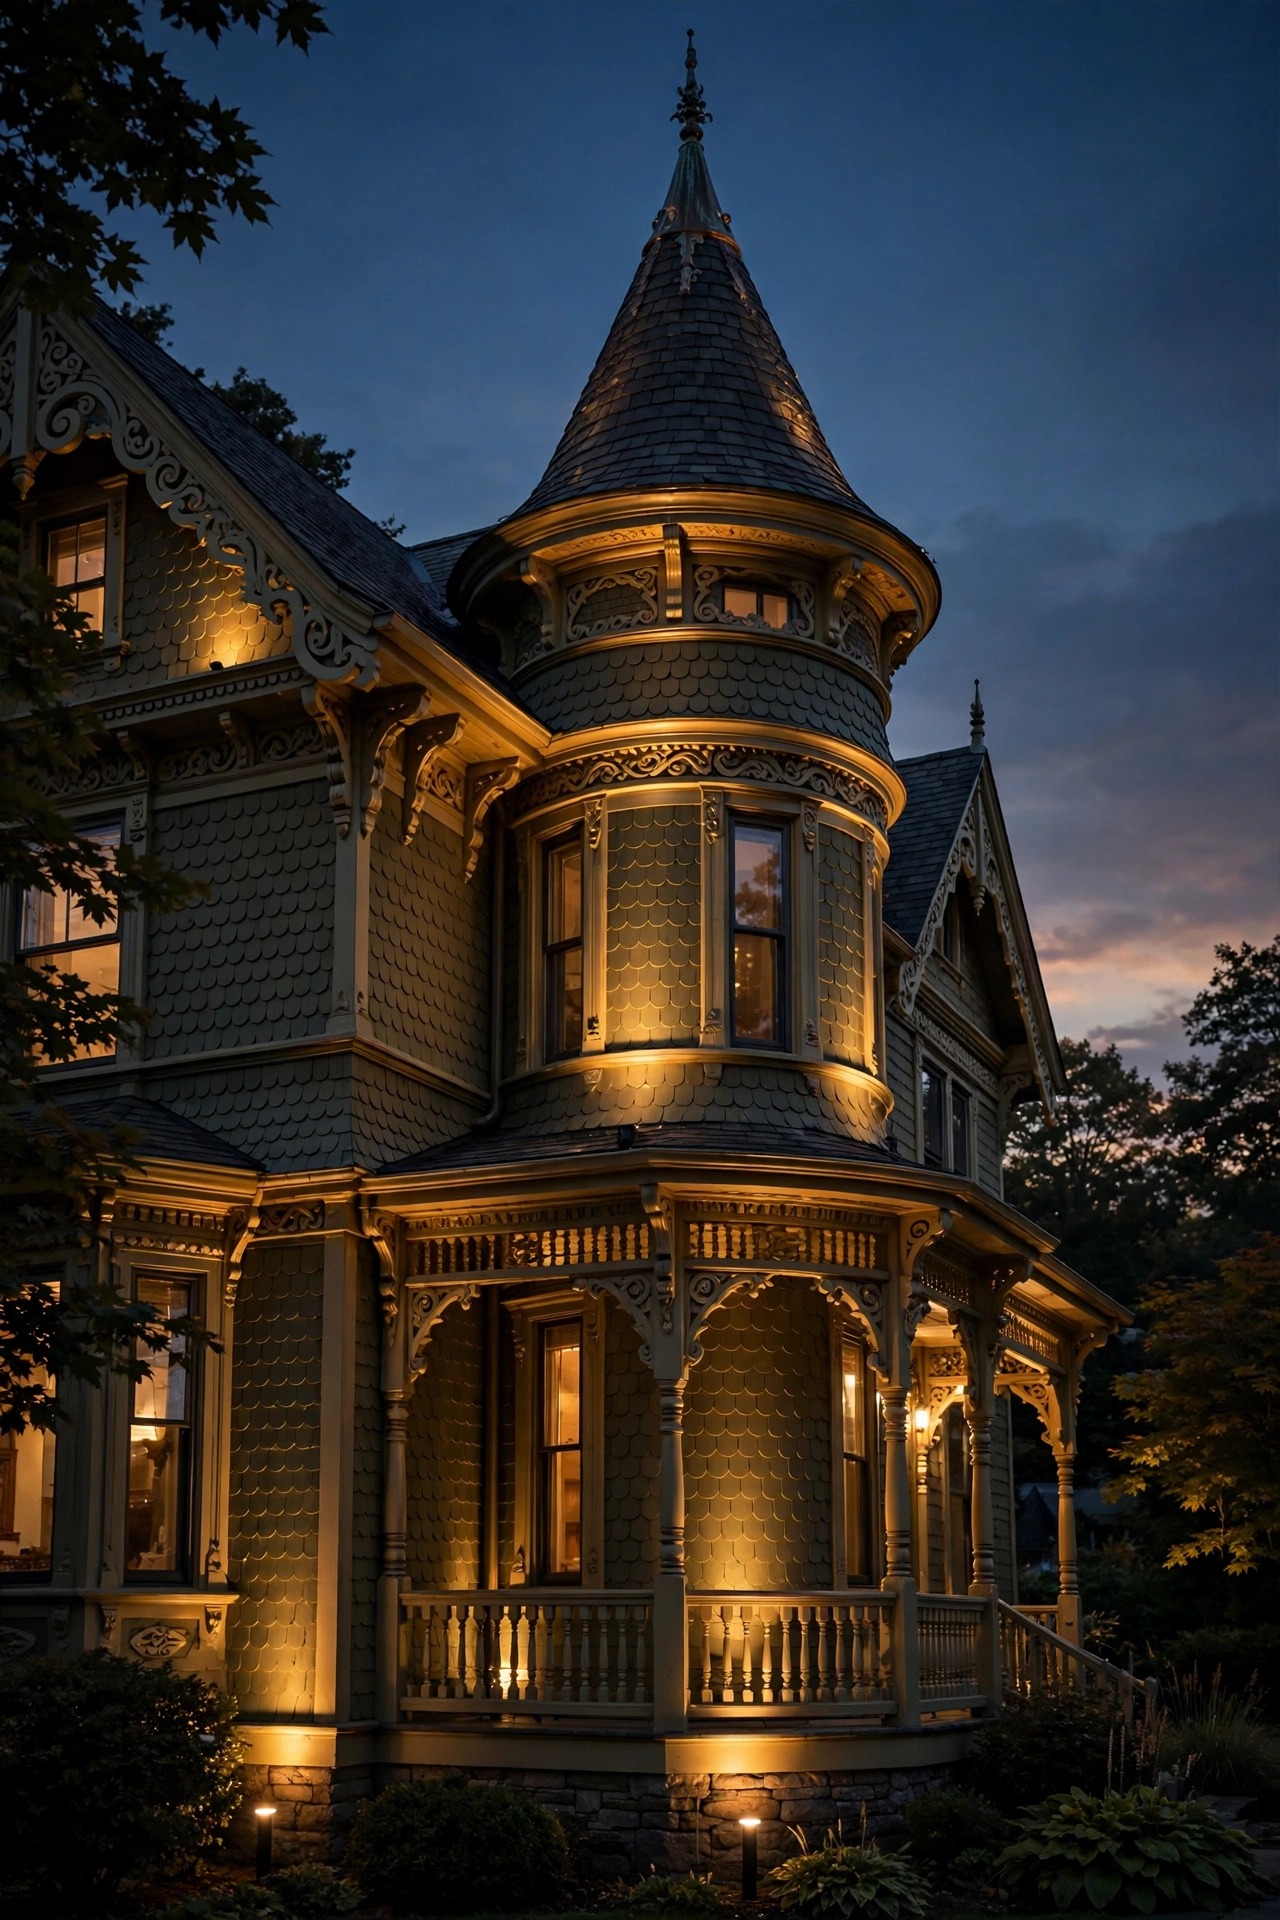
12. Guide the Front Walk With Low Lantern Path Lights
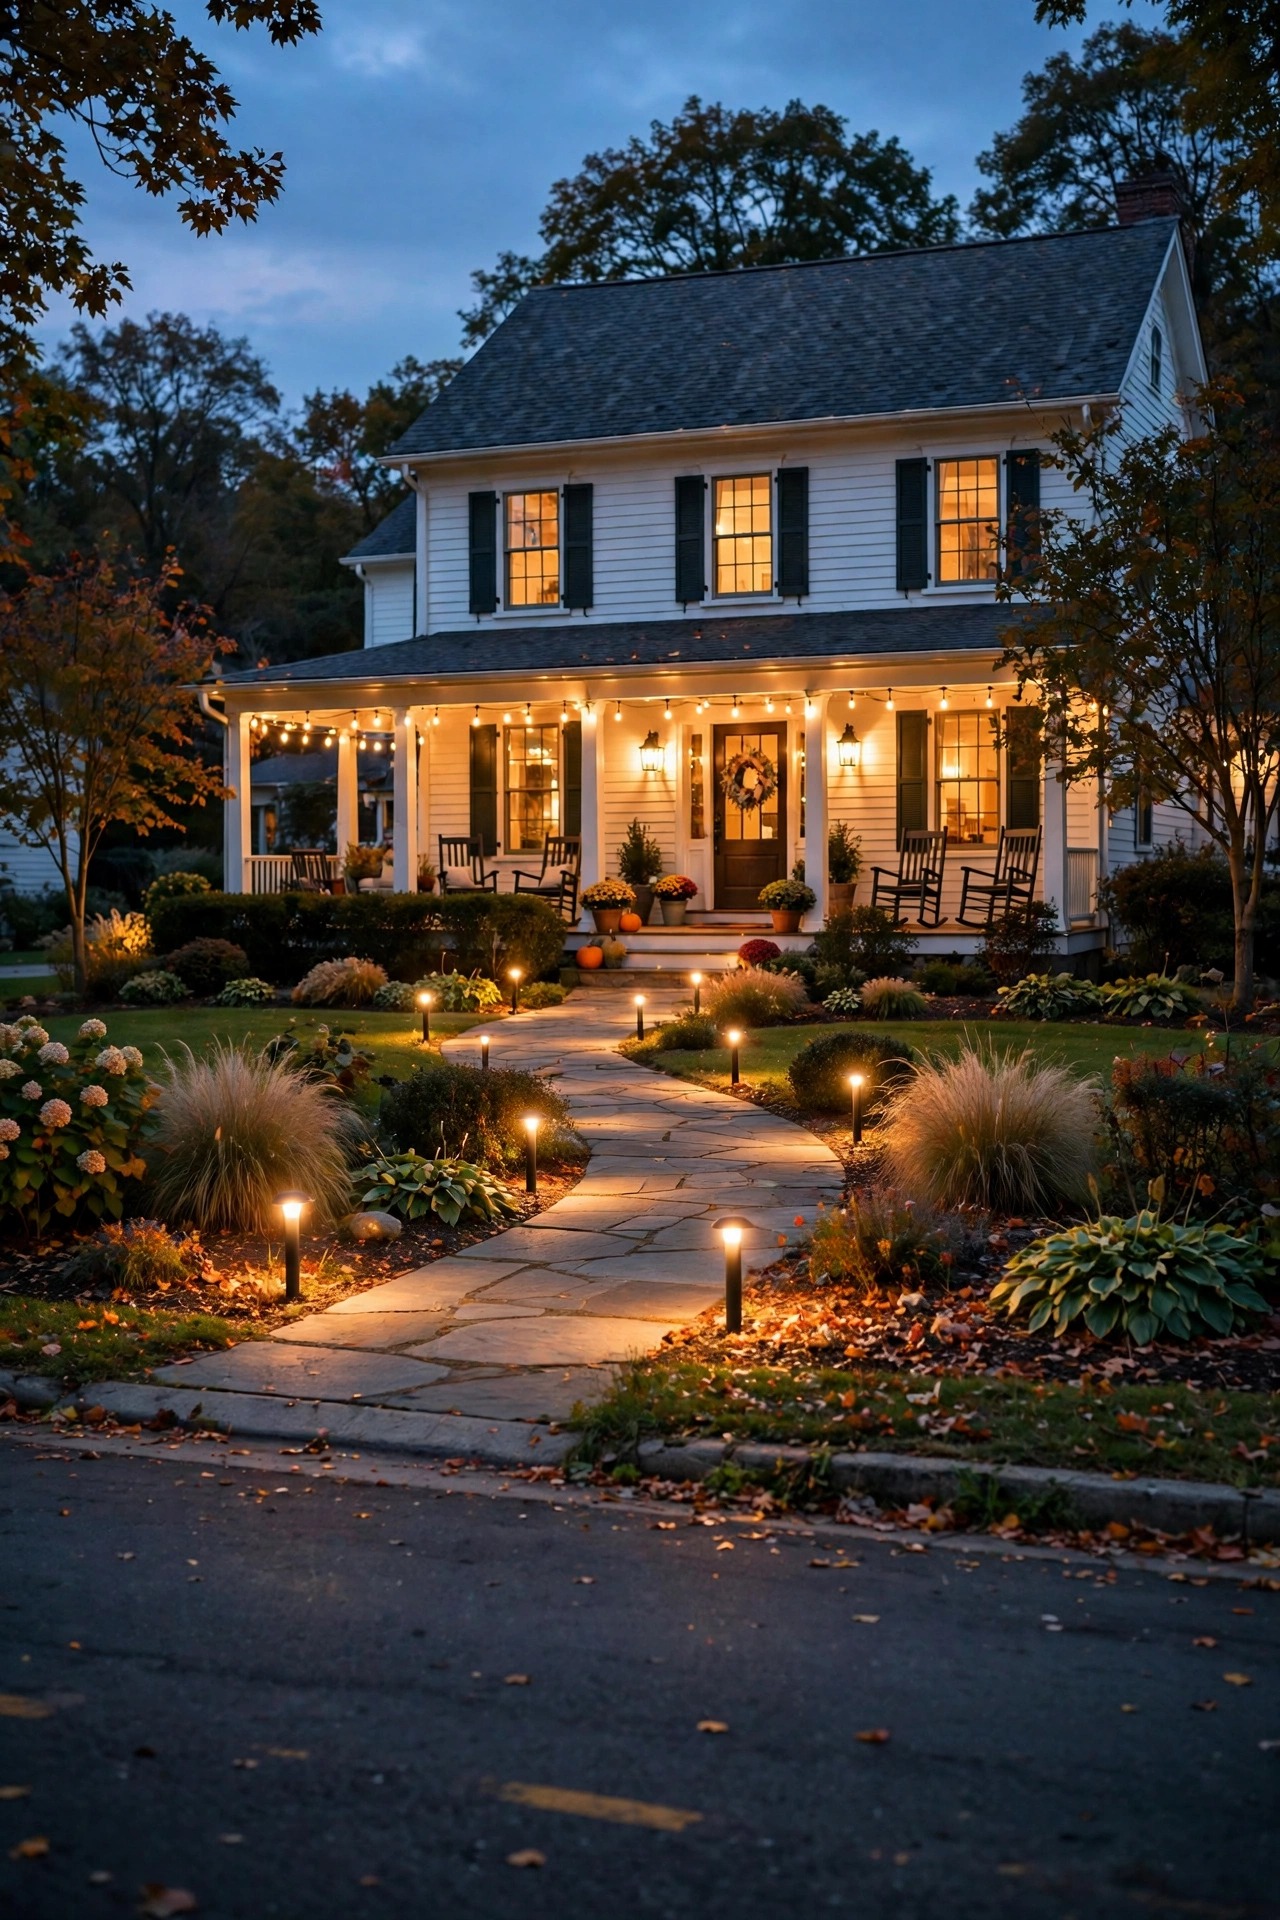
Victorian path lights should look like little lanterns, not airport markers. Choose low fixtures, 12 to 18 inches tall, shaped like miniature coach lanterns with frosted or seeded glass, and space them 6 to 8 feet apart along one side of a straight walk or alternating sides of a curving one. The frosted glass is not a compromise — it hides the LED, softens the pool of light, and keeps the look gaslit instead of gadgety. On a curved walk, place lights on the outside of the curve where feet actually need guidance, and stagger heights slightly if the path climbs. Low-voltage wired systems stay consistently bright all night and all winter; solar lanterns have improved, but in shaded Victorian yards with big street trees they often fade by ten o'clock. My honest recommendation: wire the front walk, save solar for the garden beds. Each light should overlap its neighbor's pool slightly, so guests read a ribbon of warm puddles leading to that glowing door.
Suggested budget range: $90 – $280.
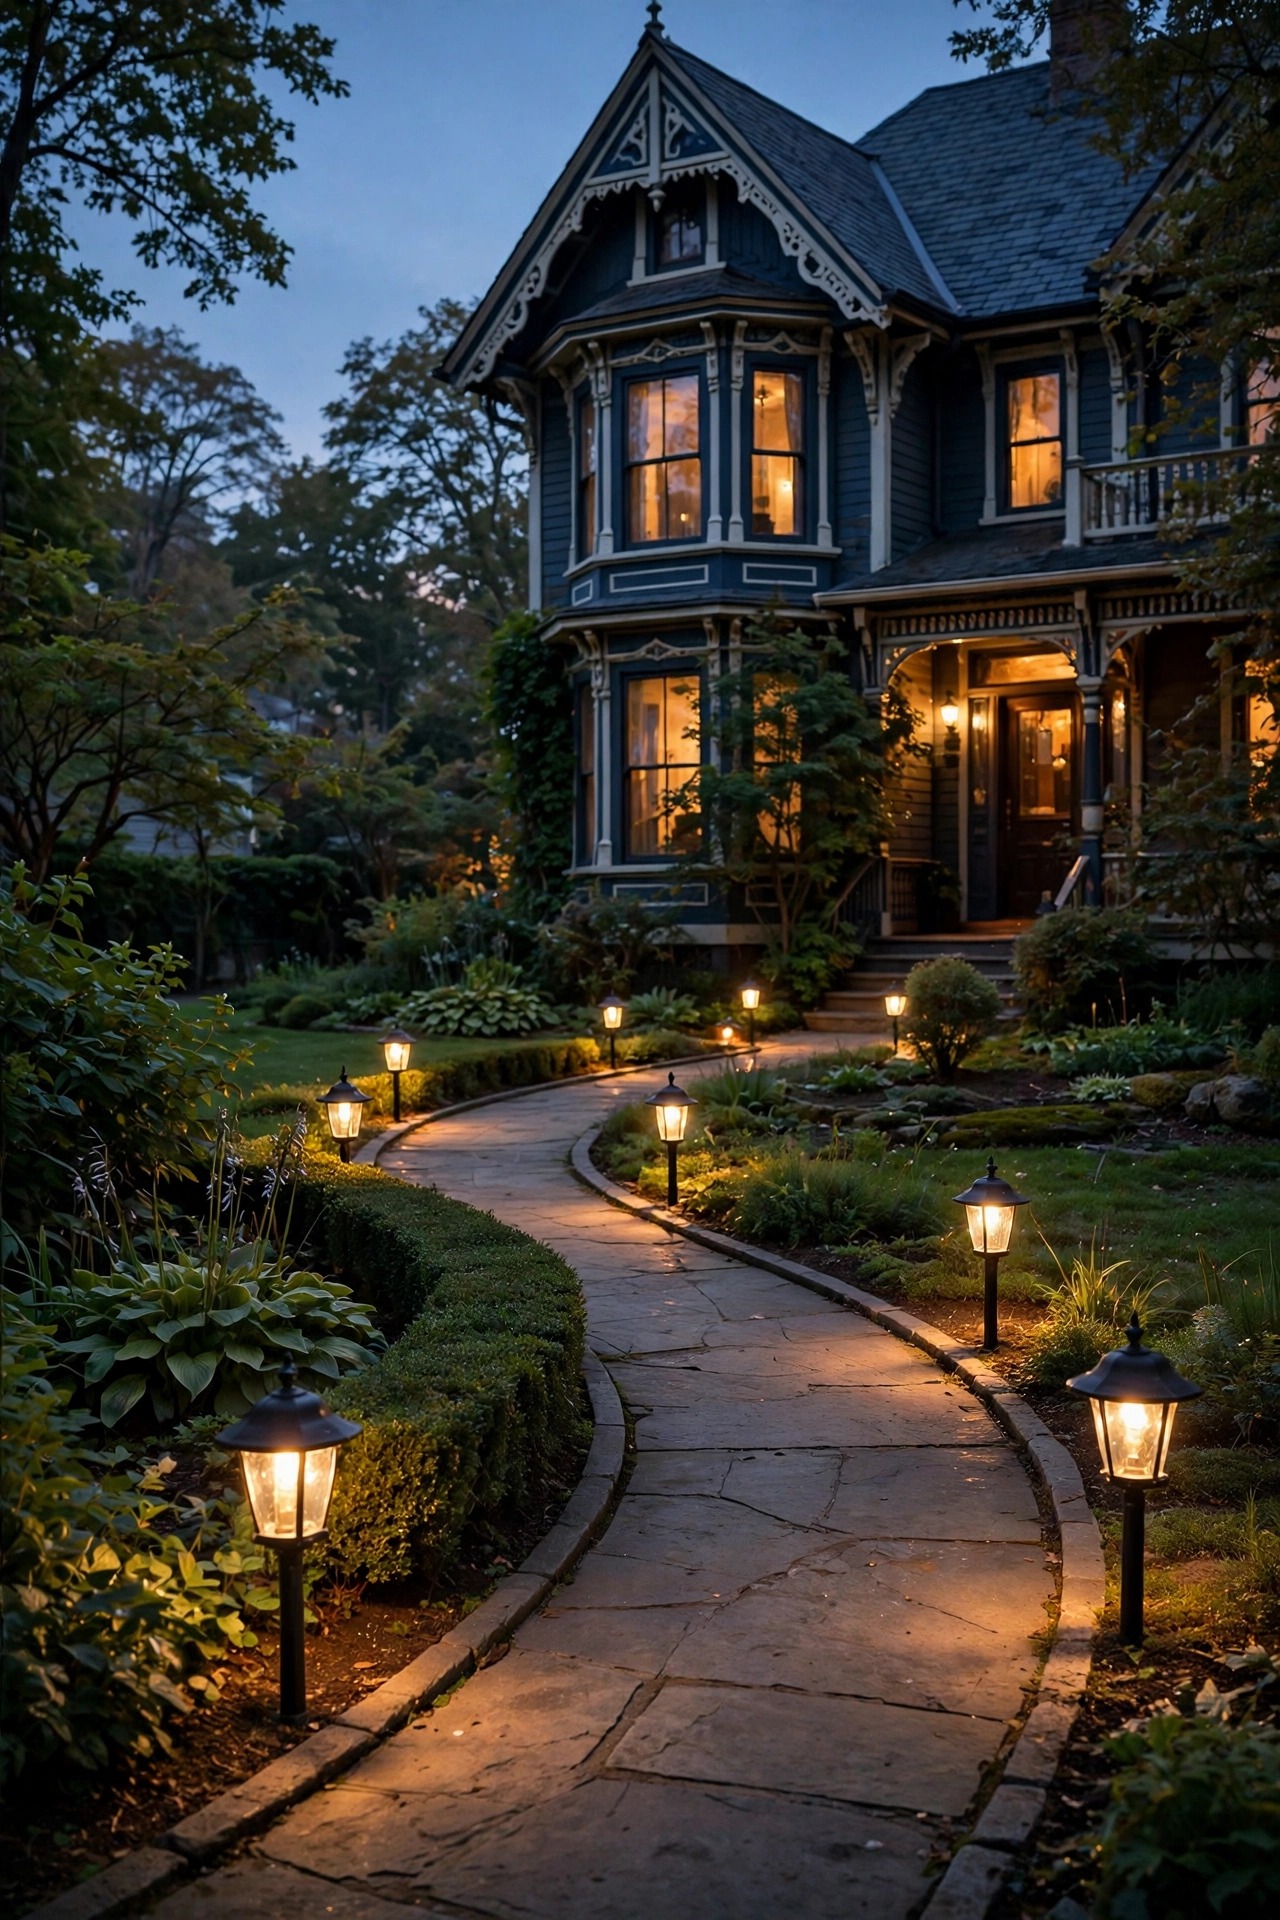
13. Victorian Outdoor Lighting Ideas: Give the Gazebo a Chandelier Moment
Of all the victorian outdoor lighting ideas in this list, a gazebo chandelier is the one that makes neighbors slow their cars. A damp-rated chandelier — black scrollwork arms, candle-style bulbs, maybe a circle of faux ivory candles — hung at the center of the gazebo ceiling turns a garden ornament into an outdoor room you will actually use. Hang it so the bottom sits about 7 feet above the gazebo floor, put it on a dimmer rated for outdoor use, and choose flame-tip bulbs at 2200K for maximum gaslight drama. Surround it with lower light too: small lanterns on the railing posts or a fairy-light swag between two posts keeps the edges defined once the chandelier dims to a murmur. Never hang a fixture that is only rated for dry indoor locations, no matter how perfect it looks at the thrift store; gazebo ceilings collect condensation on cool nights. Add a ceiling medallion if the structure can carry it — the full chandelier-and-medallion pairing is unapologetically extra, and that is exactly right out here.
Suggested budget range: $180 – $520.

14. Fill Urns and Window Boxes With Fairy-Light Clusters
The cheapest romance on this whole list hides in your planters. Take the classic Victorian urns flanking the front door, plant them with trailing ivy and white blooms, then tuck a coil of battery-powered fairy lights down inside the foliage. At dusk the urn itself seems to smolder with light, and the effect costs less than the plants did. The same trick works in window boxes under the front windows, where a soft shimmer behind geraniums makes the whole facade feel occupied and loved. Battery packs with built-in timers are the practical choice — six hours on, eighteen off, no cords crossing the porch. Choose warm white, waterproof-rated strands, because planters get watered and fairy lights are not swimmers. I refresh the clusters each season when I replant, and I keep two spare strands in the hall drawer because one always chooses the evening of a garden party to retire. Small lights, enormous payoff: this is the detail that makes people call a house enchanting without knowing why.
Suggested budget range: $30 – $90.
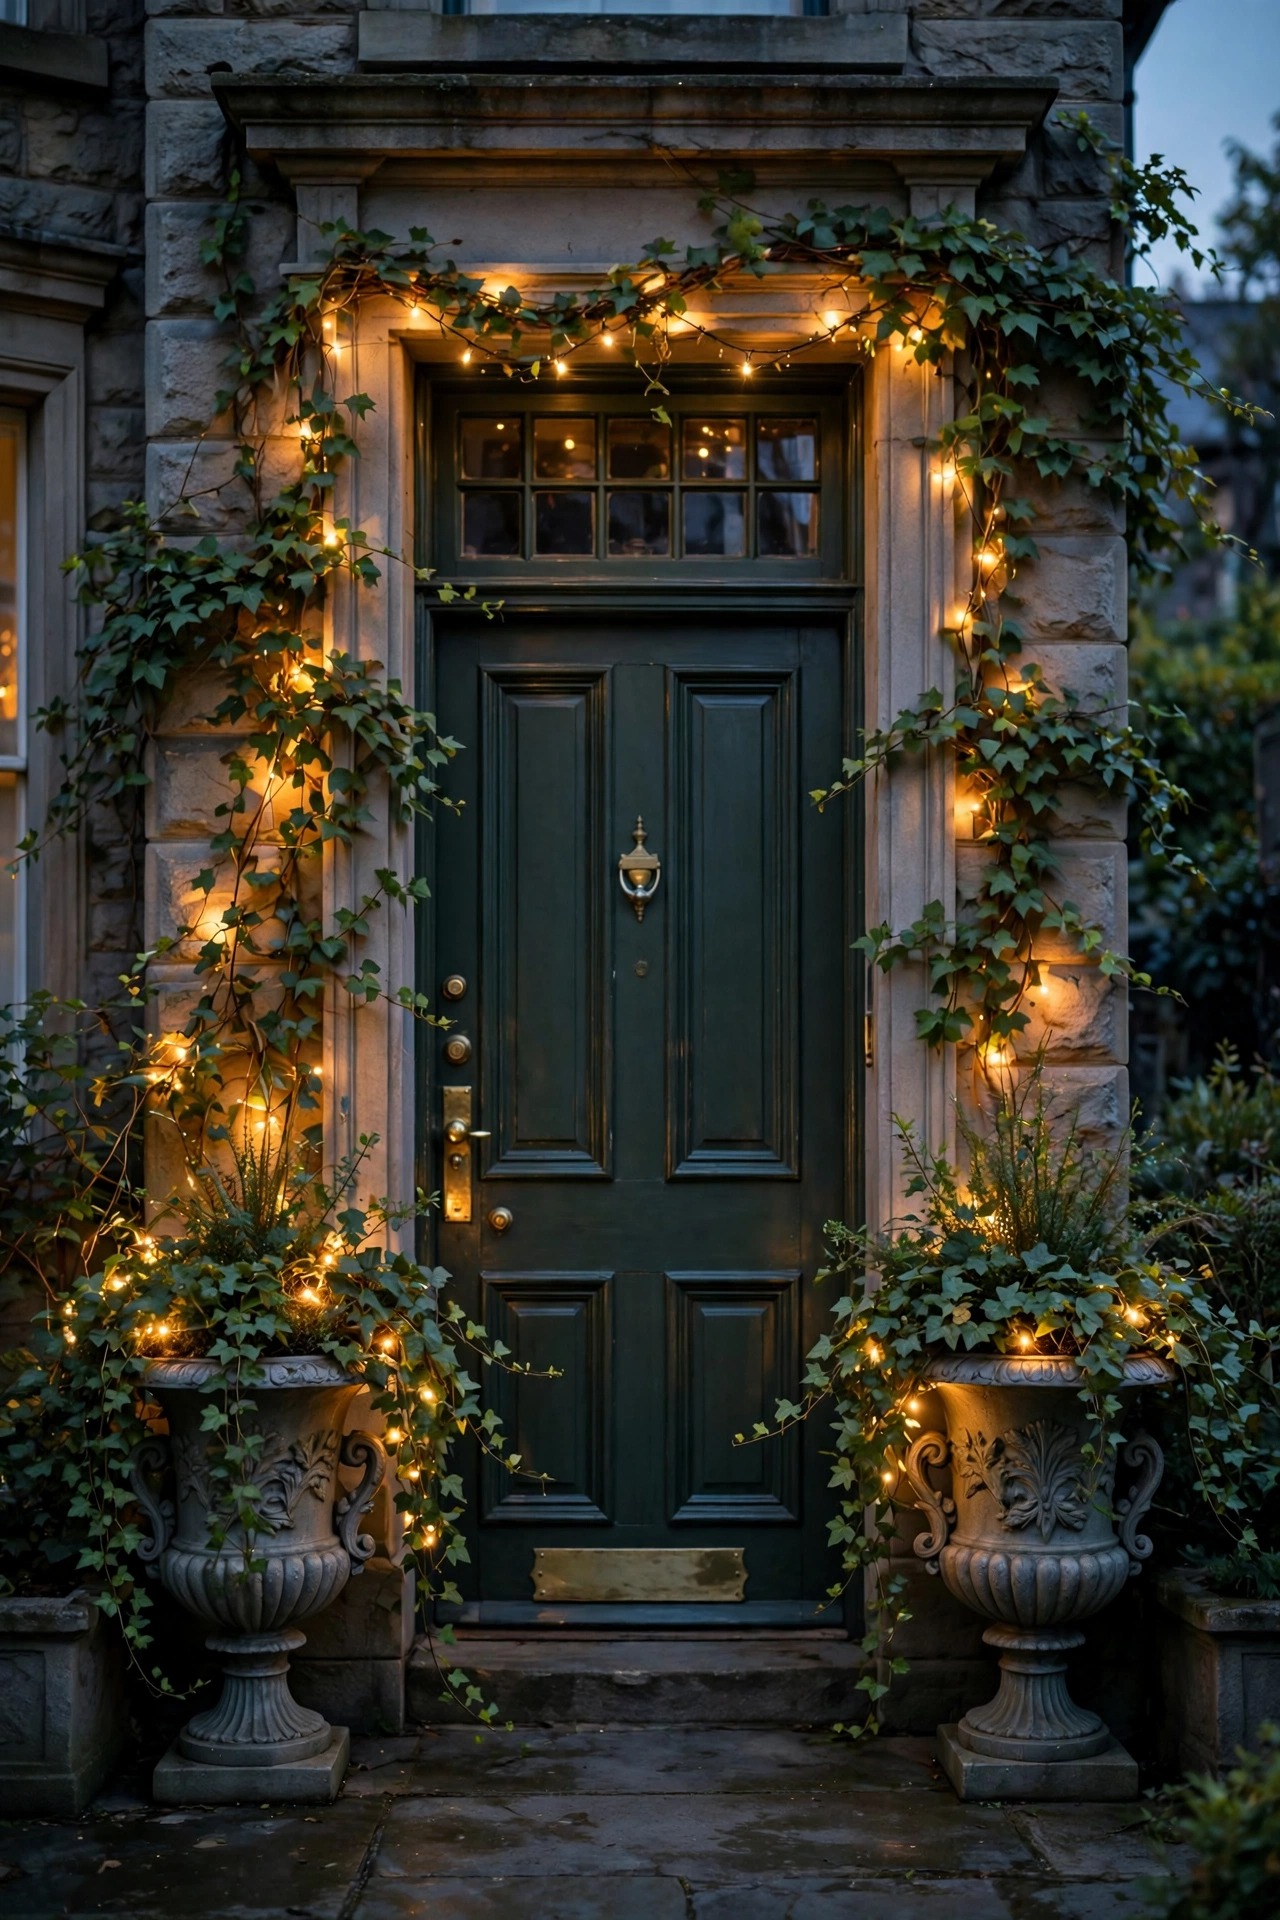
15. Cap the Garden Gate and Fence Piers With Lanterns
A picket fence or iron fence with lantern-capped posts is the Victorian version of a welcome mat. Pier lanterns on the gate posts — and, on a long fence line, every fourth or fifth post — outline your property in warm punctuation marks that look especially magical from down the street. Match the lantern style to your carriage post light if you have one; repetition is what makes the whole composition read as intentional design instead of happy accidents. Gate lanterns earn their keep practically, too, marking the latch for guests arriving after dark. Wire them on the same circuit and timer as the carriage light so the entire frontage wakes and sleeps together. Height is forgiving here — standard 4-to-5-foot fence posts put the glow right where it flatters faces. Solar pier caps exist and look the part, but wired fixtures win on winter evenings when the party starts at five and the sun has been down since four-thirty. Honestly, a lit gate makes even a Tuesday feel like an occasion.
Suggested budget range: $110 – $340.
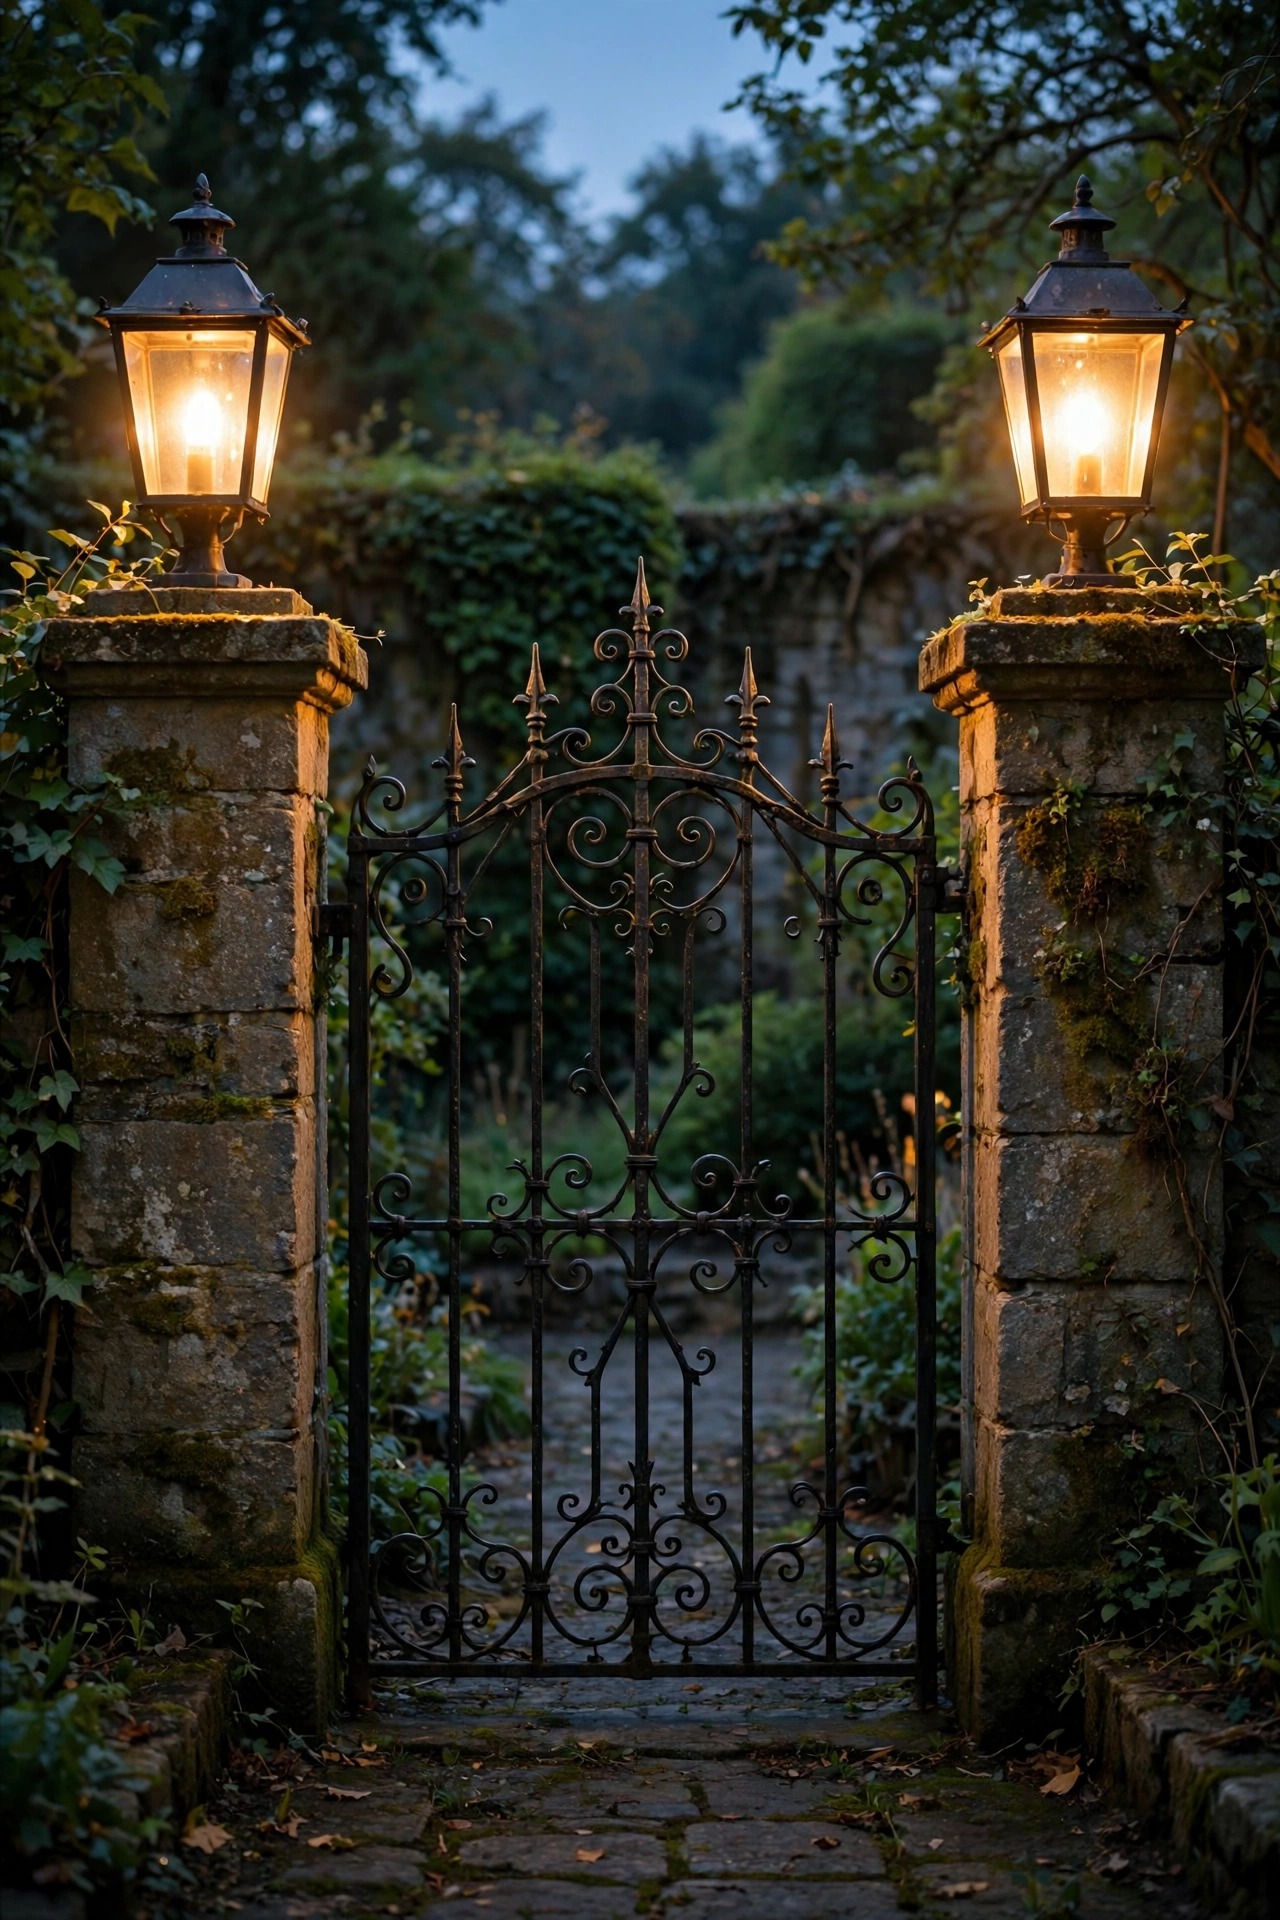
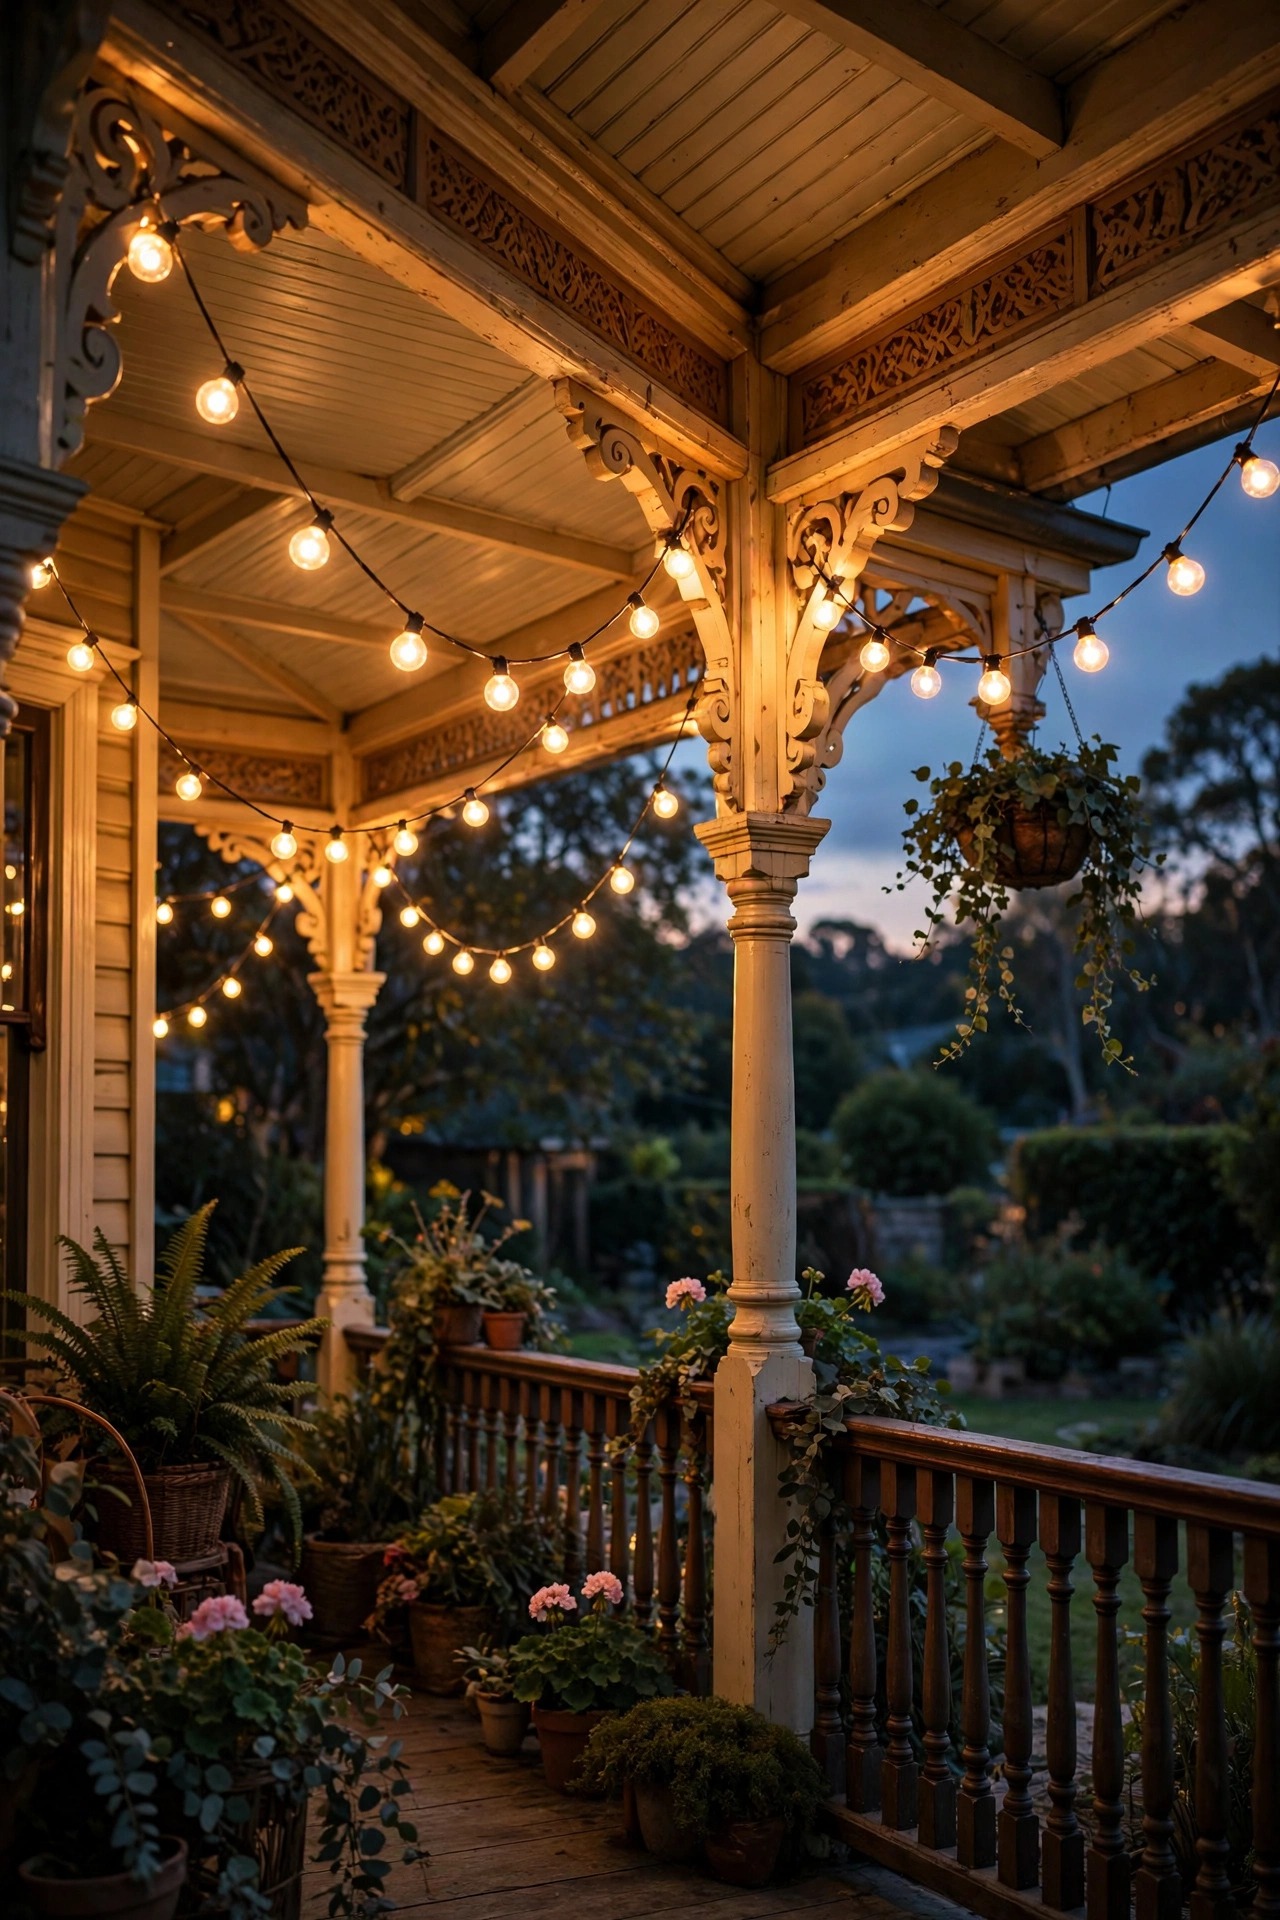
16. Swag Globe String Lights Beneath the Veranda Roof
Victorians adored a festoon, and globe string lights are its direct descendants. A run of G40 globe bulbs swagged under the veranda roof or between porch columns gives broad, flattering, shadowless light that makes everyone at a porch dinner look ten years younger. The Victorian-correct details: warm 2200–2700K bulbs, black or dark bronze cable rather than white or green, and gentle even swags about 12 to 18 inches deep rather than a tightrope-straight line. Use commercial-grade stringers with suspended sockets if they will live outside year-round; the lightweight indoor sets from the party aisle last one stormy season, if that. Space support points every 8 to 10 feet so the cable never bears real tension, and bring the run down to a GFCI outlet with an outdoor timer. I keep porch swags up all year — they read as architecture in summer and as the skeleton for December garlands in winter. Of all the lights in this list, these get used the most hours, so buy the good set once.
Suggested budget range: $45 – $130.
17. Scatter Solar Victorian Stake Lanterns Through the Beds
Not every corner of a big Victorian garden can justify a trench and a transformer, and that is where solar stake lanterns earn their place. The best of the current crop are genuinely pretty: little black lanterns with scroll-cut sides that throw patterned light across mulch and path edges, in warm white rather than the old icy blue. Be honest with yourself about placement — each stake needs six honest hours of sun on its panel, so the north side of the house under the lilacs is where solar dreams go to dim. Use them in sunny beds, along a side path, ringing a sundial or birdbath, and cluster three at staggered heights near a bench for a lantern-gathering effect. Expect a soft accent glow, not task light, and replace the rechargeable batteries every couple of years to keep them honest. Mixed with your wired backbone of path lights, solar stakes fill the gaps and let you experiment with placement for a weekend before committing — a design luxury every gardener deserves.
Suggested budget range: $35 – $100.

18. Swap In Flame-Effect and Filament Bulbs, One Warm Temperature Everywhere
Here is the thrifty secret under this entire list: your existing fixtures are probably fine — your bulbs are the problem. Swapping cool white bulbs for flame-effect LEDs in the lanterns, and warm filament-style LEDs everywhere else, transforms a house in one evening with a stepladder. The discipline that makes it work is choosing one color temperature and holding the line: 2200K flame bulbs inside clear-glass lanterns, 2700K filament bulbs in shaded or frosted fixtures, and nothing — nothing — above 3000K anywhere on the property. Mixed temperatures are what make period homes look like parking lots in family photos. Buy two spare bulbs of each type while your chosen line is in stock, because manufacturers rename and discontinue relentlessly. Check that flame bulbs fit your lantern housings before ordering a dozen; some are longer than standard. In my experience this single swap is what separates houses that look lovingly restored from houses that merely look old, and it costs less than one new fixture. Do the bulbs first, then decide what else the house actually needs.
Suggested budget range: $15 – $60.
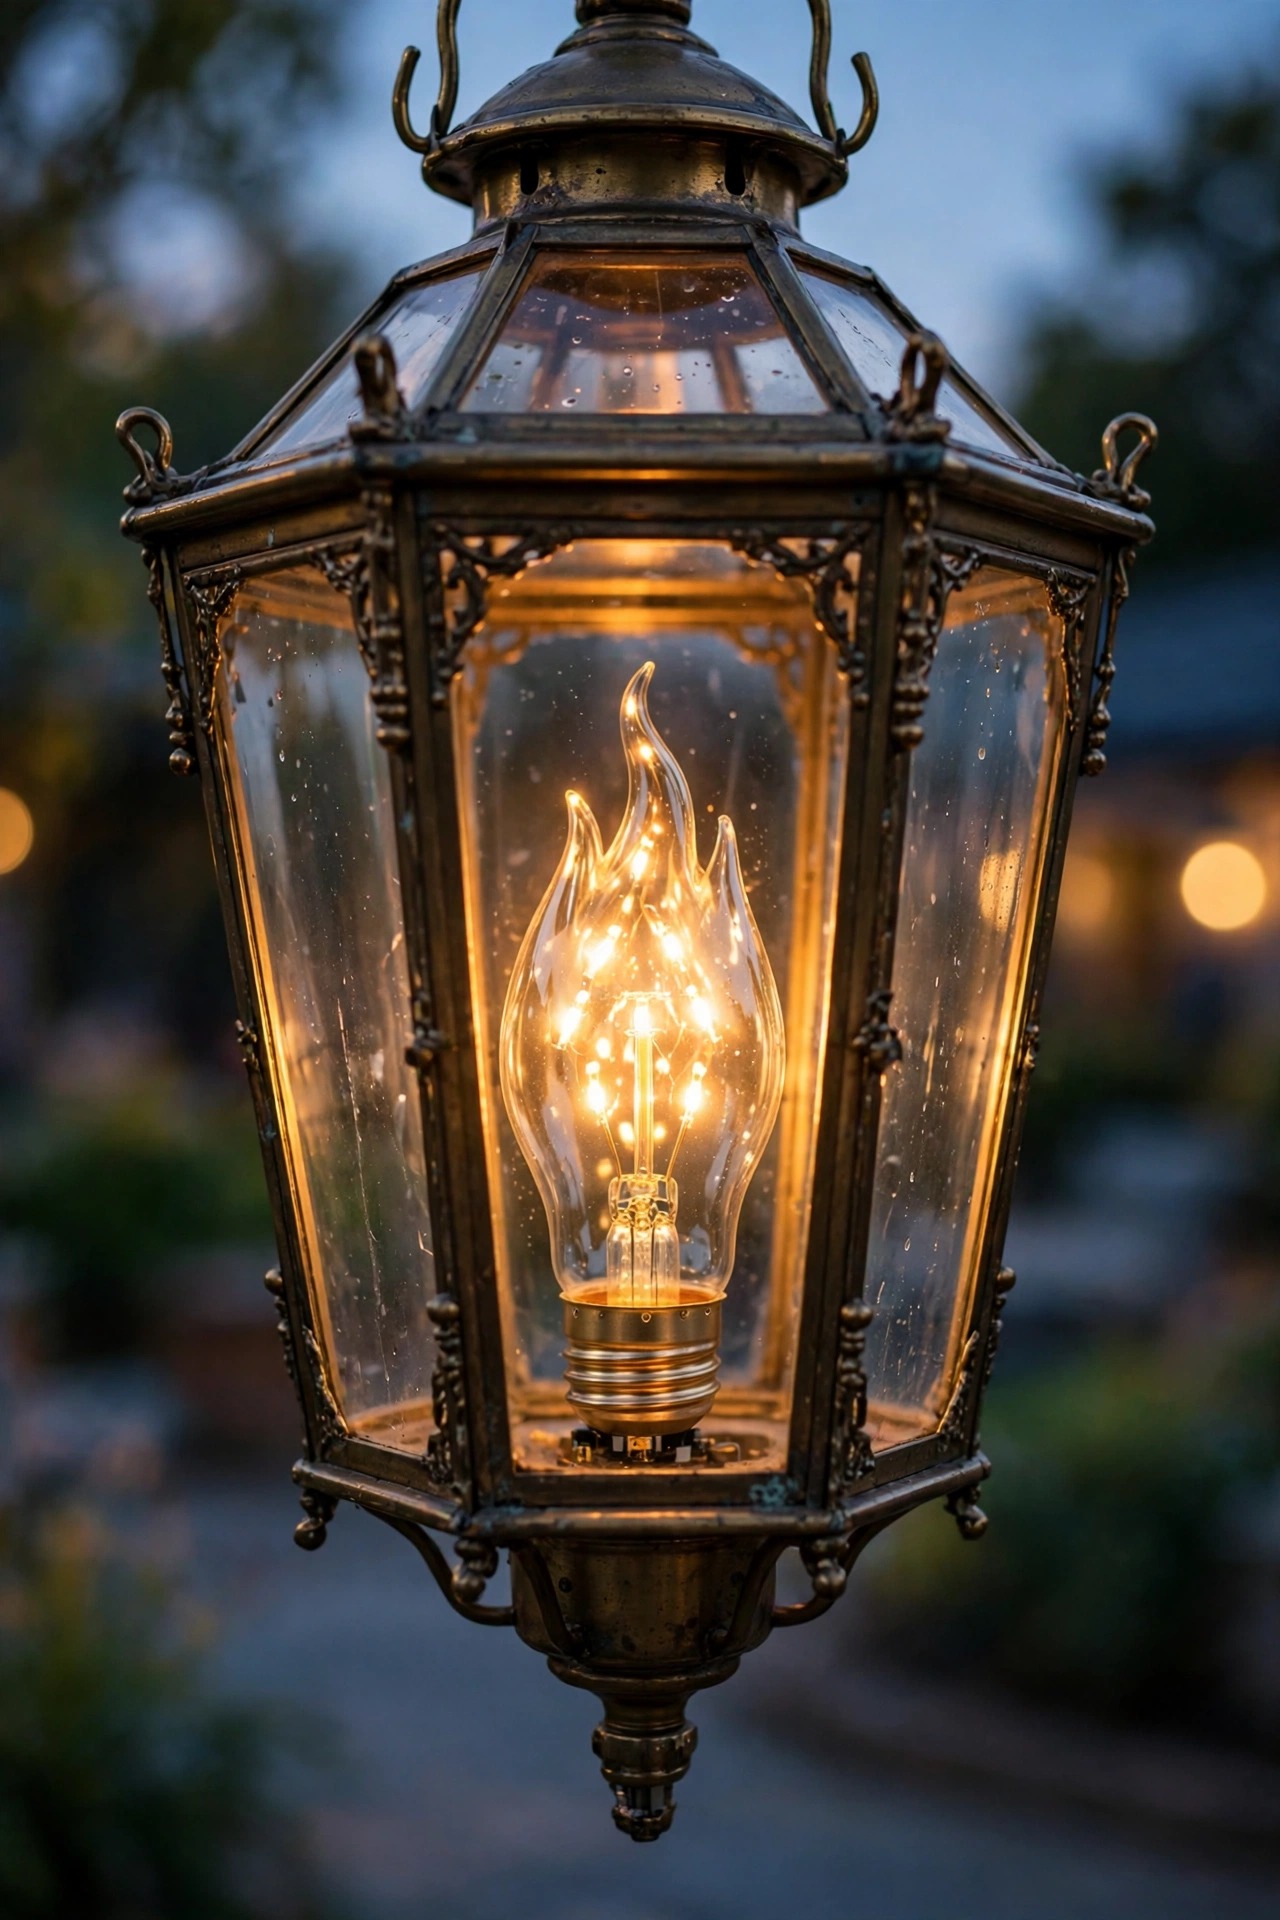
19. Spotlight the Birdbath or Fountain for a Living Focal Point
Water was the music of the Victorian garden, and one small light turns your birdbath or fountain into the garden's evening performance. A single low-voltage spotlight aimed up through falling water makes the whole feature sparkle and dance, casting moving reflections on nearby foliage and the garden wall. Submersible lights rated IP68 sit right in the basin for a glow-from-within effect, while a shielded spot from the bed beside the fountain keeps maintenance simpler — you can re-aim without getting your sleeves wet. Either way, the transformer and every connection must run through a GFCI-protected circuit, no exceptions around water. Keep the beam narrow and the brightness modest; a fountain should glimmer, not audition for Las Vegas. Pair it with darkness around it — turn off competing bed lights nearby and let the water be the soloist. On still evenings the reflections double every other lantern in the garden. It is the most commented-on feature in my yard after the gazebo, and it took one fixture and twenty minutes.
Suggested budget range: $40 – $150.
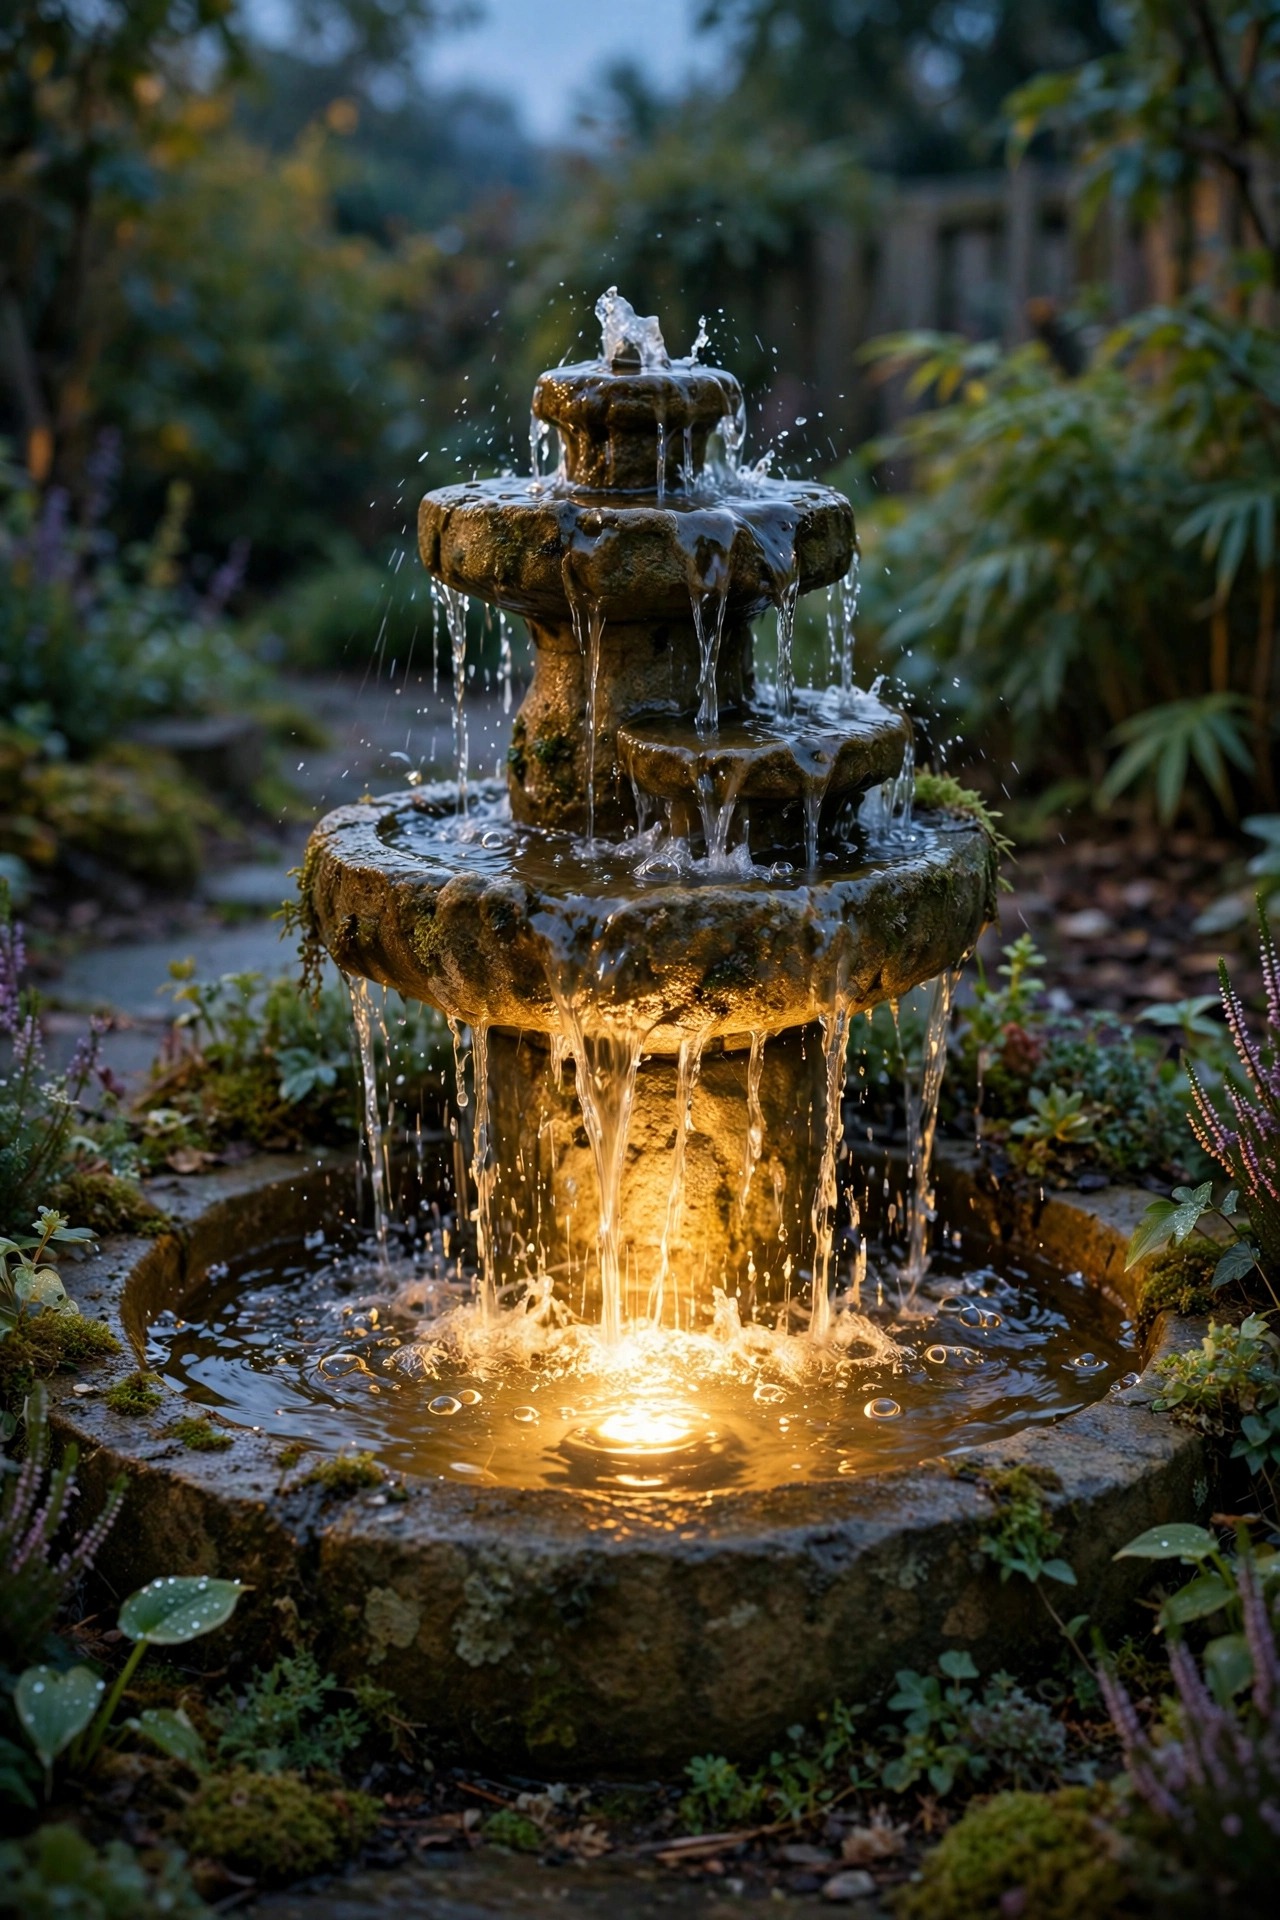
20. Add a Frosted-Glass Ceiling Light for a Low Porch Ceiling
Not every Victorian porch has the headroom for hanging lanterns — plenty of charming porches sit under an 8-foot ceiling where a chain-hung fixture would scalp your taller guests. The period-correct answer is a flush or semi-flush ceiling light with frosted, opal, or seeded glass and a little scrollwork around the rim. Opal glass is the authentic choice: it glows as one soft moon of light, hides the bulb completely, and flatters the beaded-board ceiling every Victorian porch seems blessed with. Size it generously — a 14-to-16-inch fixture reads as a deliberate statement where a dinky 10-inch one reads as an apology. If the porch is long, use two matching fixtures on one switch rather than stretching one to cover everything. Match the metal trim to your sconces so the ceiling joins the family. These fixtures are also the practical workhorse of the scheme, throwing the broad, even light you actually need for reading mail and finding keys, while your lanterns handle the romance. Every scheme needs both.
Suggested budget range: $60 – $190.
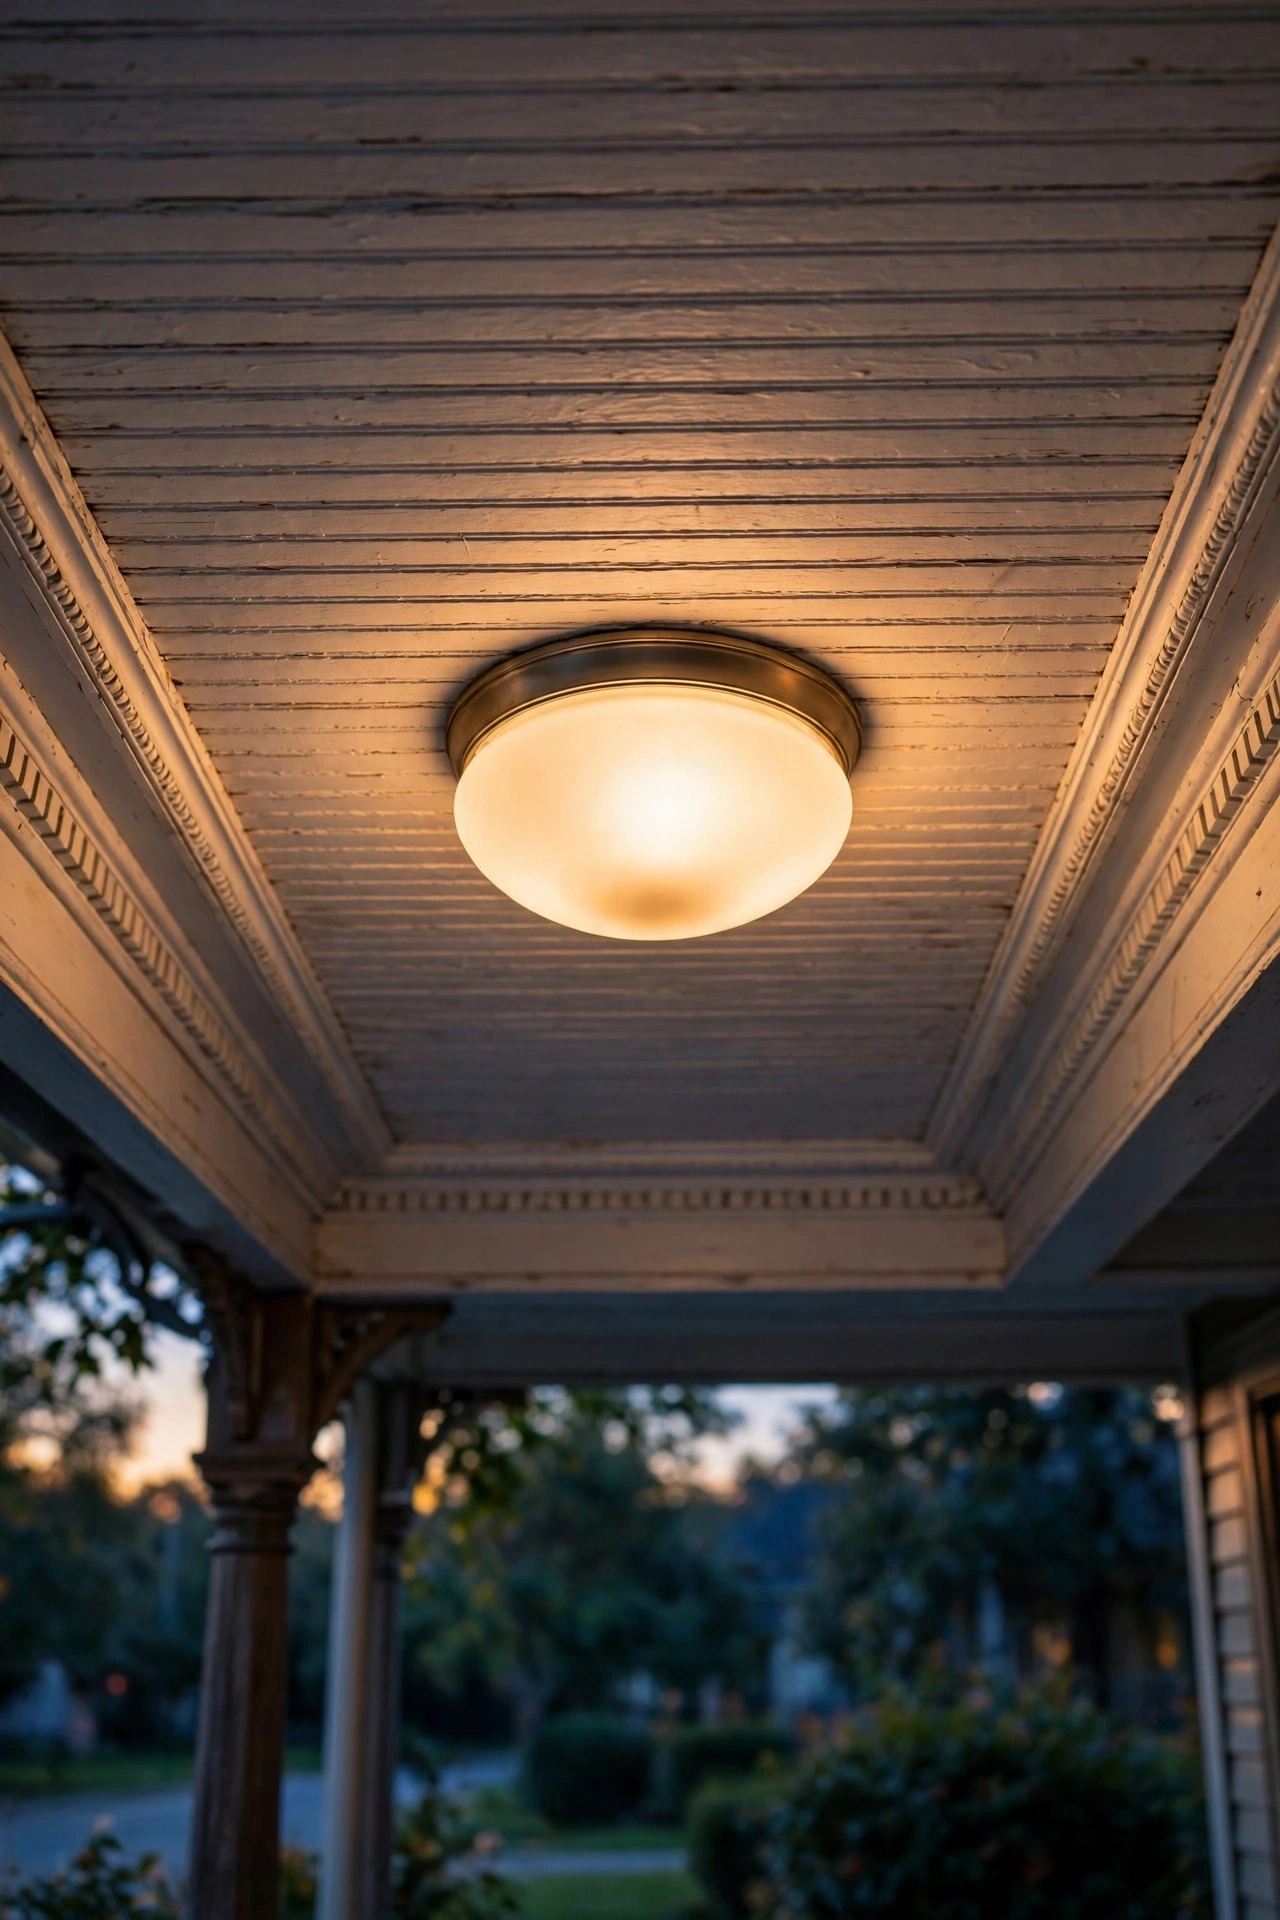
21. Automate the Ritual With Photocells, Timers, and Dimmers
Gaslight came with a lamplighter; your Victorian scheme deserves the same reliability without the employment contract. Photocells on the post and gate lanterns, a timer or smart plug on the string lights and fairy strands, and dimmers on the porch lanterns and gazebo chandelier mean the whole property performs its dusk ceremony whether you are home, on vacation, or asleep on the porch swing. Set string and fairy lights to run dusk to about midnight rather than all night — the garden looks more romantic with an off-ramp, and your electric bill agrees. Dimmers deserve special praise: dropping flame lanterns to 60 or 70 percent in the late evening is the difference between a house that is lit and a house that smolders. Astronomical timers that track sunset through the seasons are worth the small upgrade, because a fixed 7 p.m. schedule is wrong half the year. One caution: some flame-effect and filament LEDs buzz or flicker badly on old dimmers, so buy dimmers rated for LED loads. Automation is invisible when it works, and that is the highest compliment I can pay it.
Suggested budget range: $20 – $120.
22. Dress the Scheme for the Seasons With Garlands and Wreaths
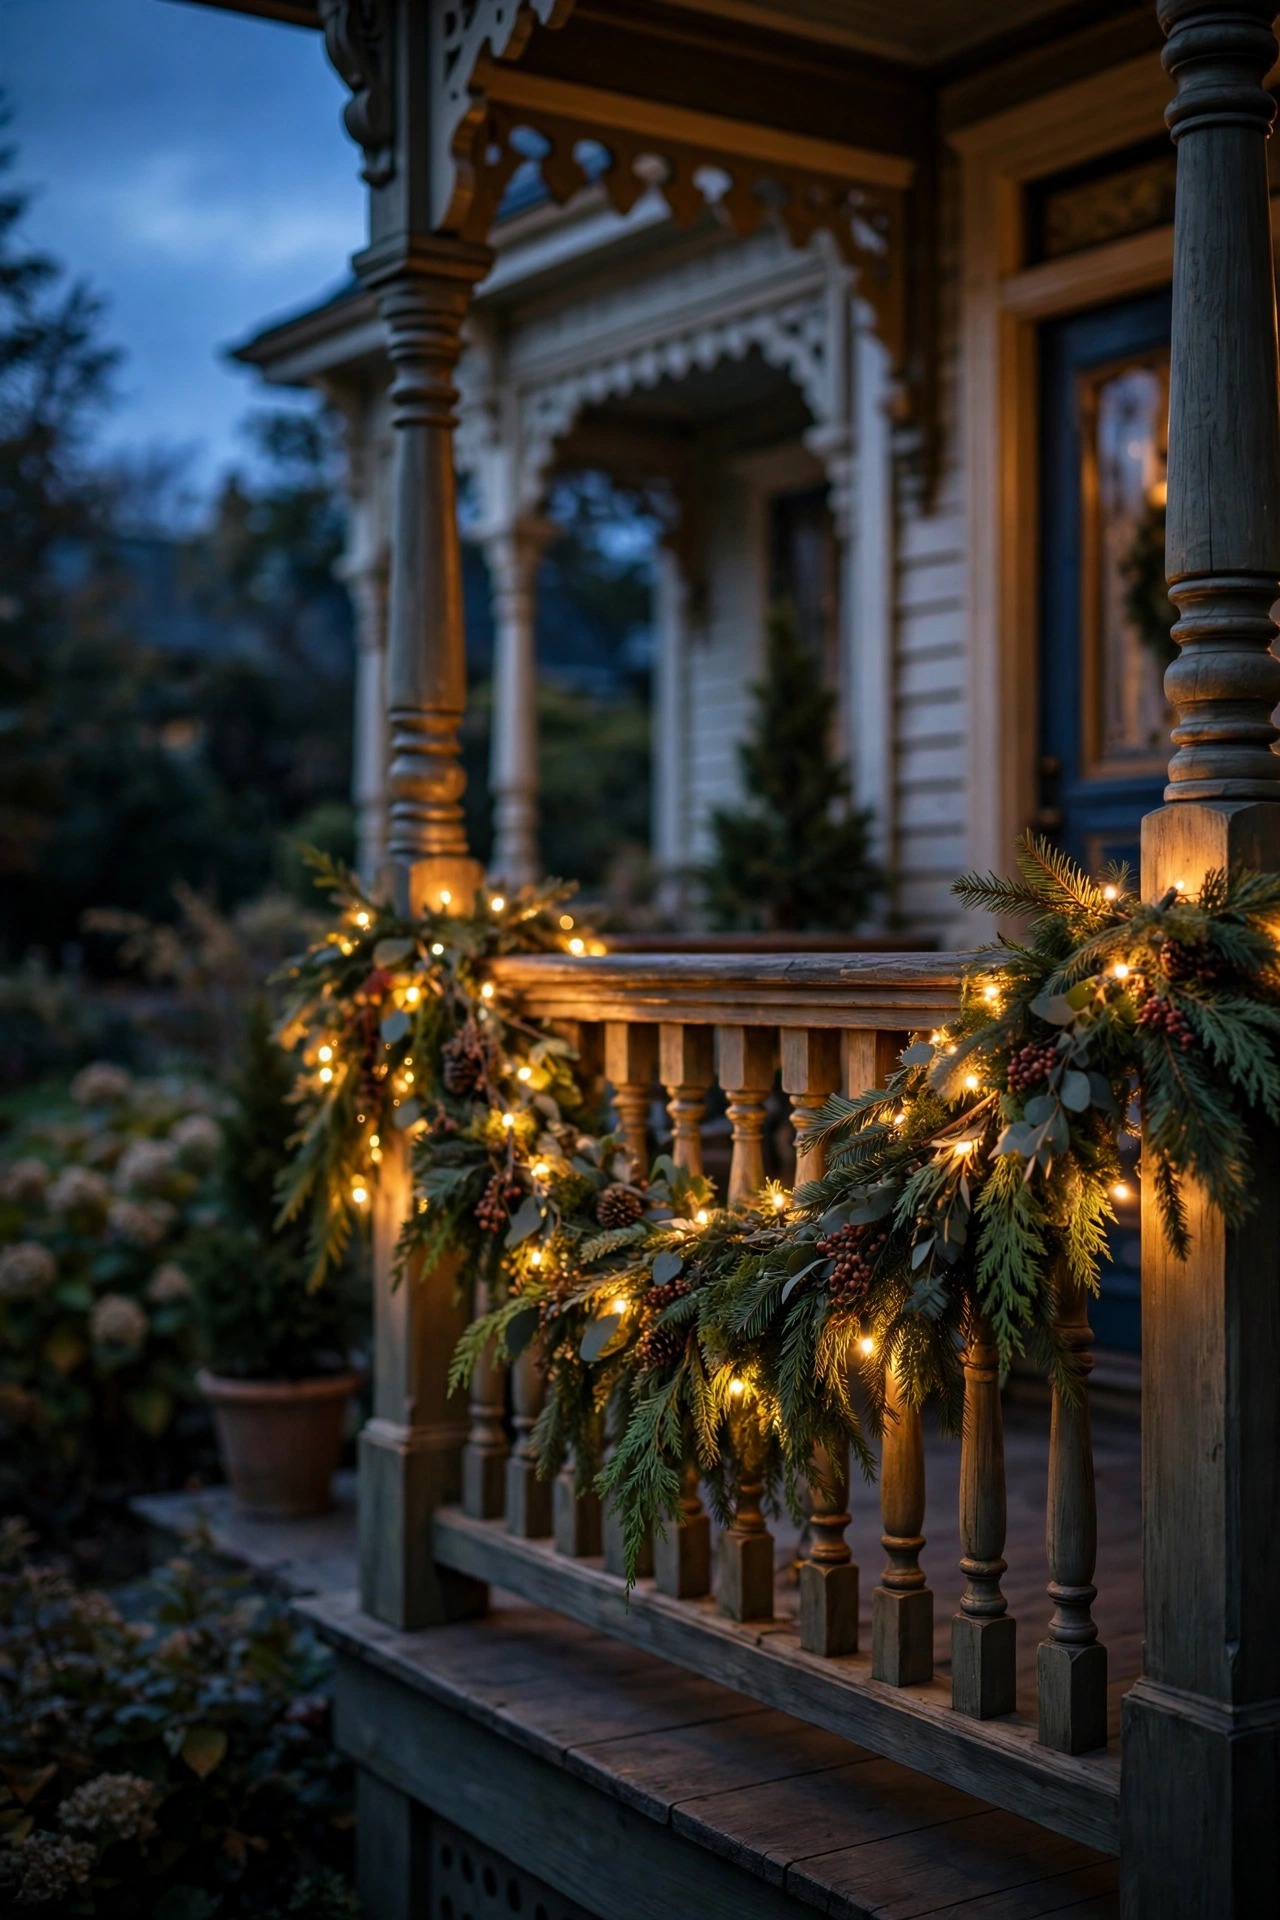
A Victorian lighting scheme should change its dress with the year, and the fixtures you already own make it easy. In December, wind evergreen garlands — threaded with warm micro fairy lights — along the porch railing and around the door, letting your lanterns play supporting actor to the greenery. In October, the same porch goes gothic: orange-amber bulbs in one pair of lanterns, candle lanterns on every step, and the stained-glass pieces suddenly look like they were bought for the holiday. Spring calls for restraint — fairy lights in the flowering shrubs and the rose arch back on duty. The iron rule through every season: LED only anywhere near garlands, wreaths, dried arrangements, or fabric, because real flame and dried greenery are a fire marshal's nightmare. Store each season's extras in labeled bins so decorating stays a pleasure instead of an excavation. I love that this kind of rotation keeps a century-old style feeling alive rather than museum-frozen. The house gets four costumes a year; the lighting underneath never has to change at all.
Suggested budget range: $30 – $110.
23. Finish With a Dusk Walk-Through of Your Victorian Outdoor Lighting Ideas
The last of my victorian outdoor lighting ideas costs almost nothing and saves the most: once your scheme is in place, walk it. Start at the curb at full dusk, cross the street, and look at your house the way a stranger does. Then walk the path slowly, climb the steps, sit in the porch swing, and stand in the garden looking back. You are hunting for three things: glare, where a bare bulb stabs your eye and needs a shield or a frosted lens; gaps, where a dark corner breaks the ribbon of light; and arguments, where two fixtures compete instead of layering. Take phone photos at every stop — the camera exaggerates glare and reveals mismatched color temperatures your eyes politely ignore. Adjust aim, swap one bulb, move one solar stake, and walk it again next week. Every beautiful old house on my street arrived at its glow this way, in inches and evenings, not in one giant purchase. Pour the last of the lemonade, take the long way back up your own front walk, and enjoy being the house people slow down for.
Suggested budget range: $0 – $50.
Frequently Asked Questions
What color temperature looks most like real gaslight?
Real gaslight burns around 1800–2000K, which is deeper amber than most people expect. In practice, flame-effect bulbs at 2000–2200K inside your lanterns, paired with 2700K filament bulbs in shaded fixtures, reads as gaslit without turning the whole porch orange. Avoid anything above 3000K on a Victorian facade — the blue-white cast instantly reads as a modern security light and fights every warm finish on the house.
Can I get the Victorian look with solar lights only?
Partially, and I say that with love. Solar lanterns and stake lights now copy the silhouettes beautifully and work well in sunny beds and along garden paths. But front walks, steps, and door lanterns need the all-night consistency of wired low-voltage or line-voltage fixtures, especially in winter when solar panels get five weak hours of daylight. The sweet spot most of my readers land on: wired fixtures for the architecture and entry, solar for accents deep in the garden.
How do I keep ornate fixtures from looking like a theme park?
Three rules. First, repeat one fixture family — same finish, same glass — instead of collecting different pretty pieces. Second, keep light levels low and warm; bright white light is what makes ornament look like plastic. Third, leave some darkness in the composition. A house where every bracket and spindle is spotlit looks staged; a house with pools of glow and soft shadow between them looks romantic. Restraint is what separates a restoration from a ride.
How much does a full Victorian-style lighting scheme cost?
A layered scheme like the one in this post typically lands between $800 and $2,500 in fixtures if you mix a few statement pieces — the door lanterns, the carriage post, the gazebo chandelier — with budget workhorses like solar stakes and a bulb swap. Add $300 to $800 for professional help with the tree moonlighting and any line-voltage runs. Most people spread it across two or three seasons, starting with the bulbs and door lanterns, which deliver the biggest transformation per dollar.
Conclusion
If this list has a heartbeat, it is this: Victorian houses do not want more light, they want the right light — warm, low, layered, and a little theatrical. Start with the bulb swap and a pair of gas-style lanterns, add your layers one evening at a time, and let copper patina and dusk walk-throughs do the fine-tuning. Done patiently, victorian outdoor lighting ideas stop being a shopping list and become what they were in 1890: the moment the whole street exhales and your home glows like a lantern itself. For more inspiration, browse the rest of my outdoor lighting ideas here on the site — your porch's next chapter is probably already written.