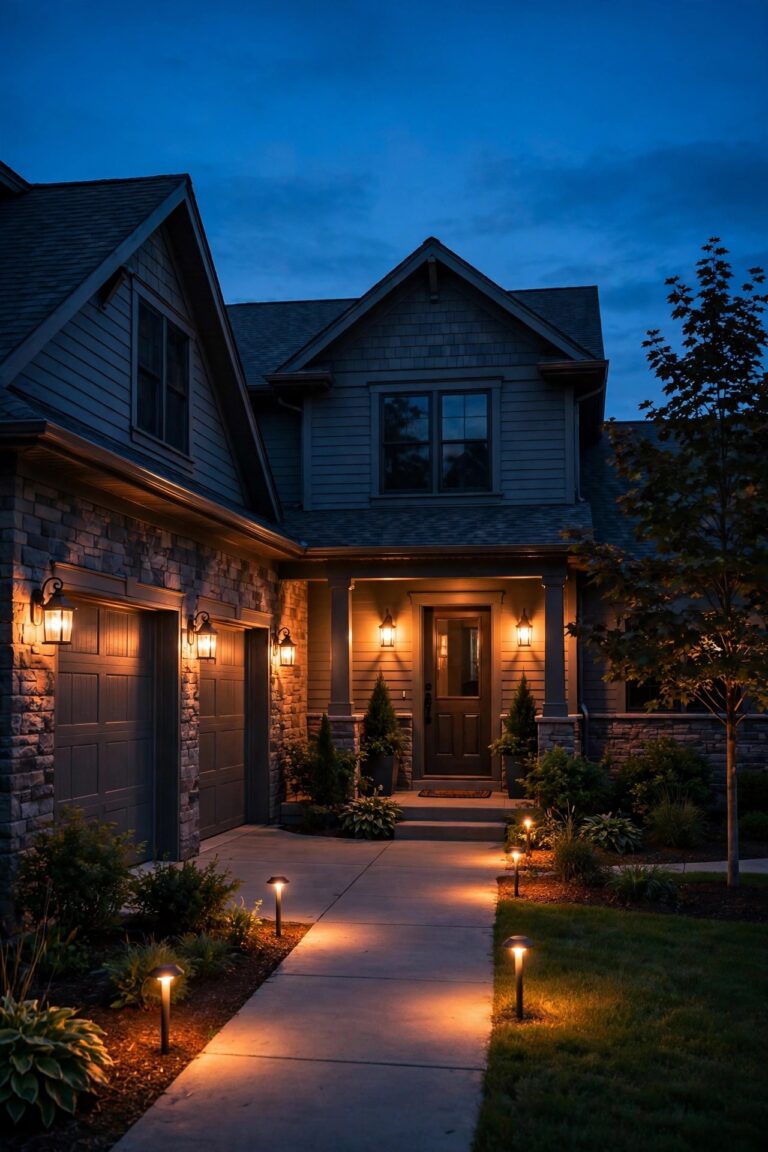
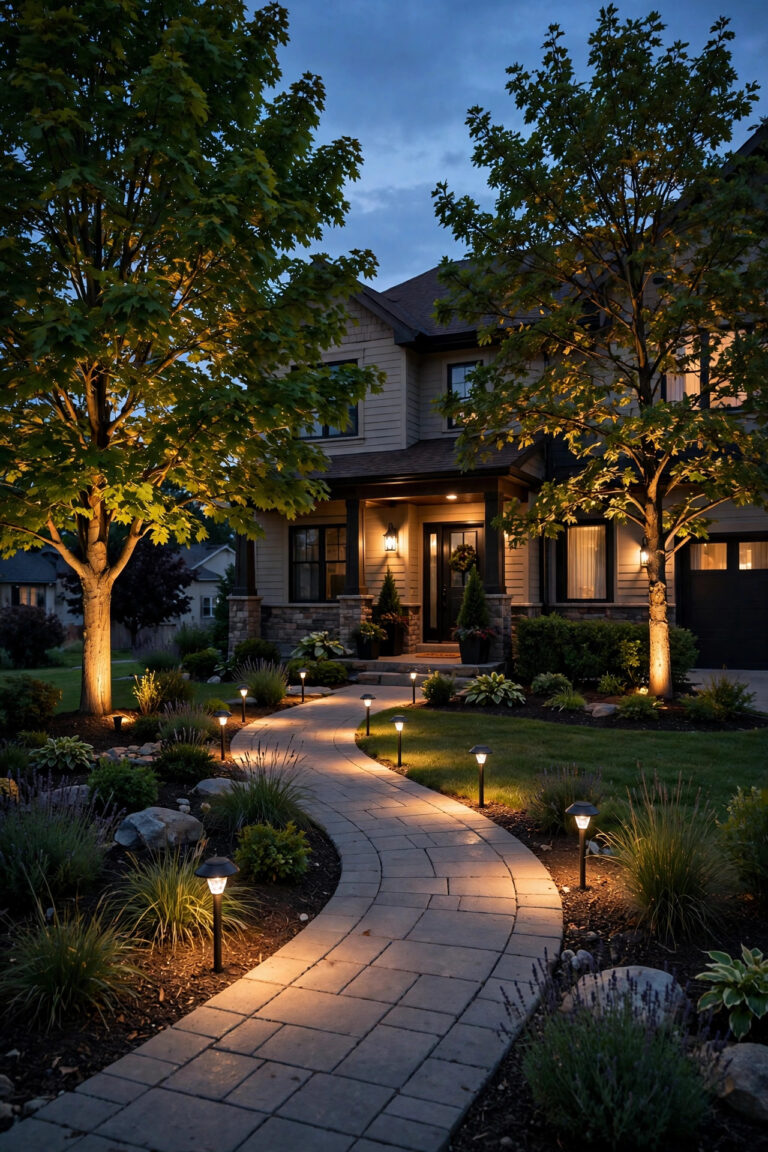
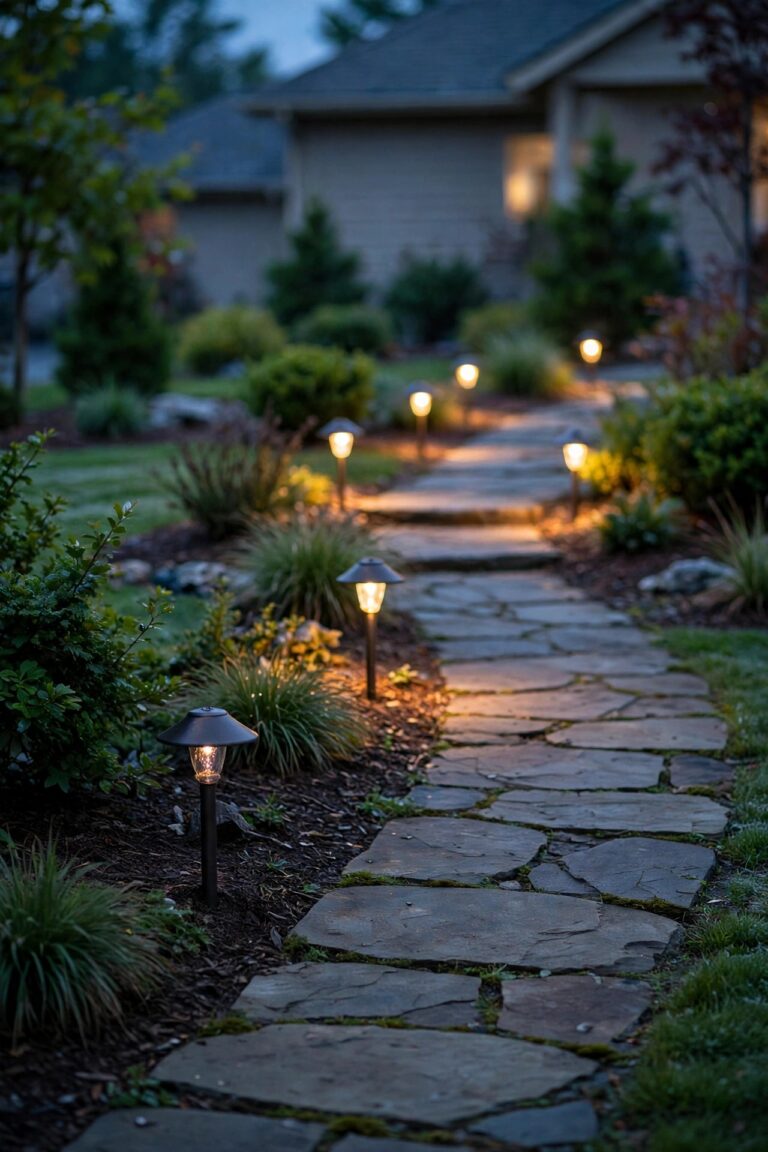
Every October, the same thing catches me off guard: I pull into the driveway at 5:15 and the house is already dark. Summer hides a lot of sins in an outdoor lighting system — long evenings forgive a dead path light or a timer that fires at the wrong hour. Fall does not. That is exactly why I keep a fall outdoor lighting checklist, and why I work through it on one or two mild October weekends instead of waiting for the first truly cold night. A summer of growth, mower bumps, mulch and storms quietly degrades everything: lenses film over, solar panels collect grime, branches lean into beams, and connections corrode where you cannot see them. This guide walks through the whole routine in the order I actually do it — audit, clean, reprogram, repair, stock up — so your entry, walks and patio stay bright and safe from the first early sunset to the last dark morning of winter. Nothing here needs a ladder truck or an electrician for most homes. It needs a free evening at dusk, a bucket, and a list. Let us start with the walk.
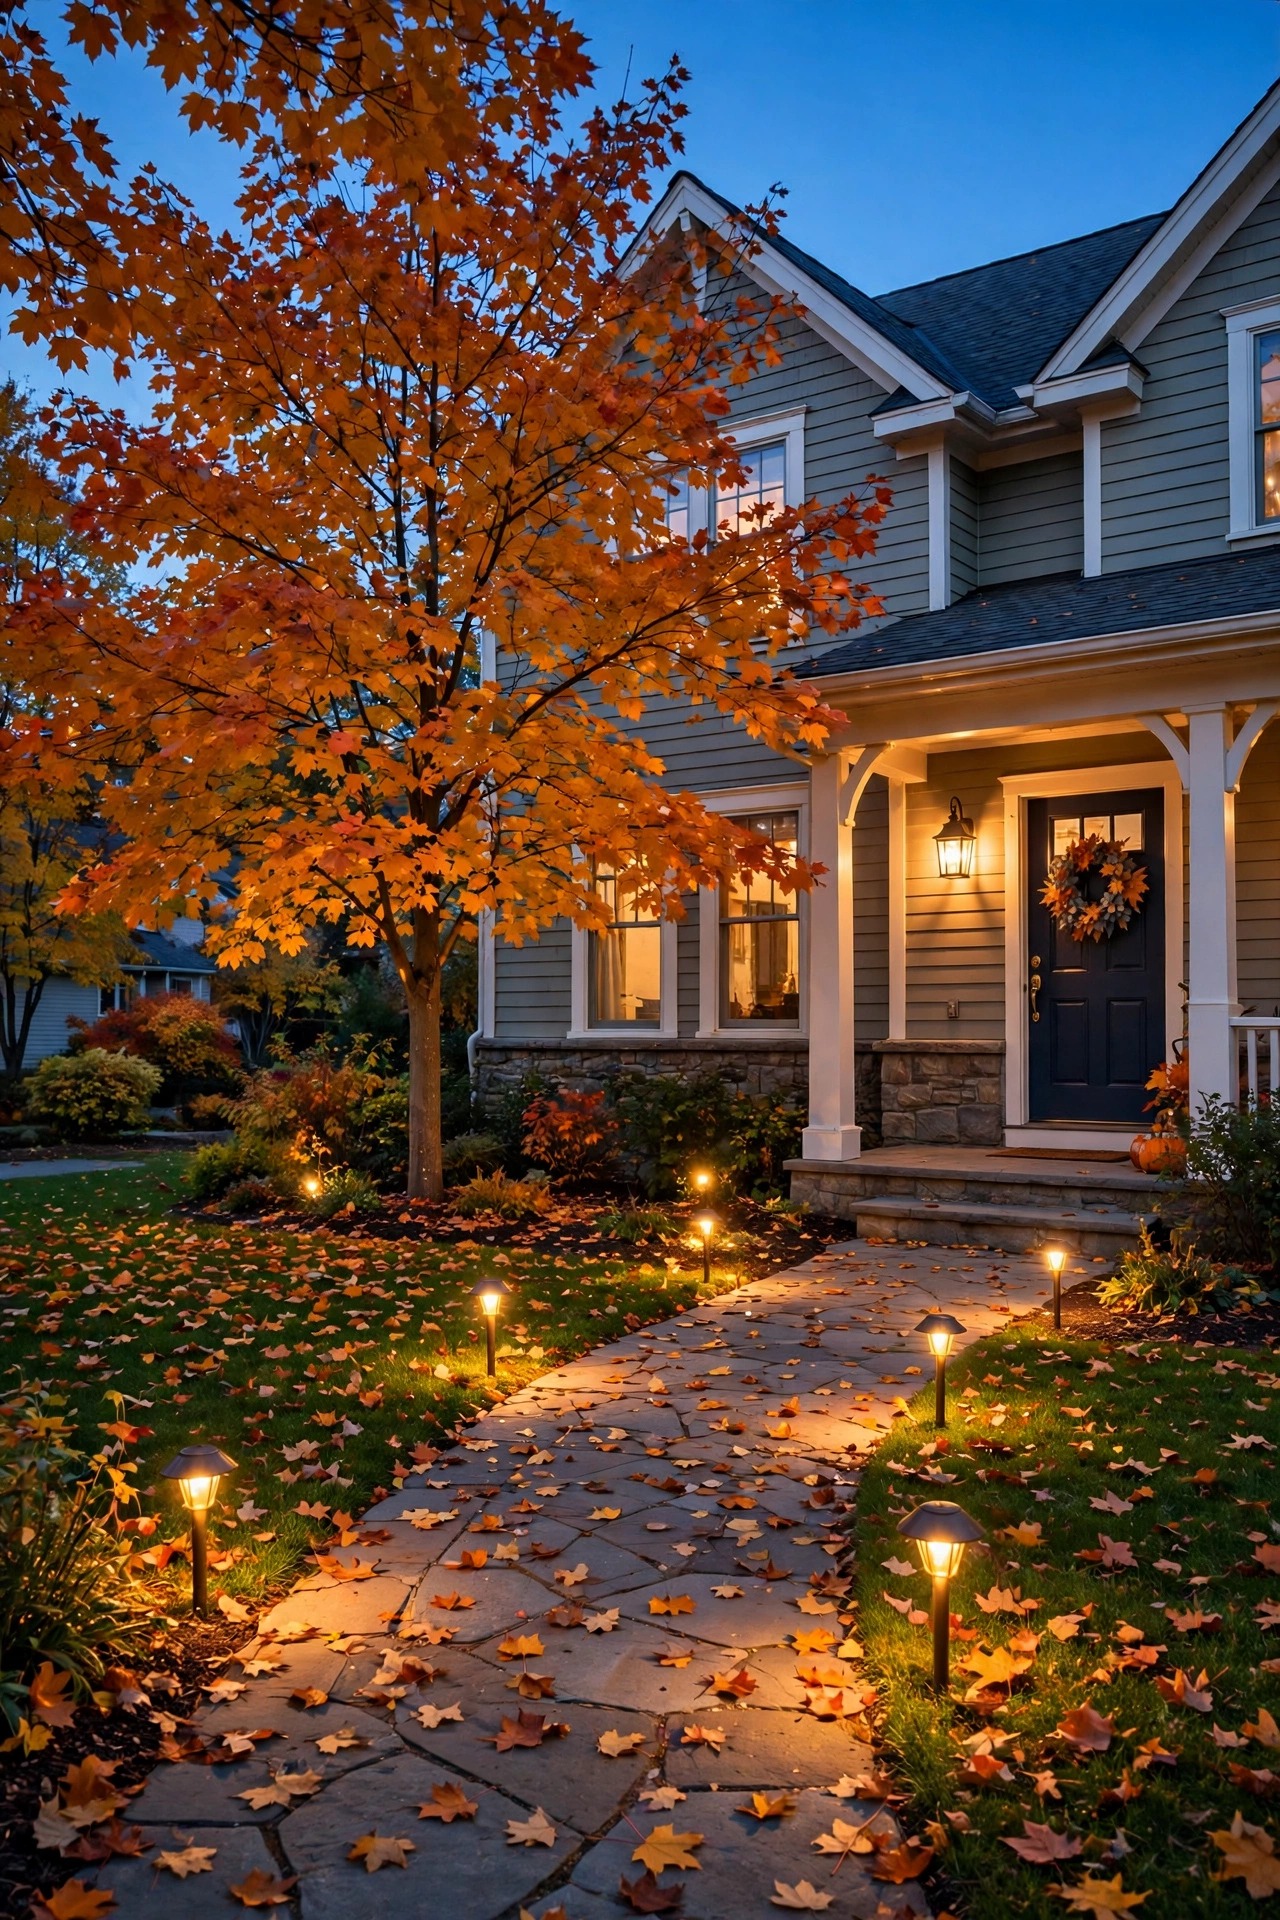
The Short Answer
Short version: give your system one dusk walk, one cleaning, and one reprogramming session before the clocks change. Walk the property after dark and list every dead, dim or flickering light. Wipe every lens and solar panel. Reset timers and photocells for a sunset that now lands before dinner. Swap tired solar batteries and burned-out bulbs, trim branches out of the beams, check cables and connections before the ground freezes, re-aim anything the mower nudged, and stock a small spares bin. Do that in October and your lights will simply work all winter, no mid-January surprises.
Step One on My Fall Outdoor Lighting Checklist: The Dusk Audit
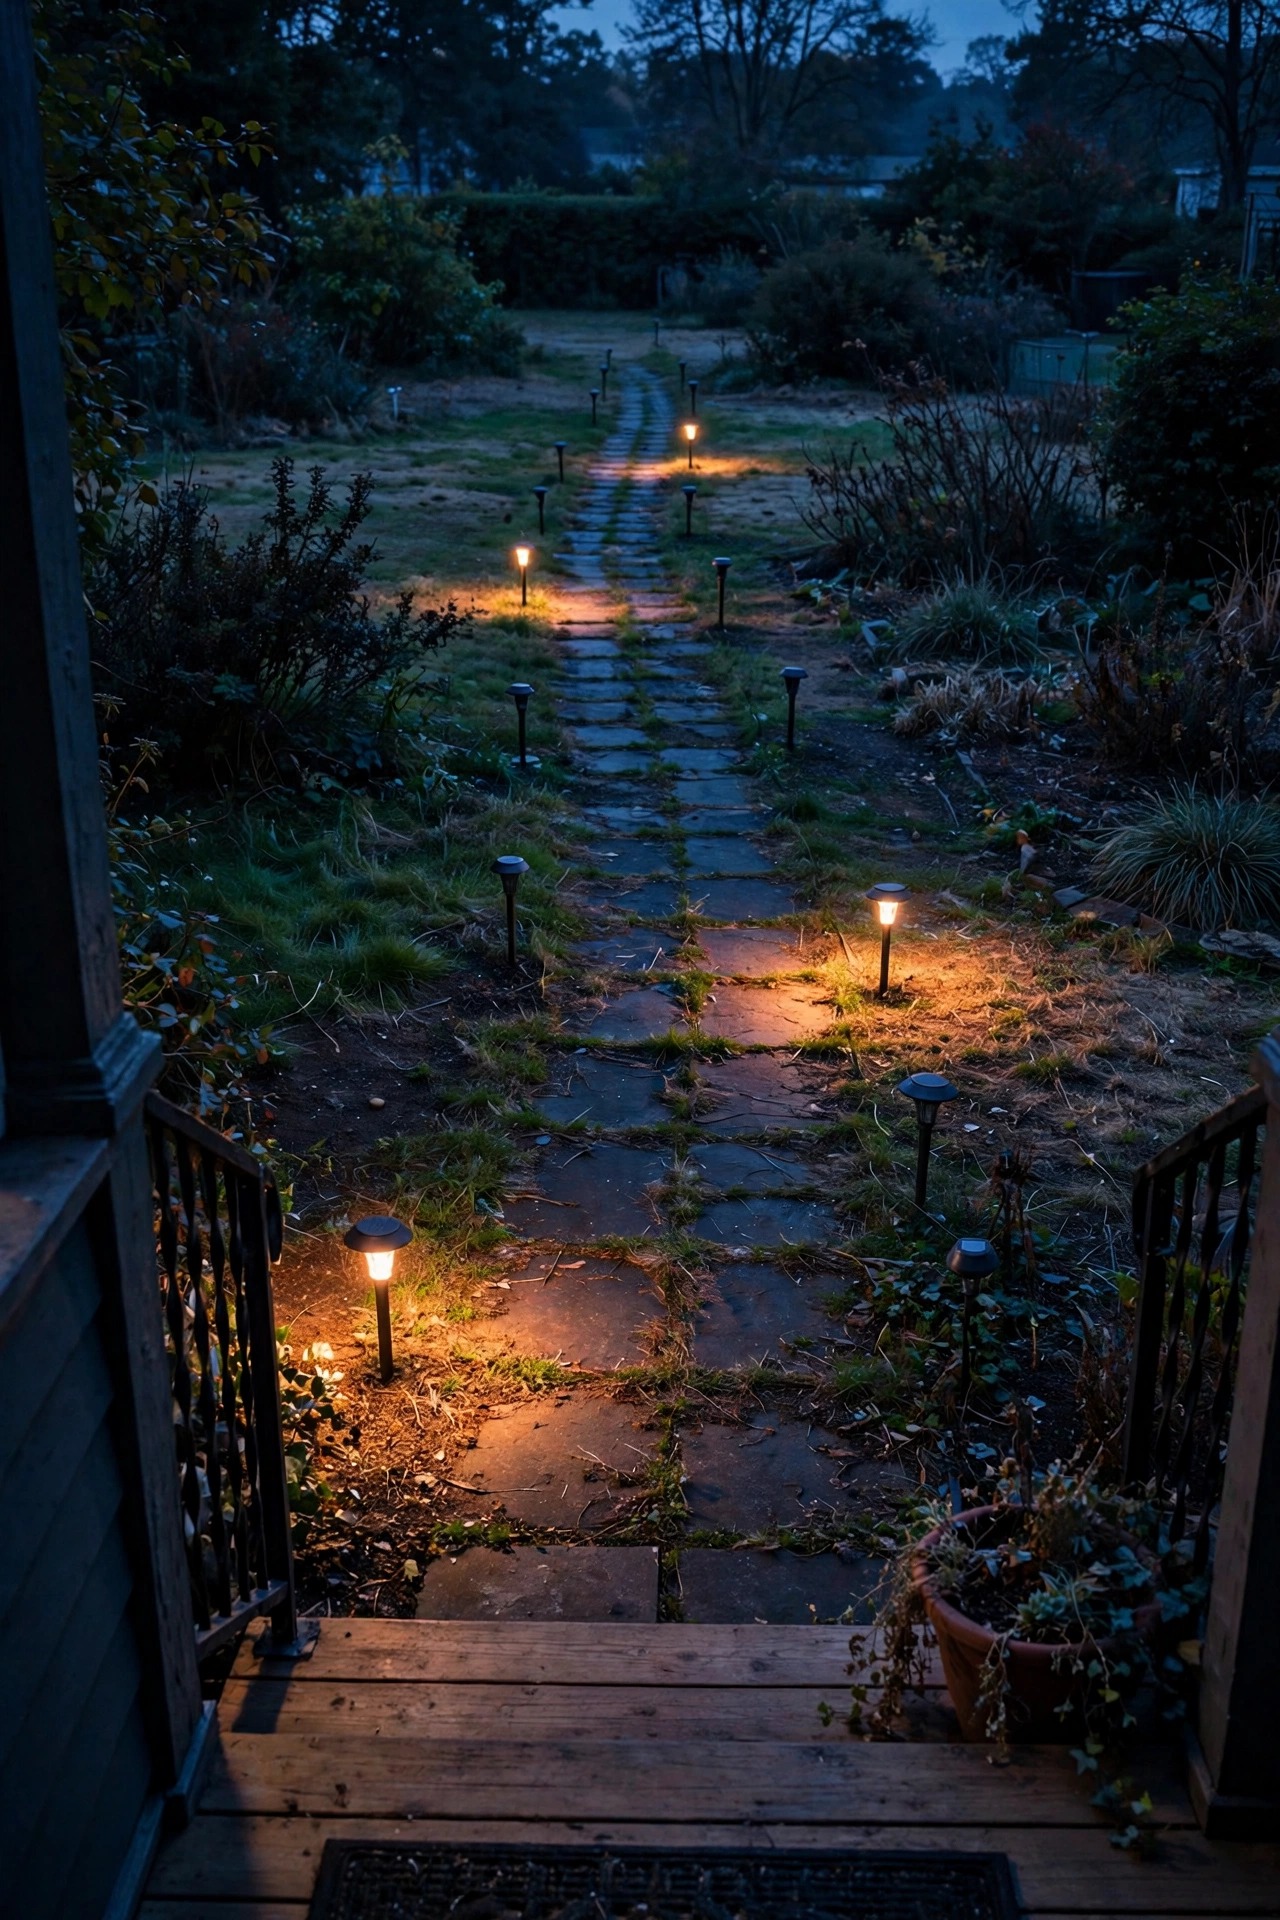
Do not start with a wrench. Start with a walk, after full dark, on the first mild evening you can — this single habit separates a system that gets fixed from one that gets guessed at. I begin at the street, because that is the view your guests and your own headlights get. Work inward slowly, phone in hand, and give every fixture a verdict: on and bright, on but dim, flickering, or dead. Dim matters as much as dead — a path light glowing at half strength usually means a filmed-over lens, a tired battery, or voltage sagging on a long run, and each has a different fix. Flickering almost always points at a connection, so note exactly which fixture and whether the whole run blinks or just one head. Then do the same walk in reverse, from the house looking out, and finally stand inside and look through the glass doors: any bare bulb glaring into the living room goes on the re-aim list. Photograph the worst spots; in daylight everything looks innocent. By the end you have a real work list — counts for the battery and bulb run, names for the cleaning bucket, suspects for the cable check — instead of a vague feeling that the yard looks tired.

Clean Every Lens, Panel and Globe
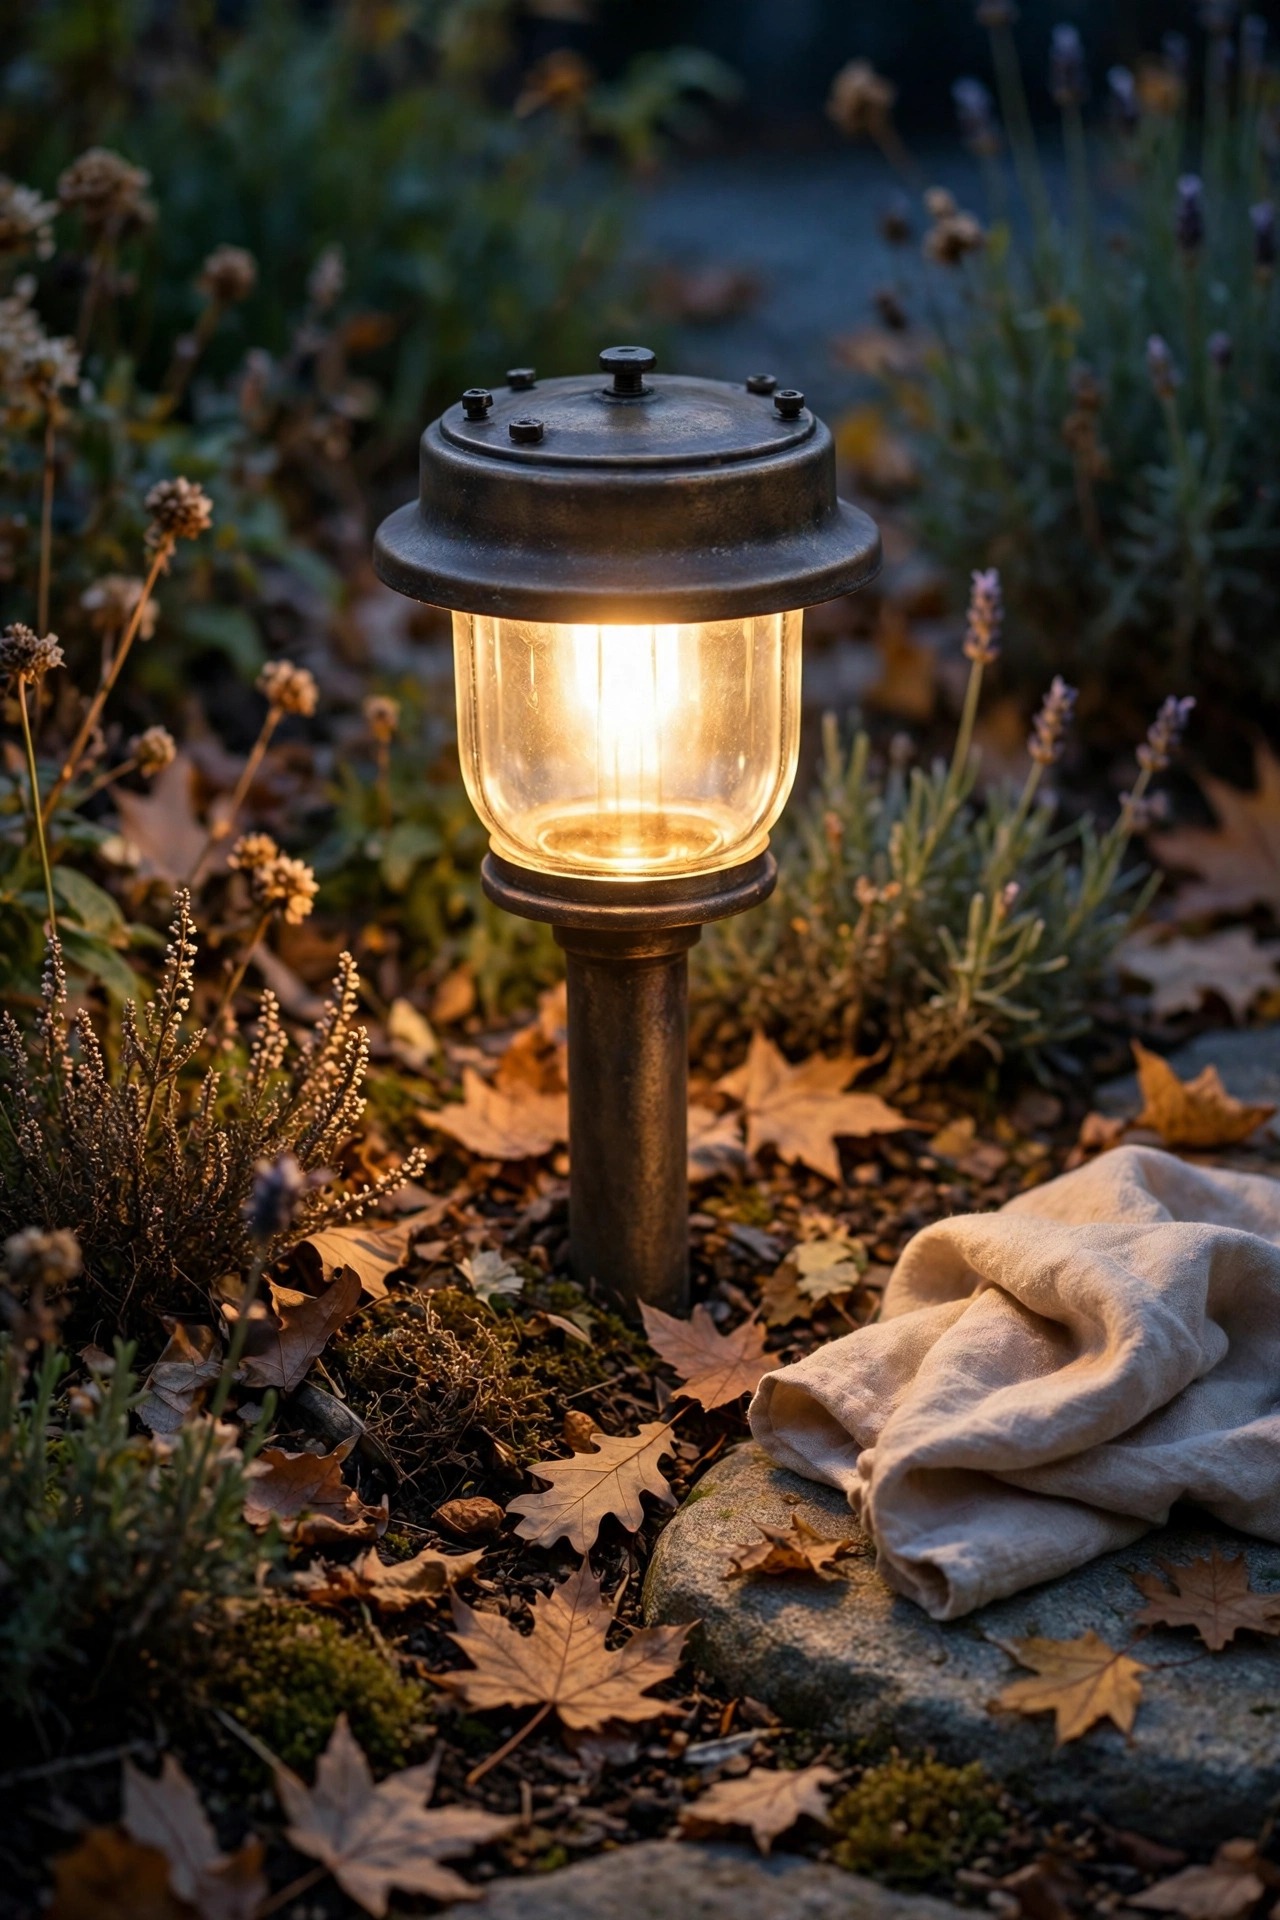
You would be amazed how much light a dirty lens steals. A season of pollen, dust, sprinkler spots and cobwebs can film a fixture over until it glows at two-thirds of what you paid for, and on solar lights a grimy panel quietly shortens the runtime every single night. My cleaning kit is boring on purpose: a bucket of warm water with a drop of mild dish soap, two soft cloths, and an old soft toothbrush for textured lenses and the little solar panels on stake lights. Wipe, rinse, and dry — drying matters, because air-dried droplets leave fresh spots behind. Clear cobwebs out of sconces and lantern housings, and check under eaves fixtures where wasps spent the summer. For yellowing plastic lenses or hard-water haze that soap will not touch, my deeper routine to clean and restore fixture lenses covers the gentle polishing method that brings them back without scratching. One firm rule: nothing abrasive, ever — no scouring pads, no powdered cleansers, no glass cleaner with grit. Micro-scratches hold dirt faster than the original grime did. Give solar panels special attention: with winter days getting shorter, every bit of panel you uncover is runtime you get back for free.
Reprogram Timers and Photocells for the Early Dark
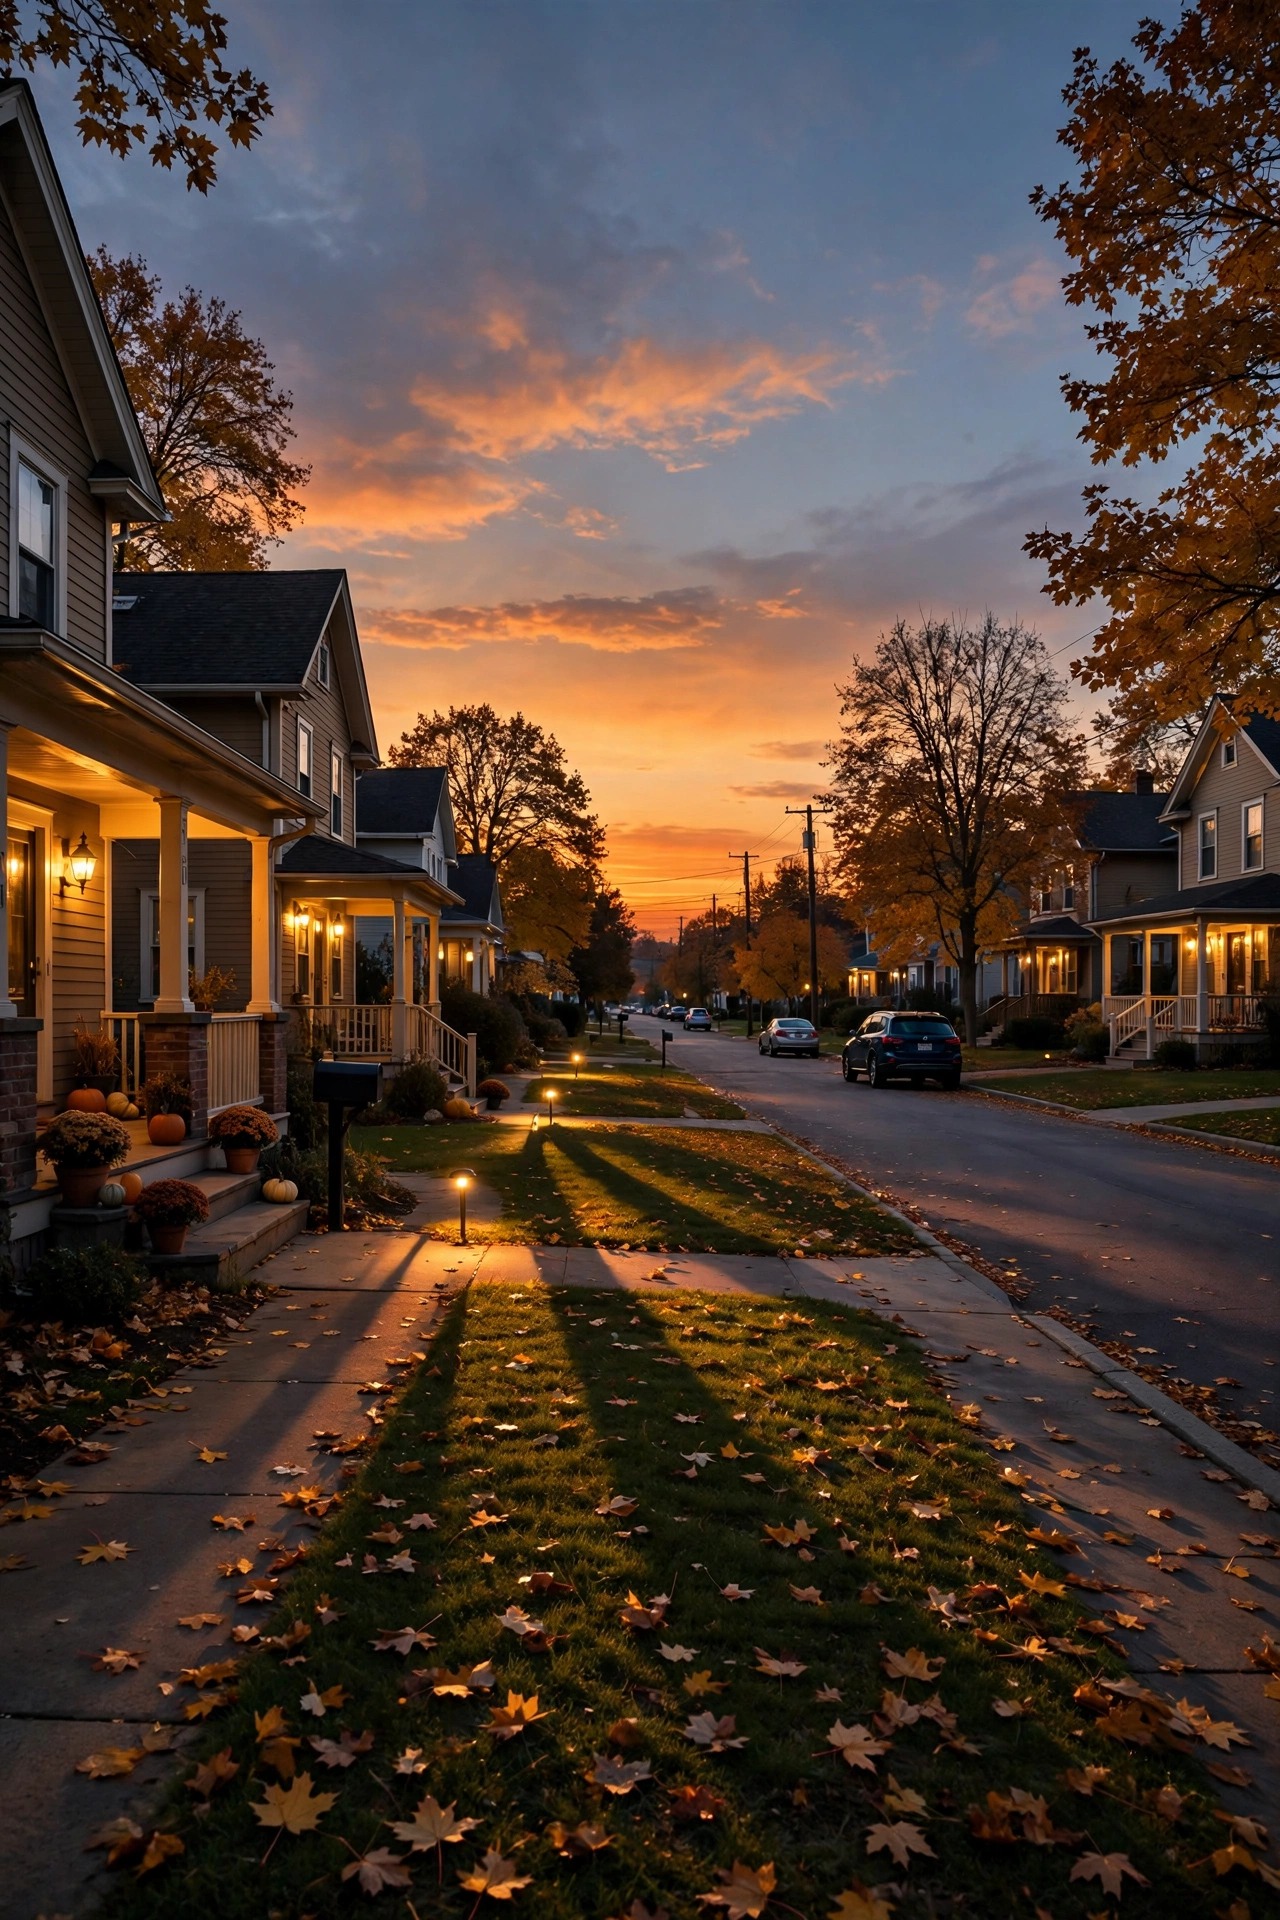
Here is the fall shock nobody budgets for: sunset is heading toward 4:30 in the afternoon. A timer you set in June, when lights-on at 8 felt right, now leaves your entry dark for the three busiest hours of the evening — the commute, the dog walk, the pizza delivery. So sit down with every timer in the system. Mechanical timers get their pins moved; digital ones get a new on-time about fifteen minutes before sunset; and if your transformer or plug-in timer offers an astronomic mode that tracks the sunset for your zip code and adjusts itself all season, turn it on and stop thinking about it until spring. My notes on getting that set up live in this astronomical timer setup guide, and honestly it is the single best upgrade on this whole page. Photocells need love too: wipe the little sensor eye while you are cleaning, because a filmed-over photocell thinks it is dusk at noon and burns your bulbs all day. Check that no branch that grew this summer now shades the sensor, and test it at dusk — the light should click on within a minute or two of its neighbors. Finally, split your thinking: security and entry lights earn dusk-to-dawn or late hours, while pure accent zones can retire at 11 and save the bulbs.
Do the Battery and Bulb Round Before Winter
Fall is when I replace rechargeable batteries in every solar fixture that looked tired on the audit, and I do it now for one simple reason: winter is the worst possible season for solar. Short days, low sun, and cold cells mean a battery that limped through August will quit entirely by December. Swap in fresh cells as matched sets within each fixture — one new battery beside two exhausted ones just gets dragged down to their level — and match the size and chemistry the fixture came with. If you have never opened yours up, this walkthrough of how to replace solar light batteries shows the sizes and the two-minute method. While the screwdriver is out, do the bulb round on wired fixtures: pull anything burned out, and if you still have an old halogen flood or two burning hot over the driveway, this is the weekend to retire it for an LED. The light is warmer, the heat near siding and dry leaves is gone, and the running cost drops to nearly nothing. Write down every bulb type and battery size you now own on the inside of the spares bin lid. Future you, standing in a cold garage in January, will be grateful for that list.

Trim, Clear and Unbury Your Fixtures
Your lighting plan was drawn against the yard as it looked in spring. The yard has had other ideas. Walk the beds in daylight with pruners and lift every beam out of its summer overgrowth: branches that leafed out in front of uplights, shrubs that swallowed the wash you aimed at the stone wall, perennials flopping across path light heads. You usually only need to clear a foot or two of space around each beam, not reshape the plant. Then get down low and look for the buried. Mulch creeps, beds get topped up, and edgers push soil — I routinely find path lights sunk an inch deeper than I set them, lenses half under mulch, throwing their light into the dirt. Pull mulch and soil back a few inches from every fixture base. And accept the autumn reality: leaves will bury low fixtures again and again between now and December, so fold a two-minute fixture check into your raking rhythm. A light you can see is a light that works; half the fall failures I get asked about are just a well light wearing a blanket of wet oak leaves.
Check Cables and Connections Before the Ground Freezes
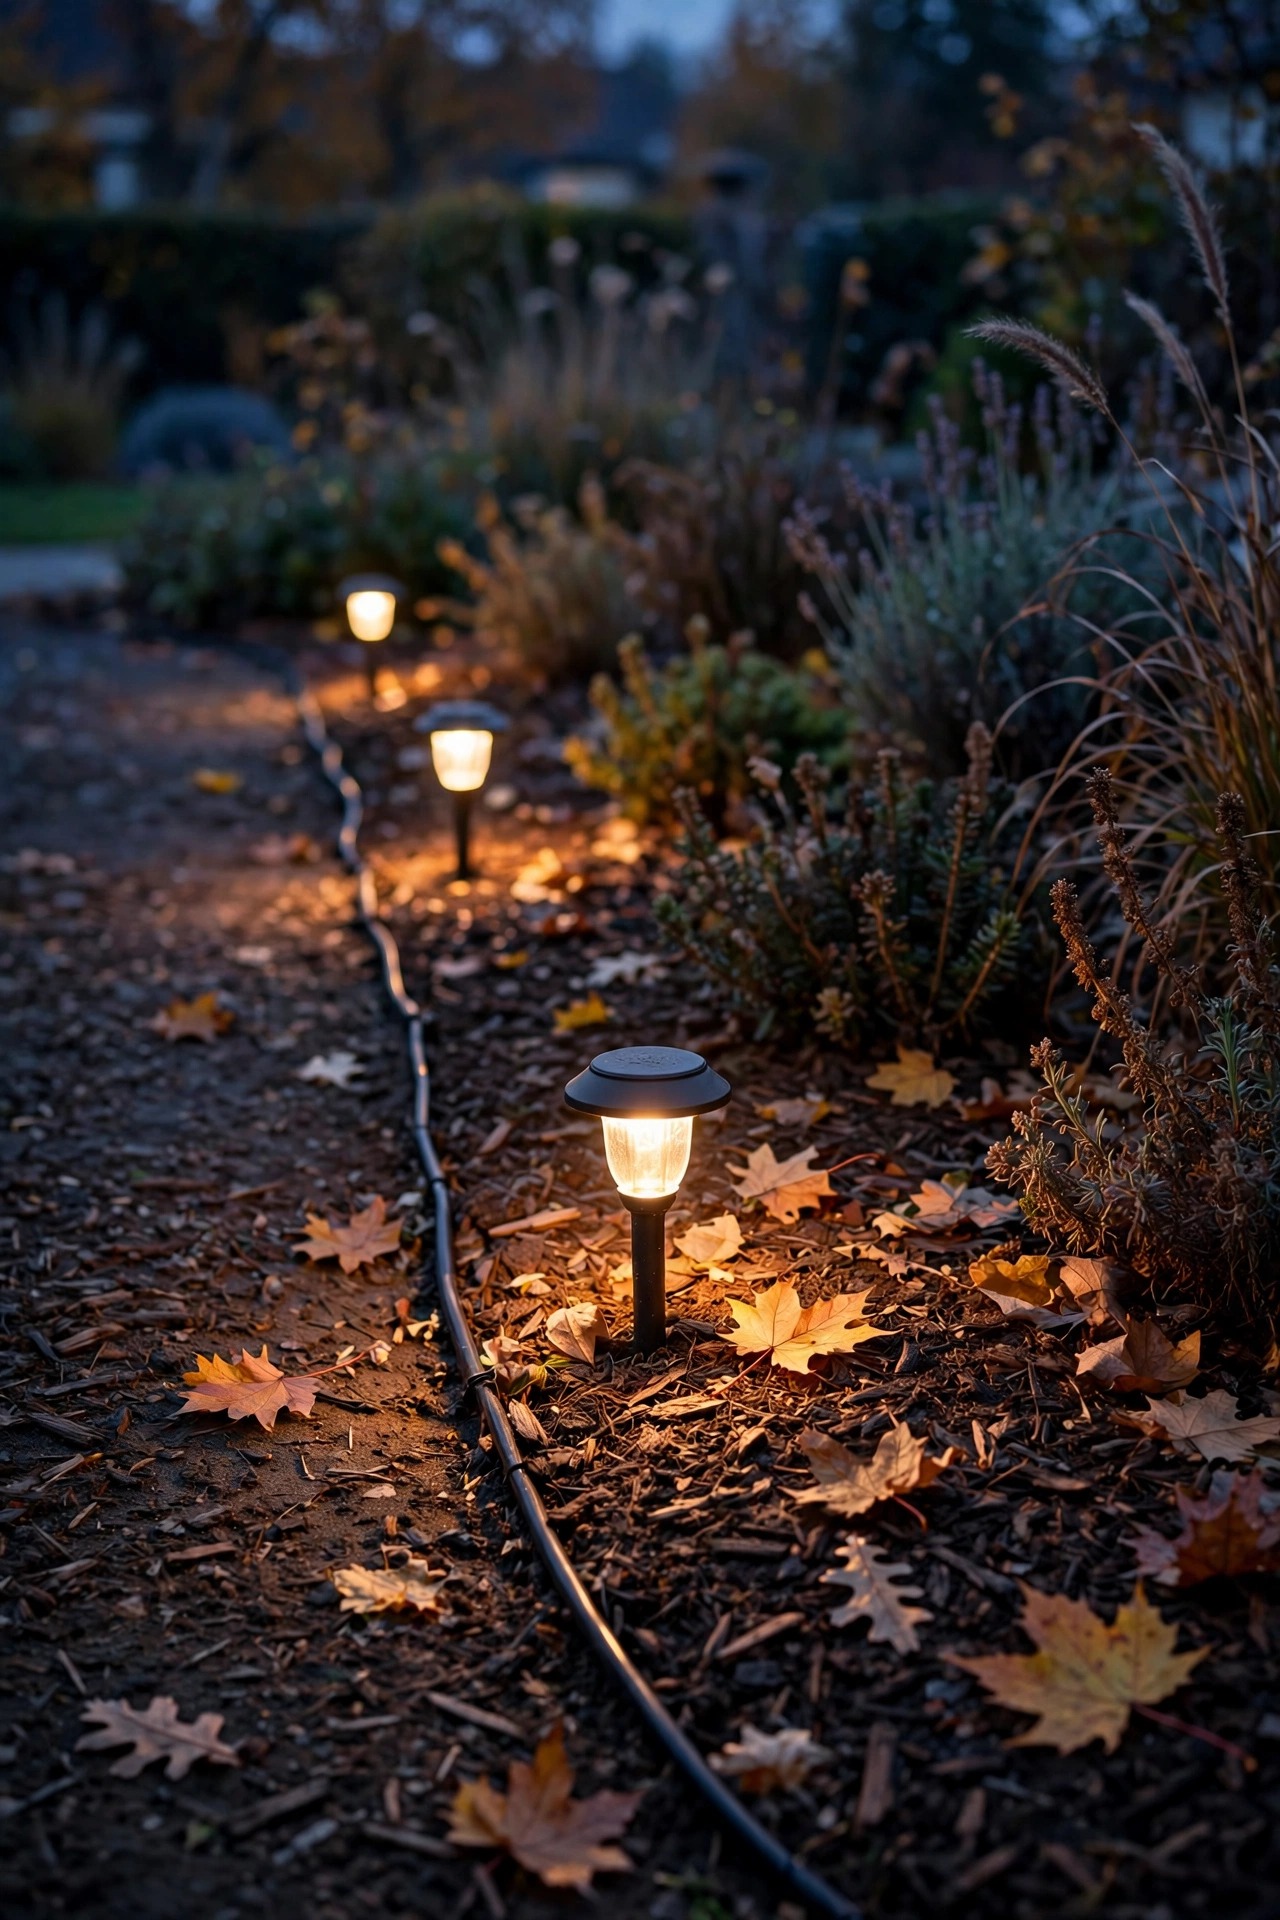
Everything in this step is easier in October than in January, because in January the ground is concrete. Start where your audit flagged flicker: on low-voltage systems, that almost always means a connection, and the usual suspect is the pierce-style clip that came free in the box. They corrode, they loosen, and the fixture blinks every time the cable gets bumped. Cut them out and remake those joints with gel-filled waterproof connectors, which seal the copper away from moisture for good. Walk every cable run with your eyes: edging, aerating and summer digging expose shallow lines, and an exposed cable across a bed is one careless shovel away from a dead run. Re-bury anything showing to a few inches deep and press the soil firm, because frost heave will push loose connections upward all winter if they start loose. Tug-test each connector gently. Then finish at the transformer: vacuum the dust and spider webs out of the housing, confirm it is mounted plumb, and press the test button on the GFCI outlet feeding it — if it will not trip and reset cleanly, that outlet goes on the fix list before the holiday load arrives.
Re-Aim and Tighten Everything Summer Knocked Loose
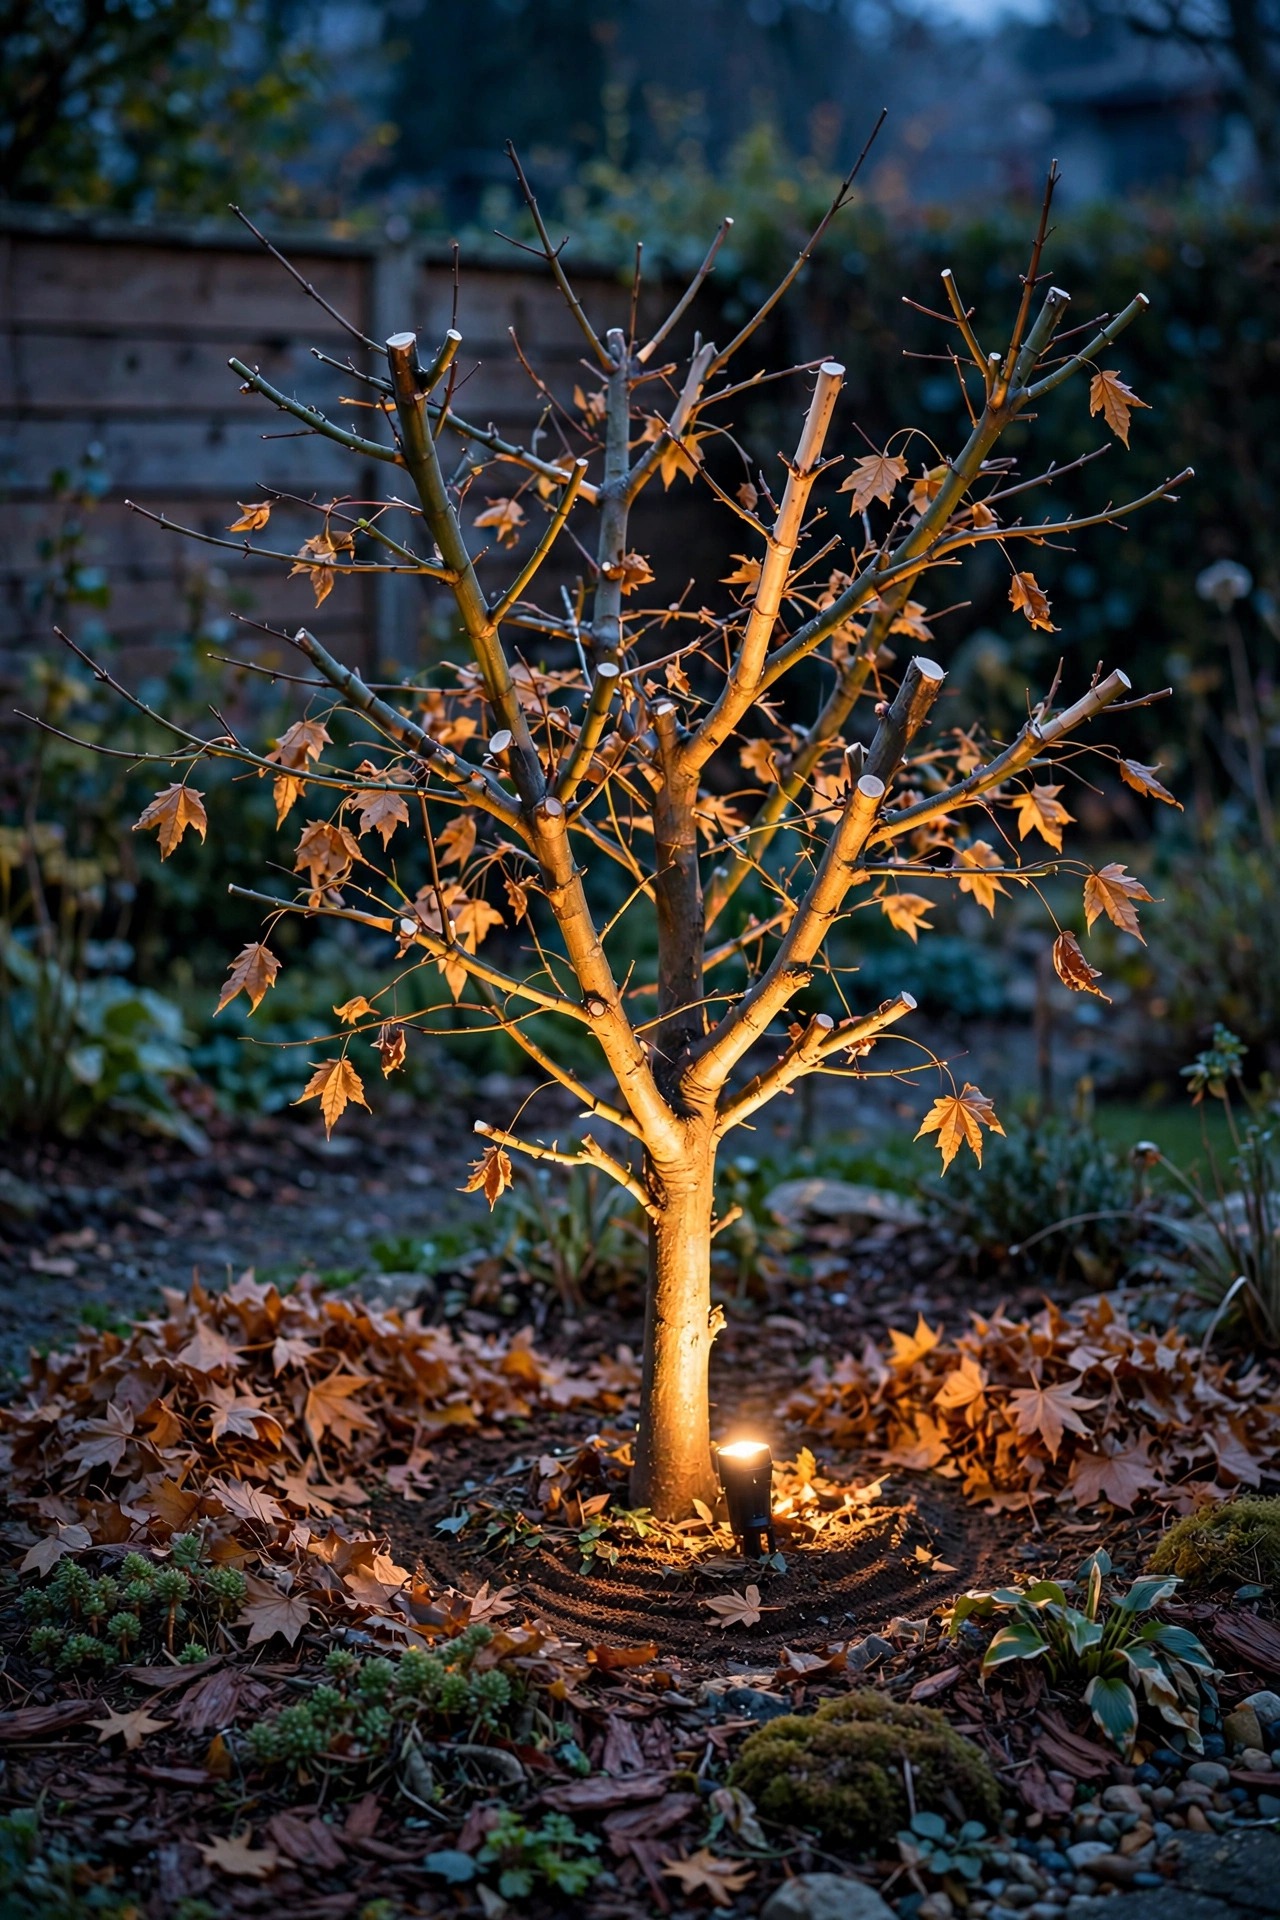
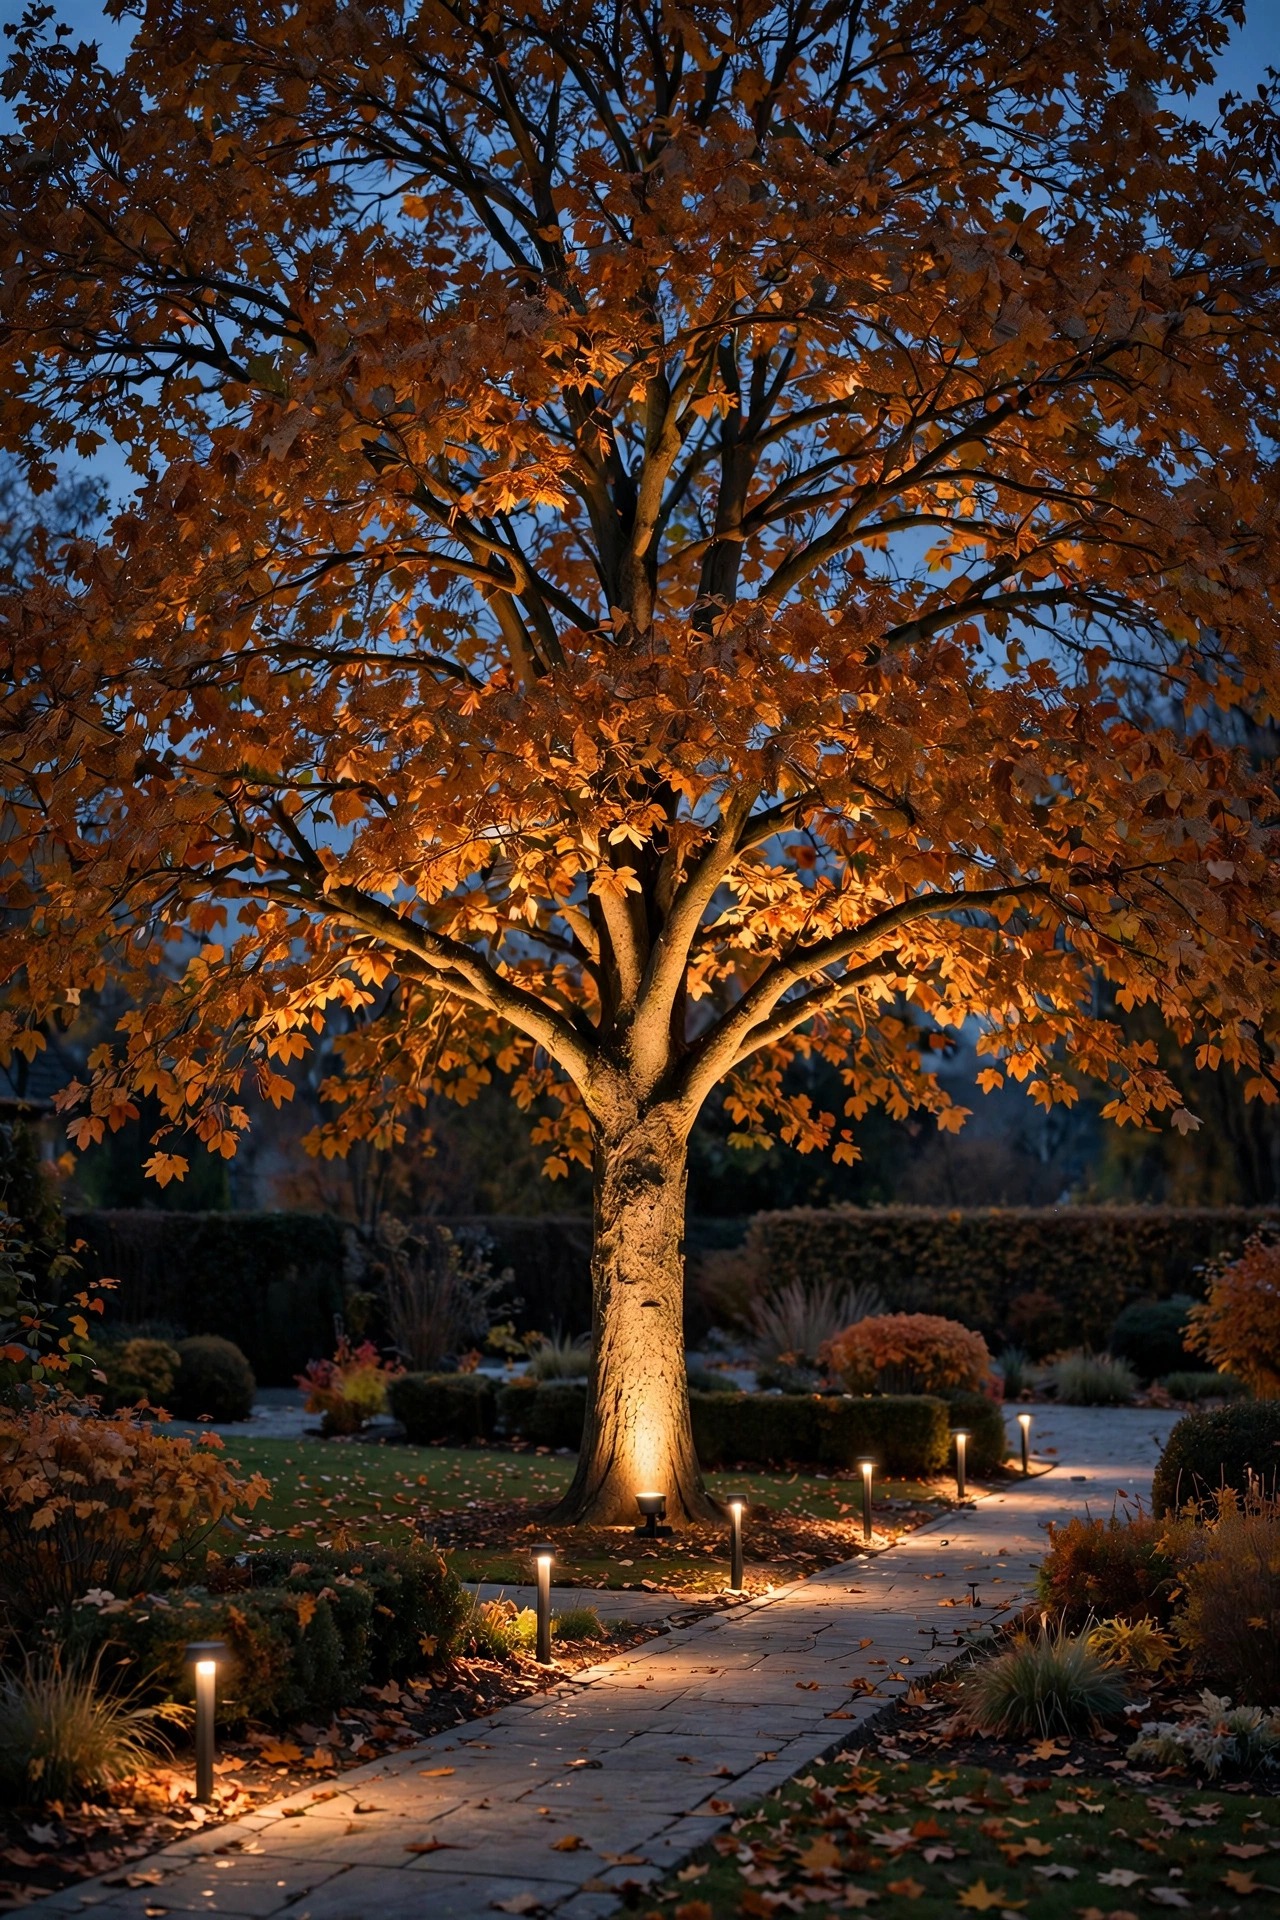
Stakes lean. It is what they do — one mower bump, one dog, one enthusiastic game of backyard soccer, and your careful tree uplight is now spotlighting the fence. Aiming in daylight is guesswork, so make this a dusk job: one person at the fixture, one at the viewpoint, phones on speaker. Work your audit list in order. Straighten stakes by pressing down on the base with your foot rather than hauling on the head, which bends stems and loosens lenses. Re-aim spotlights at the trunk-and-canopy targets you chose originally, and re-check the view from inside the house so no bare bulb stares through the patio doors at the dinner table. While your hands are on each fixture, tighten what summer vibration loosened: mounting screws on sconces and floods, set screws on well lights, and the little stems on path lights that now wobble. If you cleaned lenses earlier in the day, confirm every gasket seated back properly — a pinched gasket is how a dry fixture becomes a fogged one after the first cold rain. Finish by standing at the street again: the layered, aimed system you remember from June should be back.
Stock the Spares Bin Now
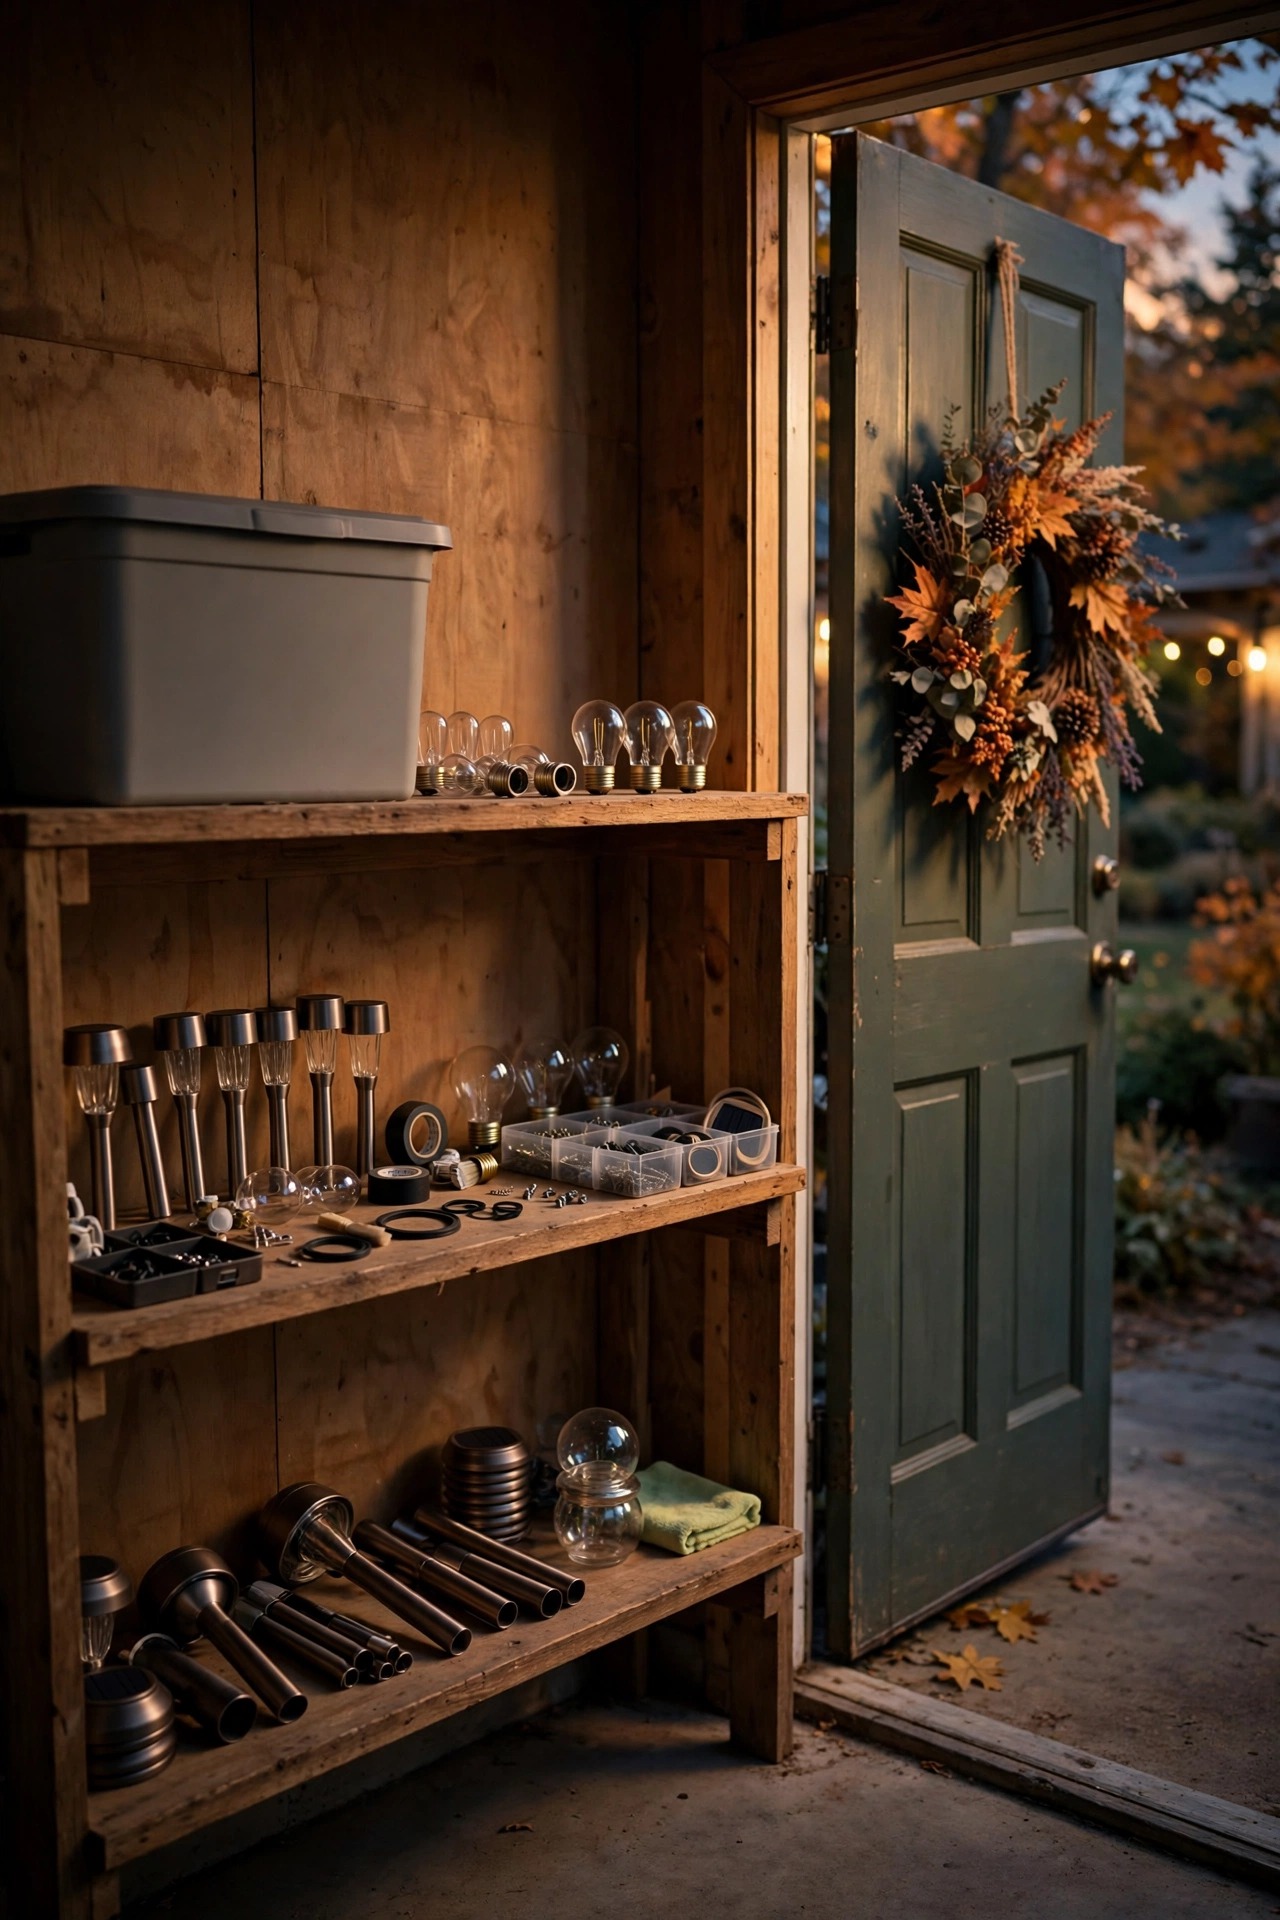
Every frustration this system will cause you this winter can be softened by one plastic bin bought and filled in October. Mine lives on a garage shelf and holds: two spare bulbs in each size my wired fixtures use, one full set of rechargeable batteries for the solar stakes, a handful of gel-filled connectors, electrical tape, spare zip ties, and one complete spare path light that matches my set, bought while the same model is still on the shelf. That last one matters more than people think — models change every season, and a mismatched replacement in the middle of a run sticks out forever. Label the bin, and store it indoors rather than in a freezing shed, because batteries hate being stored cold and empty. The logic is simple: a bulb will die on the coldest, darkest night of the year, because that is when bulbs die. On that night you will not drive anywhere for a replacement. You will either walk to the garage bin, coffee in hand, and fix it in four minutes — or you will leave it dark until March. Stock the bin and be the first kind of homeowner.
What It Costs in 2026
The honest headline: for most homes this entire prep is a $40 to $120 weekend, and most of that is batteries and bulbs you would buy eventually anyway. Cleaning costs almost nothing — dish soap, cloths and a soft brush you already own; a bottle of plastic-safe lens cleaner runs $6 to $10 if your lenses are hazy. Replacement rechargeable cells for solar lights cost about $2 to $4 each in multipacks, so refreshing a typical set of eight path lights lands between $16 and $32. LED replacement bulbs run $4 to $9 each, and retiring two old halogen floods costs $10 to $18 in new lamps. If your audit pushes you to upgrade one thing, make it the timer: a plug-in astronomic timer is $20 to $40, and it ends the twice-a-year reprogramming chore permanently. Gel-filled waterproof connectors are about $1 to $2 each, or $10 to $15 for a bag of ten, and one matching spare path fixture is $10 to $25. A lighting company will happily sell you a seasonal tune-up visit for $150 to $300 — worth it for big line-voltage systems, hard to justify for a yard you can walk in twenty minutes. Running costs stay tiny either way: a 100-watt low-voltage system on for six hours a night uses about 0.6 kilowatt-hours, roughly a dime a night at typical residential rates.

Plan the Holiday Layer as Its Own Project
Here is a trap I fell into exactly once: I treated December decorating as a continuation of fall prep, unplugged half my careful work to feed inflatables, and spent January rebuilding the system I had finished in October. Never again. The base lighting you have just tuned is the stage; holiday lights are a show that visits it. So while you are already in lighting mode, plan that layer separately. Decide now which outlets and which circuit will carry the holiday load, and keep the transformer for your landscape system out of that math — it keeps its own job. Note which fixtures sit where the wreaths, garlands and the tree will go, so nothing you aimed gets draped, blocked or unplugged. Give the holiday gear its own labeled bins in storage, and put a date on the calendar in late November for the swap, with another in early January for the takedown. When the season ends, your fall-tuned system should still be standing there untouched underneath, ready for the longest nights of the year. Plan it that way now and December becomes decorating, not rewiring.

5 Mistakes That Quietly Undo a Fall Outdoor Lighting Checklist
You can do nine things right and still lose the season to one of these. I know, because I have made most of them.
1. Setting the timer once in June and forgetting it. Sunset moves more than two hours between midsummer and December. A system that felt perfect in July is lighting an empty yard at noon settings by Thanksgiving unless the timer moves with the season — or tracks the sun itself.
2. Scrubbing panels and lenses with abrasive pads or harsh cleaners. It feels productive and it ruins fixtures. Micro-scratched plastic hazes over in weeks, holds grime faster than before, and solar panels lose output you can never clean back. Soft cloth, mild soap, patience.
3. Ignoring a dim run because it still technically works. Dim is a diagnosis, not a personality trait — it means corrosion, voltage sag or a dying battery, and all three get worse in the cold. The run you shrug at in October is the one that dies outright on the coldest night of the year, when the ground is frozen and nothing can be dug.
4. Mixing one fresh battery in with tired ones. Cells in a fixture age as a team. One strong newcomer gets pulled down by its weak partners, and you conclude the fixture is broken when it was only outnumbered.
5. Prepping from memory instead of doing the dusk audit. Daylight hides every real problem. Skip the walk and you will polish fixtures that were fine while the dead one behind the shrub stays dead until spring.
Frequently Asked Questions
When is the best time to do fall lighting prep?
Mid-October is the sweet spot for most of the country: early enough that the ground is still workable and the weekends are mild, late enough that summer growth is done moving. Aim to finish before the clocks change and well before the first hard freeze, and give yourself two weekends so the dusk audit and the fixing happen on separate days.
How long does the whole routine take?
For an average yard, about three to four hours spread across two days. The dusk audit takes thirty minutes. Cleaning runs one to two hours depending on fixture count. Repairs, re-aiming and the battery round fill a second morning, and most of that is pleasant work with coffee in hand.
Do solar lights still work in winter?
Yes, but with honest limits. Shorter days and a lower sun mean less charging, so expect shorter runtimes — a light that ran until 2 a.m. in July may fade by 10 p.m. in December. Fresh batteries, clean panels and a sunny placement keep them respectable, and it helps to let accent lights be accent lights while wired fixtures guard the steps and entry.
Should my lights stay on all night during the dark season?
Split the difference. Entry, steps and driveway lights earn their keep from dusk to dawn on a photocell, especially with ice about. Pure accent lighting — tree uplights, bed washes, string lights — can retire around 11 p.m. Your bulbs last longer, the yard goes properly dark for sleeping, and the electric bill on LED loads is small either way.
Conclusion
That is the whole rhythm: walk it at dusk, clean what the summer filmed over, move the timers to meet the early dark, refresh the batteries and bulbs, clear the beams, tighten the connections, and fill the spares bin before the cold makes every job miserable. Work this fall outdoor lighting checklist once each October and winter stops being the season your yard goes dark — it becomes the season your lighting earns its keep, guiding guests up a bright walk while the rest of the street disappears at dinner time. If you are browsing for a few upgrades while you plan, wander the rest of the ideas here on the site; your October self has already done the hard part.