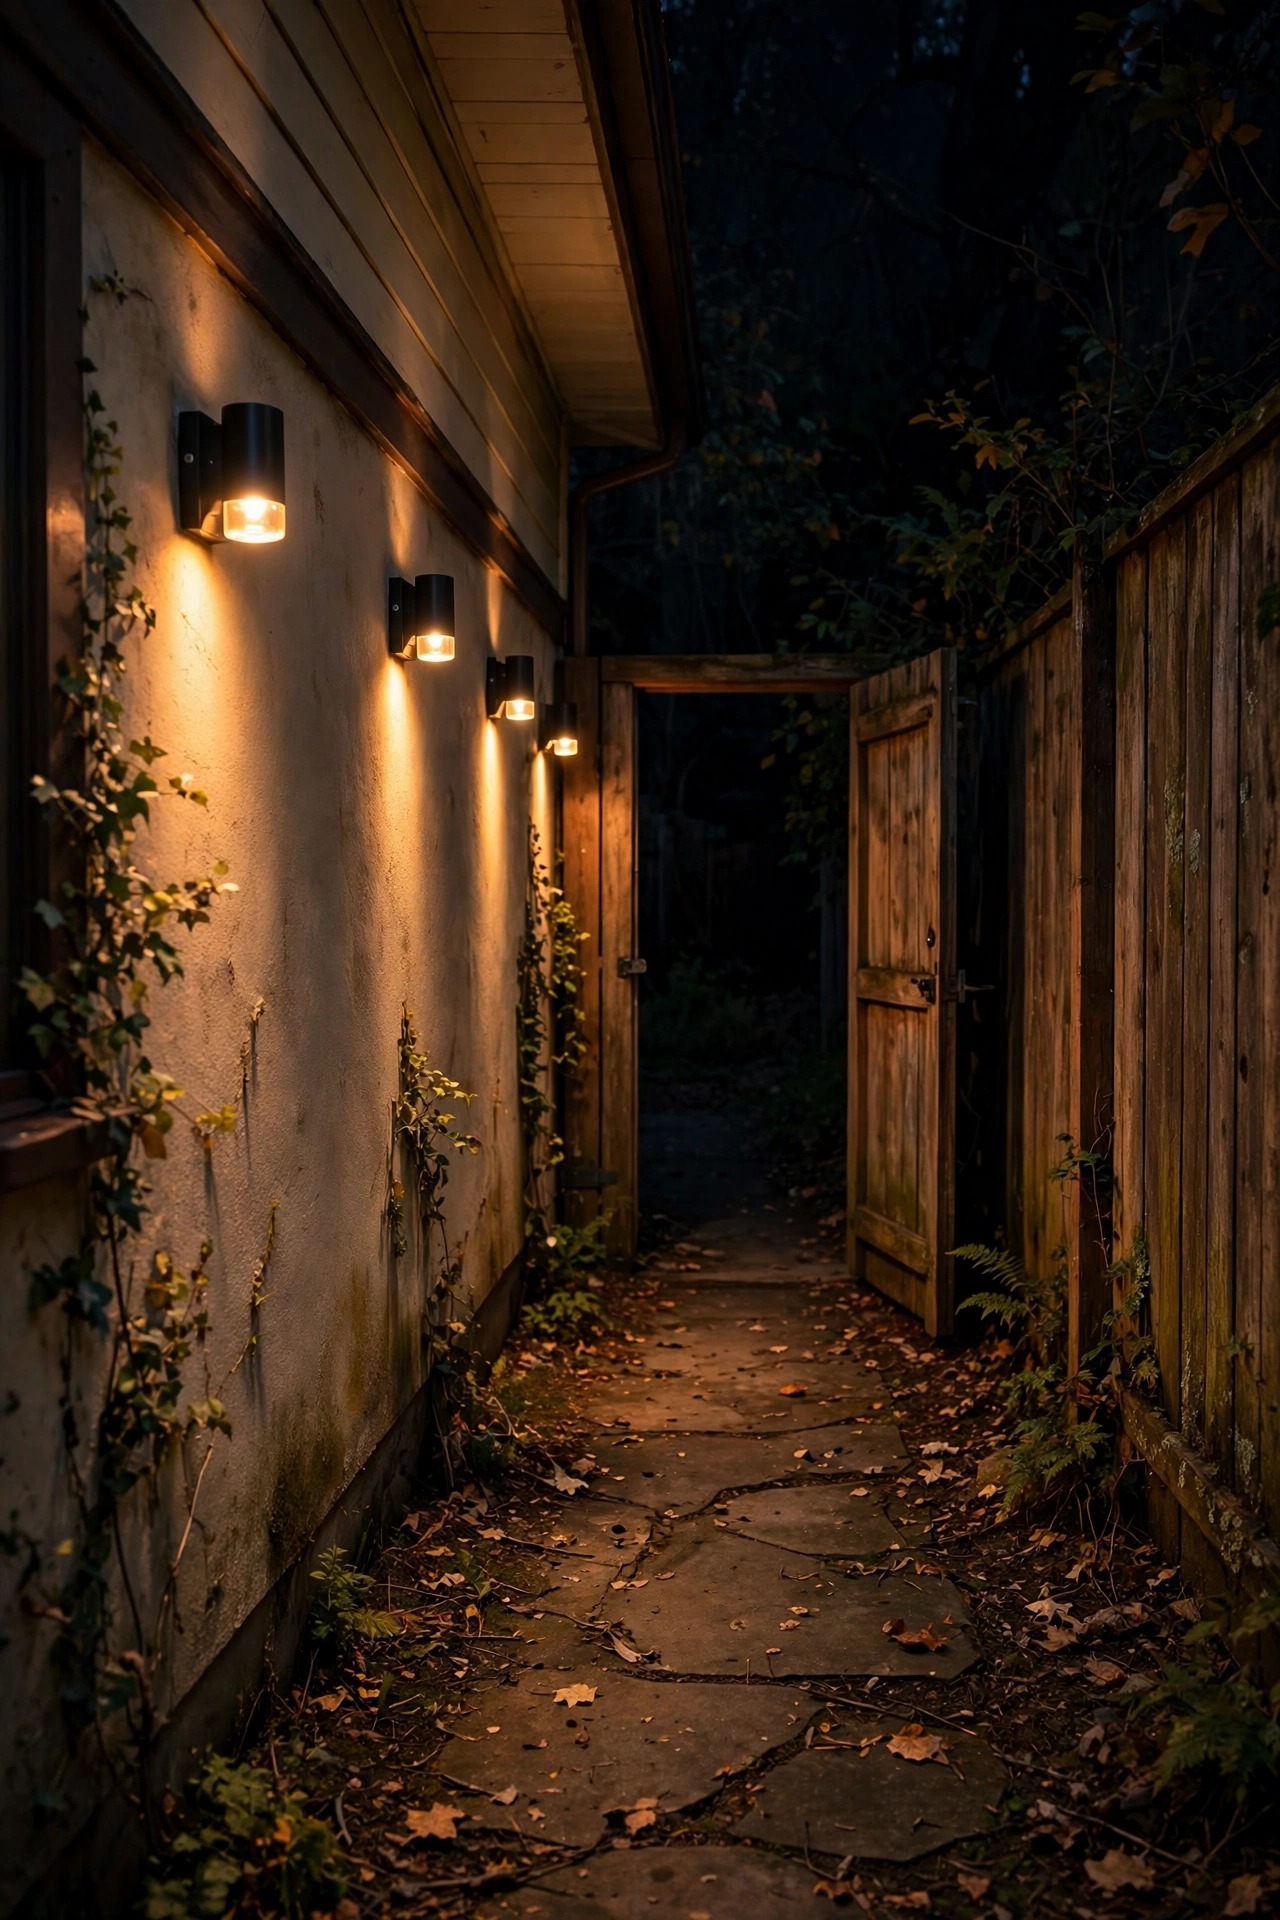
The strip of yard between your house and the fence is probably the darkest real estate you own. It is where the bins live, where the AC unit hums, where the gate latch sticks — and it is the route a prowler would choose, every time. I ignored mine for years, until a neighbor mentioned she heard someone testing our gate late one night. Good security lighting for side yards is not about flooding the passage like a stadium. It is about three layers working together: a deterrent at each end, gentle guidance light along the walk itself, and fixtures shielded and aimed downward so your neighbors sleep through all of it. In this list I will walk you through 15 ideas that turned my own gloomy side passage into the best-lit route on the lot, with honest prices, placement measurements, and sensor settings that catch people without catching every moth, cat, and passing headlight in the street beyond the fence.

1. Start With a Night Walk: Map Your Security Lighting for Side Yards
Before you buy a single fixture, walk the passage at 10 p.m. with your phone flashlight off and your eyes honest. Note where you cannot see your own feet, where a person could stand completely unseen — behind the AC unit, inside the woodpile shadow, beside the tall shrub by the side door — and which stretches already borrow a little light from the street or a neighbor. Then divide the yard into three zones on a quick paper sketch: the two ends, where deterrent light belongs; the walk itself, which needs low guidance light; and the hidden pockets, which need corner coverage. Measure the passage width (most side yards run just 4 to 8 feet) and mark the things you cannot move: meters, downspouts, the gate swing, low windows. Check the sun, too: note which fence tops and roof edges get real afternoon sun, because that decides where solar panels can live later. This twenty-minute walk is the whole design. Every idea below simply fills in one zone of the map you are about to draw.
Suggested budget range: $0 – $20.

2. Put a Shielded Motion Flood at the Gate End
The gate end is your front line, so give it the strongest honest light in the yard: a shielded motion flood mounted 8 to 10 feet up on the house wall, close to the gate. Look for a full-cutoff design where the hood hides the bulb from any standing eye level — that one detail is what separates security light from glare bomb. Aim the head down at roughly 30 to 45 degrees so the bright pool lands inside your passage, not over the fence. An LED model at 1,200 to 2,000 lumens (about 15 to 25 watts) is plenty for a narrow strip; more only buys complaints. Set the sensor range to end at your property line and the duration to 1 to 3 minutes, and mask the lens segment that faces the street if your model allows it. My guide to motion sensor outdoor lights walks through the aim-and-test routine in detail. Wired power wins here if an eave outlet or junction box is anywhere nearby, because this is the one fixture that must never be dead.
Suggested budget range: $30 – $80.

3. Run Low Shielded Path Lights Along the Passage
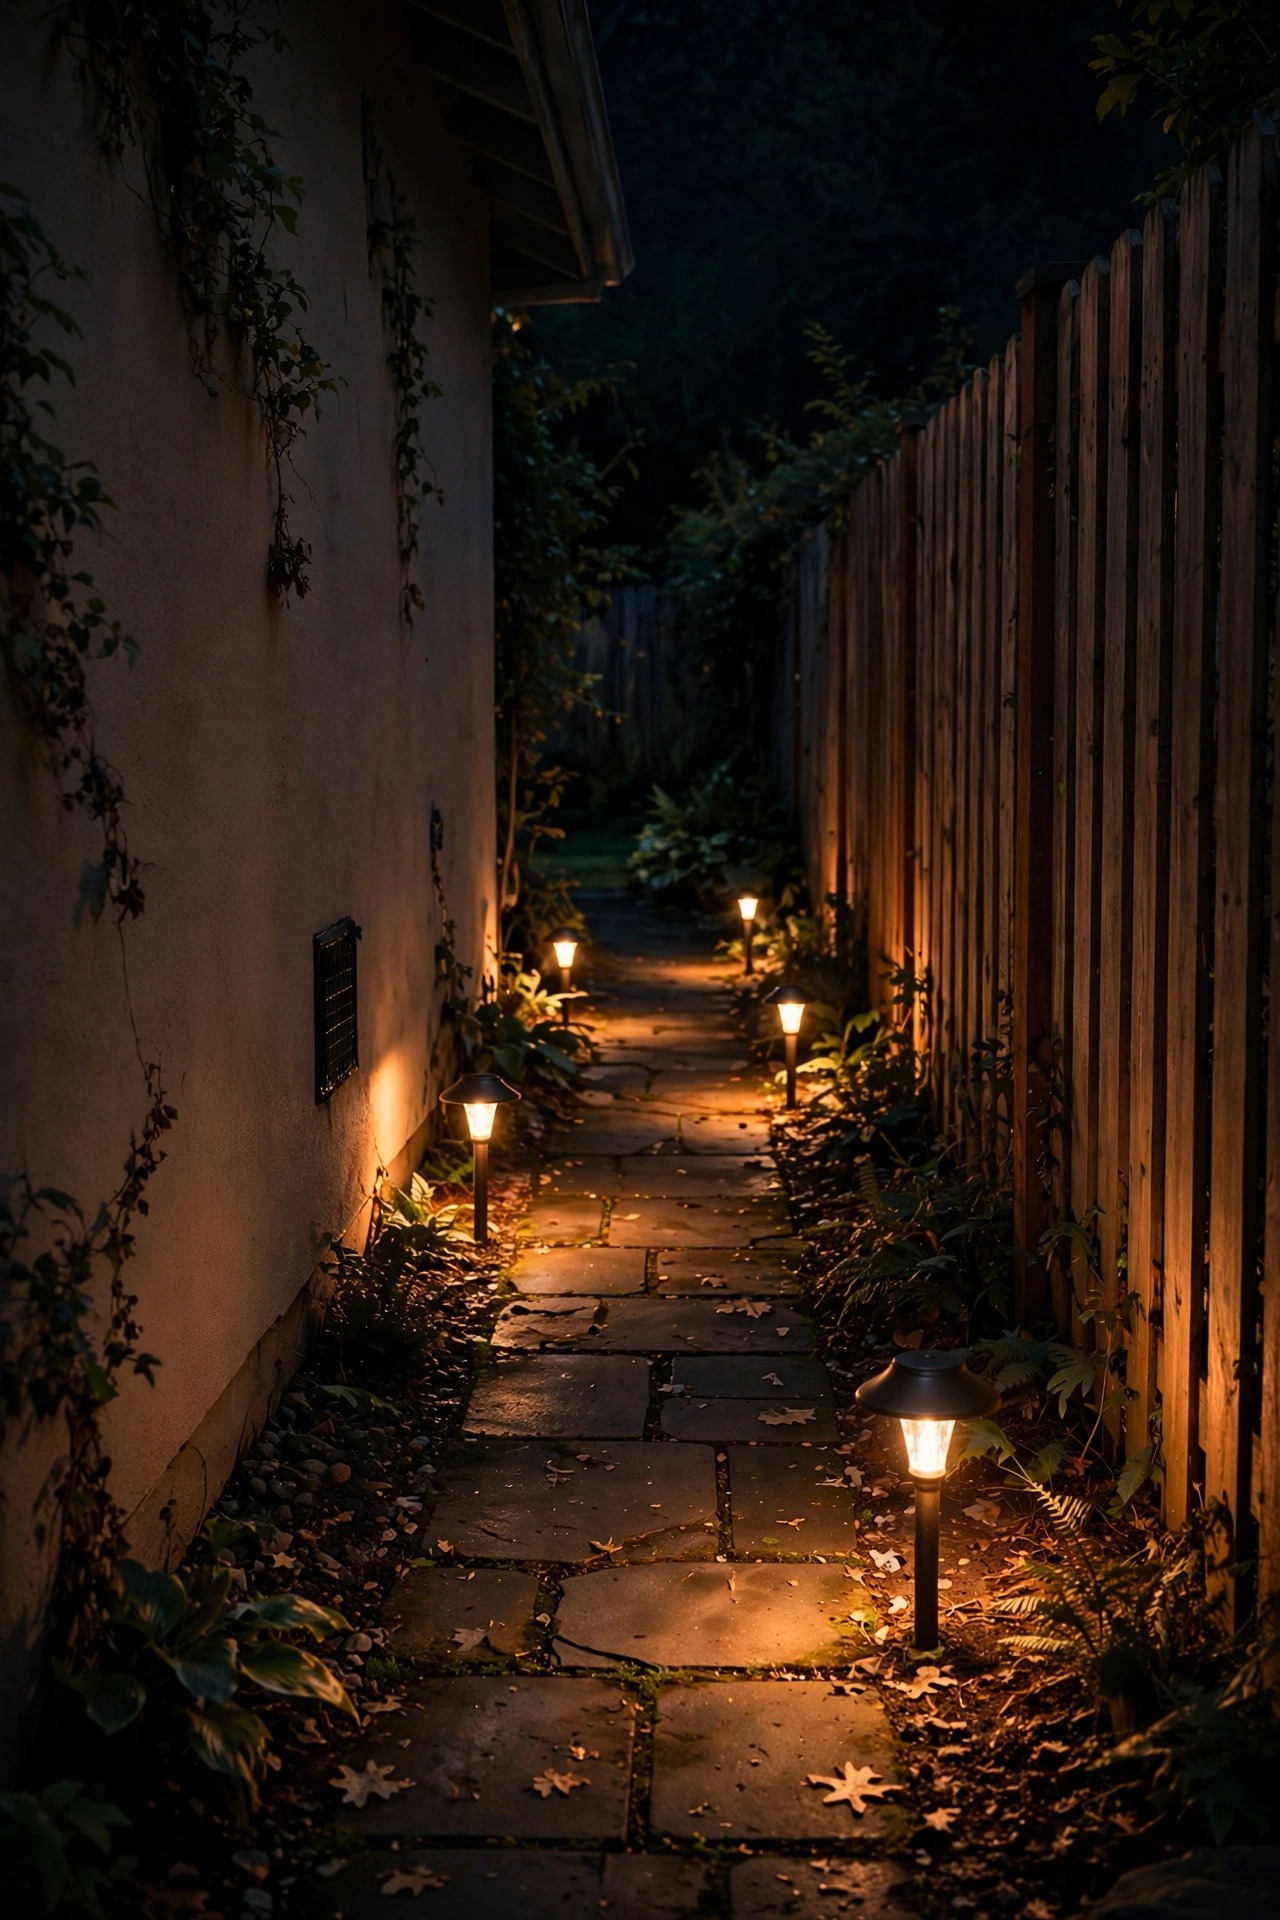
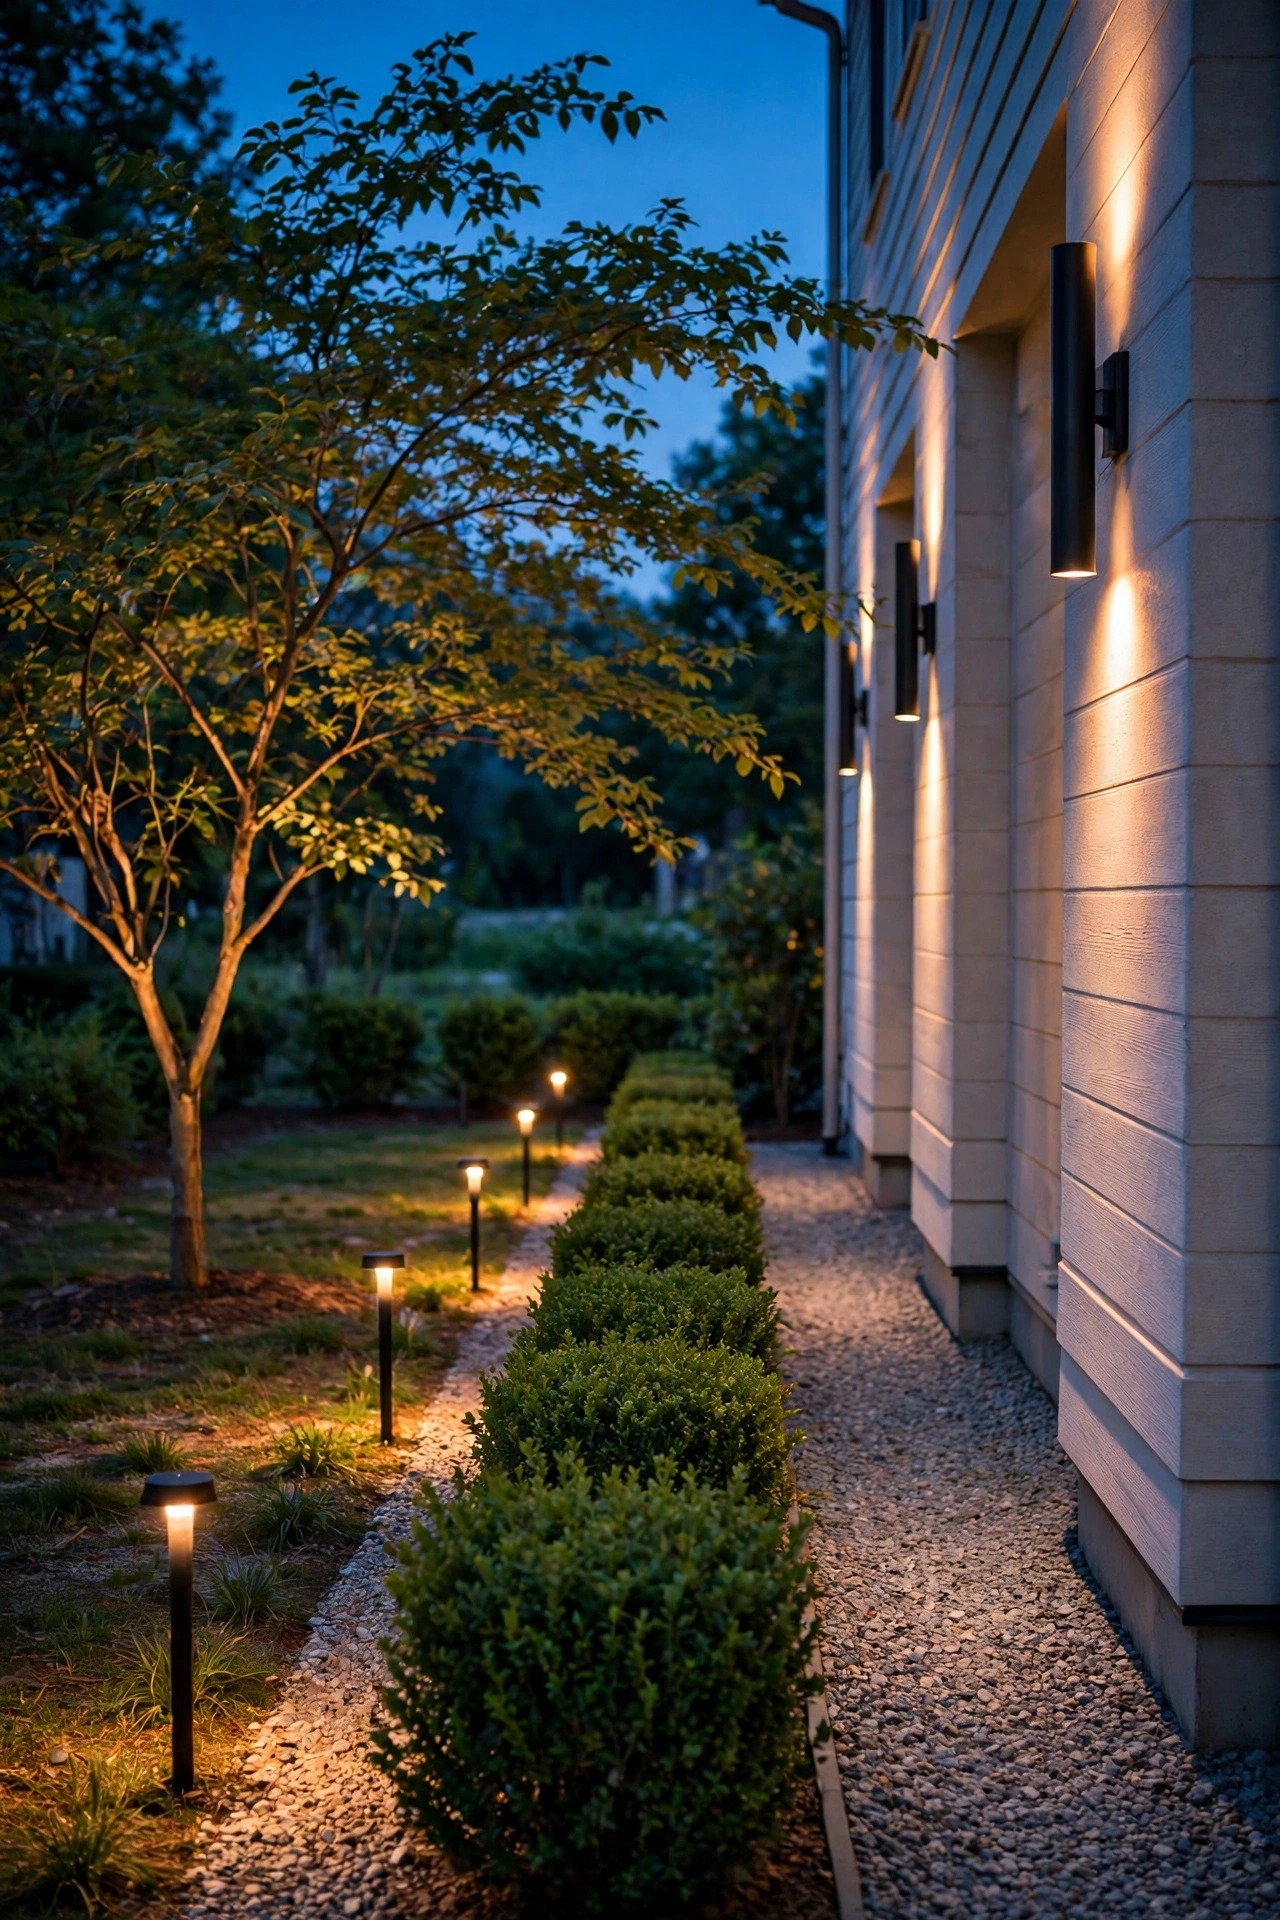
Deterrent floods guard the ends, but you still have to walk this strip with the recycling bin, so give the walk itself a low, calm layer of guidance light. Hooded stake lights or short bollards, 12 to 18 inches tall, are my pick: the cap hides the light source and throws a soft oval of light onto the ground where your feet actually go. Keep each one modest, around 100 to 200 lumens, in warm 2700K, and space them 5 to 7 feet apart, staggered from side to side instead of lined up like a runway. The pools should just overlap, so there is never a fully black gap to step into. Because the source stays hidden and low, almost none of this light reaches a neighbor window — it reads as a gentle ground glow, not a searchlight. Low-voltage wired versions are the most dependable in a shaded passage, and solar versions work fine in the sunnier half of the yard. Honestly, this is the layer you will appreciate every single night, long after you forget the security part.
Suggested budget range: $40 – $120.
4. Give the Gate Latch Its Own Little Light
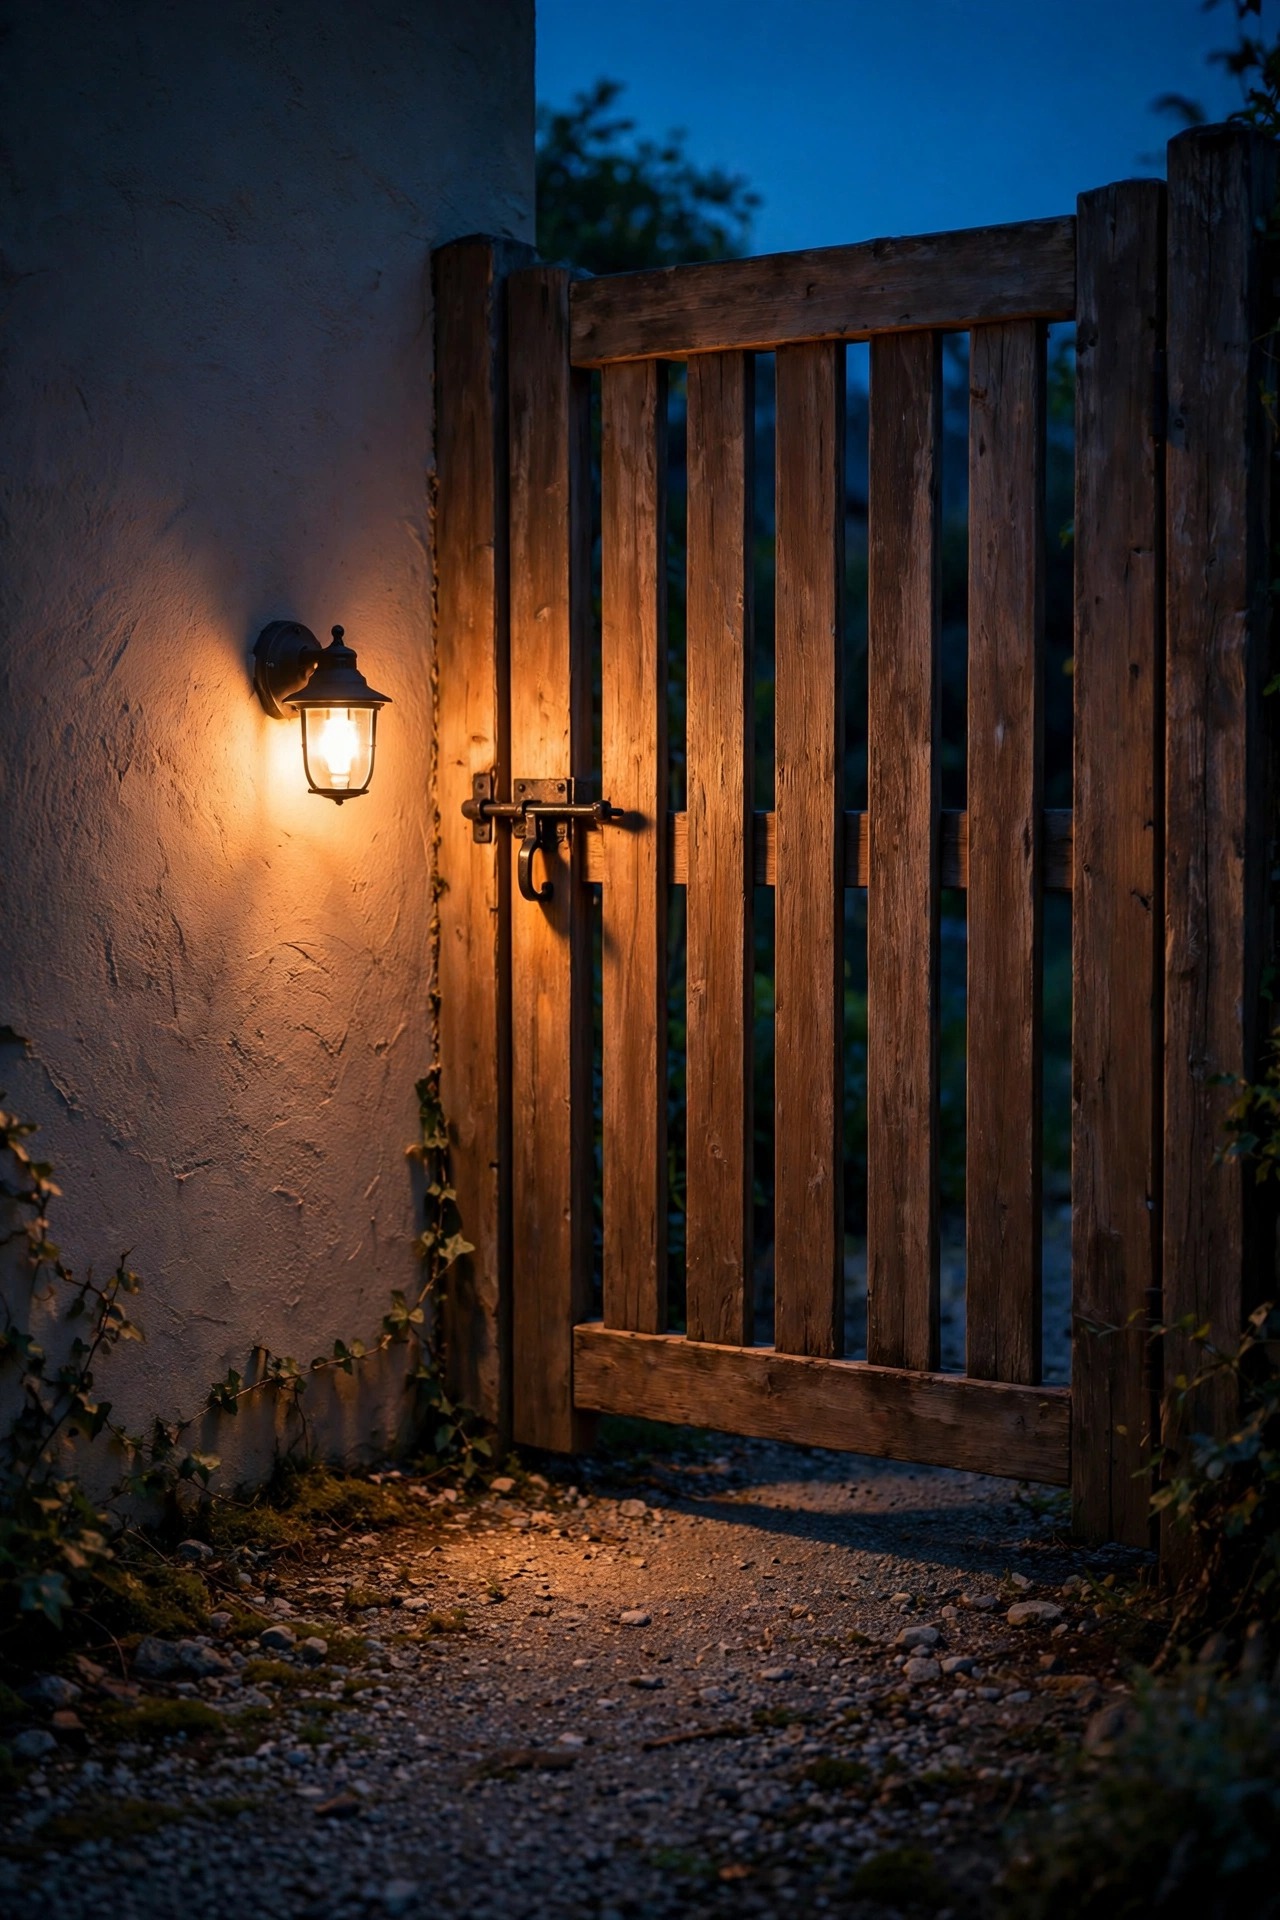
Every side yard has one fussy moment: the gate latch, at midnight, with your hands full. A small shielded sconce or solar wall light mounted on the gate post or the wall beside it, about 5 feet up, solves that moment and quietly does security work too. Keep it small and warm, 100 to 300 lumens, with the light thrown down onto the latch and the ground inside the gate. Anyone approaching the gate now has their hands and face lit the moment they arrive — exactly the spot a prowler least wants to stand in — while you get a clear view of keys, codes, and latches. A built-in photocell that wakes it at dusk is simplest, but a motion version works if the gate sits in a sunless corner and the panel can ride the fence top. Mount it on your side of the fence line, keep the beam off the sidewalk, and if your gate opens toward the street, this is also the fixture that keeps guests from fumbling in the dark when they leave after dinner.
Suggested budget range: $15 – $45.
5. Go Solar at the Far End, Where the Wire Cannot Reach
Most side yards have one end the wiring just cannot justify — usually the back corner, sixty feet and one concrete pad away from the nearest outlet. That is solar territory, with one condition: the panel and the fixture do not have to live in the same place. Choose a motion light with a separate panel on a 9 to 15 foot cable, mount the panel on the fence top or a roof edge where it catches real sun, and put the fixture in the shade where the light is needed. Motion-only duty is what makes solar honest here: the light sleeps all day, charges, and only spends its battery in short, bright bursts. Look for replaceable lithium cells and an IP65 or better rating. In deep winter, expect shorter reserves and clean the panel when you clean the gutters. My far corner solar flood has run three years on this setup without a single dark night that mattered, and it cost less than the electrician quote for trenching one wire to the same spot.
Suggested budget range: $25 – $60.

6. Cover the Corner Where the Two Fences Meet
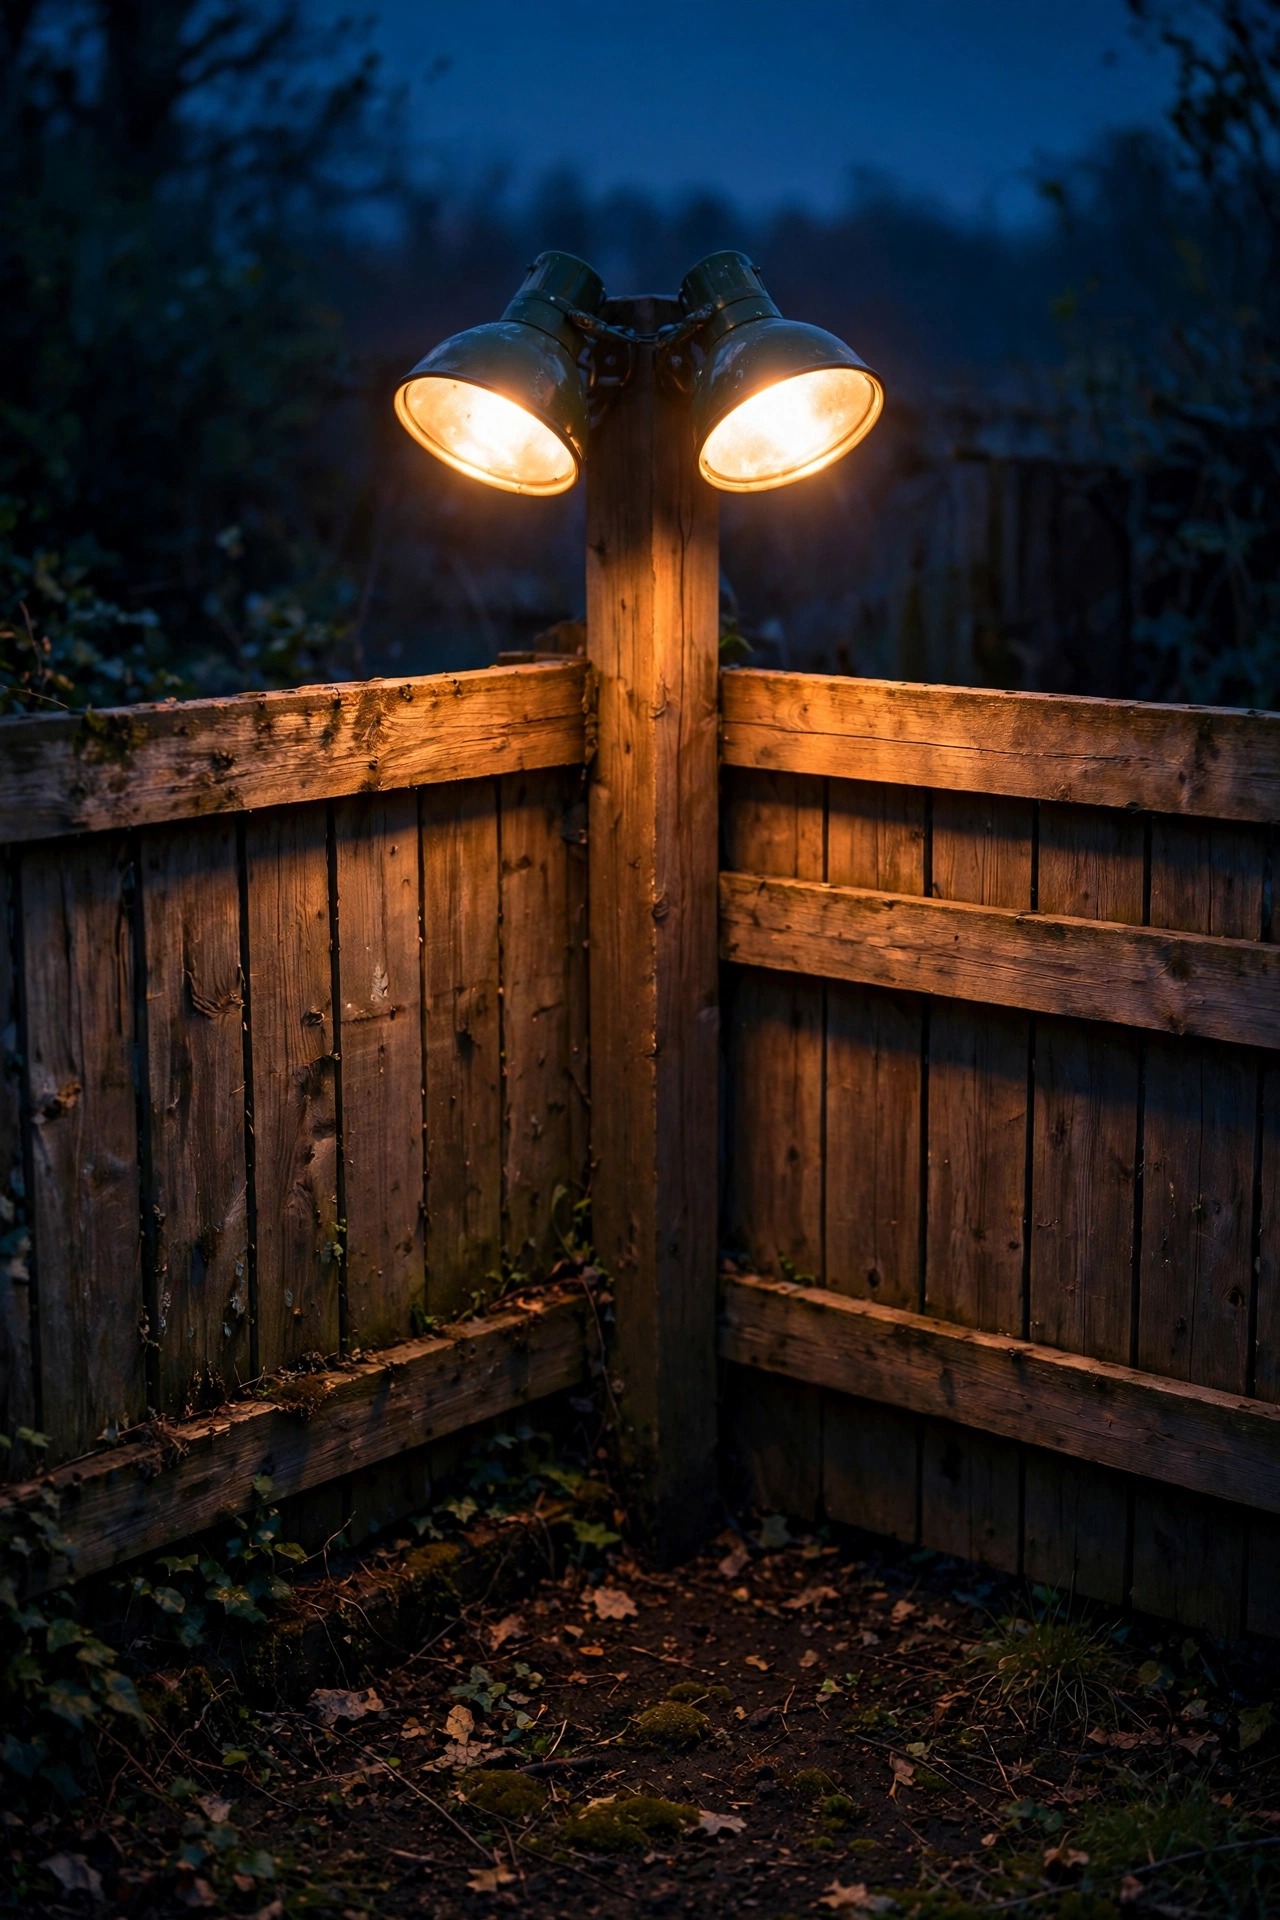
Ask any police officer doing a home security walk-through and they will point at the same spot: the dark corner where your back fence meets the side fence, screened from every window. A dual-head flood fixes it. Mount it on a fence post on your side of the line, or on the back wall of the house, 8 to 9 feet up, and cross the two heads so their beams overlap in the corner and die at the fence boards. Angle everything downward, shield up, and set the sensor to watch the corner approach rather than the neighbor yard beyond. Masking strips or a slight inward tilt keep the field from spilling through fence gaps. This is also the fixture to pair mentally with idea 2: floods at both ends mean anyone entering the passage is lit coming and going, with the low path layer filling the middle. Keep the output moderate, 1,000 to 1,800 lumens, and warm-to-neutral in color. A corner lit this way stops being a hiding place and goes back to being what it should be — a place to stack the extra patio chairs.
Suggested budget range: $35 – $90.
7. Wash the Side Wall With Eave Downlights
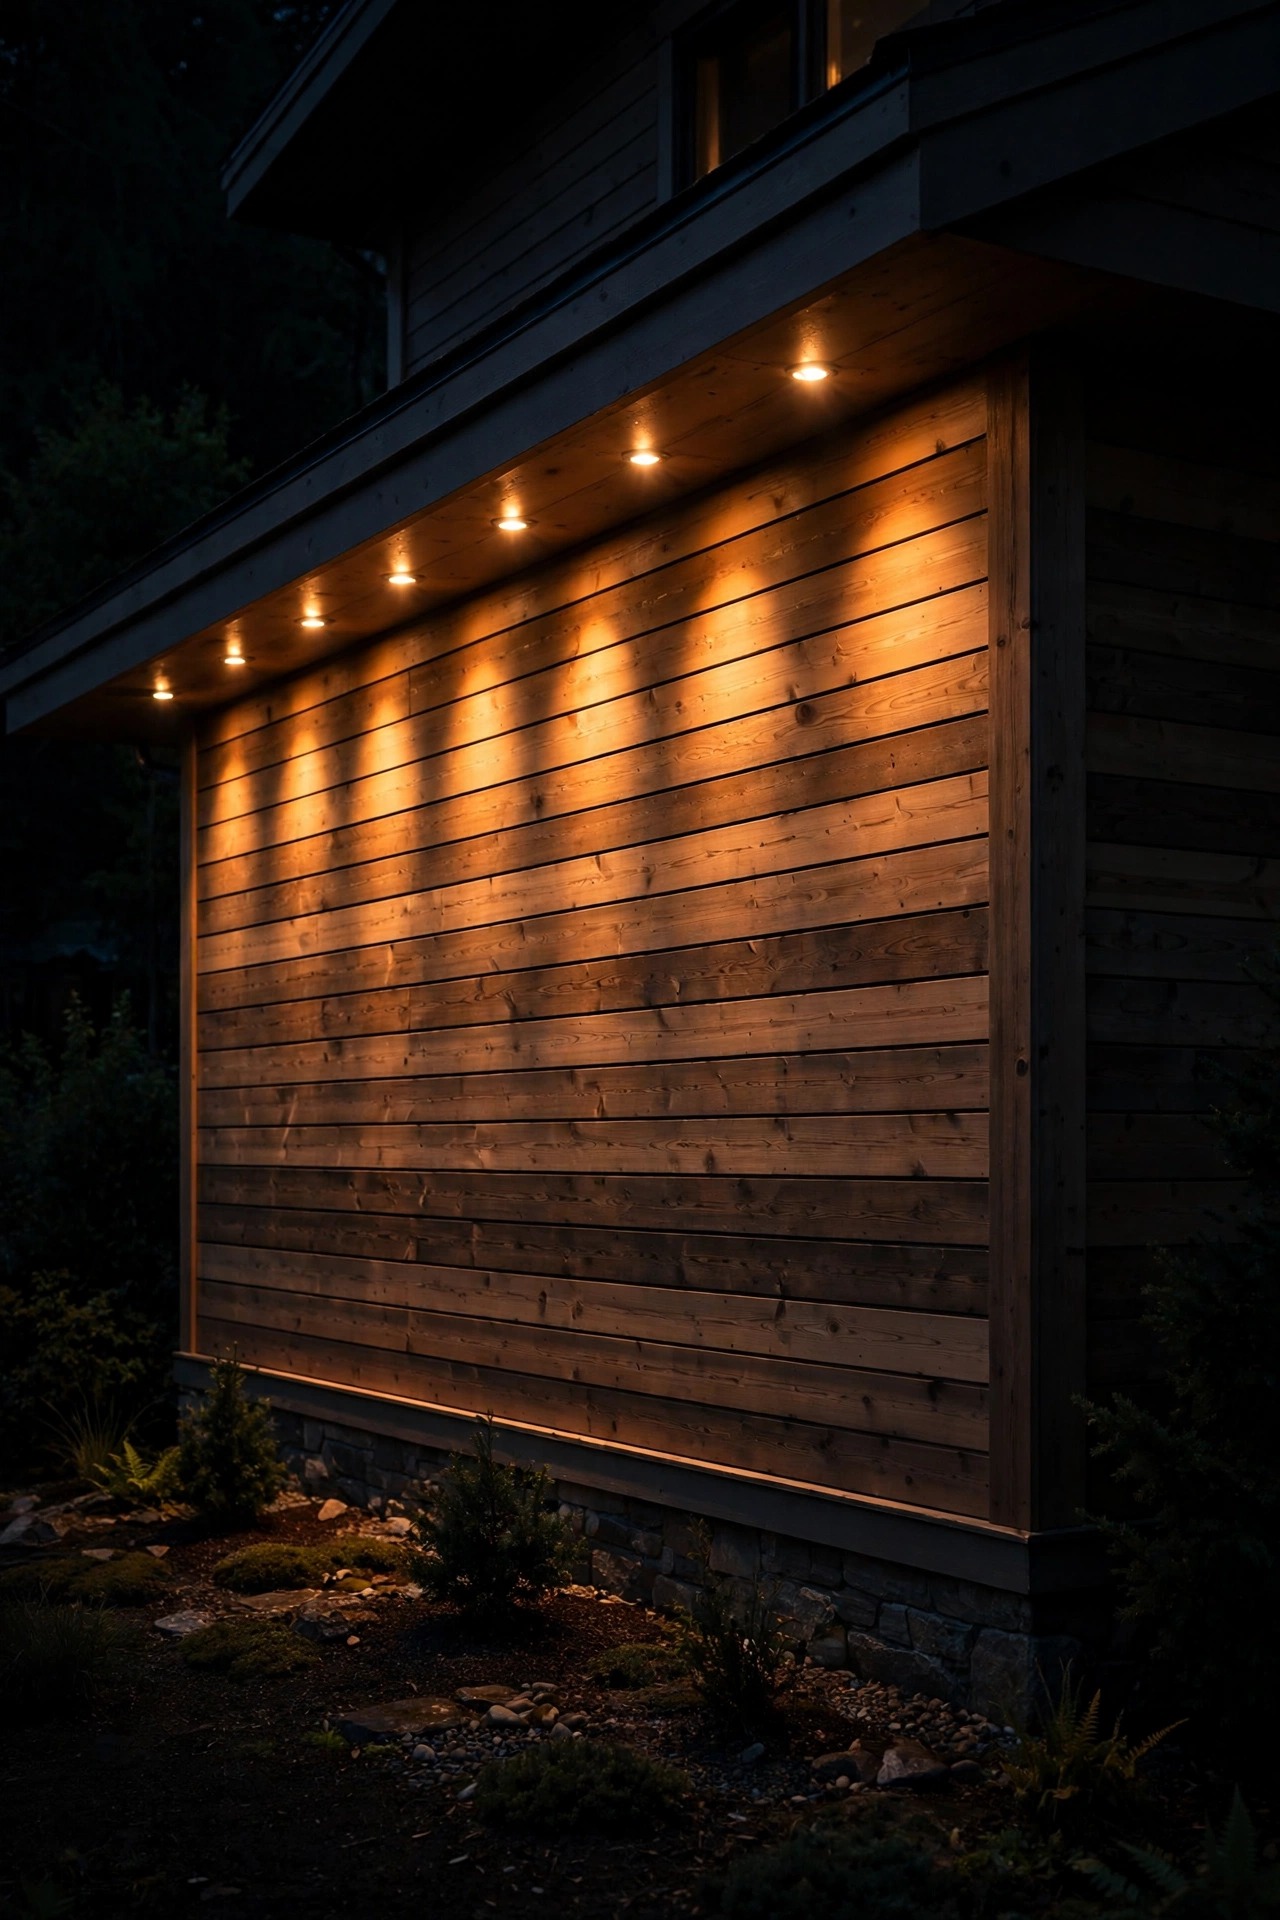
The long blank wall of the house is the side yard half nobody lights, and it is where the low bedroom and bathroom windows sit. A row of small downlights under the eave changes that completely. Recessed soffit lights or compact surface-mount downlights, spaced 8 to 10 feet apart, each throwing 300 to 500 shielded lumens straight down, create a continuous curtain of light that hugs the wall and pools at its base. There are no dark pockets against the foundation, nowhere to crouch under a sill unseen, and the effect from inside is a soft glow rather than a glare through the blinds. Baffled trims keep the source hidden from the passage itself. Put them on a photocell-plus-timer so they run from dusk to about midnight, or tie them to a motion module if you want them event-driven. This is the one idea on the list where I suggest an electrician for a new circuit run — it is attic-and-soffit work — but the fixtures themselves are cheap, sealed, and utterly set-and-forget once they are in.
Suggested budget range: $60 – $180.
8. Mark the Side Steps and Grade Changes
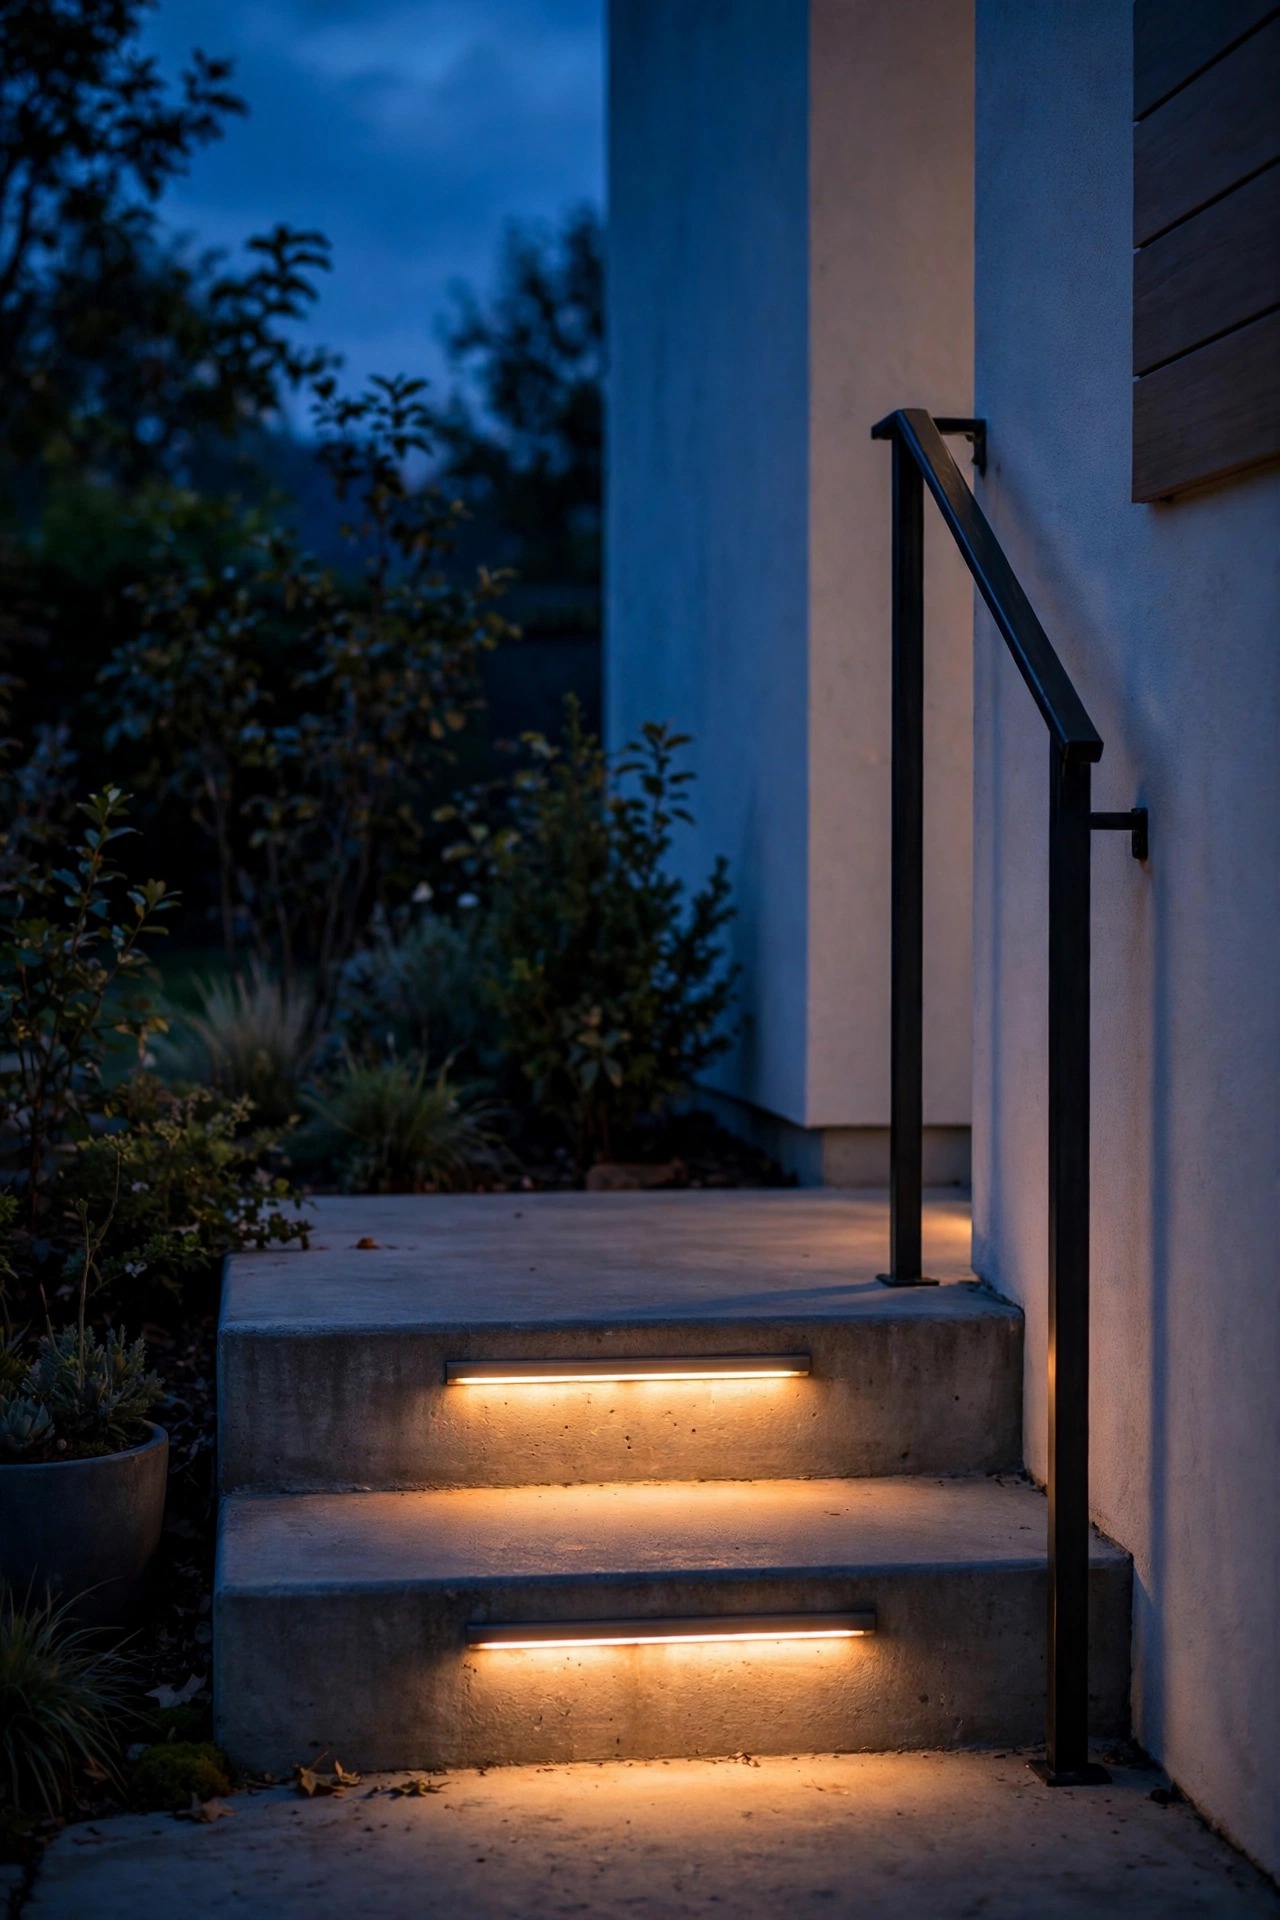
Plenty of side yards hide a trip hazard: two steps up to a side door, a sloped pad by the bins, a single sneaky step where the passage meets the back patio. Security light that leaves someone flat on the concrete has missed the point, so mark every level change. Slim step lights mounted in the riser face or on the wall beside the steps, just 50 to 100 shielded lumens each, draw a clean bright line across the tread edge — enough to read the step, never enough to glare. Wire them into the low-voltage path run if you have one; if not, solar step lights with the little panel angled toward whatever sky the passage gets will do honest work, and stick-on battery versions suit renters. Place one at every tread, keep them all the same warm color, and test the effect from the top of the steps looking down, since that is the direction that fools the eye. Falls on unlit side steps are the most common injury in this whole strip of yard; this is the cheapest idea here relative to the grief it prevents.
Suggested budget range: $20 – $70.
9. Give the Bin Corner a Battery Motion Bar
The bin corner earns its own light, and it does not need wiring, a sensor dial, or any ceremony. A rechargeable battery motion bar or puck, 200 to 400 lumens, stuck under the small eave over the bins or on the fence rail above them, fires for 20 to 30 seconds whenever anything moves in front of it. For you, that means no more one-handed phone-flashlight juggling on trash night. For security, it means the most rummage-worthy corner of the yard answers movement with instant light. Choose an IP65 housing, a warm color temperature to match the rest of the yard, and a model whose battery unclips for indoor recharging every few months. Mount it 6 to 7 feet up, tilted down at the bin lids and the ground in front of them, and aim the sensor along the approach rather than straight out, so passing cats on the fence do not run the battery down. It is the least glamorous fixture on this list and, in my house, the one that gets thanked out loud most often.
Suggested budget range: $10 – $35.

10. Watch the Utility Corner: AC Unit, Meters and Vents
Crawlspace vents, gas and electric meters, the hose bib, the AC condenser — the utility corner is where a tamper-minded stranger would love a few unlit minutes, and where your own service techs need to work safely. Give it one small, dedicated motion fixture. A compact single-head light at 600 to 1,000 lumens, mounted 7 to 8 feet up and aimed down across the equipment pad, covers the whole cluster without turning it into a stage set. One placement caution from my own false-alarm diary: the condenser fan blows warm air, and a heat-sensitive sensor aimed straight at the unit can read that as movement on a still night. Angle the sensor so the equipment sits at the edge of its view rather than the center, or mount the fixture on the fence looking back at the wall instead. Keep the light shielded and warm, shorten the duration to a minute, and you get a corner that introduces itself to anyone who steps into it, while the plumber changing your hose bib at dusk silently blesses your name.
Suggested budget range: $20 – $55.

11. Choose Low-Voltage Wired Light for the Layer That Cannot Fail
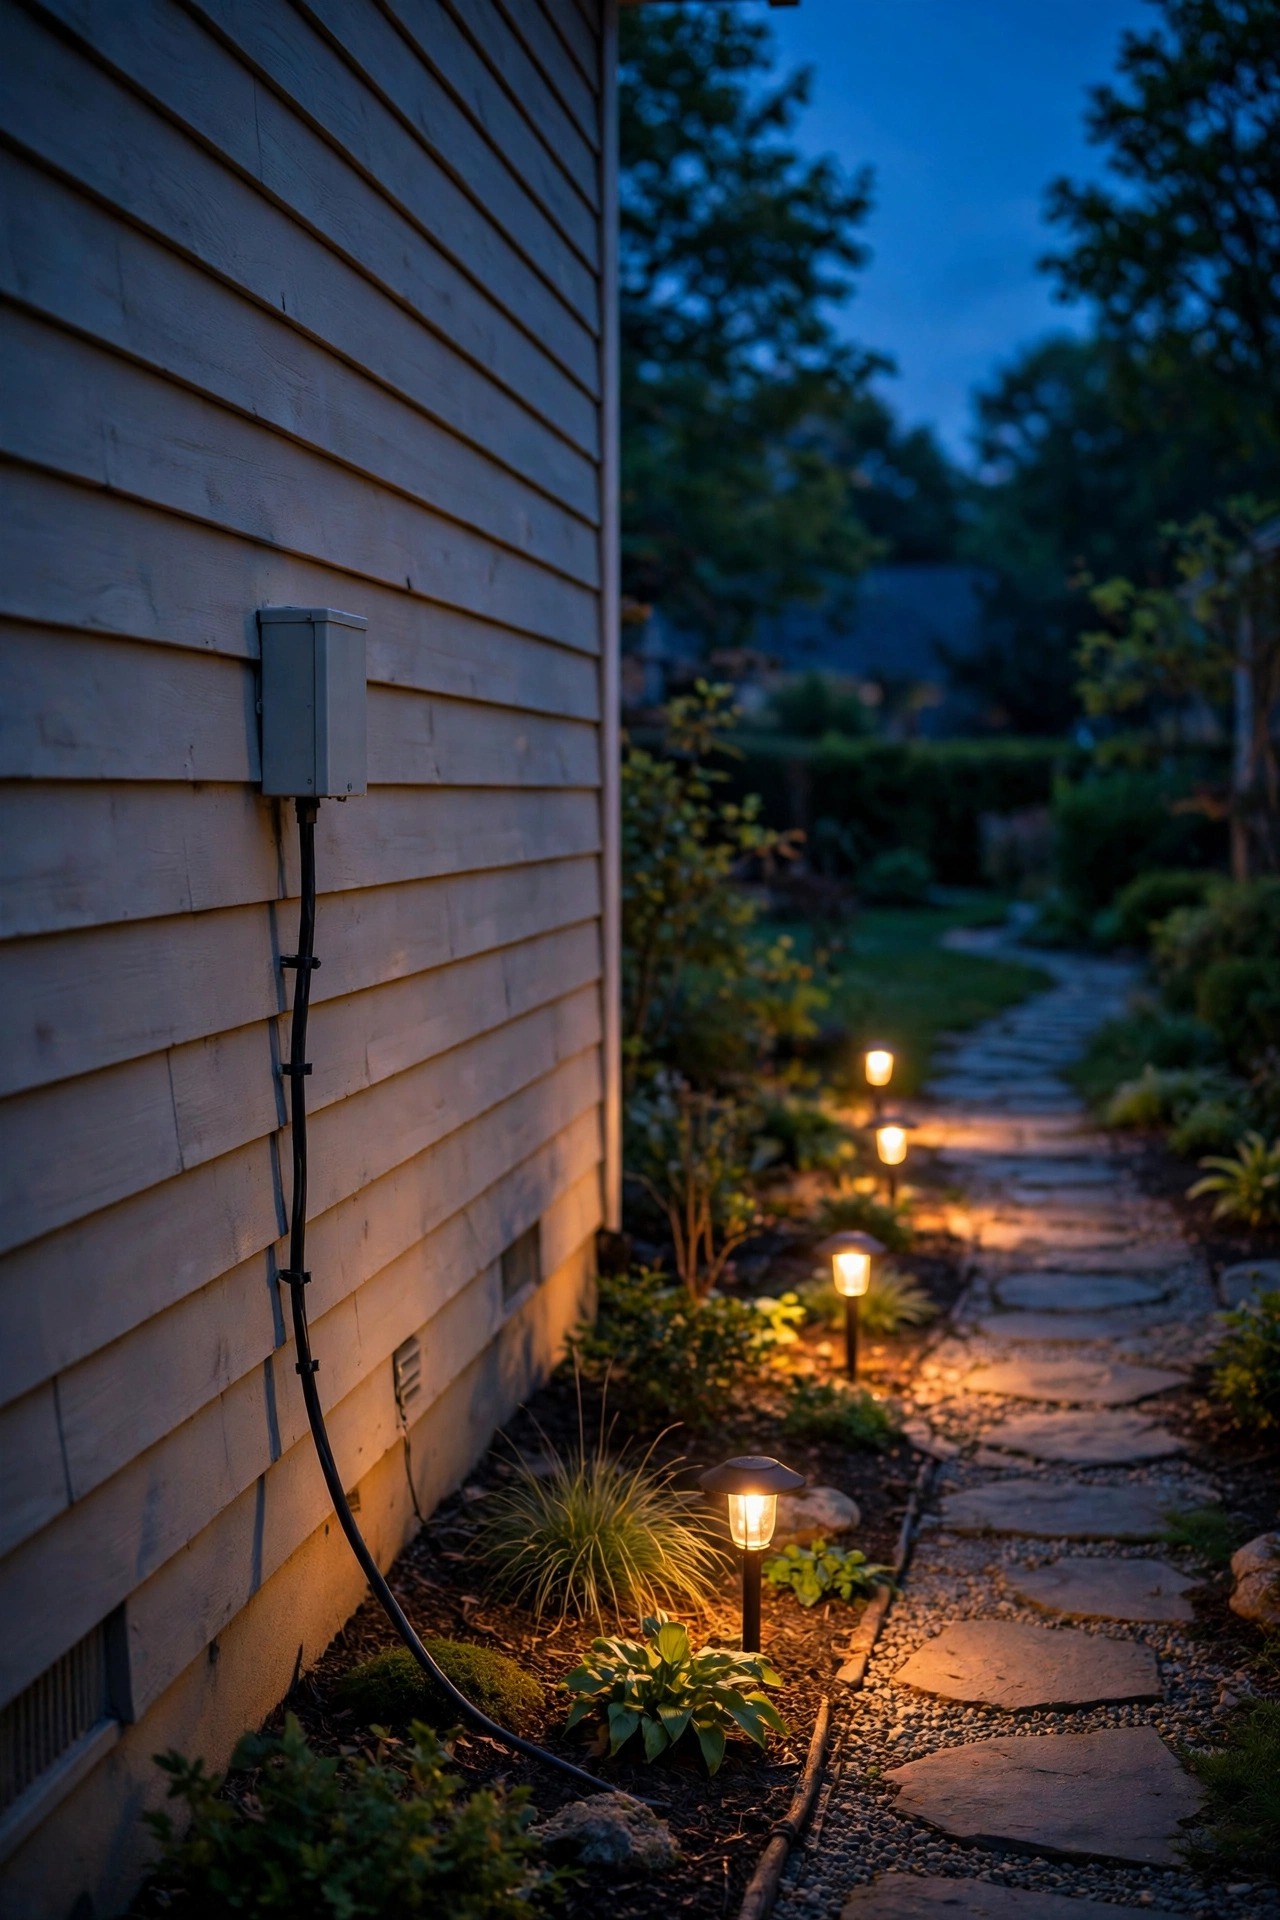
Solar is charming and battery bars are handy, but a shaded side yard in December will humble both. For the layer that absolutely has to work — the path lights and one of the floods — a 12-volt low-voltage system is the grown-up answer. A 100 to 200 watt transformer plugs into an outdoor GFCI outlet on the house wall, and a single cable run along the fence base feeds every fixture: two floods at 5 to 7 watts each, path lights at 3 to 5, step lights at 1 to 2. Total draw for a whole passage often lands under 60 watts, pennies a night. The transformer photocell turns everything on at dusk, and a timer can rest the guidance layer after midnight while the motion floods stay armed. Bury the cable 6 inches down or staple it neatly along the fence bottom rail, use waterproof connectors, and keep runs under about 100 feet to avoid dimming at the far end. This is the backbone every other idea on the list plugs into, literally or figuratively.
Suggested budget range: $120 – $300.
12. Pair a Low Dusk-to-Dawn Glow With a Motion Boost
A passage that is pitch black until a flood fires has two flaws: your eyes never adjust, and the sudden blast announces itself to the whole street. Dual-brightness fixtures solve both. The light idles from dusk to dawn at a soft 10 to 20 percent — 50 to 100 gentle lumens that outline the gate, the path, and the corner — then snaps to full brightness the instant its sensor trips, and relaxes back down a minute later. The yard never reads as abandoned, a camera (if you ever add one) gets a far better picture, and the neighbors experience a faint warm glow instead of a strobe. Many shielded wall packs now build this in; otherwise, a dimmable fixture on a timer plus a separate motion flood at lower output gets you most of the effect. Keep the idle color warm, 2700K, so the passage feels like candlelight rather than a parking lot. In my experience this single change is what turns security lighting from a neighborhood argument into something the folks next door quietly copy.
Suggested budget range: $40 – $110.
13. Trim Back the Shadows Themselves
Sometimes the problem is not a missing fixture — it is a shrub that has become a hiding place with leaves. Walk your zones from idea 1 again and edit the planting. Prune shrubs beside the passage so they sit at least a foot below window sills and a foot back from the walkway edge, and limb up any small tree so its canopy starts above 6 feet, opening the sightline underneath. Move the firewood stack away from the wall — stacked wood against the house is a ladder, a shadow, and a pest hotel in one — and shift bins so they do not pair with a bush to form a hidden nook. A simple gravel strip along the wall is the quiet partner to all of this: it crunches underfoot, keeps weeds and mud down, and makes the ground plane bright enough to bounce your path light a little farther. Lighting a corner only works if the corner can be seen into; ten minutes with loppers can do what another 1,000 lumens could not.
Suggested budget range: $0 – $40.
14. Aim Fence-Line Light Inward, Never Outward
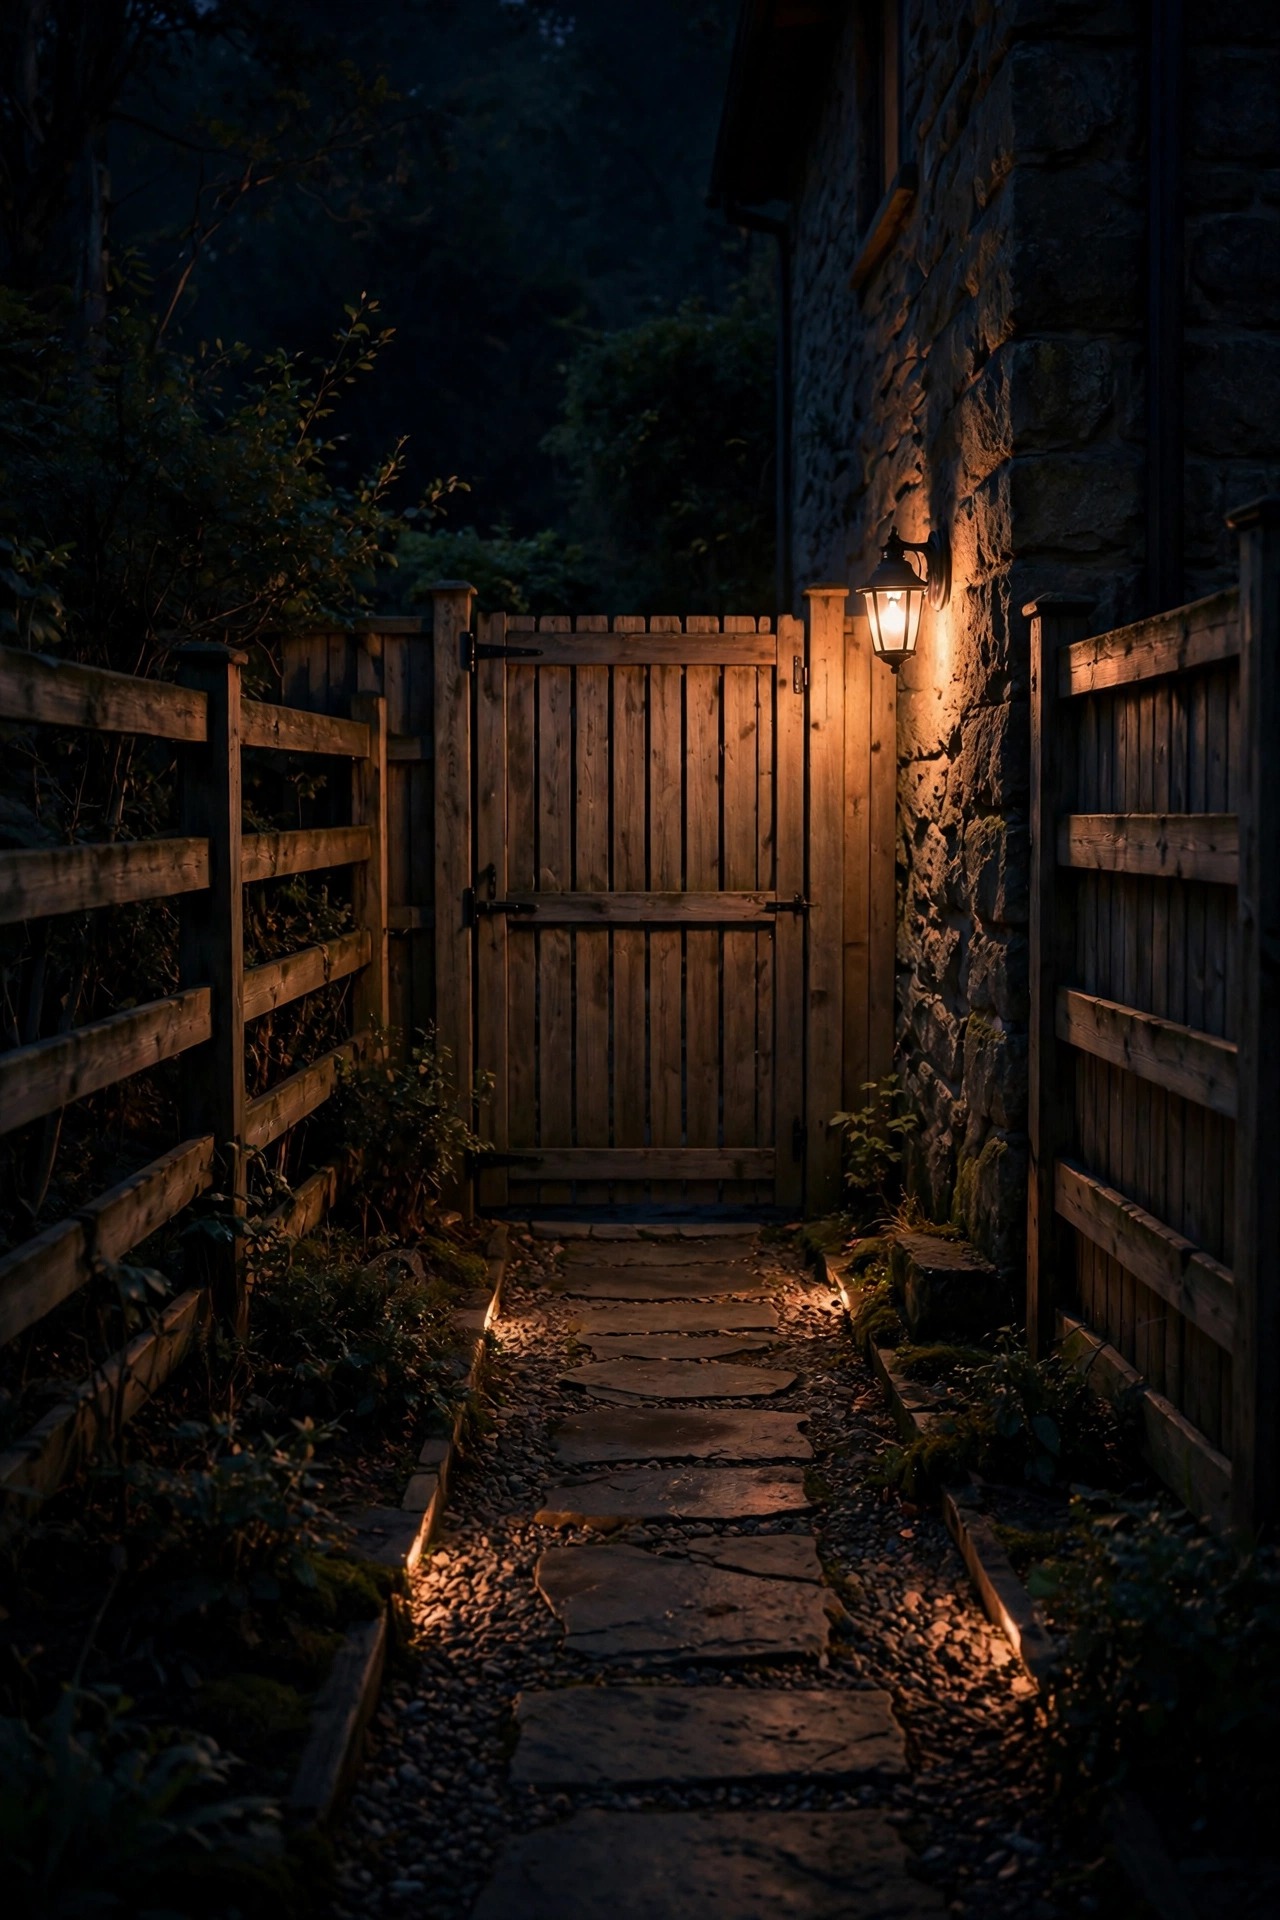
If you take one neighbor rule from this whole list, make it this: every beam you own should land inside your own fence. Fence-line fixtures tempt people to mount them high and point them out like lighthouse keepers, and that is exactly backwards. Mount any fence light on your side of the boards, 6 to 8 feet up, and tilt the head down 45 to 60 degrees so the bright pool dies well short of the fence line. Add the visor or shield the fixture came with — the one still sitting in the box — and choose warm 2700K light, which reads softer through gaps in the boards. Then do the test nobody does: stand in your neighbor yard (ask first) at night and look back. If you can see a bare bright source, adjust until you cannot. My full rundown of neighbor-friendly security light ideas covers the diplomacy as well as the hardware, including the short friendly heads-up chat that prevents 90 percent of complaints before the first bulb ever goes in.
Suggested budget range: $25 – $75.

15. Finish With a Test Walk, Then Tune Your Security Lighting for Side Yards
New lights are a draft, not a finished page, so close the project the way pros do: walk it. Start at the street end at full dark and come through the gate at an ordinary pace. The gate flood should fire when you are 15 to 25 feet out — closer and it is late, farther and it is watching the sidewalk. Walk the passage both directions, pause in each corner, and confirm no zone stays black and no fixture blinds you at standing height. Set sensitivity to the middle, durations to 1 to 3 minutes, and shorten any range that catches the street. Then check from your neighbor side of the fence and from your own bedroom window. Re-walk the whole route twice a year — sensors gain range in cold weather and lose it in the heat, and shrubs grow back into beams by July. Ten minutes of tuning twice a year is what keeps security lighting for side yards honest, quiet, and welcome. Your neighbors will never mention it, which is precisely the compliment you are after.
Suggested budget range: $0 – $15.
Frequently Asked Questions
How bright should security lights in a side yard be?
Less than you think, because the passage is narrow. Aim for 1,200 to 2,000 lumens in the motion floods at each end, 100 to 200 lumens per path light, and just 50 to 100 lumens for any always-on glow layer. What matters more than raw output is aim: shielded fixtures pointed down put the light on the ground and on people, instead of in eyes and windows.
Are solar motion lights reliable enough for a dark side yard?
For motion-triggered duty, yes — with the panel placed in real sun. A solar flood that sleeps all day and fires in short bursts can run for years on a shaded fixture, as long as its separate panel sits on a fence top or roof edge getting several hours of direct light. For the layer that must never fail, like the main path run, wired low-voltage is the safer backbone, with solar covering the far corners.
Will motion sensor lights bother my neighbors?
Not if you do three things: choose shielded fixtures that hide the bulb, aim every beam down and inward so it lands inside your fence, and keep durations short at 1 to 3 minutes. Warm 2700K light helps too. Most complaints trace back to one unshielded flood pointed at a bedroom window, and all three fixes together cost nothing but twenty minutes on a ladder.
Should side yard lights stay on all night or only trigger on motion?
A hybrid wins. Let the deterrent floods stay dark until motion calls them, which preserves their surprise and your electric bill, and run a very low glow layer — dual-brightness fixtures idling at 10 to 20 percent — so the passage never looks abandoned. Pure always-on bright light trains everyone to ignore it, and pure darkness between triggers leaves you stepping into a black strip with the bins.
Conclusion
The side yard does not need to be the brightest strip on the block; it needs to be the least inviting one to sneak through. Ends guarded by shielded motion floods, a low warm layer guiding the walk, corners trimmed and lit, and every beam aimed down and inward — that is security lighting for side yards done the neighborly way. Start with the night walk from idea 1, add the two or three ideas your map calls for, and if you want the bigger picture, my overview of outdoor lighting for home security ties the whole yard together. Then come through your own gate at dusk and enjoy the quiet click of a yard that is watching itself.