There's a kind of optimism in telling yourself you'll "get around to" lighting the front steps — right up until a guest misses the last one in the dark. I lived with unlit porch steps for years, partly because every solution I found involved cutting into the risers, and I wasn't about to take a saw to steps I liked well. Surface mount step lights changed that: they screw, stick, or clamp straight onto the face of the step, no core drill, no chisel, no rebuilding the staircase. The newest generation looks built-in — slim housings, louvered faces, warm 2700K light — and most installs take an afternoon, not a contractor. In this list I've gathered 17 ways to use them: low-voltage riser lights, solar and battery versions with zero wiring, under-nosing strips, corner brackets, and the spacing rules that keep every tread evenly lit. Every idea includes placement measurements, brightness guidance, and a budget, so you can pick the approach that fits your steps and your comfort level.

1. Classic Screw-On Surface Mount Step Lights for the Front Entry
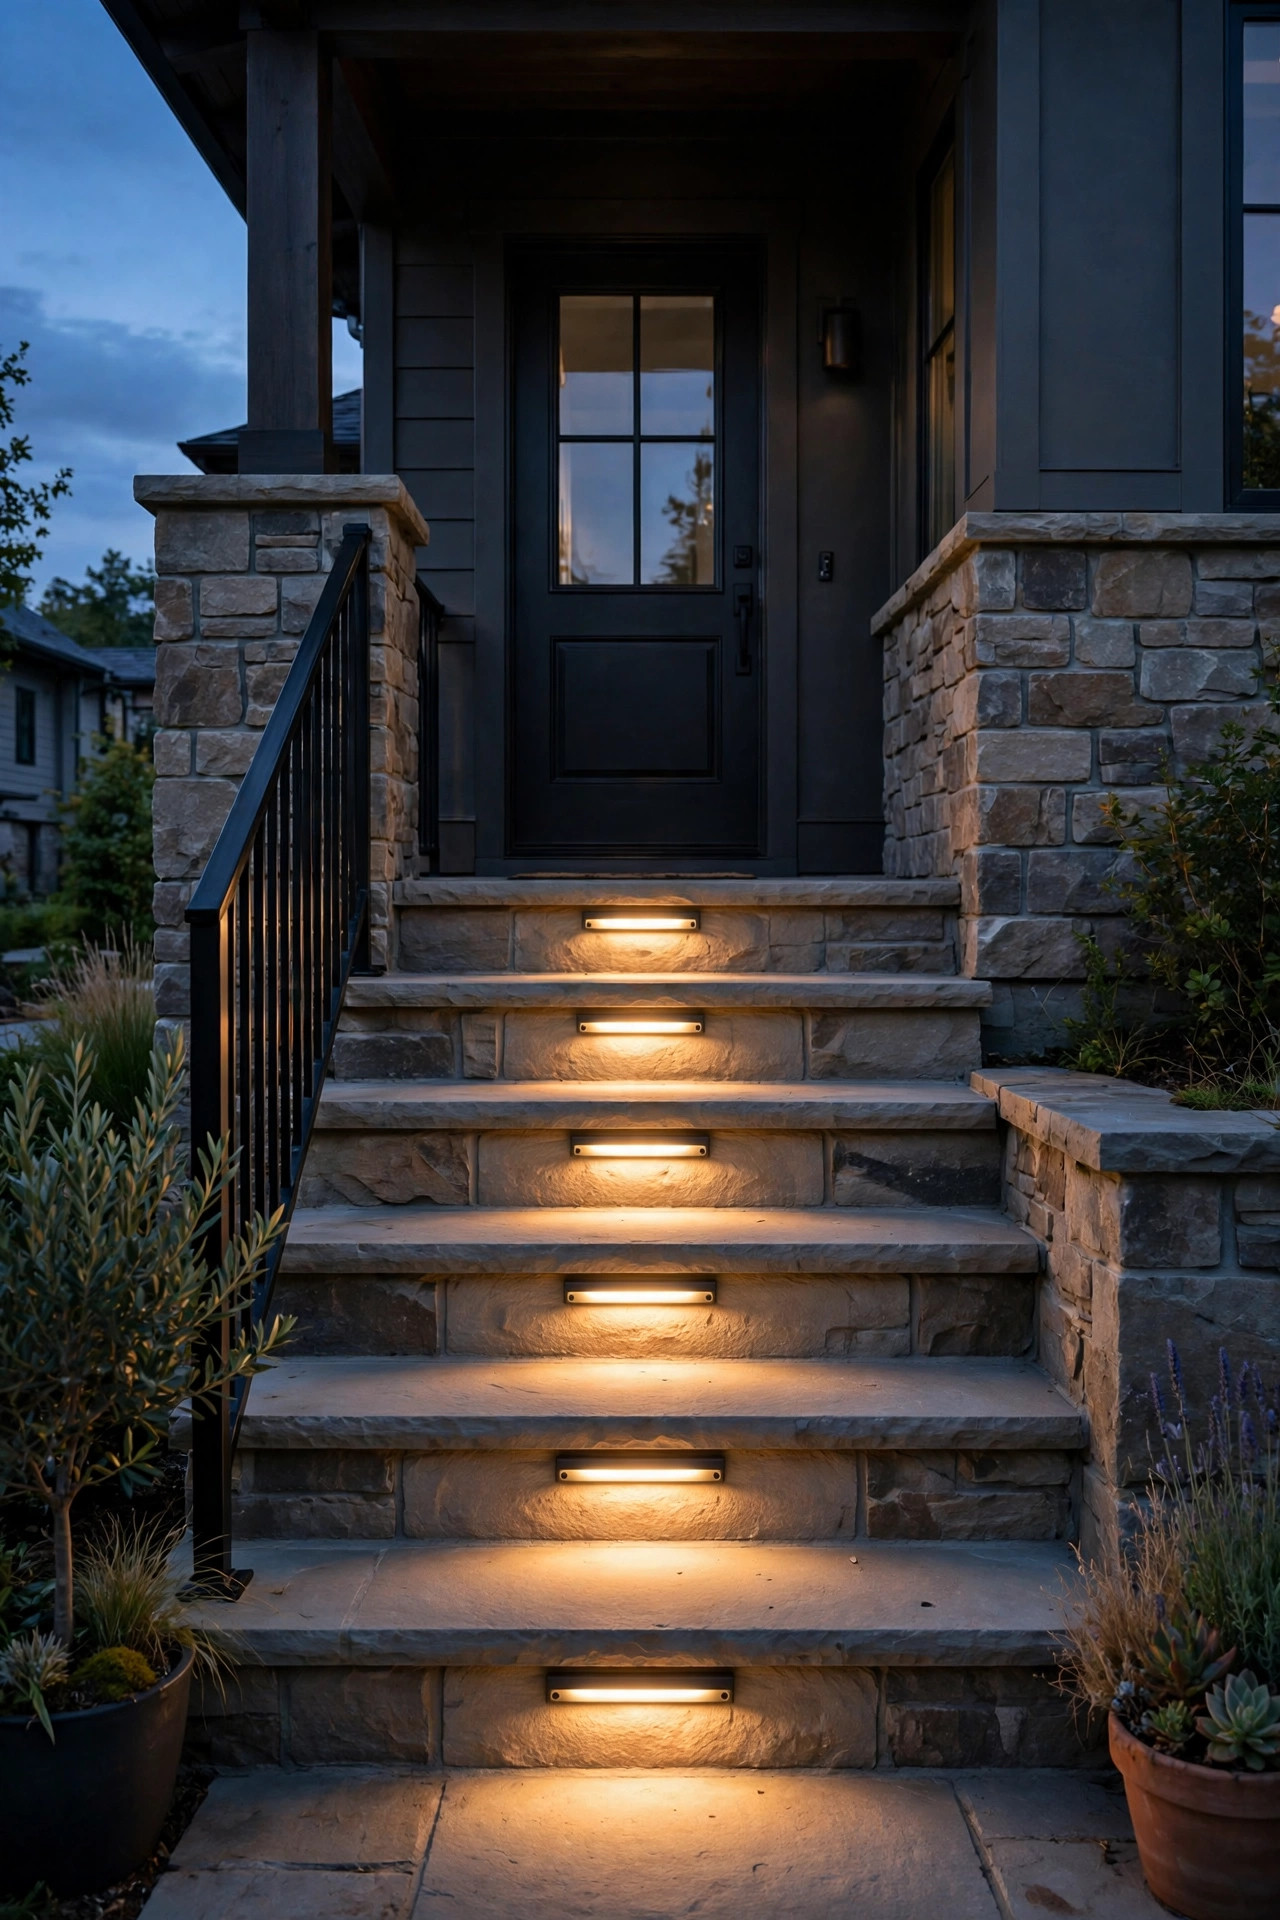
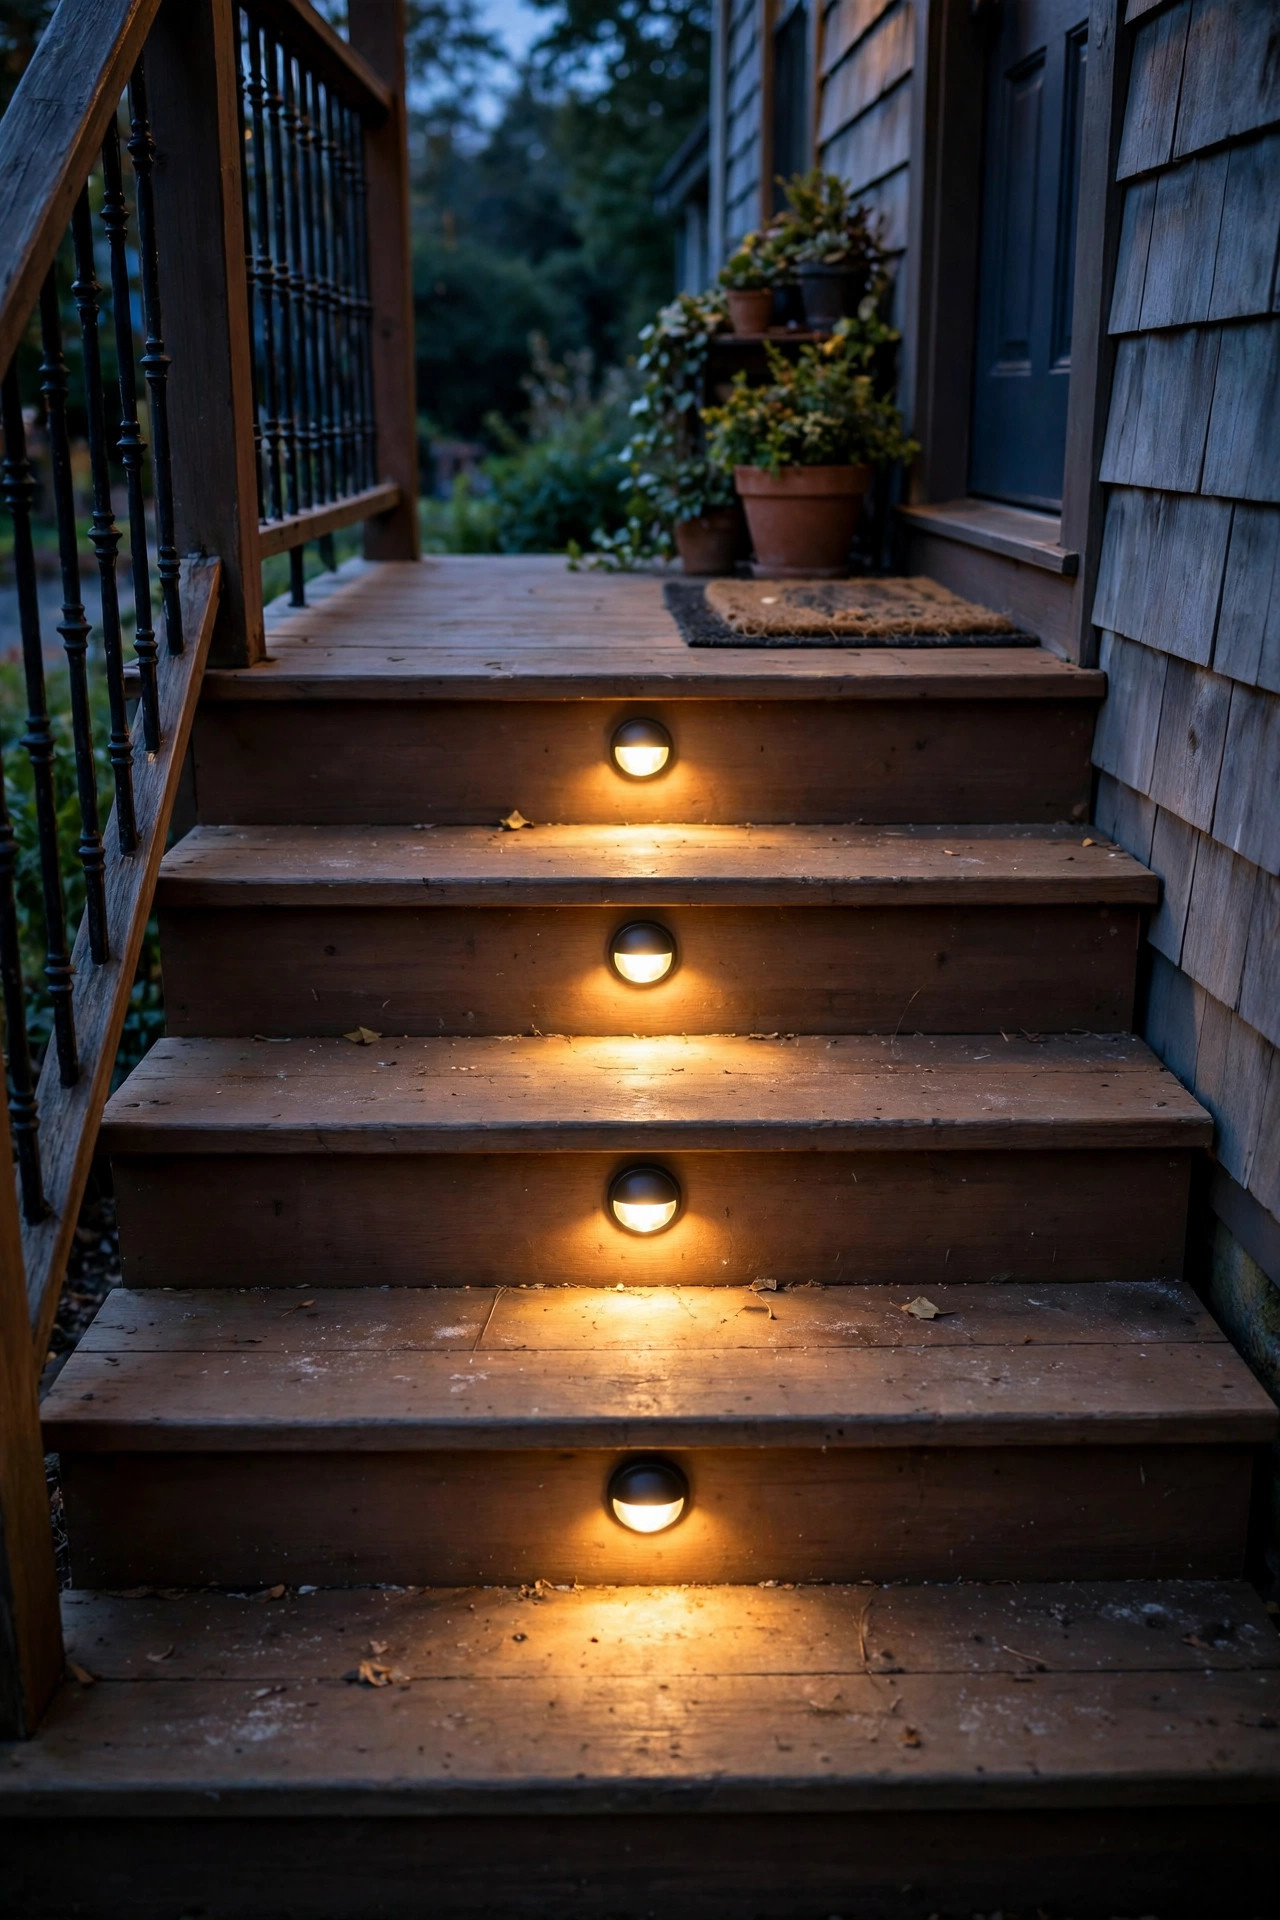
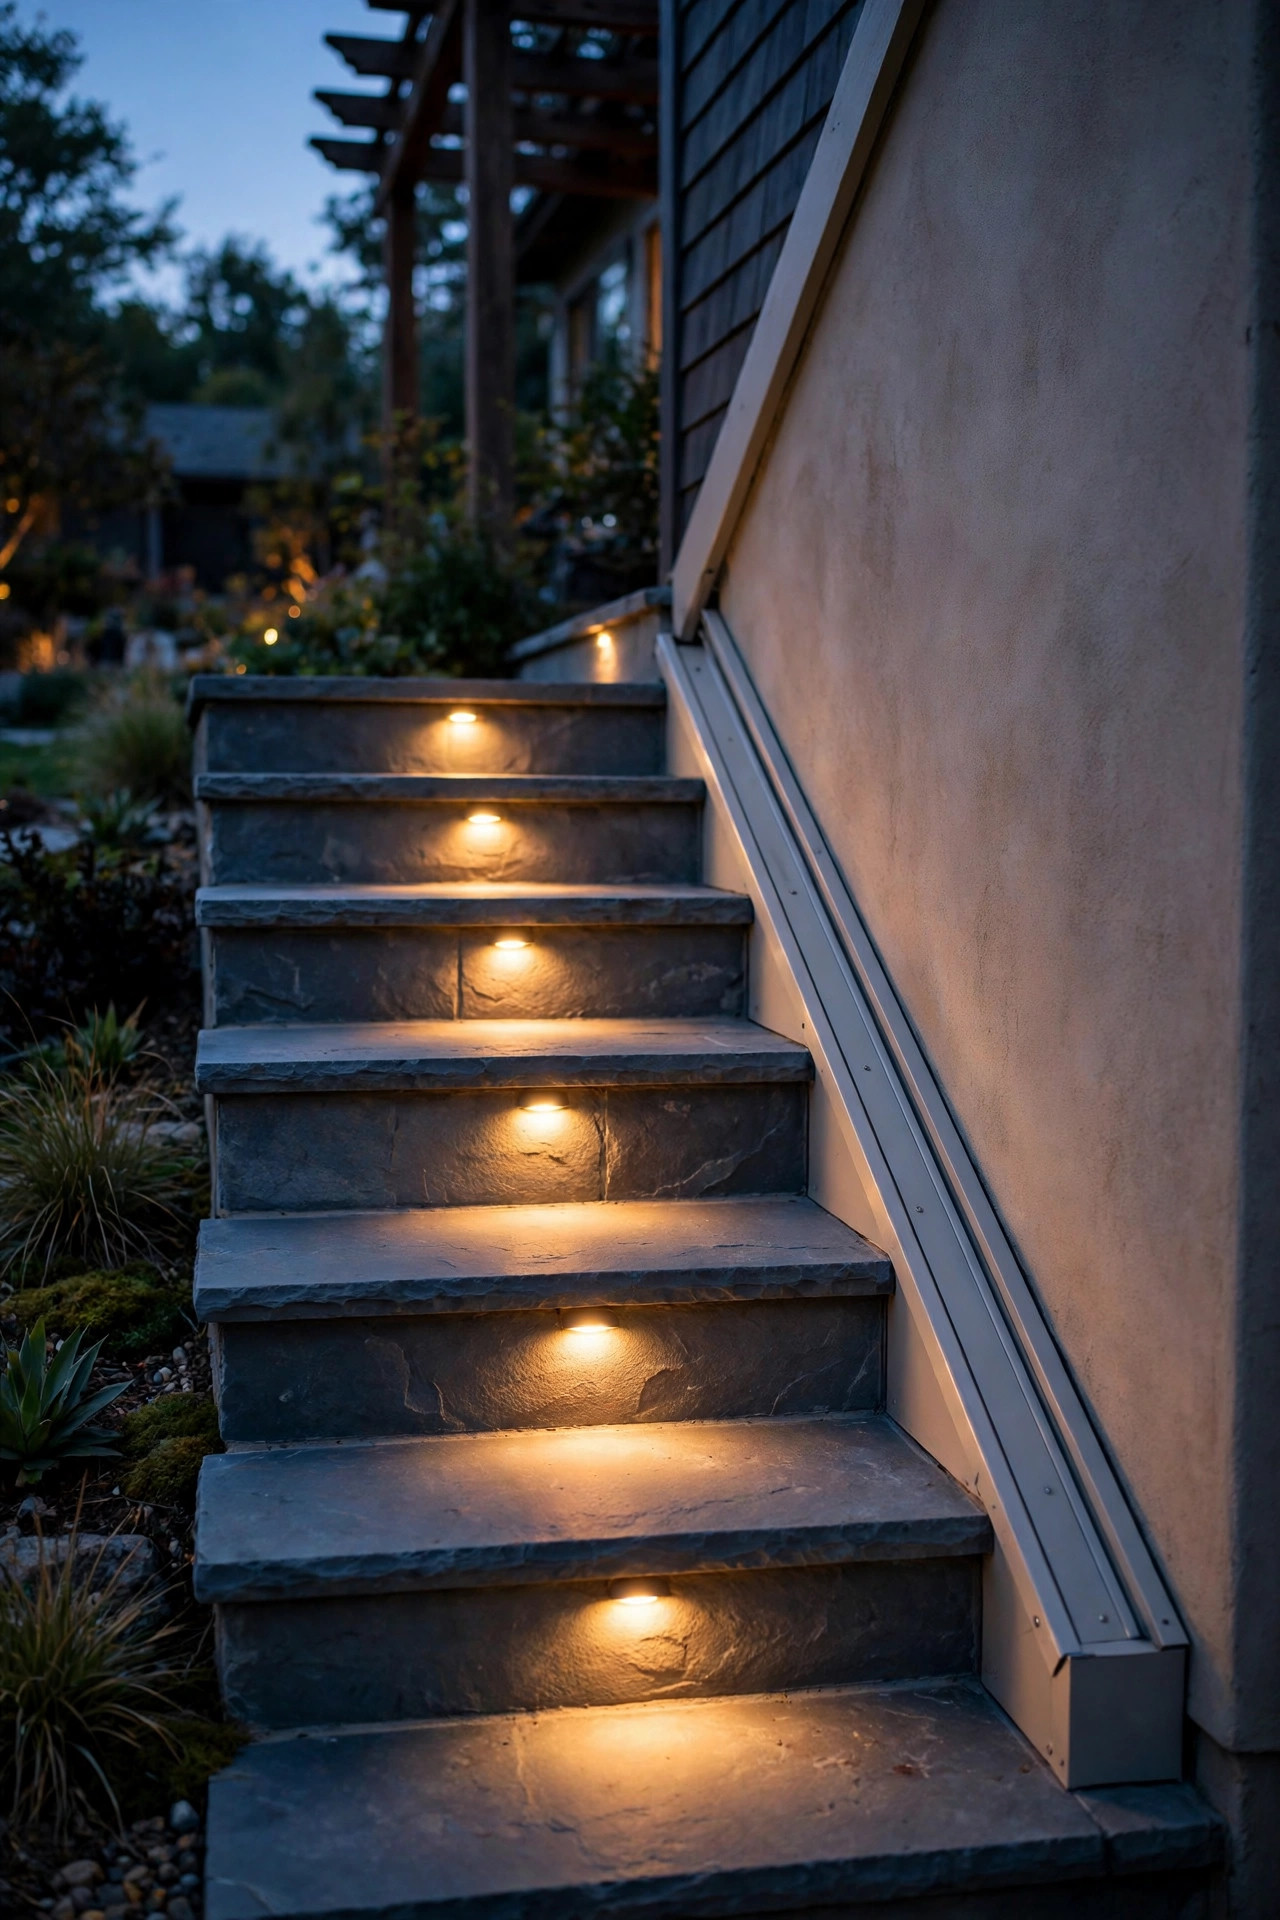
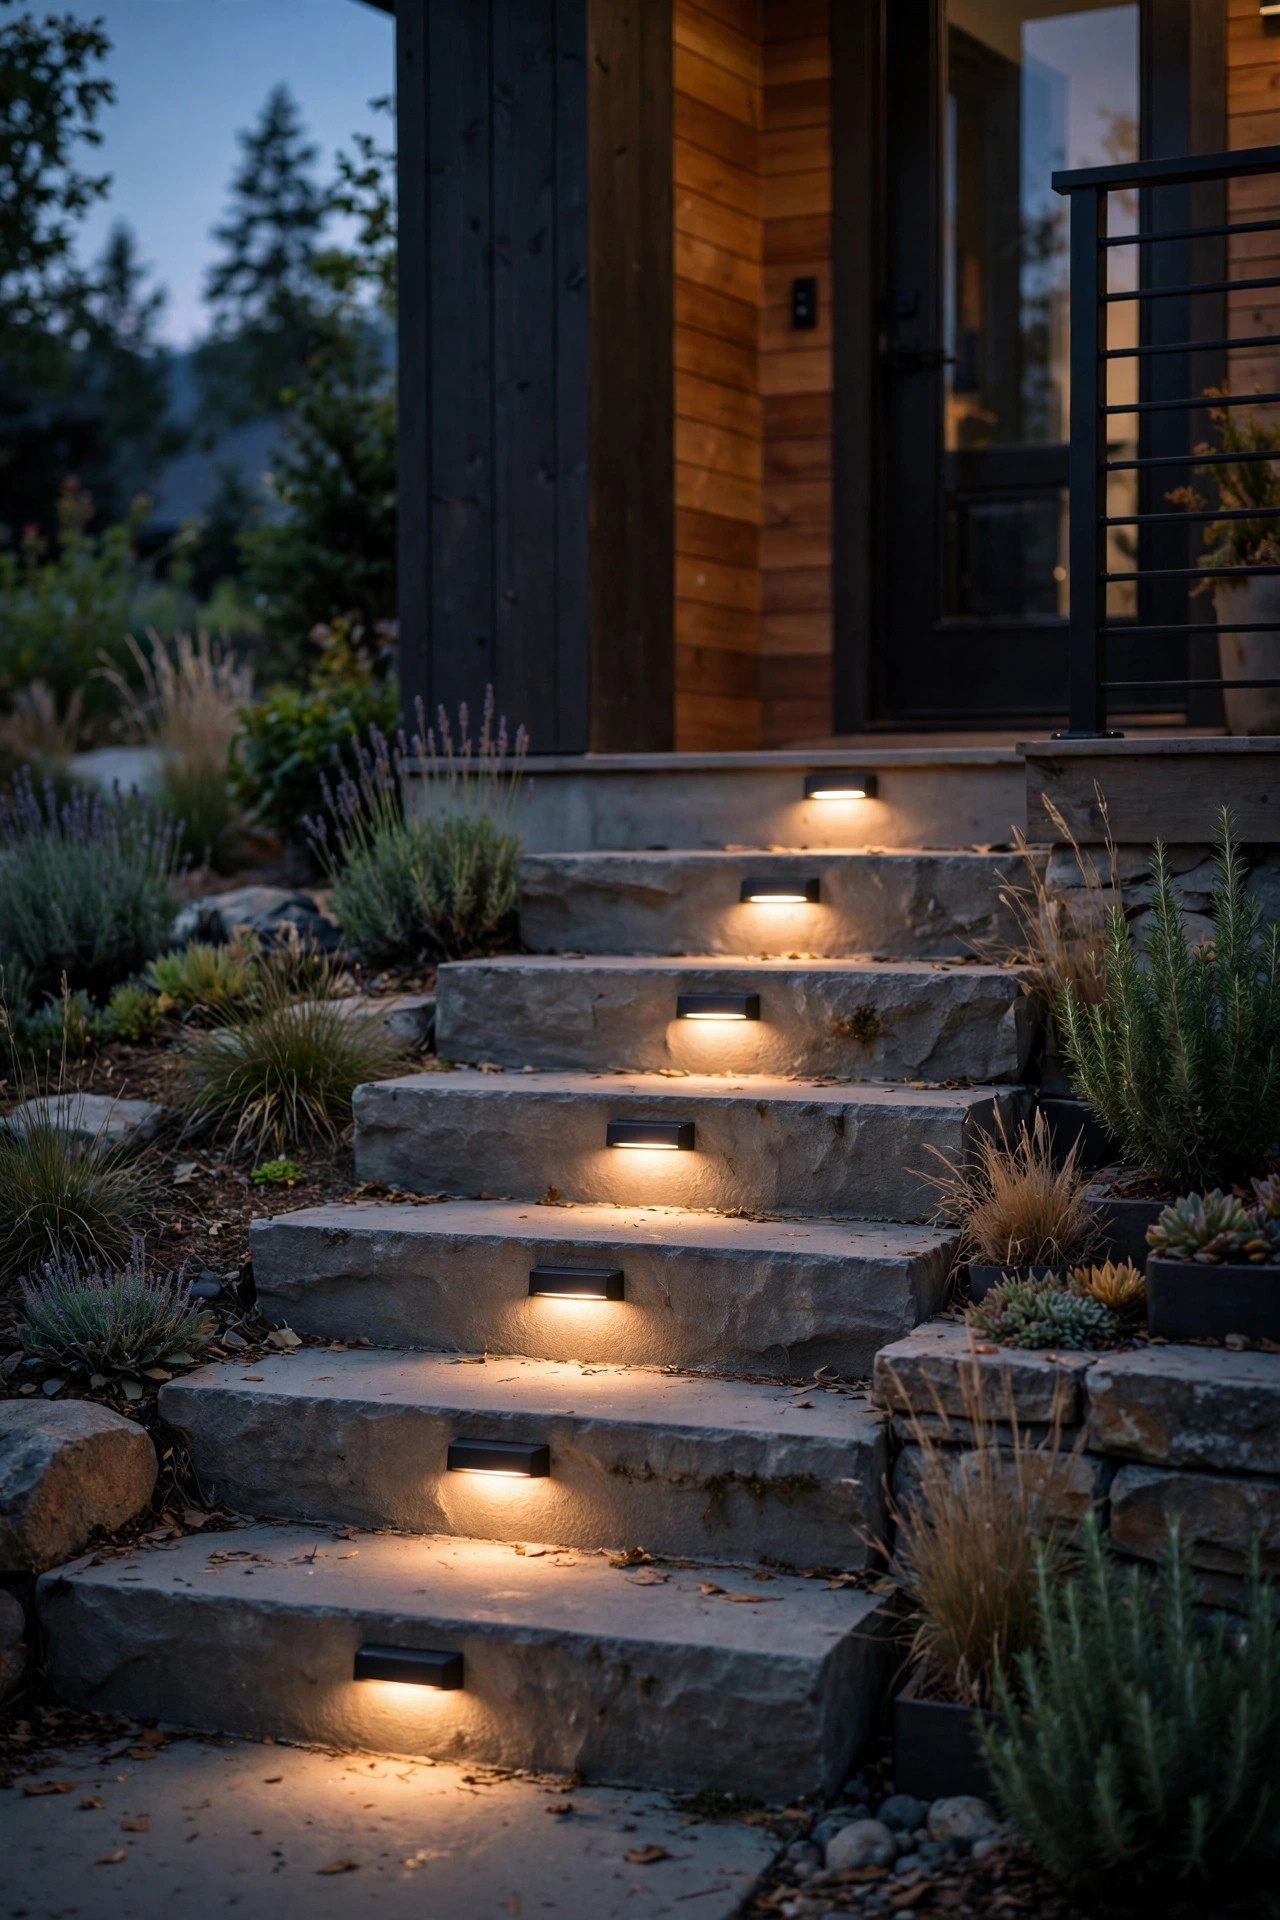
The classic layout, and still my default recommendation for a front entry, is a slim rectangular fixture screwed flat onto the riser — the vertical face of each step — centered left to right. Two screws, that's the whole installation: no housing buried in the step, no hole bigger than a pencil eraser. The light washes down and out across the tread below, so each step edge reads clearly as you climb. For stairs up to about 4 feet wide, one fixture per step is plenty; go with a housing roughly 5 to 8 inches wide so it looks in proportion. Most of these run on 12-volt low voltage at just 1 to 3 watts apiece, which means a full staircase costs pennies a month to run and stays cool to the touch. Pick a finish that suits your steps — matte black on painted wood, bronze on brick, brushed steel on concrete. This is also the layout that layers best with a warm porch glow above it, and our guide to porch step lighting ideas covers the sconces and lanterns that complete the picture. If you only do one idea from this list, make it this one.
Suggested budget range: $90 – $260.
2. Solar Surface Mount Step Lights With Zero Wiring
If your steps sit in decent sun, solar is the laziest upgrade on this list — and I mean that as praise. Each fixture is self-contained: a small solar panel on top, a battery inside, and a housing that sticks or screws onto the riser in about two minutes. No transformer, no cable, no planning where the wire goes. The honest caveats: brightness is modest (these mark steps rather than flood them), and a north-facing or deeply shaded porch will starve the panels by January. Look for models with a replaceable battery and a panel you can angle toward the sky; a dusk-to-dawn sensor is standard and genuinely useful. Expect 6 to 10 hours of light after a full day of sun in summer, less in winter. I use solar versions on my garden steps where running wire would mean trenching through beds I love, and they've earned their keep. If you're weighing solar against a wired system for the whole yard, our comparison of solar vs wired landscape lighting lays out the real costs and brightness differences before you commit.
Suggested budget range: $35 – $120.
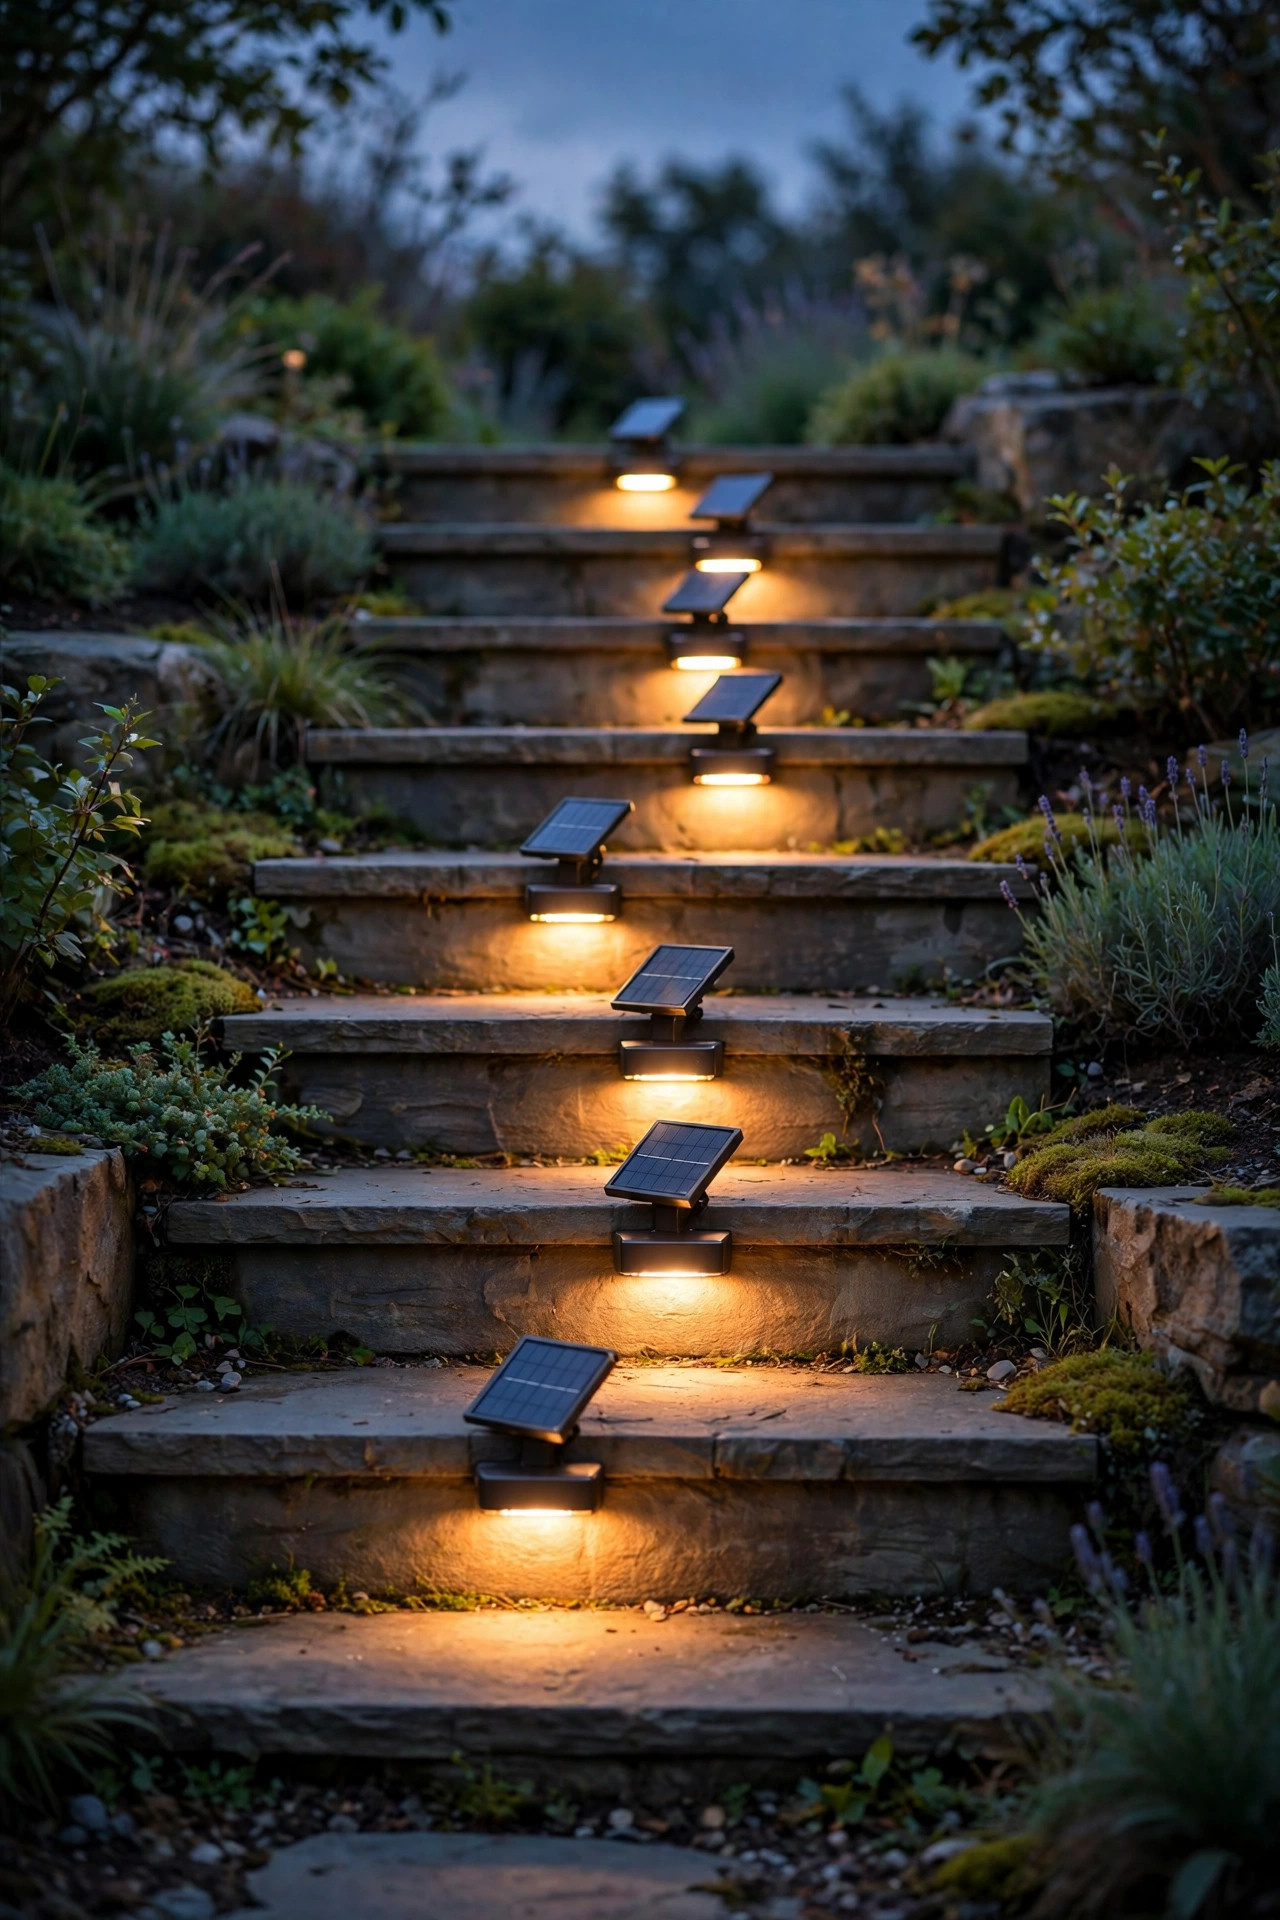
3. Battery-Powered Adhesive Lights for Renters and Quick Fixes
Renters, rejoice — and anyone else who wants lit steps tonight, not after a project weekend. Battery-powered step lights with heavy-duty adhesive pads press onto the riser and stay put for months; the better ones add two tiny screws as insurance, but the pads alone handle most smooth surfaces. They run on AA or AAA batteries, or recharge by USB, and a set of four usually costs less than a single pizza night. Motion-sensor versions stretch battery life to the better part of a year because they only glow when someone's actually on the stairs. Placement rules are the same as wired: centered on the riser, one per step, light aimed down at the tread. Clean the mounting spot with rubbing alcohol first — adhesive on dusty, chalky paint fails within a week, and that's the entire trick to making these last. Heat is the other enemy; on south-facing dark steps in July, choose screw-assist models so a softened pad can't drop the fixture. For a first apartment porch or a quick fix before houseguests arrive, nothing on this list beats them for speed.
Suggested budget range: $25 – $80.
4. Under-Nosing LED Channels That Screw On, Not In
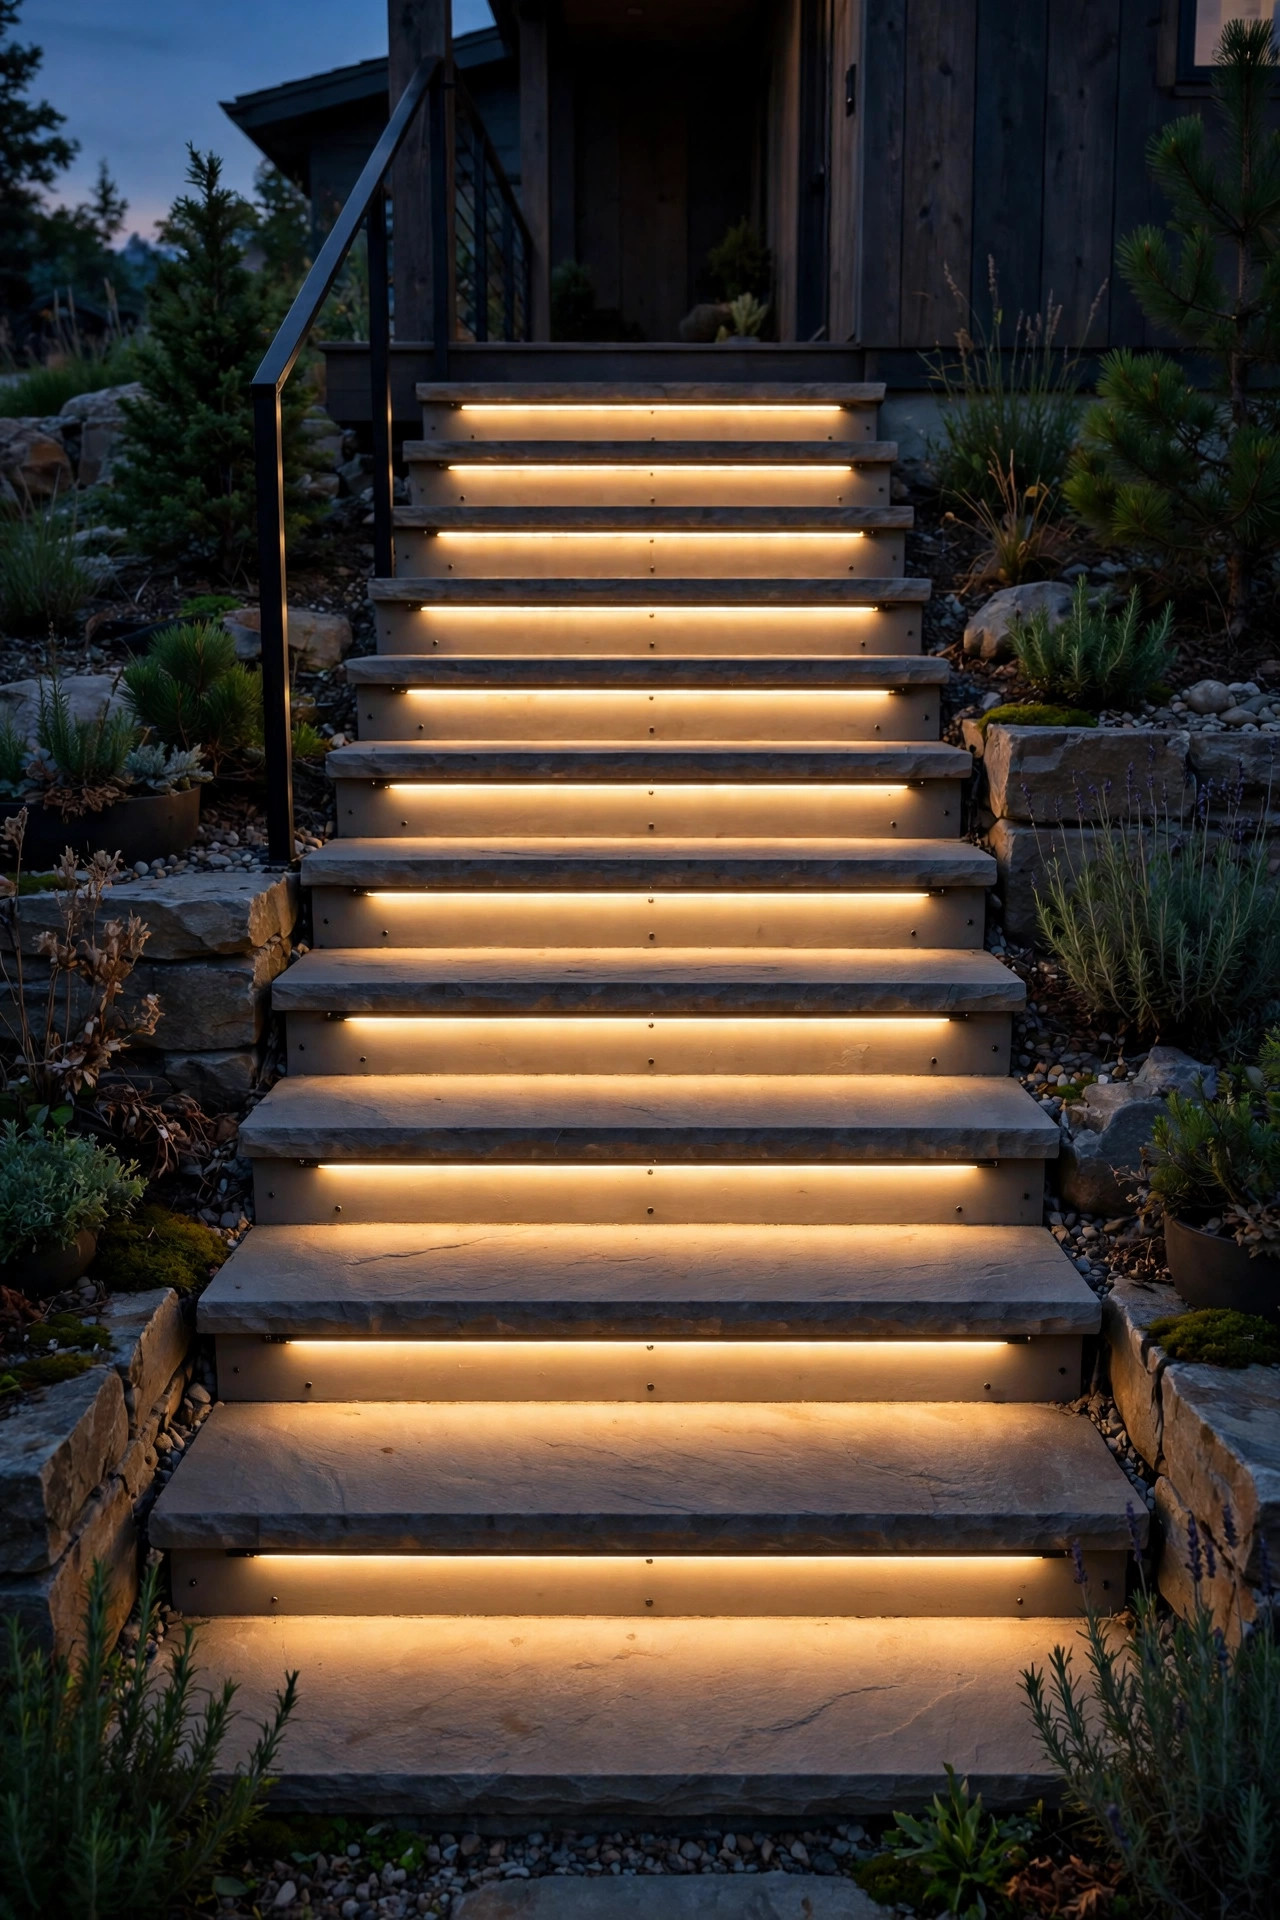
For the most built-in look without cutting a single groove, mount an aluminum LED channel under the nosing — the lip where the tread overhangs the riser. The channel screws up into the underside of the lip (two or three small screws per step, all hidden), and the strip inside washes the riser and tread below in a smooth, shadowless ribbon of light. Because the LEDs hide behind a frosted diffuser, you never see dots — just glow appearing from nowhere, the same trick recessed installs brag about. Use outdoor-rated strip, IP65 or better, inside a channel with sealed end caps, and tuck the driver somewhere dry and reachable, like a weatherproof box under the porch. Strips dim beautifully, too: full brightness when guests arrive, forty percent for a quiet weeknight. One hard-won lesson — never trust the strip's sticky backing outdoors; it lets go within a season. The mechanical channel is what makes this a surface-mount job instead of a routing job, and on open-riser or floating stairs where there's no riser face to mount on, it's honestly the only clean option.
Suggested budget range: $70 – $220.
5. Corner-Bracket Lights That Sit Right at the Tread Edge
Some steps fight you: rounded nosings, bullnose tiles, treads so shallow a riser fixture crowds the walking line. That's where corner-bracket lights earn their keep. These little L-shaped fixtures sit right at the joint where tread meets riser, hugging the corner, with the lens aimed across the tread surface instead of down it. The effect is a low graze of light that makes the step edge glow — dramatic, modern, and very kind to eyes because you never look straight into the source. Mount with two screws into the riser just under the lip, or into the tread right at the back; either way, nothing protrudes into the footpath, so there's no toe-stubbing and no catching a snow shovel in winter. One bracket per step works for stairs up to 4 feet wide; wider stairs take one at each end with beams meeting in the middle. I especially like these on stone steps, where drilling a big recessed hole would be a crime and a small corner fixture reads as a deliberate design detail. Choose 2700K warm white so the graze feels like candlelight, not runway lighting.
Suggested budget range: $60 – $180.

6. Stringer-Mounted Lights That Graze Across the Steps
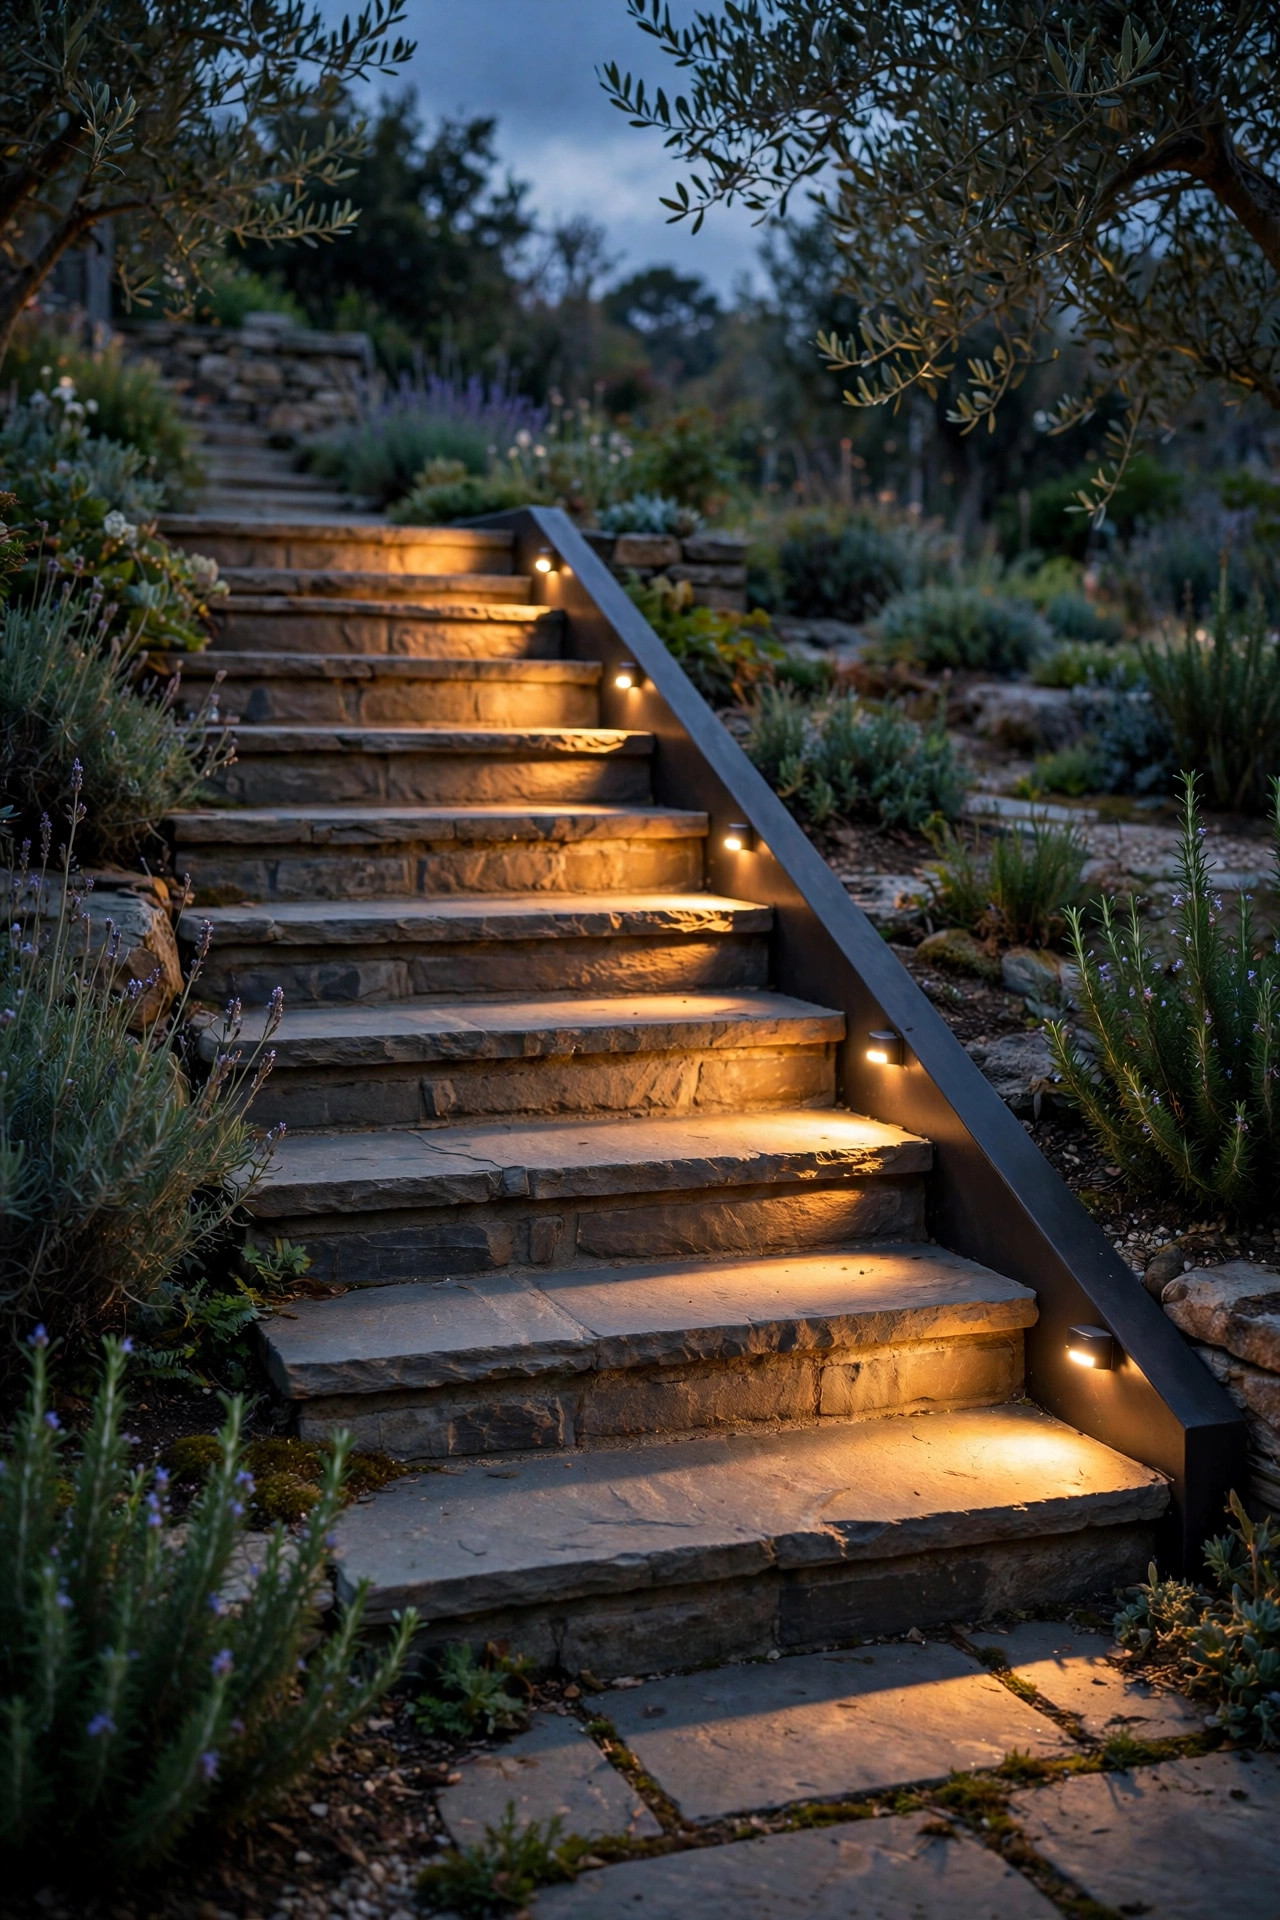
When the riser face is off-limits — crumbling brick, historic stone, a finish you refuse to drill — move the lights to the side. Stringer-mounted fixtures screw into the stair's stringer (the diagonal board or sidewall that carries the steps) and throw their light sideways, grazing across each tread. That raking angle is flattering: it reveals the texture of wood grain or stone, and it throws long, readable shadows off every step edge, which is exactly what your eyes use to judge depth at night. Mount one fixture per two or three steps, roughly at tread height plus a few inches, tilted slightly downward. On an open stringer — no sidewall — small clamp brackets grip the board without any screws at all. This approach shines on garden stairs built into a slope, where a low retaining cheek wall gives you a perfect mounting surface the whole way down. Keep the beam tight (a narrow 30- to 45-degree spread) so light lands on the steps instead of the flowerbeds, and shield the lens on the approach side so guests aren't greeted by glare before they see the glow.
Suggested budget range: $80 – $240.
7. Louvered Faceplates for Glare-Free Steps
If you've ever walked down steps toward a bare LED, you know the problem: you're blinded for exactly the seconds you need your eyes. Louvered surface lights solve it with tiny angled slats over the lens that push every ray downward and physically block the view of the diode from above. The step gets bright; your eyes get nothing but reflected light. It's the same principle hotels and theaters use, scaled down to a fixture the size of a deck of cards. Louvered models screw onto the riser like any surface light — two screws, wire out the back or bottom — so the upgrade costs you nothing in installation effort, only a few dollars more per fixture. I consider them non-negotiable on stairs that face seating: a porch swing, patio chairs, anywhere people linger at step level after dark. They're also the polite choice for steps near a property line, since not one ray escapes toward the neighbors. Look for louvers you can remove for cleaning — spider webs and pollen find them by June — and lenses rated IP65 so a pressure washer at a distance won't hurt them.
Suggested budget range: $100 – $300.

8. Motion-Sensor Step Lights That Wake Up When You Do
The most useful light is the one that's only on when you need it. Motion-sensor surface lights screw or stick onto the riser like the others, but a small PIR sensor watches the staircase and brings the light up as you approach — no switch, no timer, no wasted overnight glow. Battery and solar versions dominate here because they need no wiring at all, and the sensor sips so little power that a set of batteries routinely lasts 6 to 12 months. Aim for a detection range around 10 feet, and angle the sensor slightly across the stair rather than straight out, so it catches ankle movement early. My favorite detail: many models cascade — set them as a group and the whole staircase lights in sequence as you climb, which feels positively luxurious for a thirty-dollar fixture. Sensitivity adjustment matters; without it, every passing cat, raccoon, and wind-blown shrub becomes a light show. A dusk-to-dawn photocell built in keeps the sensor asleep during daylight. For side gates, basement bulkhead steps, and any staircase you use twice a night instead of twenty times, these are the smartest dollars on the list.
Suggested budget range: $40 – $140.

9. Surface Raceway: Hide the Wires Without Cutting Anything
Here's the part nobody photographs: the wire. Low-voltage surface lights still need cable, and a loose cable stapled along your steps looks like a dorm room. Surface raceway — a slim paintable channel, about half an inch wide — hides the run along the stringer or the base of the riser wall, and it installs with screws or its own adhesive backing. No cutting into the steps; you're adding a trim piece, not surgery. Plan the route first: transformer near an outlet, raceway up the side of the staircase, short drops to each fixture. Inside the channel, 16-gauge low-voltage cable is plenty for a staircase, and the whole run stays accessible — pop the cover if you ever add a fixture or chase a fault, which you cannot say for buried or mortared wire. Paint the raceway to match your trim and it disappears to anyone not looking for it. Outdoor jobs need UV-stable PVC or metal raceway, with drip loops where cable exits to each light so rain can't wick inside. It's the least glamorous idea here, and the one that makes every other wired idea look professionally finished.
Suggested budget range: $50 – $160.
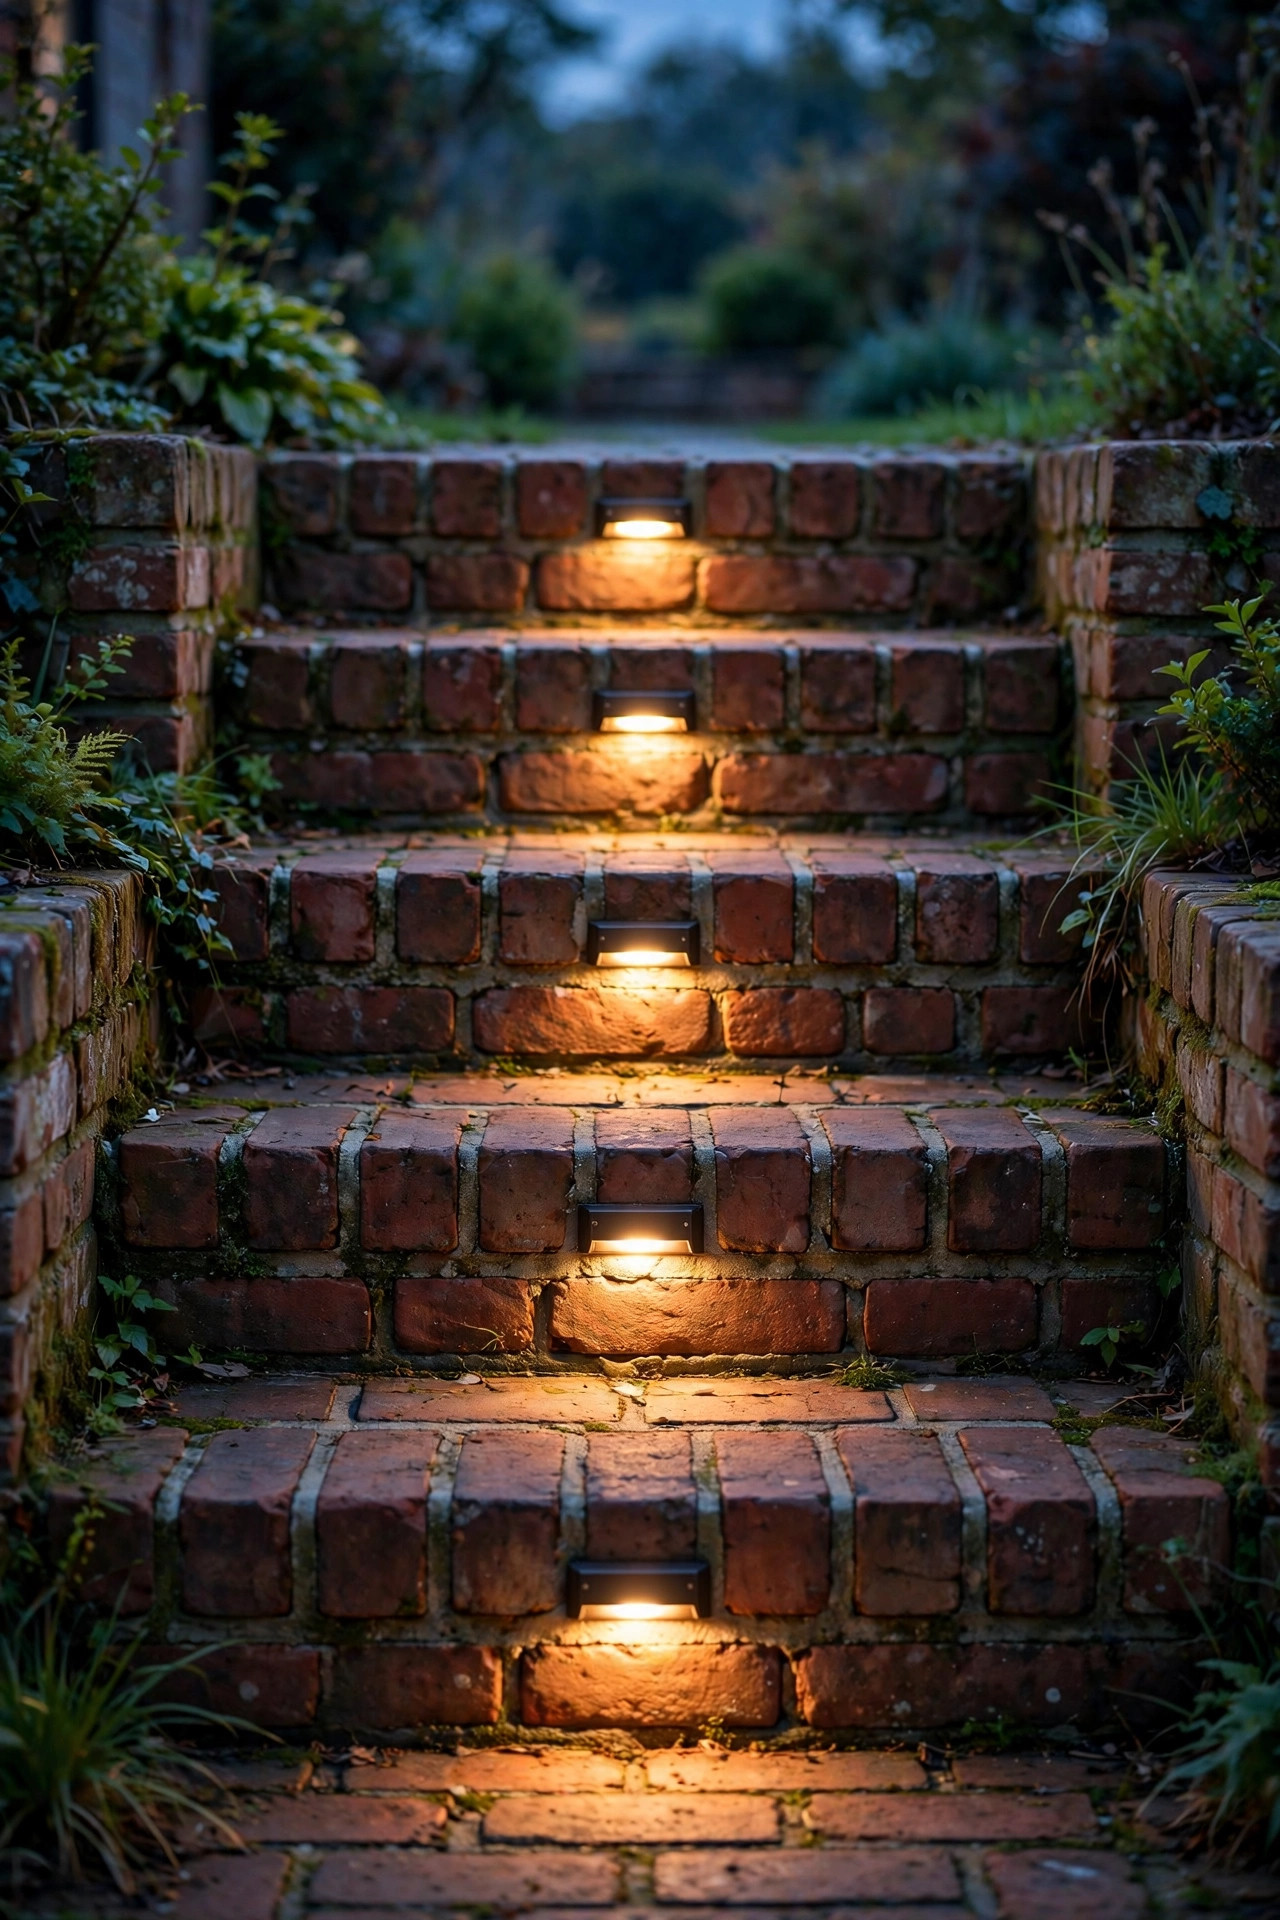
10. Masonry Steps? Anchor Into the Mortar Joints
Drilling into brick or stone steps feels wrong because it is — one slip and you've scarred a riser forever. The mason's trick: aim for the mortar joints instead. Mortar is soft, forgiving, and — this is the key — repointable. A small anchor hole in a joint can vanish in five minutes with a tube of matching mortar when the fixture eventually comes off; a hole in the brick face is forever. Surface step lights mount beautifully this way: a compact masonry anchor plus a stainless screw through the fixture's back plate, set into the horizontal joint just below the tread. The fixture sits flush on the riser, and the wire can chase along the joint itself, lightly raked out and repointed over — the closest thing to invisible wiring masonry allows. Keep holes at least an inch from the joint edges so you don't spall the brick corners, and use a proper masonry bit at low speed rather than a hammer drill on full blast. On stone, joints vary in width, so test-fit your anchor size on a hidden joint first. Old steps, historic steps, expensive steps: this is your method.
Suggested budget range: $110 – $320.
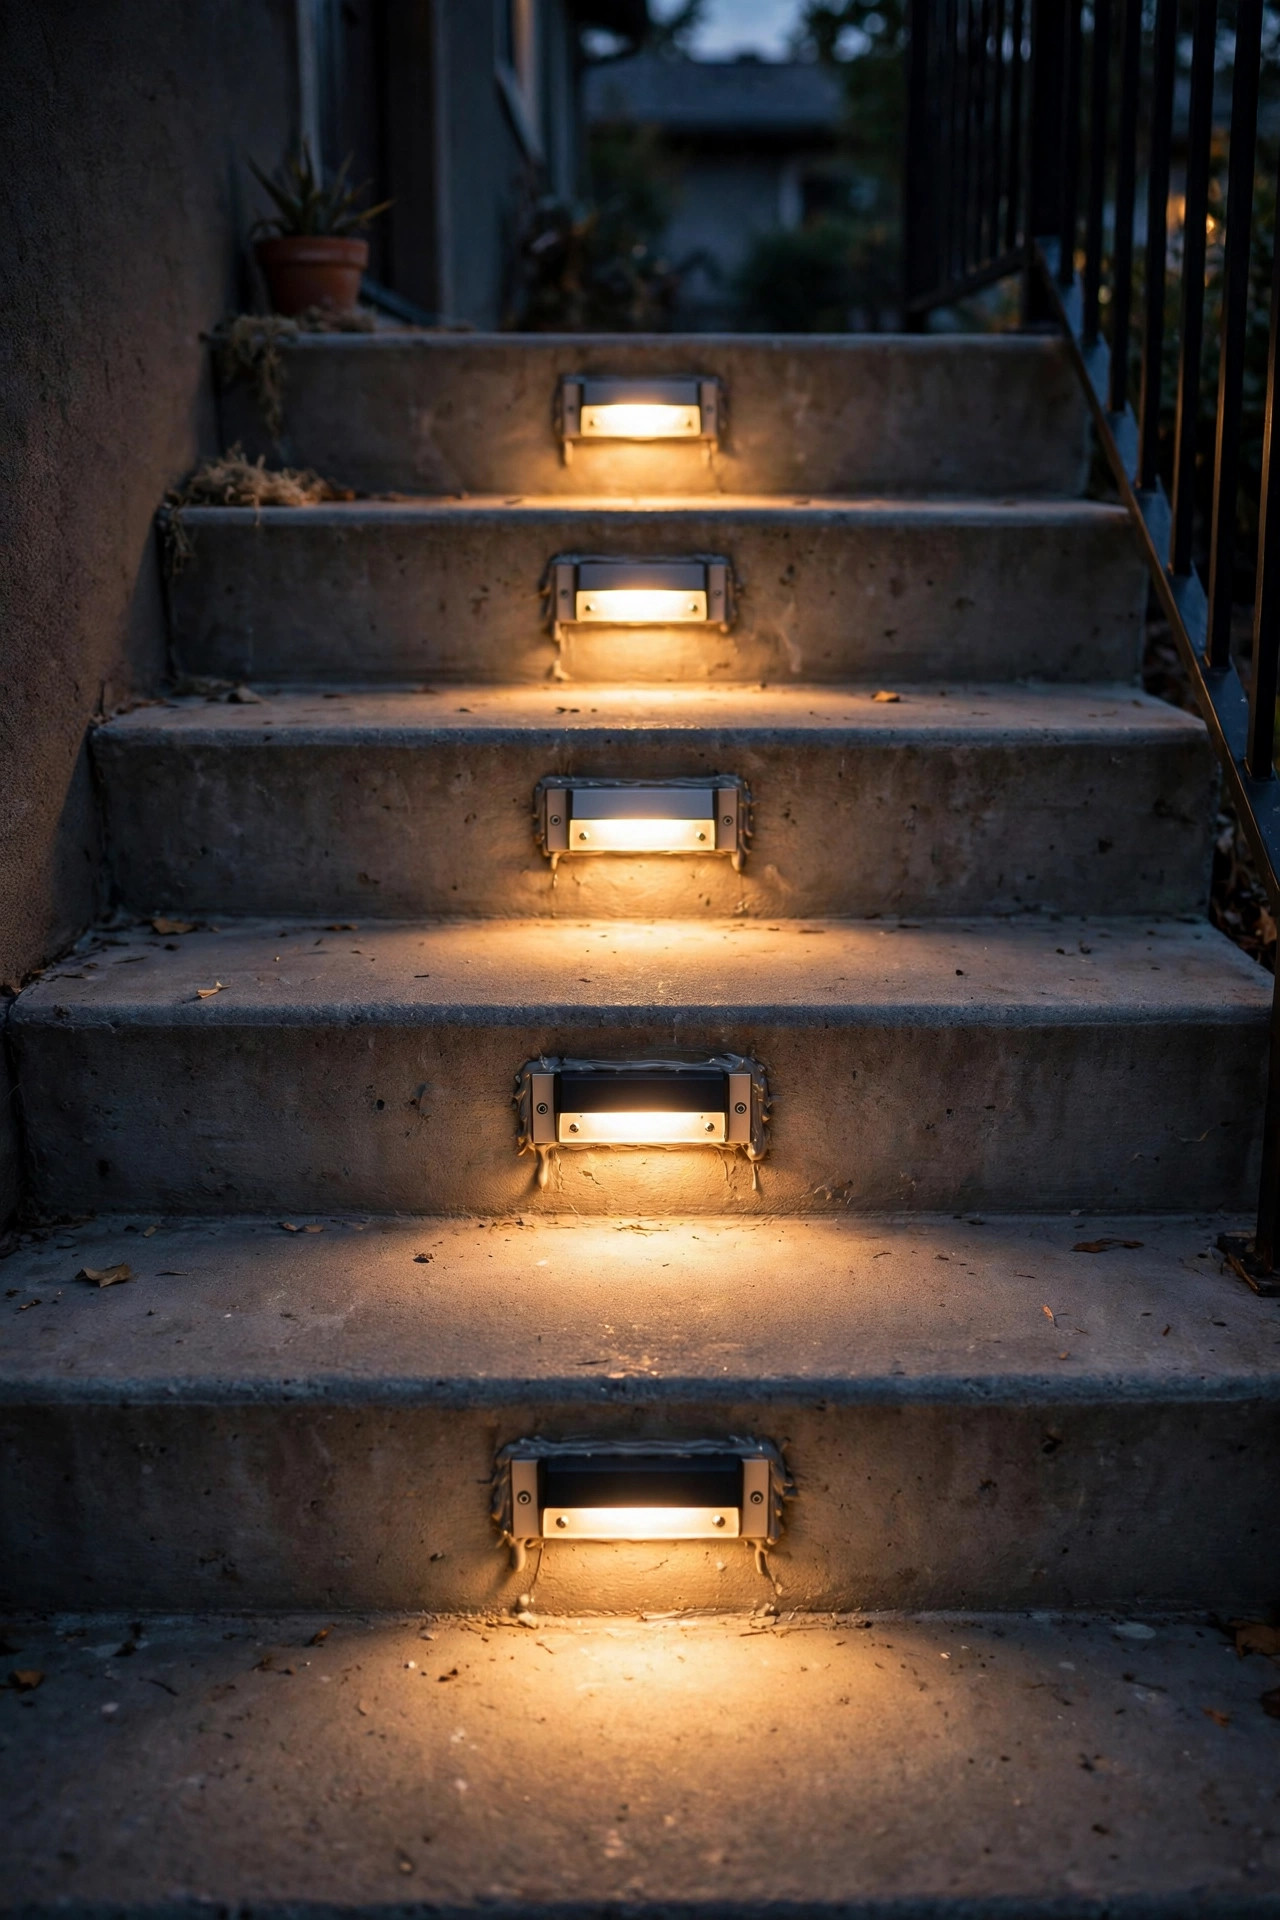
11. Concrete Steps: Construction Adhesive Plus Two Screws
Concrete steps scare people off surface lights because they imagine a hammer drill chewing for an hour. Reality: each fixture needs two small pilot holes, 3/16 inch, about an inch deep — thirty seconds each with a masonry bit — or no holes at all. My belt-and-suspenders method for concrete and precast steps is construction adhesive plus screws: a bead of exterior polyurethane adhesive on the fixture's back plate for vibration-proof grip, and screws into plastic anchors for mechanical strength. The adhesive keeps the fixture from ever buzzing loose under foot traffic, and the screws mean it can't creep if summer heat softens anything. If your steps are rented, shared, or you'd simply rather not drill, high-bond mounting tape rated for outdoor use genuinely works on smooth broomed concrete — just clean with alcohol, press for a full minute, and give it 24 hours before trusting it. Wire runs follow the raceway idea or tuck along the step's back edge with cable clips screwed into the side wall. Choose fixtures with a slightly flexible mounting flange; concrete is never perfectly flat, and a flange that can snug down beats one that rocks on a high spot.
Suggested budget range: $90 – $260.
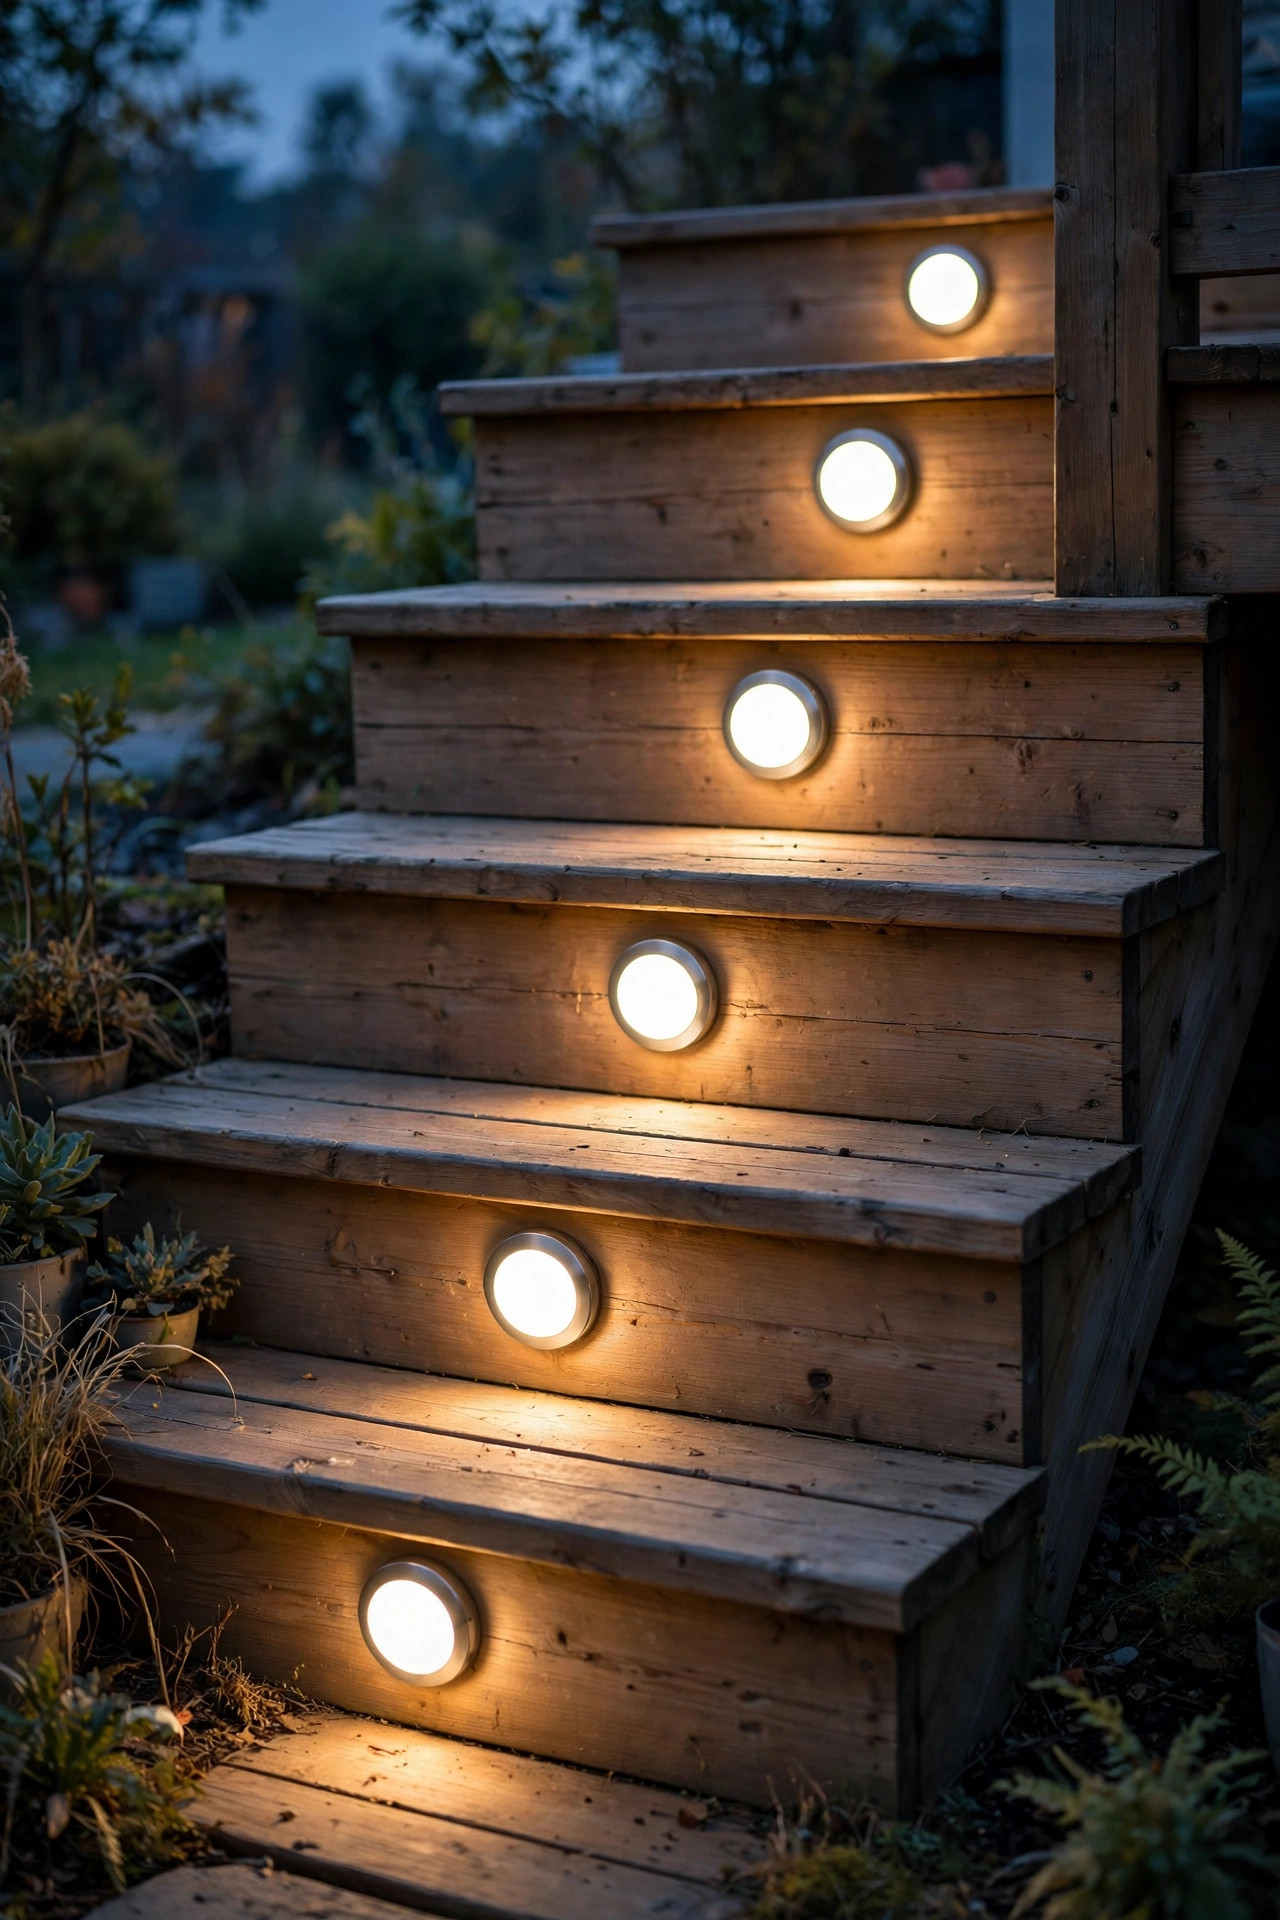
12. Slim Puck Lights for Wood and Composite Deck Steps
Deck steps are surface-mount paradise: wood and composite risers take screws happily, and the steps are usually narrower, so small fixtures go a long way. My favorites here are slim puck lights — round, about 3 inches across, less than an inch deep — screwed onto the riser face, one per step, centered. They read as a deliberate design detail by day rather than an add-on, especially in black or dark bronze against stained cedar. Low voltage rules on decks because the cable can run under the deck boards and pop up behind each riser through a gap you'd never notice. Mind two deck-specific things. First, composite risers need pilot holes and stainless screws, or you'll get rust streaks by spring. Second, leave a hair of slack in each wire loop — decks move with the seasons. If your staircase is part of a bigger deck plan, our deck stair light ideas walk through post caps, rail lighting, and the layering that ties steps into the whole space. A row of warm pucks down a deck staircase at dusk is, honestly, the photo everyone stops scrolling for.
Suggested budget range: $70 – $200.
13. Railing-Post and Newel-Mounted Step Lights
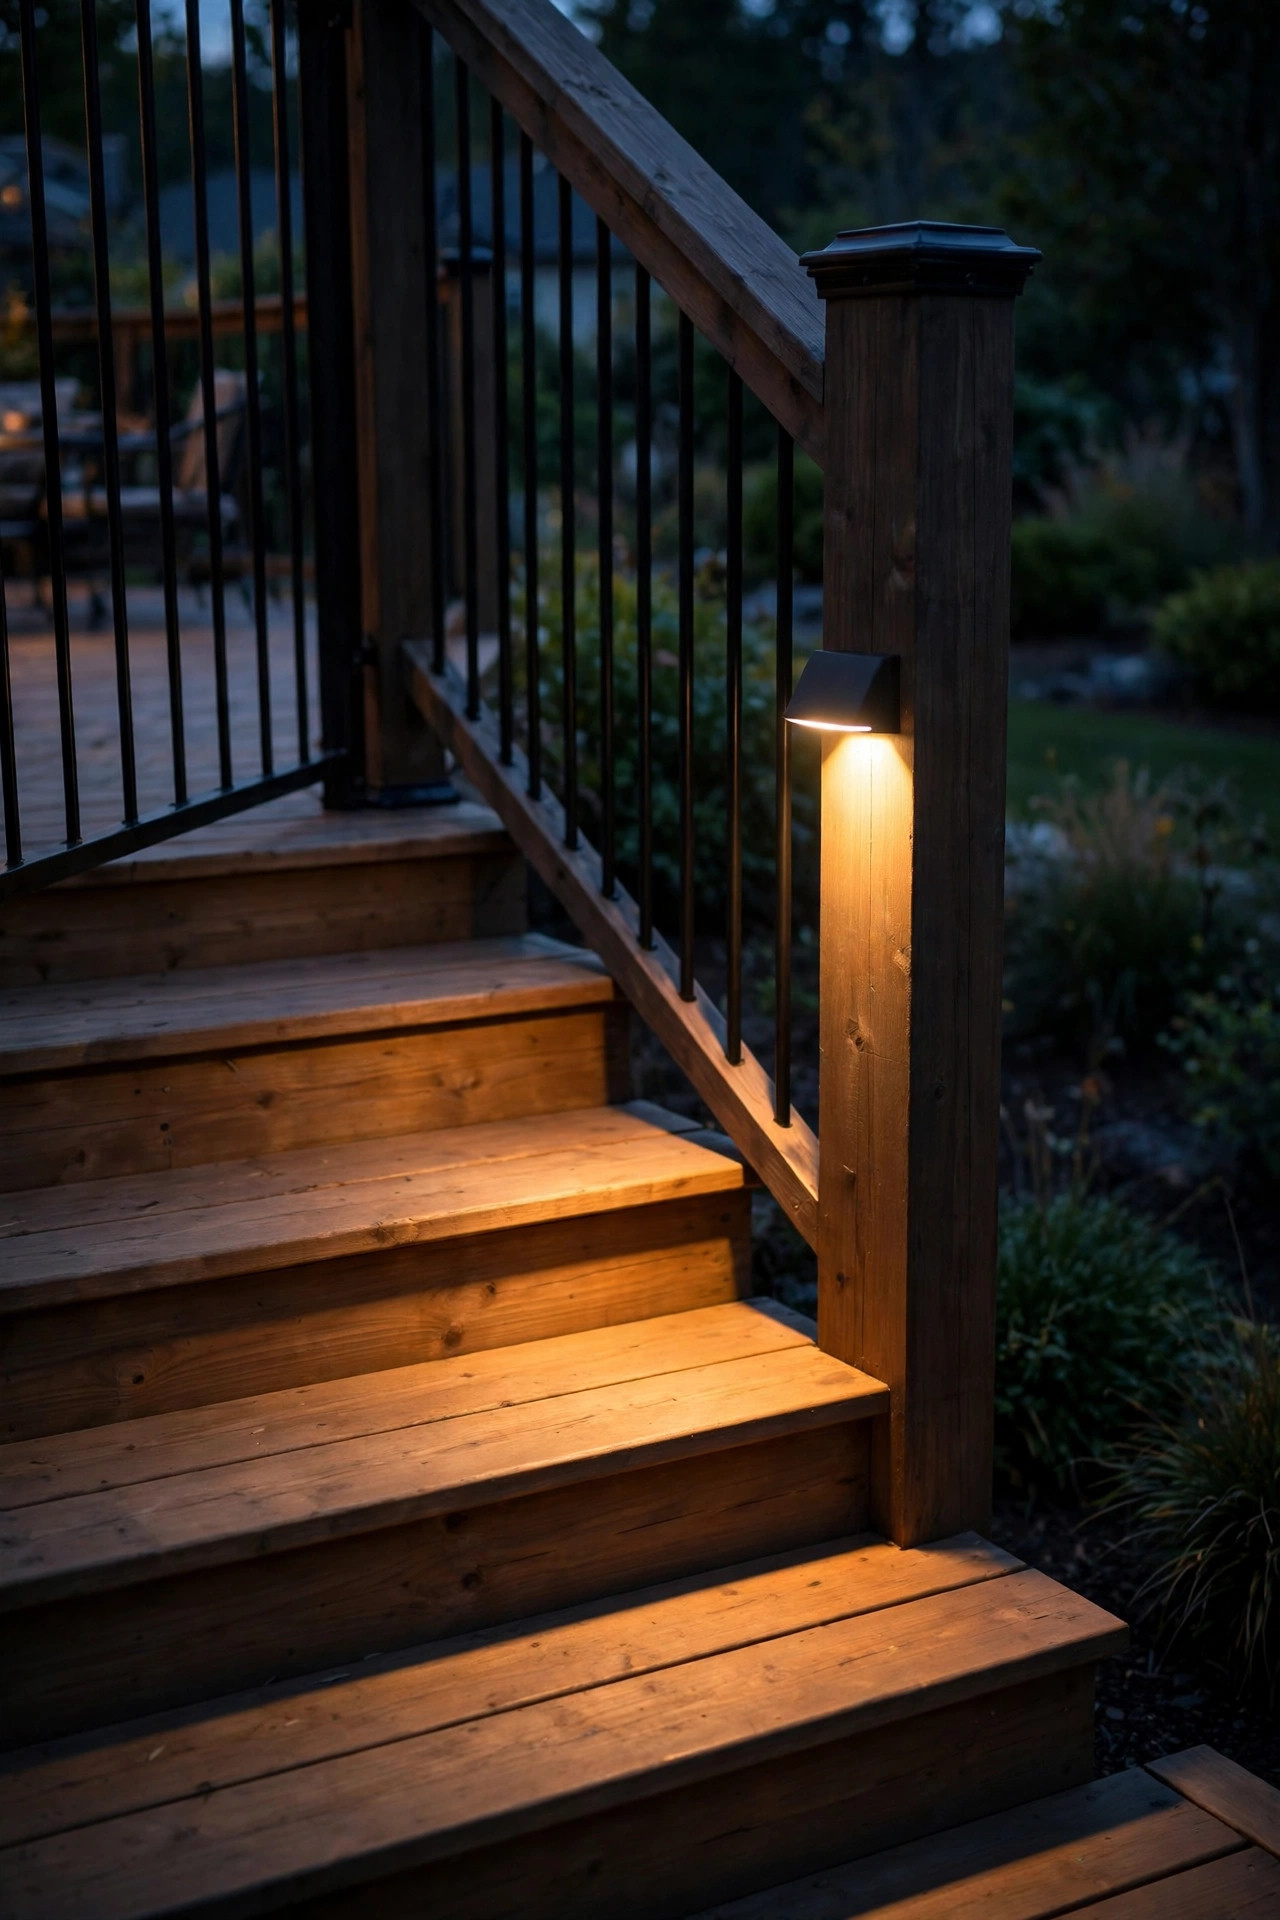
Sometimes the smartest place for a step light isn't on the step at all. Railing posts and newels sit right beside the staircase, at exactly the height where a downward light can wash two or three treads at once — so one post-mounted fixture replaces two or three riser lights. These mount with a small bracket screwed to the post, or with a clamp collar that needs no screws at all on round metal rails. Aim the head down at about 45 degrees and slightly along the stair's direction; you'll get bright treads and soft shadows that show every edge. This is my go-to for staircases with glass, tile, or otherwise un-drillable risers, and for chunky timber steps where a fixture on the face would look lost. Wooden posts take the bracket directly; for vinyl or composite railings, screw into the post's internal blocking, not just the sleeve. Battery versions with motion sensors live happily here too, since the post gives the sensor a clear view up and down the stairs. Pair one post light at the top landing with one at the bottom, and a long staircase reads safely end to end.
Suggested budget range: $85 – $230.
14. Smart Surface Mount Step Lights You Can Dim and Schedule
Smart fixtures take everything in idea one and hand it to your phone: brightness, schedules, and scenes, all adjustable without touching a fixture. The lights themselves are ordinary slim riser fixtures run from a low-voltage smart controller, or self-contained Wi-Fi and Bluetooth models — either way, nothing about the mounting changes. What changes is the behavior. Dim the whole staircase to 30 percent for a movie-night patio glow, ramp to full when the porch motion sensor sees a guest, or set a gentle schedule that brings the steps up at sunset and down at midnight. Warm-to-cool tunable models let you match 2700K porch light in winter and something crisper for summer parties. My honest advice: keep a plain wall switch or remote in the loop. Guests and grandparents should never need an app to safely climb your steps, and when the Wi-Fi sulks, the stairs must still light. Choose a system that defaults to "on at dusk" even if the network drops. Once it's dialed in, though, a staircase that breathes with the evening is the kind of detail that makes a whole entry feel considered.
Suggested budget range: $130 – $380.
15. Every Step or Every Other Step? Spacing Rules That Work
More fixtures is not the same as better light. The spacing rules I use: on stairs up to 4 feet wide, one light per riser works beautifully; on anything wider, either step up to a brighter wide-beam fixture or go two per step at the quarter points. Every step versus every other step is the real debate. Every other step saves money and looks fine with bright fixtures on stairs with shallow treads — but the dark step between two lit ones creates a shadow band your eyes have to keep re-reading, and guests notice it even if they can't name it. For front entries and any stair used by kids or grandparents, I light every step, no debate. Height matters too: mount the fixture in the upper third of the riser so the beam clears the nosing of the step below, and keep the same height on every step or the rhythm looks drunken. Run a night test before final tightening — tape the fixtures in place, stand at the bottom, and look for dark treads. Ten minutes of testing saves a season of squinting.
Suggested budget range: $60 – $300.

16. Solar Corner Lights That Cap the Edge of Deck Steps
Deck and patio steps have an awkward spot every other fixture ignores: the outside corner of the tread, where feet actually land in the dark. Solar corner lights are little L-shaped caps that sit right on that corner — part of the fixture on the tread edge, part on the riser face — held by two screws or a heavy adhesive pad. The lens throws light down the riser and across the tread end, so the exact edge your toe is hunting for glows. Because they're solar with the panel on the top face, there's no wire to hide, and because they cap the corner, they also protect it — I've stopped chipping the same composite corner with the cooler since installing mine. Light output is marker-level, not task-level, so think of these as edge definition: use them solo on two or three low patio steps, or as the finishing layer alongside brighter riser lights on a full staircase. Match the housing color to your decking and they vanish by day. In snowy climates, pop them off before shovel season or mount them a quarter inch back from the edge; ice scrapers show no mercy.
Suggested budget range: $45 – $130.

17. The Layered Finale: A Whole Staircase Plan With No Cutting
Ready for the version that makes neighbors slow down on the sidewalk? Layer three heights of light, all surface-mounted, nothing cut. Base layer: screw-on riser lights on every step, warm 2700K, doing the safety work. Middle layer: a post or newel light at the landing, washing the turn and giving your eye a destination. Top layer: a soft source above — a porch sconce or lantern — so the staircase connects visually to the door instead of glowing in isolation. The rule that makes layers work instead of compete: each layer dimmer or warmer than the one below it, and no bare diode visible from any normal standing position. Put the riser lights on a timer or photocell so the whole composition arrives at dusk without you thinking about it. Budget-wise this is the splurge of the list, but it's splurging on three modest fixture types instead of one dramatic one, and every piece installs with a screwdriver in an afternoon. Of all 17 ideas, this is the one I'd rebuild first in a new house — surface mount step lights doing a recessed install's job, with none of the demolition.
Suggested budget range: $250 – $700.

Frequently Asked Questions
Are surface mount step lights as good as recessed step lights?
Honestly? Ninety percent as good, at half the effort. Recessed fixtures win on pure invisibility — nothing protrudes at all — and they're protected from kicks and shovels. But a slim surface fixture (most are under an inch deep) reads as built-in from two steps away, throws the identical wash of light, and can be installed, moved, or upgraded in minutes instead of during a construction window. For existing steps, surface mount is almost always the right call; save recessed for new builds where the housings can go in as the steps are poured or framed.
How many surface mount step lights do I need for my staircase?
One per step for stairs up to about 4 feet wide is the standard that never disappoints. Go two per step — placed at the quarter points — once the staircase passes 5 feet wide. For battery or solar models with modest output, stick to one per step rather than stretching one fixture across two steps; a dim dark step between bright ones is worse than an evenly dim staircase. Count your steps, add one spare fixture for the shelf, and you're set.
Will solar step lights work on a shaded or north-facing porch?
Poorly, if the panel lives on the fixture — a panel in full shade may collect a quarter of the energy it needs, and by midwinter the lights will quit by 9 p.m. Two fixes: choose solar models with a remote panel on a cable, and plant that panel where sun actually lands; or skip solar for that staircase and use battery motion-sensor lights, which don't care about shade at all. Low-voltage wired fixtures are the other shade-proof answer, and they cost pennies a month to run.
How well do surface mount lights hold up to weather and foot traffic?
Look for an IP65 rating or better — that shrugs off rain, sprinklers, and hose spray — and a housing in powder-coated aluminum, stainless steel, or UV-stable polymer. Mounted on the riser face, fixtures sit out of the footpath, so traffic isn't really a threat; the vulnerable spot is a protruding lens on shallow steps, which is why I steer people to louvered or sub-one-inch profiles there. A dab of thread-lock or adhesive under the back plate keeps screws from vibrating loose over the years.
Conclusion
Steps are the hardest-working few square feet of your home's exterior, and they deserve better than a porch light's leftovers. The good news from this whole list: you don't need to cut, core, or rebuild anything to light them beautifully. Surface mount step lights — screwed, stuck, clamped, or simply set on a corner — deliver the same warm, safe, welcoming glow as built-in fixtures, in an afternoon, at a fraction of the cost. Start with one idea that fits your steps and your nerve, run the tape-test at dusk, and let the staircase sell you on the rest. Then browse the site's other lighting ideas and build the layers outward — porch, path, and garden all glow a little warmer once the steps are handled.